How to Make Seats for a 2 Seater Formula 1 Car
by MrAtkinson in Workshop > Cars
160 Views, 0 Favorites, 0 Comments
How to Make Seats for a 2 Seater Formula 1 Car
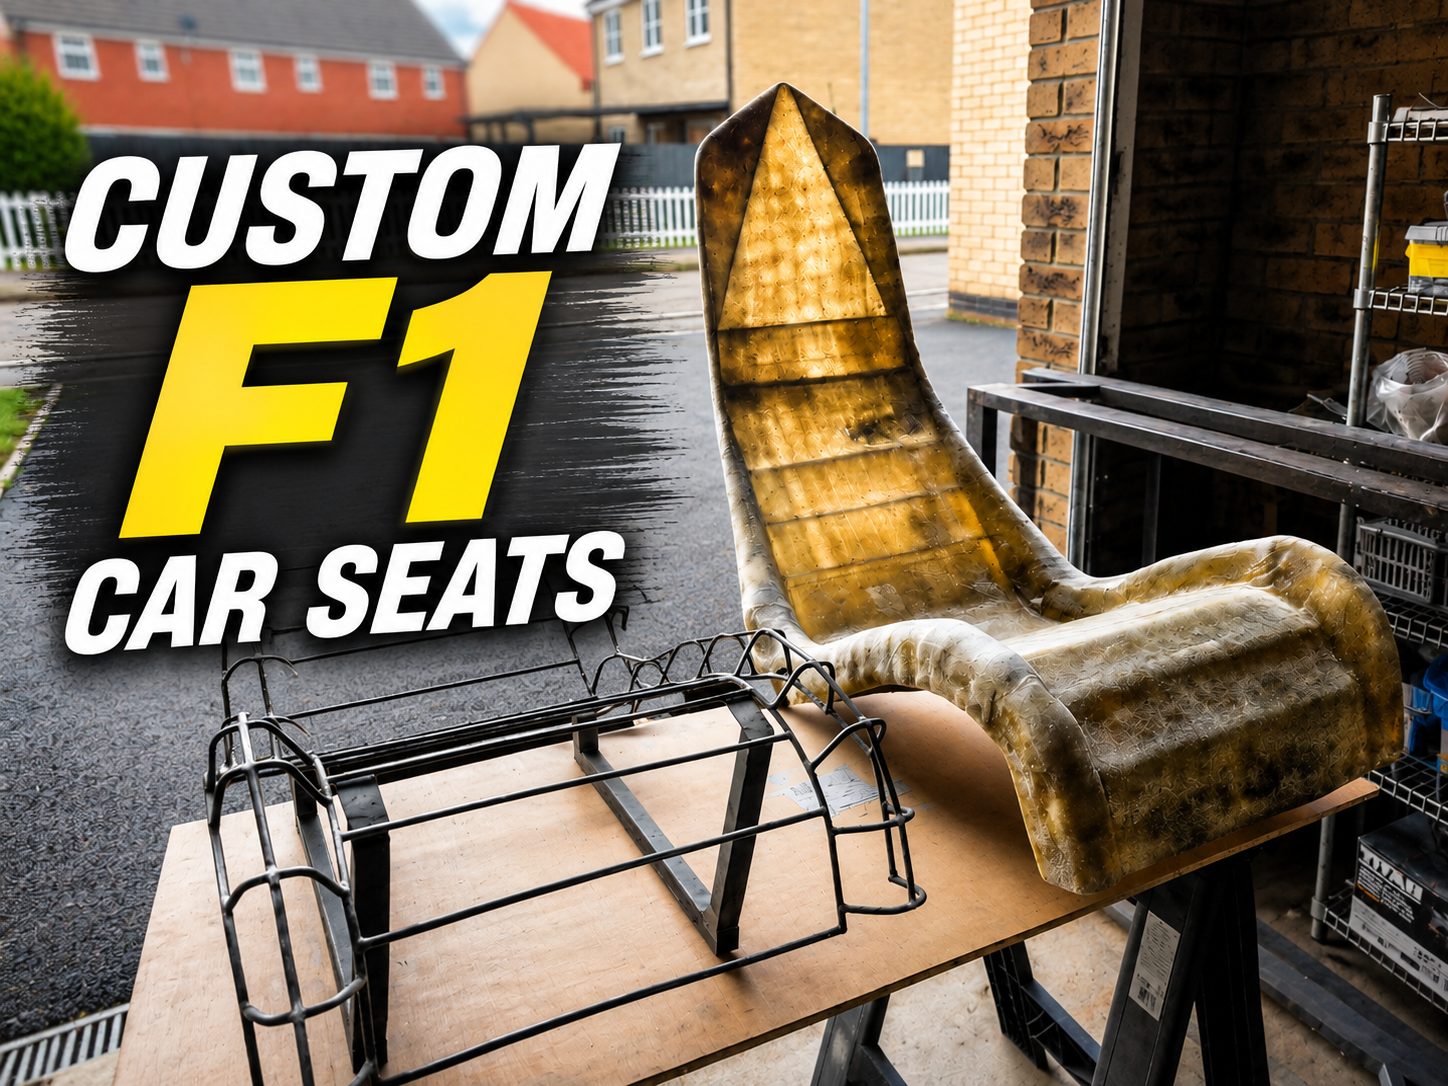
A lifelong dream of mine was to build a single seater car, similar to an F1 car but with some cool features and road worthy. Add my sons interest in Formula 1 and you get a road legal 2 seater F1 car build to take him to school in.
So far the cars spaceframe chassis is nearly finished, we have a donor car lined up and lots of plans going forward.
We are at the stage now where seats are needed. It might sound a little early to be thinking of seats but the seats actually set the location of a few different things; Pedals, steering column, handbrake, gear selector, role cage, firewalls, etc.
I decided on fibreglass as its not something I have used much in the past and is lightweight. The seats of an F1 car are very different to standard road cars as it positions the driver low down in a kind of lounged position so making any old seats wasn't going to cut it.
Here is how we did it.
Supplies
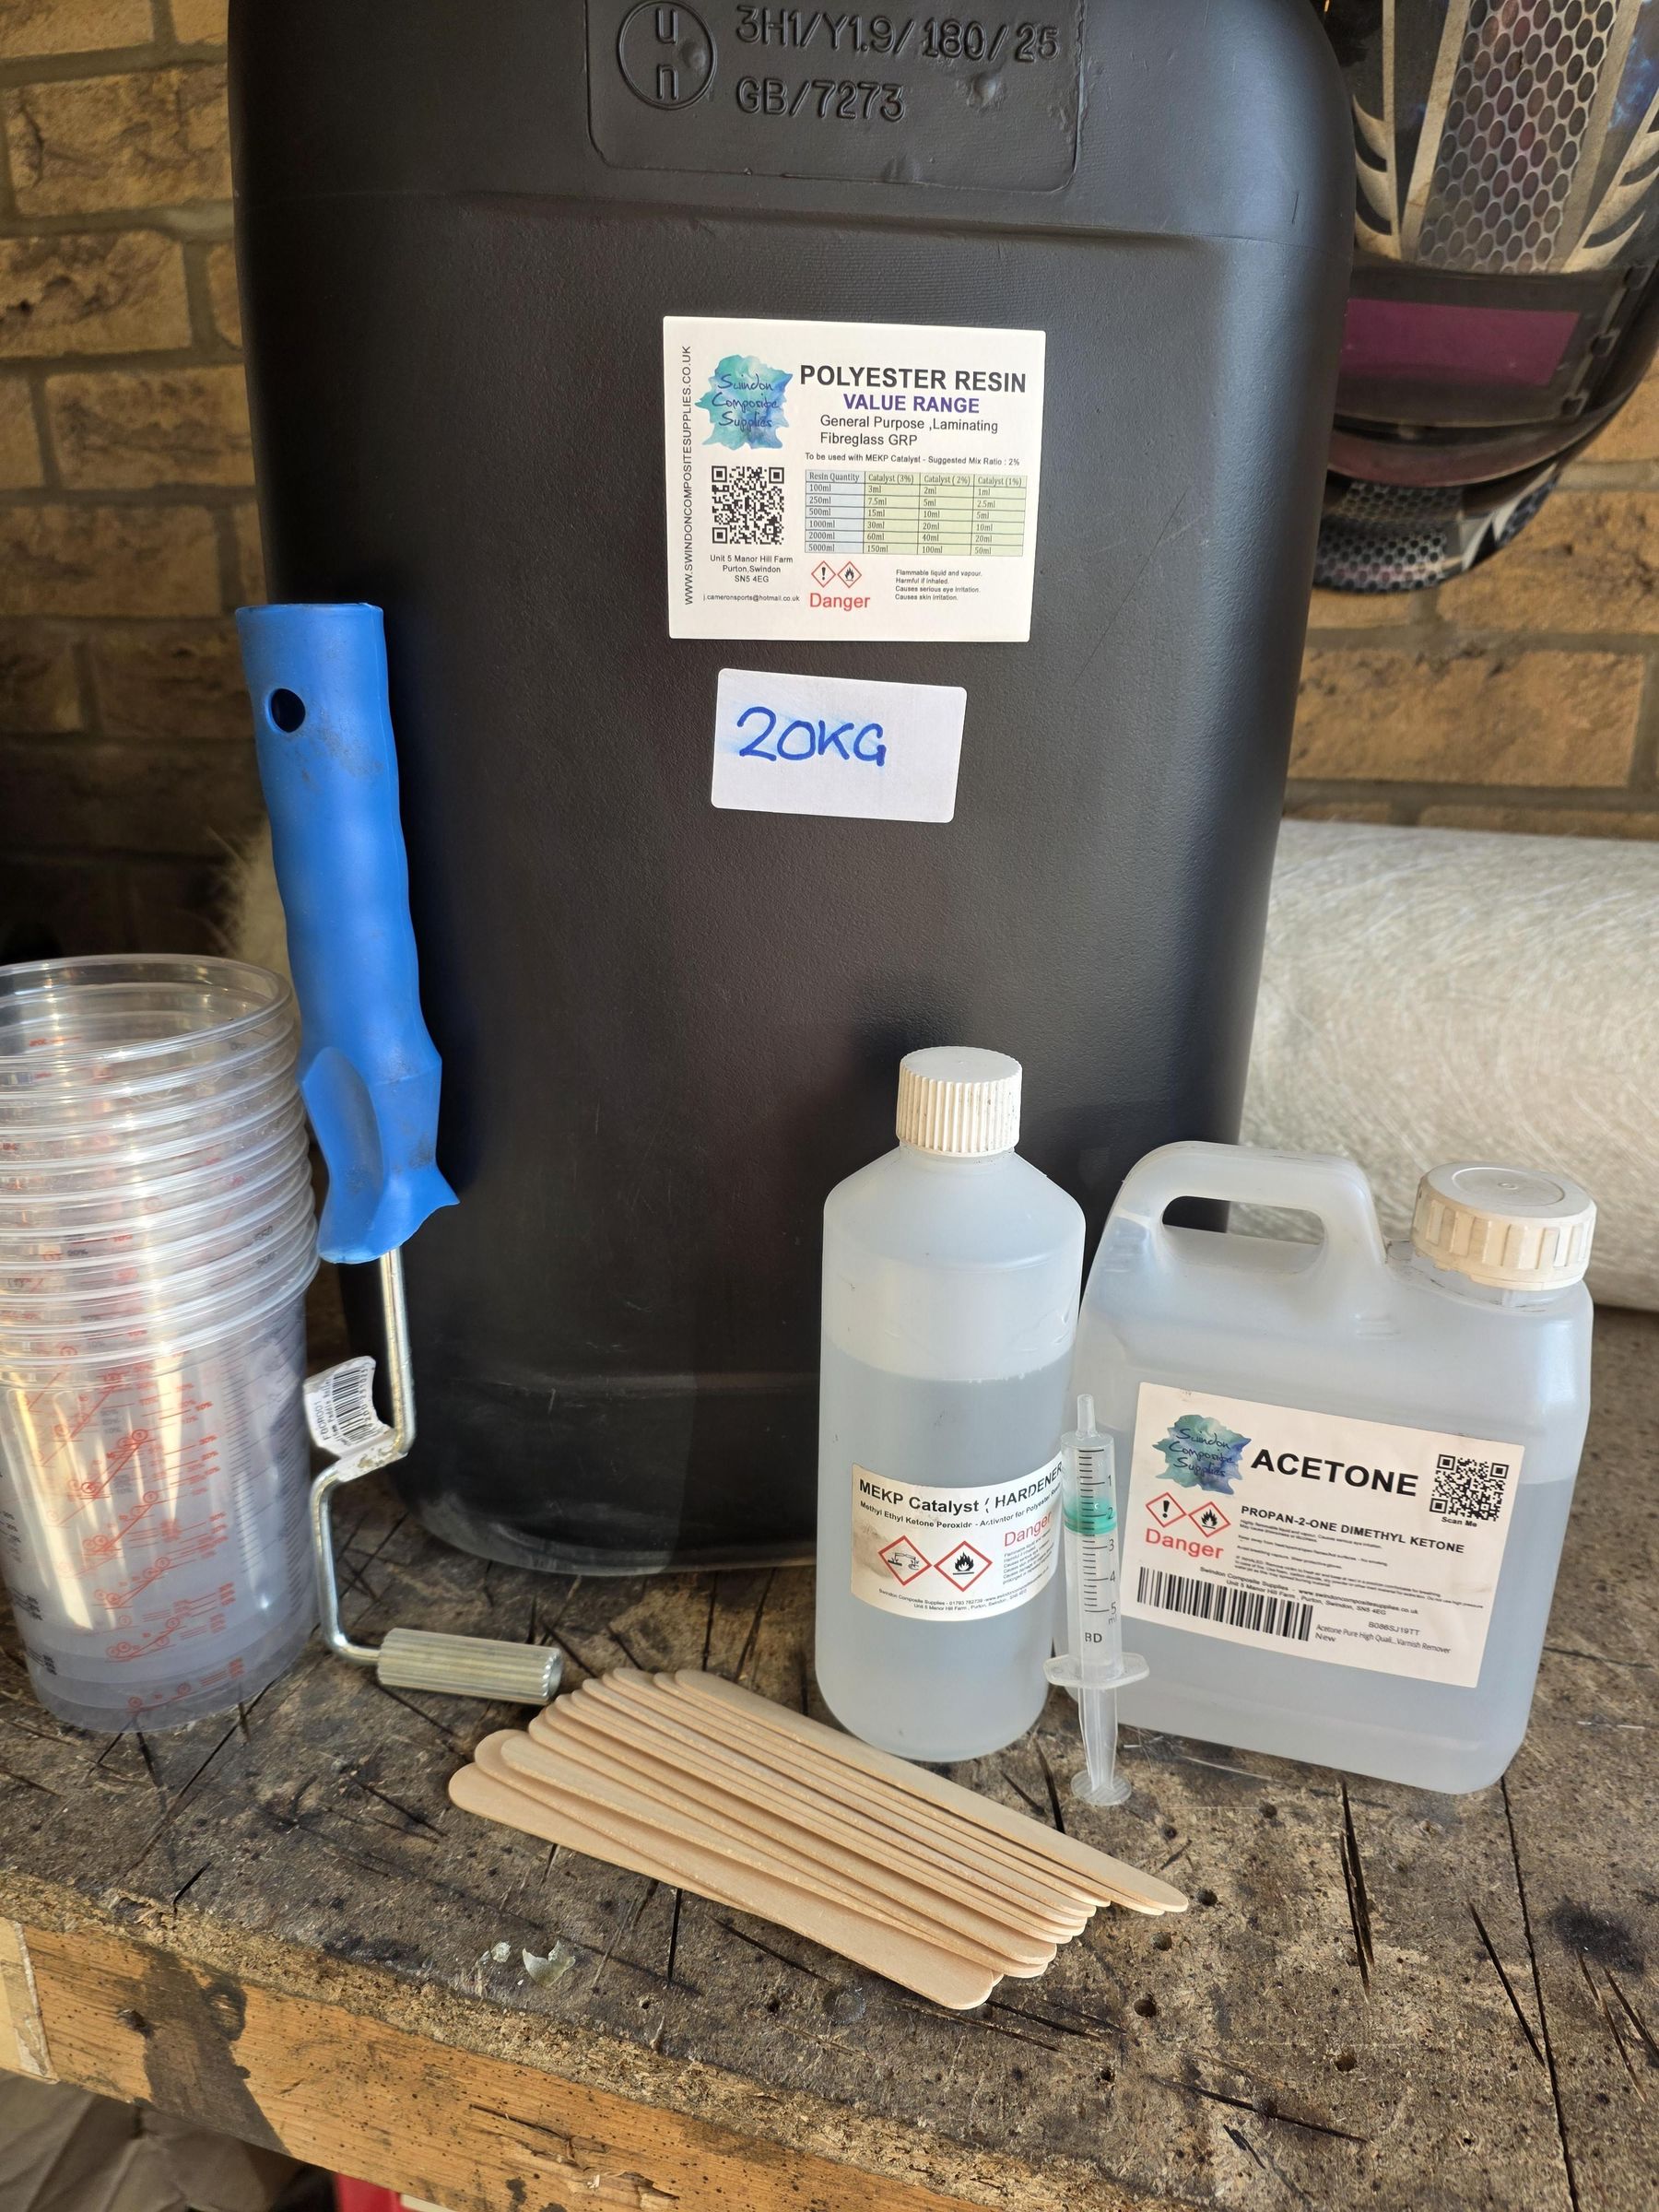

To make the seats we used a number of different tools and materials.
- 3d modelling software - Sketchup
- 3d printer and cheap soldering iron for plastic welding
- PLA Filament
- 5mm steel round bar and Welder
- Masking tape
- Fiberglass resin kit with 450gsm Matting from Swindon Composite Supplies
Creating the Base Structure.
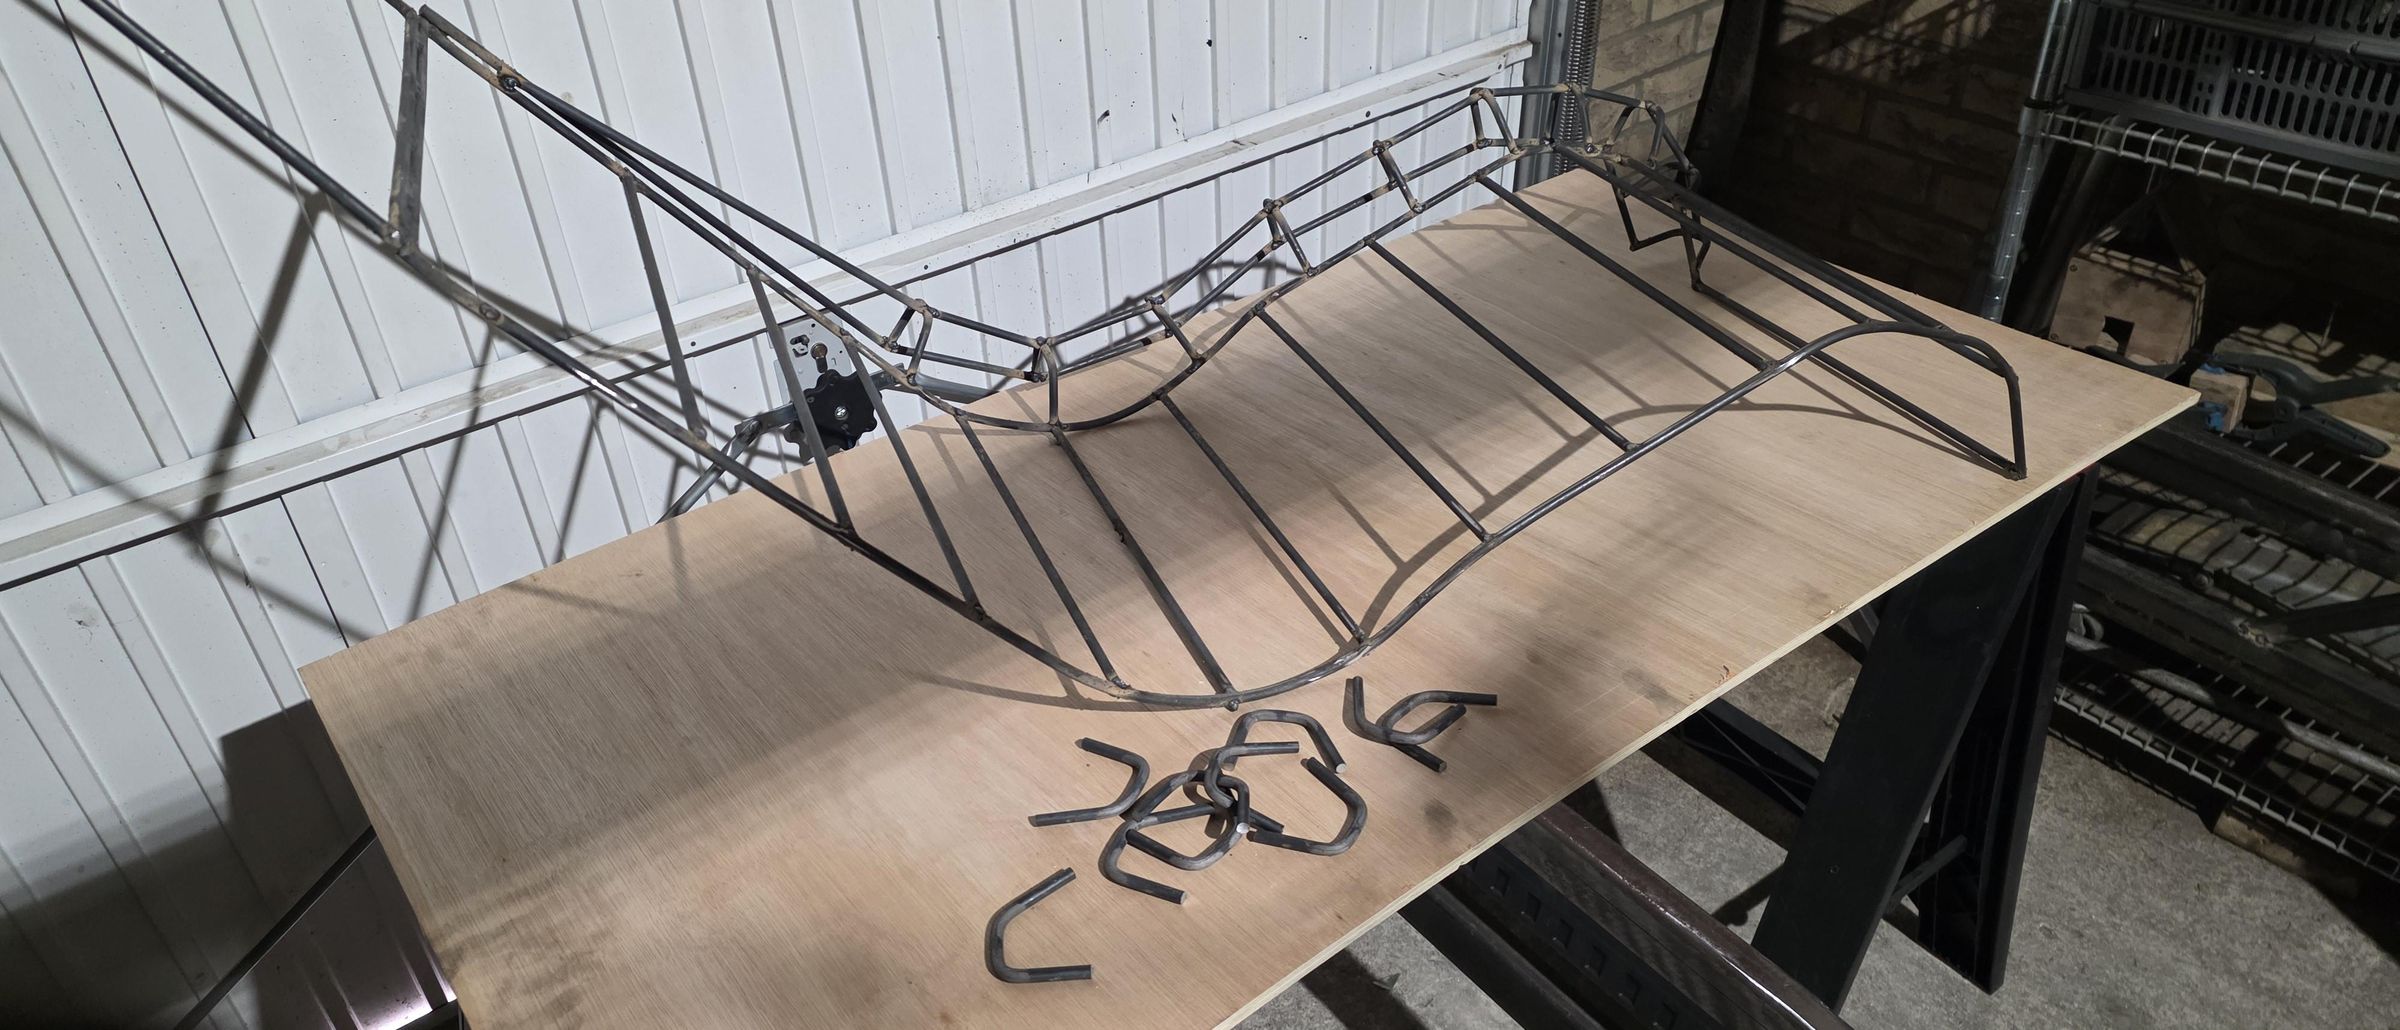
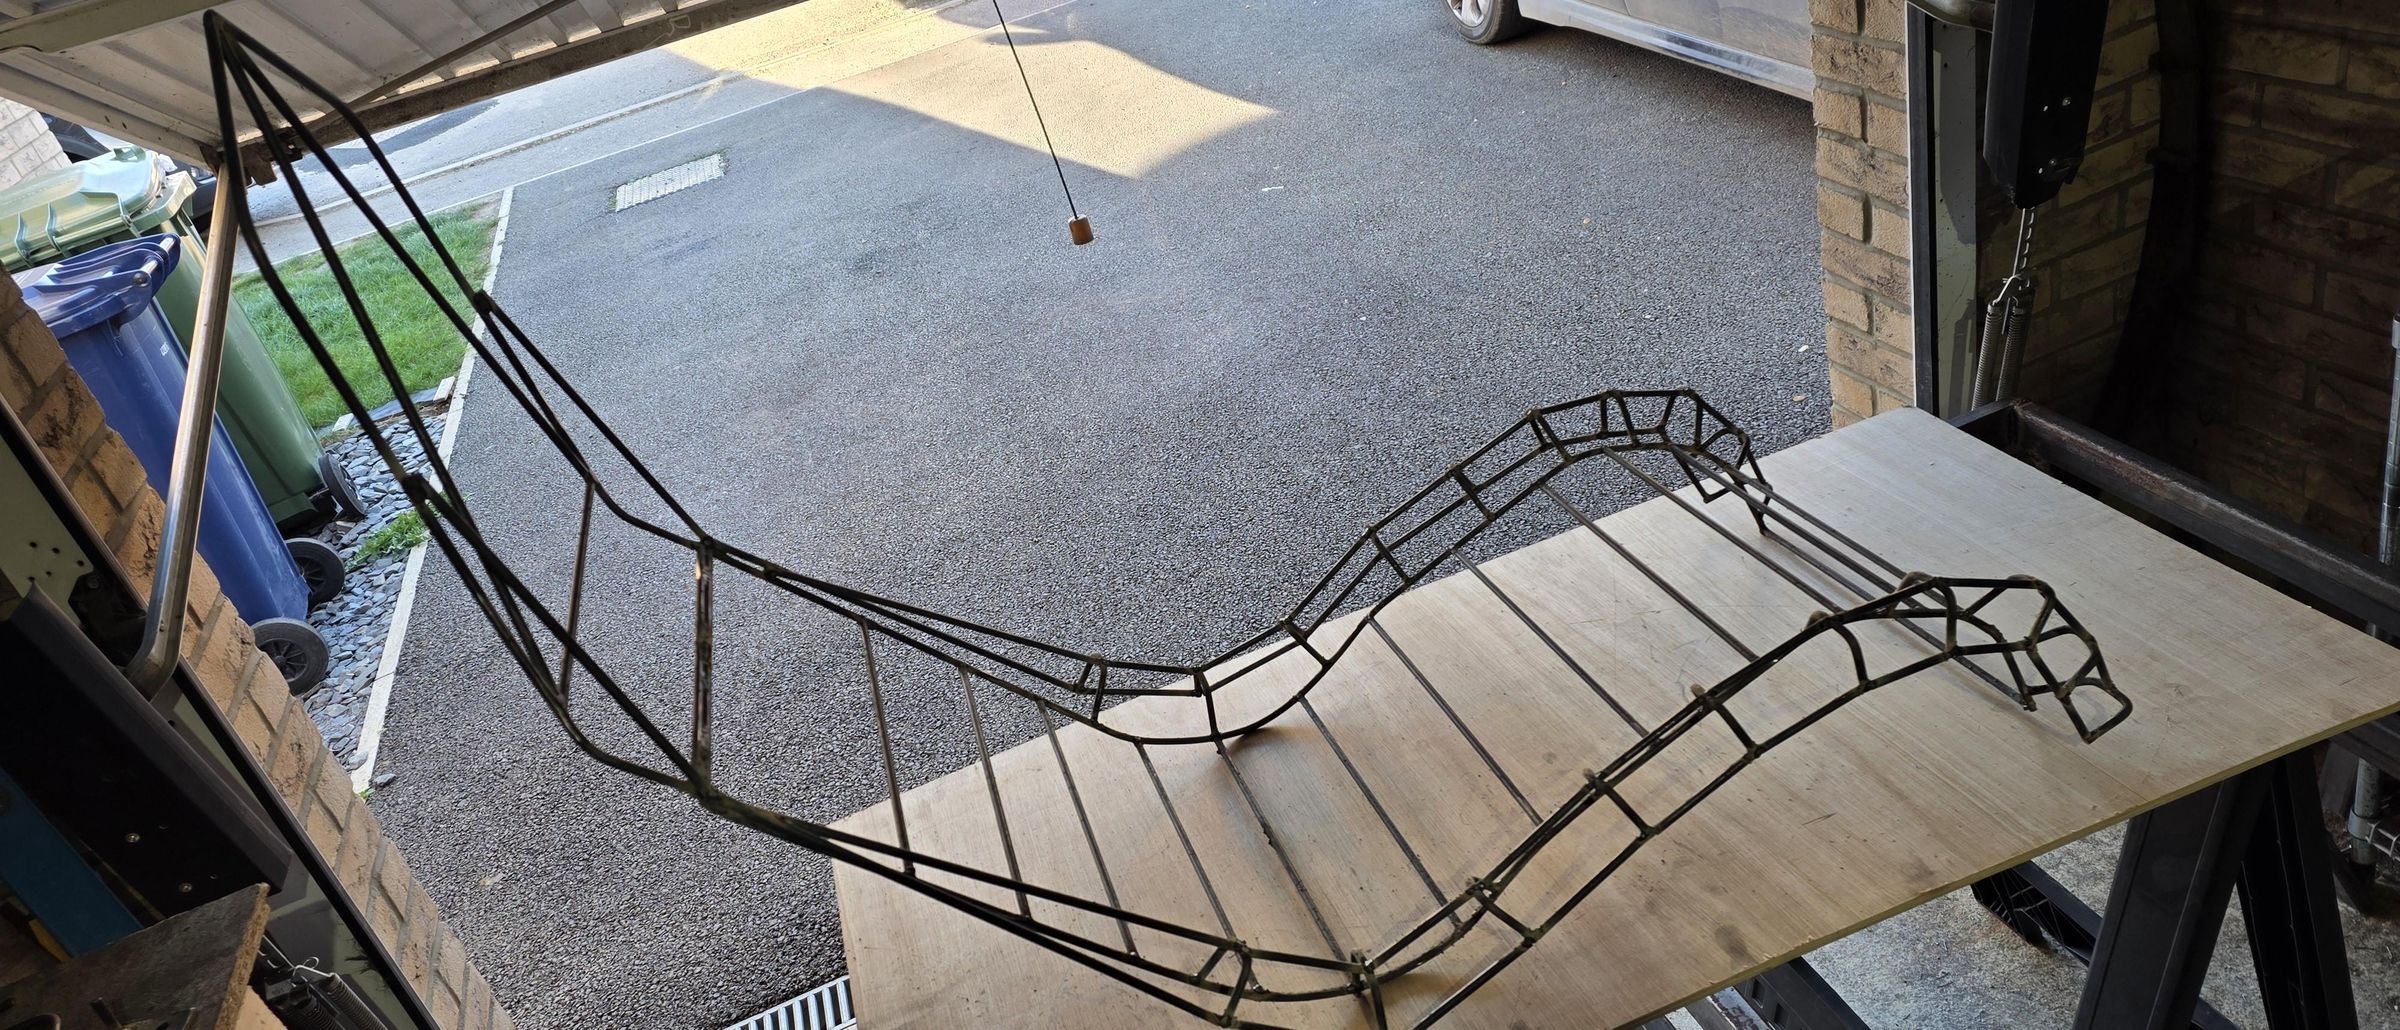
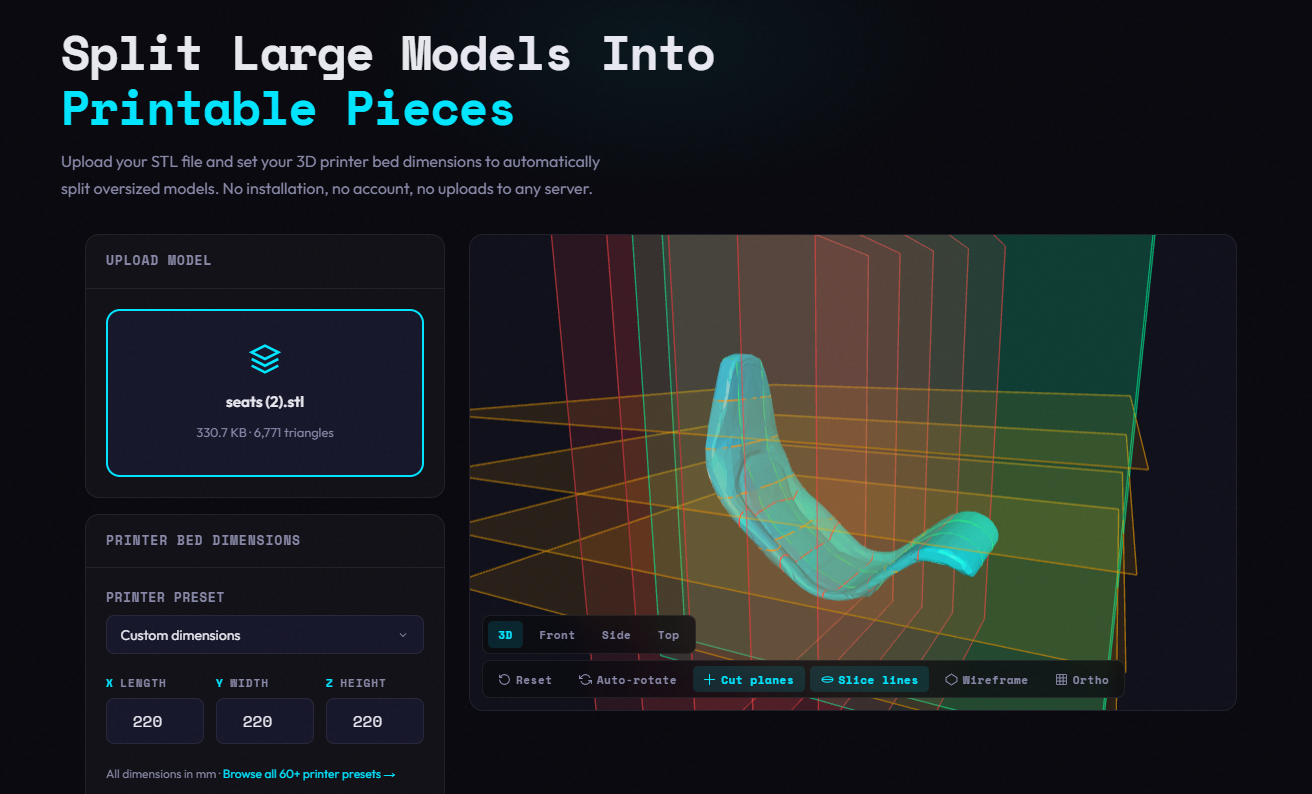
The seats for the F1 car build need to mimic the seating position of an f1 Car so I took my inspiration from an F1 Playseat. I recreated a Playseat to the dimensions I wanted in Sketchup but to get a feel for the real life size of the seat I decided to 3d print the seat.
I used STL Splitter - Free Online STL Cutter for 3D Printing to break my 3d model down into pieces that will fit into my printer. It came out at 34 individual pieces to print which I did over a couple of weeks, and the plastic welded together. Unfortunately I don't have any images of the printed seat (cant seem to find them) but I do have the STL file, so I have attached here to give an idea of what the seat looked like. Once the pieces were printed it was a case of plastic welding them together using a cheap soldering iron.
3d printing the seat was one of the best things I could have done as it gave me soo much information. The first was that I had designed it bigger than what was needed. Mainly the sides of the seats were a bit bulkier than I had anticipated and the rear of the seat came higher than I needed as well. The biggest advantage was that it gave me a structure to build the steel frame from. I used the 3d printed seat to bend and mould the steel to the right angles, curves and lengths needed to replicate the shape in steel.
One thing I will say is, tack weld when the steel is on the 3d printed version as it will melt it. I only forgot this once....or twice.
When I had the steel structure tack welded together, I moved on and did the second seat to match.
Now I had two matching seats, I put one into the chassis of the car to guage how high I needed them to sit above the frame structure that will hold them. Once I had this measurement I was able to build out the frame underneath that will have the sliders attached.
Prepping the Steel Frames for Fibreglass.
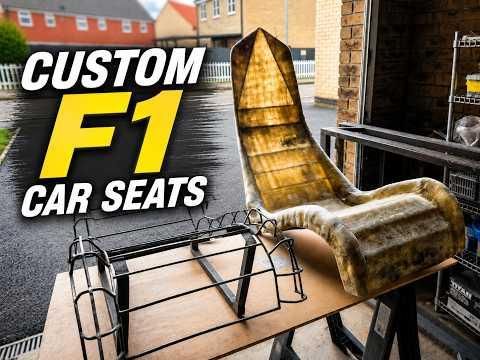
The first step to prepare the seats was to ensure I had welded all joints fully and to grind down any sharp edges. I also took this time to ensure there wasn't any warping or any weird shapes because once the Fibreglass was on its isn't possible to make any amends to the main structure. Fortunately I only needed to reposition a couple of small pieces.
Now if I were to simply start laying Fibreglass over the seats as they currently are it would not end well. I need something that the Fiberglass can lay over, something that bridges the gap between the steel. I decided to use masking/painters tape as its a cheap material and holds its strength well.
The next step was to cover both seats in the tape
Adding the Fibreglass

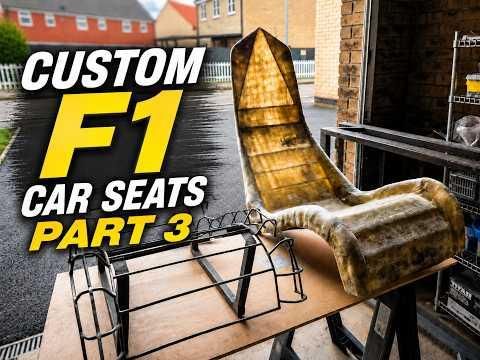
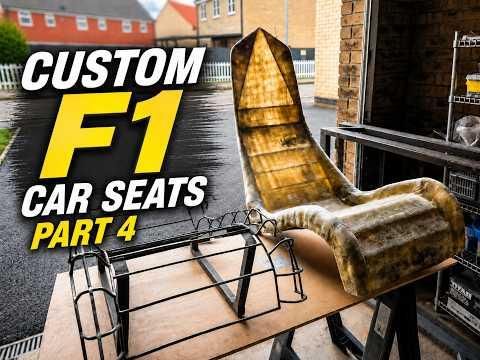
For the Fibreglass I could have gone with a number of different options. I wont list them all here but there are many different types of resin, thickness of matting, types of matting, etc, but what I chose was a standard Polyurethane resin with a 450gsm Fibreglass matting from Swindon Composite Supplies. Website. The kit came with everything you need to do most fibreglass projects. Huge thank you to Swindon Composite Supplies for the help with this stage of the project.
There is a lot covered in the videos on this stage but to cover a few points:
- ALWAYS USE PPE (safety first)
- Its a good idea to paint resin on the surface before laying the glass down.
- Ensure you saturate the glass with the resin to ensure there are no weak spots.
- Overlap each piece of glass by around an inch to get a strong connection.
- Mix only what you think you will need to save wasting any.
- Look out for bubbles.
Finishing the Fibreglass
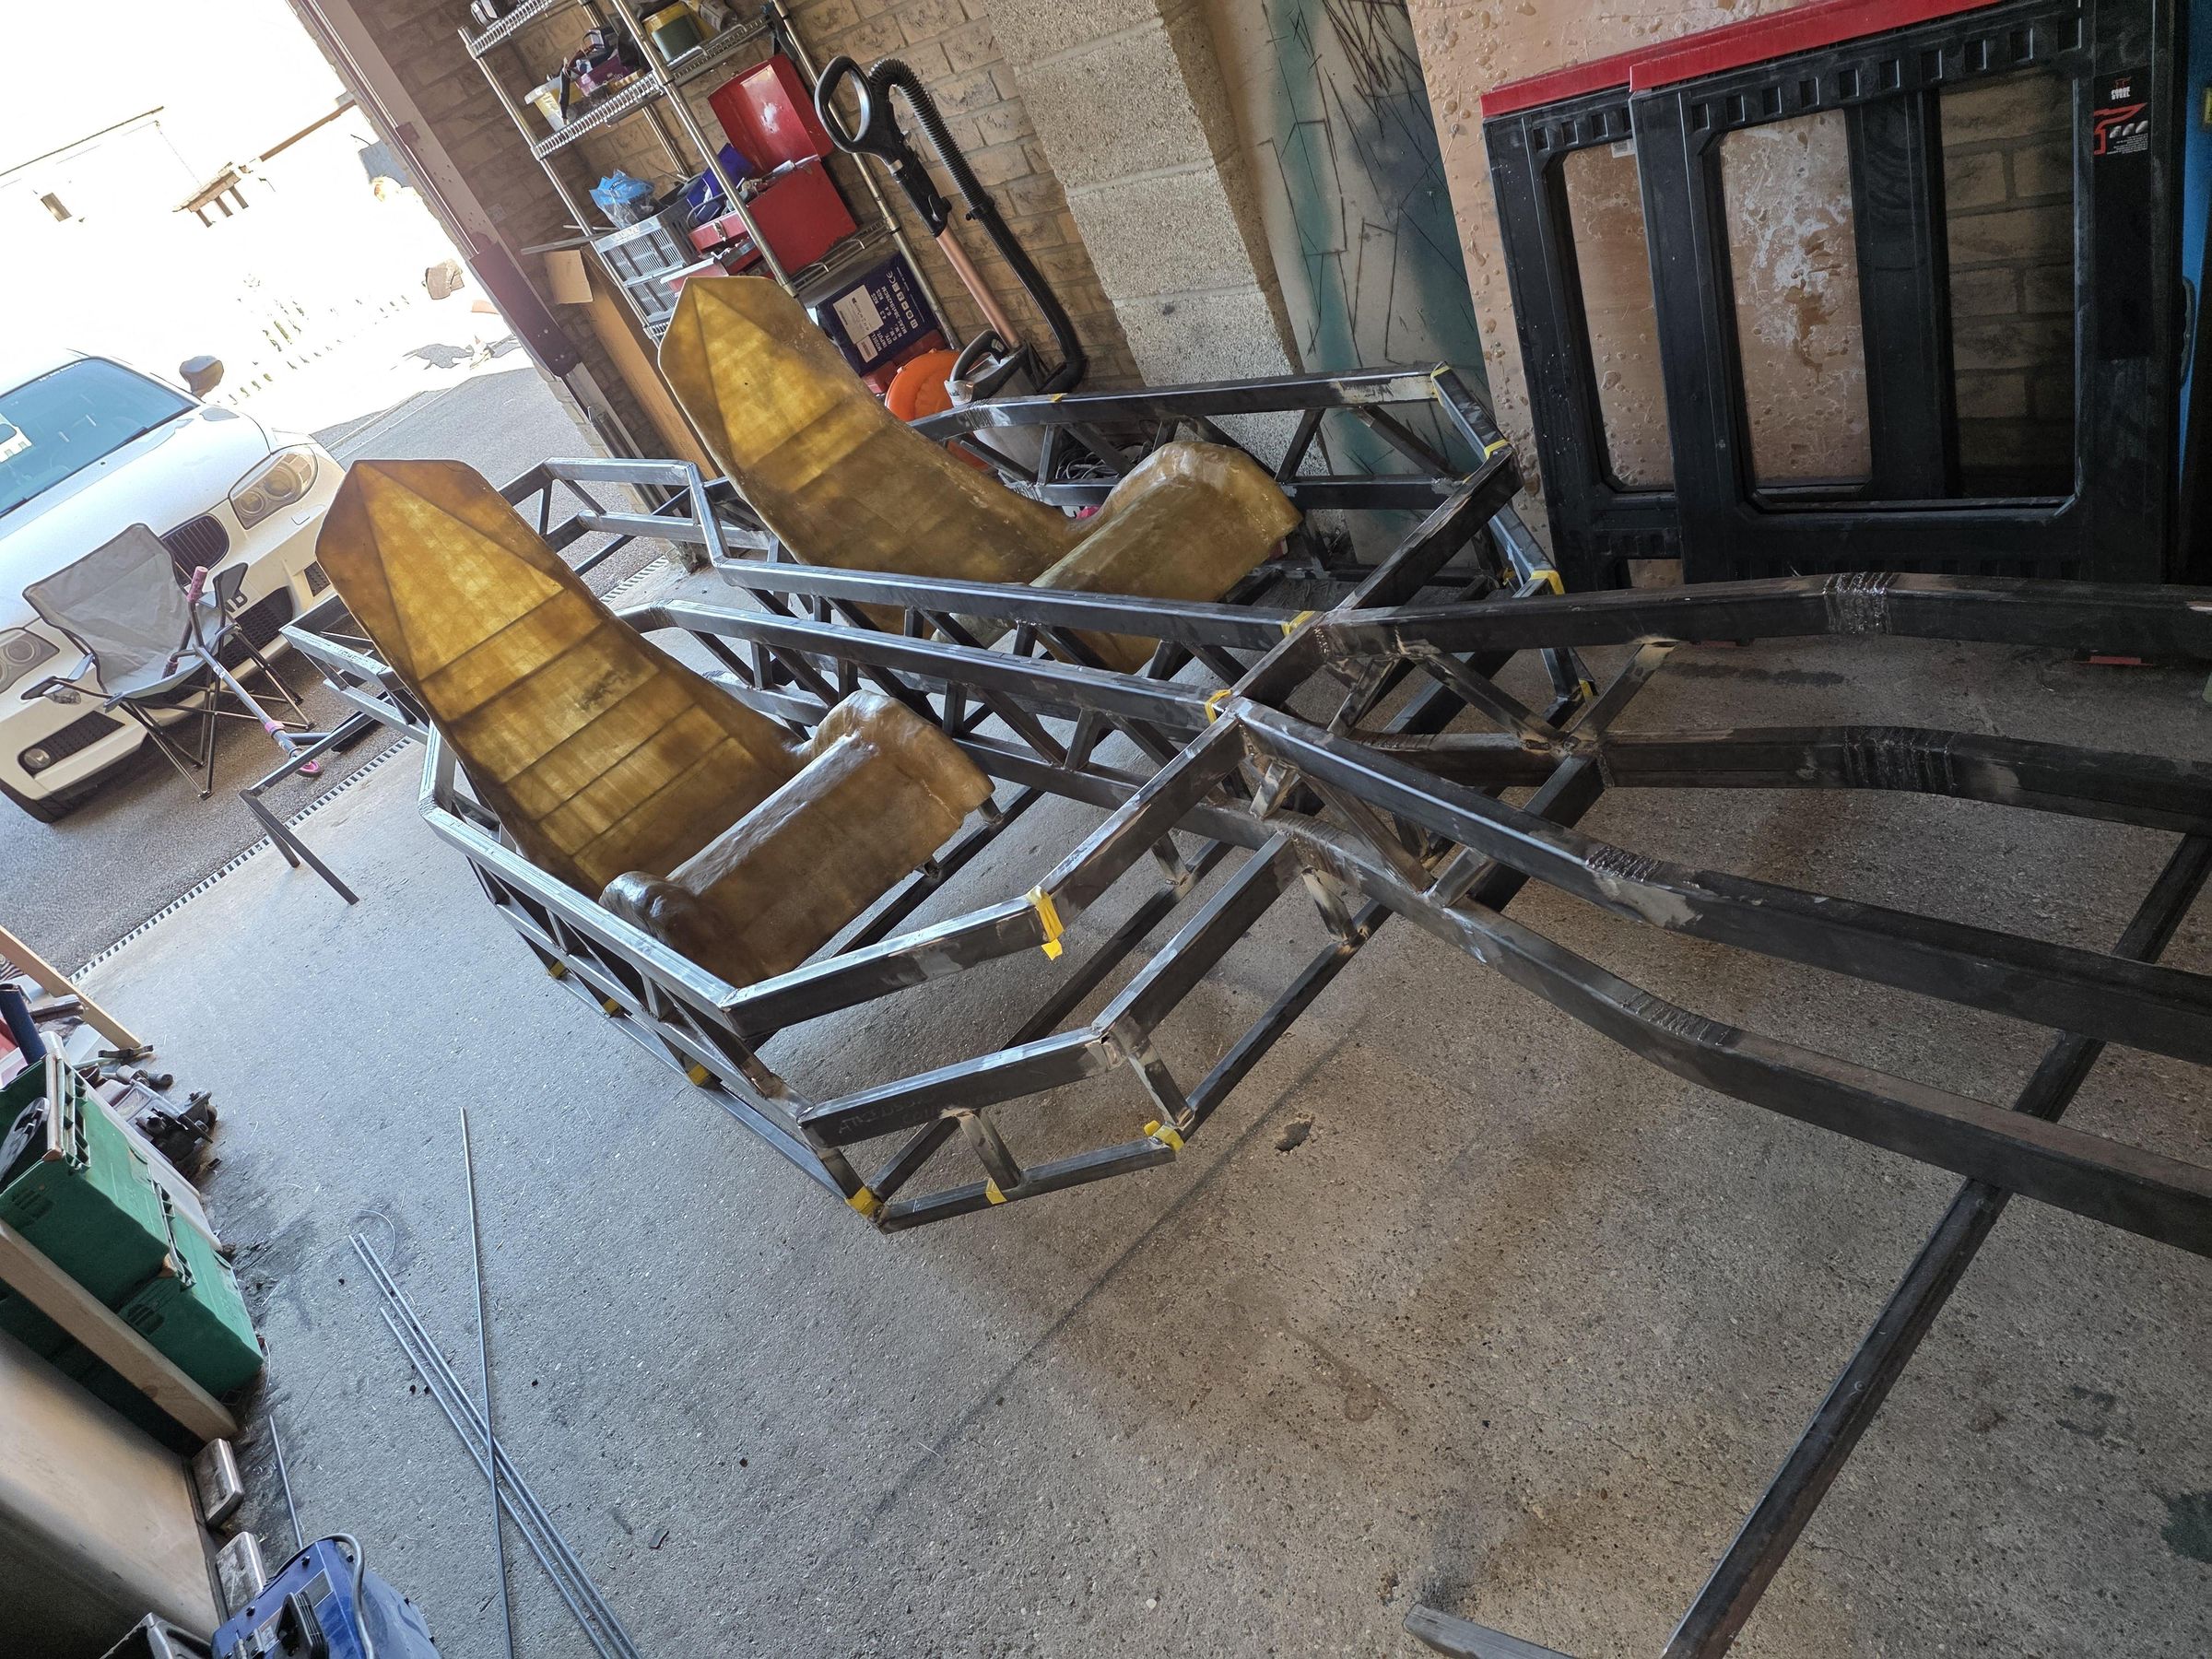
Now that the seats have been fully covered in the Fibreglass, its time to finish them off. There is something called a gel coat that can be used and what this does is provides the part with a smooth glossy finish at the same time as hiding small imperfections. I don't need this for the seats as they will eventually be covered in foam and fabric before being mounted into the car. The Gel Coat can also be found at Swindon Composite Supplies.
Before anything else is done to the seats, such as covering, they need to be sanded. Unfortunately I wasn't able to capture the sanding process on video however, I used a number of different sanding blocks that ranged from 80grit up to 220grit. For super rough parts I used and angle grinder with a well used sanding disc and light passes. This probably isn't recommended but I found it super easy to control and it works great.
The seats are now completed to the point I need them and are temporarily tacked into the chassis to use for a placement reference for the gear selector, pedals etc.
Thank you for reading and watching. Any comments or questions please add them, Im happy to answer any.