Making a 2.5D Motion Parallax Picture
by MikB in Design > Digital Graphics
3924 Views, 7 Favorites, 0 Comments
Making a 2.5D Motion Parallax Picture

This instructable is to show the steps for using GIMP and Blender to make a simple 2.5D motion parallax picture.
Decompose Flat Image
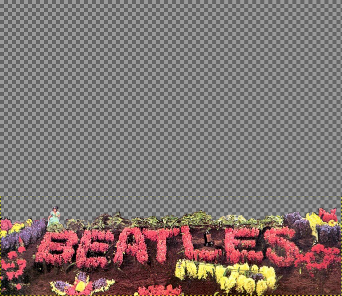

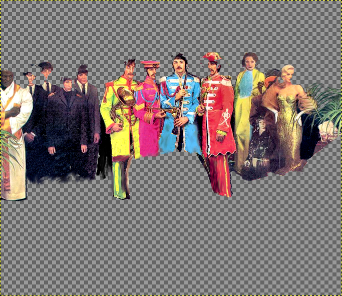
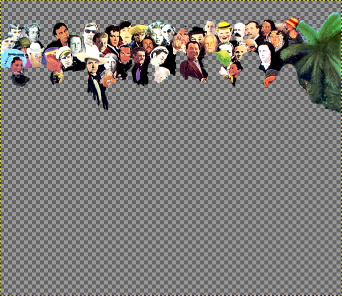
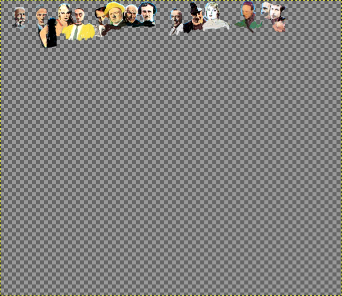
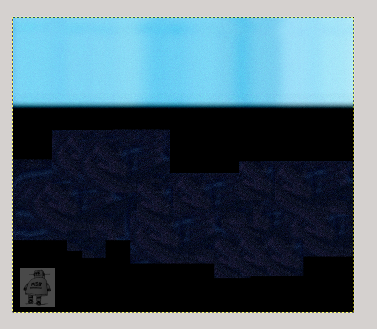
For this project, I used the Sgt Pepper cover artwork (but modified as part of a graphical in-joke for elsewhere) loaded into GIMP, and created 6 copies on their own layers.
- Layer 1: Flowerbed on ground
- Layer 2: Low-standing items behind flowers, drum
- Layer 3: Front Row people
- Layer 4: Mid Rows of people
- Layer 5: Back Row people
- Layer 6: Blue/Back backdrop
Each layer will become transparent above the wanted items (as shown above), and later filled in solid/black below.
You can use automated cut-around tools(intelligent scissors), or do this manually in close zoom!
Cut away everything that doesn't belong on that layer, leaving transparent holes elsewhere
Add Cartoon/avatars
For the particular picture project I was working on, I imported many avatars, each onto its own mini-layer. These are PNG and JPG small images, all around the same scale of 150 pixels square.
Each avatar needed one or more of :- background removal (erase), scaling to correct size, perspective transformation (to "lean" them at 3/4 view) and rotation (to match original poses)
Composite the Avatars
In each case, I tried to closely match each avatar with an appropriate face on the original cover, given gender, facial expressions, hair, hats, poses etc.
Place each head in approximate position, fine tune, and then start sticking them down (merge down/flatten) onto the appropriate layers 1-5.
At the end of this step, all the mini-layers should have been composited, back to a 6 layer image.
Manual Touch-up

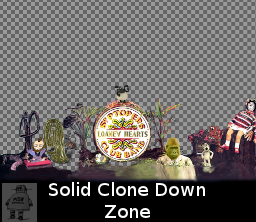

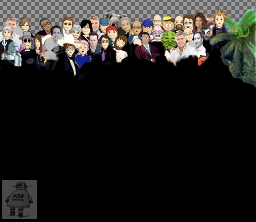


Now to blend in and correct all the hard edges, as the avatars all just stop suddenly at shoulder height! Even without this limitation, you will still need to clone/draw downward details that may appear "between" the layers in front.
Don't go too mad, it's just to hide any obvious problems from missing elements caused by obstructions in the layers. The deeper the motion parallax the more you will have to do here.
The Motion Parallax Step
Now we have the components for the good bit.
Motion-parallax images are flat, still pictures that appear to have movement and depth to them.
Although GIMP maintains the six layers as separate items, they are absolutely FLAT, with no depth.
Let's fake some depth!
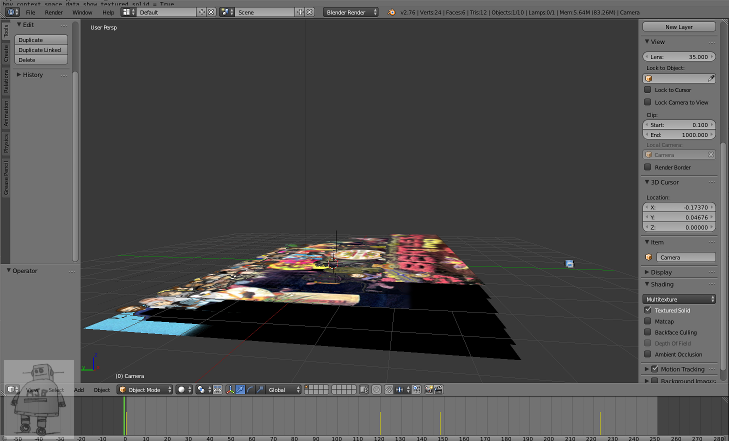
I exported the 6 individual layers from GIMP, as PNGs with transparency, and fired up Blender 3D.
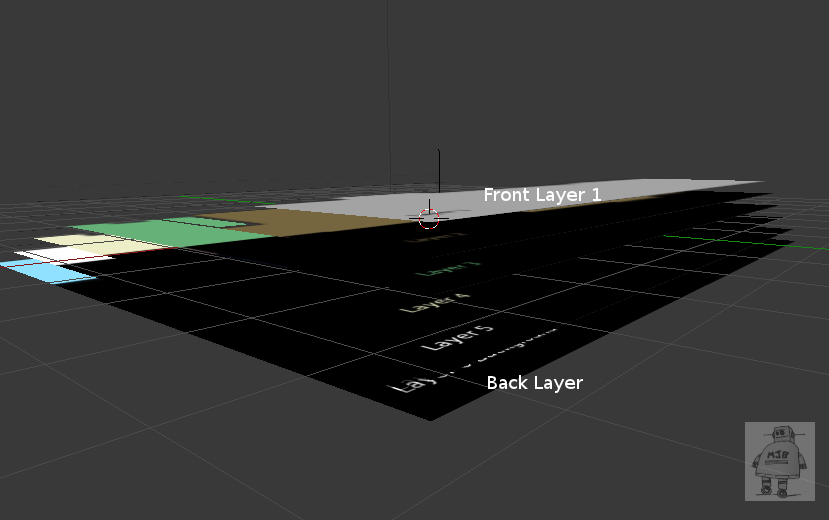
The layers can be imported and stacked in Blender, using the "Import image as planes" add on. You may need to enable this plugin, the first time you use it. It saves a lot of manual setup steps, especially for simple rectangular images.
When importing the images, select "use transparency" otherwise the 6 layers will all be entirely square and appear black right to the top, spoiling the depth-effect.
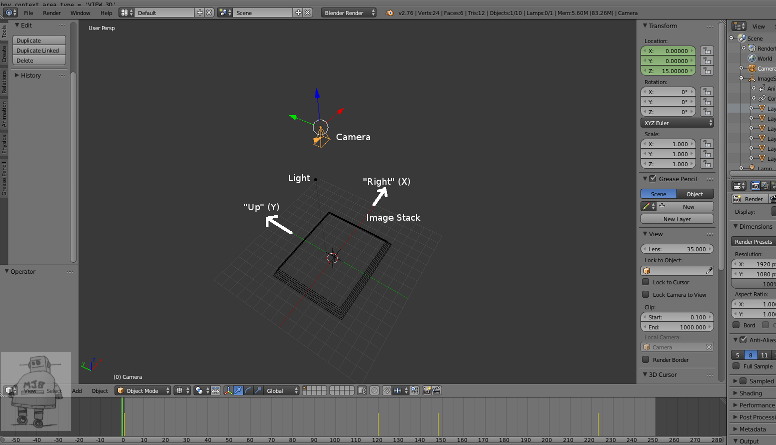
These planes are then spaced a little apart, along the Z axis. Each image is centred at the origin. The furthest layer is the blue backdrop, with the flowerbed nearest in the stack.
The camera is looking straight down the Z axis at the origin, at the centre of the picture (like a rostrum camera).
The layers furthest away will look slightly smaller. I scaled them up a little, in Blender, to make them a more consistent size from the render camera's point of view. This was judged by eye, comparing the outline of the layer's extent to its neighbours.
If you now wobble the Blender camera side to side, by rotating around the origin (or in my case, the stack of images by rotating along the Y axis ... which is "up" on the screen), you get a 2.5D effect, showing the fake depth introduced between the layers.
If you didn't do enough cloning on the "back" layers, now is the time you'll discover it, looking "around" the image, you will see pieces of faulty background showing through.
If this happens, re-edit them in GIMP, and refresh Blender to pick up the new pictures.
The deeper the space between layers, and the more you angle the picture, the more faults you will see.
Render

With some simple animation key-frames added for the image stack's rotation (+/- 5-10 degree swing either side of 0), you can create a video loop showing the effect.
The .blend file attached below will look for files called Layer01.png through Layer06.png, which were originally 2048 x 1774 PNGs for this project, and it includes the simple animation of the image stack.
I've included 6 template files in their place, as a .ZIP file, which should go in the same directory as the .blend file.
Have fun with this!