Making a Chess Pawn on the Haas Desktop Lathe
by matterbach in Teachers > 9
1149 Views, 4 Favorites, 0 Comments
Making a Chess Pawn on the Haas Desktop Lathe


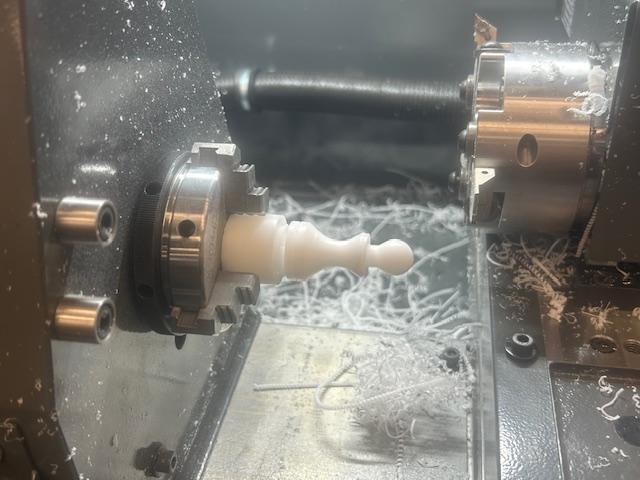

This will serve as a tutorial on how to get a part up and running in the Haas Desktop Lathe. While this is a wonderful new piece of equipment presently rescources for using it in curriculum are scarce. Consider this a vary pragmatic "get something running on the machine" tutorial. My students already designed the whole chess set where the pawn used as a file here, so we adapted it to the new desktop lathe just to provide a second spindle to run pawns on while our ST10Y handles the other pieces.
Supplies
Haas Desktop Lathe including chuck wrenches, tooling wedges, screws and other included items.
Cutting tool- 1, 55 degree 6X8MM shank OD turning tool with .005 tool nose radius inserts LINK
Parting tool- 1 2MM wide 6X8MM shank LINK
1 inch round Delrin plastic bars, cut to consistent 2-5/8" lengths; black, white or both. LINK
Autodesk Fusion software on a PC or Browser based educational version
Power Up Your Lathe
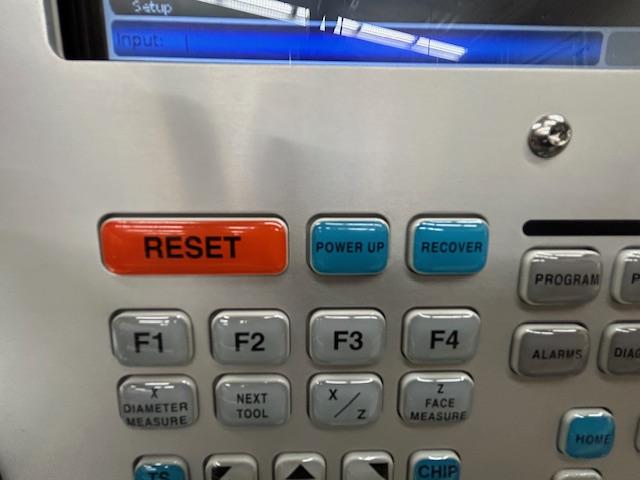
Power up and home your Desktop Lathe:
Press the green power button
Wait for complete boot up
Open the lathe's clamshell door- verify the machine is empty
Close door and press the Power up key
Wait for lathe to home itself.
Press the Cancel button to exit startup and begin setting up the machine
Load Your Tools


Set up your lathe with your 55 degree insert tool in tool turret station number 2.
Station 1 is for a drill or boring bar- so tool 2 is the first available OD tooling station available.
Place your parting tool in station 6. Station 4 I am holding in reserve in the hopes that I can find a commercially available 35 degree toolholder in with a 6X8MM shank so that we could add finer details to the pawn.
Load Your Barstock


Make sure the machine is homed like in step 1.
Place 1 of the two pin wrenches in the back of the chuck, and between the two protruding pins on the headstock to hold the spindle in place.
Place the other pin wrench in the hole on the front of hte chuck and turn clockwise to loosen and counter-clockwise to tighten
Load a 1" diameter delrin round into the chuck with the back of the bar pressing against the back of the chuck
Tighten the chuck as much as possible with the delrin in this position.
Set Your Tool Offsets


You will need to teach the machine where your tools are located in realtionship to the delrin bar loaded in the chuck.
Home the machine as was done in step 1.
Press the MDI key and then type T2 on the keypad and hit the turret forward button- next to MDI
The turret should put tool 2 in alignment to cut.
Type 1000 on the keypad and press the Forward Key to turn the spindle on at 1000 RPM
Press the hand jog button, and then the .001 button
select the X or Z axis and begin turning the jog handle to move the cutter close to the part.
For Z adjustments, jog the tool tip until it just touches the face of the delrin bar and while it is there, press the Z face measuere key.
For X adjustments, jog the tool tip unitil it just touches the outer perimeter of the bar and while it is there, pres the X diameter measure key. you will be prompted to enter the diameter of the bar you are touching after you press this key. Type in 1.0.
After you complete the above process with your turning tool-T2, you will also need to complete the same actions with your parting tool-T6
Post Process Your File


You can skip this step if you want to- simply download the .NC file below and save it to a standard flash drive.
Open Autodesk fusion on a PC and upload the Desktop Lathe Pawn.f3d file onto it.
Clicking on the manufacture tab will provide you with all the ususal CAM toolpaths as well as a simulation of the process in the completed part.
Selecting the NC Program file titled Desktop Lathe Pawn, right clicking and selecting edit will allow you to go into the post processor file to make any necessary adjustments, though the part is good to go as written for a standard out-of-the-box Desktop Lathe.
clicking the post process button on the window will allow you to save an NC file to a flash drive for use on the desktop lathe.
Transfer Your Code to the CNC Lathe

Save your post process file onto a flash drive
Put the flash drive into the Haas Desktop Lathe
Hit the List Program Key
select the USB drive
scroll up and down using the jog wheel to find your program
hit enter
hit F2 to copy the code to the hard drive
hit the memory key to access the file on the hard drive
Run Your Lathe

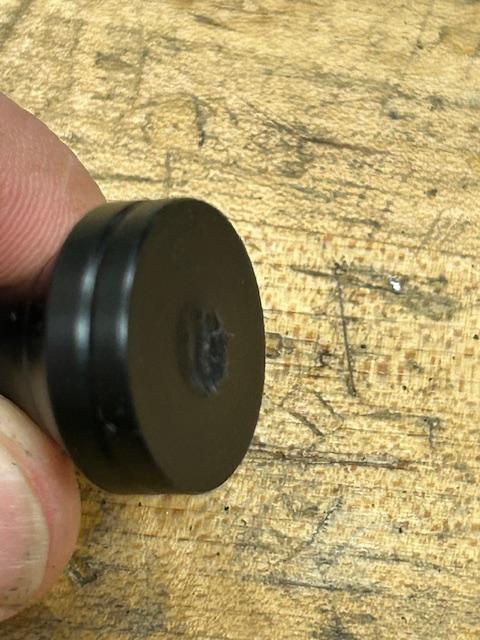
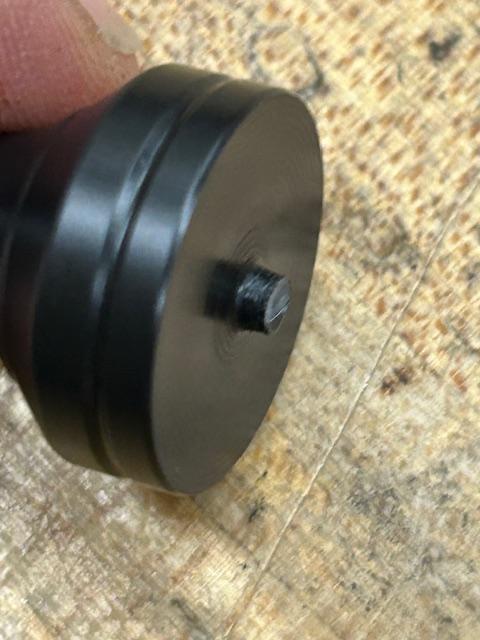
Hit the cycle start key on the lathe to run the current program.
You may need to hit the feed hold button and the stop button to pause the machine and turn off the spindle to clear chips off of the part.
Once the part finishes its cycle, open the clamshell lid and snap the part off of its scrap material.
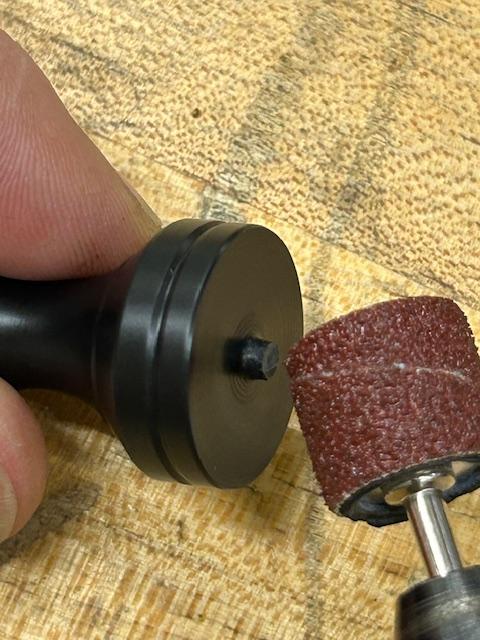
You will need to remove the extra stub on the part bottom with a dremel tool.