Making a Macrame Orange Slice Crossbody Bag
by eliscety in Craft > Fiber Arts
195 Views, 1 Favorites, 0 Comments
Making a Macrame Orange Slice Crossbody Bag
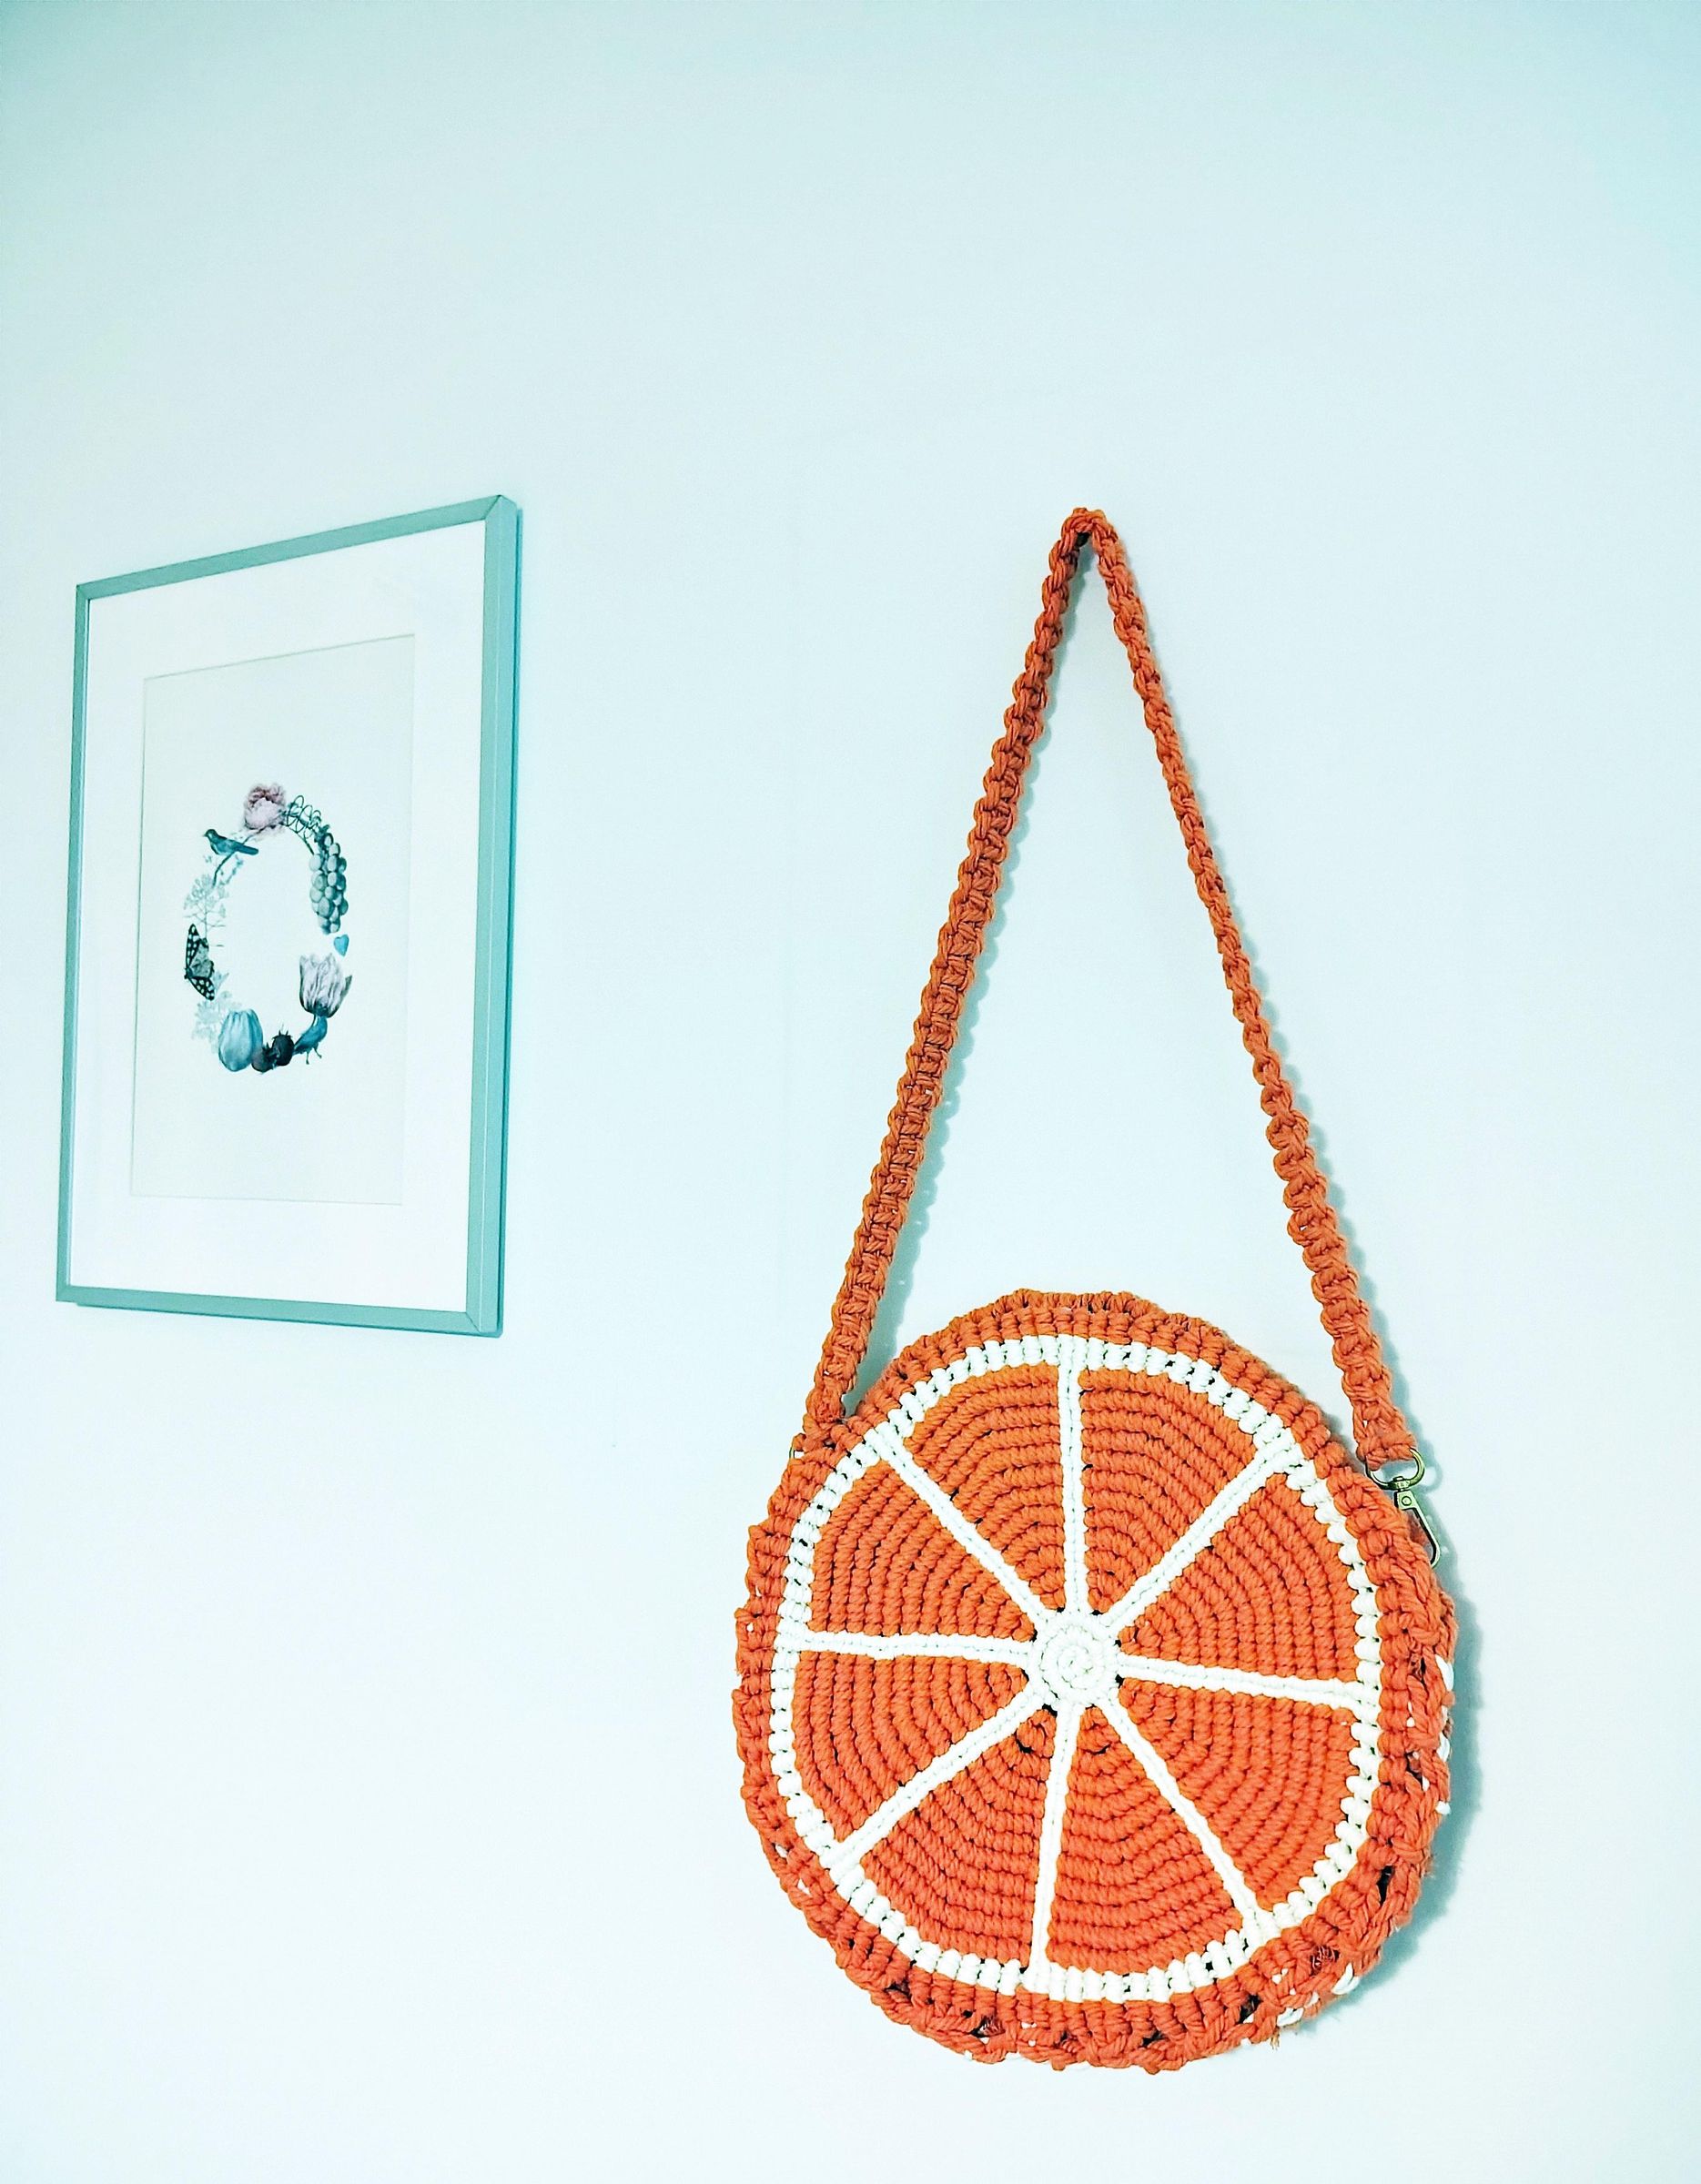
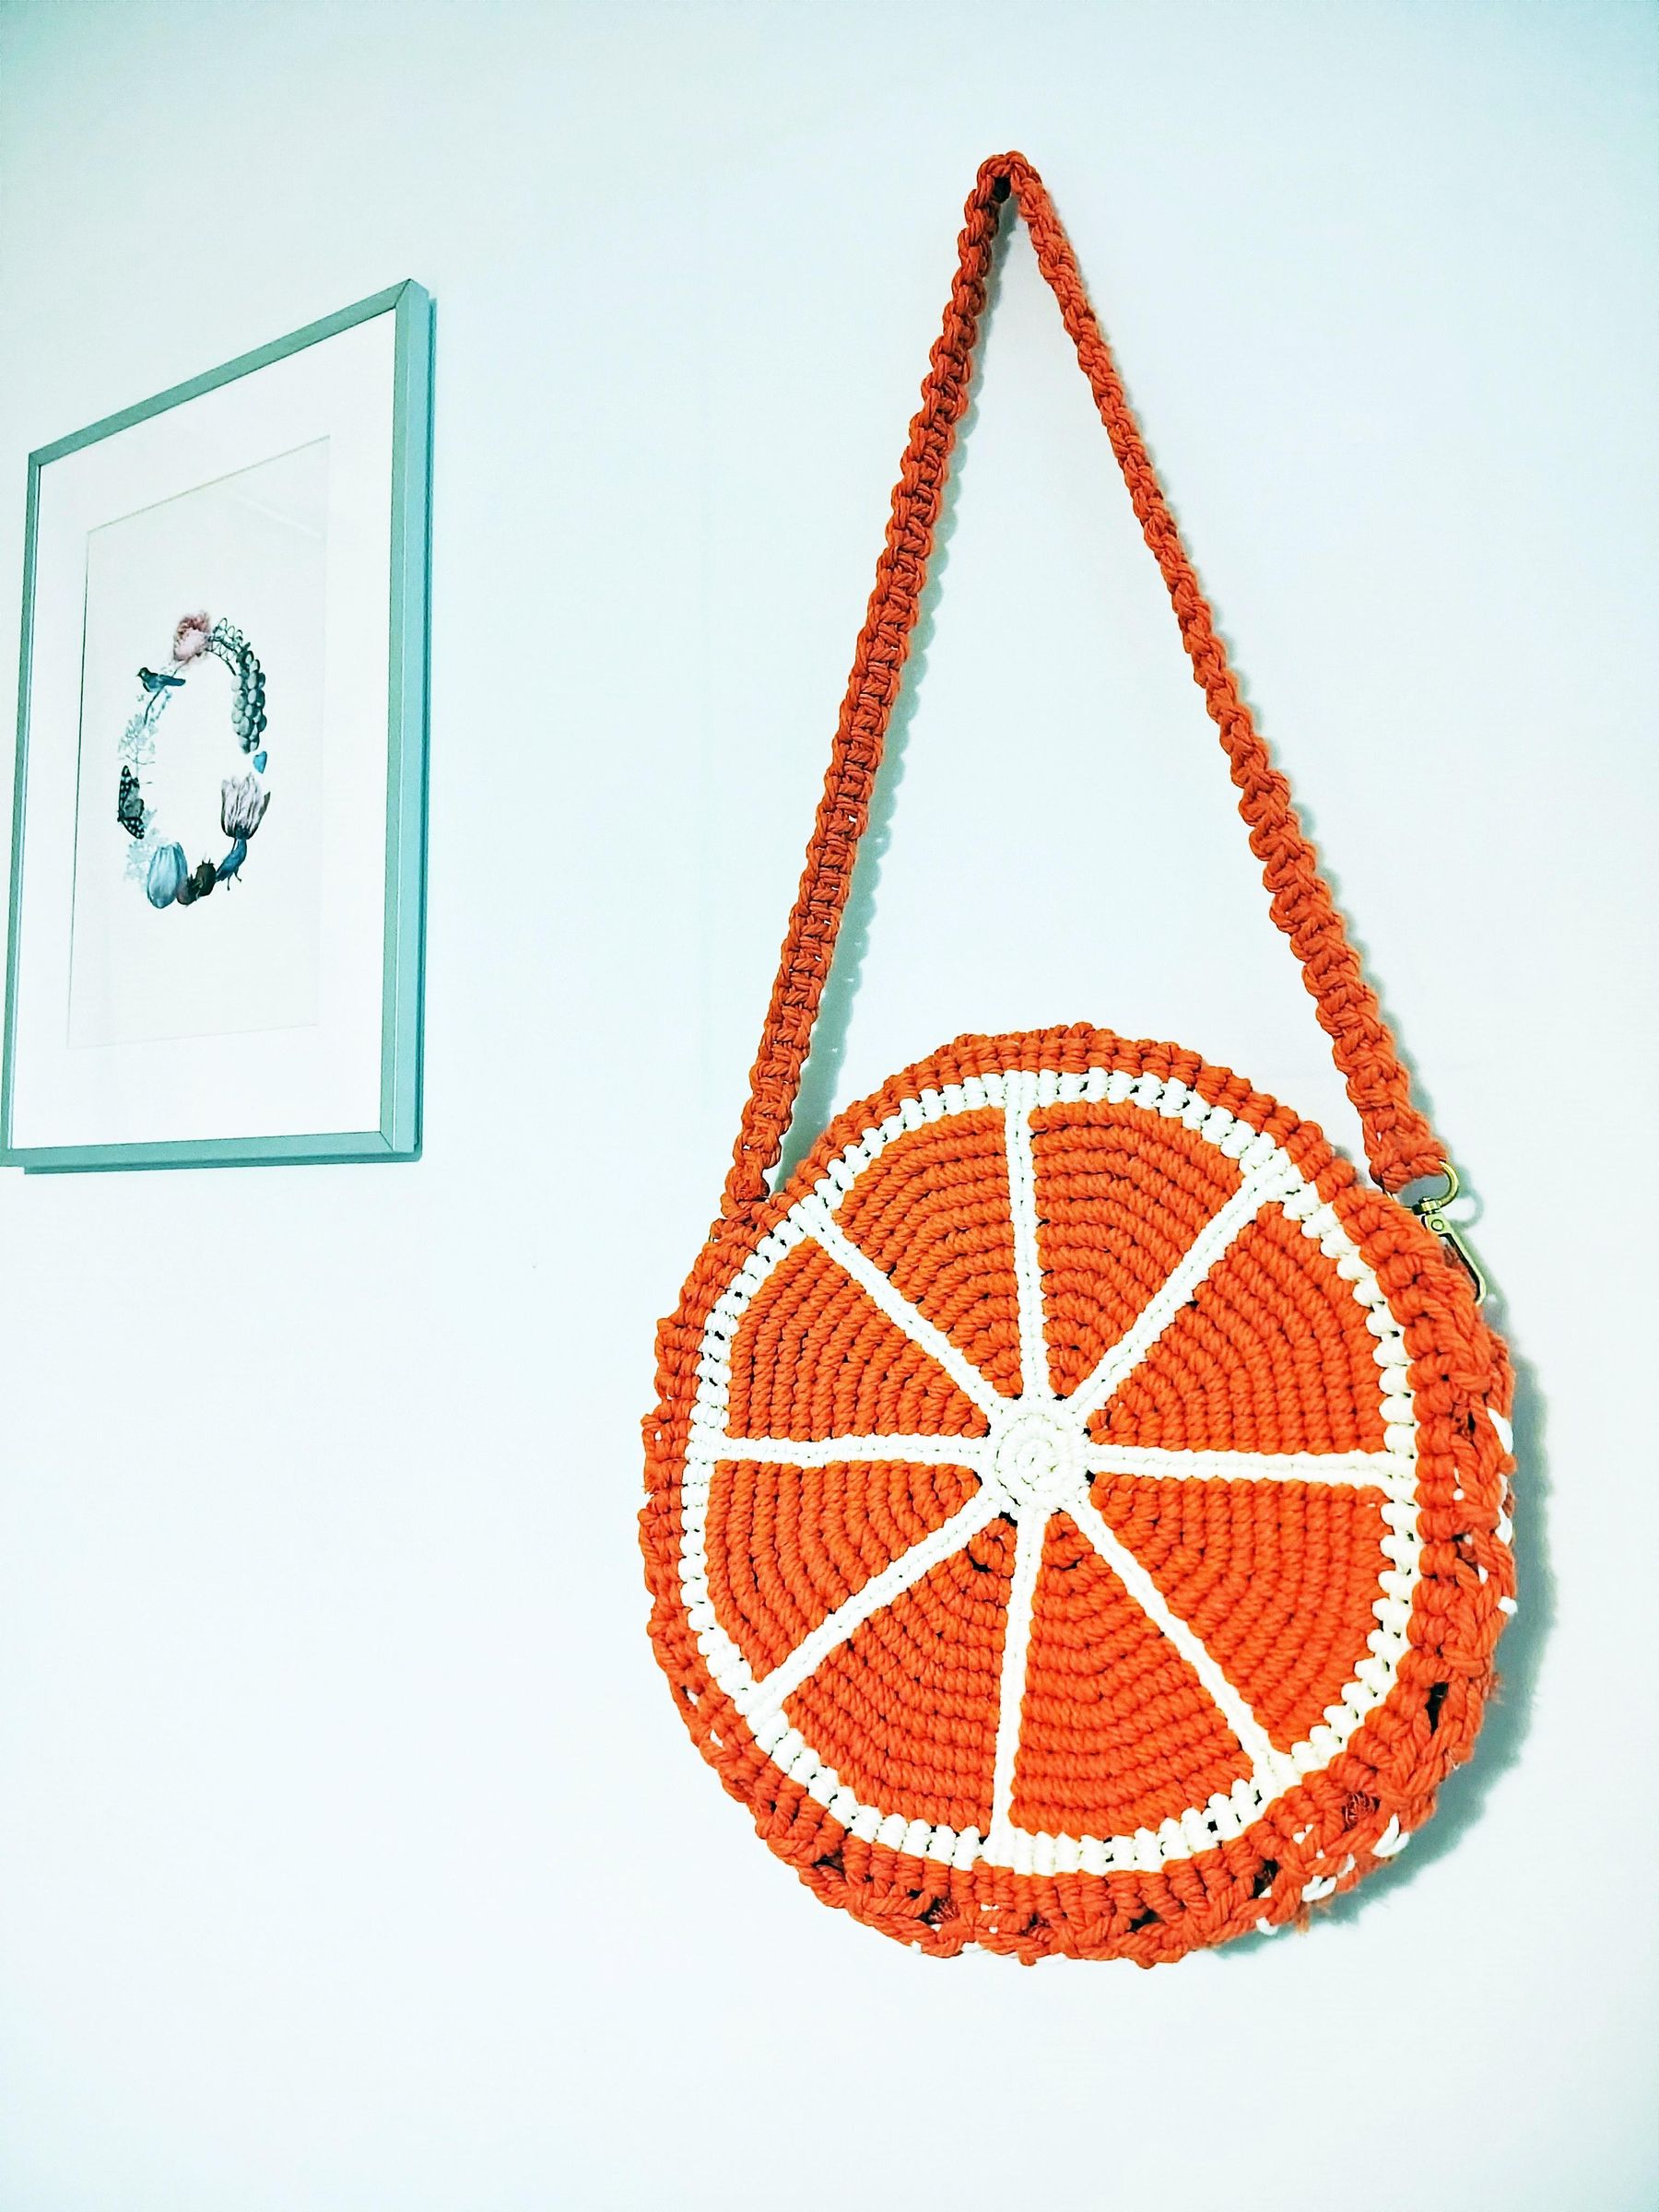
Summer is here, and I wanted to create a unique accessory that would elevate any outfit.
As an avid crafter and macramé lover, I knew I had to make a bag — but not just any bag!
I wanted something playful, eye-catching, and perfect for sunny days, so I designed this citrus-inspired orange slice macrame crossbody bag.
The bag itself is relatively simple to make and it consists of three parts - the front orange slice, the back plain orange piece and the strap. Everything is made by using different macrame knots and techniques.
Let's get started!
Supplies
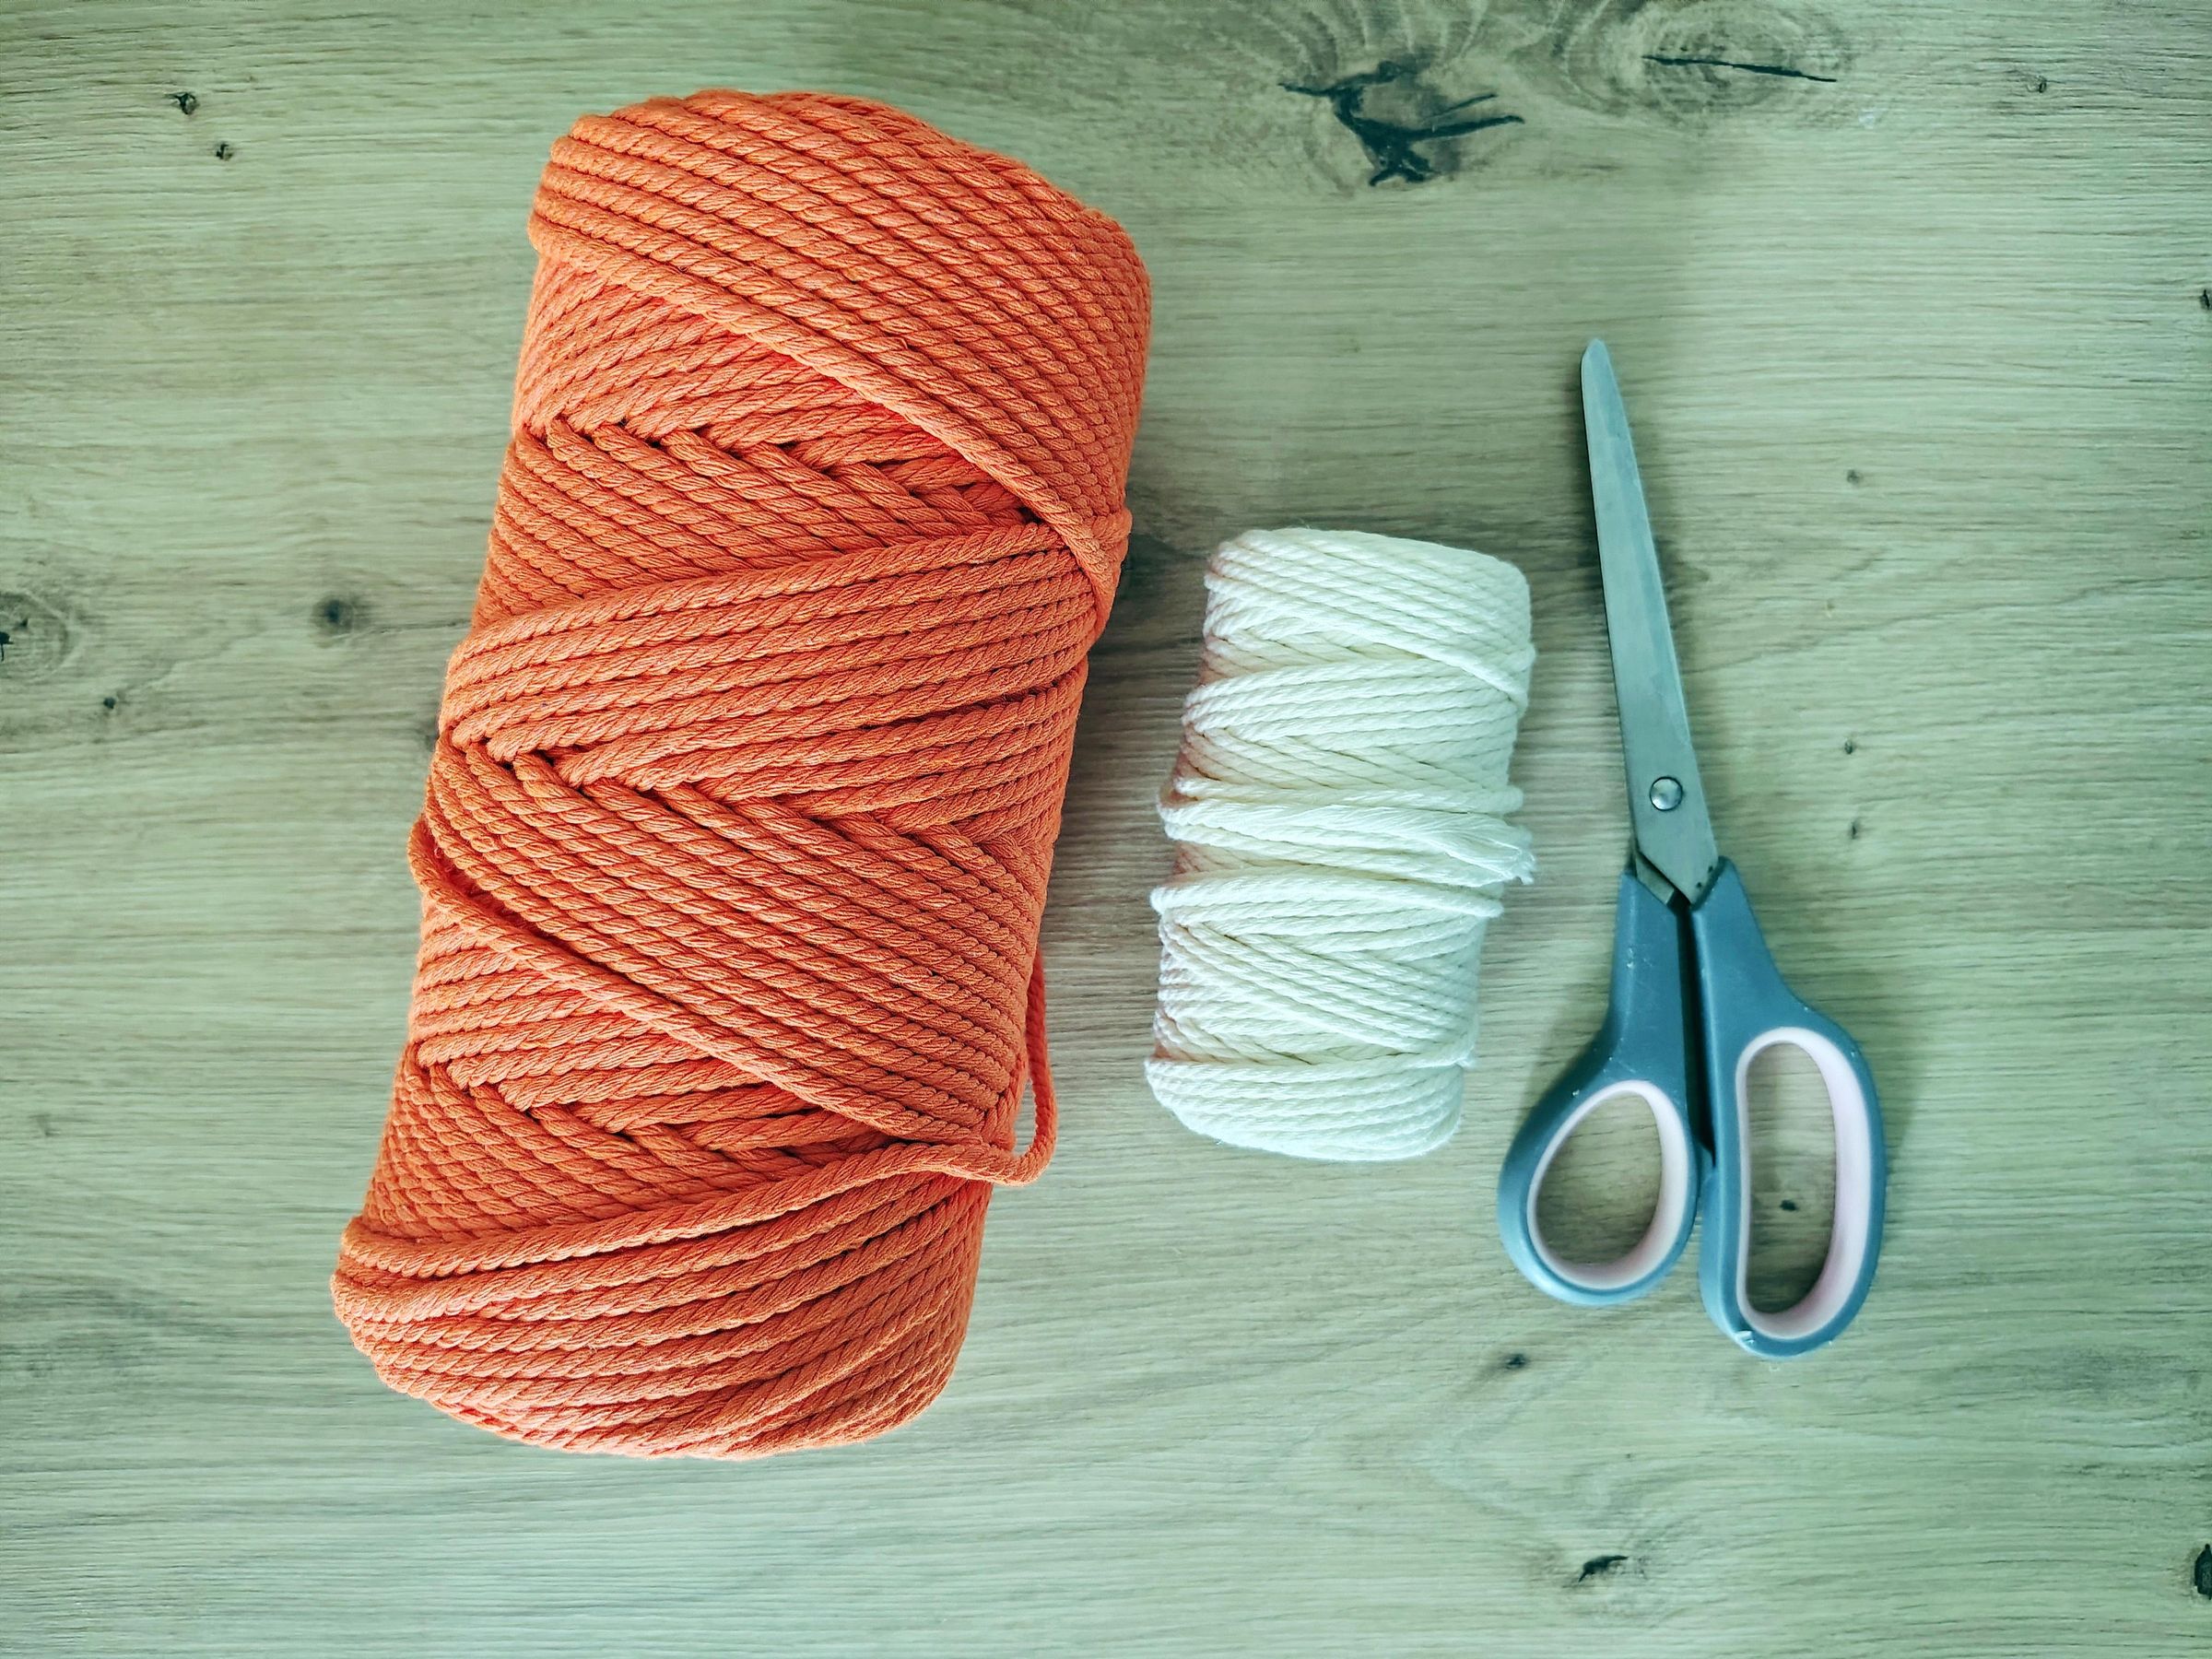
- 3 mm Cotton Macrame Rope - orange and milky white
- Scissors
- Bag loop clasps
- Ruler
- Beige Fabric
- Hot Glue Gun
- Magnetic Closure
Orange Slice
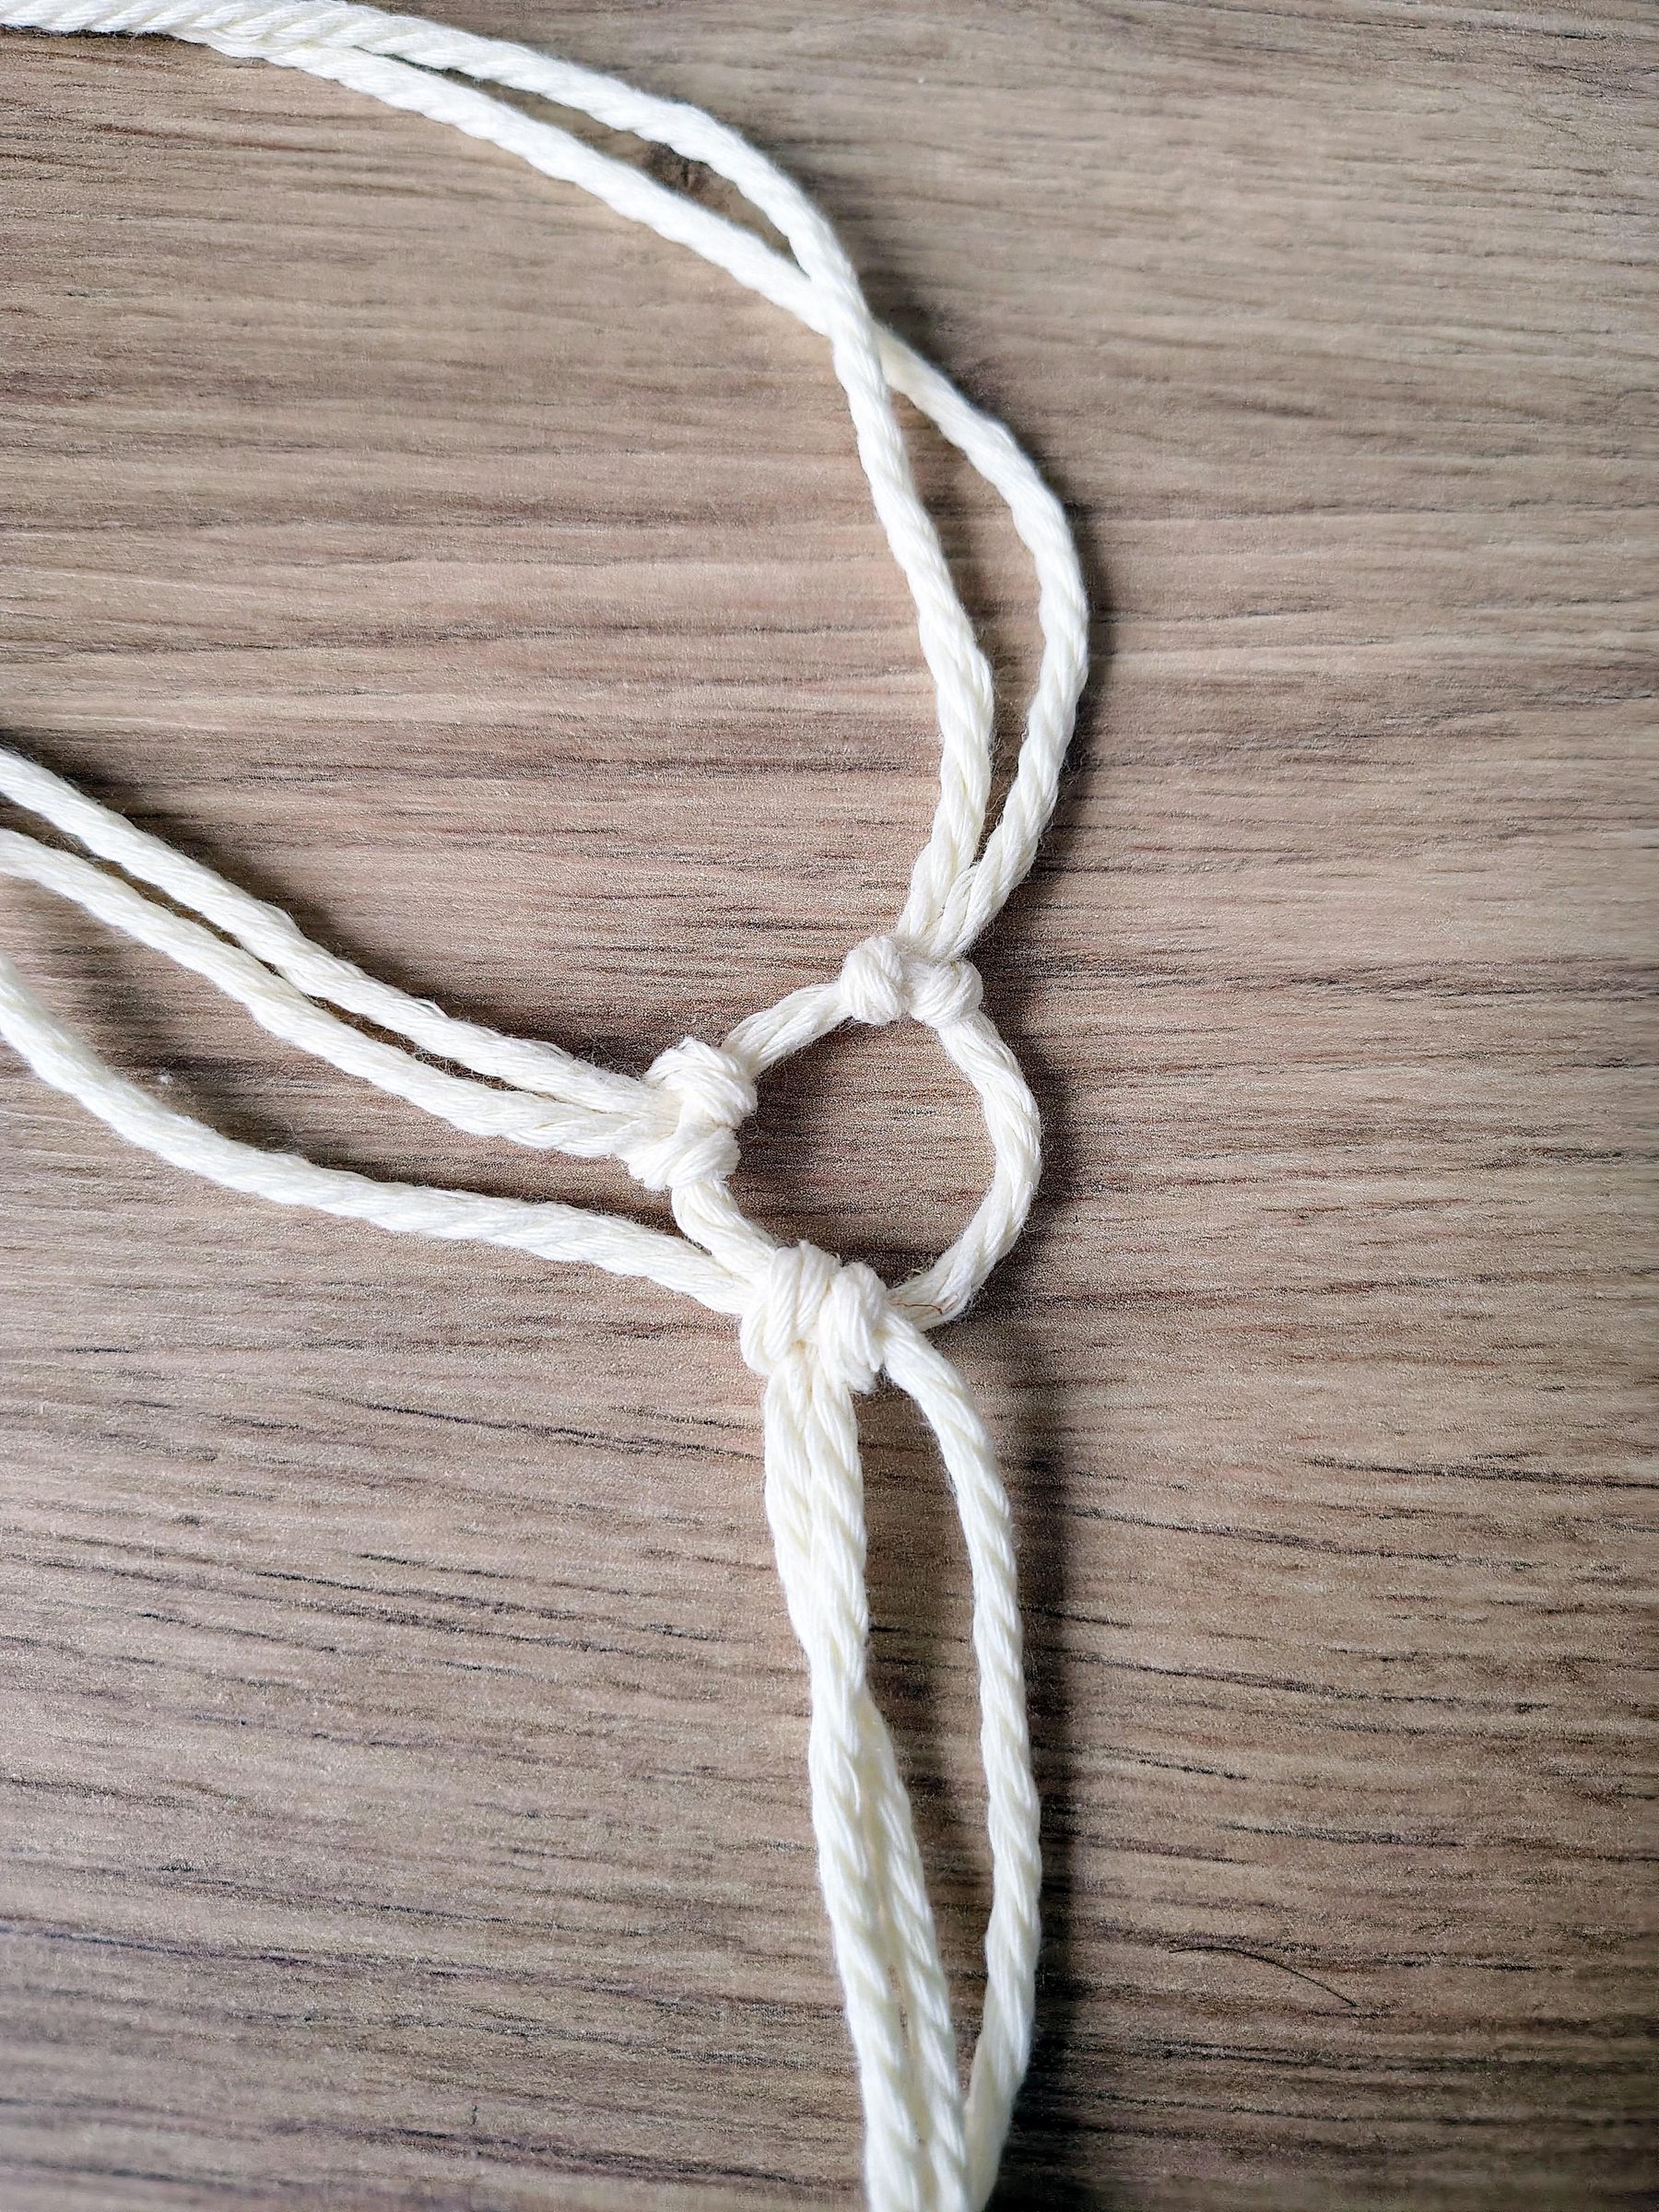
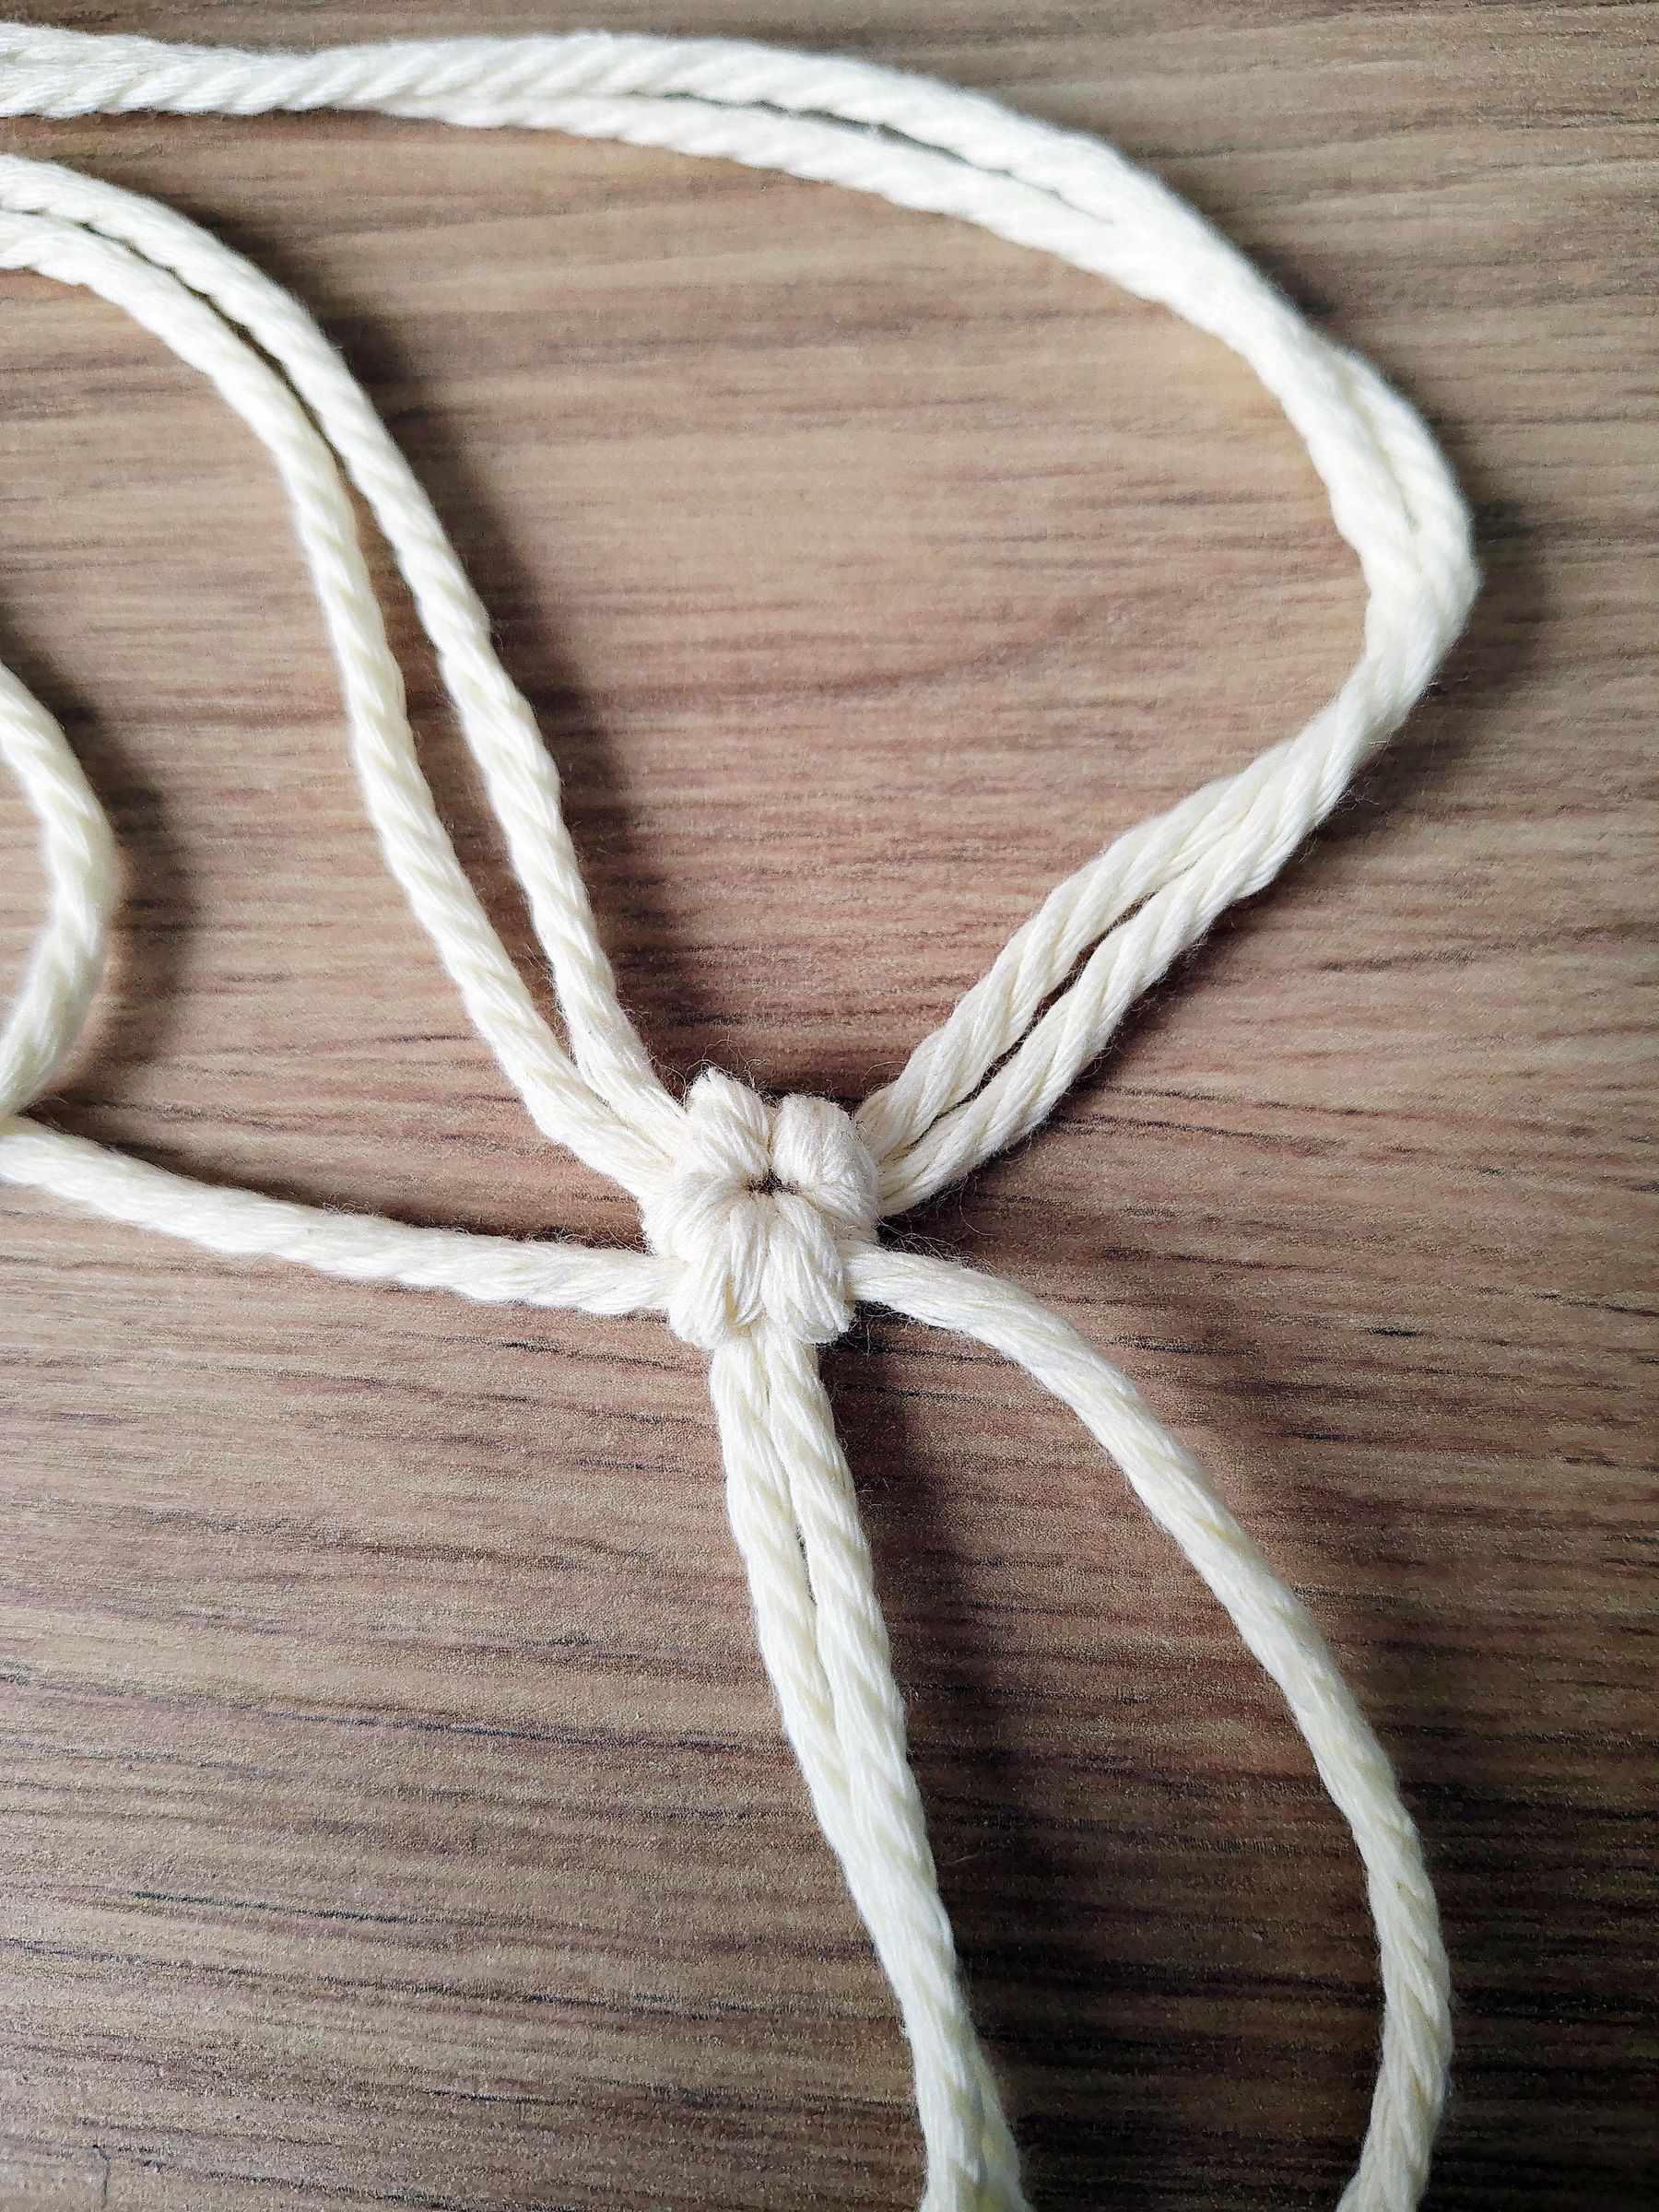
Begin making the bag by creating the orange slice - the star of the show!
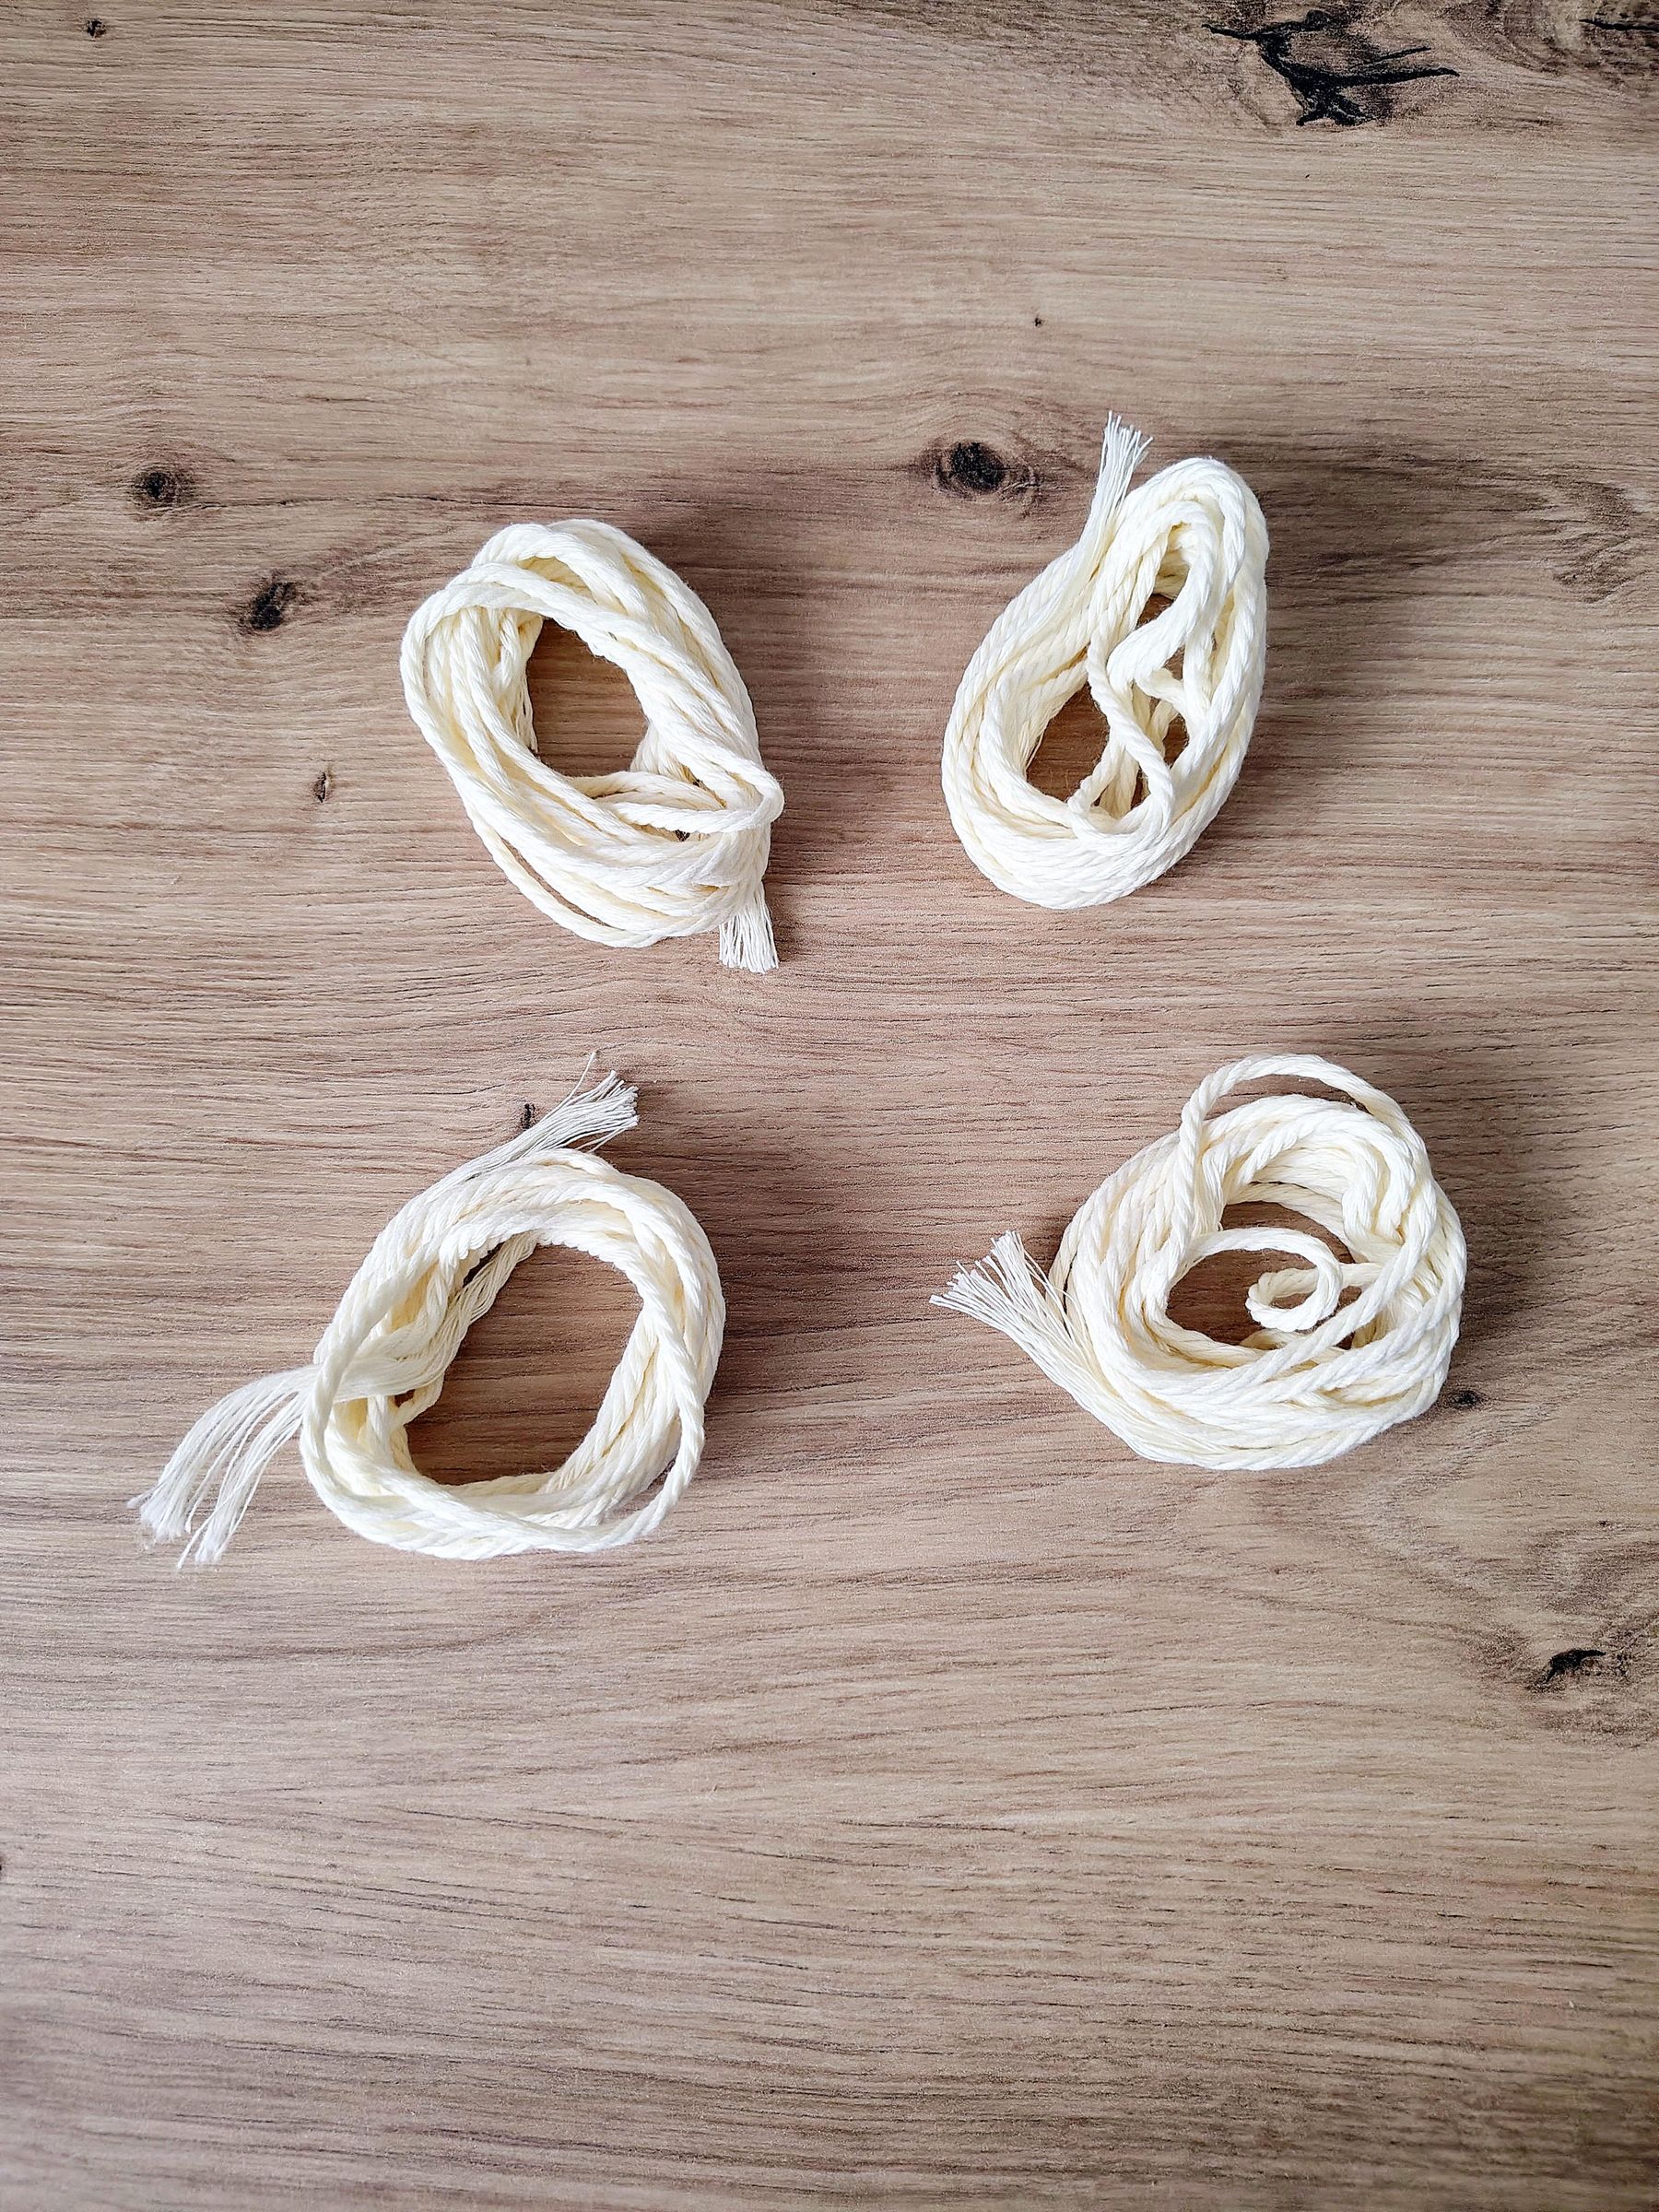
Take your milky white cord and cut 4 strands, each measuring 2.5 meters.
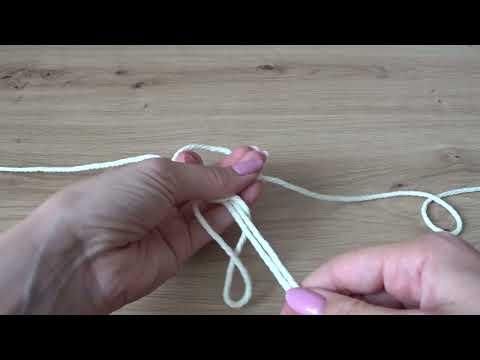
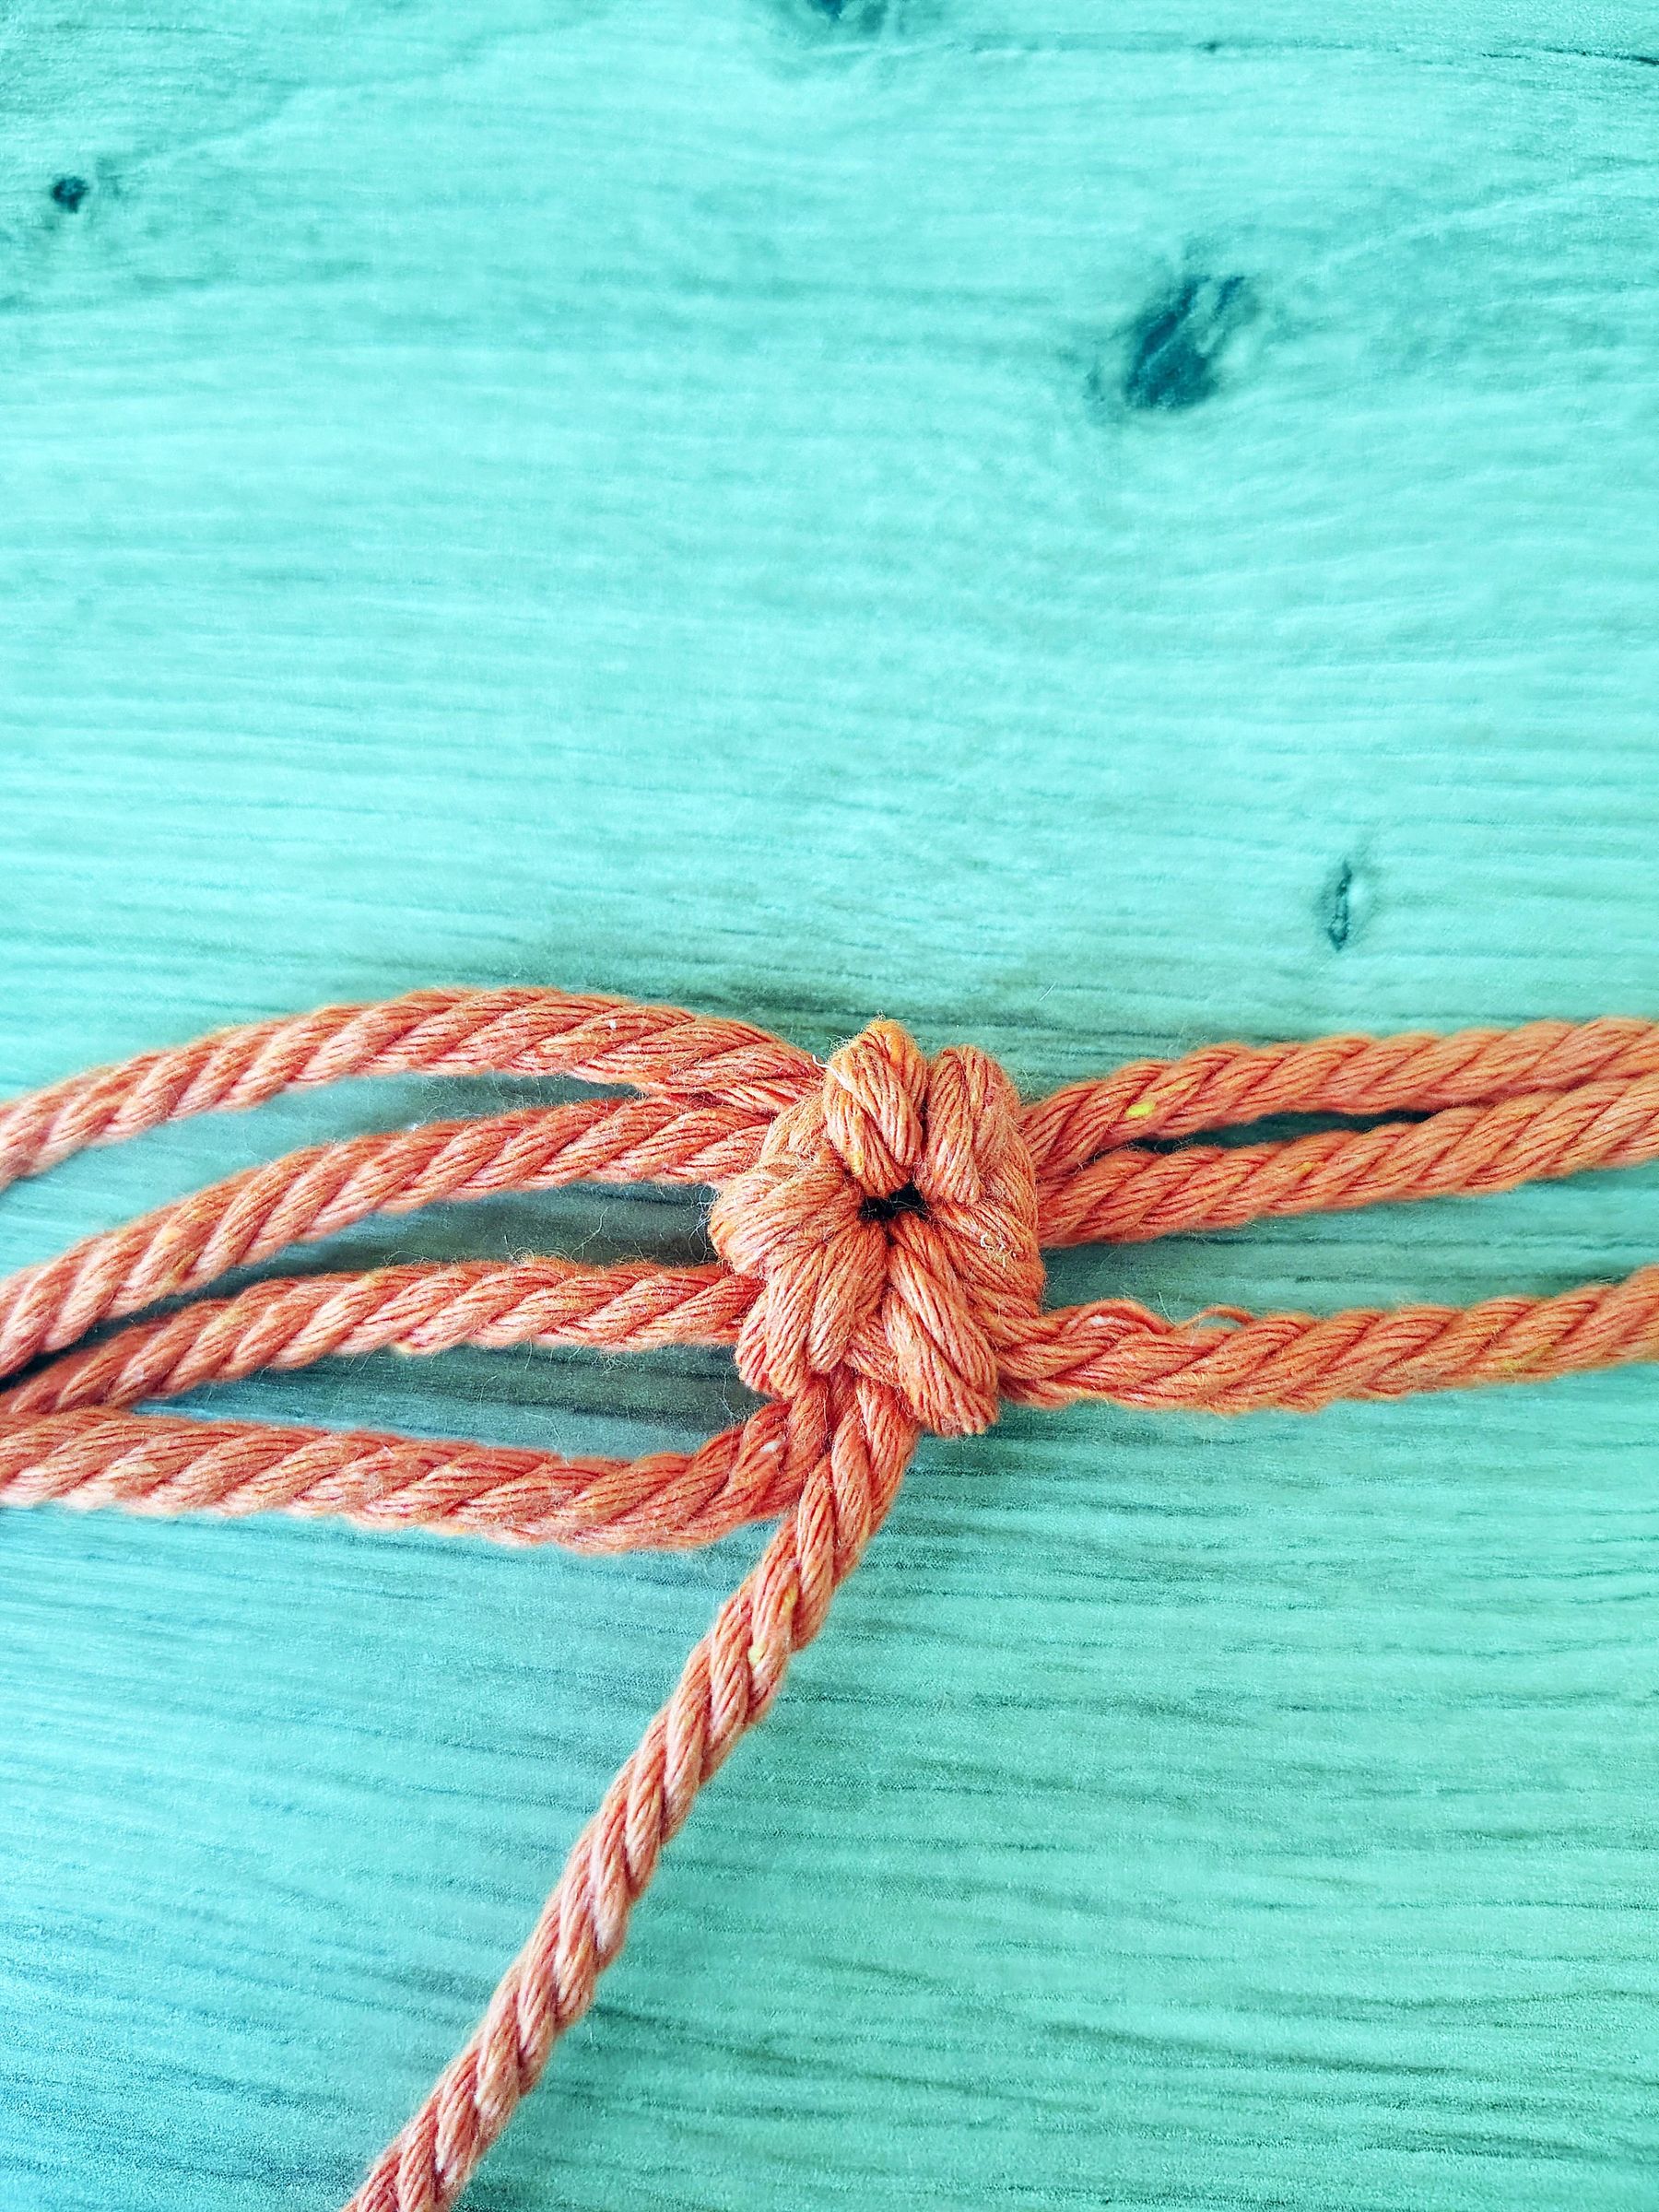
Fold one of the cords in half, form a loop by criss - crossing and place it on a flat surface.
Take the second cord, fold it in half and attach it to the first cord via a Lark's head knot. Place the loop you have created under the first cord's loop. Reach over the loop and under the first cord's loop and grab the two loose strands. Bring them down through the loop and pull and tighten the knot. Repeat this step with all of the remaining cords.
In the end pull the two strands of the first cord to tighten everything.
Refer to the video for a clear demonstration of this step.
Start Knotting
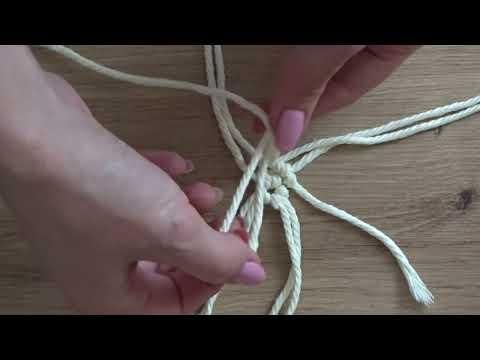
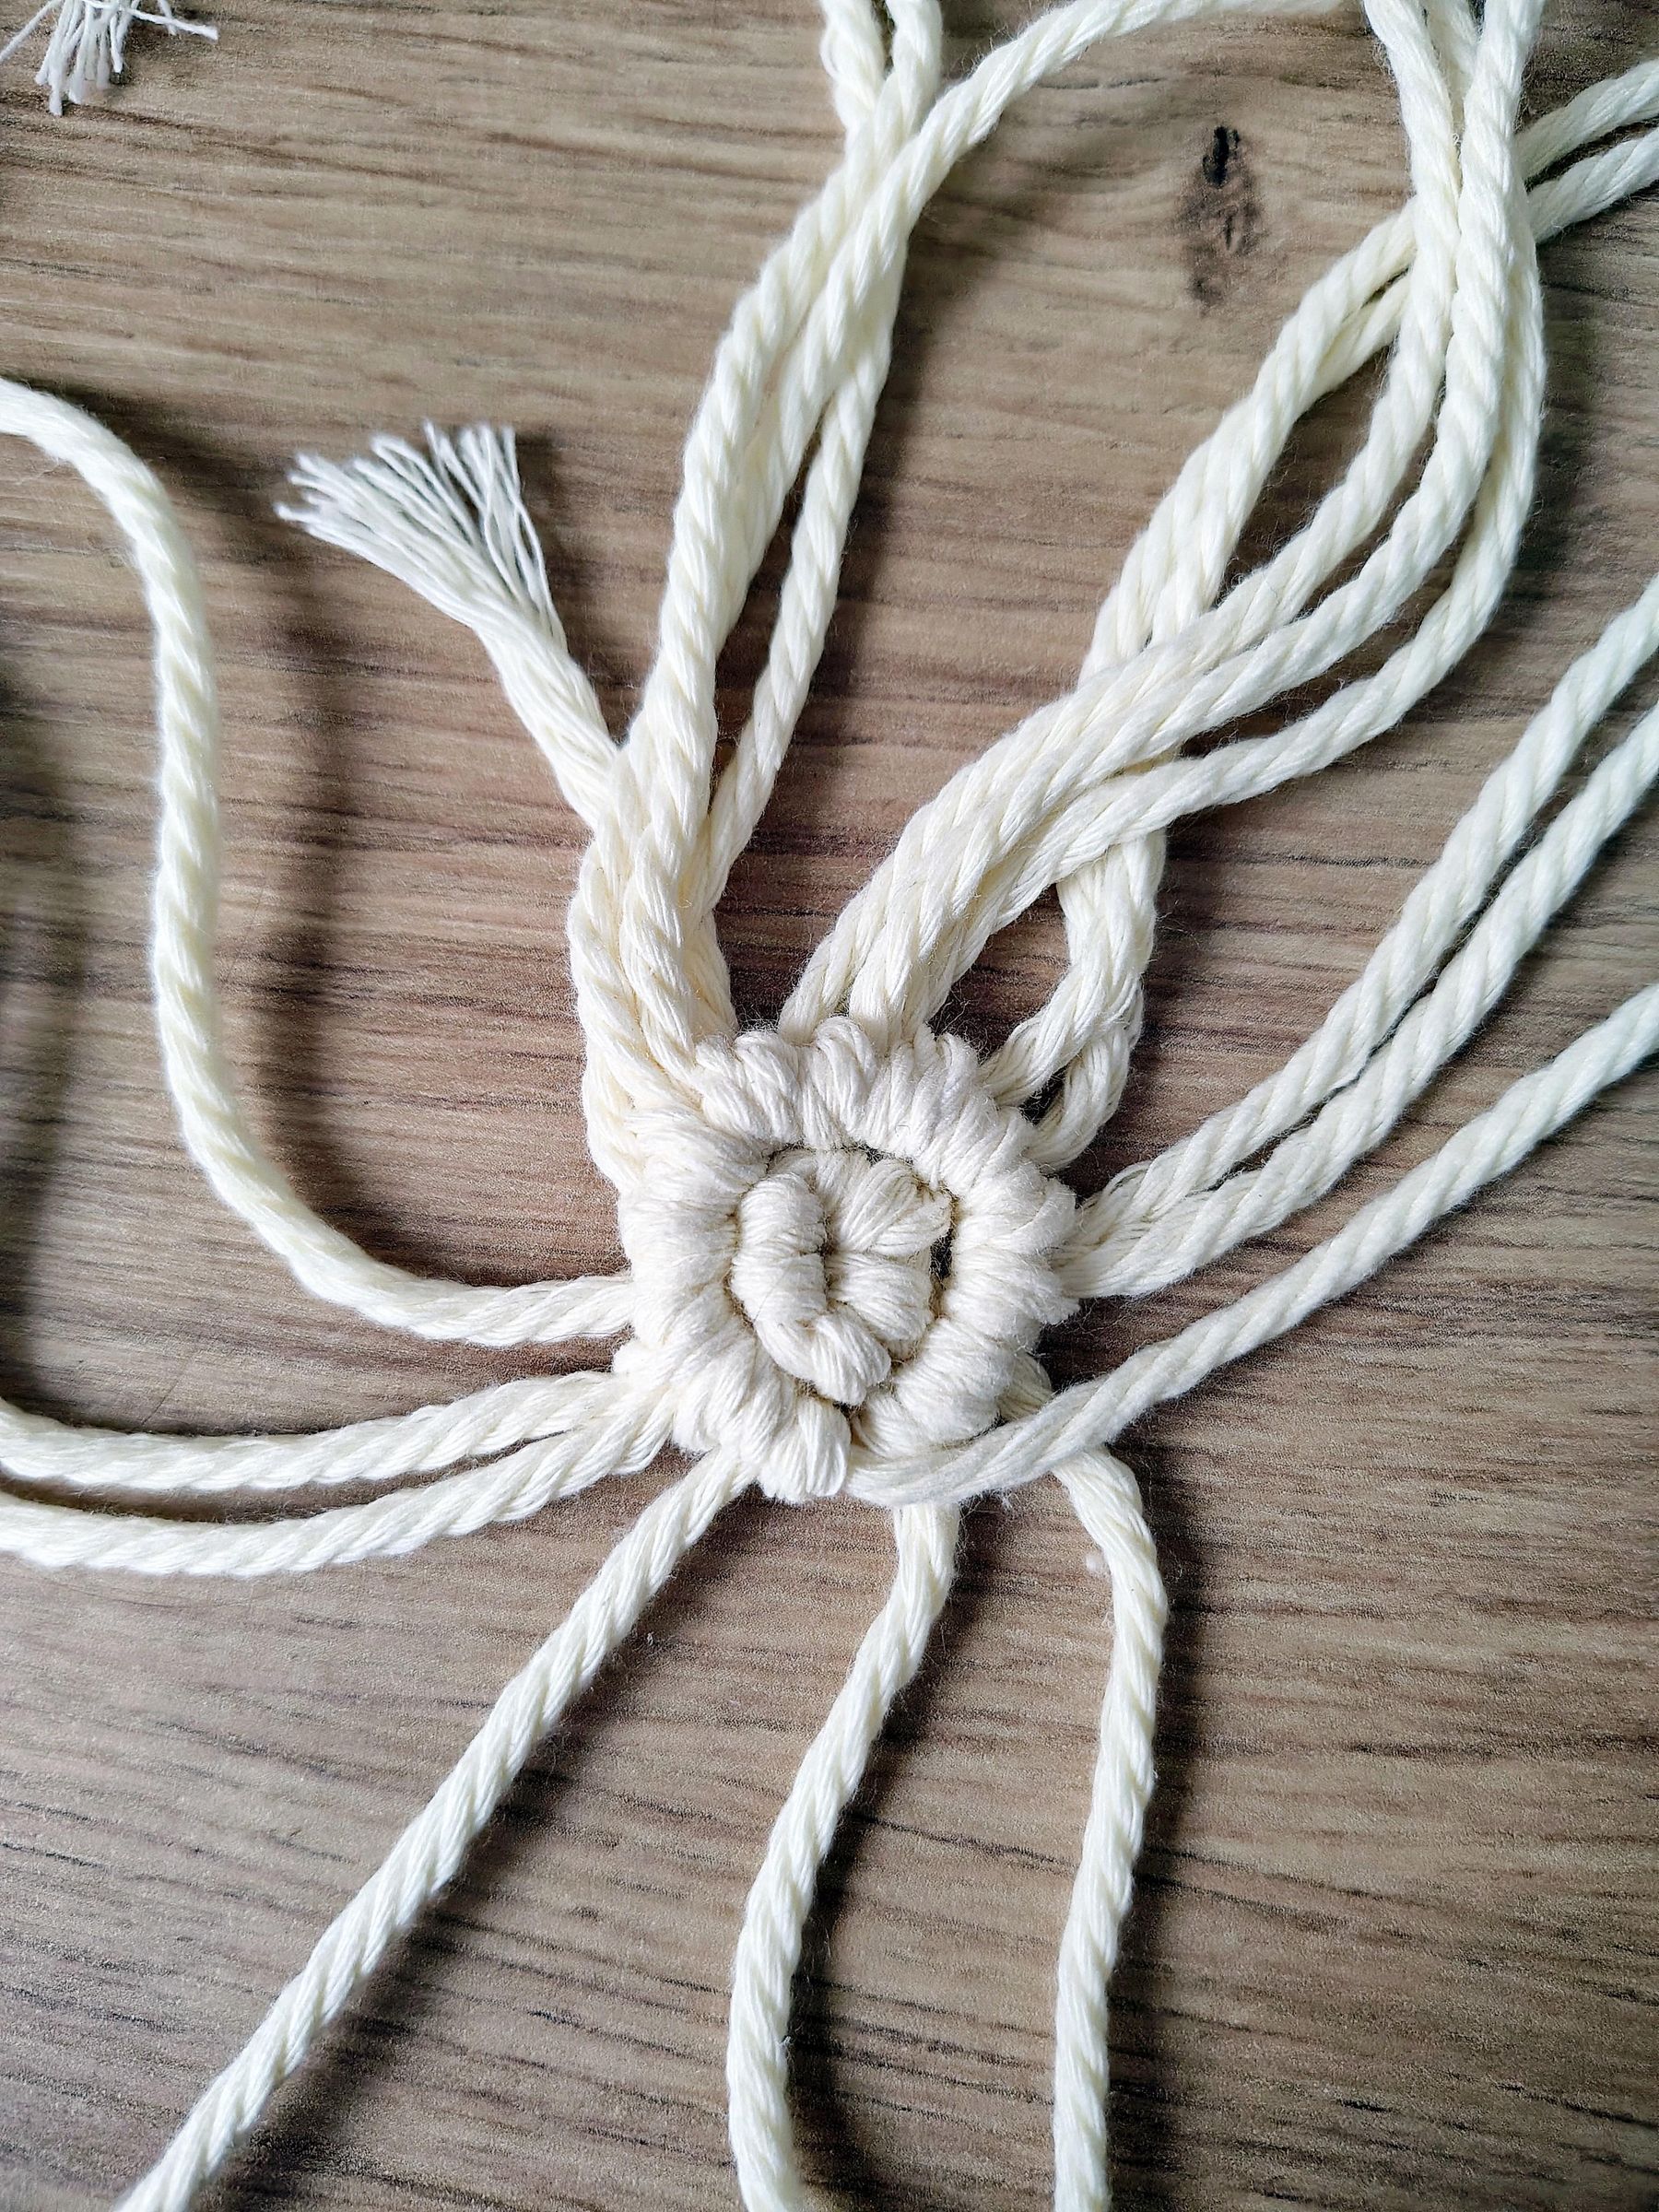
Take your milky white cord again and cut 8 pieces of cord each measuring 2 meters. Set them aside.
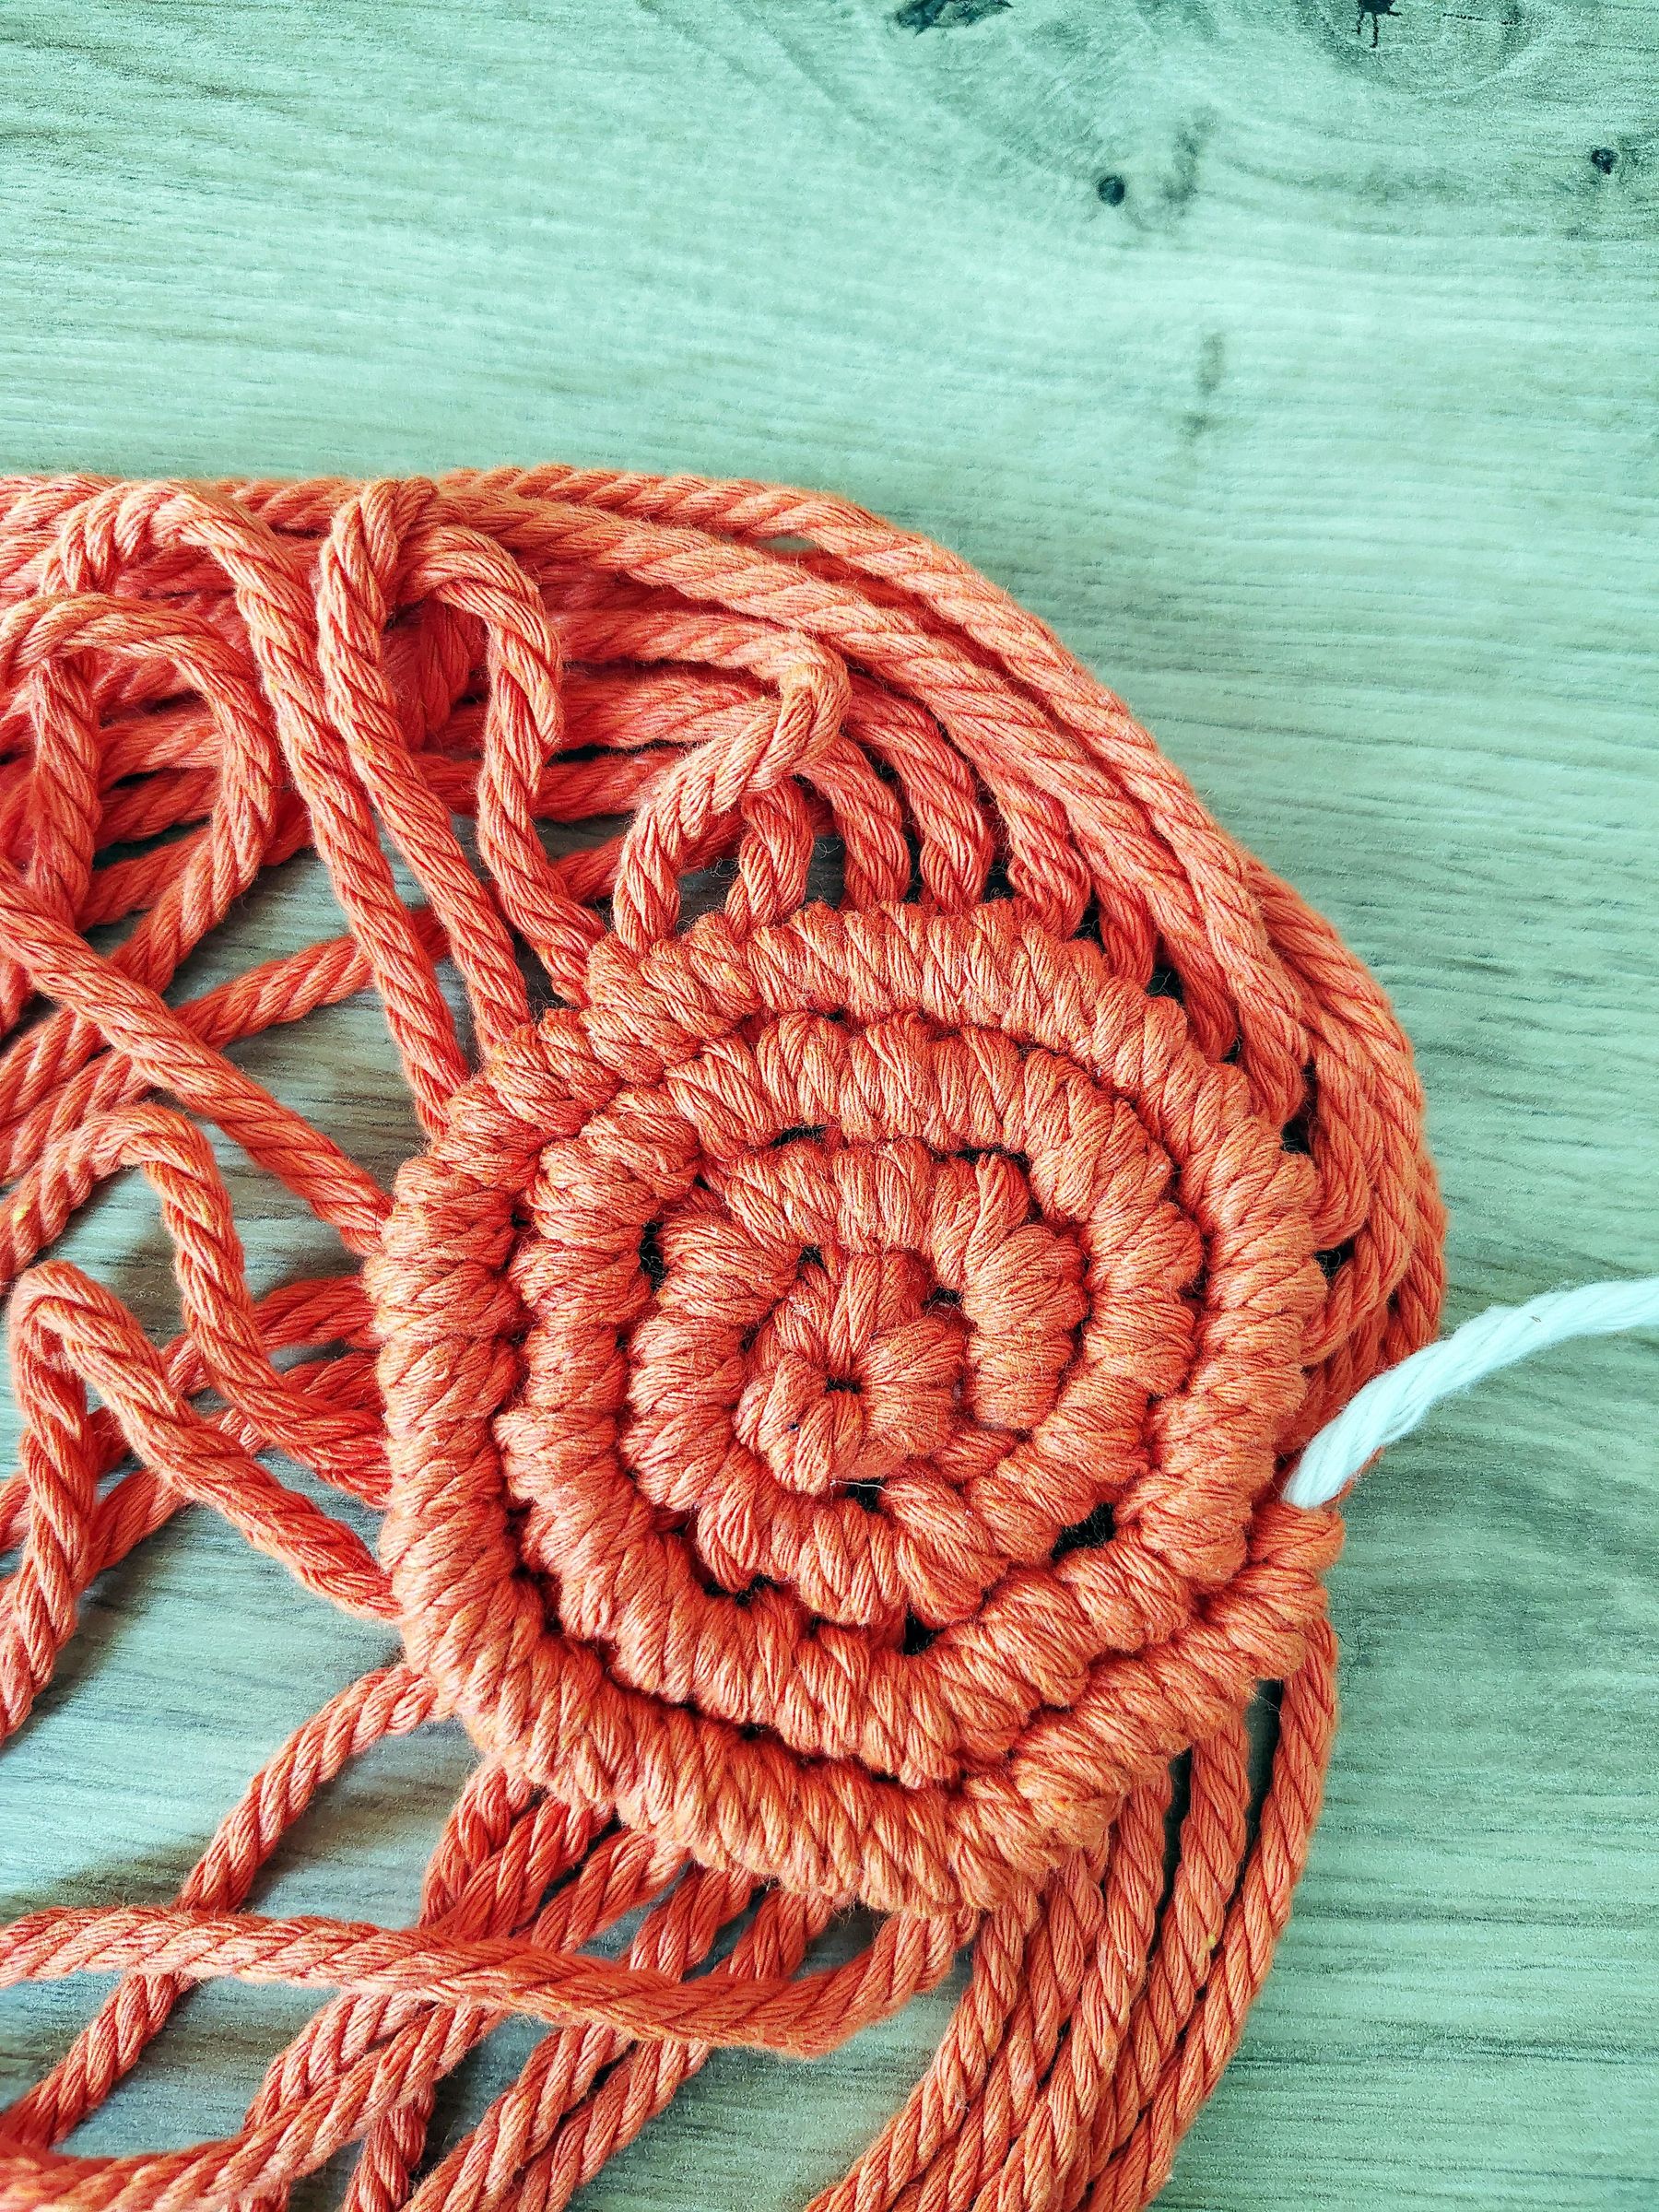
You will be using the whole spool of milky white cord as a carrier cord. This means that this cord will be going around and around the whole circumference of the fruit slice. Making the orange slice essentially comes down to adding more cord to the carrier cord as you go to make the circle bigger and bigger.
Place the carrier cord on top of the other cords and tie the first knot - a double half-hitch knot.
Begin by tying a half hitch knot - pass the cord underneath over and then under the carrier cord, followed by over itself to form a loop. Pull the knot tightly and push it up. Tie another half hitch knot to make it a double half hitch. Make one more double half hitch knot.
Next, take one of the 8 pieces of cord you cut in the beginning of this step and attach it to the carrier cord via a Lark's head knot.
Continue by making another double half-hitch knot and add the rest of the remaining cords to the carrier cord as you go.
In the end you should have 16 pieces of cord in total.
Refer to the video for a clear visual instruction.
Continue Knotting
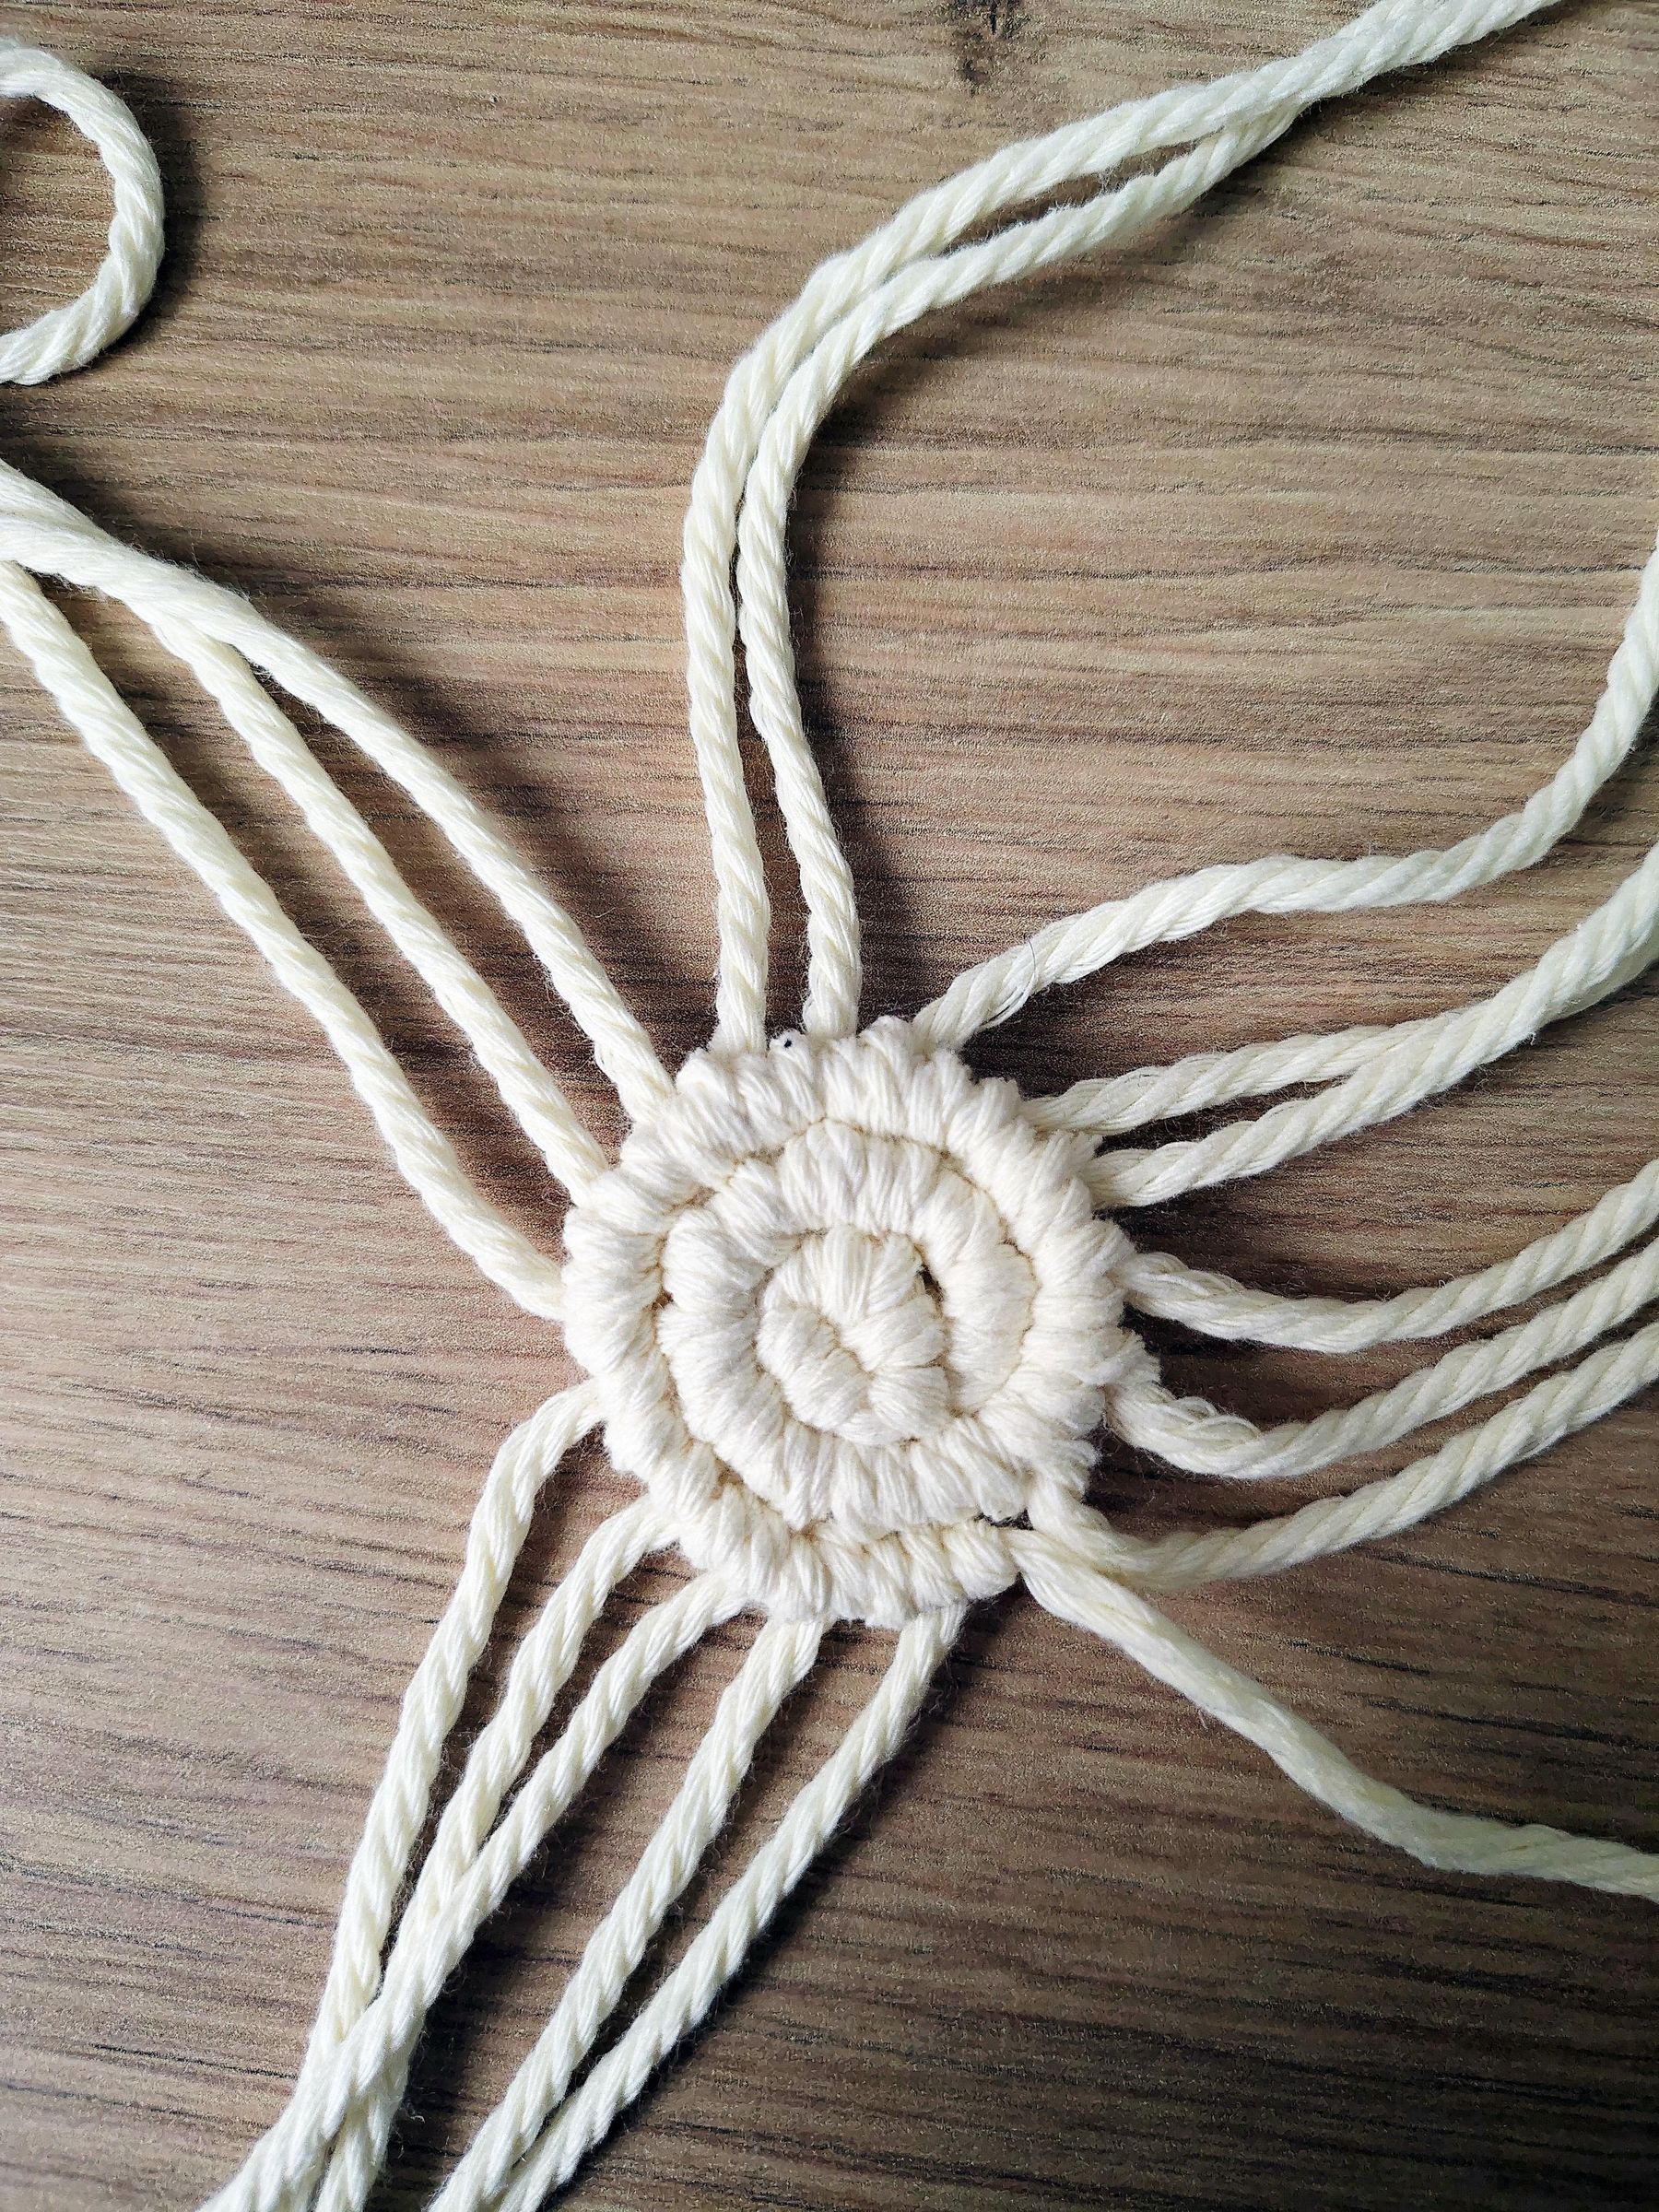
Continue making double half-hitch knots until you have gone through all 16 strands of cord.
Vertical Double Half-Hitch
Once you complete the whole row with double half-hitch knots separate the cords into eight groups of two strands - these will be the individual triangular pieces of the fruit.
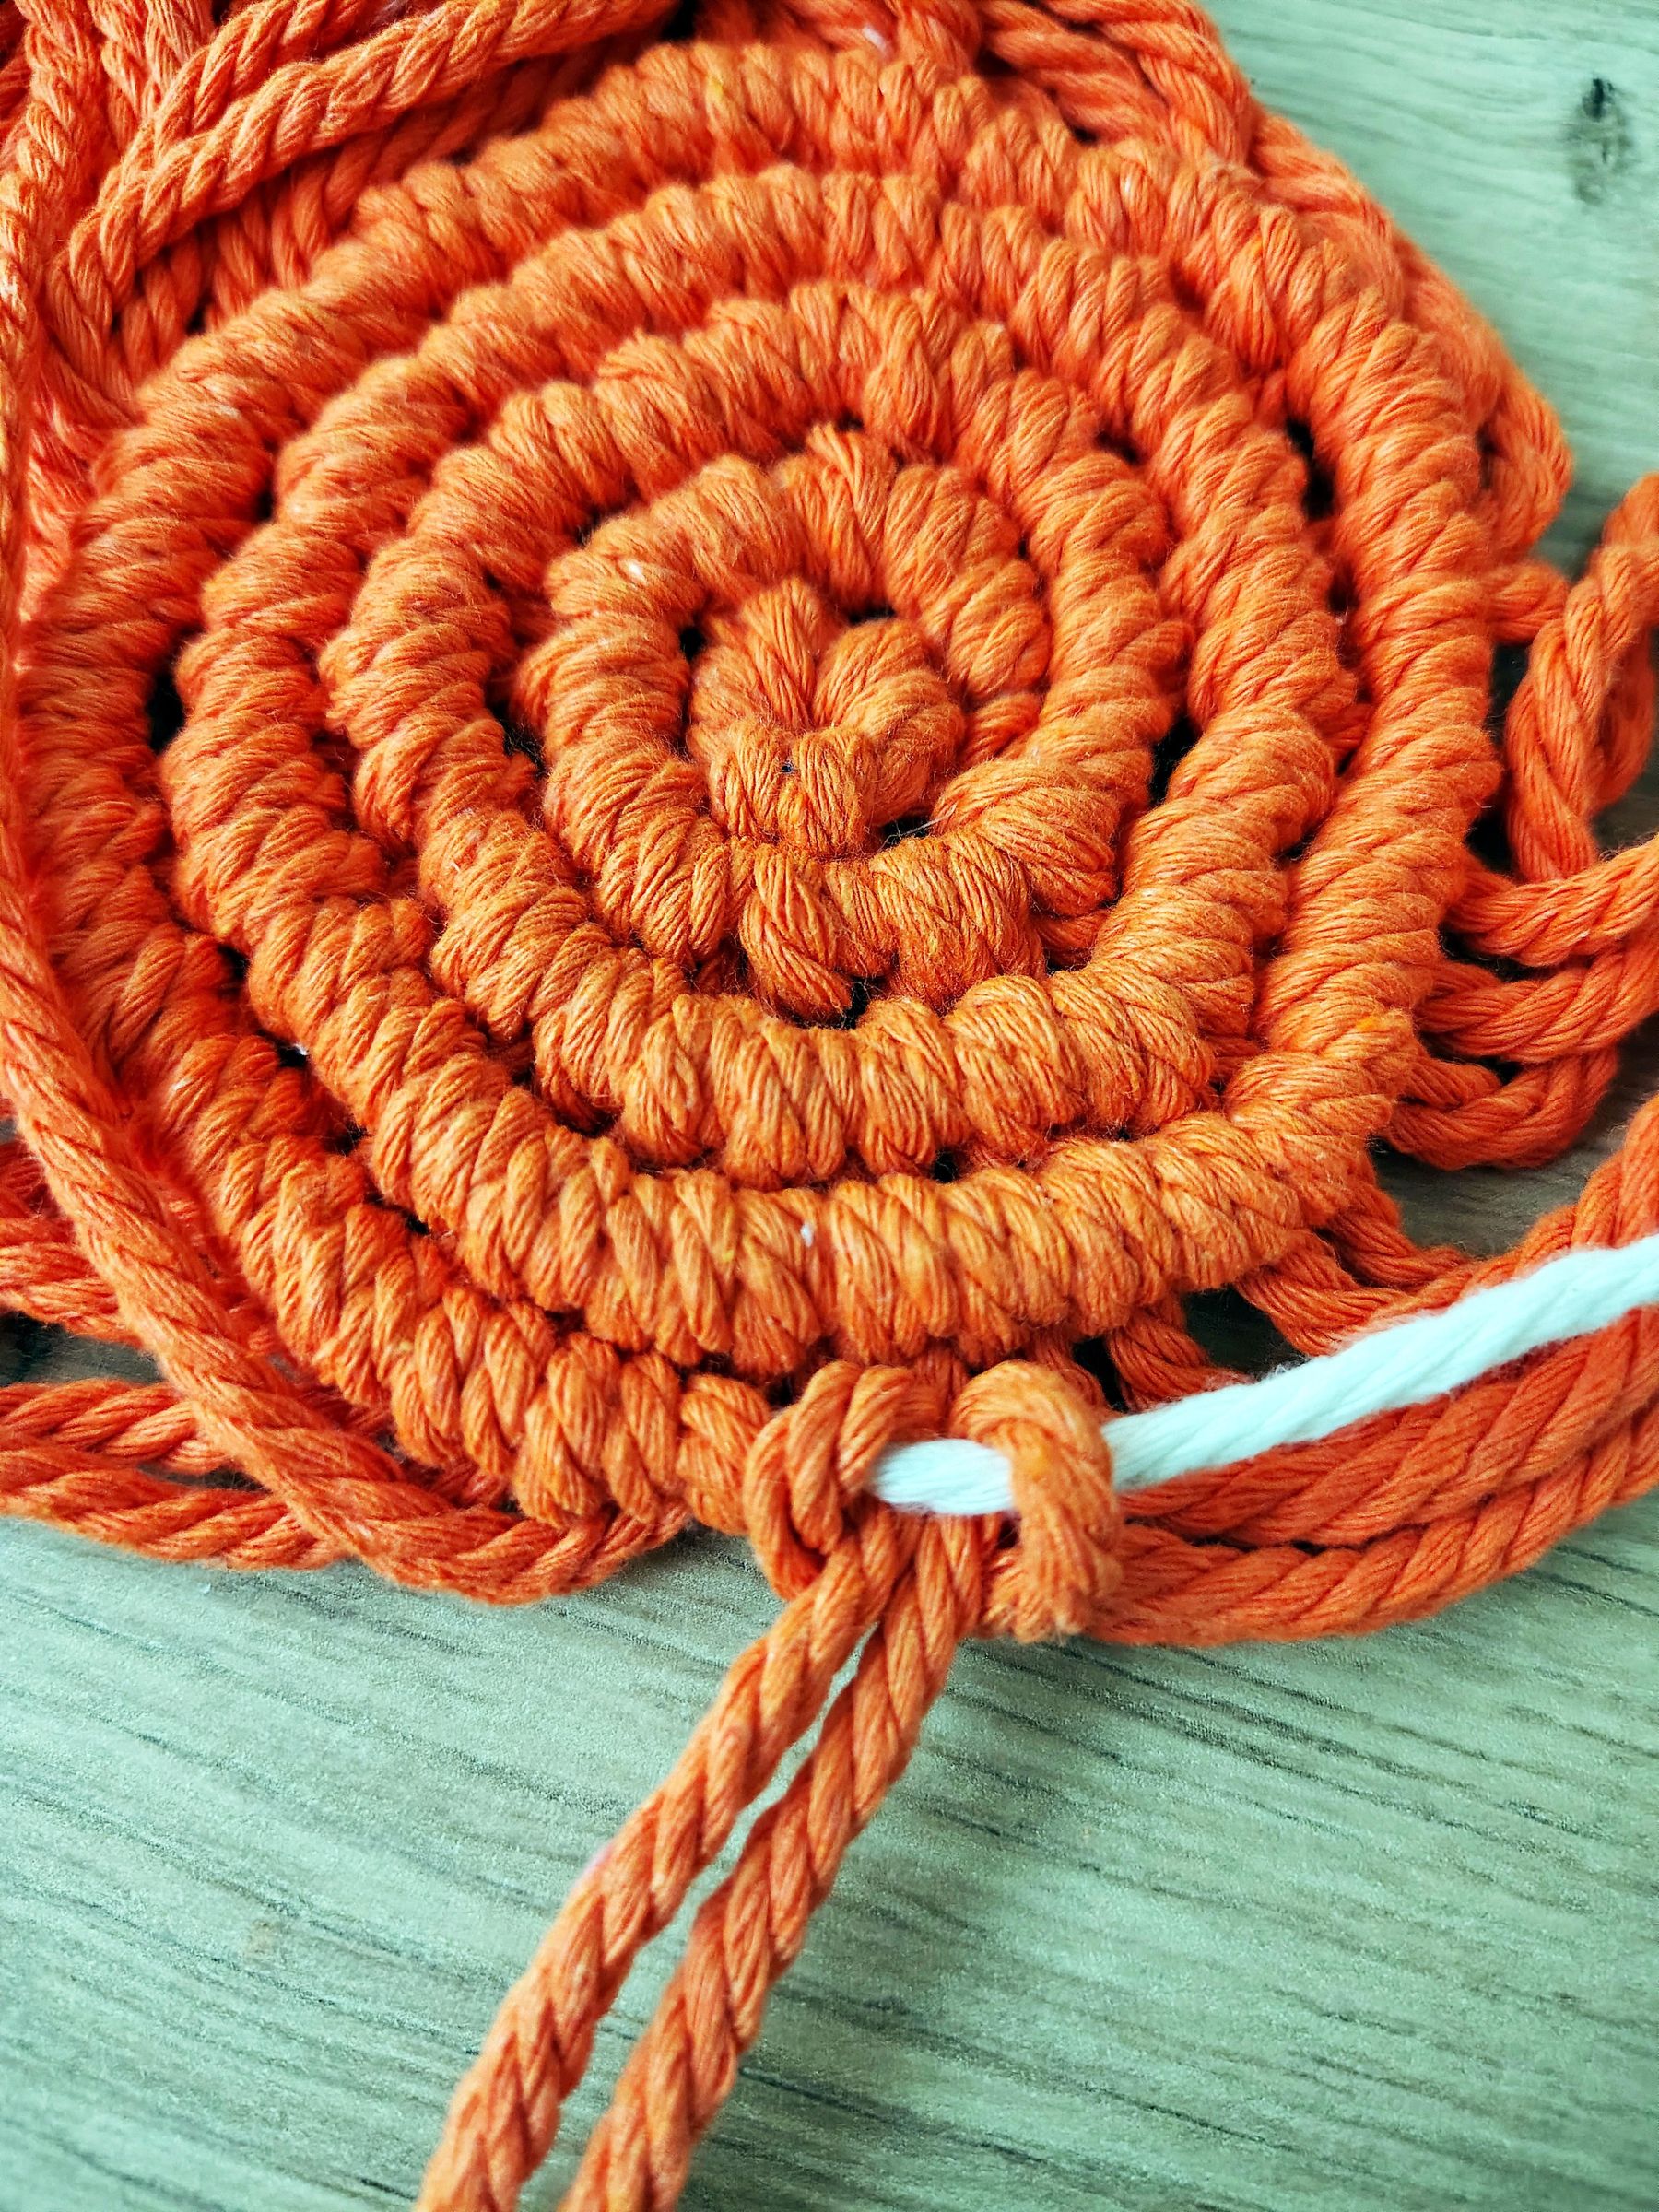
In order to make the "walls" of the orange slice stand out you will be tying vertical double half-hitch knots with the milky white cord.
To make the vertical half-hitch knot take the carrier strand of cord and place in underneath the first strand of milky white rope. With the small tail end on your left and the long tail on your right you are going to form a loop on your right, wrap it around your cord and pull it through. Then you are going to repeat the same process once again:
- Make a loop on your right
- Wrap around and through the loop
- Pull everything nicely together and secure the vertical double half-hitch knot
Make one more vertical half hitch knot using the same technique.
Adding Orange
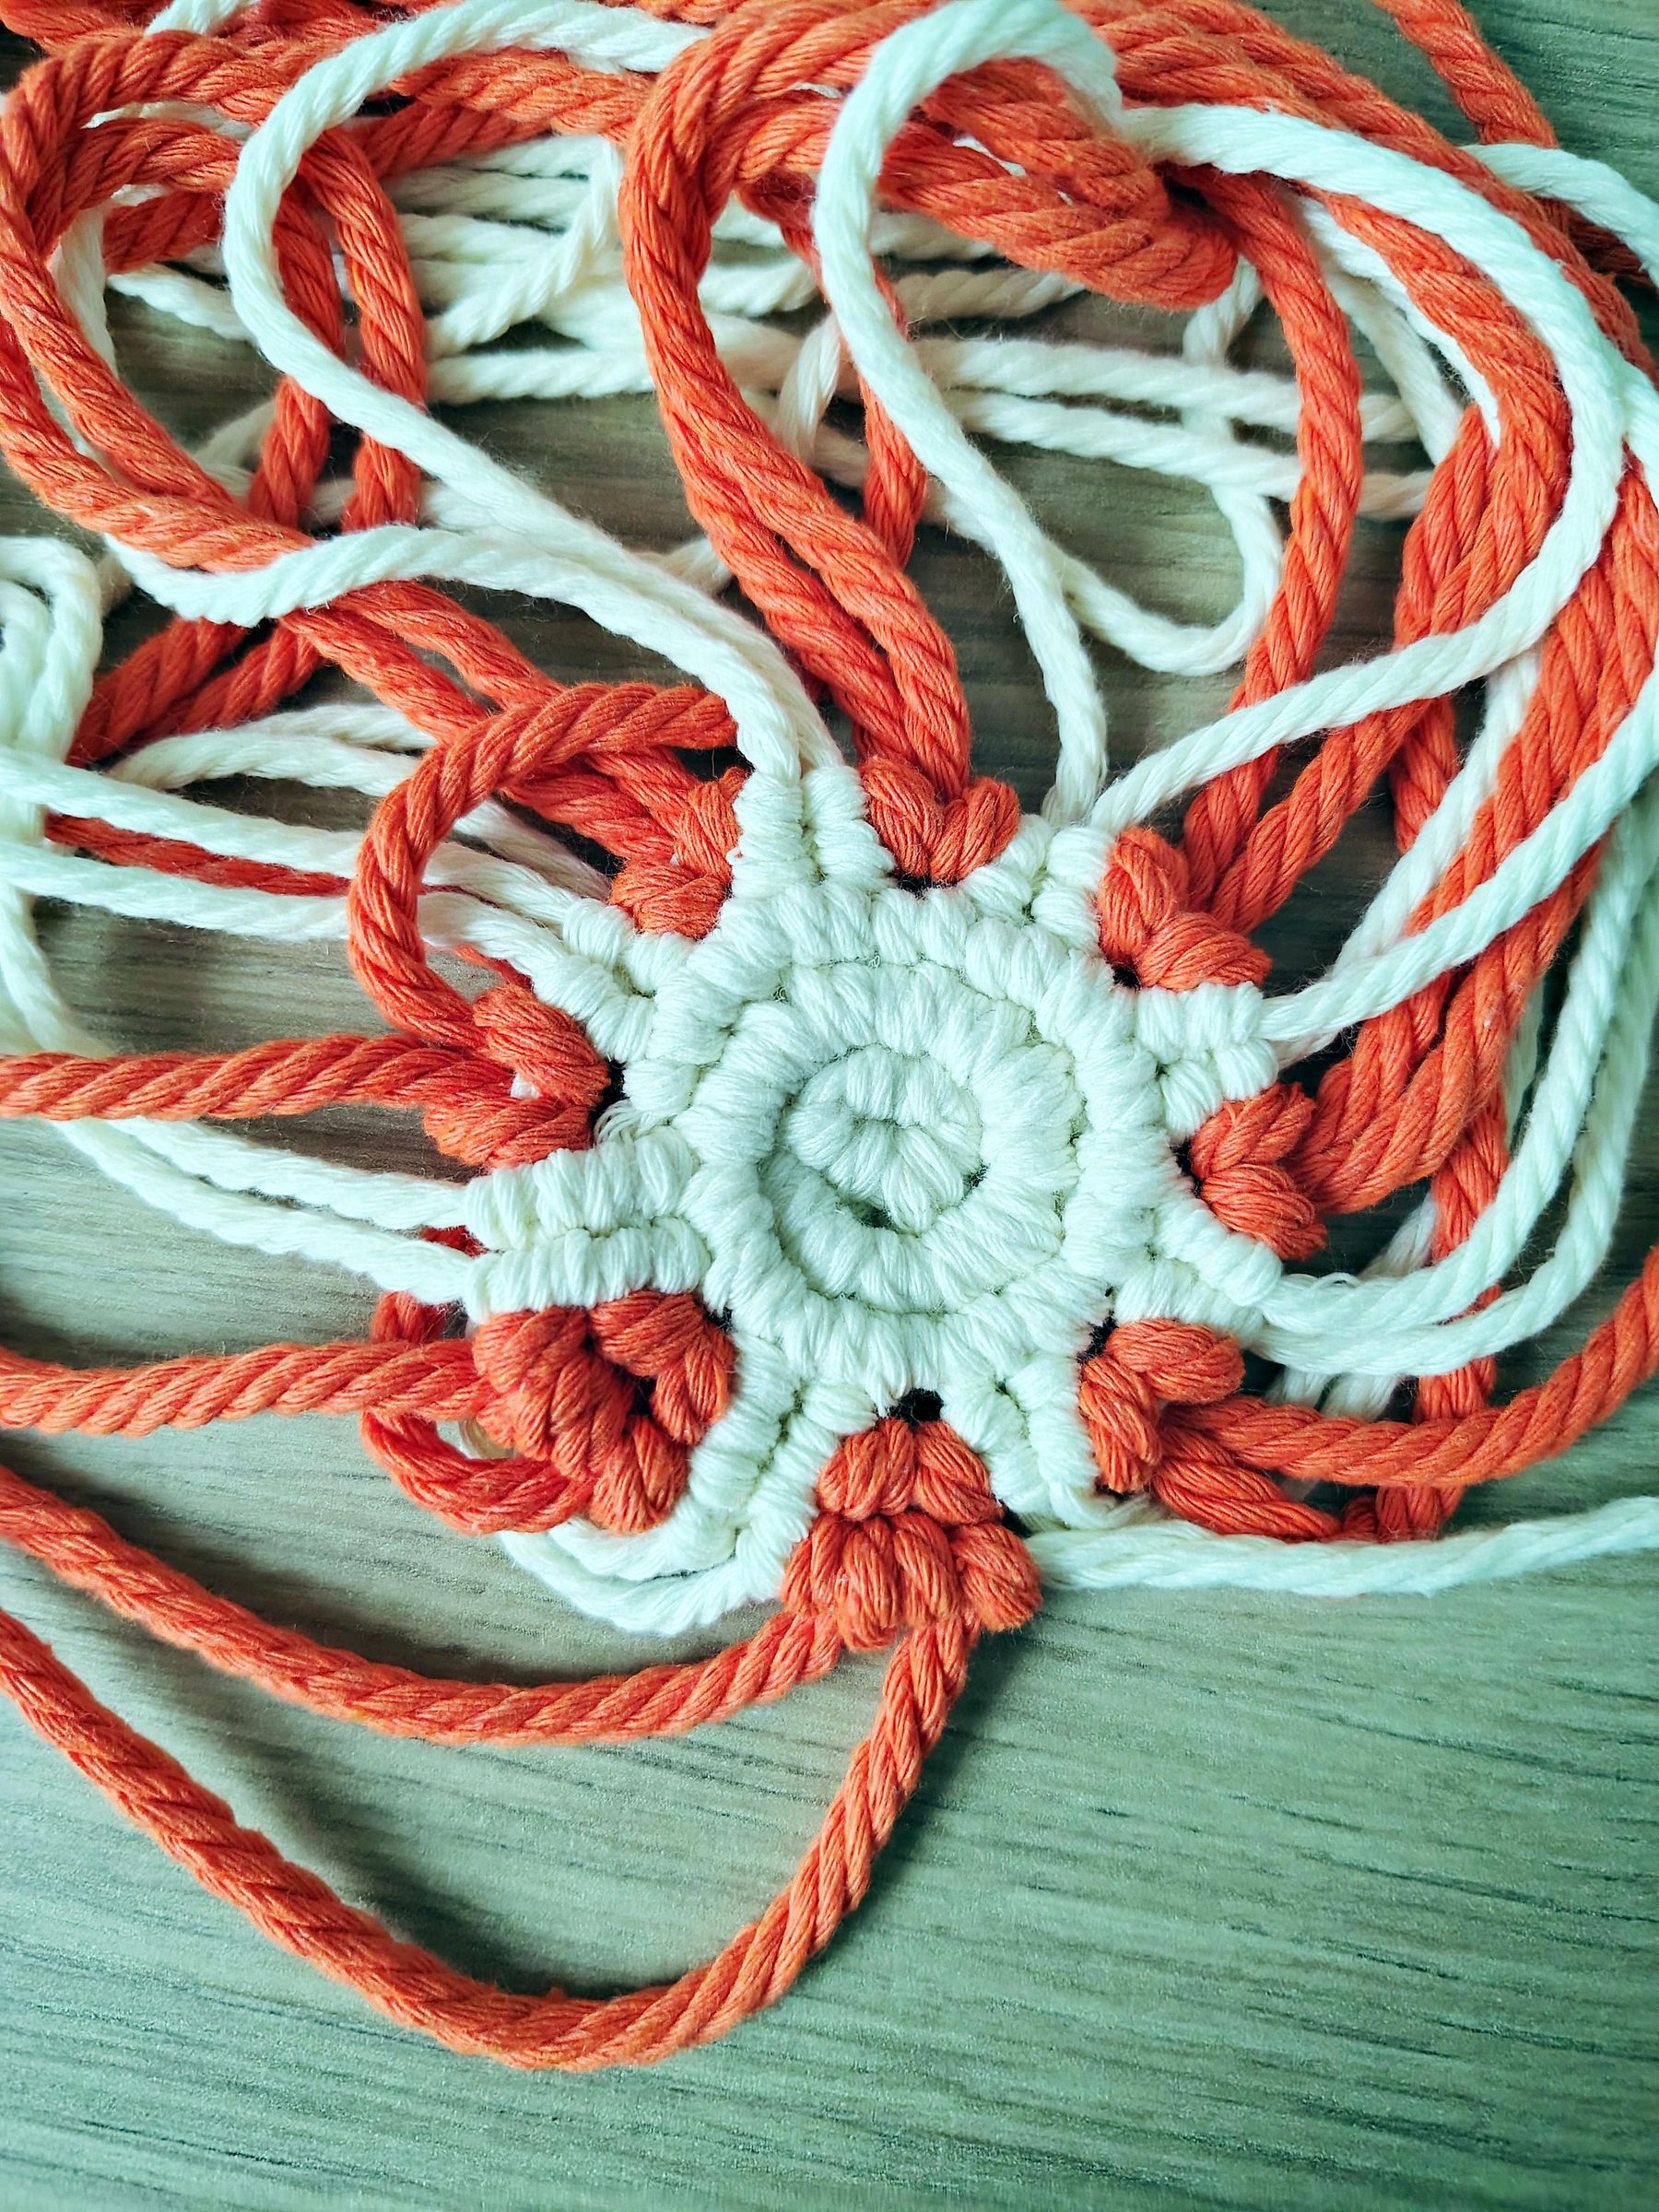
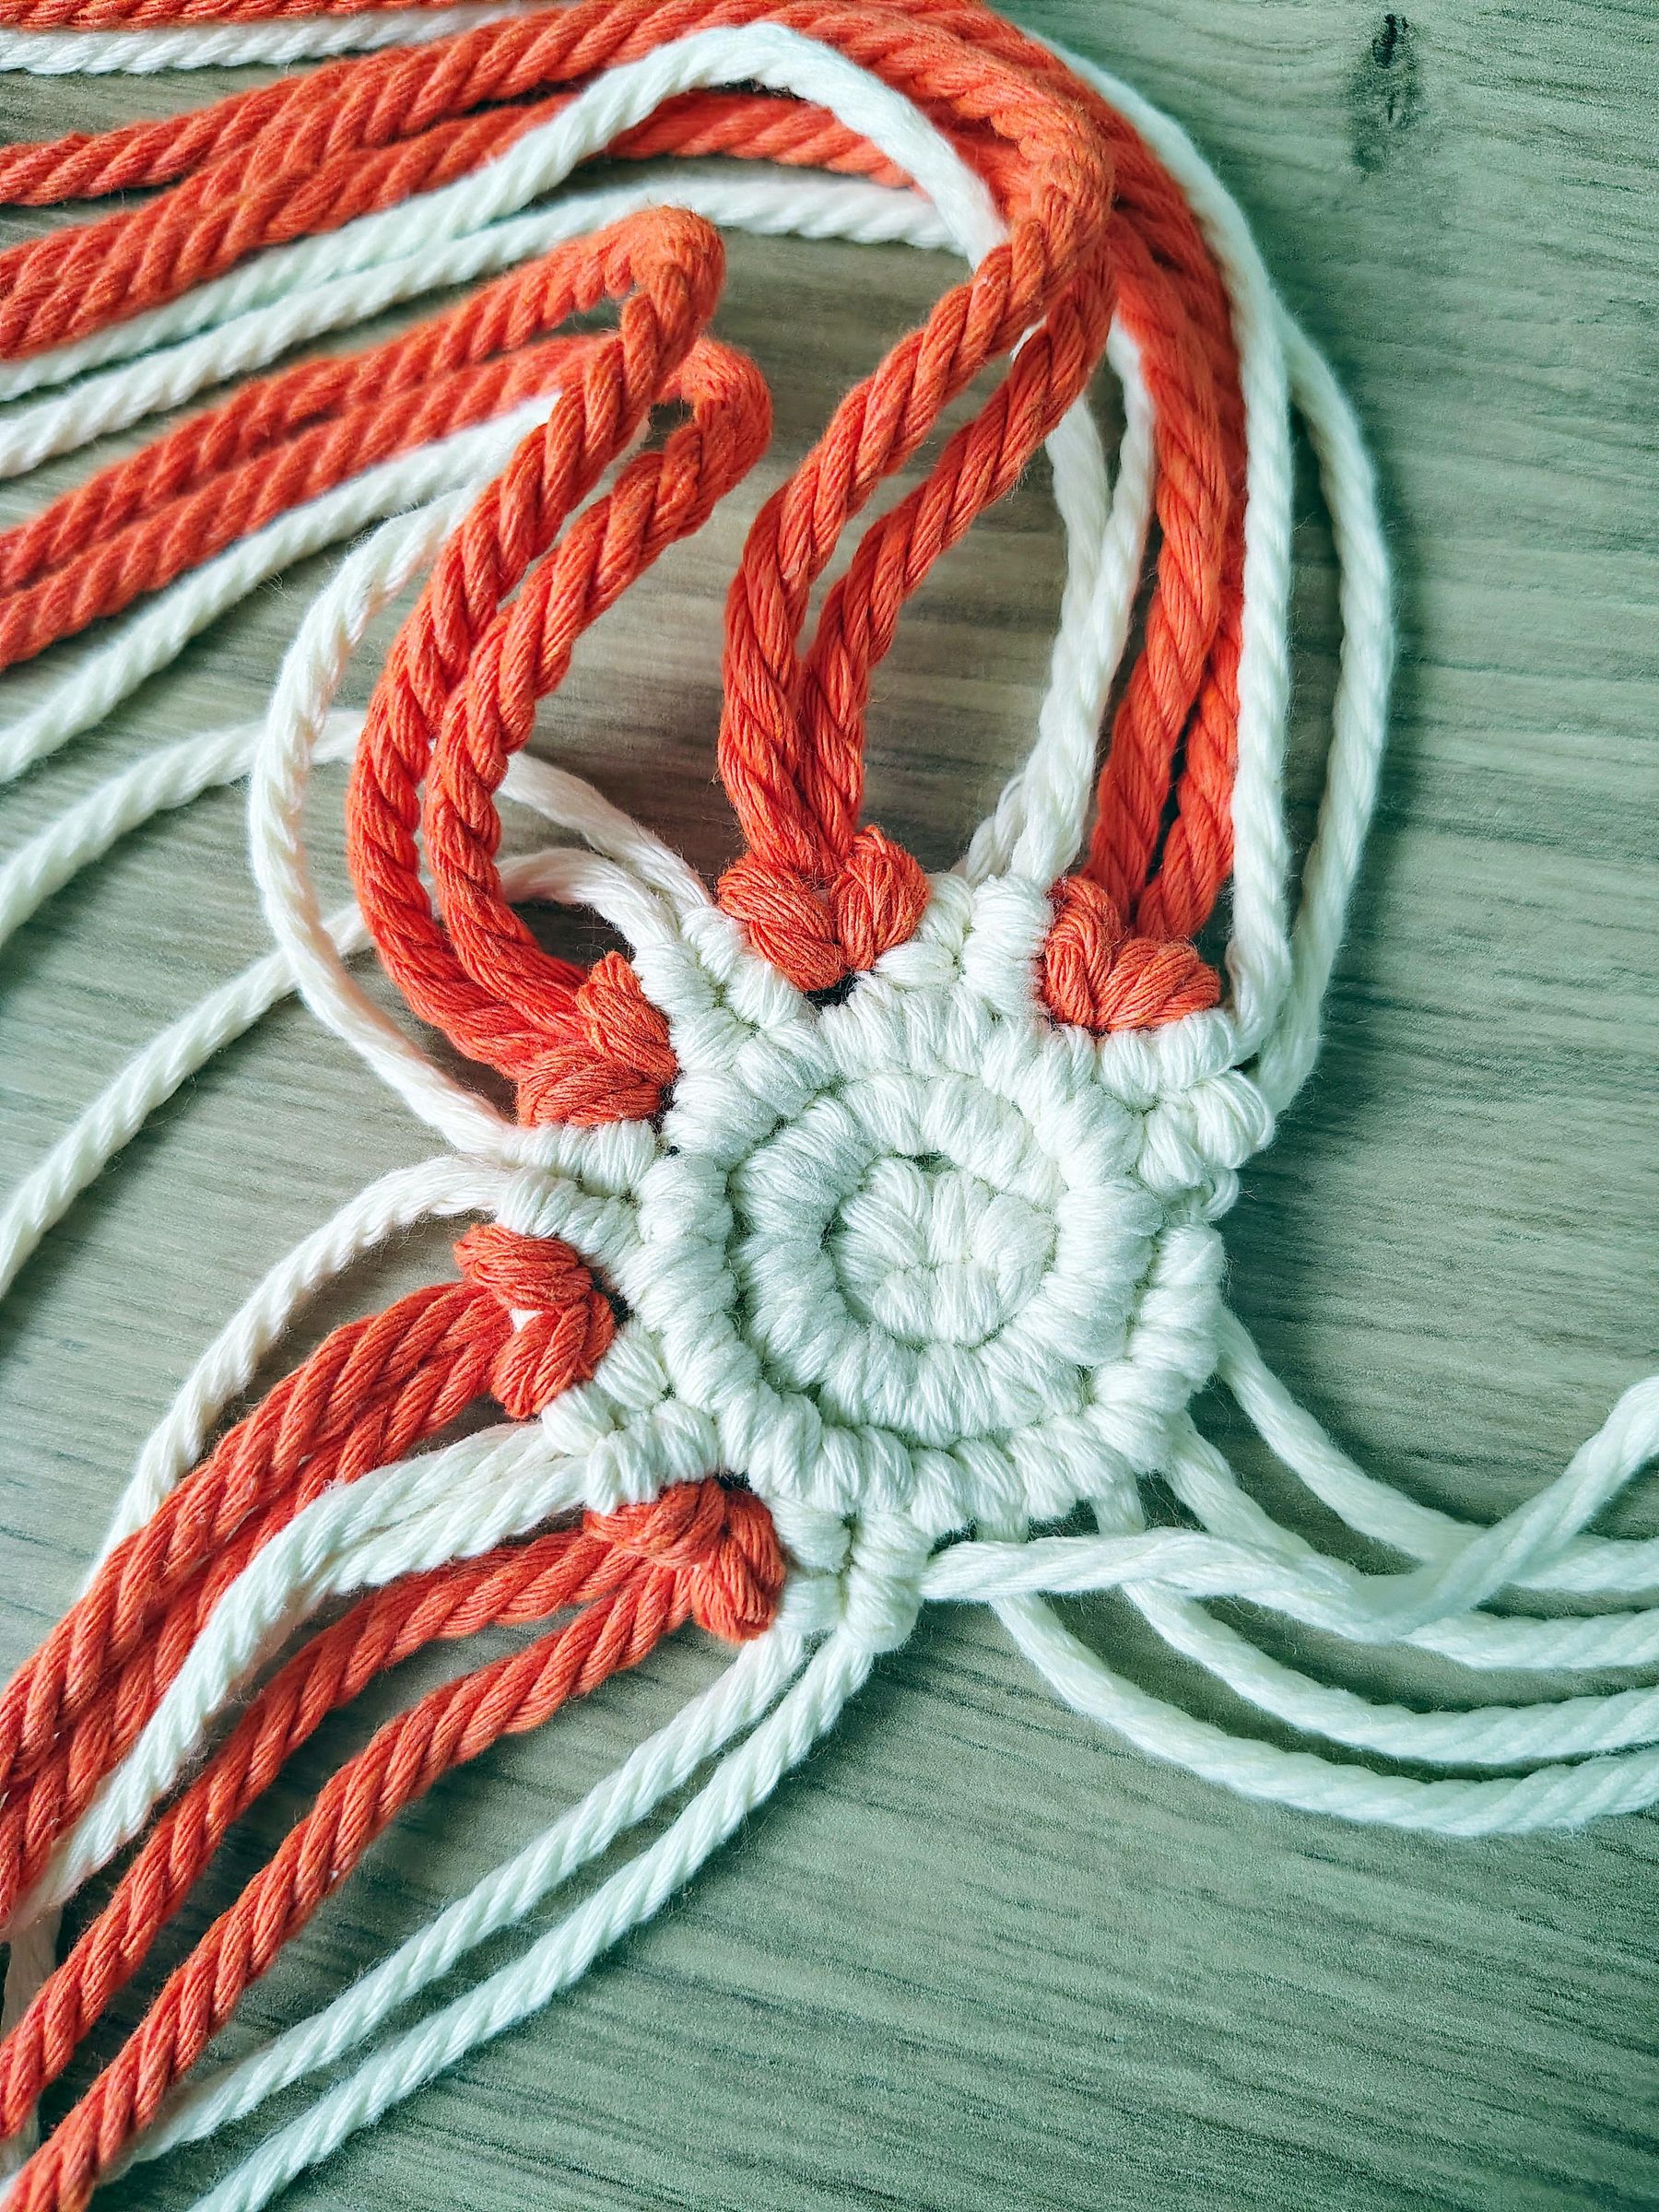
After you are done with the first two vertical double half-hitch knots it's time to add a pop of orange to this project.
Take your orange cord and cut 8 pieces of cord each measuring 2.5 meters in length.
Attach the first orange cord to the carrier cord via a Lark's head knot. Next, tie two more vertical double half-hitch knots and add one more orange cord.
Continue this process until you attach all of the orange cords to the carrier cord.
The first row is now complete.
Second Row
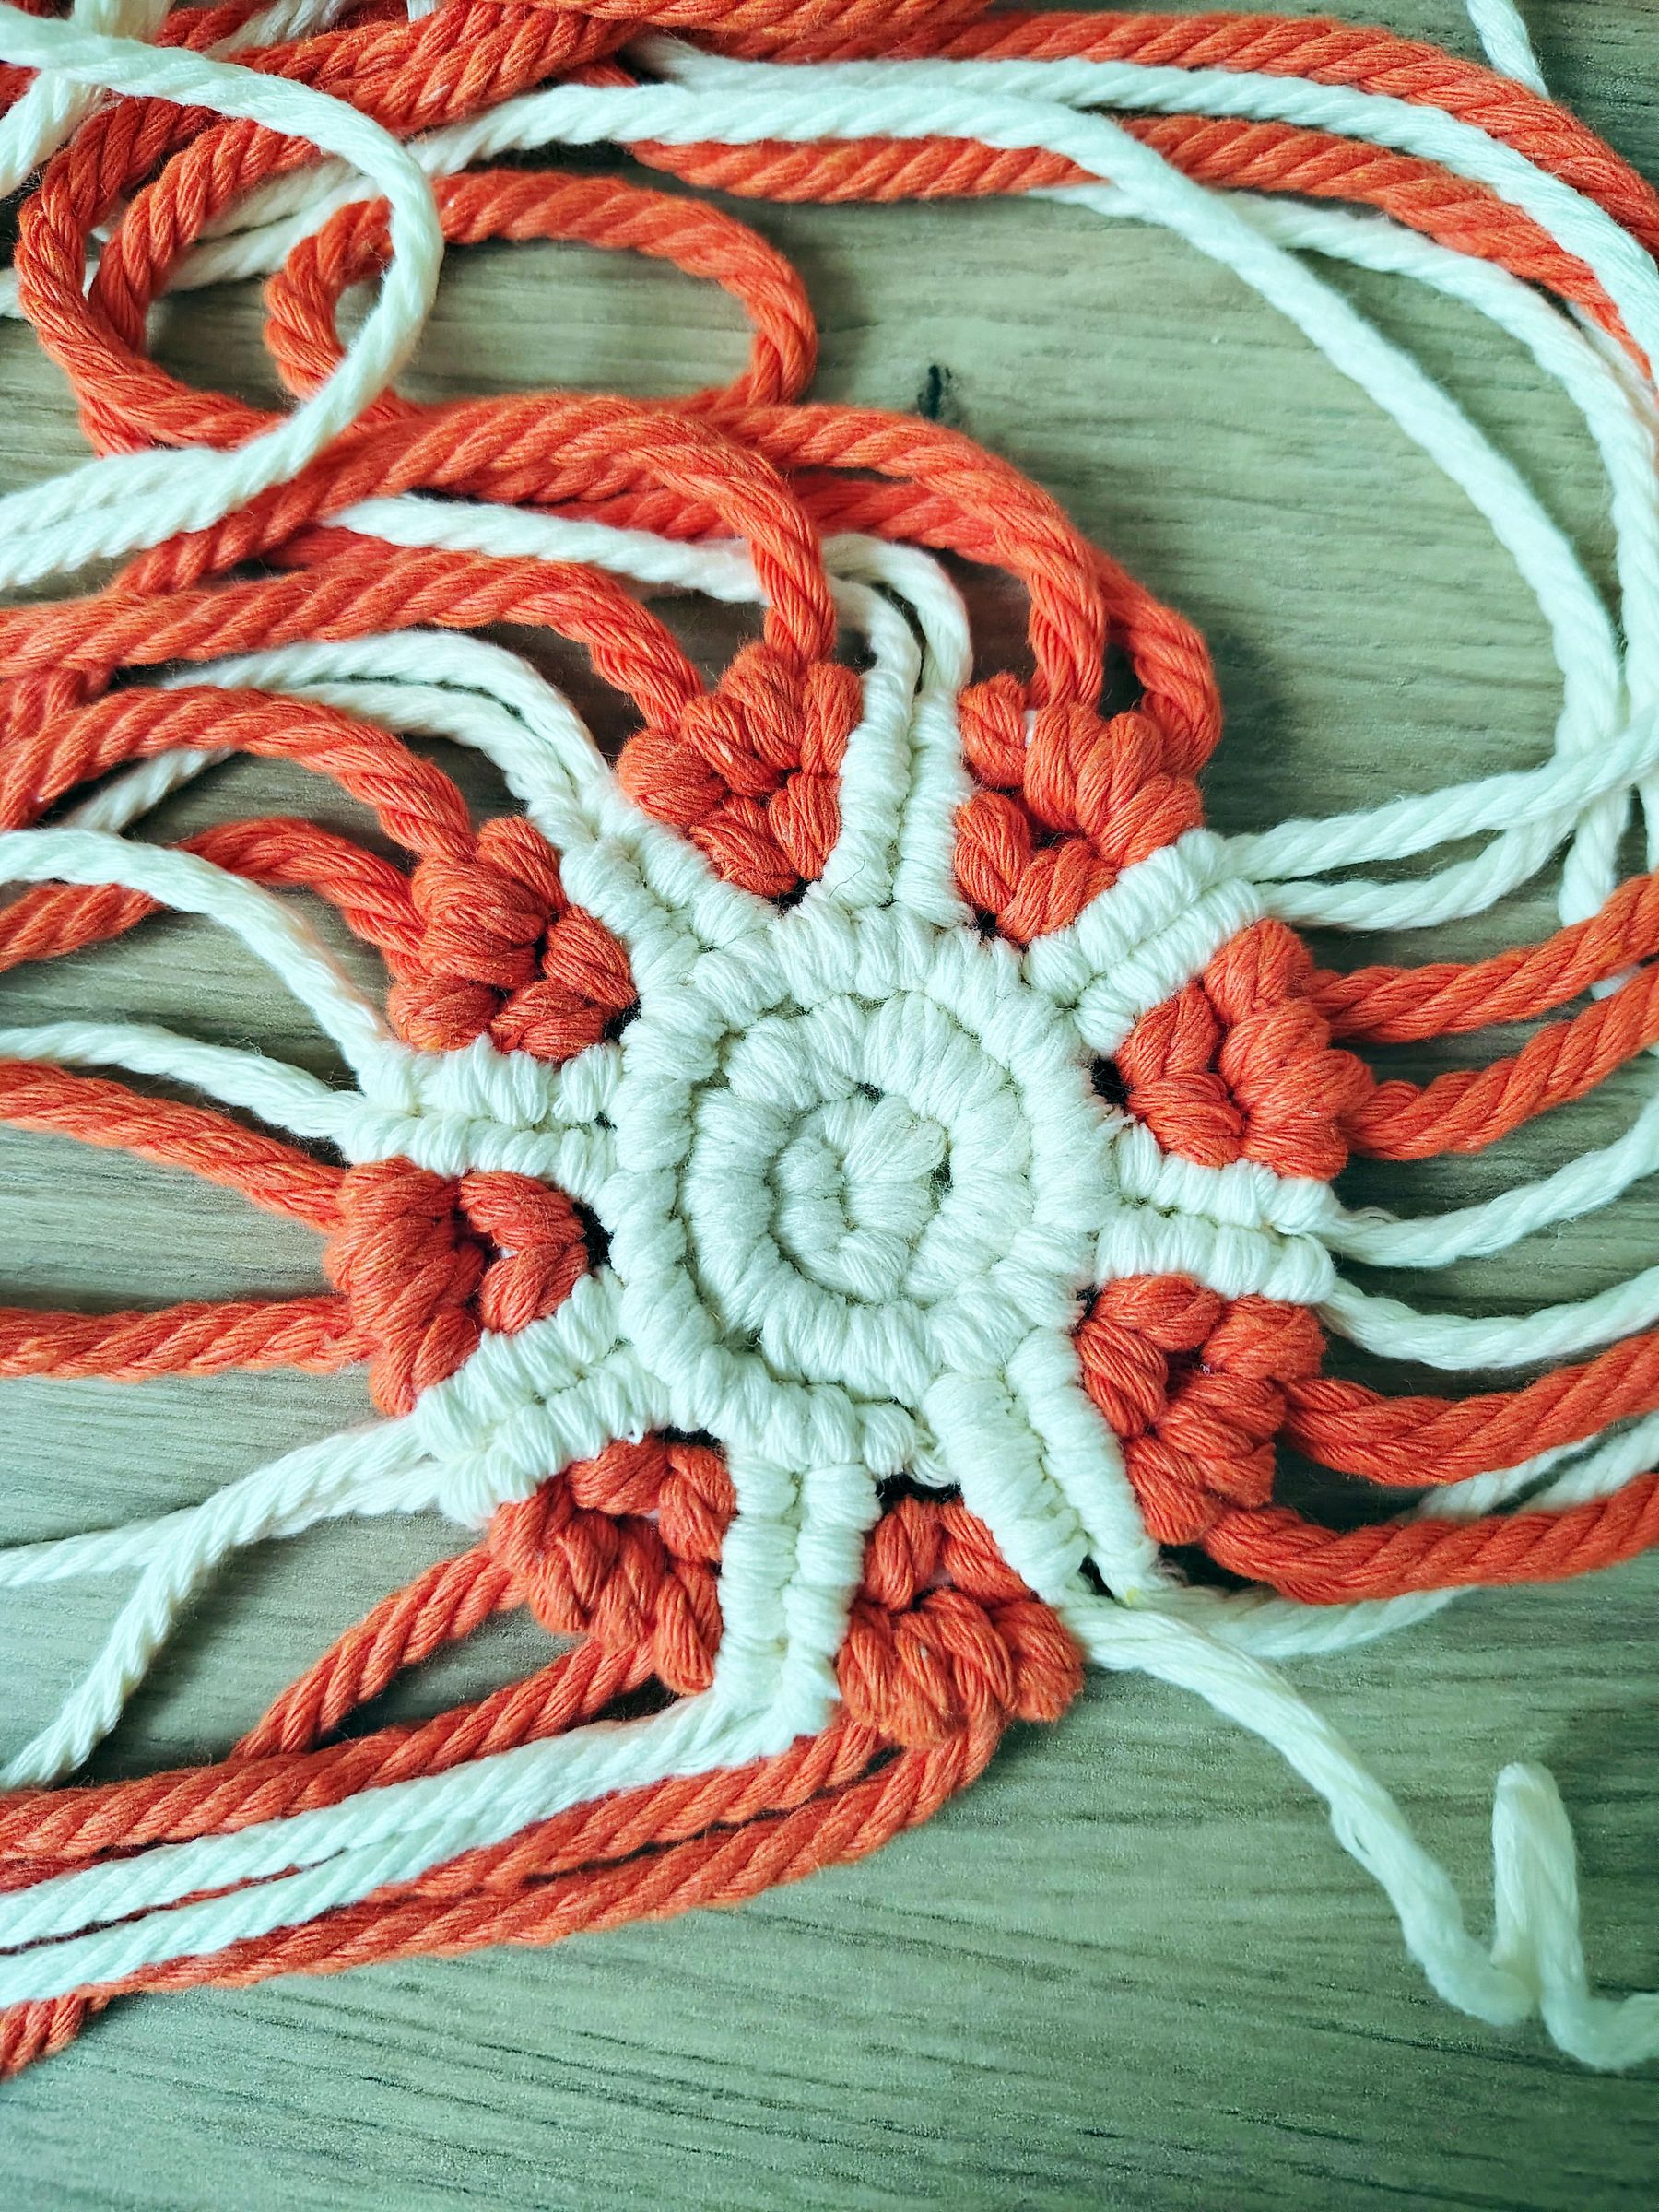
The second row consists of alternating between two vertical double half-hitch knots with the milky white cord and two double half-hitch knots with the orange cords.
Third Row
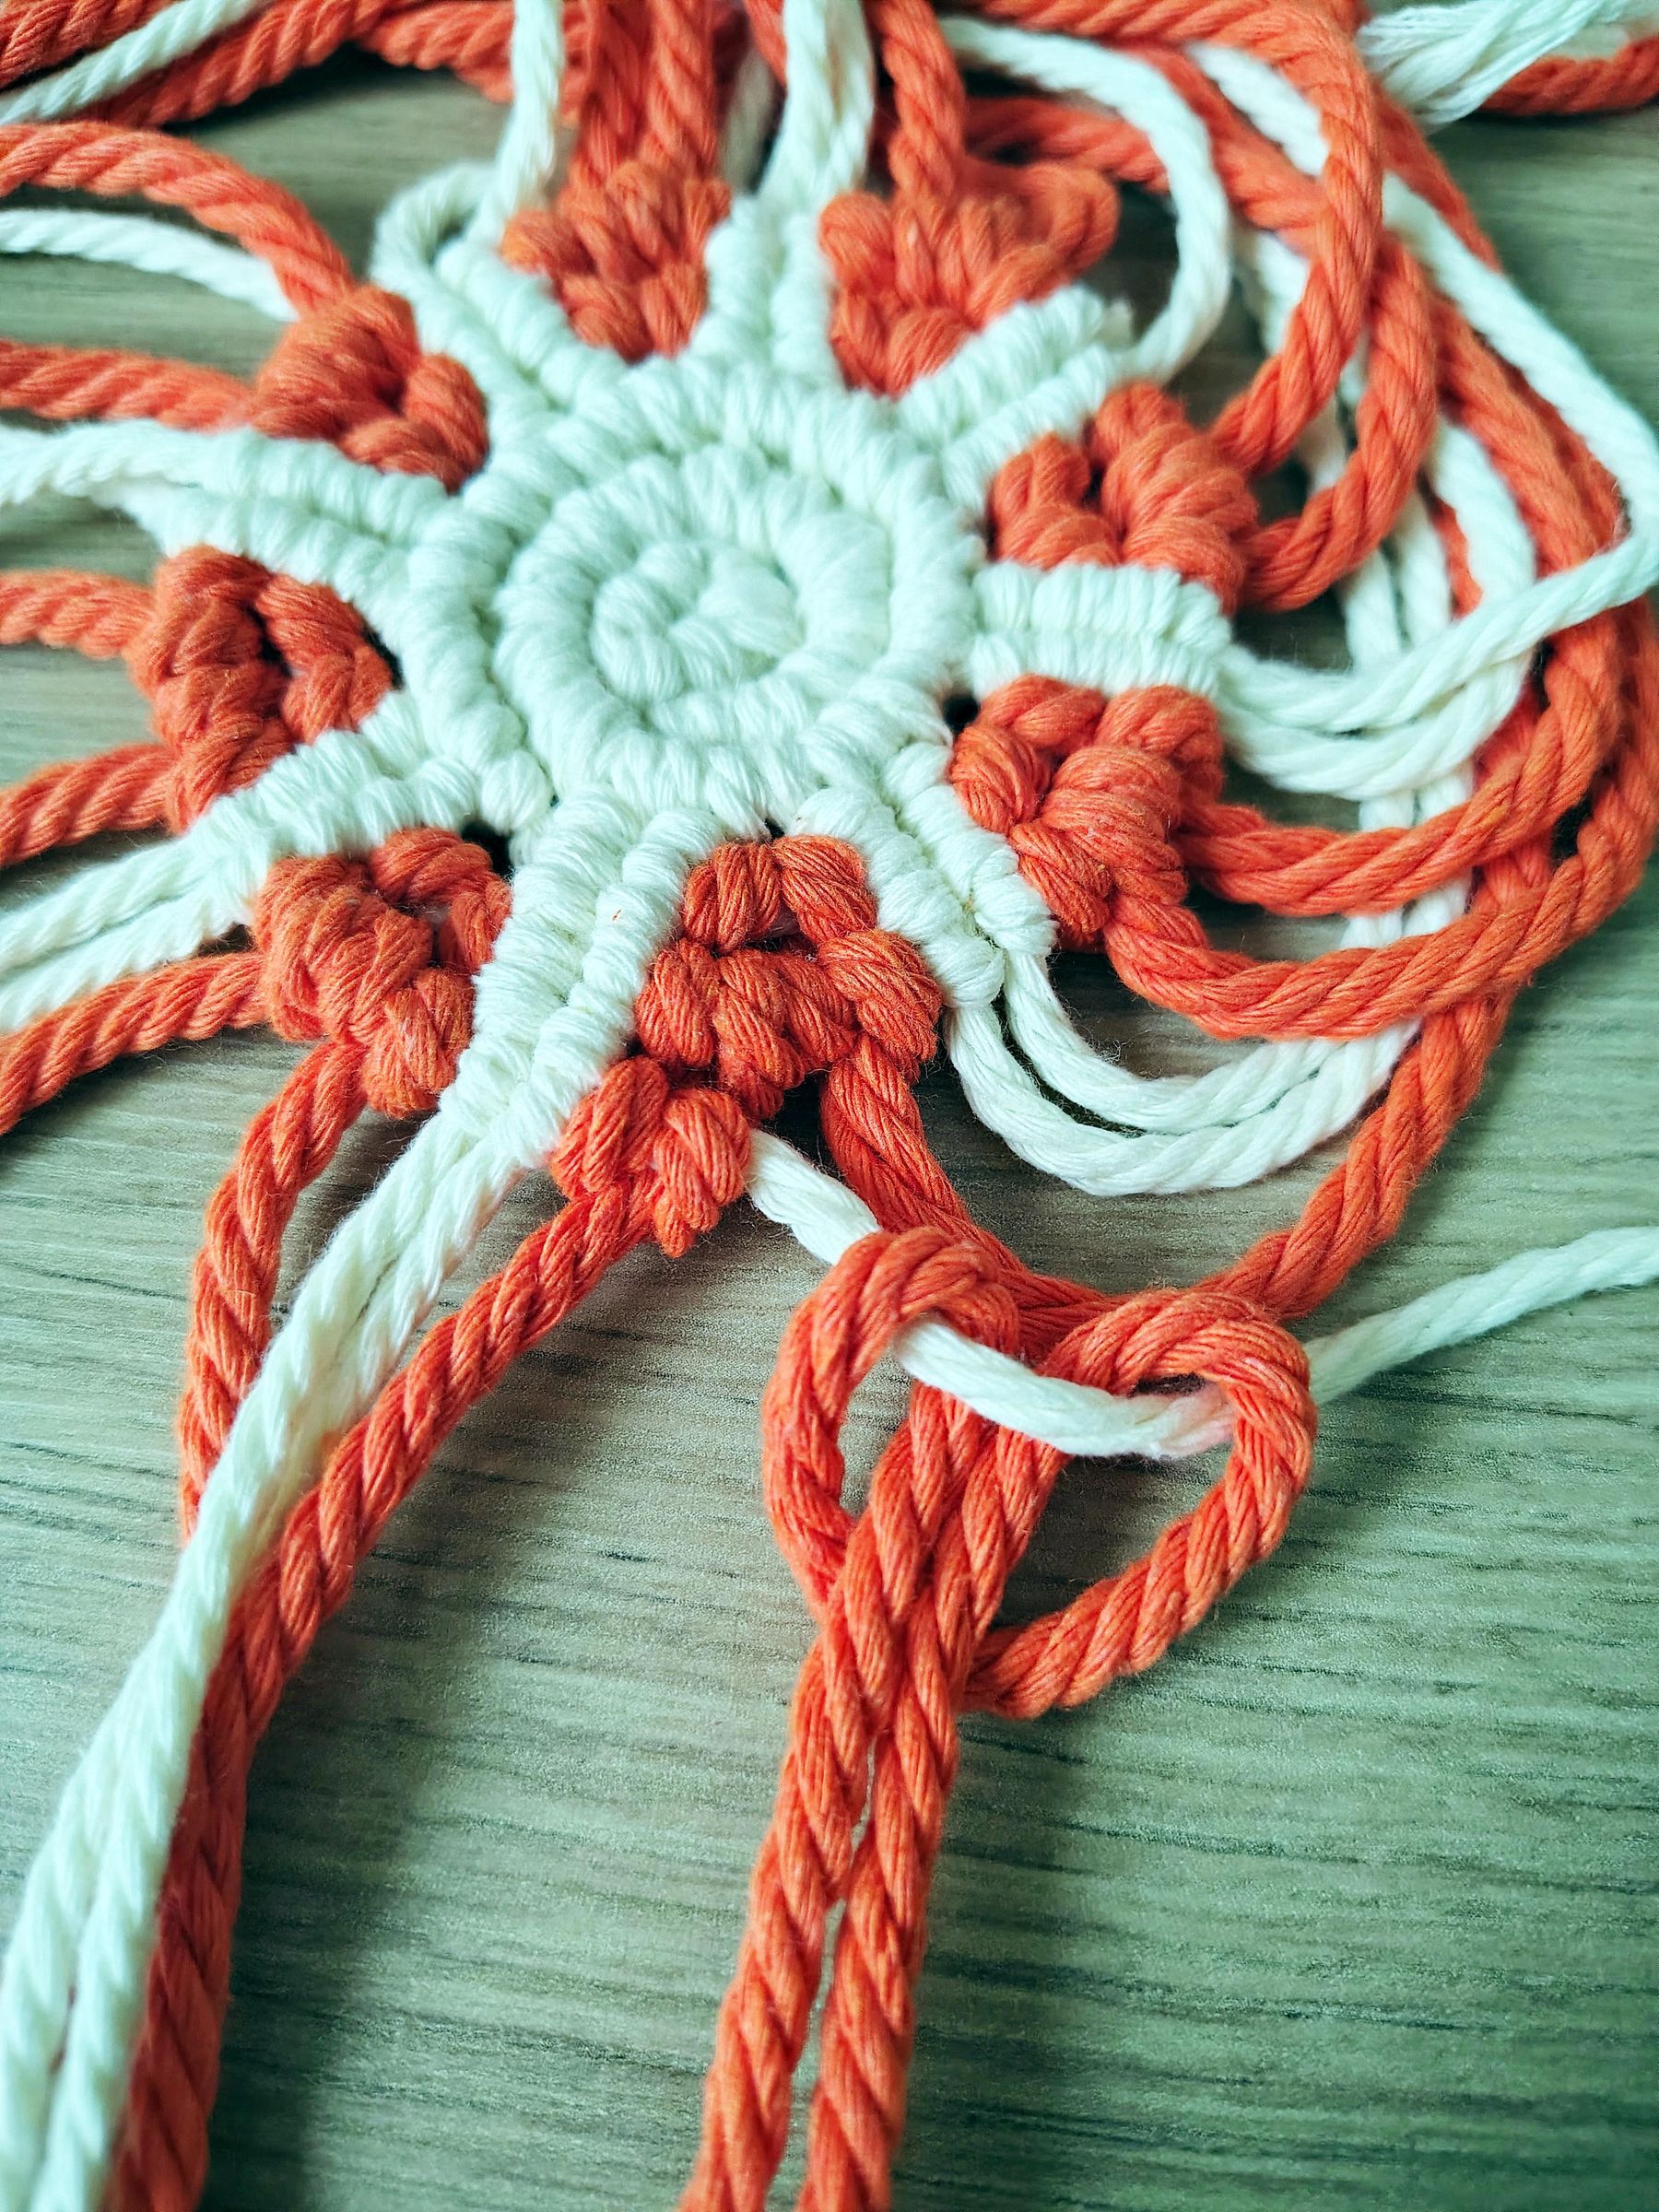
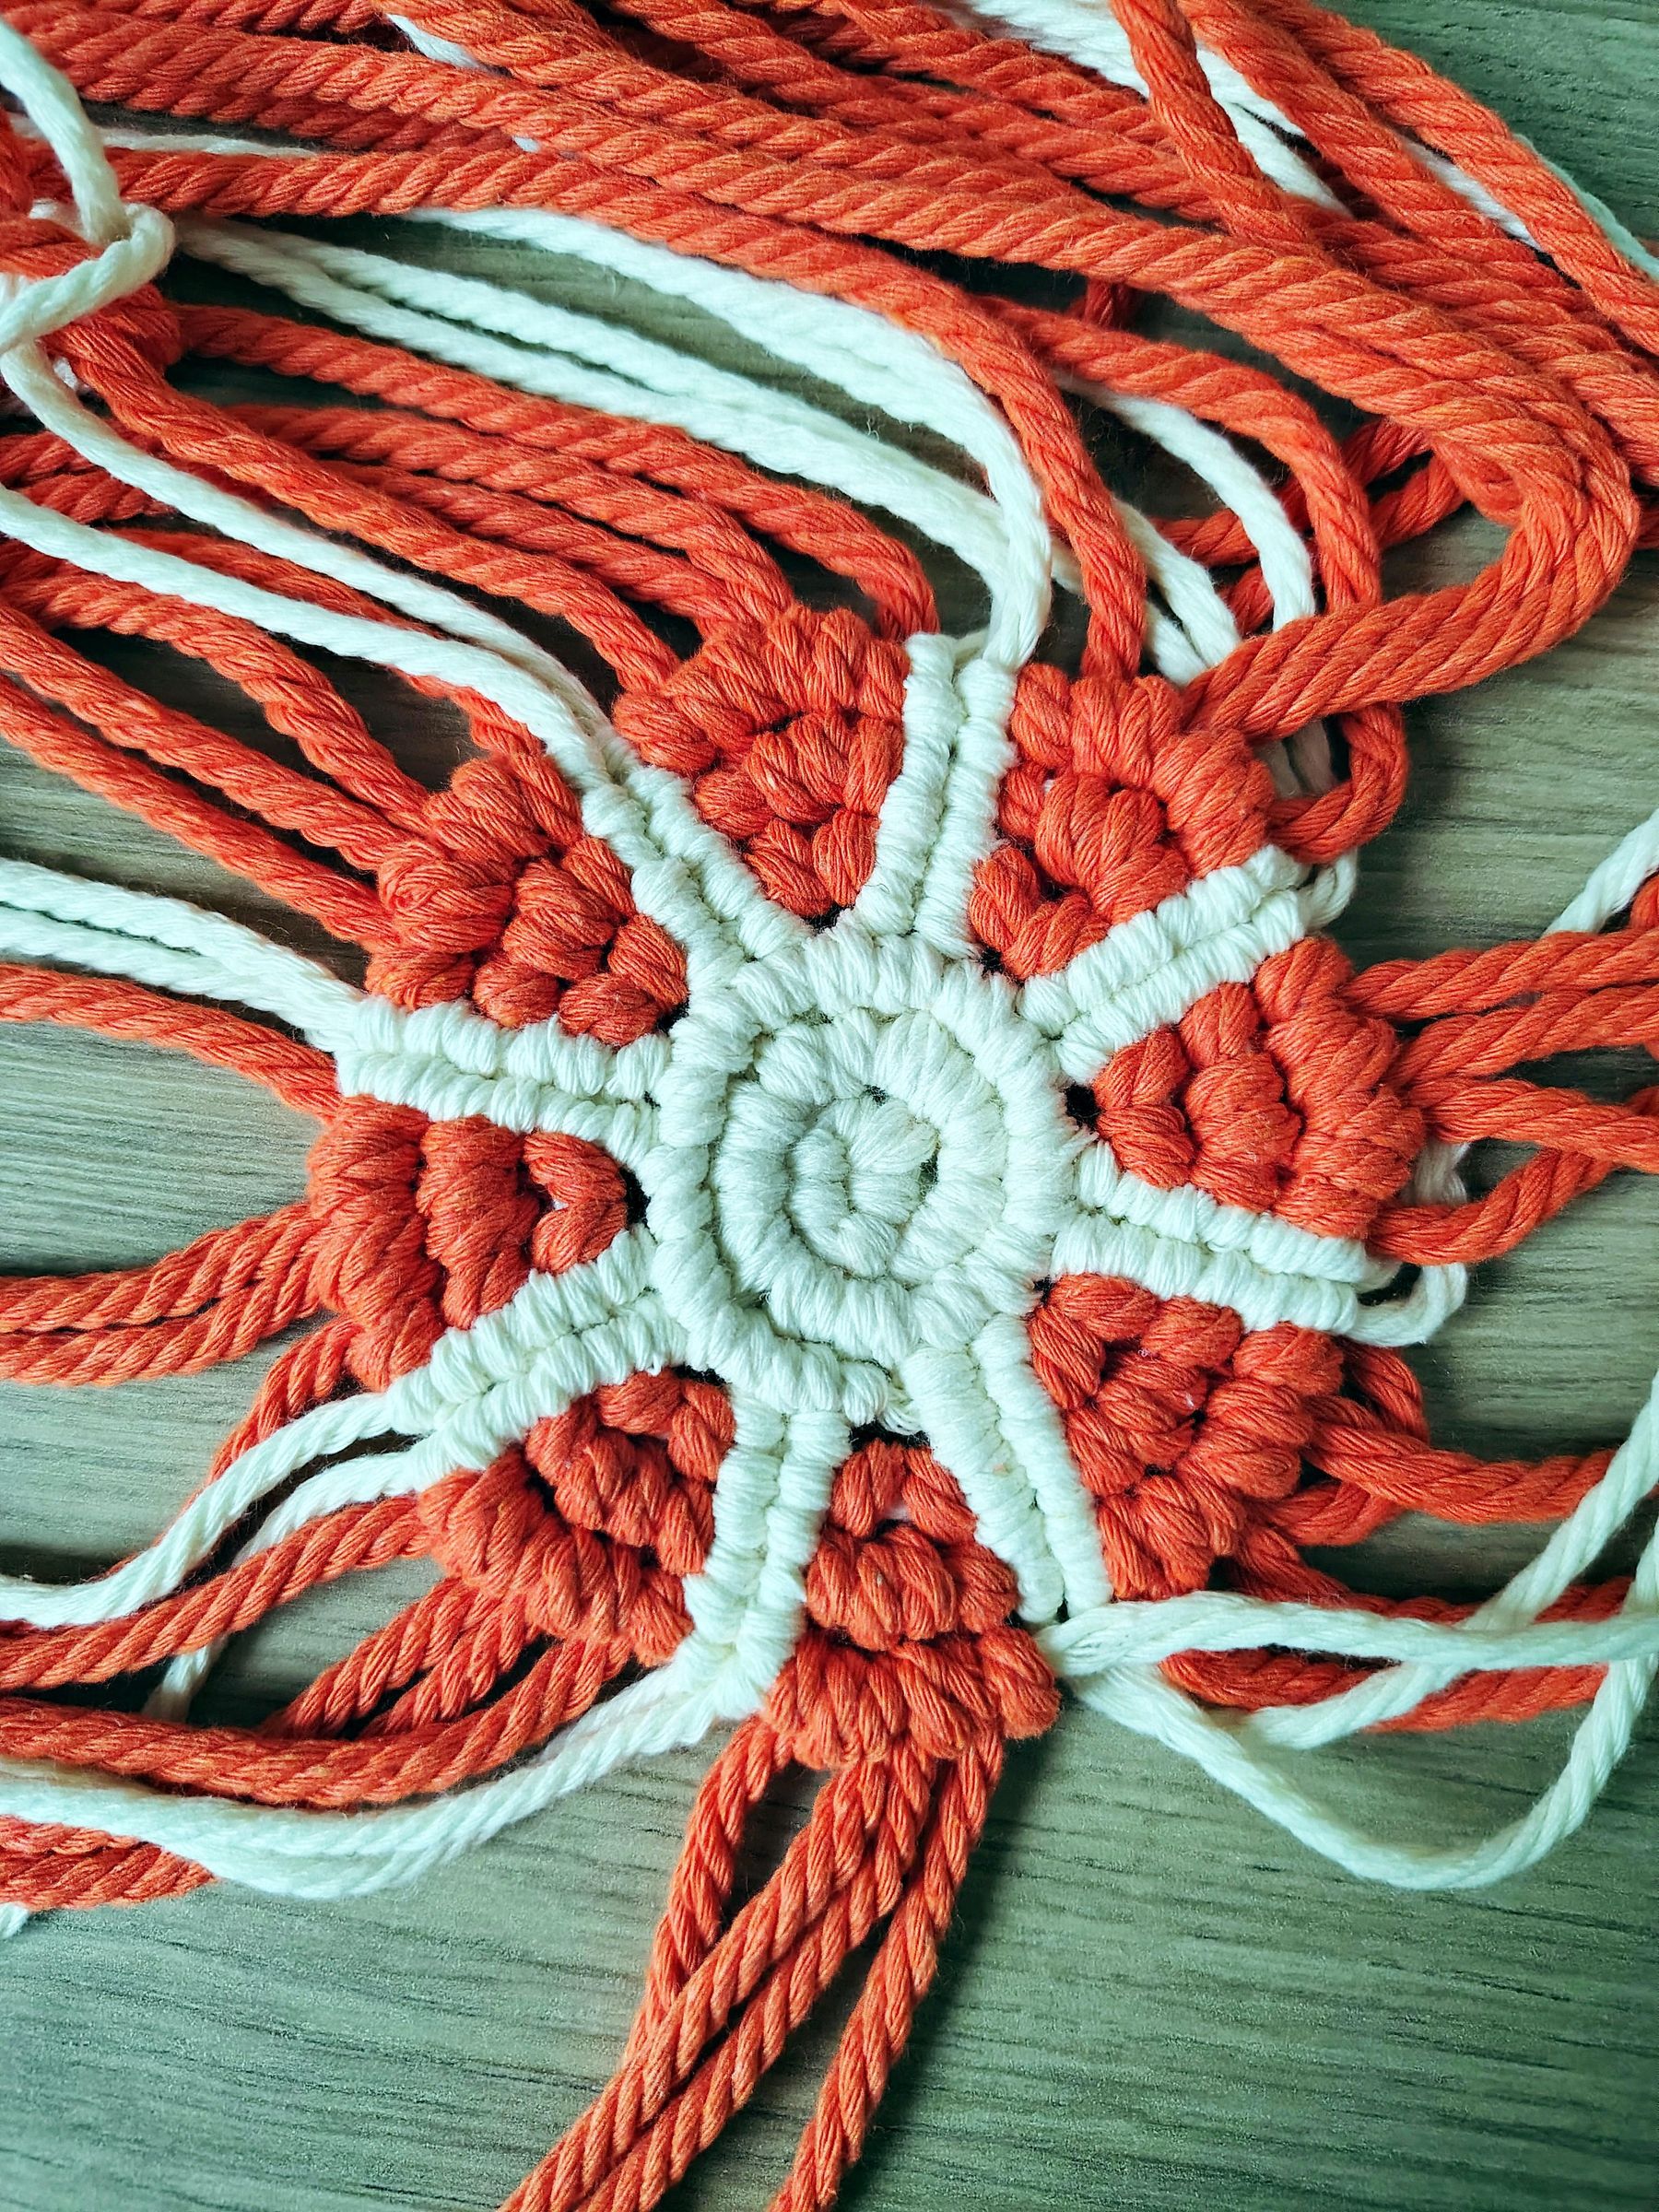
For the third row you will be adding 8 more strands of orange cord - so start this step by measuring and cutting them. Each piece of cord should be 2 meters long.
Tie two vertical double half-hitch knots with the milky white cords.
Continue with the first strand of orange cord and tie a double half-hitch knot. Next, attach one of the cords you cut at the beginning of this step to the carrier cord via a Lark's head knot. Move on to tying the second double half-hitch knot with the other piece of orange cord. In total you should have 4 orange strands.
The first of eight sections is complete.
Repeat this step with the rest of the sections.
Fourth Row
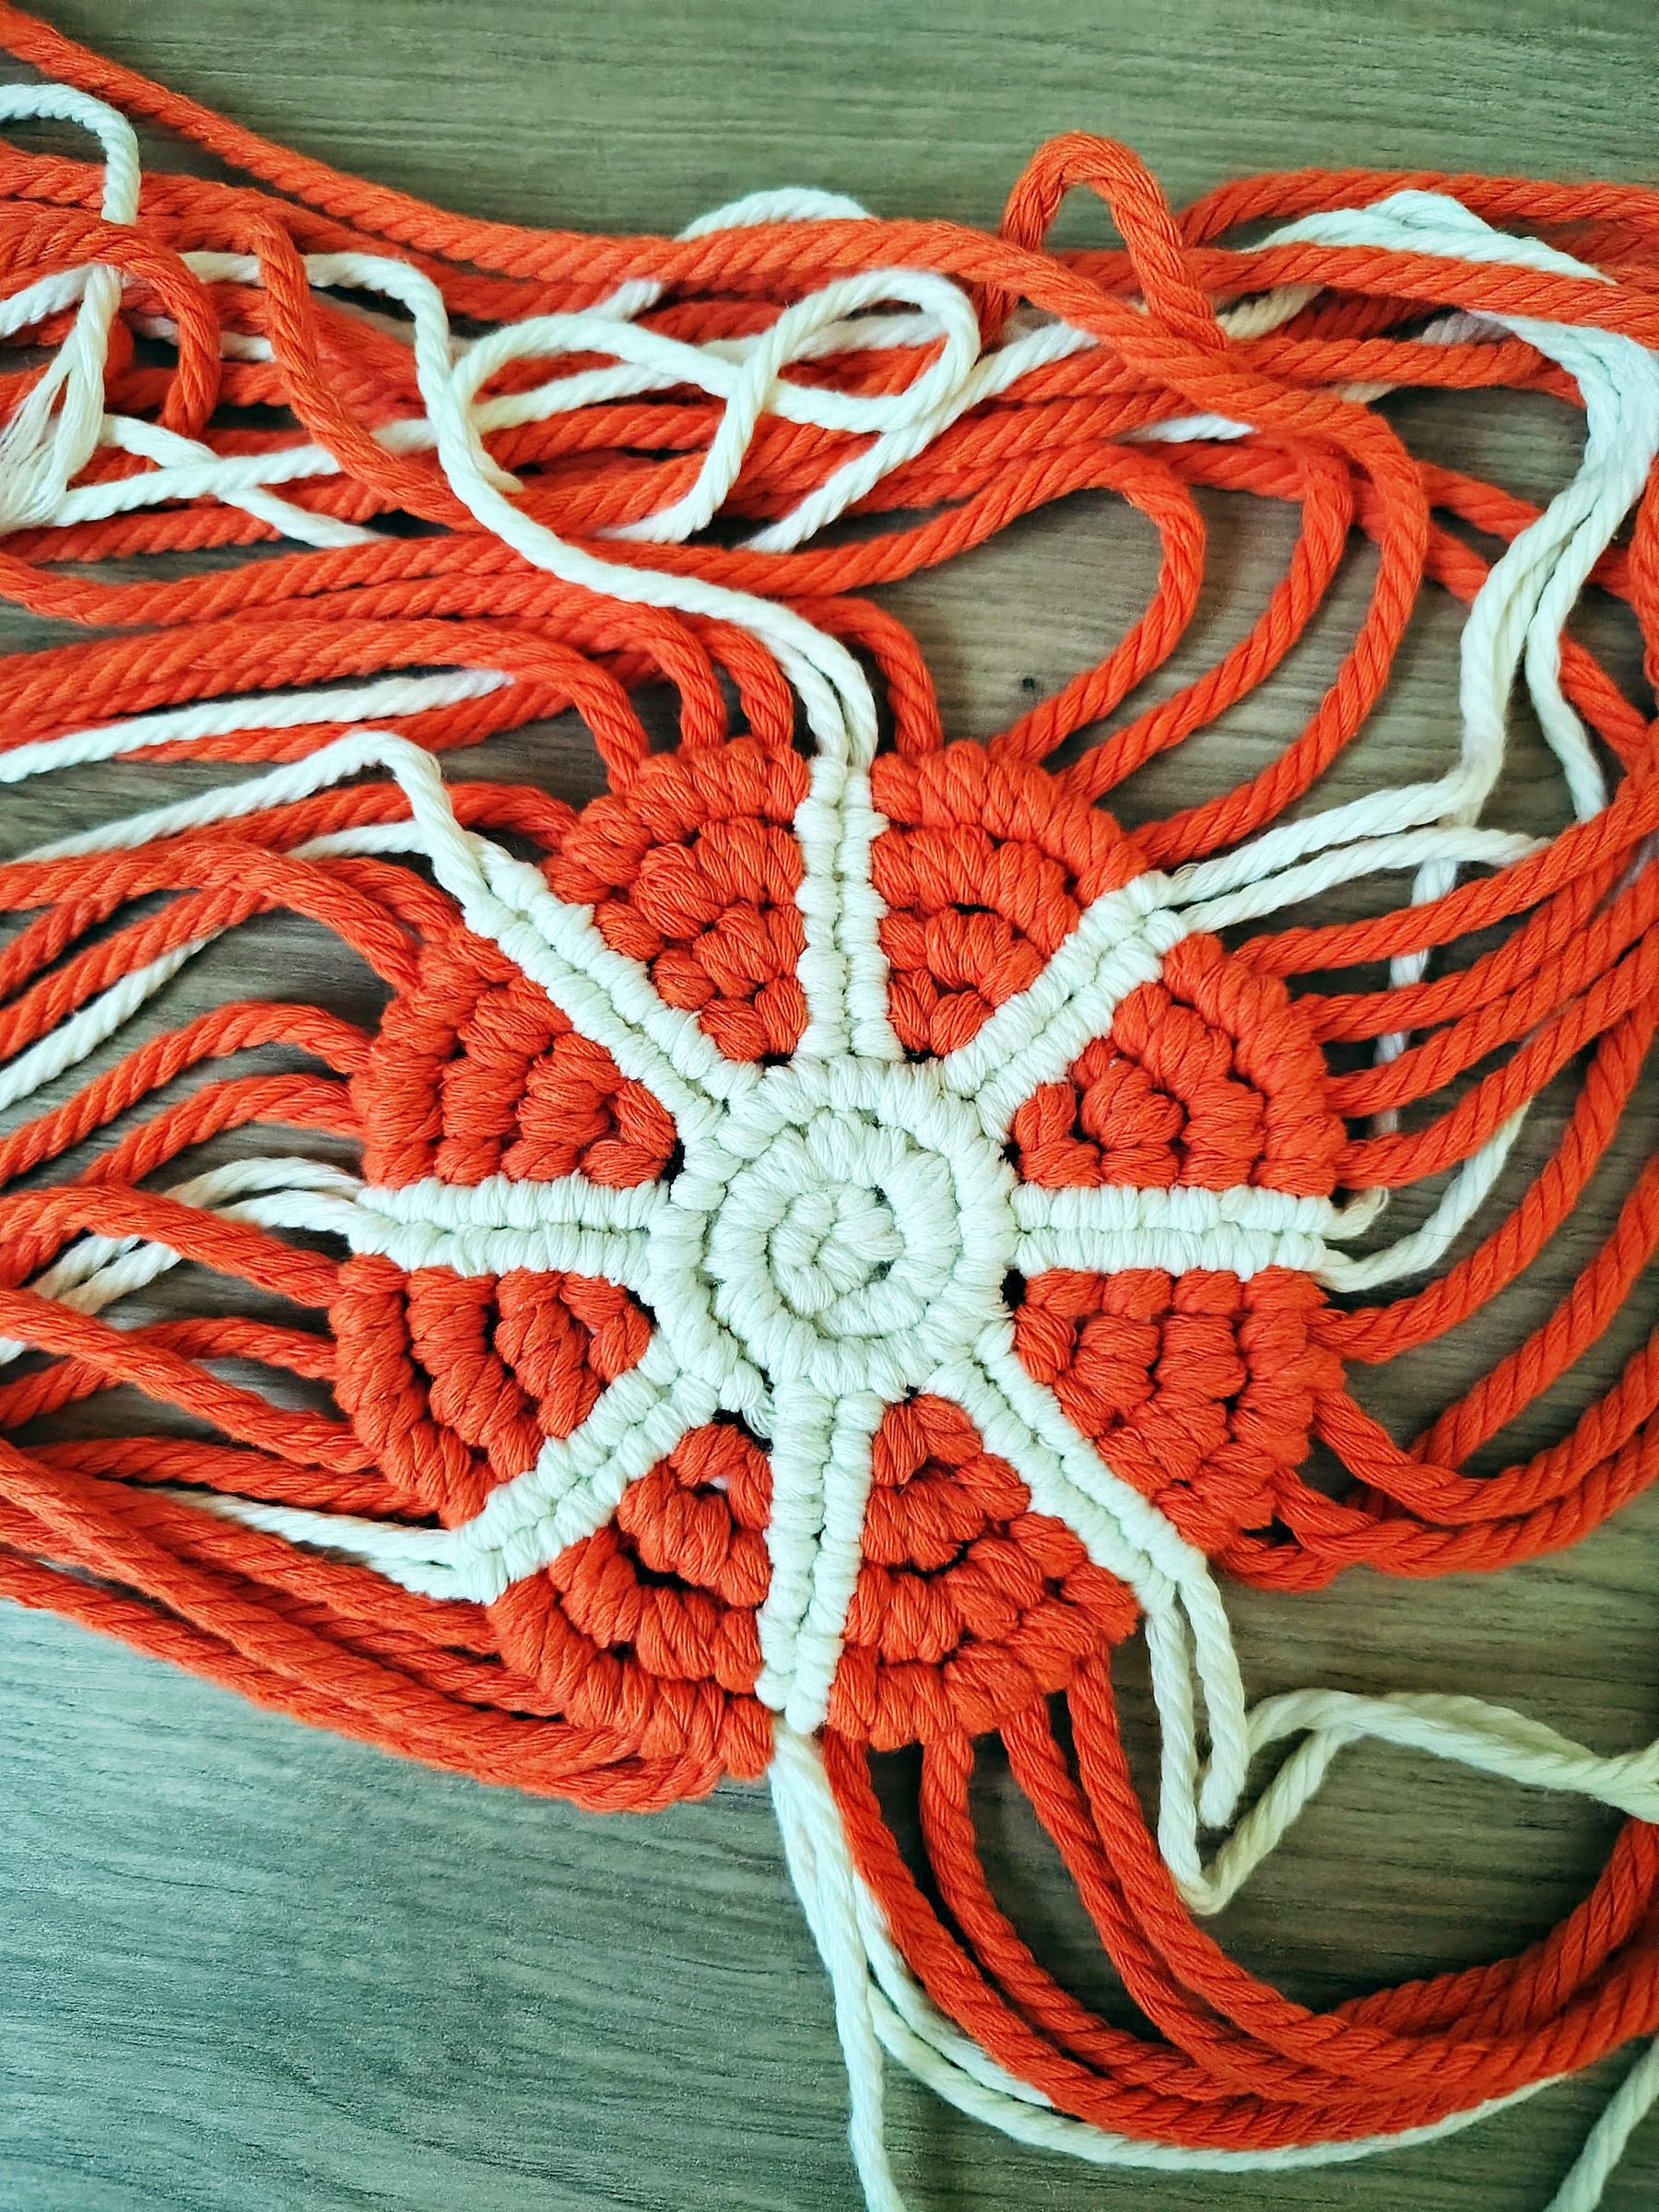
The fourth row consists of, again - alternating between two vertical double half-hitch knots with the milky white cord and four double half-hitch knots with the orange cords.
Fifth Row
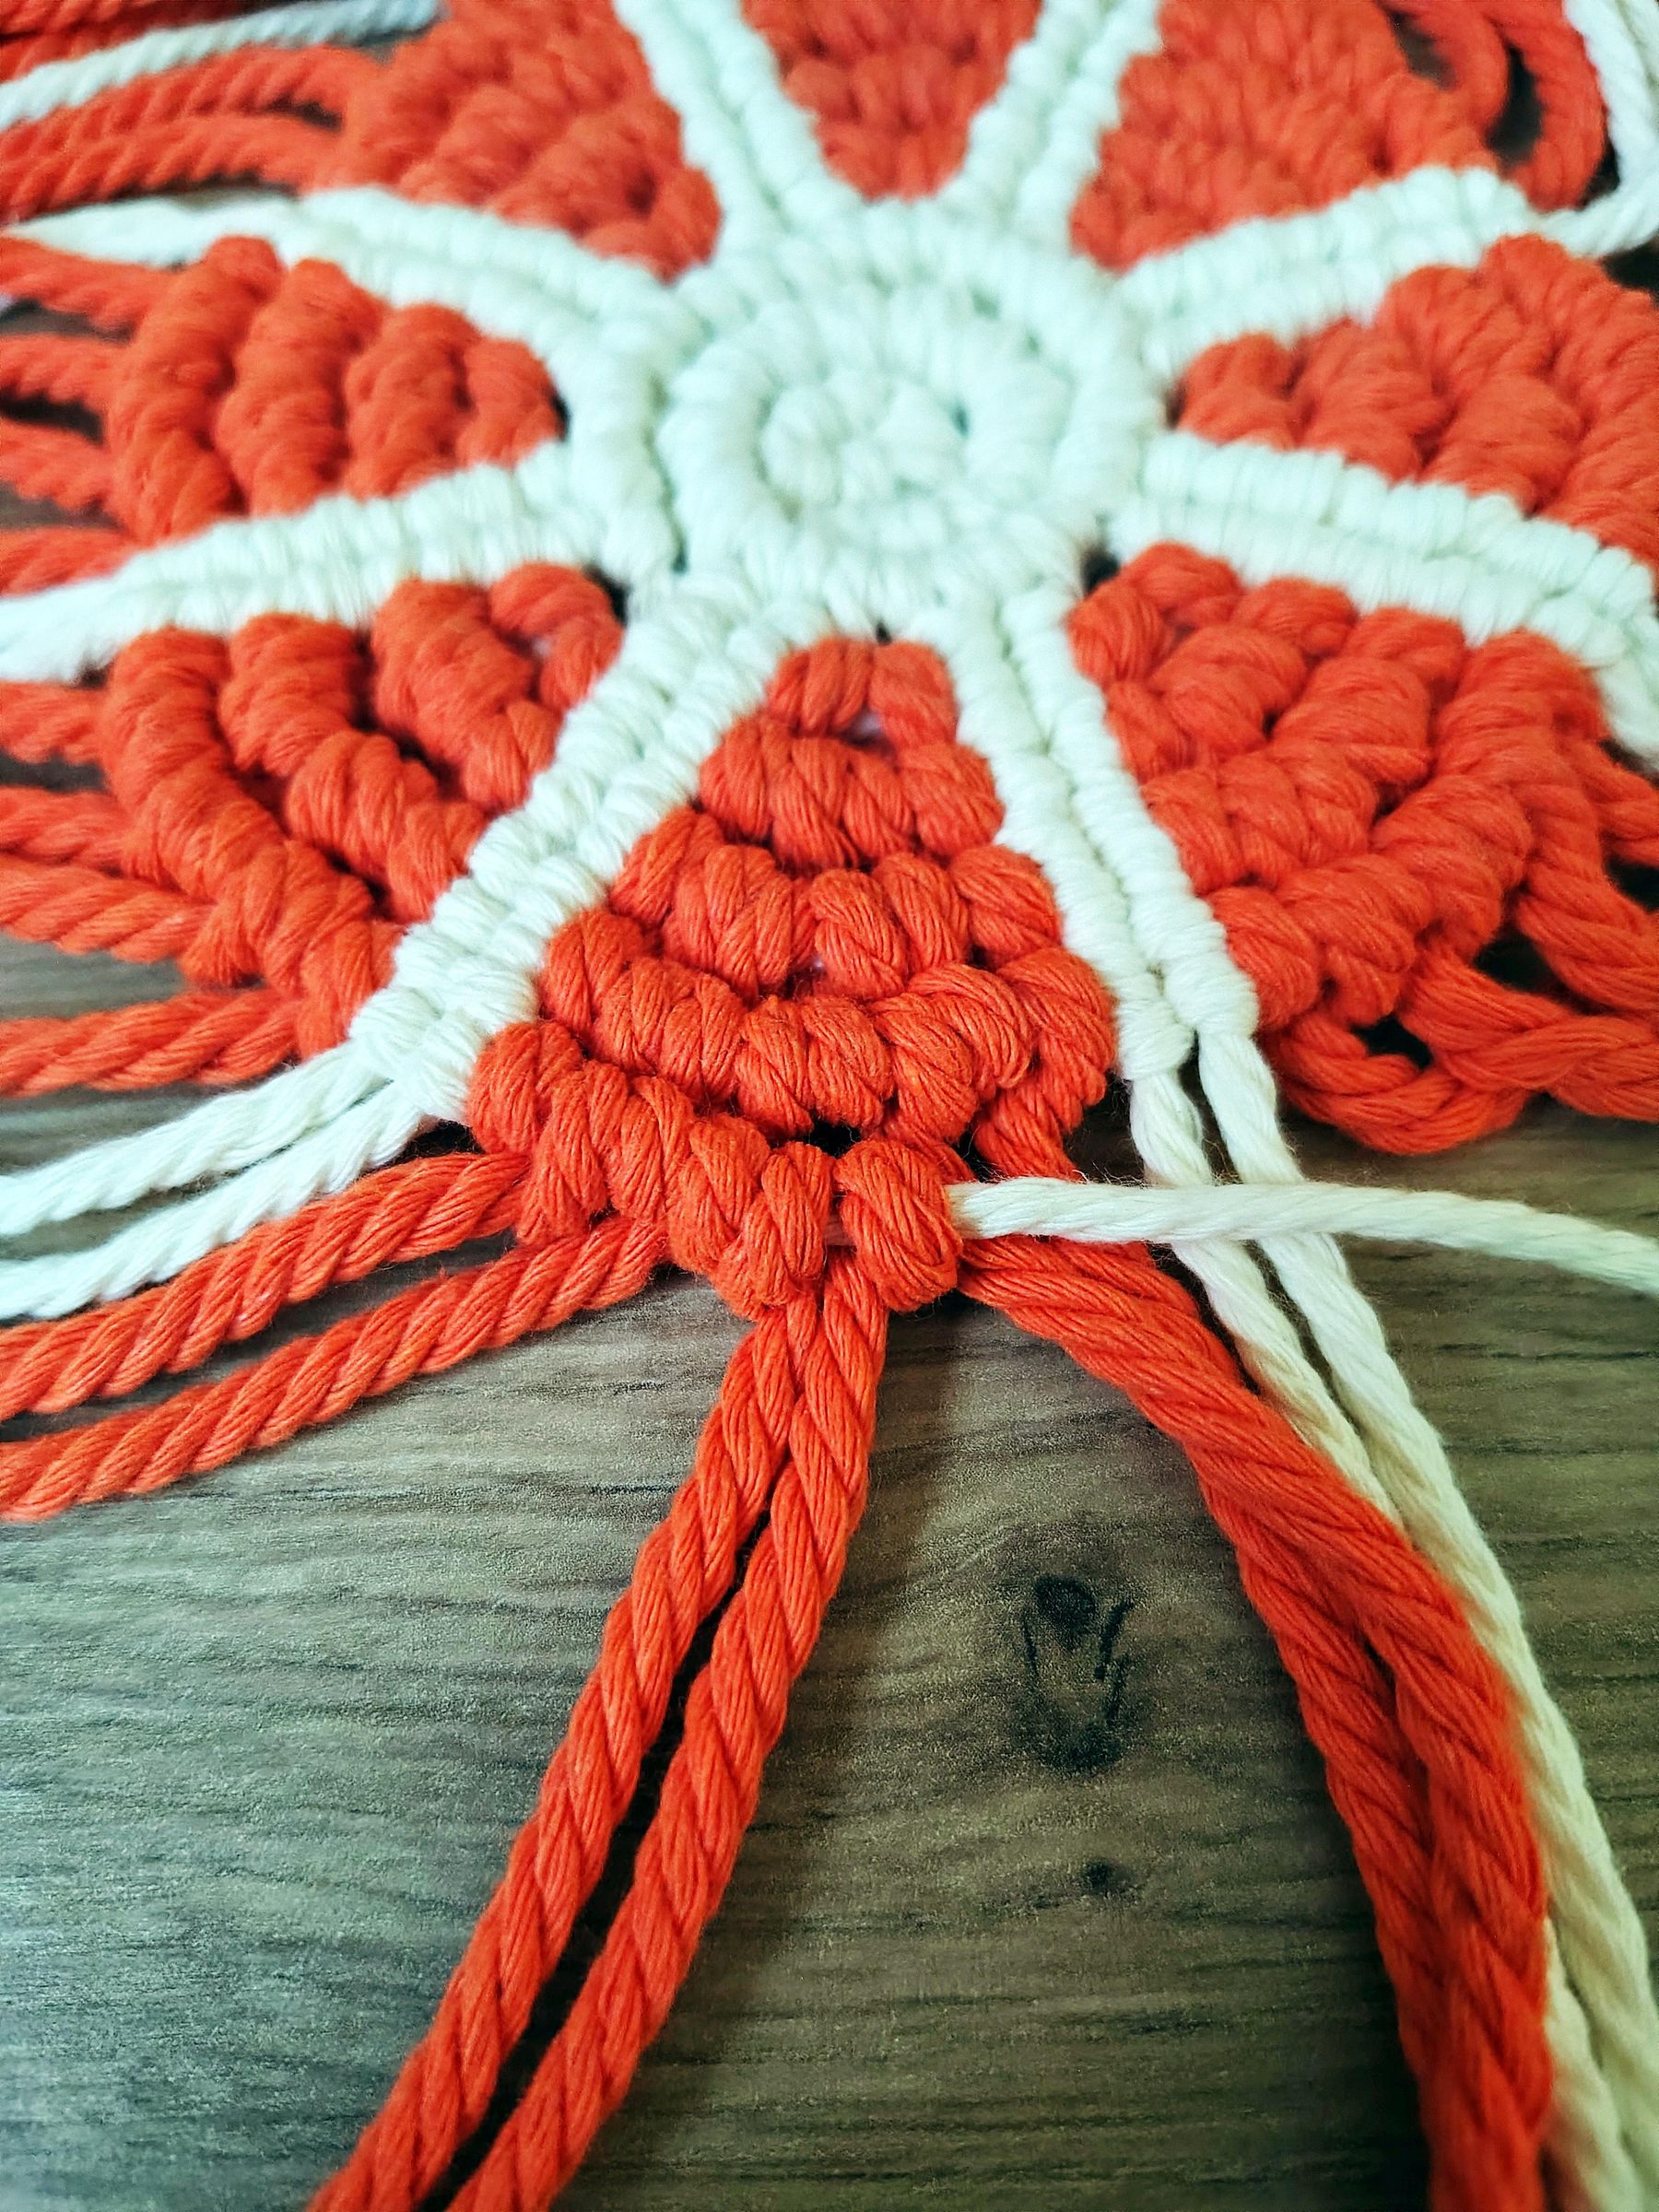
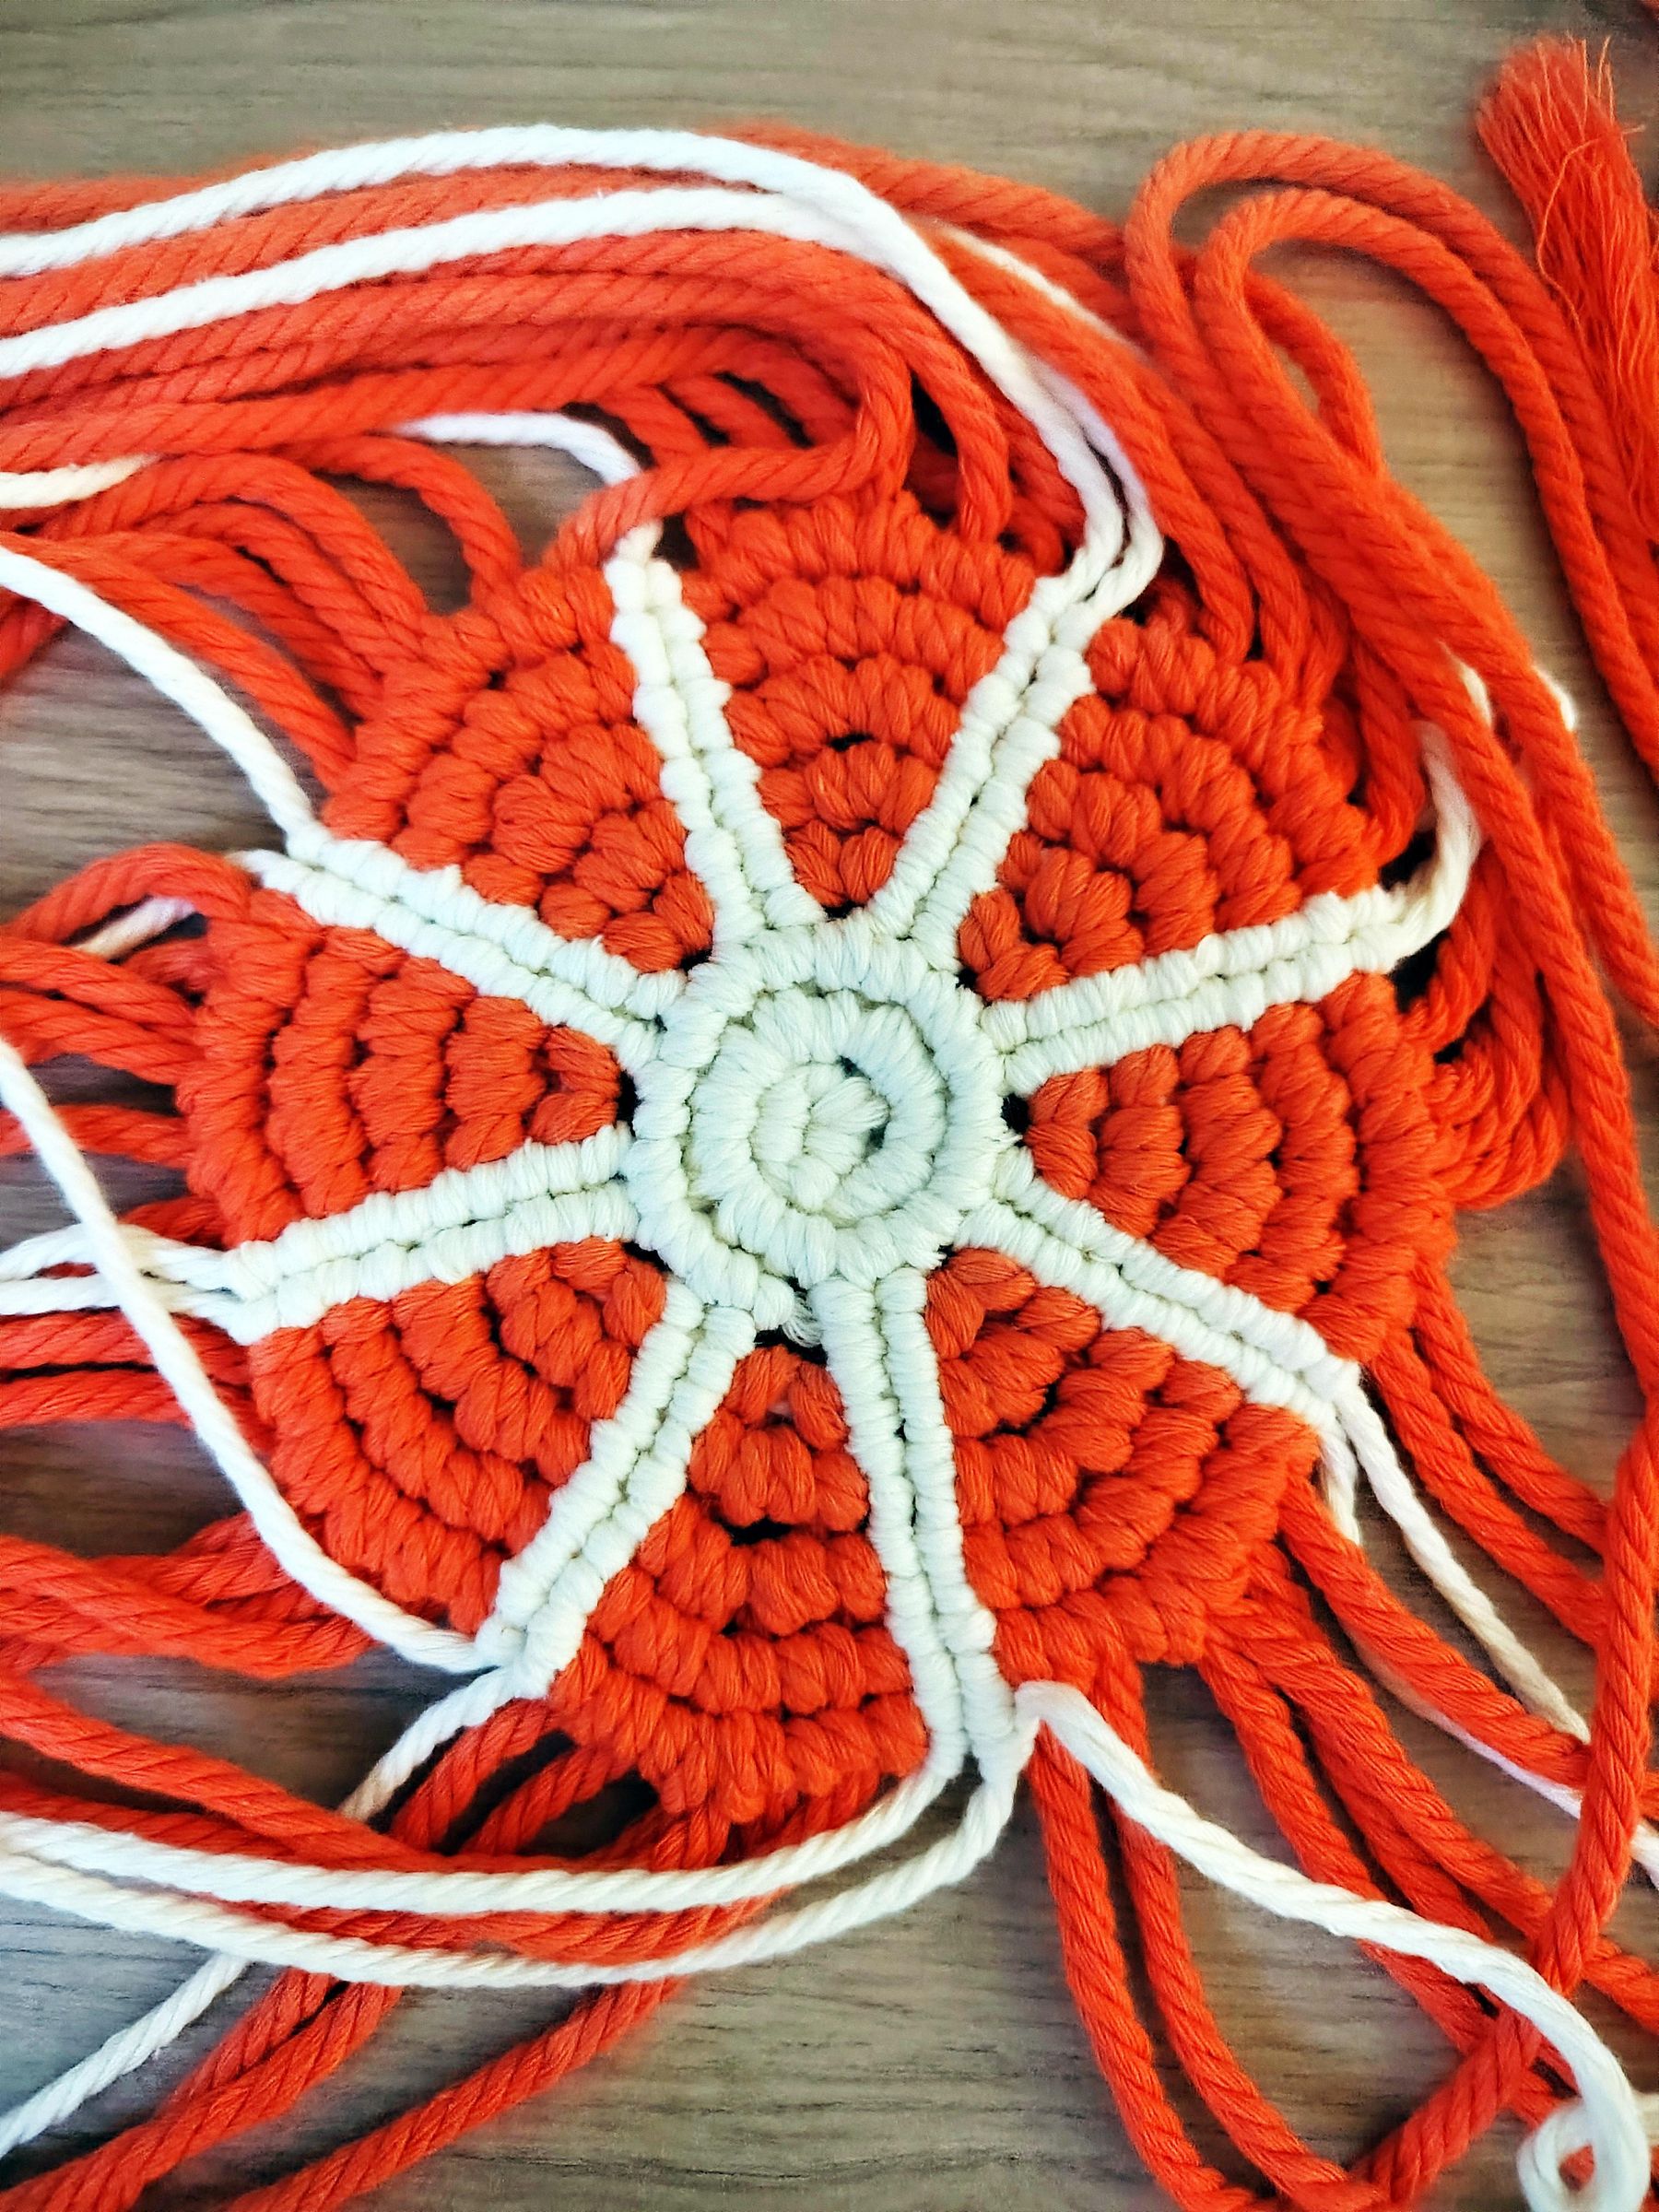
You guessed it - in this step we will be adding cord!
Start out by measuring and cutting 8 pieces of orange cord - each being 1.5 metres long.
By now it should come as a second nature to tie the two vertical double half-hitch knots and moving on to the orange double half-hitches. Once you tie the first two orange double half-hitches, attach the first of the eight strands of cord via a Lark's head knot to the carrier cord. Tie the rest of the two orange double half-hitches and your first section is complete. In total there should be 6 strands of orange cord.
Repeat the same process for the remaining seven strands of cord.
Sixth Row
You won't be adding any new cord on the sixth row so complete the row with the usual knots.
Remaining Rows
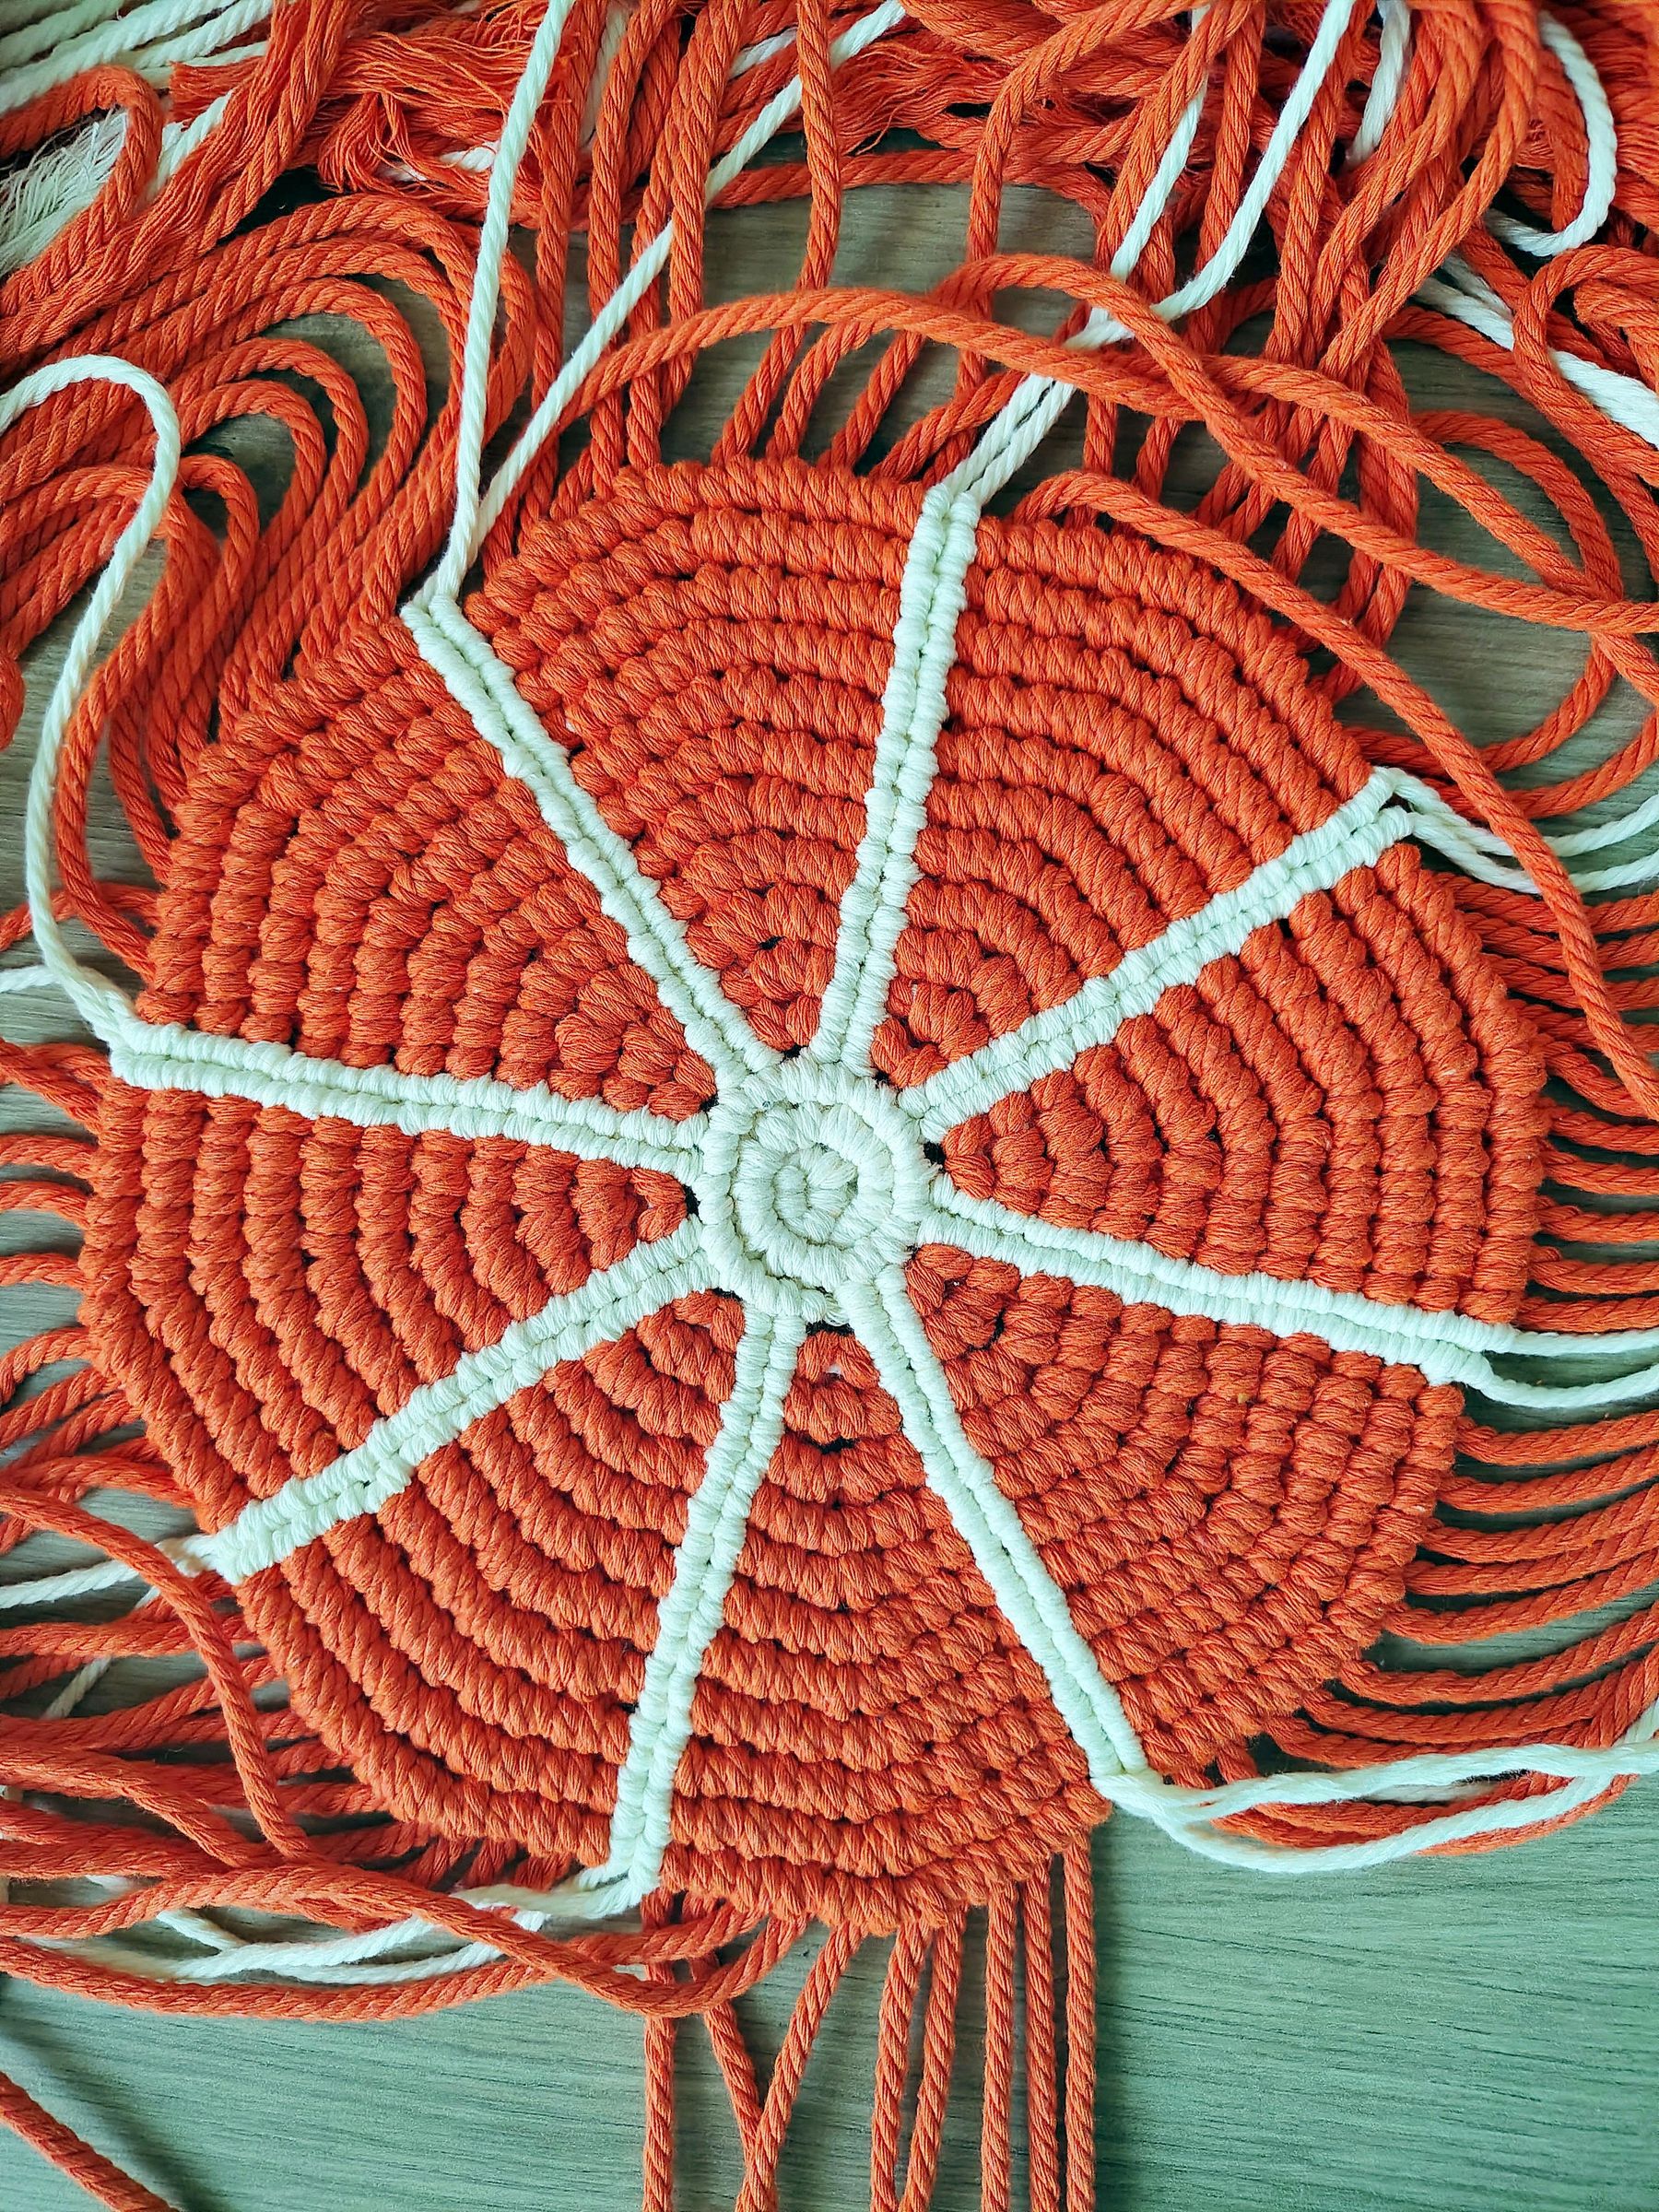
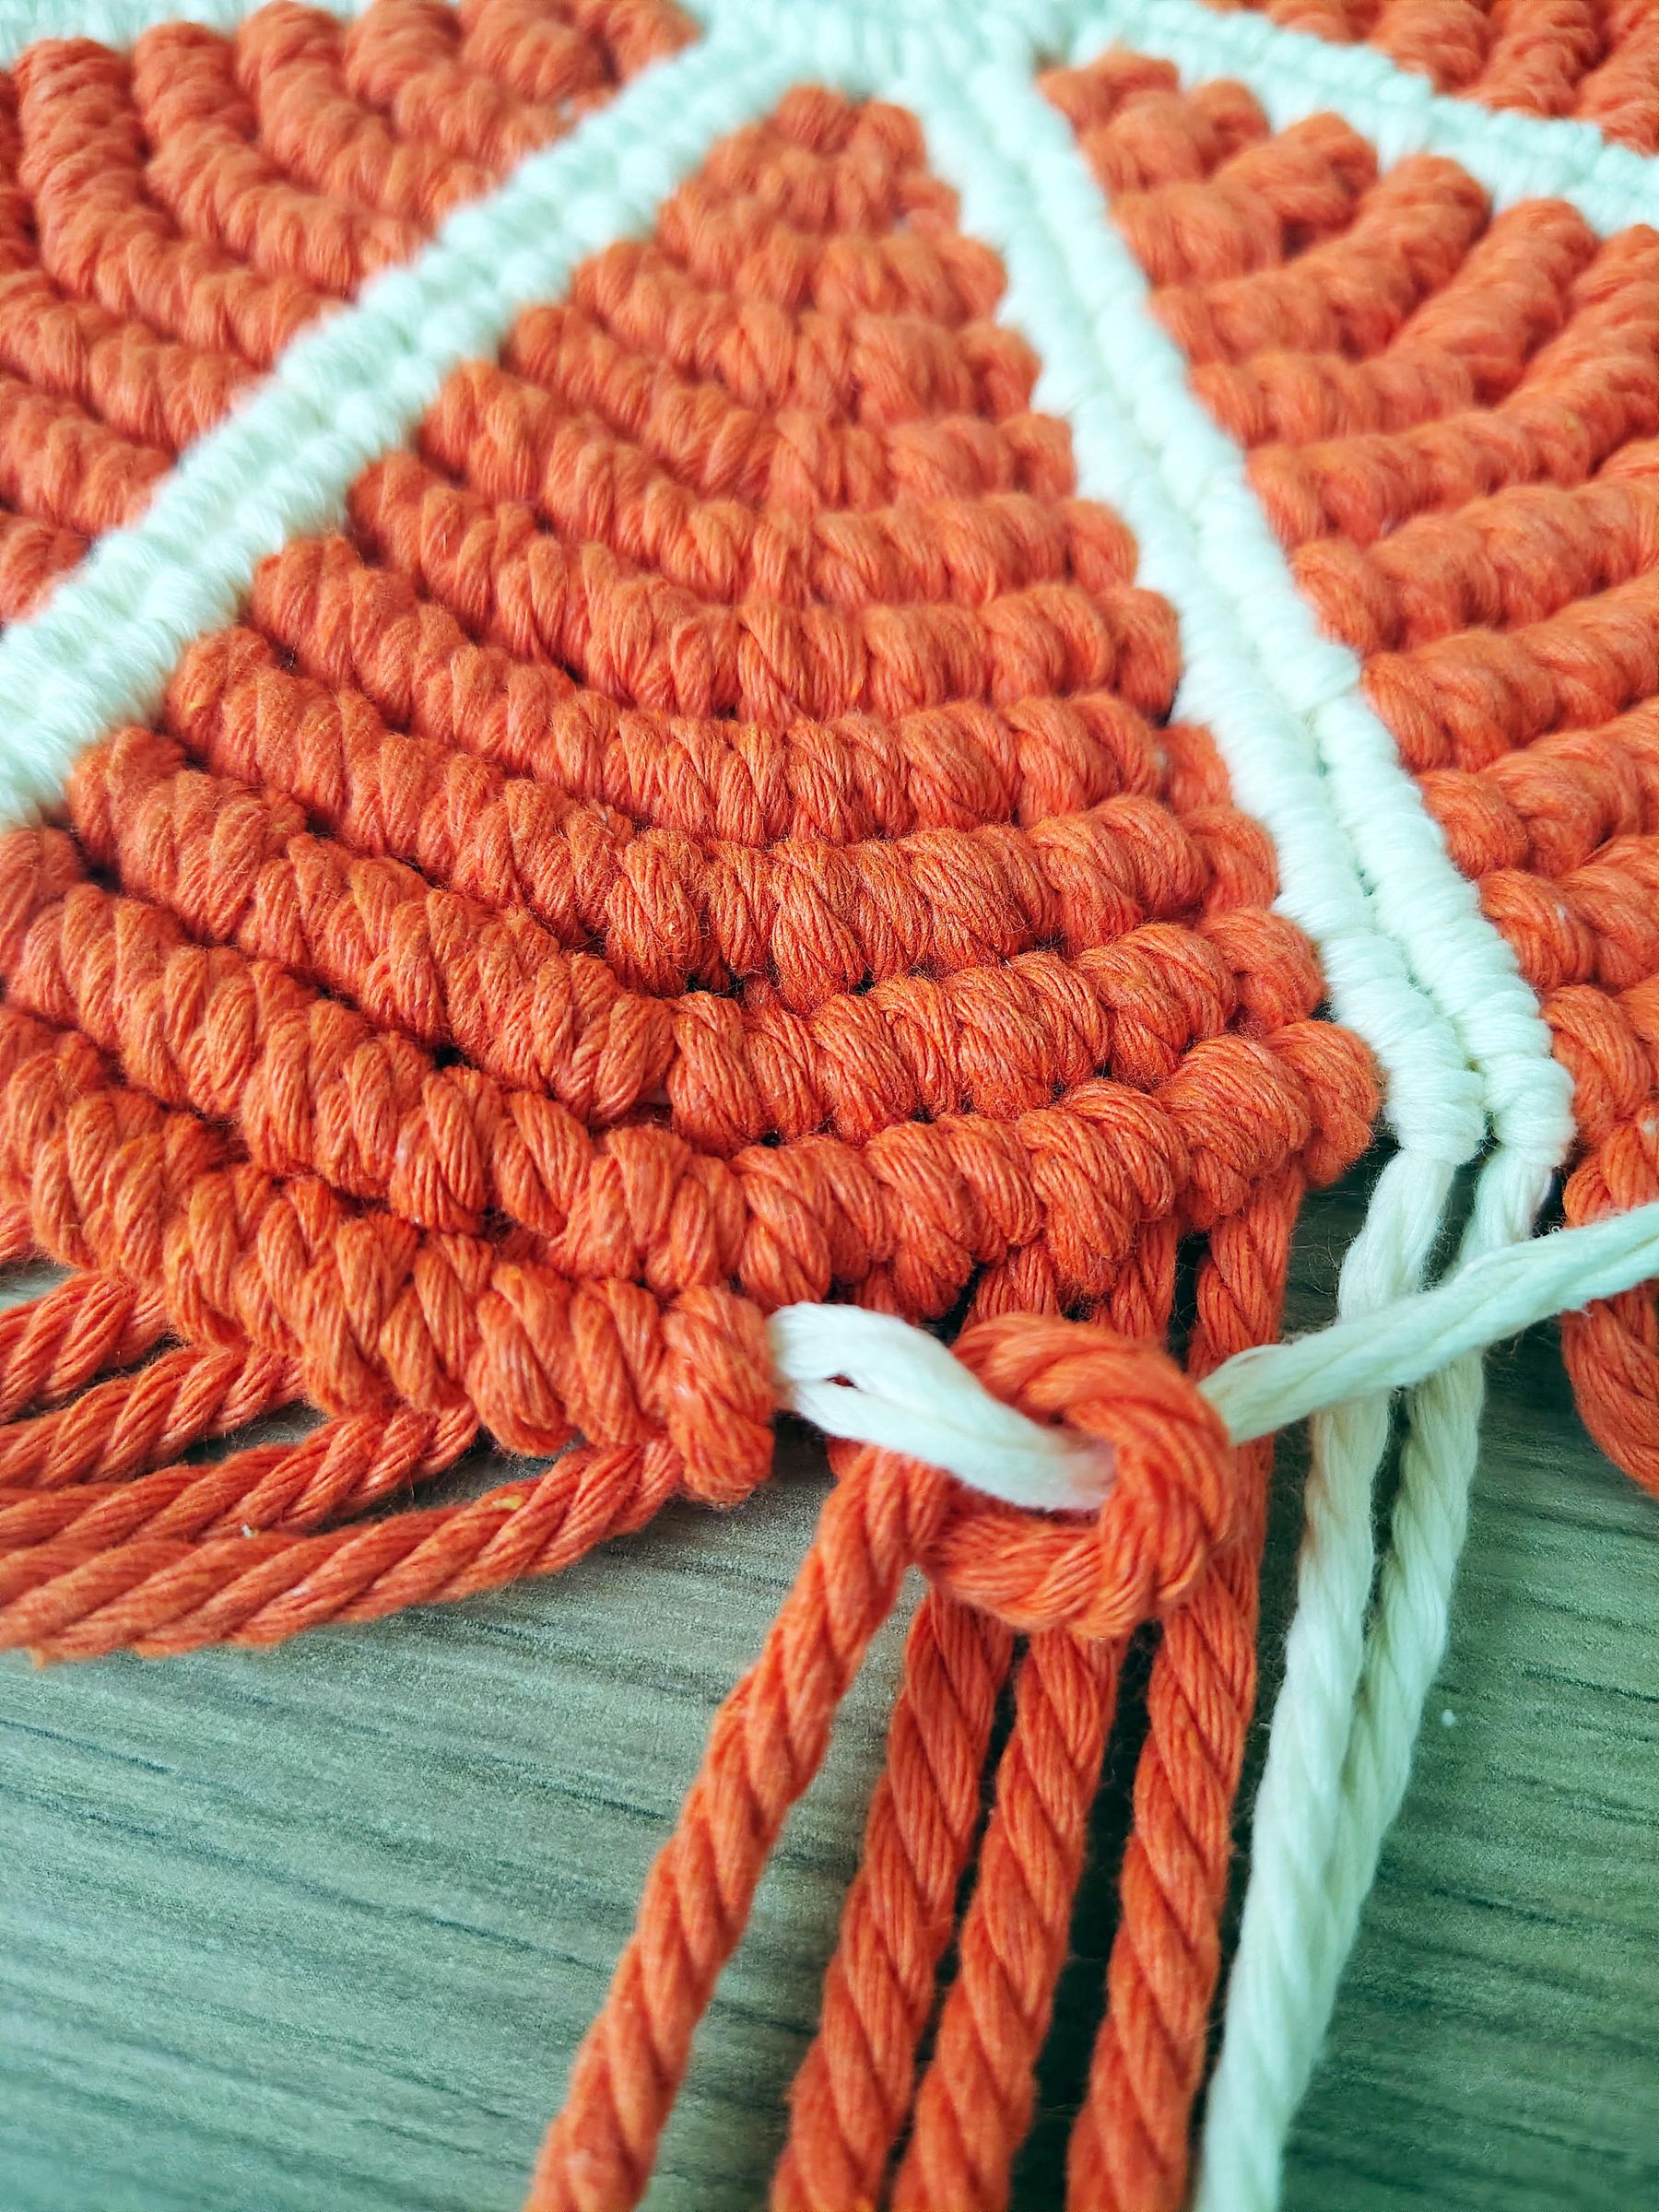
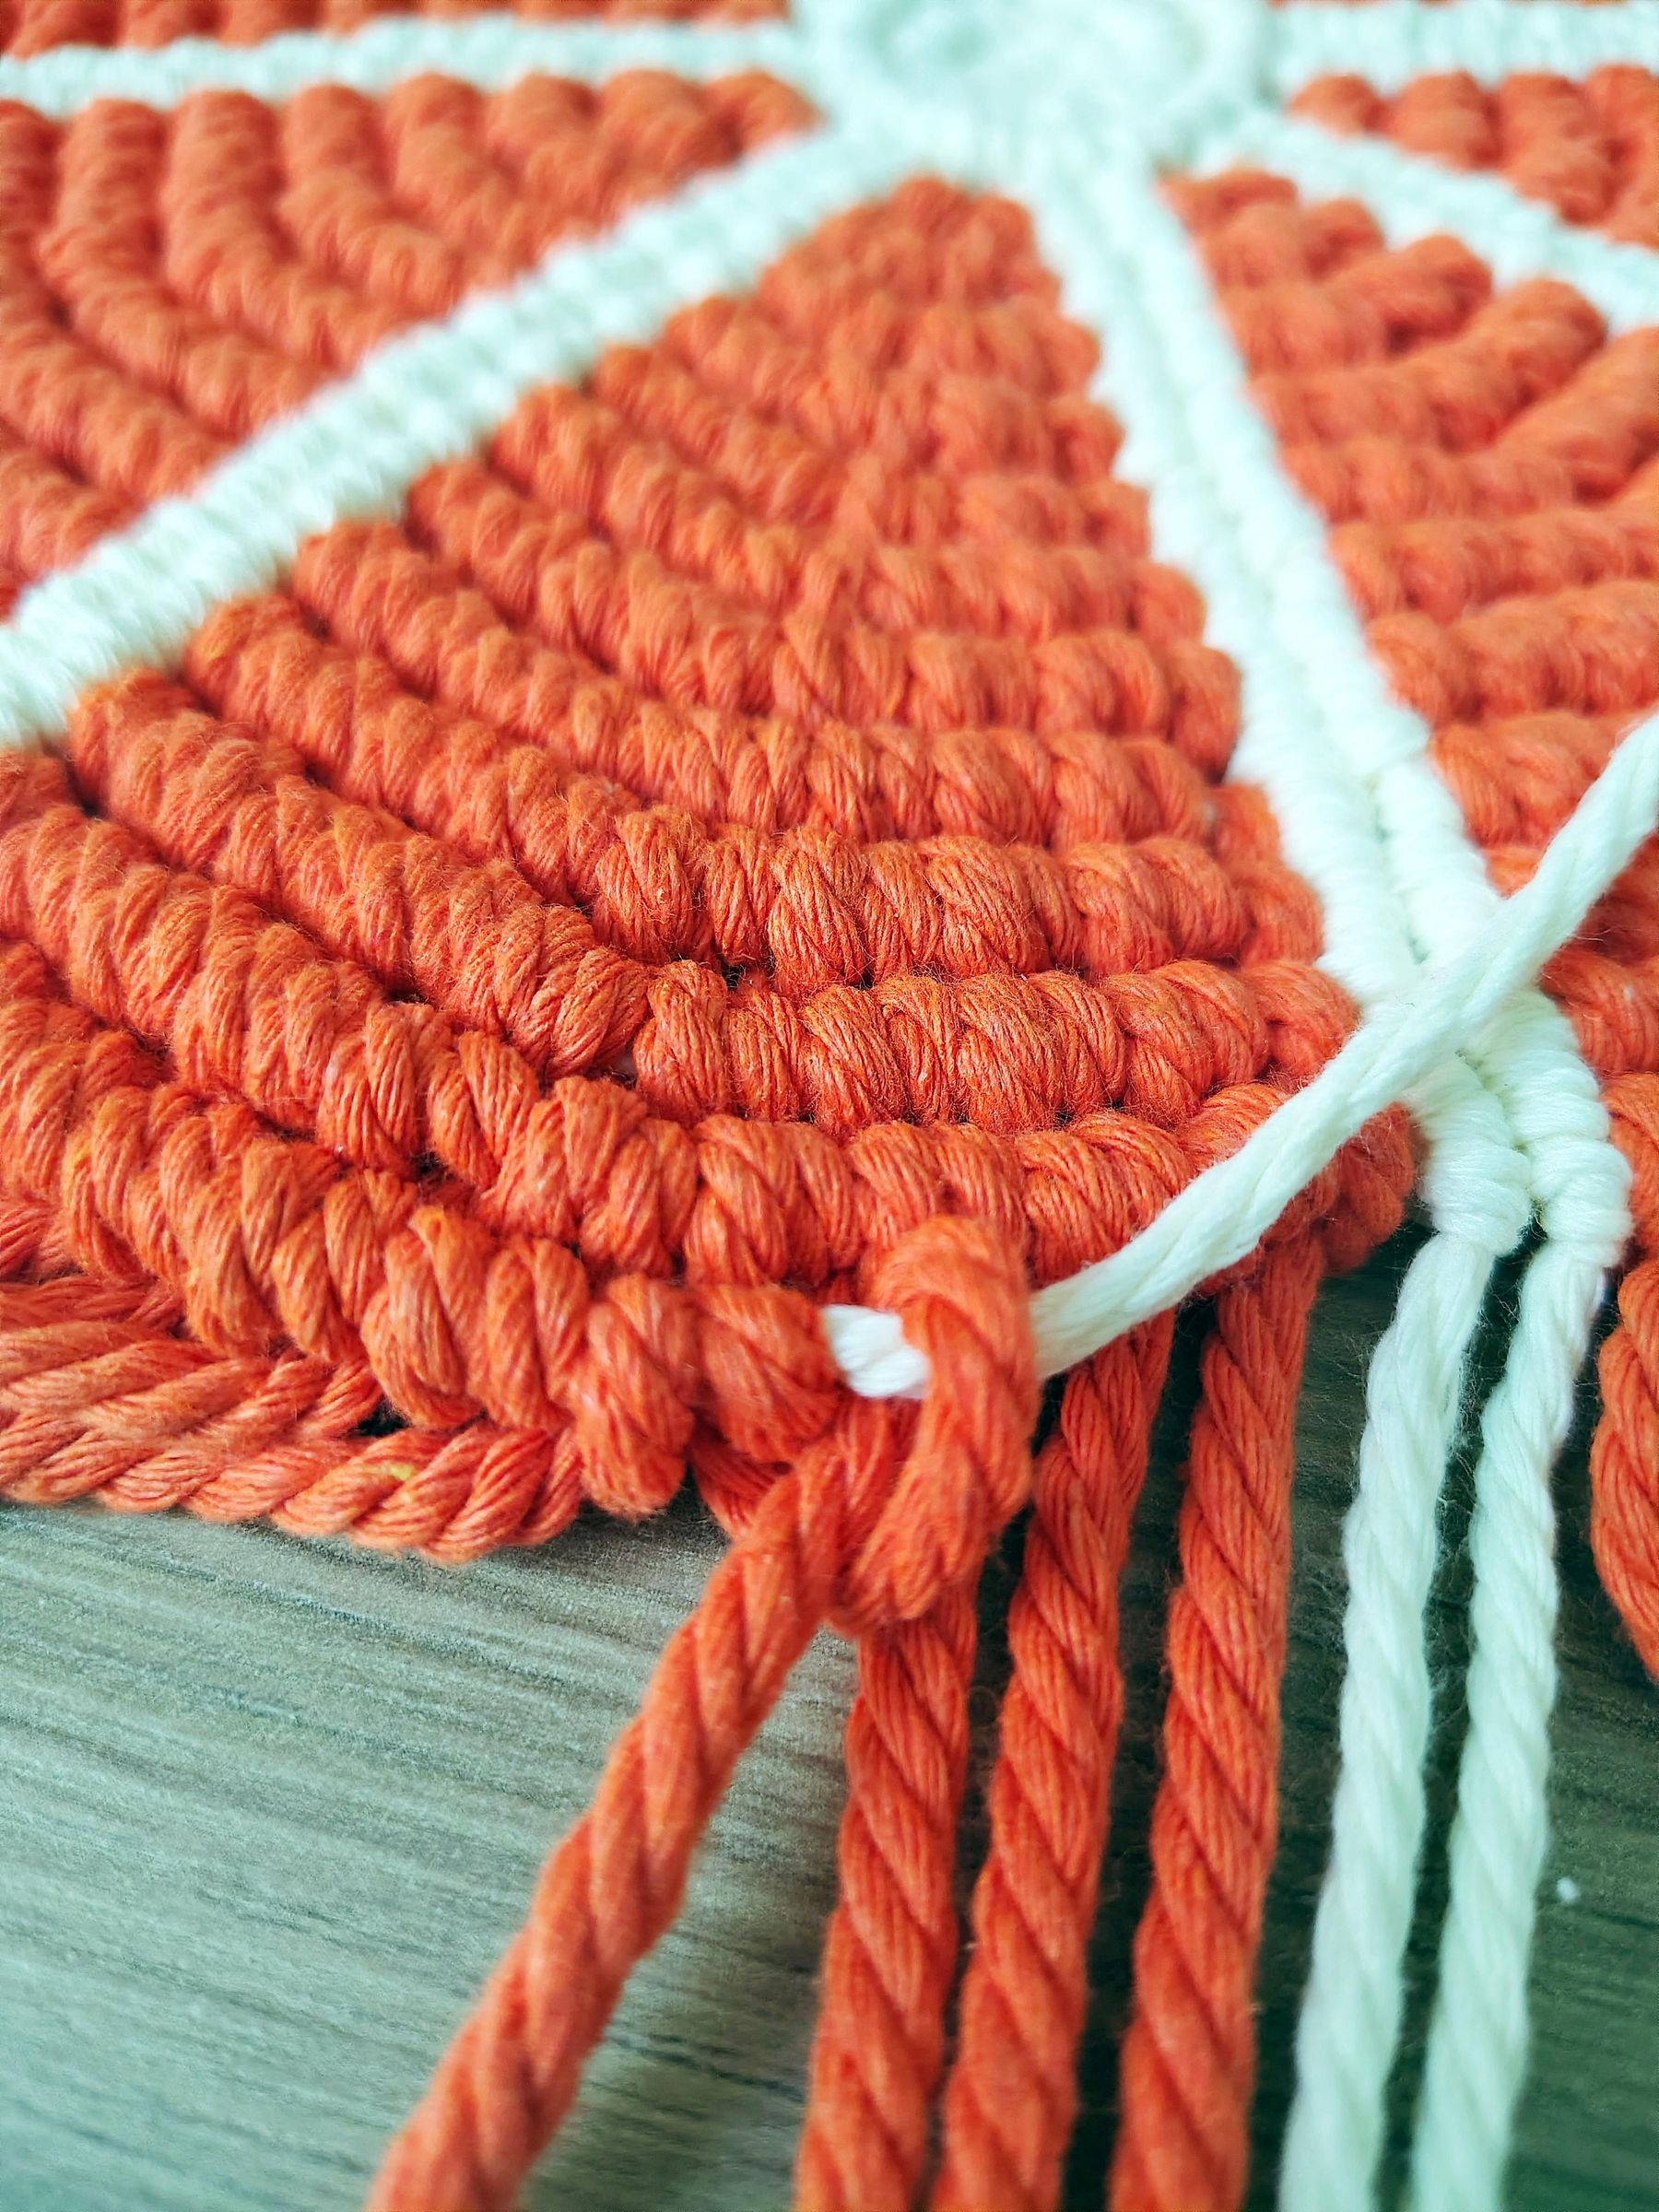
As you can see there is a pattern - there are rows where you add a cord and there are rows with no new strands.
For the seventh row you will be adding 8 strands of cord, each measuring 1.2 meters.
For the eighth row you will be adding 8 strands of cord, each measuring 1.2 meters.
For the ninth row you won't be adding any new cord and you will be tying the usual knots as you go around.
For the tenth row you will be adding 8 strands of cord, each measuring 1 meter.
For the eleventh row you will be adding 8 strands of cord, each measuring 1 meter.
For the twelfth and final row you will be working with the cords you have.
Milky White Outer Rim
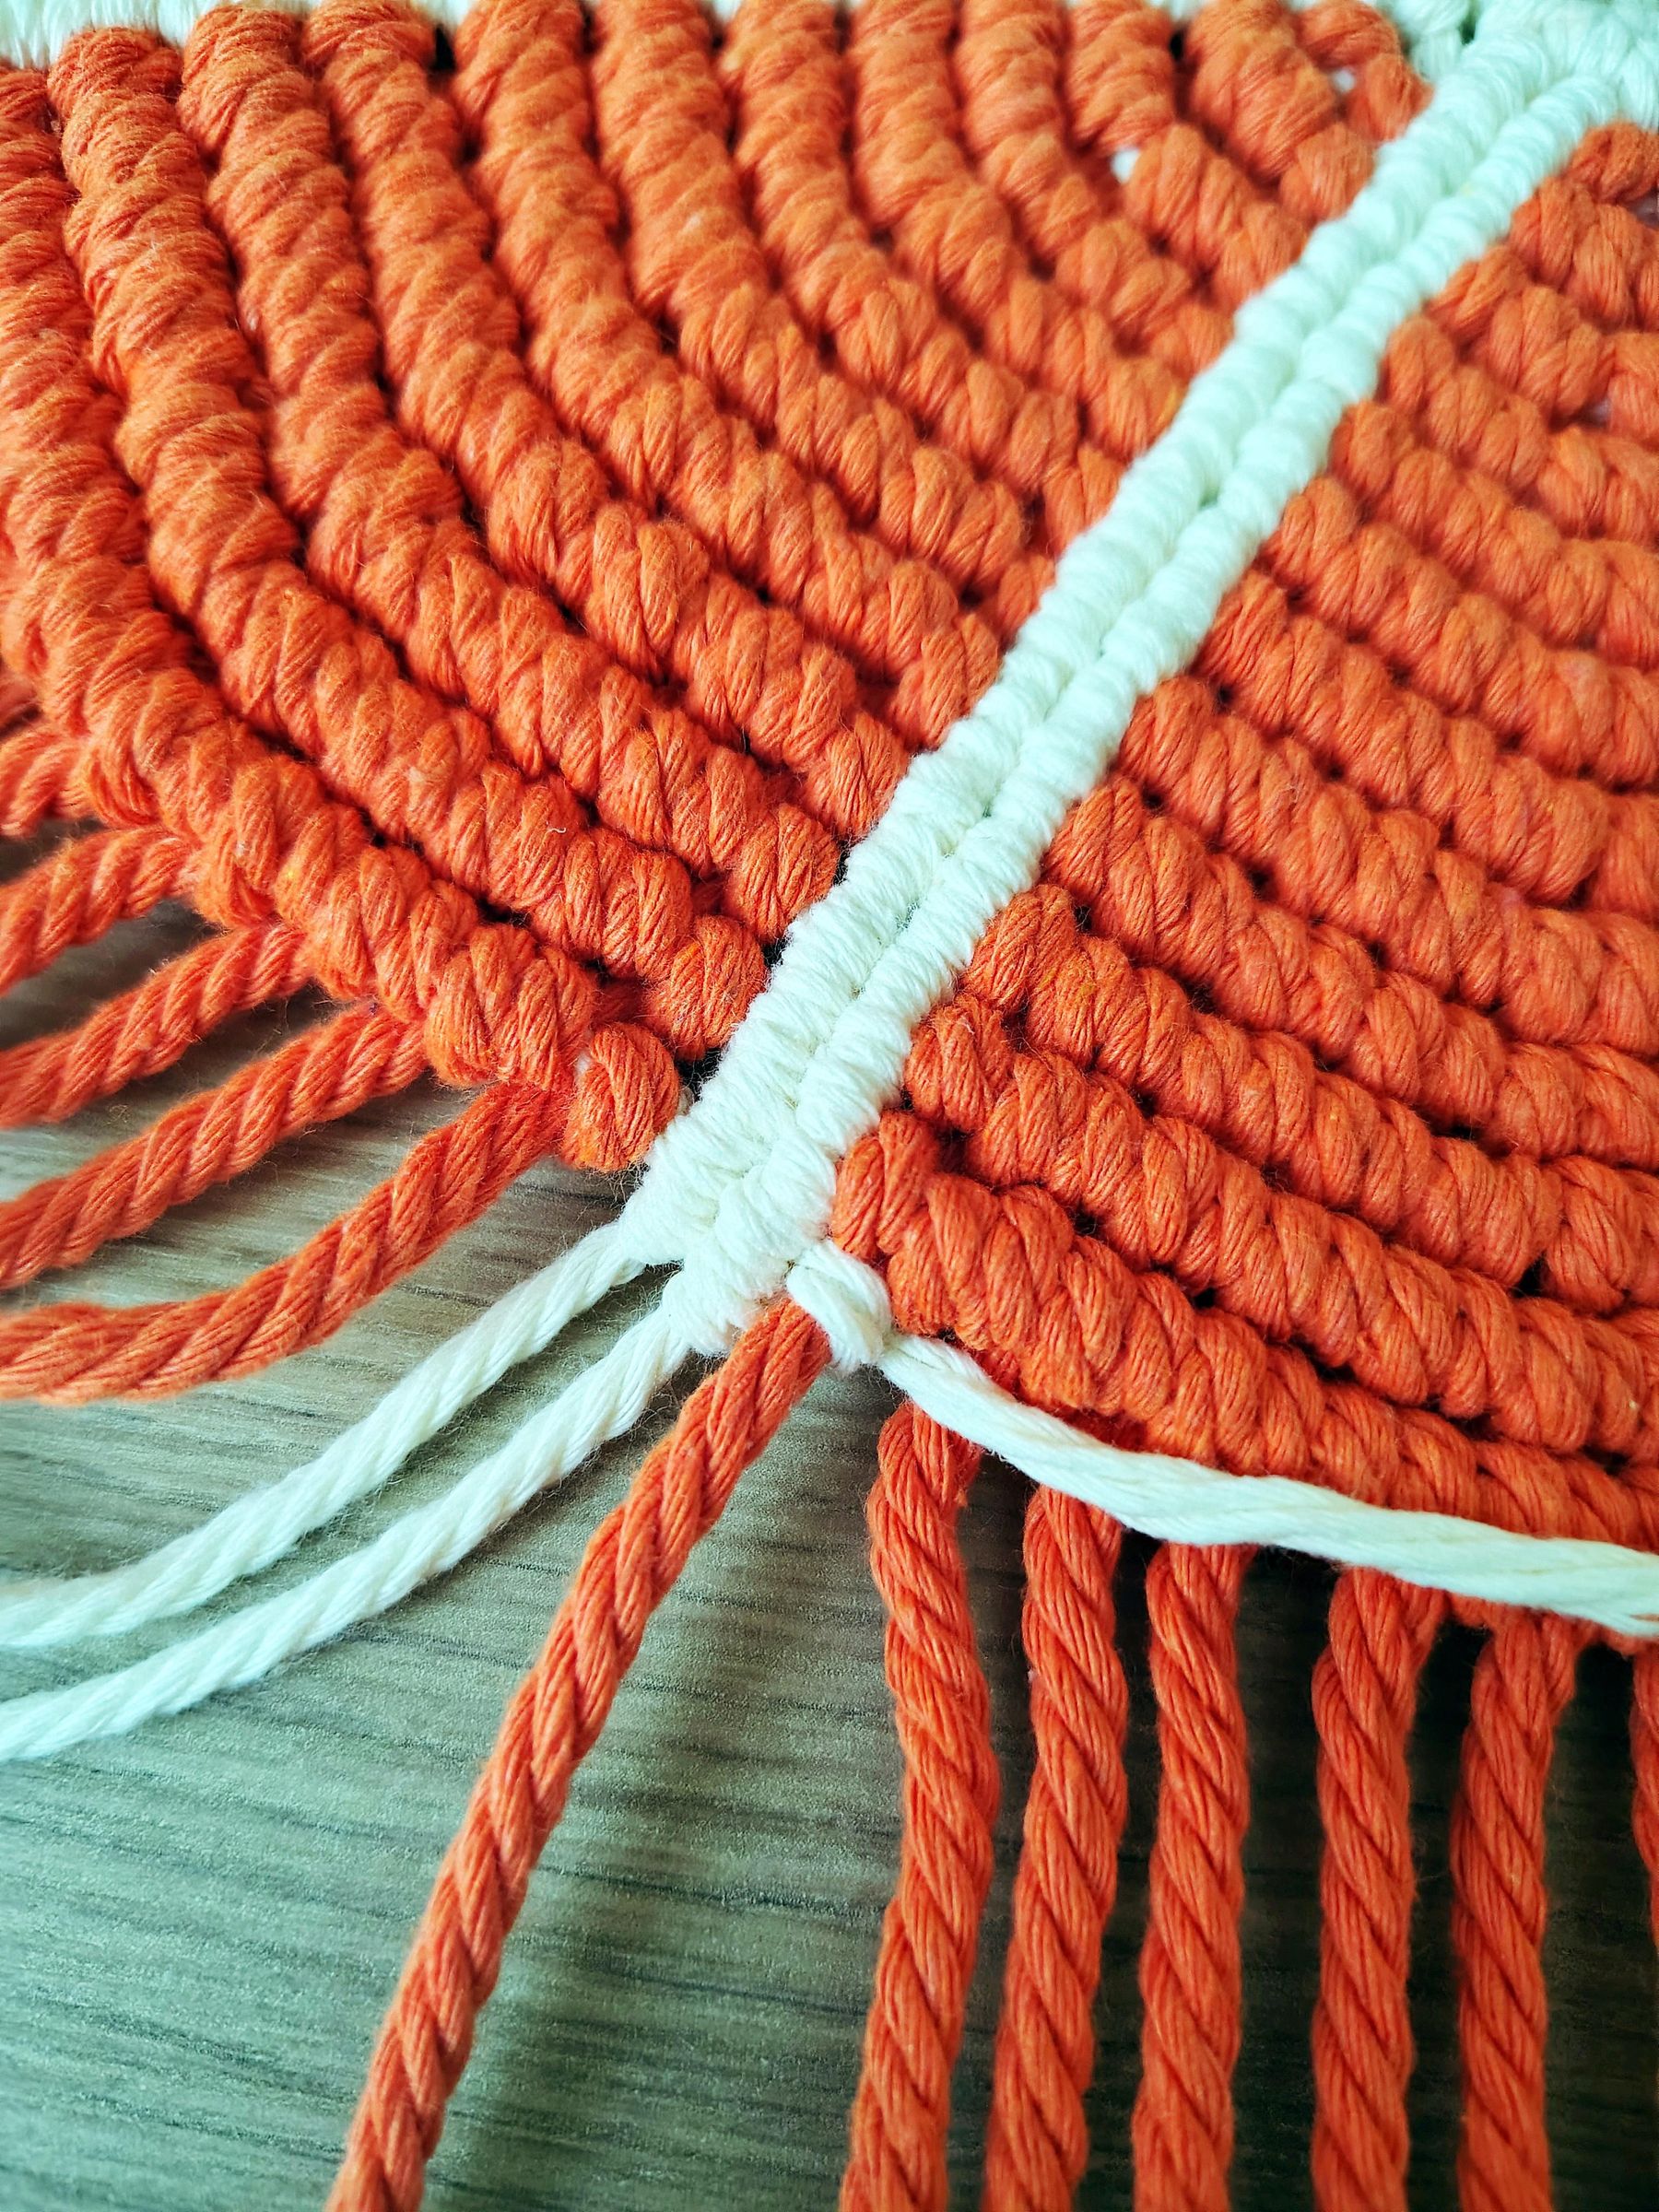
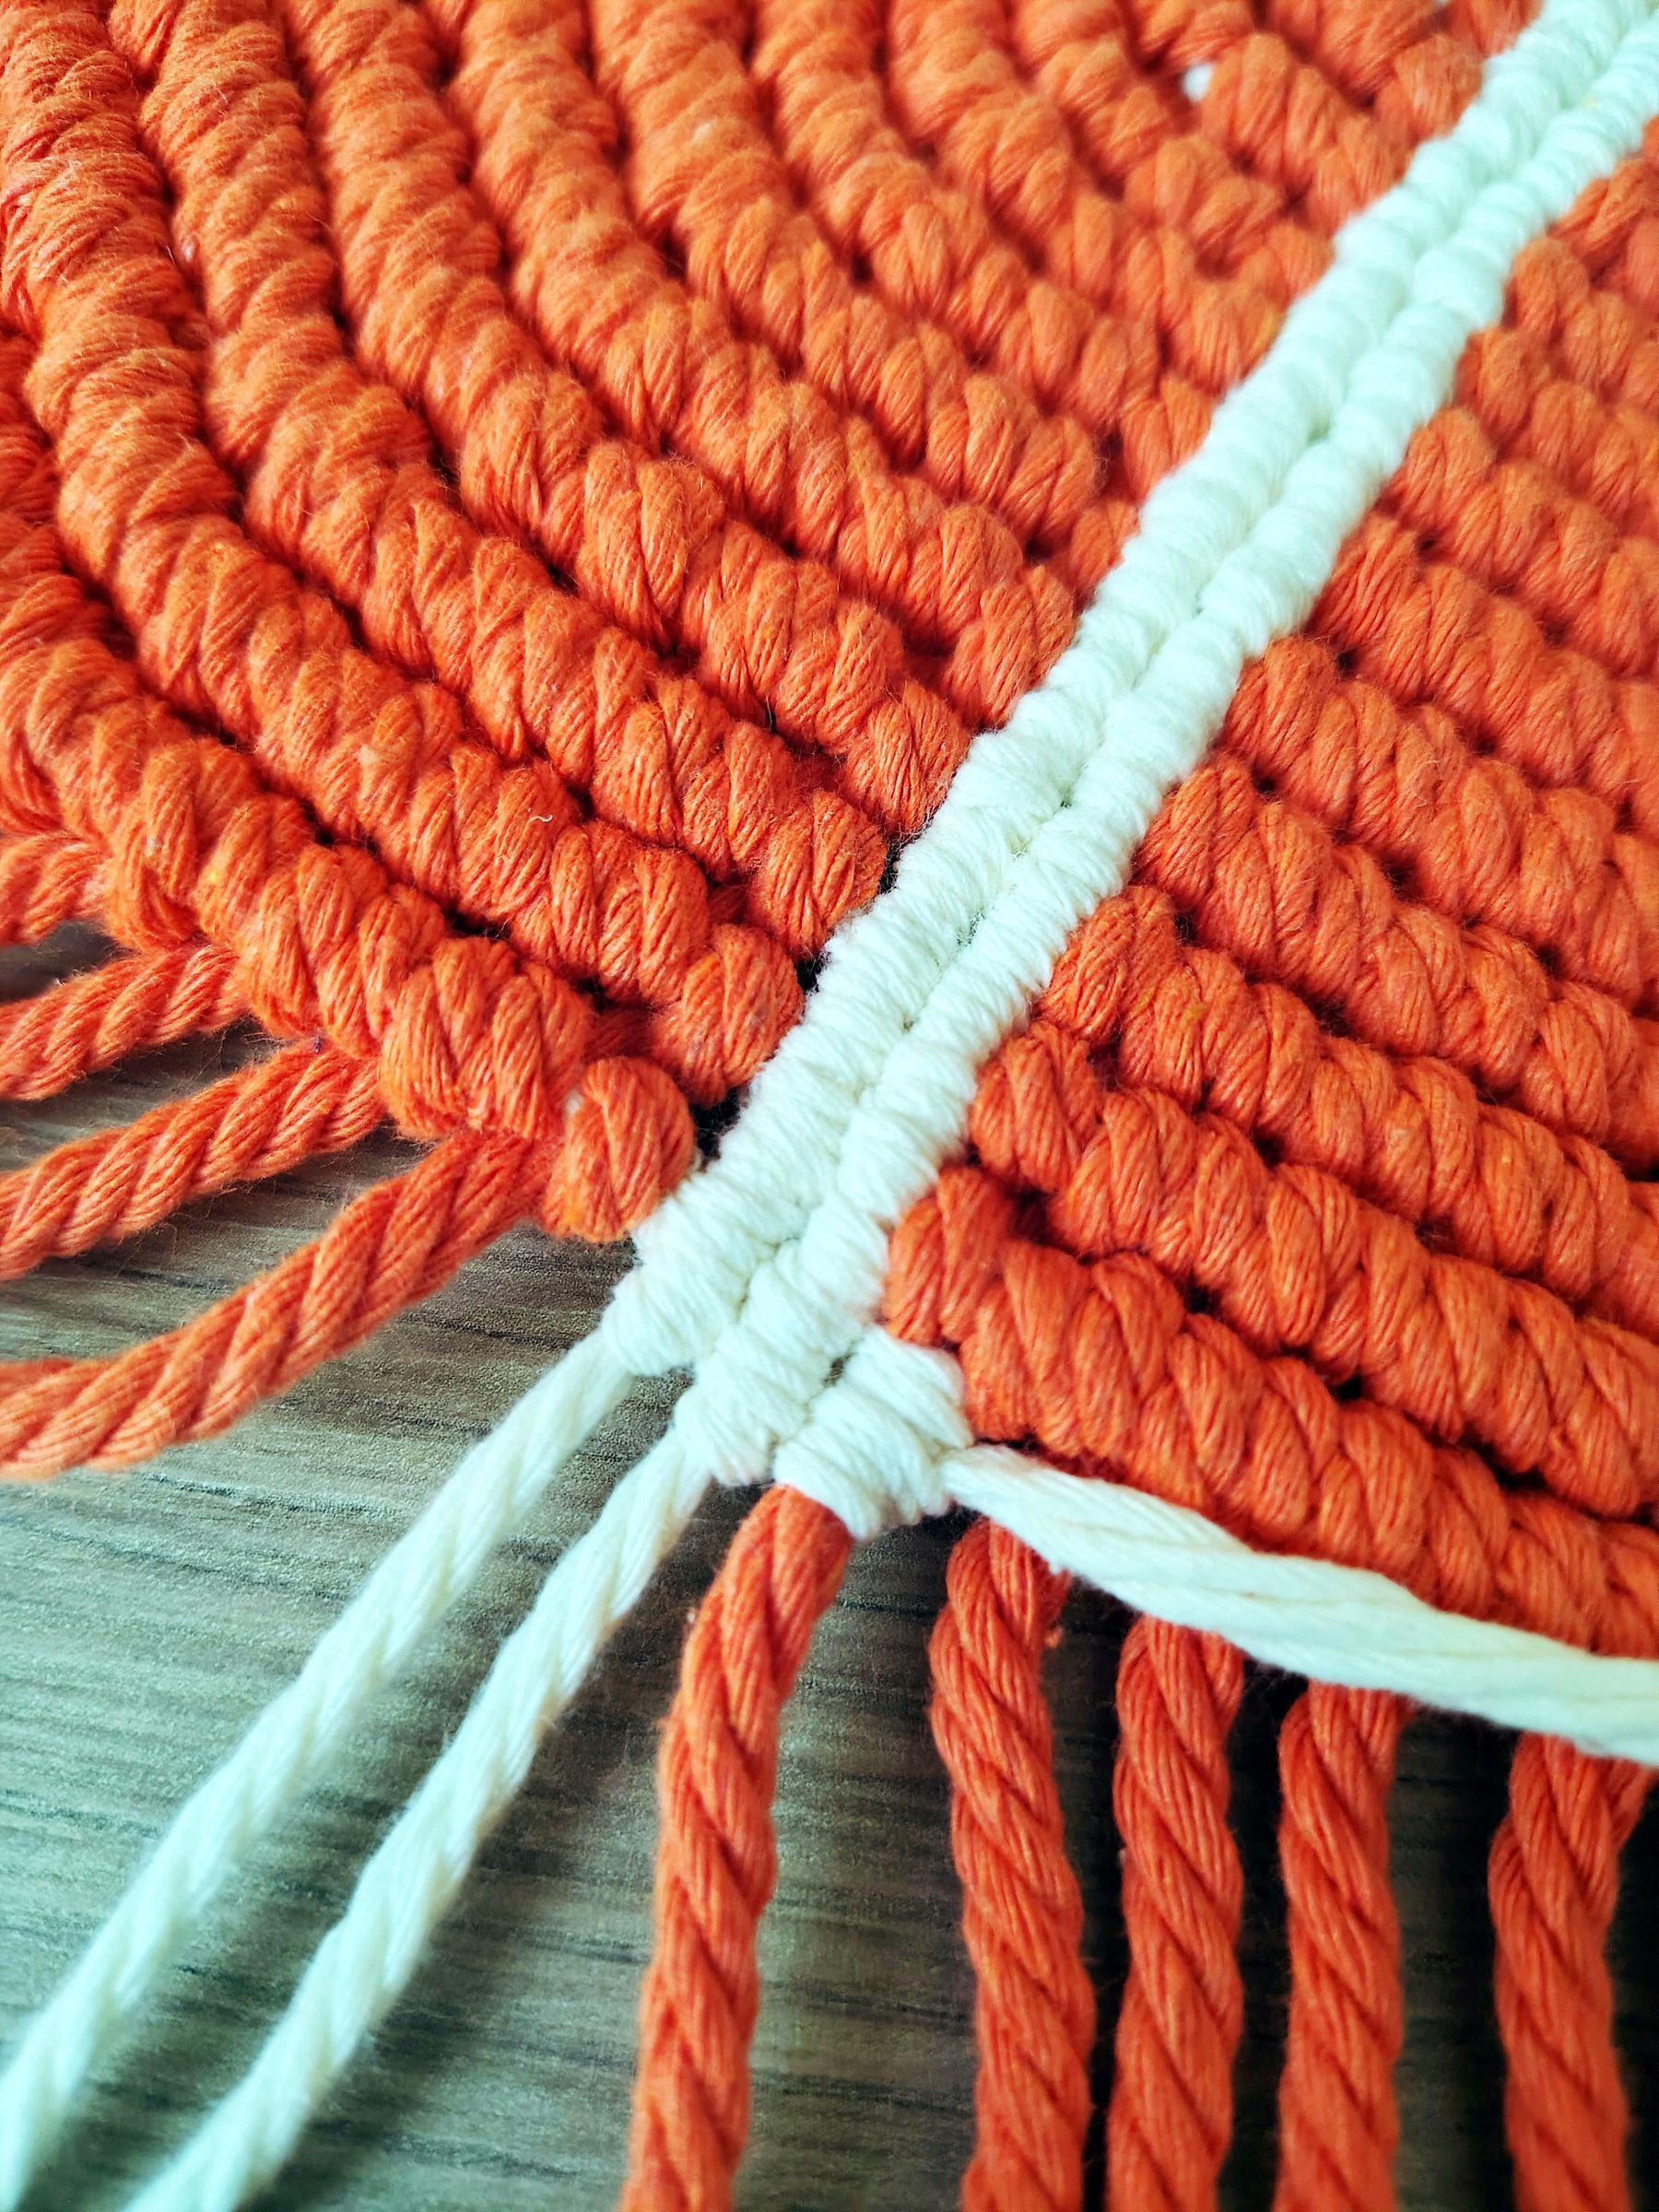
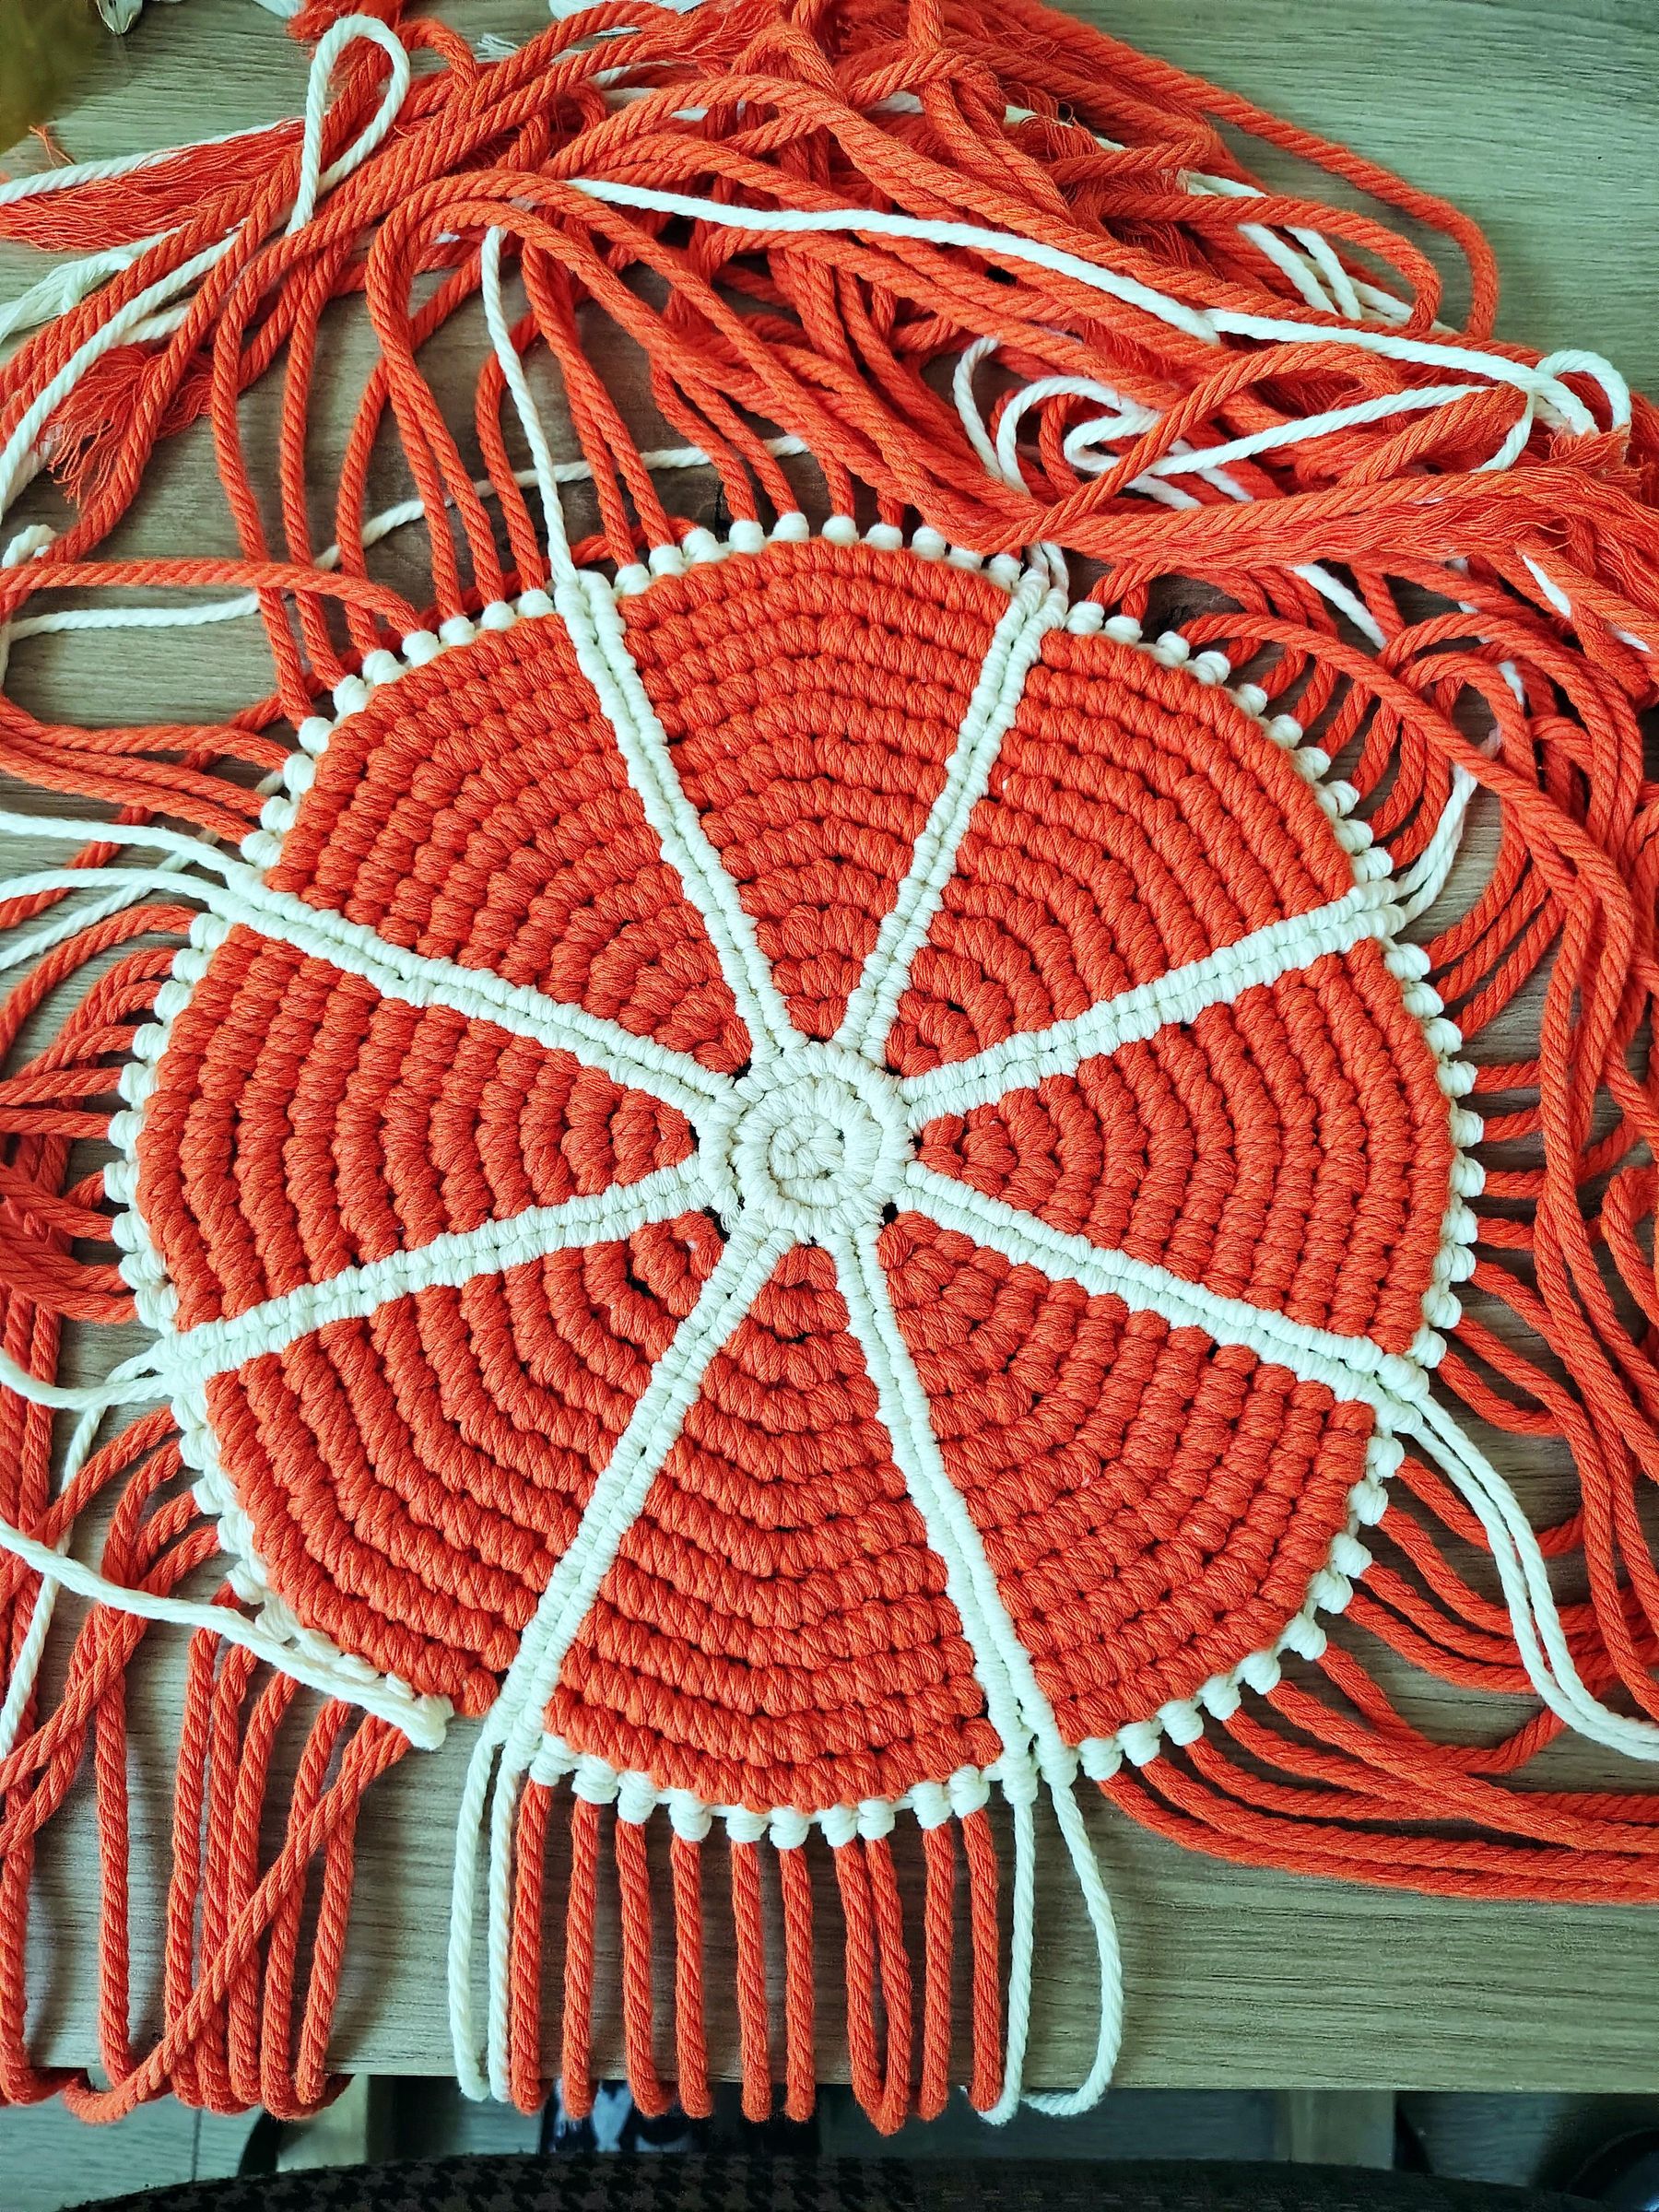
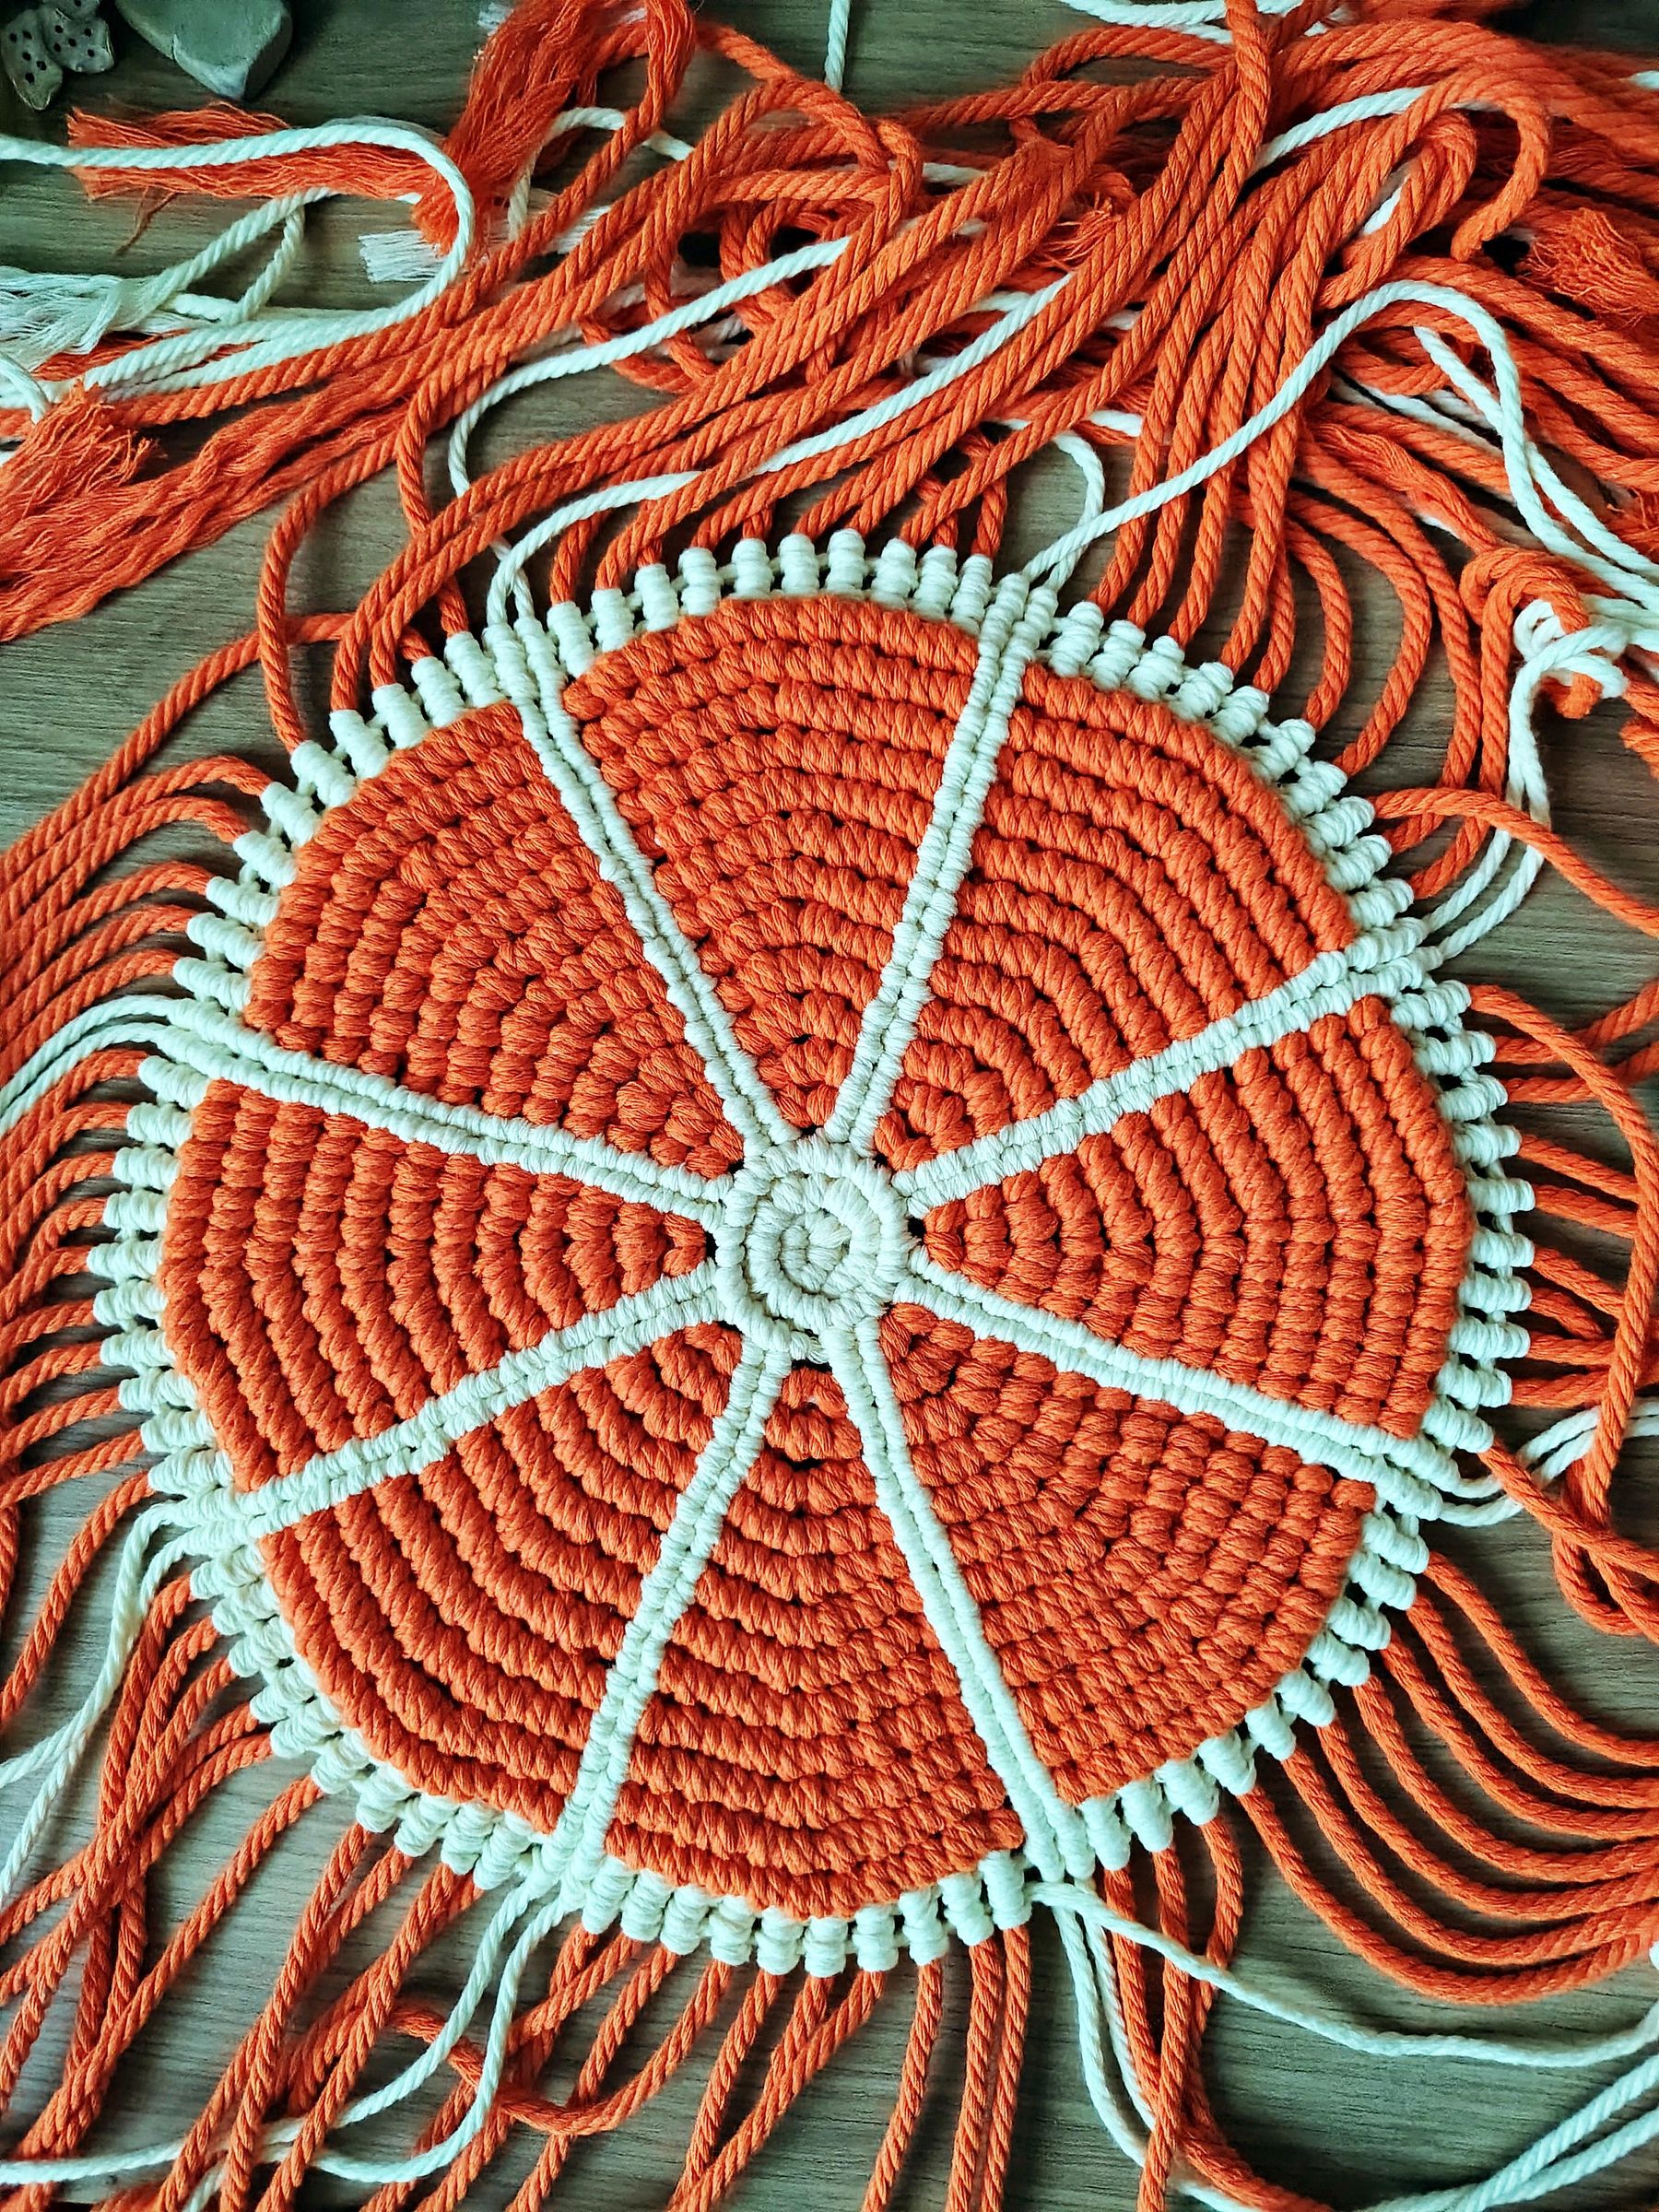
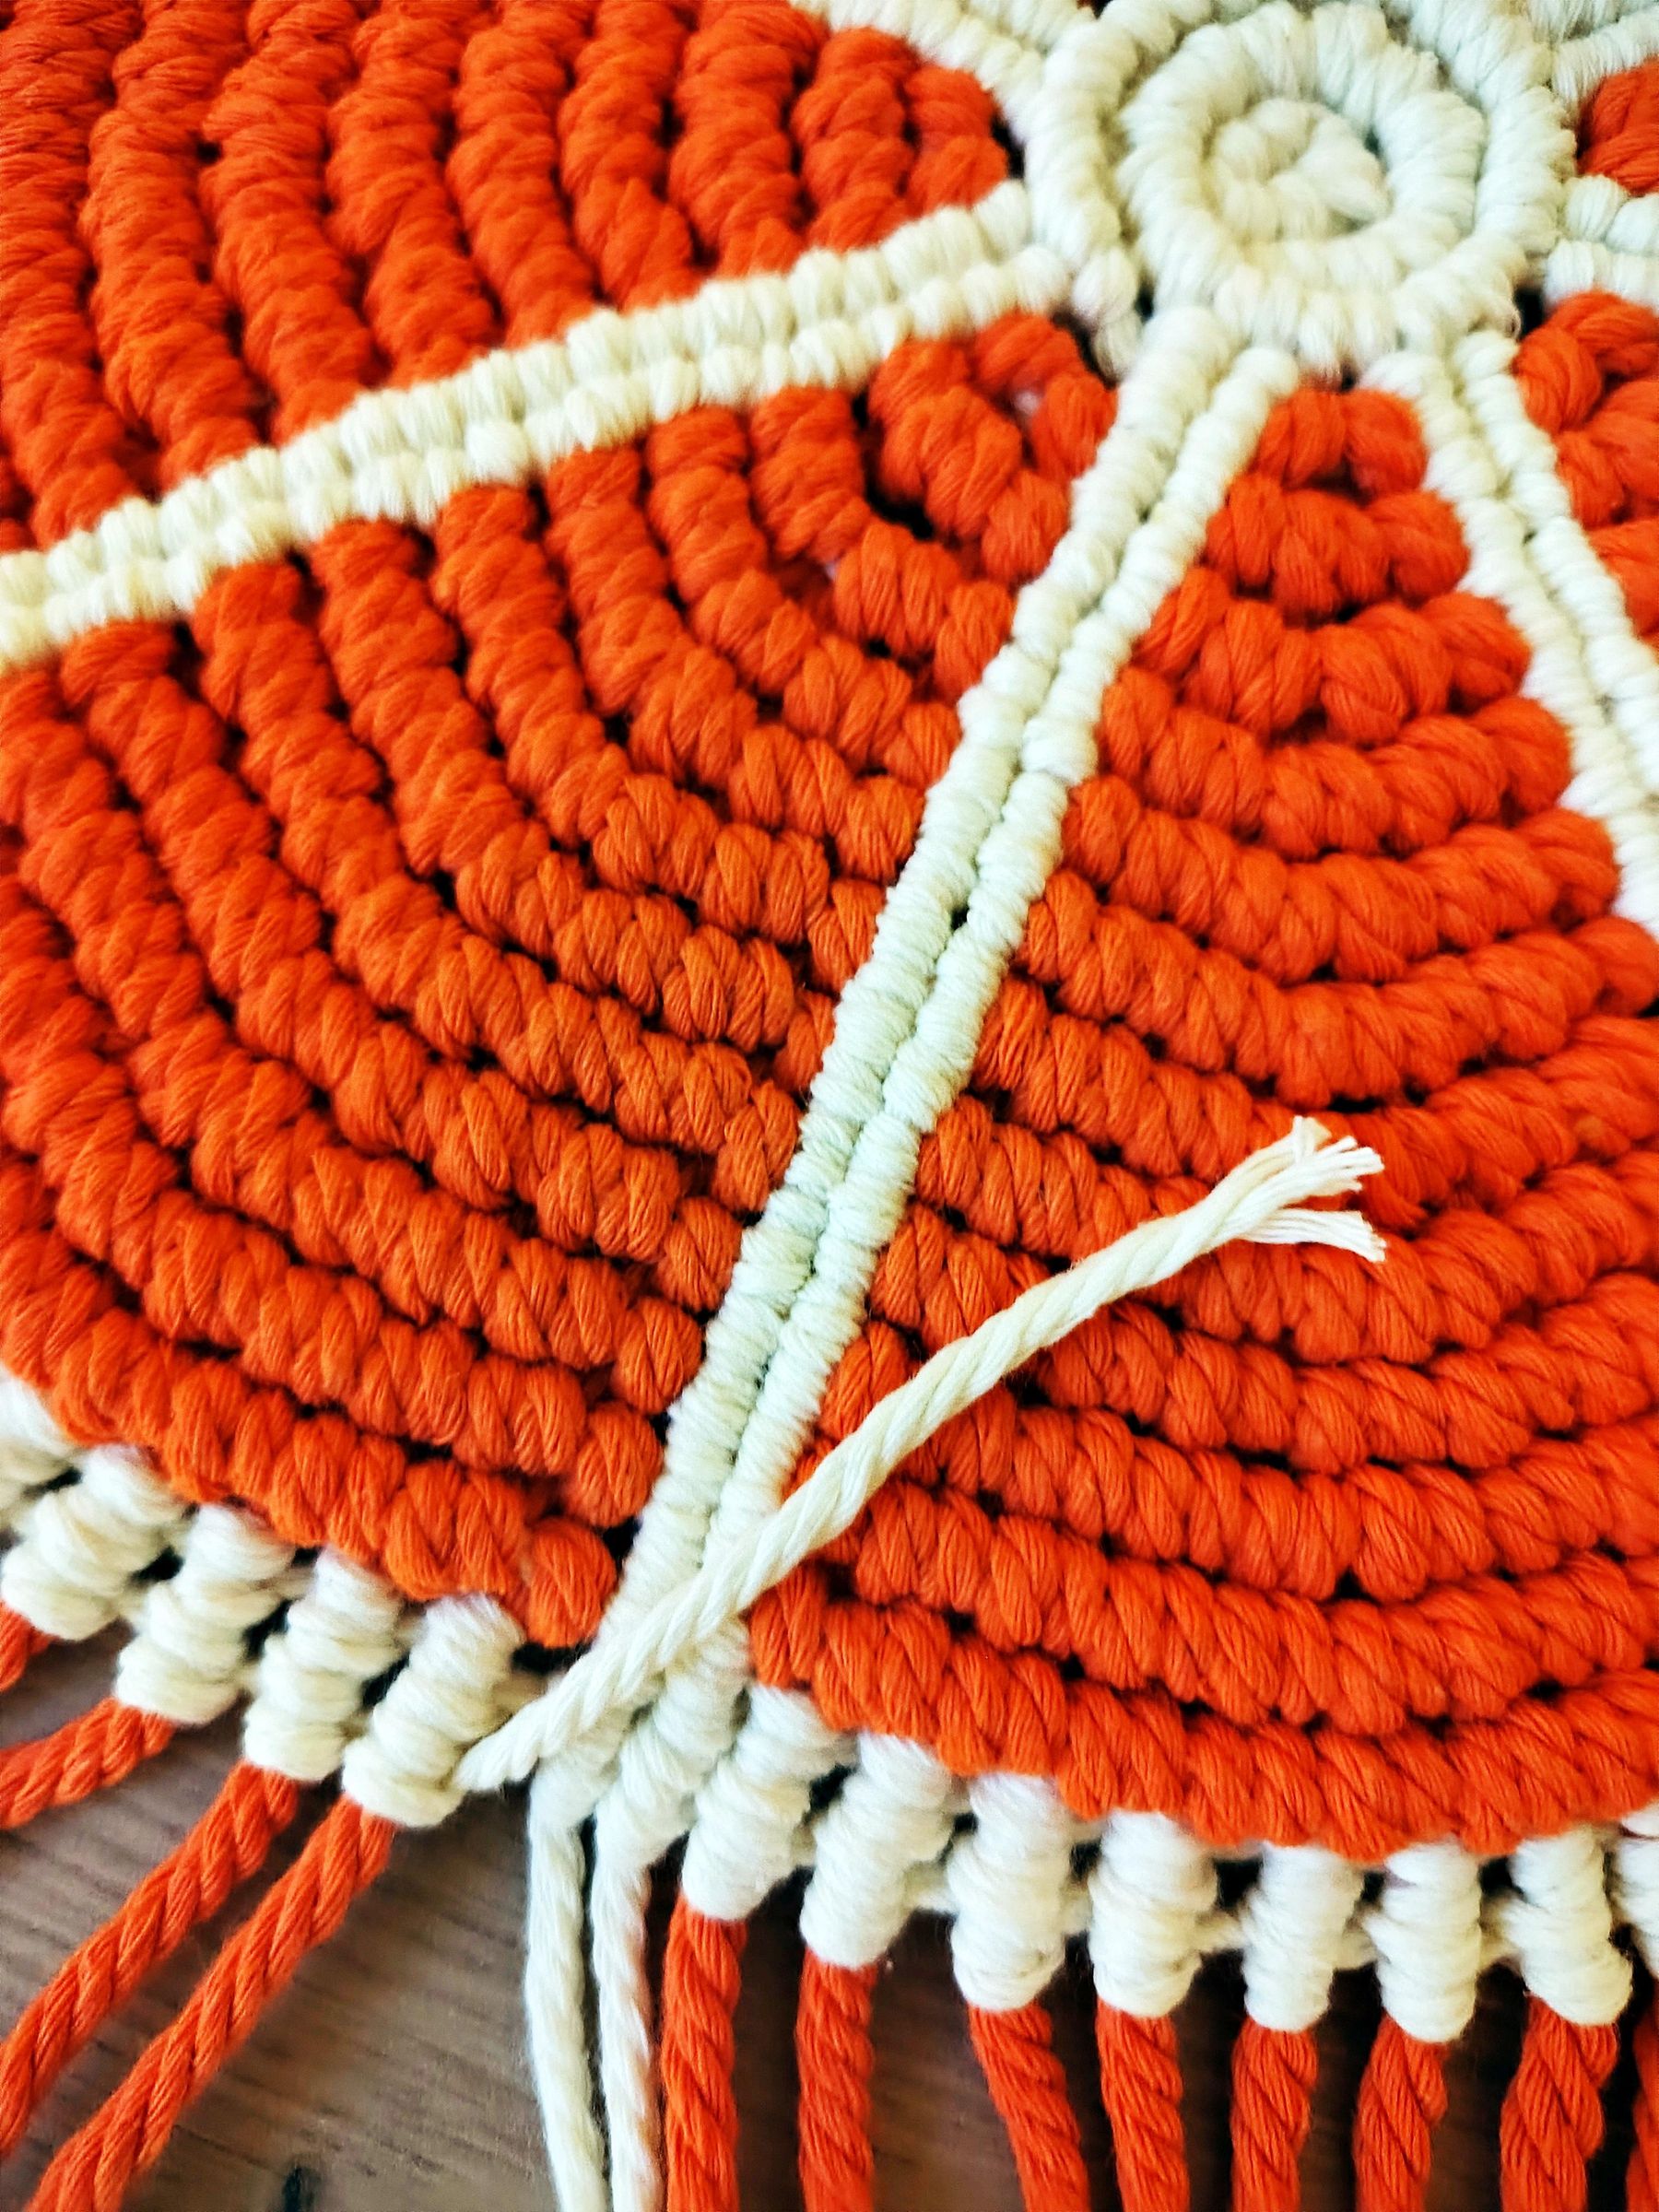
Once you are done with all twelve rows, it's time to make the outer milky white rim of the orange slice.
This rim consists of the same vertical double half-hitch knots you tied with the milky white cord - so go around the whole circumference of the orange twice using the same technique.
In the end you should have two rows of vertical double-half hitch knots.
Complete this step by cutting the milky white spool of cord - leave about 3-4 cm of cord and tuck it behind.
Orange Outer Rim
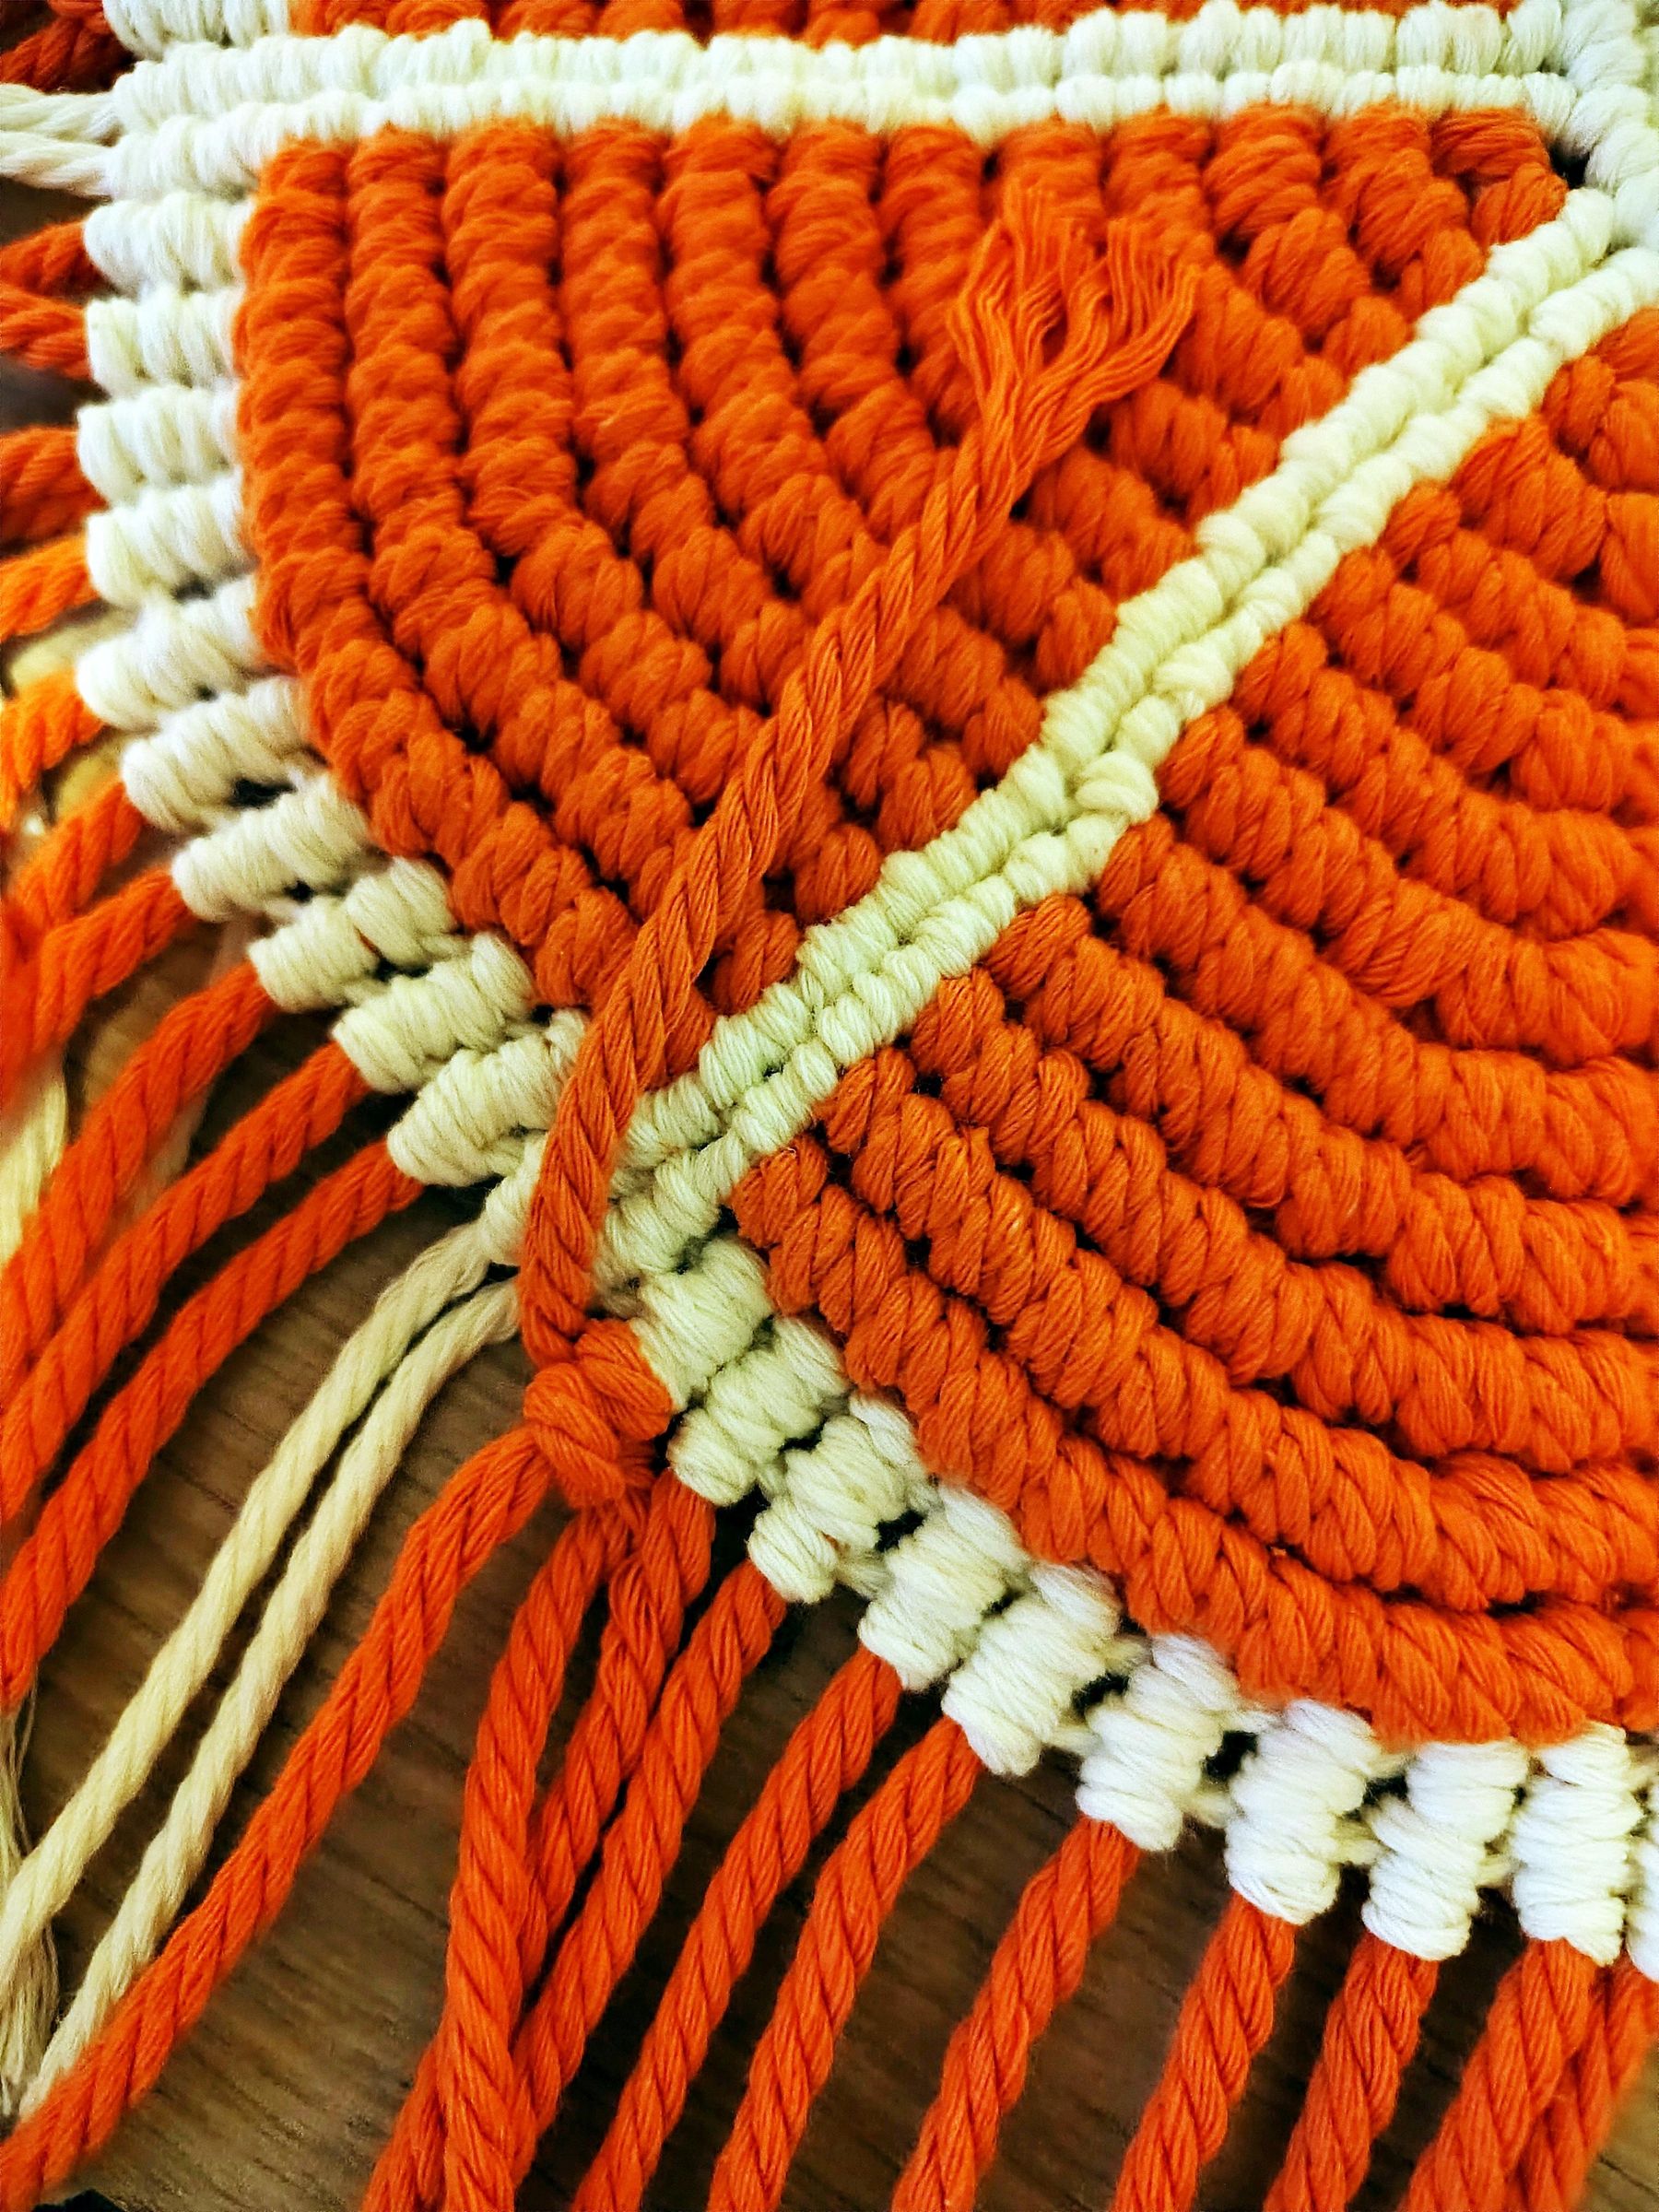
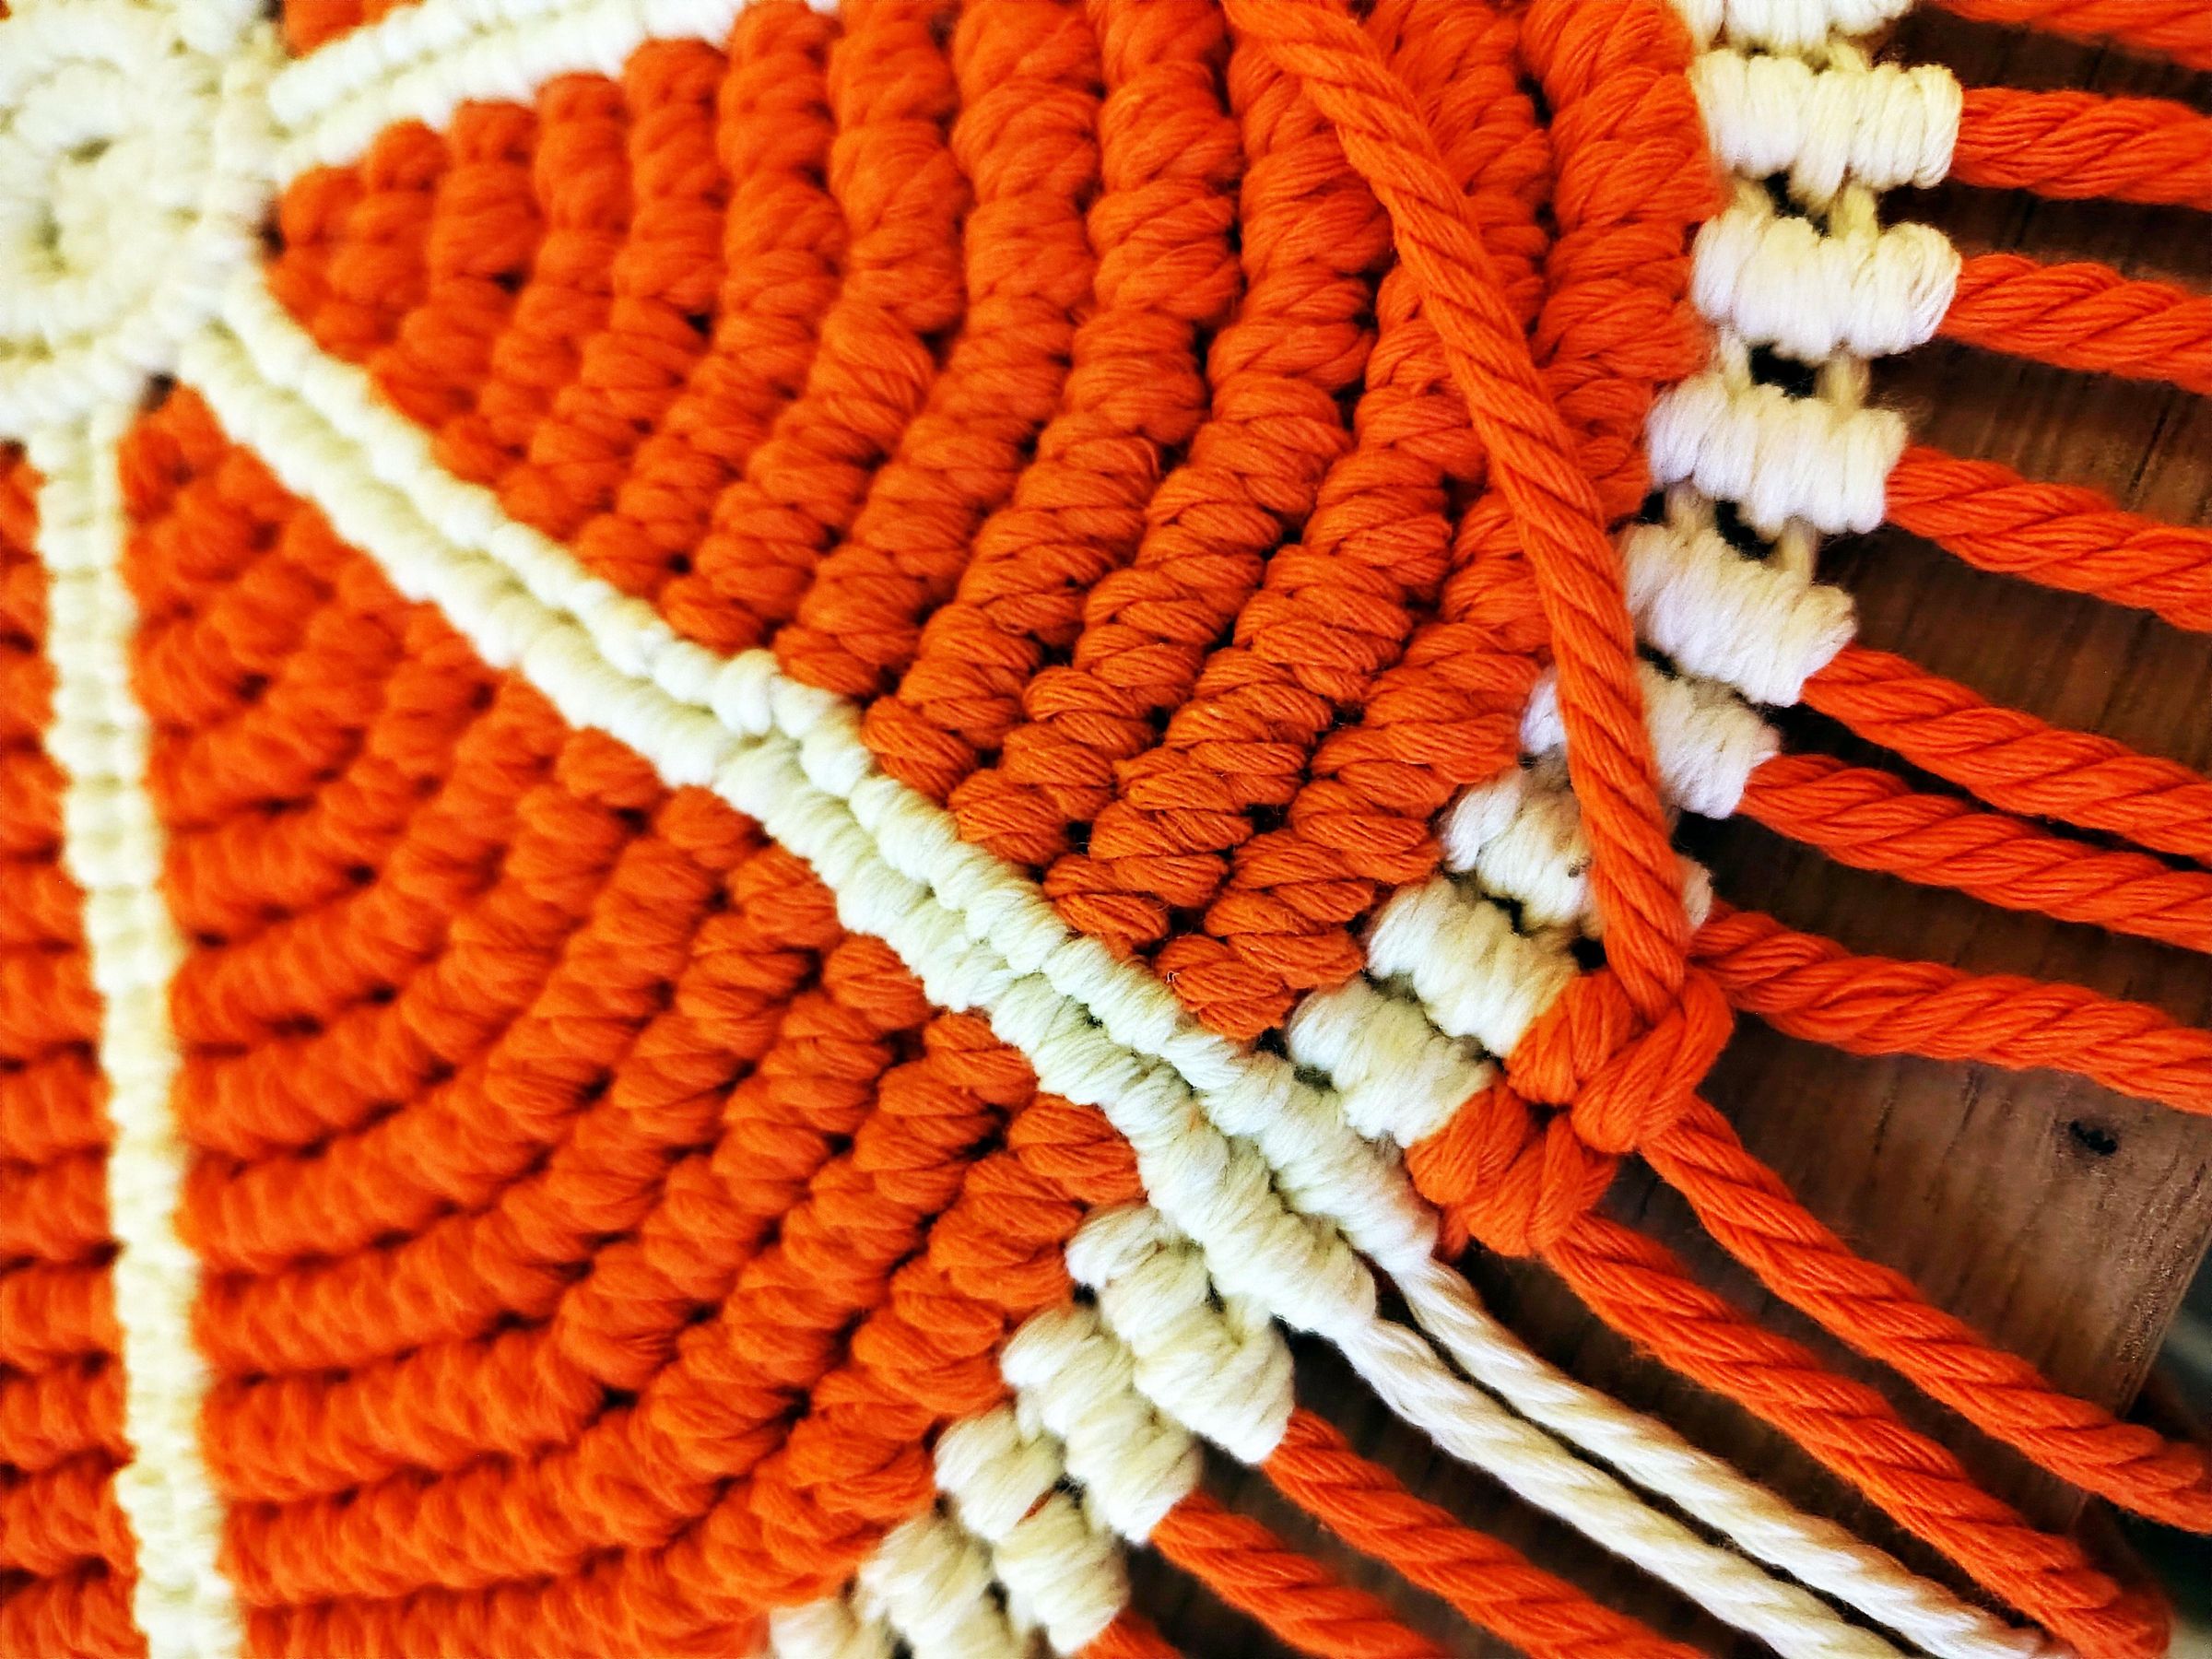
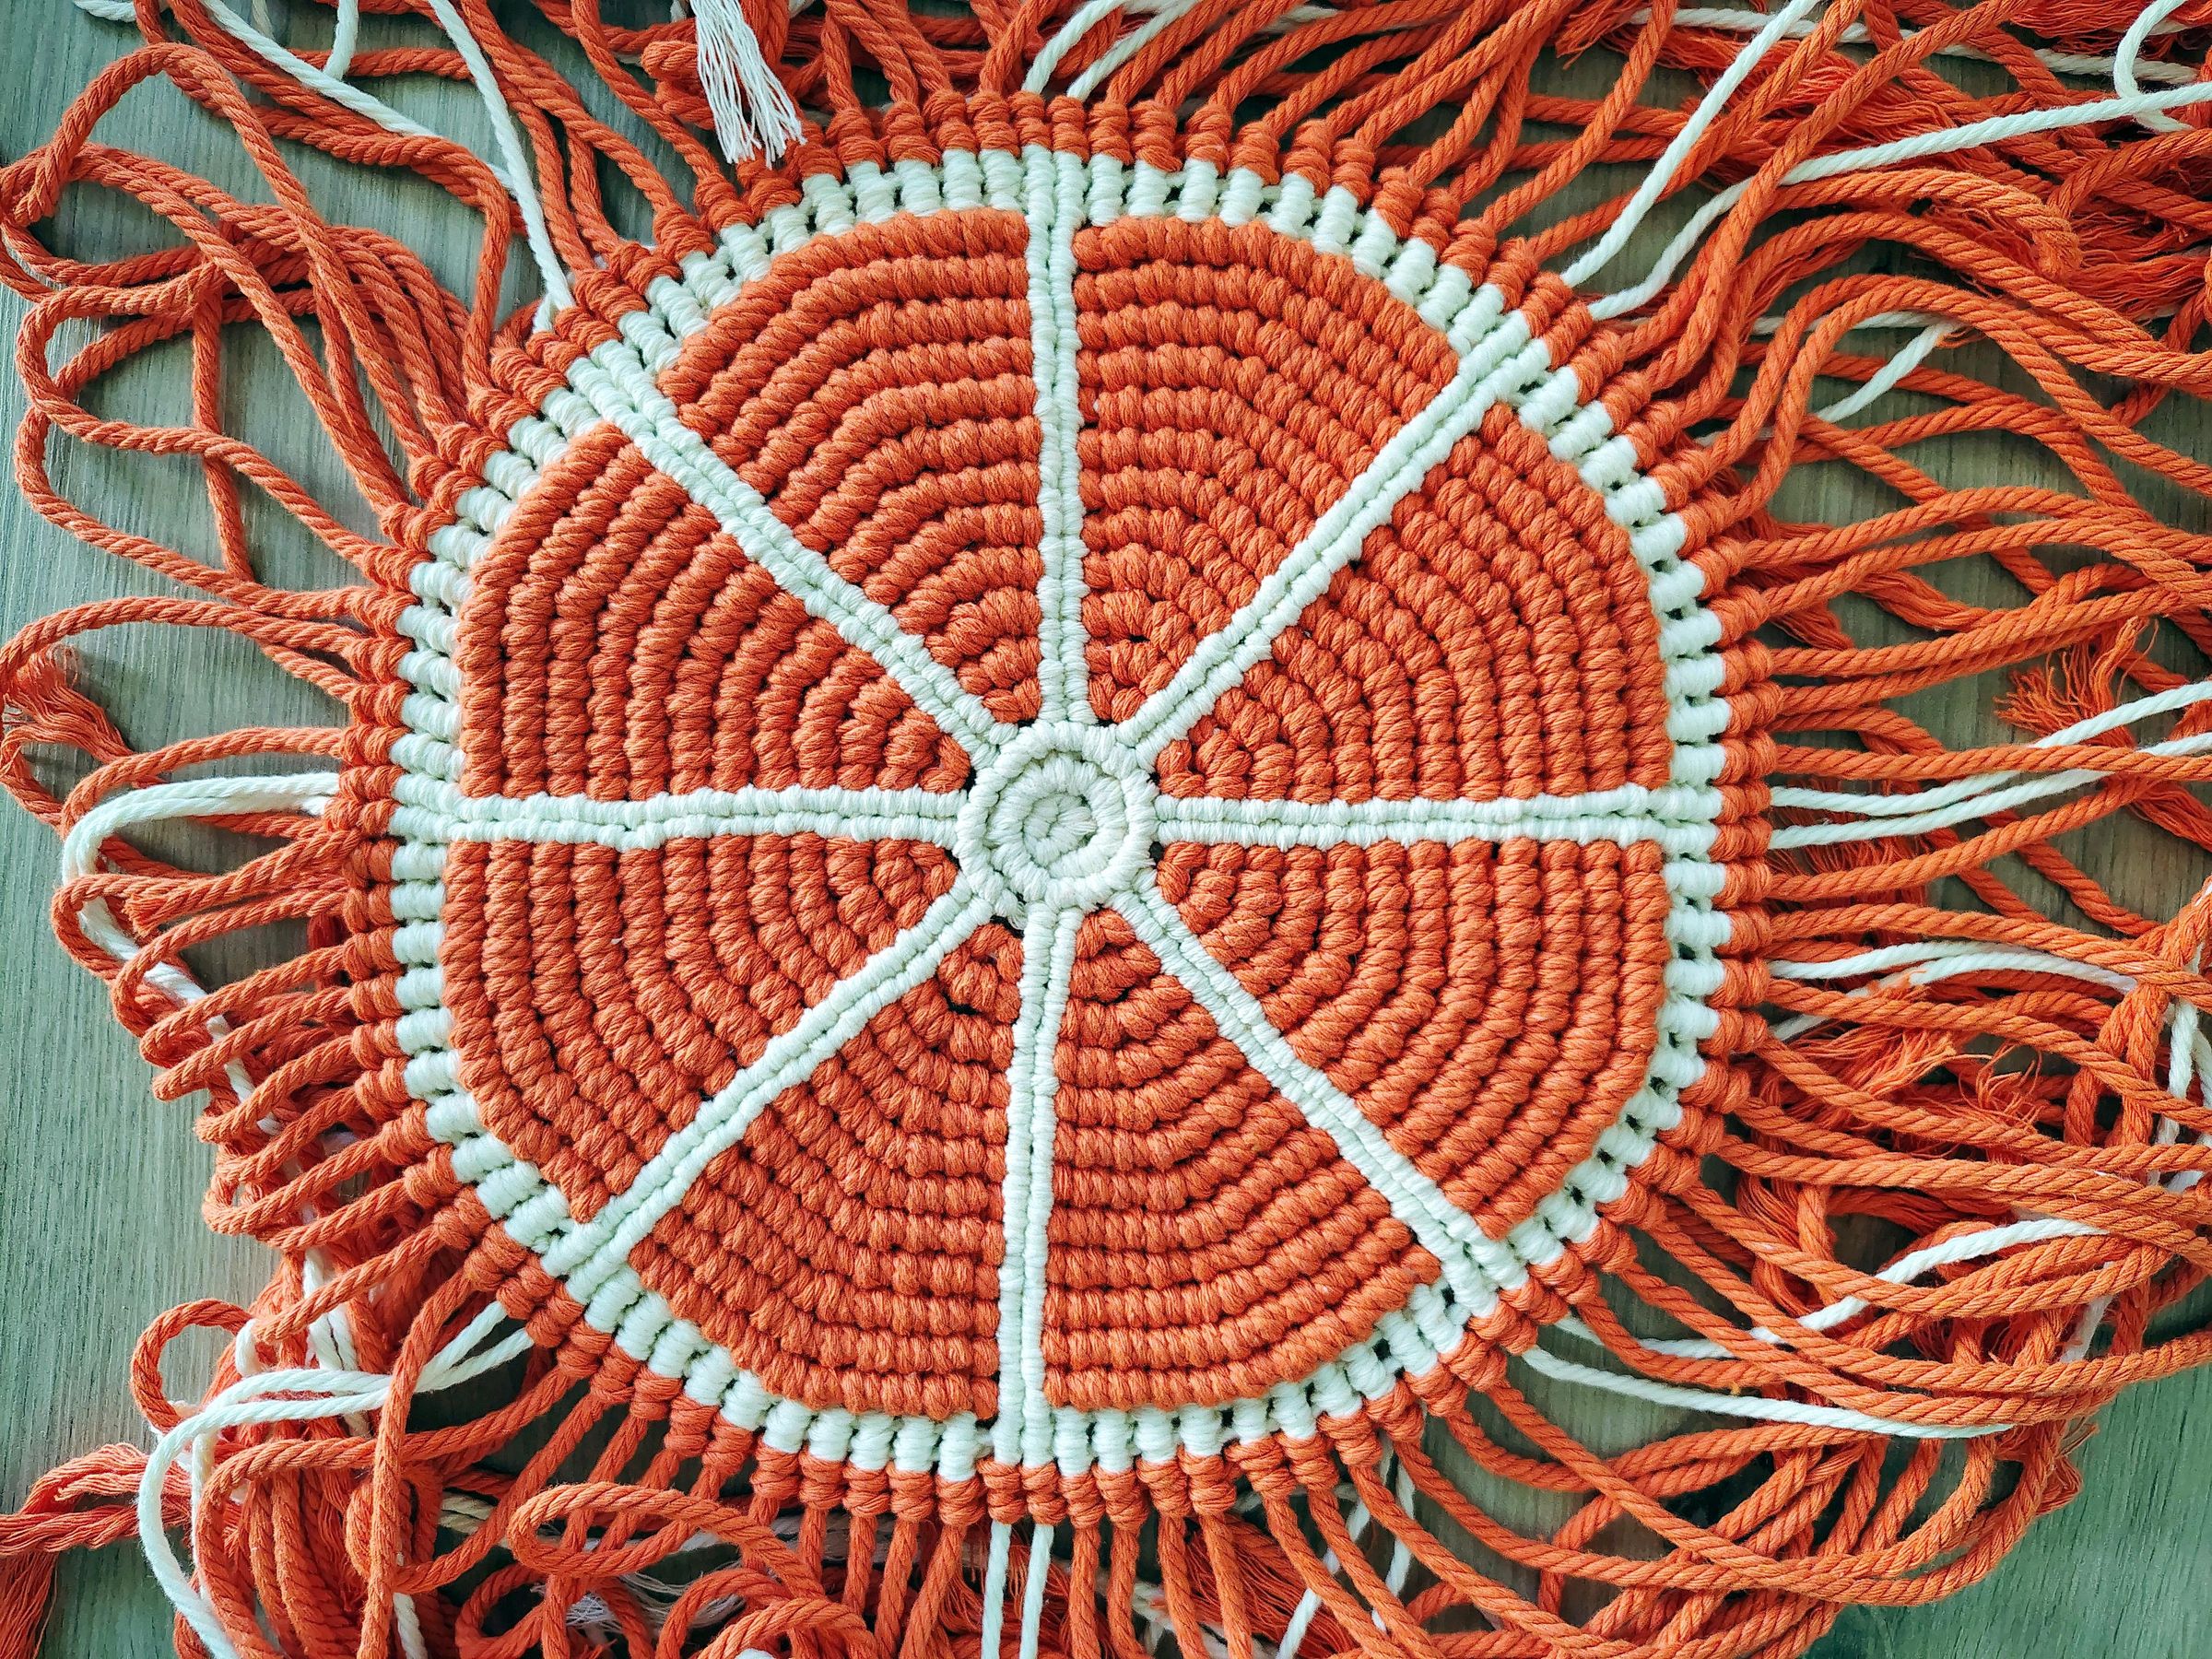
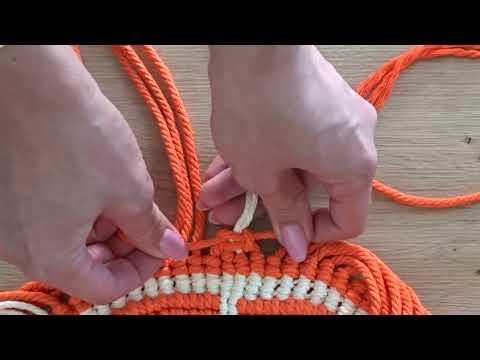
In order to have a more complete look you are going to add an orange outer rim.
To make vertical half-hitch knots take the whole spool of orange cord (you will be using it as a carrier cord) and place in underneath the first strand of milky white rope. With the small tail end on your left and the long tail on your right you are going to form a loop on your right, wrap it around your cord and pull it through. Then you are going to repeat the same process once again:
- Make a loop on your right
- Wrap around and through the loop
- Pull everything nicely together and secure the vertical double half-hitch knot
Repeat the same for all of the strands around the whole orange slice until you have a complete row of vertical double half-hitch knots.
Your Orange slice is now complete.
Square Knots
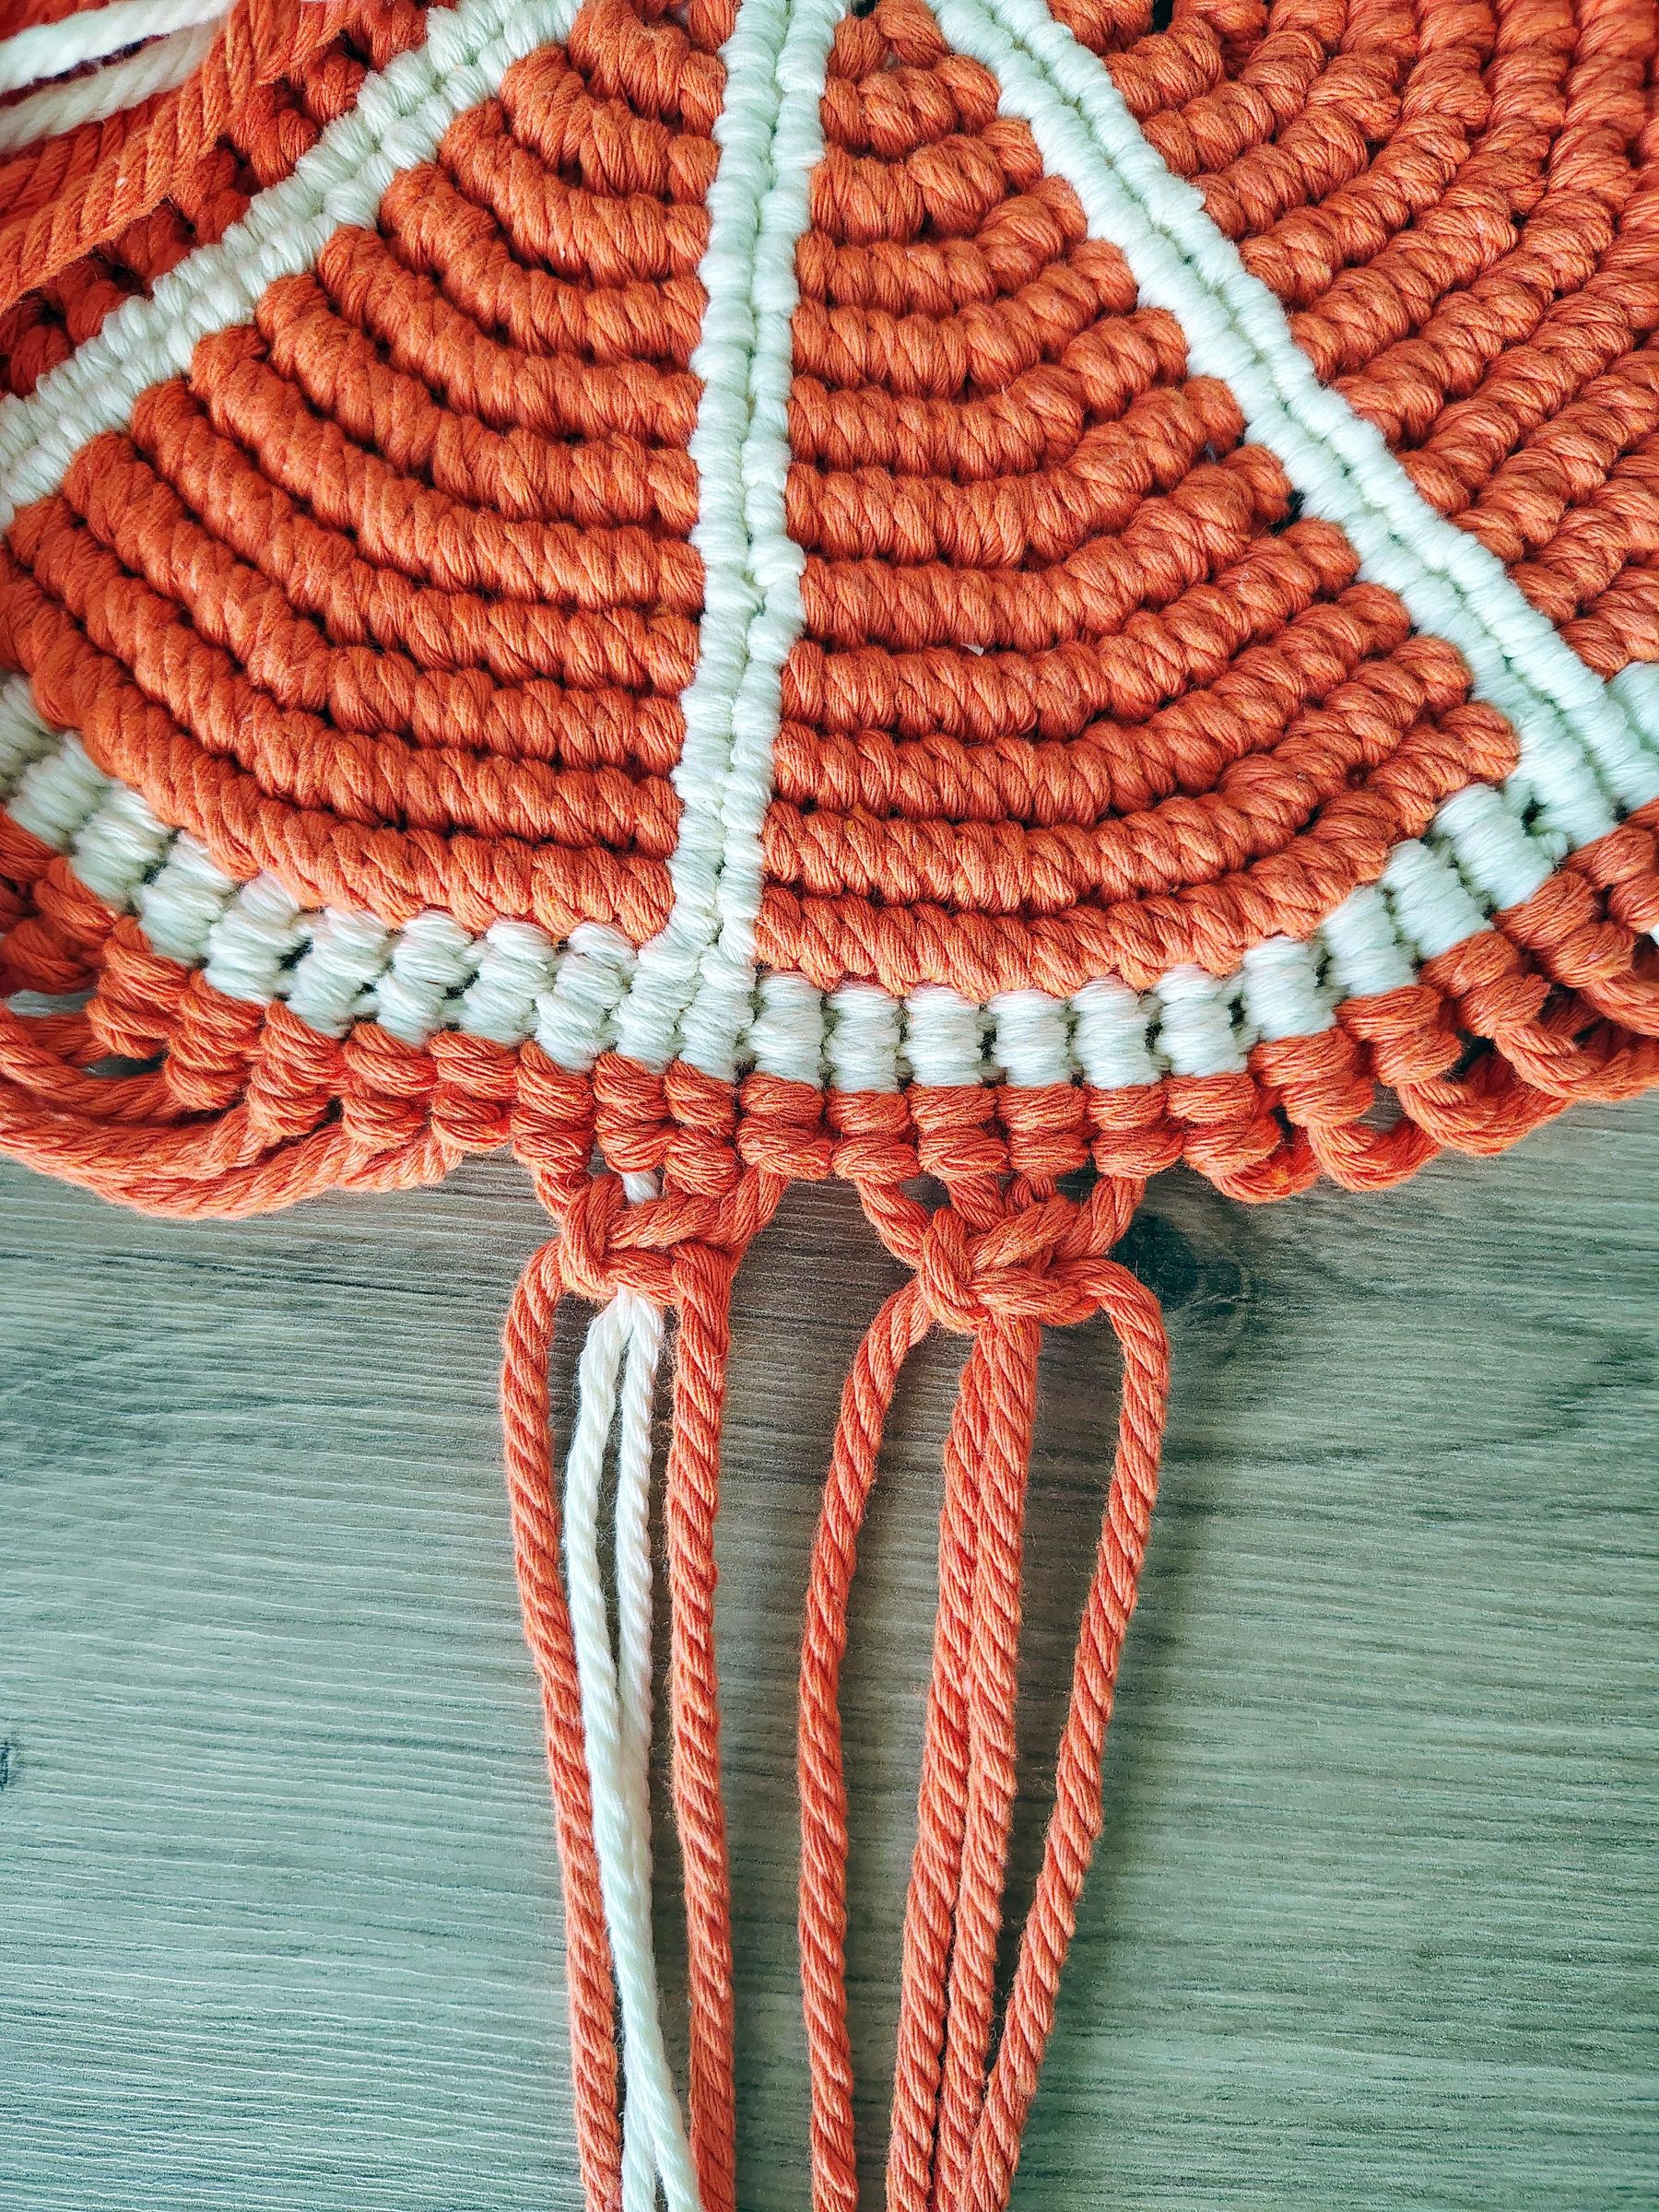
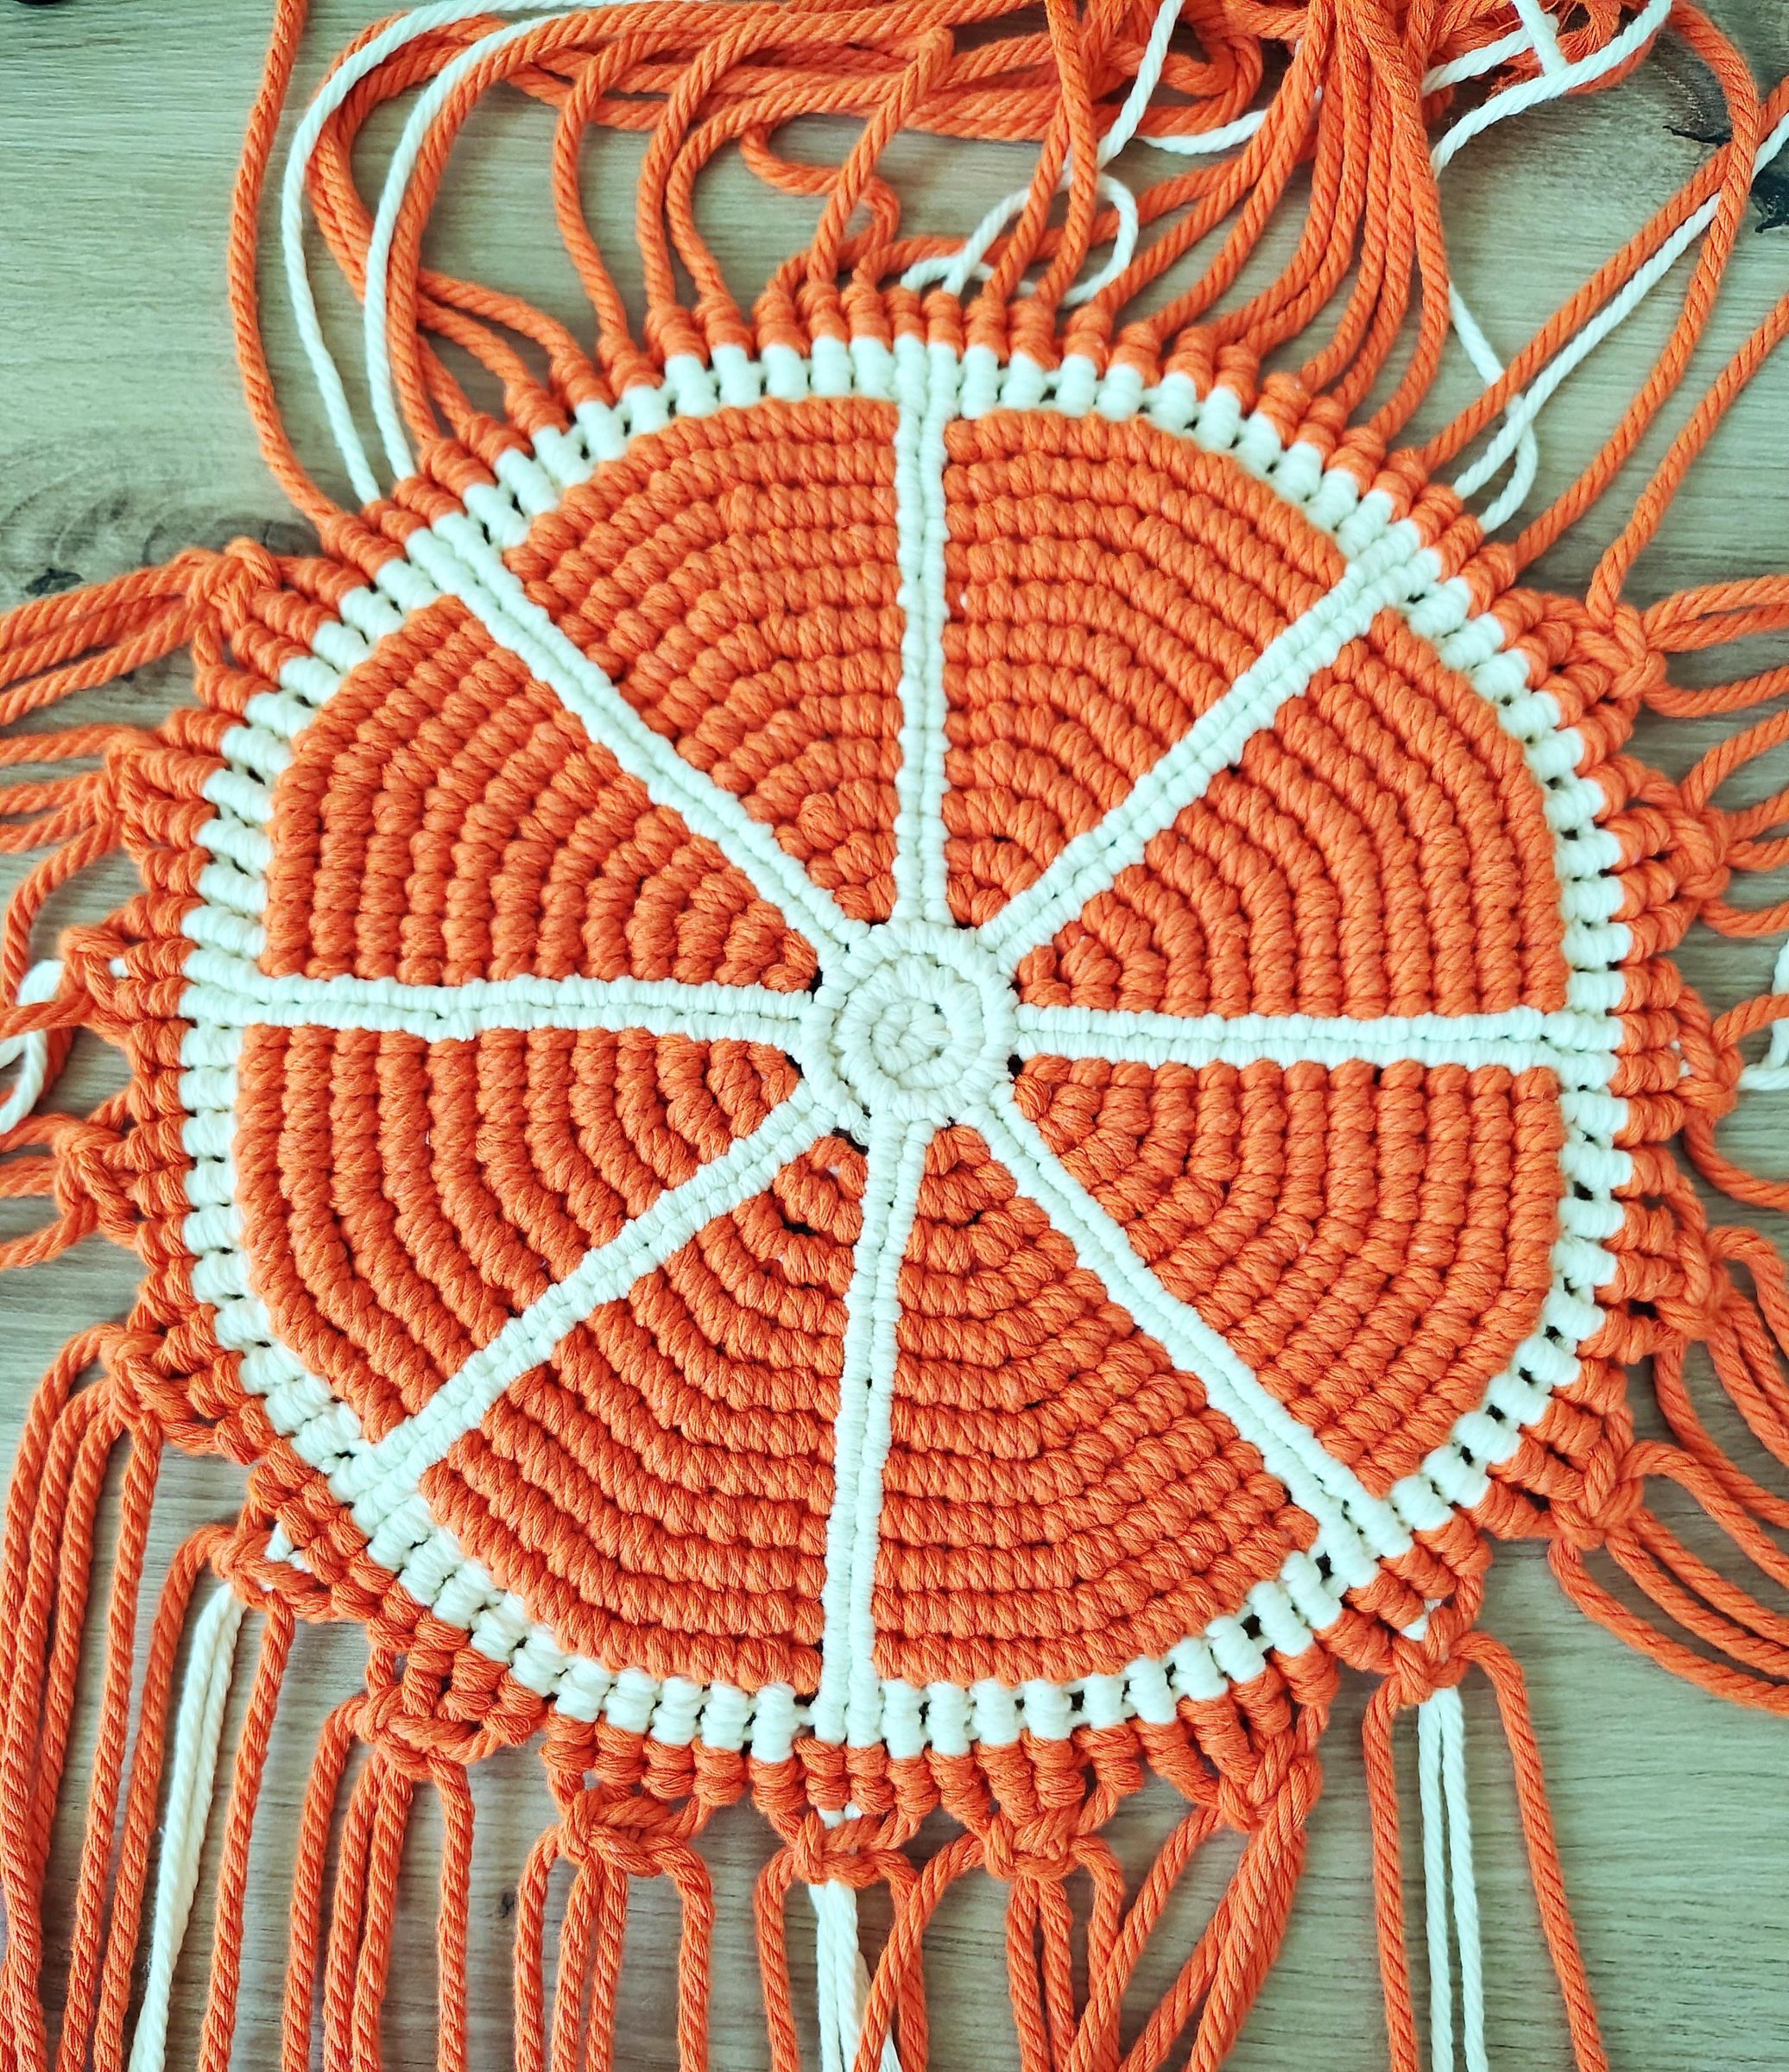
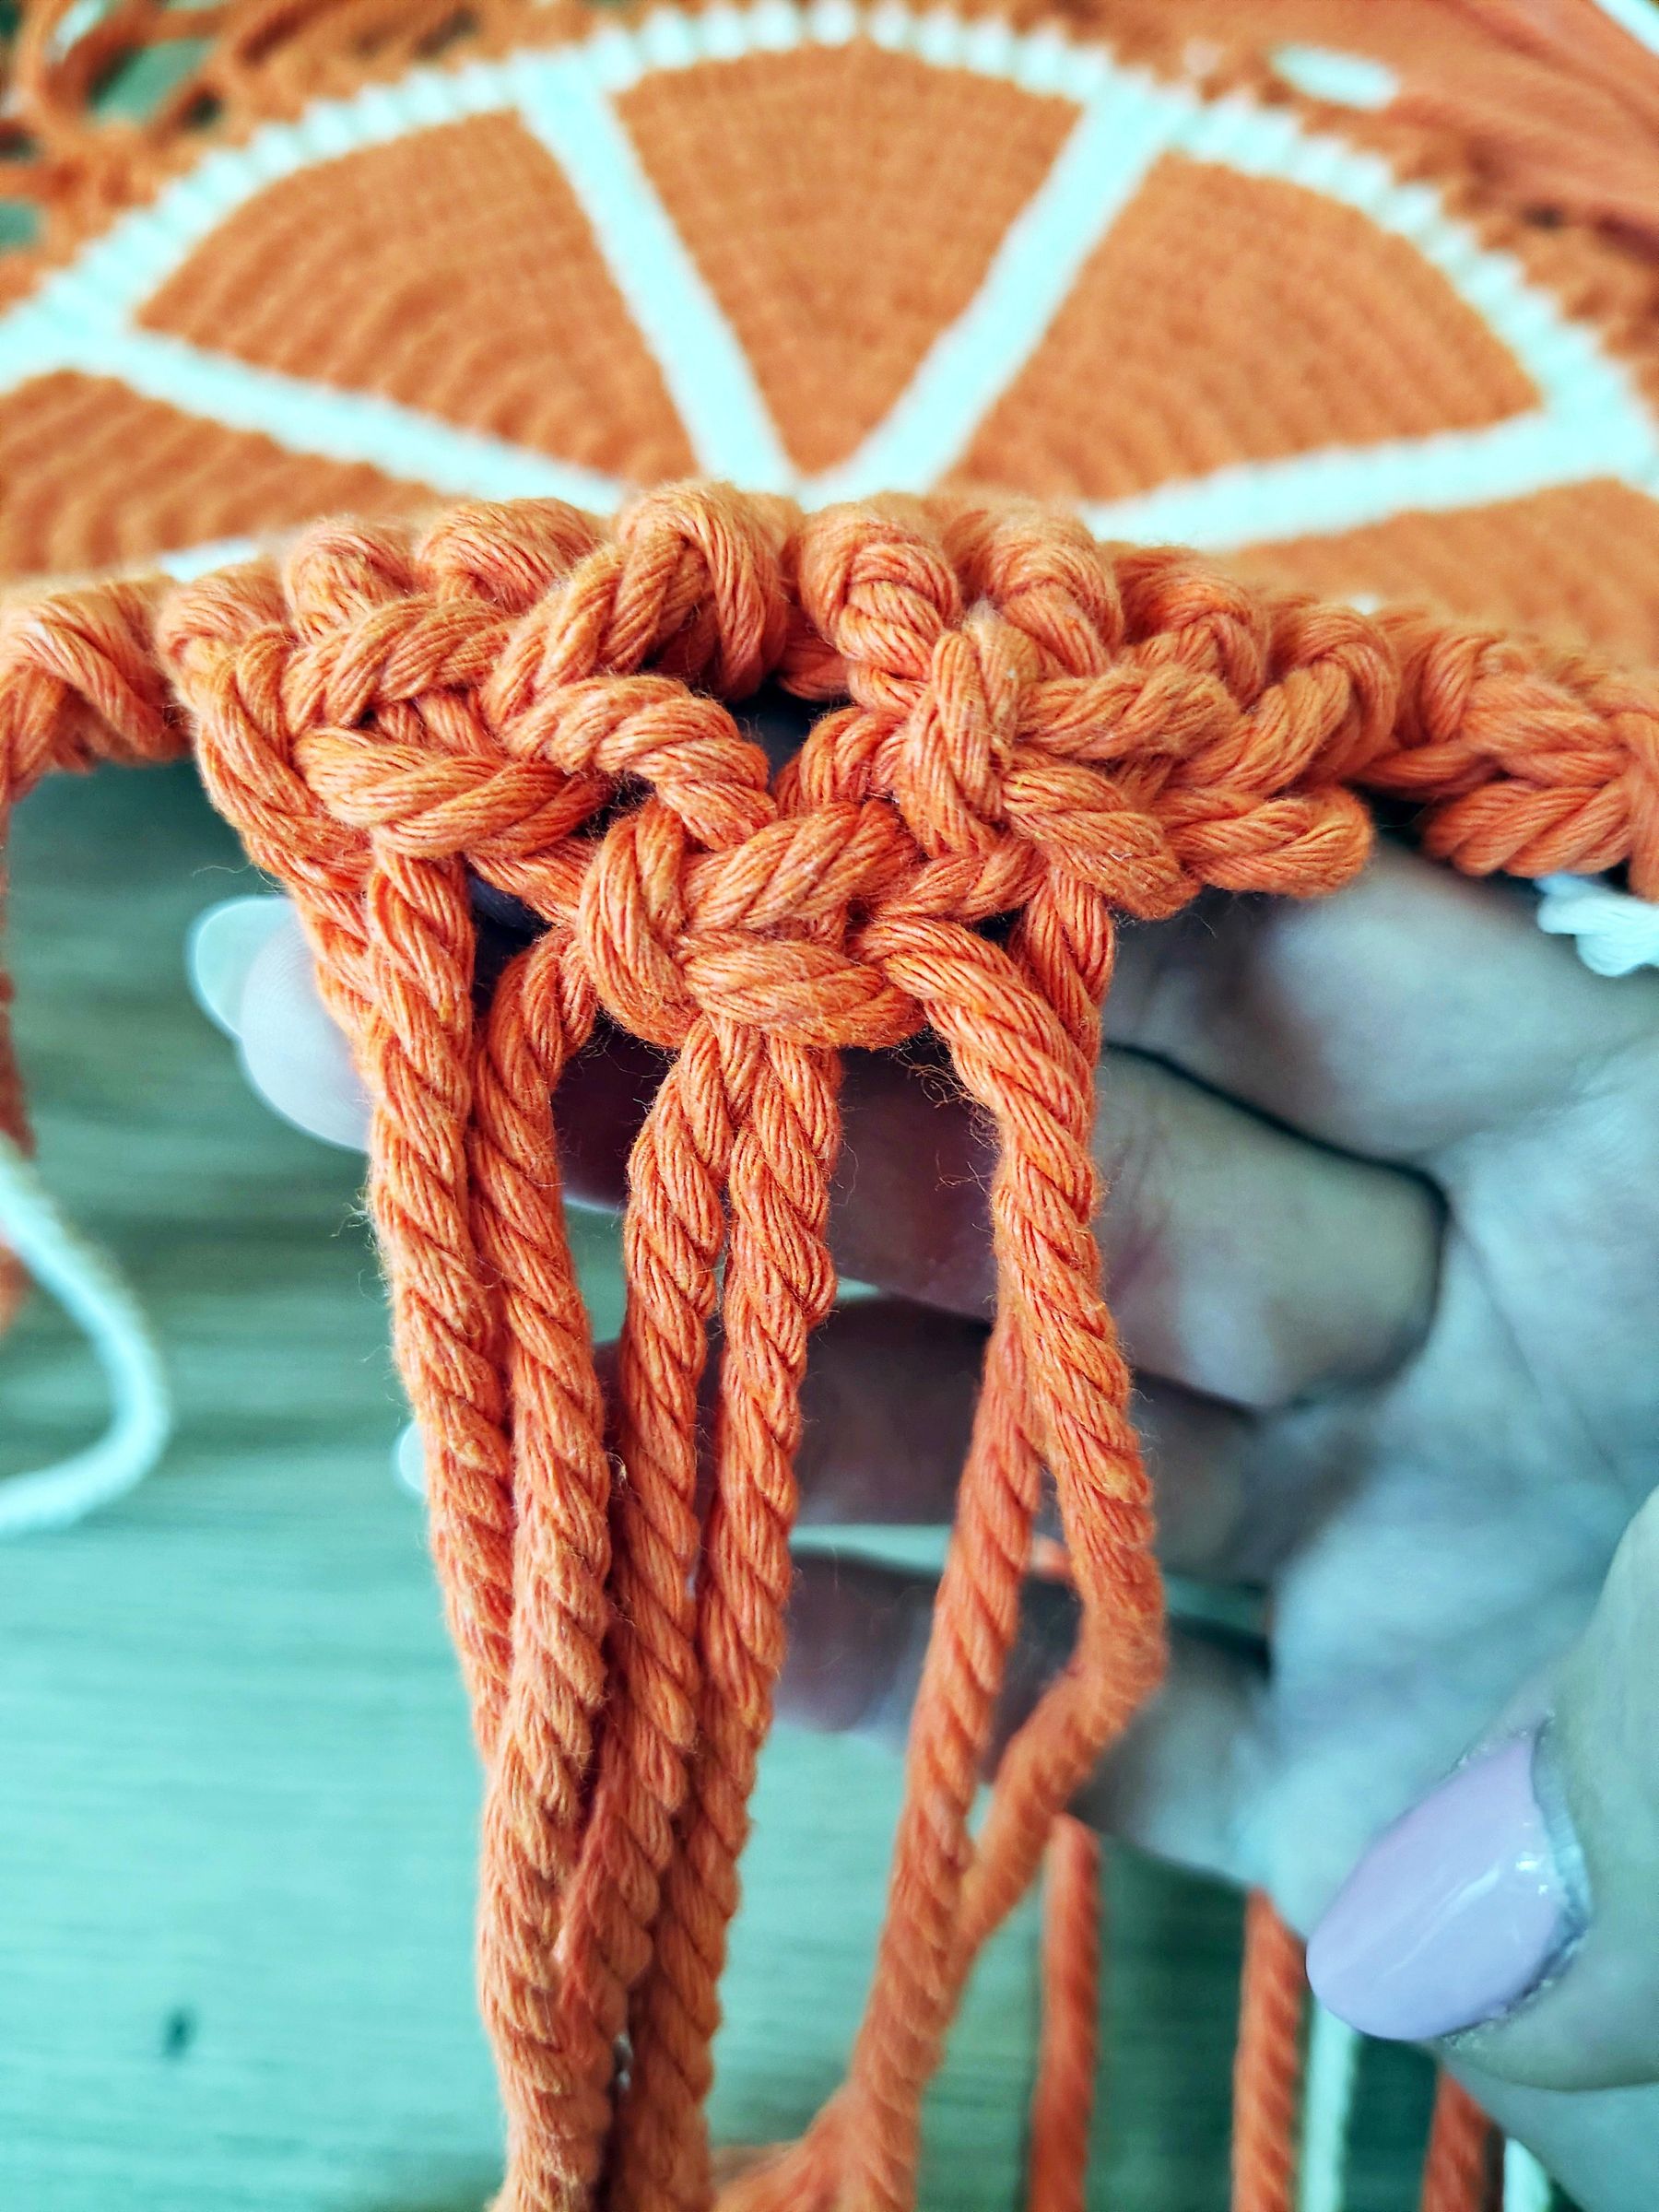
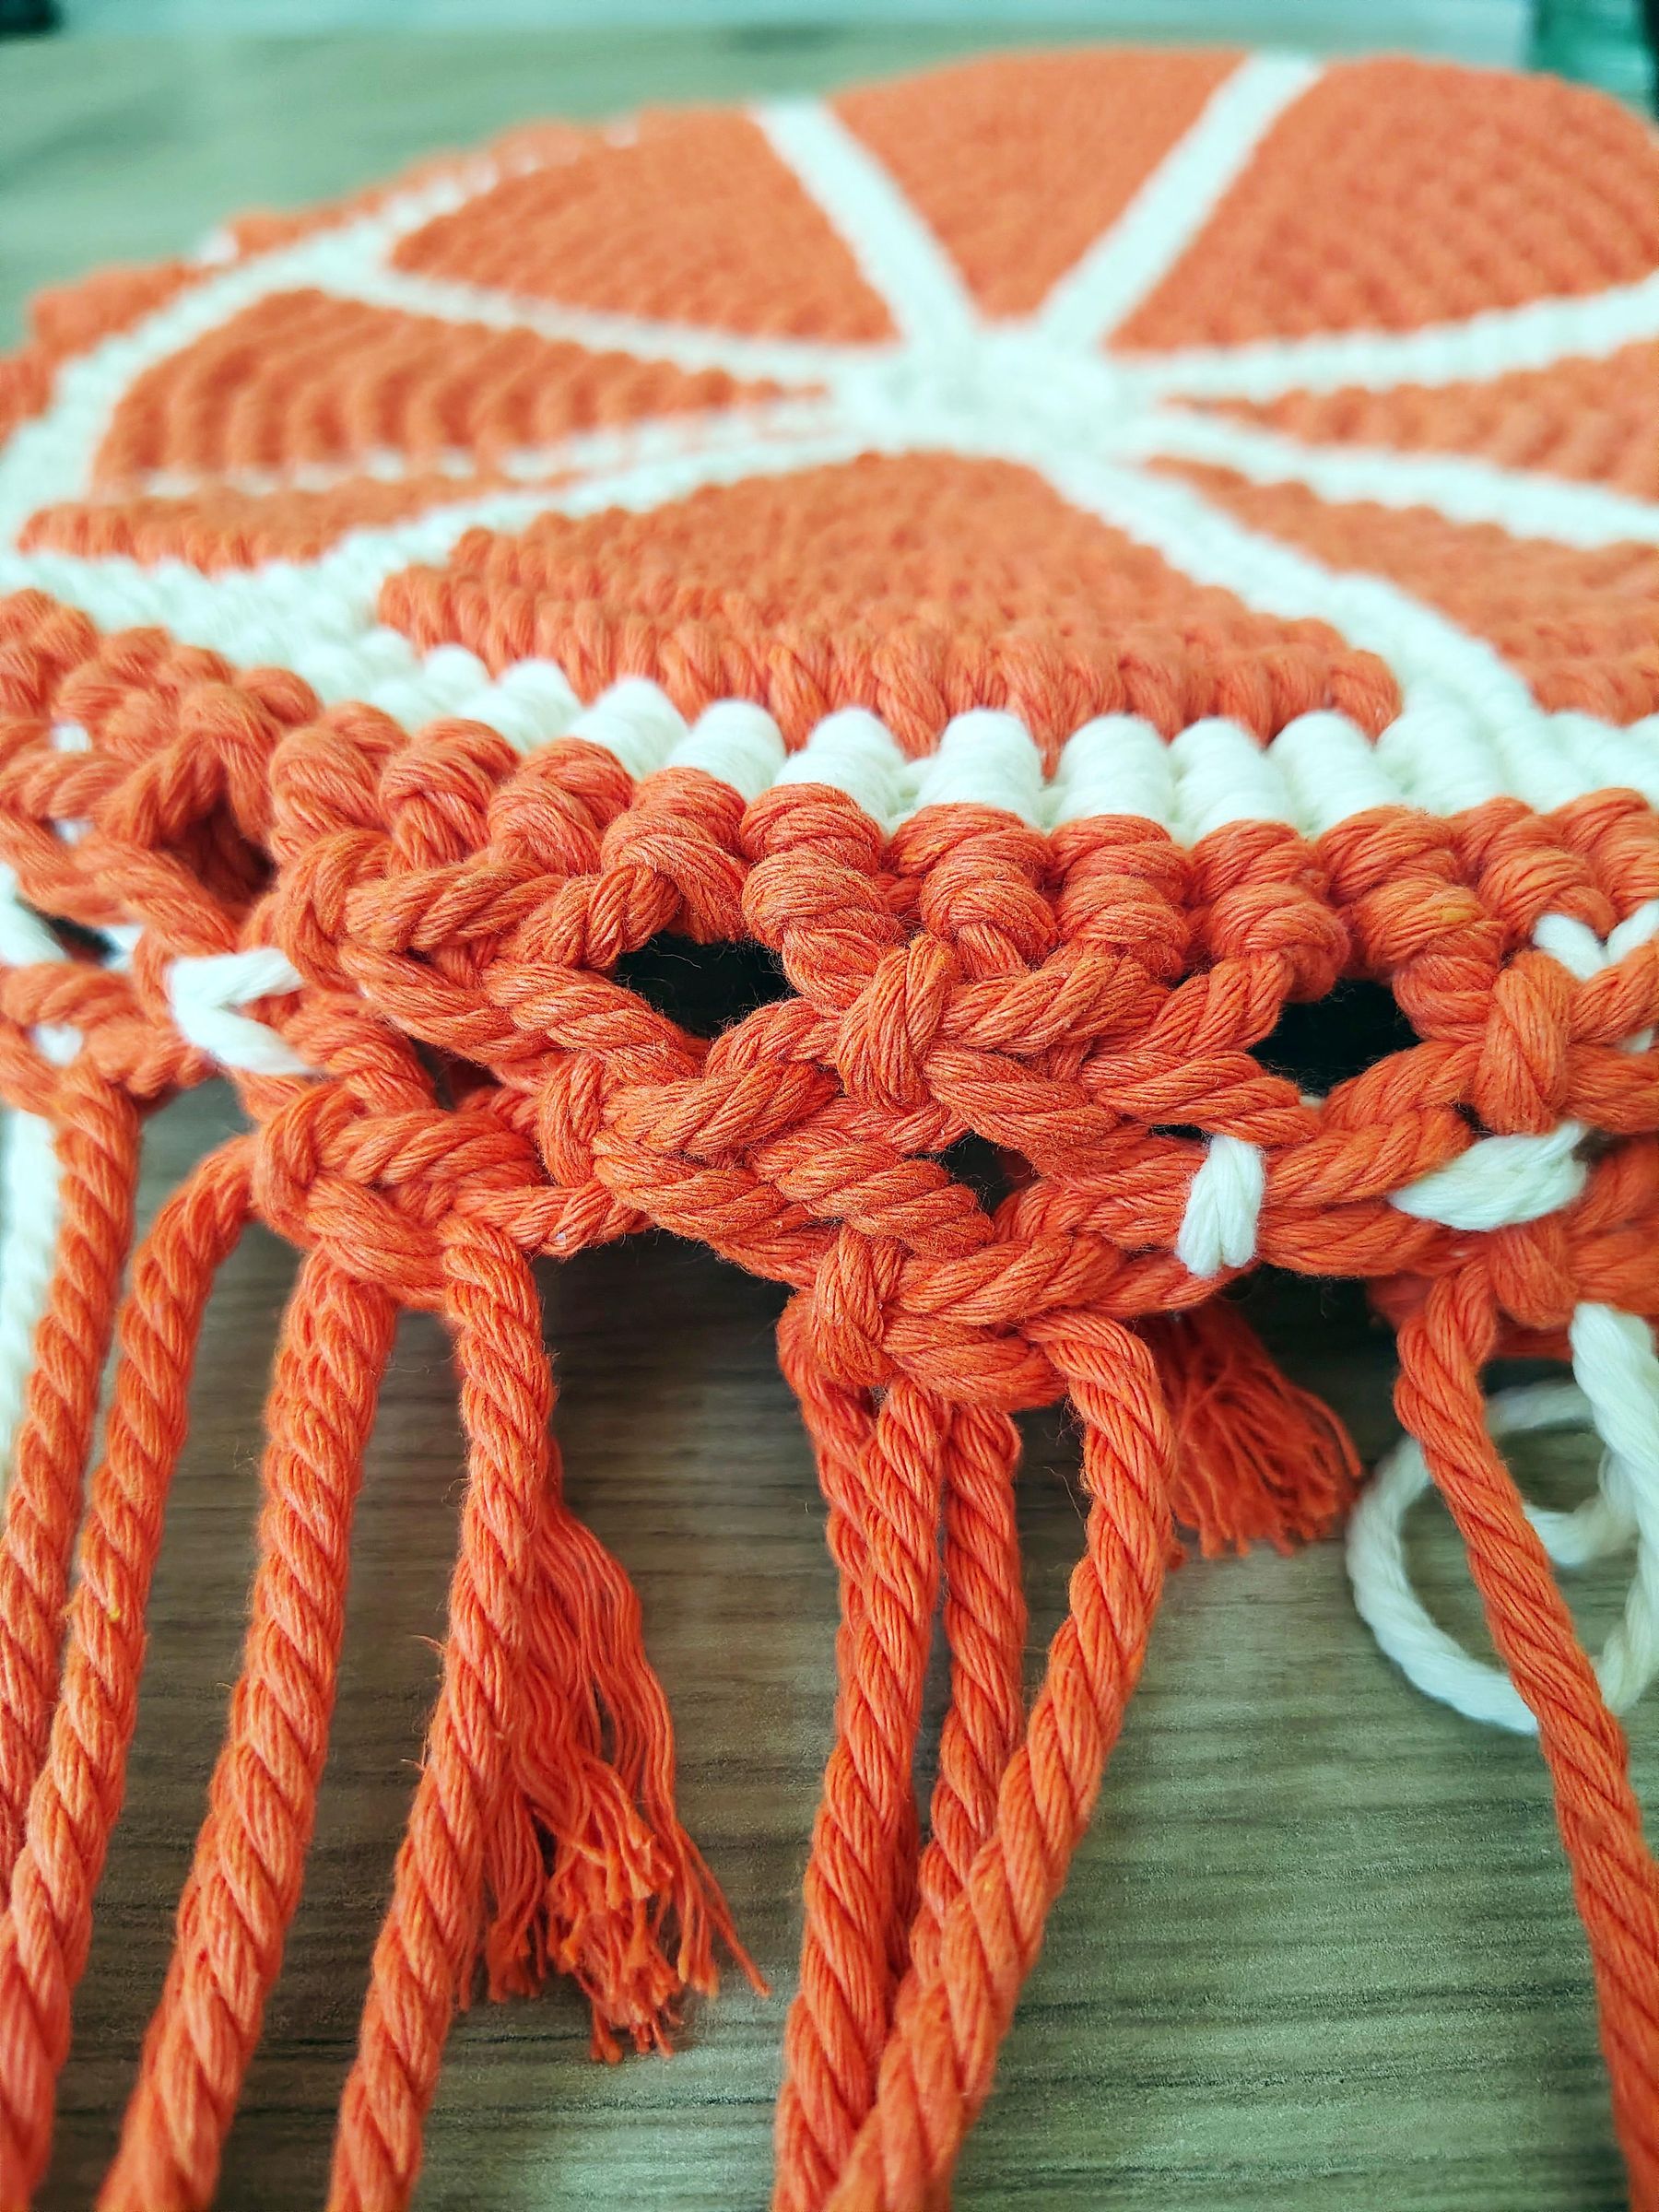
Next, you will be making the bottom of the bag itself by tying square knots.
You will need 4 strands of cord to make this knot and you will be working with the outer two cords while the two middle cords stay fixed. Take the outer left cord and create a small loop placing it over the two middle cords, creating a shape resembling the number 4.Then take the outer right cord and place it over the left cord. Start to create your knot by taking the right cord under the middle cords. Then take the right cord through the loop formed by the left blue cord. Pull the cords to tighten and you have the first half of the square knot.
To make up the second half of the square knot you will repeat the steps working in the opposite direction.
Start with the outer right cord and create a small loop placing it over the two middle cords, again creating a shape of a mirror number 4.Now take your outer left cord and place it over the right cord. Create your knot by taking the left cord and going under the middle cords and through the loop formed by the right cord. Pull to tighten.
Make 17 square knots in total and repeat this knot for three rows.
The first part of this bag is now complete.
Make One More Slice
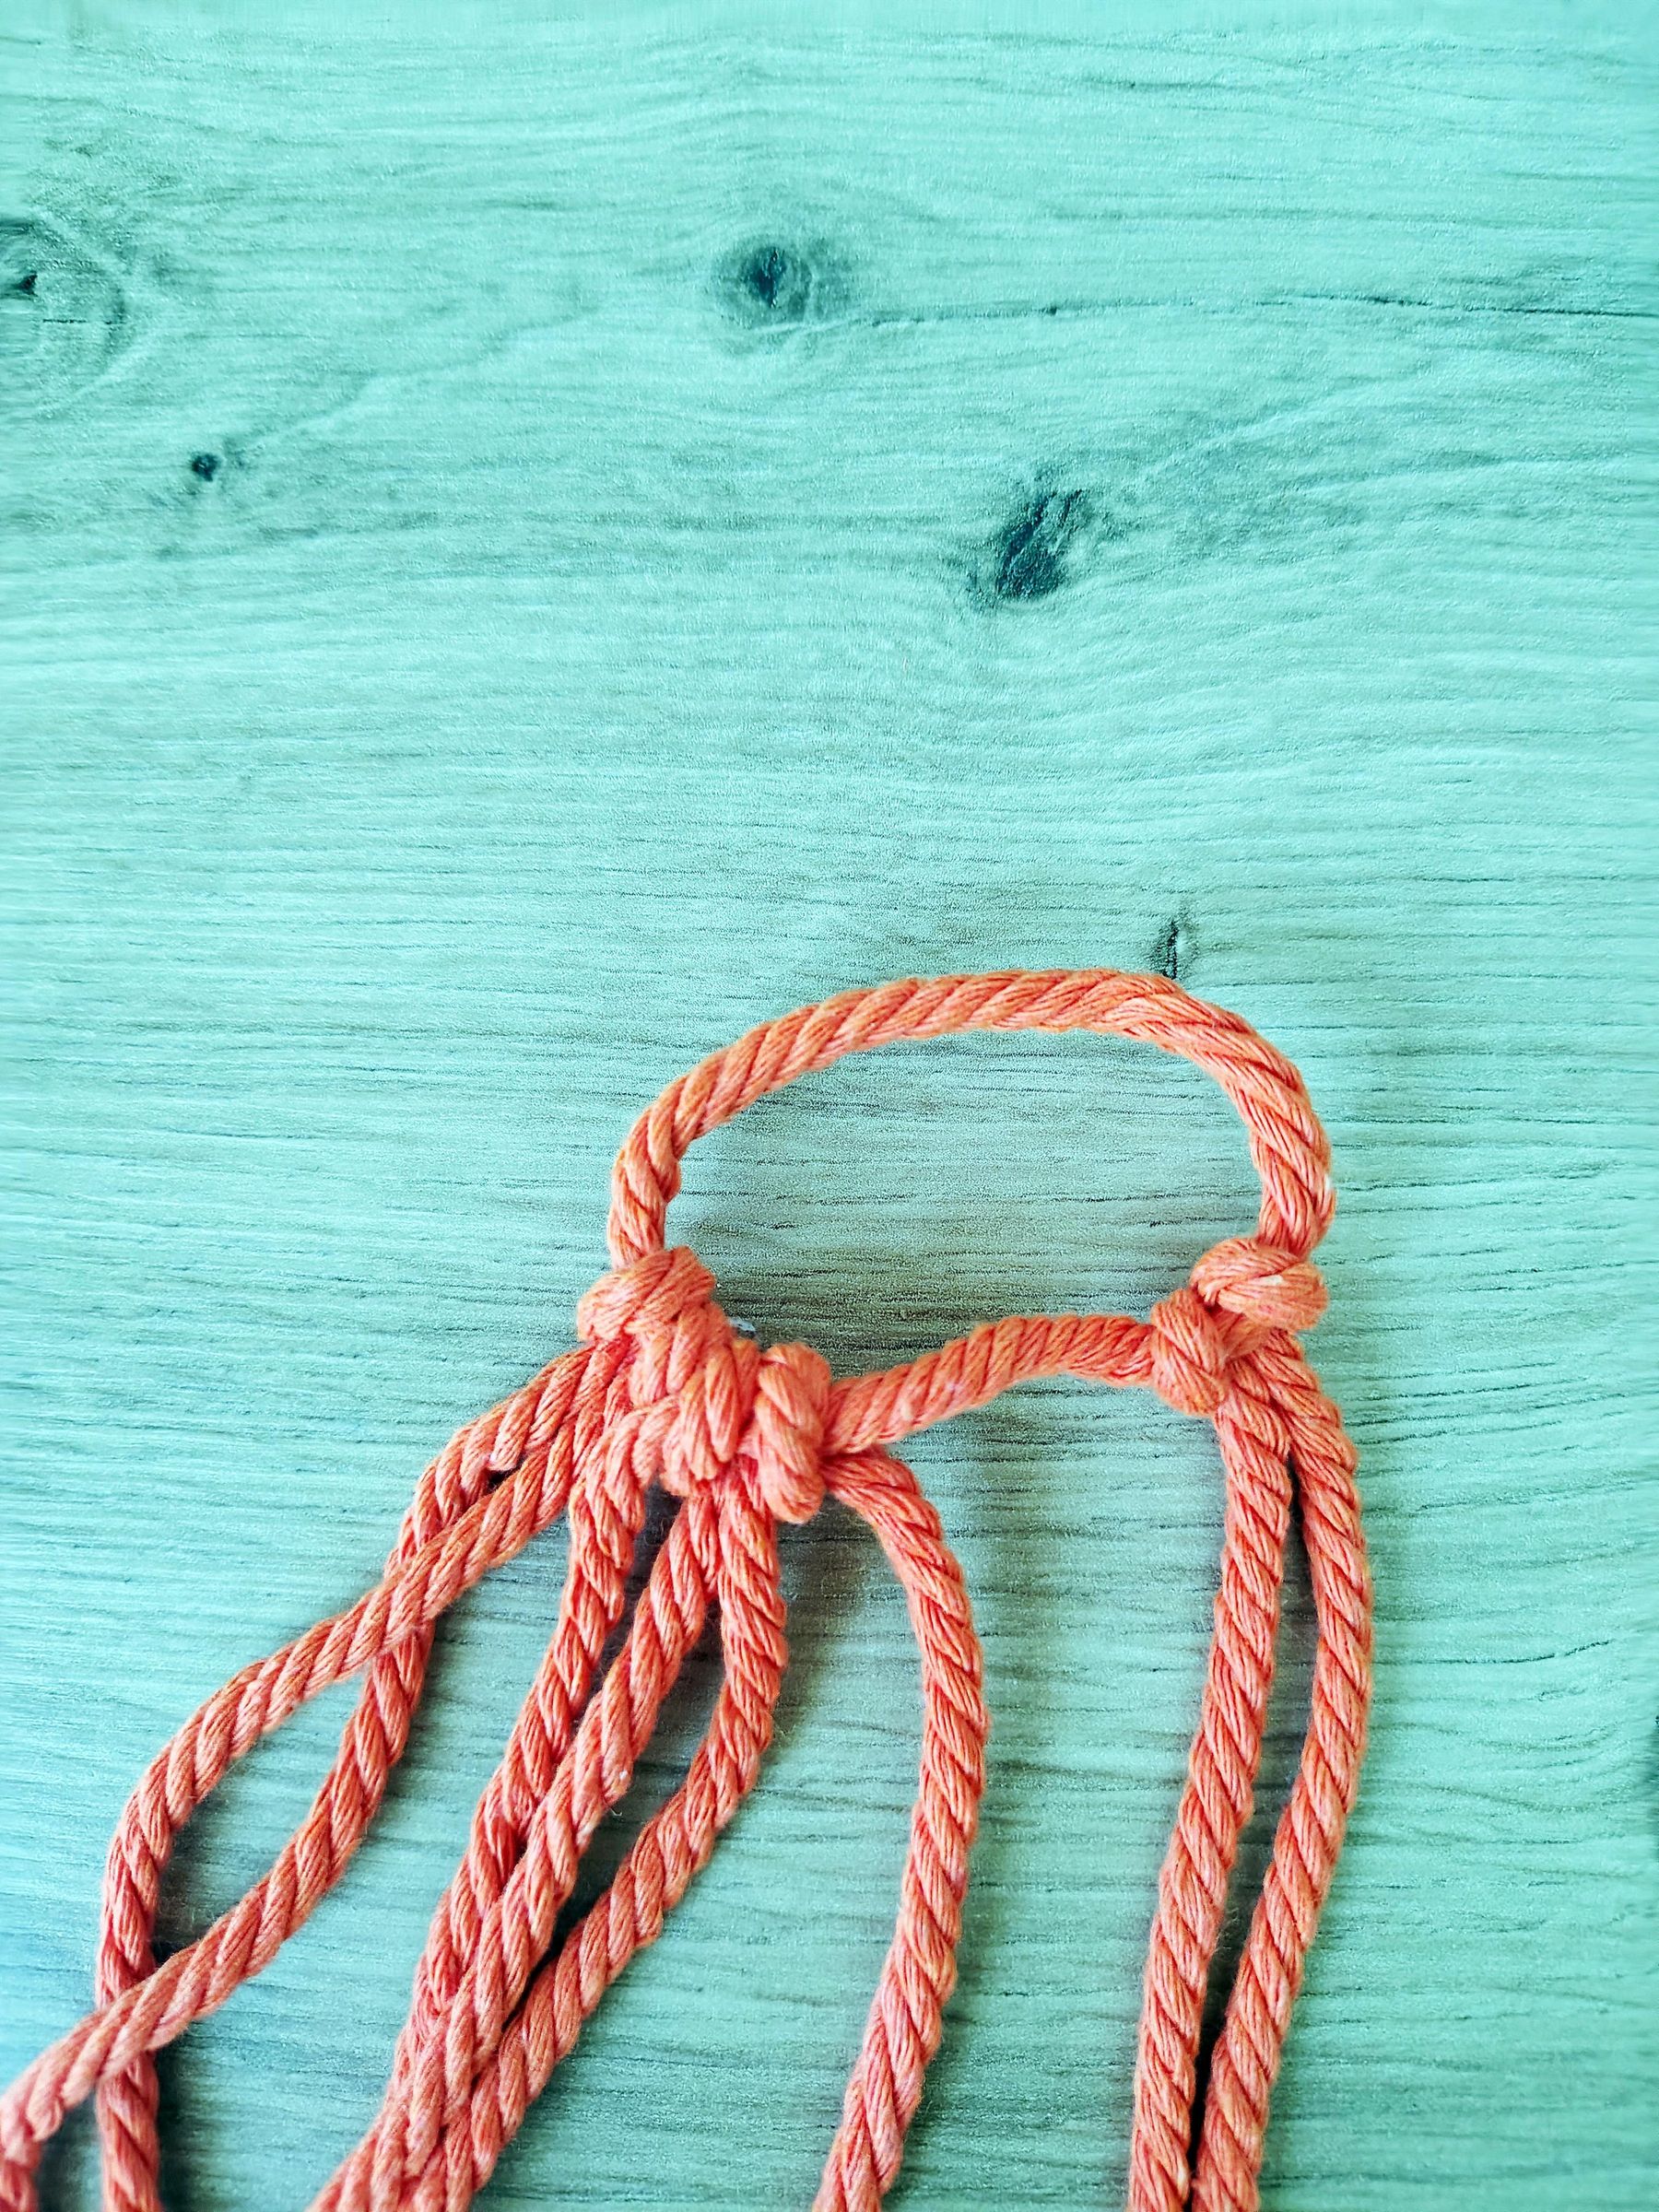
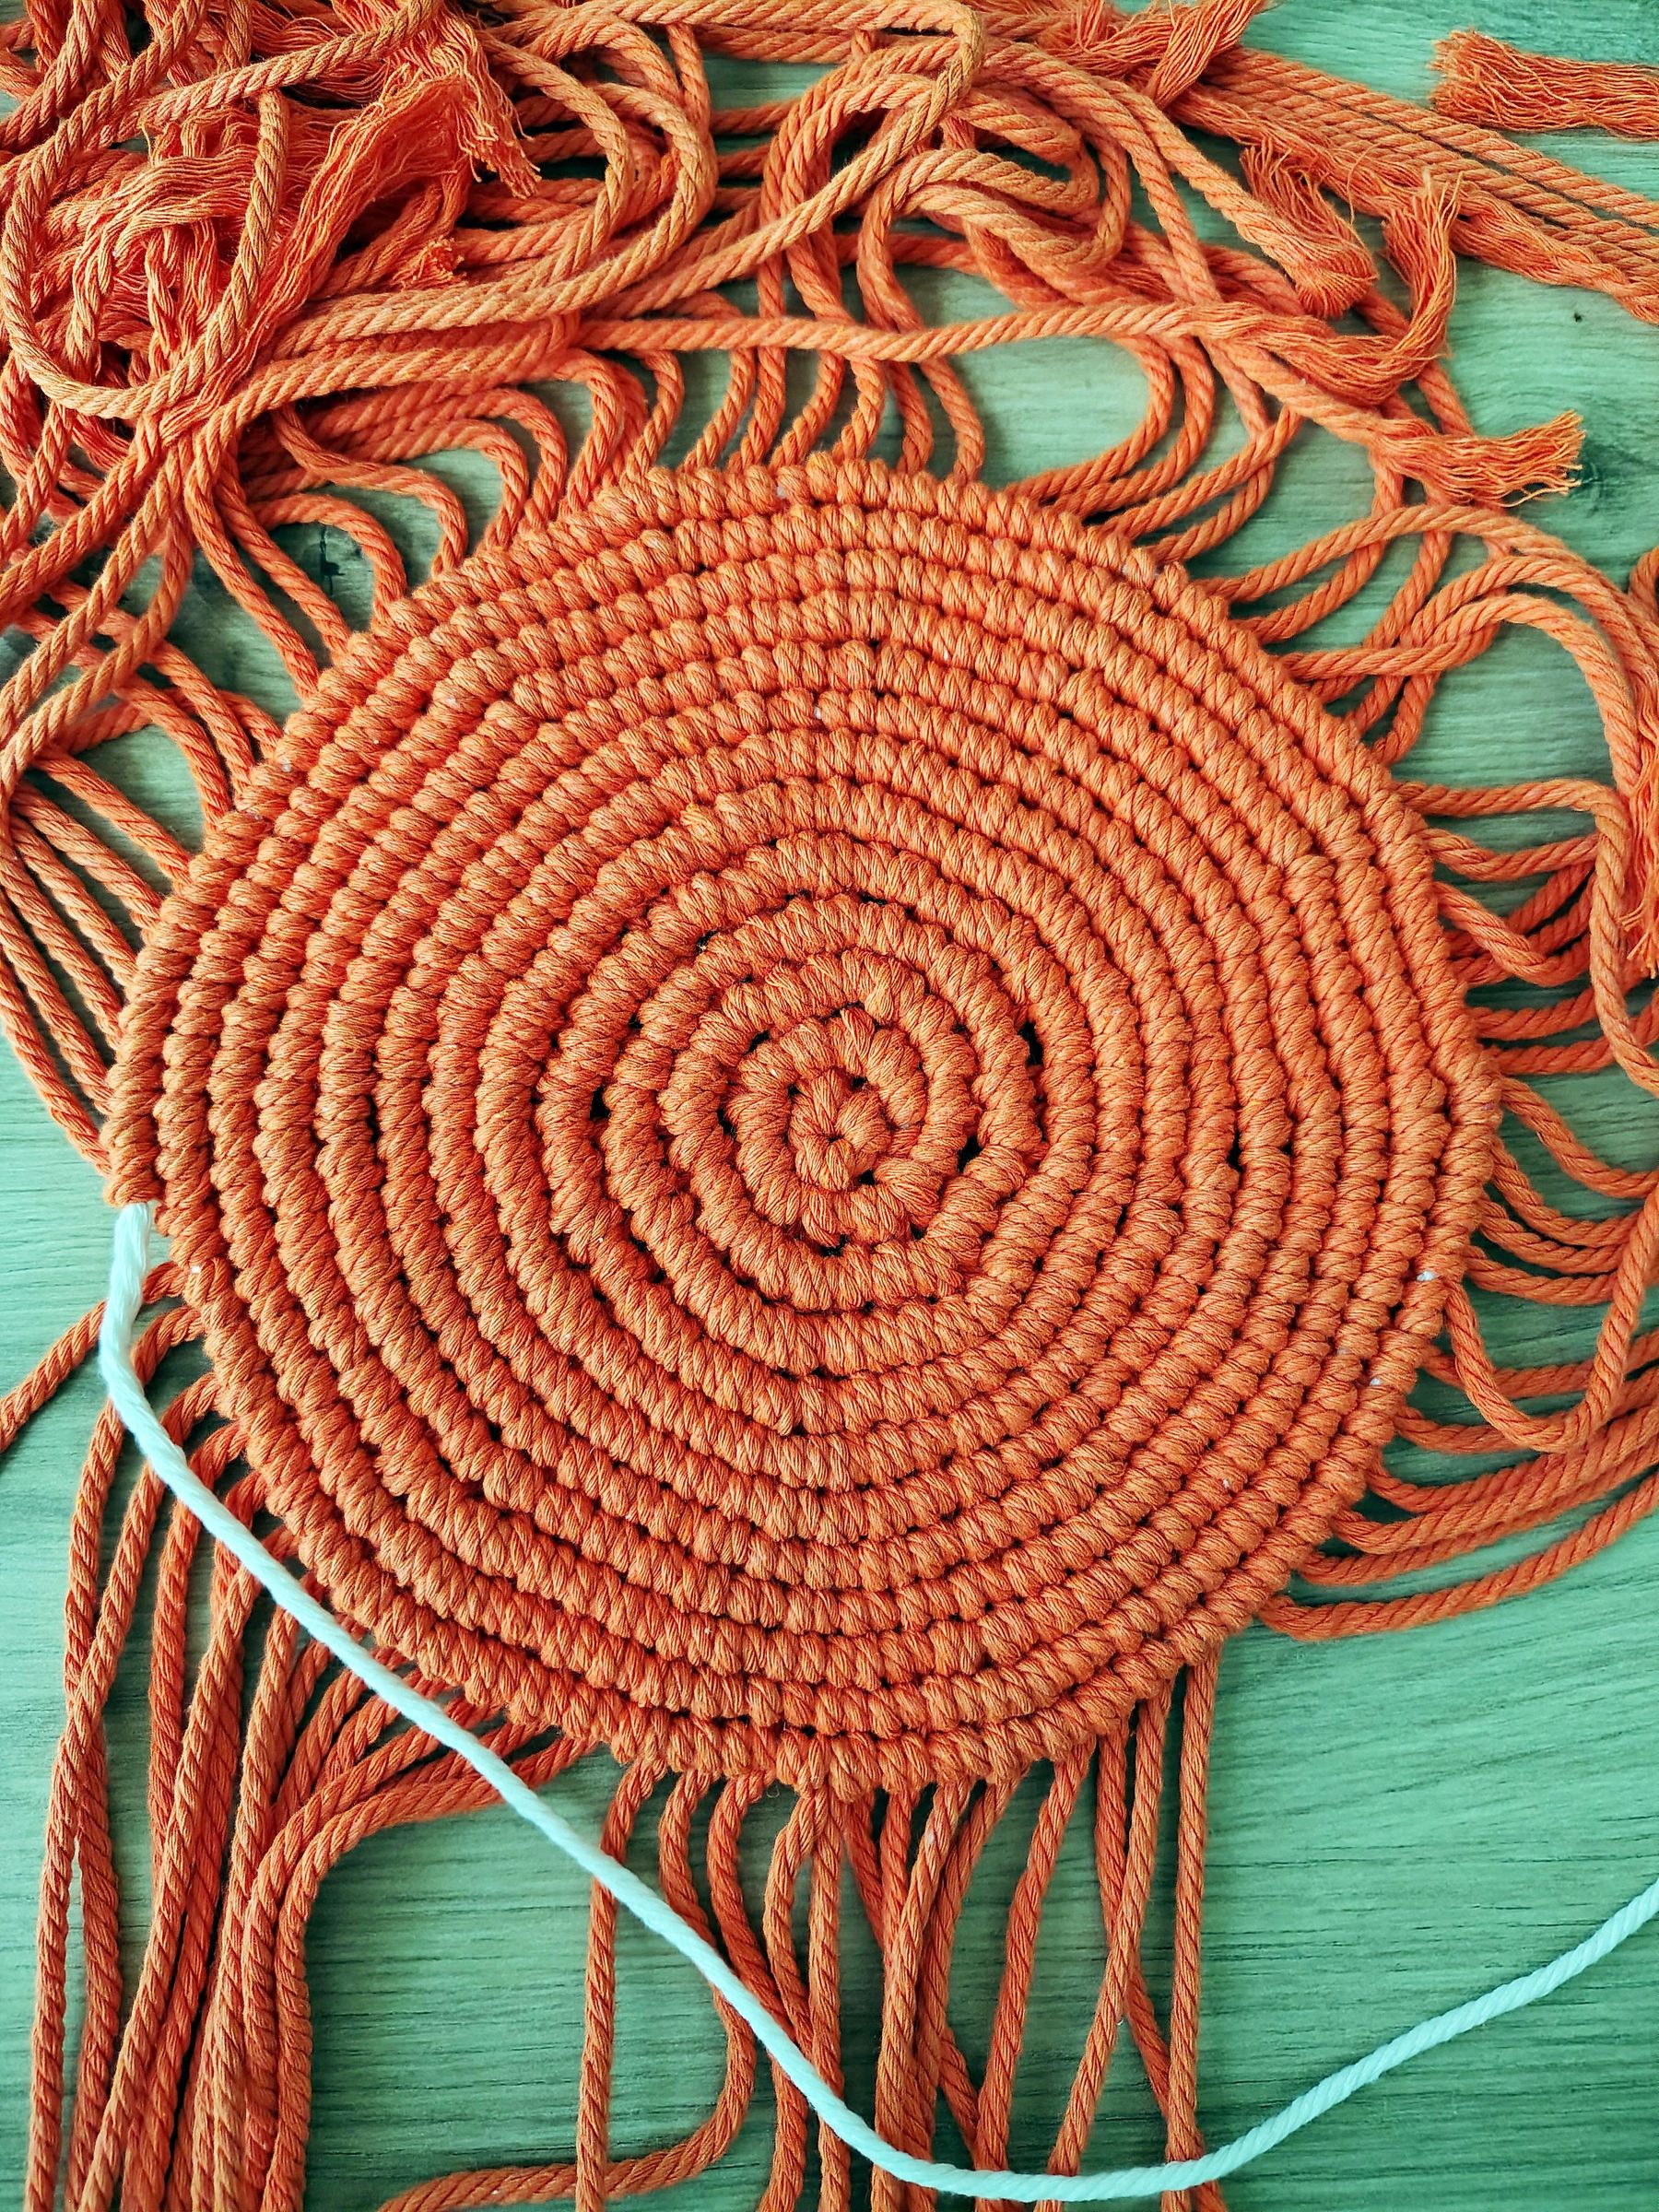
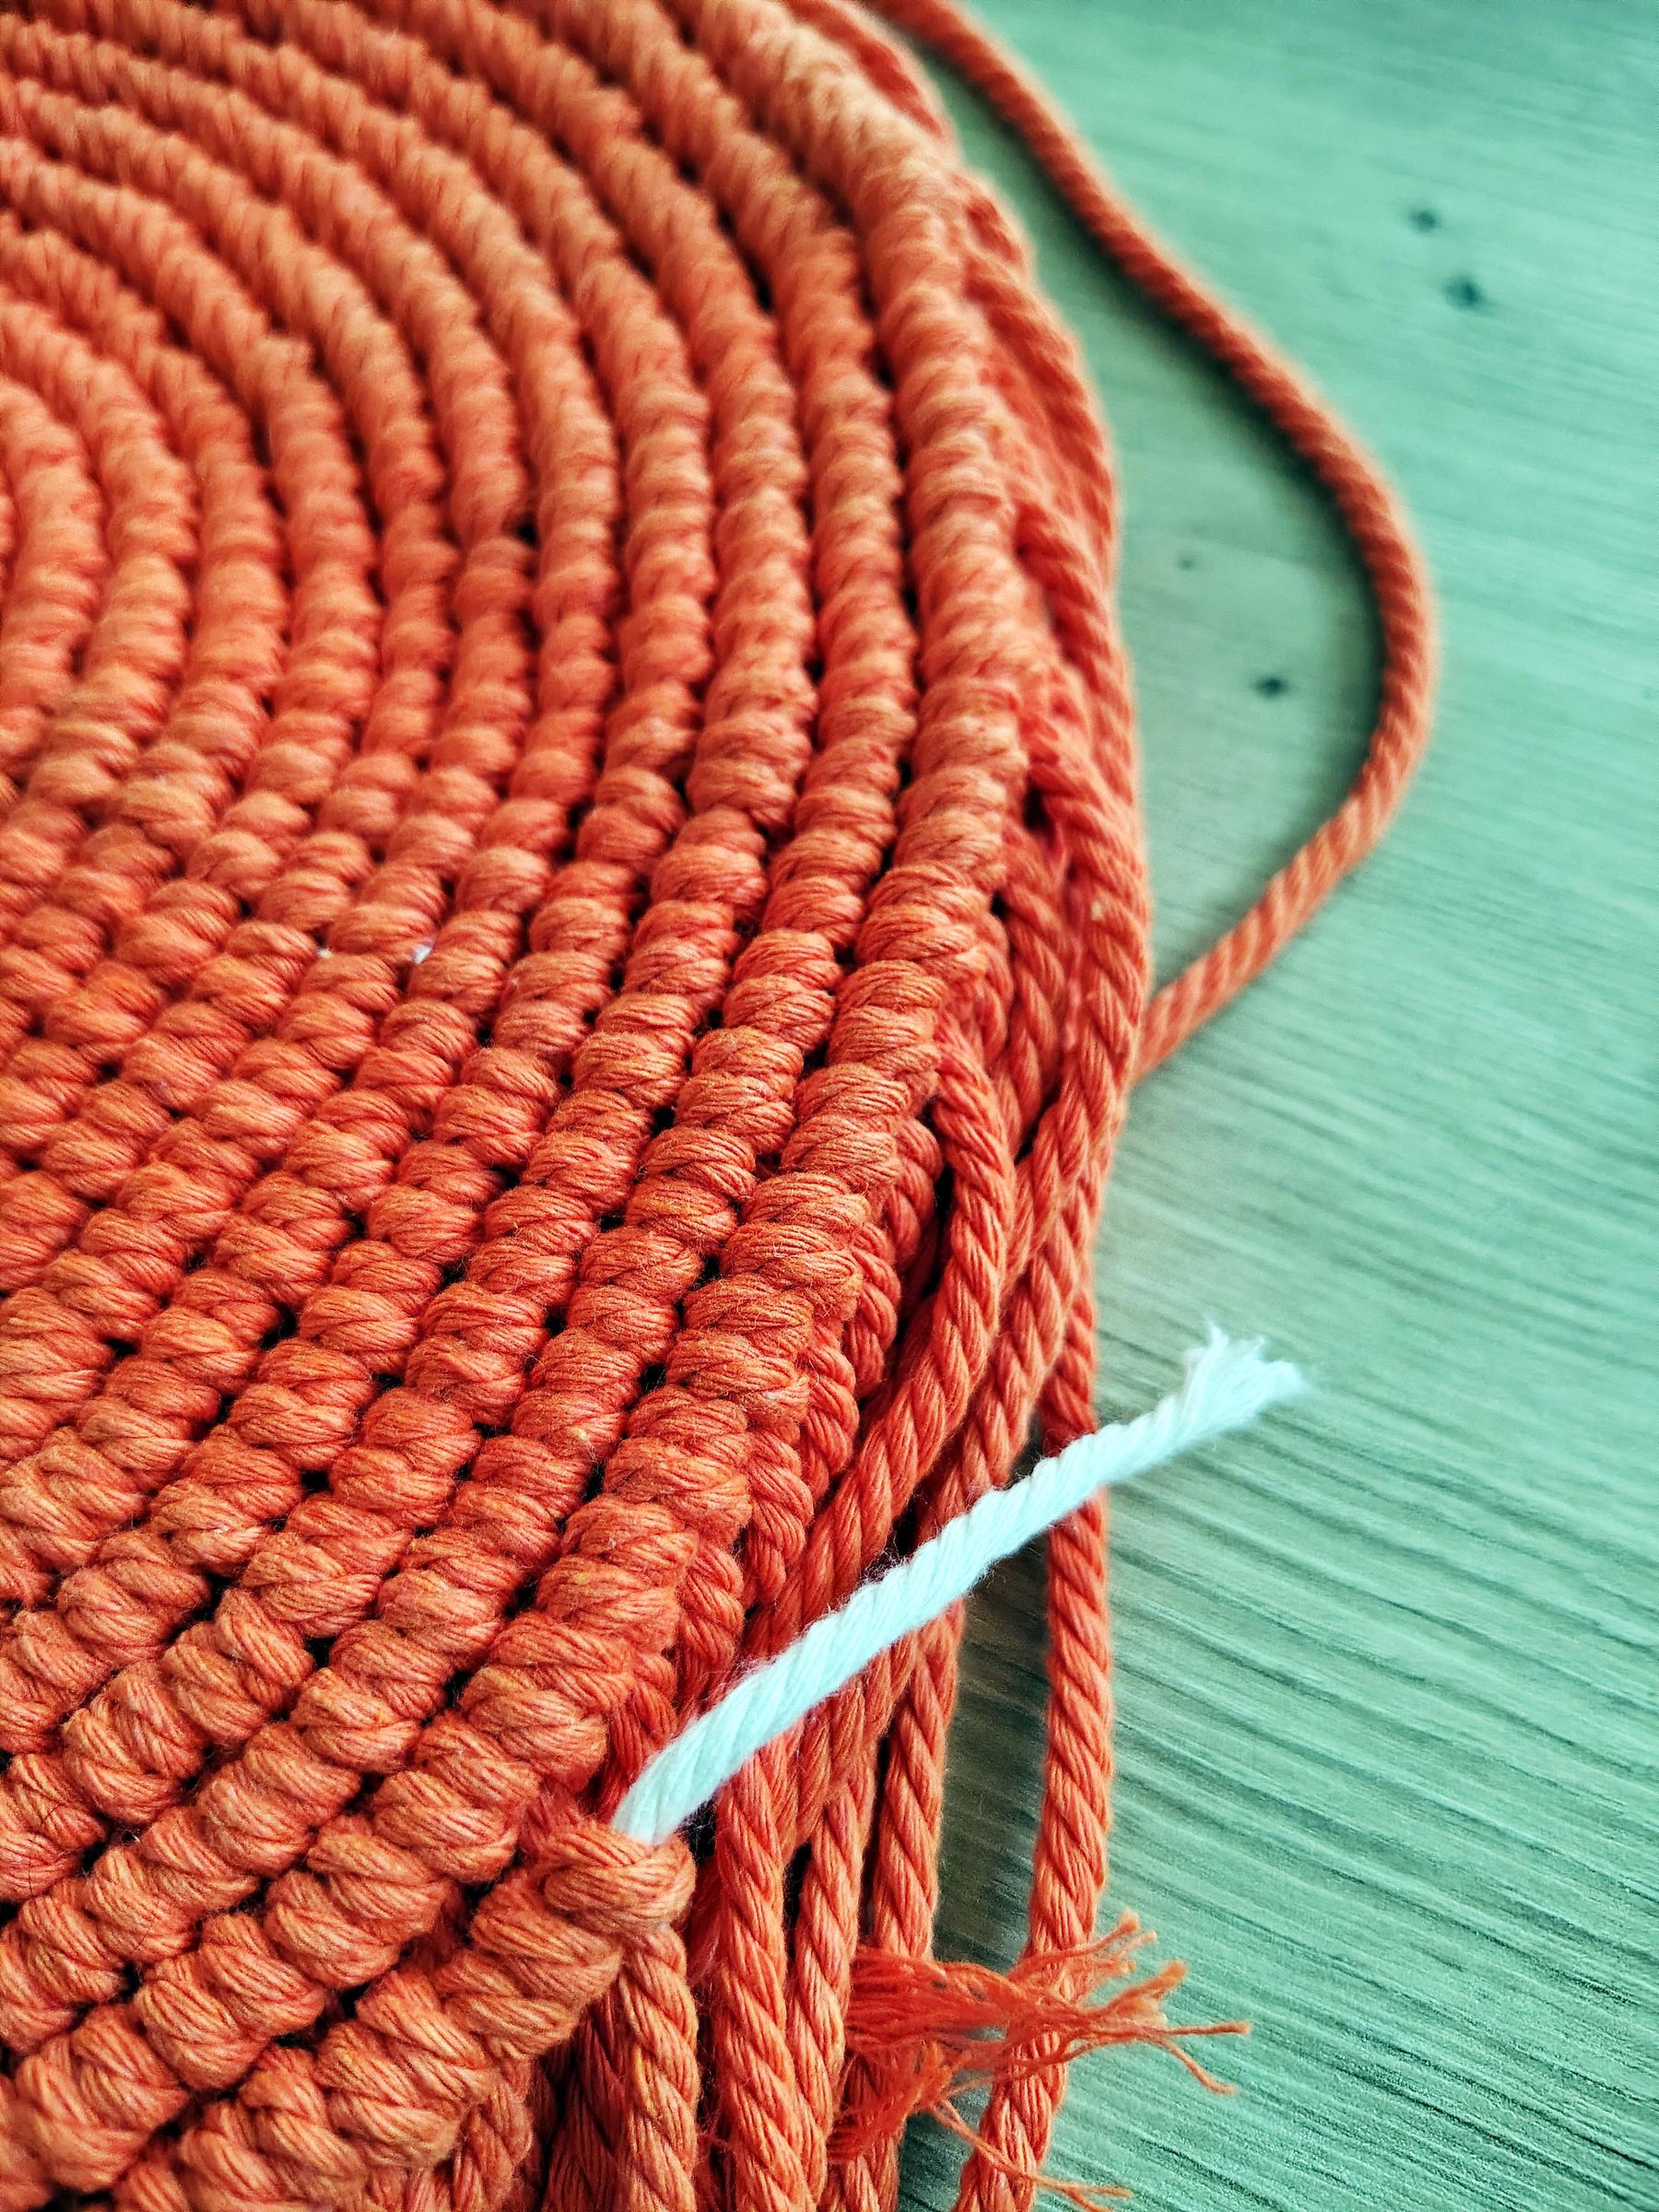
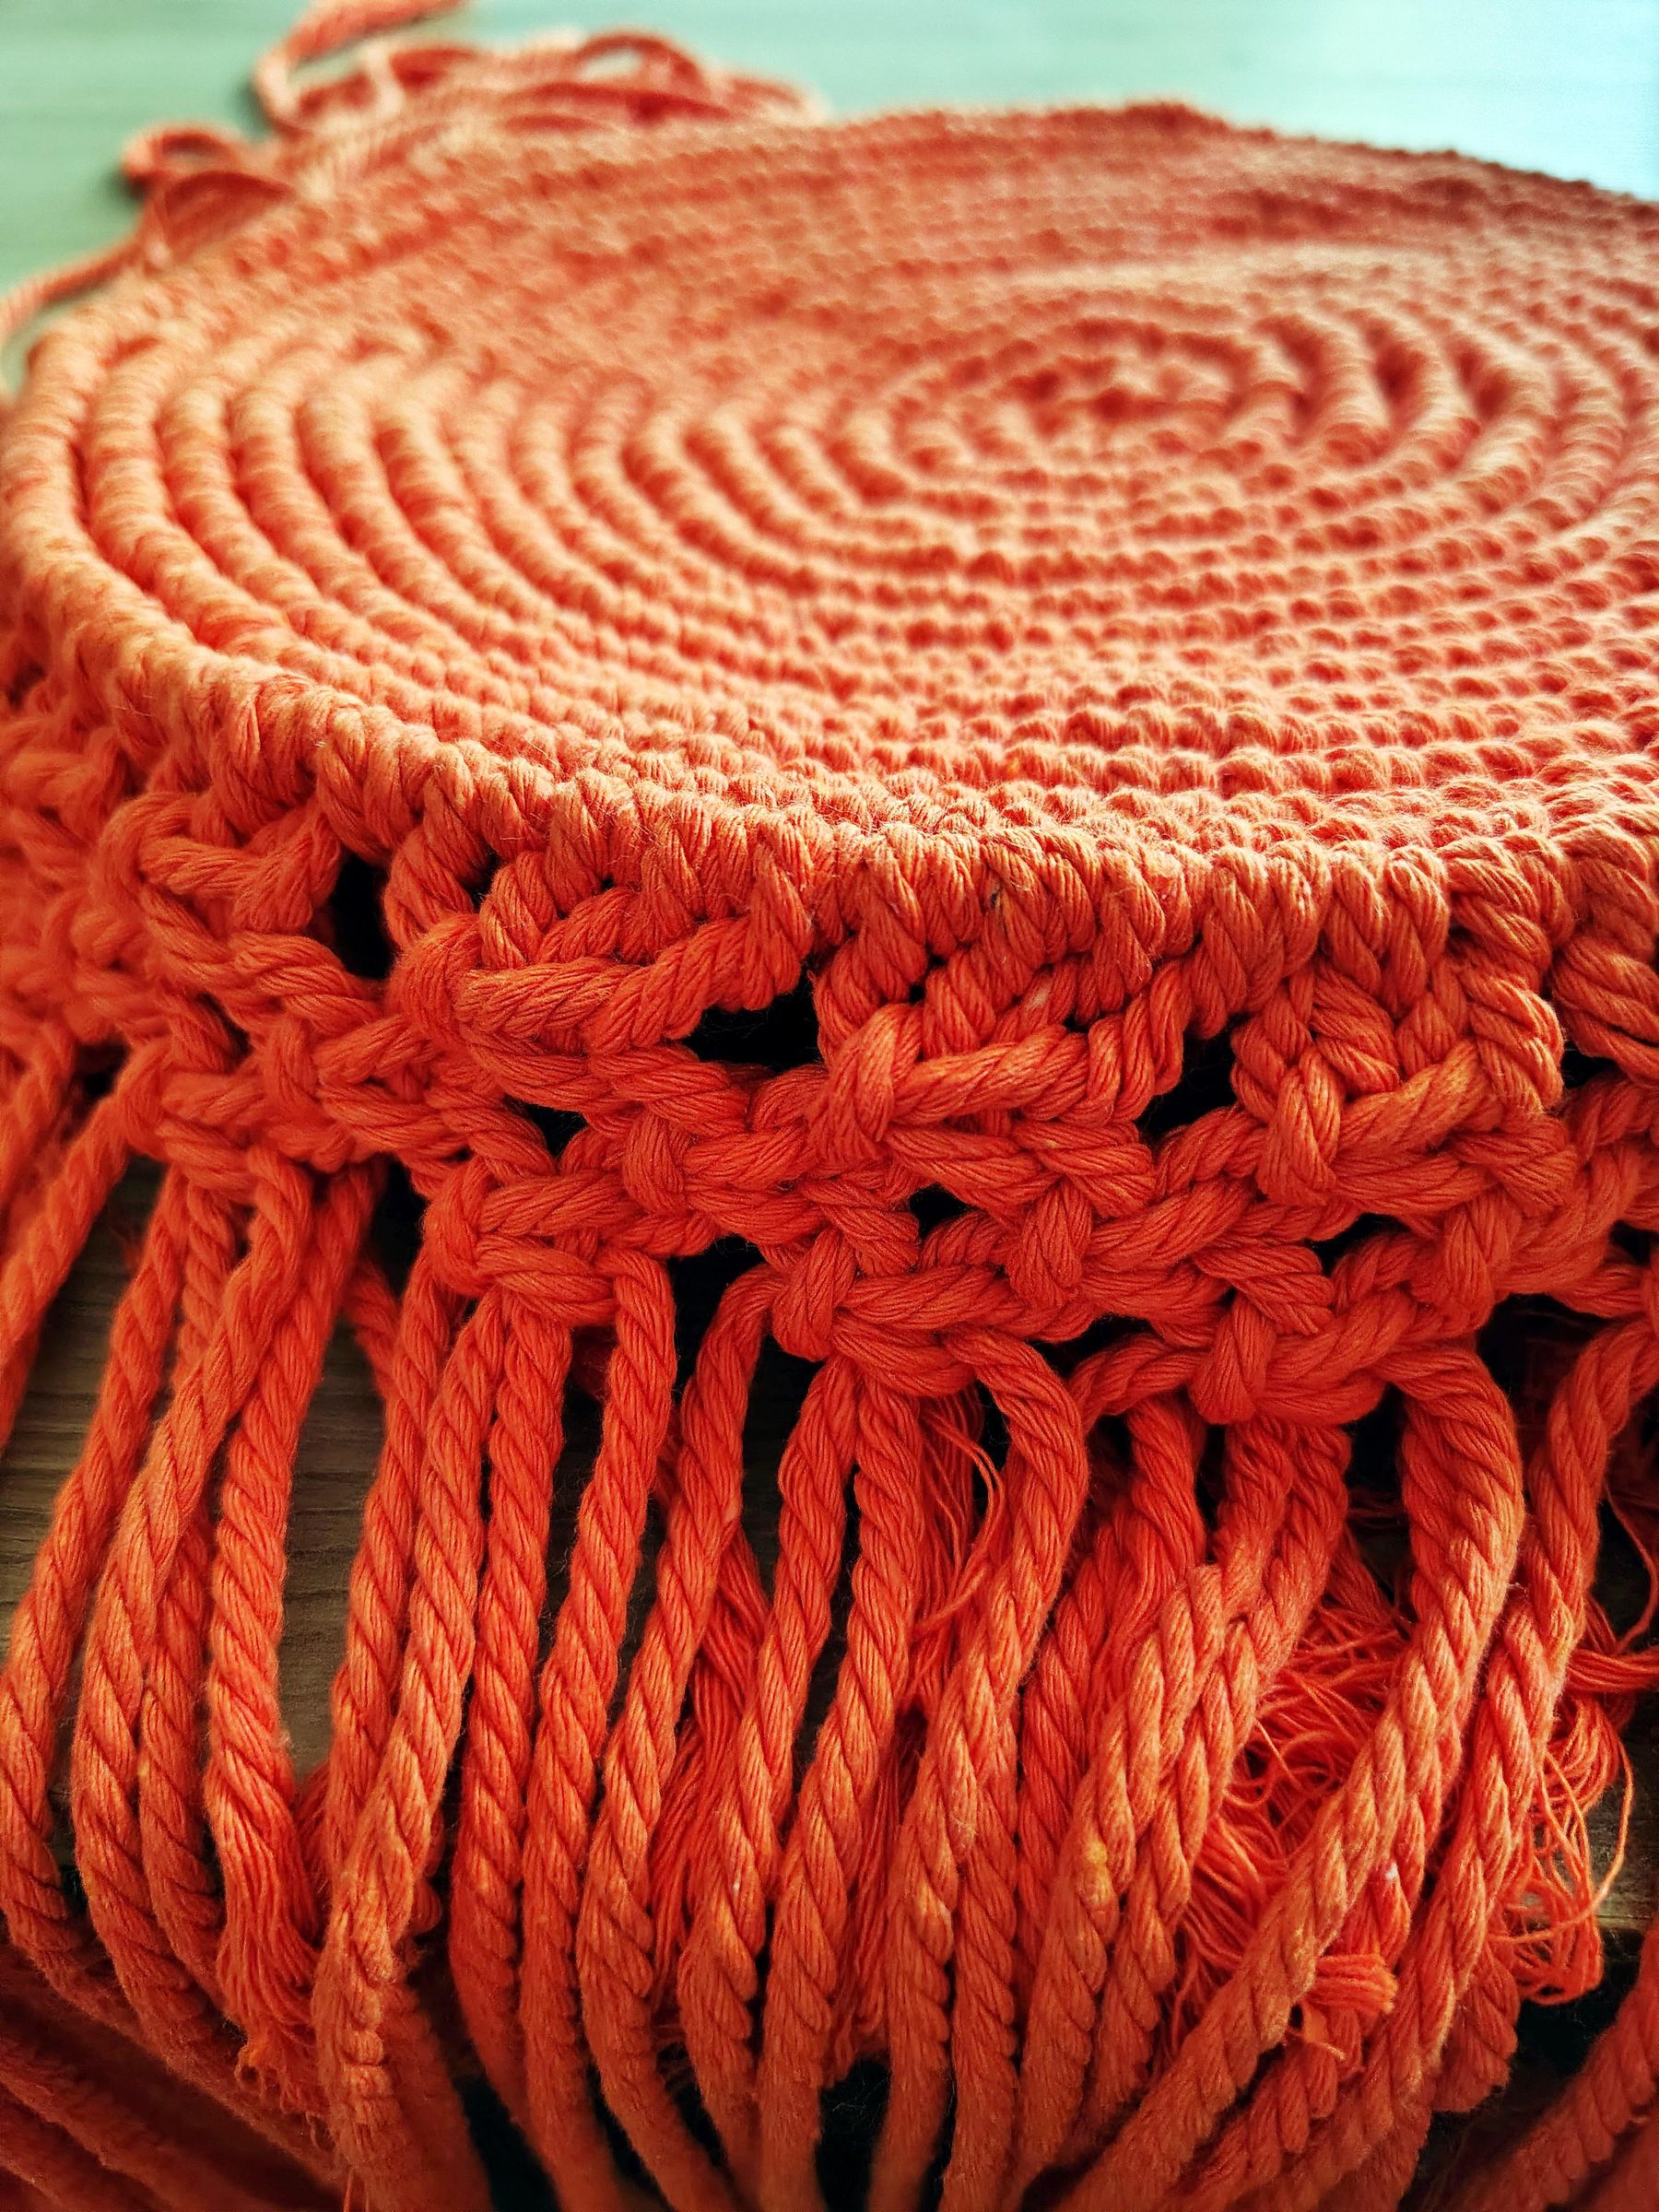
Since this is going to be the back part of the bag i chose to make it a single color - orange. If you want you can create another slice for the back by repeating all of the steps above.
Making the single orange color circle is slightly easier since it consists of only one type of knot - a double half-hitch knot. Repeat Steps 1-3:
- Start again with 4 strands of cord, but this time orange cord.
- Add a carrier cord and continue knotting double half-hitch knots.
- Add more cord as you go around the circle.
When the circle is the same size as the orange slice tie 3 rows of 17 square knots.
Connect
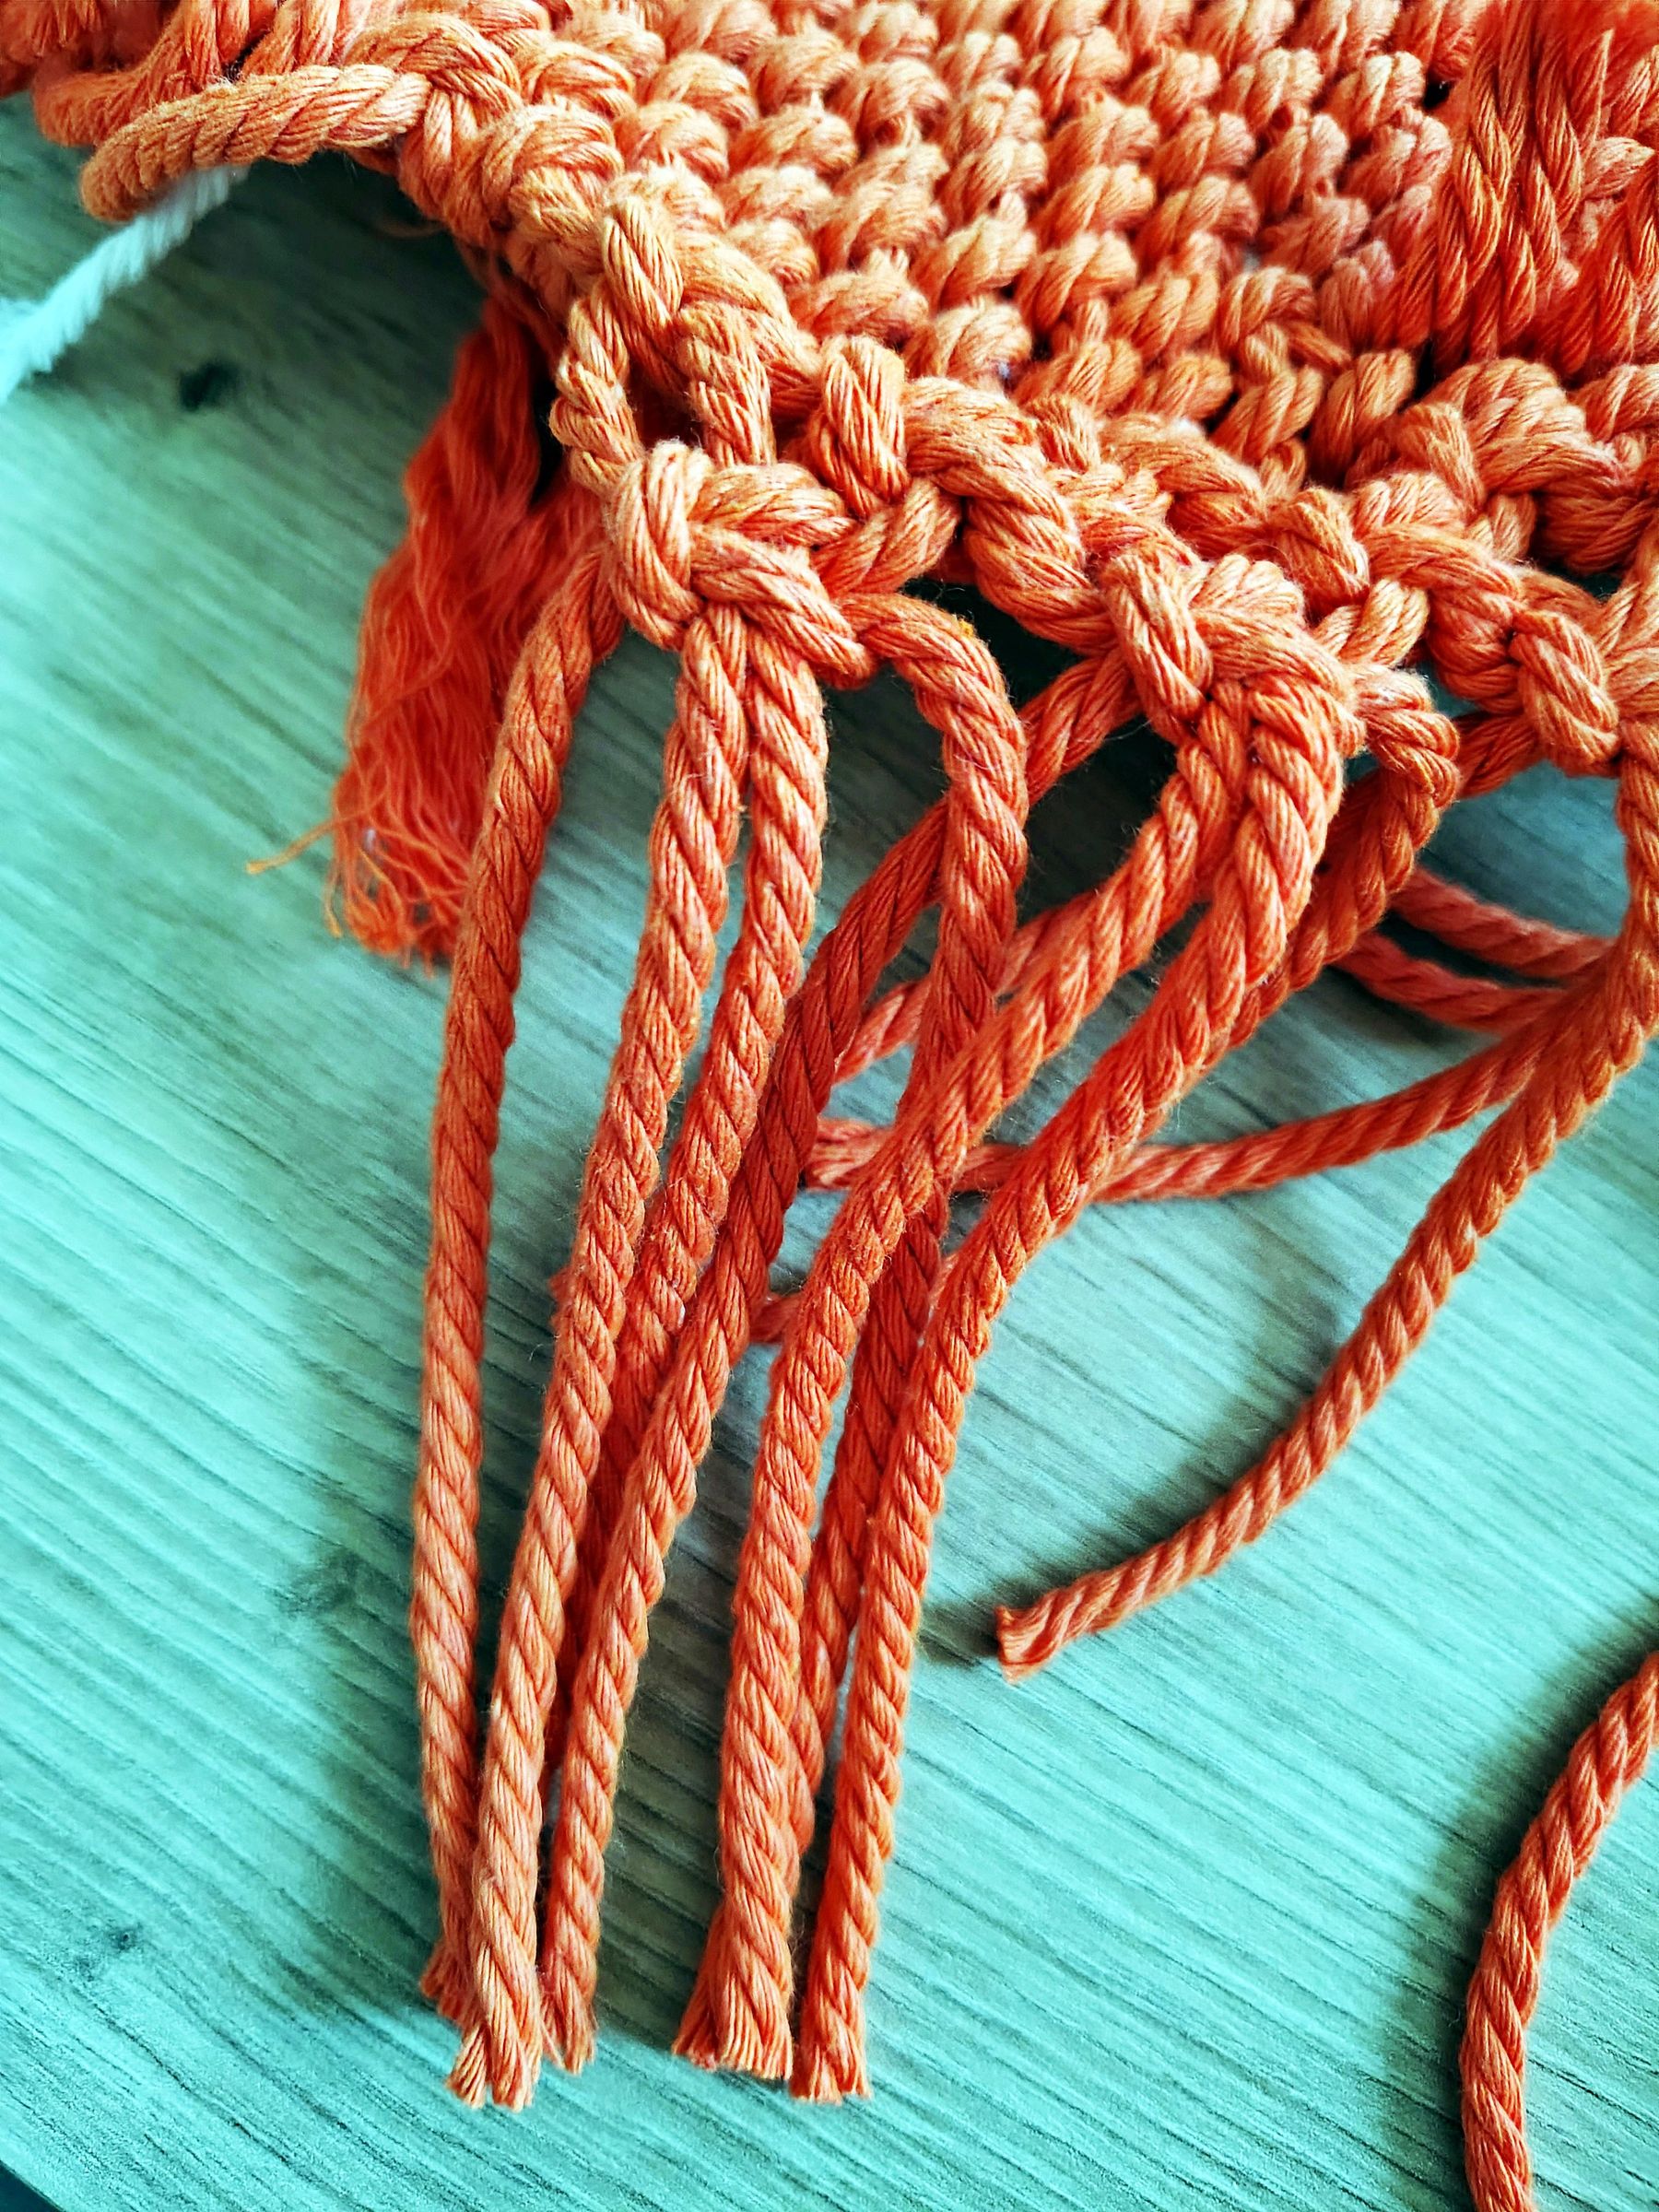
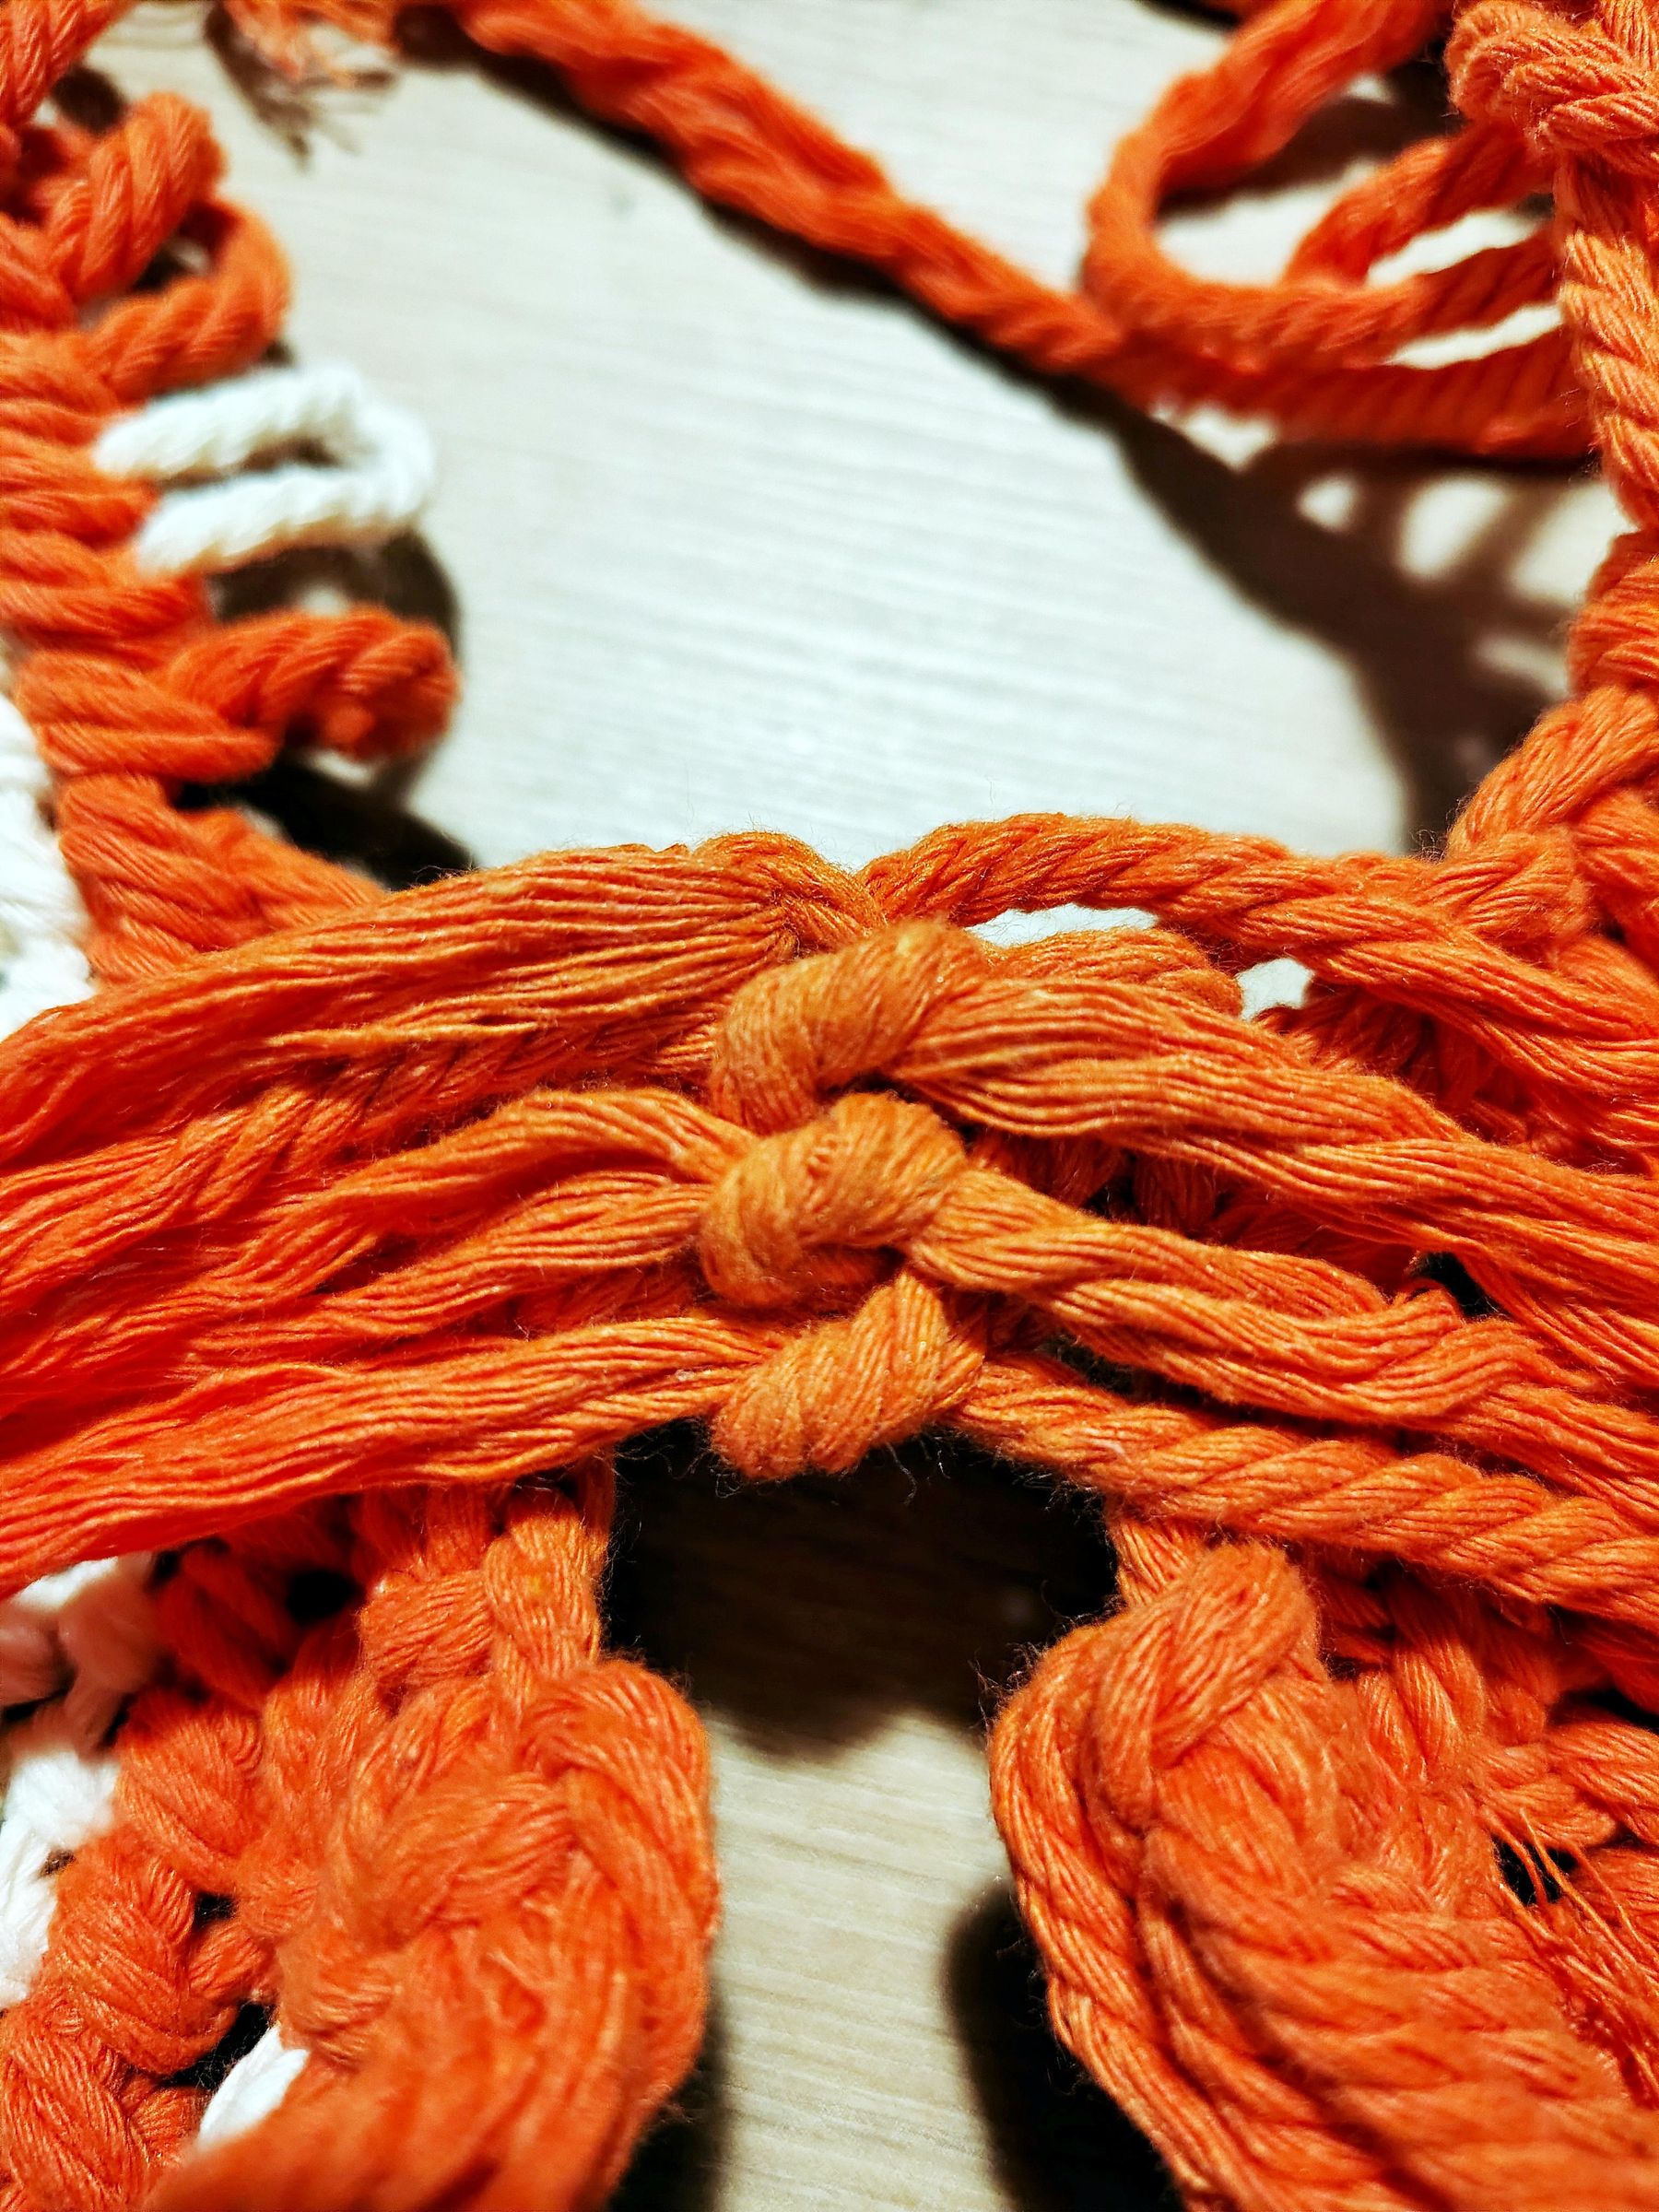
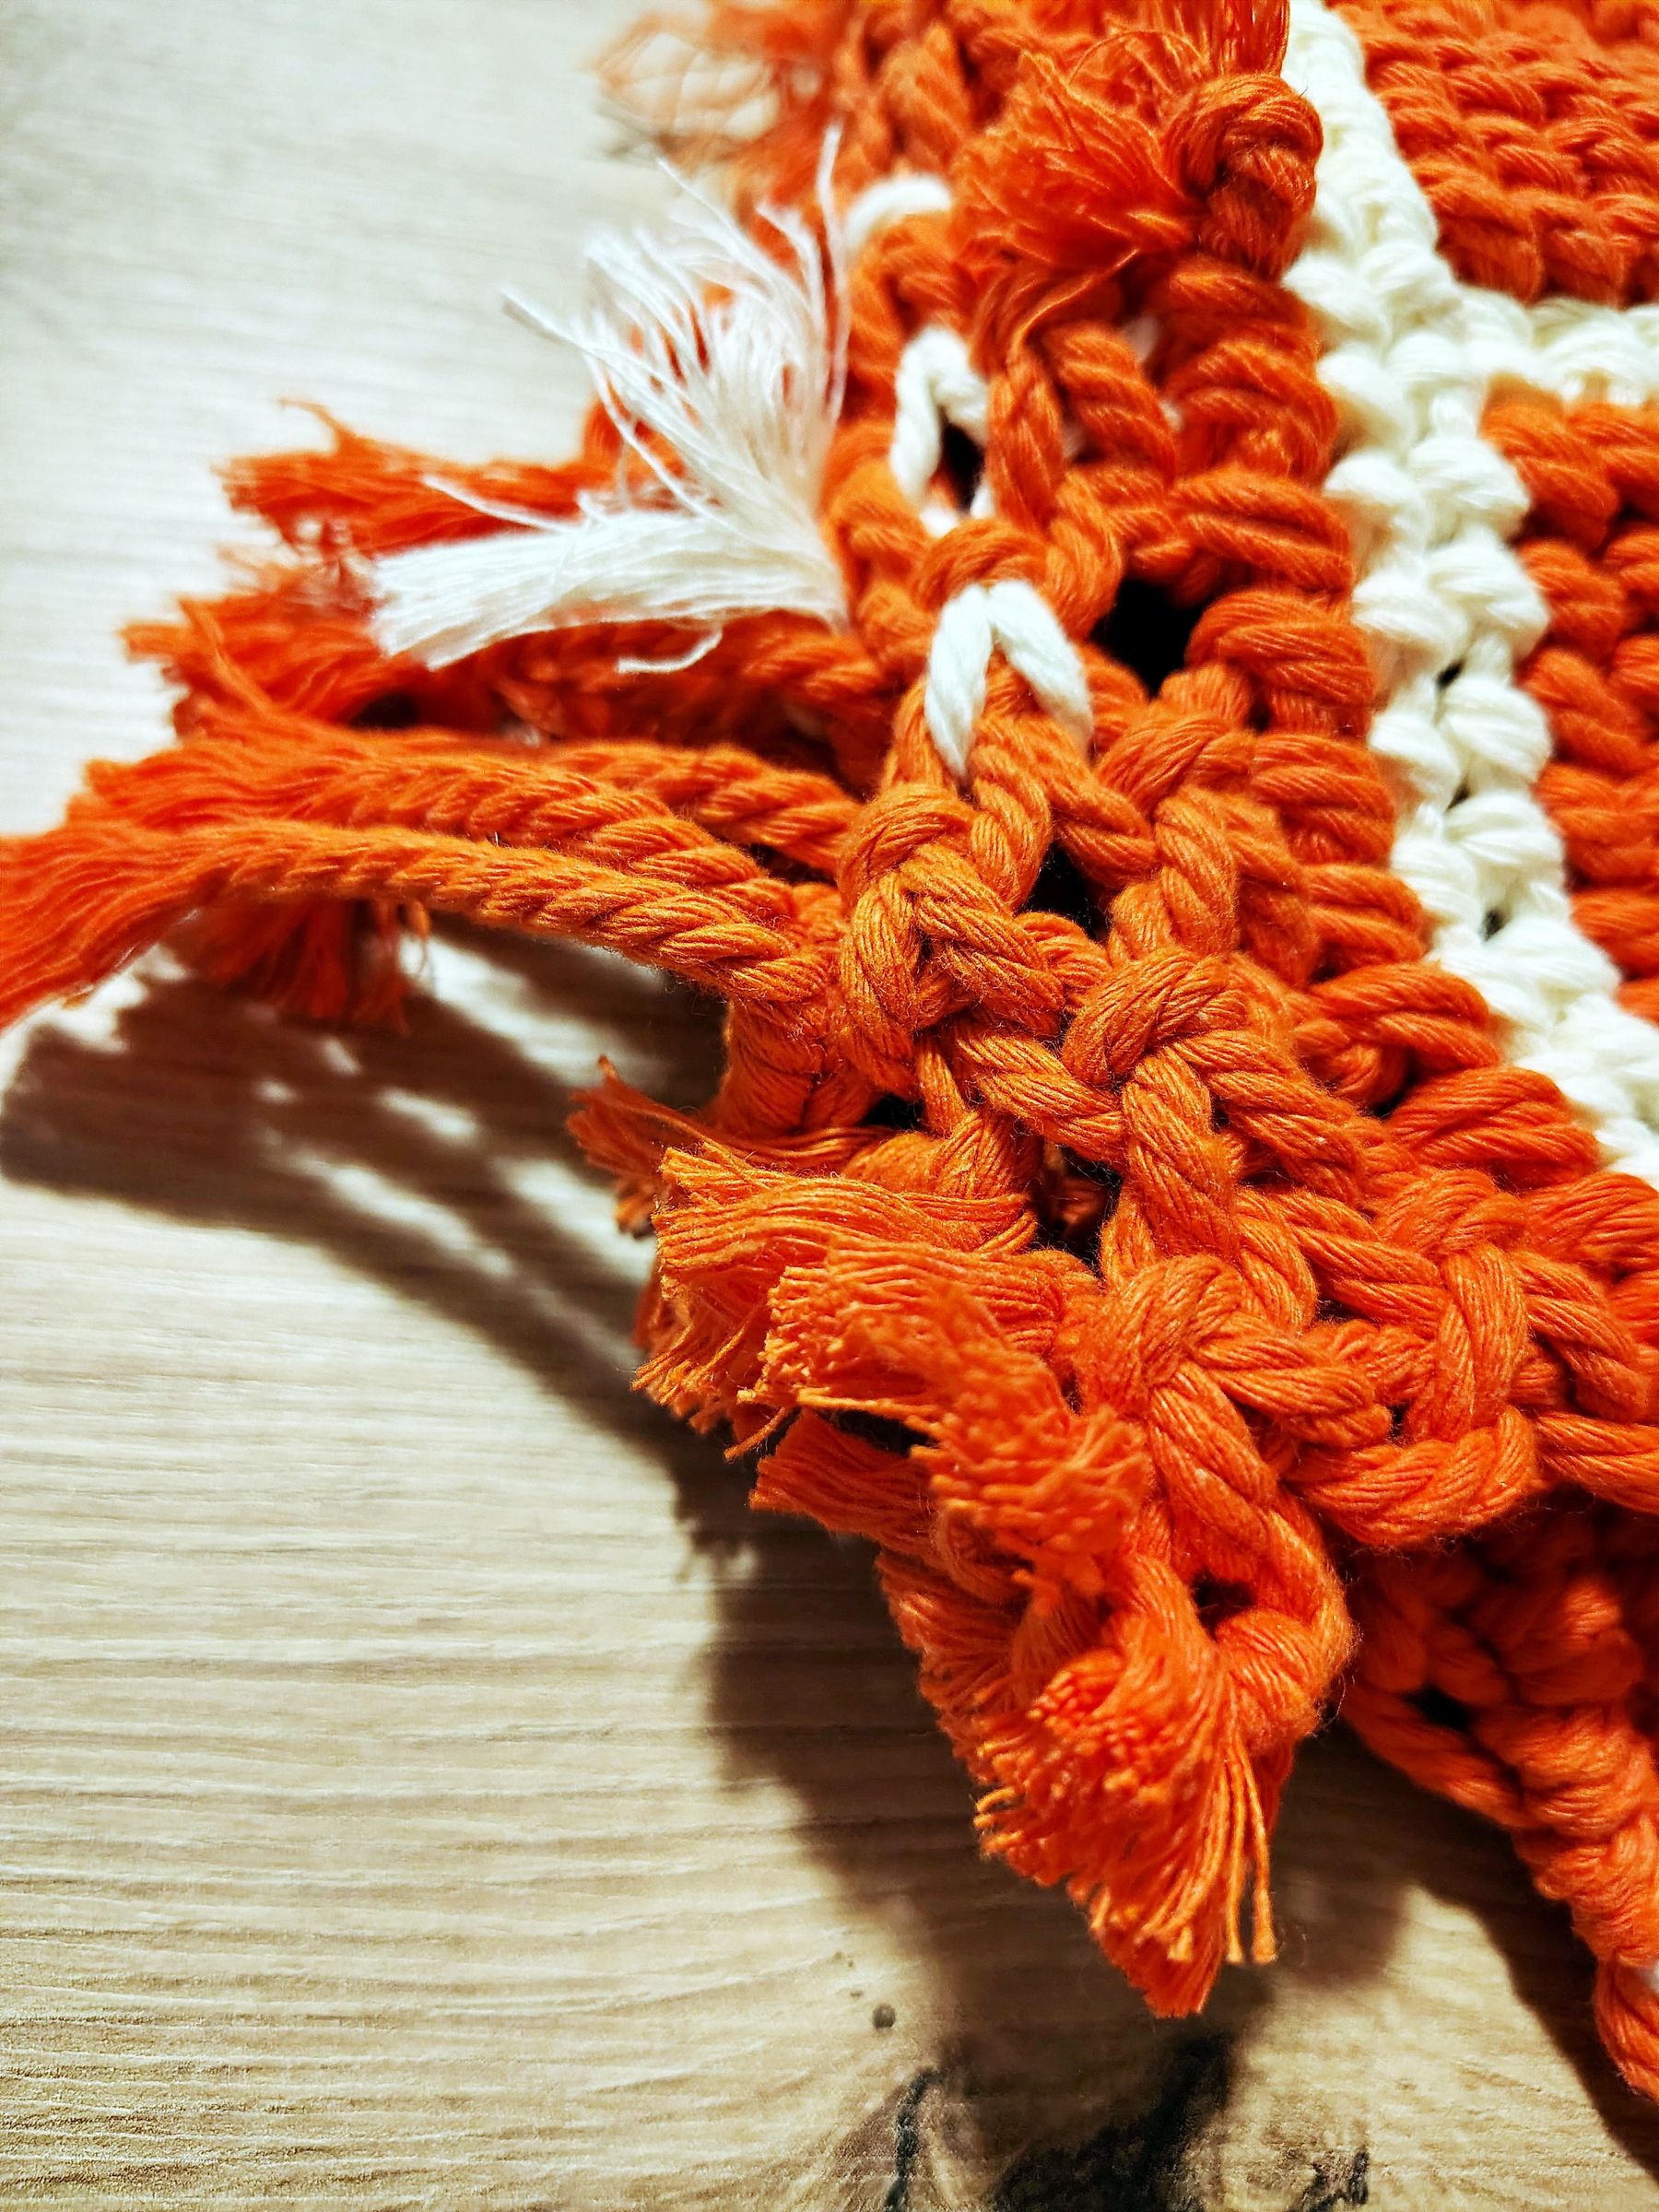
Trim the excess cord and turn the pieces inside out.
Connect them by tying regular knots.
Trim any excess again.
Make the Strap
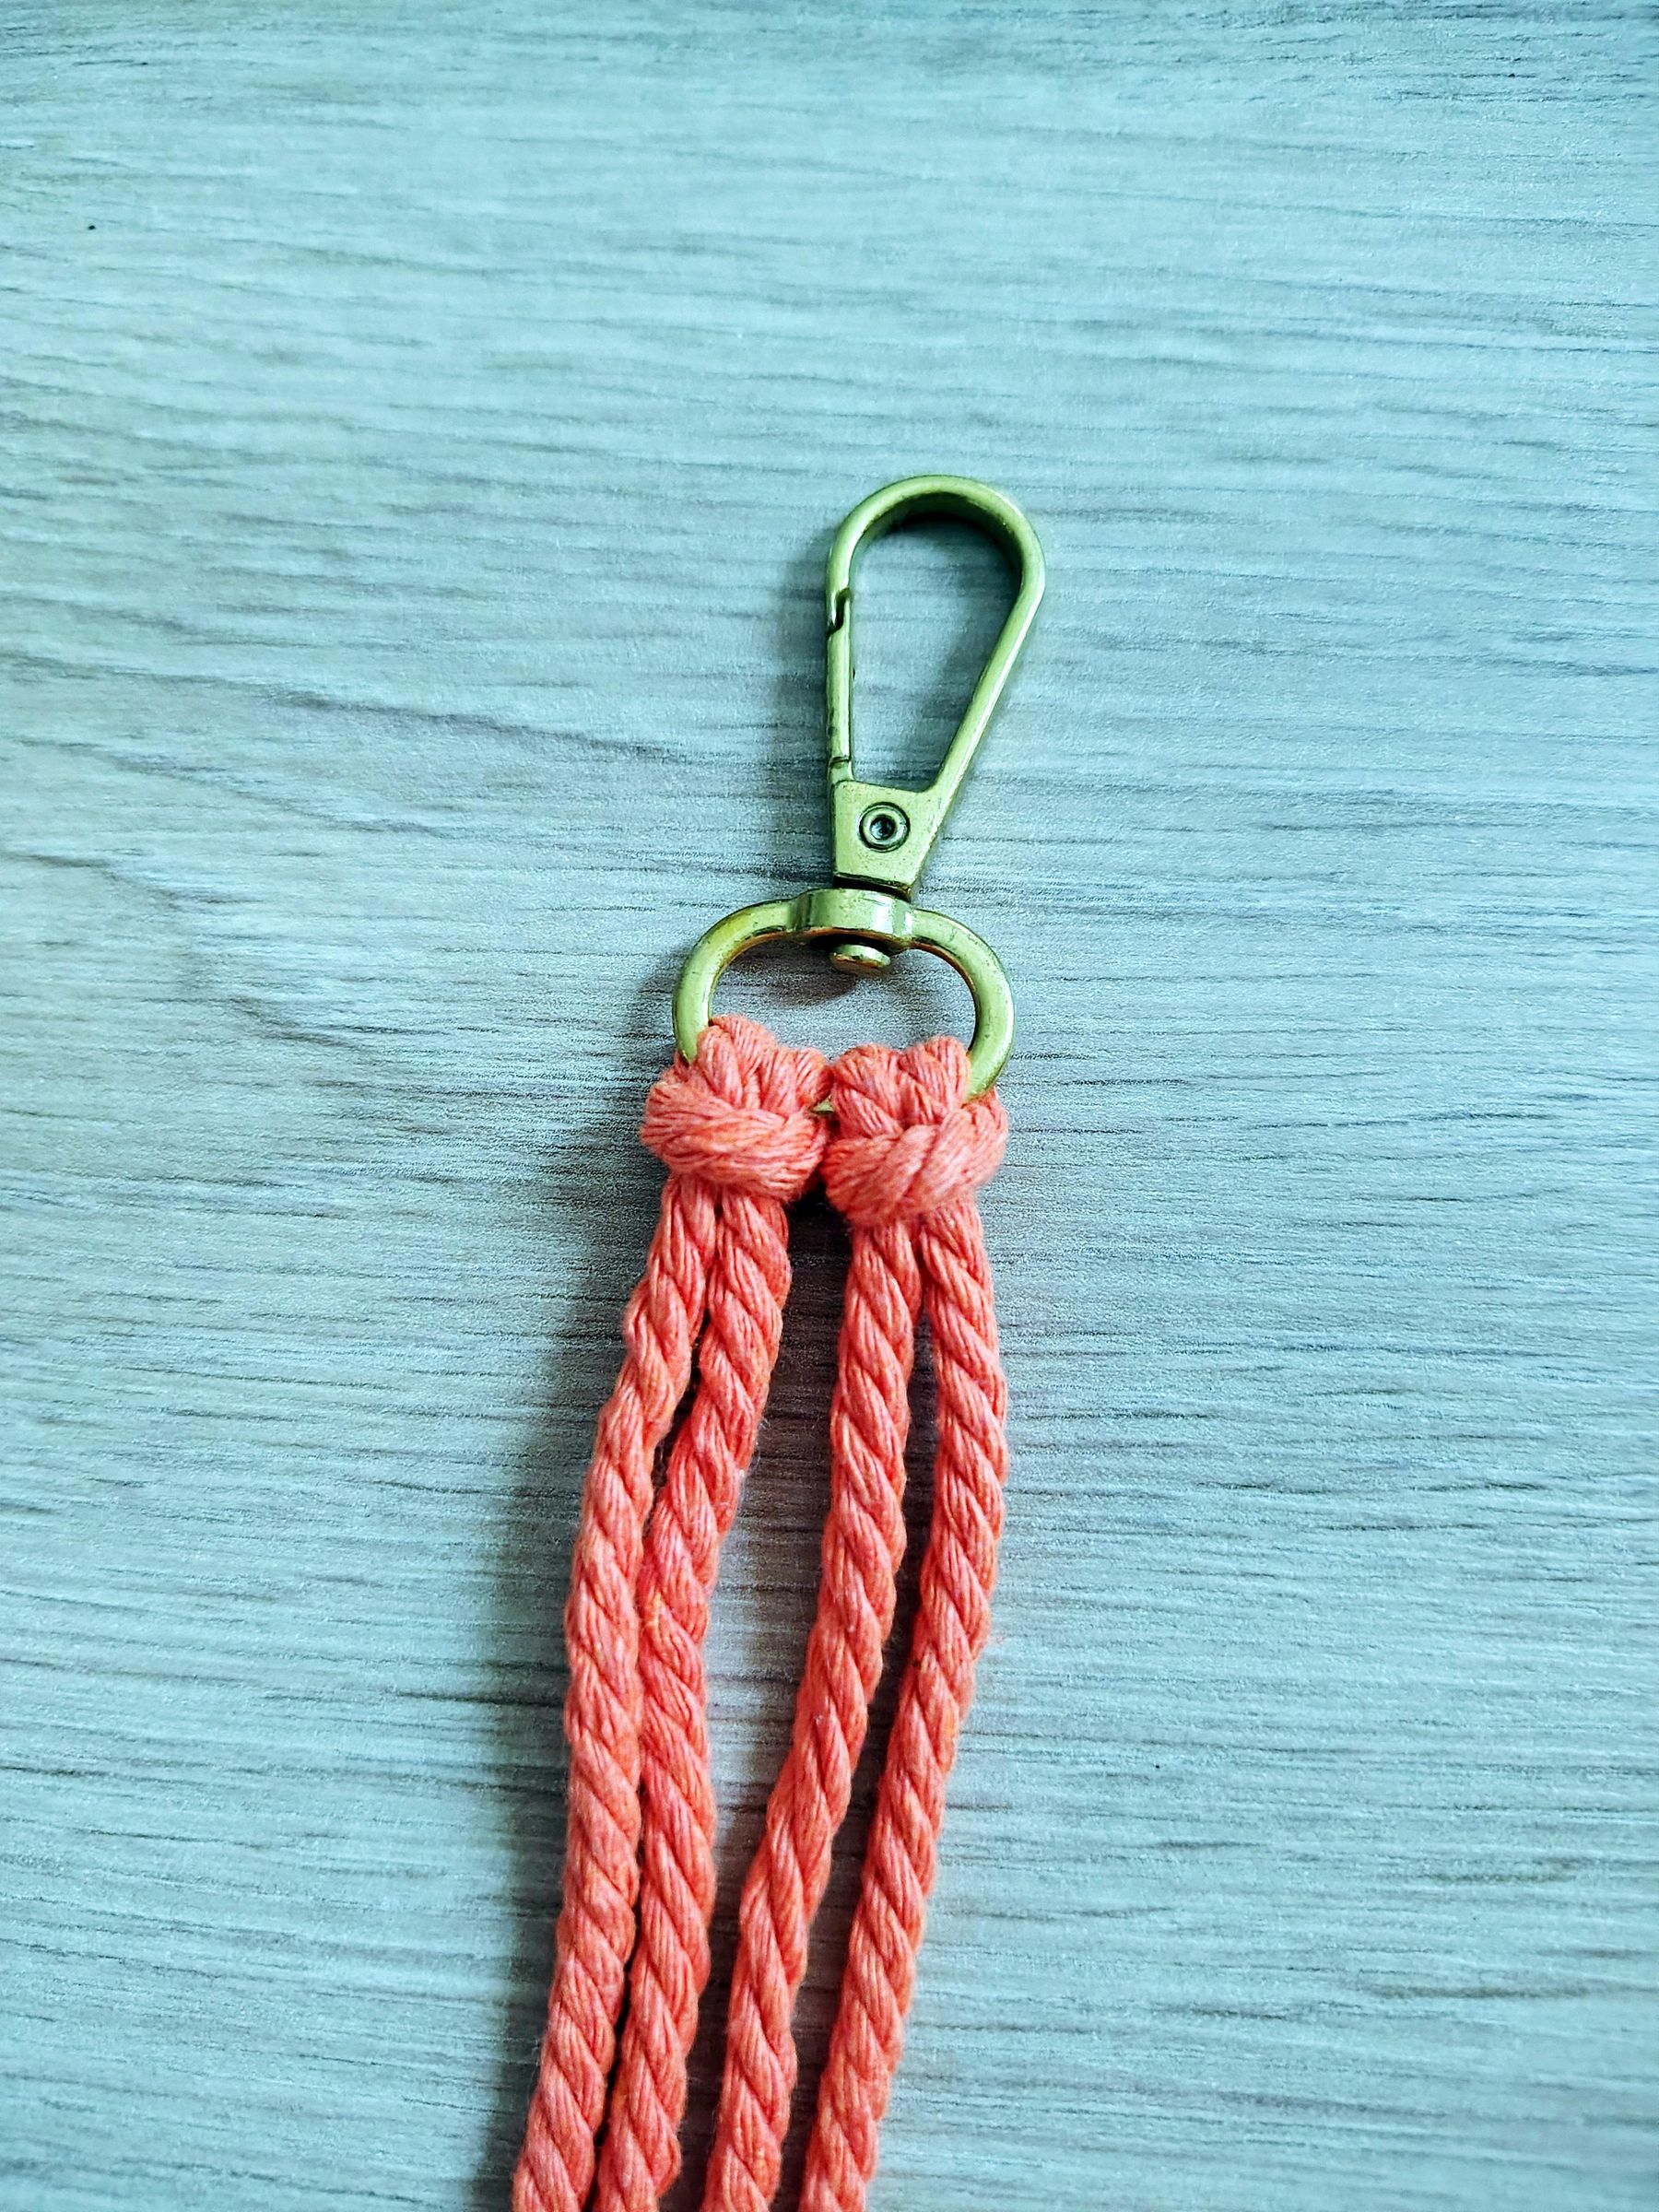
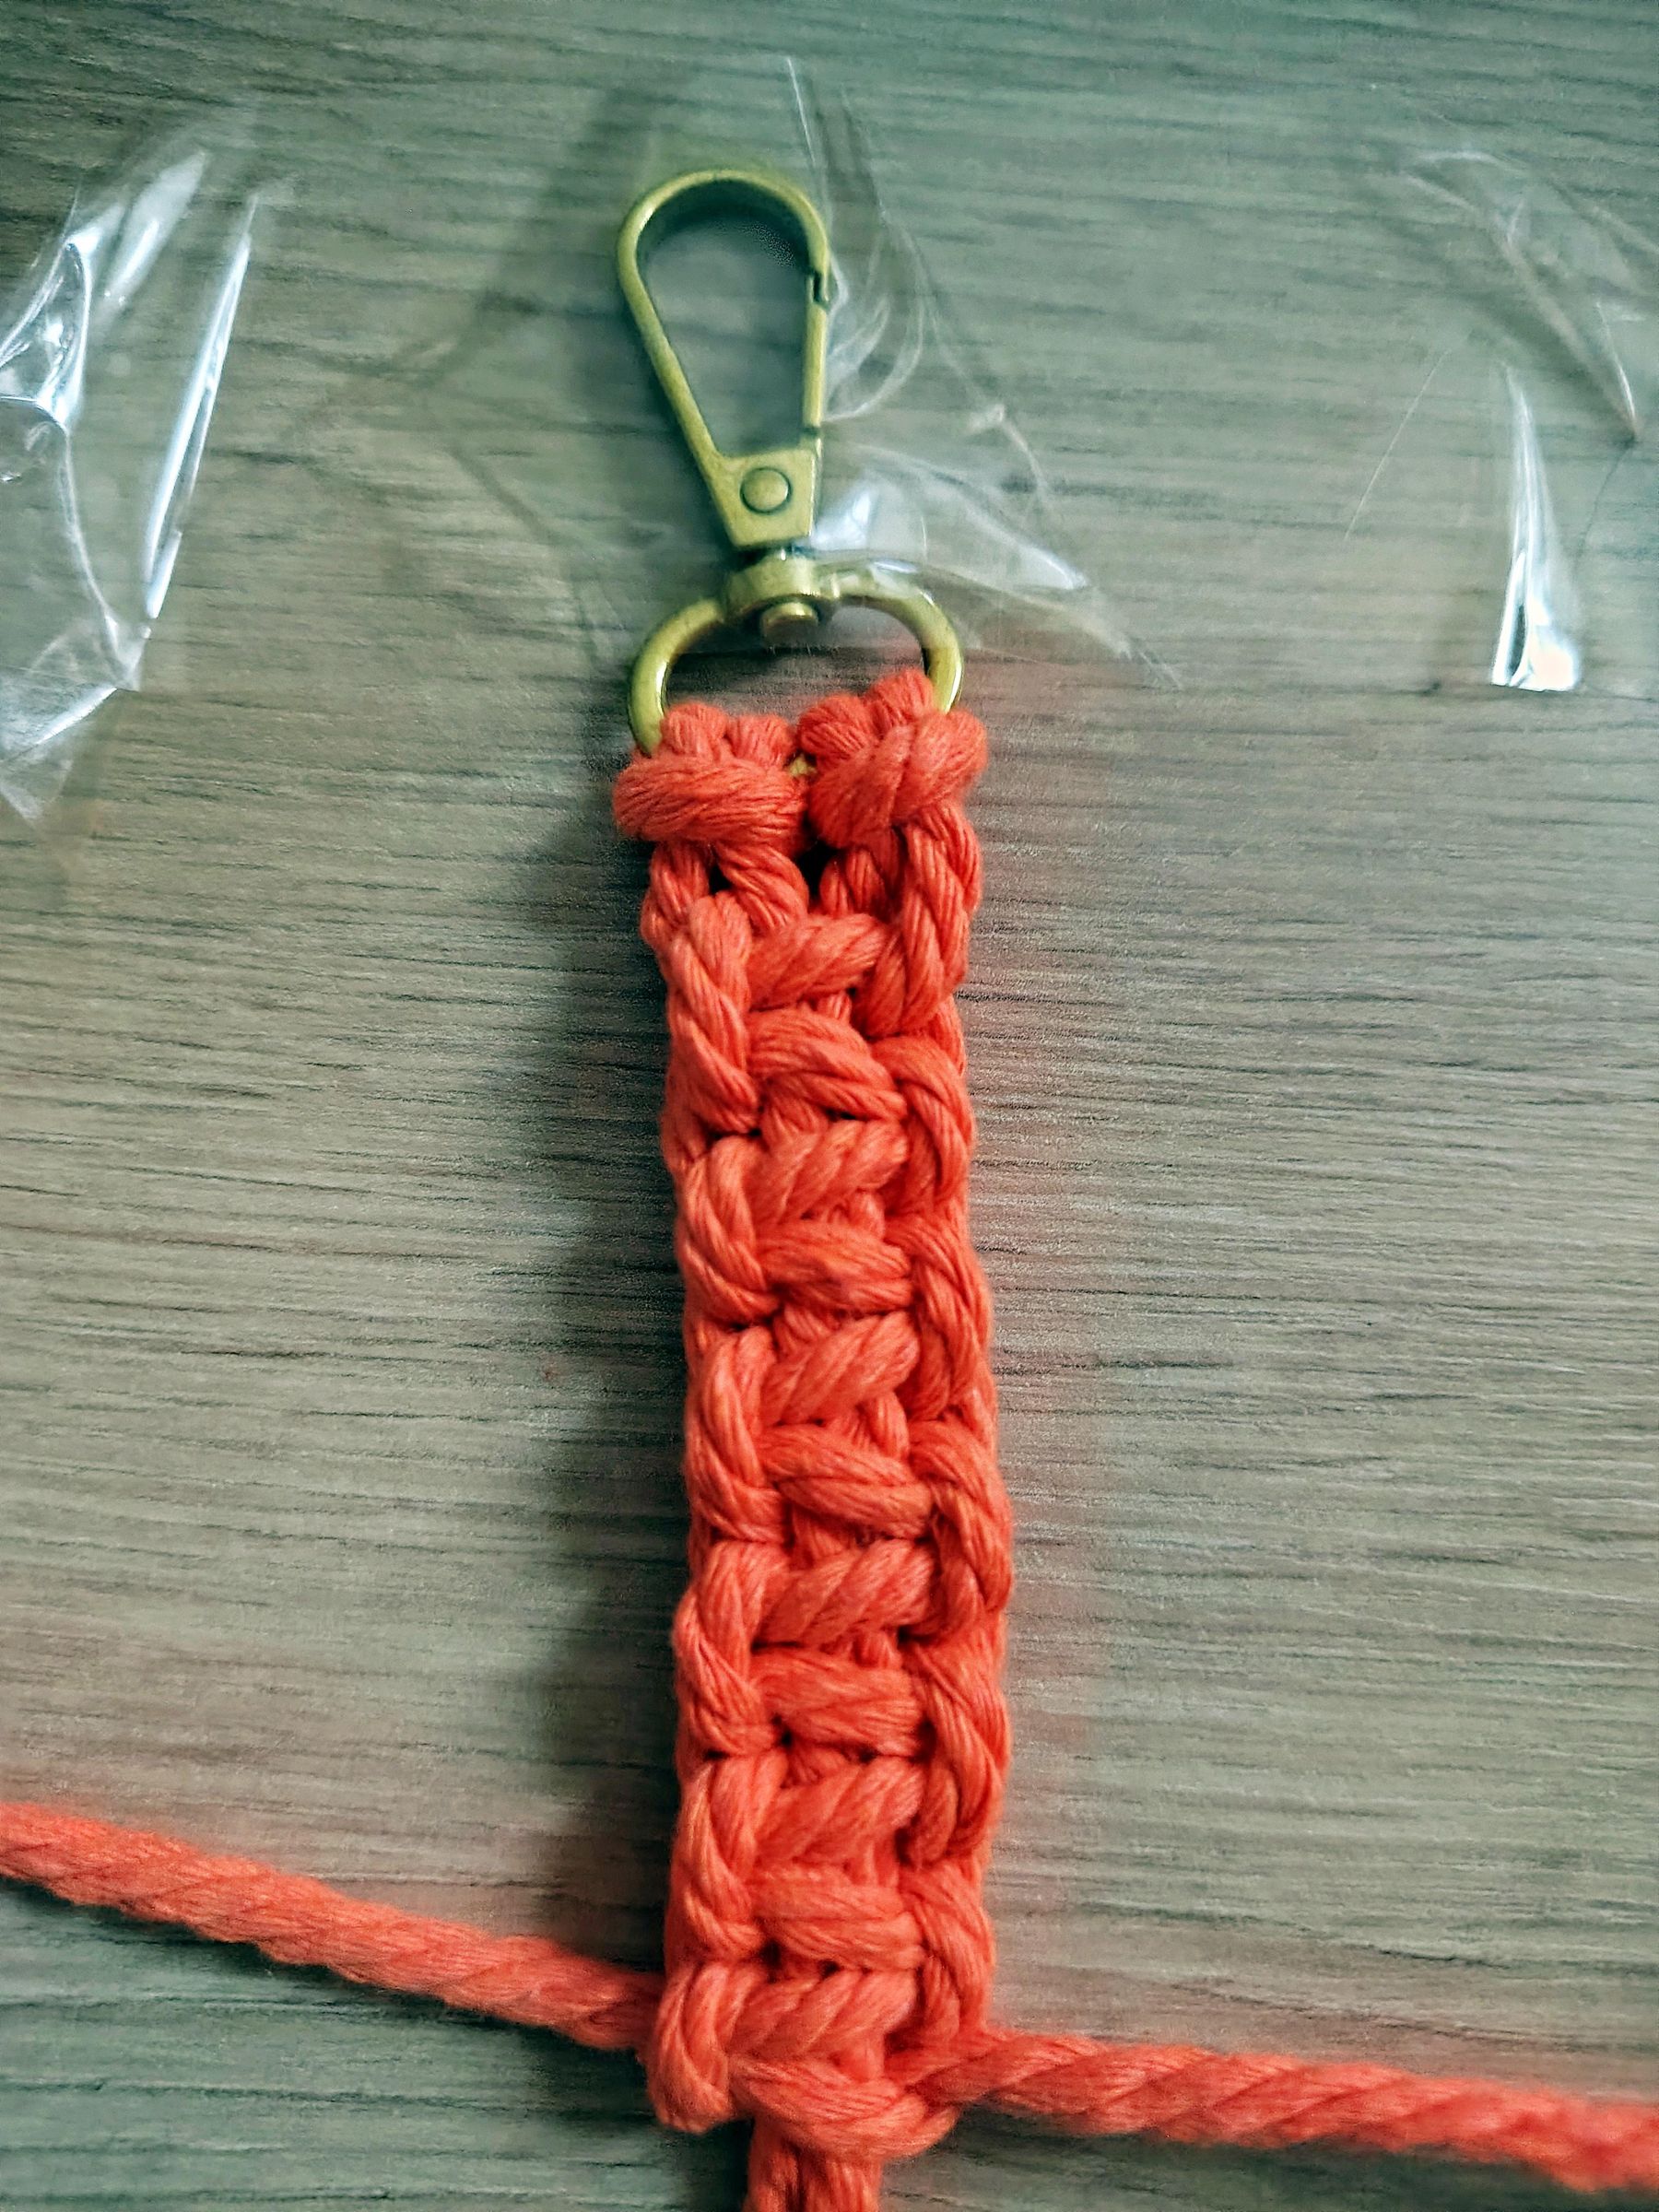
To make the strap cut 2 pieces of orange cord each measuring 5 meters long.
Attach each cord to the bag clasp via a Lark's Head knot.
Make square knots until you reach the desired length.
Add the Lining
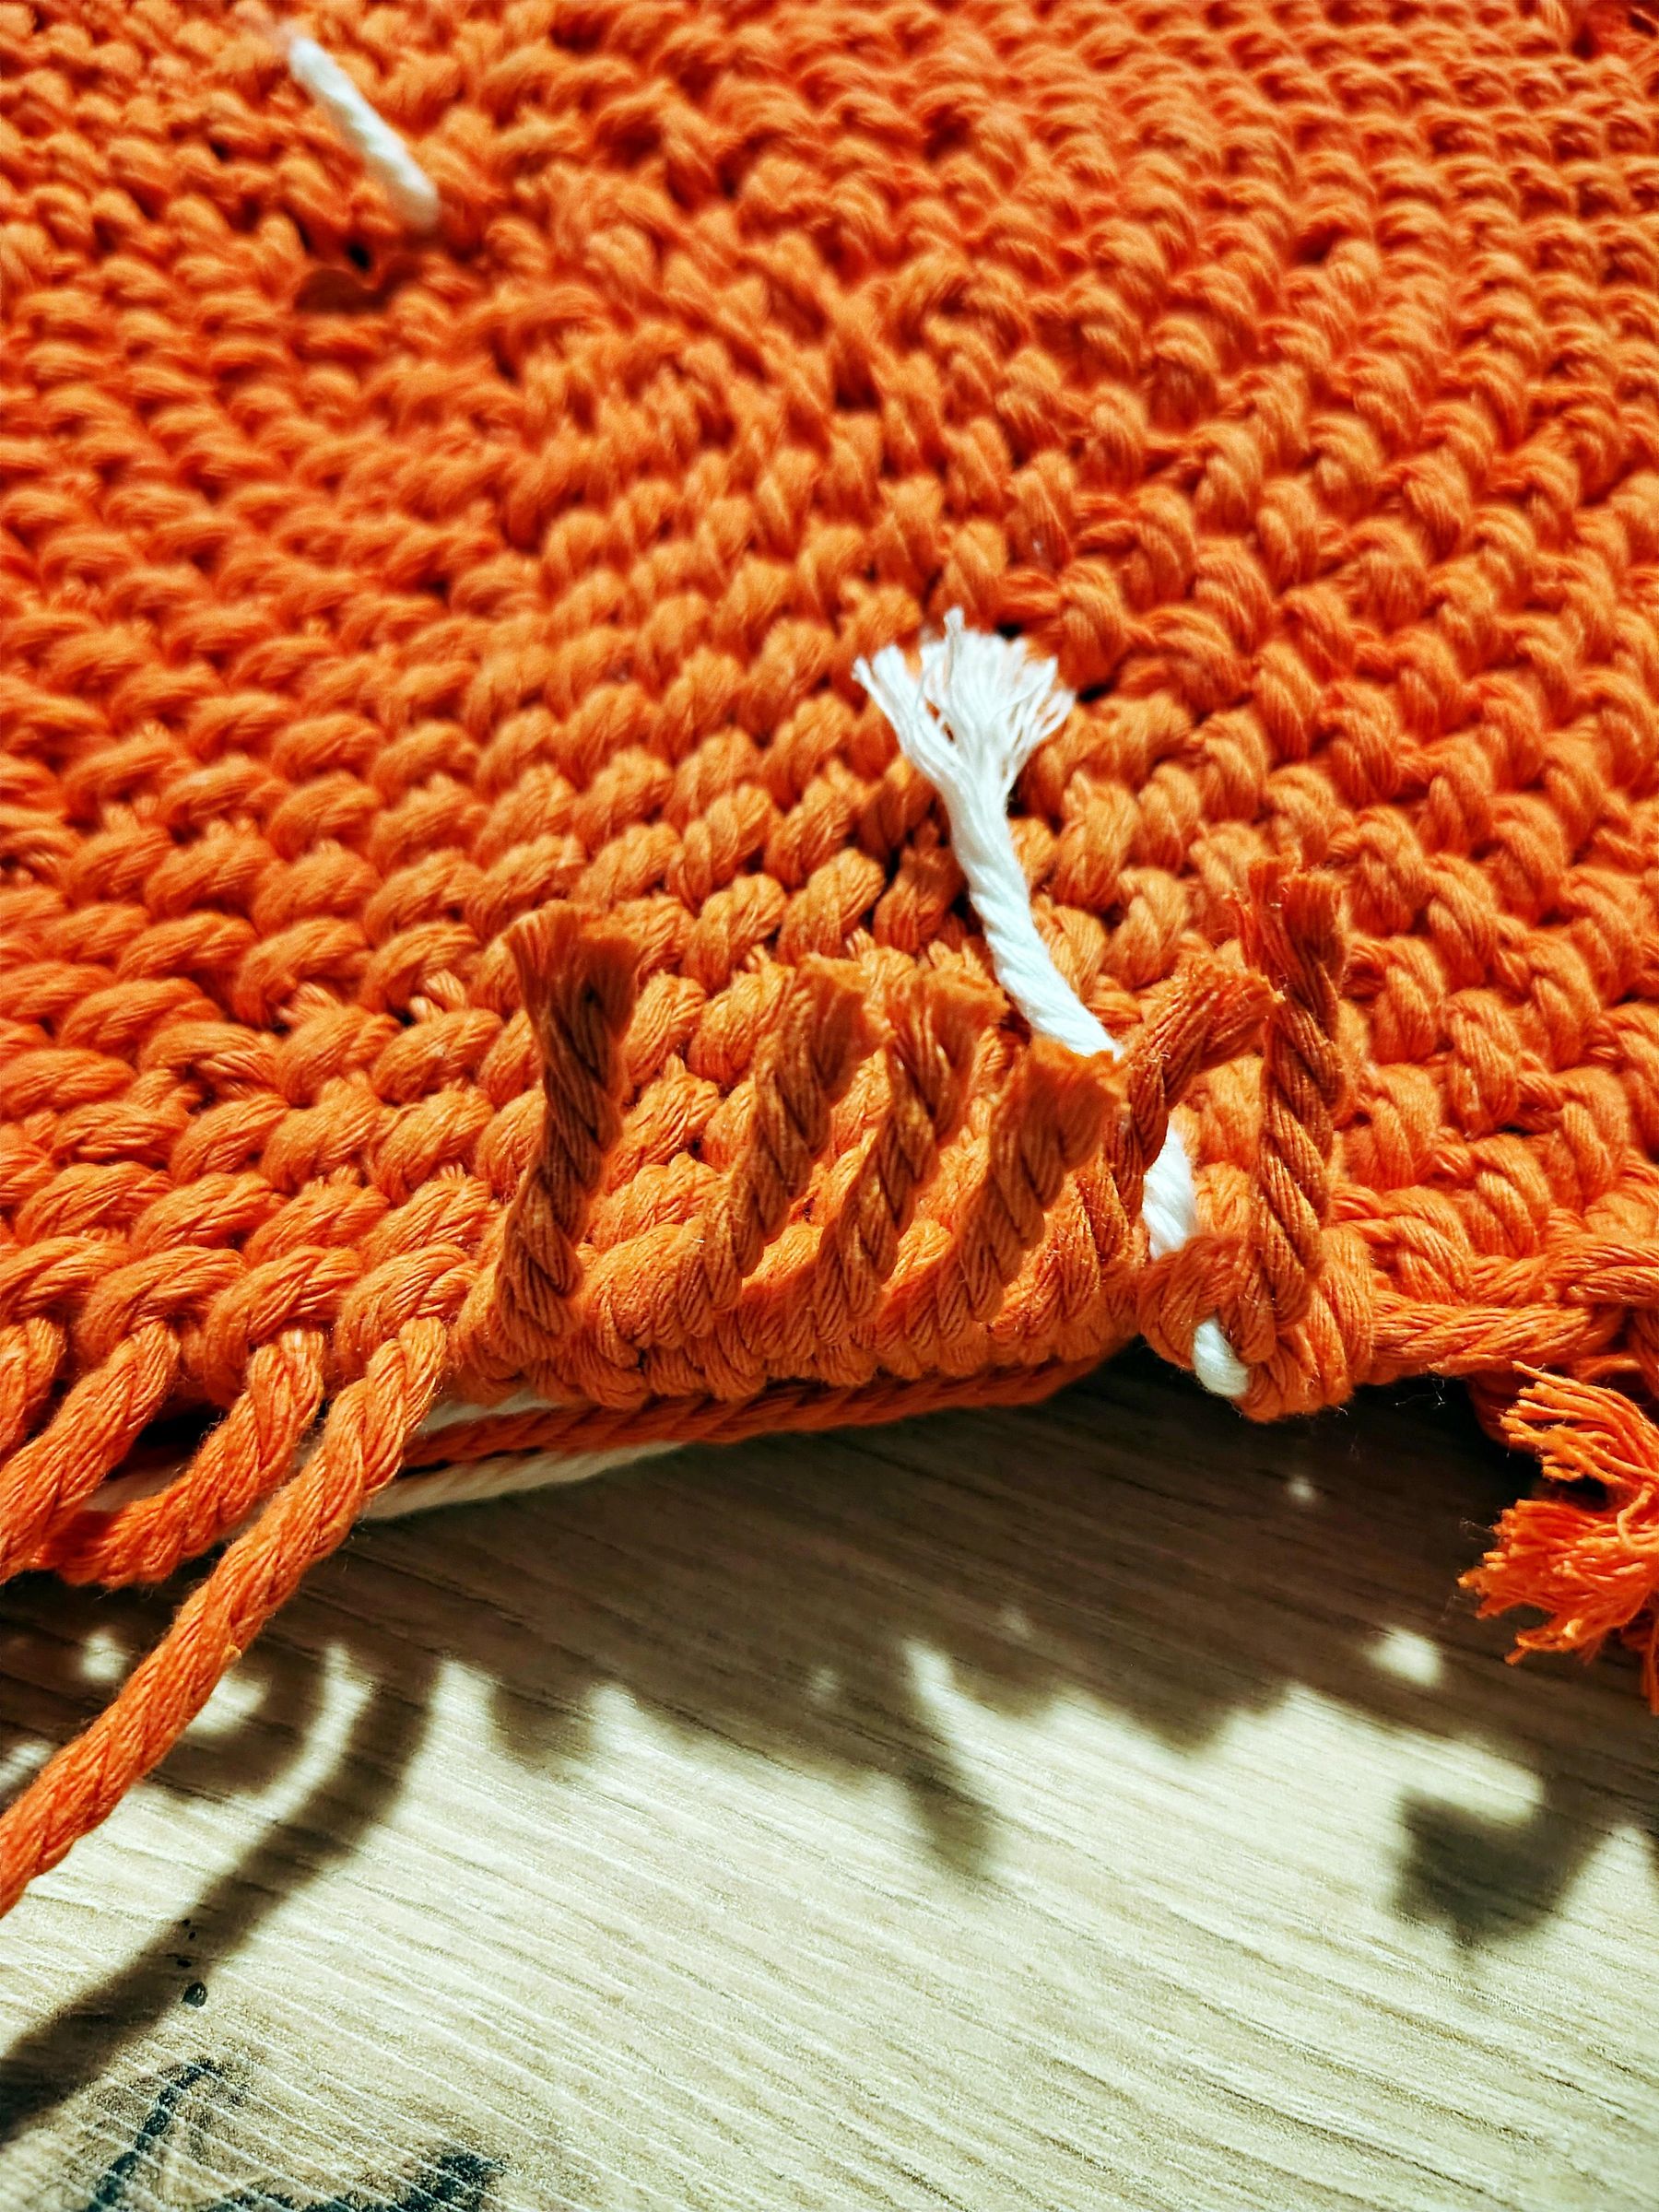
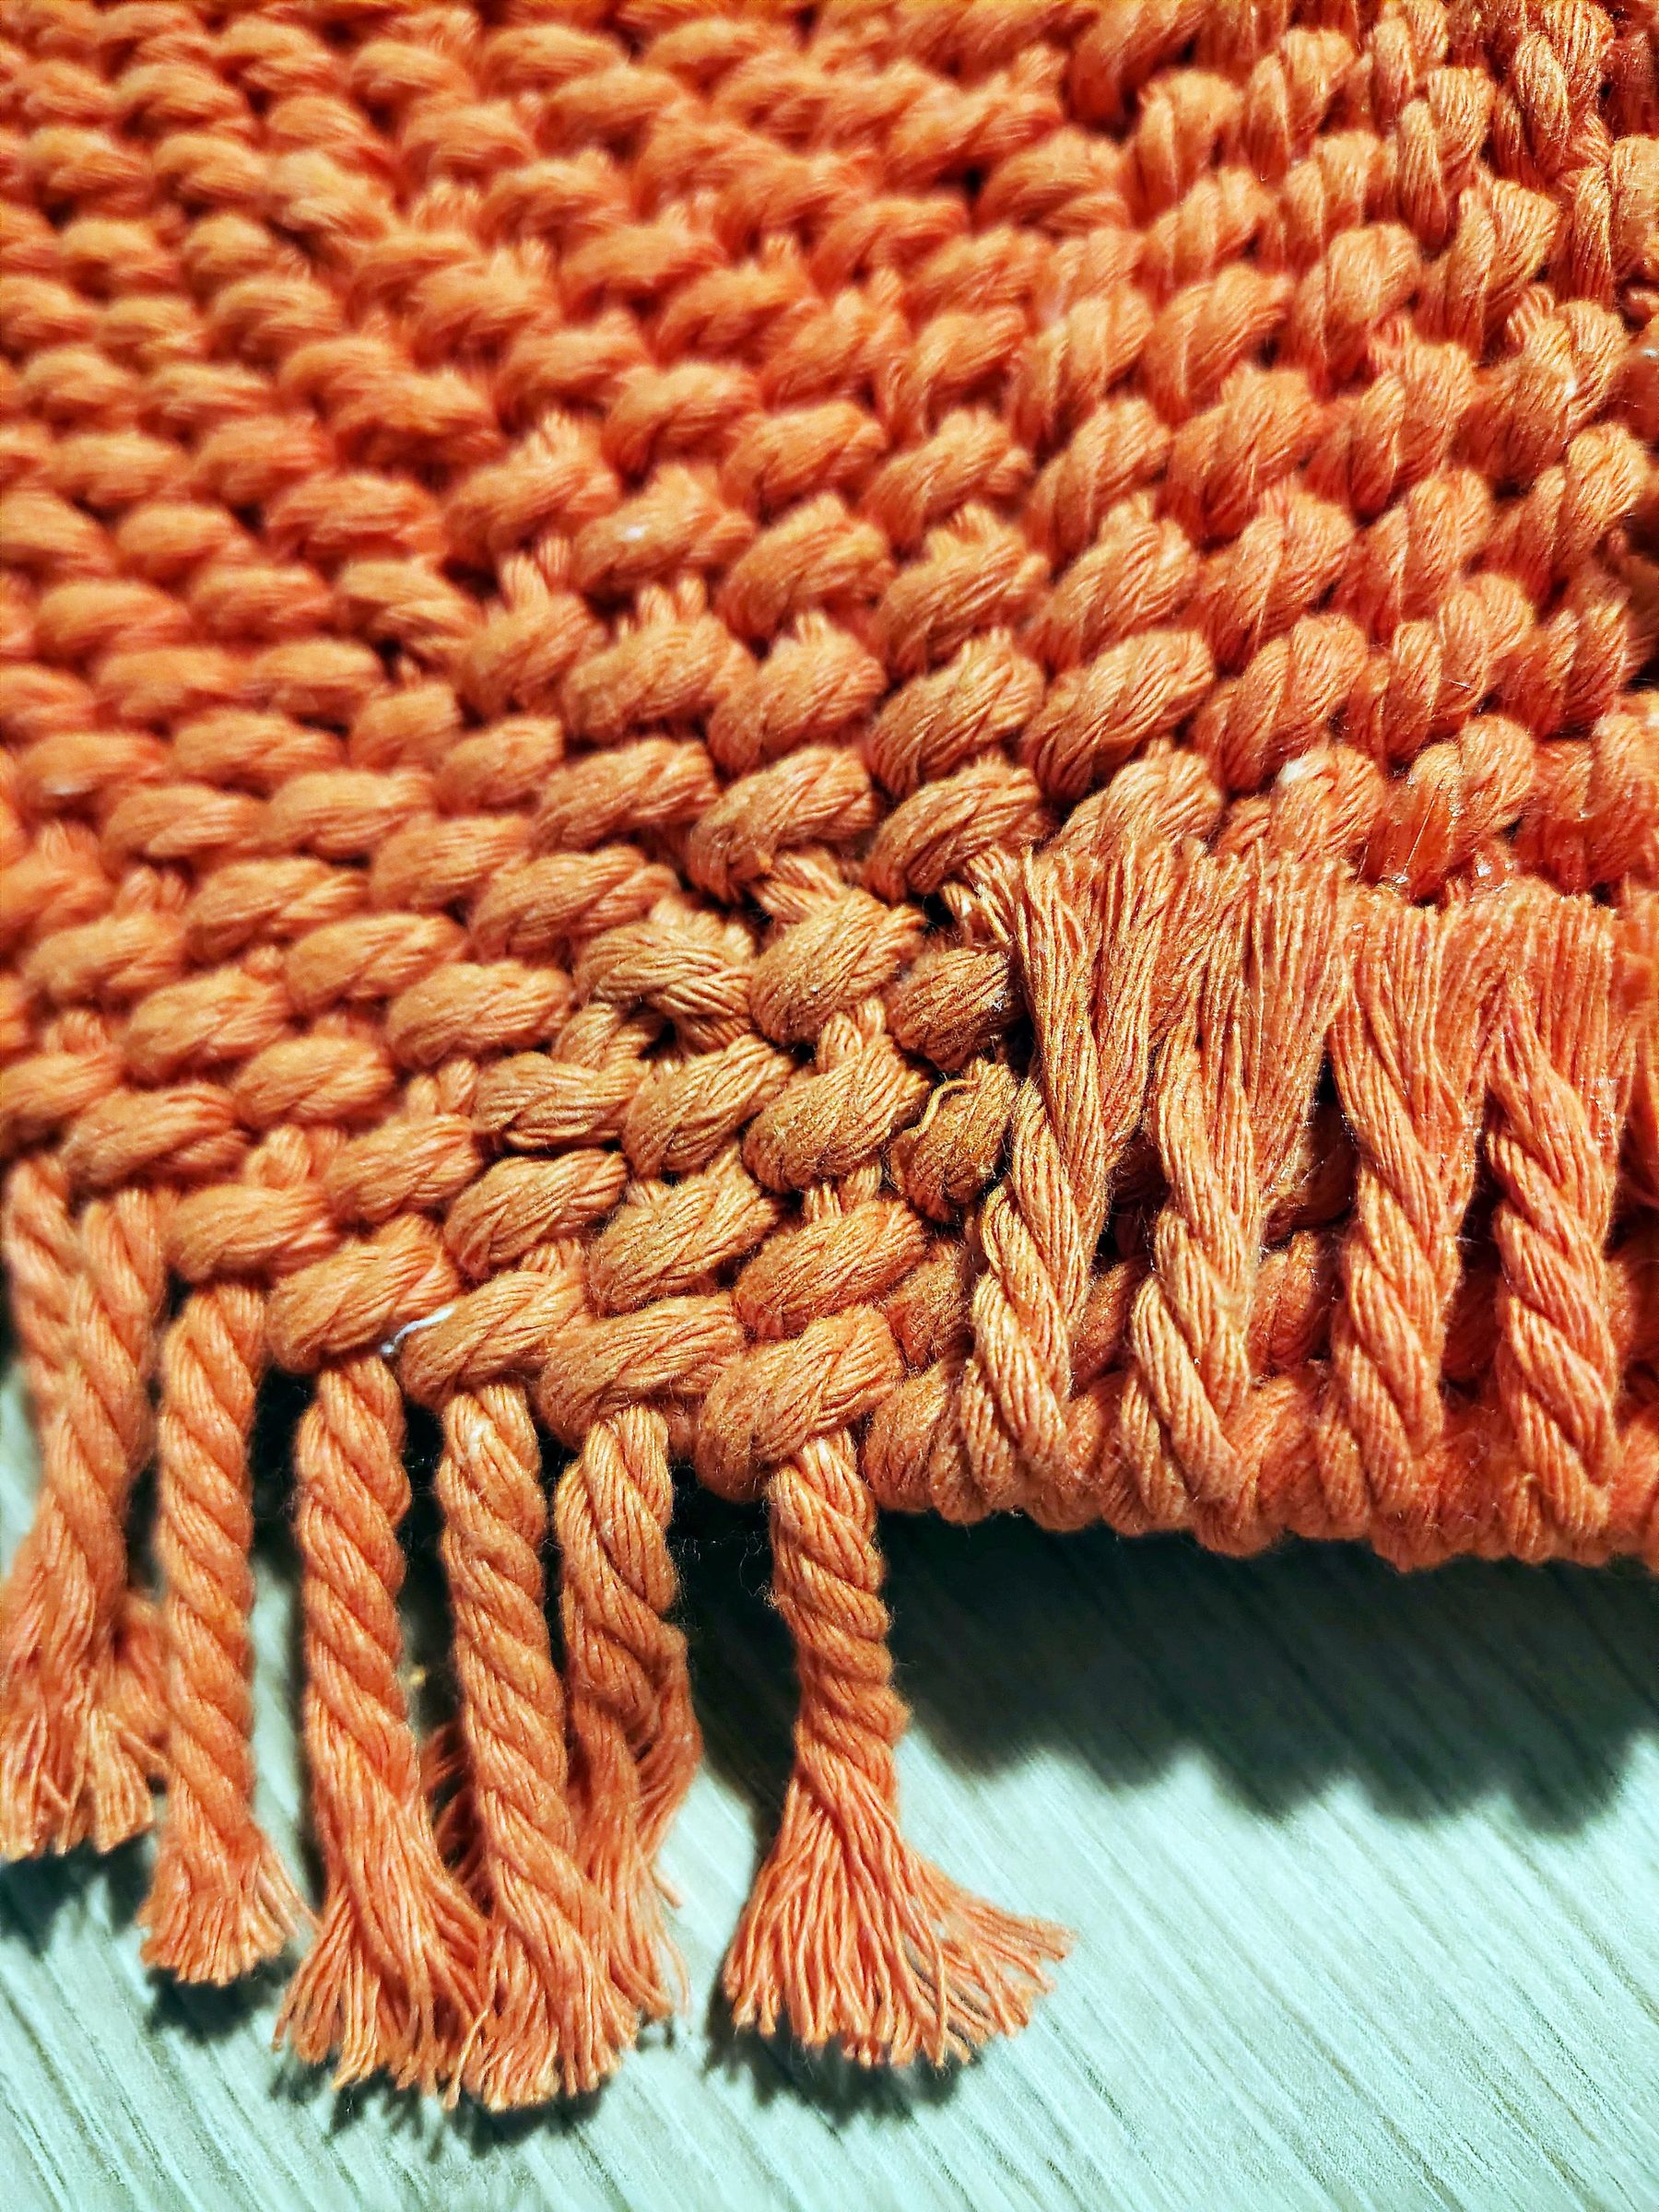
Glue down the short leftover hanging cords using a hot glue gun.
Attach Your Strap and Wear Your Bag
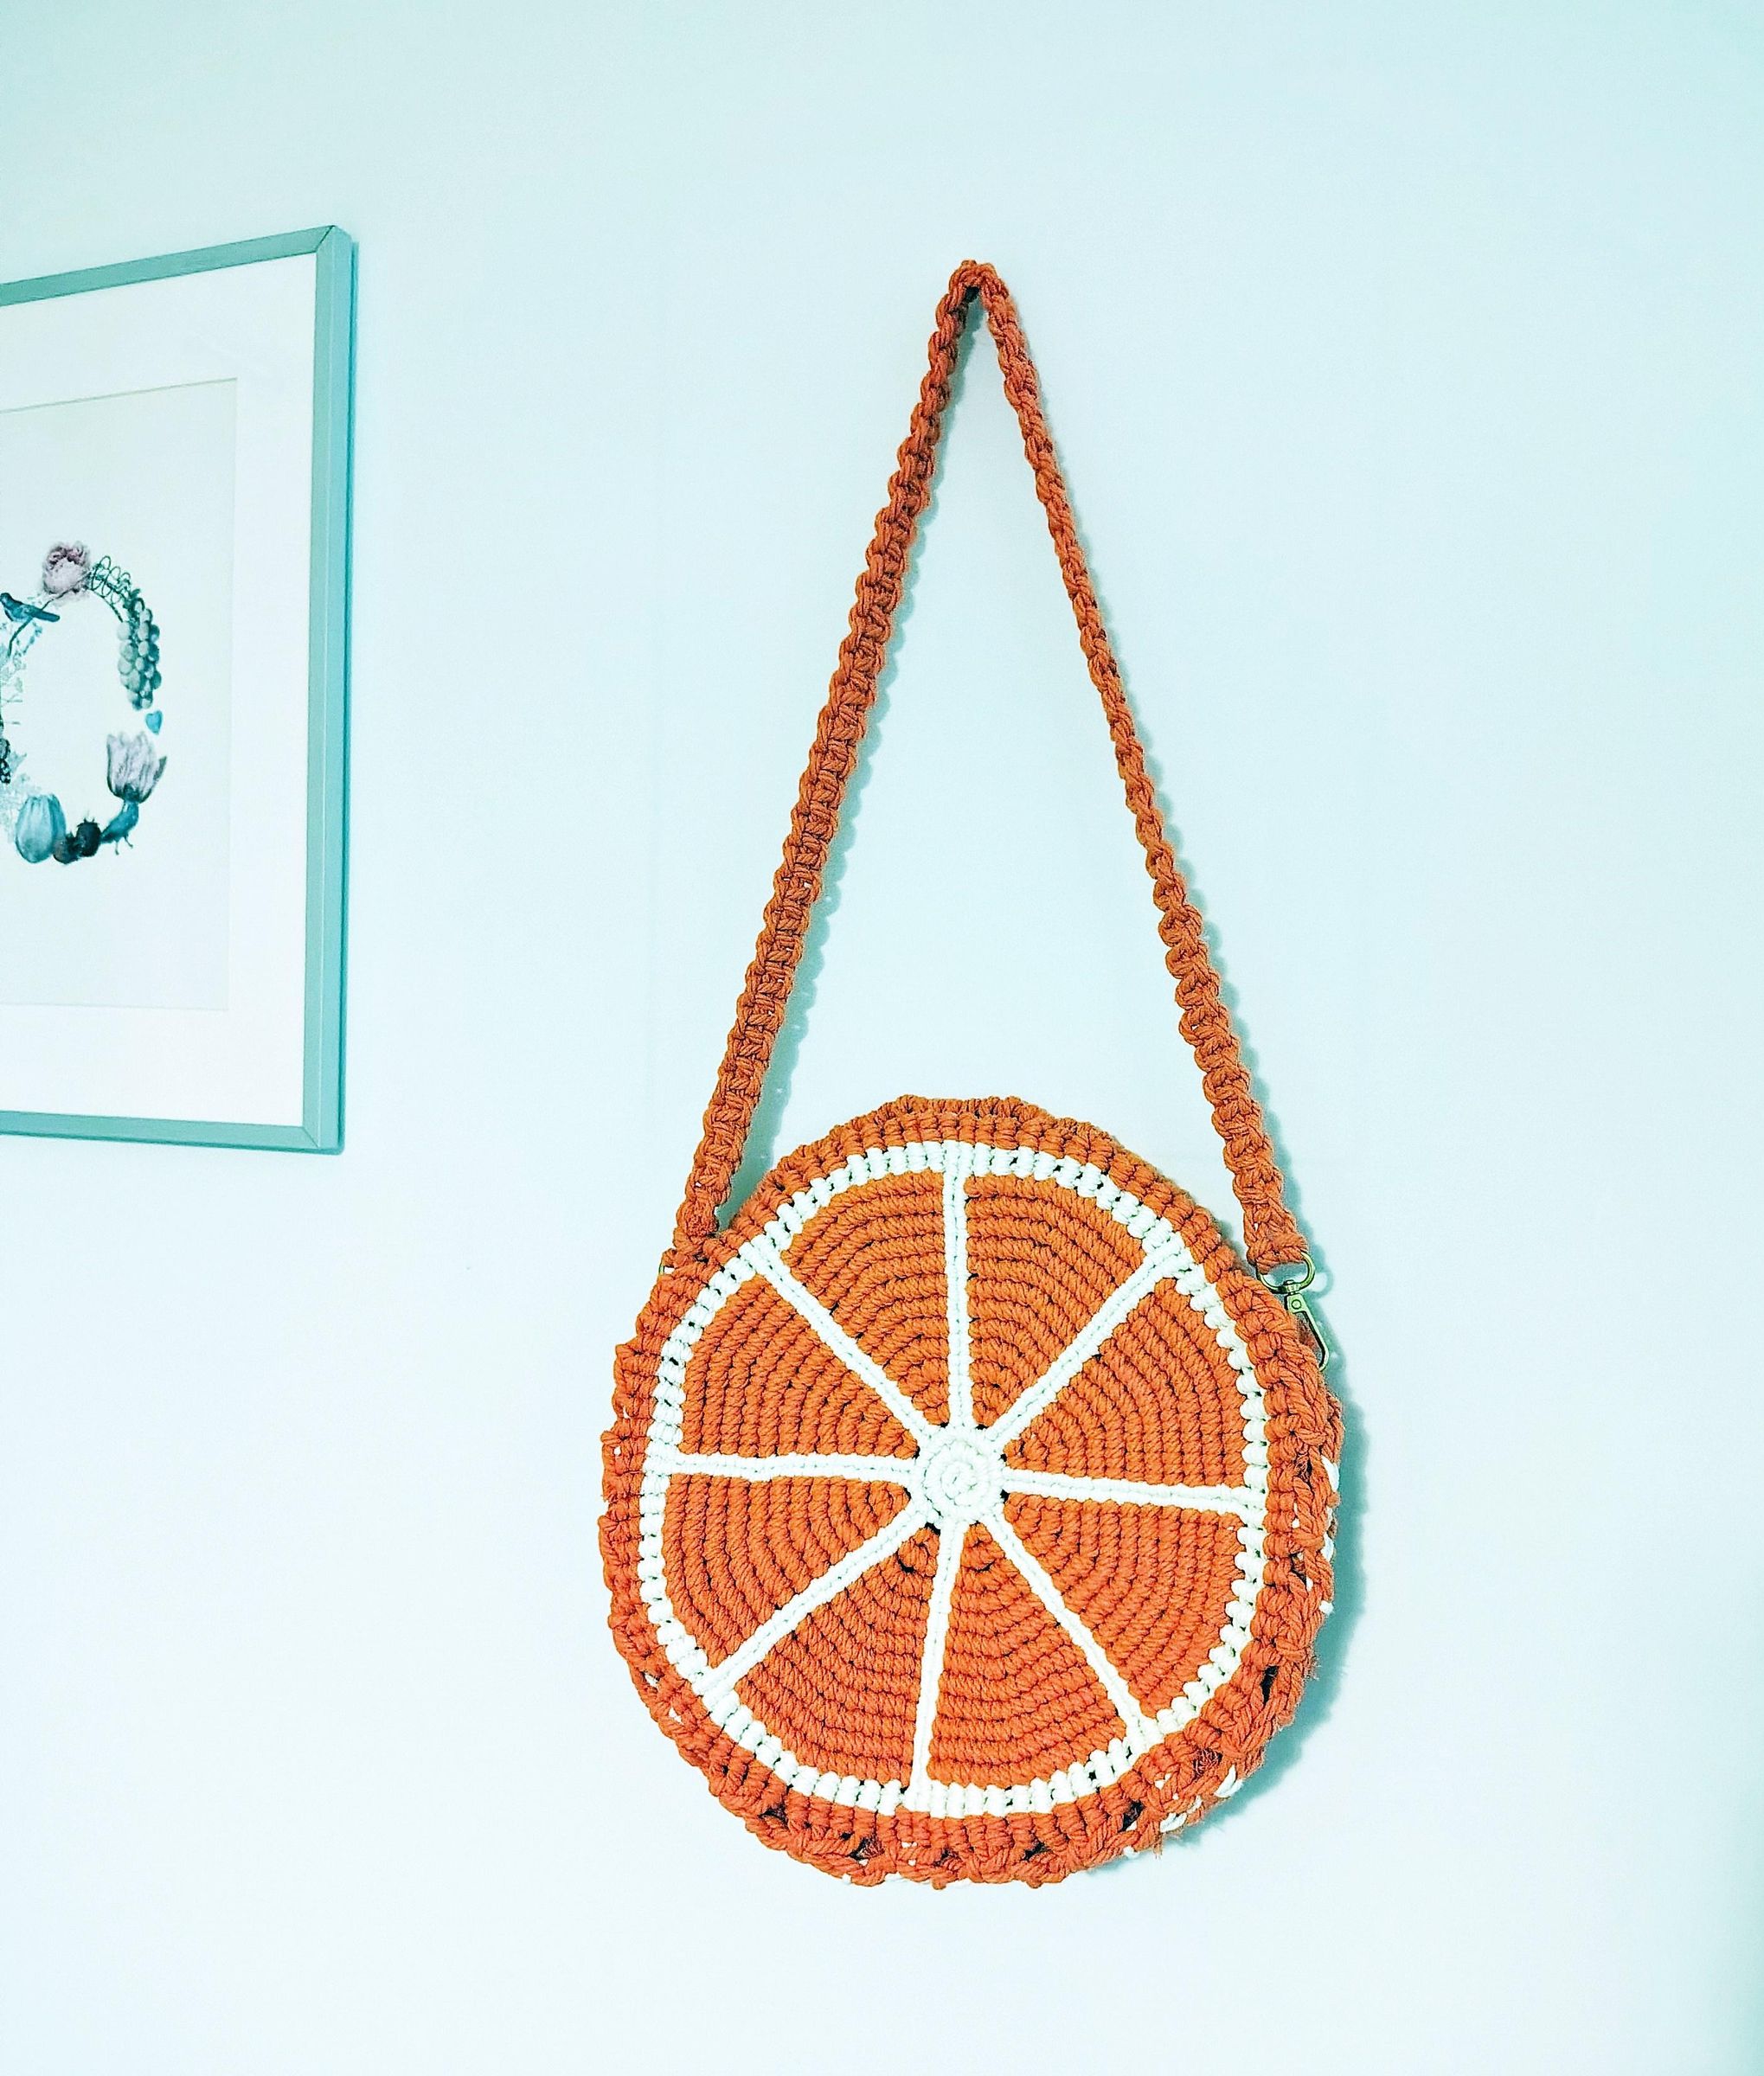
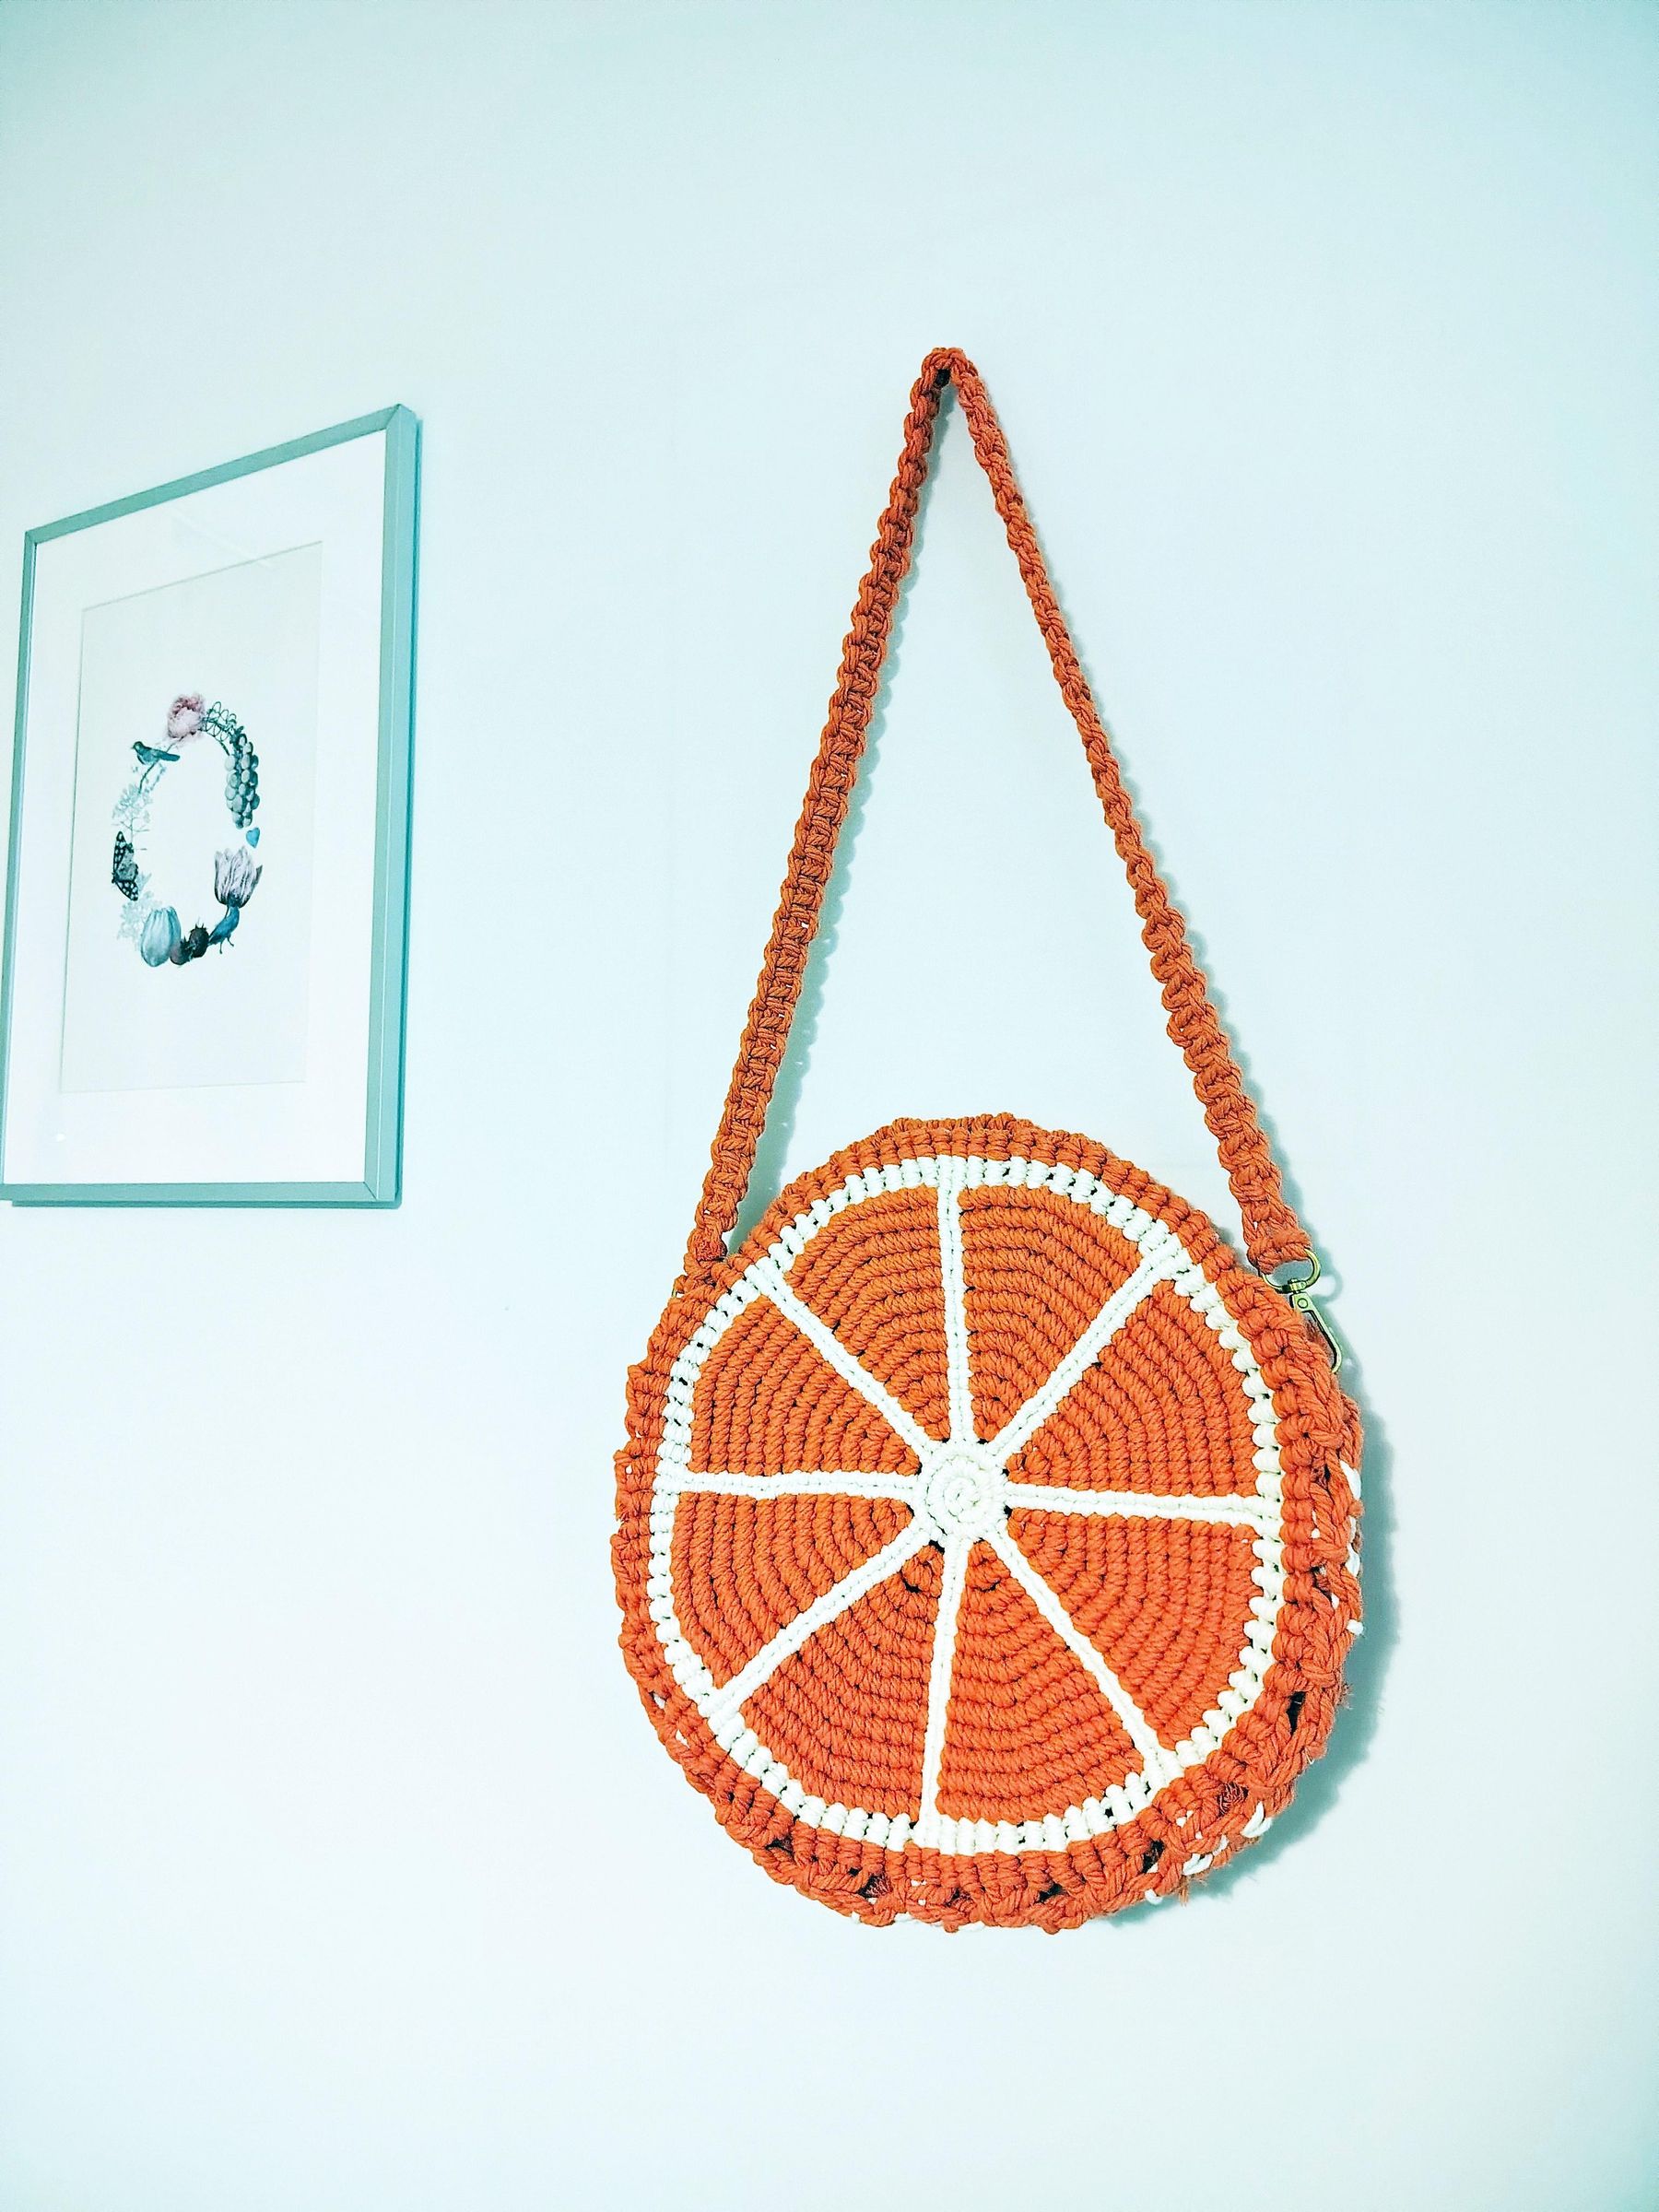
Attach the strap to the bag and voila!
Your orange slice bag is ready to wear and elevate any summer outfit!
I just love how this bag gives a pop of color and I'm very happy with the way it turned out.
Thank you for reading this Instructable!