Making a Model Rocket
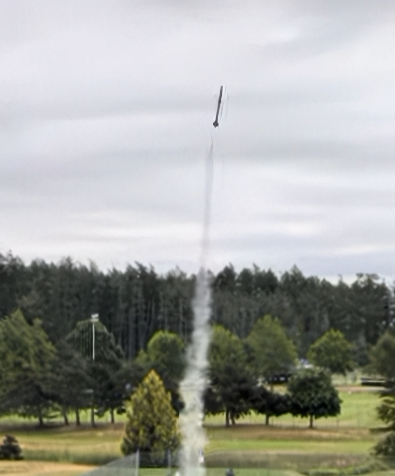
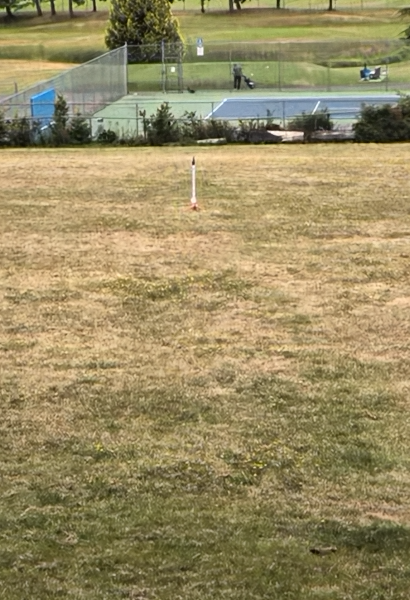
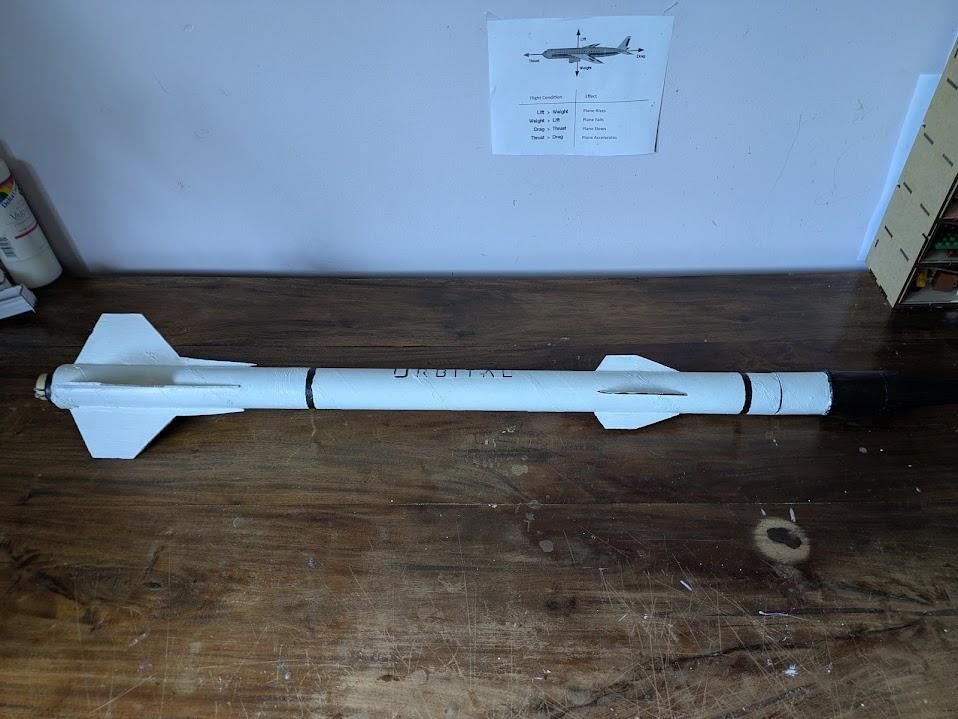
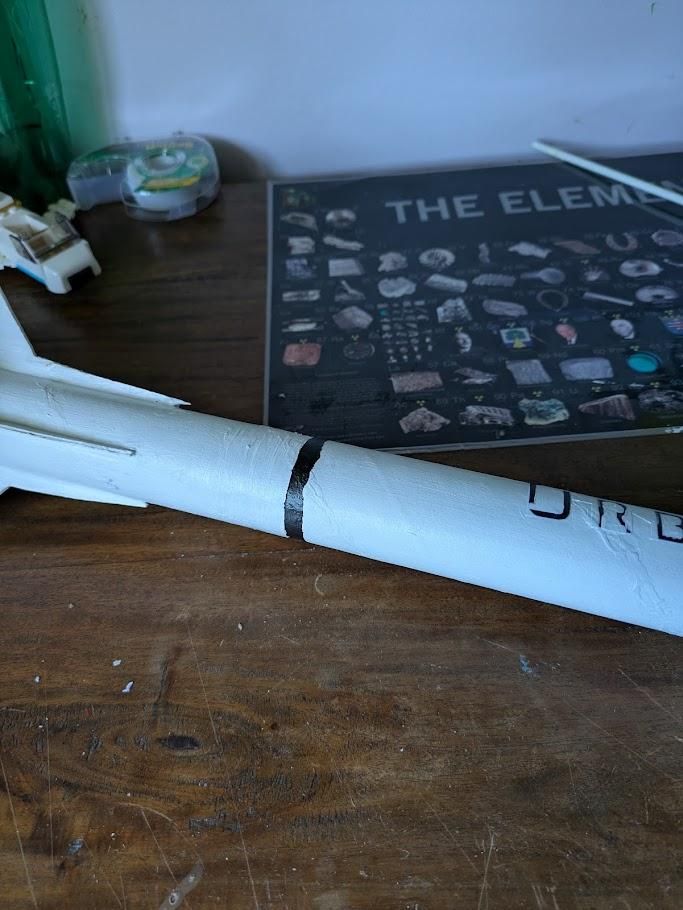
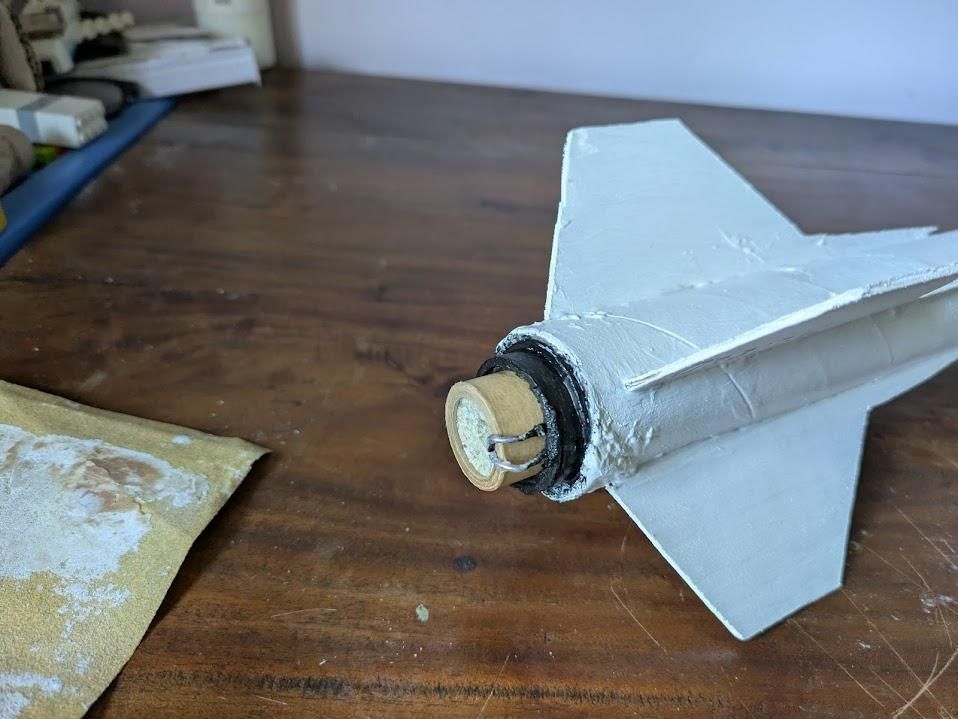
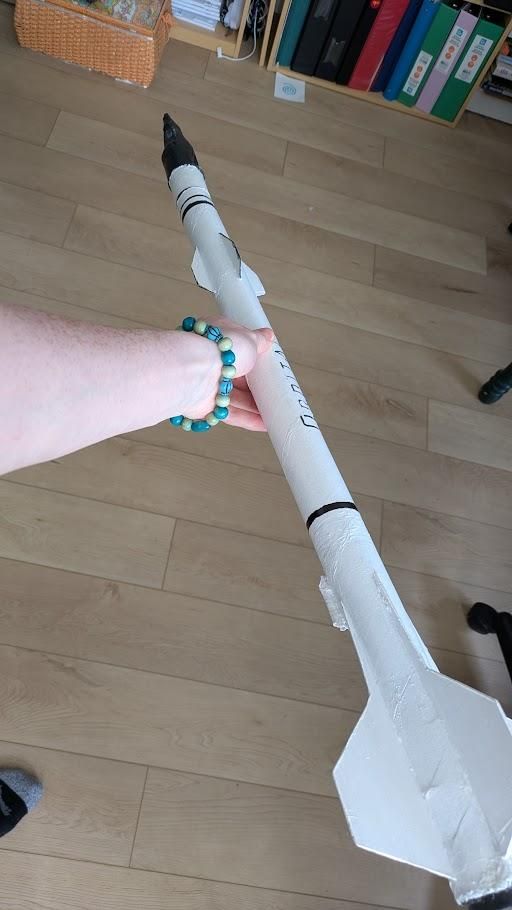
In this project, I will be showing you how I made Orbital, a 34.4 inch tall with a diameter of 1.8 inches model rocket that flies on a D12-3 motor. I designed this rocket on OpenRocket - a free simulator that allows you to design and simulate your rockets before flying or building them.
P.S. This rocket is made from home materials and made in my bedroom.
Supplies
To build the rocket, you will need:
- Glue: wood glue to attach the fins and white glue.
- Knife: A utility knife or hobby knife will do.
- Shock cord (bungee cord)
- Parachute
- Balsa wood: this will be necessary for the fins and structure of the nose cone, but you can use cardstock for the fins.
To launch the rocket:
- Recovery Wadding: Instead of buying this, I made my own. You will need a sheet of paper towel with some water and baking soda to mix it. Once done, you then soak it, leaving it to dry.
- A model rocket launch kit
- A D12-3 engine (or any other engine you're using).
Designing the Rocket
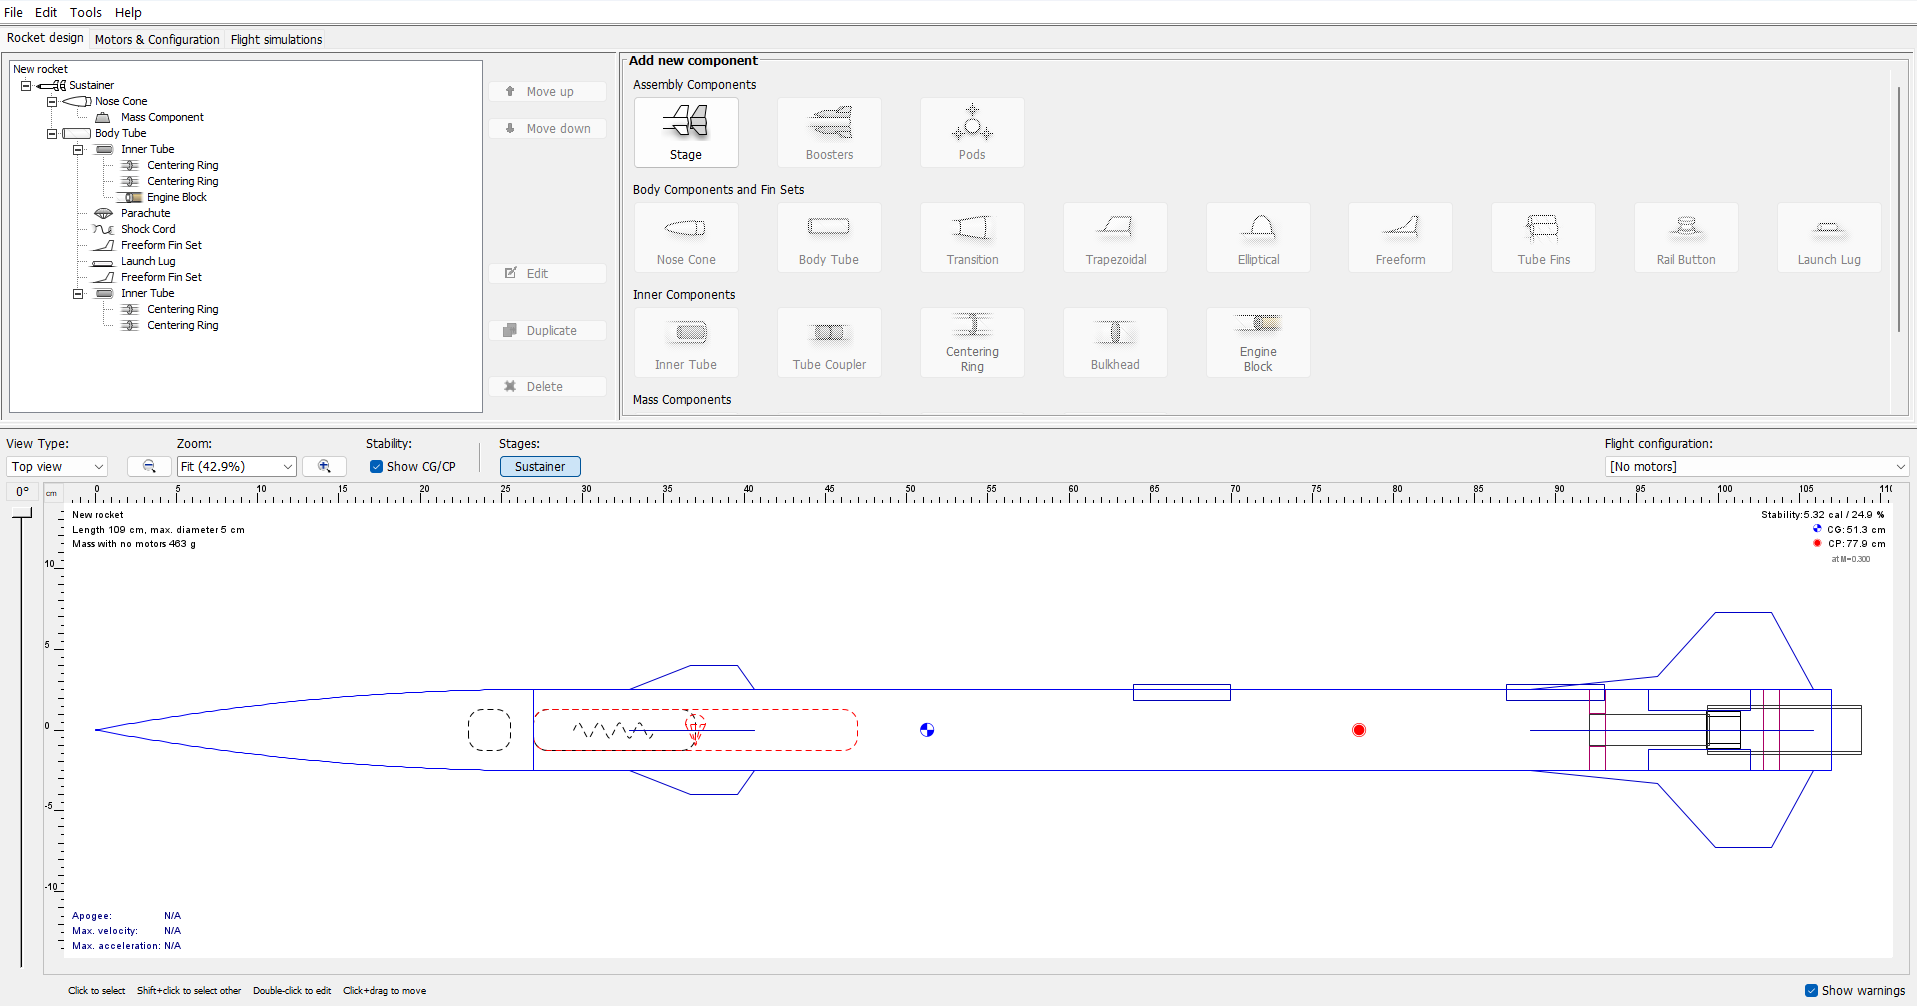
I first started designing the rocket using a software called OpenRocket. OpenRocket lets you design and simulate your model rockets and get useful data on how well they might perform before actually building and flying them.
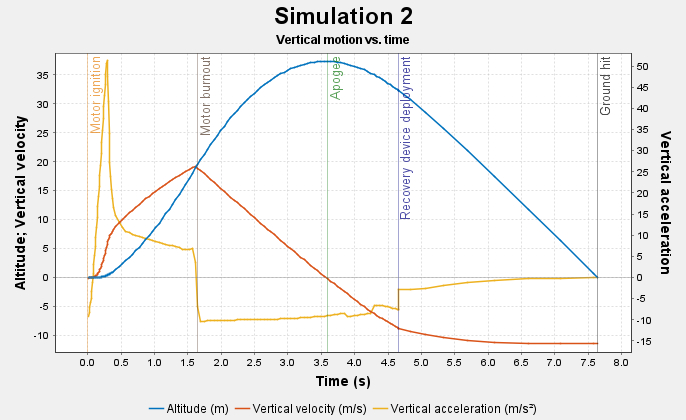
If you're interested, there is a picture of the estimated flight graph simulation of how it will perform based on Altitude; Vertical Motion Vs. time and Vs. vertical acceleration.
Airframe and Filling
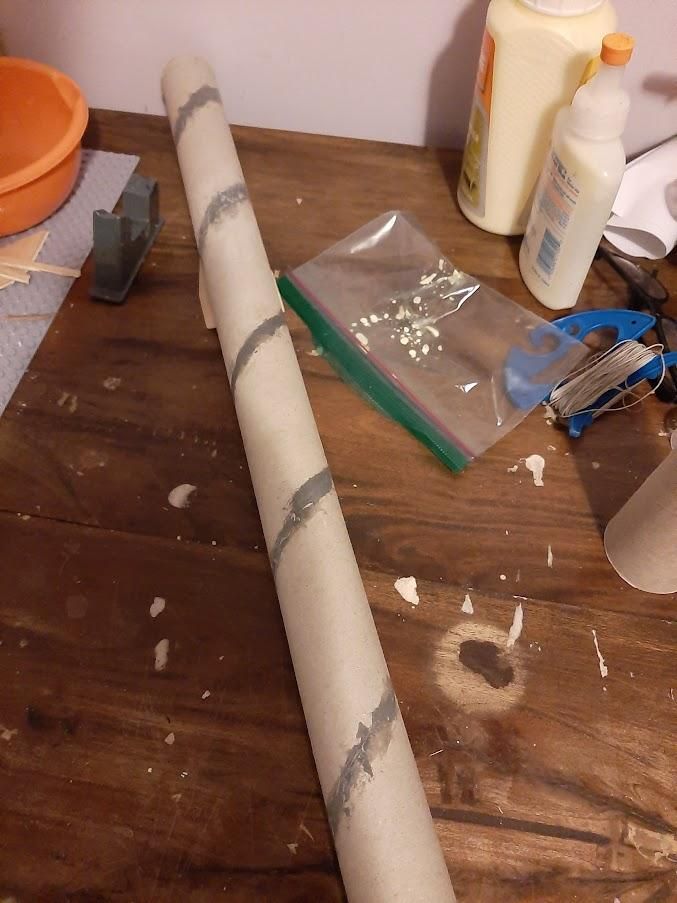
So, you will first want to grab yourself a cardboard tube. I found this cardboard tube from some Christmas wrapping paper. If you feel the need to, you can add a golf tube protector inside of your airframe - as this will strengthen it.
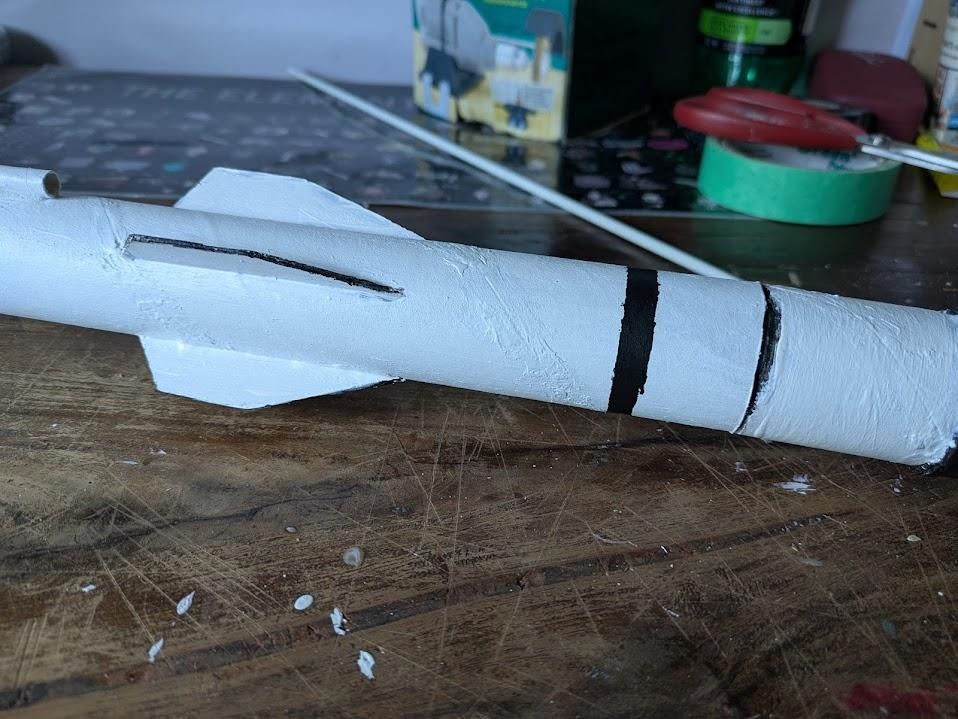
As you can see, I added some filament to the cardboard tube spirals using epoxy. I recommend using some sort of drywall compound, epoxy clay, or wood filament. Once the filament dries, you then want to sand it down to an even surface. When it comes time to paint it, it will come out very smooth and beautiful; at least that's what I hope.
Engine Mount
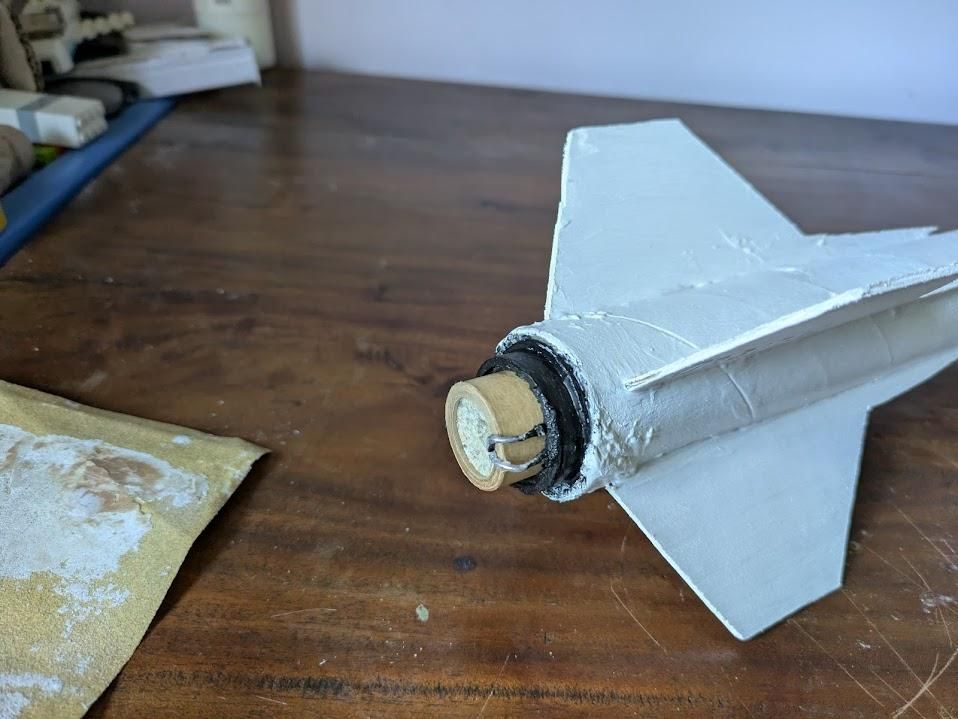
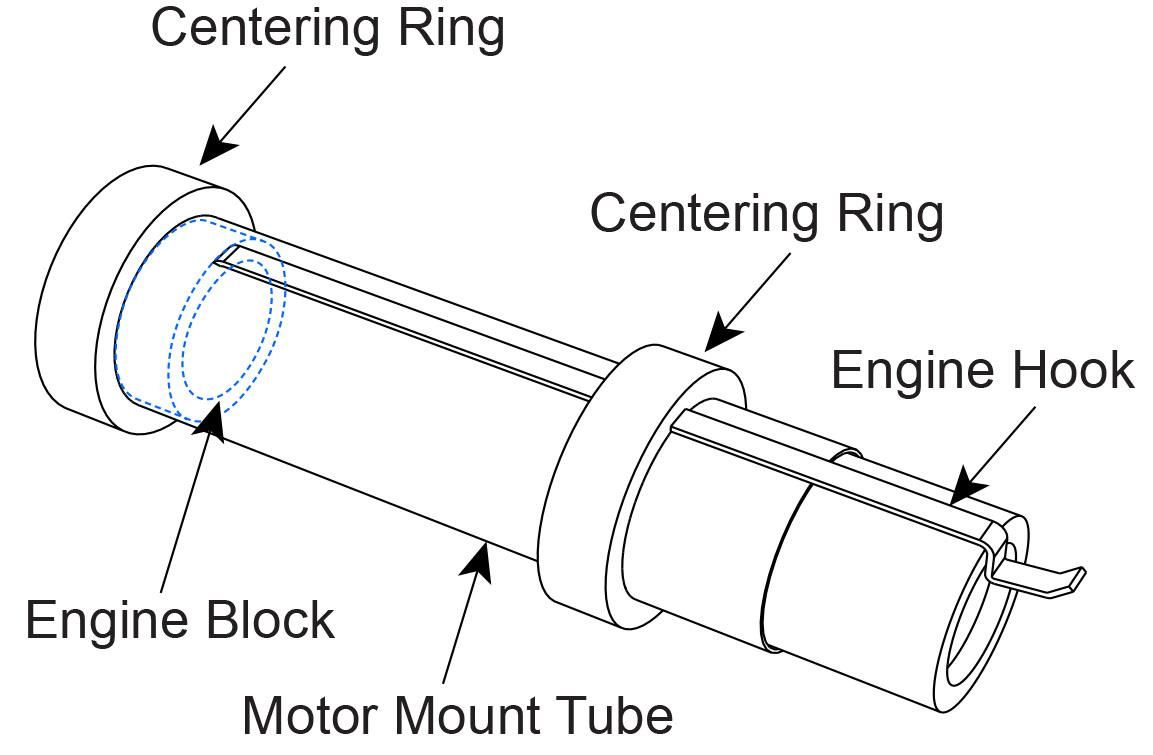
The engine mount will hold your engine in place, ensuring that it does not fall out. There are a couple of ways to do this: one is an engine hook, and the other is a screw-on engine retainer. I will probably use the engine hook because of what I have. You can easily use a paper clip to make the engine hook by simply bending it into place.
Having that settled, we need a tube for where our engine will fit nice and snug. Instead of making a tight fit, I left a couple to a few millimeters of diameter space so that it can slide in and out easily, but not fly up the airframe. Now that we have our engine tube, we need our centering rings to hold on to our airframe. You can use cardboard or balsa wood to make little circles that go around the tube and glue them onto the airframe.
Cutting Out Fins and Slots
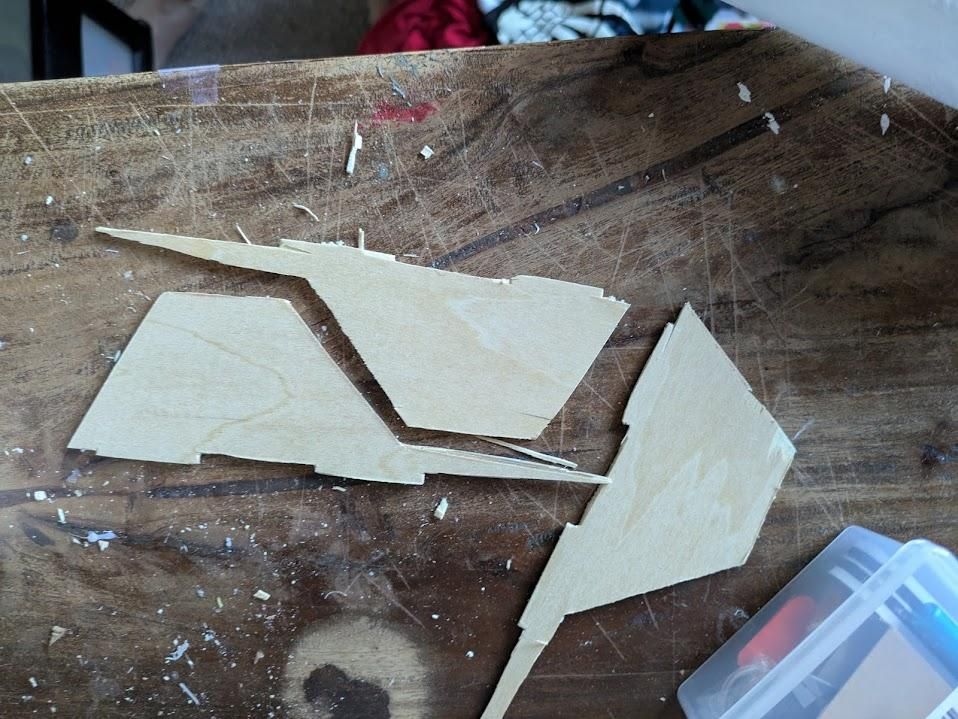
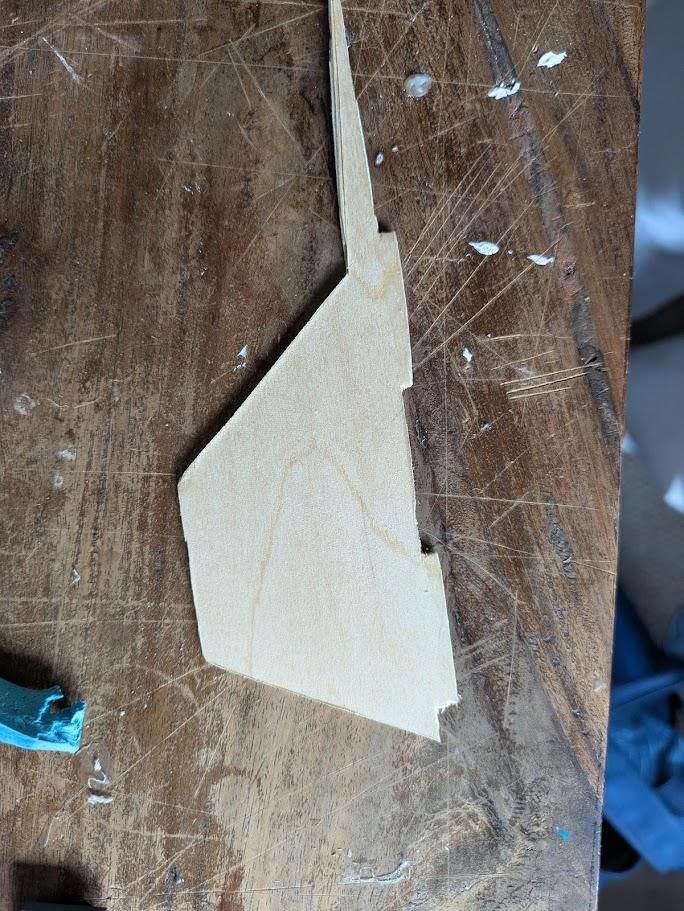
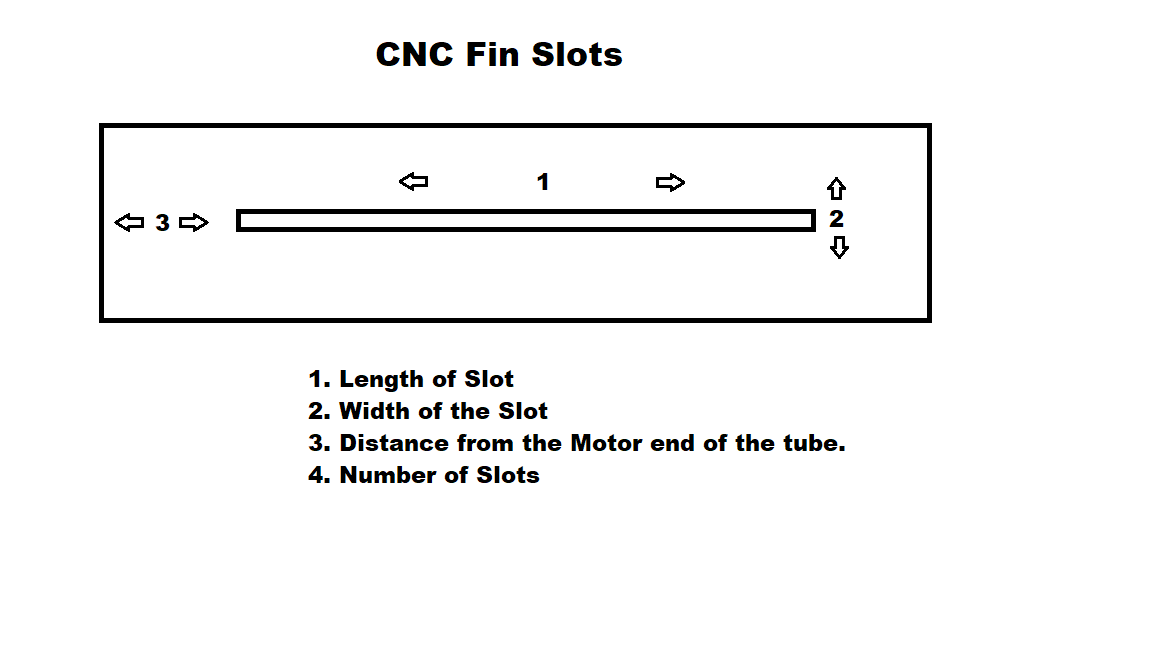
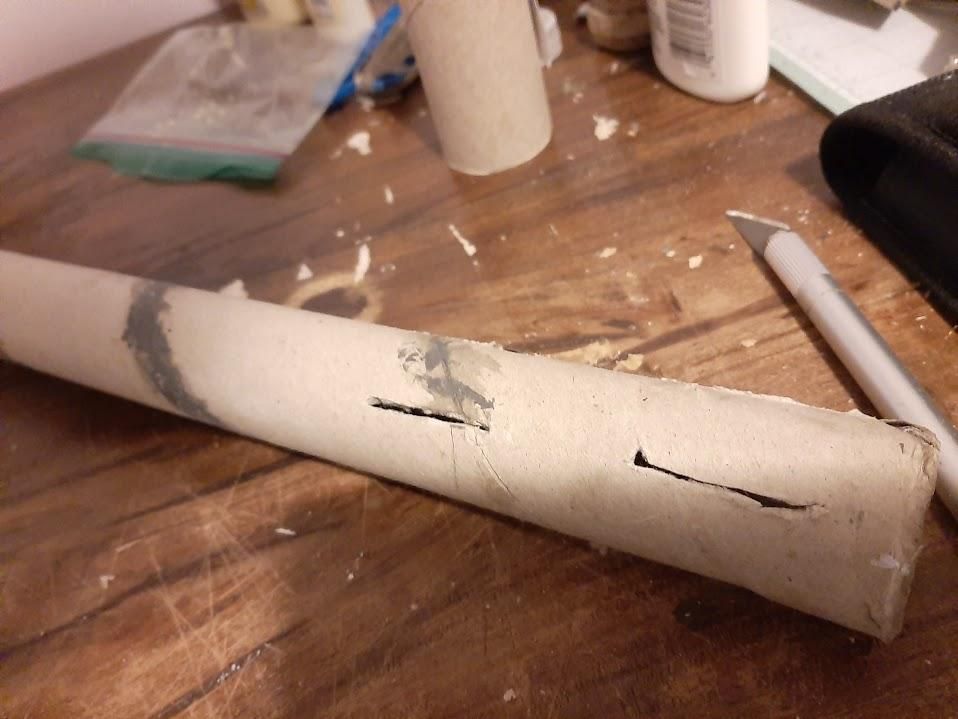
Now what you will want to do is trace the fins on the balsa wood and cut them with a hobby knife. But if you have a laser cutter, I'd suggest that. I'm putting 4 fins on the bottom of my rocket so that it has more stability, with an additional 4 fins near the nose cone. I heard that this messes up the center of pressure, but either way, it does look cool.
Once your fins are cut out, you can sand them down to an airfoil edge to generate more lift over drag, but I won't be doing that because of how thin my fins are; there's going to be very little to no drag. Now we can cut the slot holes for our fins to fit in between the centering rings.
Nose Cone
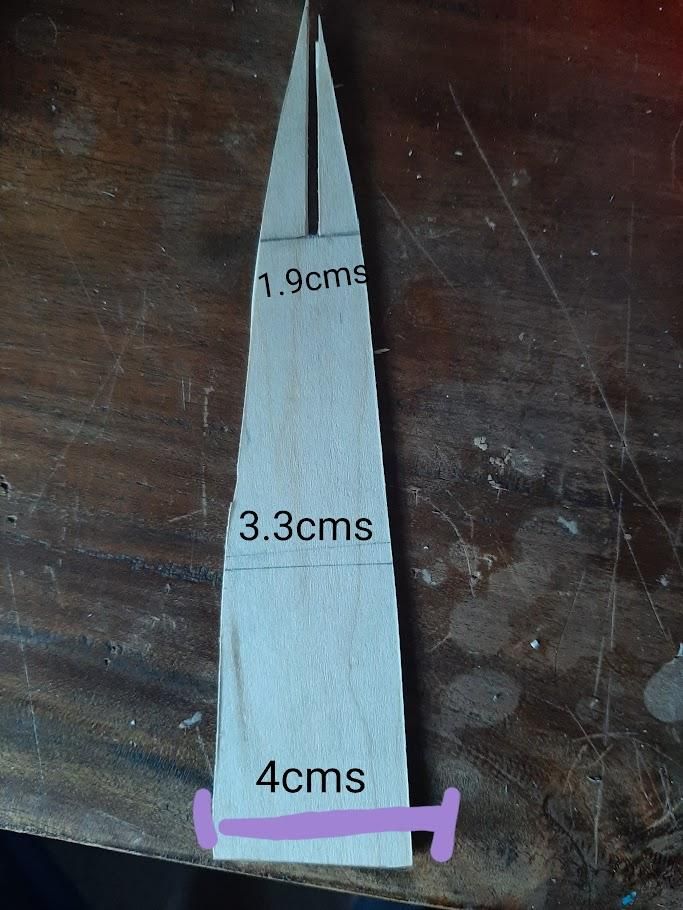
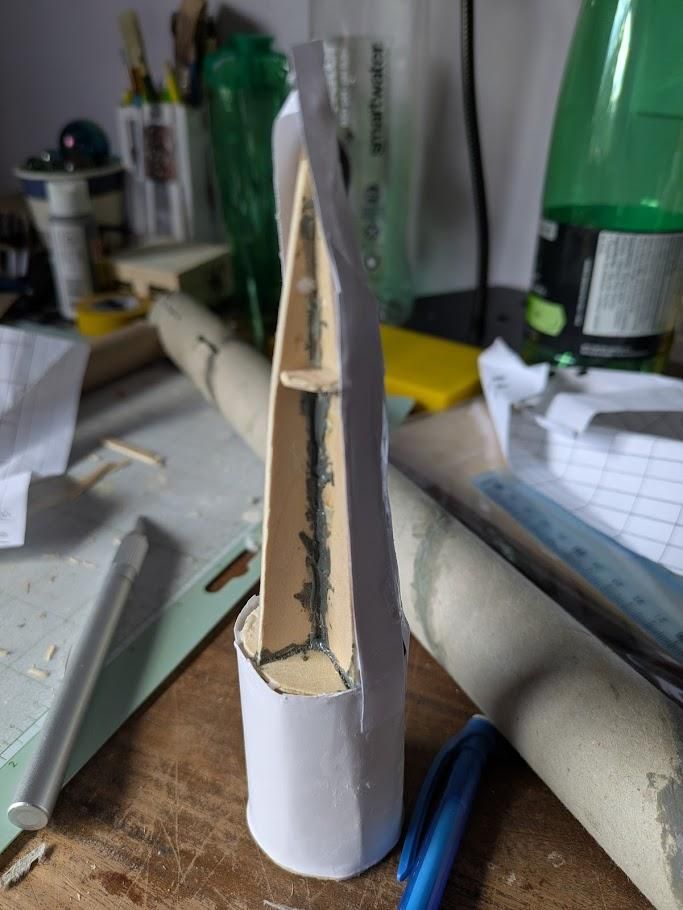
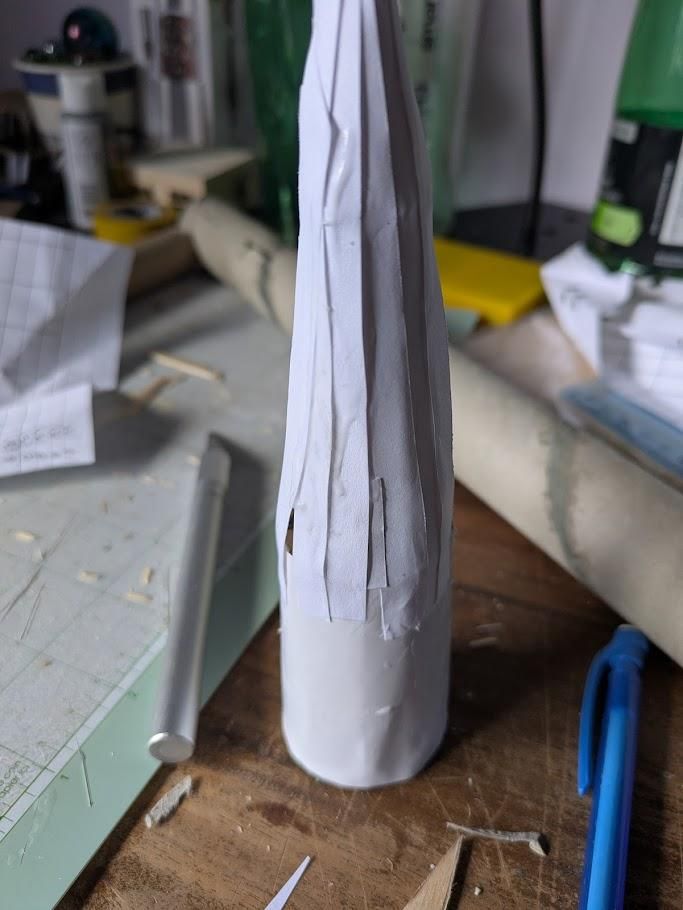
There are a bit of different ways to make nose cones, but for this rocket, I tried an ogive nose cone from this article. Another way to make a nose cone is paper mache or a paper nose cone. Or if you have a different way, you can try that, and please feel free to share. I'm trying to find different ways for making nose cones.
Payload System
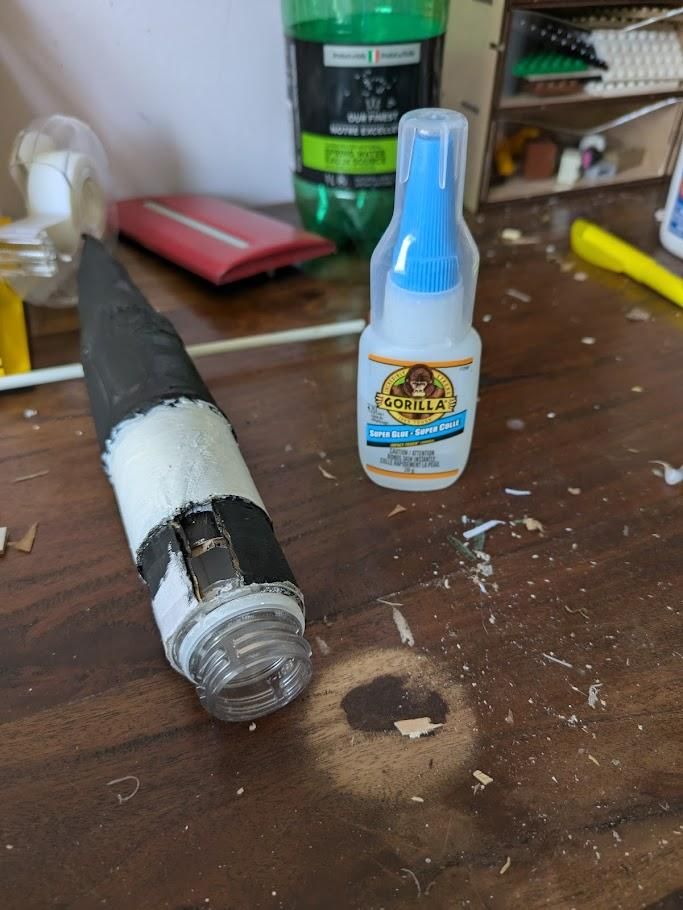
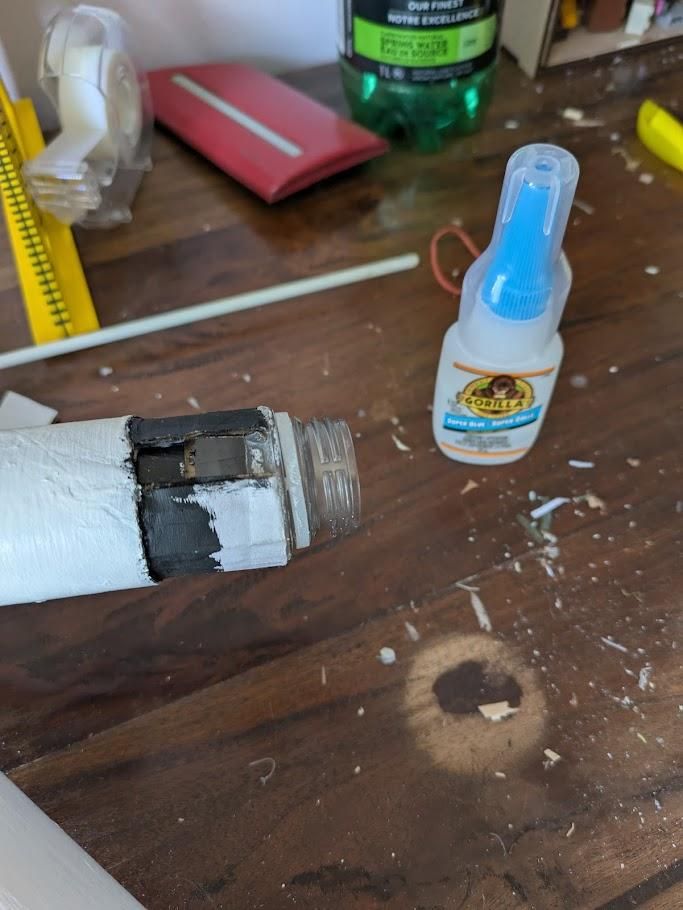
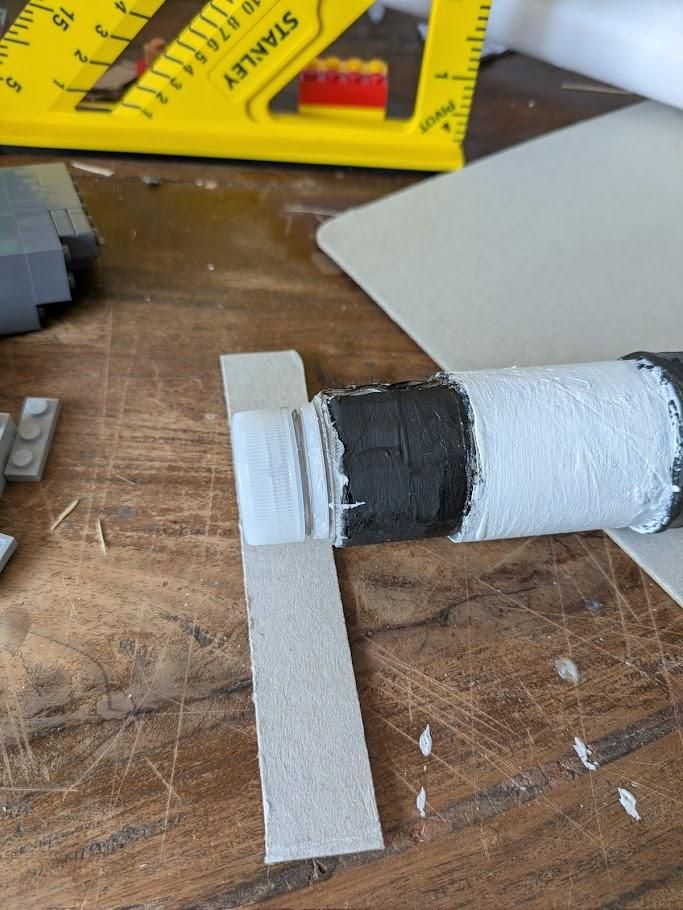
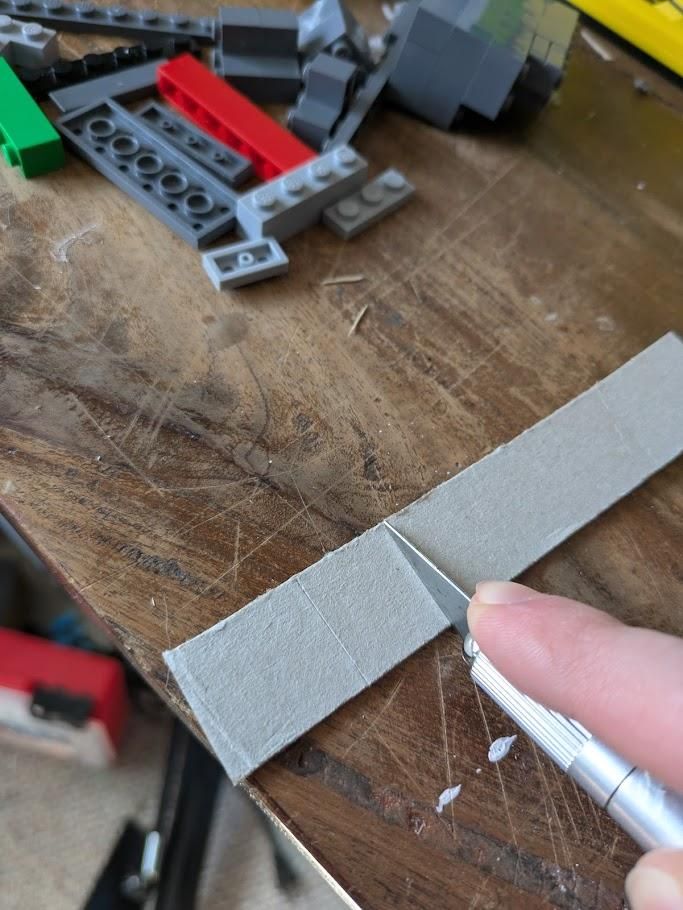
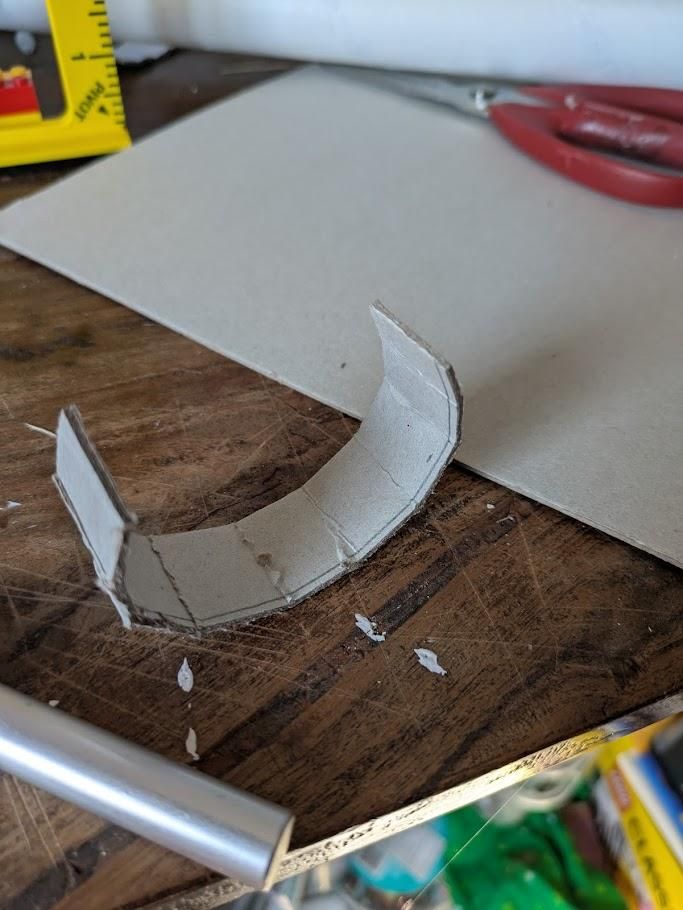
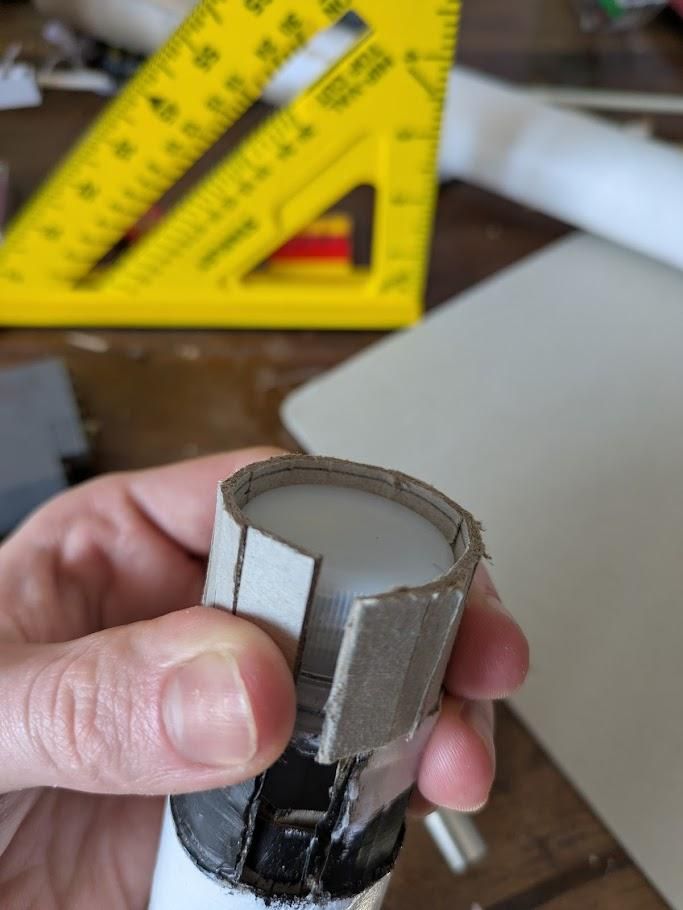
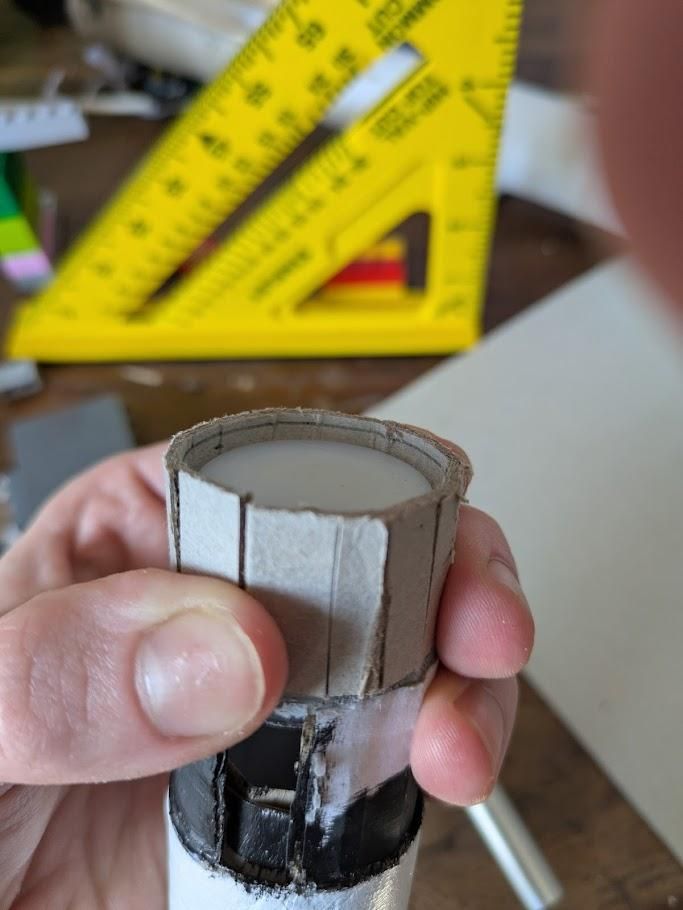
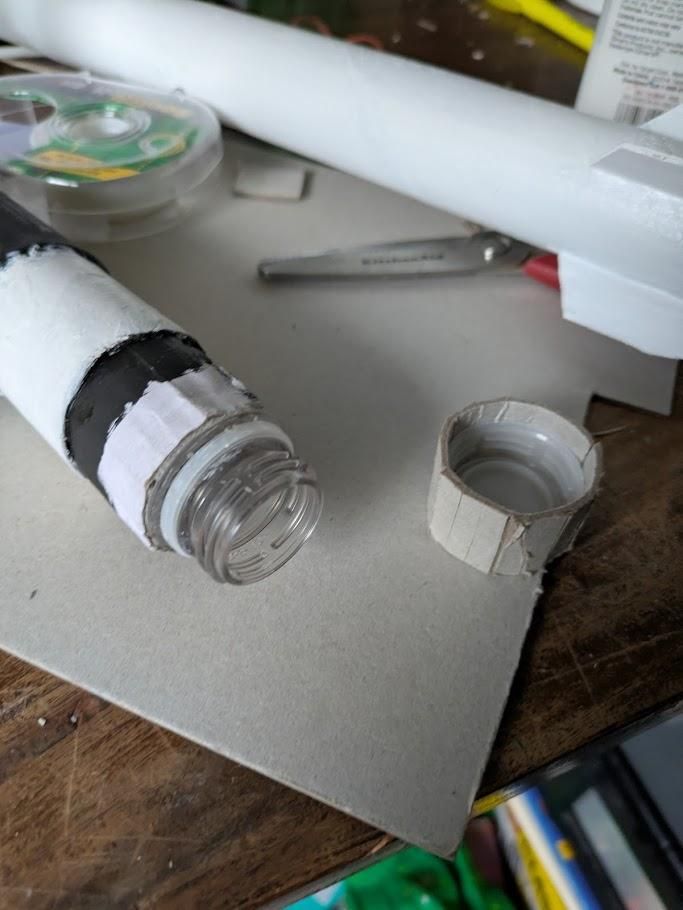
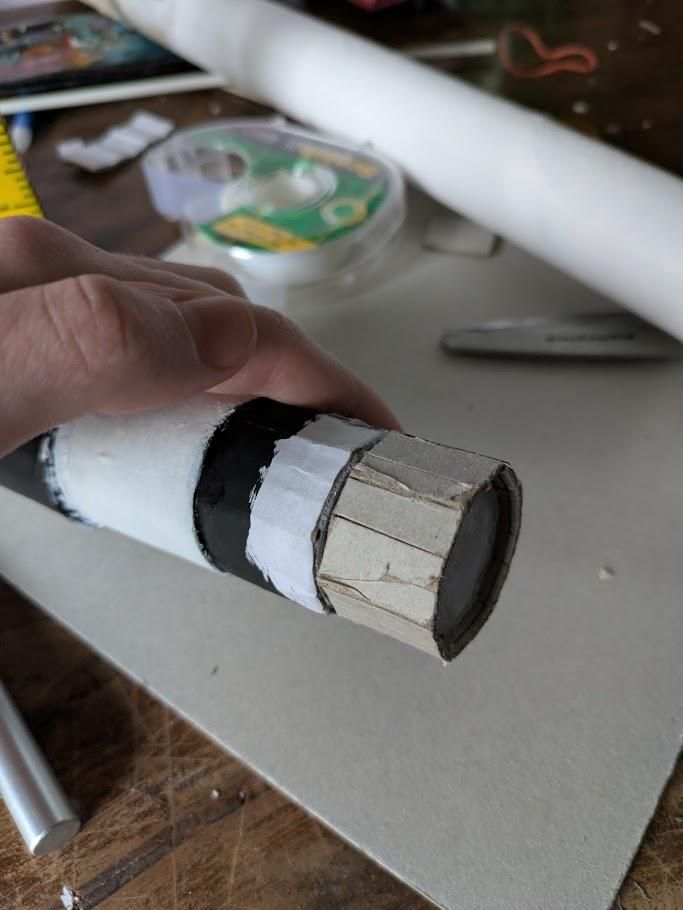
Using the end of a carbonated water bottle, I was able to super-glue it to the coupler of my nose cone. I then measured a piece of cardstock to go around the lid, made some tiny cuts across the width to allow it to bend and flex into shape around the lid. After that, I then super-glued it, wrapping a rubber band around it.
Gluing the Fins on (Upper Fins)
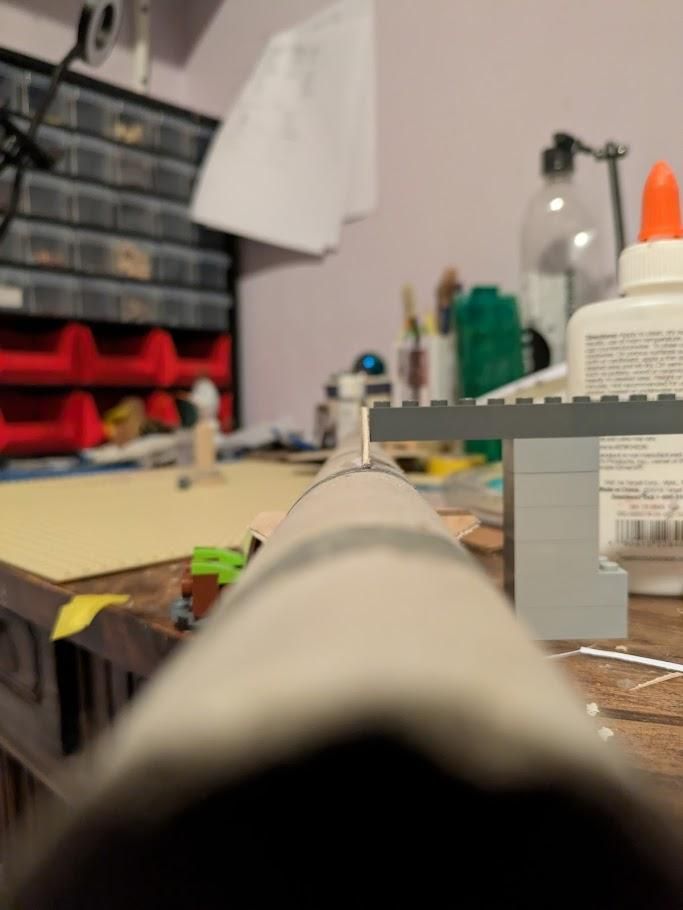
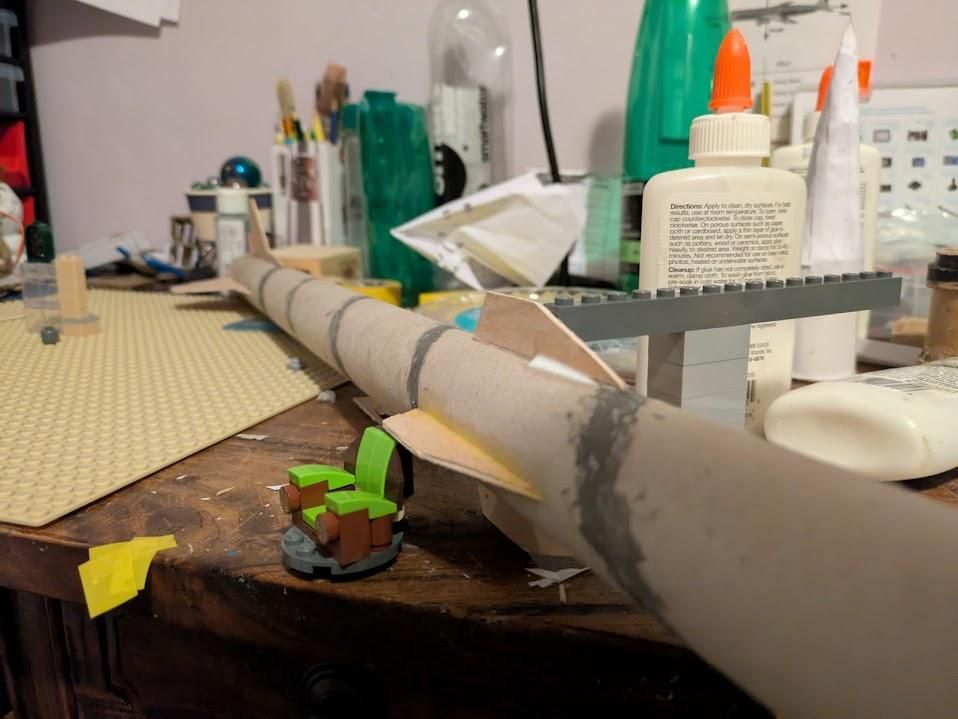
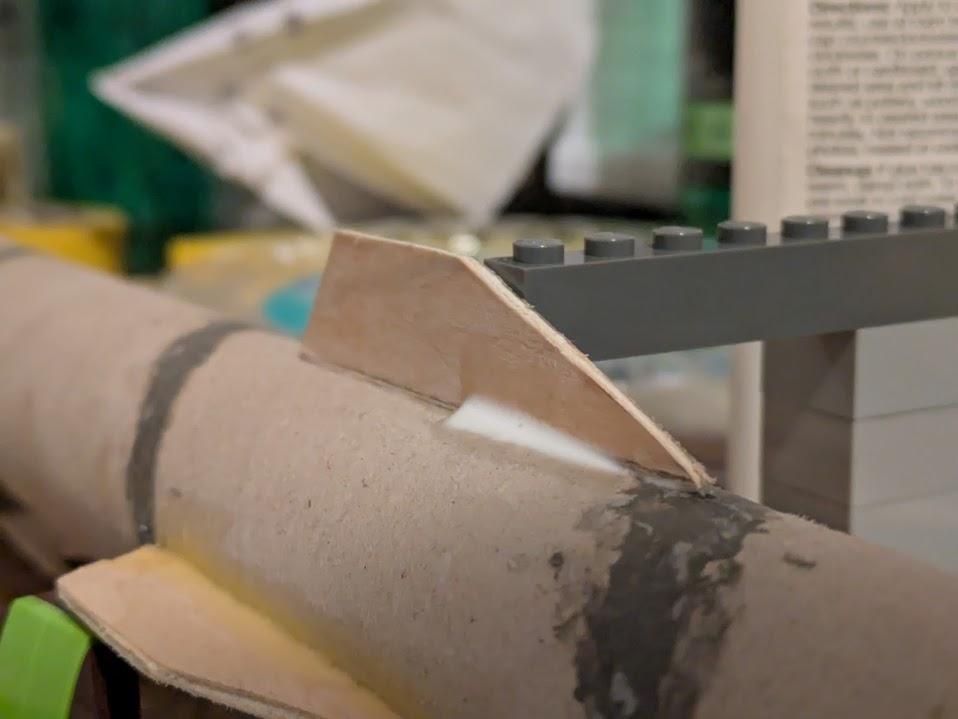
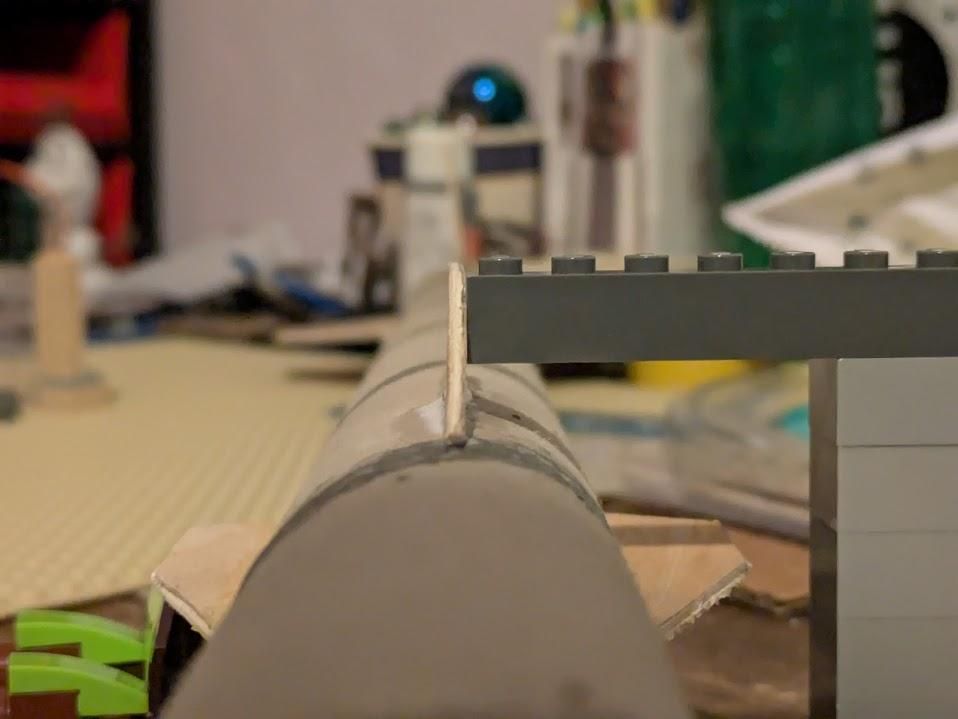
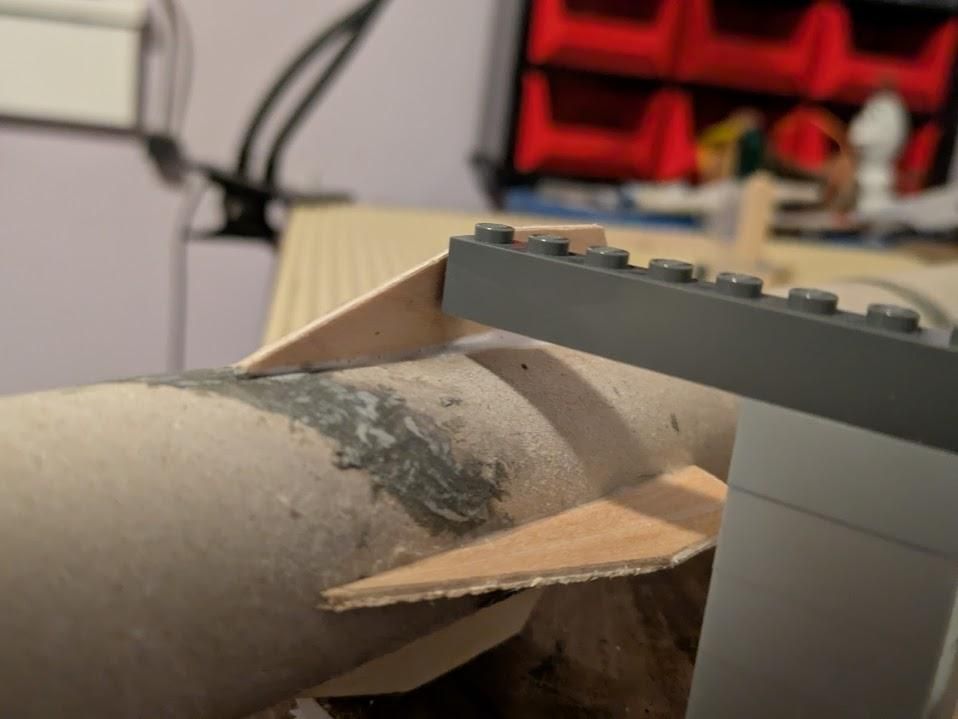
To make sure that my fins were glued on straight, I made a little LEGO structure to make sure that the fin was straight while the glue was drying. I had to go at the end of the tube, closing one of my eyes to see if it was positioned straight. This isn't the most accurate, but it works. Next time, I might make a fin-alignment jig out of cardboard.
Gluing the Fins on (Bottom Fins)
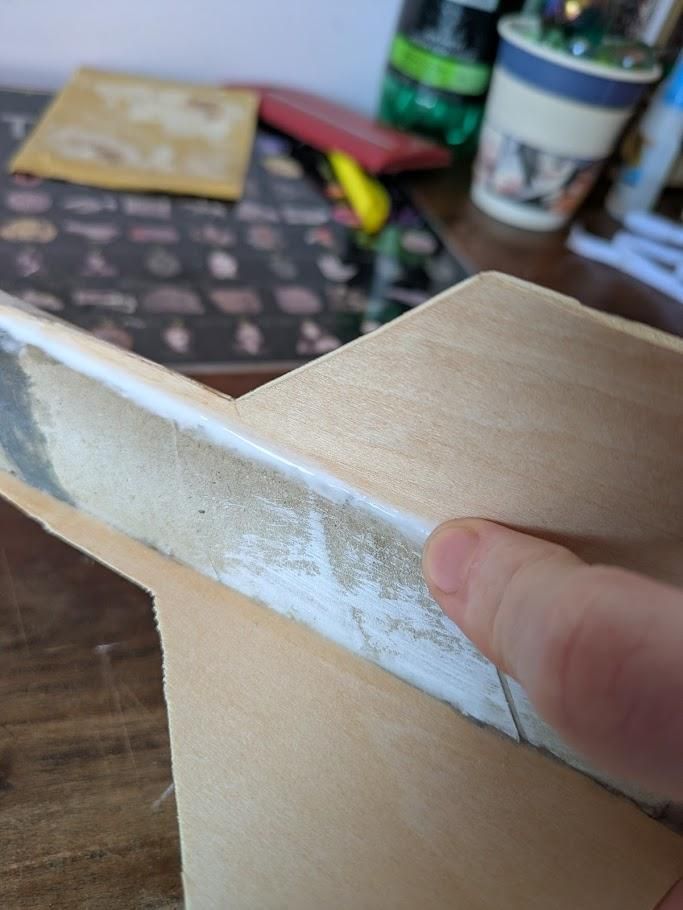
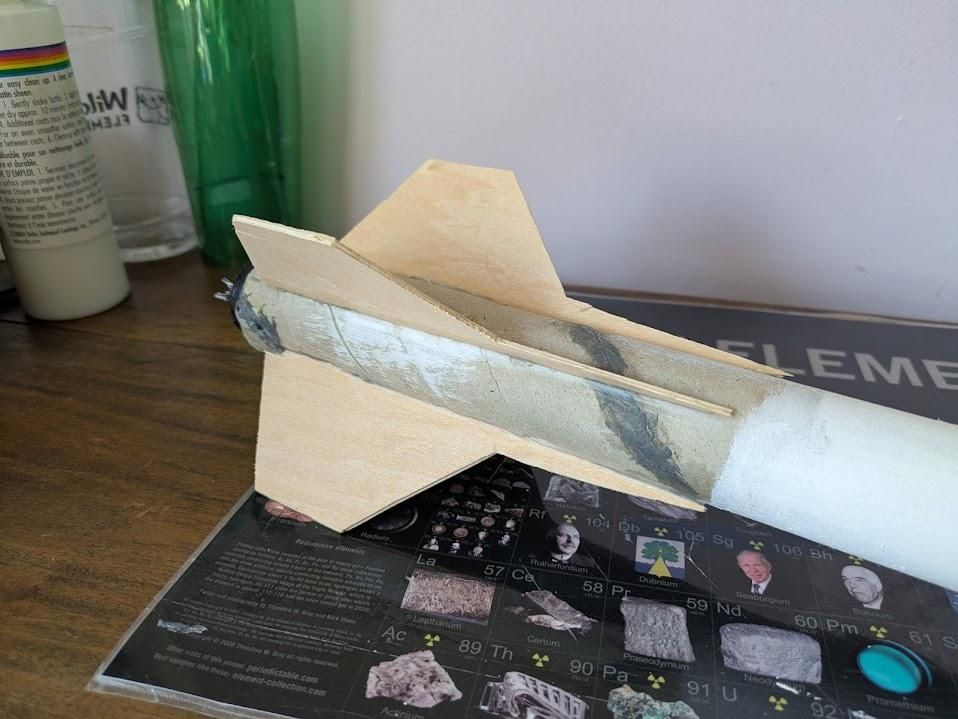
Now you can glue your main fins on! Place some wood glue along the slot and bottom of the fins, carefully placing them in. And after that dries, what I like to do is put some wood glue along the edge of the fins and take my finger from the top to the bottom to make sure it's secure, as shown in the first picture.
Shock Cord
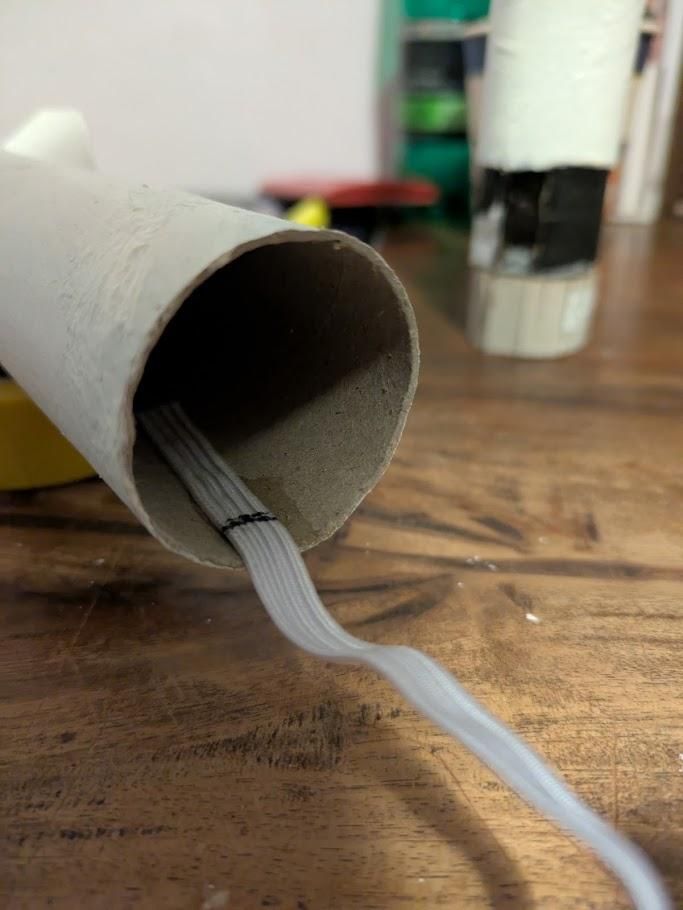
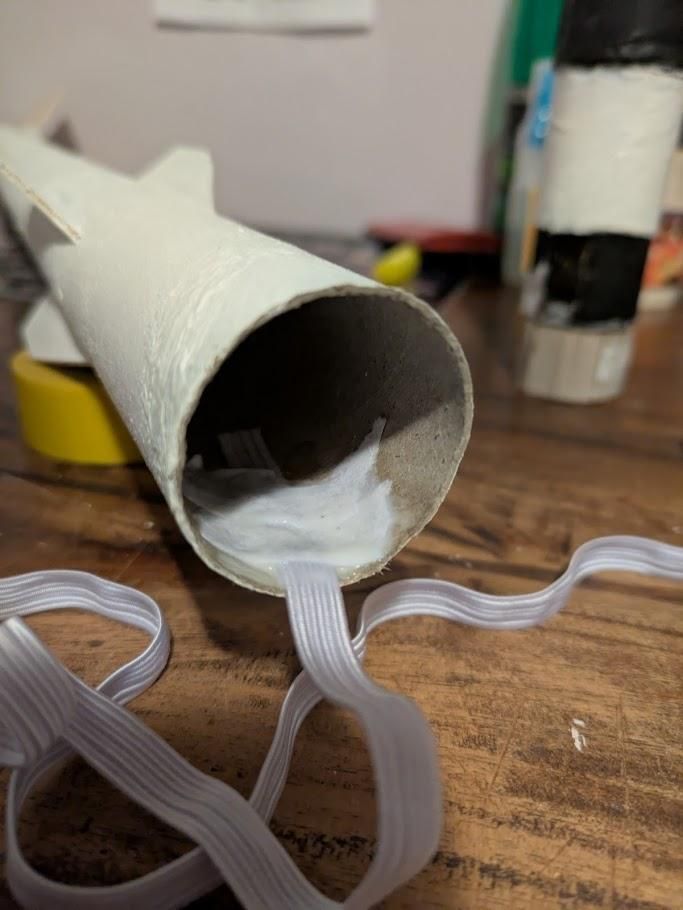
For the recovery of my rocket, I need a piece of shock cord attached to it. I'm using an elastic material, and this will hold the two parts together, so it does not go elsewhere. The shock cord is to help absorb the shock once the separating parts are ejected; you can use a non-elastic line, but usually you would want it to be longer, about 3 or 4 times the length of your rocket.
I placed some white glue where I was going to put my shock cord. After that, I added a piece of paper on it; again with a lot of white glue. And I tied that to the end of my nose cone. Now that shouldn't tear off..... spoiler alert: it didn't
Launch Lugs
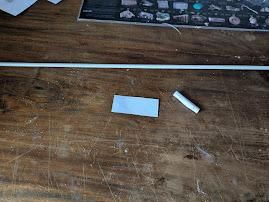
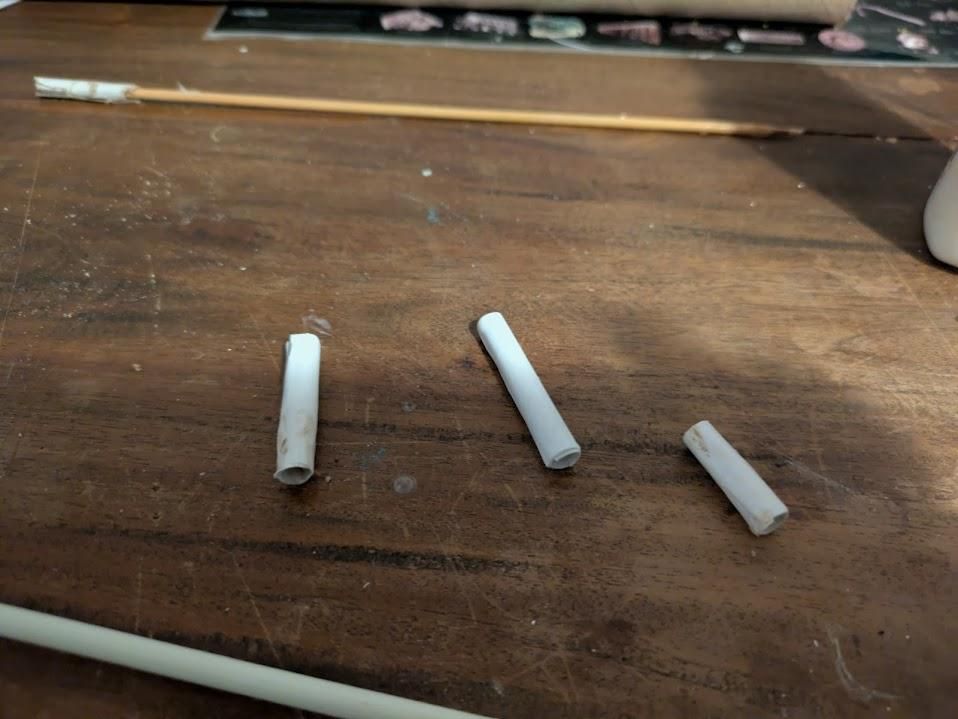
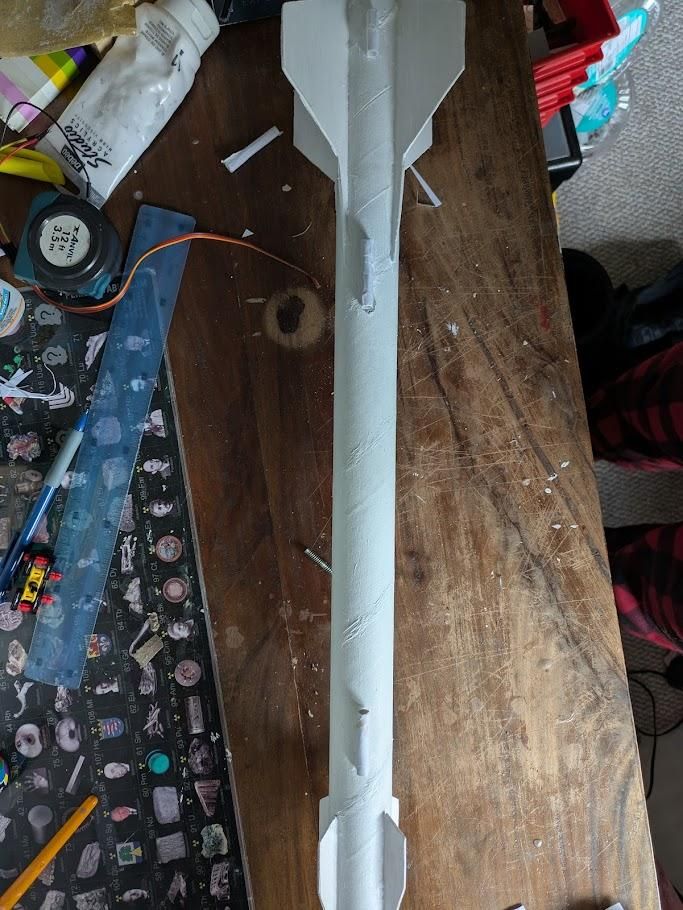
In order for my rocket to fly straight and in a stable flight, I made these launch lugs out of paper. I just took the launch rod I'm going to use and wrapped it around, obviously making sure there was some space in between the lug and the rod. I then put some glue on the inside and outside to make sure it had a very decent shell that wasn't going to warp once painted or bend. And once they dried, I super-glued them on the rocket.
I had to remake these launch lugs so many times cause they were either too tight or just fell off.
Painting
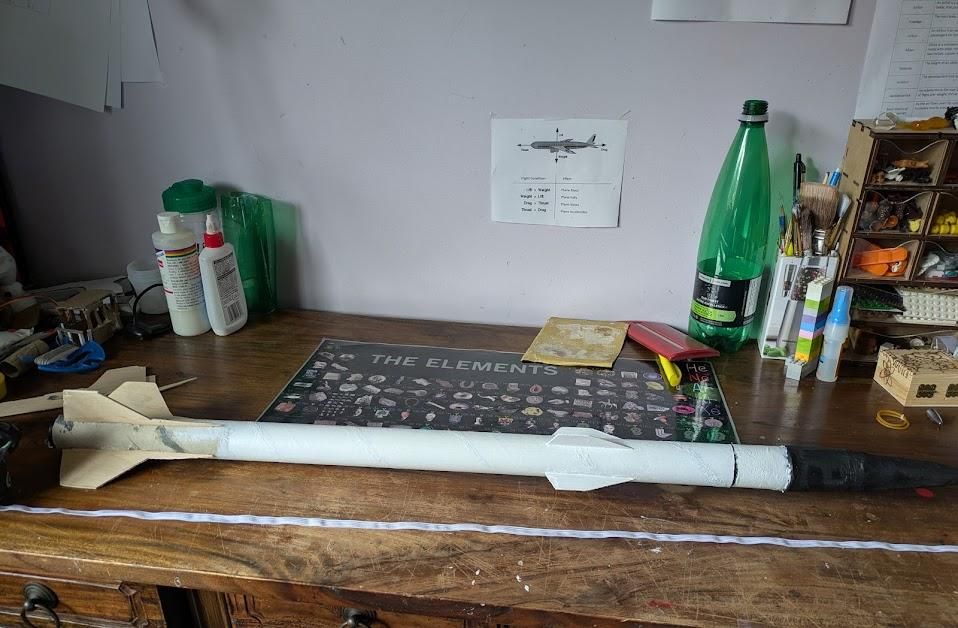
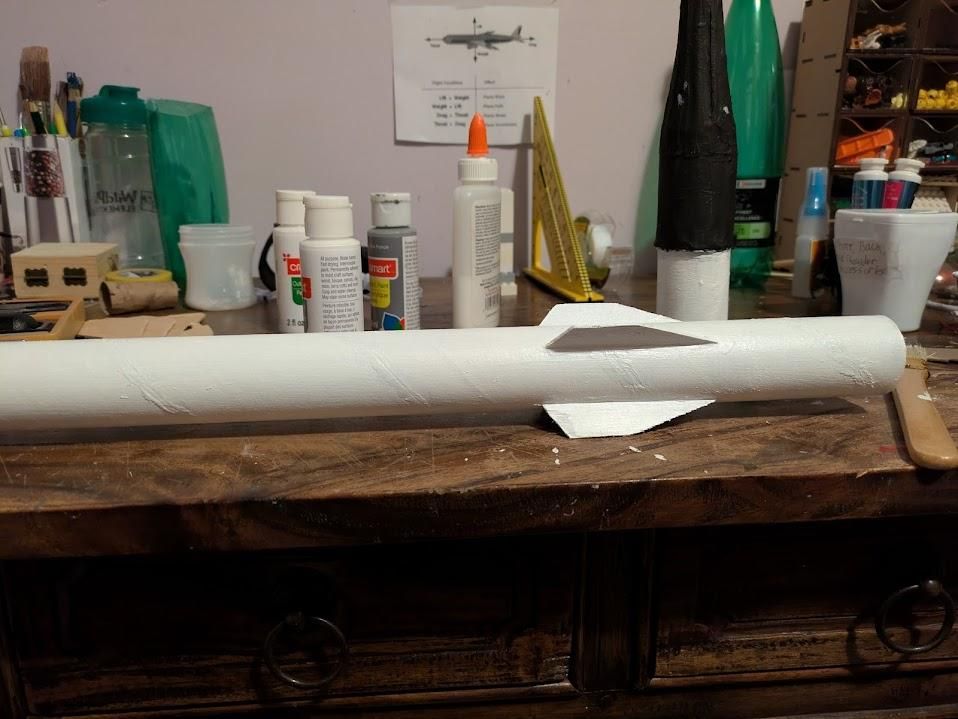
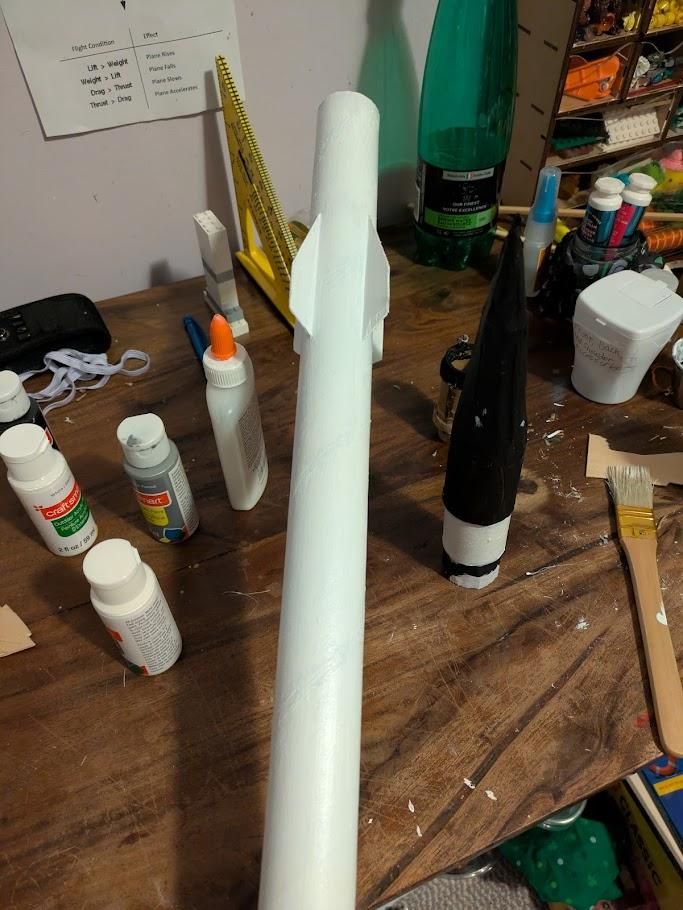
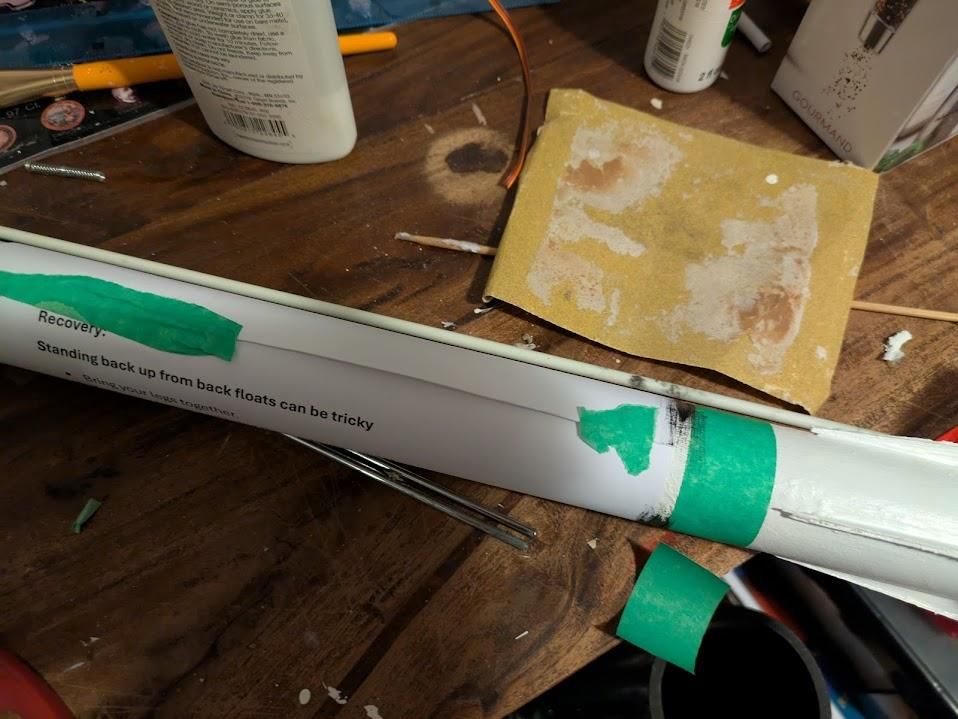
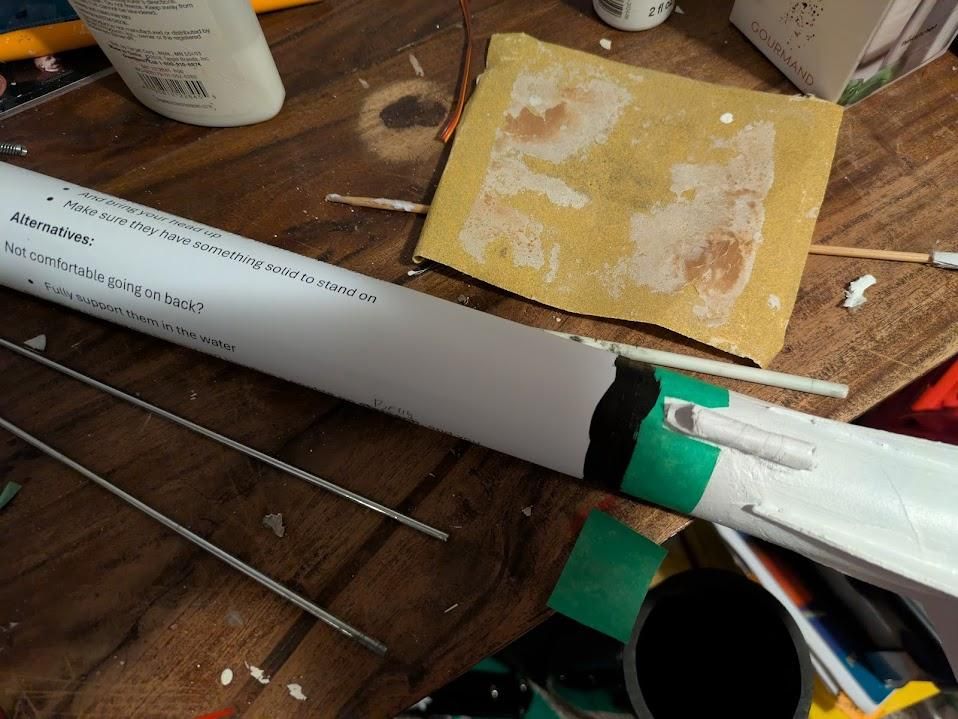
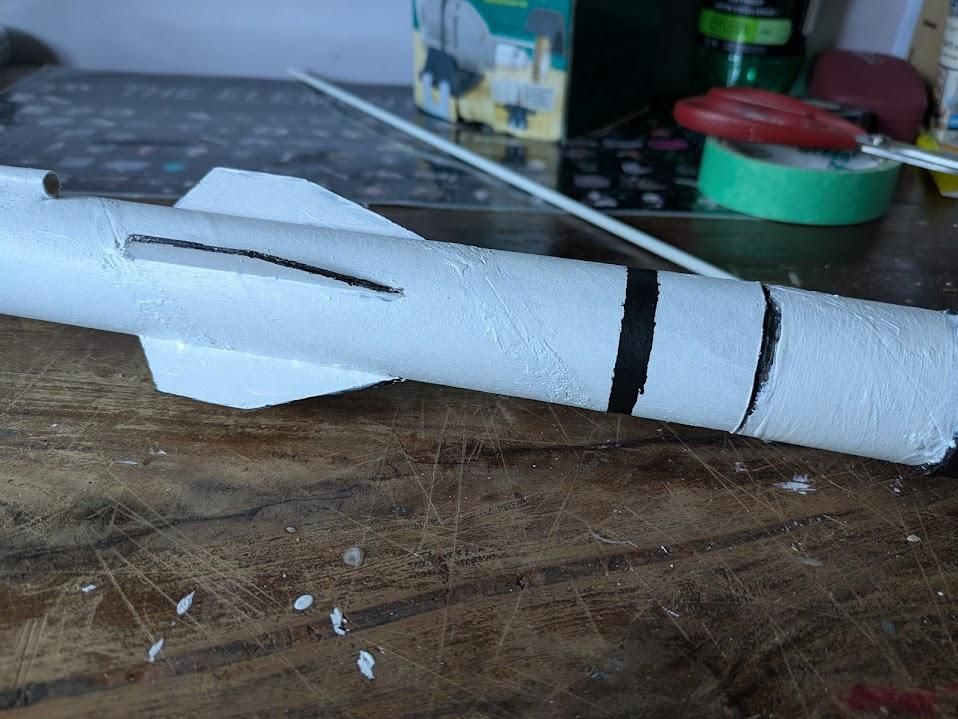
I decided to give this rocket a fairly modern colour scheme of black and white. Not the most existing, but it looks pretty cool. Either way, I used some cheap water-based acrylic paints I was able to get at my local arts and craft store for $1.49 a 2-ounce bottle, for a white and black. I already had these lying around from another project, so that was nice.
Decals

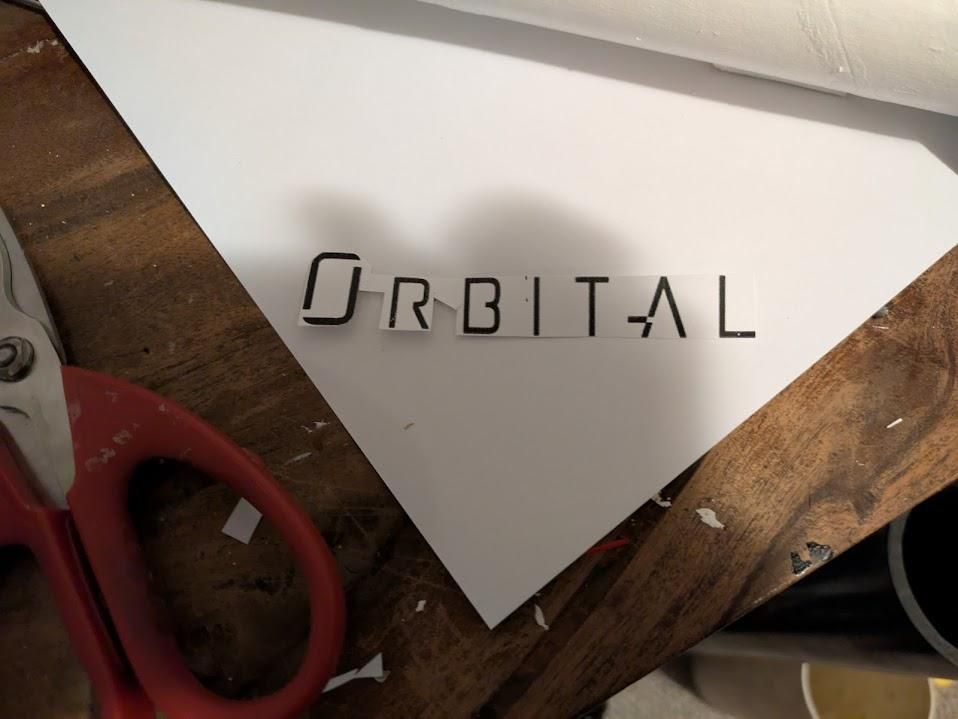
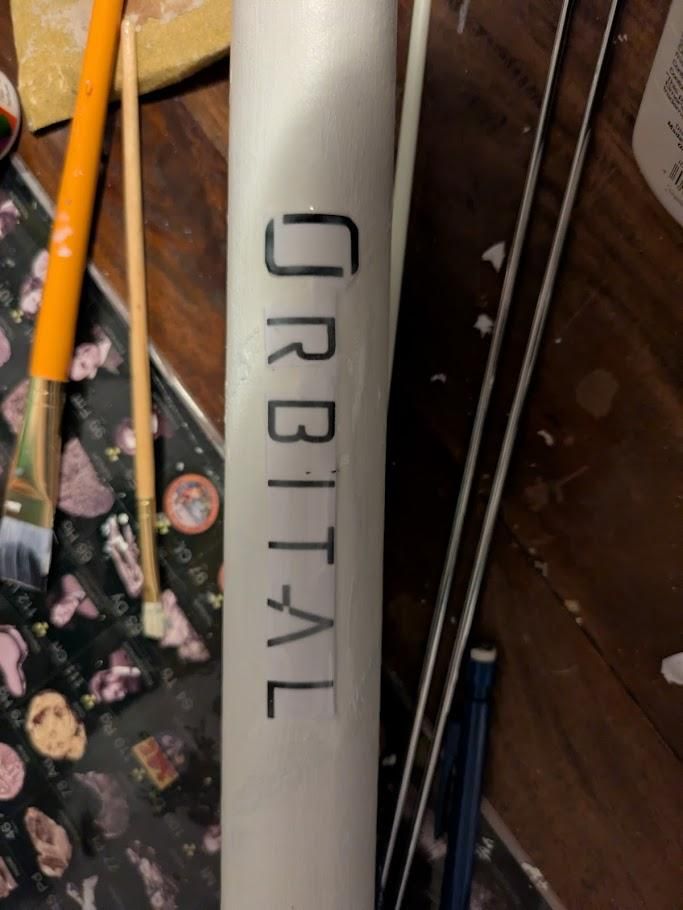
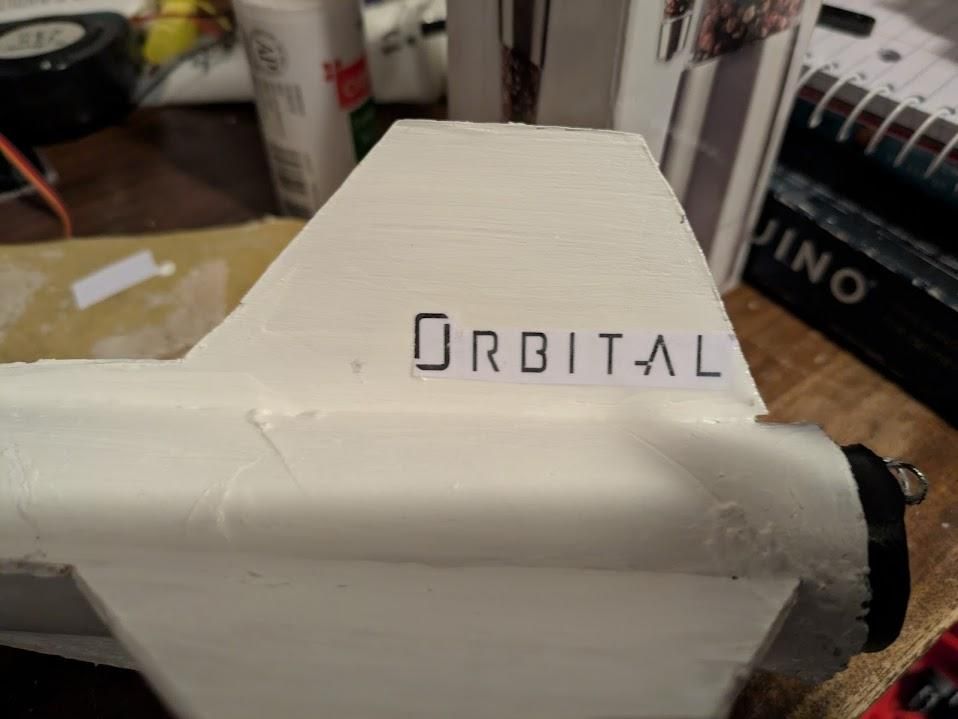
I made some decals for my model rocket for the fuselage and 1 for a fin. As you can see, I cut them out and then glued them on with a lot of white glue to make sure they don't peel off.
Adding a Protective Layer
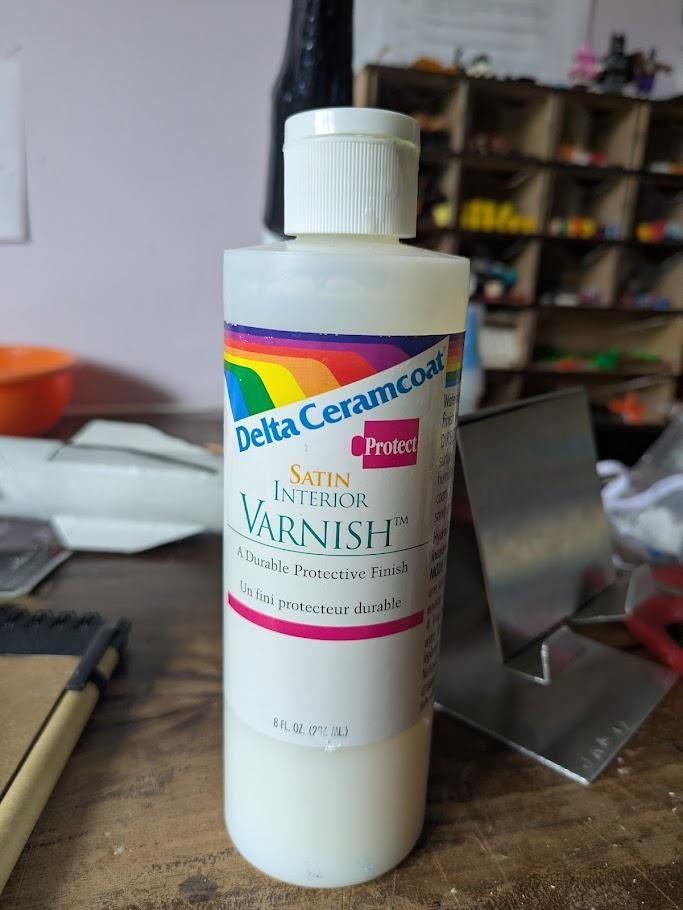
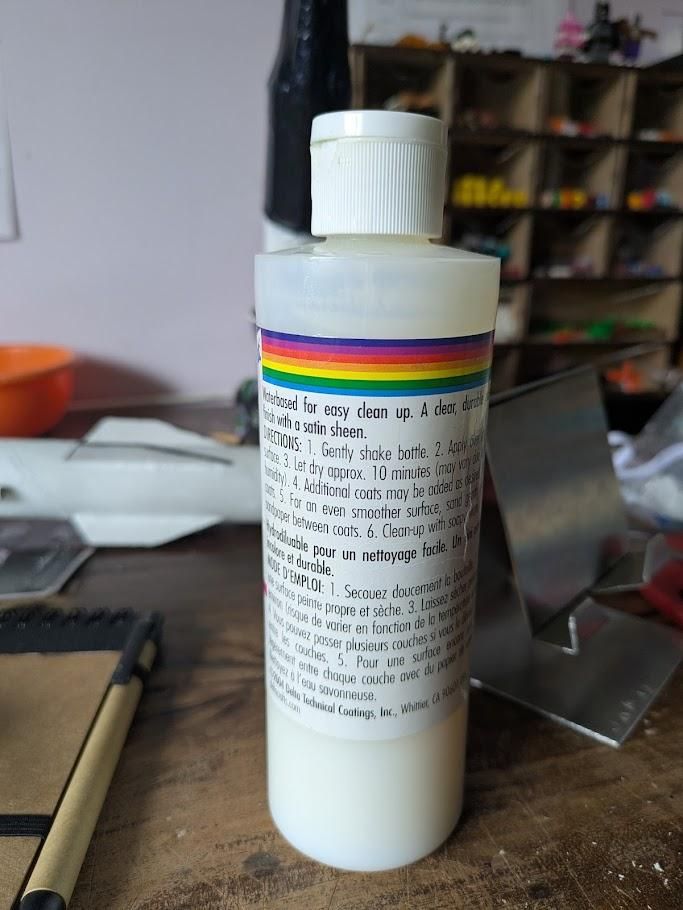
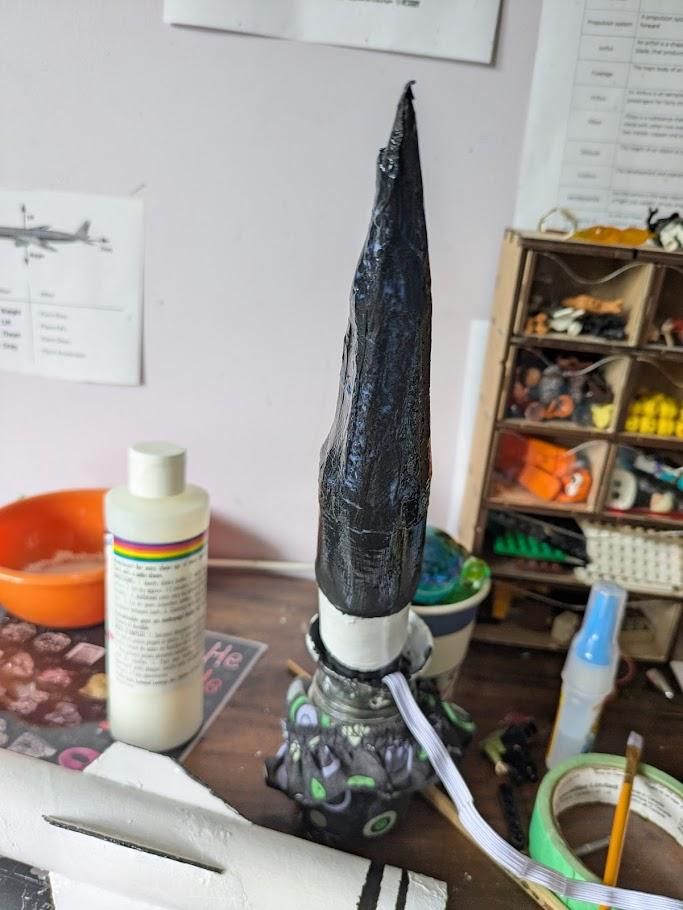
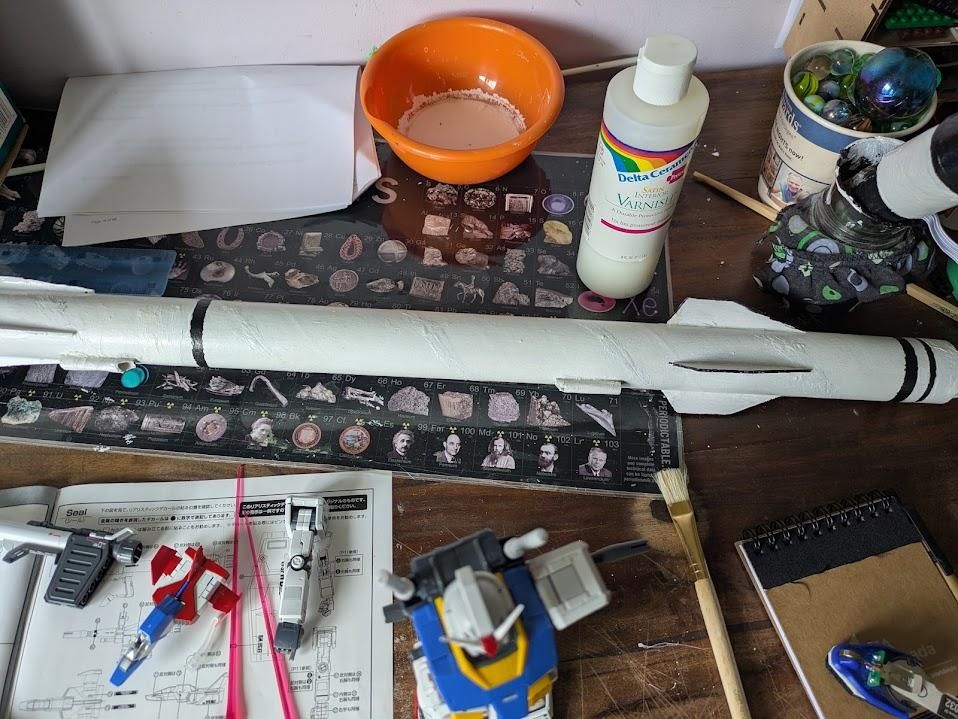
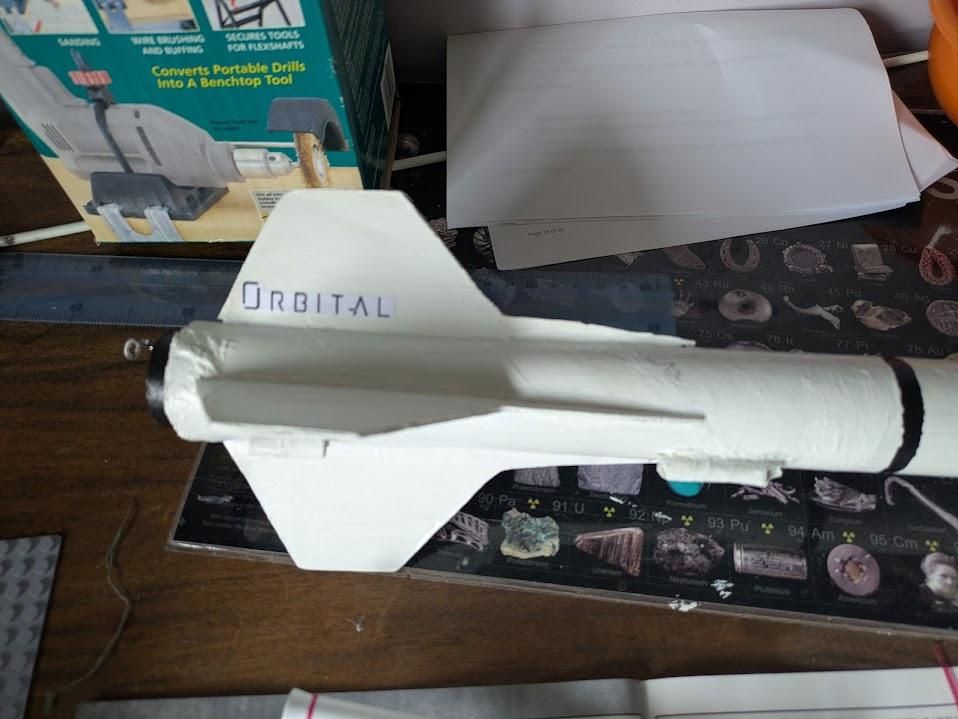
I had this bottle of some sort of protective finish that gives it a nice shiny look after applying and should protect it from stuff, light scratches, and, I hope, water. I used this for my Raptor I project, which, if you want, you can read. Besides, I thought I would add it too.
Parachute
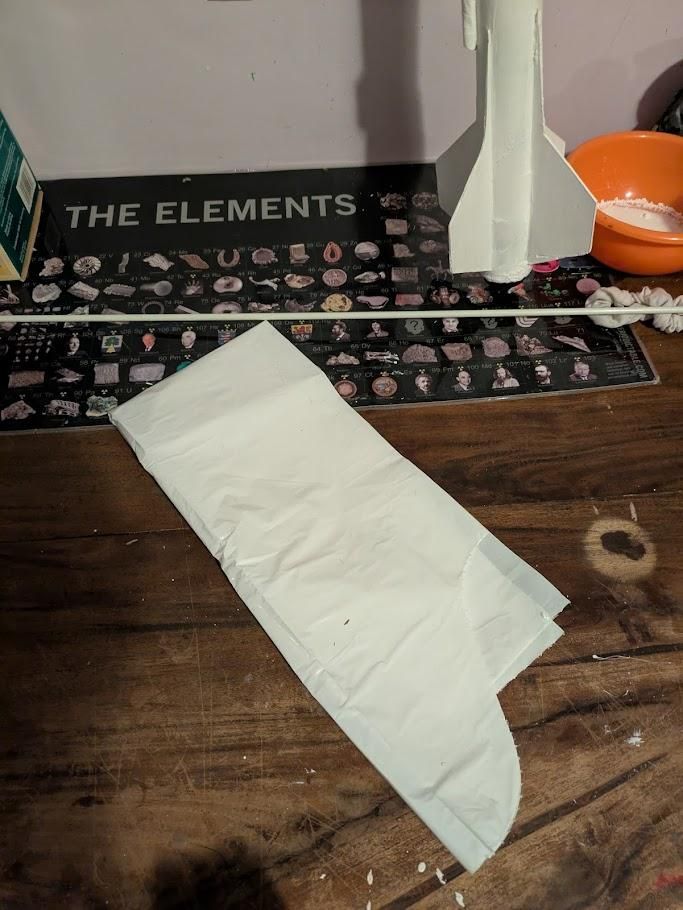
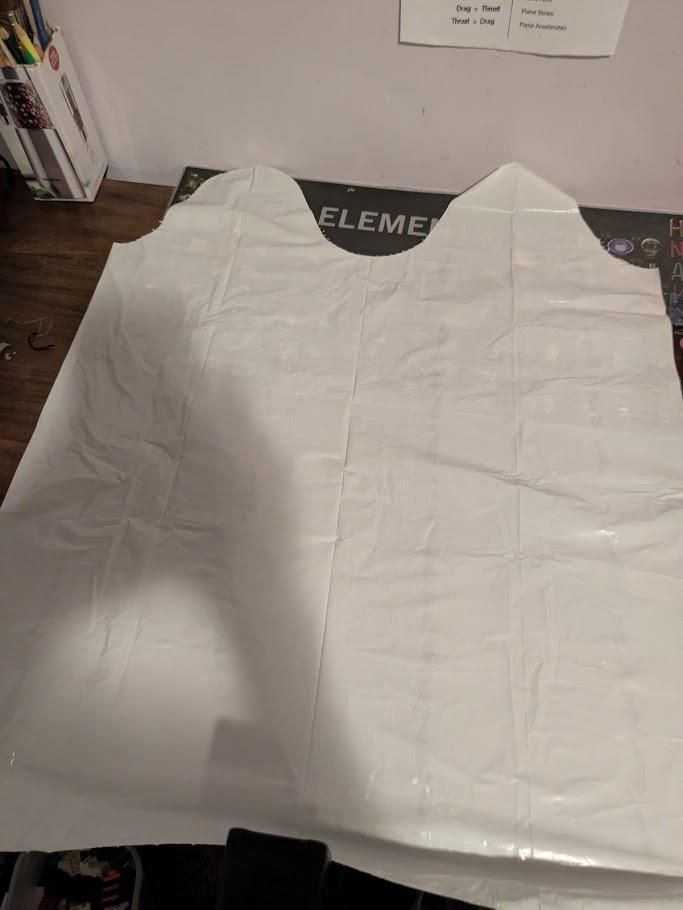
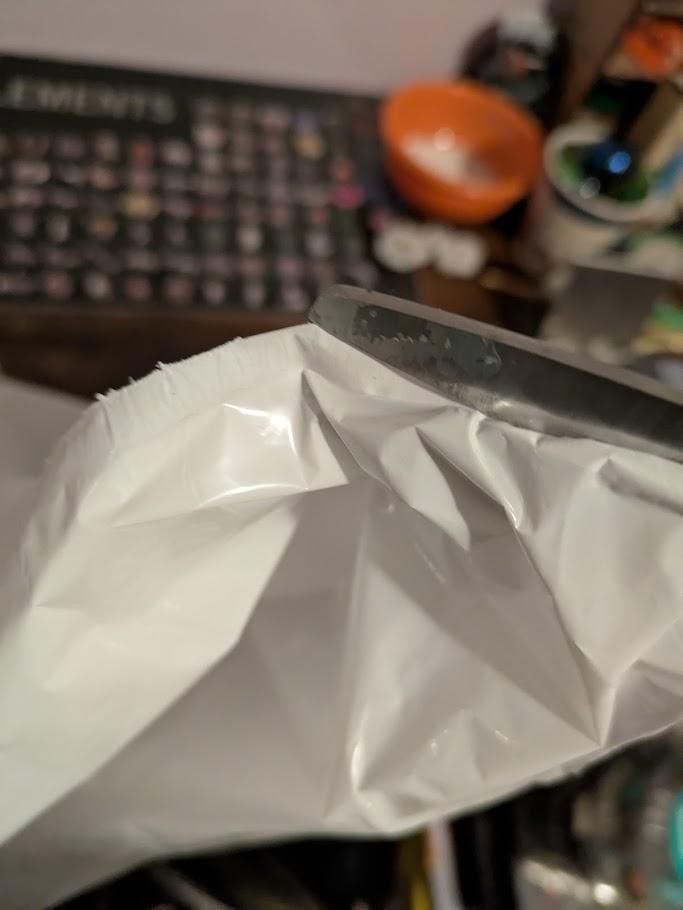
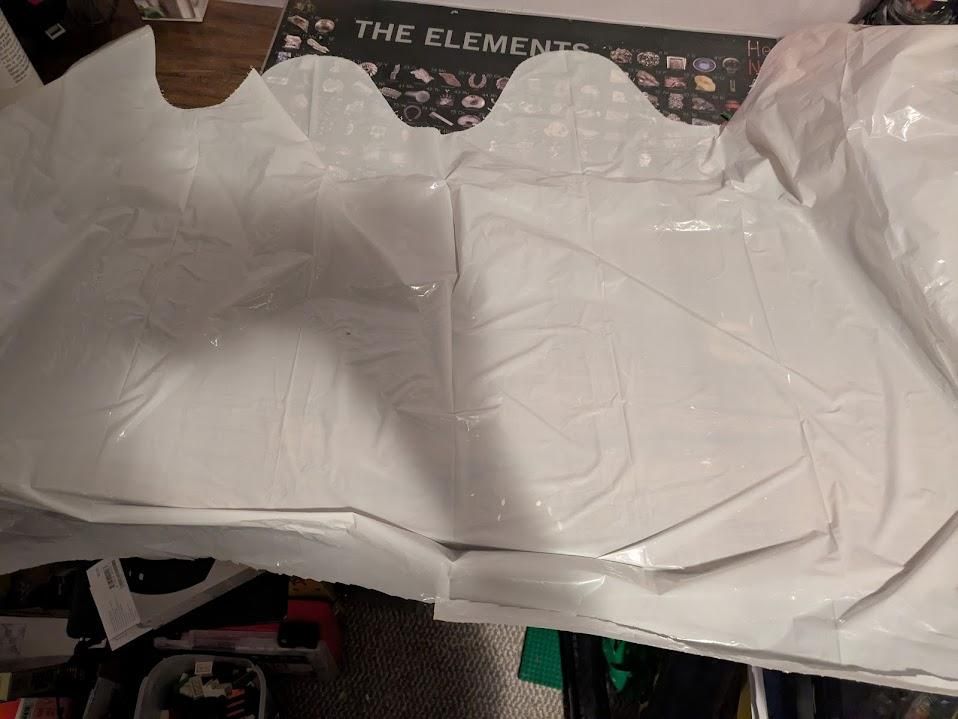
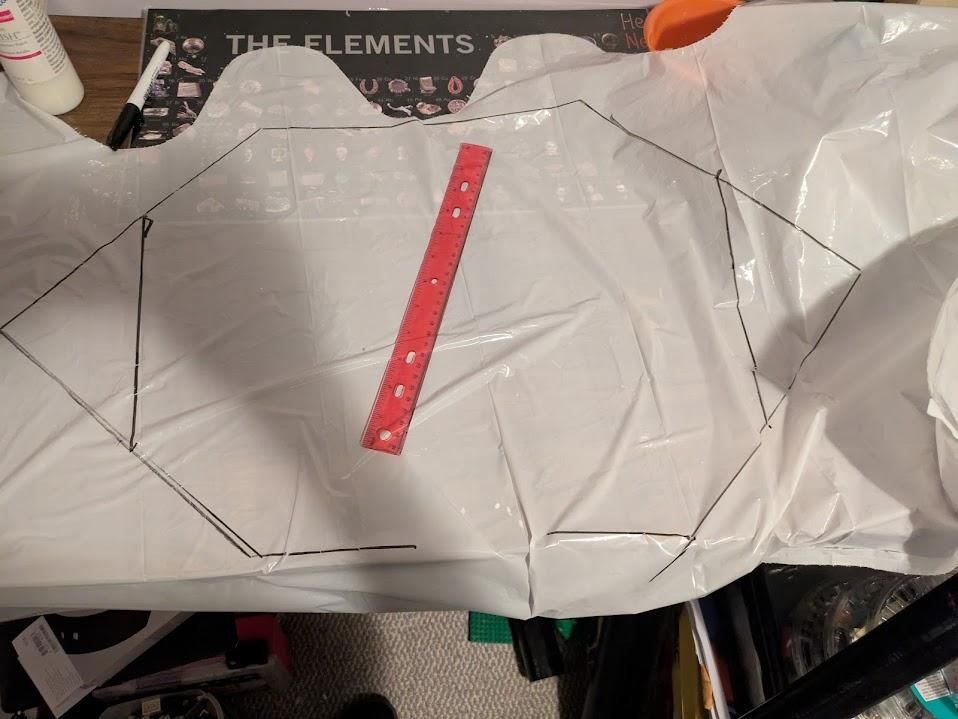
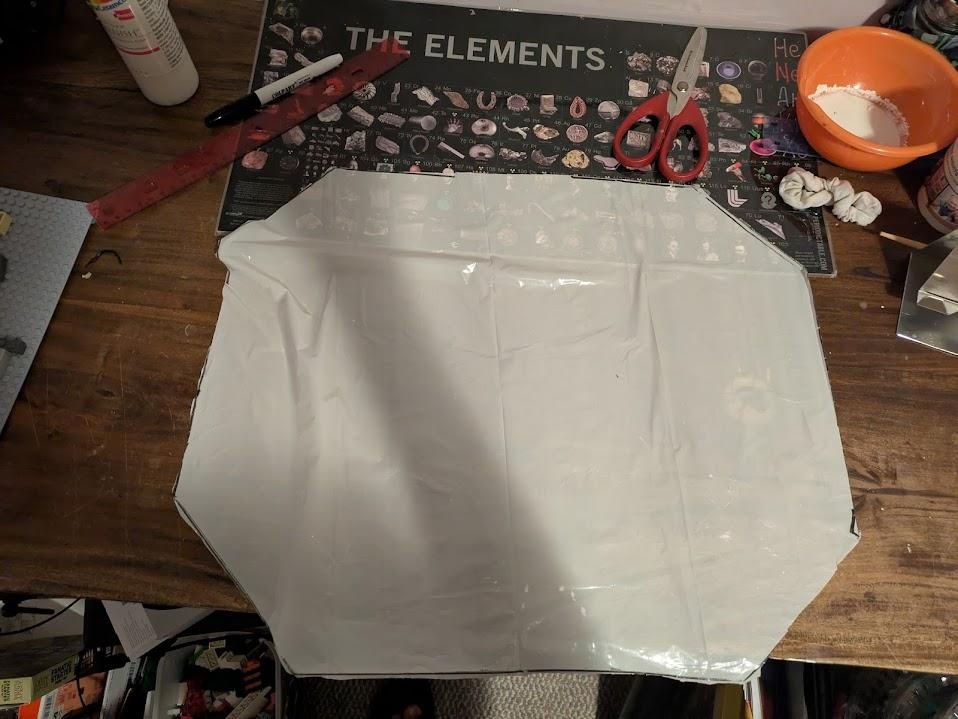
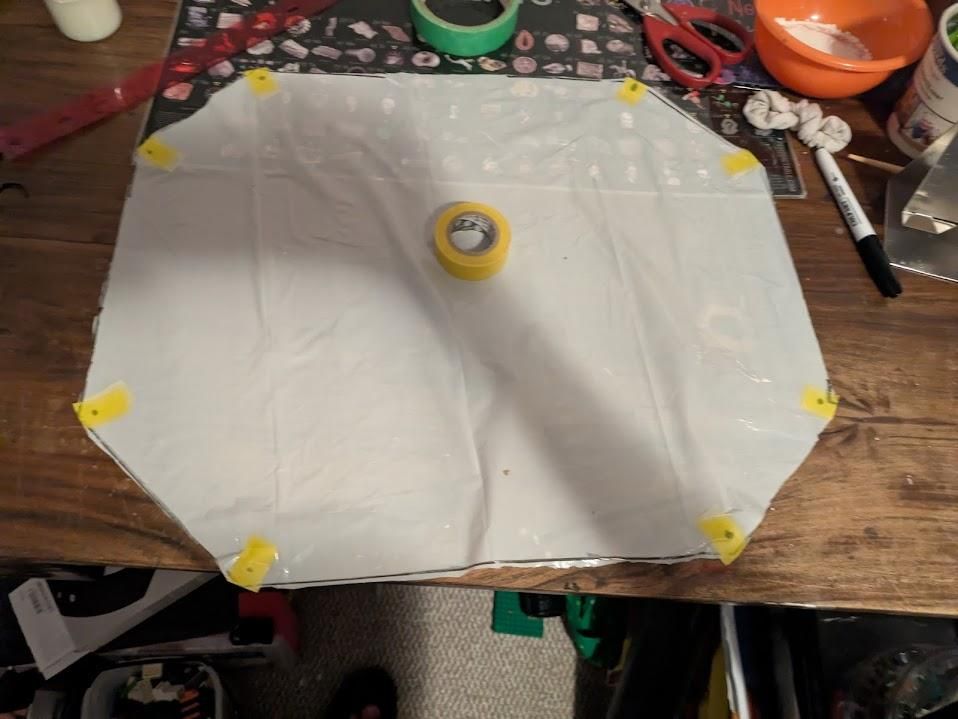
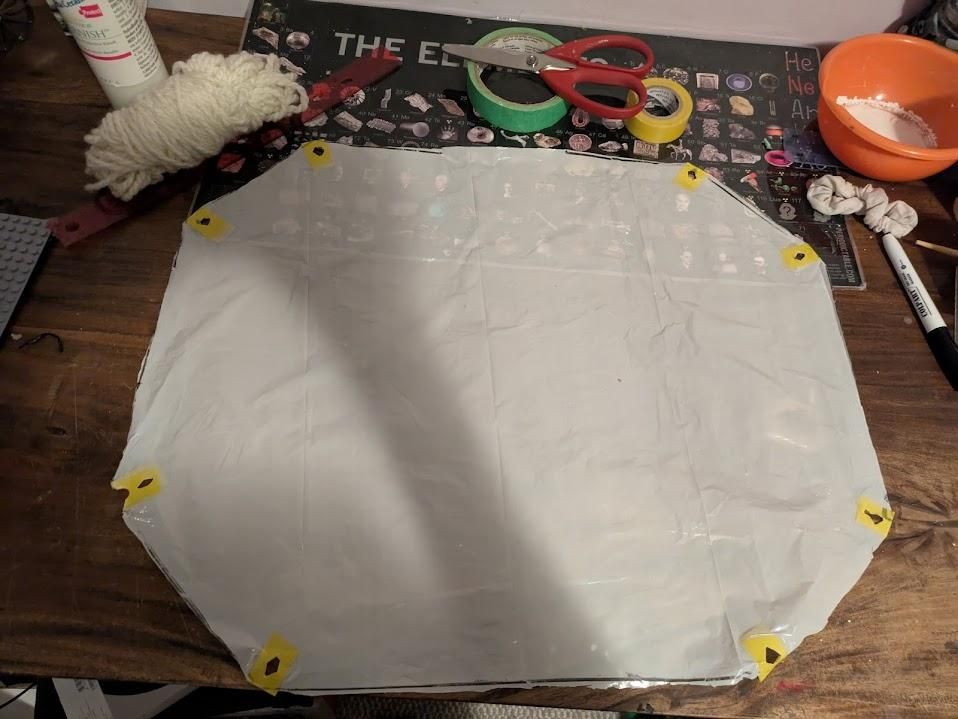
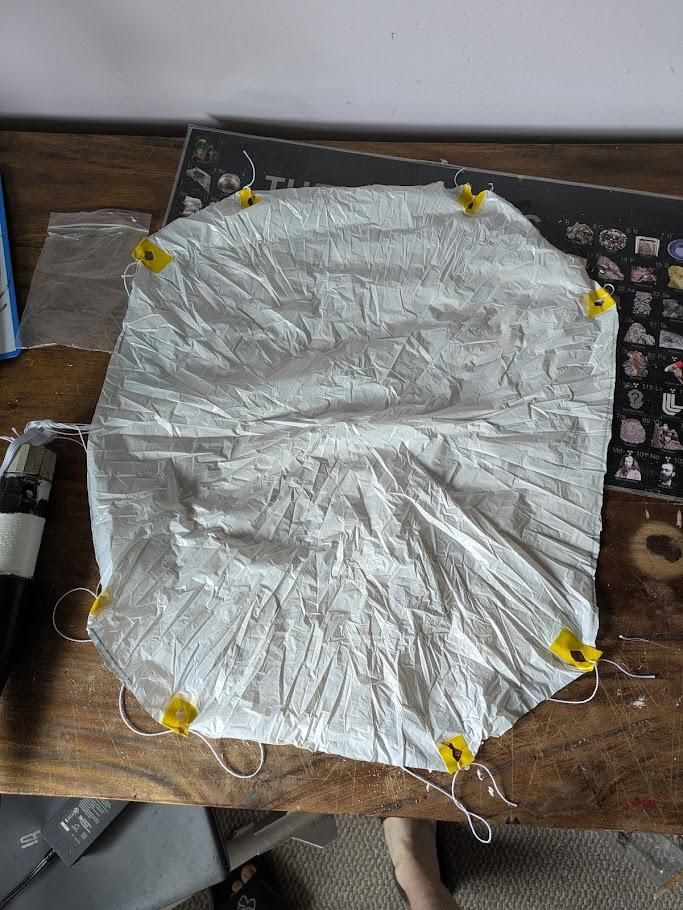
So, in order for my rocket to be recoverable, I need a parachute. Because I don't want it to come crashing into the ground like a ballistic missile. The rocket motor I'm using comes with a built-in ejection charge. And to release this parachute, it needs to make an internal explosion, or just a burst of pressure generated from very fast-burning pyrotechnic material! Yeah, it's pretty cool.
Anyways, that is how our parachute will be ejected out of the body tube. But we need something that will make the parachute not burn any holes! So, I will need some recovery wadding. Now, I'm not going to spend $10 on that stuff, so I made my own! And you can too!! It's very easy. You can check out my instructable on how to make it here!
Center of Gravity Test
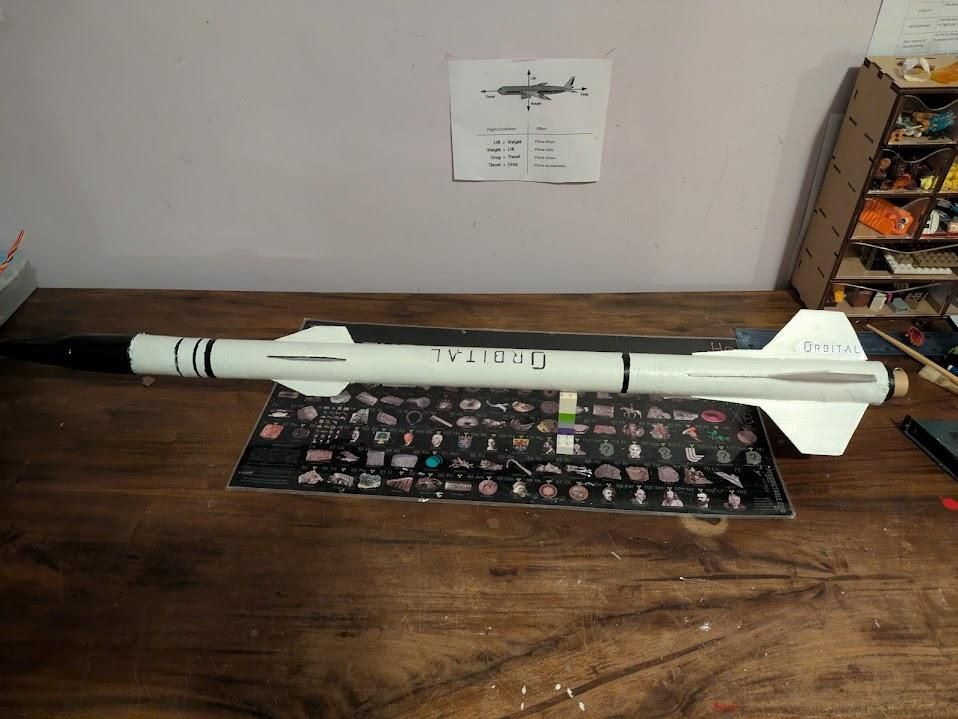
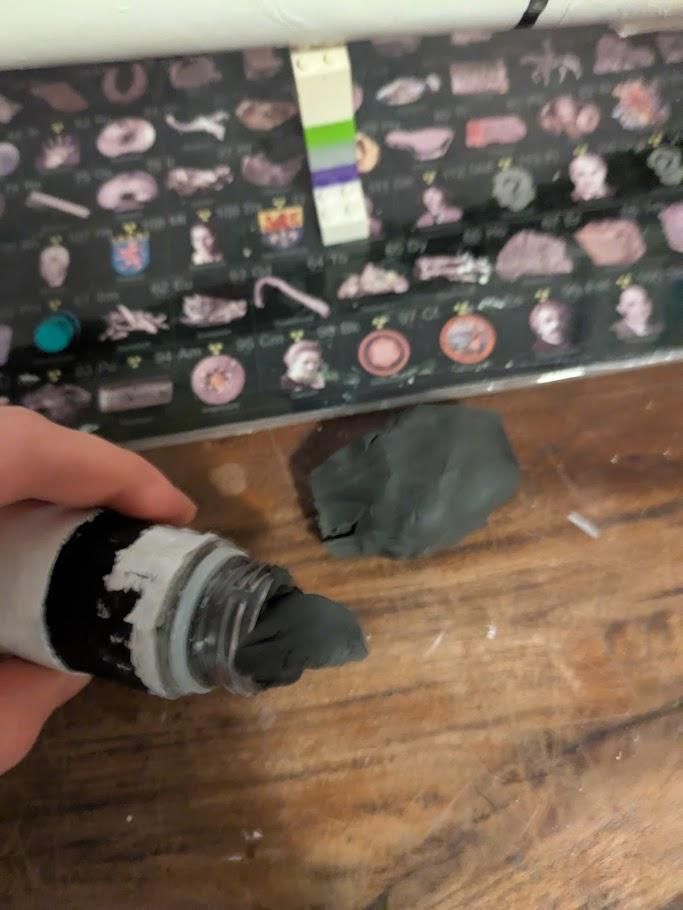
Center of gravity is very important for a rocket because if it's near the engine, it's going to flap around in circles and go everywhere, and we don't want that. But just to sum up what center of gravity is, it's the point where the rocket balances between the force of gravity.
When I tested the center of gravity, it was near the tail end. So I added some sticky tac and some clear rocks to move it closer to the nose cone.
Ignition!
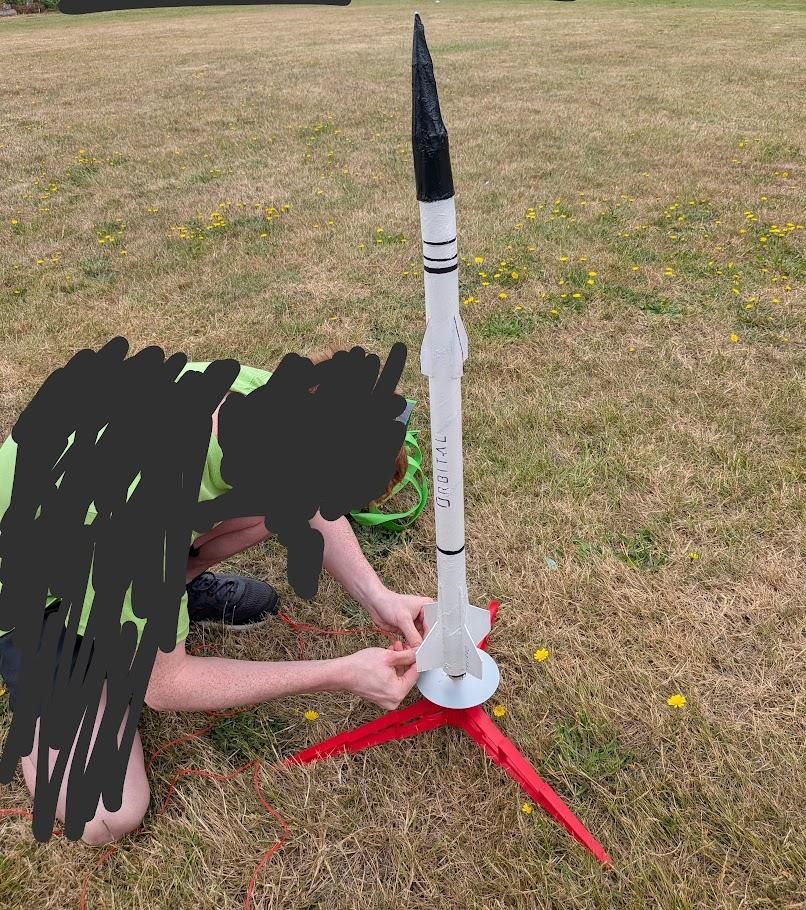
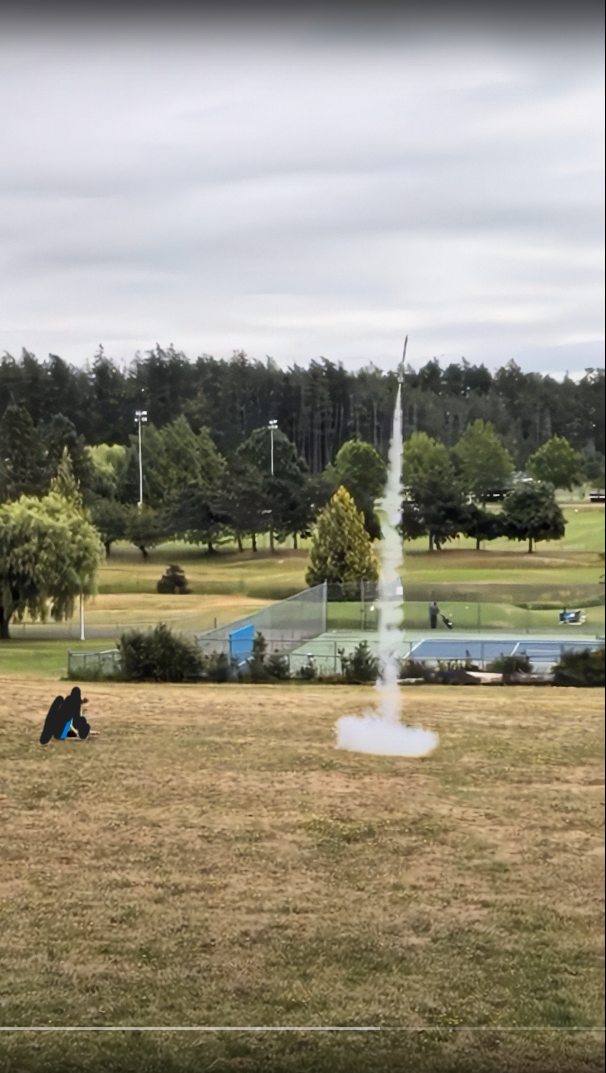
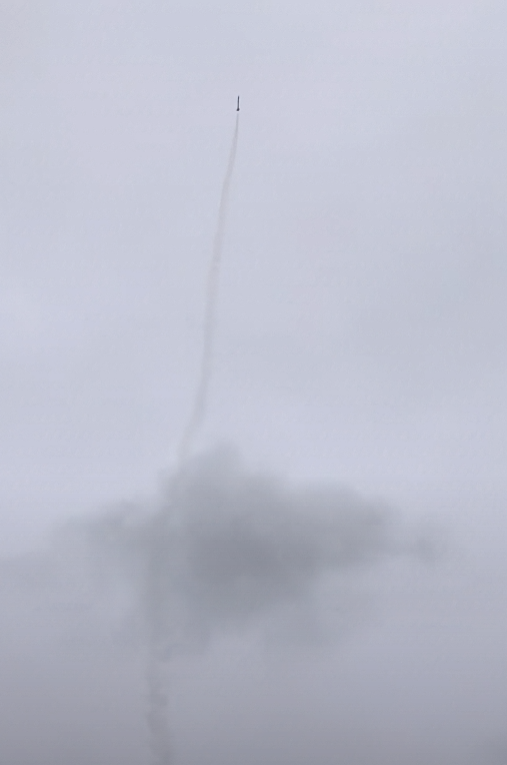
After preparing everything and having all my cameras rolling. I was set. When I was setting up the rocket for launch, I was having a huge adrenaline rush! Soon enough, I was ready.
T-minus
5,
4,
3,
2,
1!
Blast Off!!
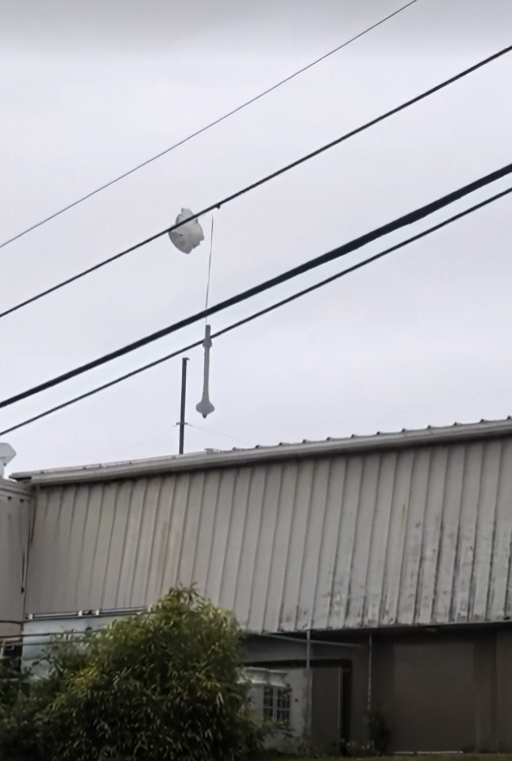
It was a blast! I was so surprised to see how well it flew and that the parachute actually worked! After reaching its apogee and the ejection charge releasing, it slowly descended to the ground. Well, on the power line. It was a bit of a struggle to try to get it down, but by the grace of god, some wind picked up and blew it back to the ground!
After that hard work and months of building and designing this masterpiece, it was so worth it! Minus the part where it smelled like rotten eggs. :)
Thanks so much for taking the time to read this! I hope you all learned something new and take on building a rocket like this.