Making a Papercraft Isopod Using Fusion 360
524 Views, 2 Favorites, 0 Comments
Making a Papercraft Isopod Using Fusion 360

These instructions aim to teach you the fastest and easiest way to go from fusion 360 to paper craft. To show this methodology I made a basic isopod using fusion 360 and then exported the model into papermaker, which I have found to be the easiest way to convert from fusion 360 to a papercraft template.
if you only want to make the model skip to step 6
Supplies
If you want to make my design, you will need
- 3 sheets of paper
- A printer
- Some cardboard
- A glue stick
- Scissors
- Textas to colour in your design
If you want to make you own design you will also need to use fusion 360 and papermaker which can be found at this link https://papercraft-maker.com/
Draw the Side Profile

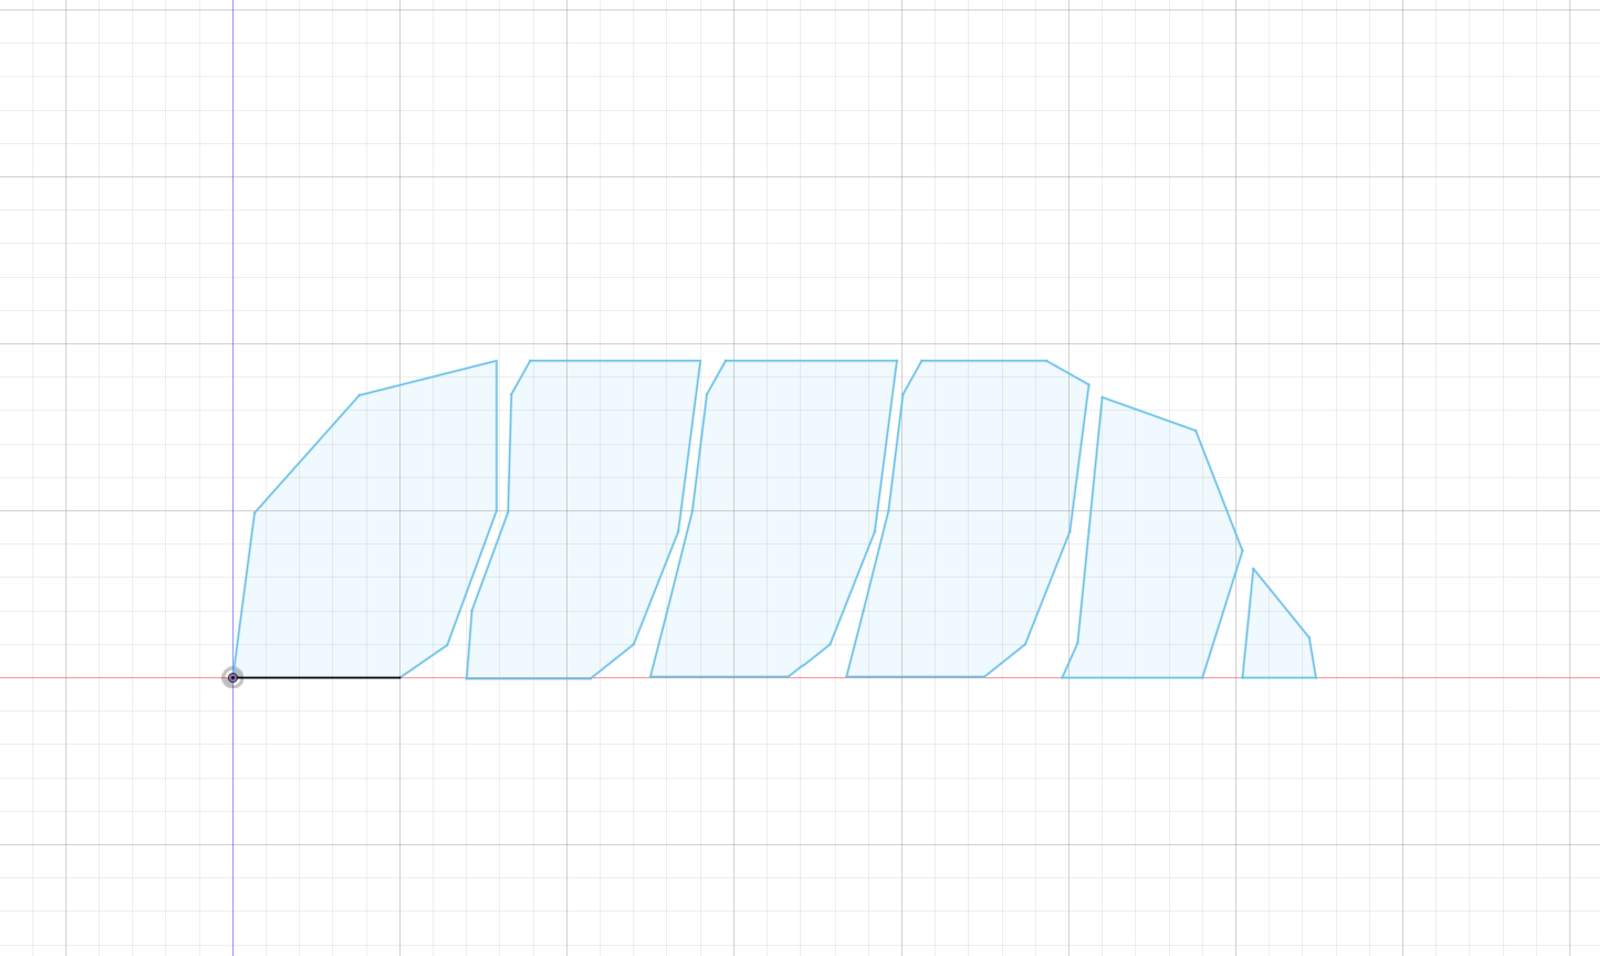
To make our model isopod we will draw three constructions views, I started with the side profile but any of the three views will do fine.
To draw the side profile open fusion 360 and click the create new sketch button (in the right hand corner) , then use the line tool to draw your shapes.
Draw the Front and Top Profile

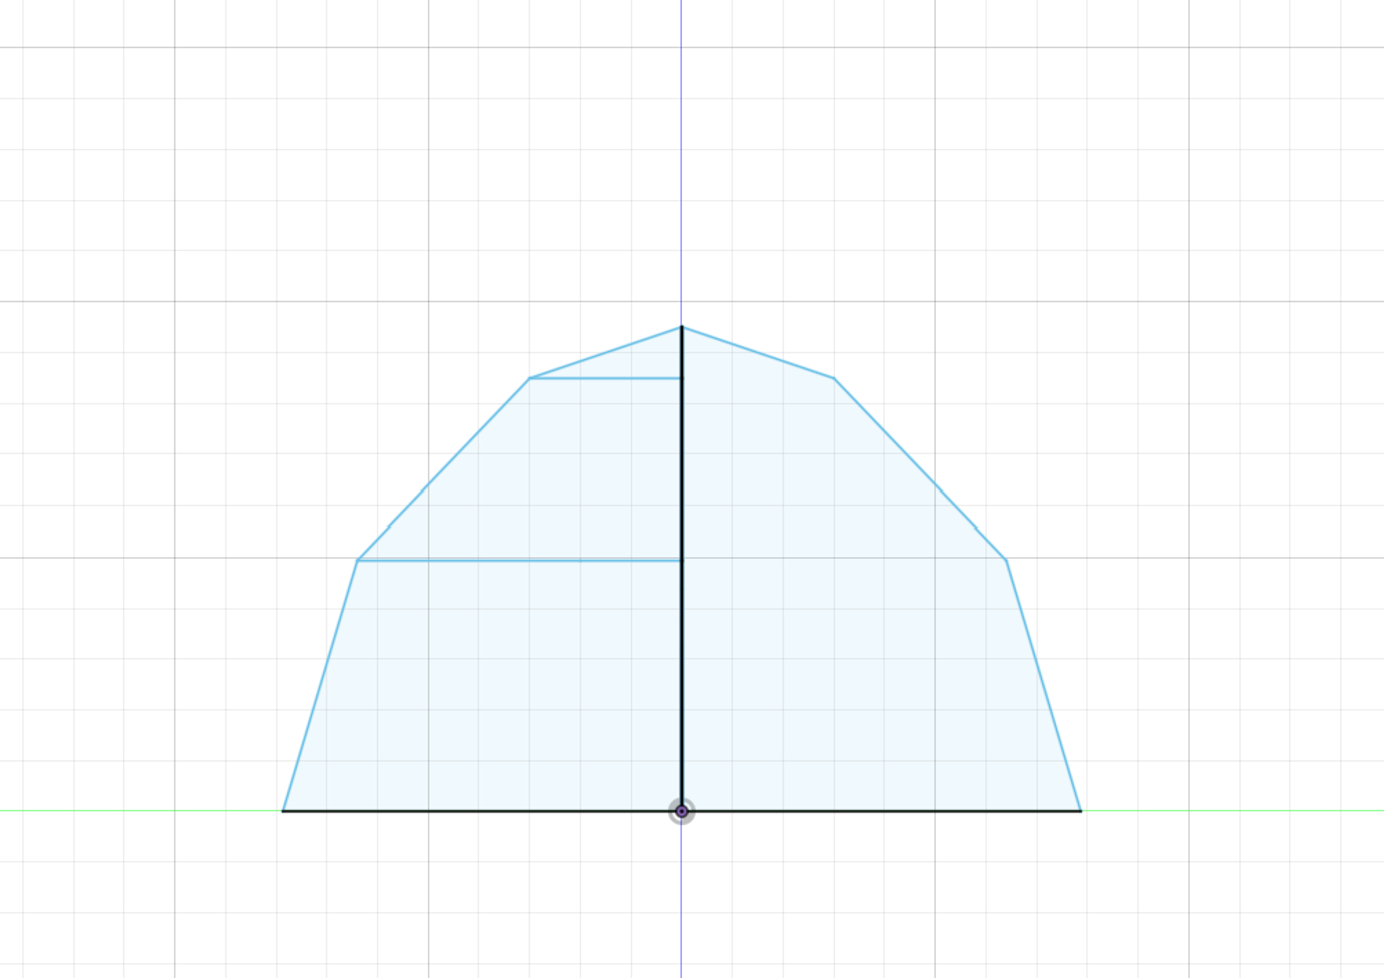
Now we draw our two remaining profiles, We want each sketch to look like what we expect our finished model to look like from each angle. its important that they line up correctly with our other profiles, to help with this I centred my sketches along the x,y,z axis.
Extrude the Three Views

now that we have our three profiles we can extrude the form, to do this click the extrude button on the top right next to the button we used to create our sketches.
Its important at this stage to extrude past the size of the other sketches otherwise our model might not come out how we imagined. When extruding the profiles make sure that you have “intersection” selected in the operations menu of extrusion tab.
Export Your Model

now we are done with our model the next step is to export it as an obj or stl so we can import it into paper maker ( https://papercraft-maker.com/)
Unfold Your Model

Click the unfold button in papermaker, this will create an unfolded version on the right hand side of the screen. On this side you can move and adjust the unfolded pieces to fit them best onto the pages
Print Your Unfolded Template


Print out your unfolded template, if you haven’t made your own print the three pages shown in this step.
Cut Out the Pieces and Glue Them to Your Cardboard


This step is somewhat optional, but adding the glue and cardboard backing add a lot of strength to the finished product and make gluing the final assembly much simpler.
Once you have the cardboard backing cut out each piece.
Fold Your and Glue Parts


To help you with your folding you can use a box cutter to make small scratches along the folding line. Fold along the lines marked on the template and then glue the parts together.
Add Some Colour

At this point I thought it looked a bit boring so I gave it a bit of colour to make it more interesting, this seems pretty optional.
Use Small Bits of Paper As Hinge

Use some scrap paper from our original sheets to form a hinge between each segment this will let our isopod roll into a ball.