Making a Spider-Man Web-Shooter With Arduino
by Barqunics in Circuits > Arduino
1192 Views, 4 Favorites, 0 Comments
Making a Spider-Man Web-Shooter With Arduino
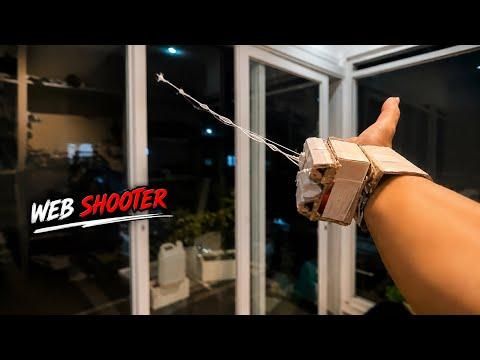
Ever wanted your own Spider-Man web-shooter? In this project, we'll build a wearable, motion-triggered web-shooter using an Arduino Nano and an accelerometer. Just make a punching motion with your wrist, and the shooter automatically fires a magnetic "web dart" on a string
Supplies
- Arduino Nano: https://amzn.to/2zMXJU8
- 9V battery: https://amzn.to/2wPmnSP
- 9V clip connector :https://amzn.to/32D4R0b
- Jumper wires: https://amzn.to/398mQhq
- Cardboard : https://amzn.to/39ufbKH
- Mini Breadboard : https://amzn.to/2JujS9e
- Switch: https://amzn.to/2upTngE
- Cardstock / thick paper (HVS or similar) :
- Silver spray paint (e.g. Pilox)
- Servo motor SG90: https://amzn.to/4q7g1oy
- ADXL345 accelerometer sensor: https://amzn.to/45N2EAn
- Super glue: https://amzn.to/4wSmCWs
- Thread / string
- Neodymium magnet (small disc magnets): https://amzn.to/4wJdUJZ
- Spring (wire diameter 0.7mm, length 4–5cm)
Wiring the Components
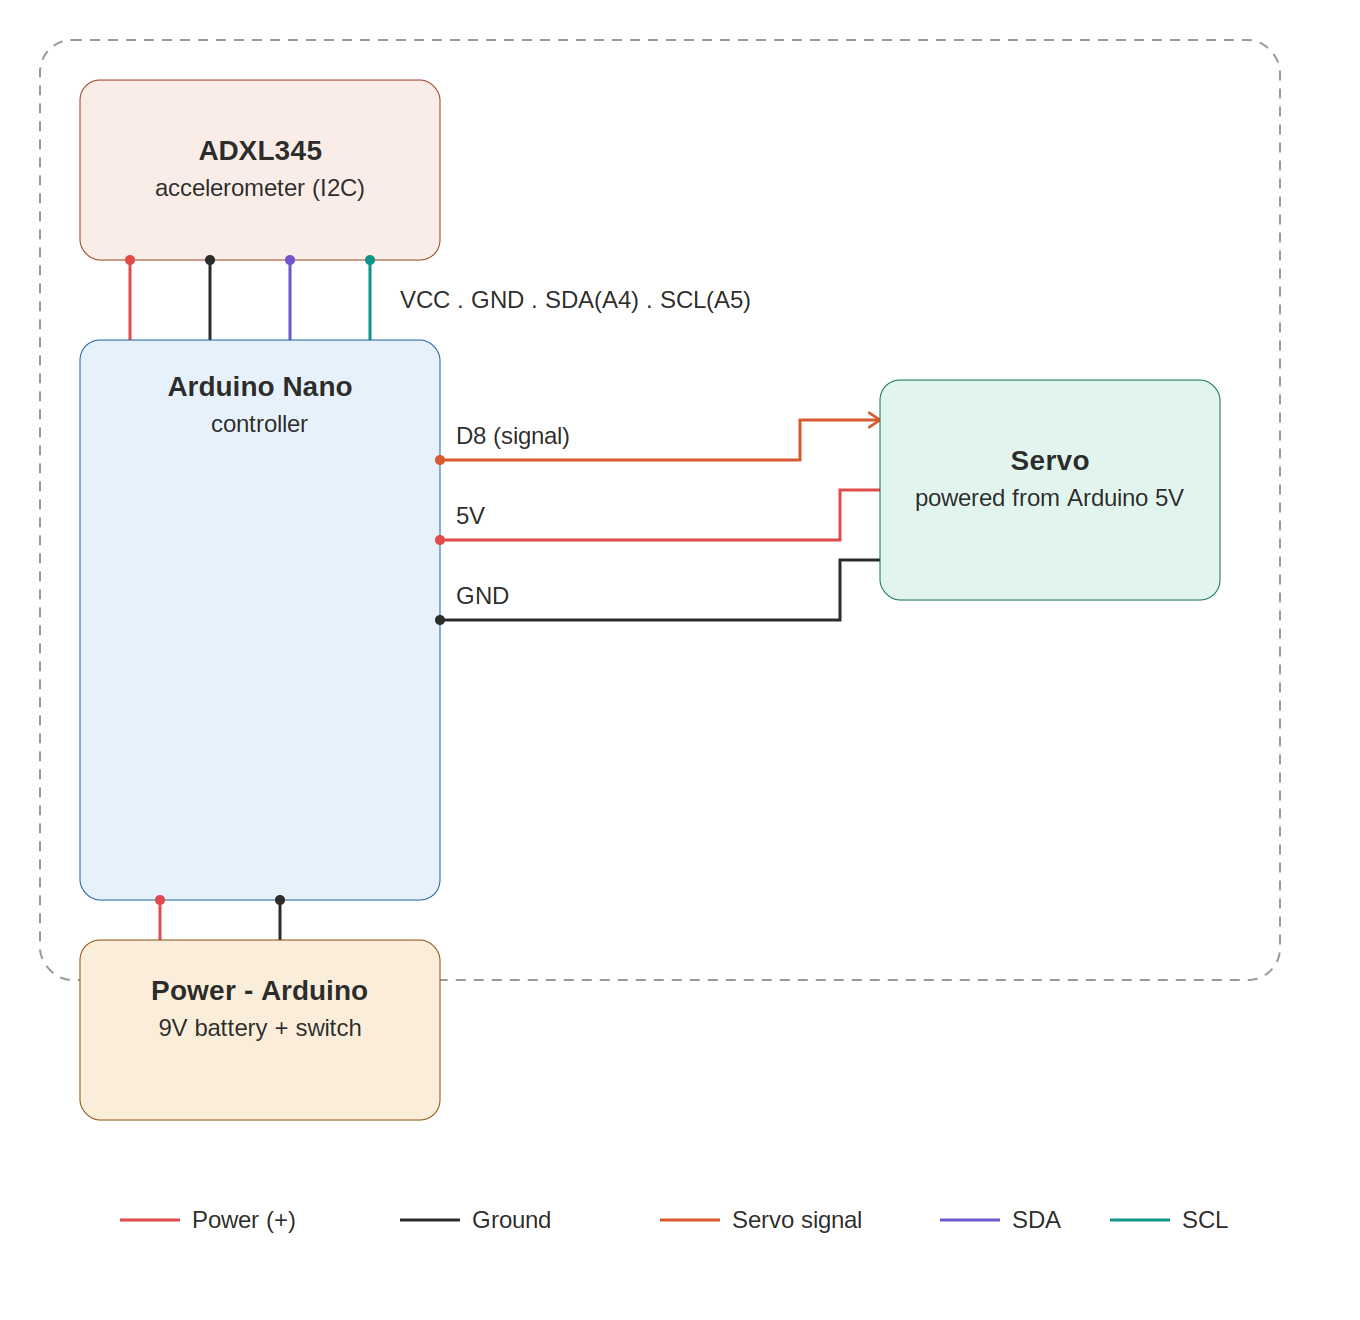
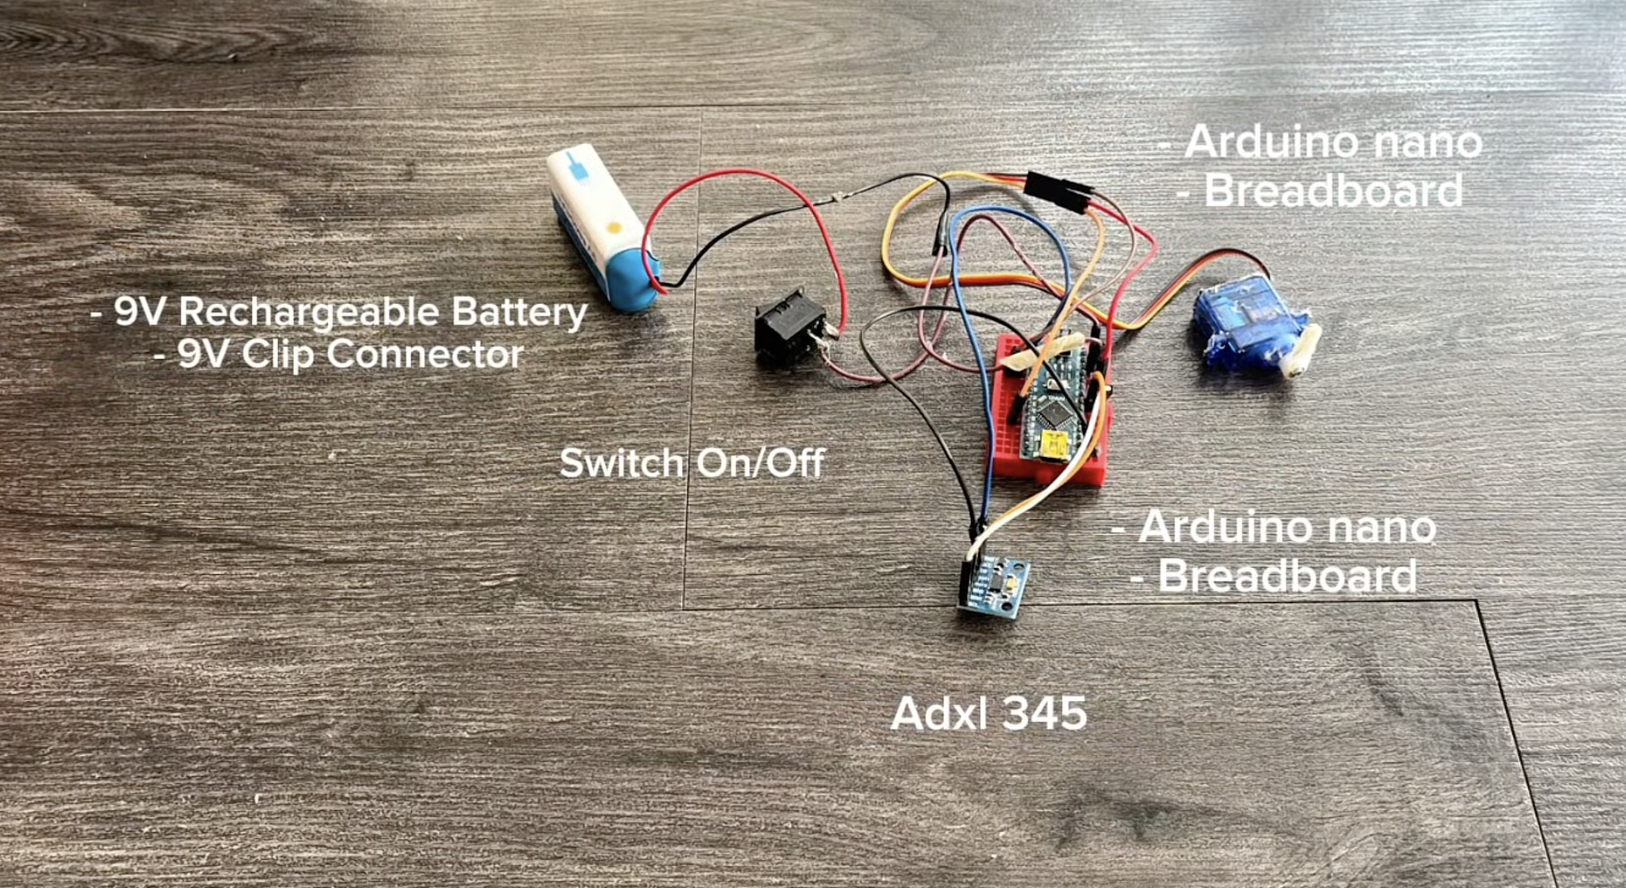
The wiring for this project follows the requirements of the code below:
- ADXL345 (accelerometer) → I2C connection: VCC to Arduino 5V, GND to Arduino GND, SDA to A4, SCL to A5. The ADXL345 continuously monitors wrist motion and detects the sharp "pull-then-release" acceleration spike of a punching gesture.
- Servo motor → signal wire to digital pin 8 on the Arduino Nano, VCC to Arduino 5V, GND to Arduino GND. The servo acts as the trigger/lock that releases the web dart.
- 9V battery + clip connector + switch → main power source for the Arduino Nano, connected through the switch so the whole device can be turned on/off from the wrist.
- All components are assembled on the mini breadboard together with the Arduino Nano to keep the wiring compact enough to fit inside the web-shooter's cardboard body.
Program the Arduino
- Open the Arduino IDE, and make sure the Arduino Nano board and the correct port are selected under the Tools menu.
- Install the Servo library if it isn't already installed (it's usually included by default in the Arduino IDE).
- Upload the code to the Arduino Nano.
- Open the Serial Monitor (baud rate 9600) to confirm the system is ready and watch for gesture detection messages.
Building the Web-Shooter Body and Web Dart
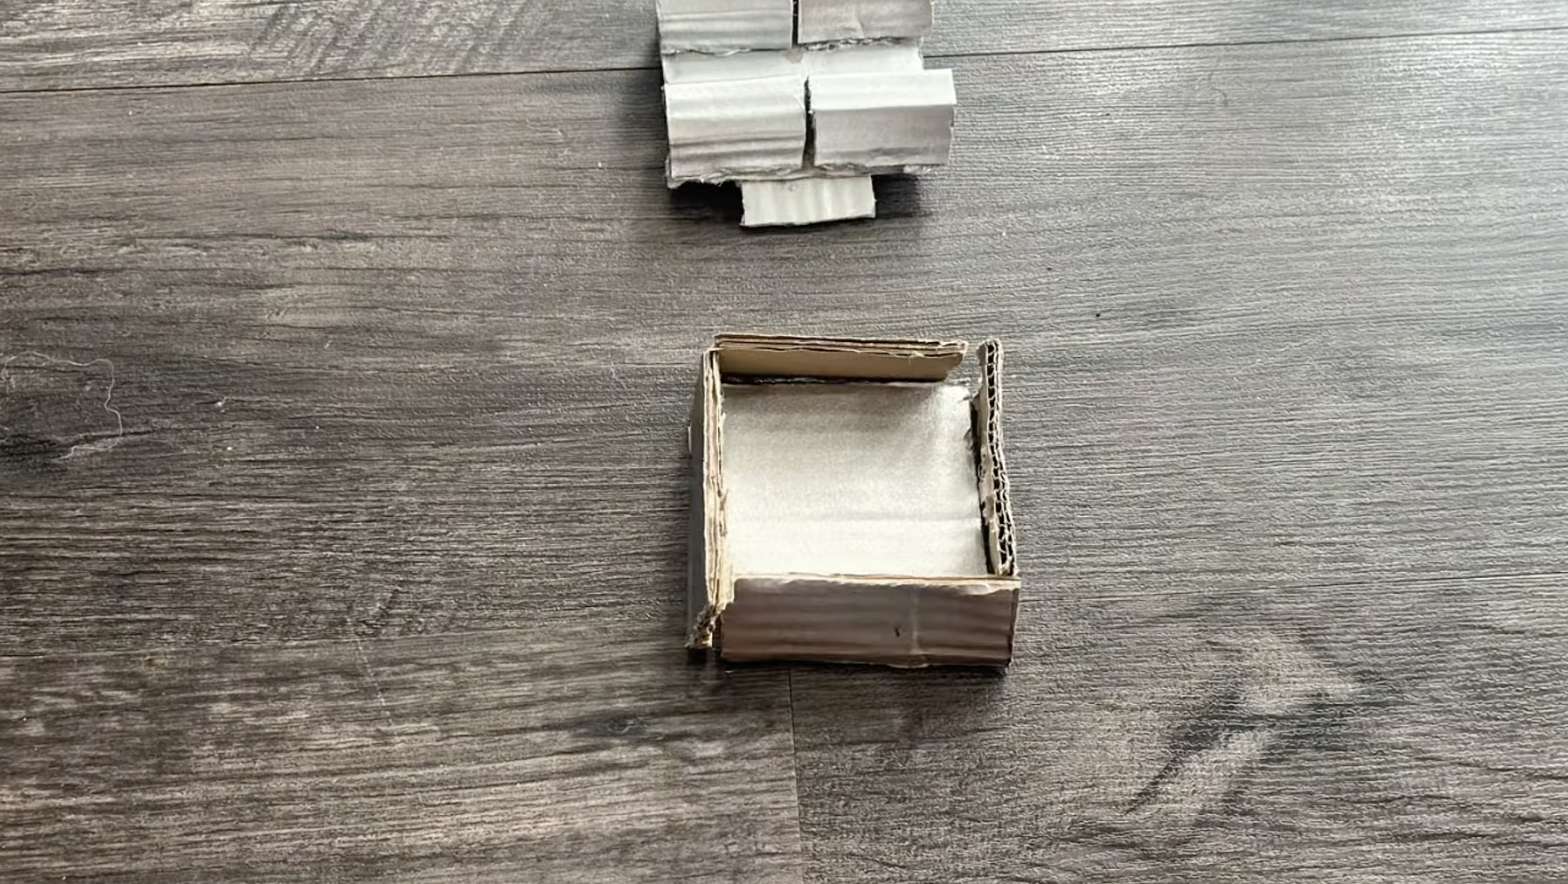
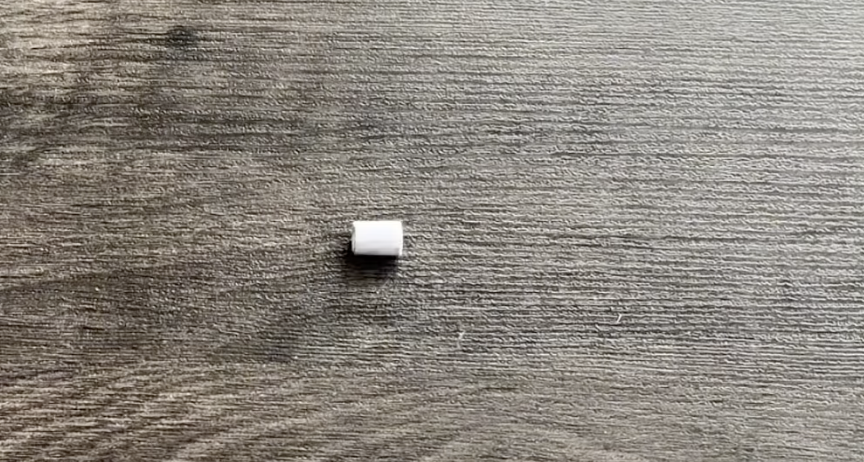
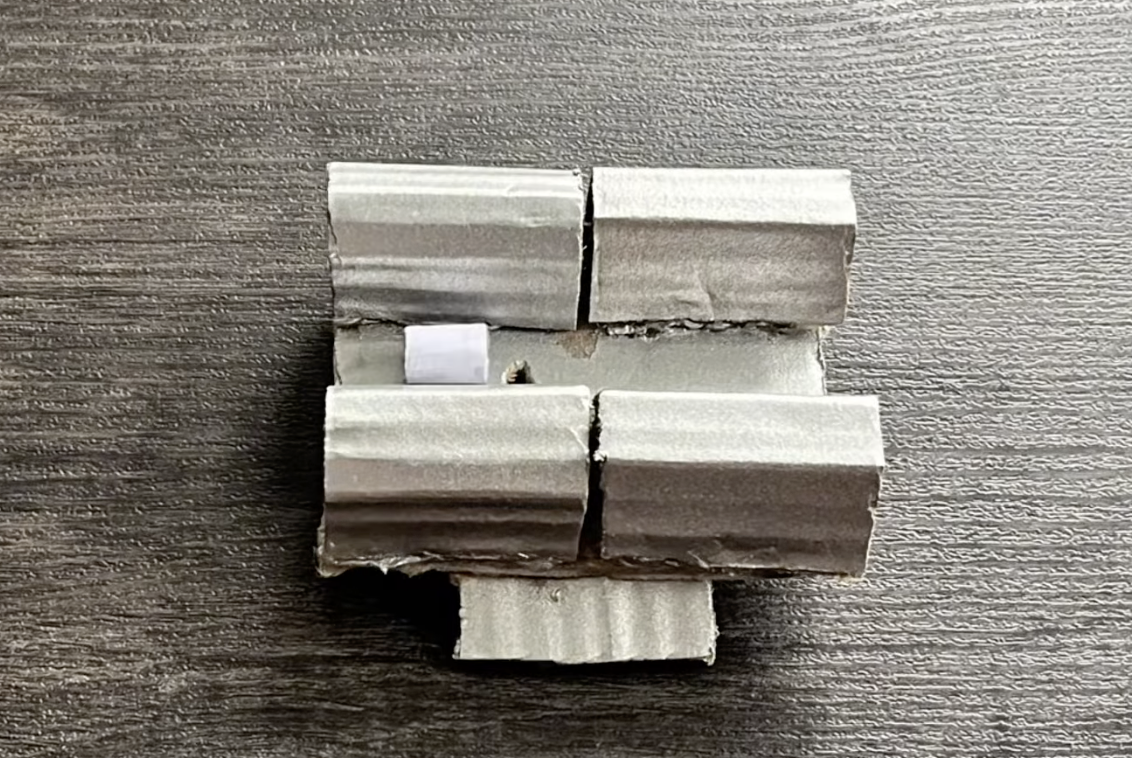
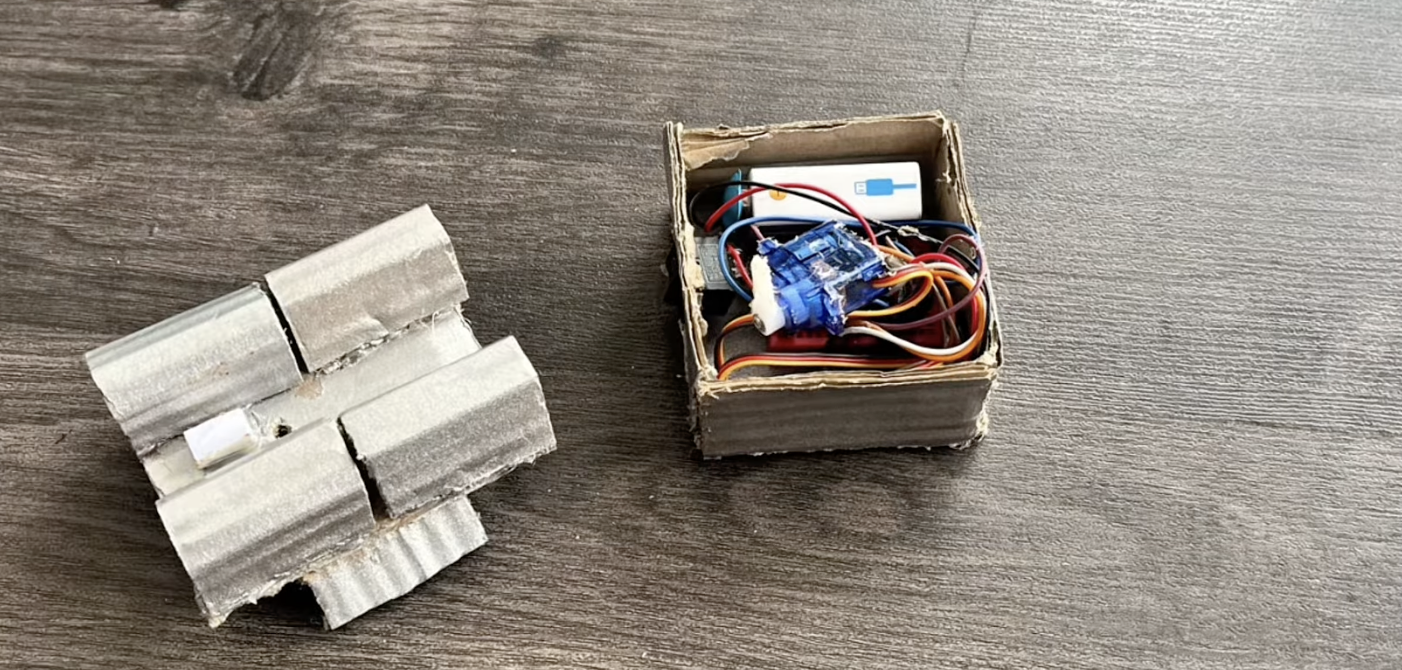
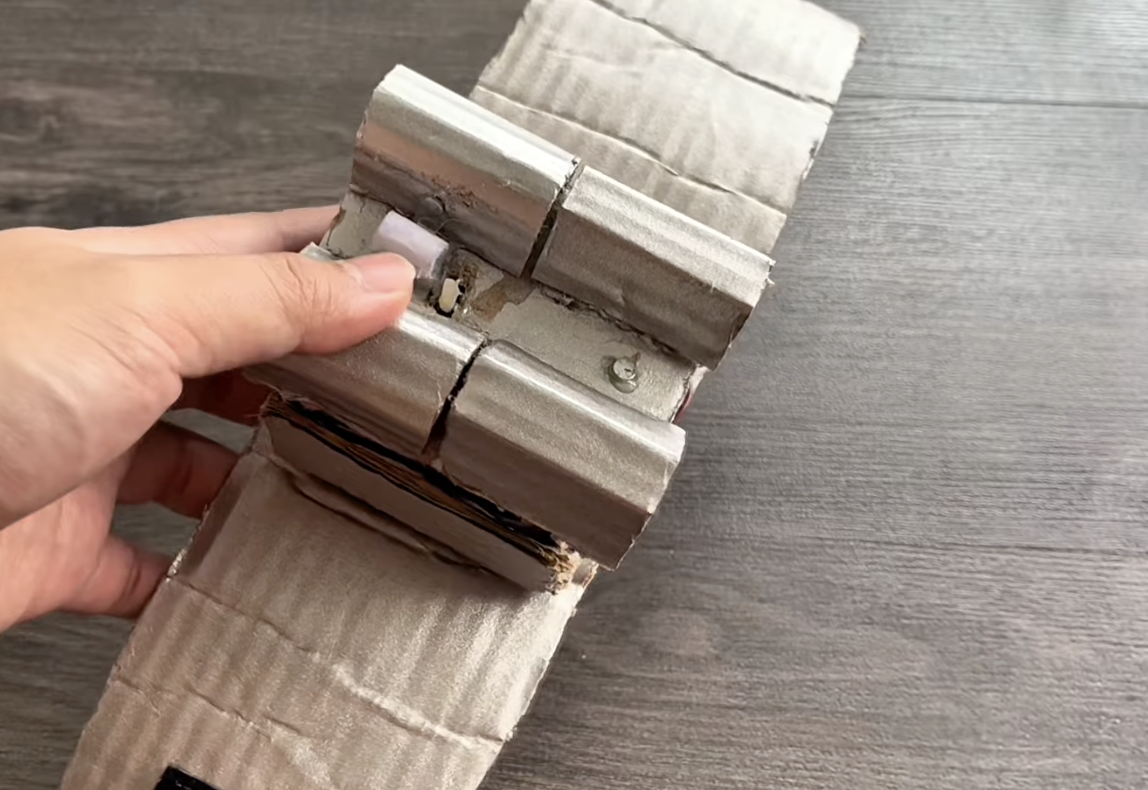
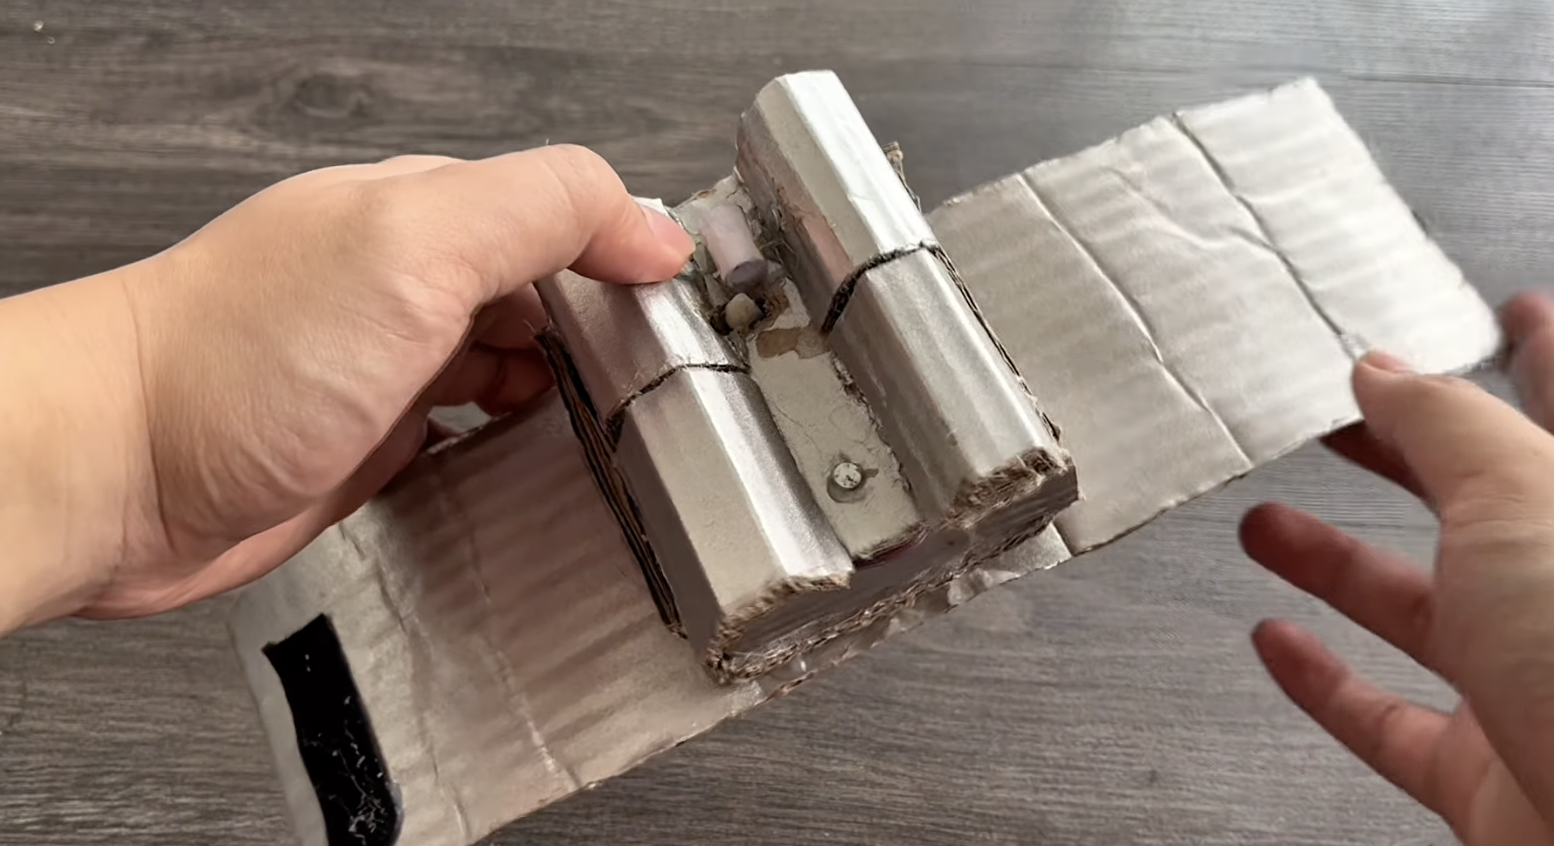


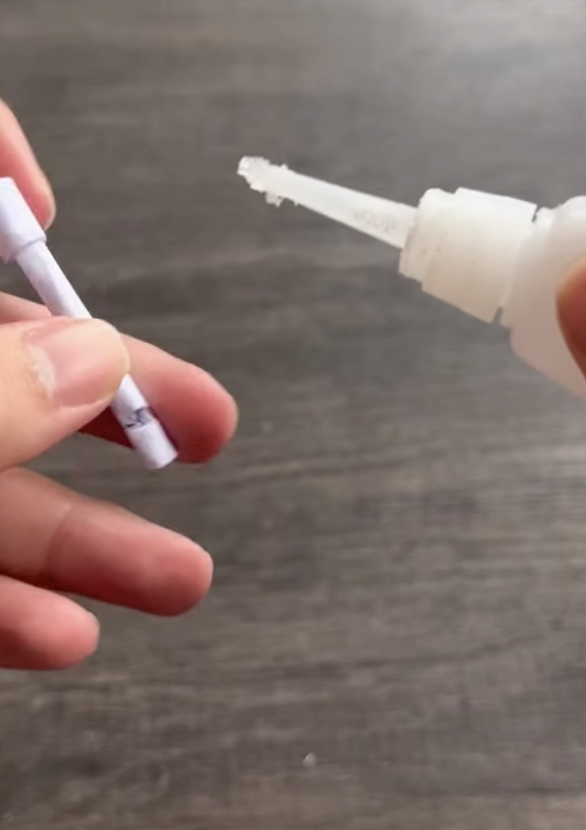
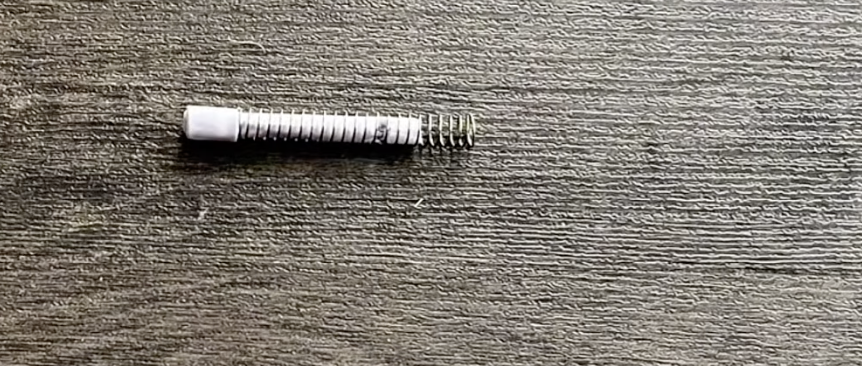
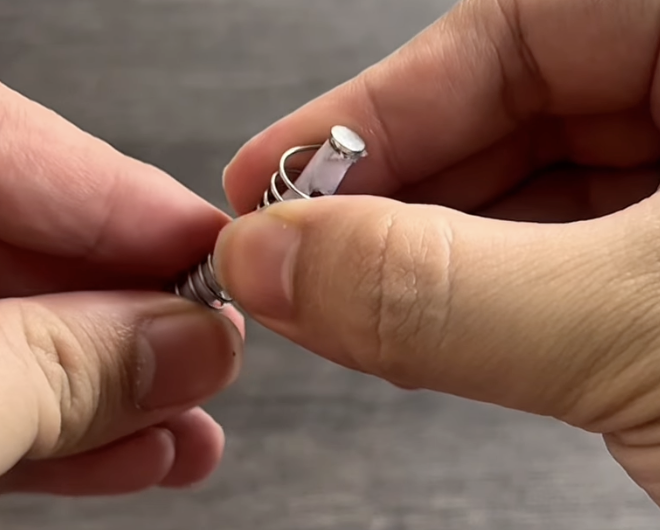
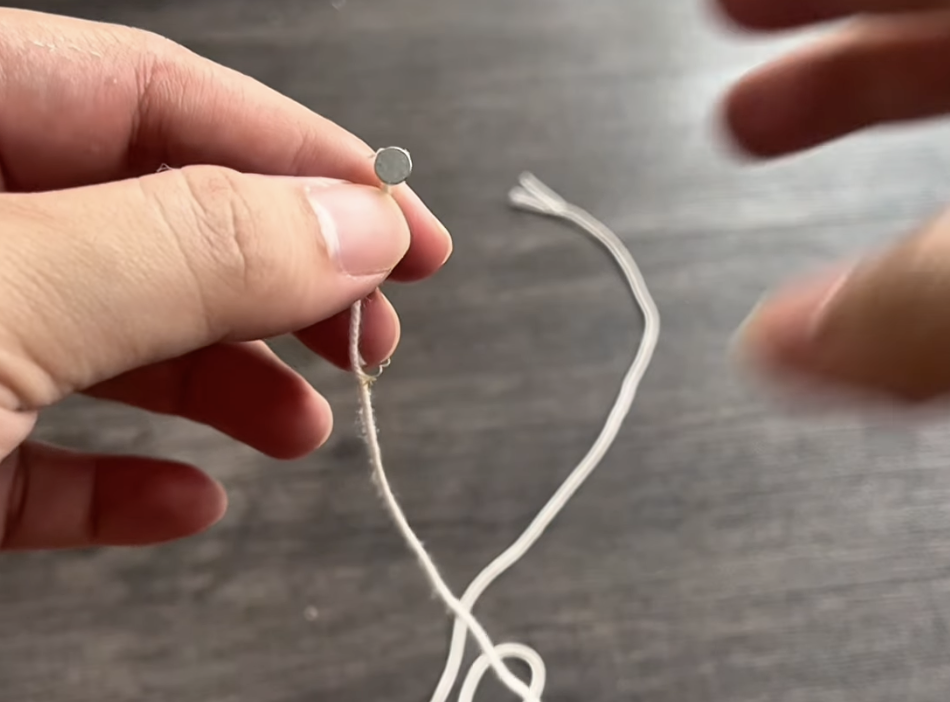
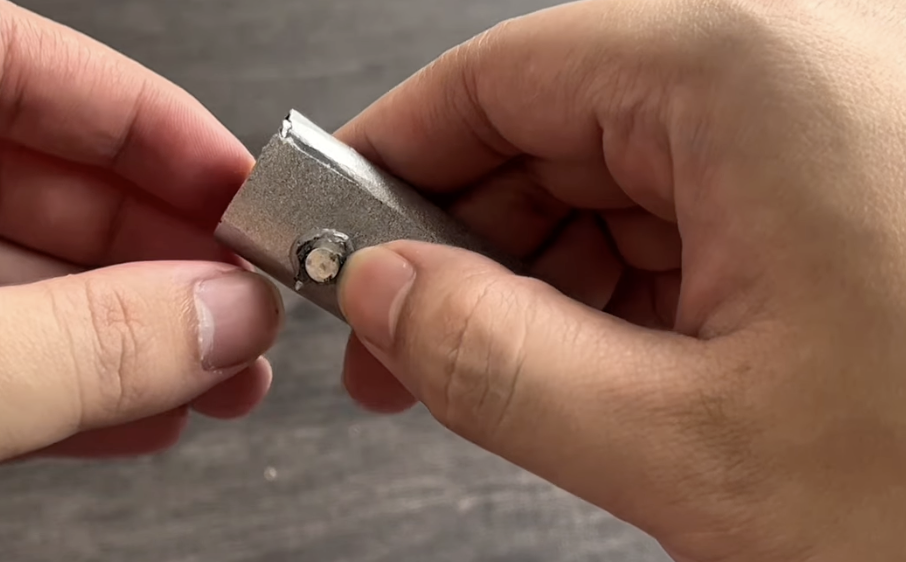
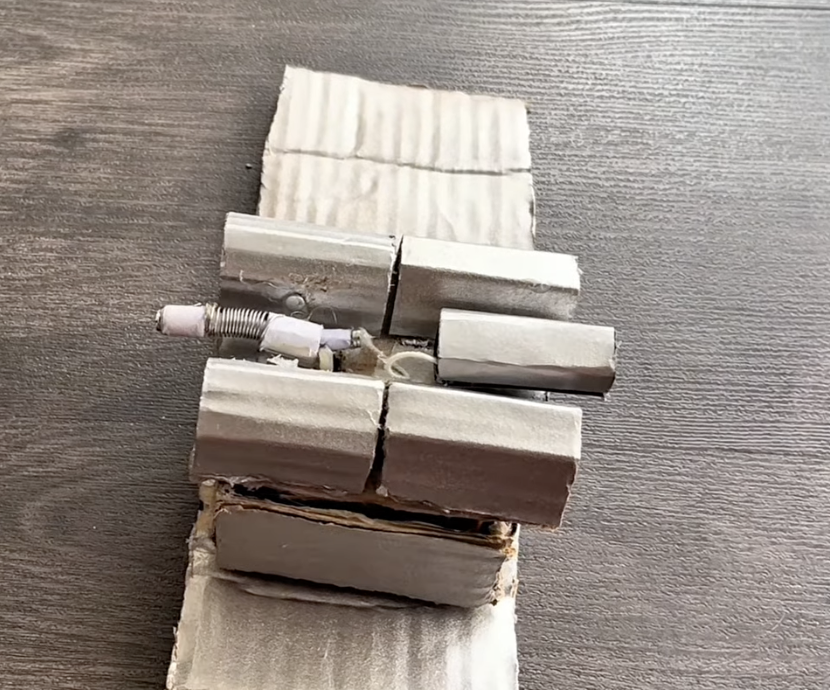
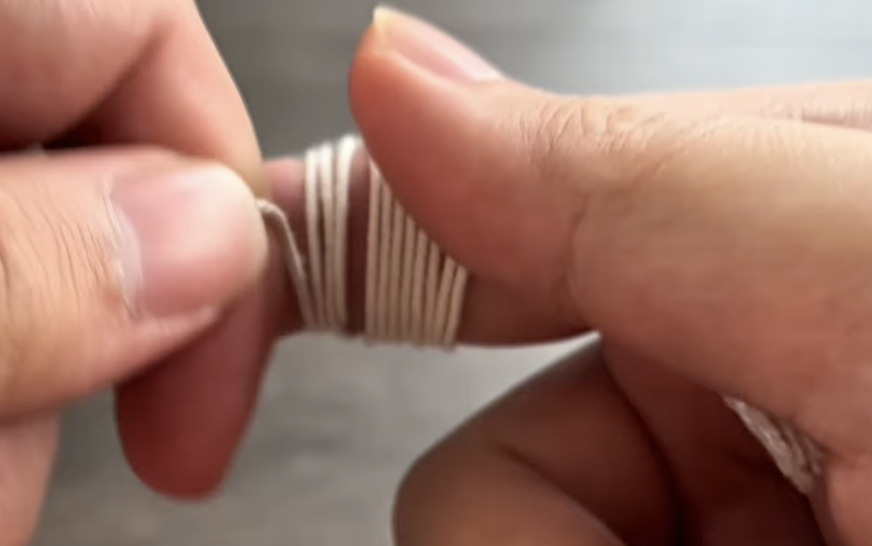
For the full visual build process, check out my YouTube video — the steps below walk through it in detail.
Building the web-shooter body:
- Build the main body of the web-shooter out of cardboard, then spray-paint the cover with silver paint for that sleek, metallic Spider-Man gadget look.
- Roll a strip of cardstock (thick paper) tightly into a tube to make the pusher — the part that physically pushes the dart forward when fired. Apply super glue while rolling so the tube hardens and holds its shape, then set it in place on top of the web-shooter's cover.
- Take the electronics you've already wired (Arduino Nano, breadboard, ADXL345, battery, and switch) and fit them inside the cardboard web-shooter body.
- Glue a small neodymium magnet on top of the web-shooter cover — this is what will later hold the thread spool in place.
Building the web dart (the projectile):
- Roll a small piece of cardstock (thick paper) into a tight tube to form the body of the web dart, then apply super glue so it hardens into a rigid shell.
- Fit the spring onto the back end of the dart body.
- Glue a small neodymium magnet onto the tail of the dart, behind the spring — this magnet is what lets the dart "stick" and stay connected to the thread after firing.
- Glue another small magnet onto the front end of the thread, so the thread can attach itself to the dart's magnet.
- Wind the thread neatly into a small coil, then place the coiled thread inside a small cardboard container (like a matchbox) so it can feed out smoothly without tangling.
- Place this thread container on top of the web-shooter cover, right next to the pusher.
- Load the dart into the pusher tube, and lock it in place using the servo arm — the servo horn acts as a latch that holds the dart until the gesture is detected and it swings out of the way to release it.
Testing
Once everything is assembled, strap the web-shooter body onto your wrist and give it a try.
Throw a quick punching motion with your wrist — the ADXL345 will detect the sharp acceleration spike of the gesture, triggering the Arduino to move the servo. This releases the latch holding the dart in the pusher tube, launching the web dart forward while the thread trails behind it, just like Spider-Man's web-shooter.