Maple Leaf Wood Burn

Here is how to make a simple maple leaf wood burn to decorate your house or room:
Supplies

Materials needed:
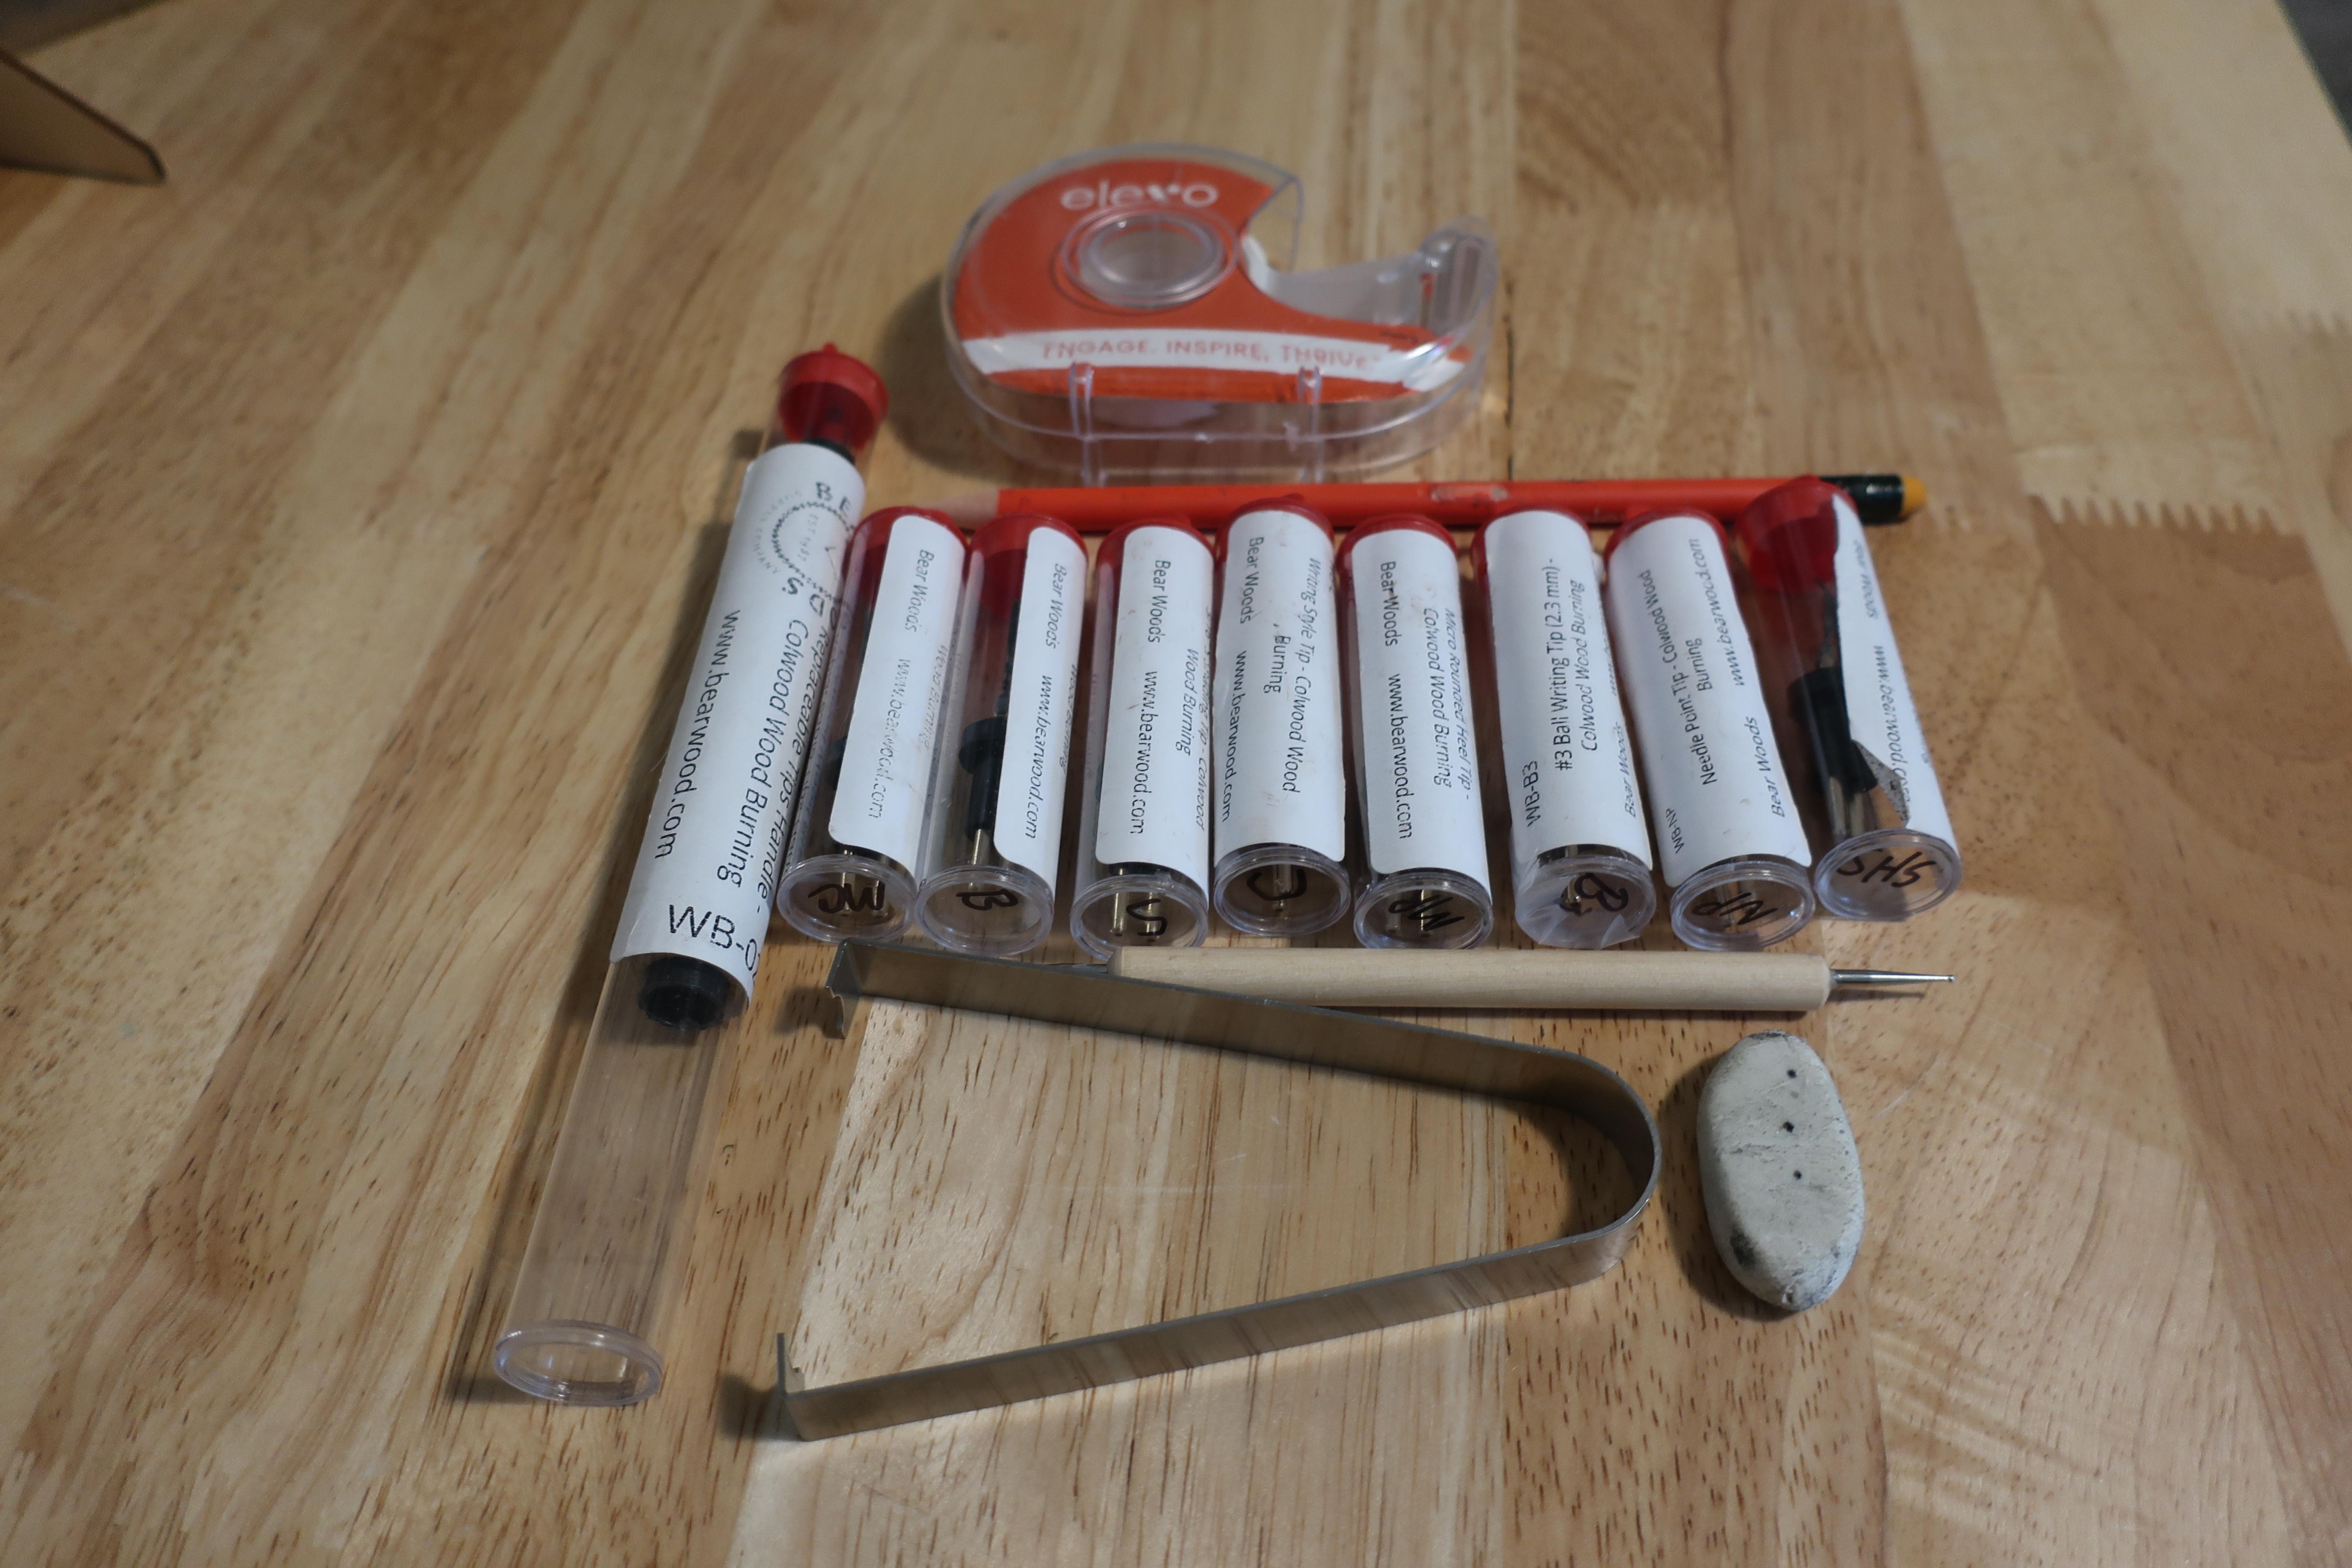
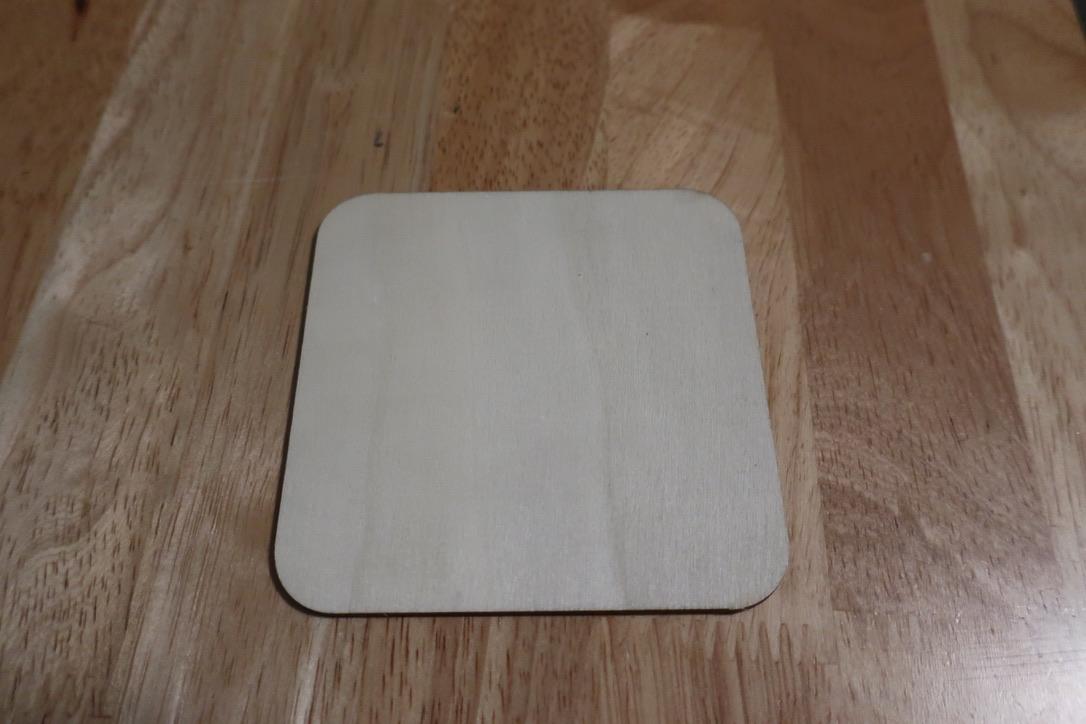
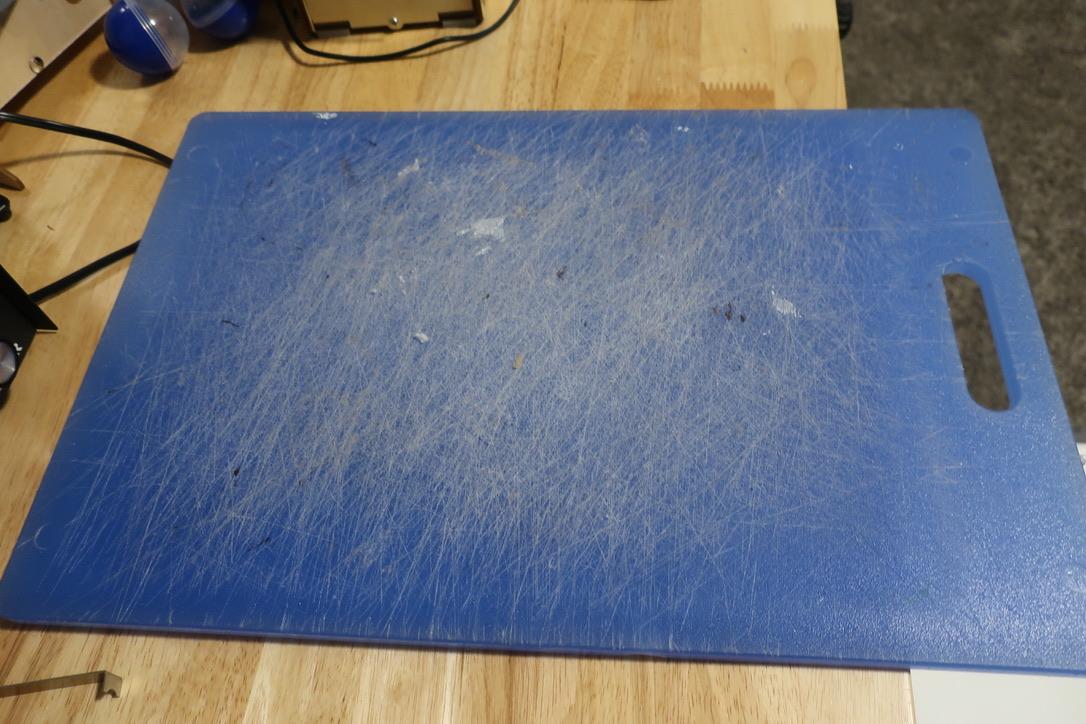
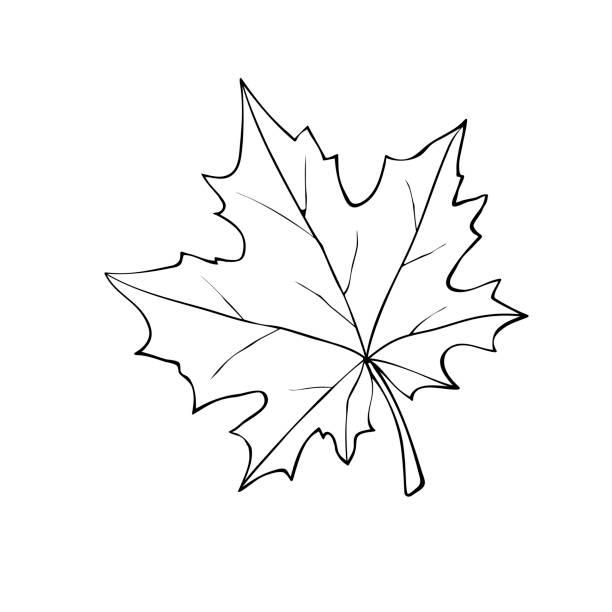
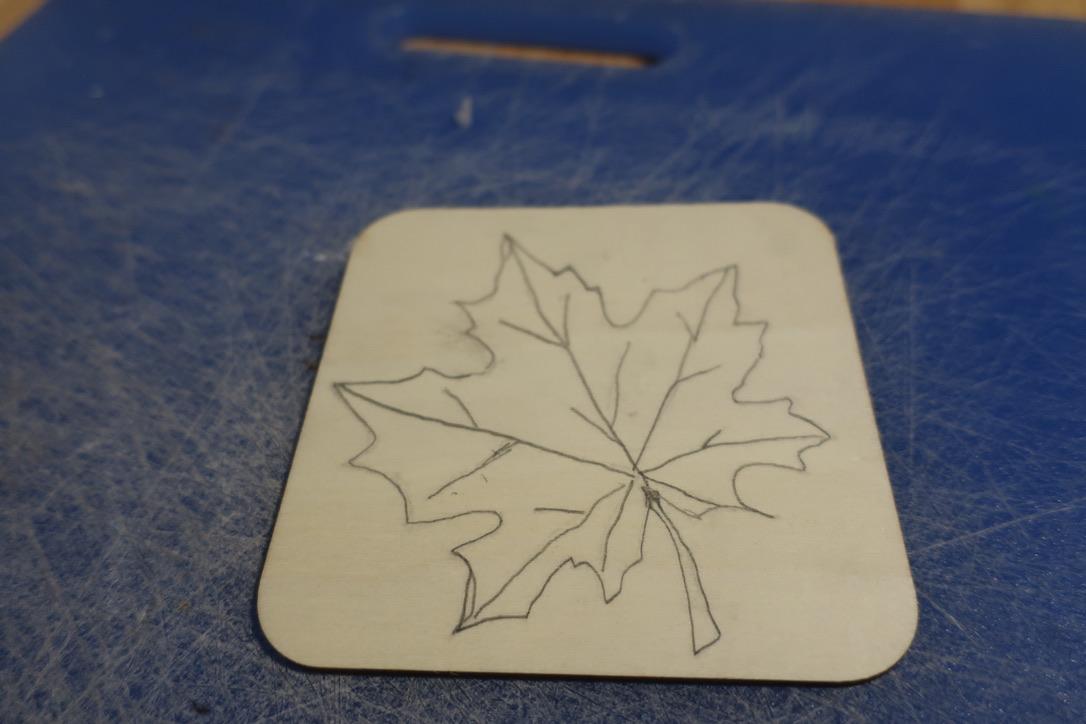
A wood burner and wood burning accessories, a ball stylus, a piece of wood, a pencil, tape, something to protect your creative workspace (I used a cutting board) and a leaf pattern to trace. It is in the above photograph.
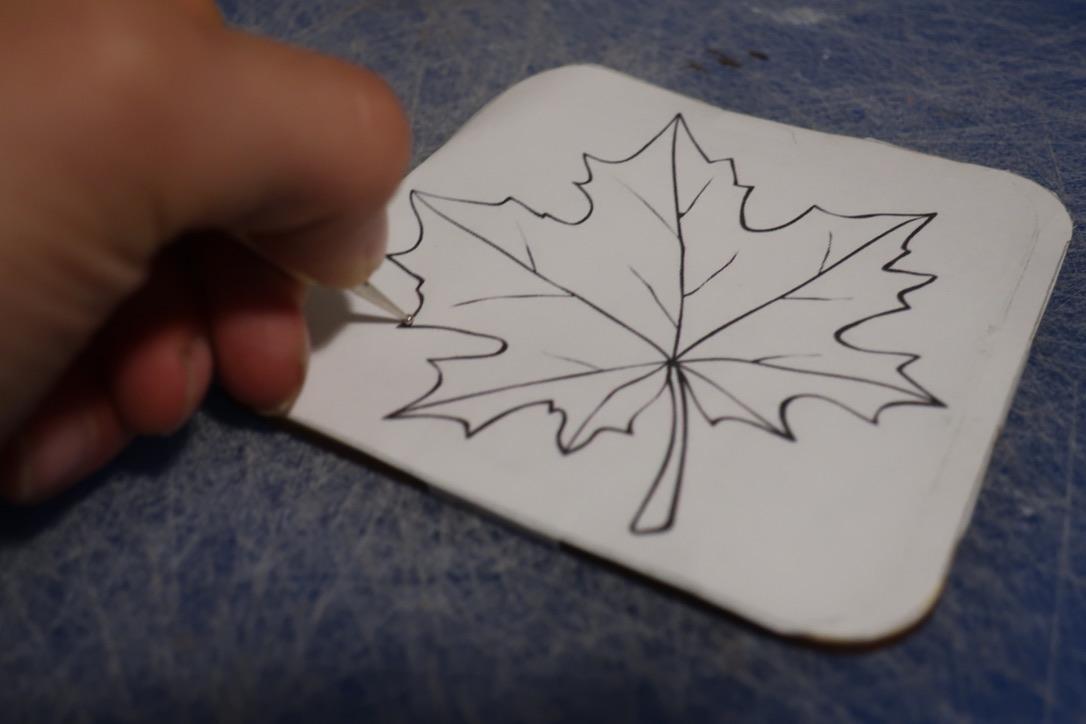
Getting the Pattern Ready
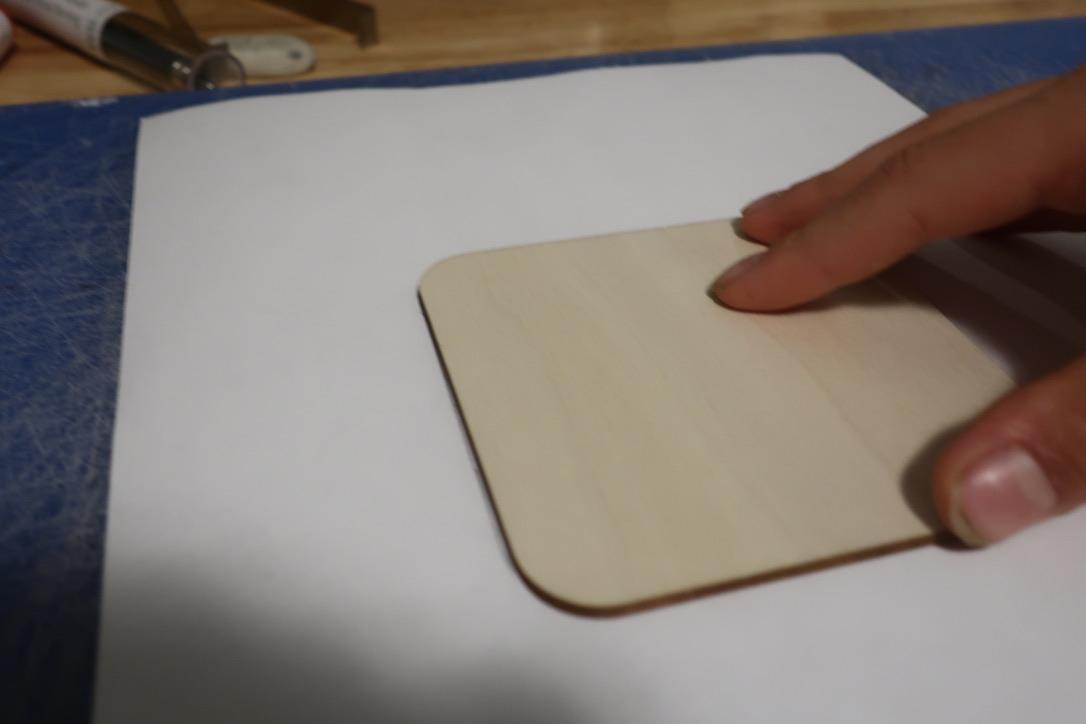

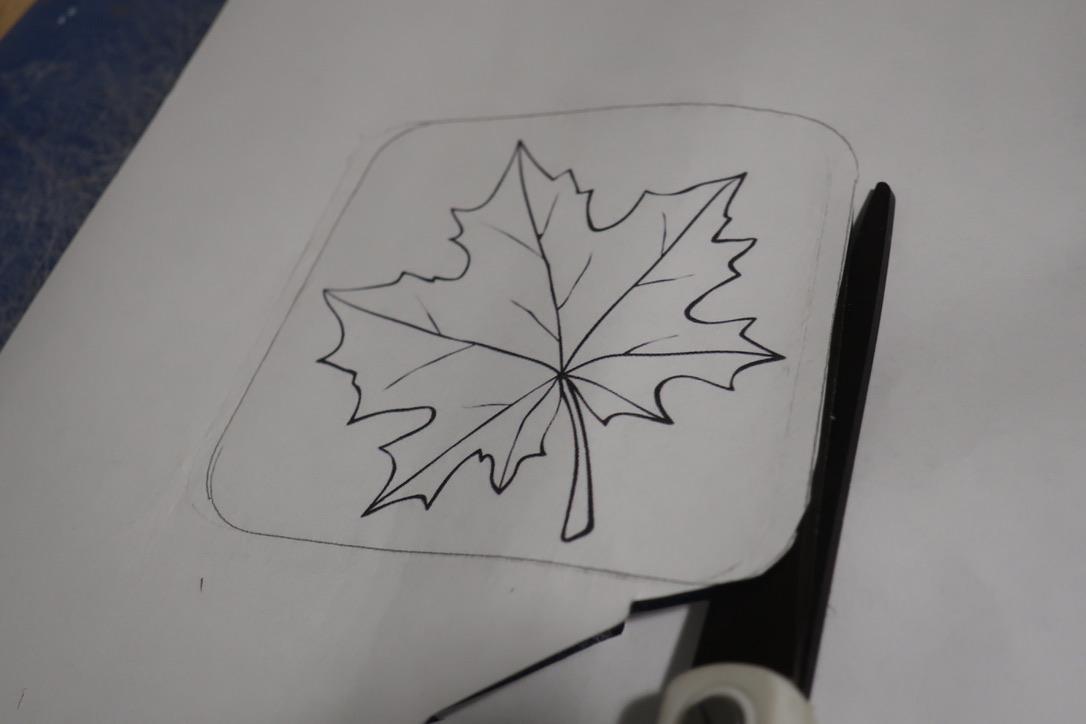
Pattern prep: Start by printing the pattern, then turn it over. Color over the back with a pencil, then align the piece of wood over the pattern. Draw around the edges of the wood. Ok, now let's cut the pattern out!
Indenting the Pattern
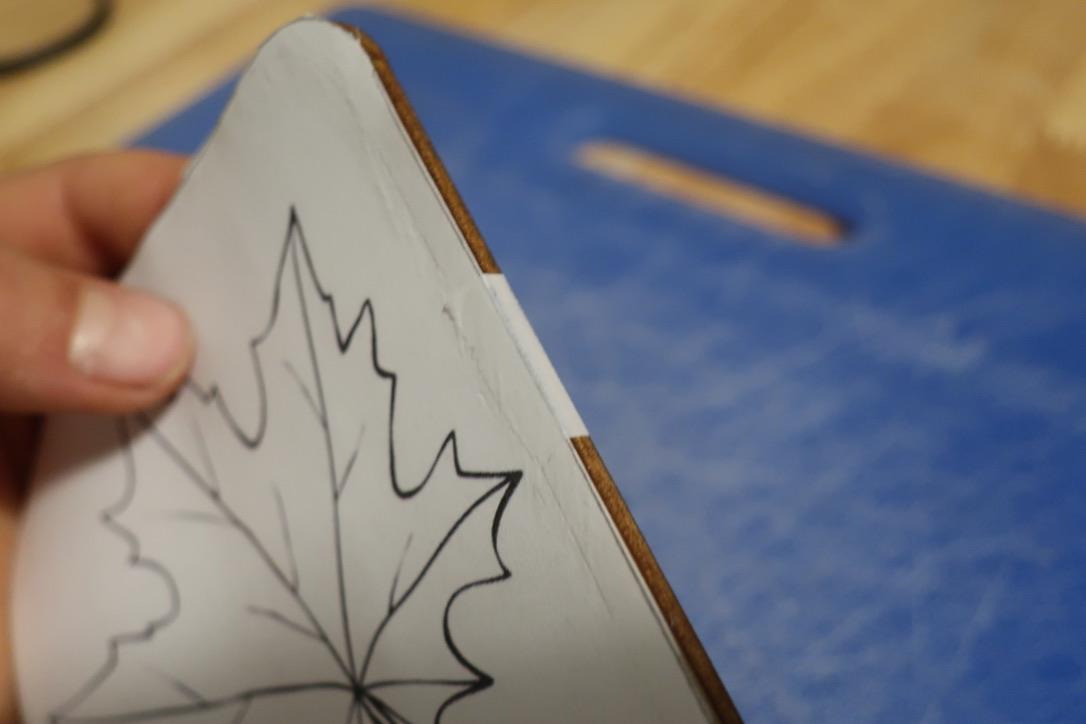
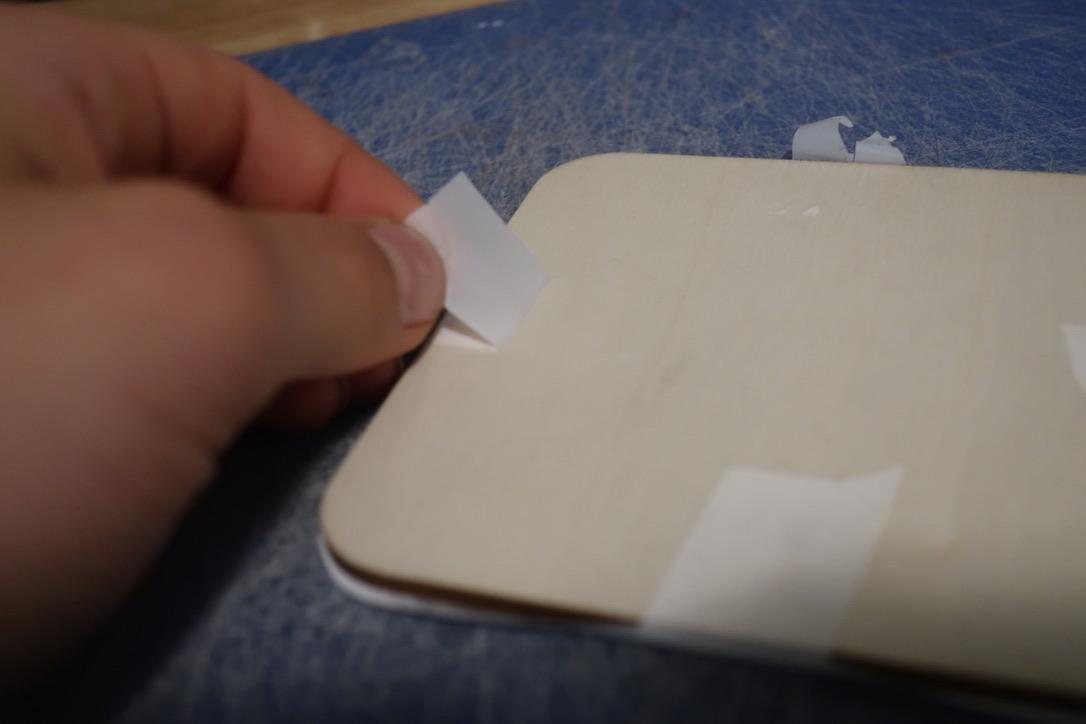

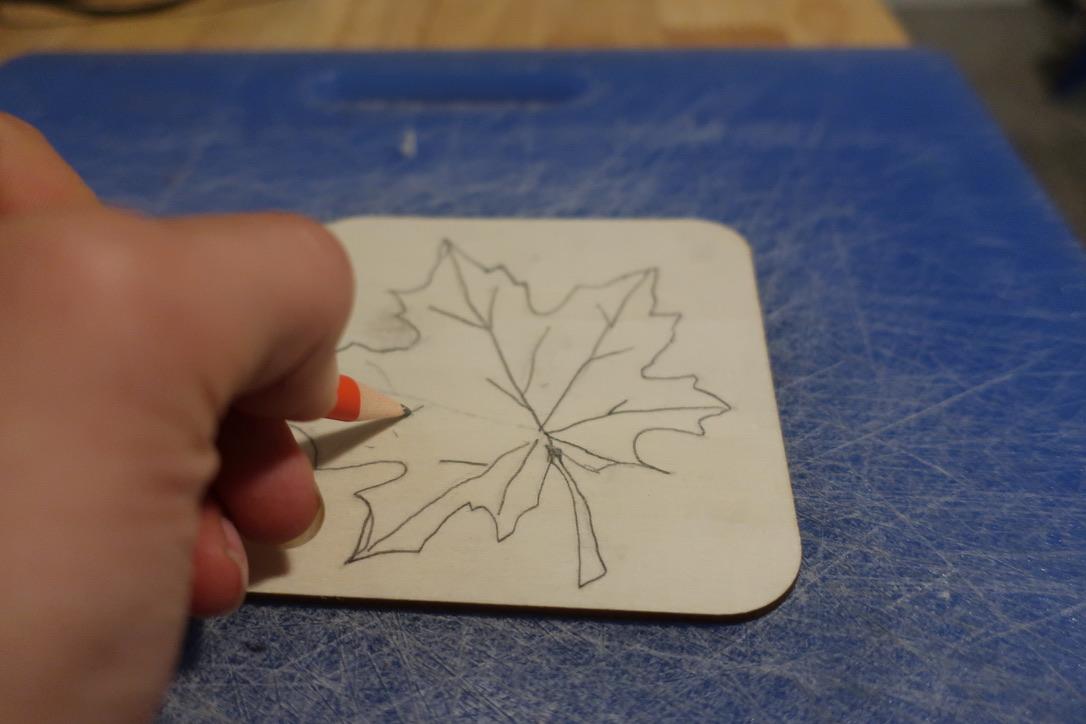
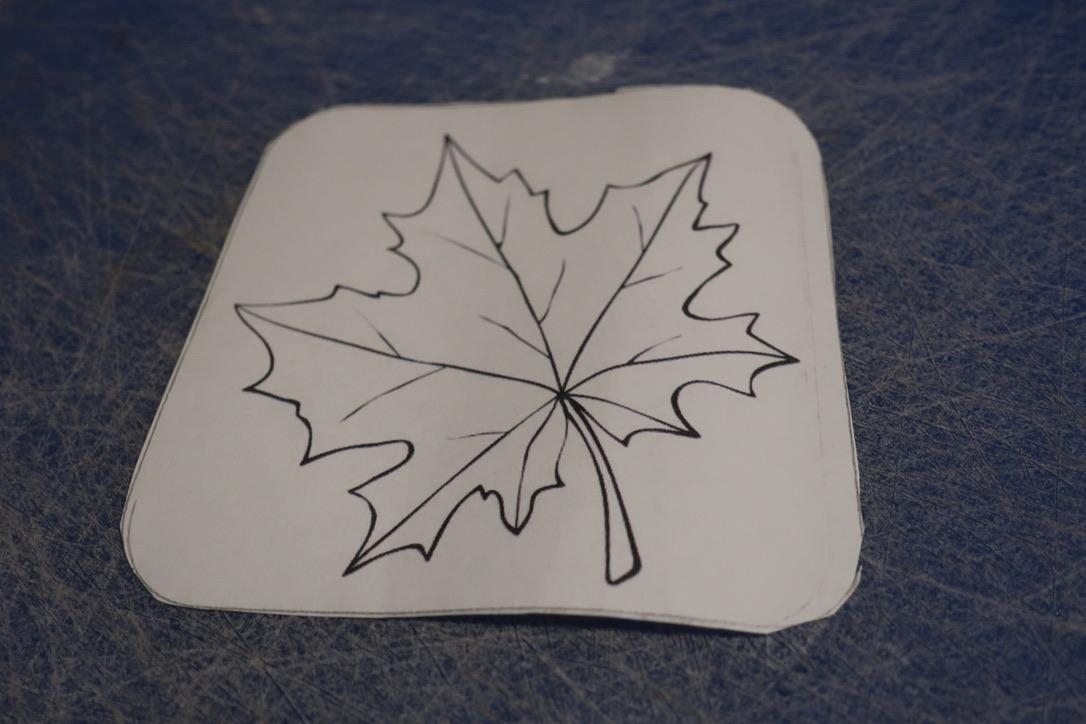
Now that you have the pattern cut out, let's now tape the pattern onto the wood. You will use the ball stylus to indent the pattern onto the wood. Remove the pattern from the wood and draw over the indentations with a pencil to make them more clear.
Starting the Wood Burning

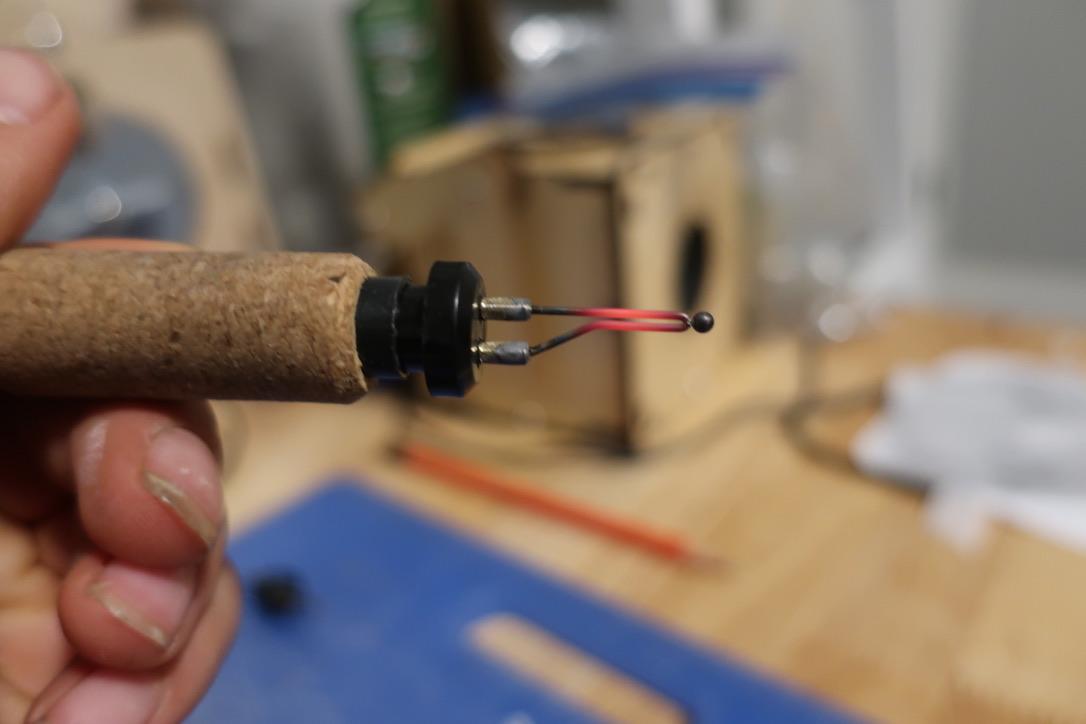


Now that we've got the pattern indented, let's start the wood burning! The tip i'm using for this step is a number 3, ball writing tip as shown in the above photograph. Plug in your wood burner and heat it up.
Start by using the ball writing tip to do the outline. I'm using my wood burner on a heat setting around 5 to 7.
Starting the Detailing
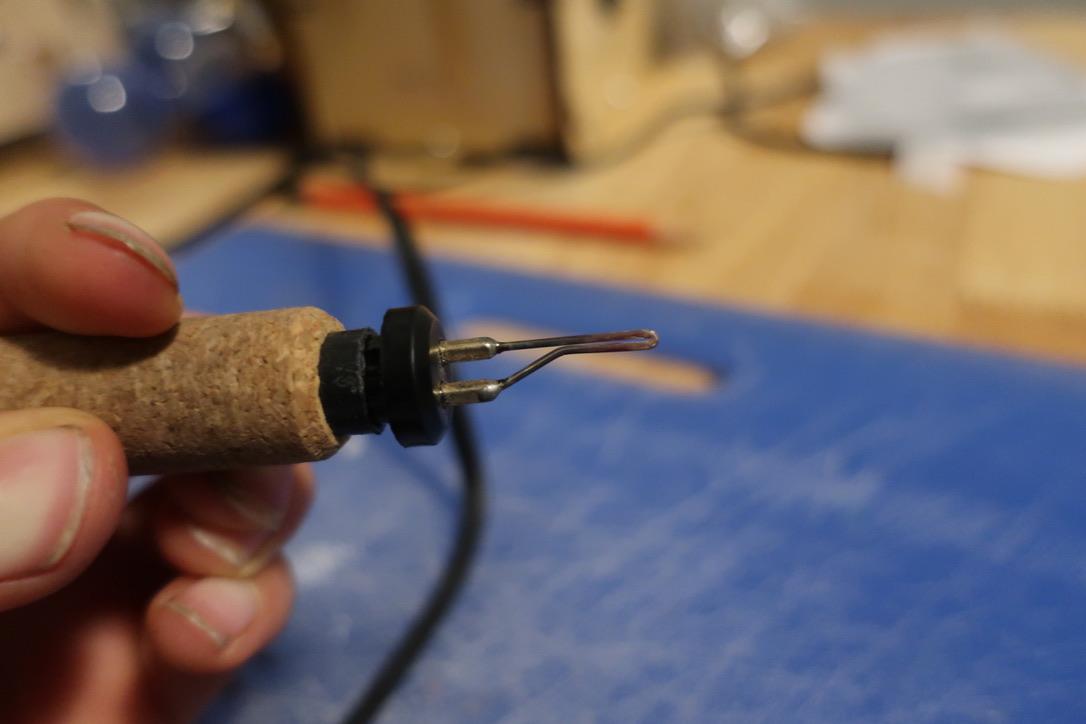
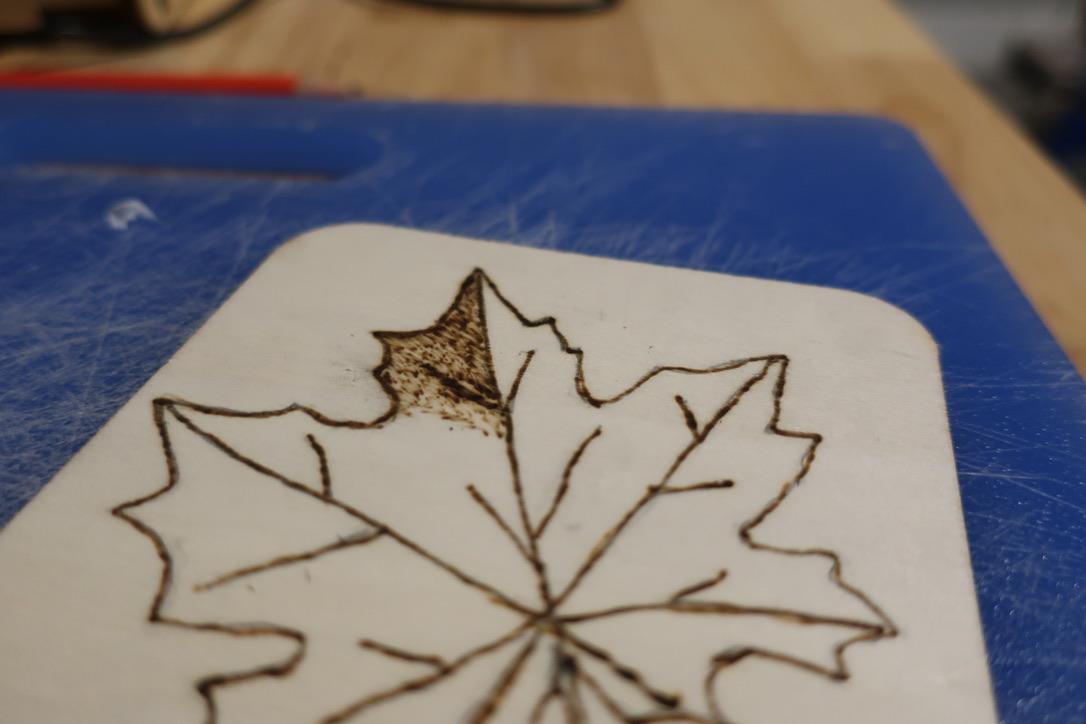


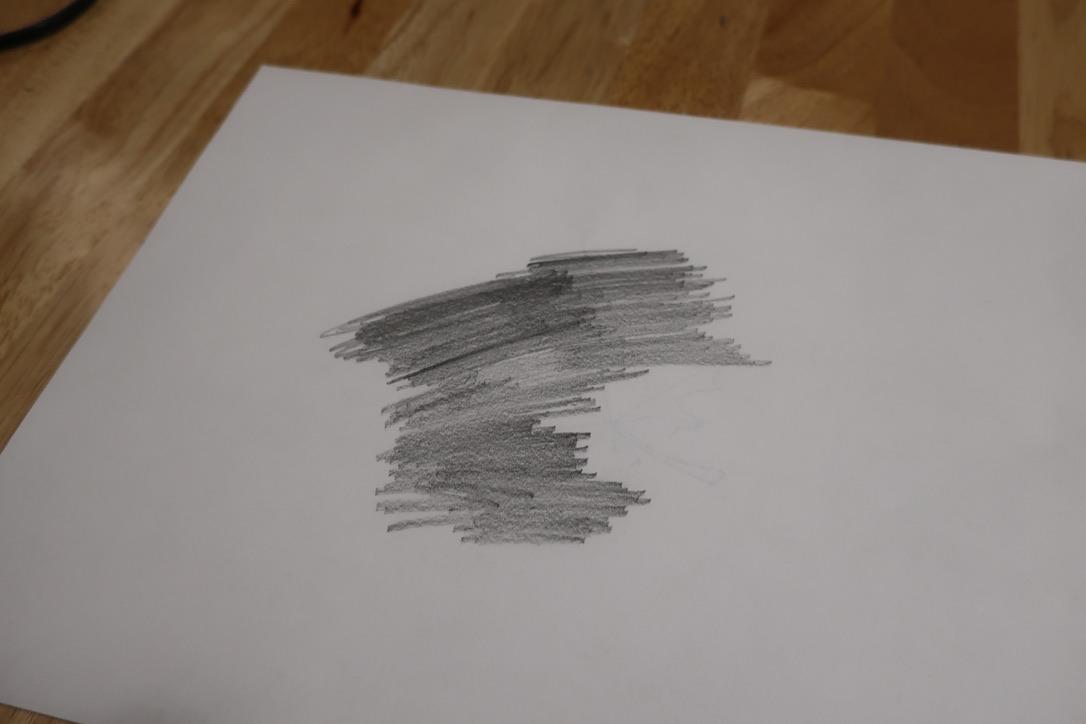
Now that the outline is finished, let's start on the details. The tip I'm using for this step is in the above photograph. Start by using the writing tip in a fast back and forth scratching motion. Gradually fill in the outline until you've completed the inner leaf. You can add additional shading or contrast to the leaf veins as needed.
Set It Up for All to See!
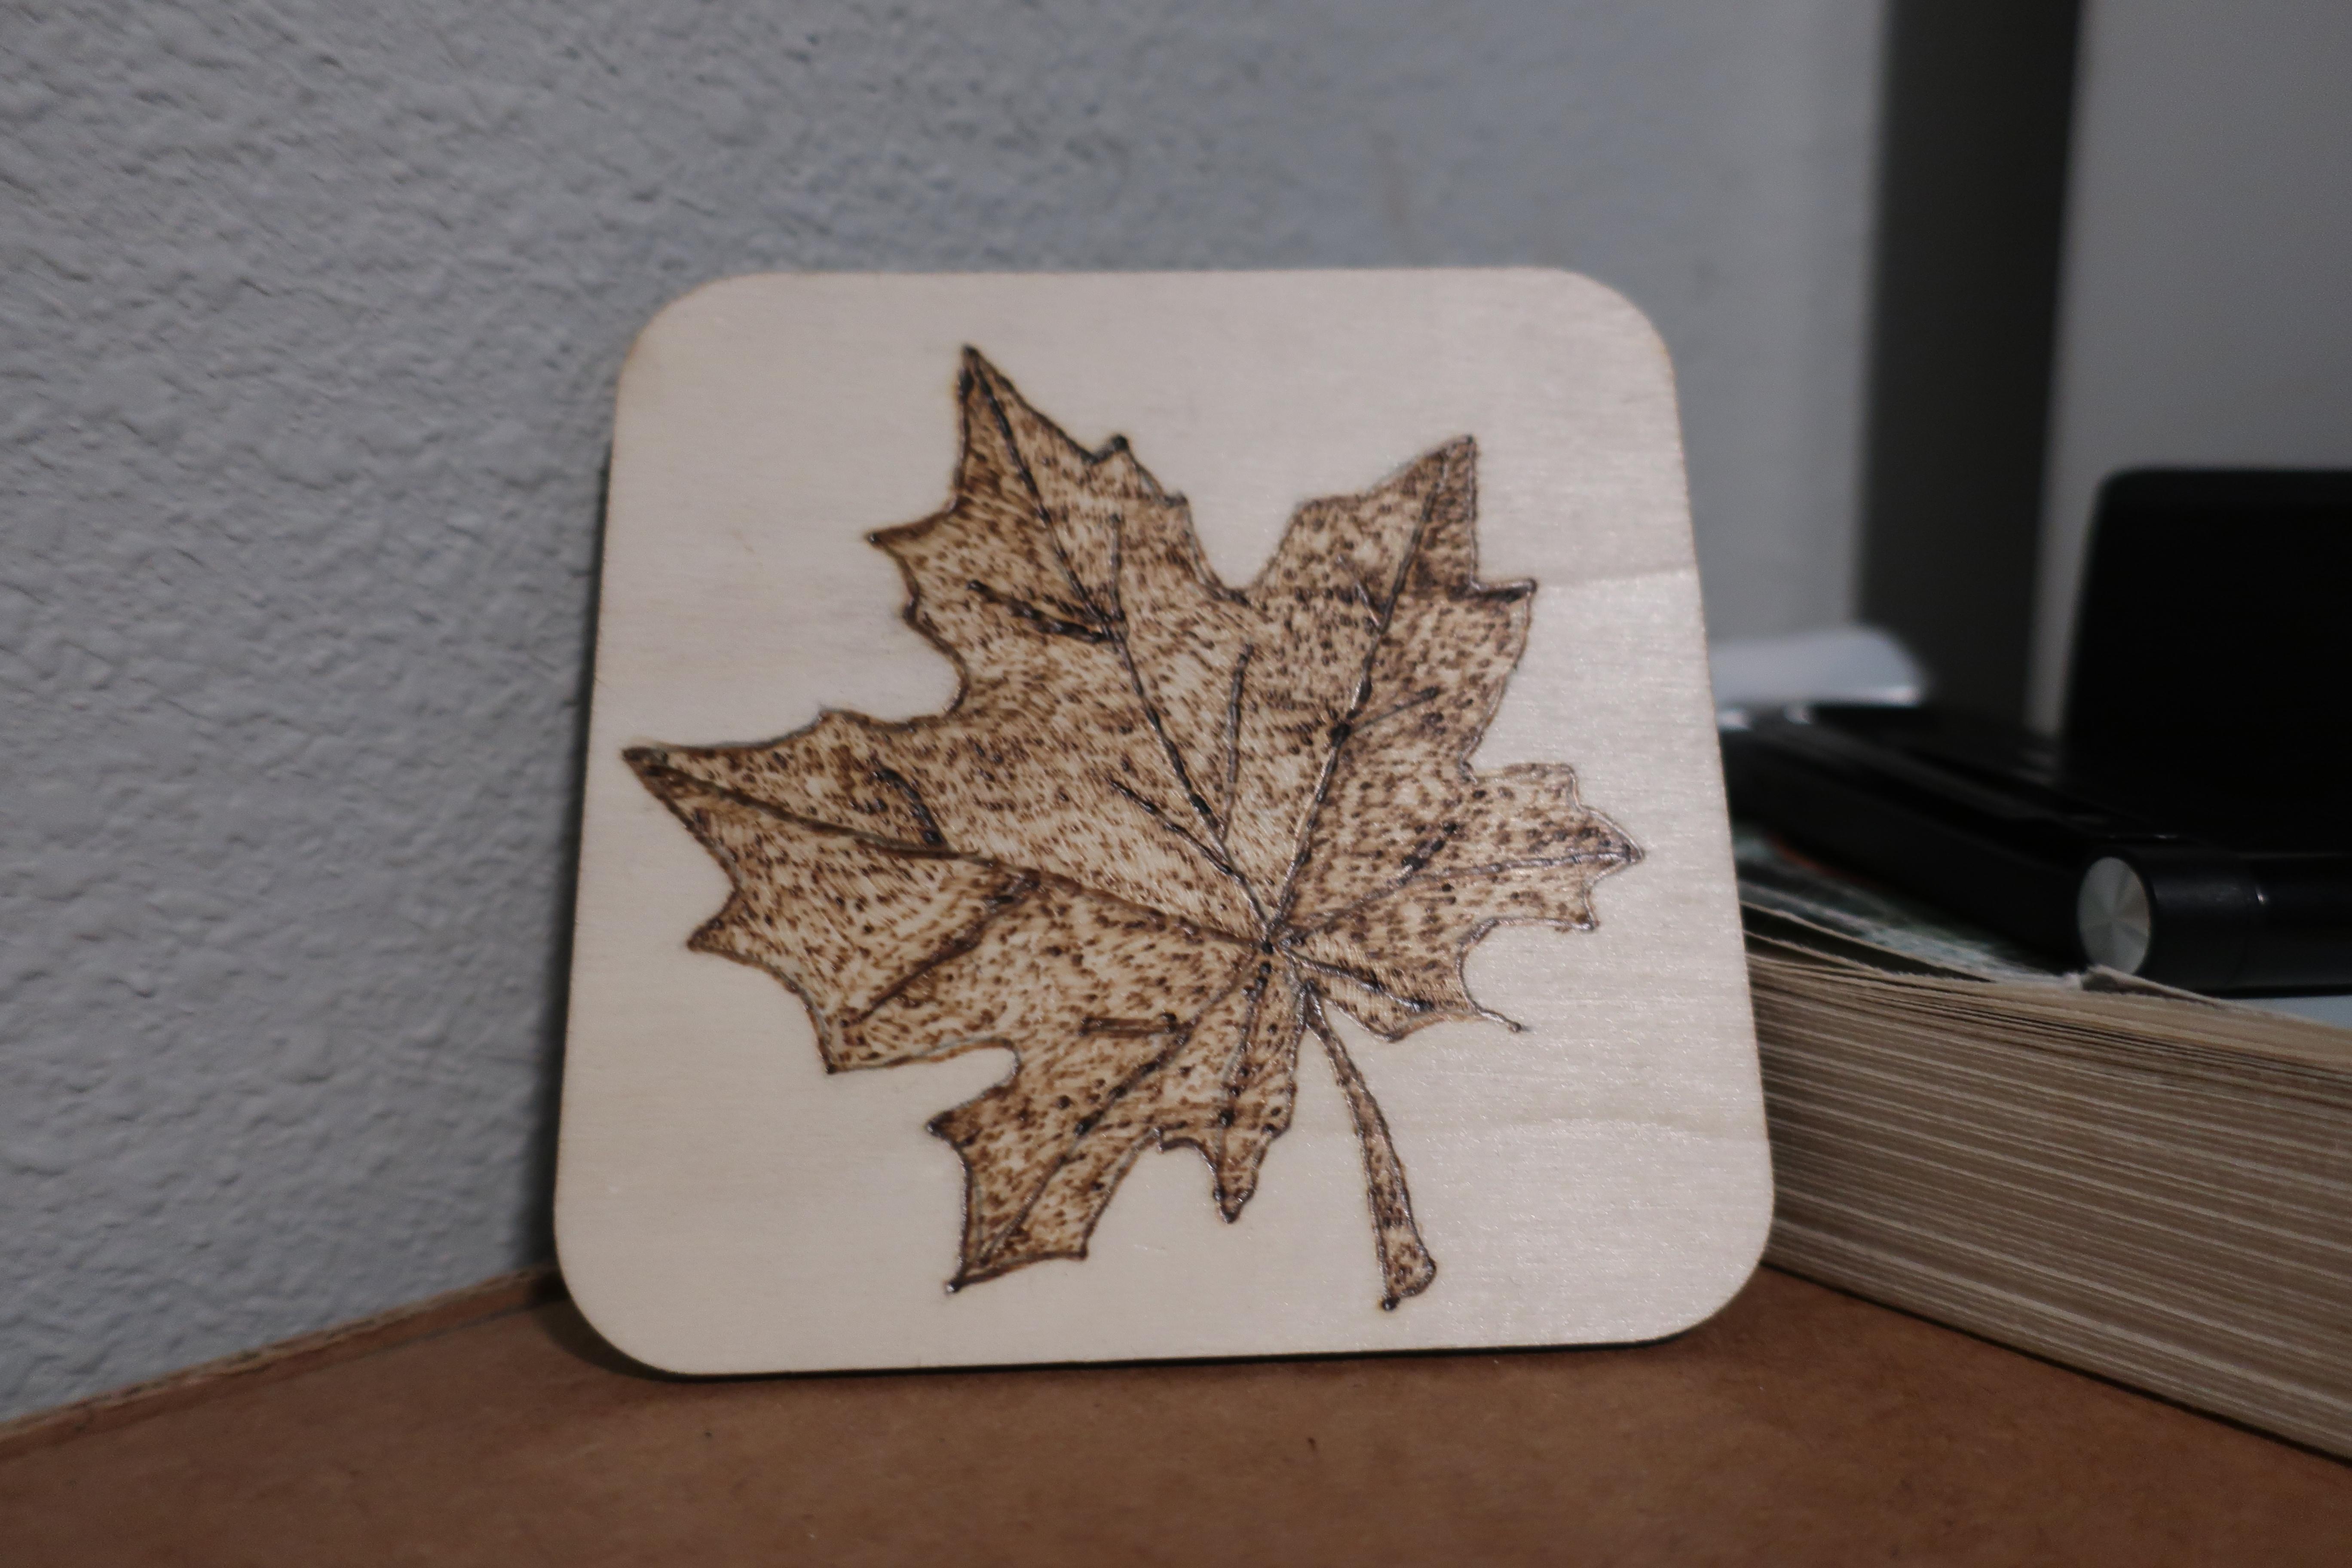

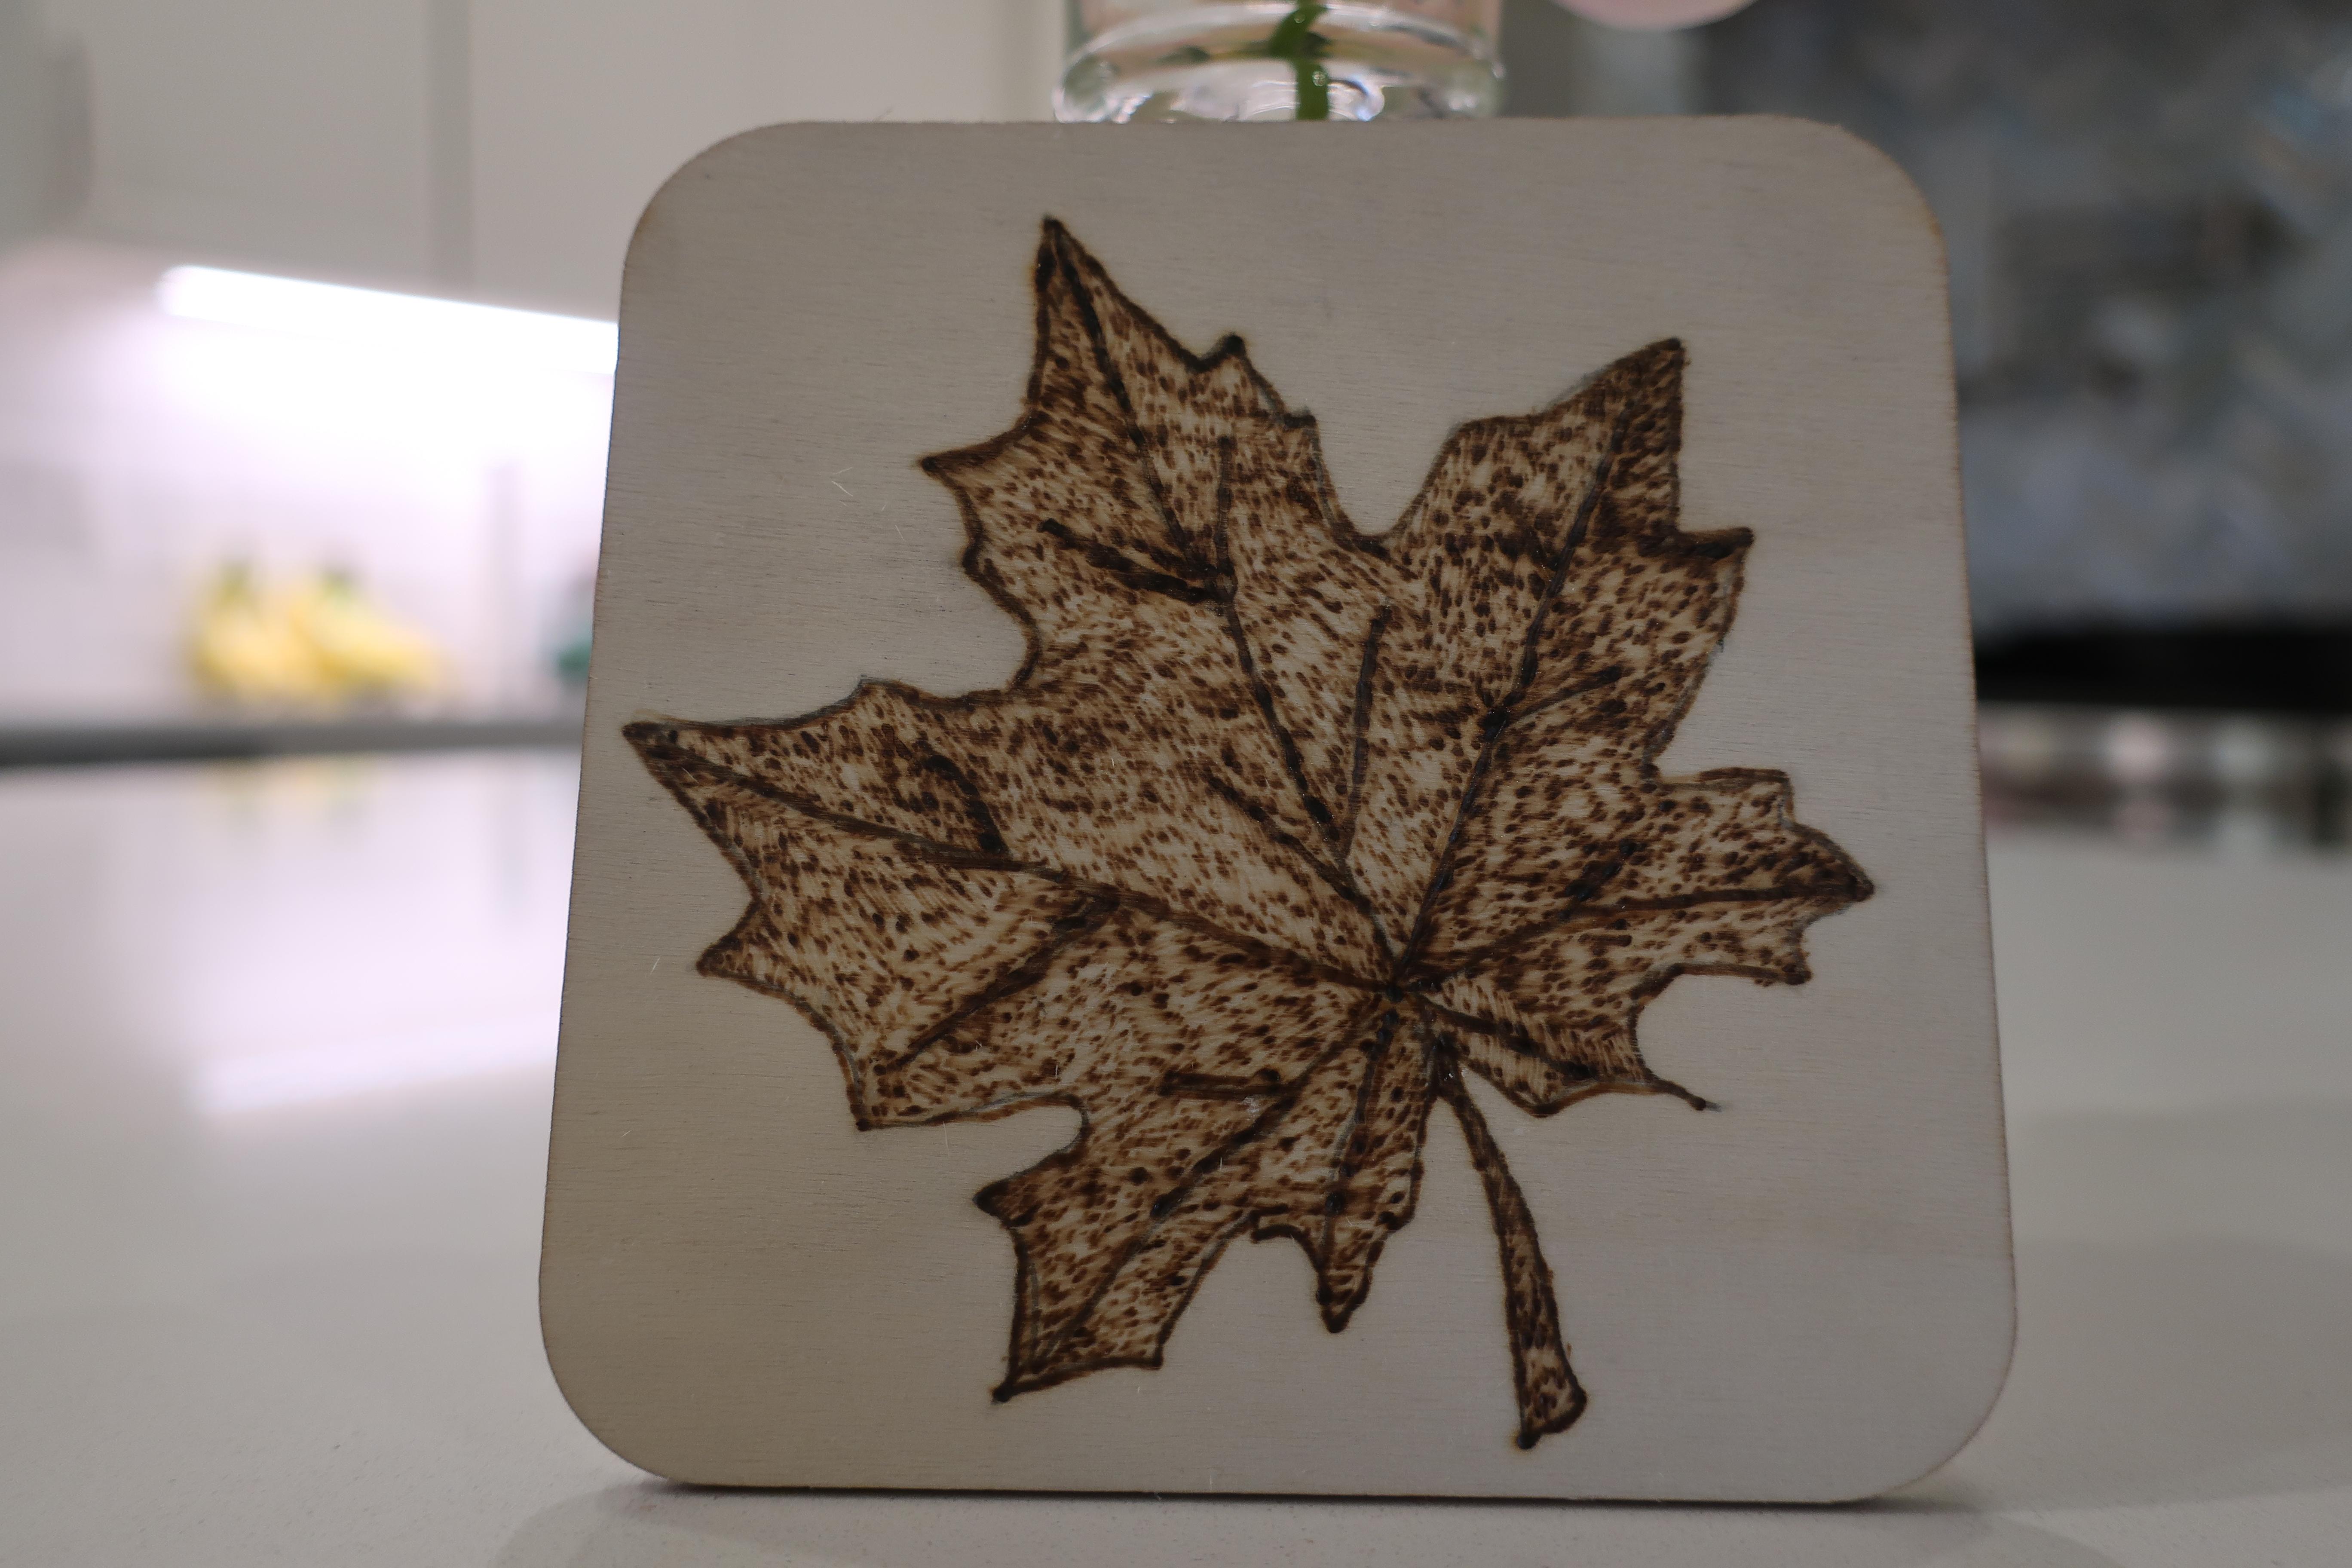
Now that you're done it's time to put it on display!
Display it on a shelf, a table, or a nightstand and enjoy your leaf wood burn year round! I hope you enjoyed this Instructable and had fun making this project!