Master the Art of Tin Soldering: a Beginner's Guide to Electronics Soldering
by Utsource in Circuits > Arduino
18 Views, 0 Favorites, 0 Comments
Master the Art of Tin Soldering: a Beginner's Guide to Electronics Soldering
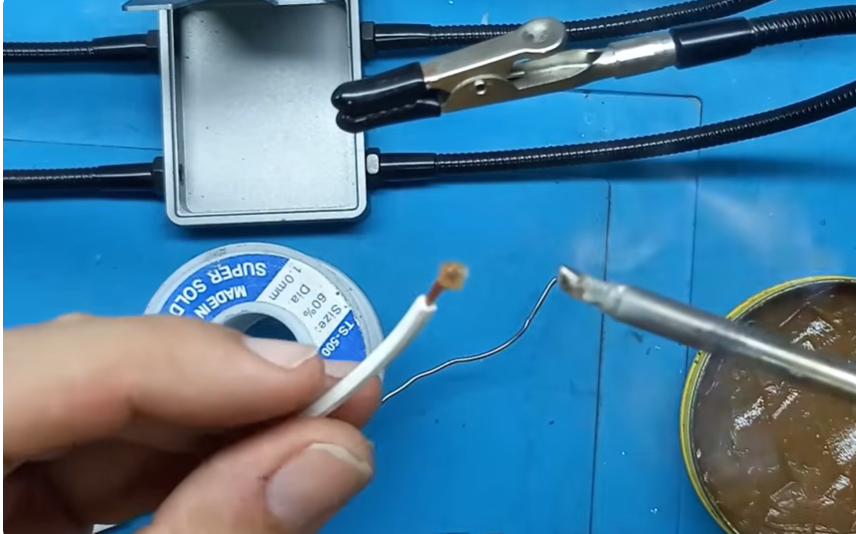
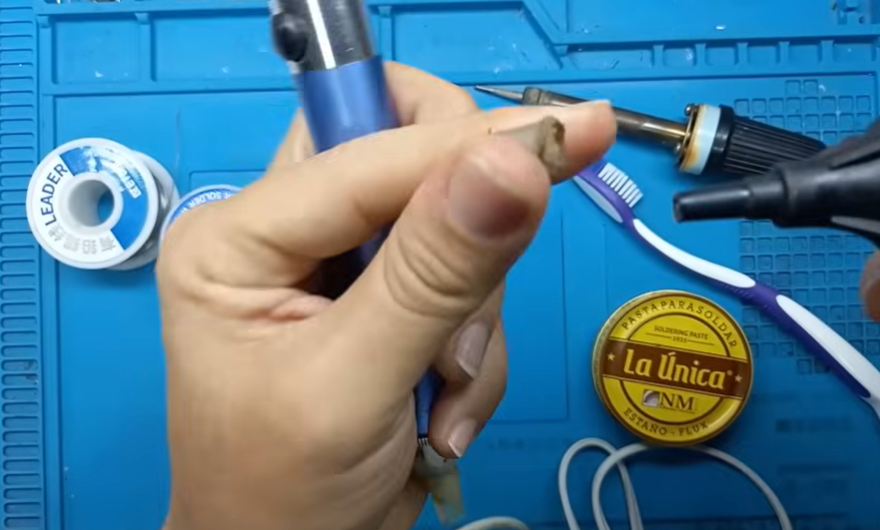
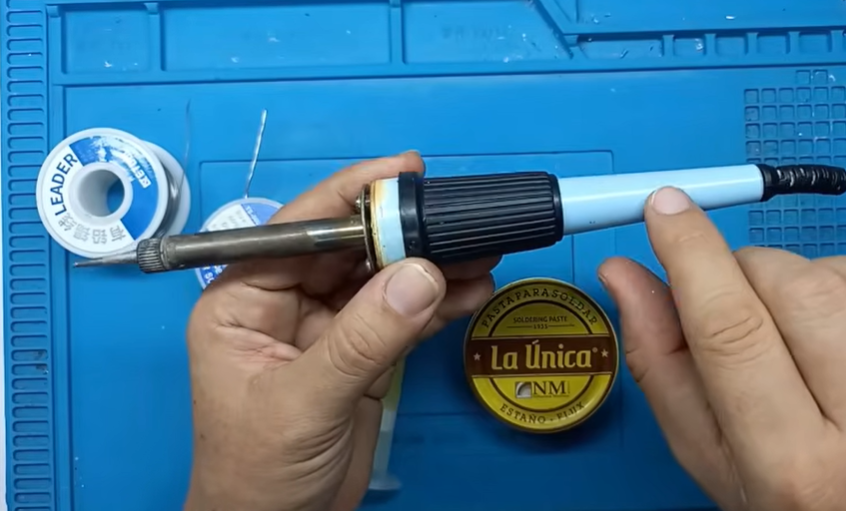
Soldering is an essential skill for anyone getting into electronics, DIY repairs, or hardware modification. Whether you are fixing a broken appliance or building a custom circuit board, mastering clean soldering techniques ensures reliable connections and professional-looking results.
Supplies
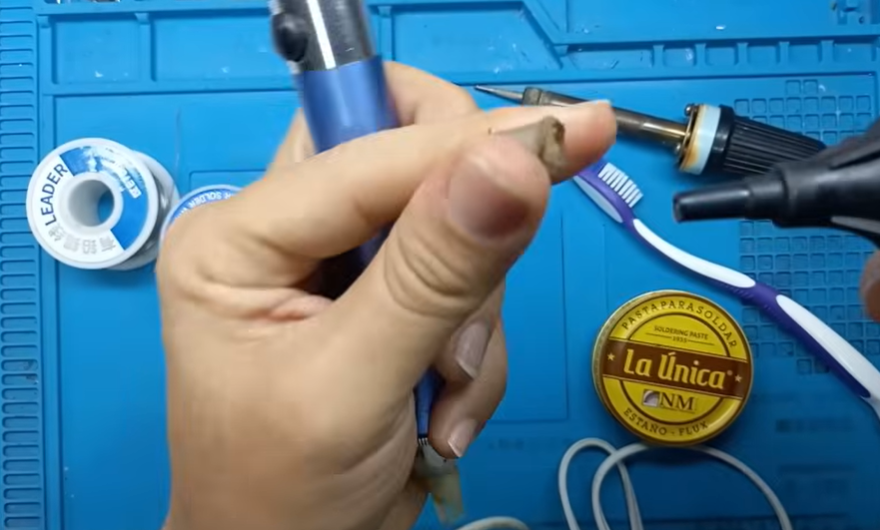
Soldering Iron / Station: For general electronics work, a 30W to 40W soldering iron or a temperature-controlled soldering station (such as a digital unit running between 350°C to 400°C) is ideal. It heats up quickly and melts solder efficiently.
Solder Wire: Standard electronics solder is typically a 60/40 or 63/37 alloy (Tin/Lead). For general through-hole electronics, a 1 mm diameter wire works best, while thinner gauges (like 0.5 mm) are reserved for fine Surface Mount Device (SMD) components.
utsource Flux : Flux is crucial. Applying a small amount of flux helps the solder flow smoothly, stick faster, creates clean joints, and prevents a dull or oxidized finish.
Desoldering Pump (Solder Sucker): Used to remove old solder when replacing components. Pro tip: Placing a small piece of silicone tubing over the tip of your desoldering pump prevents the original metal tip from burning out quickly and cushions the mechanical snap, protecting delicate component pins from bending.
Cleaning Tools: A brass sponge or a damp cellulose sponge to keep your soldering iron tip clean of carbon buildup, along with a toothbrush and isopropyl alcohol (or thinner) to clean flux residue off boards.
Soldering Wires Together
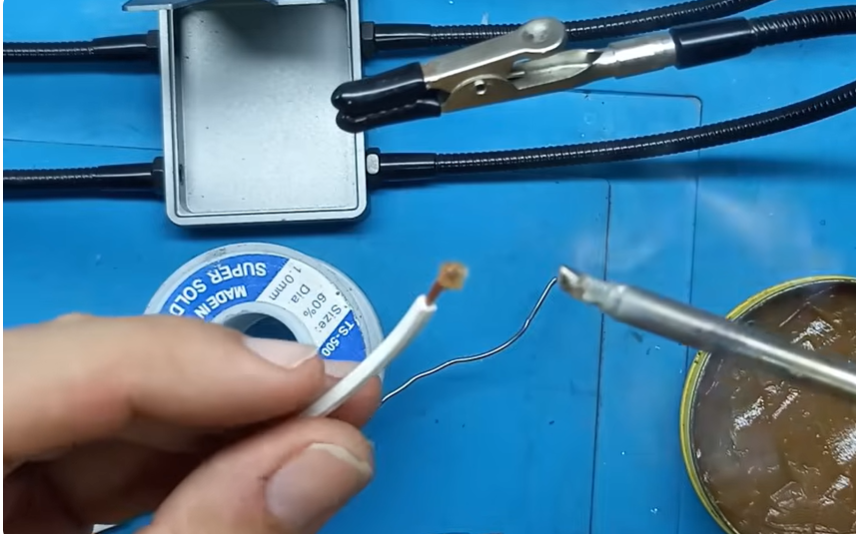
Joining two wires securely is one of the most common everyday fixes.
Strip and Prep: Strip the insulation off both wire ends to expose the copper strands.
Apply Flux: Smear a small amount of flux onto the exposed copper strands.
Tin the Wires: Touch your hot soldering iron to the wire and feed a small amount of solder into the strands until they are fully coated and uniformly silvery.
Join the Wires: Overlap or twist the tinned wire ends together, apply heat with the iron, and let the solder melt and flow into a solid joint.
Insulate: Always protect your finished connection using heat-shrink tubing rather than low-quality electrical tape for a professional and secure finish.
Desoldering and Replacing Components on Circuit Boards
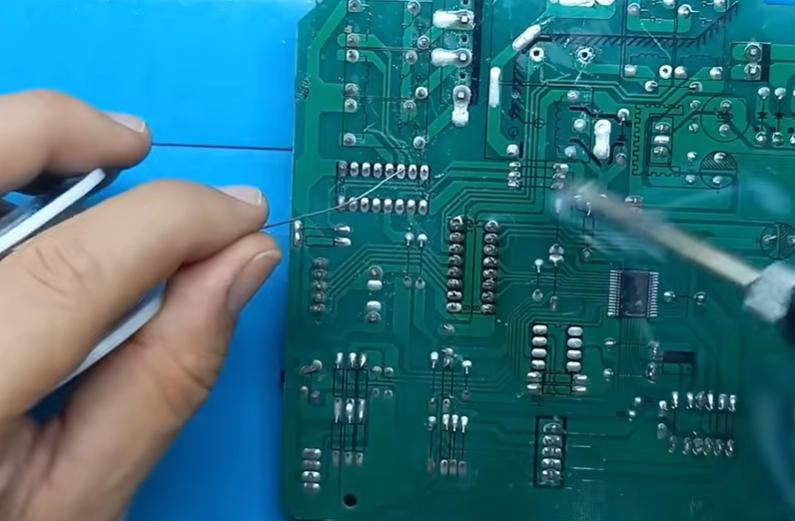
When repairing or salvaging circuit boards, removing old components cleanly is just as important as putting new ones in.
Add Flux & Resolder (Reflow): Apply flux to the pins. Touching the pins with fresh solder and your iron first (a process called reflow) reactivates old, oxidized solder, making it much easier to extract.
Use the Solder Sucker: Heat the joint with your iron for a few seconds until the solder melts, then immediately trigger your desoldering pump to suck up the liquid solder. Repeat until all pins are free.
Clean the Area: Scrub the leftover flux away using a toothbrush and isopropyl alcohol, then dry it with absorbent paper towels.
Soldering New Components Onto Circuit Boards
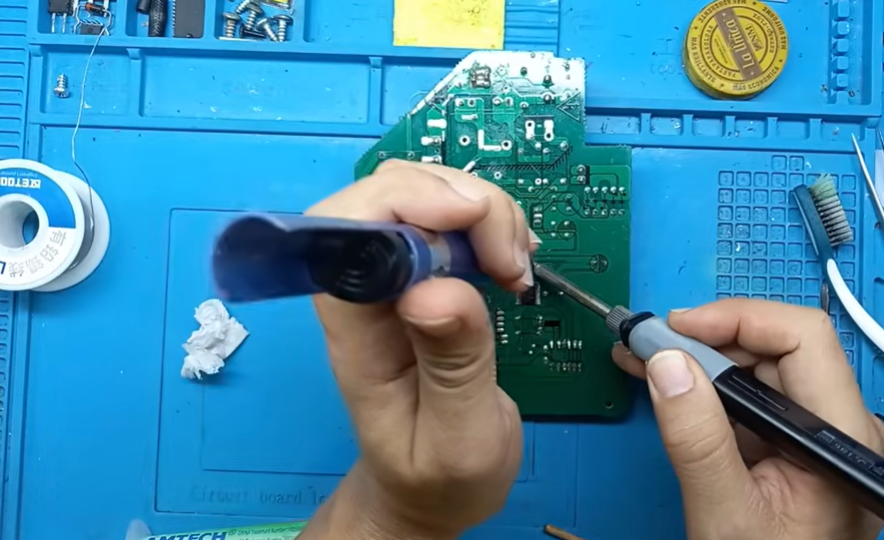
Check Polarity & Placement: Always verify the correct orientation of your component (checking pin one markers or component notches) before inserting it.
Clean the Board: Wipe the area with isopropyl alcohol to remove grease or debris. Apply fresh flux to the target pads.
The Soldering Motion:
Place the tip of your heated iron firmly against both the component pin and the copper pad simultaneously to heat the zone
Pro Tips for Success
Safety First: Always solder in a well-ventilated area to avoid breathing in smoke and fumes from the melting flux and lead.
Practice Makes Perfect: If you are a beginner, don't practice on valuable electronics. Collect old junk circuit boards and scrap wires to practice removing and reinstalling components repeatedly. As your muscle memory improves, your solder joints will look and perform as clean as factory-made boards!