Maternity Pants Out of Old Trousers
by Emelieh21 in Craft > Sewing
114 Views, 3 Favorites, 0 Comments
Maternity Pants Out of Old Trousers
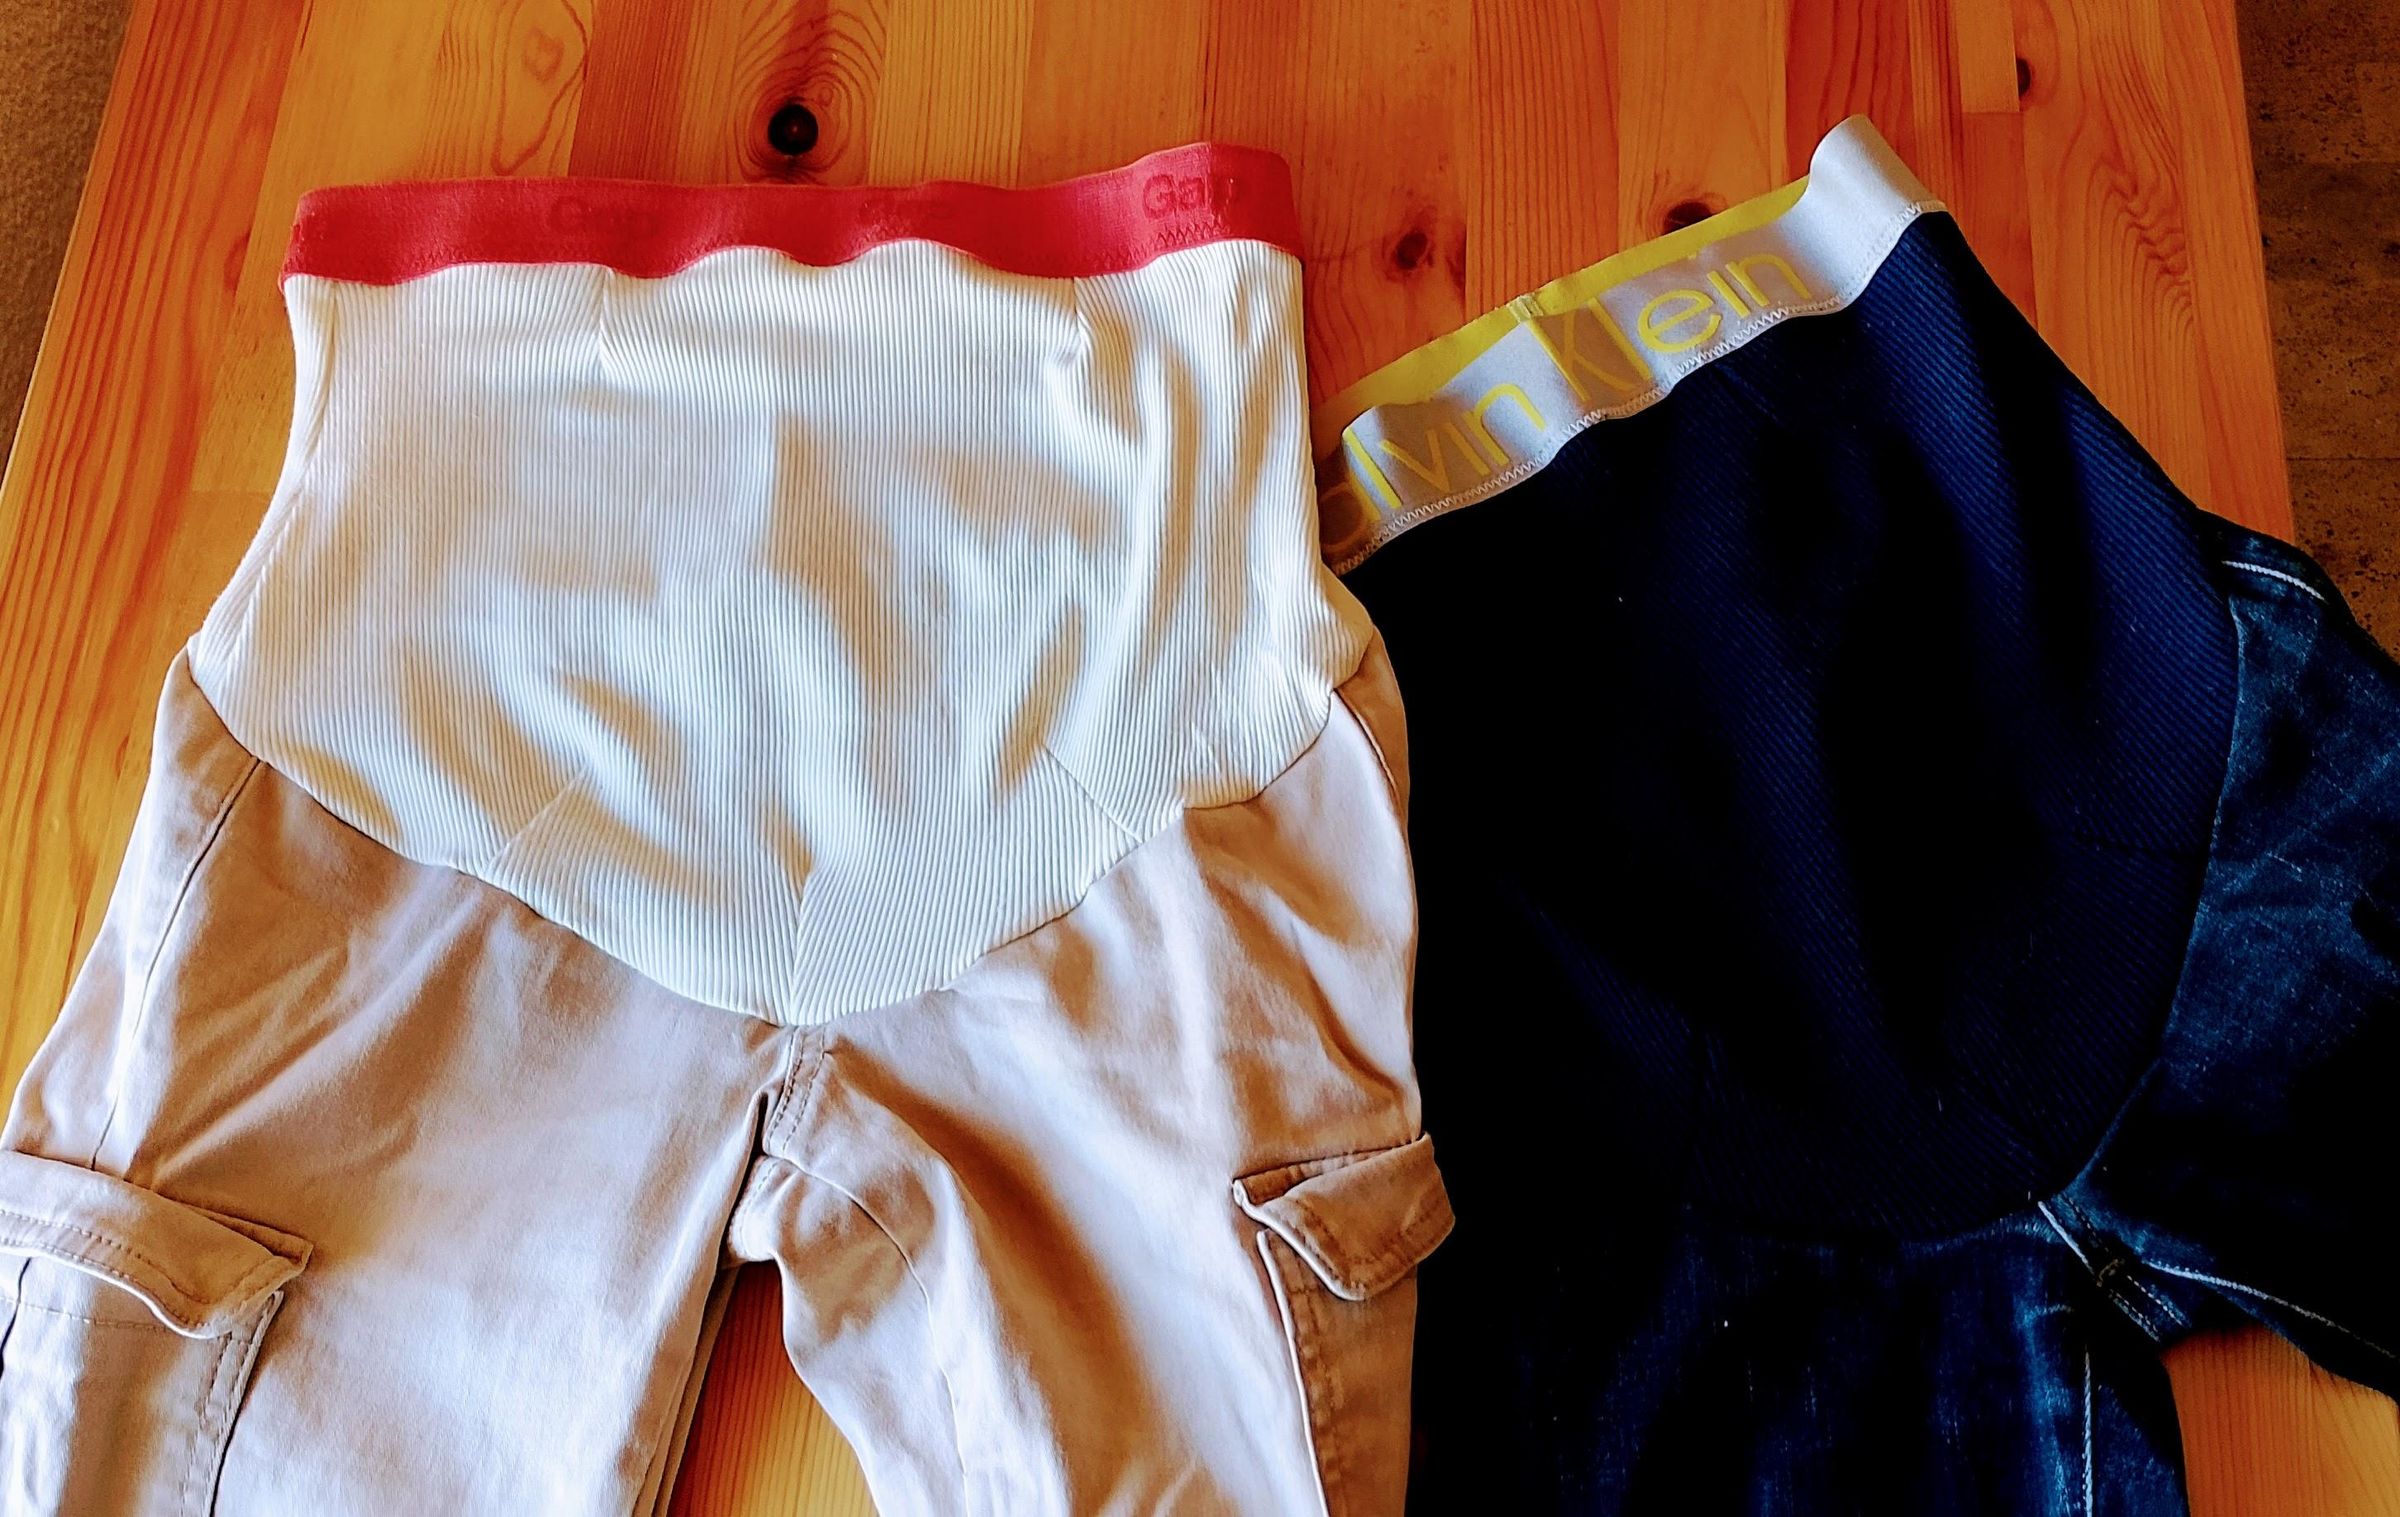
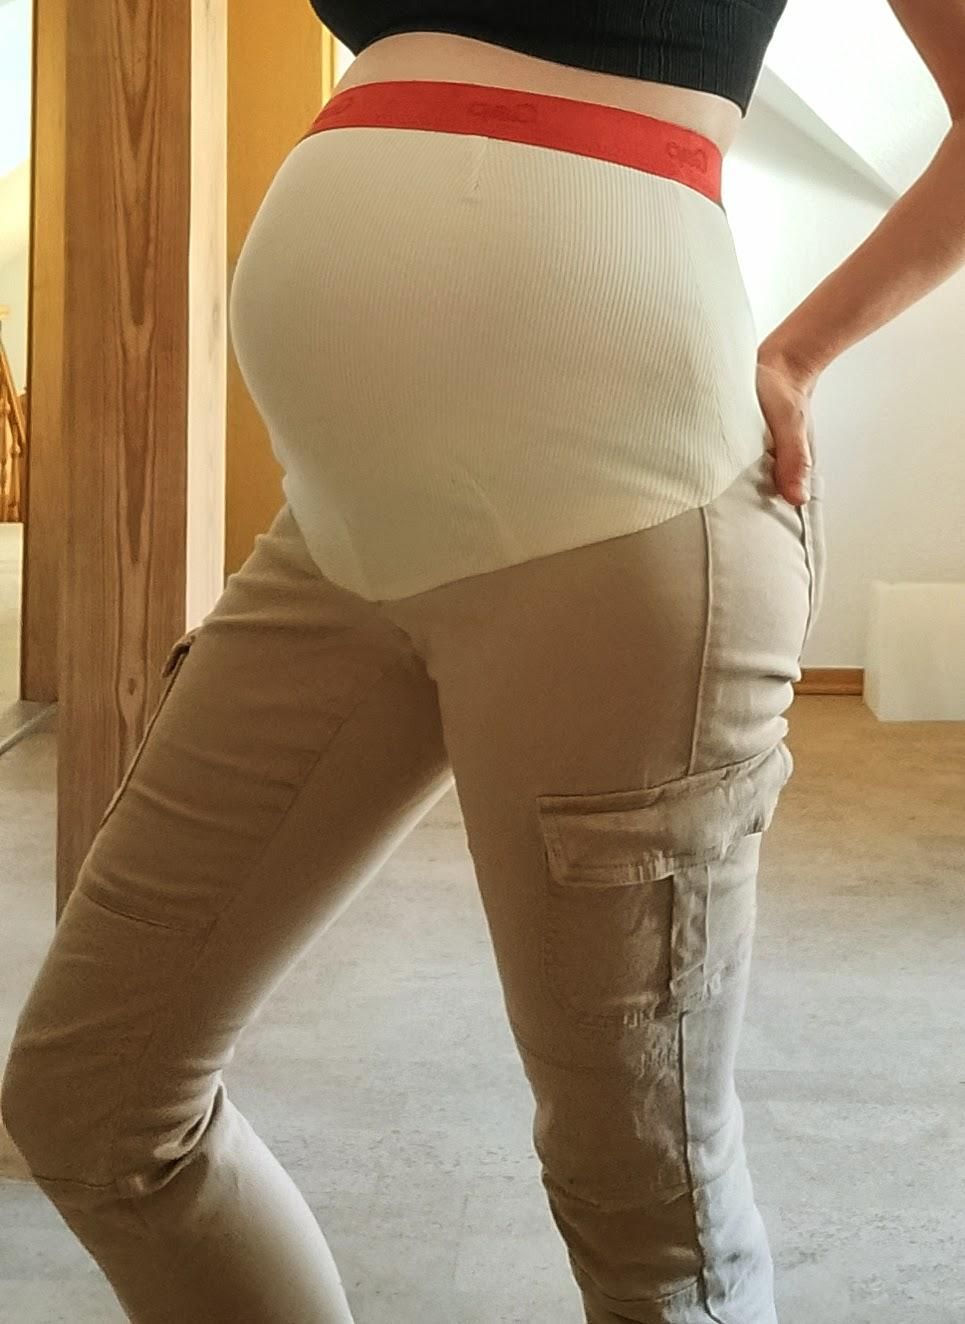
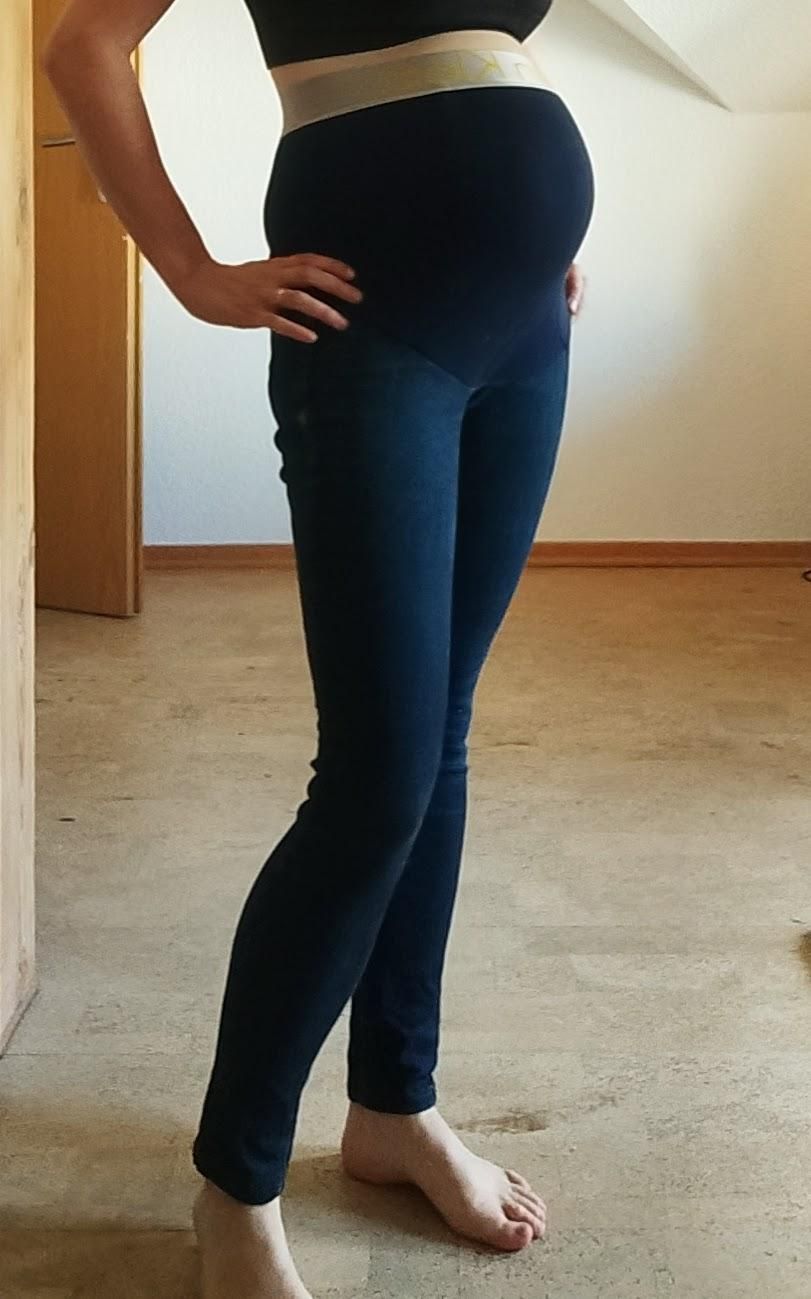
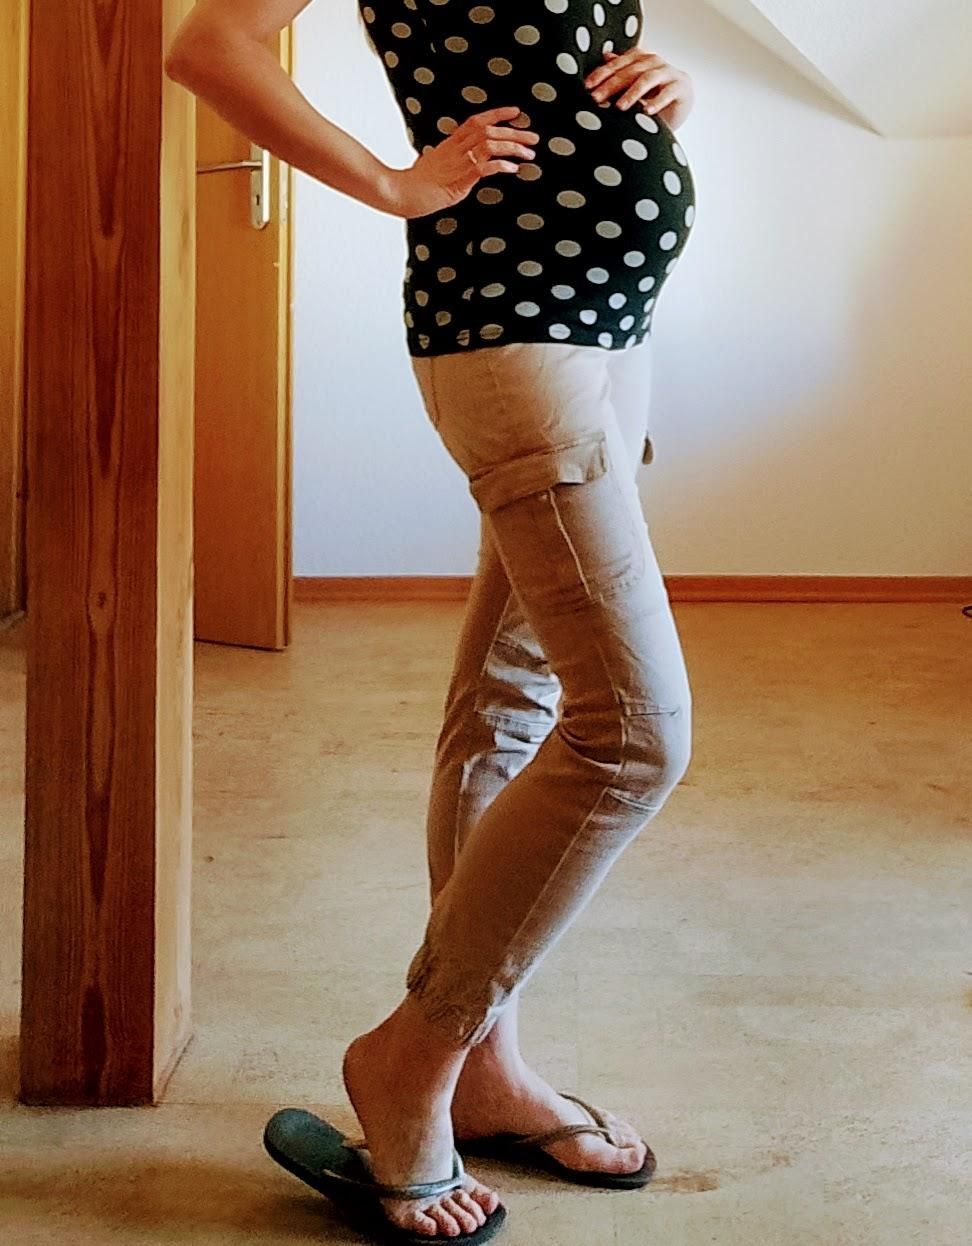
When your regular pants suddenly stop fitting, finding maternity clothes can feel surprisingly stressful. I live in a smaller city without any maternity clothing shops, so I wanted a quick and easy way to turn some of my old trousers into a pair of maternity pants.
There are plenty of tutorials and videos online showing how to do this, but I didn't find one that felt quite as straightforward and lazy as what I had in mind. So I decided to share my version.
This is actually a pretty easy transformation, and you don't need much fabric or many supplies. If you don't spend an hour redoing the darts a million times like I did, you can make a pair surprisingly quickly. It's also a great way to give a pair of trousers you never wear anymore a second life.
For my version, I used some stretchy fabric and the elastic from an old pair of underwear.
Supplies
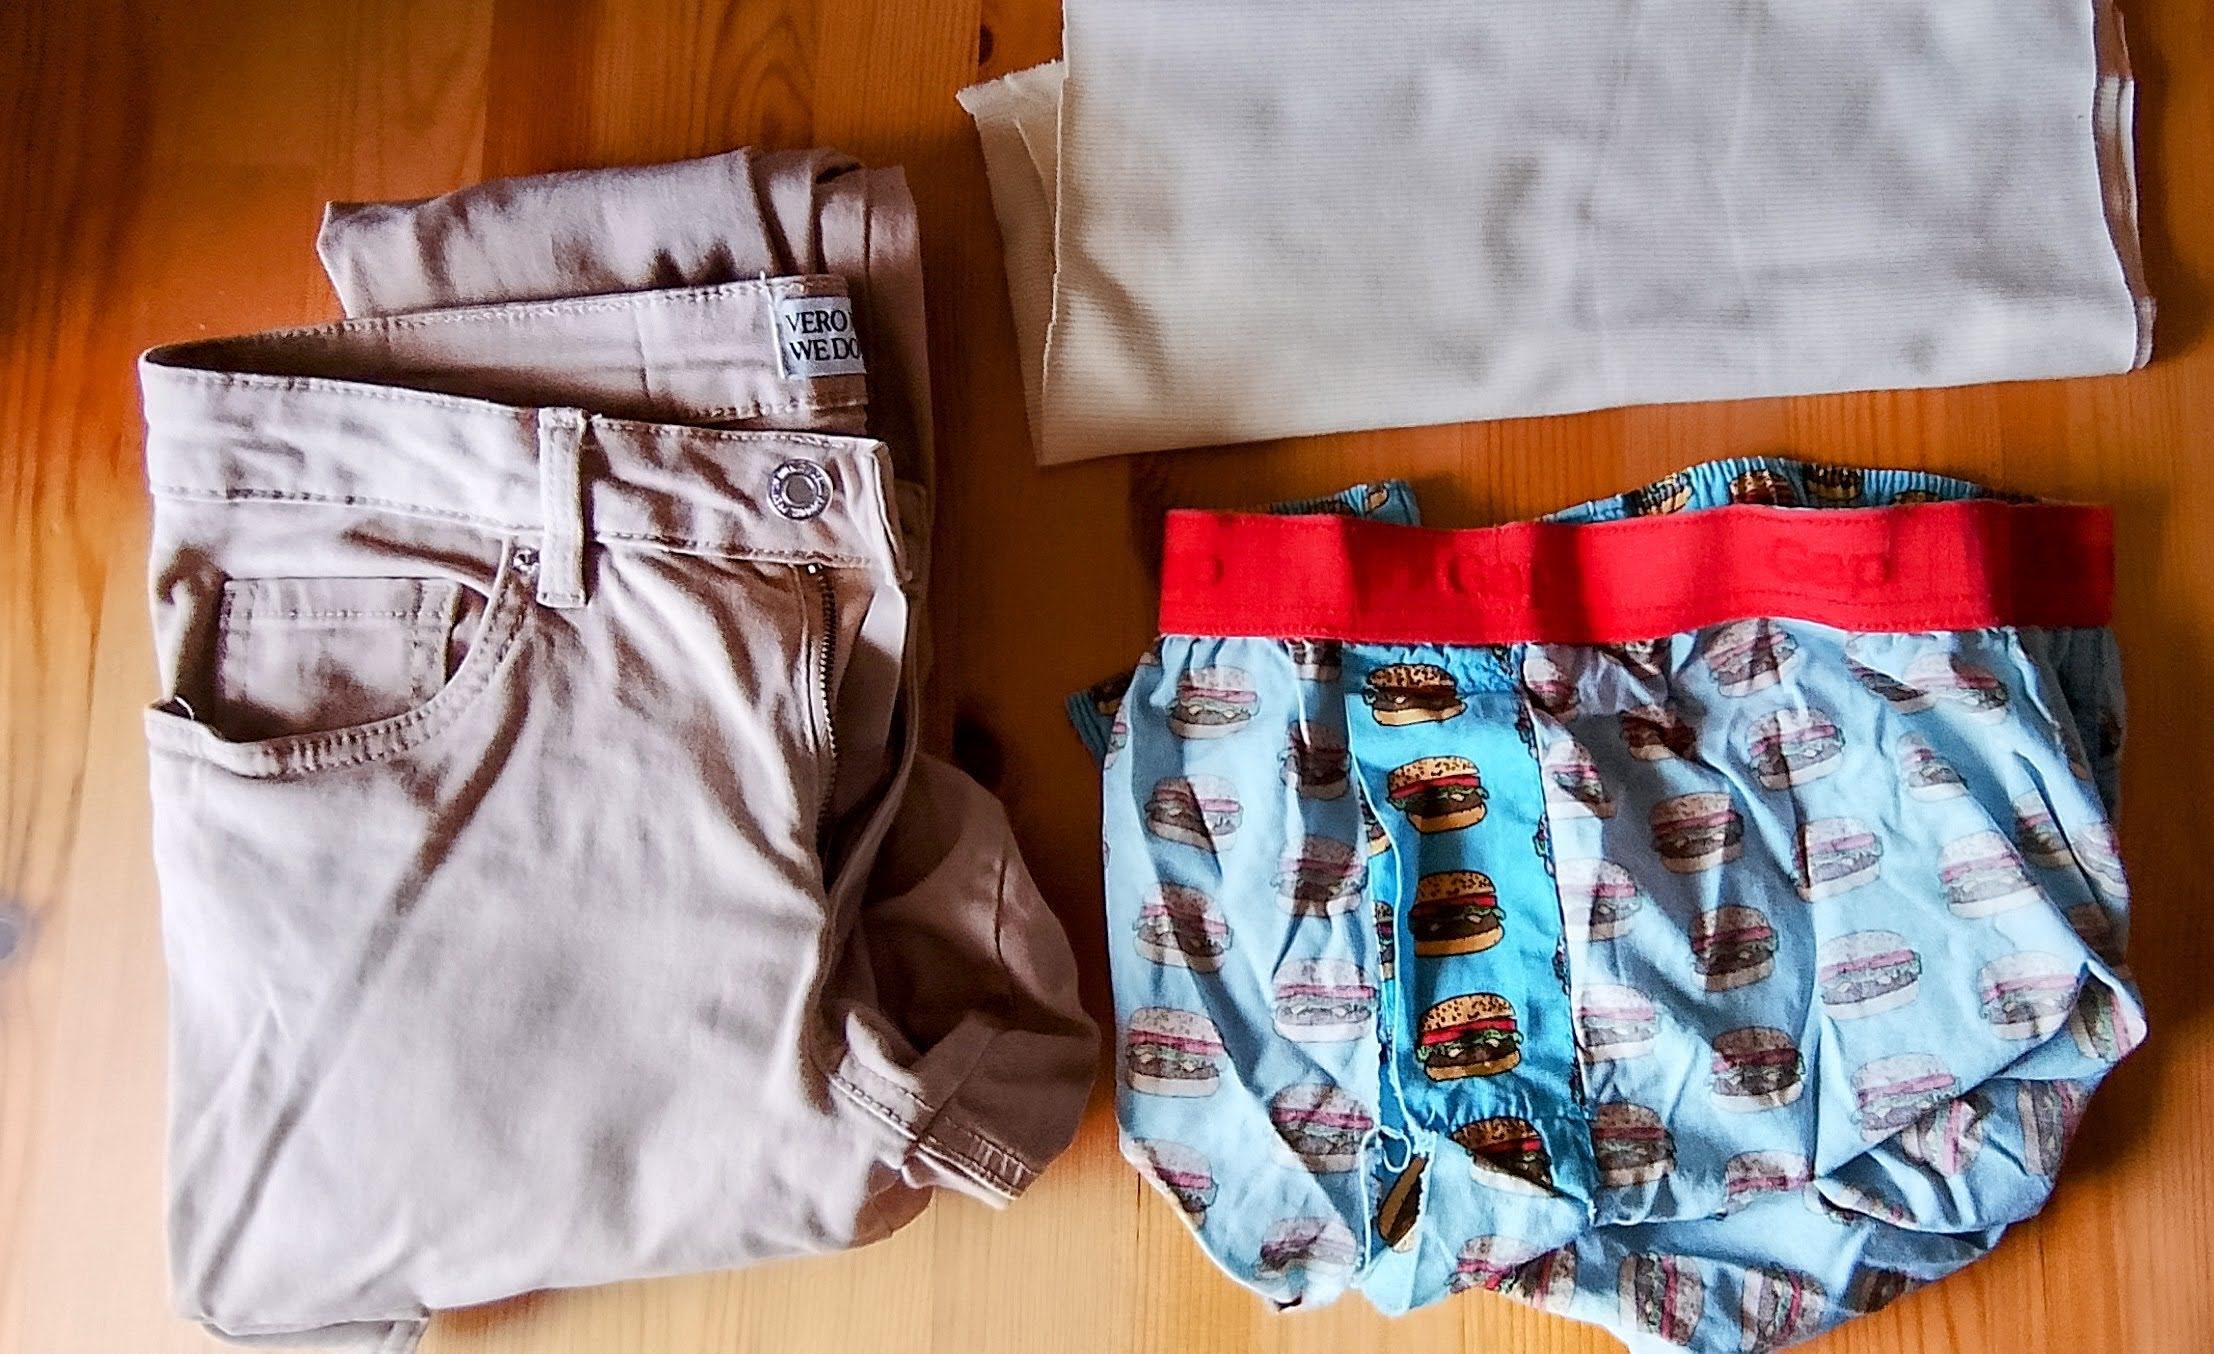
- Sewing machine
- Scissors, pins, needles, thread, etc.
- Ruler
- Pencil
- An old pair of trousers
- Stretch fabric – You don't need much. I'd say around 30 × 60 cm should be enough. I had a piece of fabric lying around, but I imagine an old stretchy T-shirt could work too.
- Elastic – I took mine from an old pair of underwear, and it turned out to be the perfect amount.
Cut the Pants
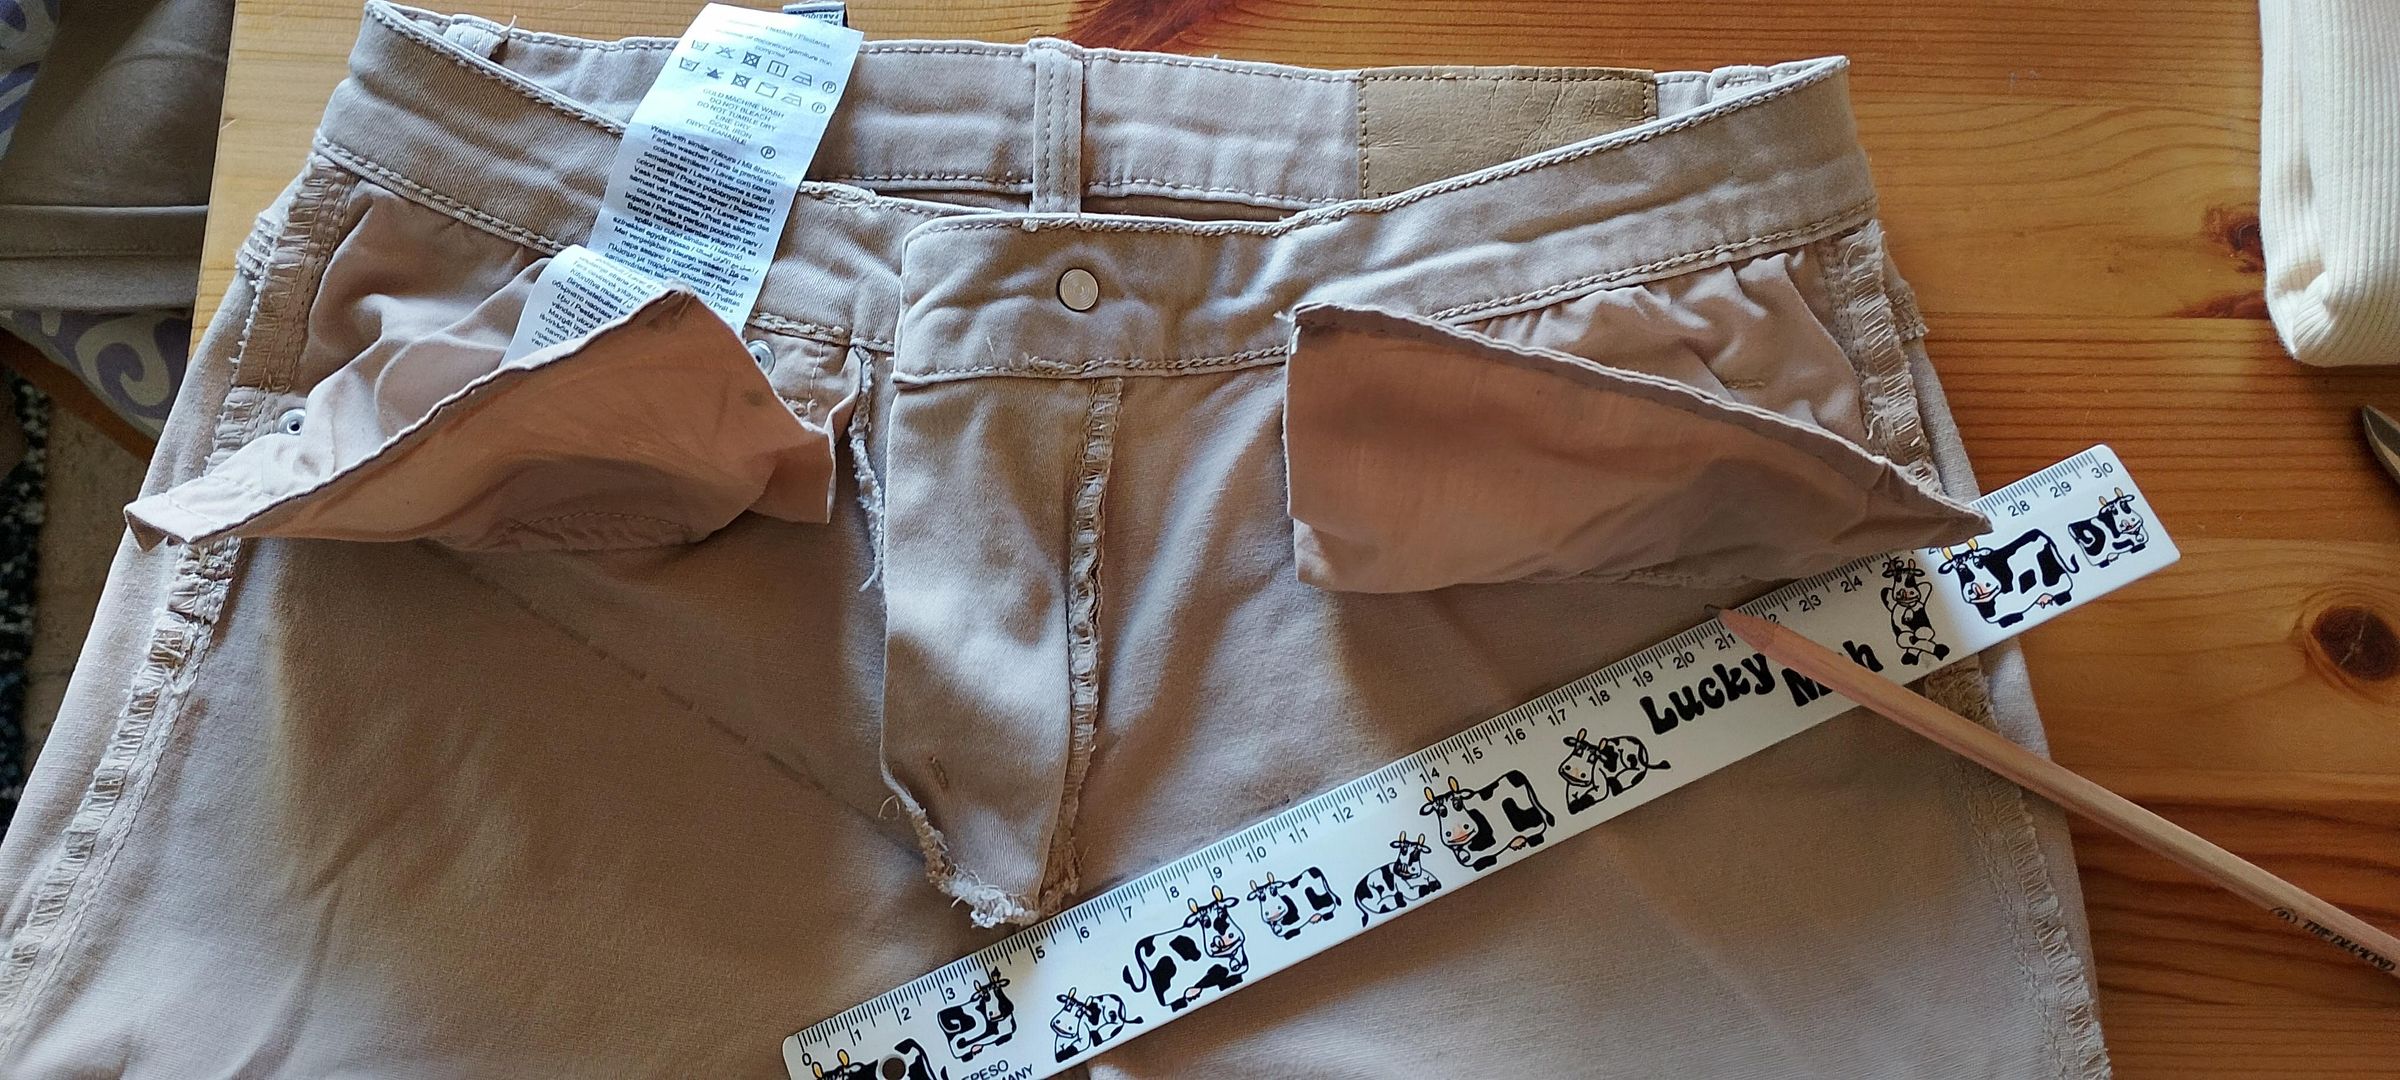
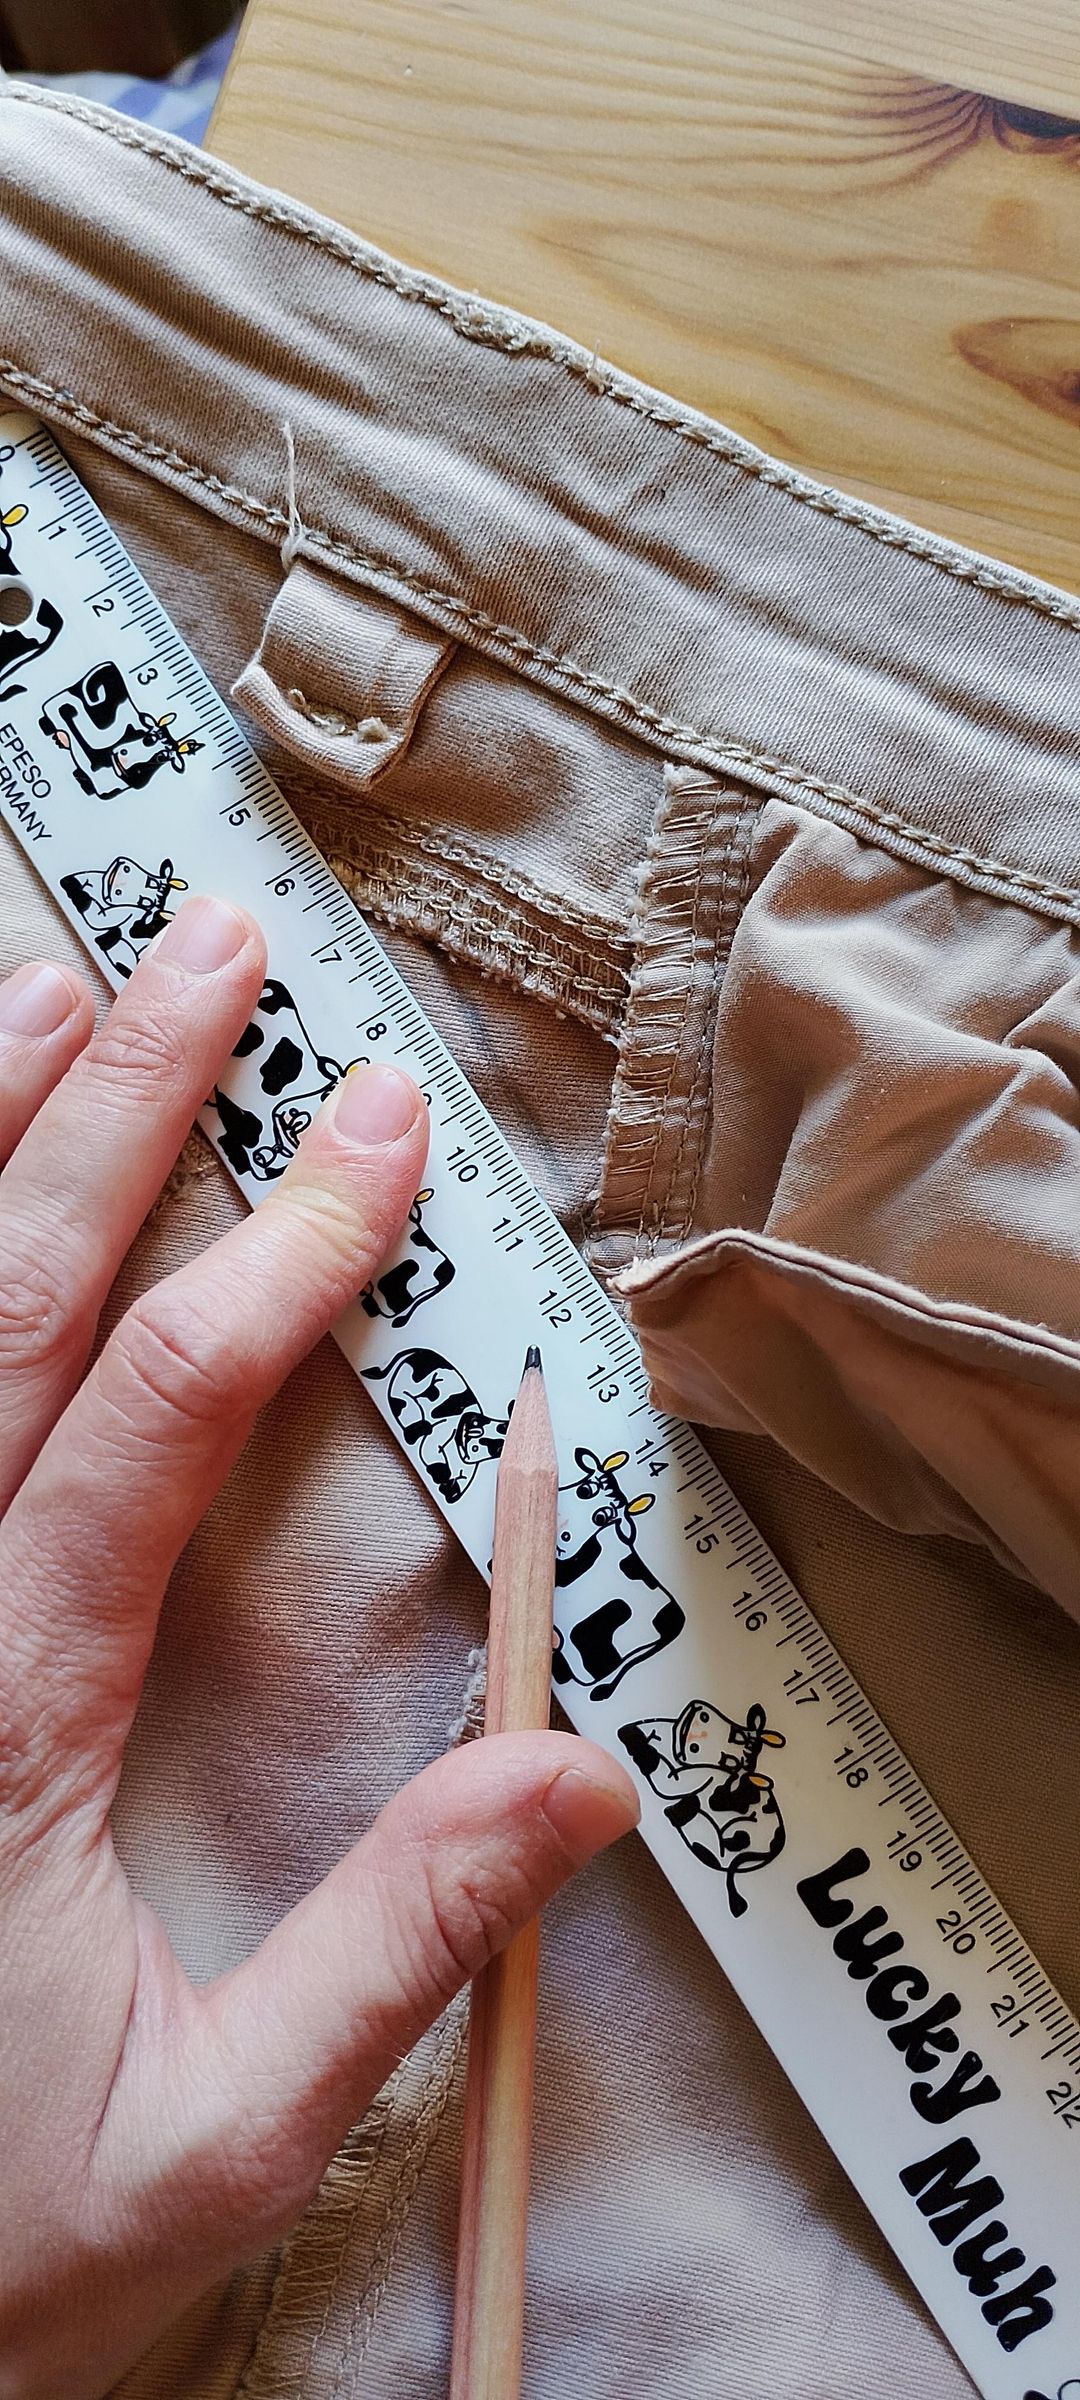
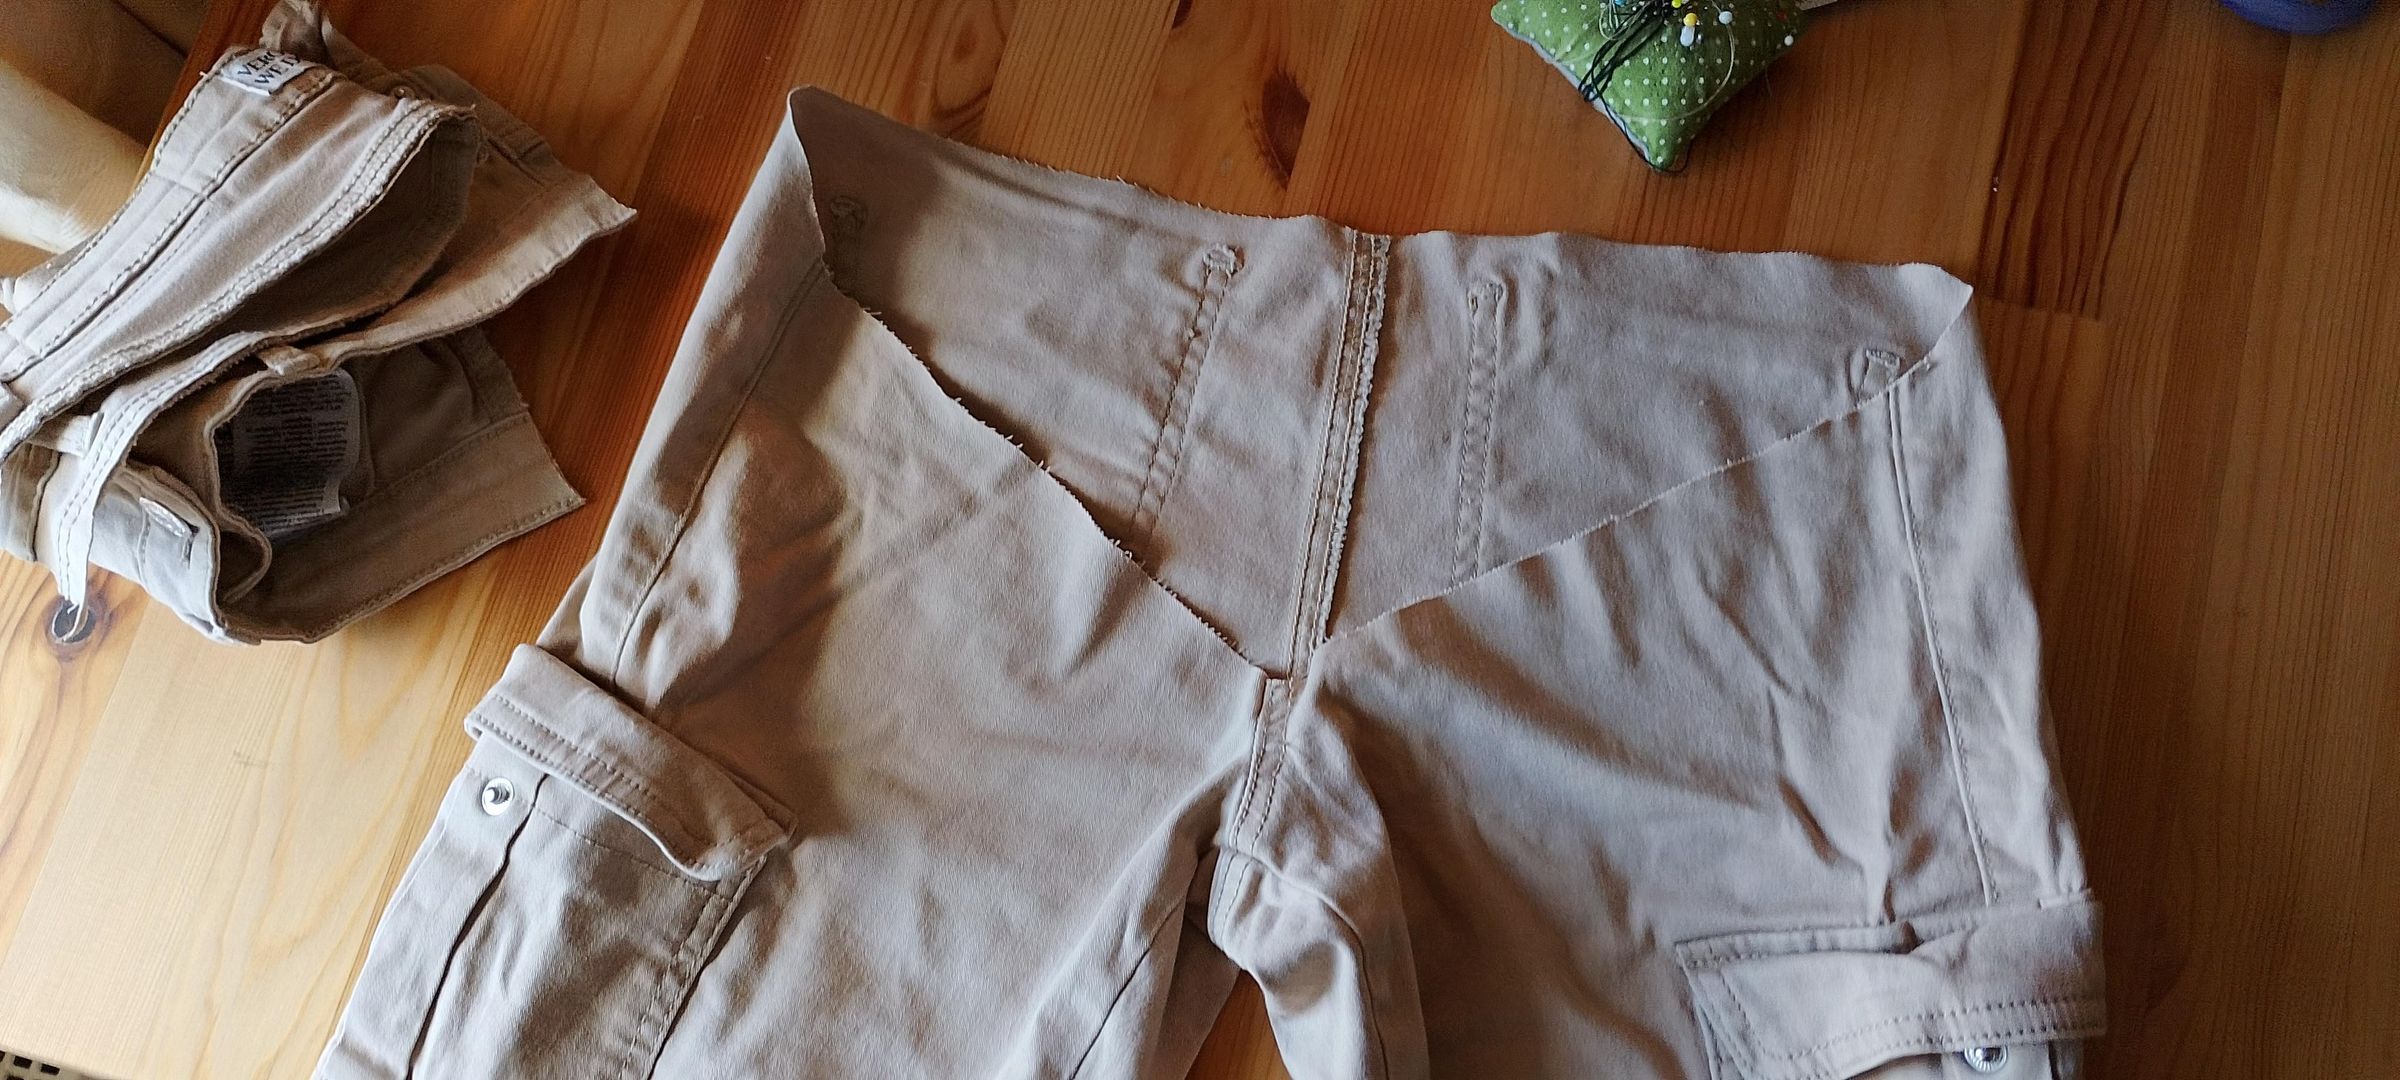
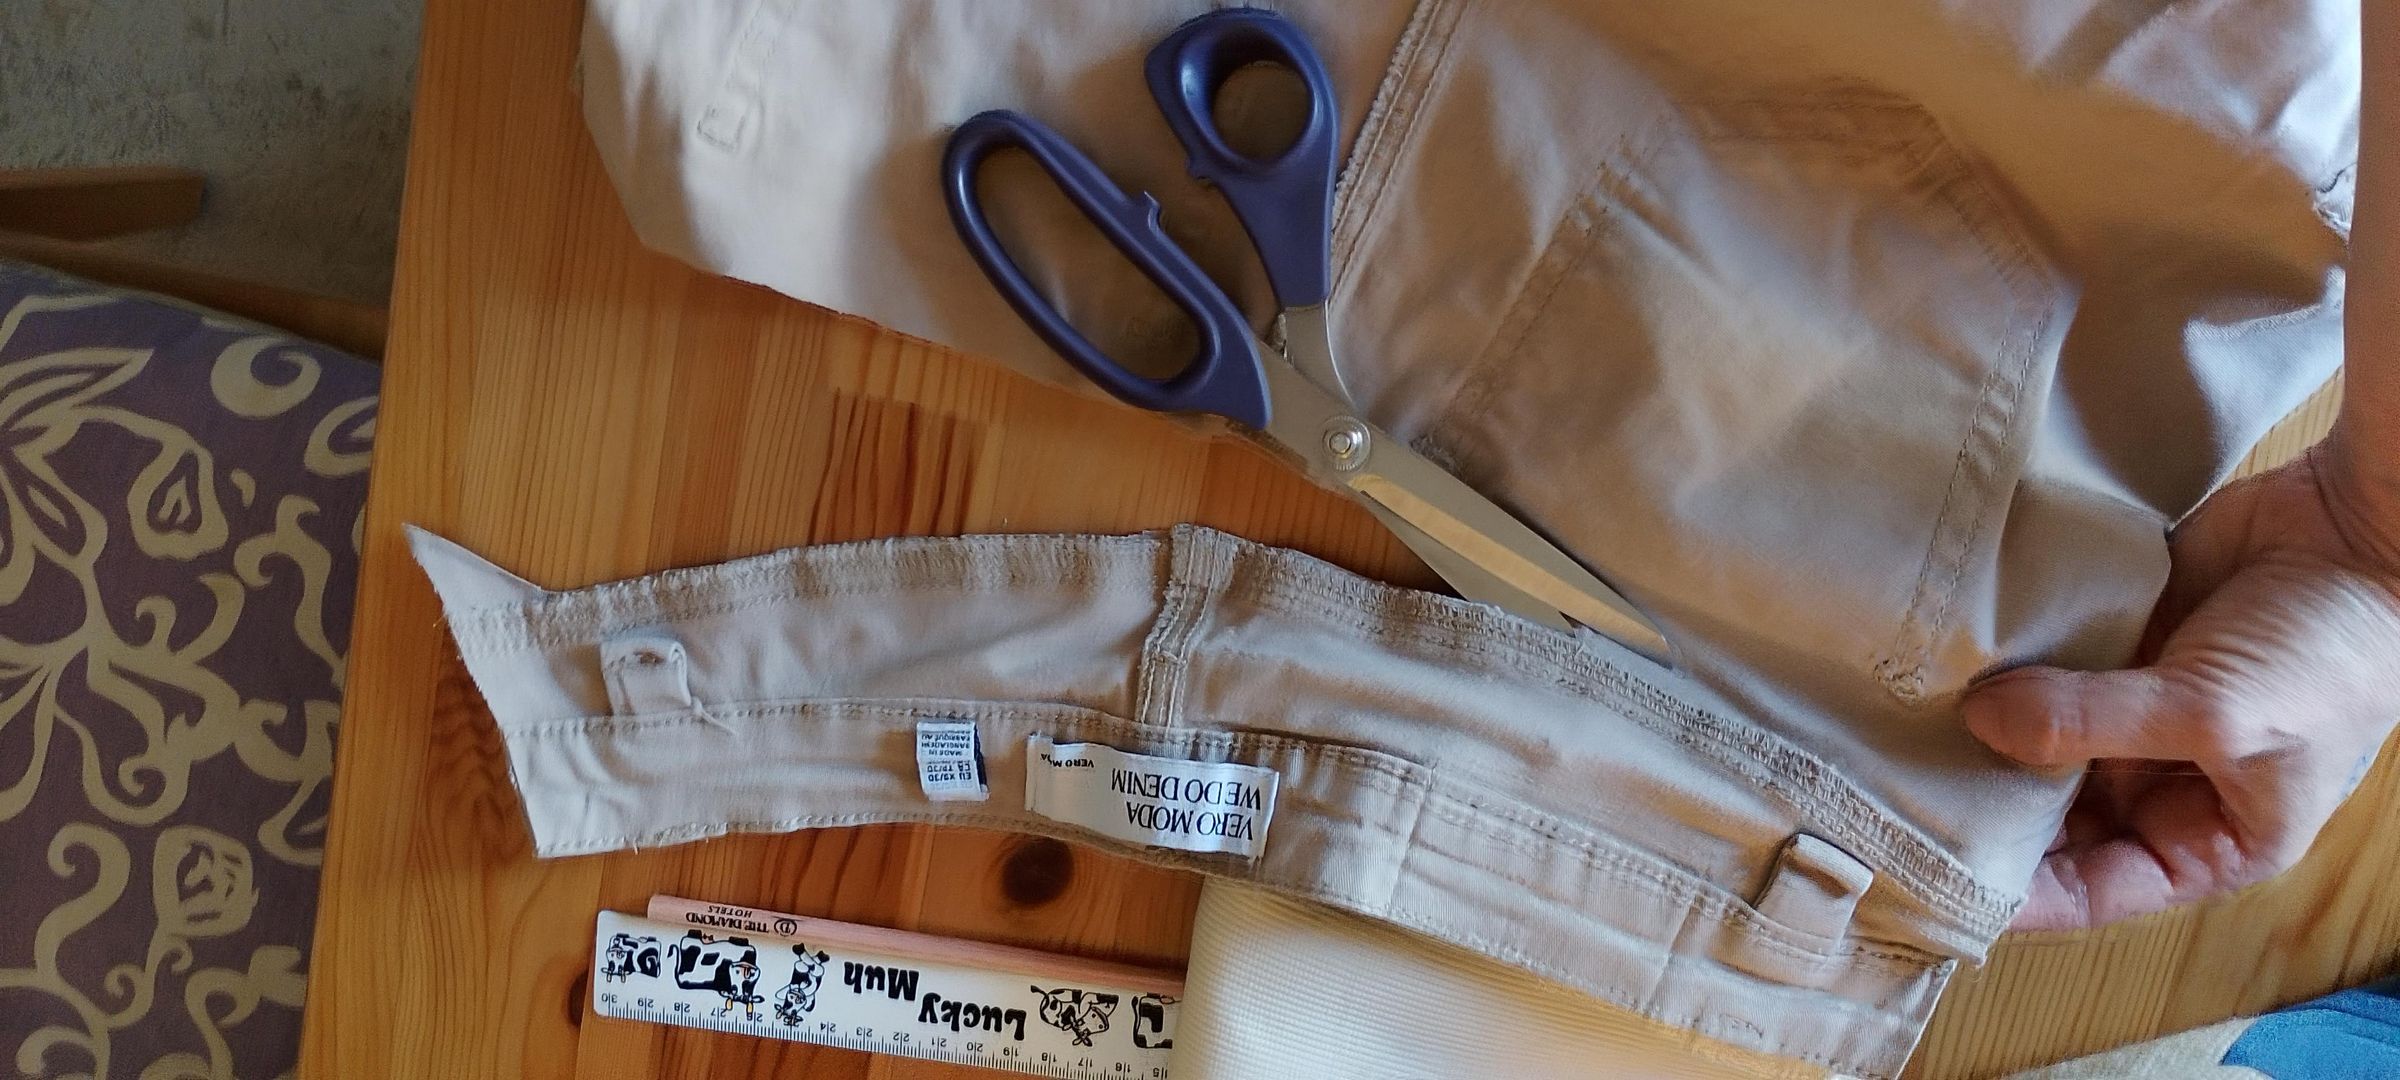
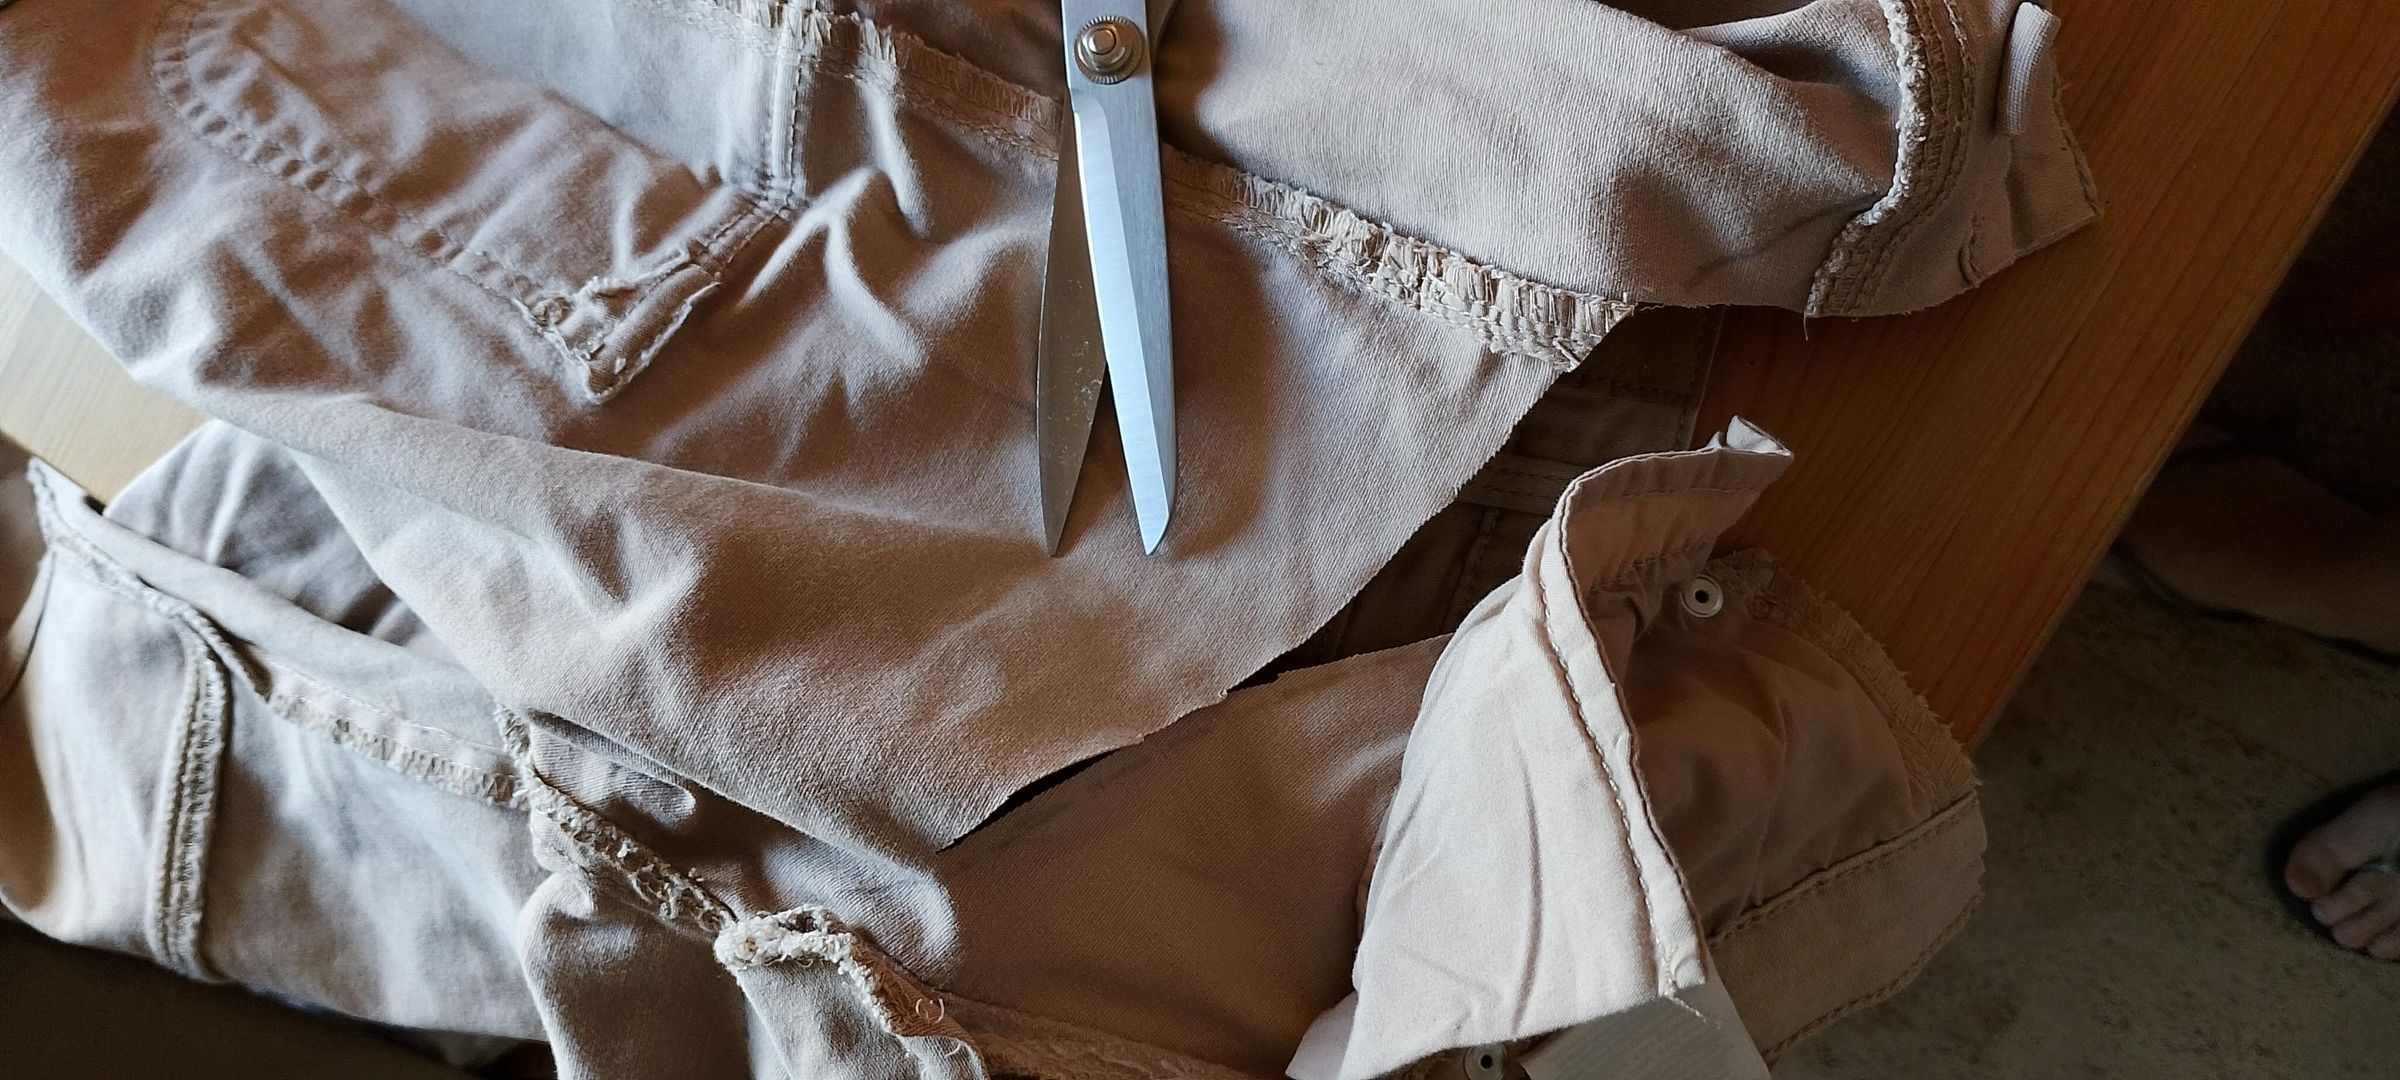
This is the scariest part, so I recommend using a pair of trousers that you really don't care about anymore.
Turn the trousers inside out.
I didn't want to waste time removing the zipper, so I cut the front starting just below the zipper and continuing towards the sides, ending at the point where the pockets are attached with a small metal rivet.
To make this easier, I made a small cut in the pocket on each side, right up to the metal rivet (see photo). Then I placed a ruler between the point below the zipper and the rivet and drew a straight line with a pencil. Repeat on the other side.
On the back, draw a line from each of the metal rivets up to the point where the seat seam joins the back of the trousers (see photo).
Now cut along your lines:
- On the front, cut along the lines you drew, from below the zipper out towards the side seams.
- On the back, cut from the side seams towards the lines you drew, then continue underneath the seam that joins the seat/crotch area to the back of the trousers (see photo).
The exact shape of the cut isn't hugely important, as long as you end up with an opening around the waist that we can replace with stretchy fabric.
Don't throw any of the pieces away yet! We still need them as a template in the next step.
Cut the Stretch Fabric to Size
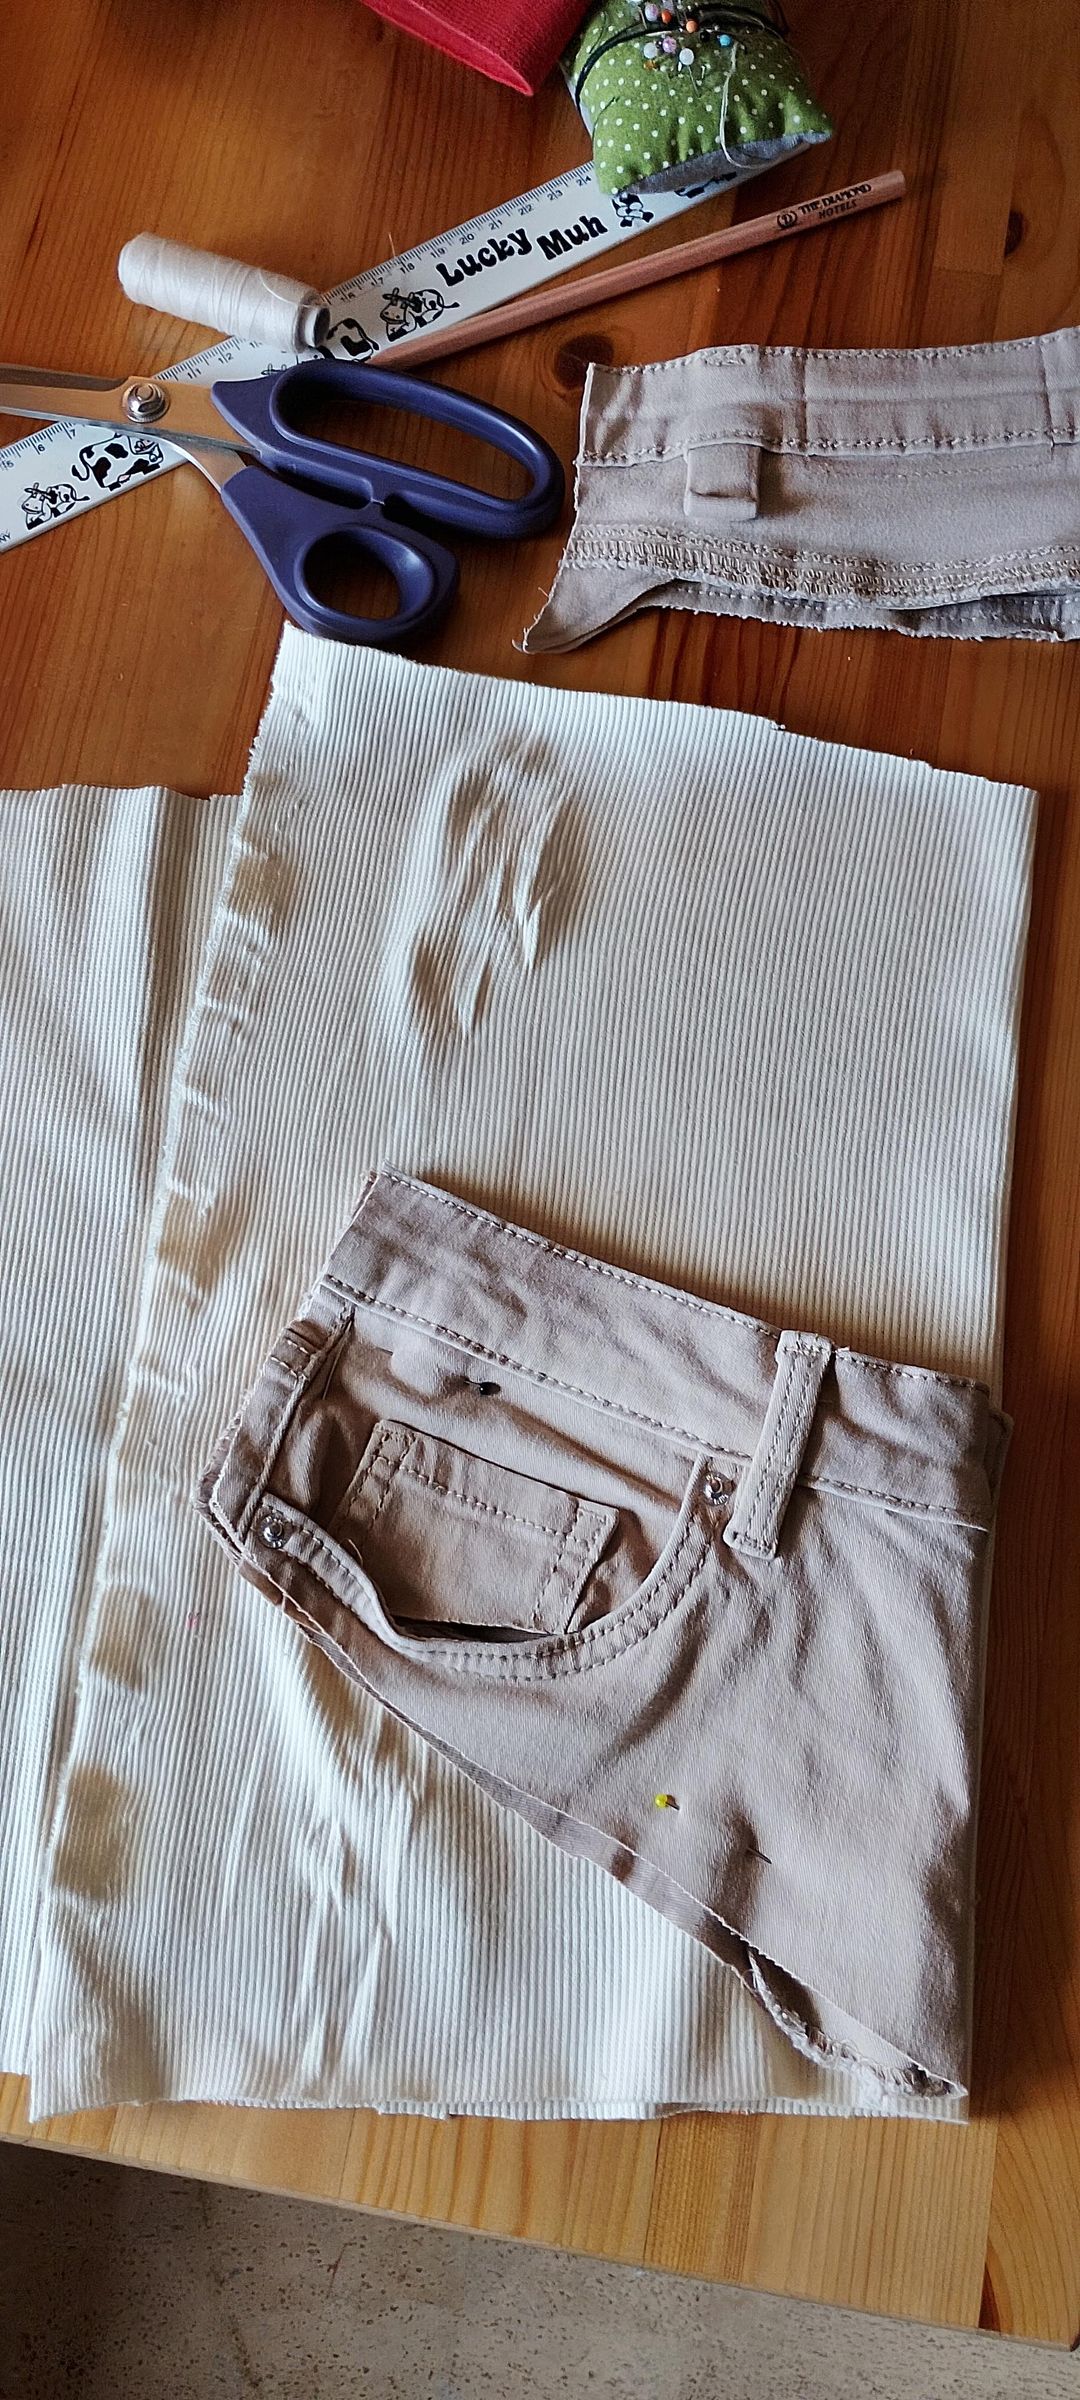
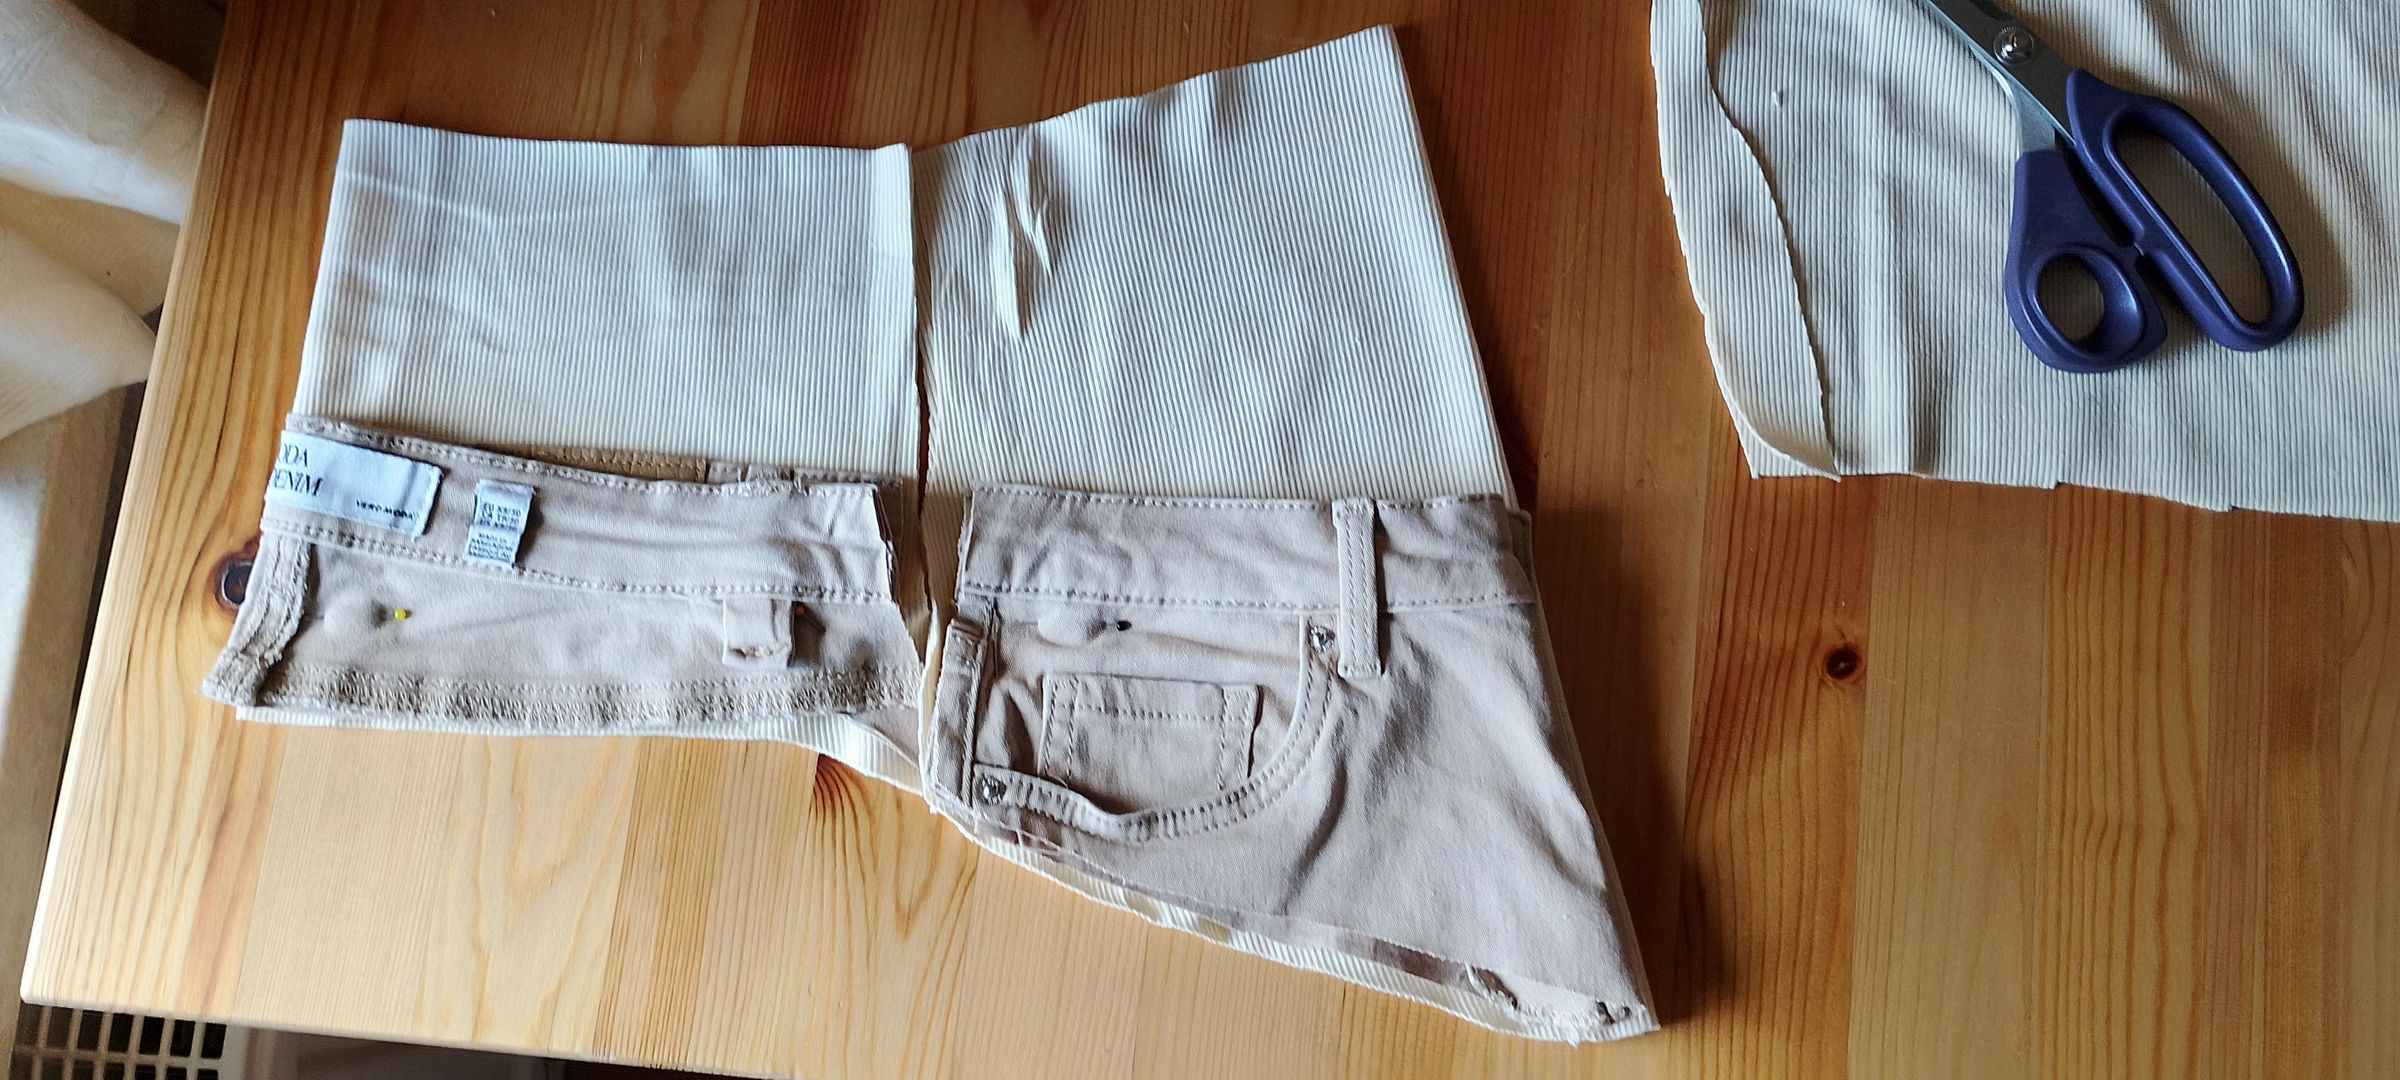
Now we are going to replace the part we cut away with stretchy fabric.
Front
Take the front piece you just cut off the trousers and place it on top of your stretch fabric.
I folded both the cut-off piece and the stretch fabric in half before cutting. This makes it easier to get a symmetrical shape.
Cut around the bottom and sides of the original piece. You don't need to add a seam allowance here. We want the fabric to stretch a little when the pants are worn. It should therefore end up slightly smaller than the original opening in the trousers.
For the top, however, keep as much fabric as you have available. The higher the stretch fabric comes over your belly, the more comfortable the pants will be.
Back
Do the same for the back piece.
Cut around the bottom and sides without adding a seam allowance, and leave as much fabric as needed for the top so that the back piece aligns with the front piece (see photo).
Don't worry if the pieces look a little strange at this stage. We'll shape them to fit your body in the next step.
Fit Stretch to Body Size
.jpg)
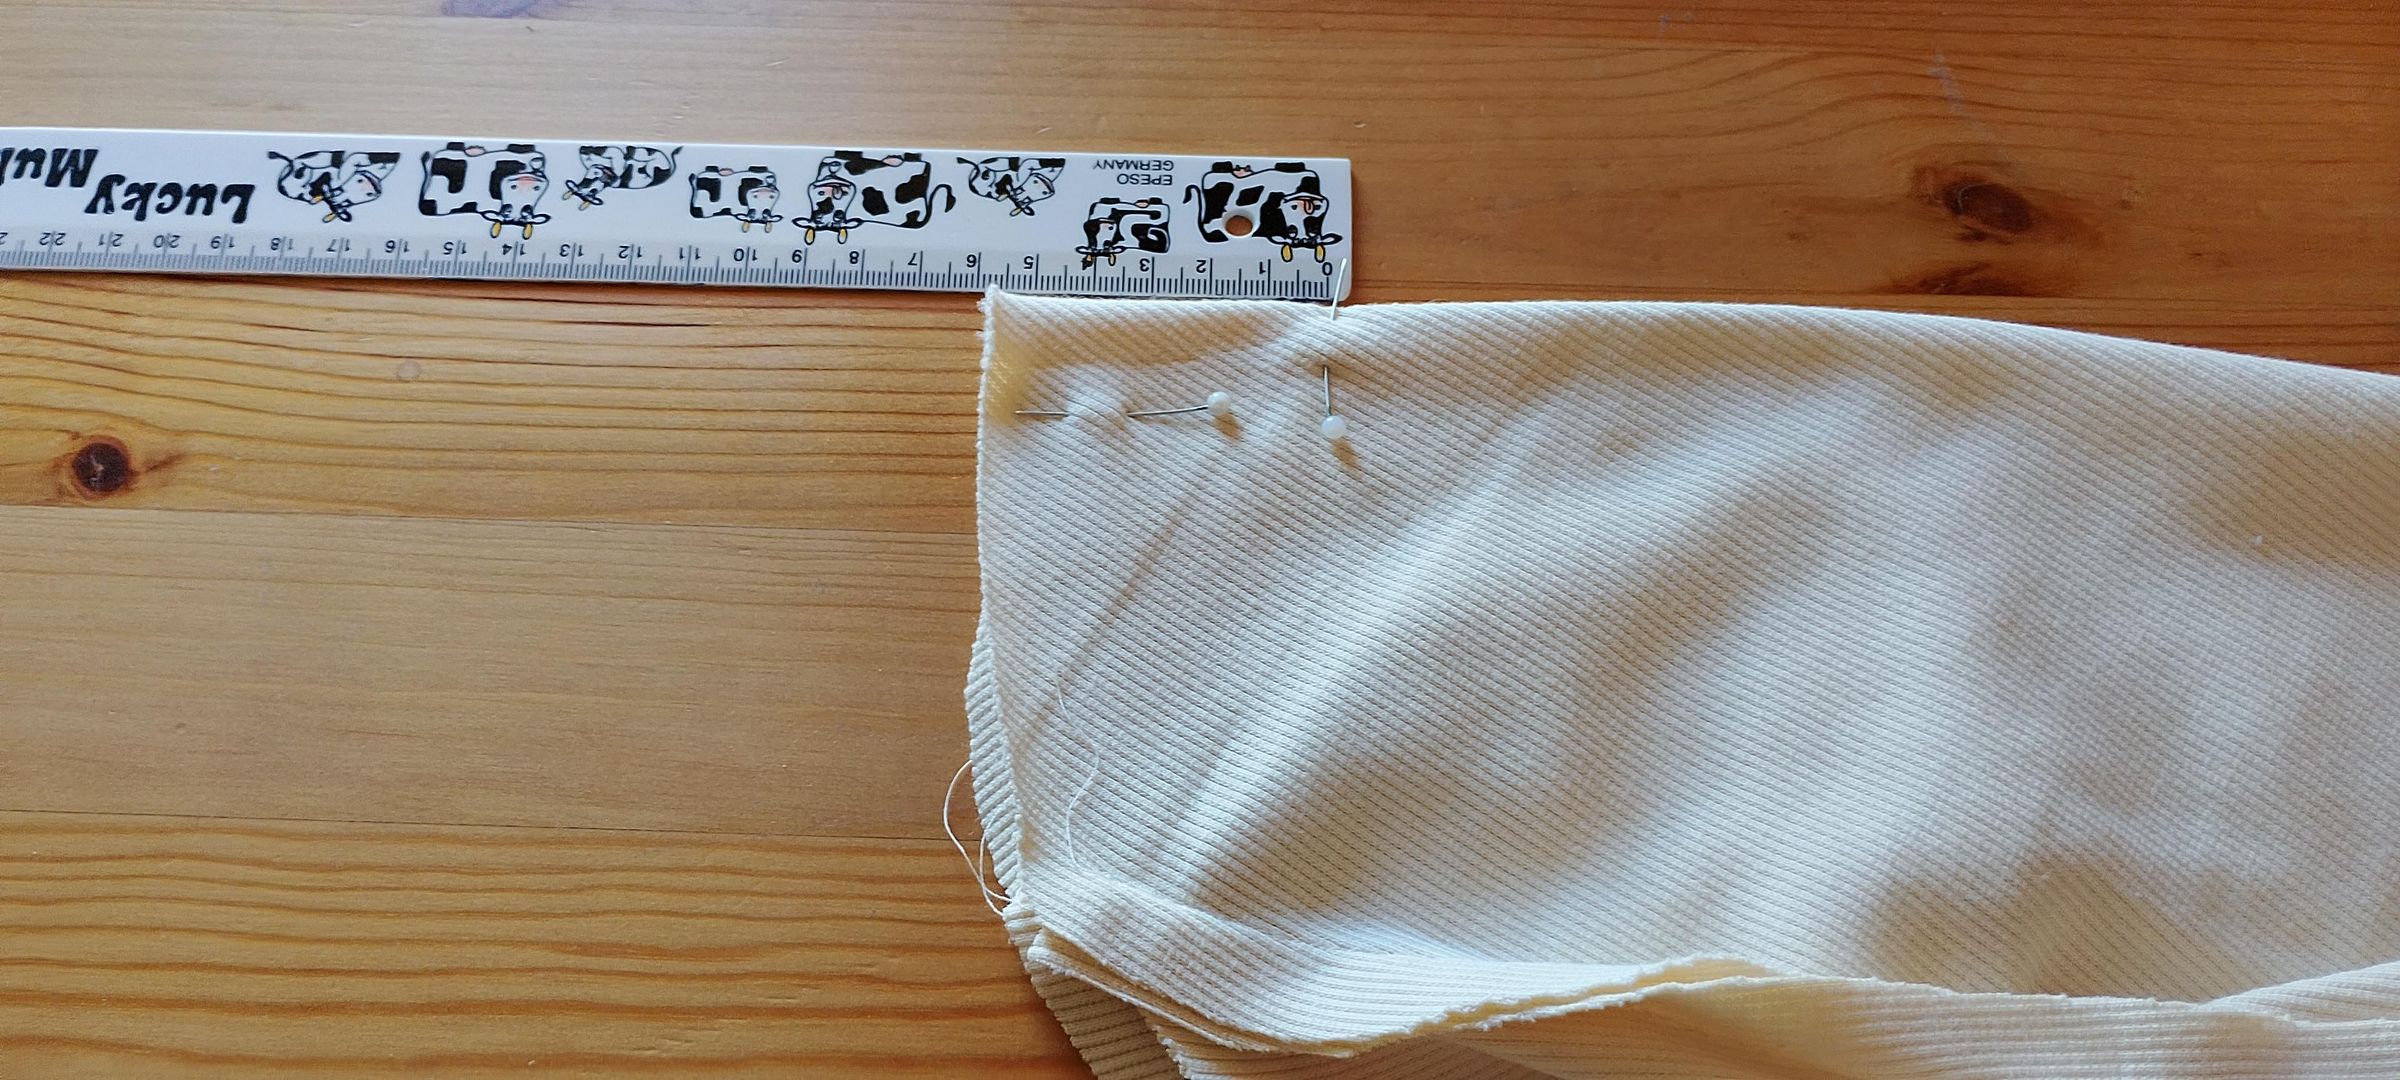
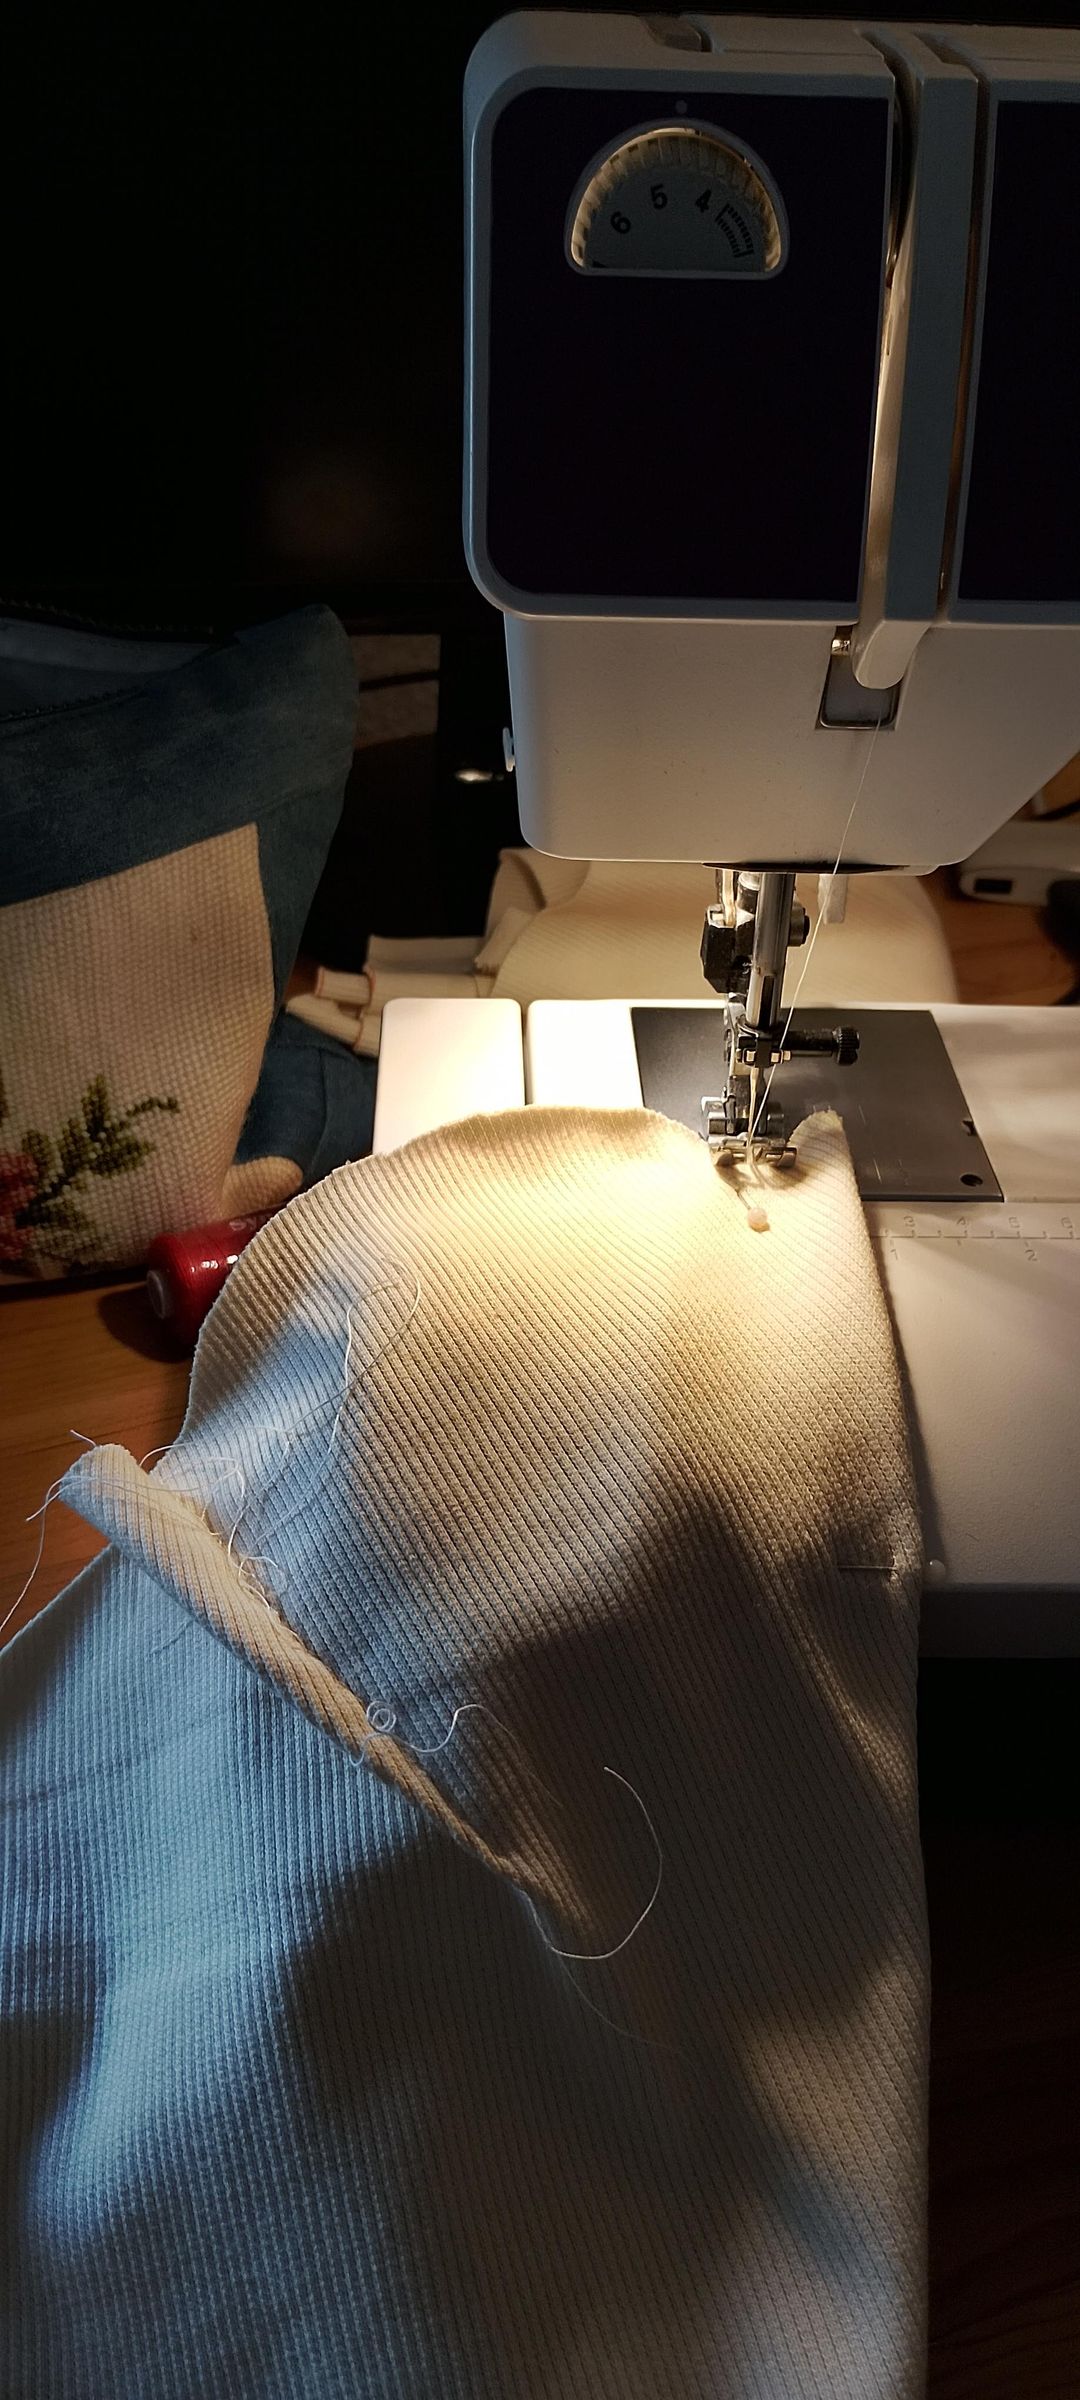
First, sew the front and back stretch pieces together, with the right sides facing each other.
Now comes the part where we shape the fabric around your belly.
Adding a few darts (small V-shaped sections sewn into the fabric) makes the finished pants fit much better and look much less wobbly.
I initially put the stretch fabric on and tried to decide where to put the darts while wearing it. Unfortunately, I wasn't very happy with the result. I think I tried to take too much fabric out in one place, which made the fabric look weird and uneven.
I ended up redoing this many, many times. In all fairness, I probably wasted an hour here, so please don't do the same!
In the end, I used the same approach that worked for my previous pair: 5 darts in total, each approximately 1.5 cm wide at the opening and 5.5 cm long. I made 3 in the lower part of the front and 2 in the top.
The exact measurements aren't particularly important. The idea is simply to remove some of the excess fabric and create a smooth curve around your belly.
I also took in a little bit of fabric at the back to make the fit slightly tighter, but this is completely optional.
Tip: Take your time here and try the stretch section on as you go. It is much easier to adjust the fit before the pieces are sewn together than afterwards.
Sew the Stretch Onto the Pants
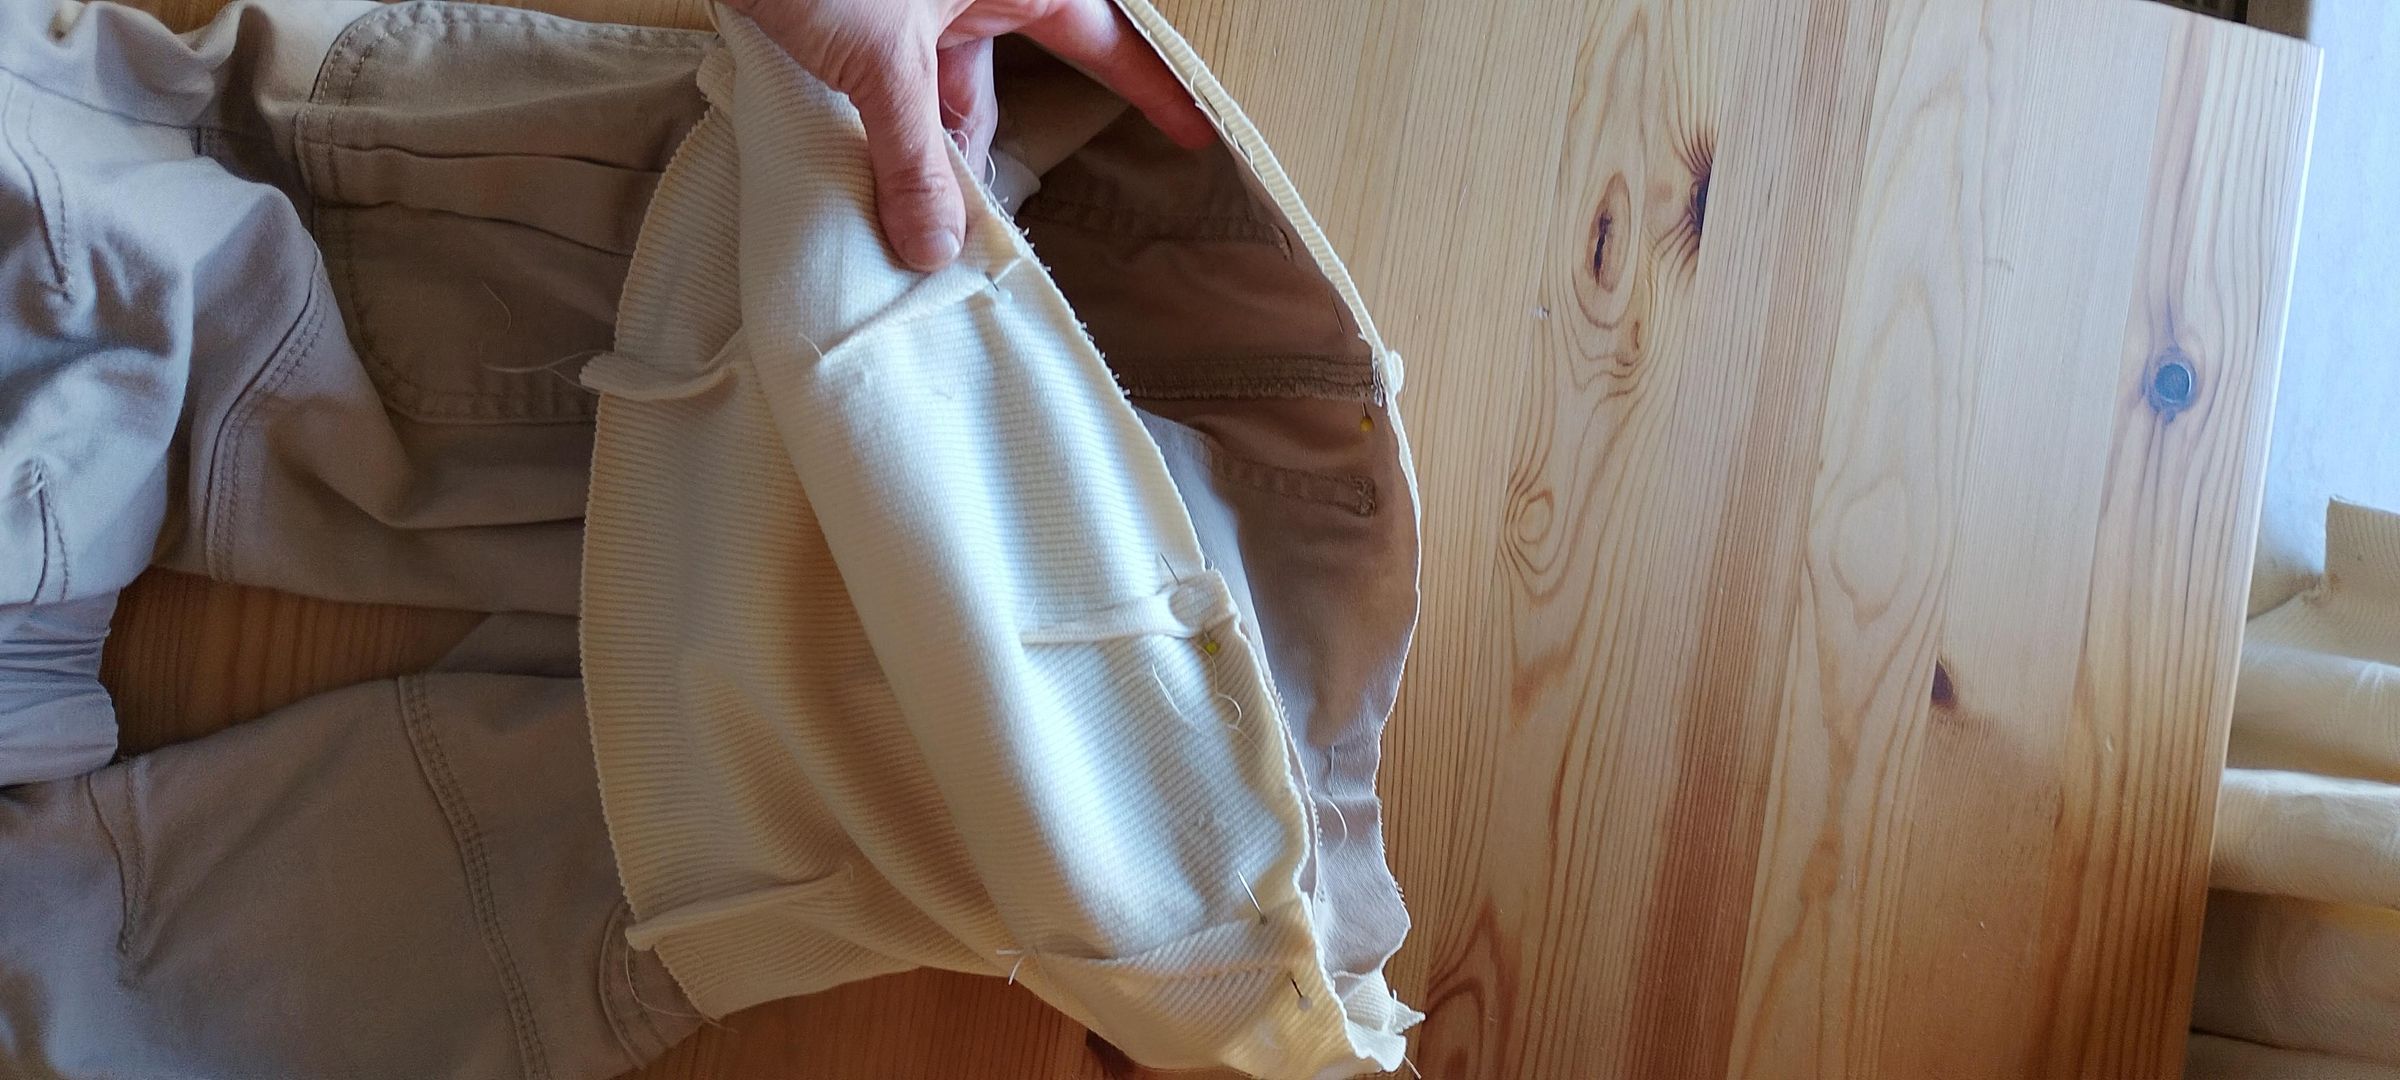
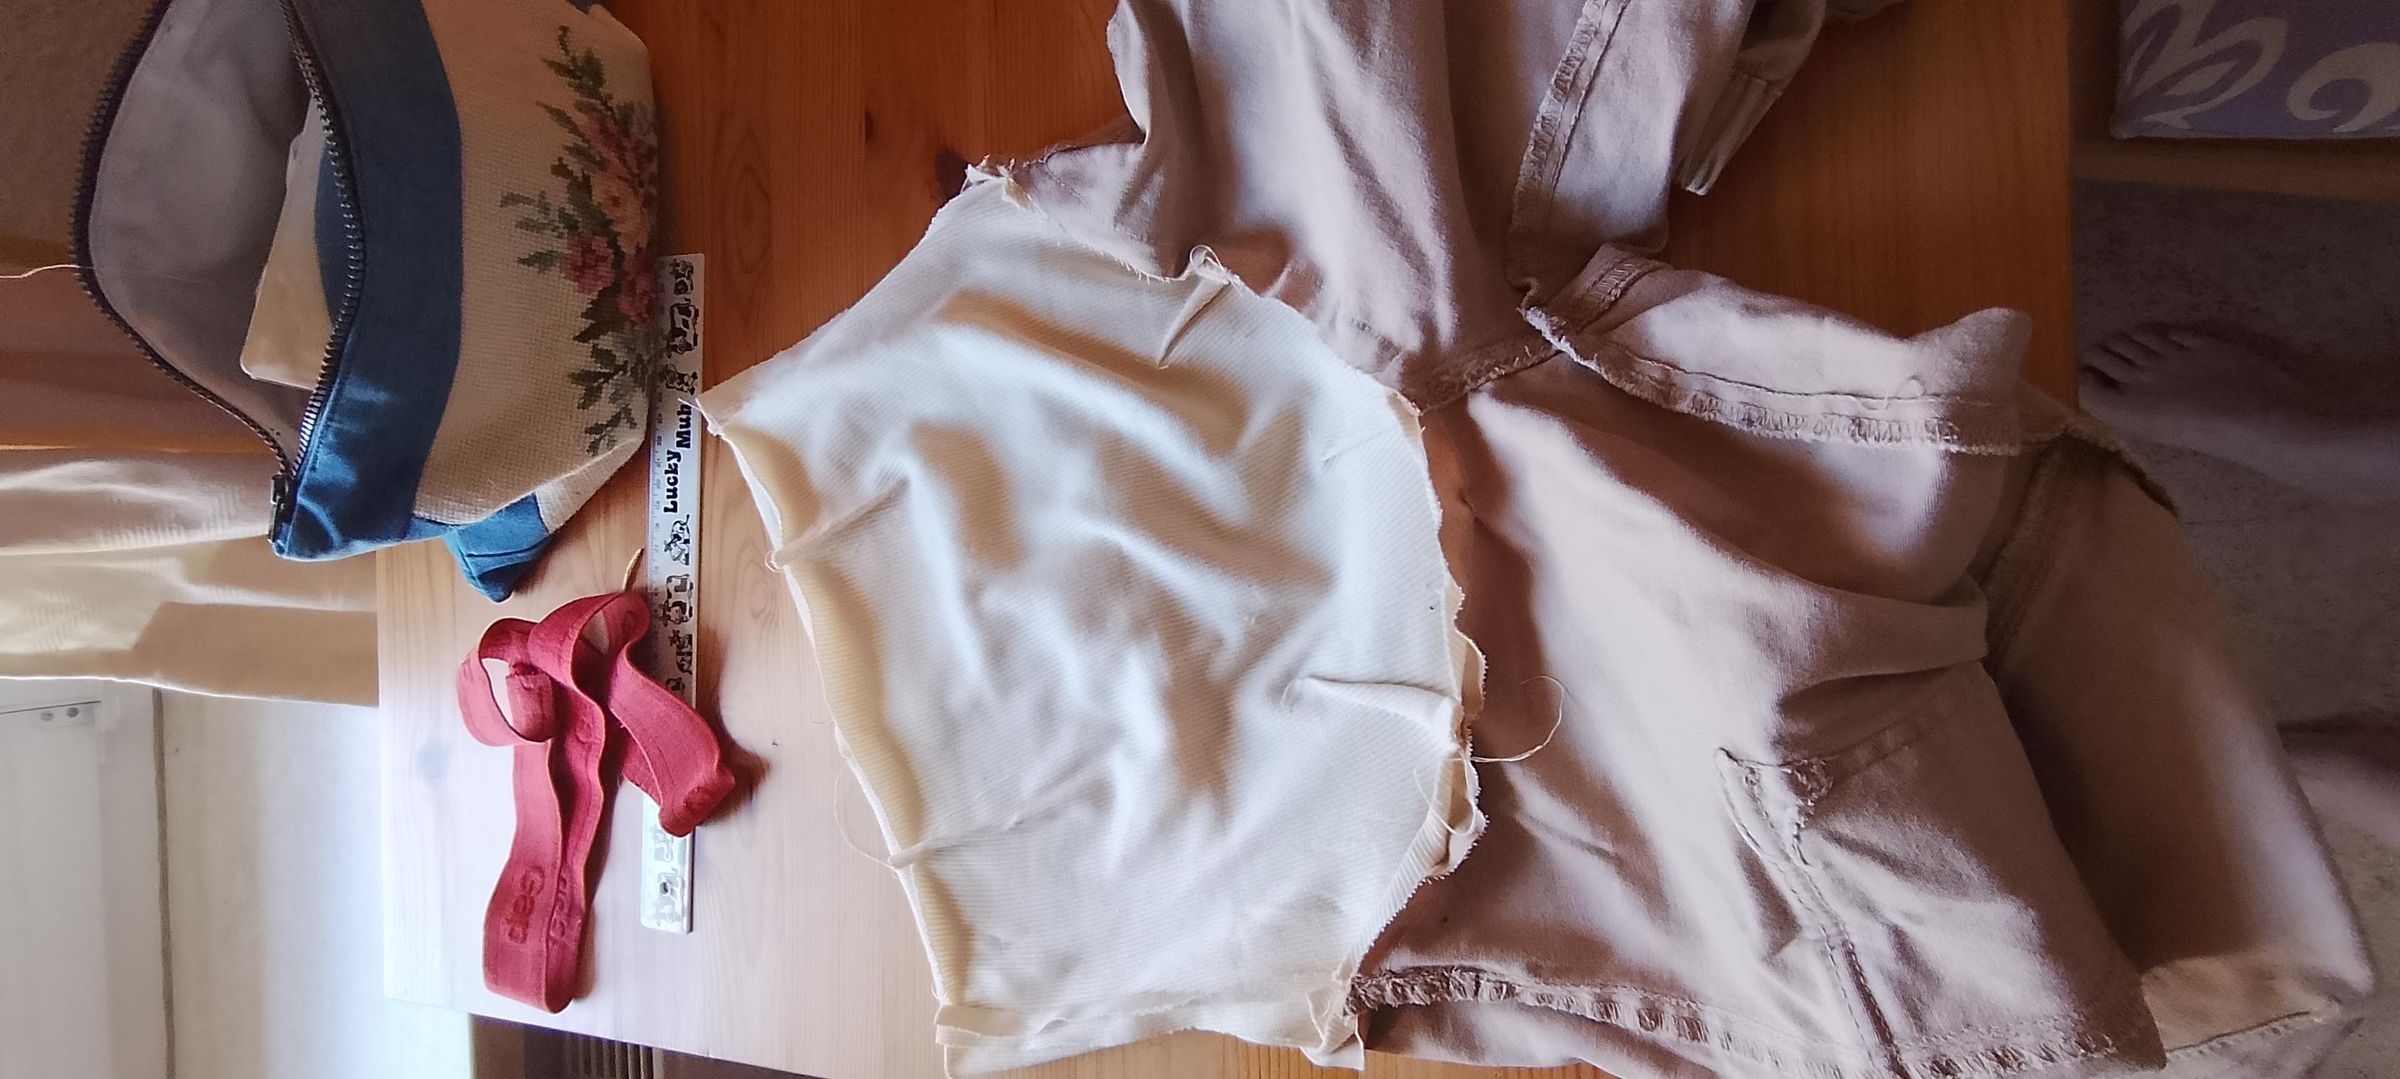
Now we can attach the stretch fabric to the trousers.
Pin the right side of the stretch fabric to the right side of the trousers.
This part can be a little fiddly the first time, because the stretch fabric needs to be stretched slightly to fit the opening in the trousers.
A trick that worked well for me was to turn the stretch section inside out and pull it over the trousers. This made it much easier to see where everything needed to line up.
I recommend starting by pinning the center front first: the part underneath the zipper needs to go together with the rounded bottom part of the stretch. Then pin the center back.
After that, work your way around the sides, distributing the stretch evenly. The stretch fabric should be pulled slightly as you pin it so that it fits the circumference of the trousers.
Once everything is pinned, stitch the two fabrics together. I used a 1.5 cm seam allowance.
If you have an overlocker/serger, you can optionally finish the raw edge afterwards. This gives the inside of the pants a cleaner and more finished look, but it isn't necessary.
Sew the Rubber Band Onto the Stretch
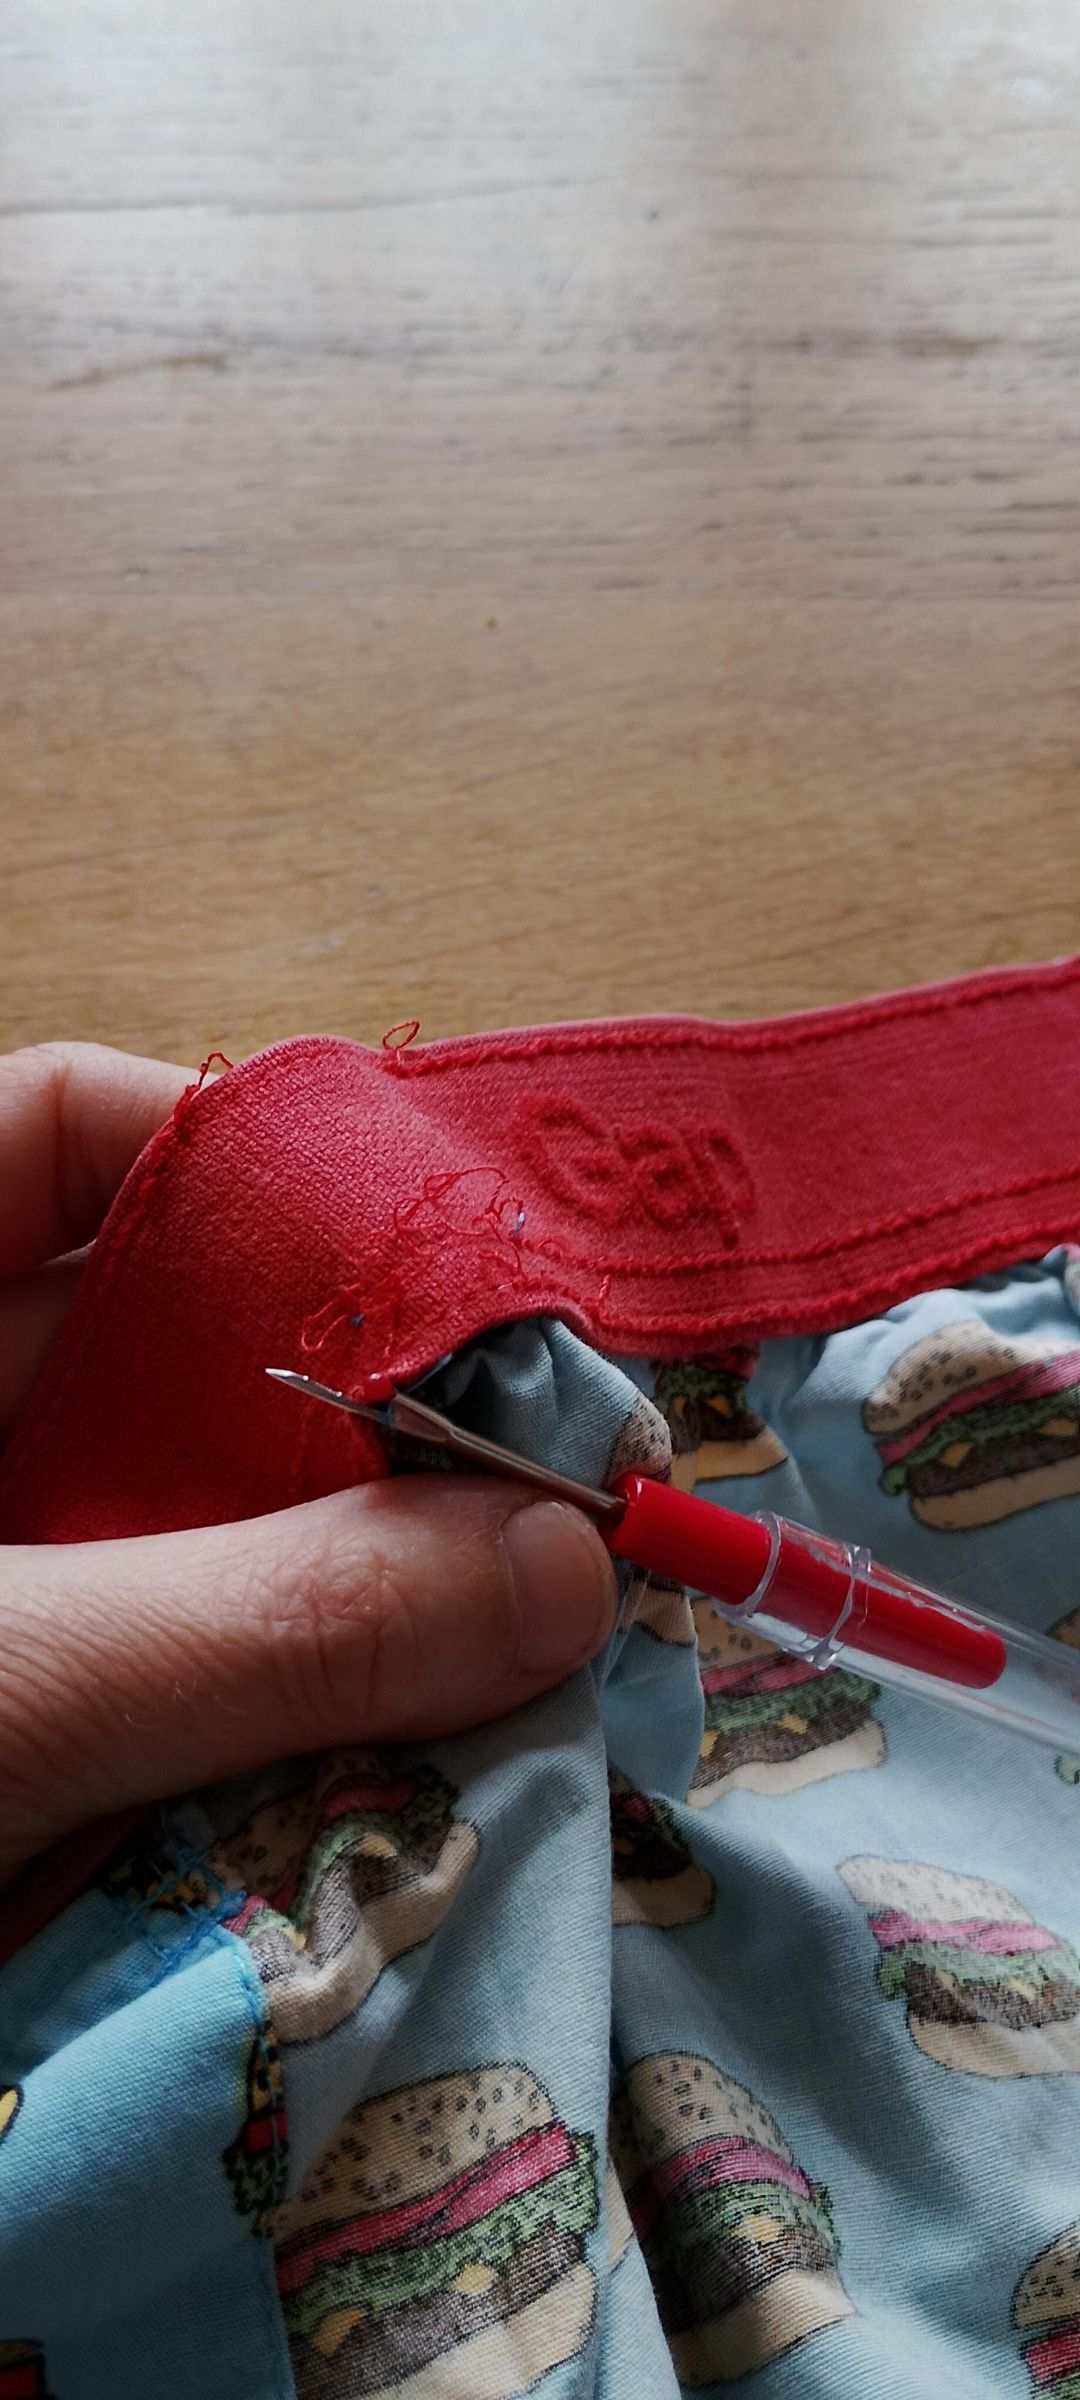
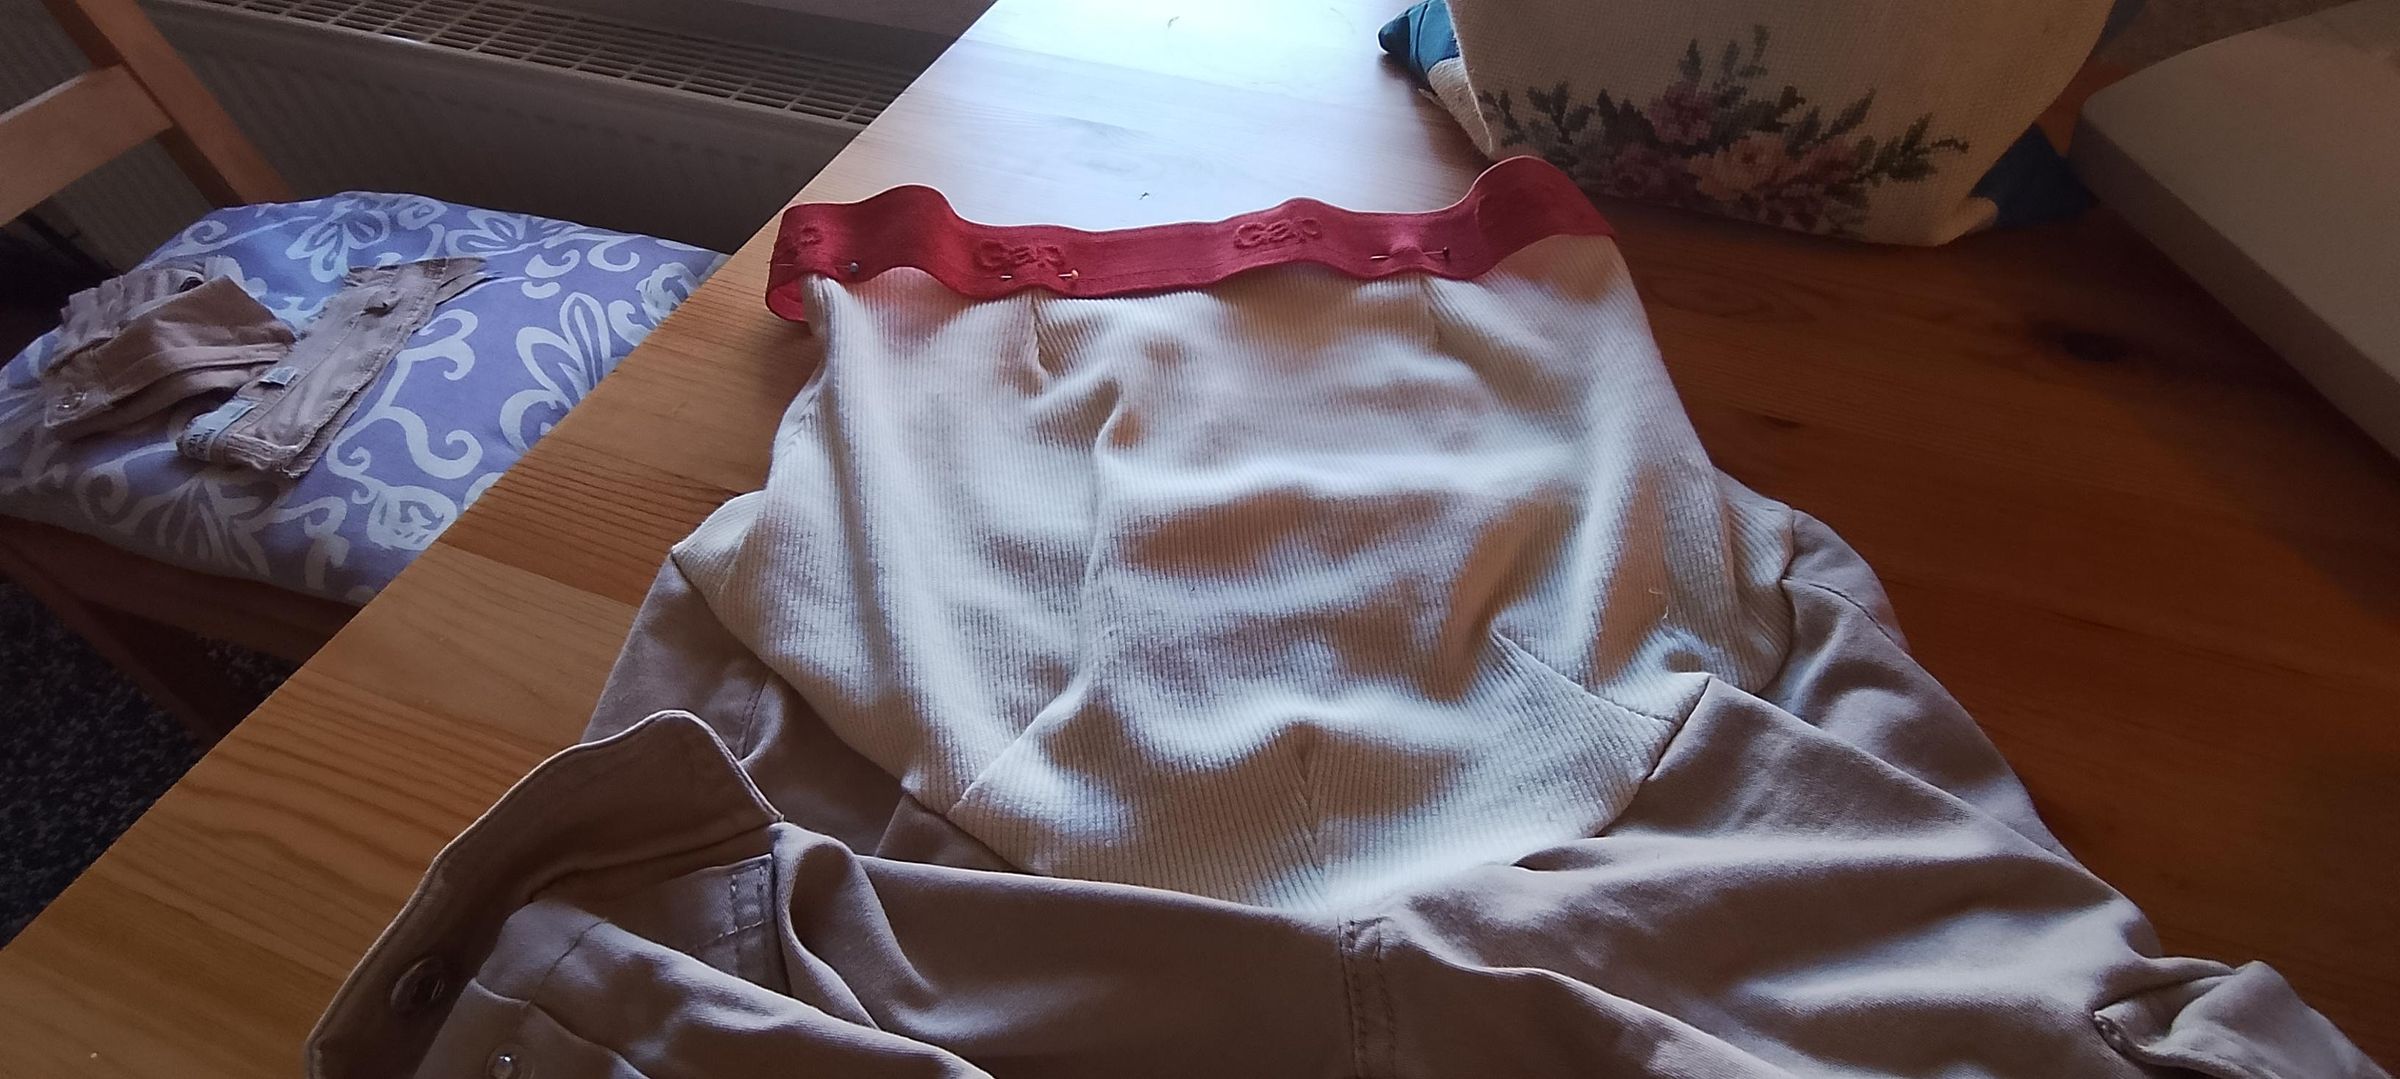
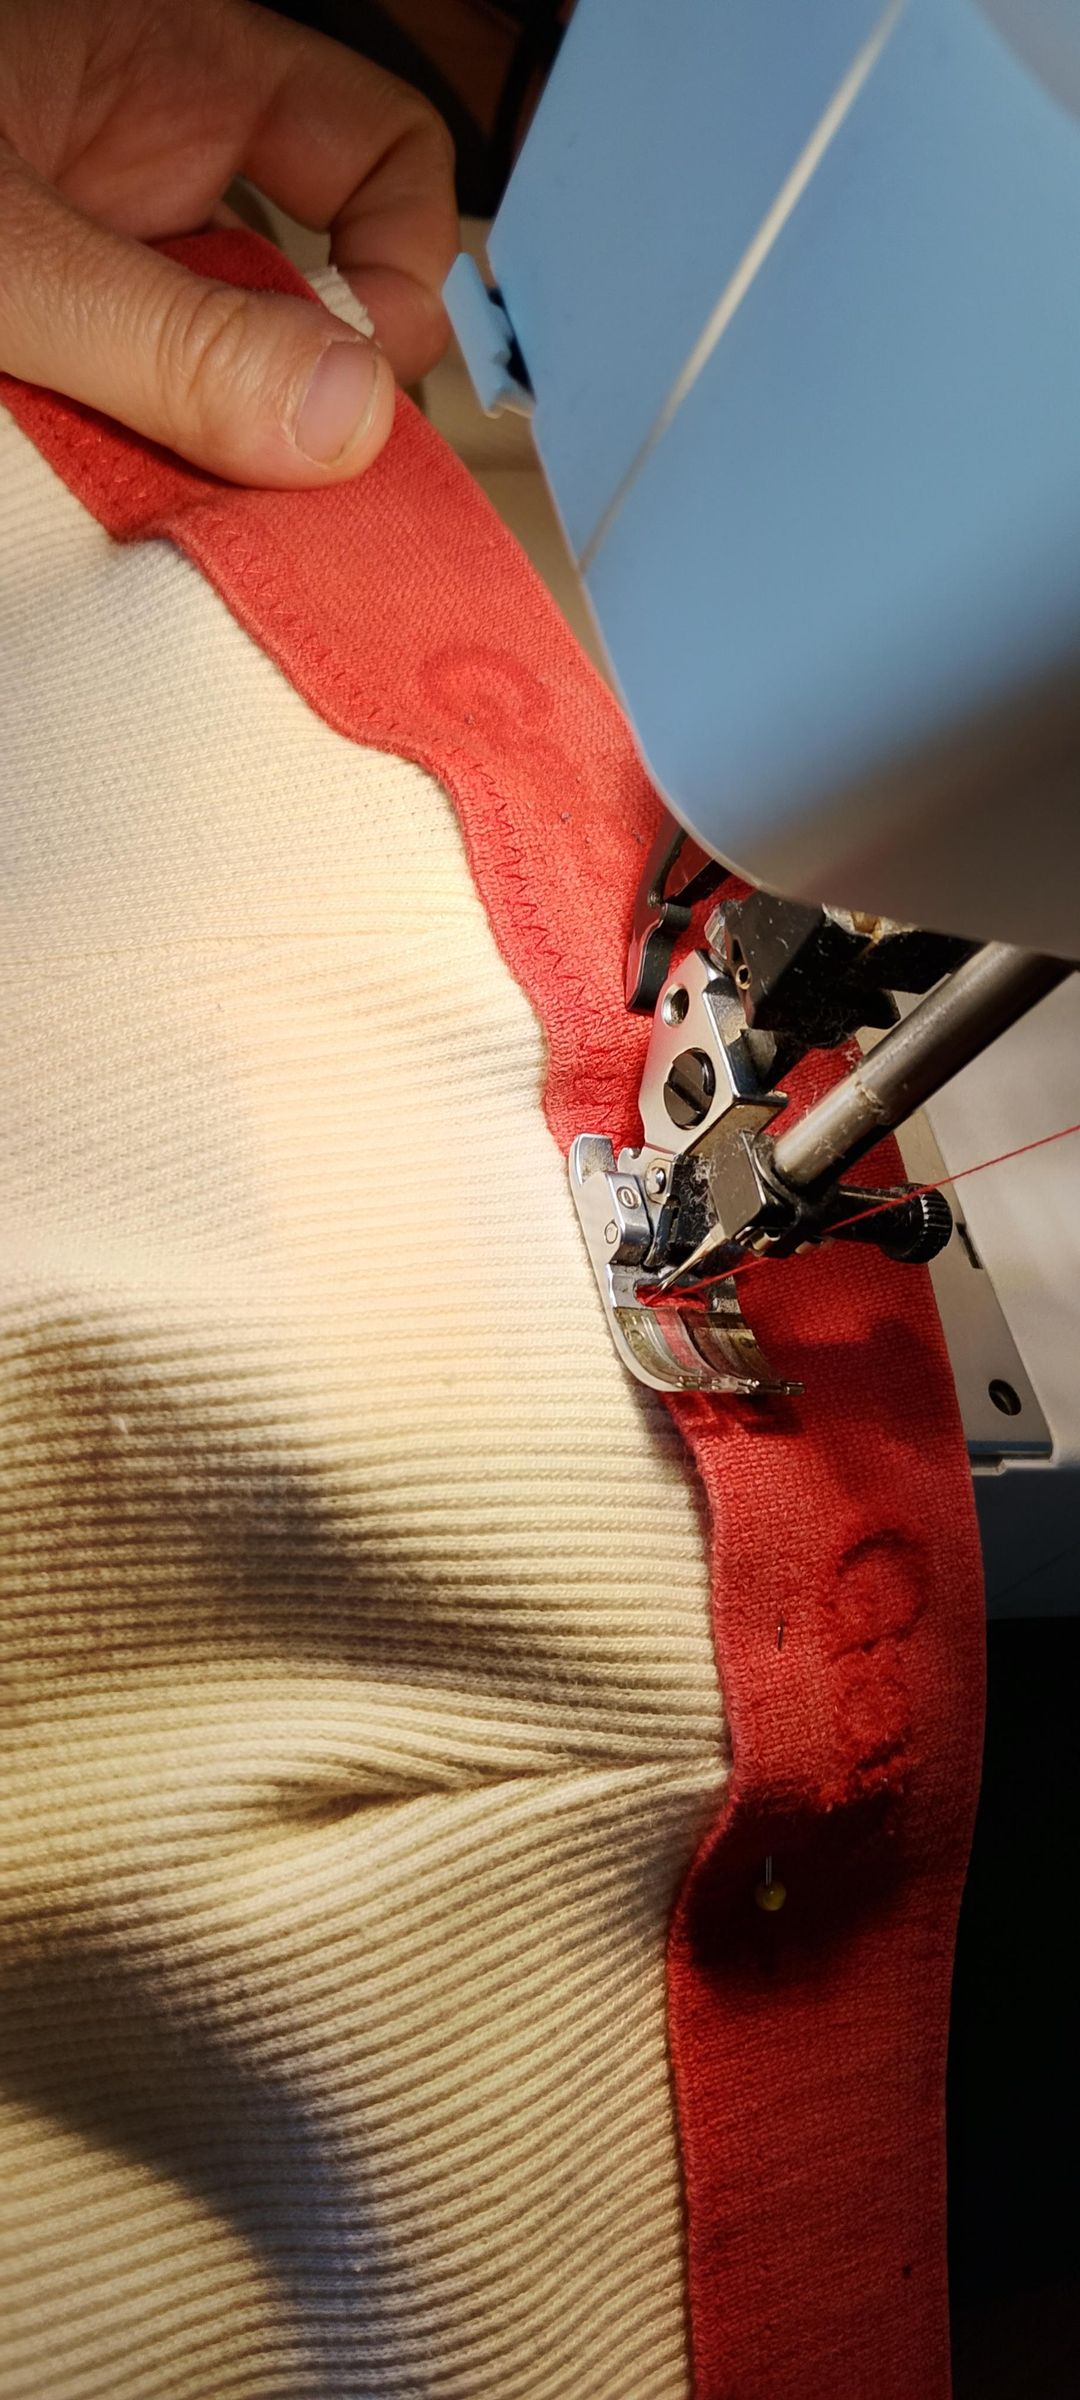
If you're repurposing an old elastic band like I did, carefully remove it from the old garment using a seam ripper (see photo).
Now we are going to pin the elastic to the top edge of the stretch fabric, with the right sides facing out.
For the best placement, I recommend trying the pants on first and placing the elastic around your belly to see where it feels most comfortable.
On my pants, I placed the elastic slightly over the edge of the stretch fabric at the front, and about 1 cm below the edge at the back. This looked better than having it positioned exactly the same all the way around.
Sew the elastic in place using a regular zigzag stitch. The elastic needs to be able to stretch, so a zigzag stitch works much better than a straight stitch.
One small tip: use thread in a similar color to the elastic. Unless you are very good at sewing perfectly even stitches, contrasting thread can make the stitching look messy. I learned this the hard way with my previous pair and ended up removing all the stitching and doing it again with matching thread!
Almost Done!
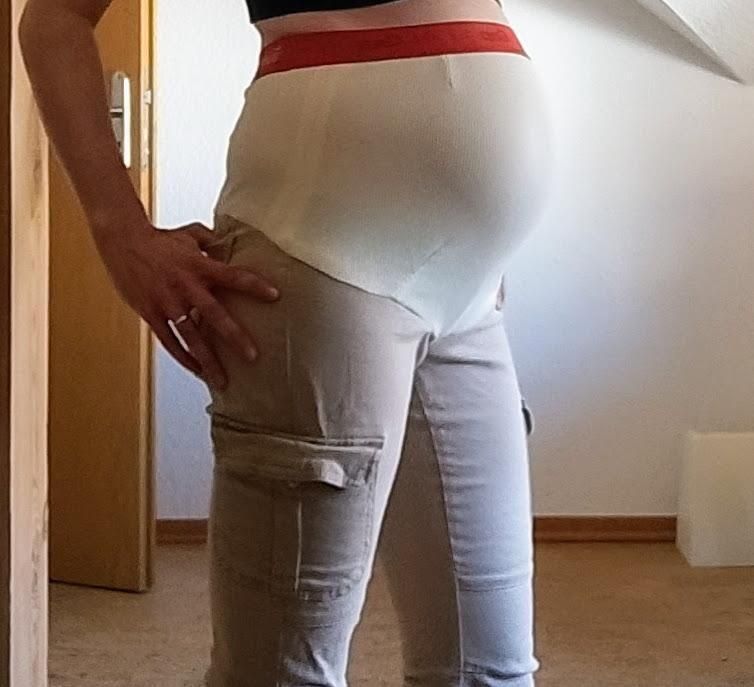
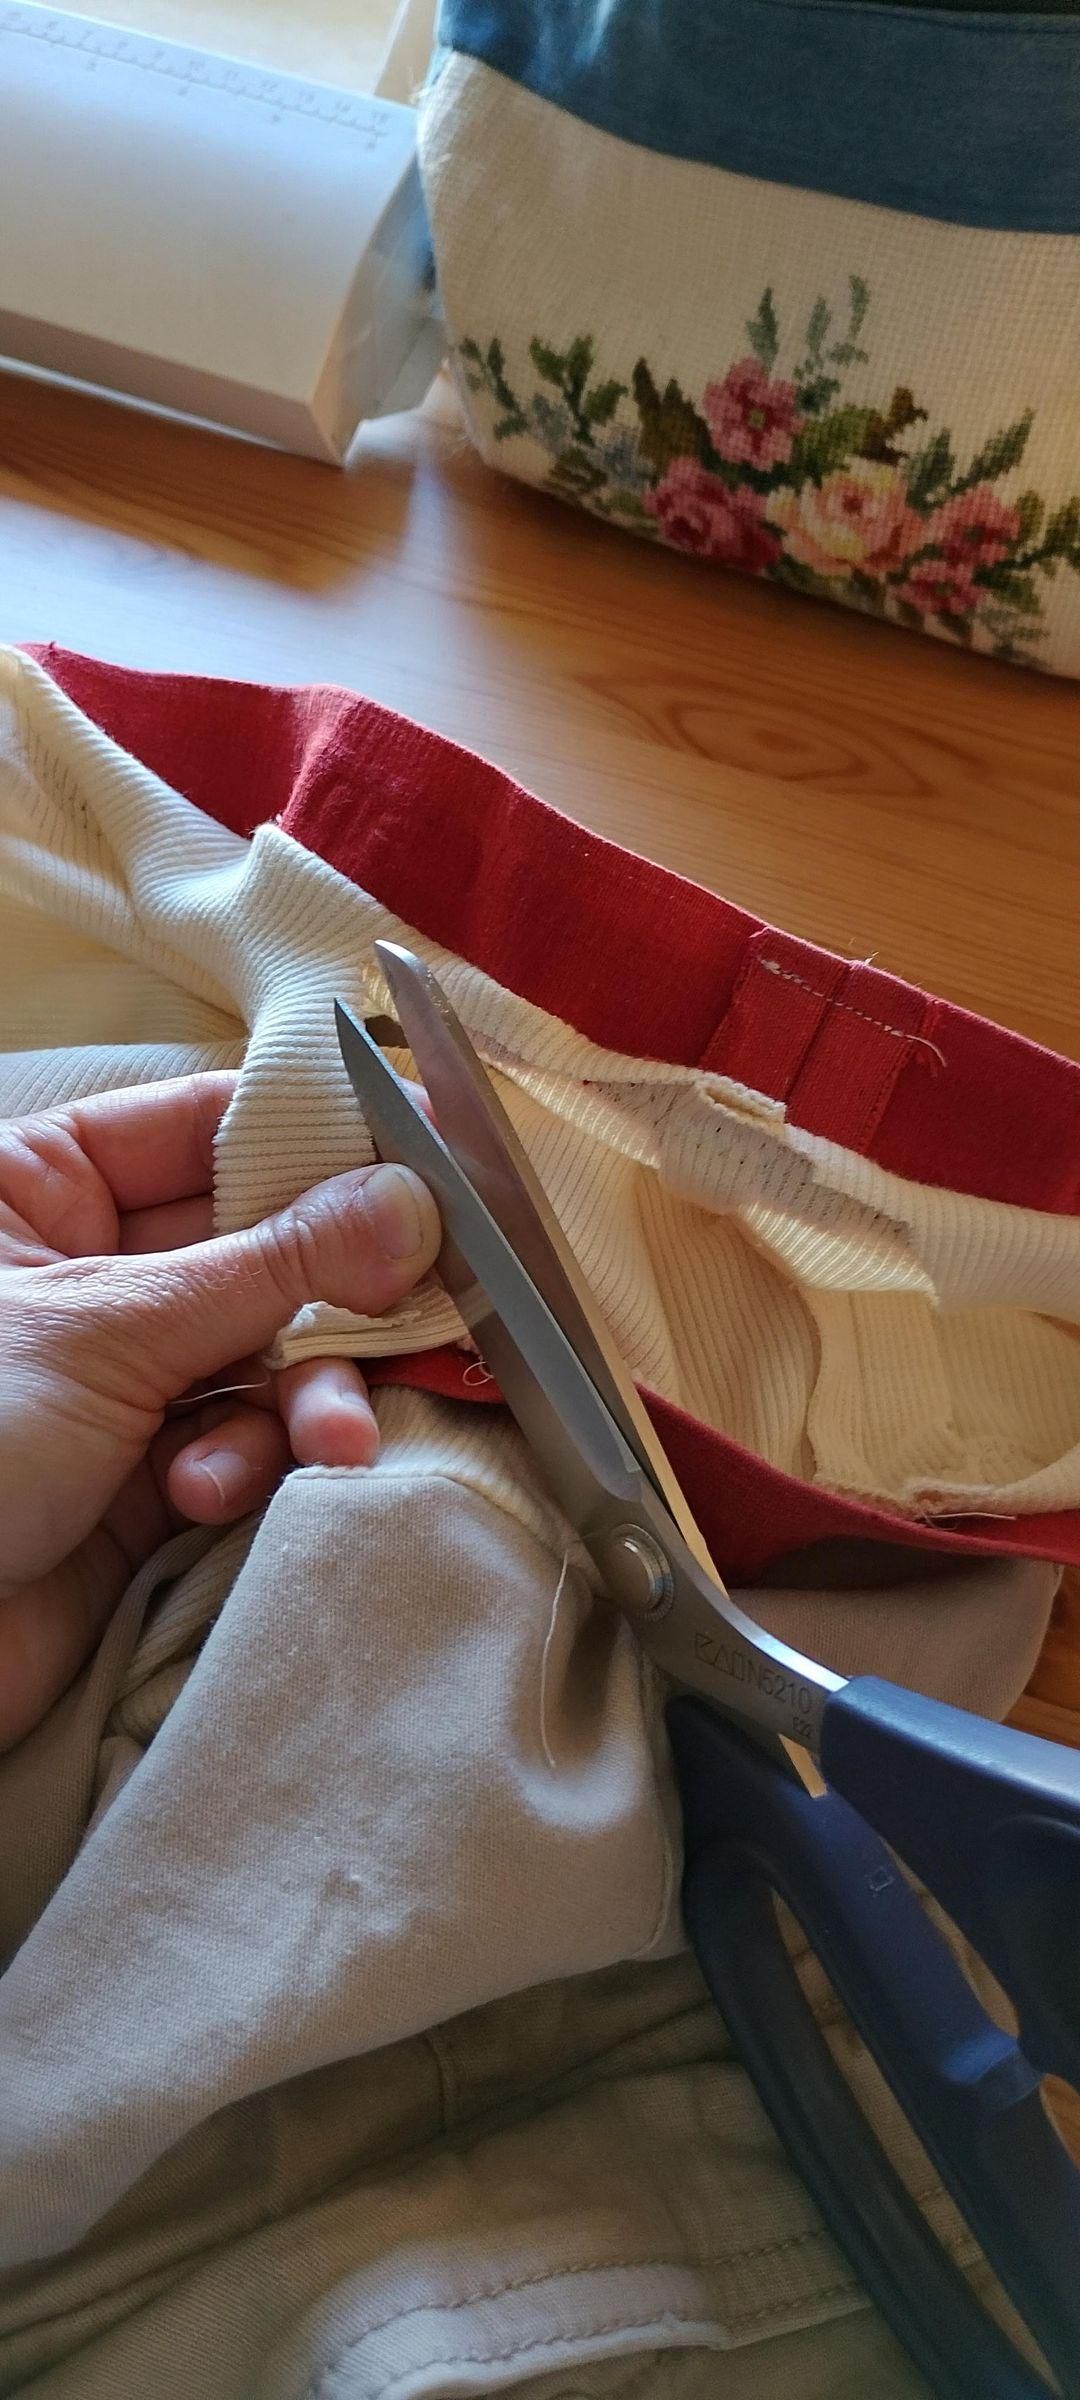
Once the elastic is attached, try the pants on and make sure they fit the way you want them to.
If everything looks good, trim away the excess stretch fabric on the inside of the elastic. Cut it as close as you comfortably can so that it doesn't stick out.
If you want a cleaner finish, you can also sew another zigzag stitch along the raw edge of the stretch fabric (I didn't do this though).
And that's it!
You now have a pair of maternity pants made from trousers you already had, without having to buy a whole new pair.
Hopefully this gives you a quick backup pair of maternity pants when suddenly none of your regular trousers fit anymore. Because honestly, having at least one more pair that you can actually wear is quite reassuring! :)