Bluetooth Controlled Mecanum Wheel Robot
by sinemorenli in Circuits > Arduino
420 Views, 2 Favorites, 0 Comments
Bluetooth Controlled Mecanum Wheel Robot


Our project involves creating a versatile robot using an Arduino Uno and Mecanum wheels, designed for omnidirectional movement. The robot's chassis is crafted from plexiglass using a 3D printer.Key components include an HC-05 Bluetooth module for wireless control, gear motors for movement, and a Lipo 1350mAh 7.4V battery for power.The motors are controlled remotely via a mobile app using Bluetooth, allowing precise and agile navigation.
Supplies
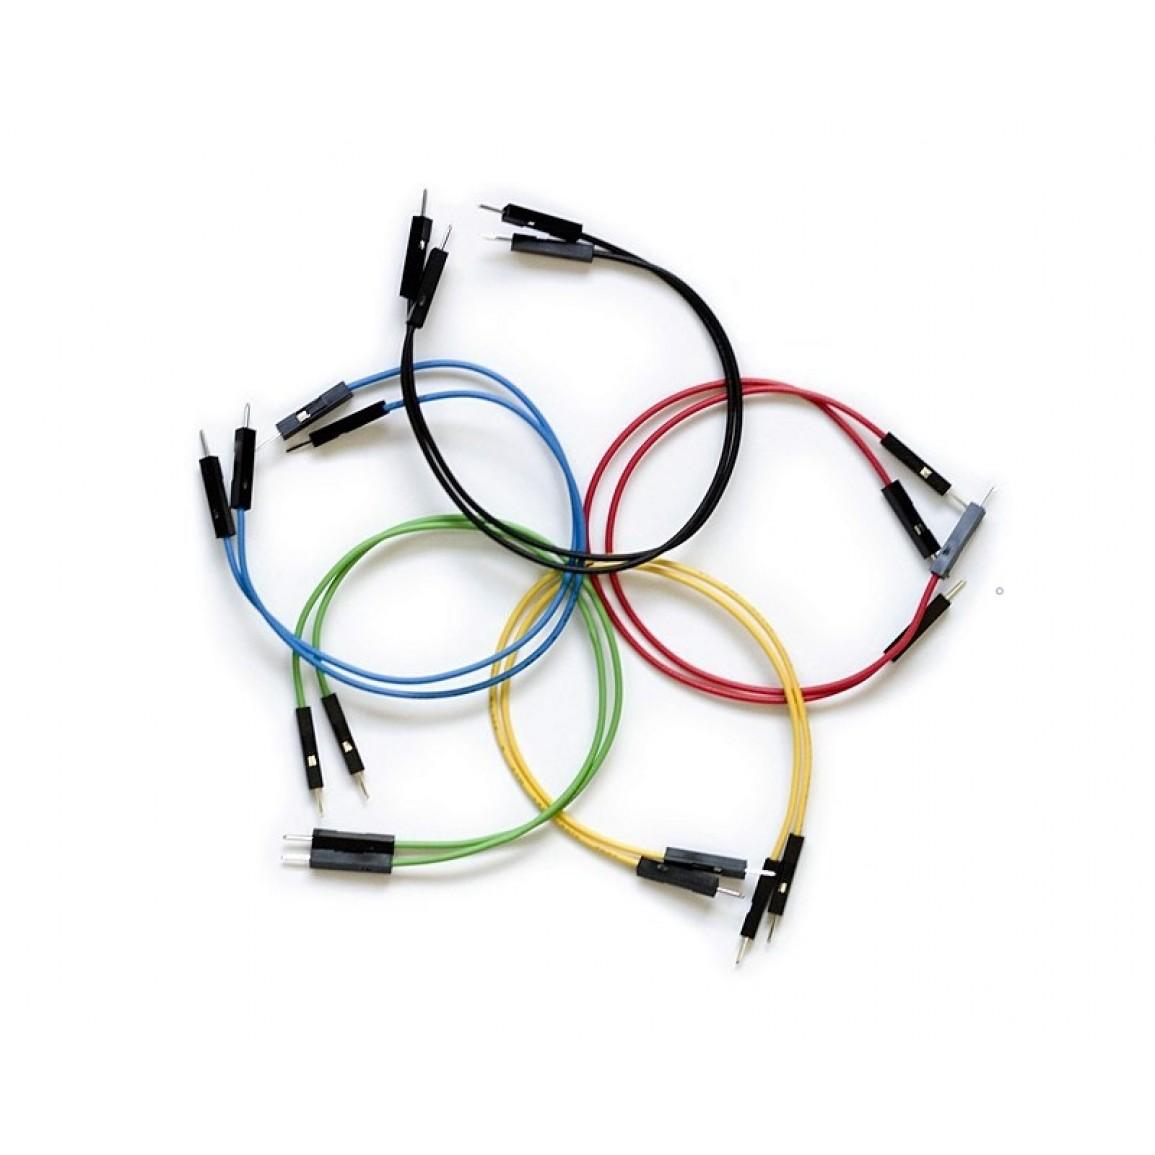

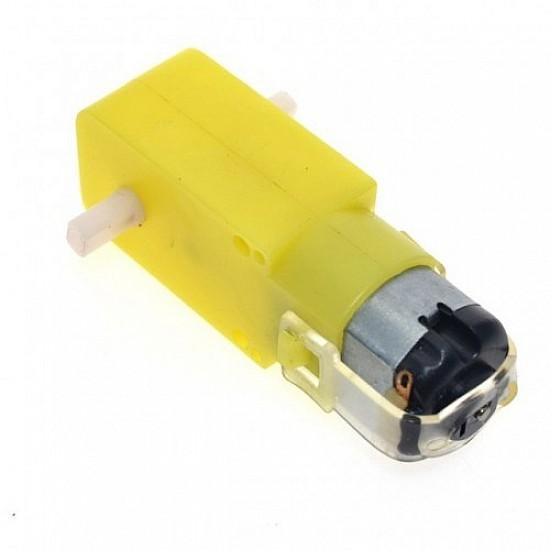
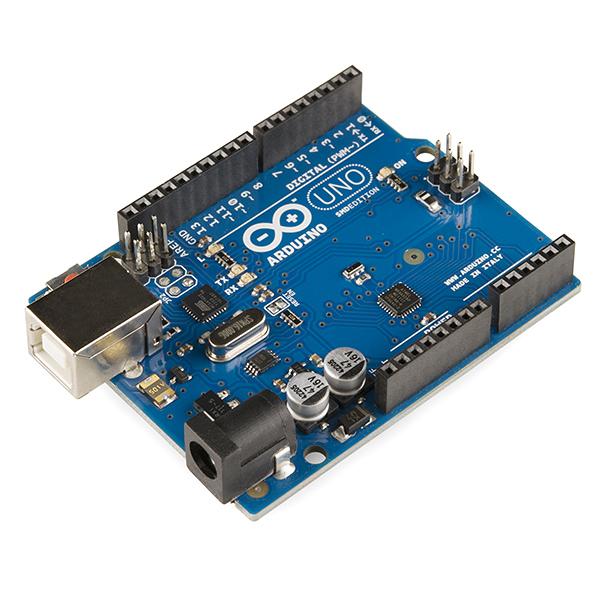
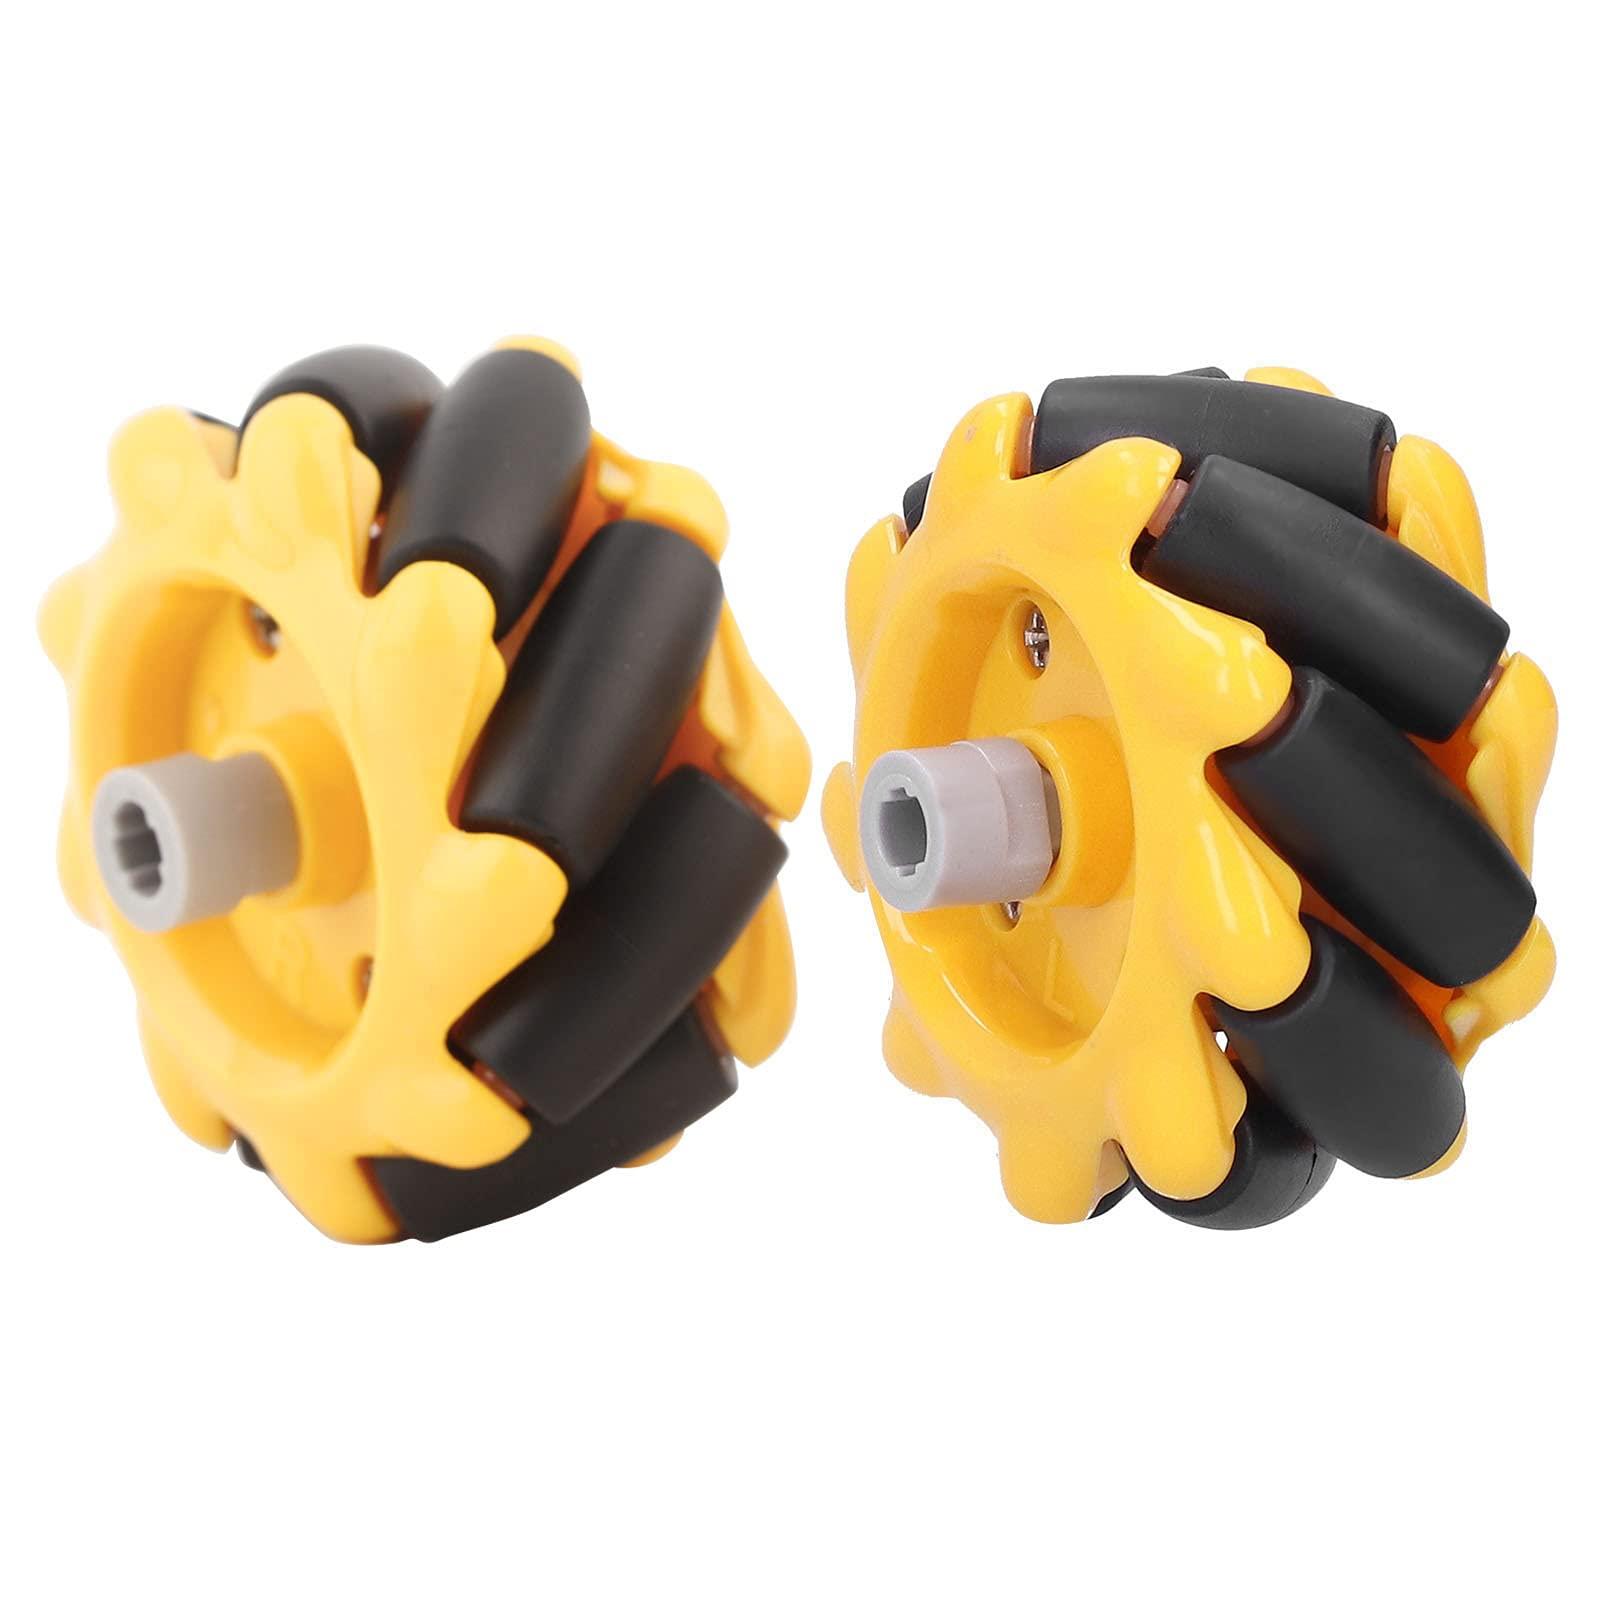
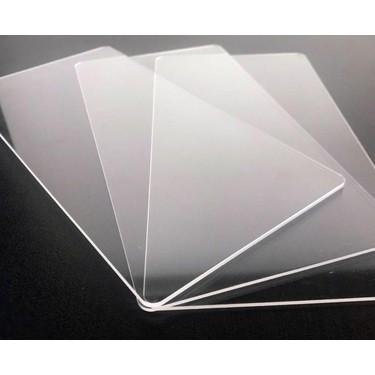
Below are the components required for making this Arduino robot with Mecanum Wheel:
• Arduino Uno
• Bluetooth Module
• Breadboard and jumper wires
• Gear Motors
• Mecanum Wheel (4 unit)
• Plexi Glass
• Battery:Lipo 1350mAh 7.4V
• Arduino Motor Shield
Downloads
Modeling Chassis in Thinkercad

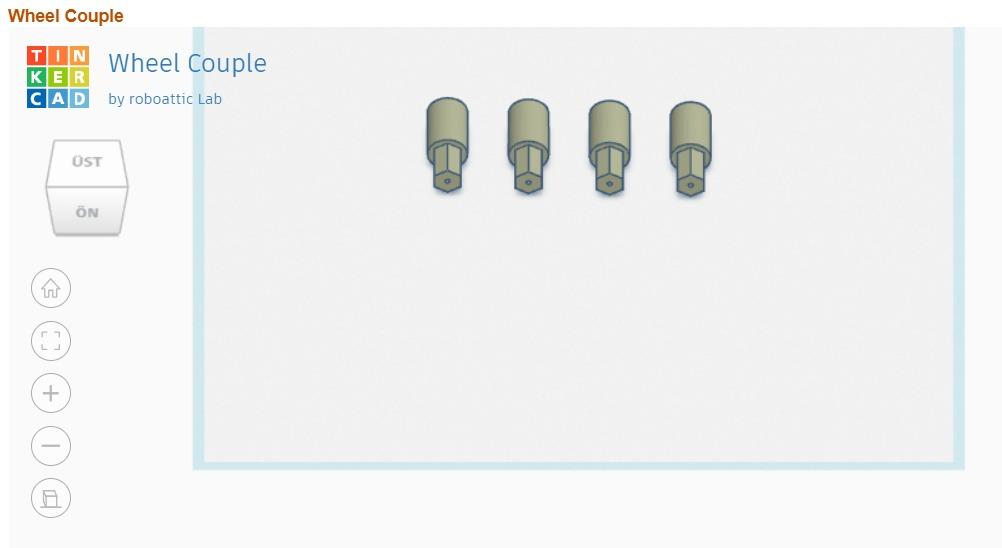
We used Tinkercad to plan and design our project. After finalizing the design, we exported the file in STL format to ensure it was ready for 3D printing.Additionally, we created the body using plexiglass material on a 3D printer. The attached file includes all necessary components and dimensions for accurate printing and straightforward assembly.
Circuit Connections
.jpeg)
.jpeg)
.jpeg)
.jpeg)

.jpeg)
.jpeg)
.jpeg)
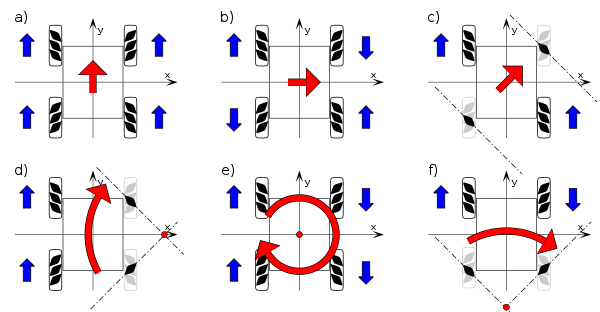
To control the motors, we connect the HC-05 Bluetooth module to the Arduino Uno, with the module's VCC connected to the Arduino's 5V, GND to GND, TXD to RX, and RXD to TX. Each gear motor is connected to the motor driver, which is then connected to the Arduino's digital pins and powered by the Lipo battery. We gather all robot elements around the plexiglass chassis, securing connections and ensuring stability. With a mobile app, we control the motors via Bluetooth, allowing precise and agile navigation, making it ideal for various applications.
Downloads
Upload the Sketch
Install motor driver library (if necessary):
- For some motor drivers, you might need a specific library. Install it from the Arduino Library Manager.
Write the Arduino code:
- Open a new sketch in the Arduino IDE.
- Write code to control the motor using the digital or PWM pins.
Connect the Arduino to your computer:
- Plug the Arduino board into your computer using a USB cable.
- Open the Arduino IDE on your computer.
- Upload the code to the Arduino.
CODE:
#include <AFMotor.h>
#include <SoftwareSerial.h>


AF_DCMotor motorFrontLeft(1);
AF_DCMotor motorFrontRight(2);
AF_DCMotor motorRearLeft(3);
AF_DCMotor motorRearRight(4);


SoftwareSerial BTSerial(0,1);


void setup() {
  BTSerial.begin(9600);


  motorFrontLeft.setSpeed(0);
  motorFrontRight.setSpeed(0);
  motorRearLeft.setSpeed(0);
  motorRearRight.setSpeed(0);


  motorFrontLeft.run(RELEASE);
  motorFrontRight.run(RELEASE);
  motorRearLeft.run(RELEASE);
  motorRearRight.run(RELEASE);

}


void loop() {
  if (BTSerial.available()) {
    char command = BTSerial.read();
    if (command == 'F' ) {
      // forward
      motorFrontLeft.setSpeed(250);
      motorFrontRight.setSpeed(250);
      motorRearLeft.setSpeed(250);
      motorRearRight.setSpeed(250);


      motorFrontLeft.run(FORWARD);
      motorFrontRight.run(FORWARD);
      motorRearLeft.run(FORWARD);
      motorRearRight.run(FORWARD);
    } else if (command == 'B' ) {
      // backward
      motorFrontLeft.setSpeed(250);
      motorFrontRight.setSpeed(250);
      motorRearLeft.setSpeed(250);
      motorRearRight.setSpeed(250);


      motorFrontLeft.run(BACKWARD);
      motorFrontRight.run(BACKWARD);
      motorRearLeft.run(BACKWARD);
      motorRearRight.run(BACKWARD);


    } else if (command == 'R' ) {
      // right
      motorFrontLeft.setSpeed(250);
      motorFrontRight.setSpeed(250);
      motorRearLeft.setSpeed(250);
      motorRearRight.setSpeed(250);


      motorFrontLeft.run(FORWARD);
      motorFrontRight.run(BACKWARD);
      motorRearLeft.run(BACKWARD);
      motorRearRight.run(FORWARD);


    } else if (command == 'L' ) {
      // left
      motorFrontLeft.setSpeed(250);
      motorFrontRight.setSpeed(250);
      motorRearLeft.setSpeed(250);
      motorRearRight.setSpeed(250);


      motorFrontLeft.run(BACKWARD);
      motorFrontRight.run(FORWARD);
      motorRearLeft.run(FORWARD);
      motorRearRight.run(BACKWARD);


    } else if (command == 'E' ) {
      // right forward diagonal
      motorFrontLeft.setSpeed(250);
      motorFrontRight.setSpeed(0);
      motorRearLeft.setSpeed(0);
      motorRearRight.setSpeed(250);


      motorFrontLeft.run(FORWARD);
      motorFrontRight.run(RELEASE);
      motorRearLeft.run(RELEASE);
      motorRearRight.run(FORWARD);


    } else if (command == 'Q' ) {
      // left forward diagonal
      motorFrontLeft.setSpeed(0);
      motorFrontRight.setSpeed(250);
      motorRearLeft.setSpeed(250);
      motorRearRight.setSpeed(0);


      motorFrontLeft.run(RELEASE);
      motorFrontRight.run(FORWARD);
      motorRearLeft.run(FORWARD);
      motorRearRight.run(RELEASE);


    } else if (command == 'Z' ) {
      // left backward diagonal
      motorFrontLeft.setSpeed(250);
      motorFrontRight.setSpeed(0);
      motorRearLeft.setSpeed(0);
      motorRearRight.setSpeed(250);


      motorFrontLeft.run(BACKWARD);
      motorFrontRight.run(RELEASE);
      motorRearLeft.run(RELEASE);
      motorRearRight.run(BACKWARD);


    } else if (command == 'C' ) {
      // right backward diagonal
      motorFrontLeft.setSpeed(0);
      motorFrontRight.setSpeed(250);
      motorRearLeft.setSpeed(250);
      motorRearRight.setSpeed(0);


      motorFrontLeft.run(RELEASE);
      motorFrontRight.run(BACKWARD);
      motorRearLeft.run(BACKWARD);
      motorRearRight.run(RELEASE);


    } else if (command == 'T' ) {
      // moving around a fixed point, clockwise
      motorFrontLeft.setSpeed(250);
      motorFrontRight.setSpeed(0);
      motorRearLeft.setSpeed(250);
      motorRearRight.setSpeed(0);


      motorFrontLeft.run(FORWARD);
      motorFrontRight.run(RELEASE);
      motorRearLeft.run(FORWARD);
      motorRearRight.run(RELEASE);

    } else if (command == 'Y' ) {
      // moving around a fixed point, counter-clockwise
      motorFrontLeft.setSpeed(0);
      motorFrontRight.setSpeed(250);
      motorRearLeft.setSpeed(0);
      motorRearRight.setSpeed(250);


      motorFrontLeft.run(RELEASE);
      motorFrontRight.run(FORWARD);
      motorRearLeft.run(RELEASE);
      motorRearRight.run(FORWARD);

    } else if (command == 'M' ) {
      // clockwise rotation
      motorFrontLeft.setSpeed(250);
      motorFrontRight.setSpeed(250);
      motorRearLeft.setSpeed(250);
      motorRearRight.setSpeed(250);


      motorFrontLeft.run(FORWARD);
      motorFrontRight.run(BACKWARD);
      motorRearLeft.run(FORWARD);
      motorRearRight.run(BACKWARD);

    } else if (command == 'N' ) {
      // counter-clockwise rotation
      motorFrontLeft.setSpeed(250);
      motorFrontRight.setSpeed(250);
      motorRearLeft.setSpeed(250);
      motorRearRight.setSpeed(250);


      motorFrontLeft.run(BACKWARD);
      motorFrontRight.run(FORWARD);
      motorRearLeft.run(BACKWARD);
      motorRearRight.run(FORWARD);

    } else if (command == 'S'){
    // stop
      motorFrontLeft.setSpeed(0);
      motorFrontRight.setSpeed(0);
      motorRearLeft.setSpeed(0);
      motorRearRight.setSpeed(0);


      motorFrontLeft.run(RELEASE);
      motorFrontRight.run(RELEASE);
      motorRearLeft.run(RELEASE);
      motorRearRight.run(RELEASE);
  }
  }
}
Mobile Application
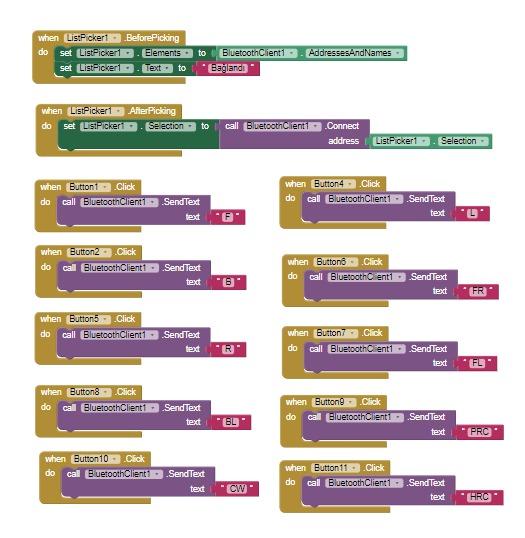
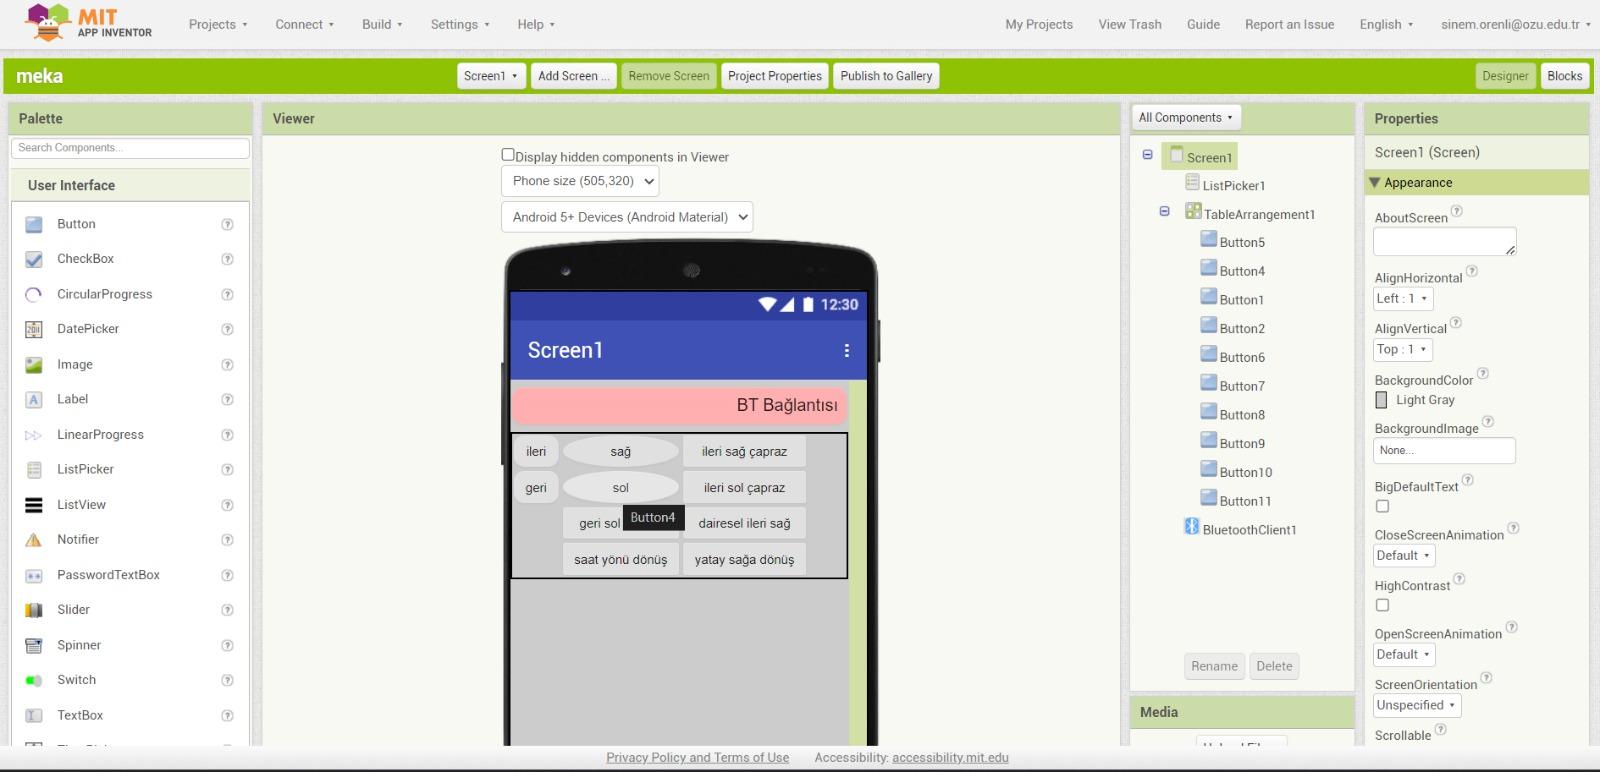
We've successfully crafted a user-friendly mobile application equipped with Bluetooth connectivity, tailored specifically for remote control of our robot. This innovative solution not only ensures seamless communication between the user's smartphone and the robot but also enhances the overall user experience by providing intuitive controls and real-time feedback.
We utilized MIT App Inventor to develop the mobile application for controlling the robot via Bluetooth connection. This user-friendly platform allowed us to efficiently create a customized interface tailored to our specific needs.
Test Your Setup
- Ensure all connections are secure.
- Power the motor driver and Arduino.
- Observe the motor(s) to ensure they are operating as expected.
By following these steps, you should be able to successfully connect and control motors with an Arduino. Adjust the pin numbers and code according to your specific hardware configuration.