Mechanical Coin Sorter
Having change lying around the house is annoying, pennies sitting on the counter, nickels rattling in your pocket, and other coins being too much to handle. With this simple device, you can sort your coins and give your arm a mini workout, and it's also easy and simple to make at home. This DIY project makes for a fun little home project in the end will benefit you in the long term.
Supplies
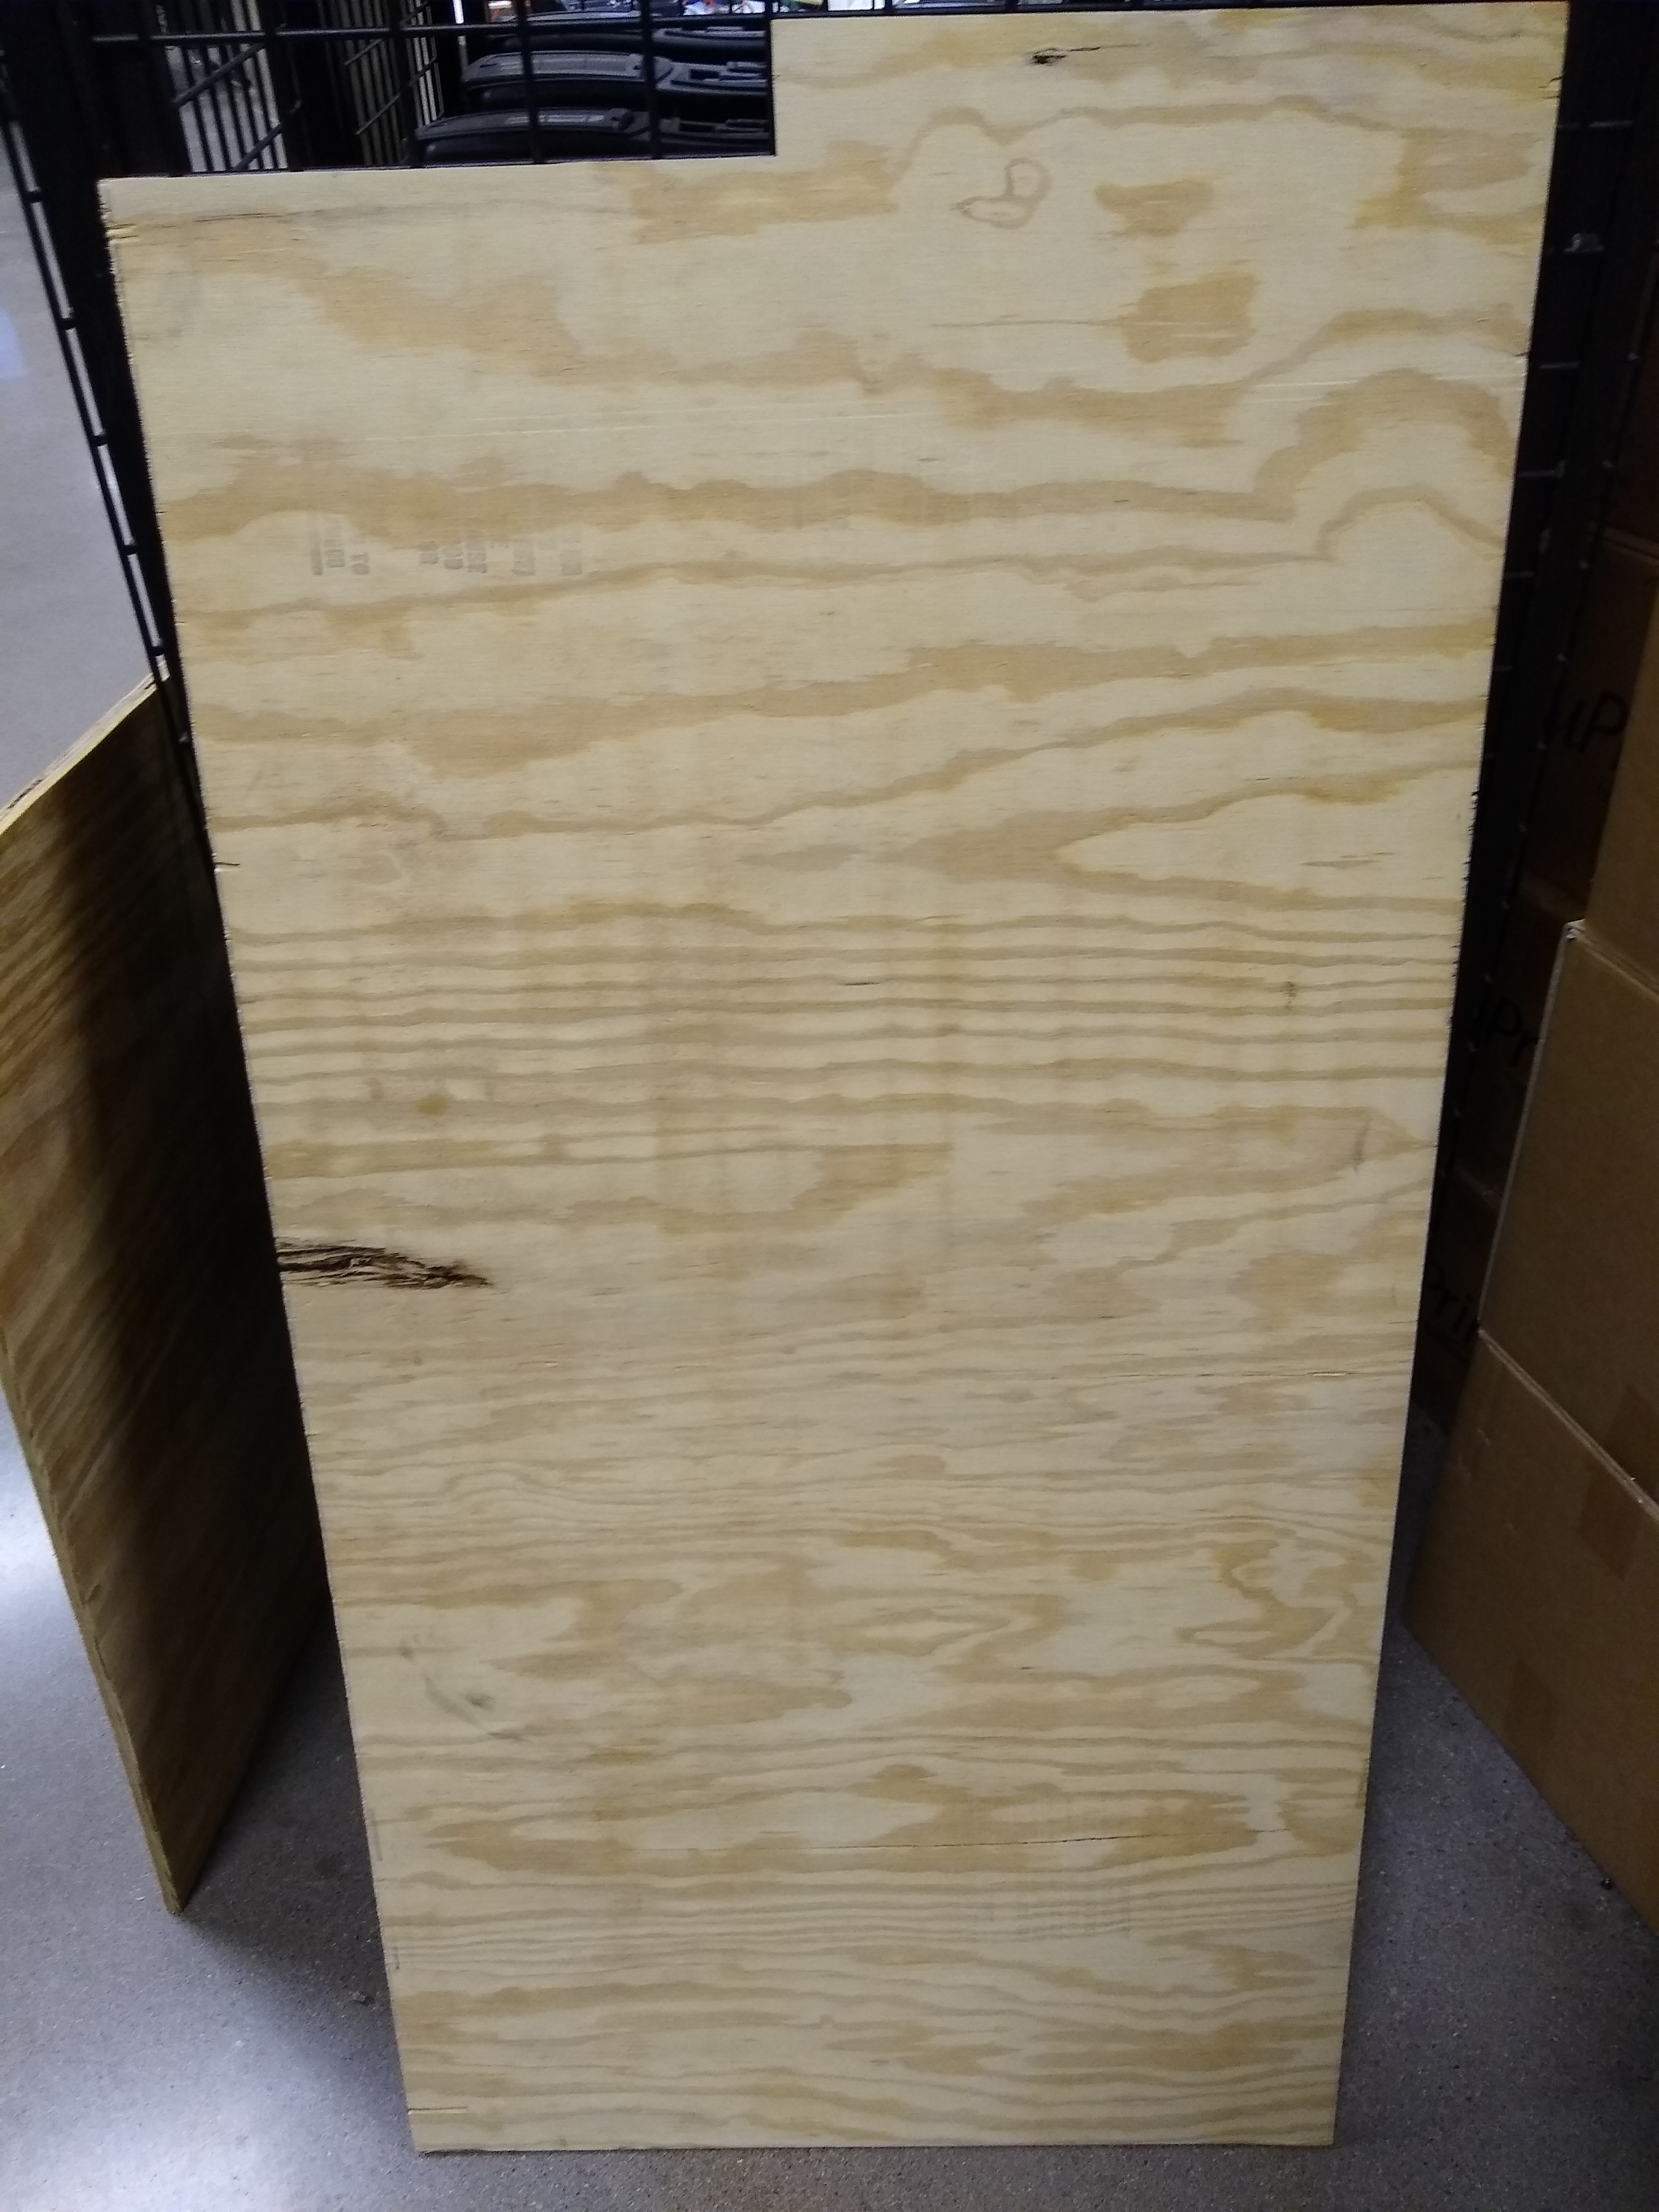
- Plywood 3' x 4' x 1/2"
- 1 Full ceramic 608 Bearing
- Pennies
- Nickels
- Dimes
- Quarters
- 3 Chipboard 10" x 16"
- Bolts and screws
- Nuts of washers
- 2 Rubber washers
- Wood glue
Coin Storage
.jpg)
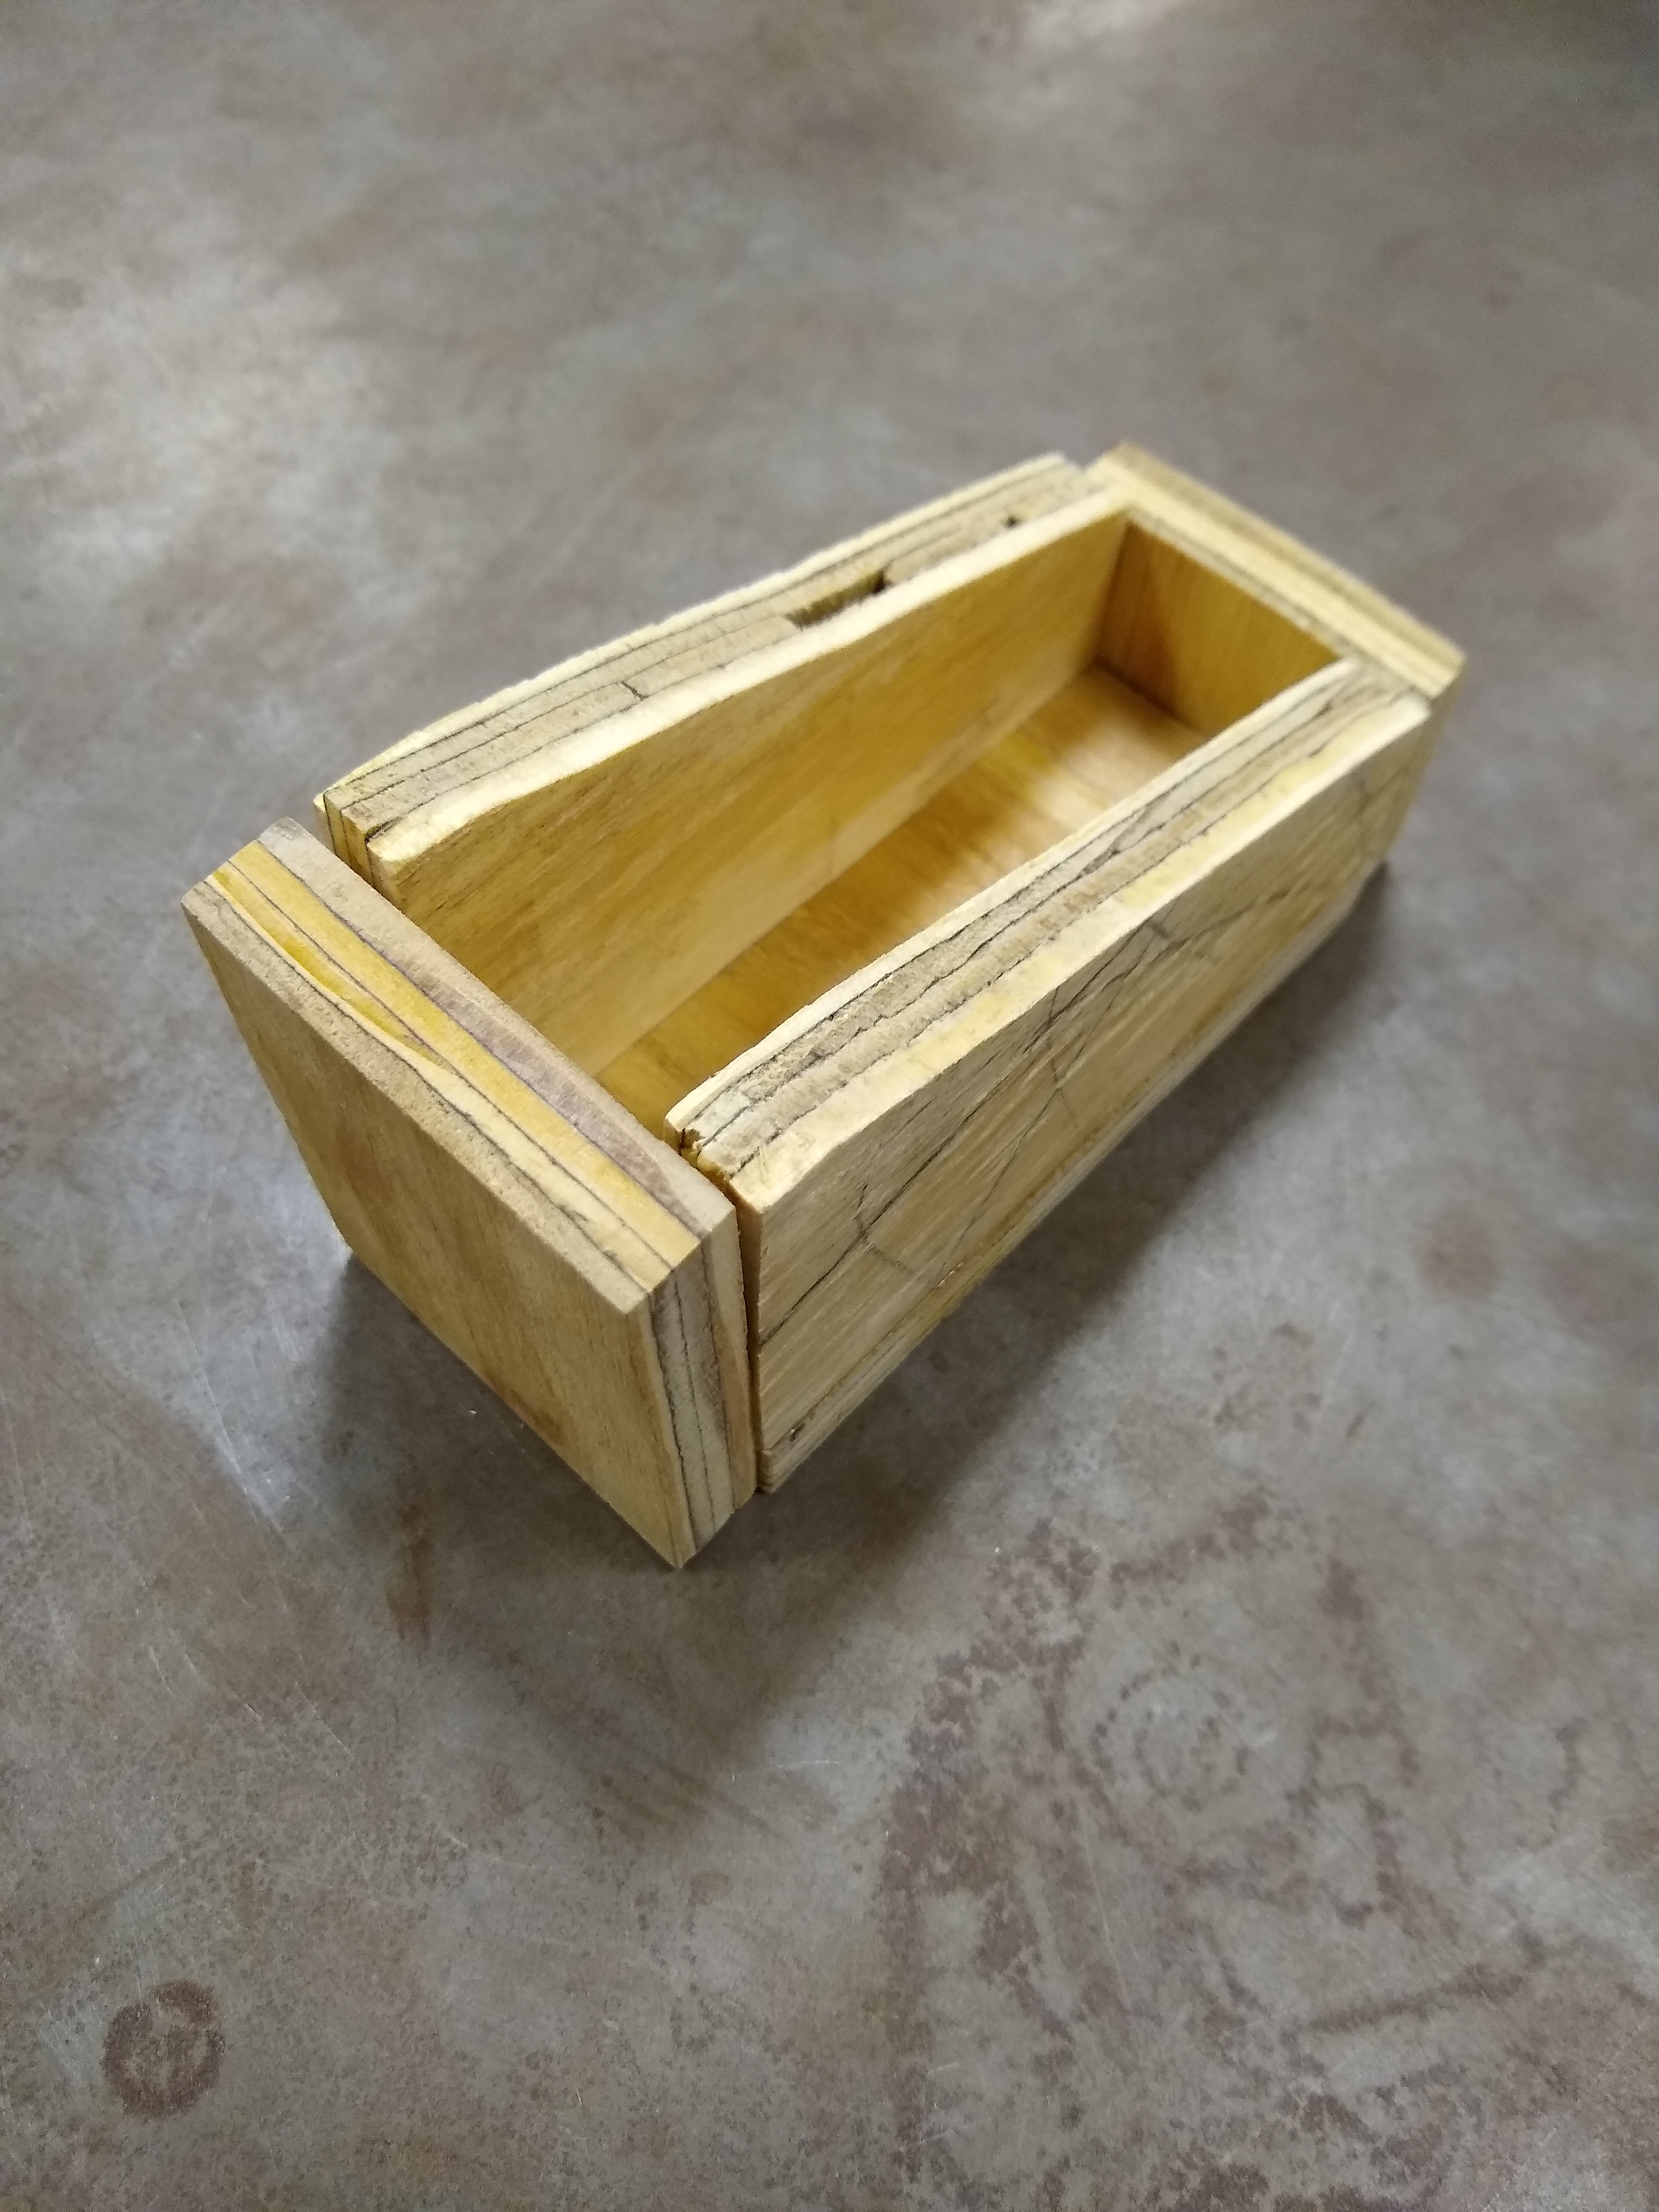
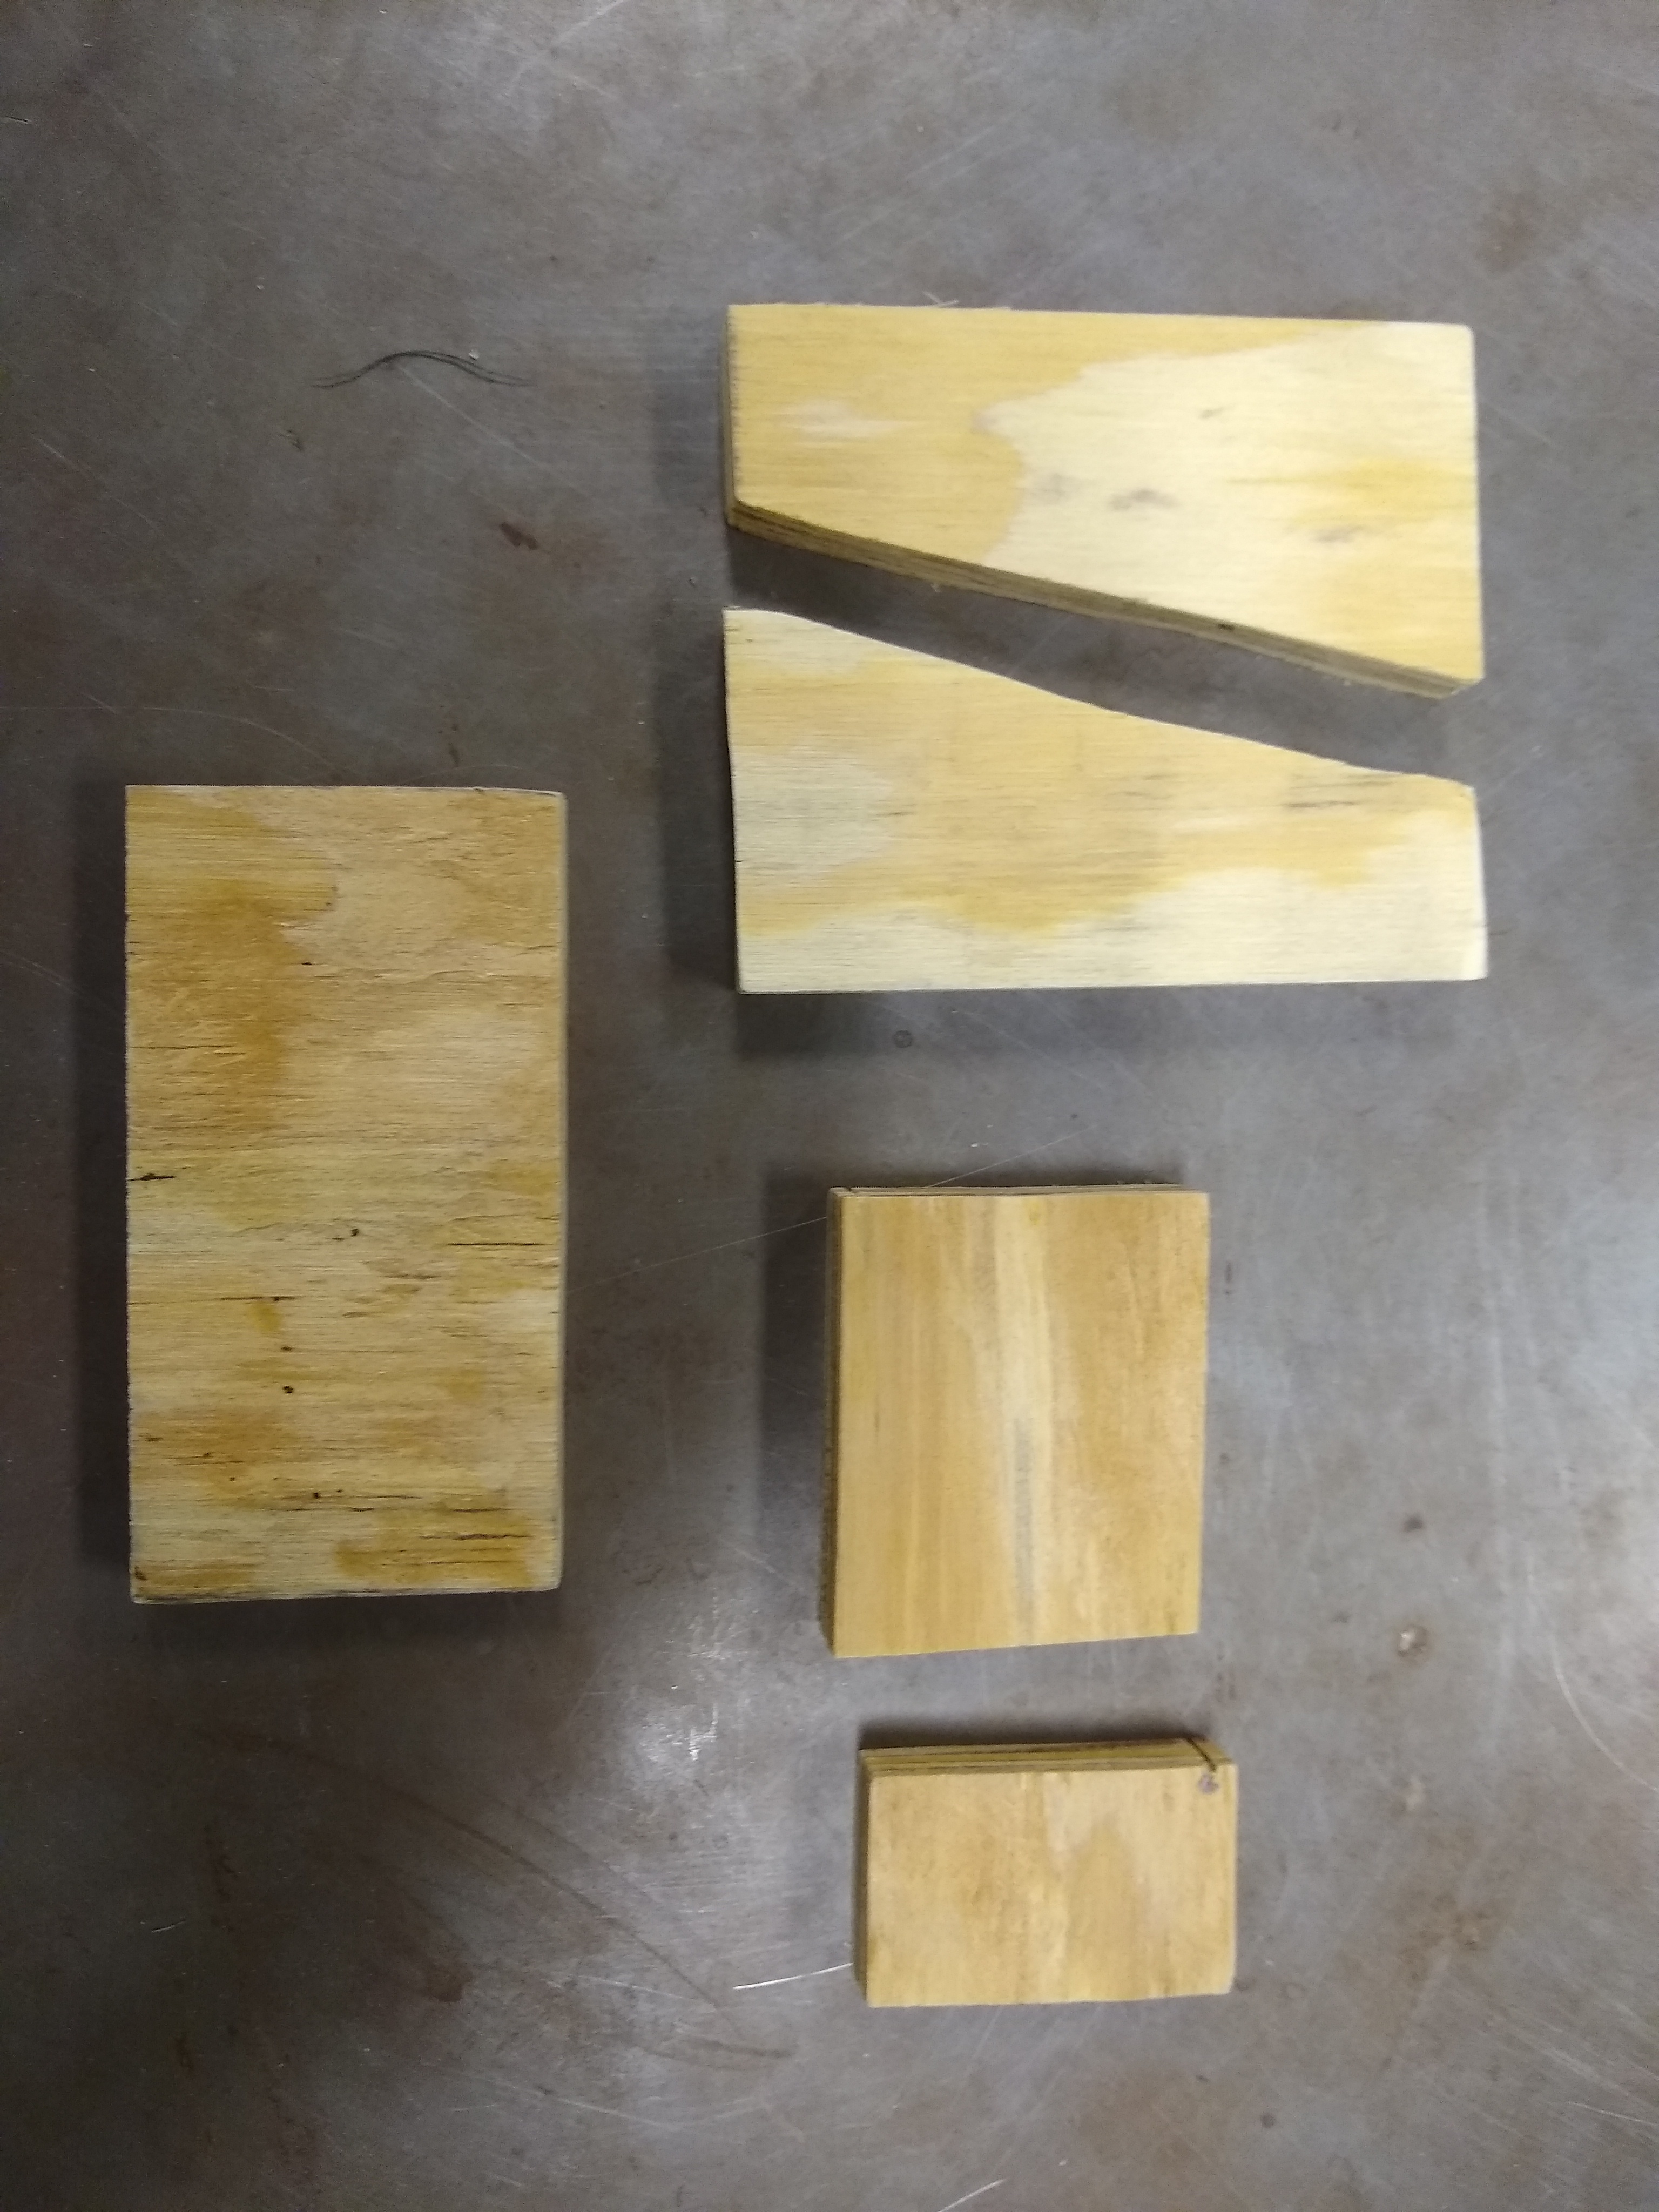
This is by far the easiest part of the DIY project because of the amount of repetition it has: cutting out the same pieces out for 4 little units then gluing them all together. First start with the Plywood and begin to make 4 1" x 1" squares, then after that make 4 2" x 1" rectangles, after that make 4 long rectangles measured 2" x 4", then lastly make the 8 of the triangular/rectangular pieces. The dimensions of the last piece is quite interesting being 4 inches long, then 2 inches tall on one side, then being 1 inch on the shorter side.
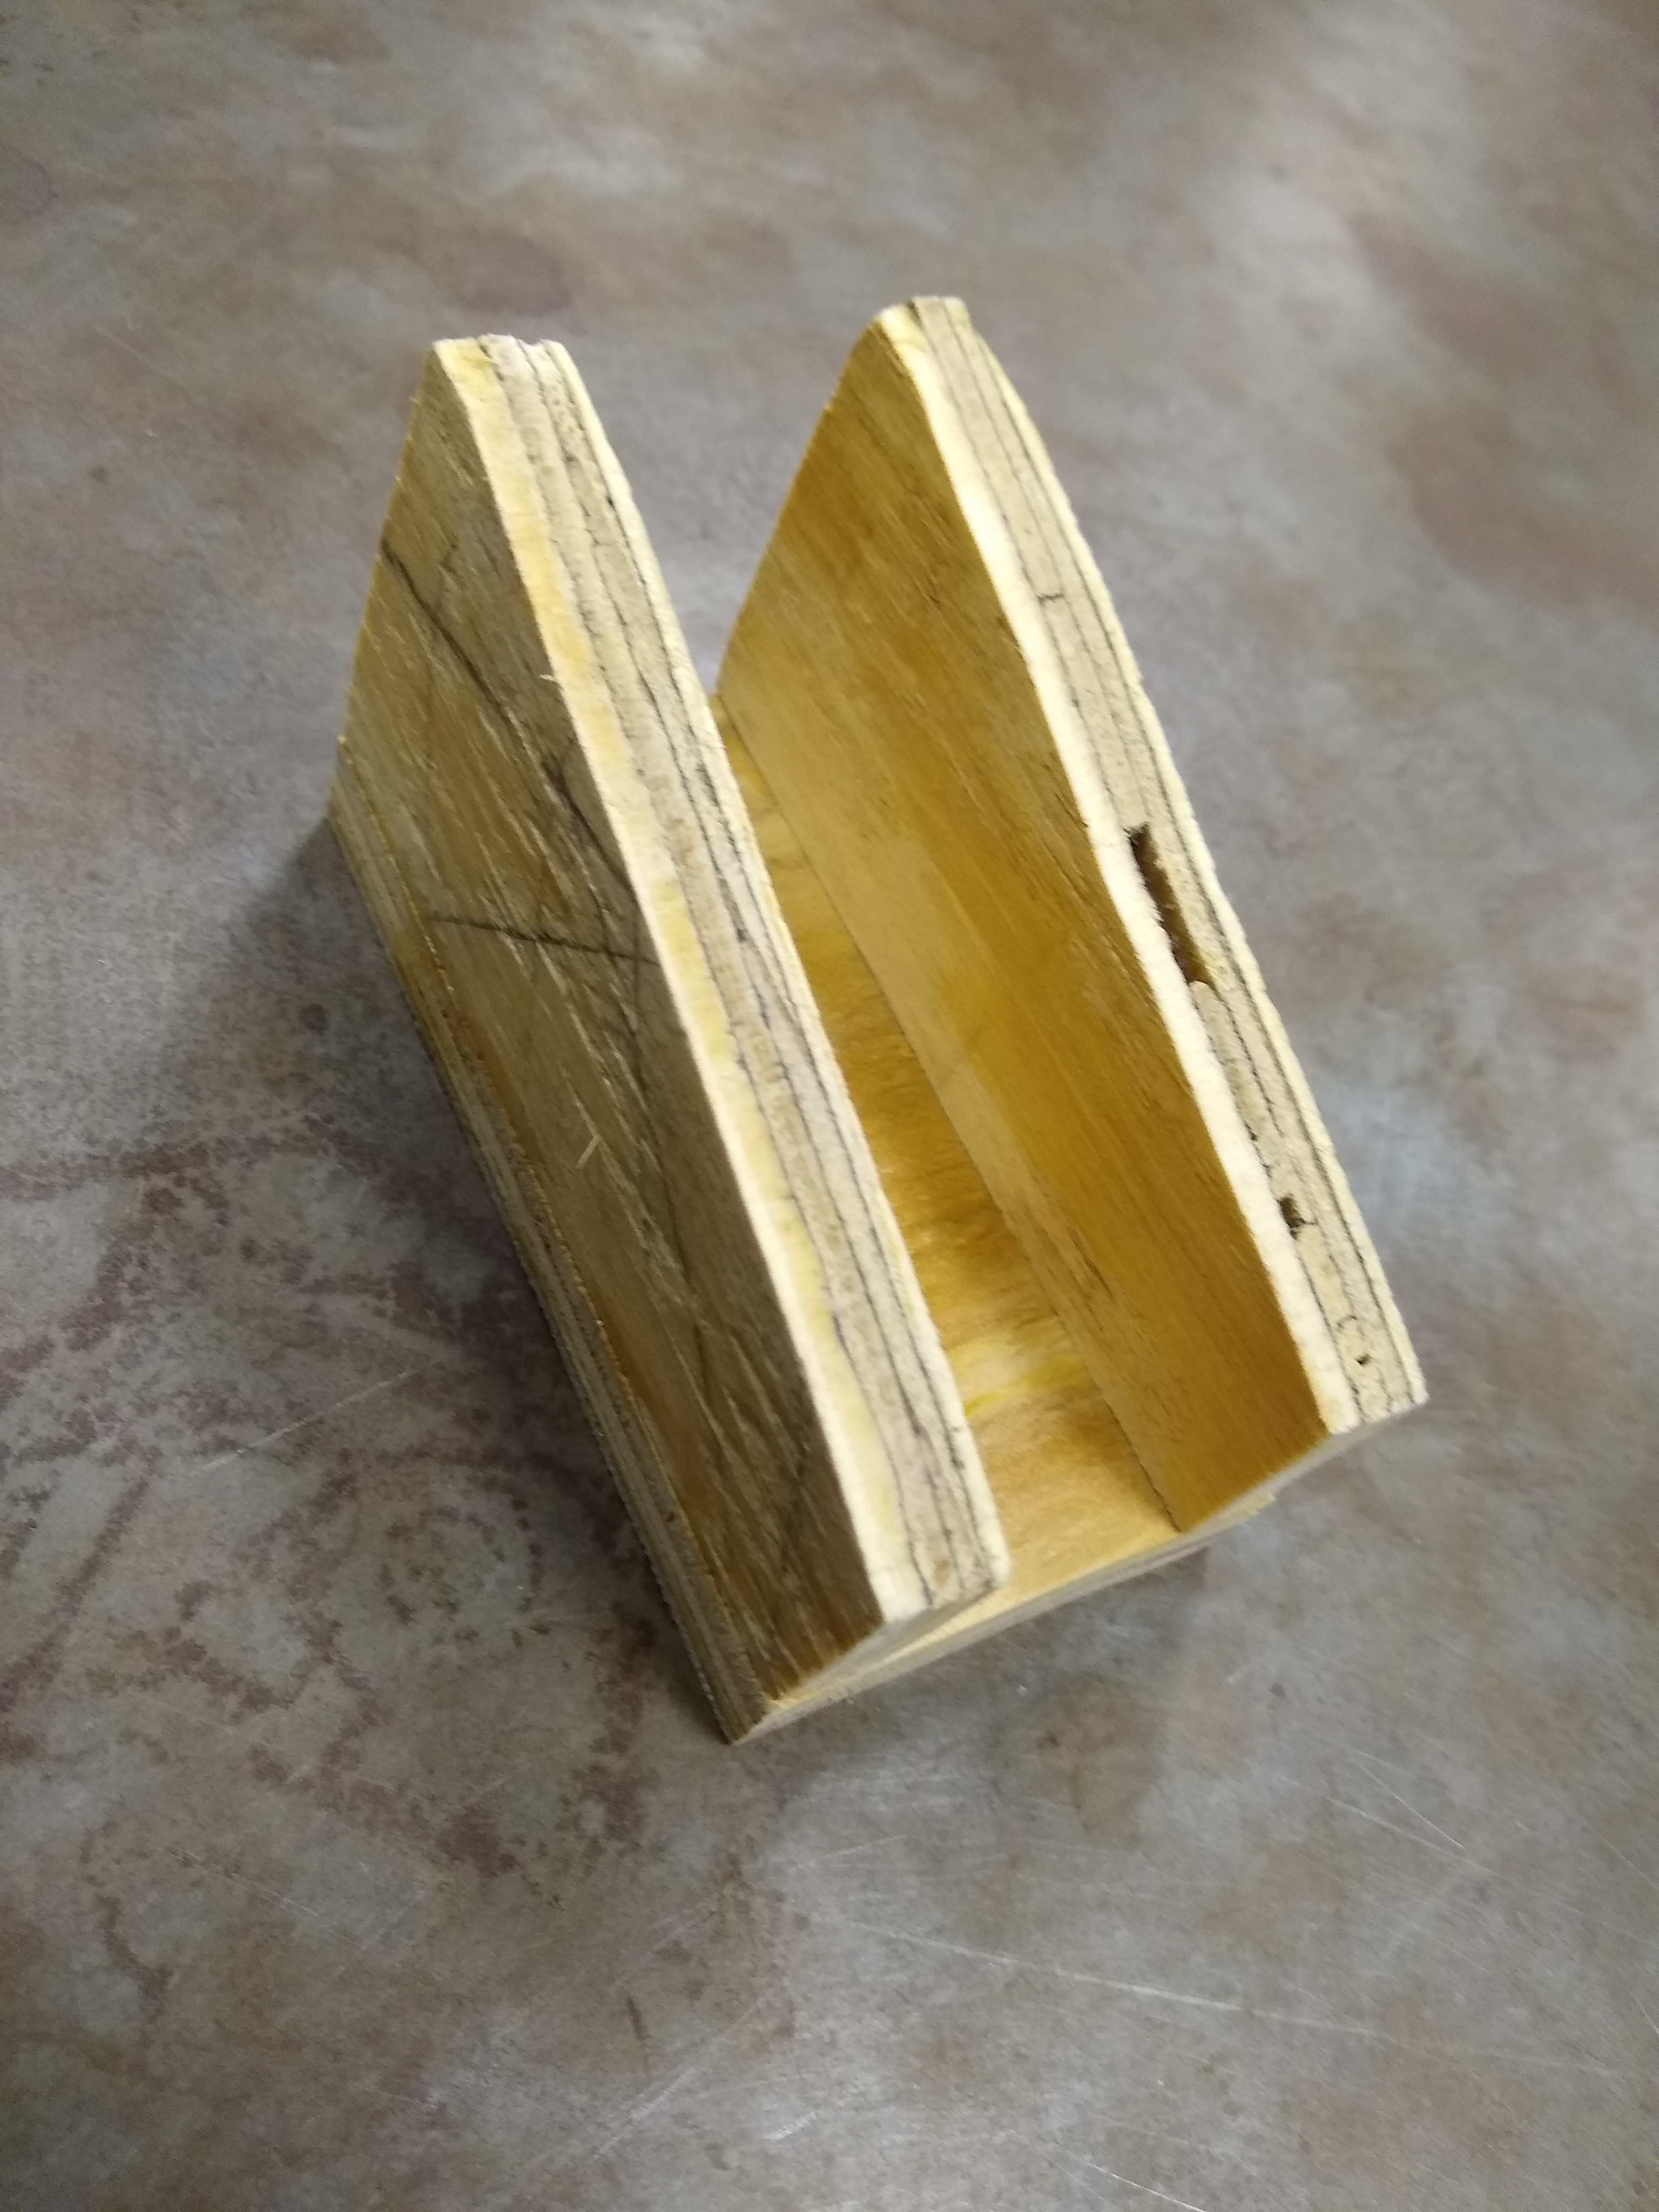
Once all the pieces have been cut out, then repeat what comes next to remake all 4 storage units. First with Wood glue, glue the odd triangular/rectangular pieces to the side of the long base by gluing the side that is flat to the either the side of the base or on top. (In the image above it was the top) Then hold them together for about 5 mins until the glue sets properly, then once it's done begin gluing both the 1" x 1" square to the front of the base, then the 2" x 1" square to the back and hold together for another 5 mins to let it sit properly.
Cutting Out Everything Else

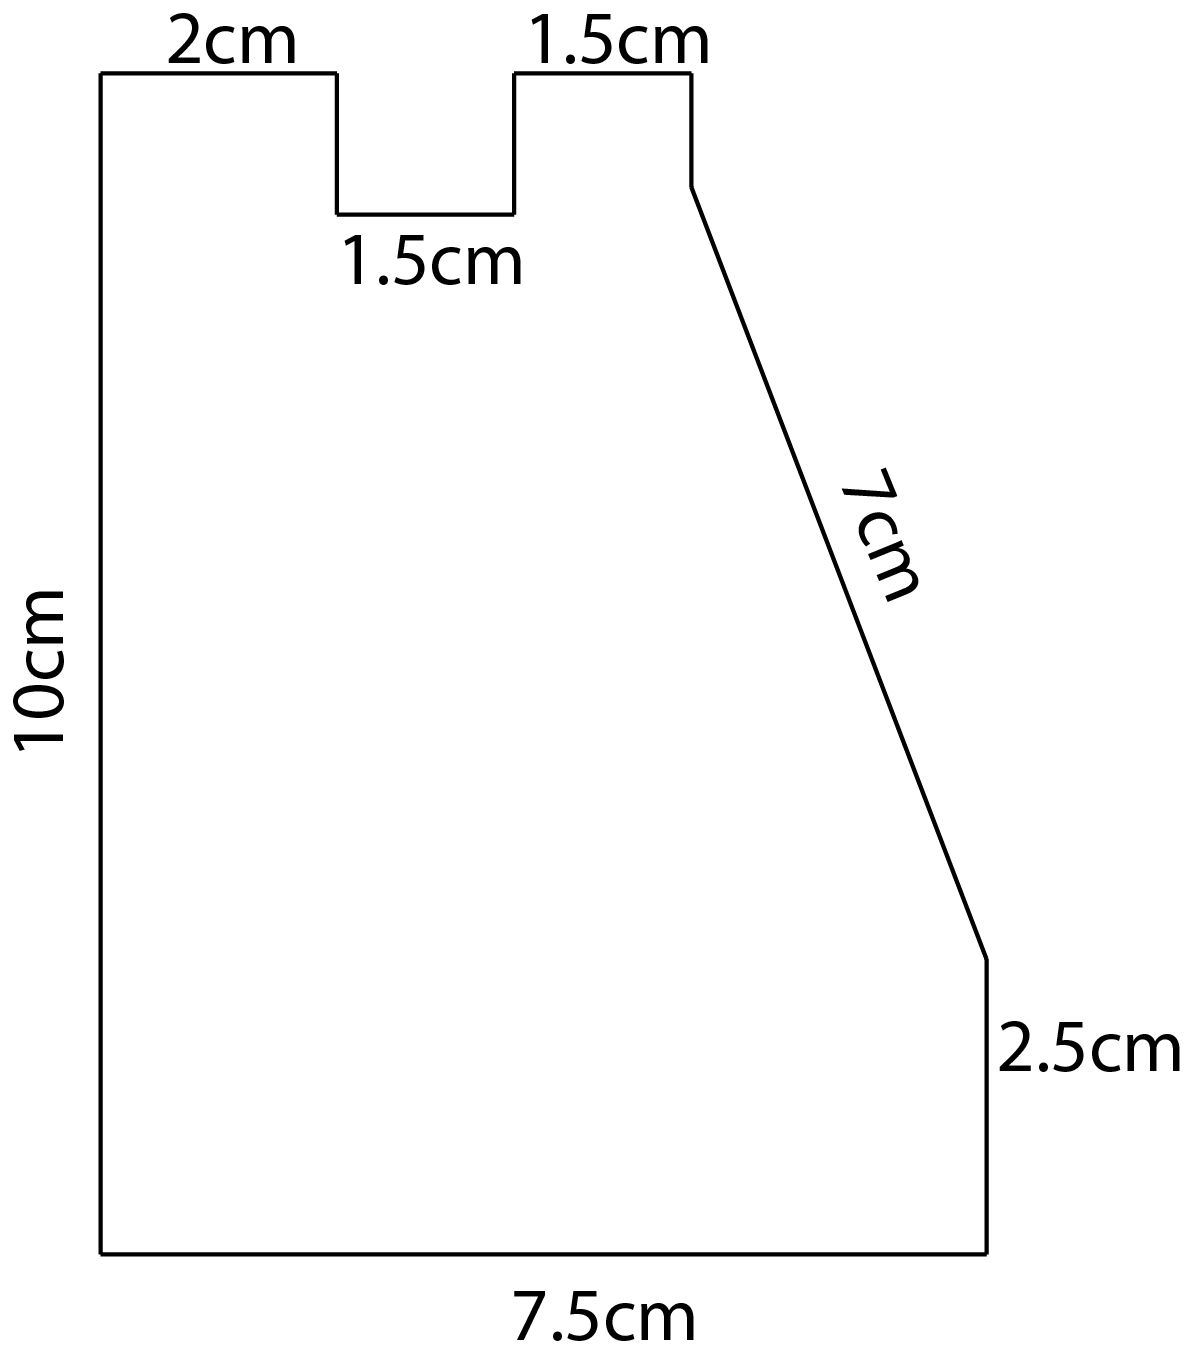
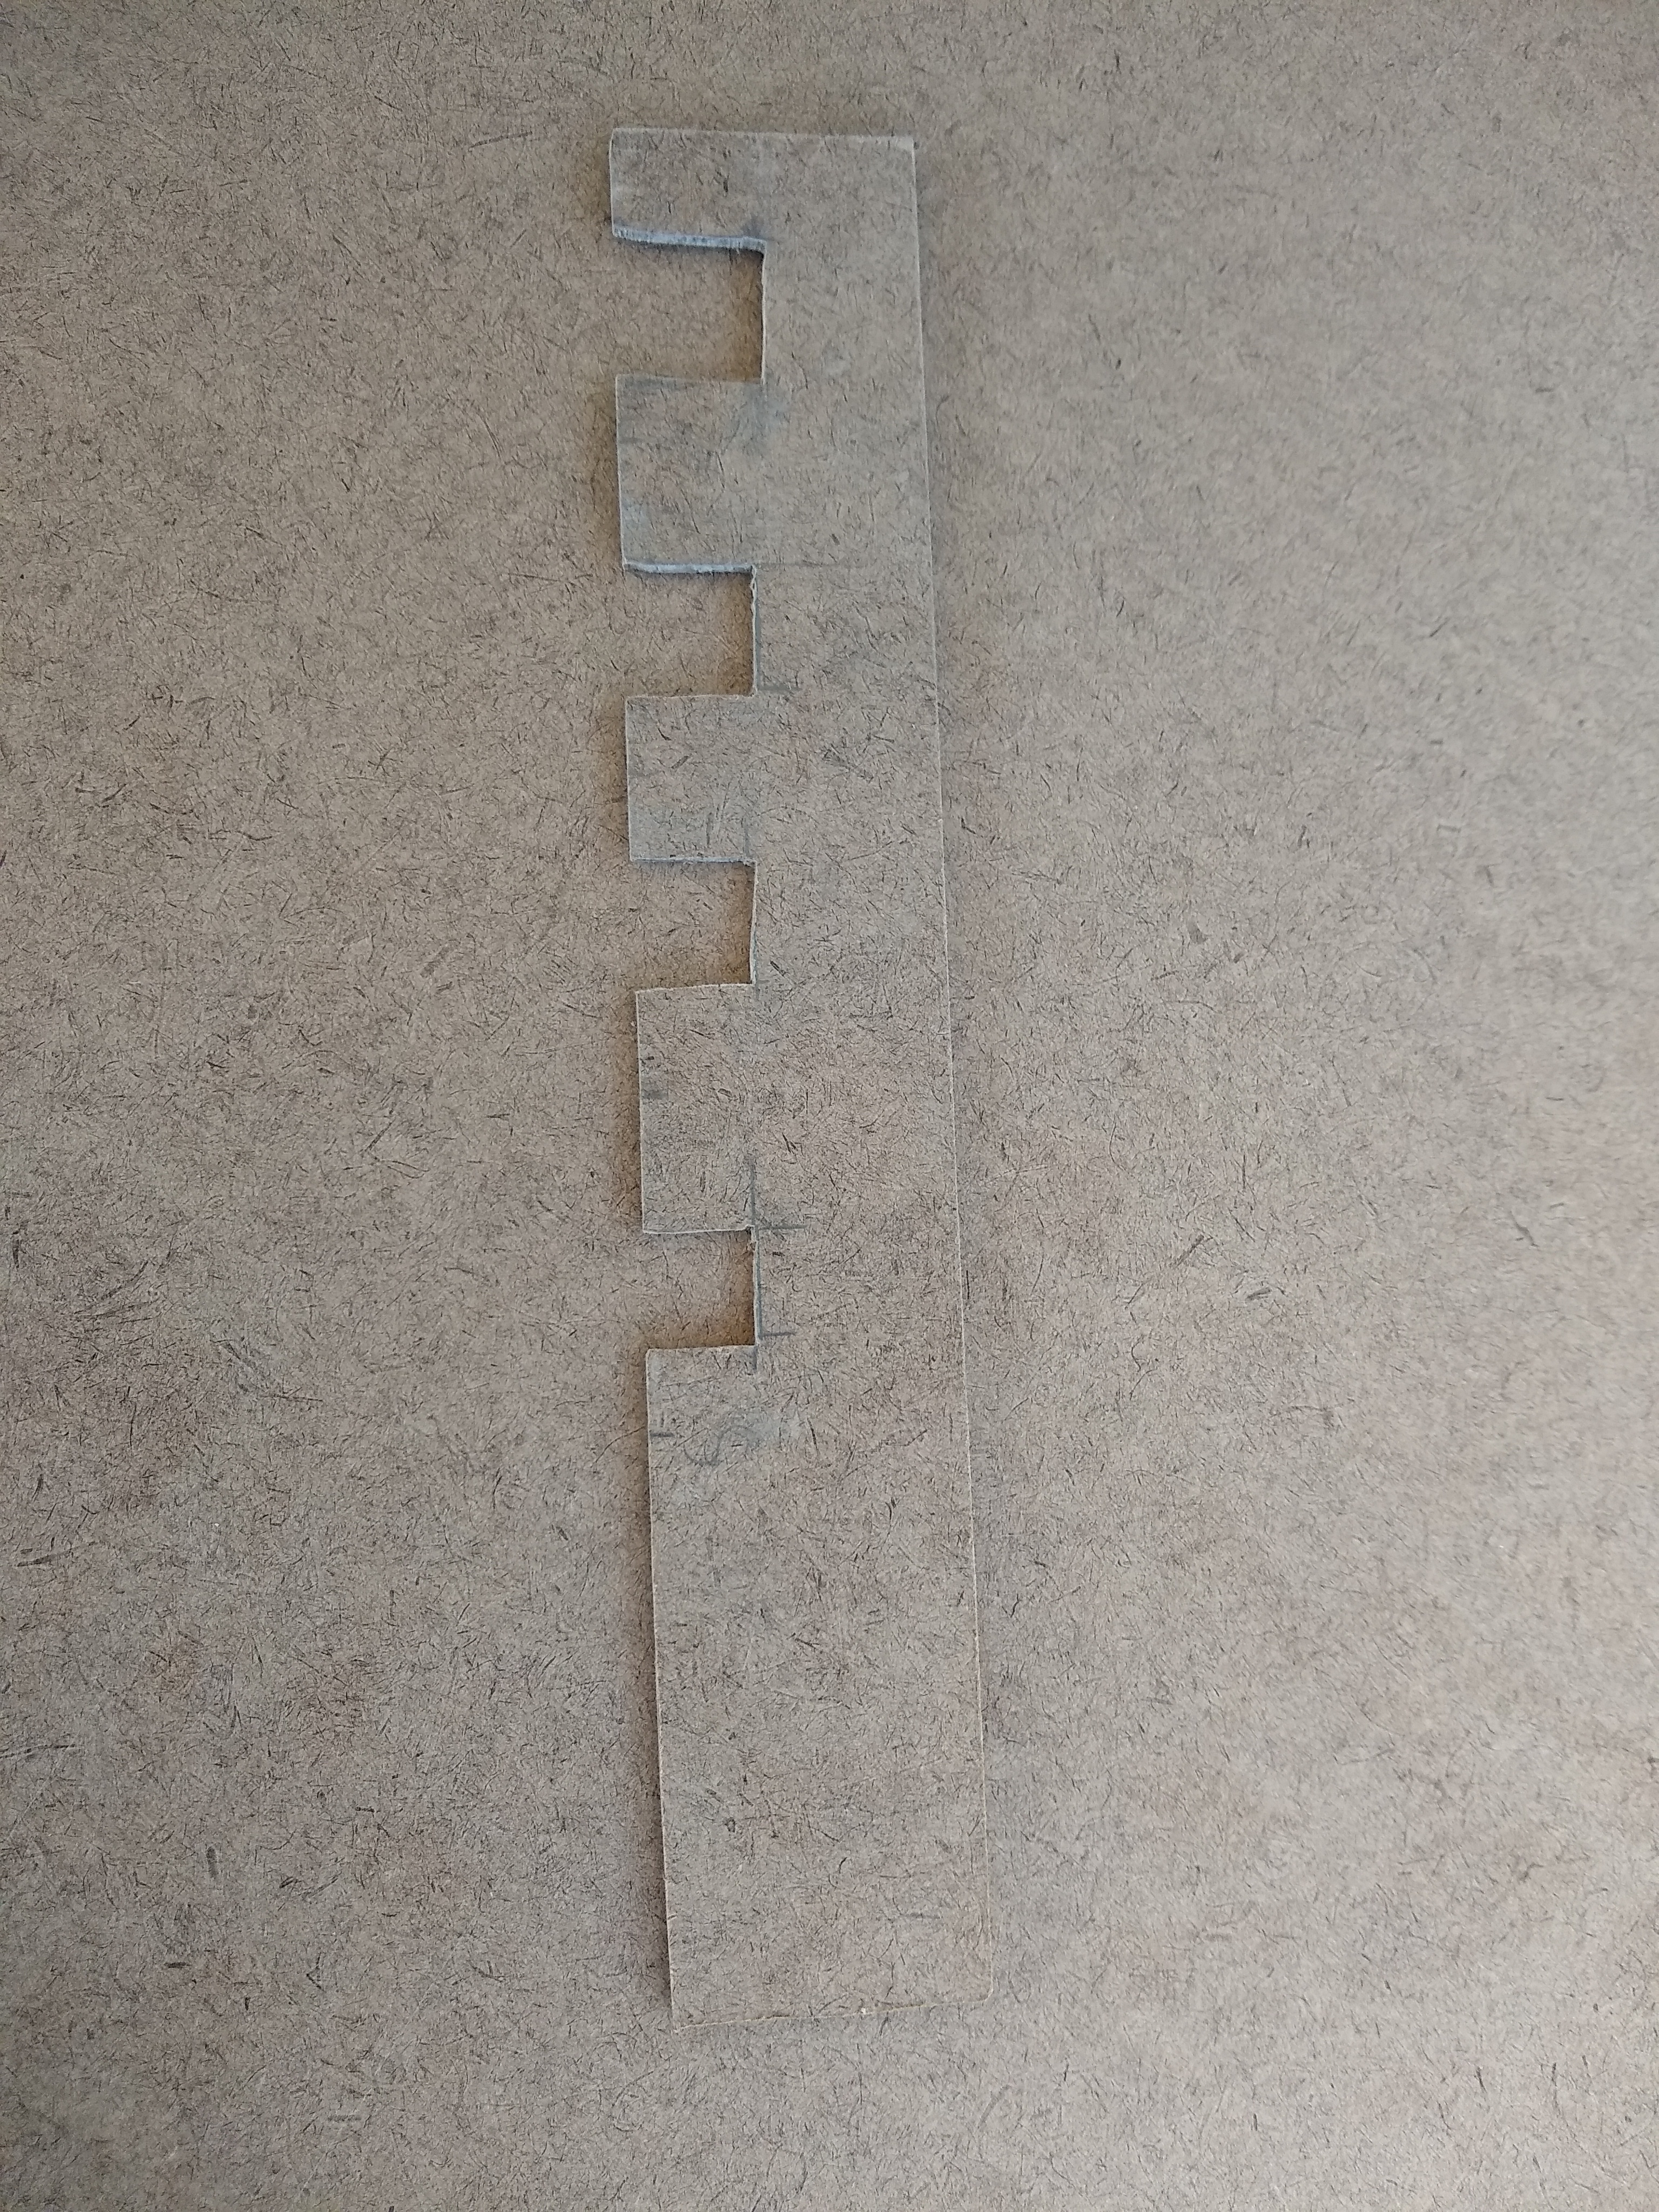
This next step is pretty much the only time where you will need a jack saw to cut the wood, the rest will be drilling and mounting. The first things to cut out is the whole base of the project which has dimensions of 4" x 6", which is pretty straight forward. Next is to cut out 2 large circles that both have a diameter of 20 cm, with a smaller circle from the some of the chipboard (if possible I recommend using a laser cutter on the smaller circle) with a diameter of 9 cm. Next is to cut out something similar to the coin storage units' sides, but this time it is 16 cm tall on the taller side then 6 cm on the shorter side, then is 7.5 cm wide. Lastly is cutting out the oddly shaped shape which is the most difficult piece, which I have put the dimensions of the shape onto it's own image in a drawing.
Mounting the Base

.jpg)
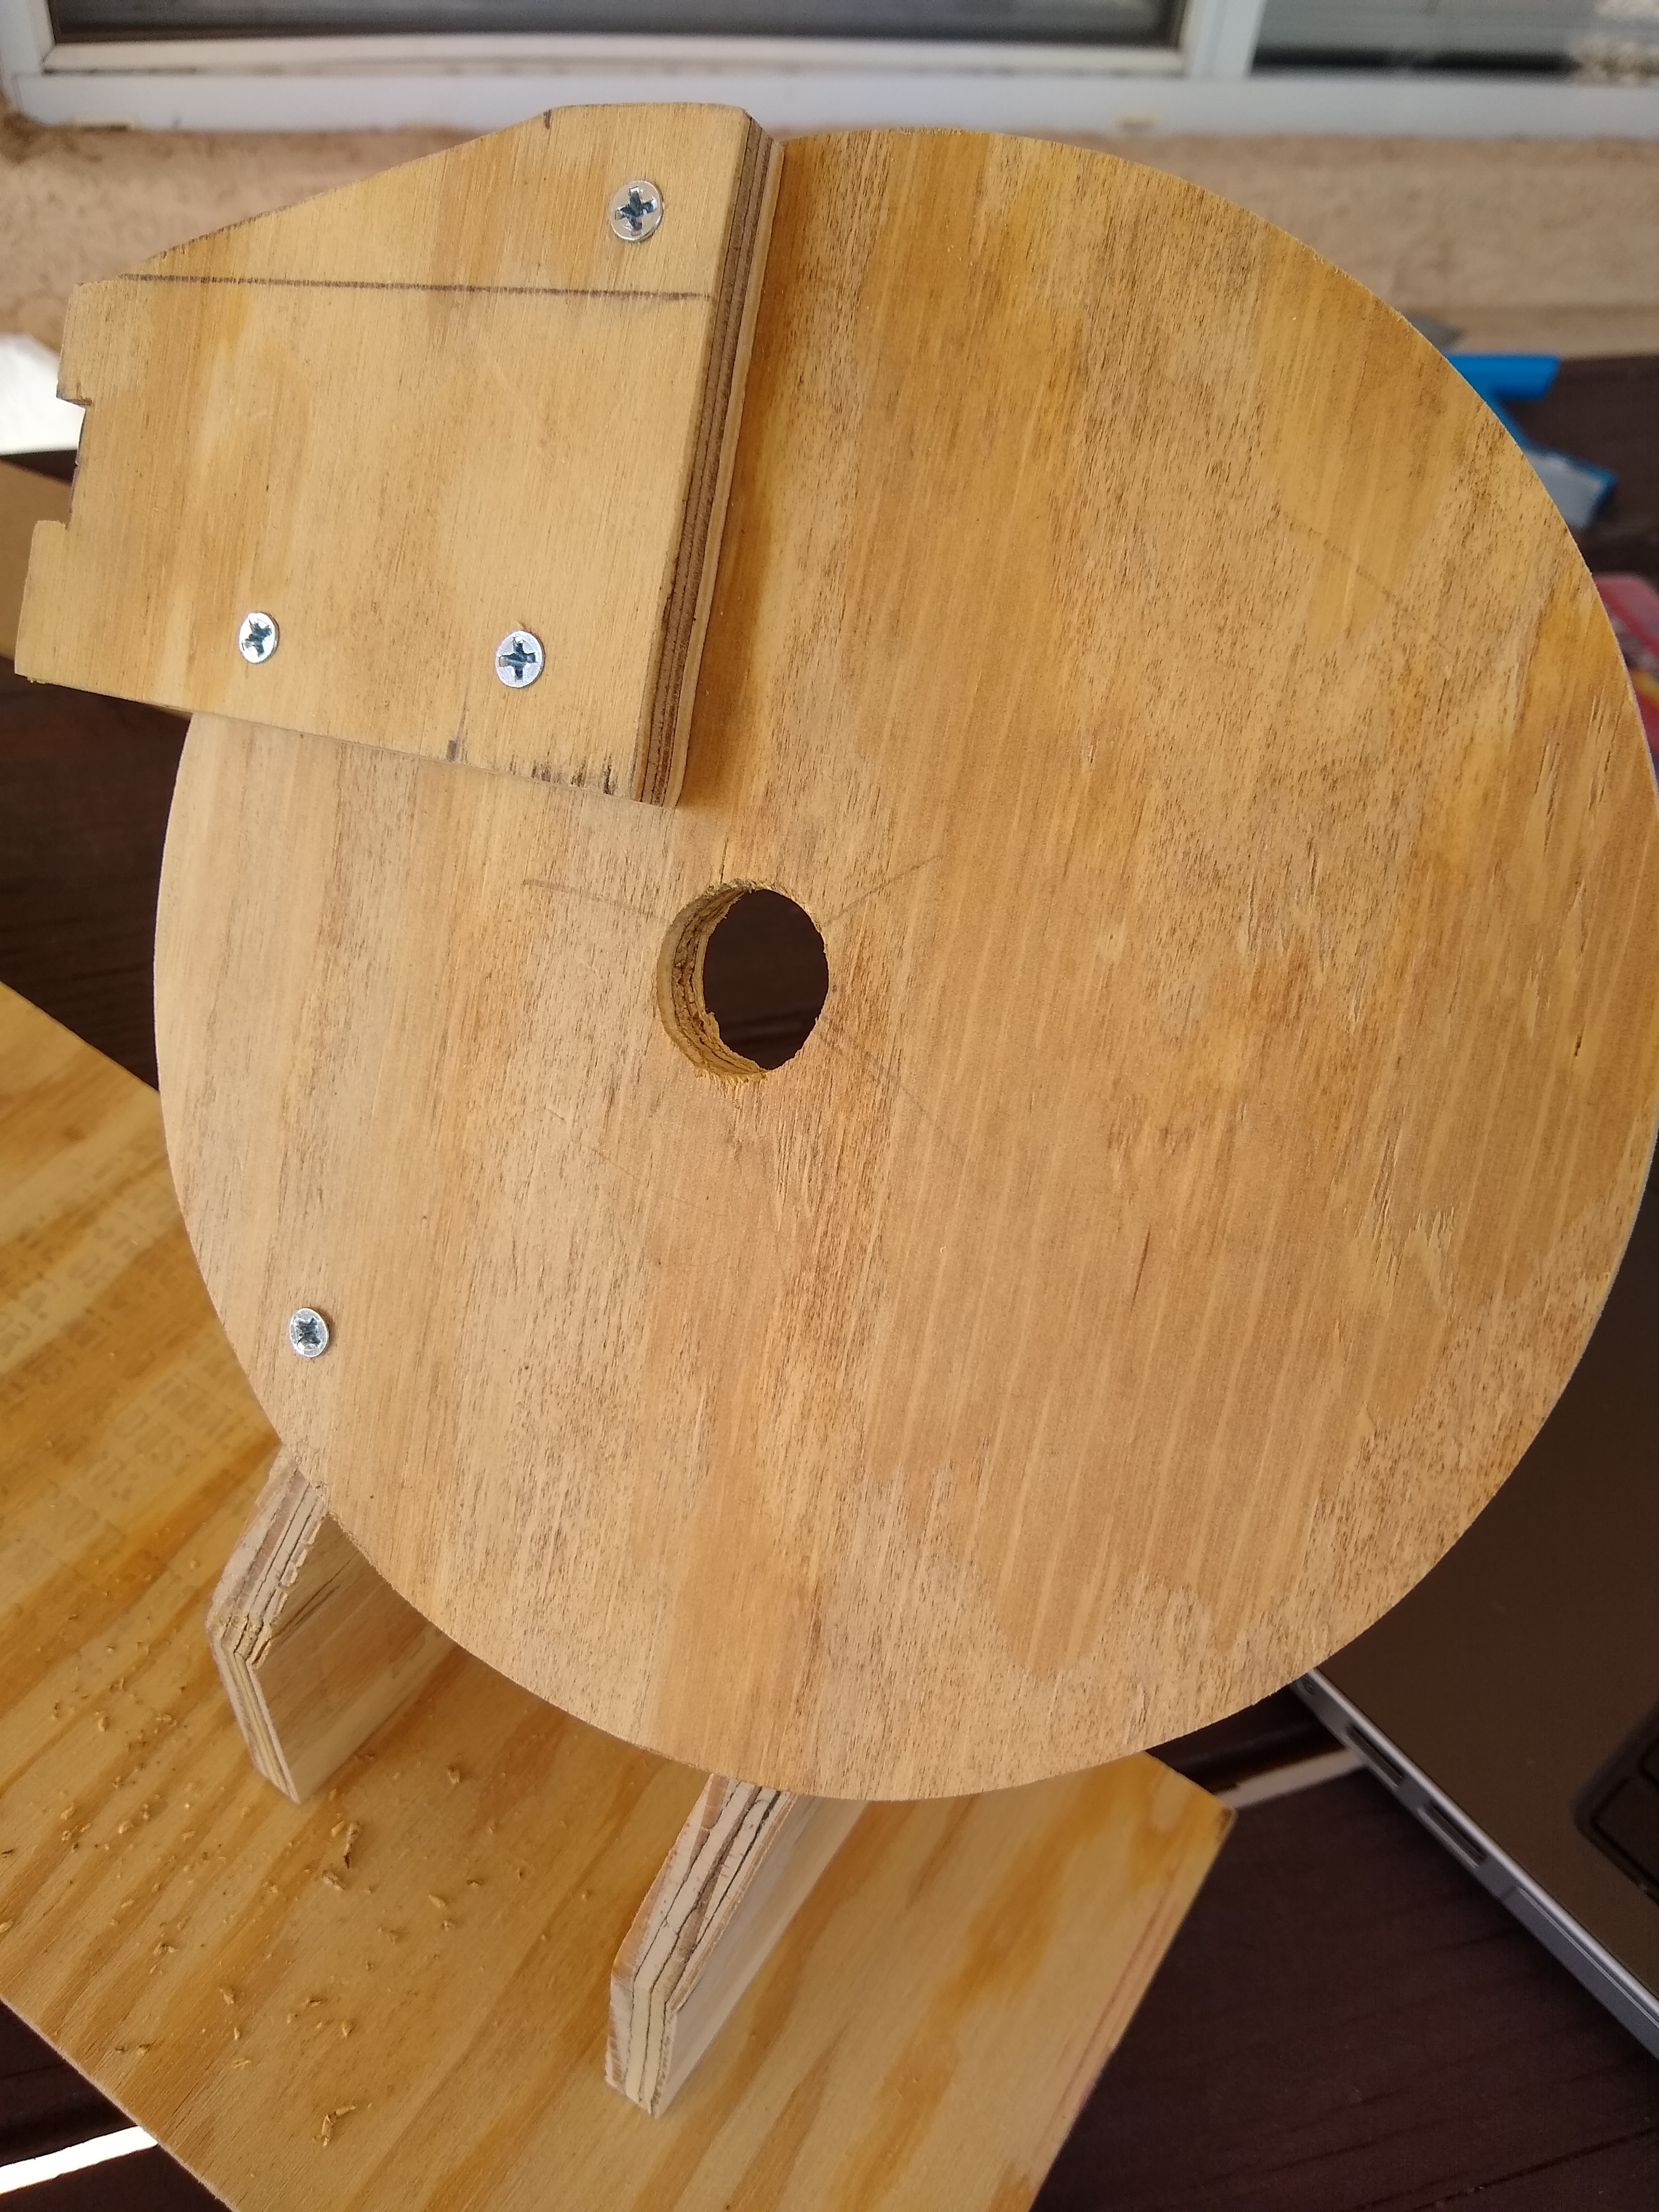
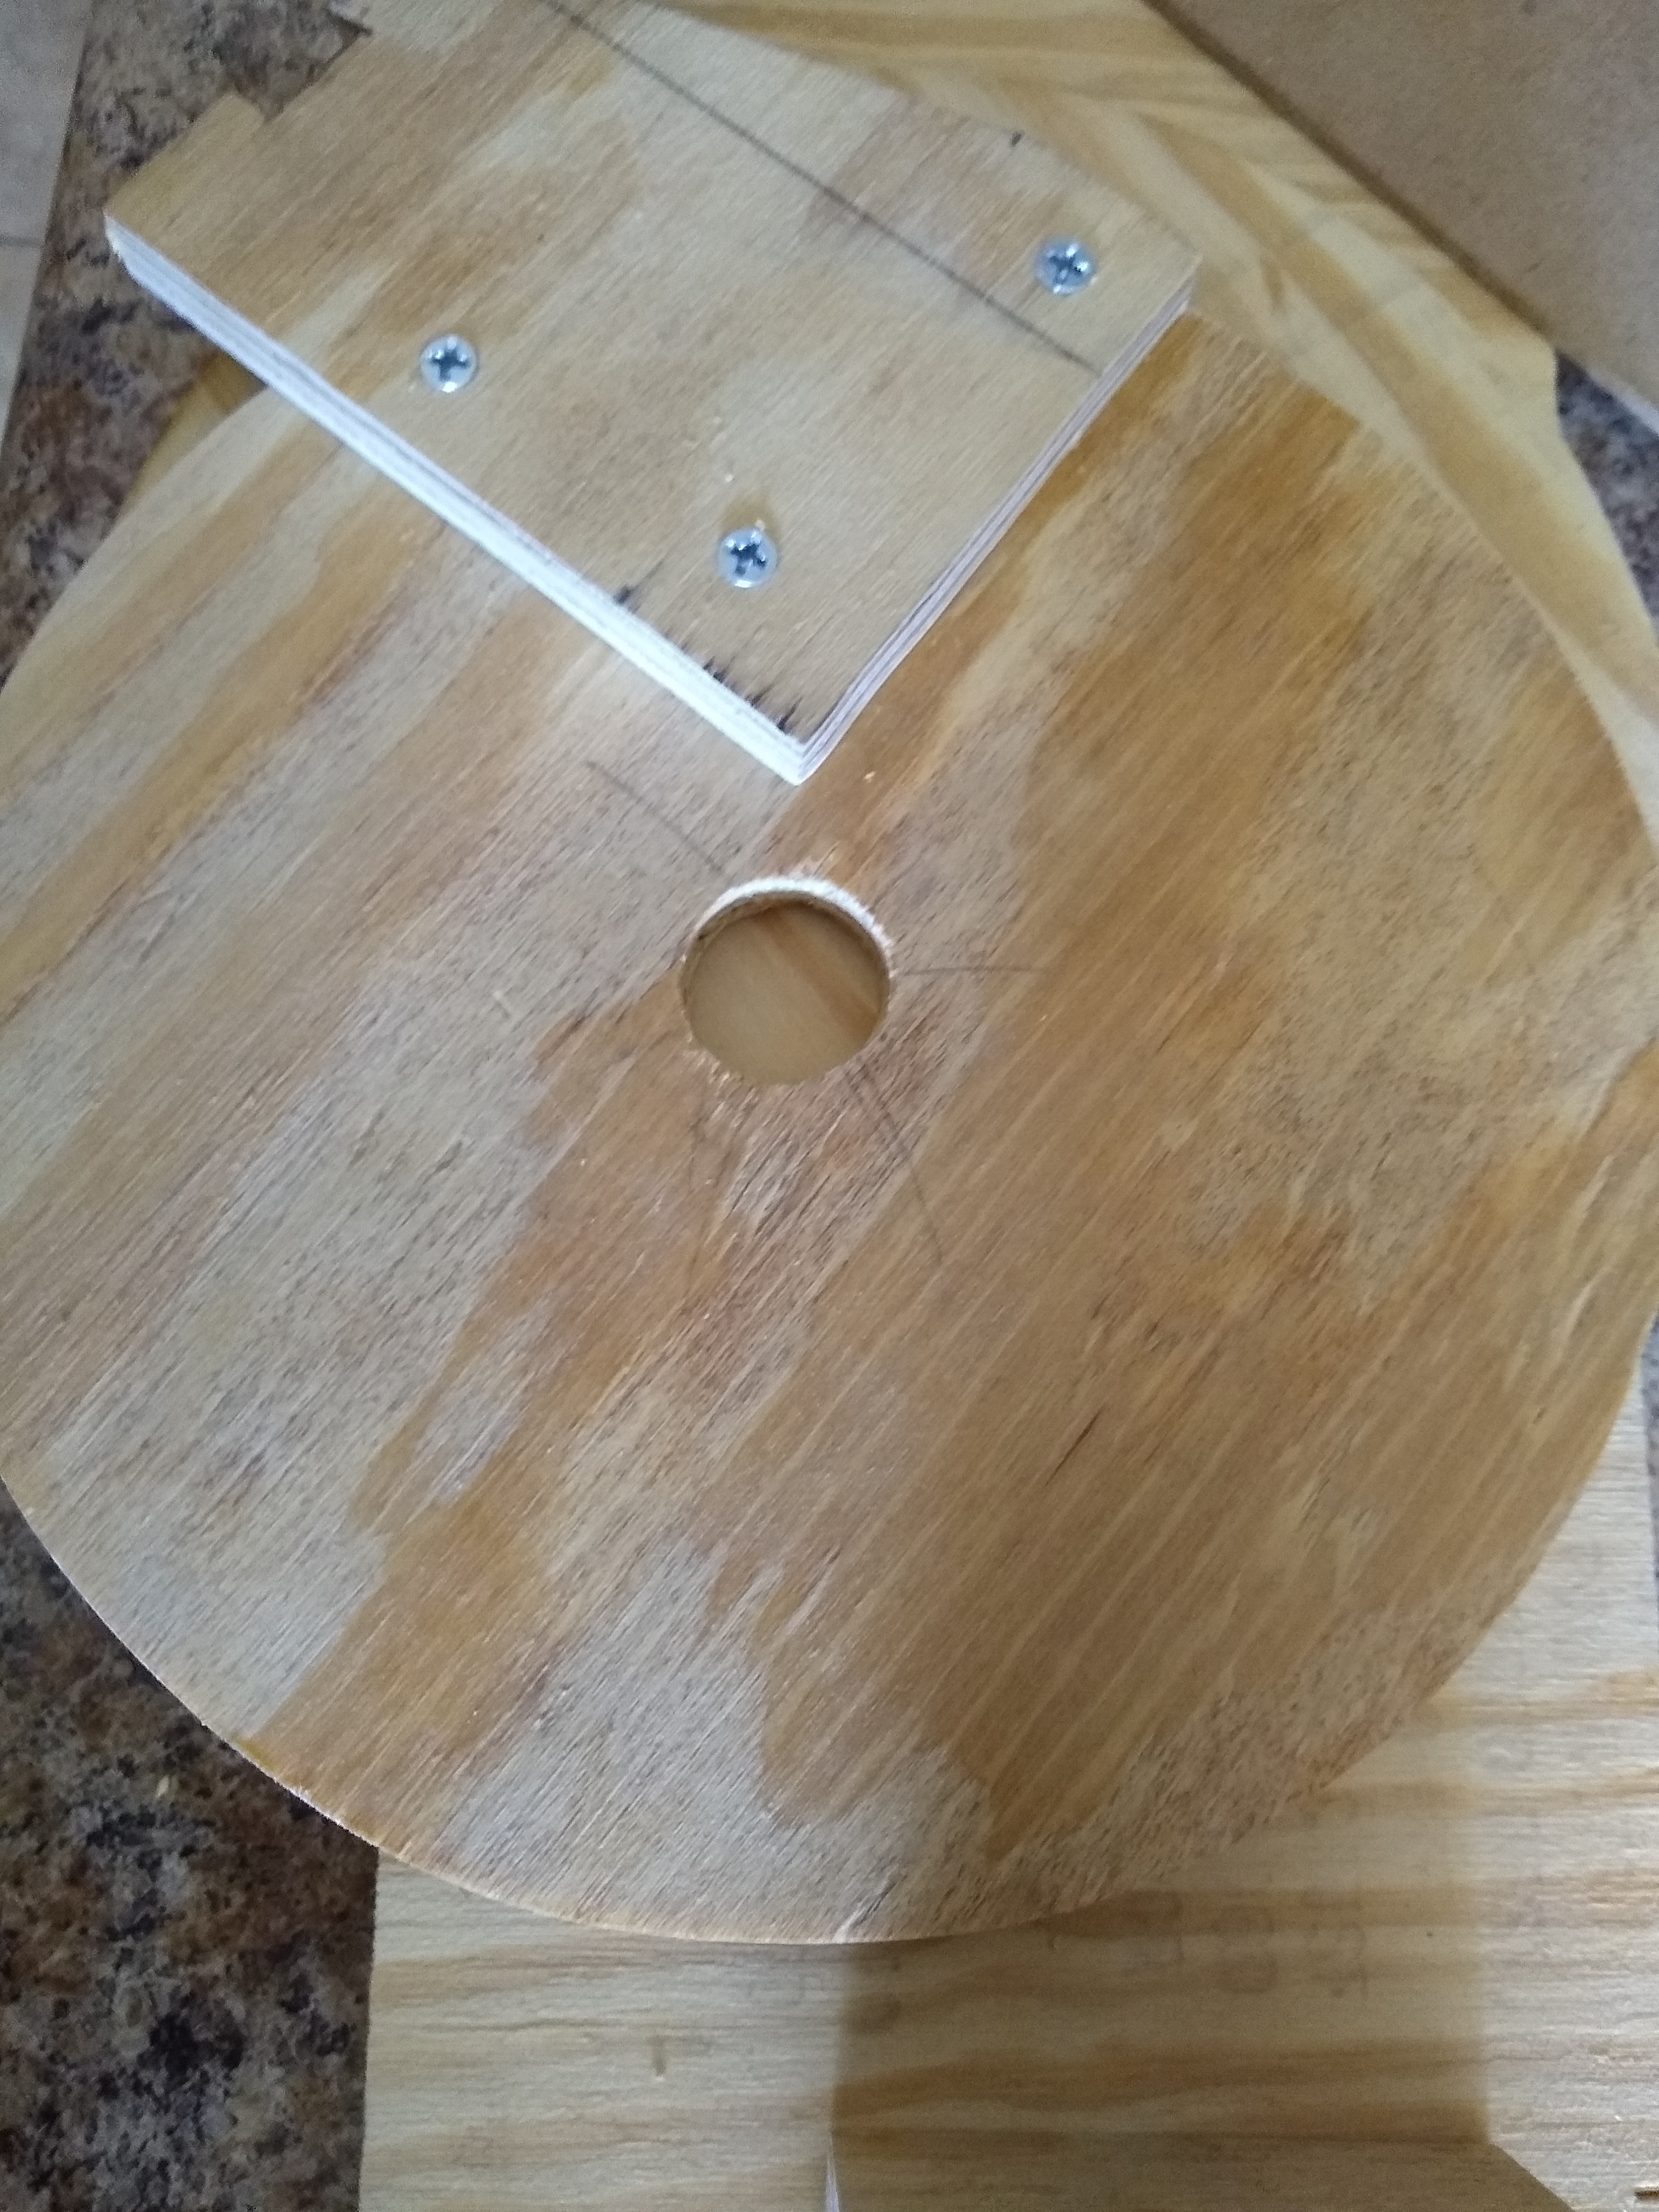
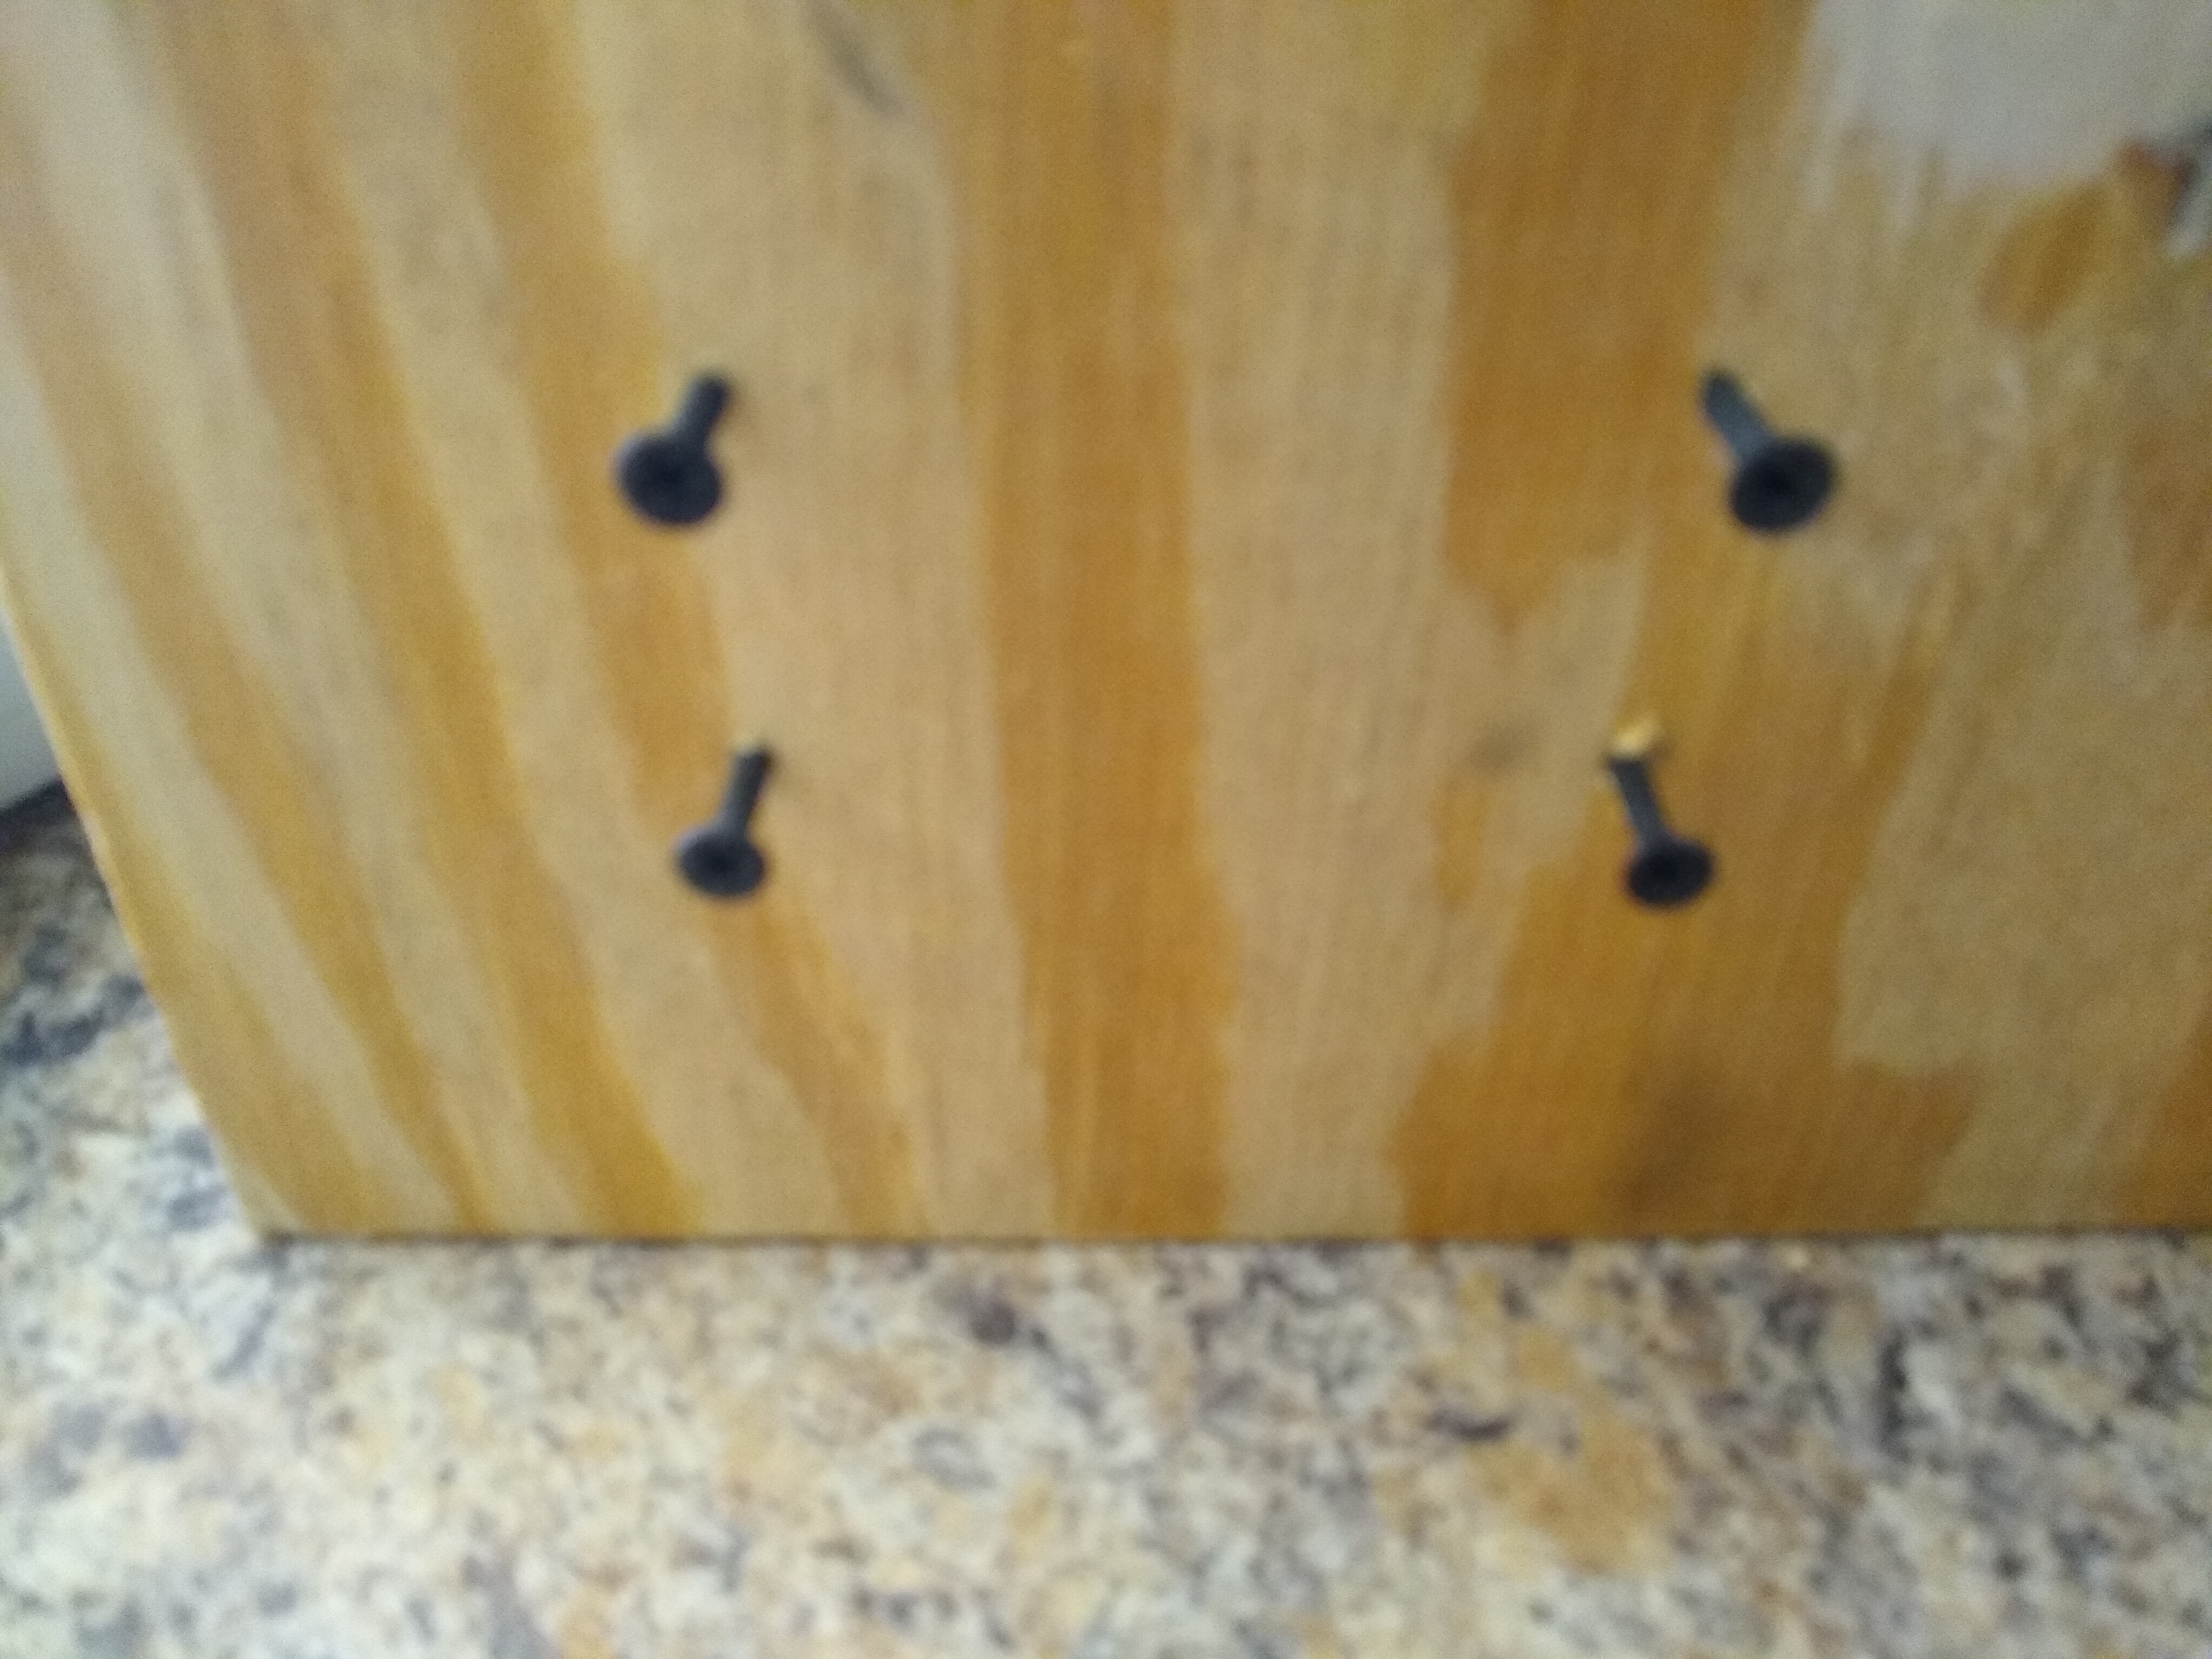
This next portion is not very difficult, so with one of the large circles, find the center of the circle and use a 7/8" drill bit and cut a hole through the middle and with a different glue rather than the wood glue, glue the 608 bearing to the hole. Now with the oddly shaped rectangular/triangular pieces, on the far end of the base make 2 dots where one is above the other like how the screws are mounted on the bottom of the base that are 4" away from the side and make the top dot 1" away from the top. The dots should be 4" above one or the other and should be about 9" apart from the other rectangular/triangular piece. Then with screws screw the odd shapes to the base similar to the image above (make sure that the triangular pieces are pointing towards the side they are farther away from). Then next is to mount the circle onto the triangular portion of the base: using the hole as a reference make sure that the hole is about 2" above the point of the triangular piece, then with screws mount it onto the triangular pieces. Lastly is mounting the very odd shape onto the top of the circle which is the most difficult part of this step because there is no way to actually know how to mount it directly other than knowing that the long sides sits above the hole of the large circle and that the short side sits above the hole of the center as well, then using screws mount it to the circle.
The Ramp
.jpg)
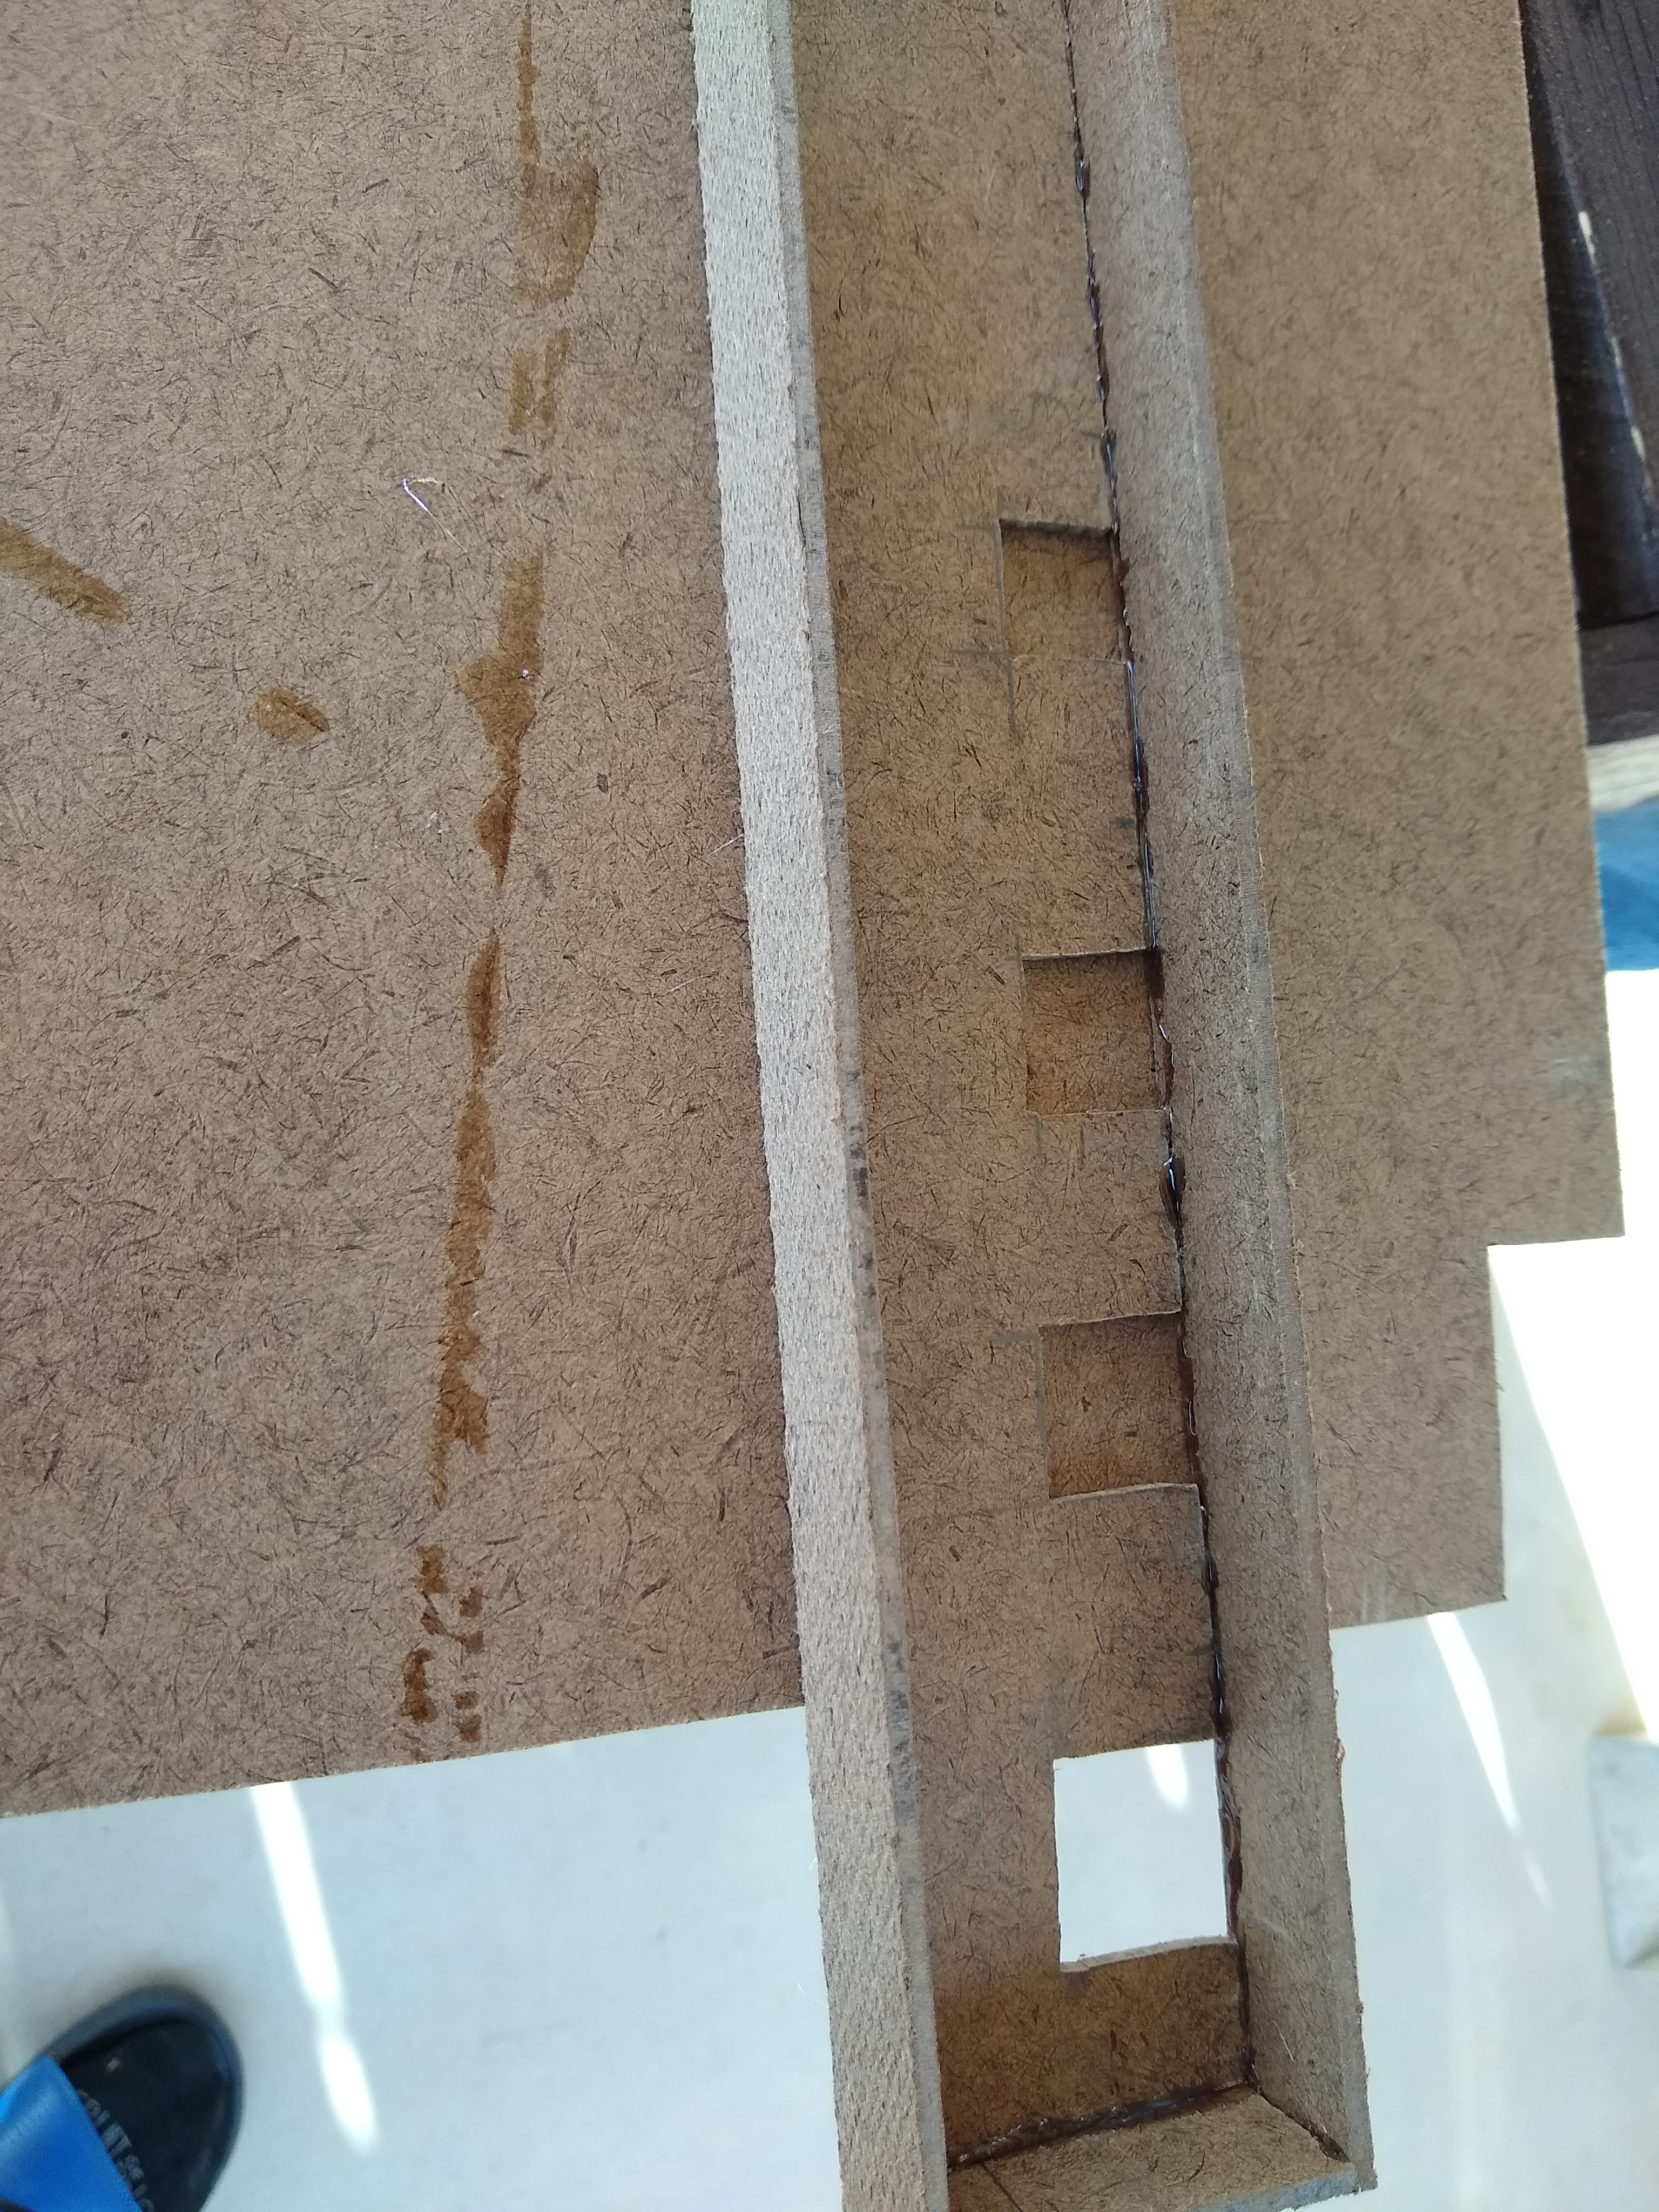
This will probably be the shortest step. Using the chipboard cut out a strip of wood that is 12" by 2", which you will use to make the ramp for the coins to travel on. Then once the piece has been cut out, you can evenly divide the sections of the ramp towards every coin and mark the exact size of each coin, to keep other coins from falling in the same storage unit. Then once you have marked the coins you can cut out each individual hole for each one and then mount in onto the very odd shape.
The Turn Wheel
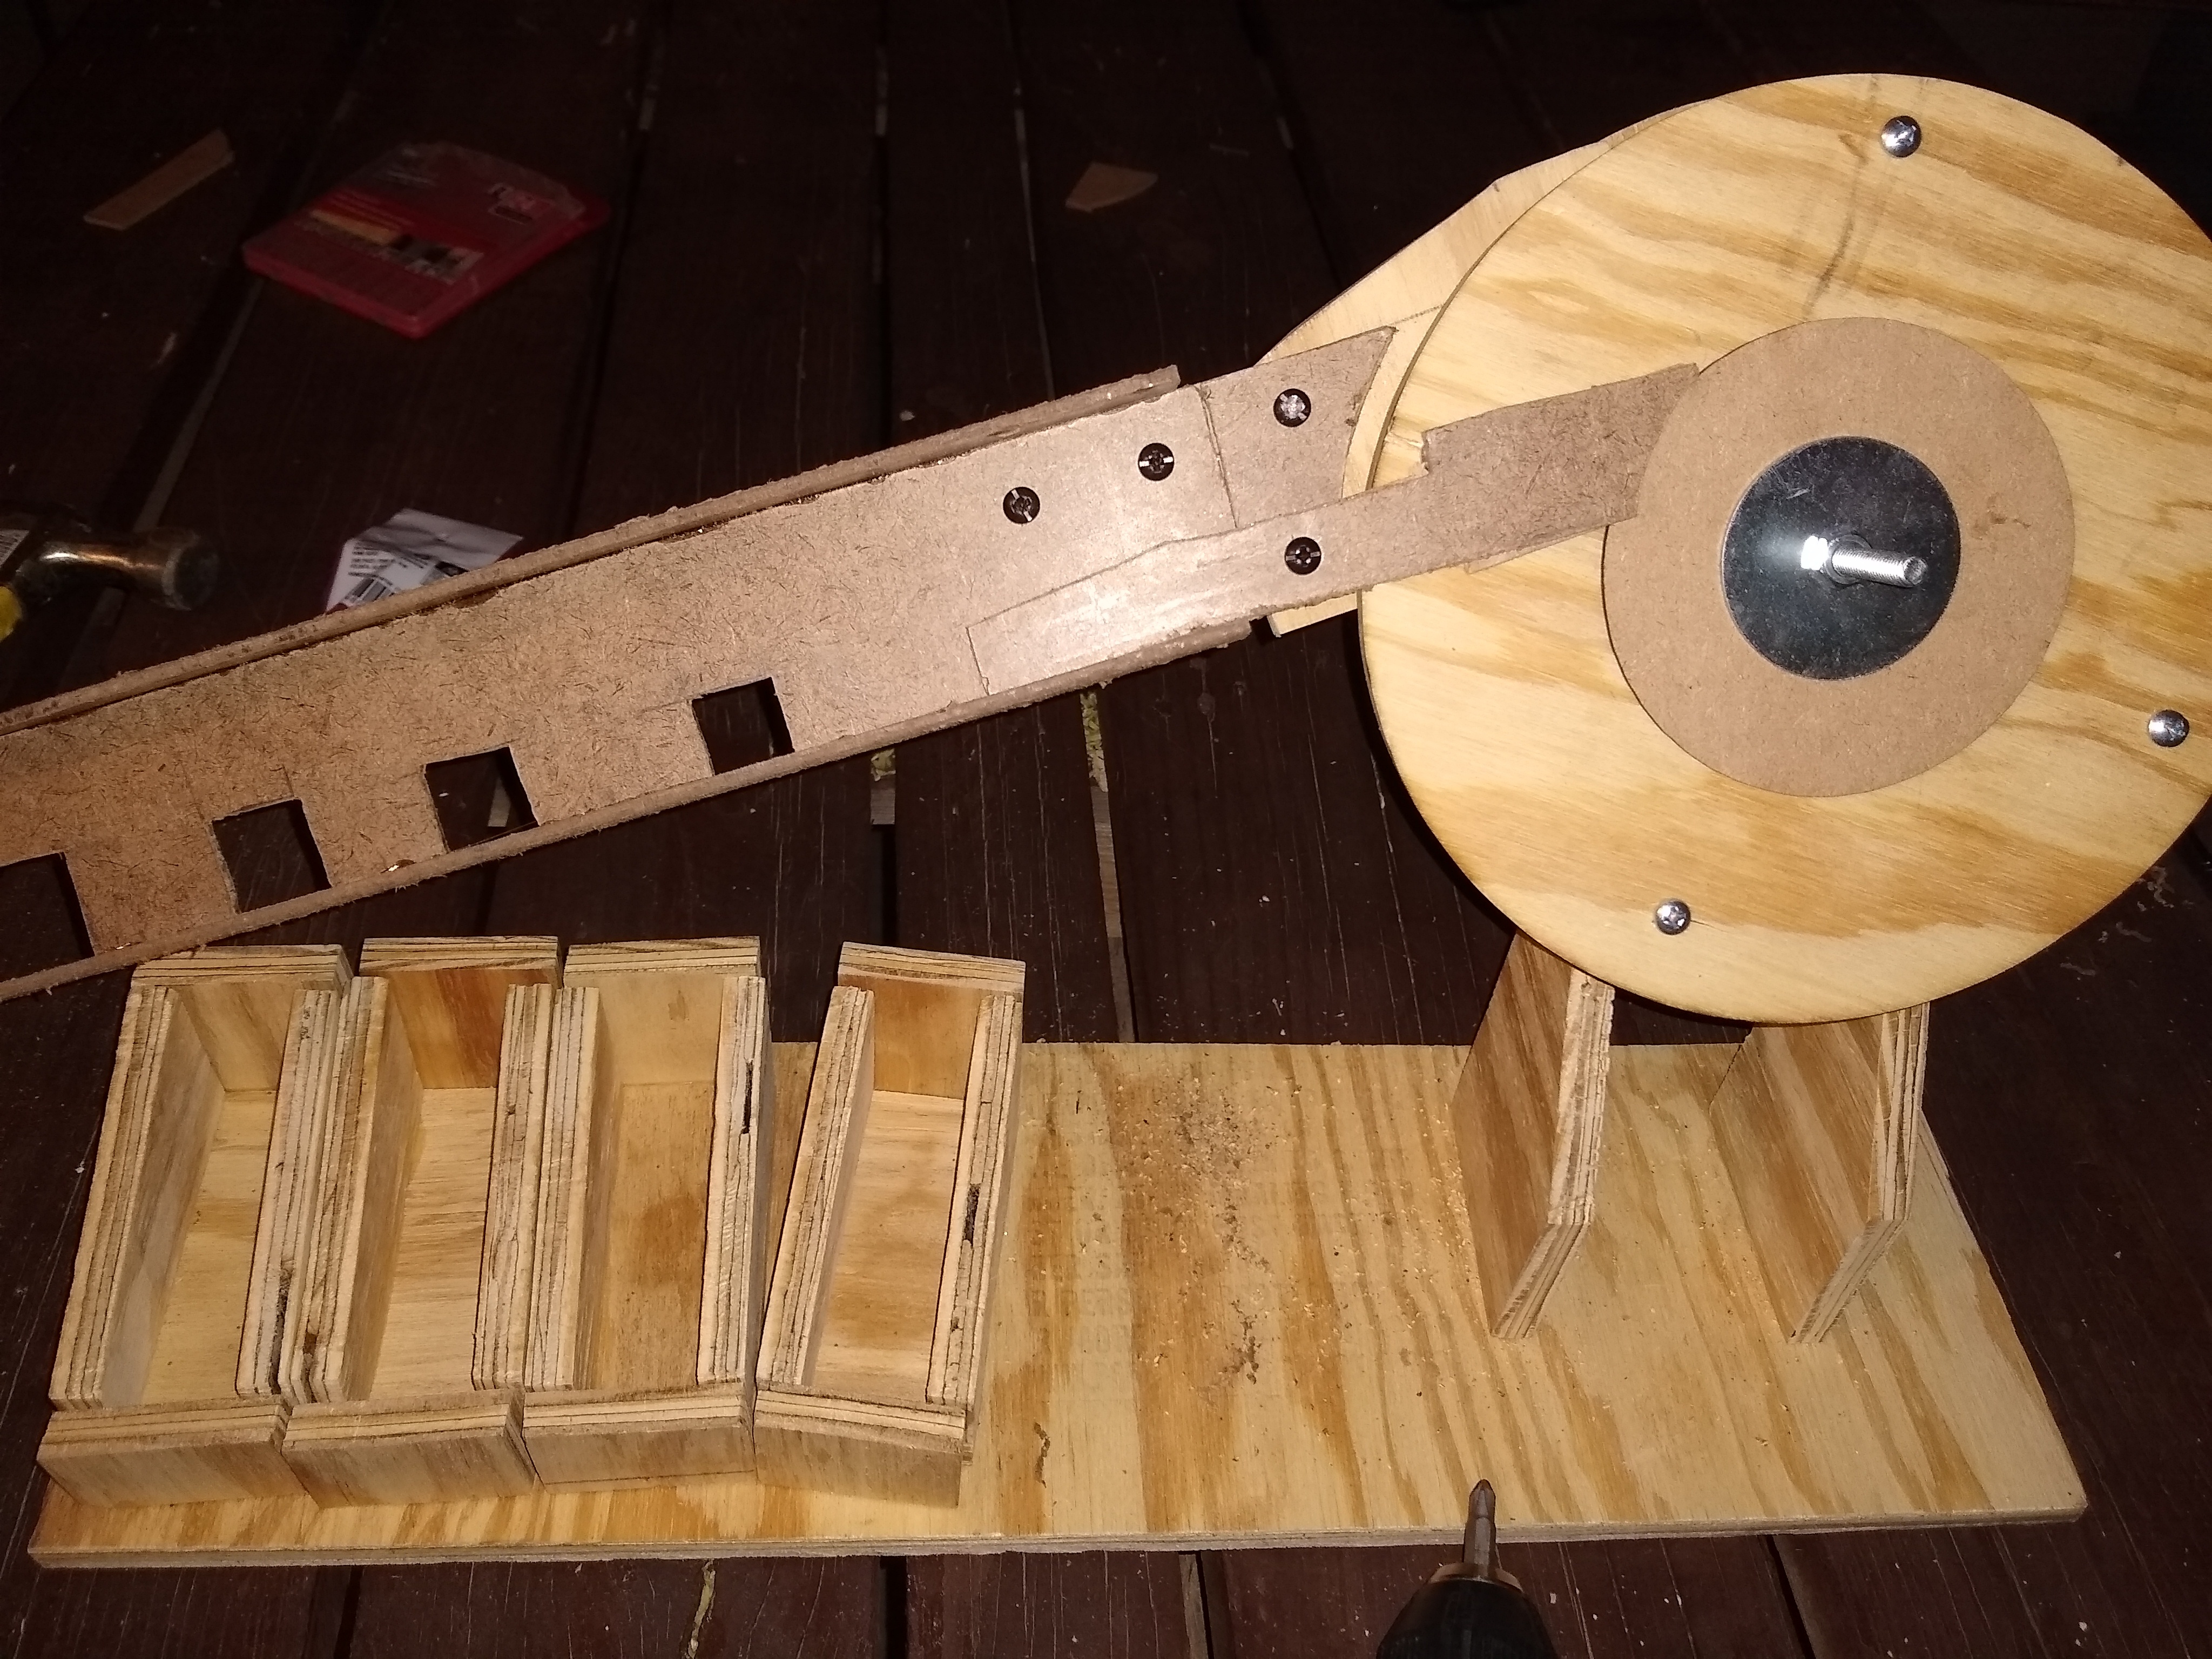
The last step into this project is the turn wheel which is not that difficult, using an 8" bolt mount the small circle onto it first, then using a 2 nuts, use the first one to tighten the the small circle to the bolt, then use the second one to make a small 1/2" gap between each one. Then place the large circle with the bearing in it on top of that nut and using another nut tighten the large circle into place and then using another nut make a 2" gap between the 2 nuts. Lastly place the second large circle on top of the last nut and then the small circle on top of that and using the last nut tighten the circles on top of one another and make sure that with the first small circle that you can rotate the top wheel freely. Then using Plastic vinyl create a shield around the first large circle to keep the coins from falling out of the loop, and then once you have that put around the first circle, then there is one last step. Lastly you need to drill in 6 evenly placed screws, so that the coins can come in at the same distance apart from one another.
All Done!
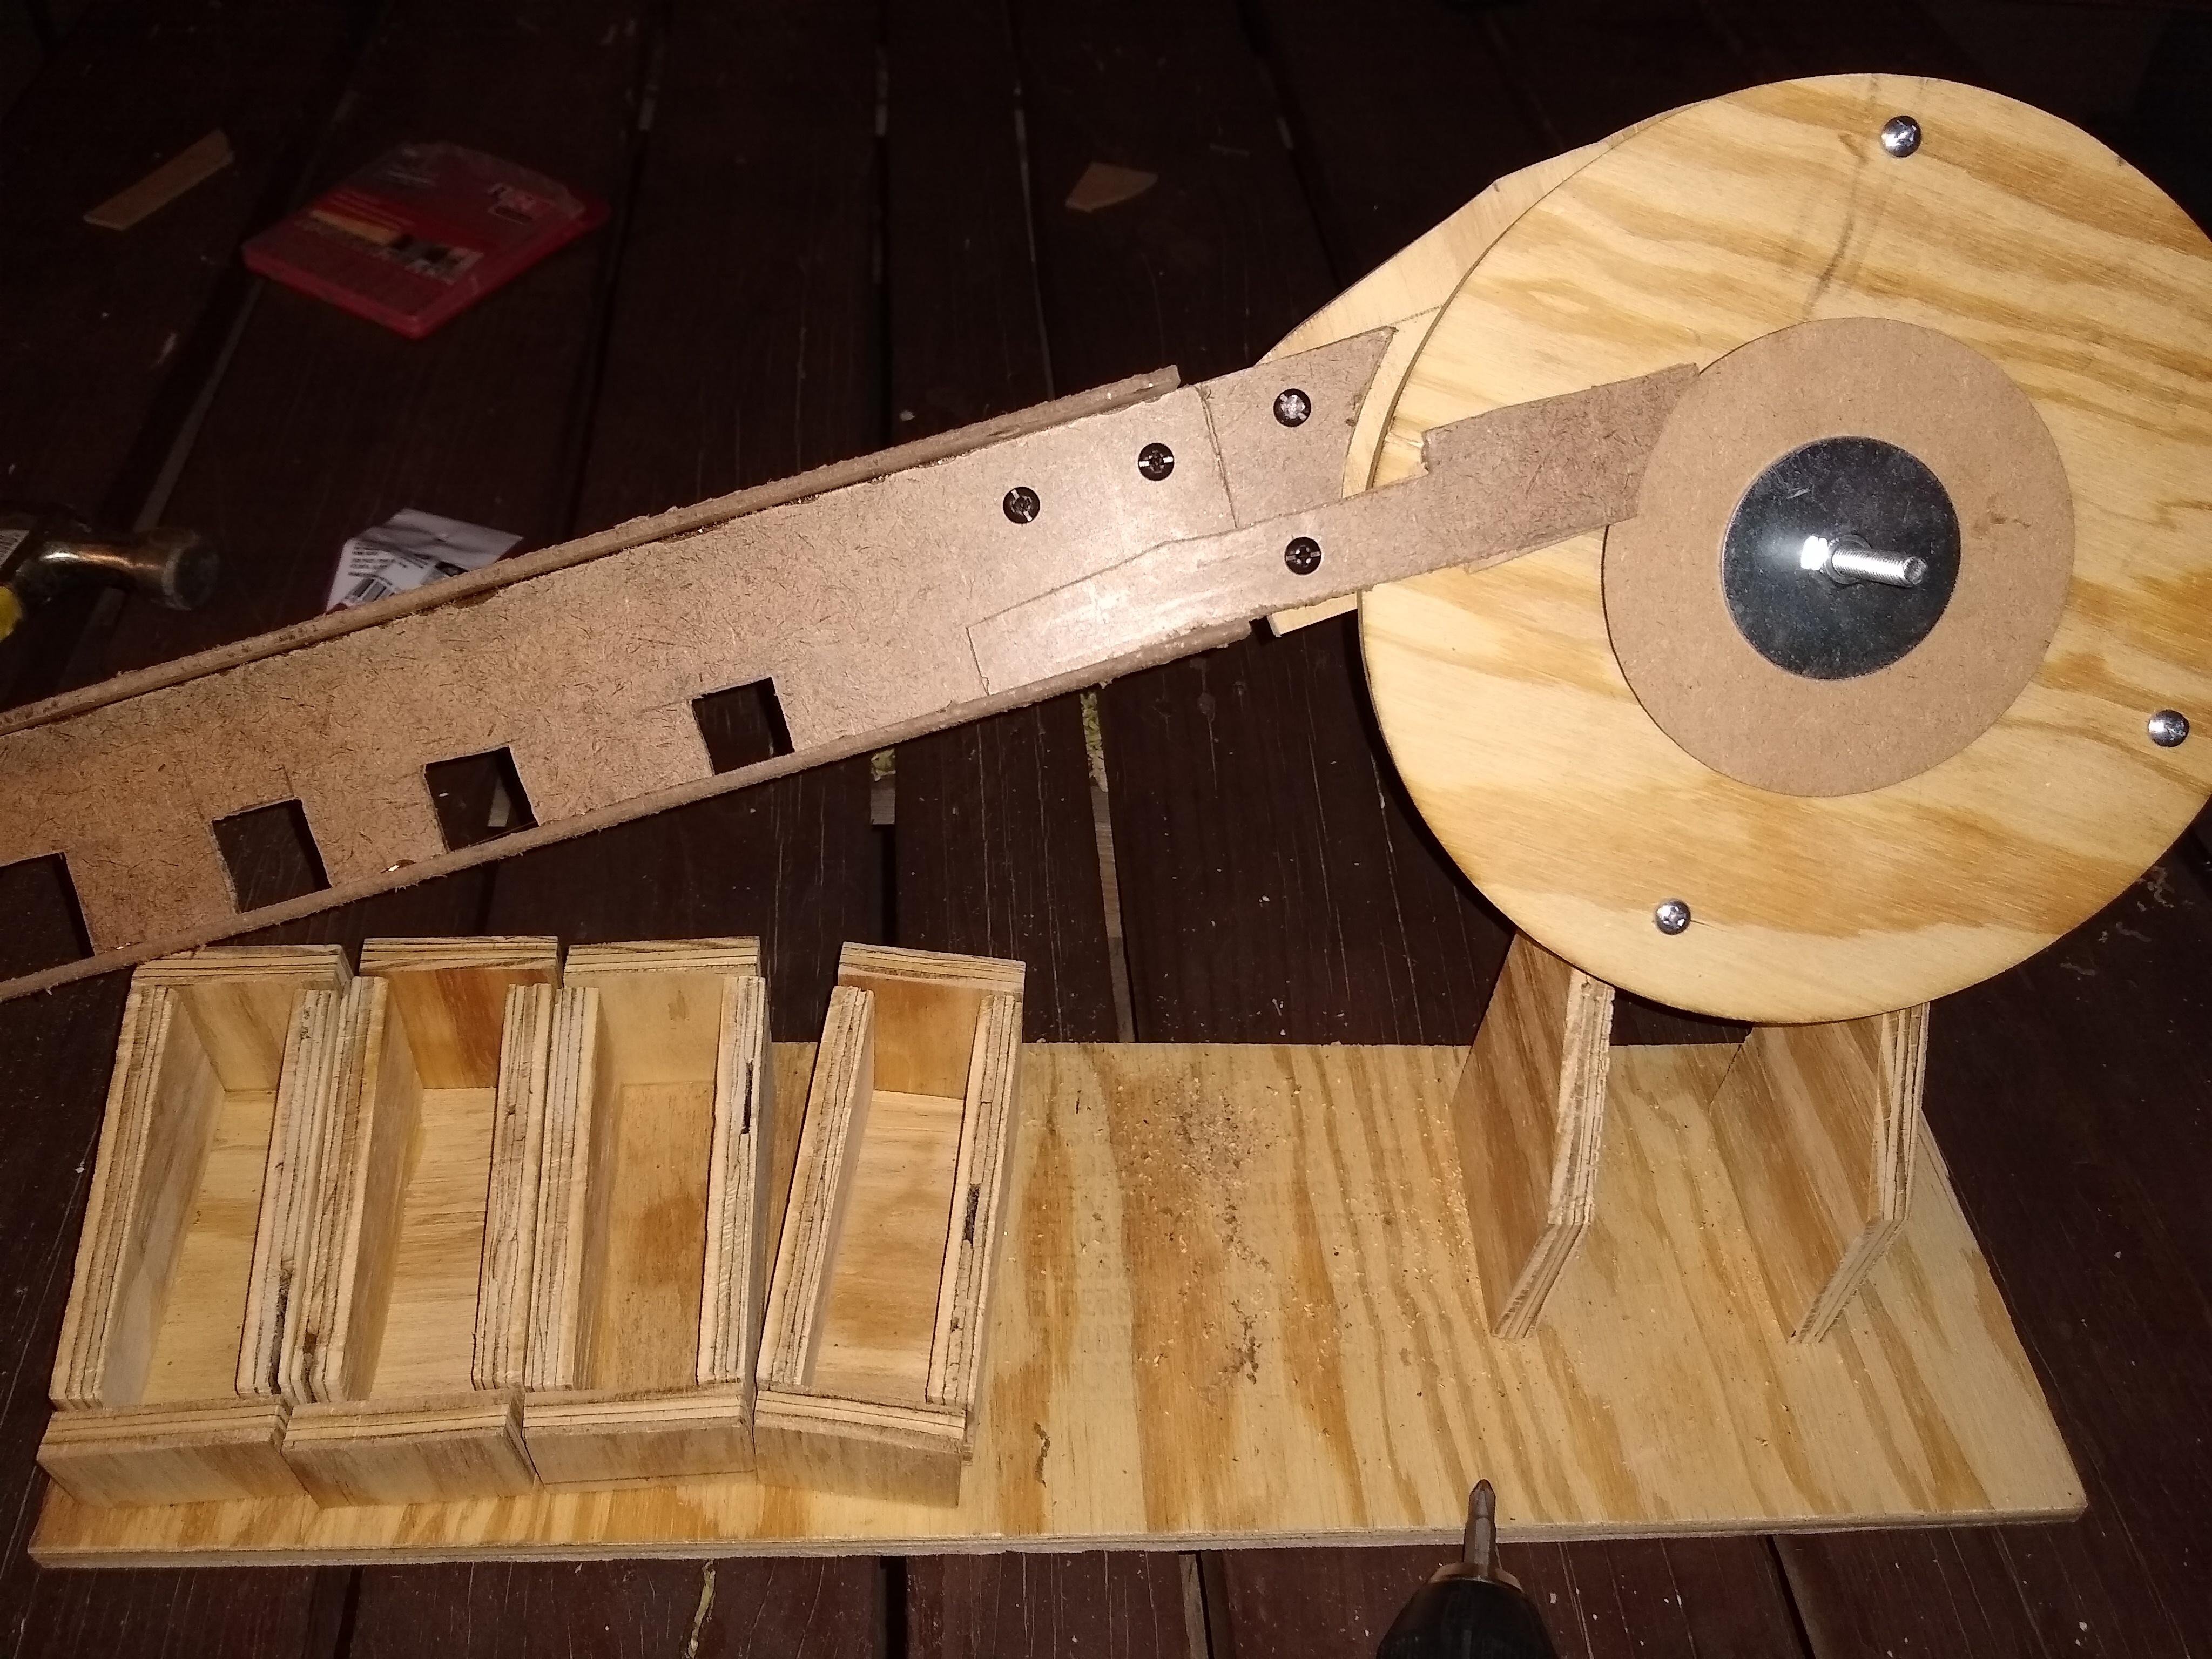
Now that this mini project is complete you can now create your own mini mechanical coin sorter, so that you don't need to worry about spare change lying around the house.