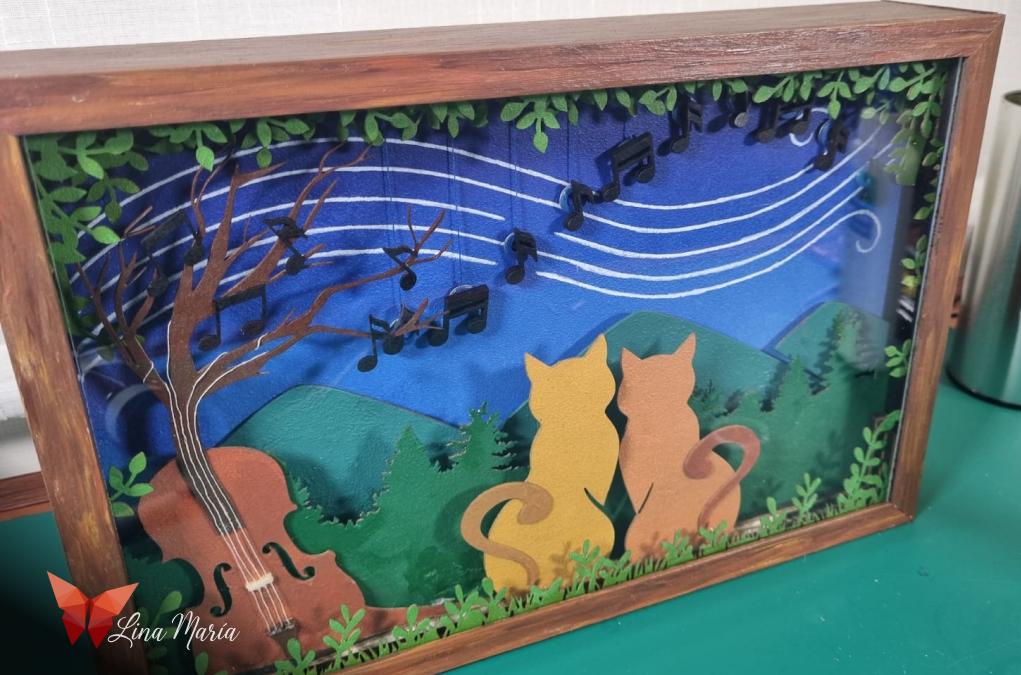
Meow-sical Cardboard in Motion


I’ve always been fascinated by the kinetic sculptures of Reuben Margolin. After watching his TED Talk, I began dreaming of creating a piece where a violin transforms into a tree, with its leaves shaped like musical notes floating away in the wind. This vision evolved into a kinetic artwork where the motion of the notes mimics the flowing curve of wind and the sound of a violin.
Supplies
- Industrial cardboard (4mm thick)
- Thin cardboard
- White glue
- Acrylic paints (greens, blues, browns, black, white)
- Sponge (for dabbing paint)
- Metal eyelets (the kind used for shoelaces)
- Washer rings (small metal ones, to add weight to the notes)
- Blue and white thread
- Tweezers or pliers
- Cutting knife (X-Acto)
- Ruler
- Markers (like a white permanent one for the wind lines)
- AA battery holder (for 2 AA batteries)
- On/off switch
- Gear motor
- Heat shrink tubing
- Soldering iron or heat source (I used a candle)
- Mototool with a small drill bit
- 3D printer (for the motion mechanism parts)
- Acrylic sheet (for front protection)
- Illustrator or similar design software
- Access to a laser cutter
🖥️ Setting Up the Base Design
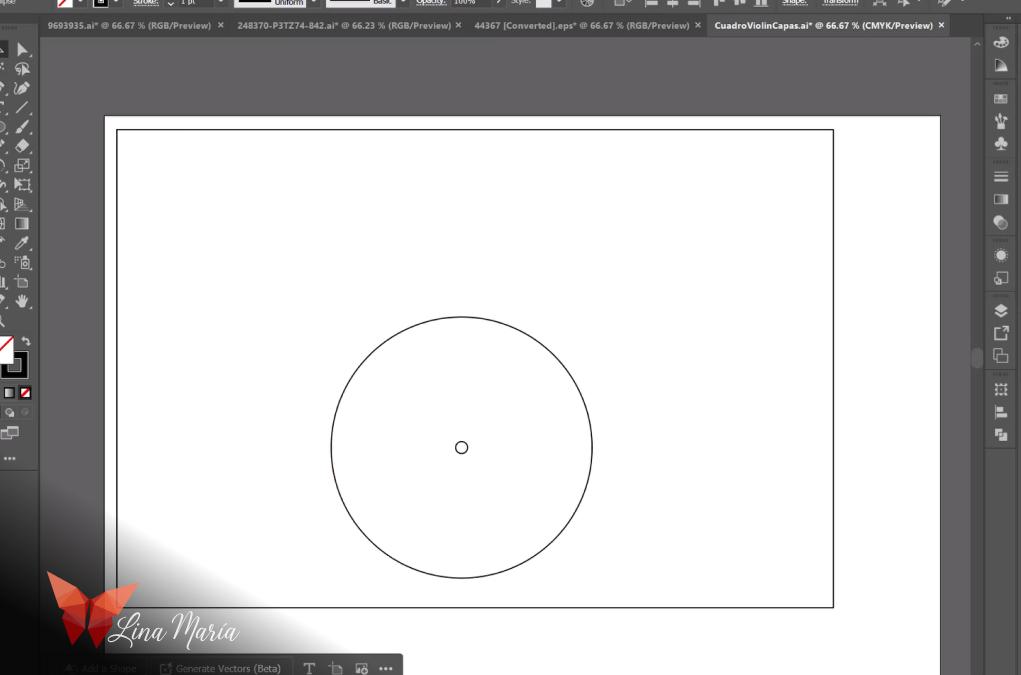
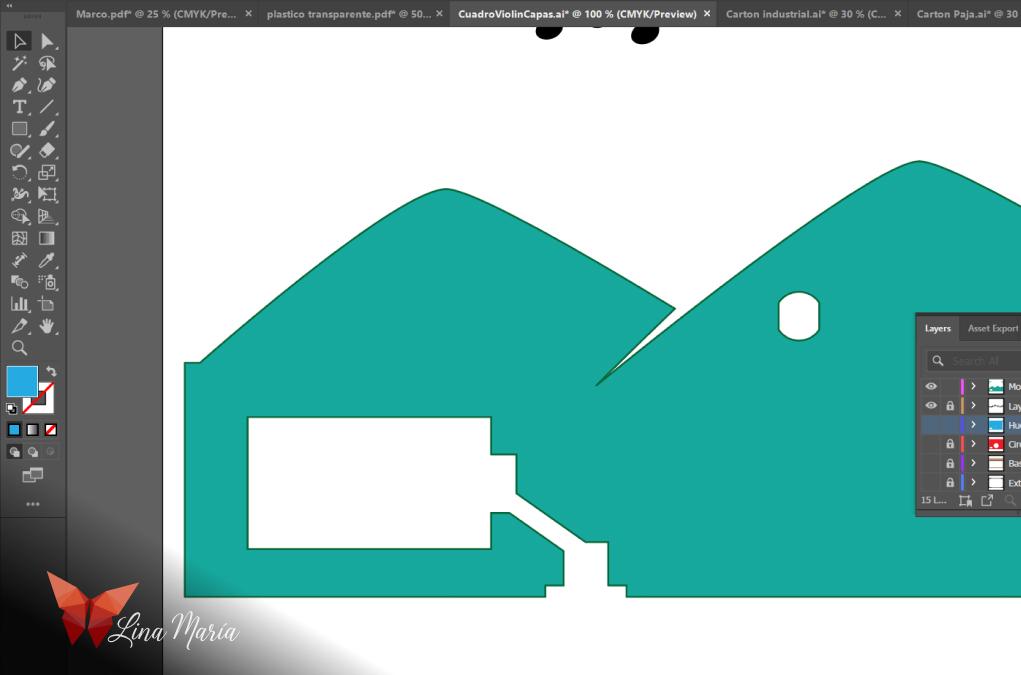
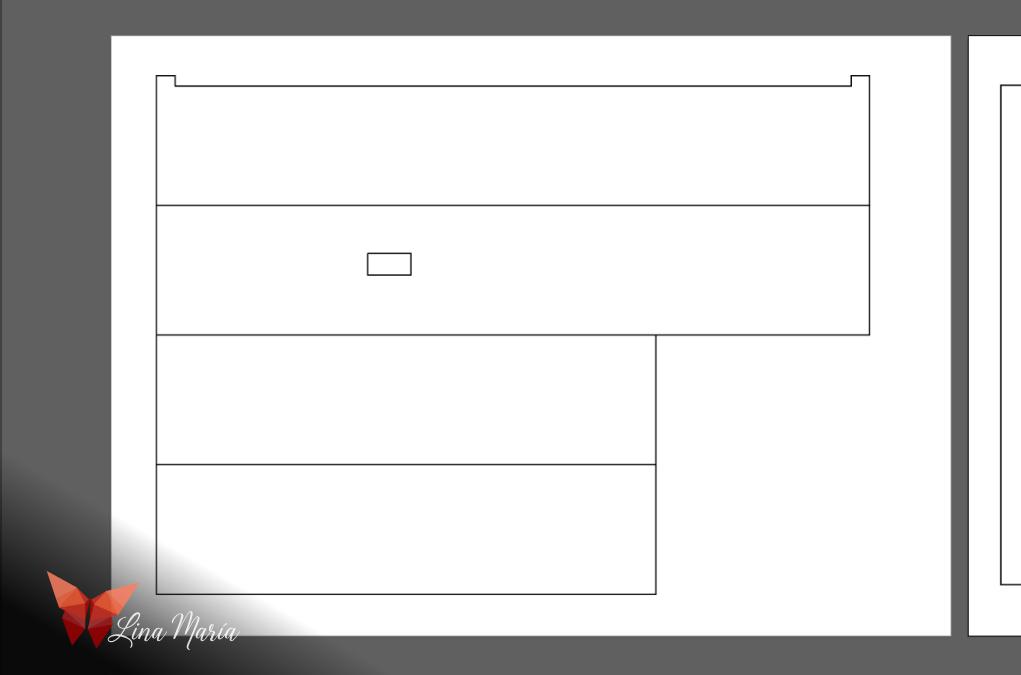
I used Illustrator to create the shapes and layers of the frame. I started by defining the outer dimensions, the motor’s center point, and holes for the threads.
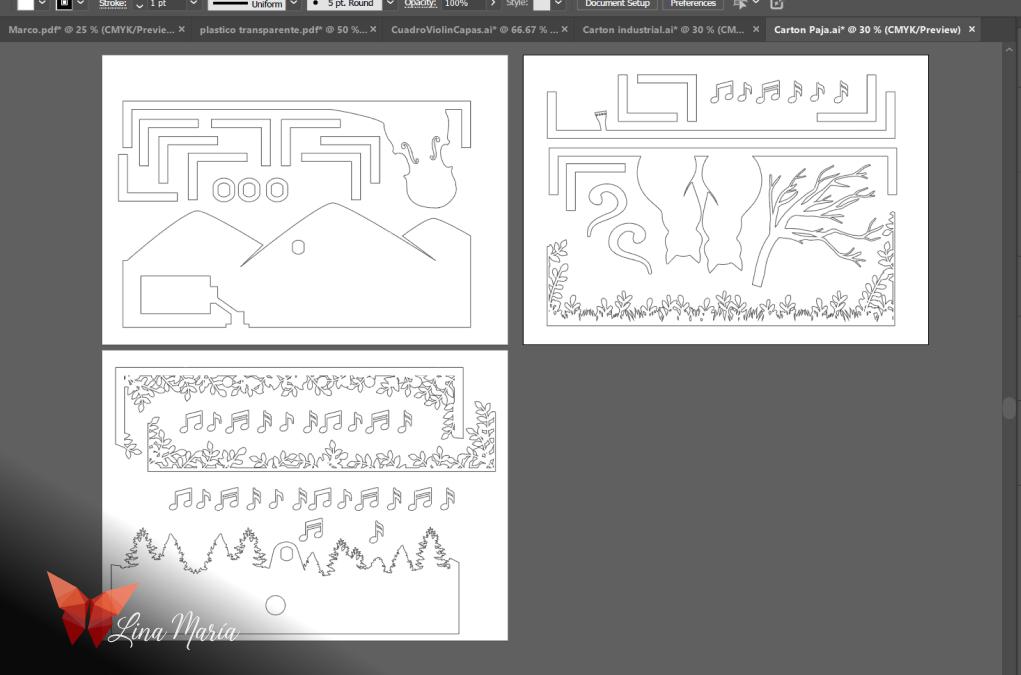
🌀 Customizing Silhouettes
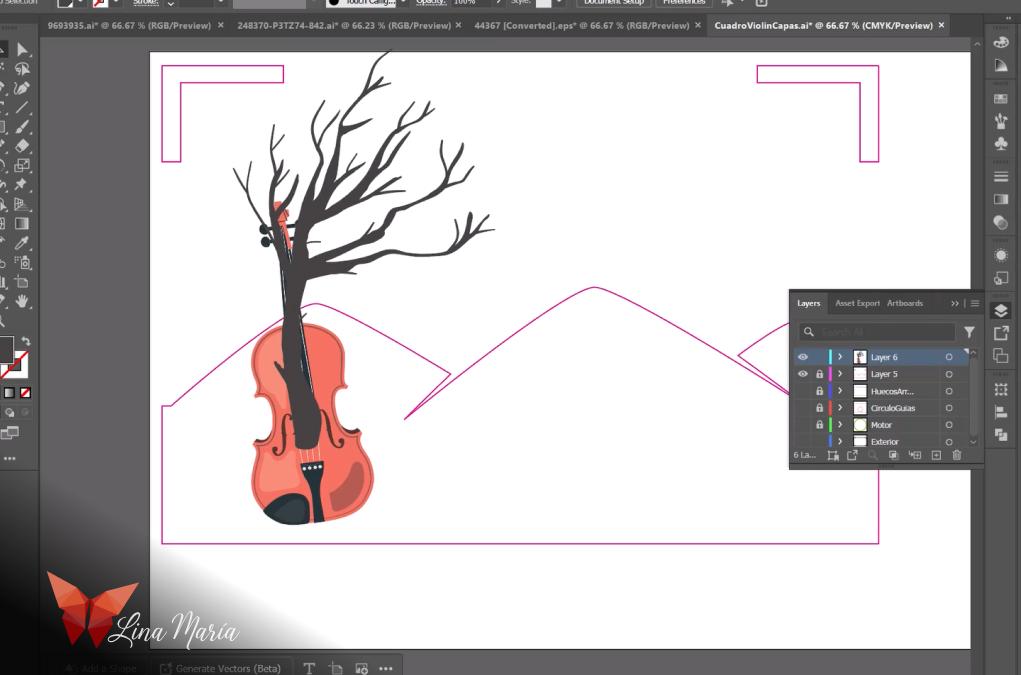
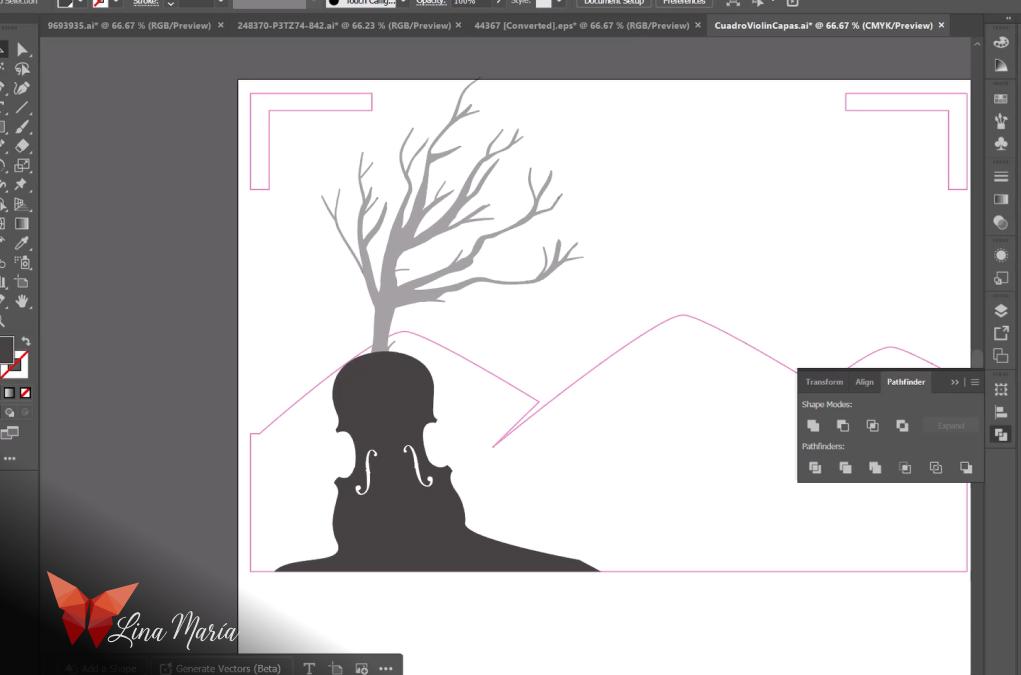
I downloaded some basic shapes from Freepik and edited them by converting them into silhouettes and warping them to achieve the desired effect — like blending a violin and tree into one.
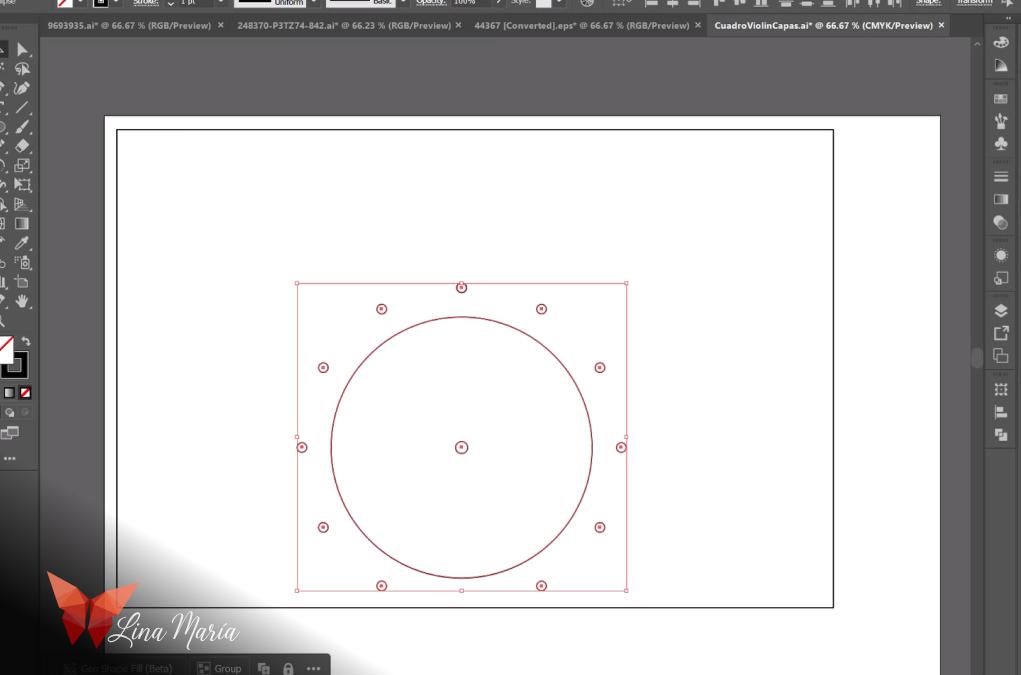
Layering and Planning Around the Motor
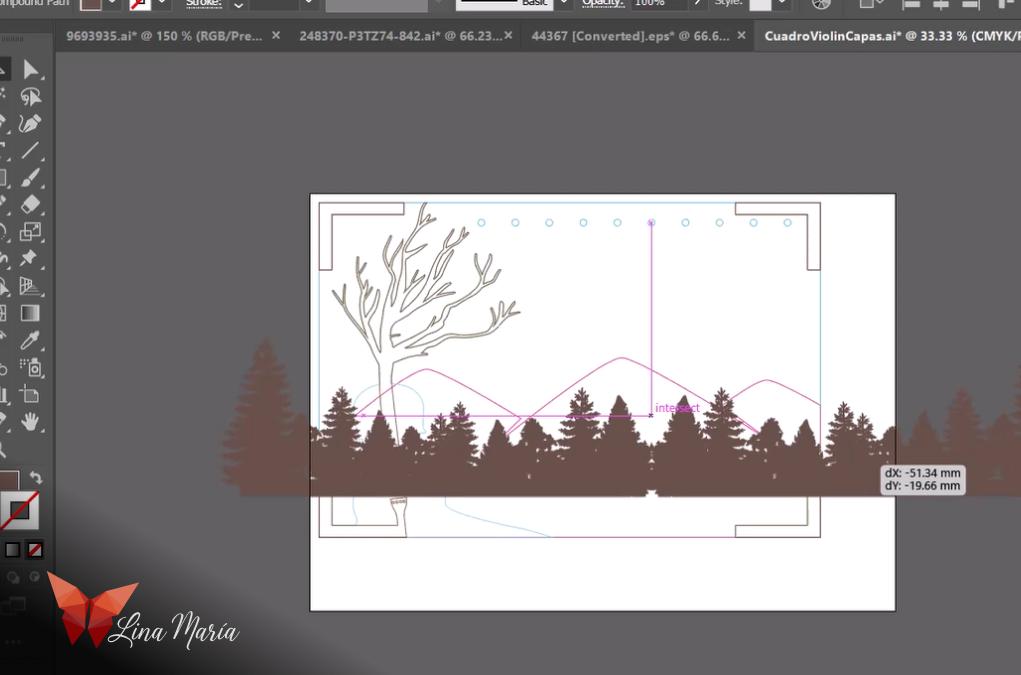
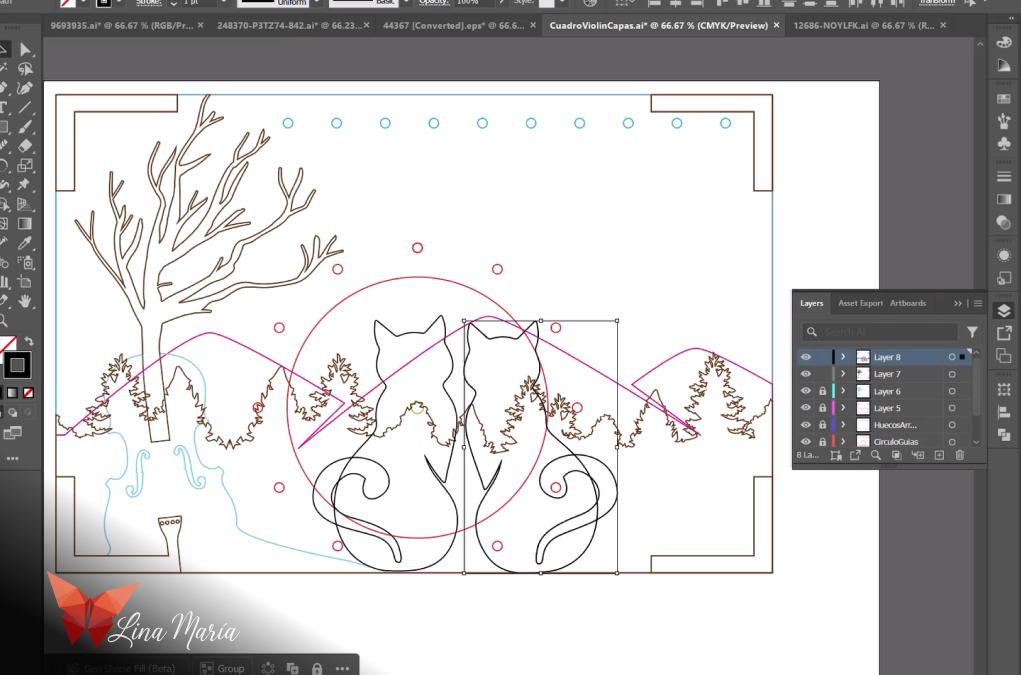
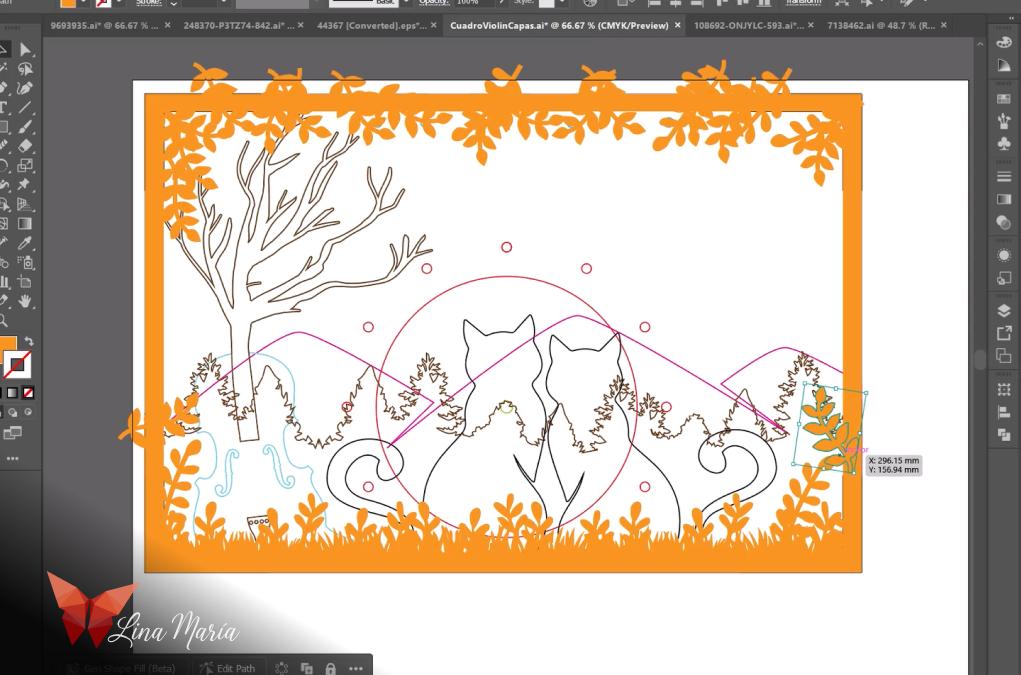
I gradually added elements to each layer. Illustrator’s layer feature made it easier to visualize their placement, especially in relation to the motor, ensuring it would be hidden by the design.
🛠️ Functional Cutouts
I designed the cutouts for the battery box, motor, wiring, and switch in the appropriate layers.
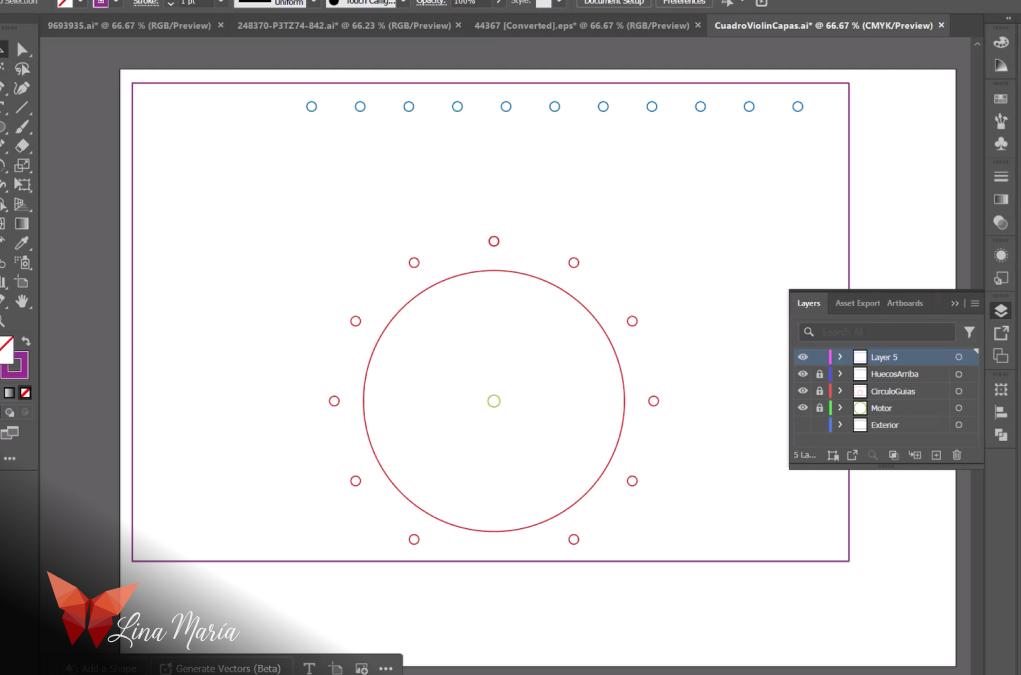
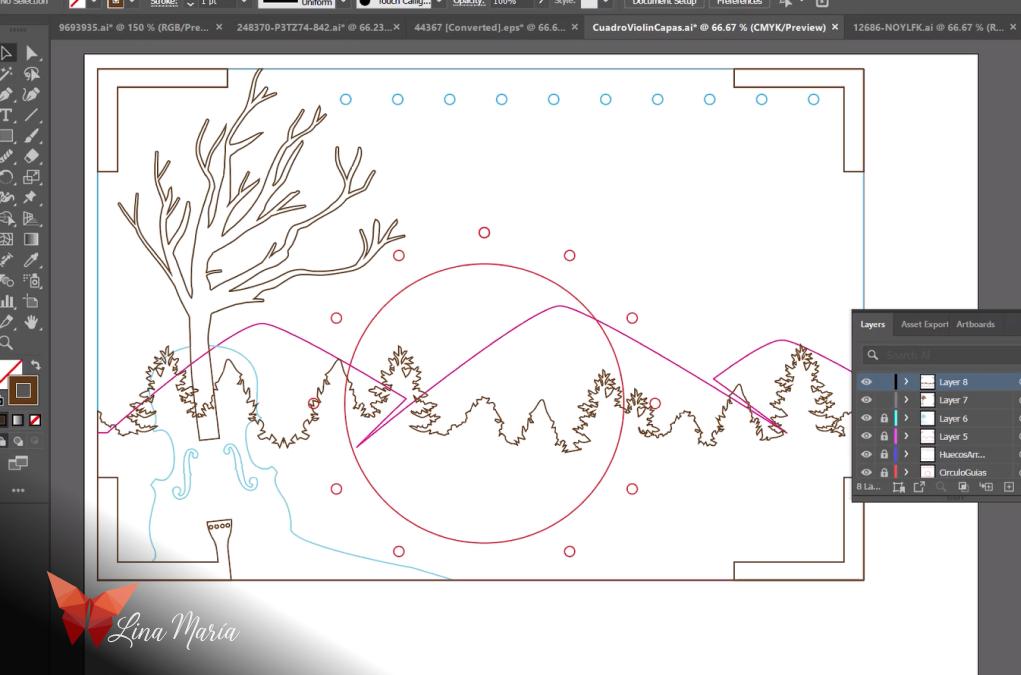
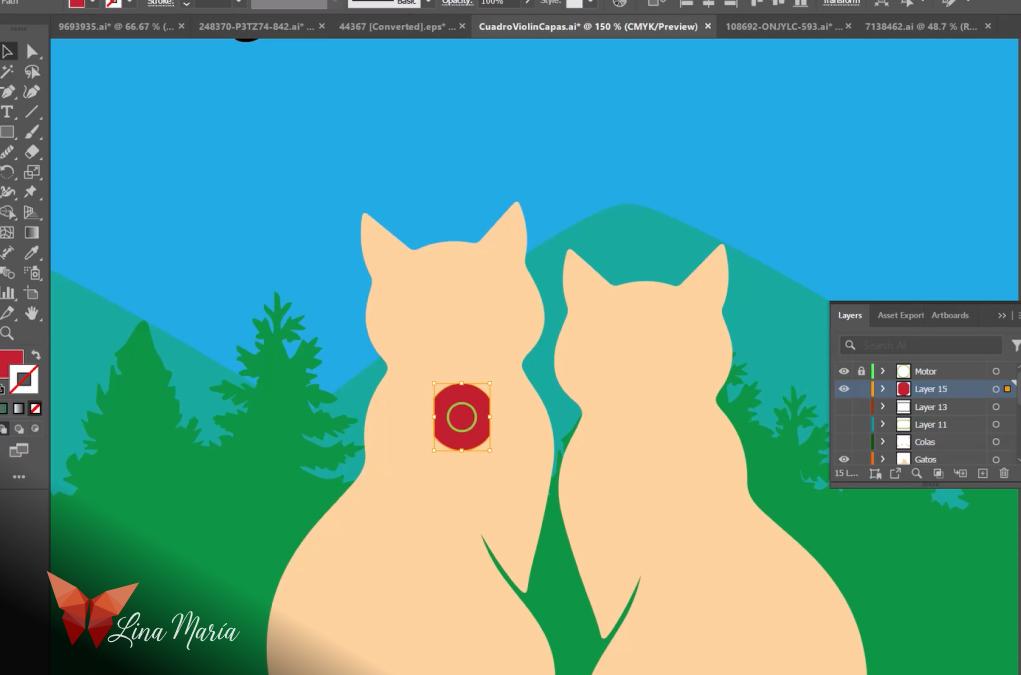
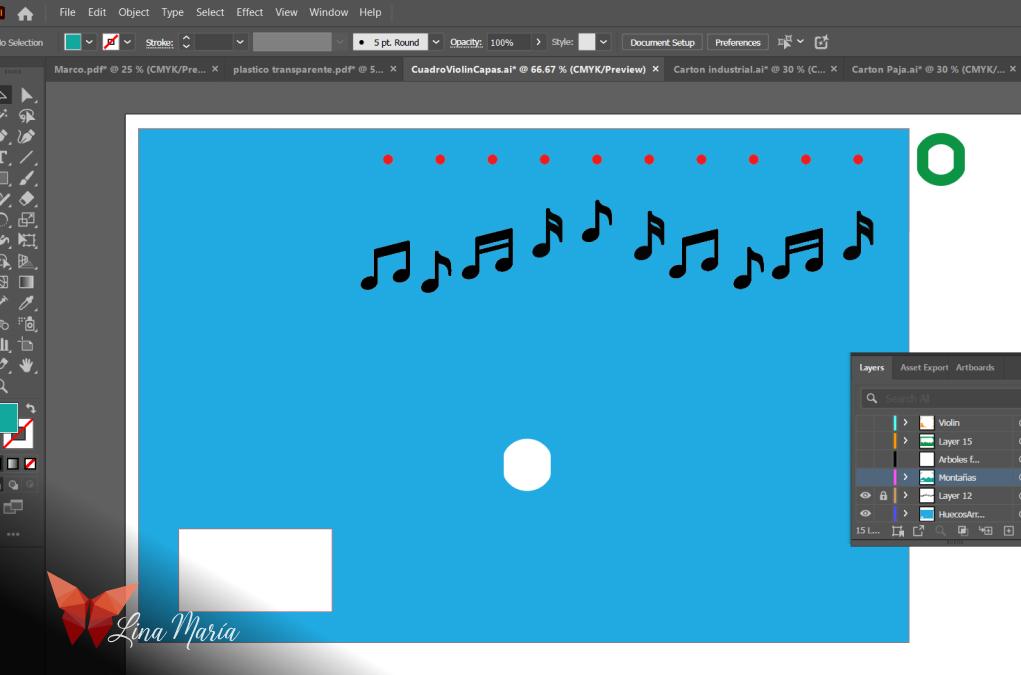
🌈Color-Coding Layers


I assigned different colors to each layer to study how they interact and ensure everything aligned correctly.
📁Preparing Files for Laser Cutting
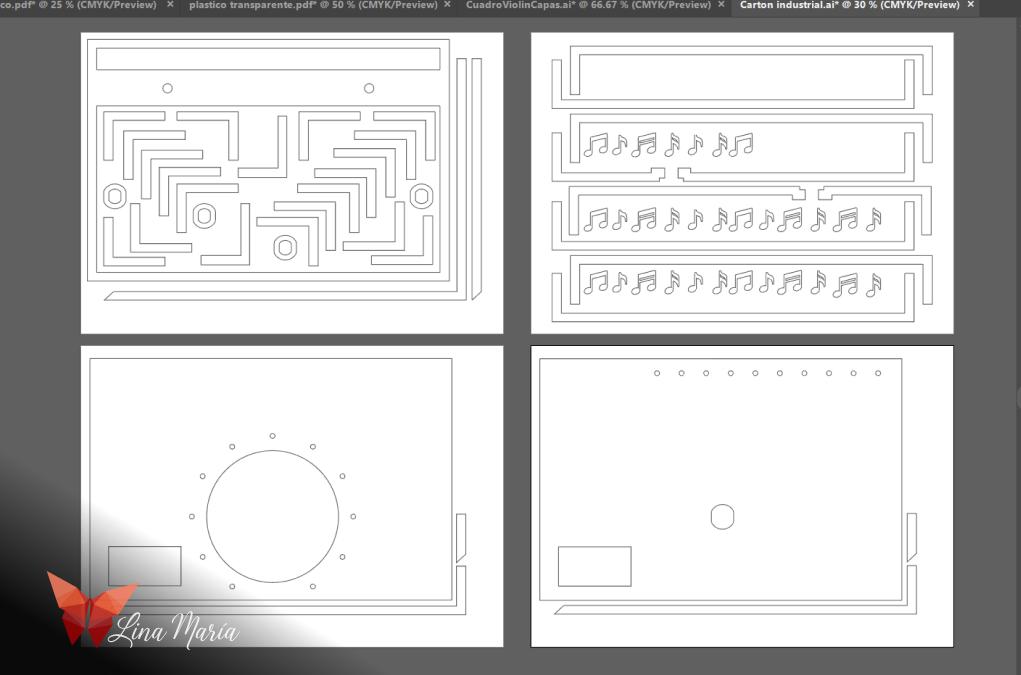
I created two files: one for cutting 4mm thick industrial cardboard, and another for thinner cardboard. I added corner tabs and borders to increase depth between layers.
🔥Laser Cutting Time

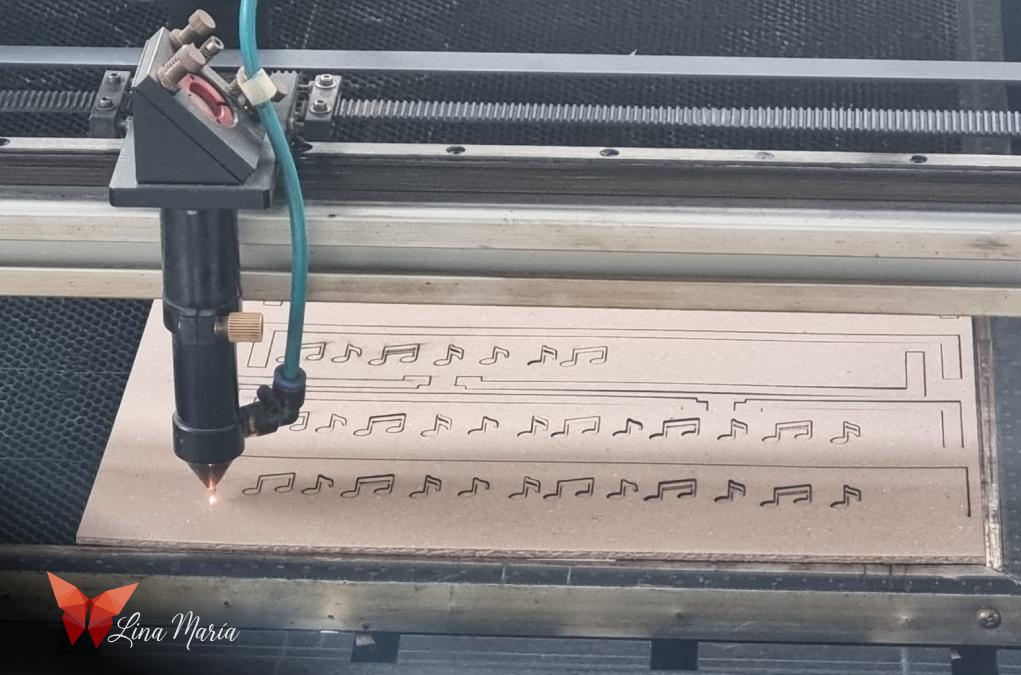
I sent the files for laser cutting.
🧽 Cleaning Up
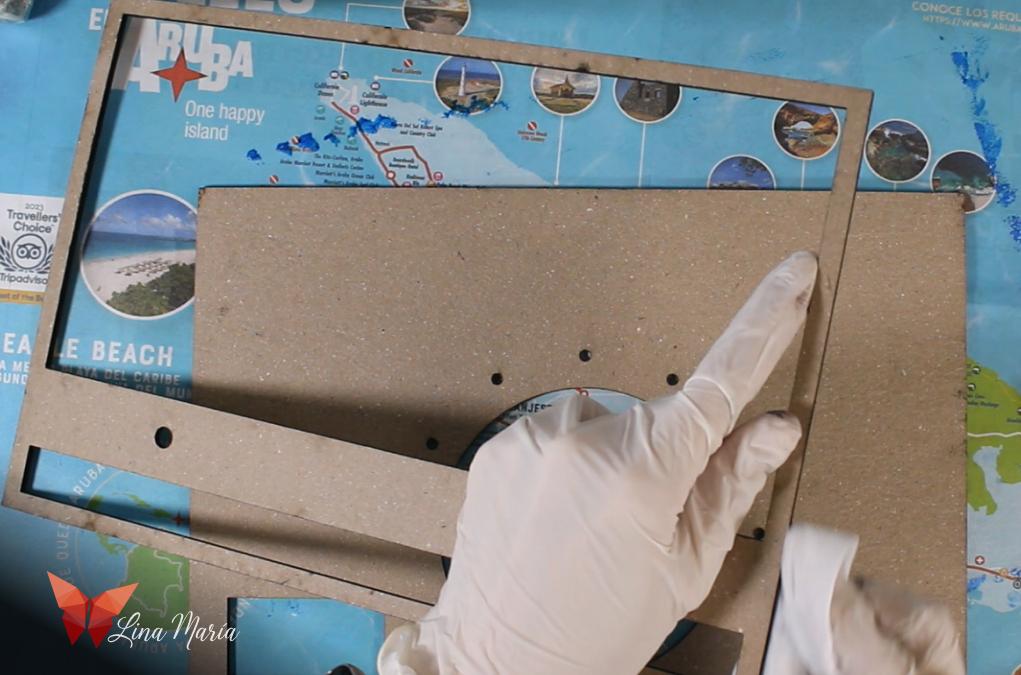
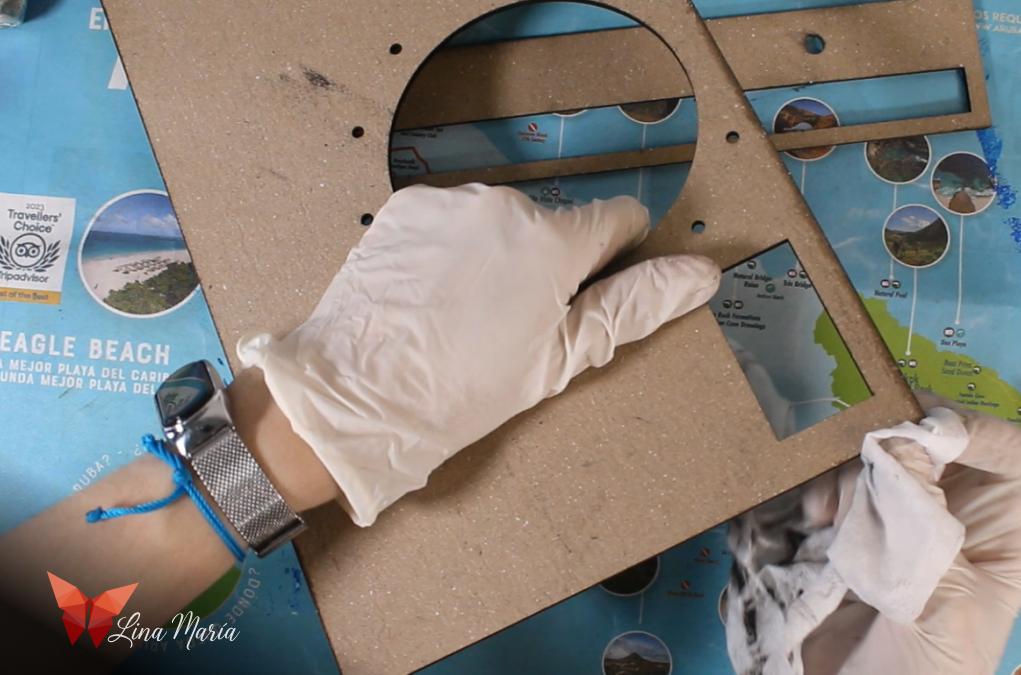
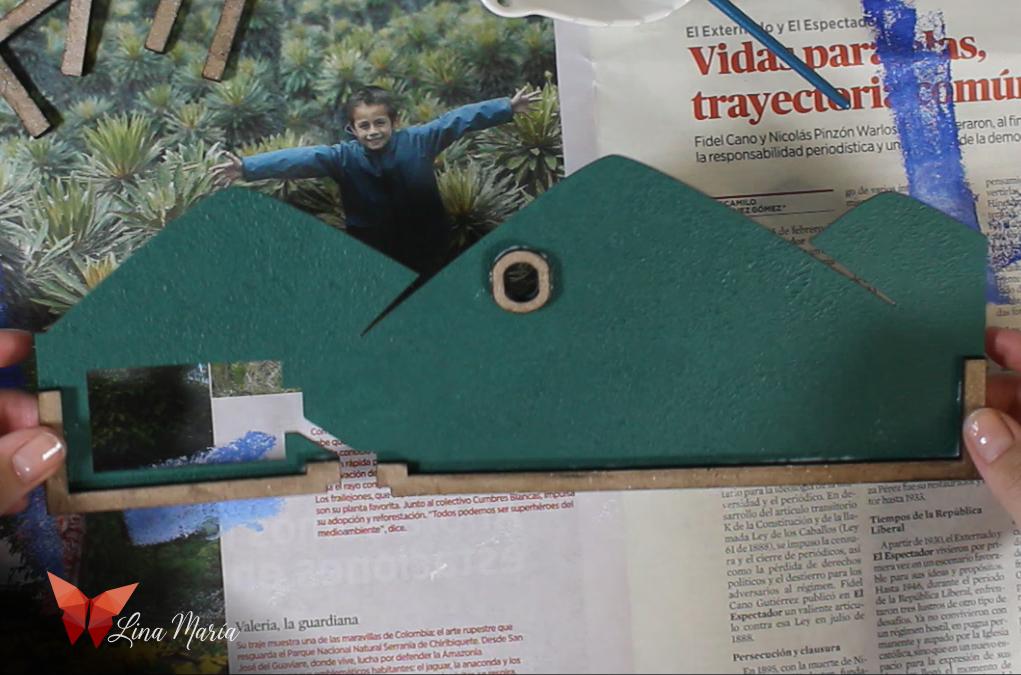
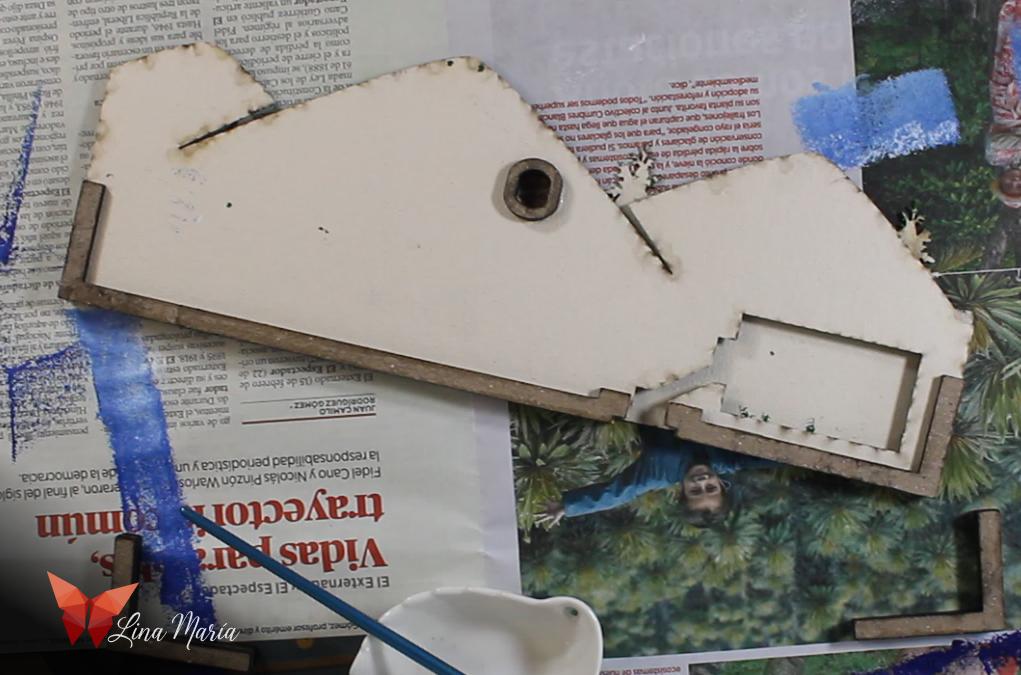
After cutting, I wiped the edges with a damp cloth to remove the soot left by the laser.
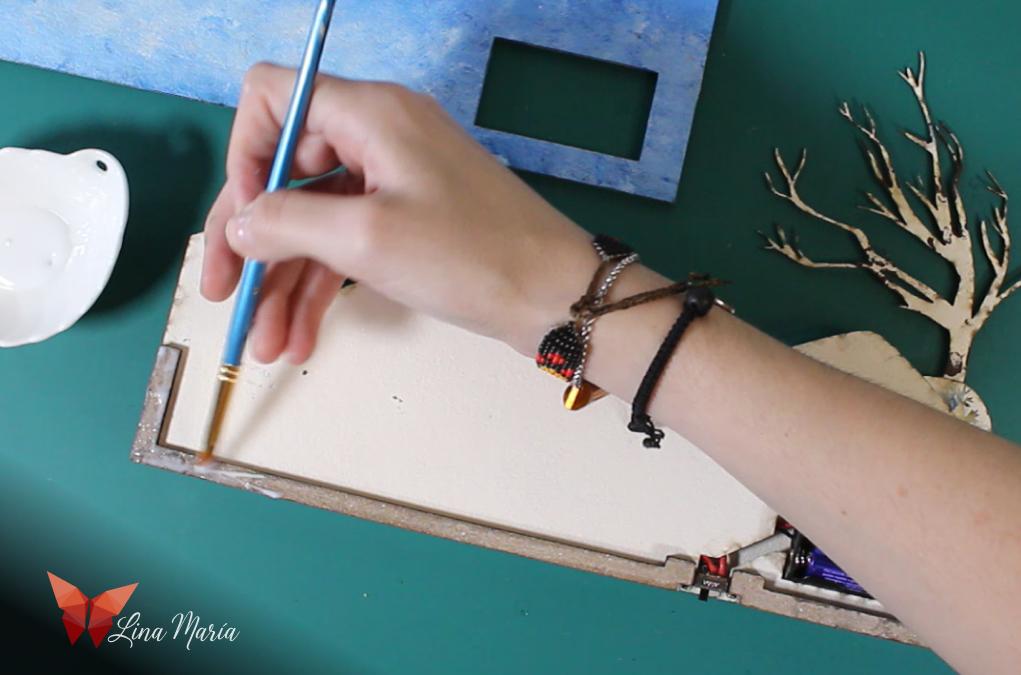
Sealing the Edges
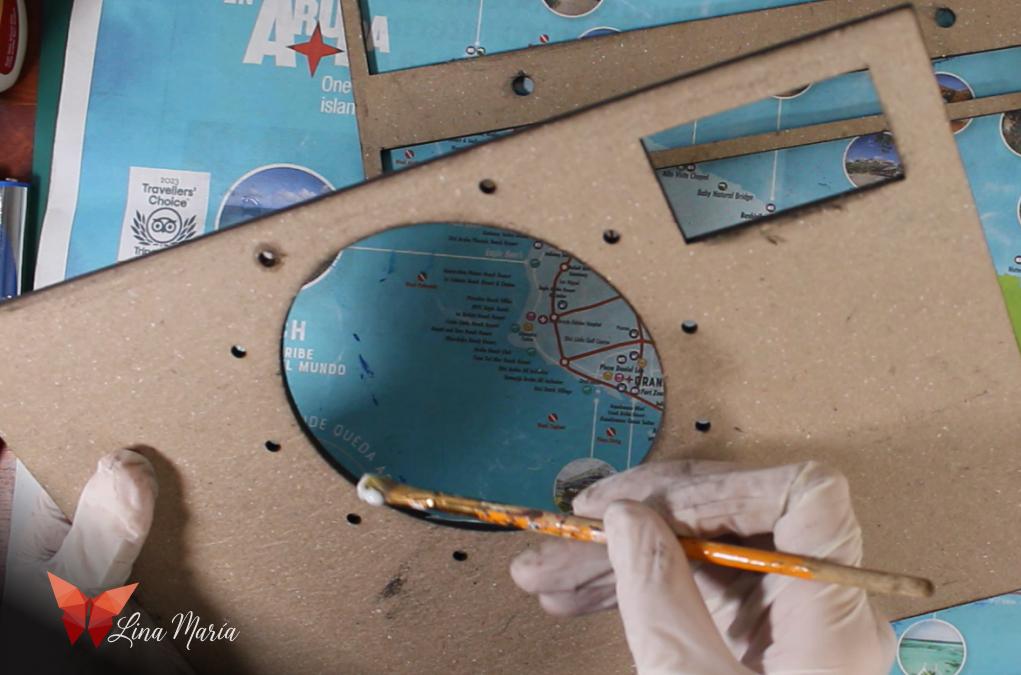
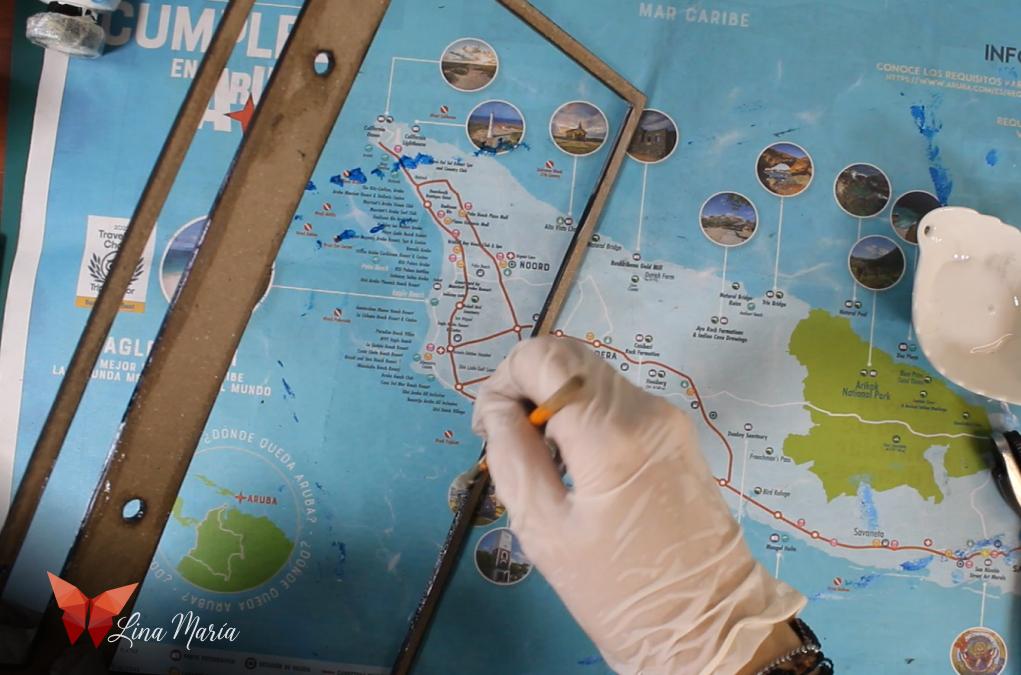
Even after cleaning, the edges still stained. I sealed them with white glue to prevent smudging.
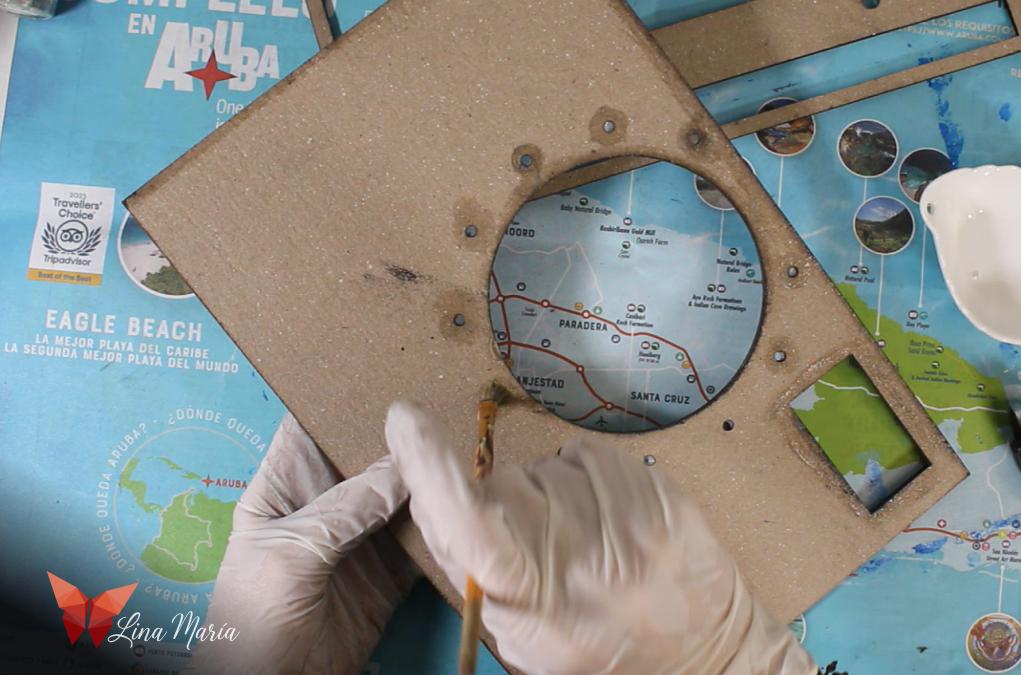
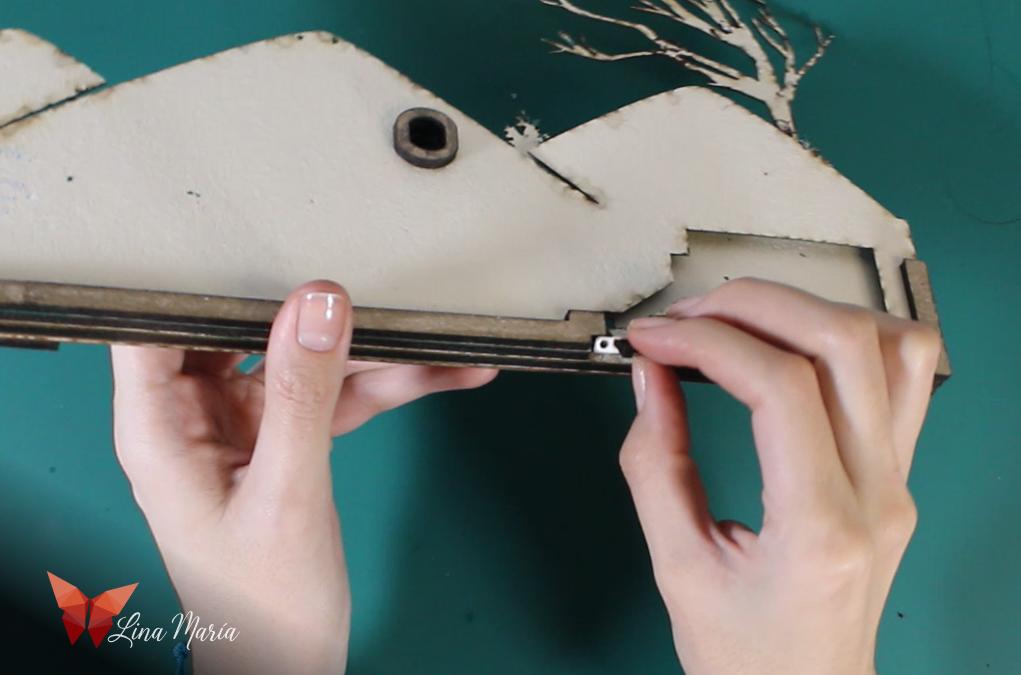
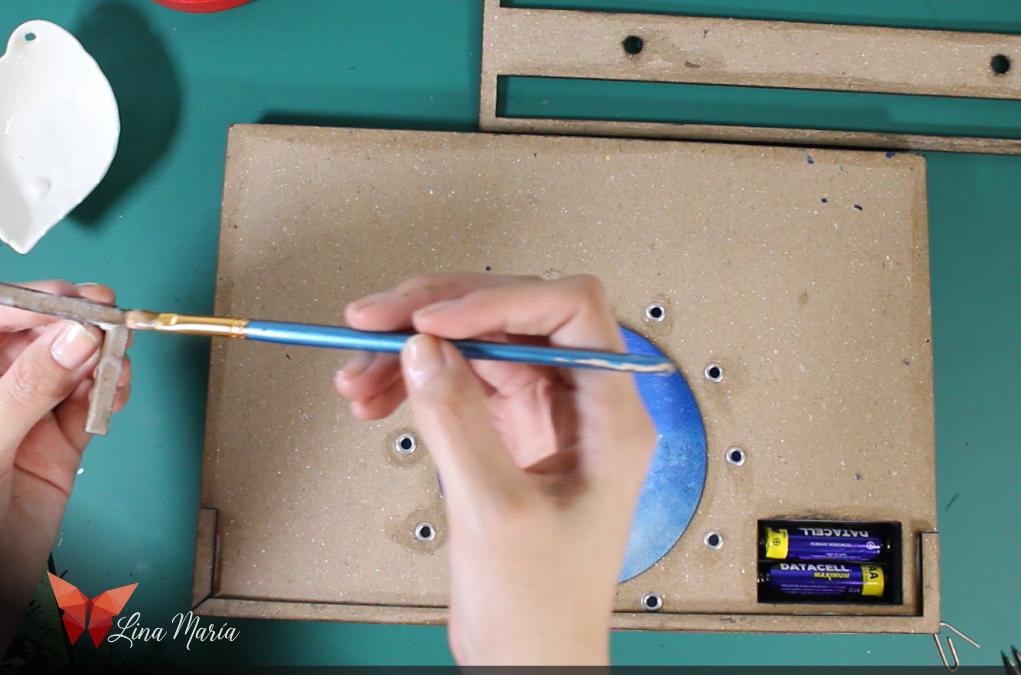
Adding Metal Eyelets
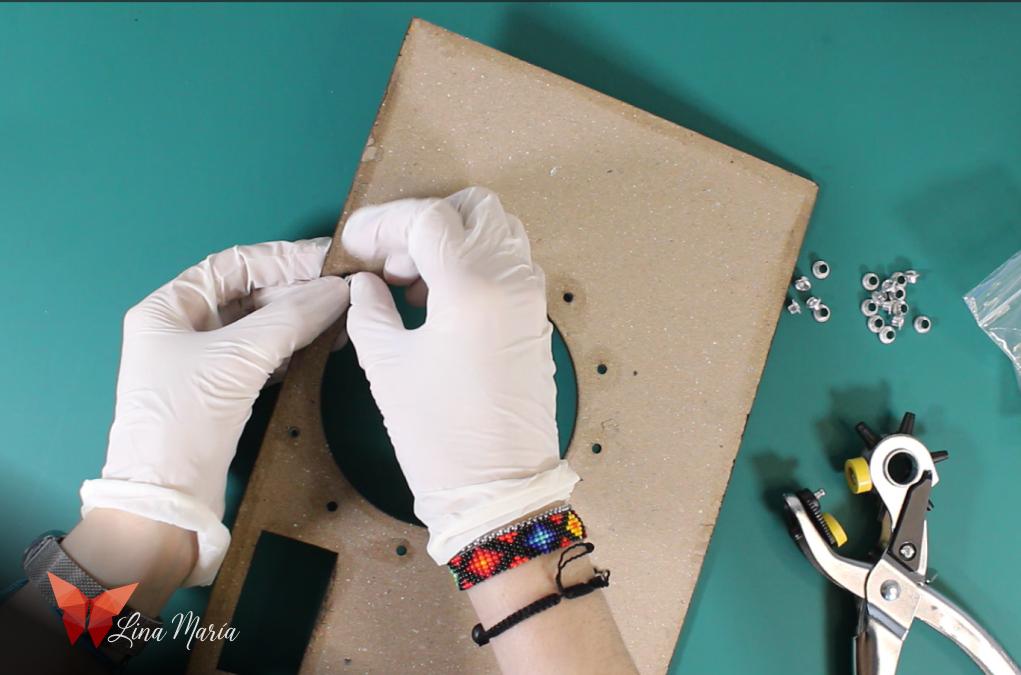
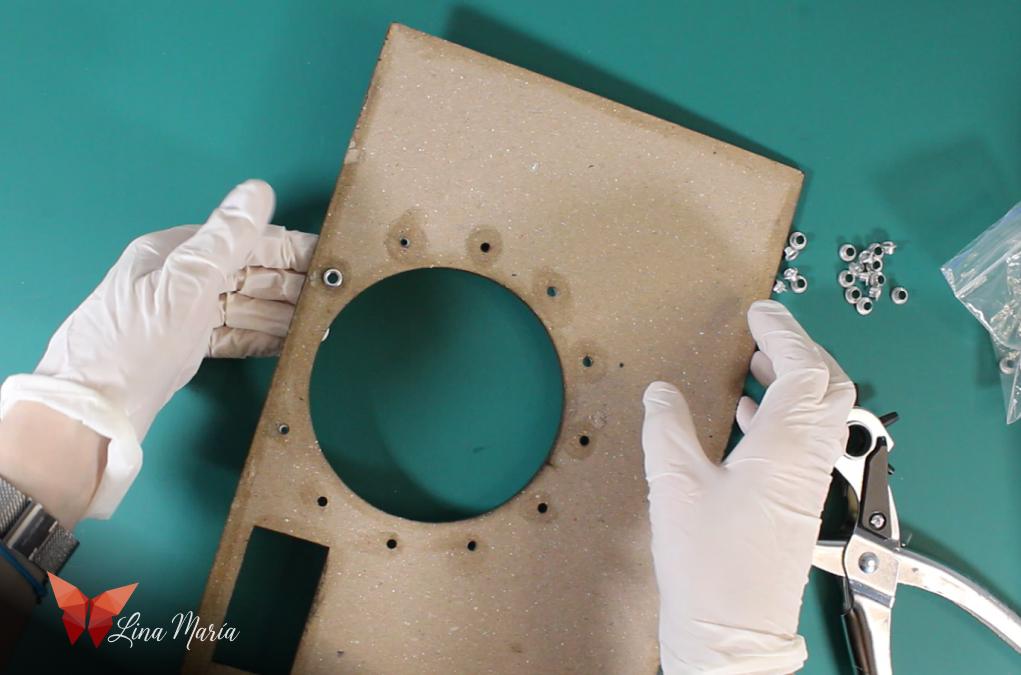
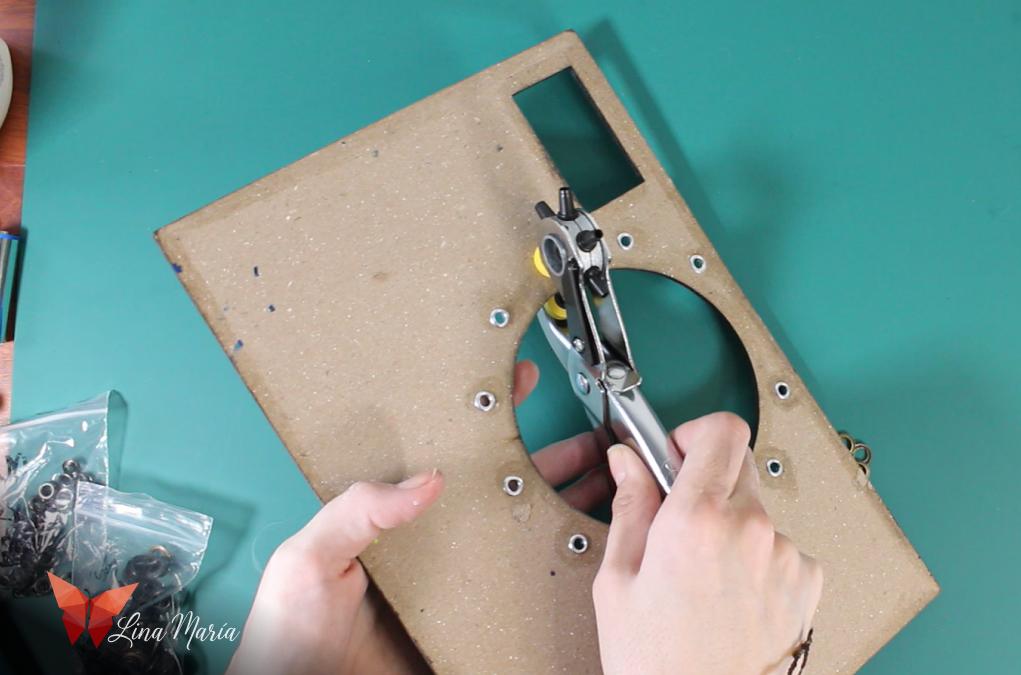
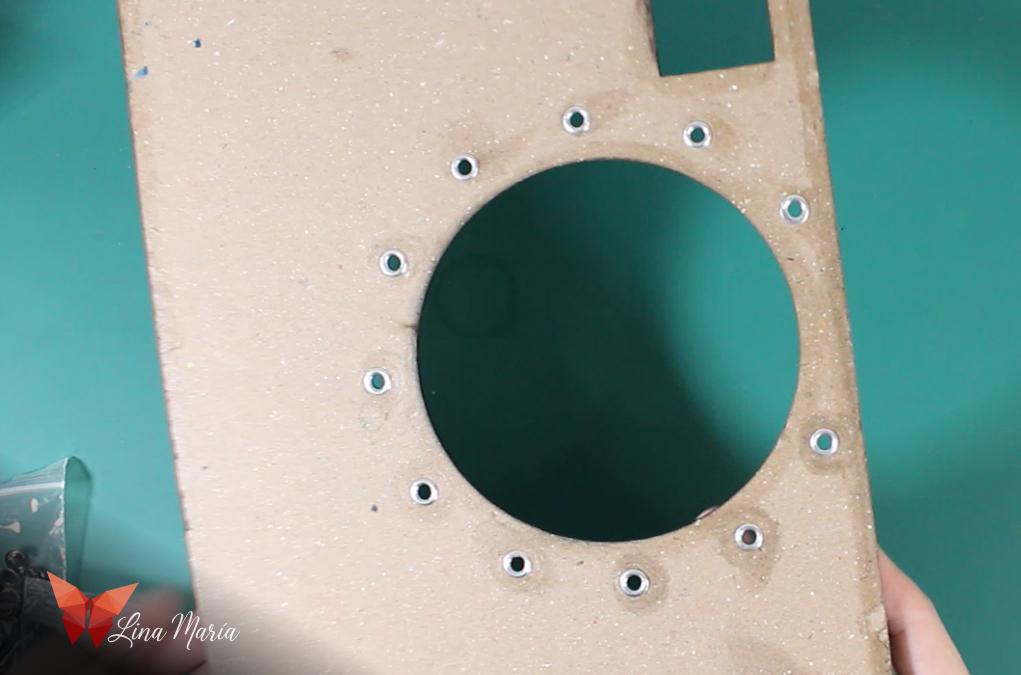
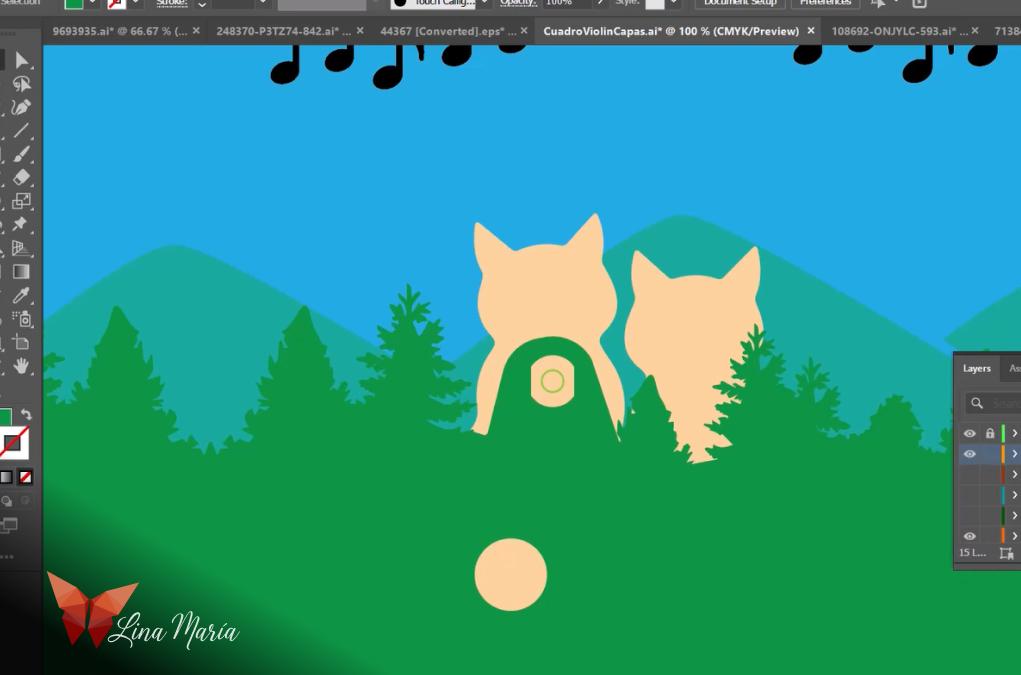
I inserted small metal eyelets (like the ones used for shoelaces) into the tiny holes surrounding the large central circle.
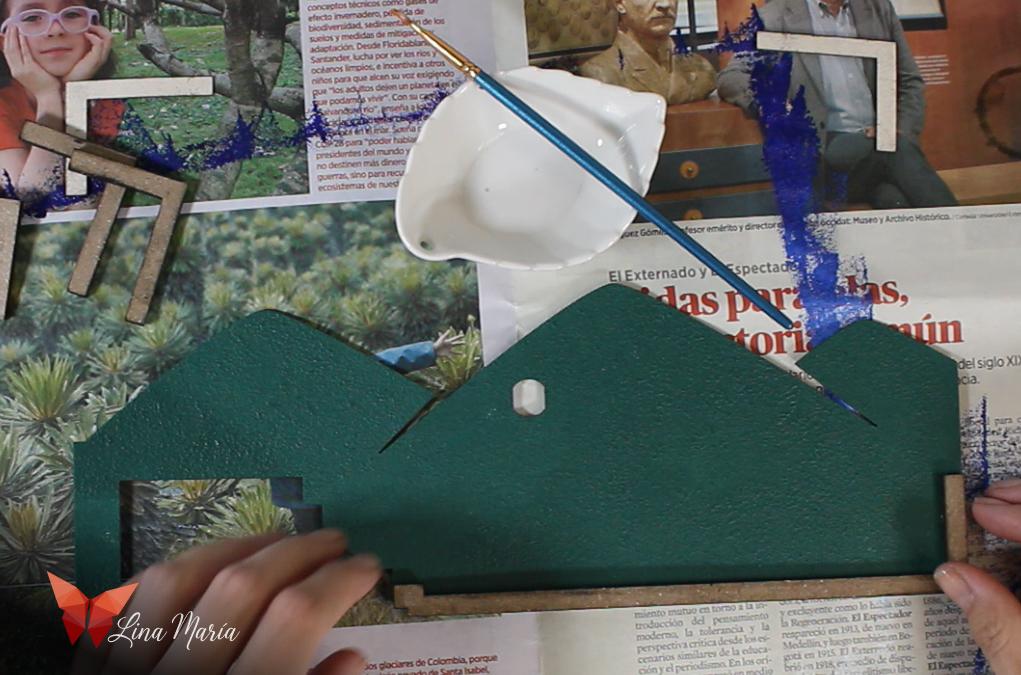
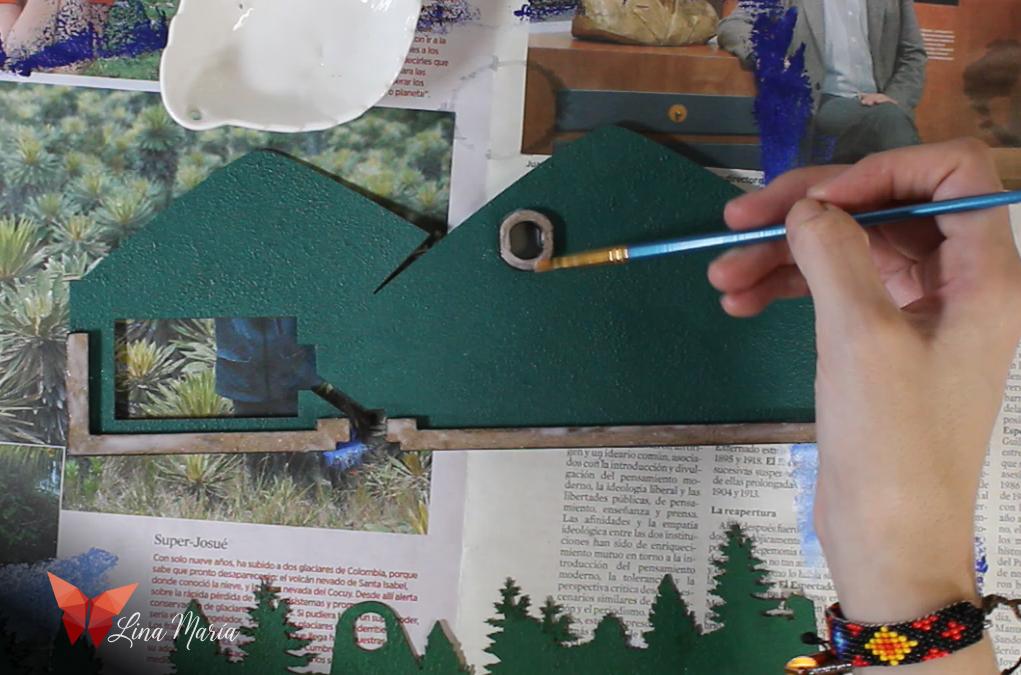
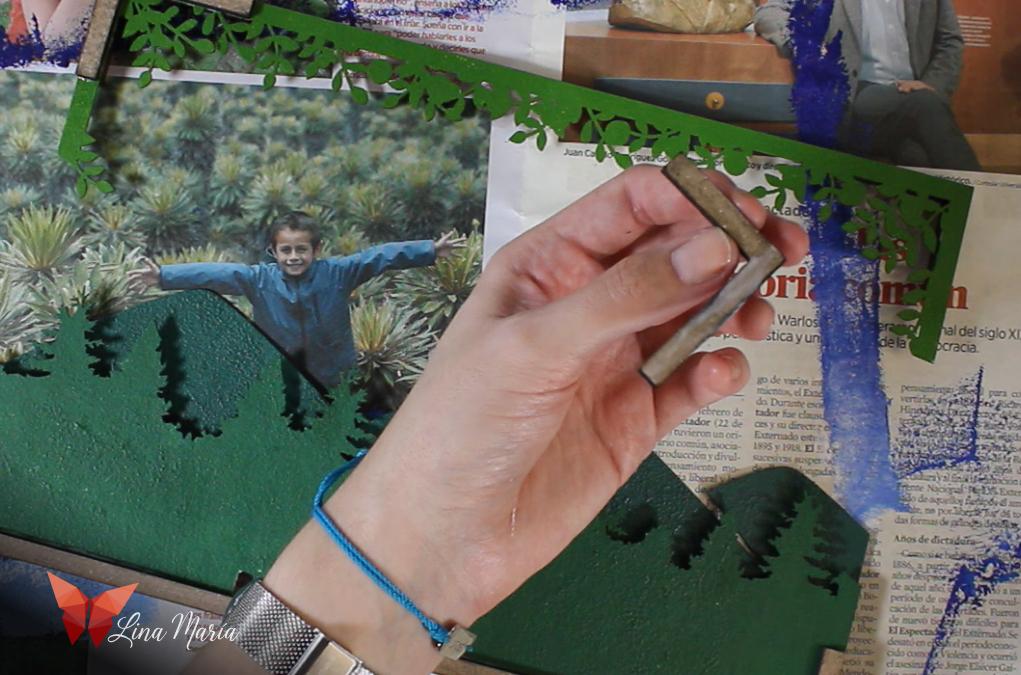
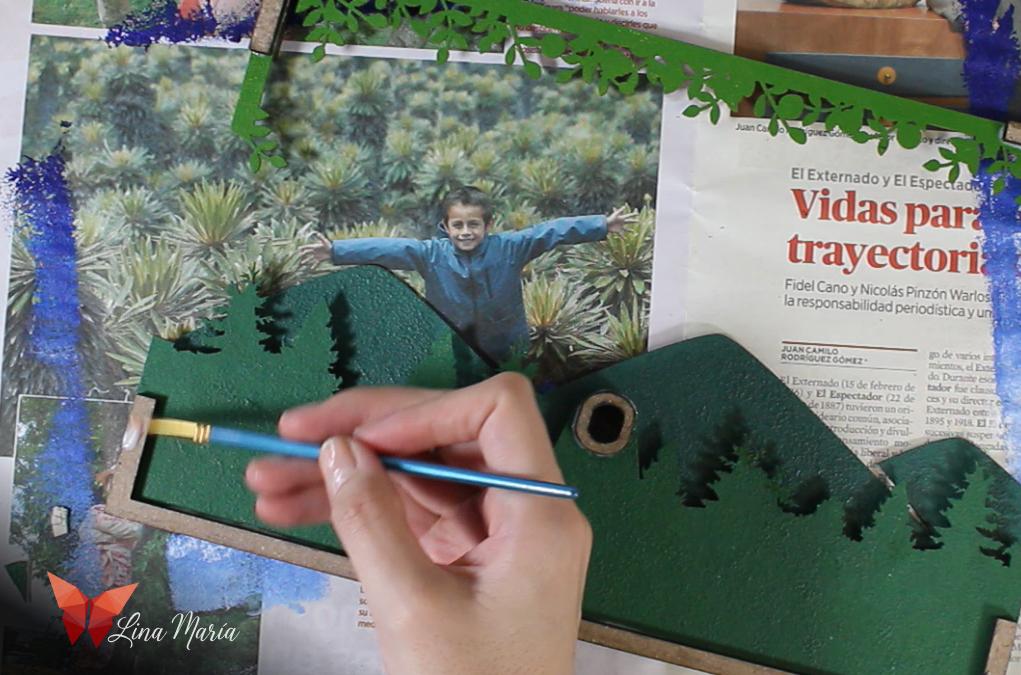
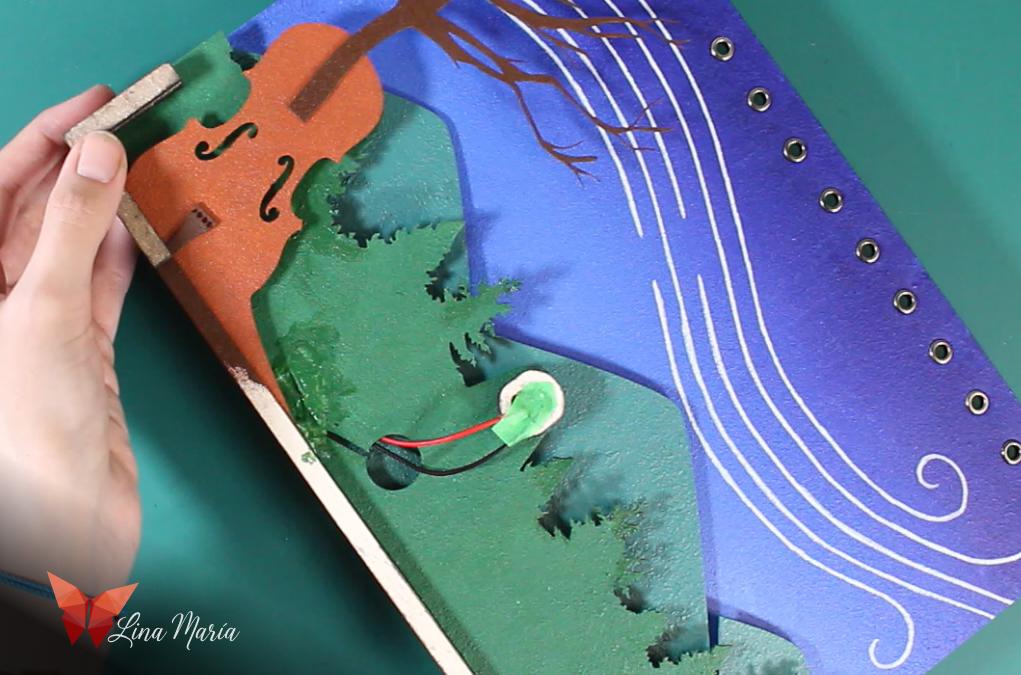
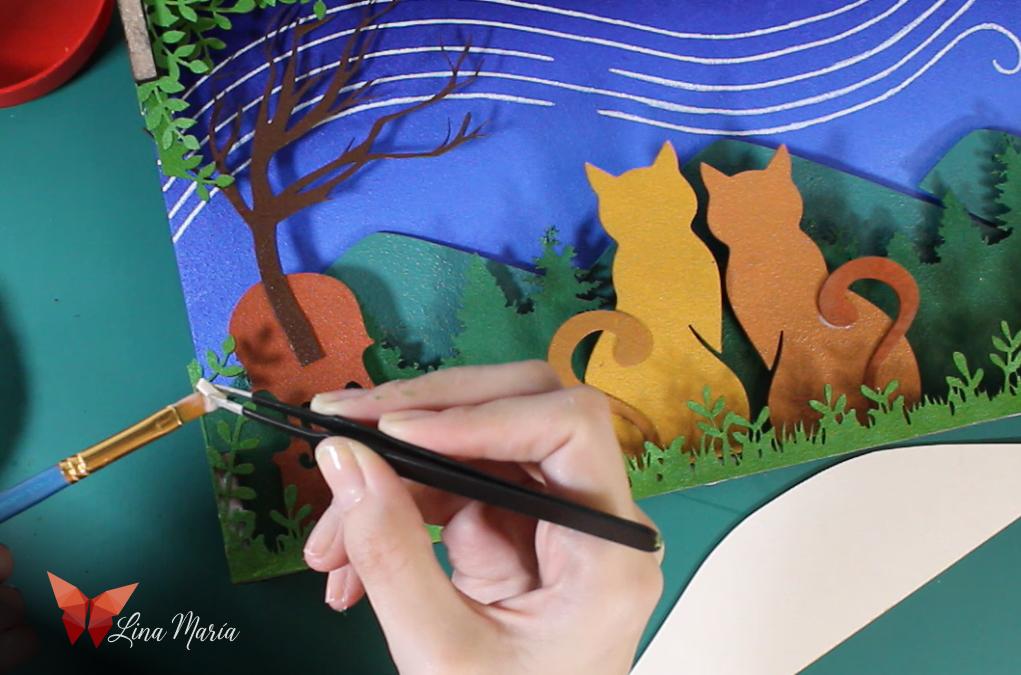
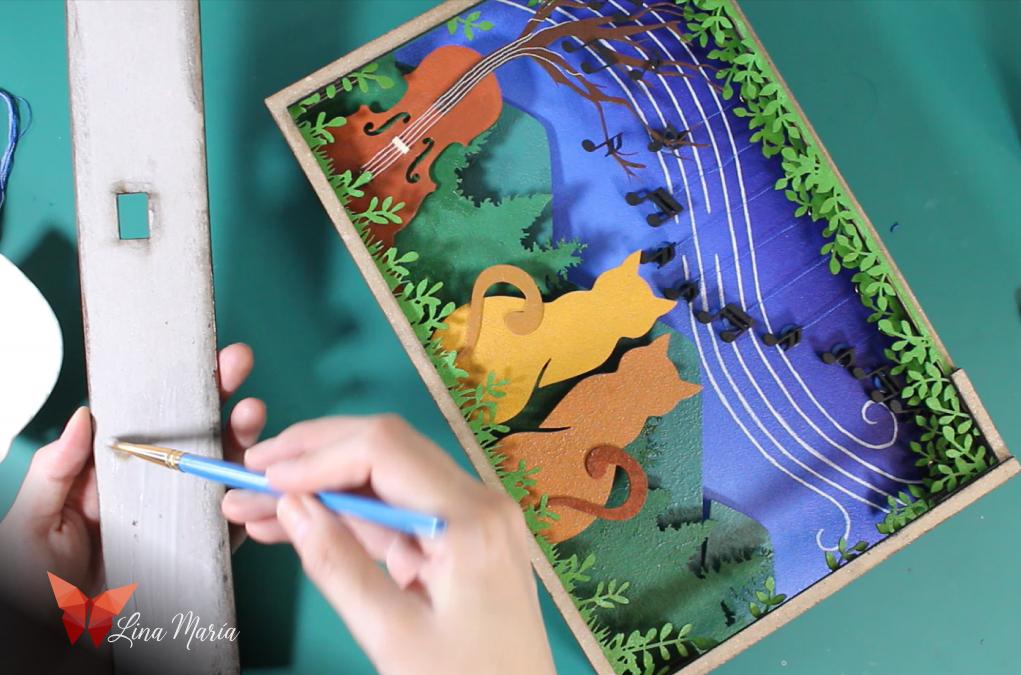
🌿Adding Green Shades
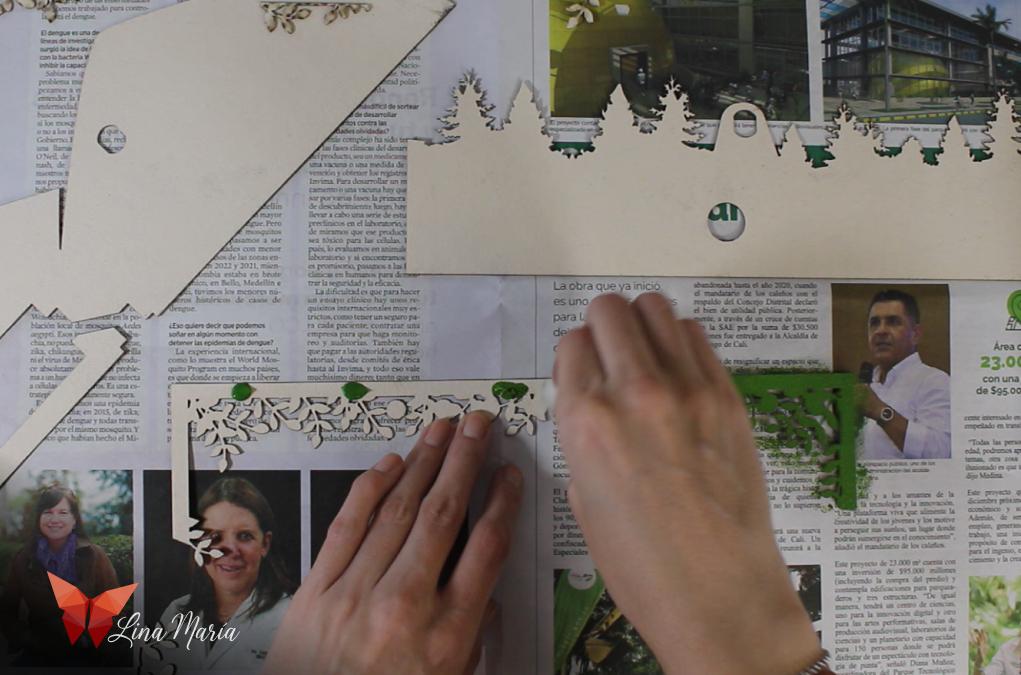
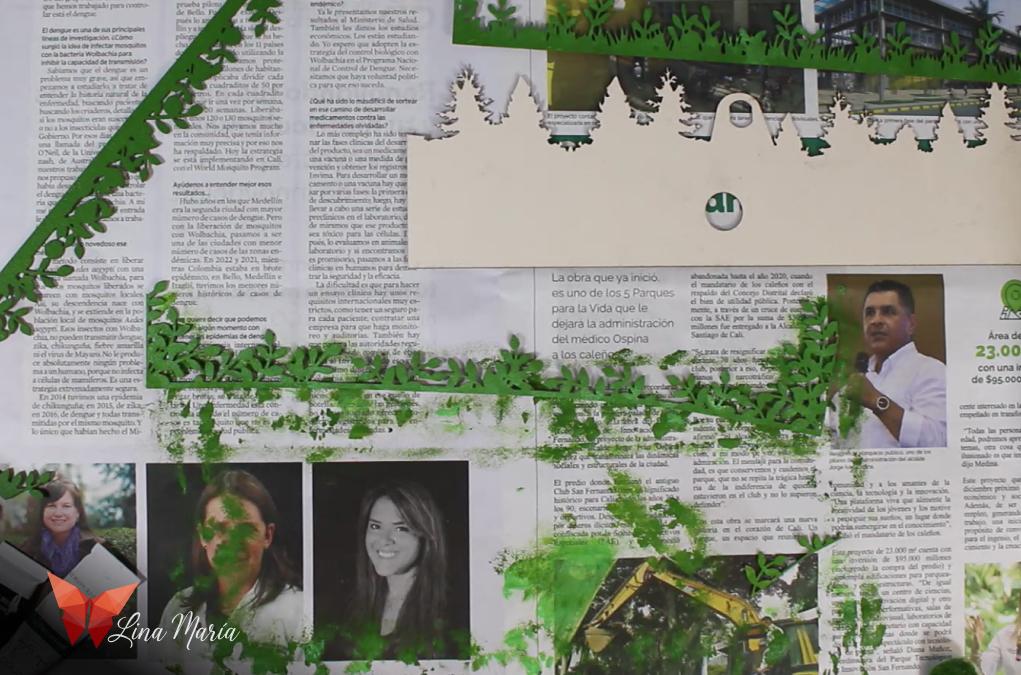
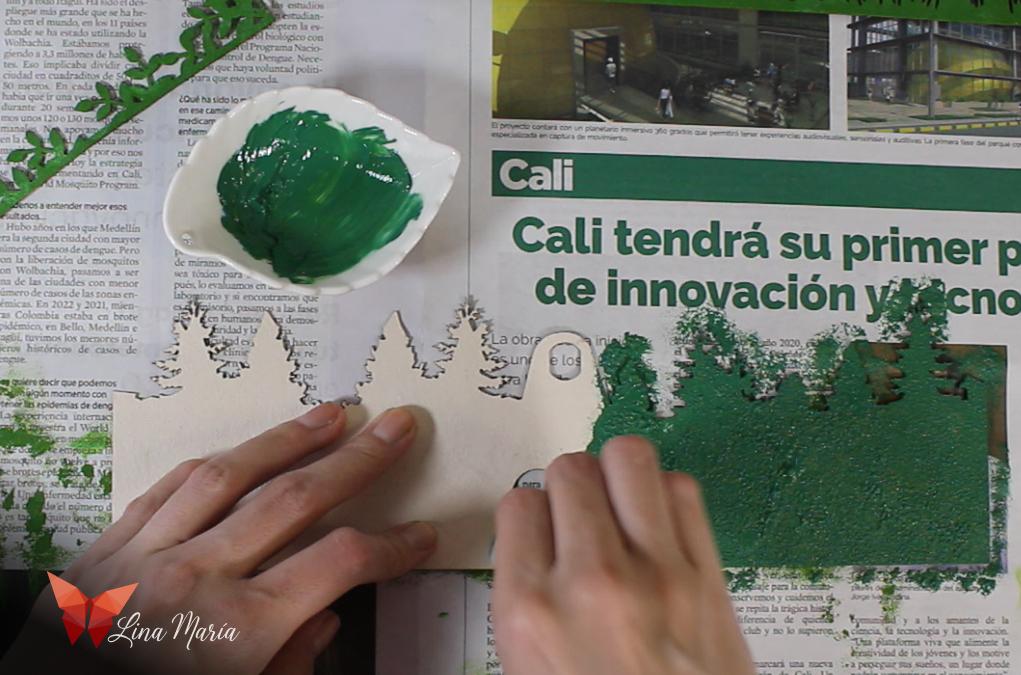
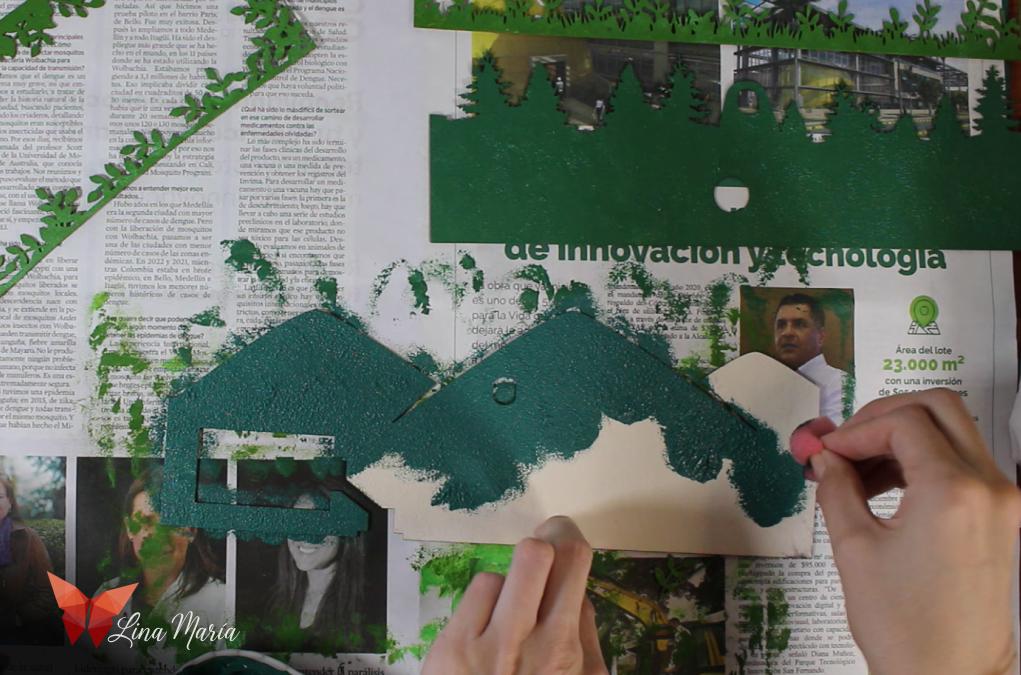
Using a sponge, I dabbed on green paint — a stronger tone for the foreground and bluer tones for the background.
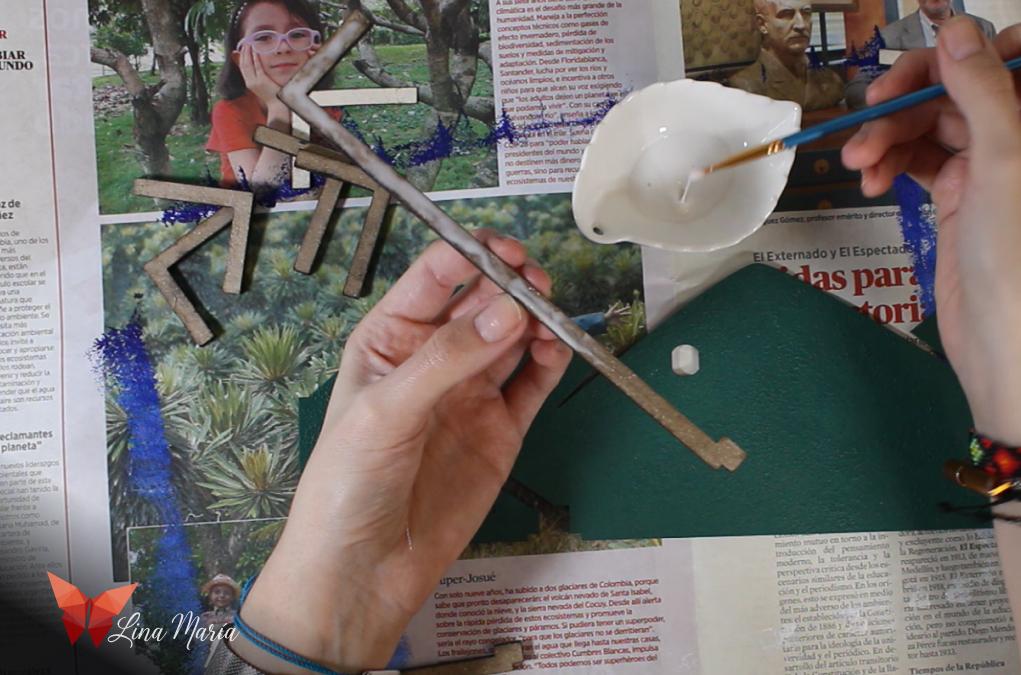
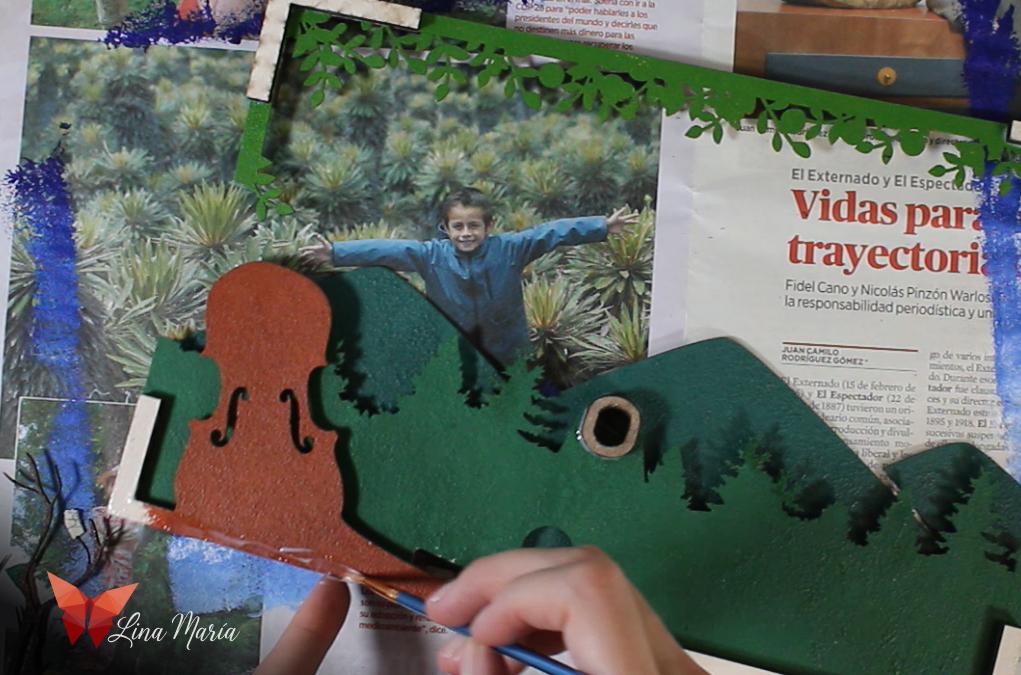
Coloring Browns
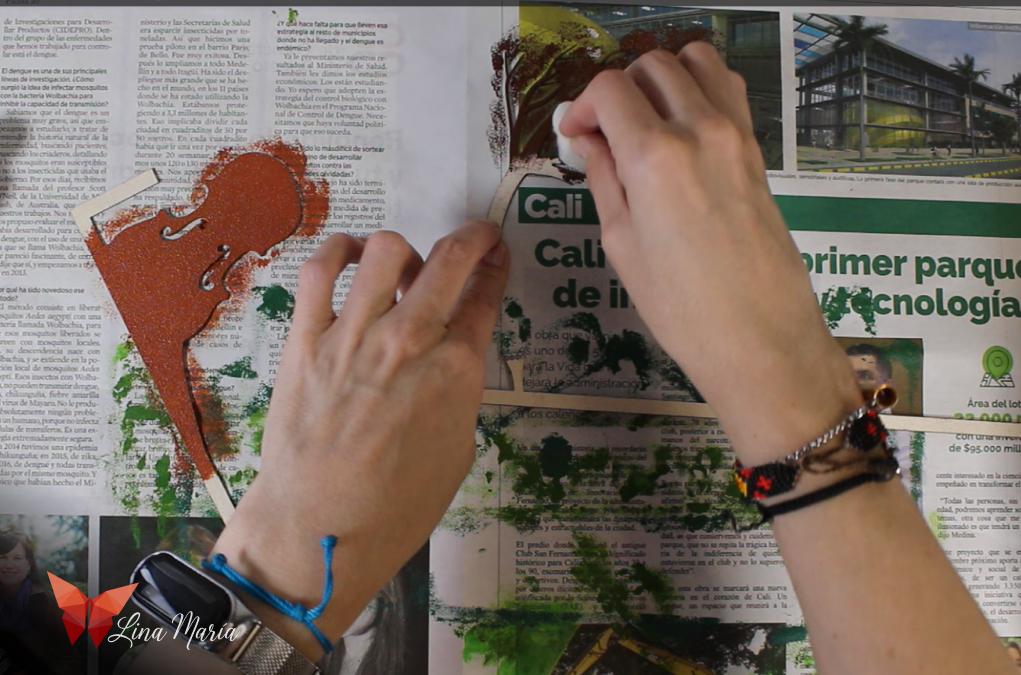
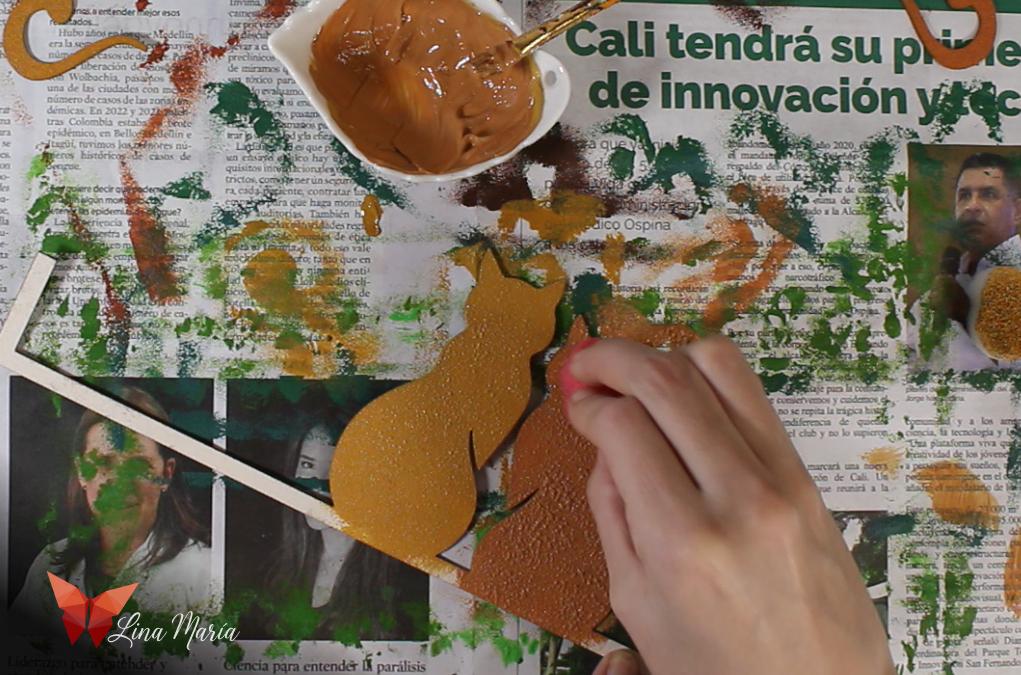
I used various brown tones for the violin, branches, cats, and their tails.
Painting the Sky
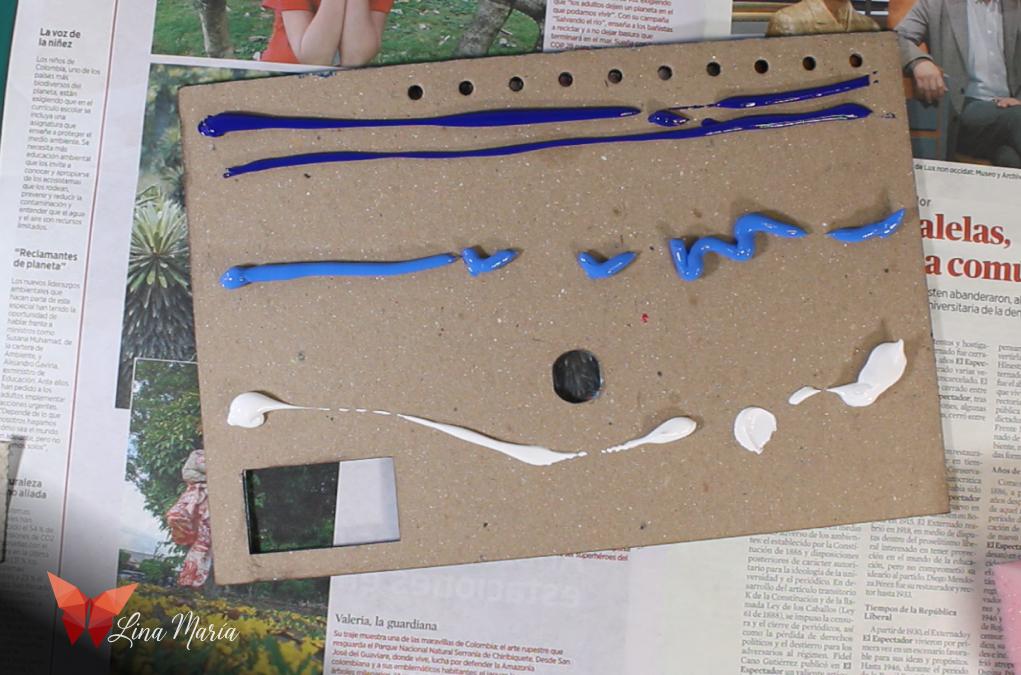
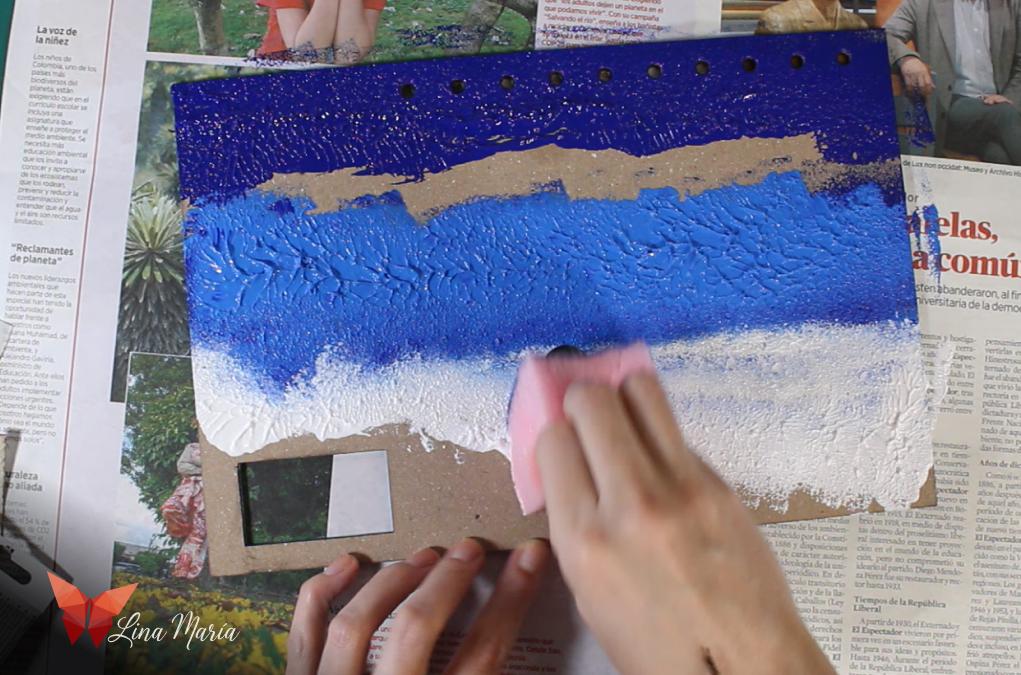
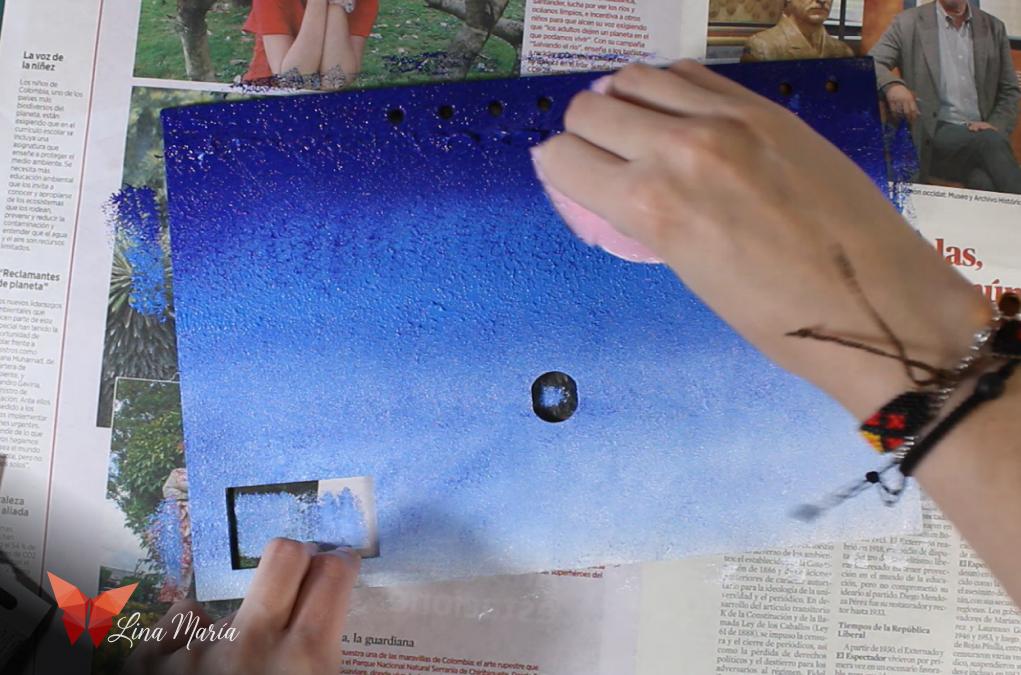
I created a sky gradient from dark blue to white by dabbing and blending with a sponge.
🔩 Assembling Initial Layers
I started gluing the layers near the switch, applying white glue between pieces.
🎻 the Violin Layer
I added support tabs and the violin piece, ensuring everything aligned.
📝 Note: Any added lower supports/extra spaces, must be mirrored on top to keep even thickness.
Preparing for the Switch
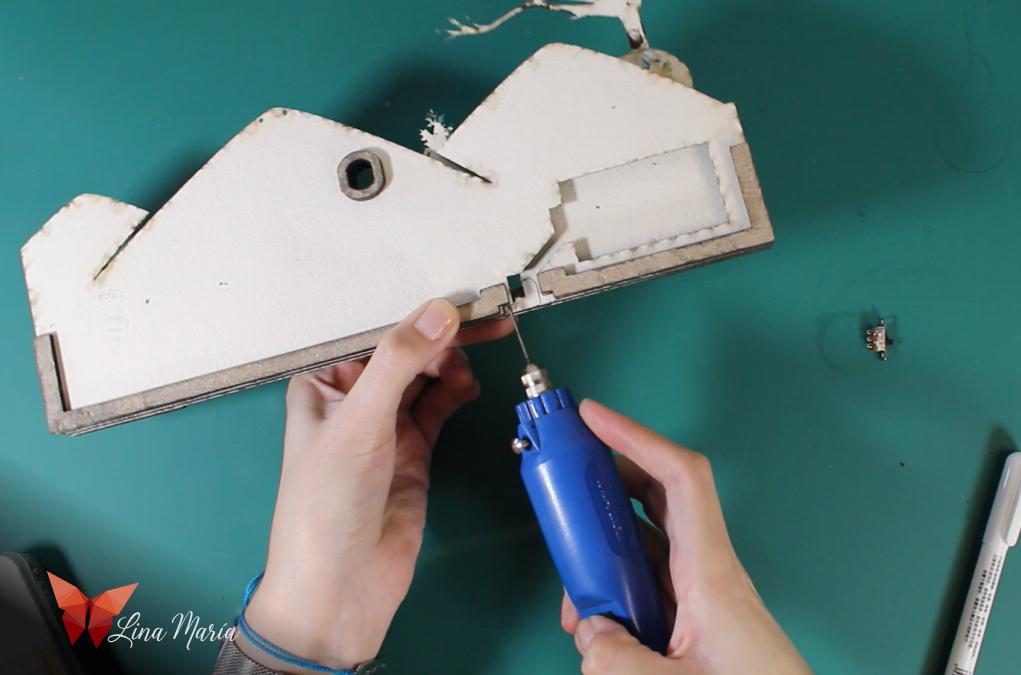
I marked and drilled holes for the switch using a small drill bit.
🔌Wiring the Switch
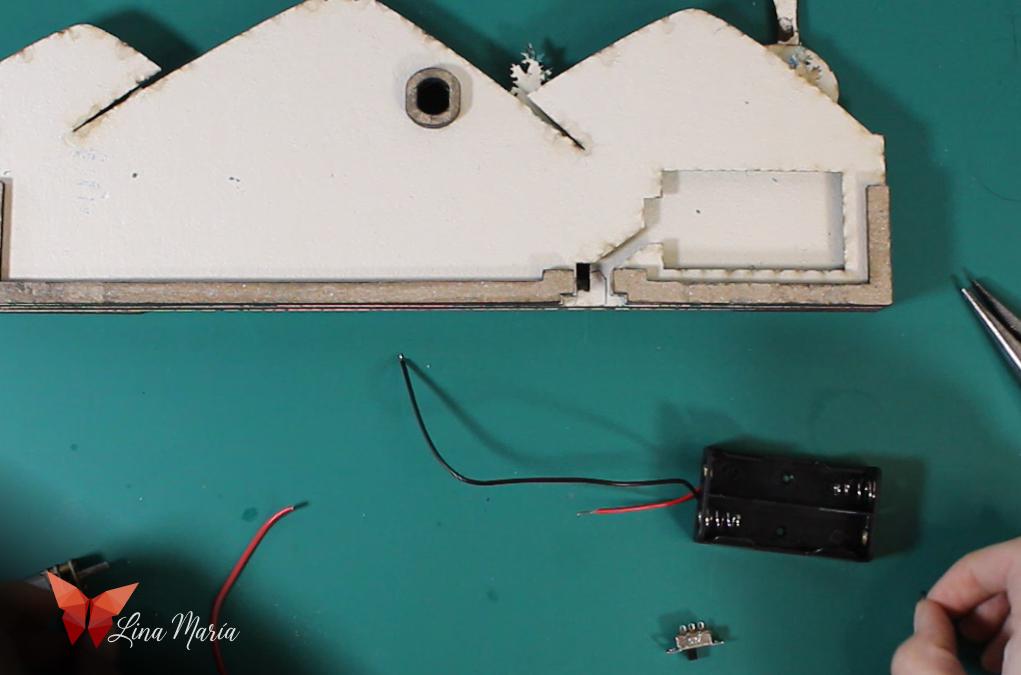
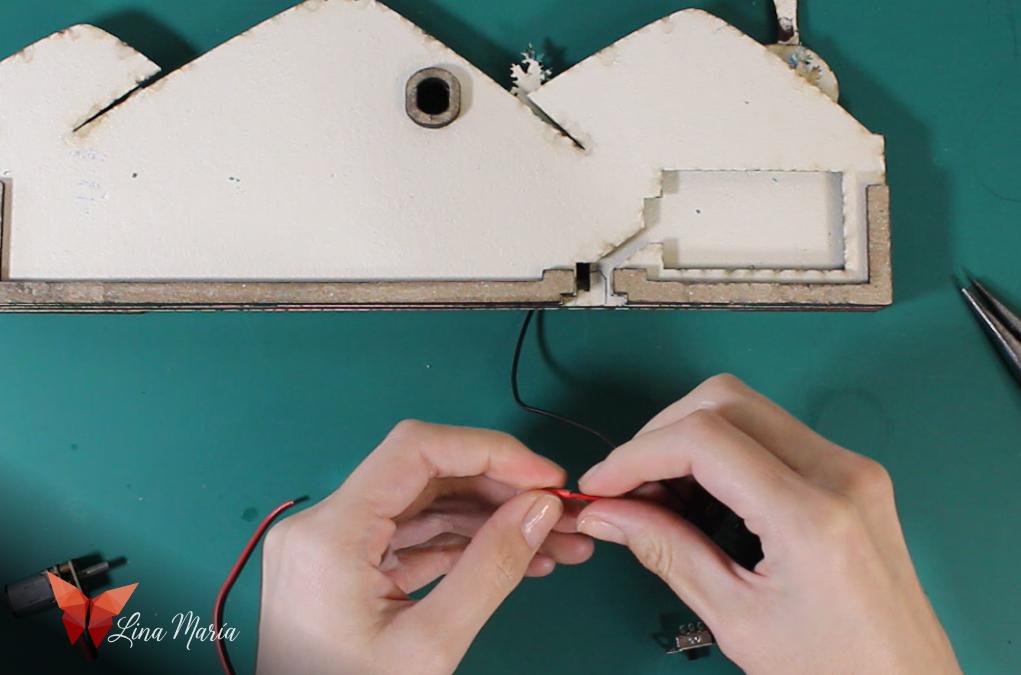
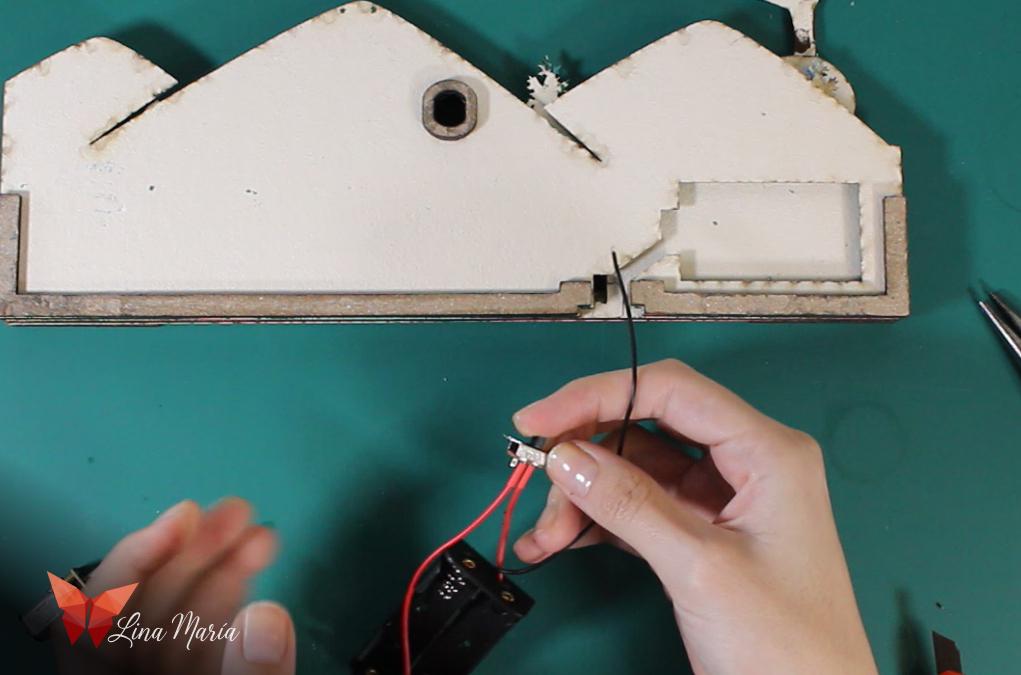
I cut the red wire from the battery box, stripped it, twisted it to the switch, and secured it with heat shrink tubing.
⚙️Installing Power
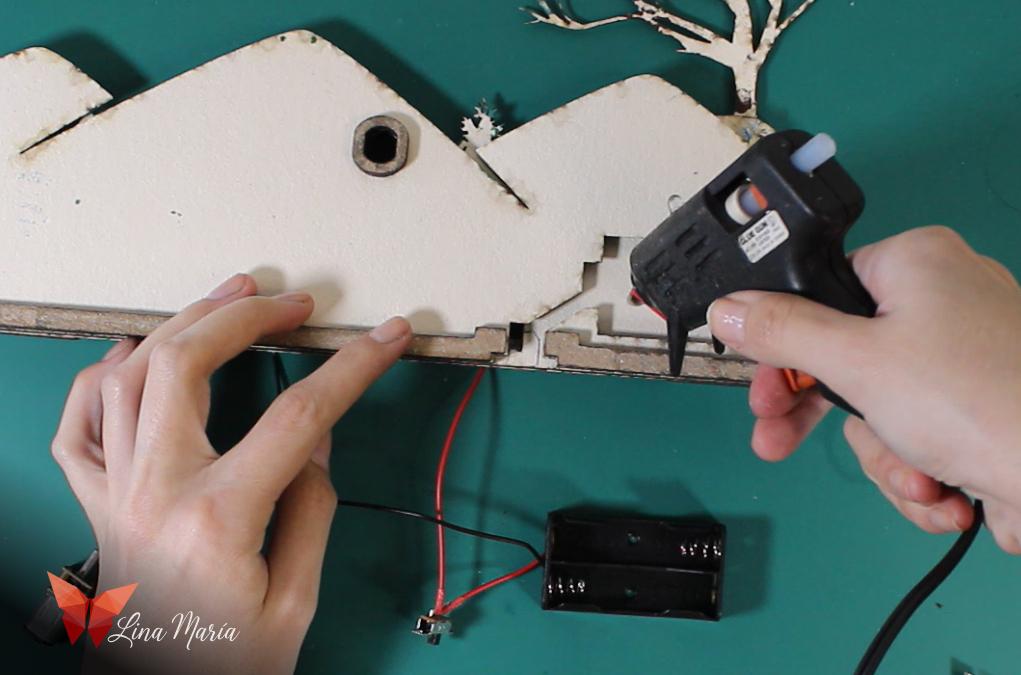

I glued the battery box into its space and attached the switch with tiny screws.
Connecting the Motor
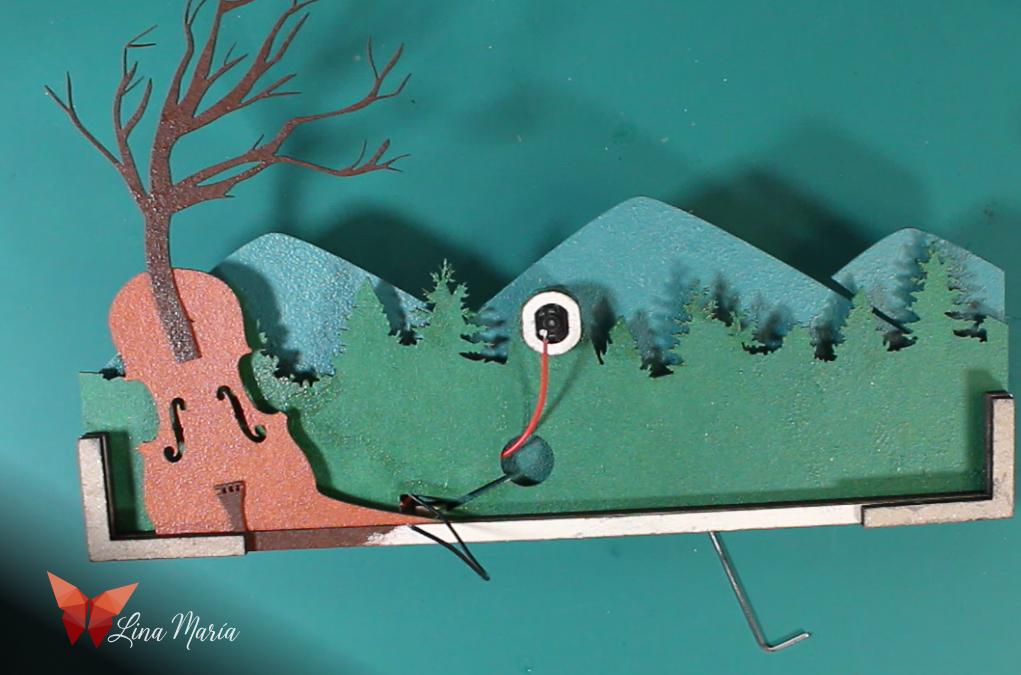
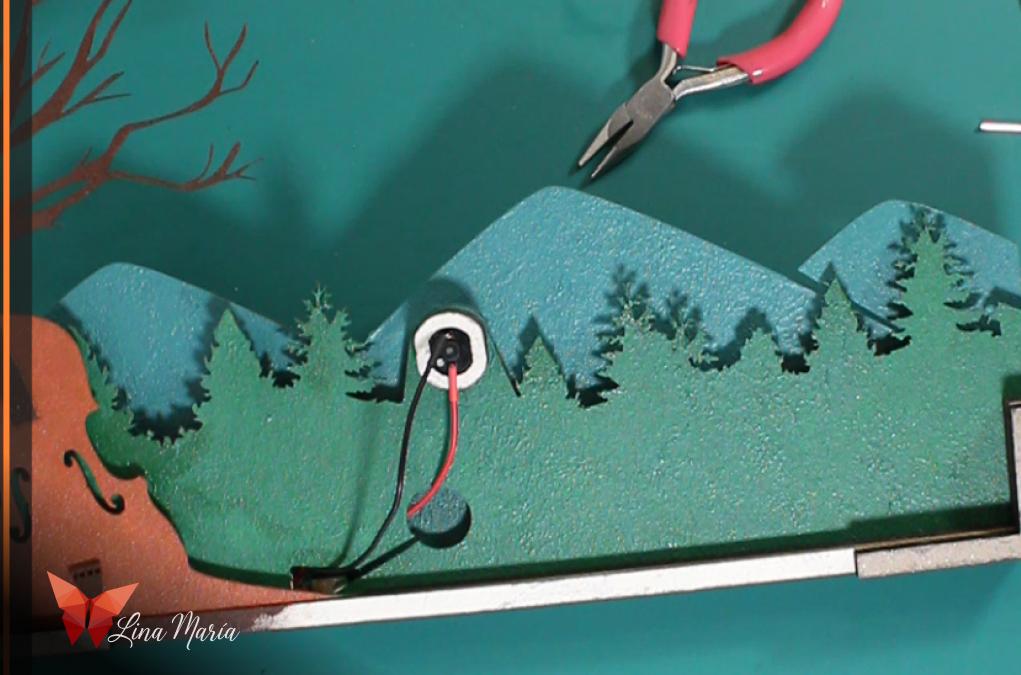
I placed the gear motor into its slot and connected the wires: black from the battery and red from the switch.
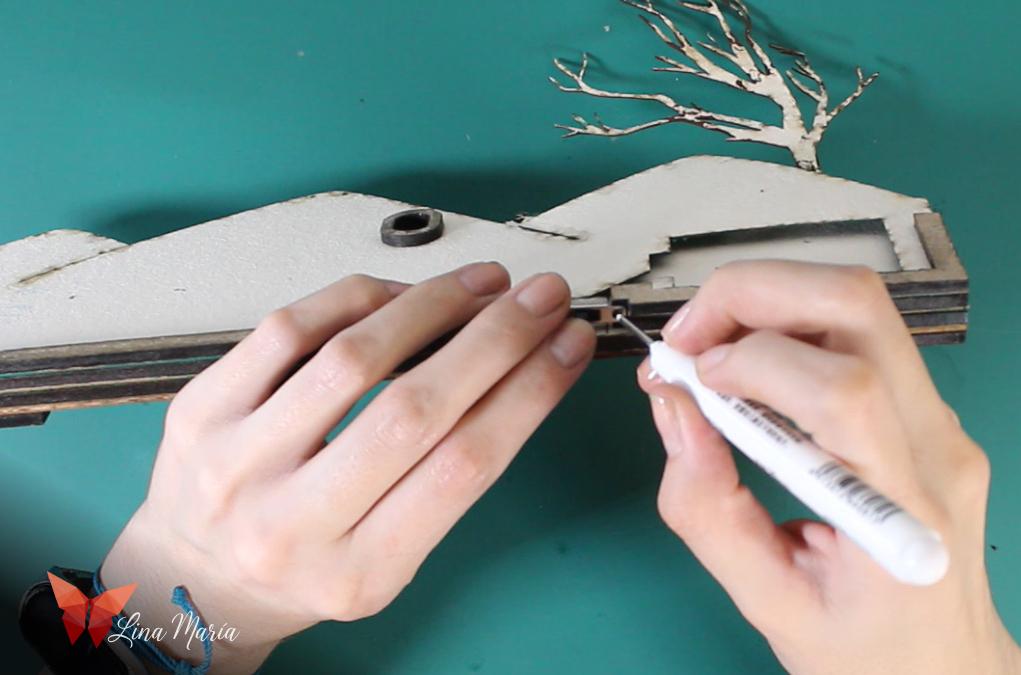
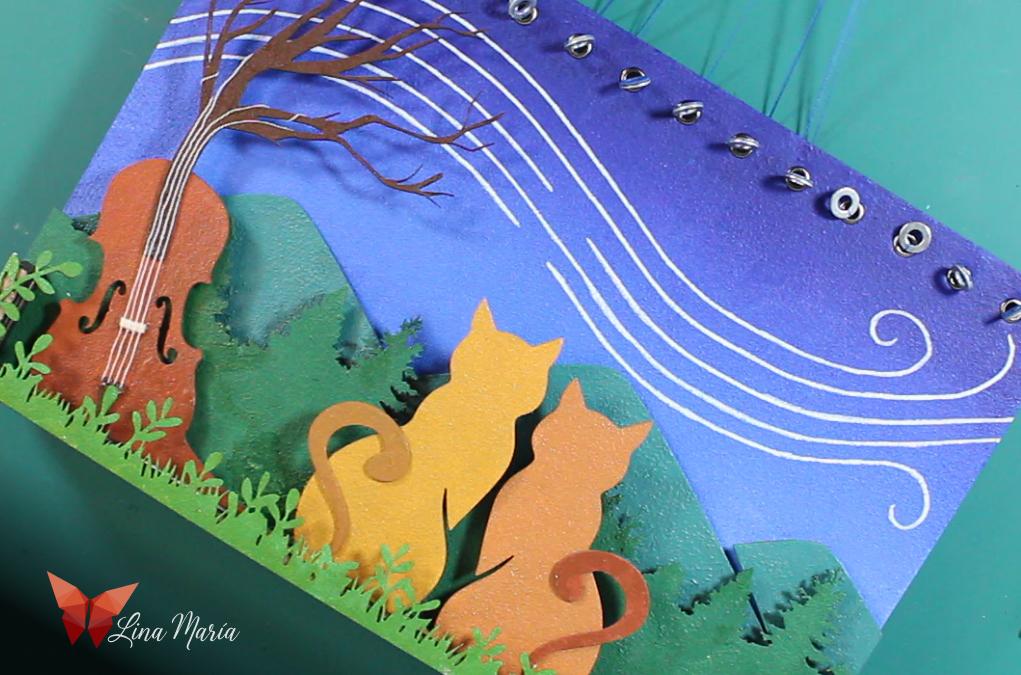
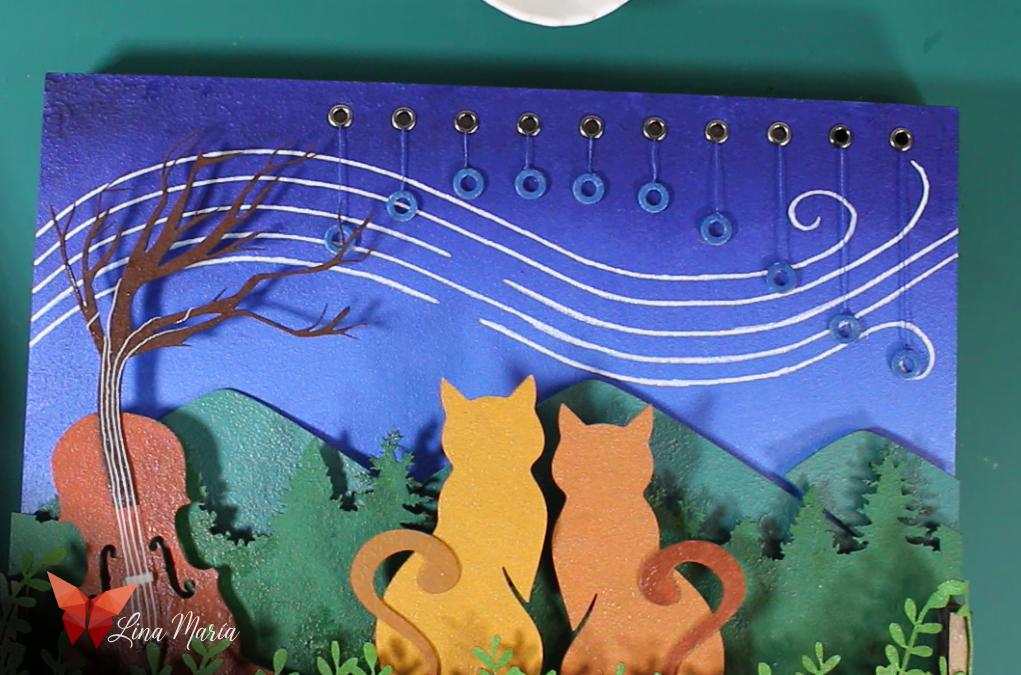
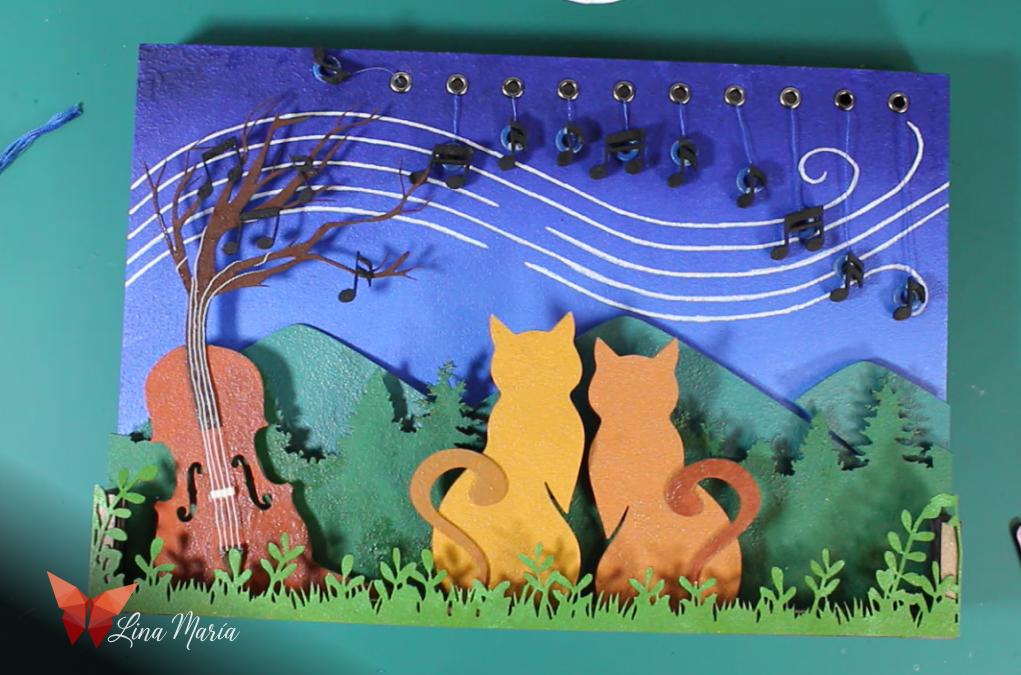
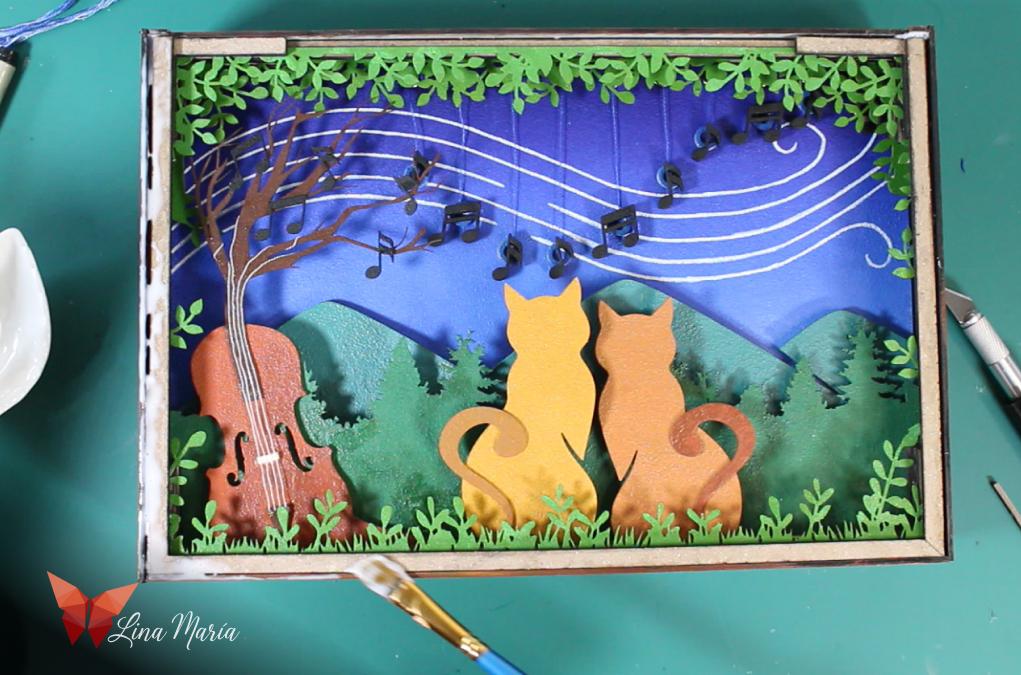
🖊️Drawing Wind Waves
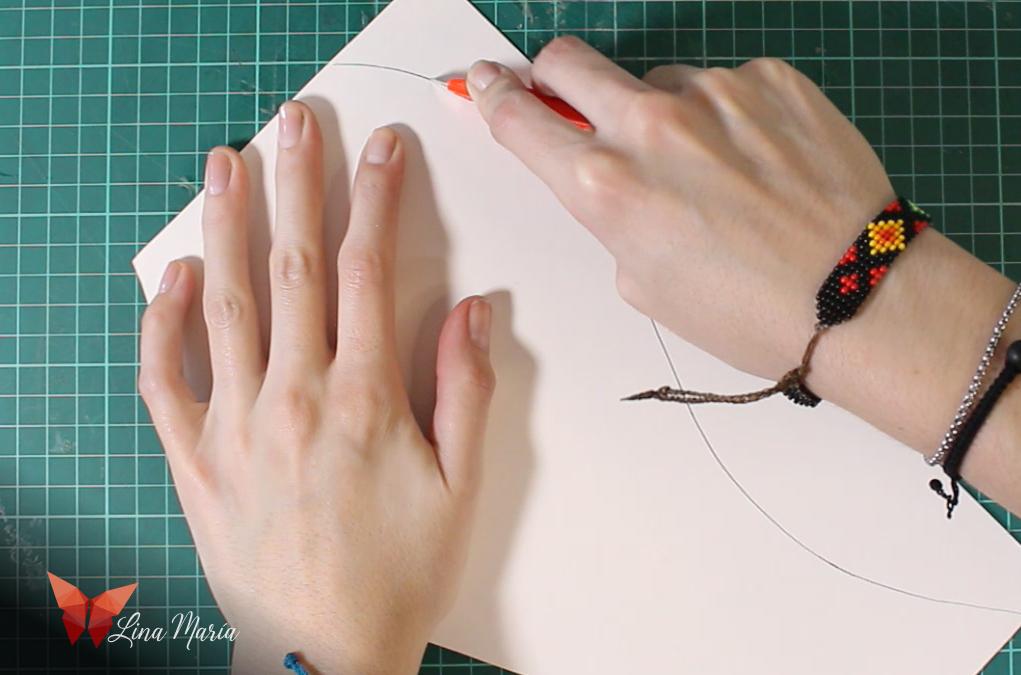
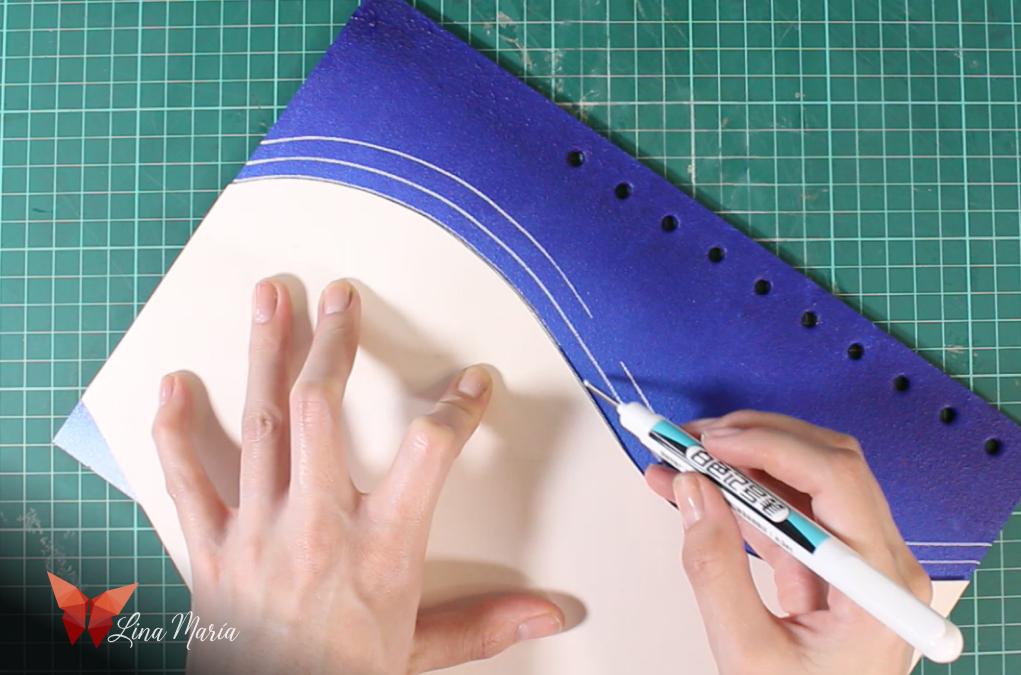
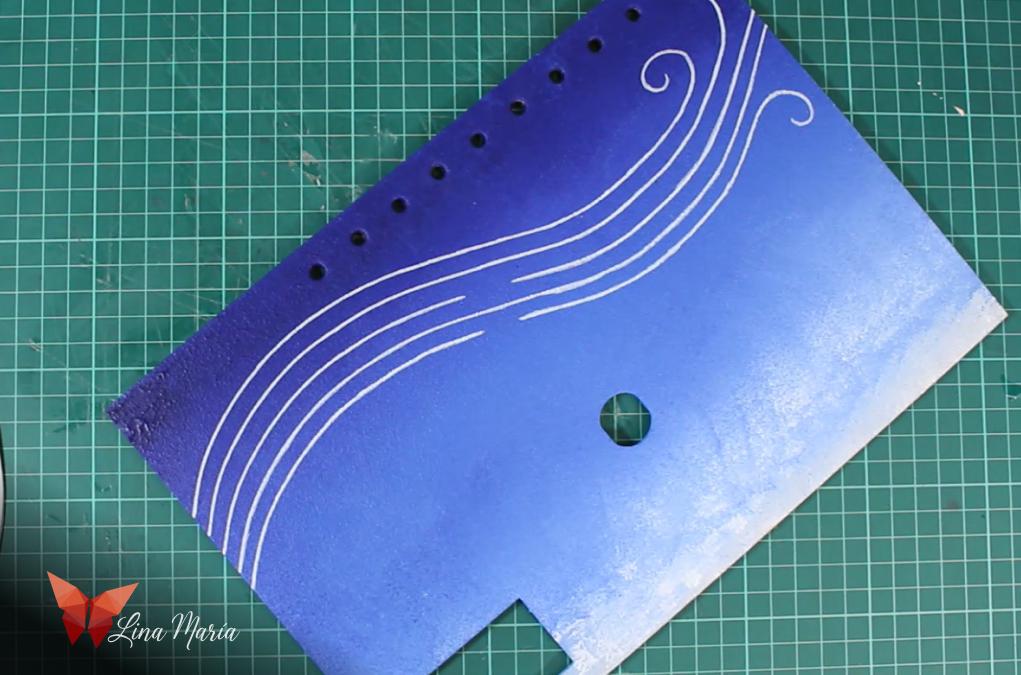
I drew a curved line on cardboard as a guide for the wind lines, then traced it onto the sky layer using a white permanent marker.
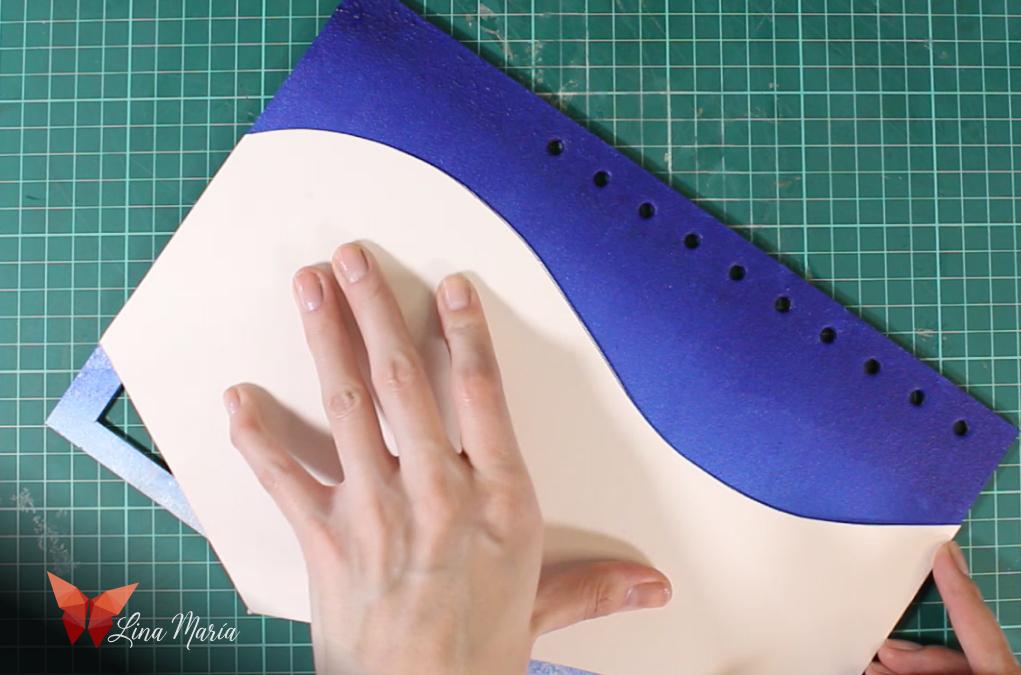
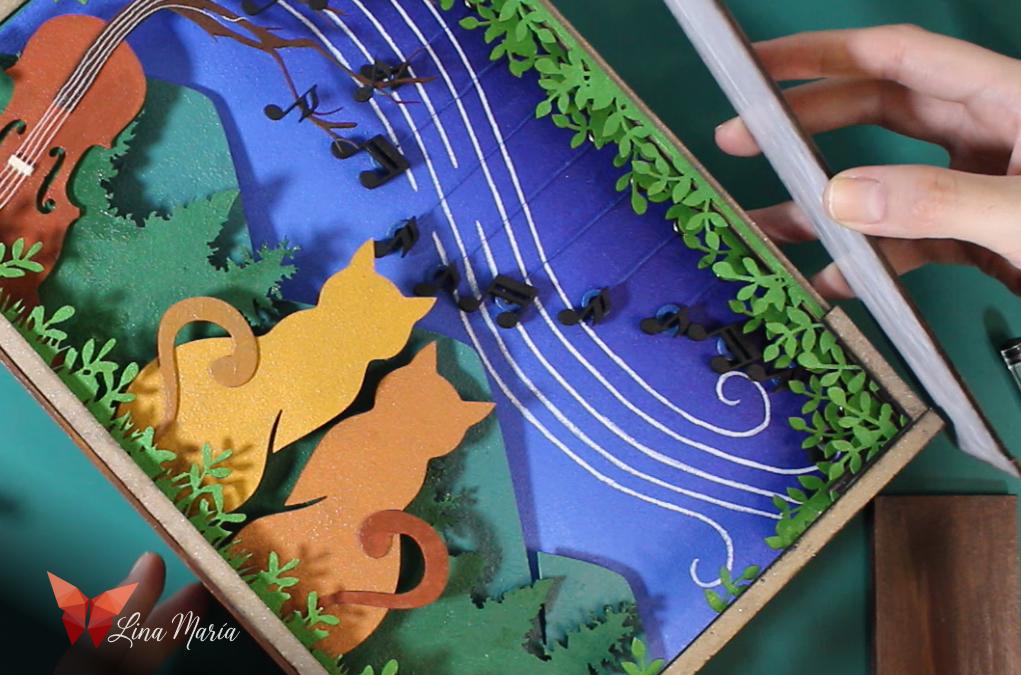
🪡Thread Passages
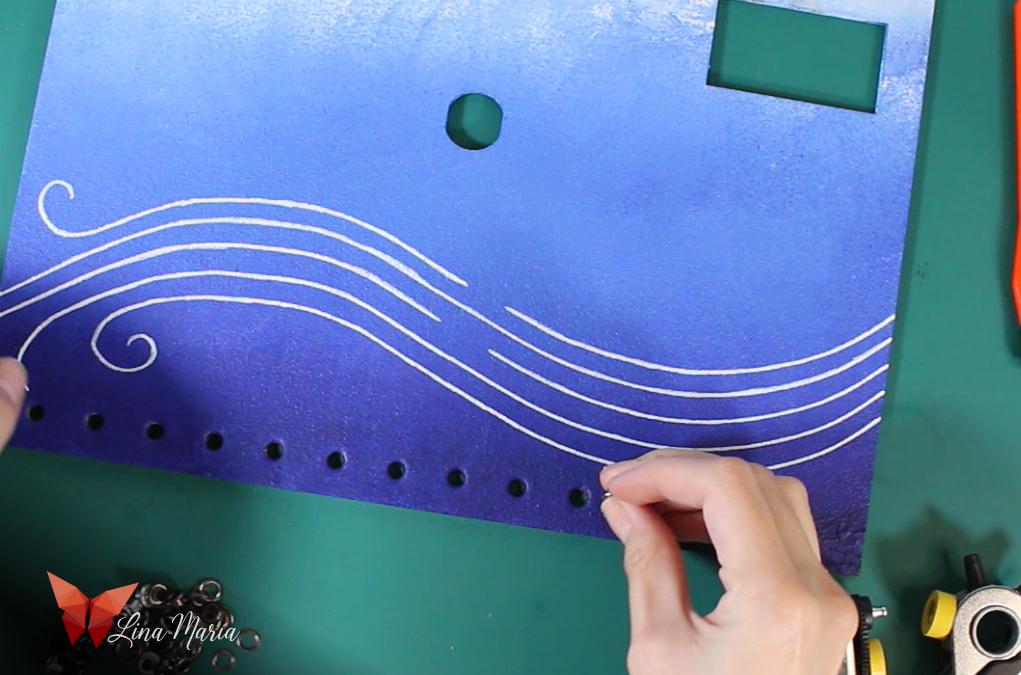


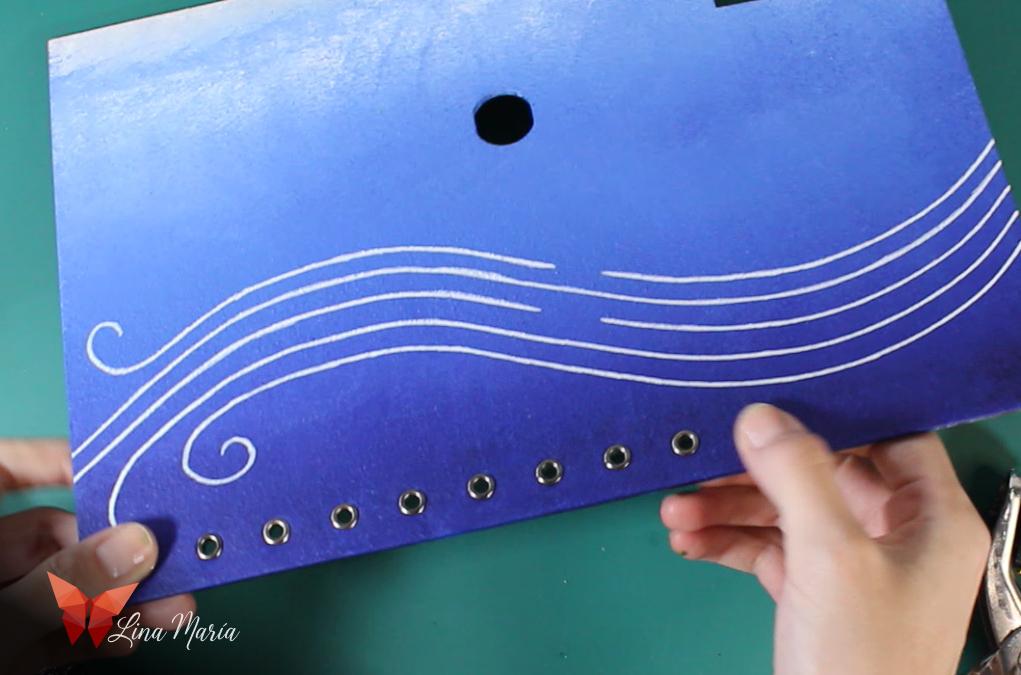
I placed metal eyelets on the top sky layer to guide the threads that hold the musical notes.
Gluing More Layers
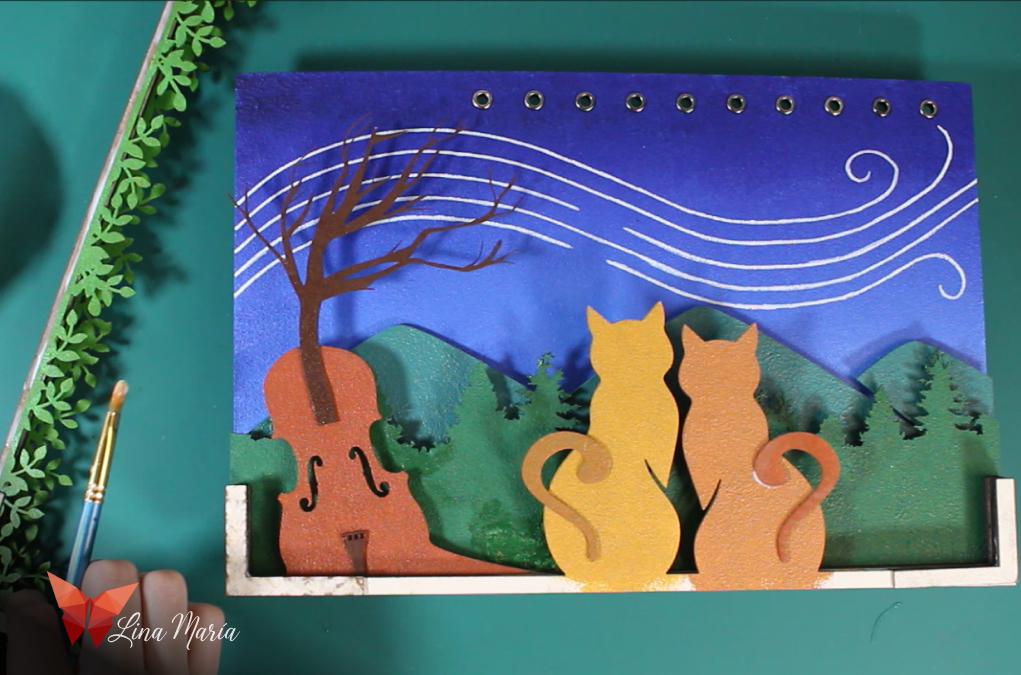
I glued the missing layers like the sky, cats, and tails.
Adding Depth With Back Layers
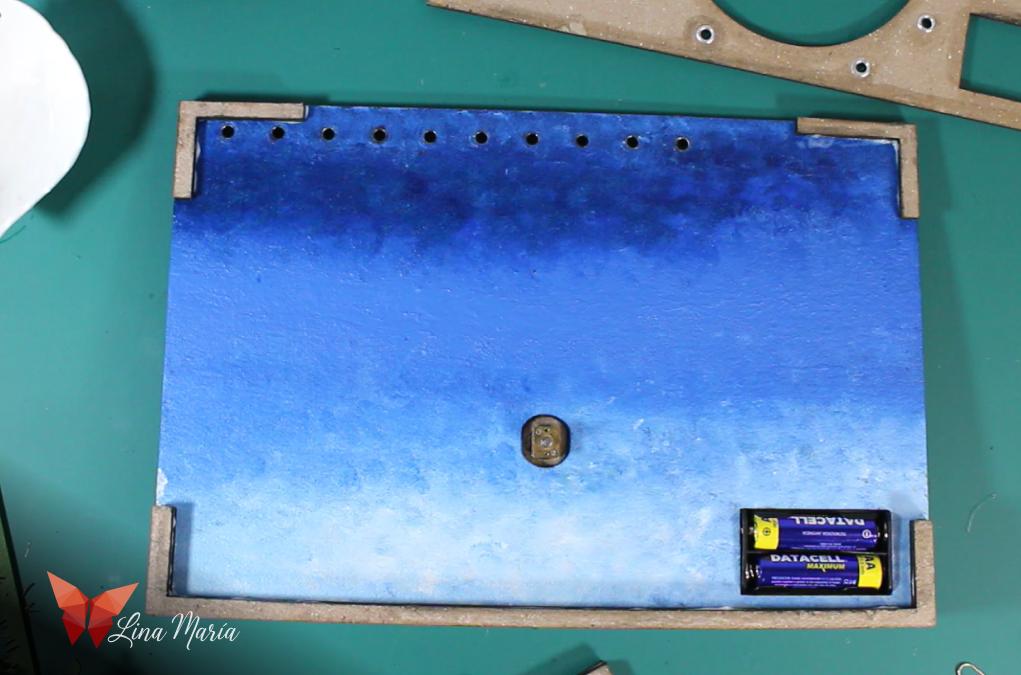

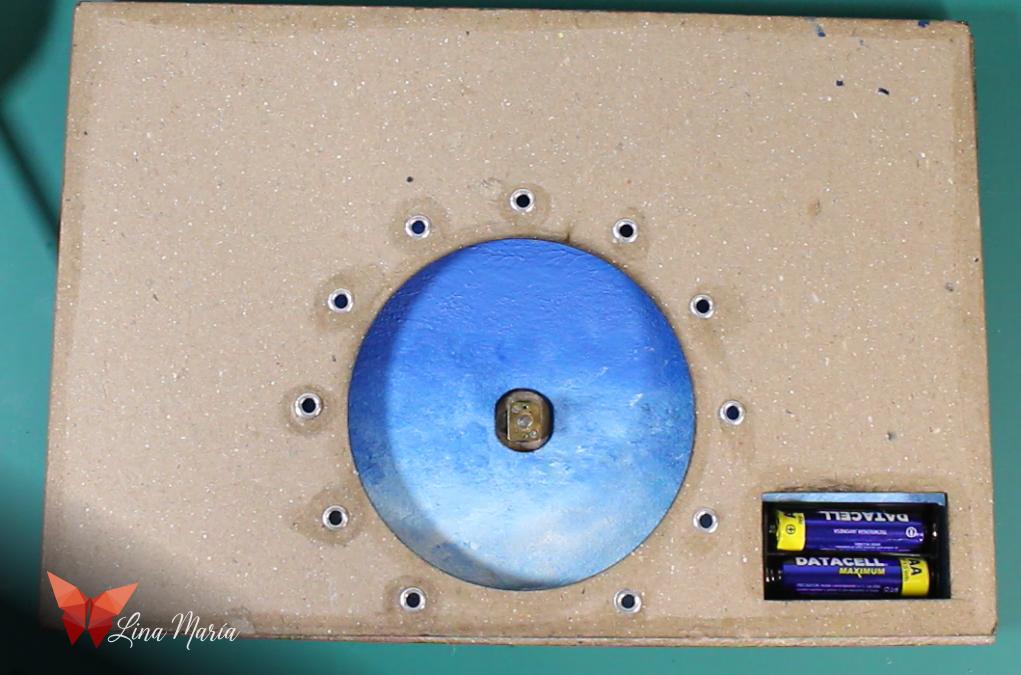
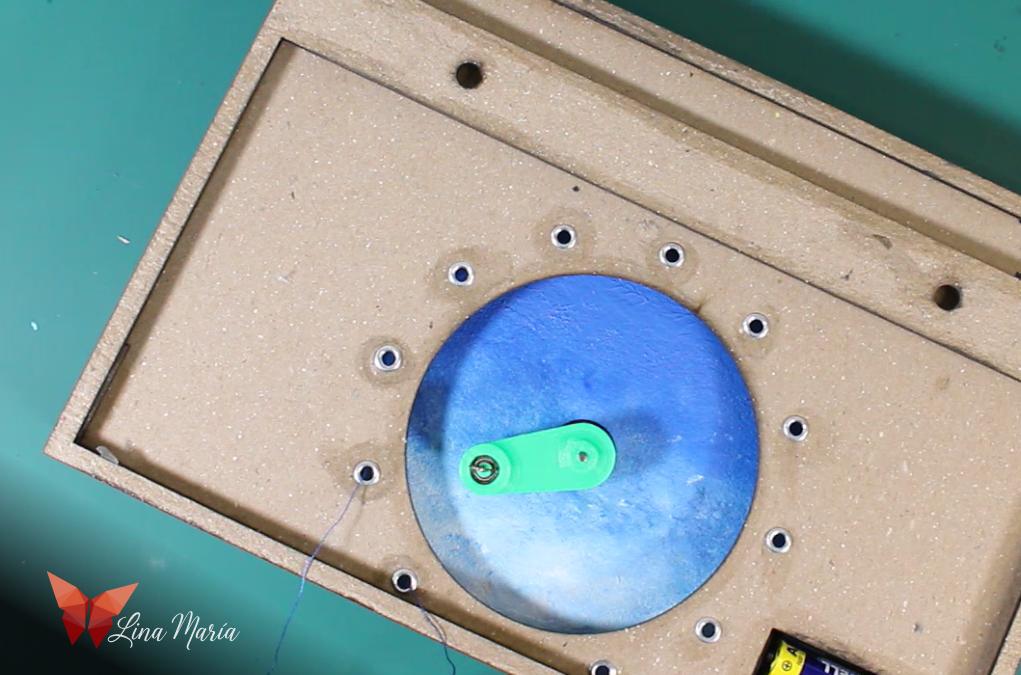
I glued two border layers to the back side of the sky piece to add depth, then attached the layer with the large circle and smaller surrounding holes.
(Note: In the photos, this piece appears painted blue like the sky, but that’s just because I initially painted the wrong side by mistake.)
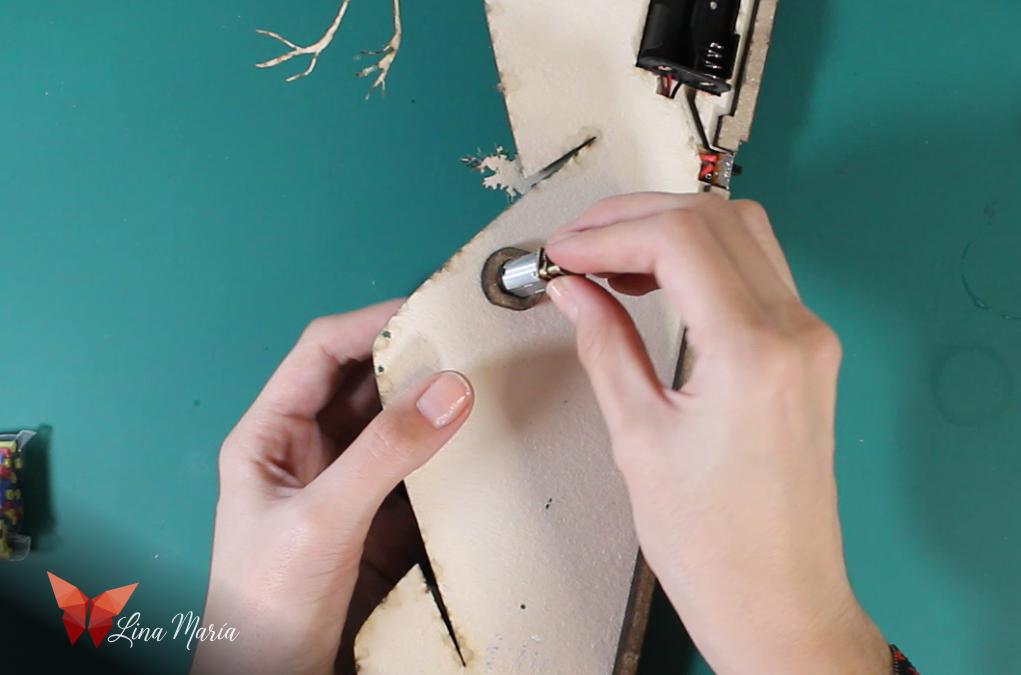
⚙️ Designing and Printing the Motion Mechanism
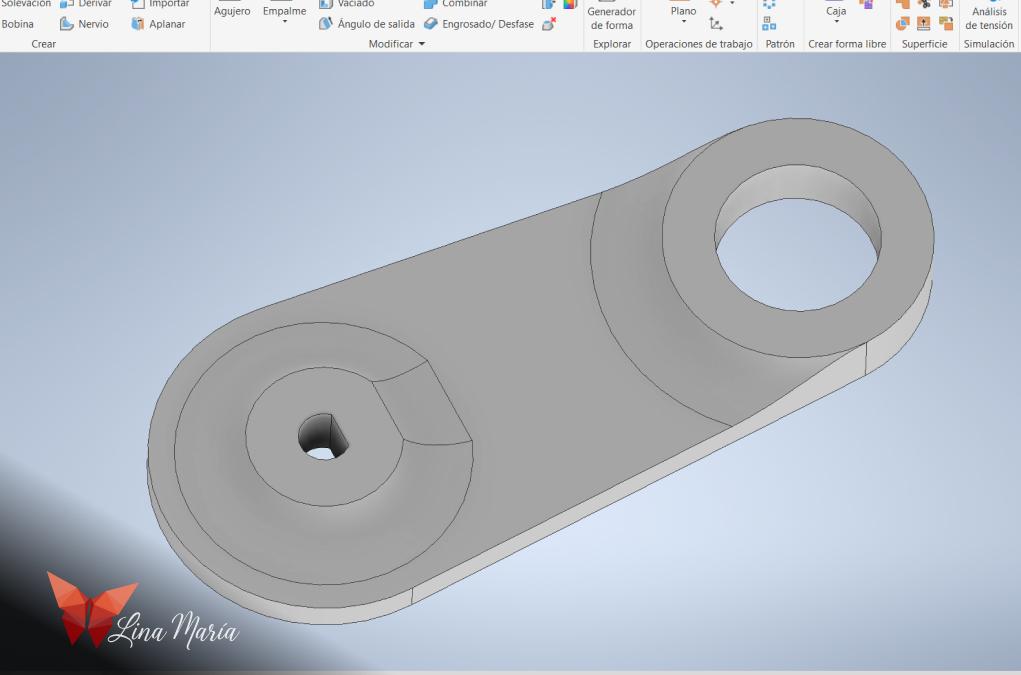
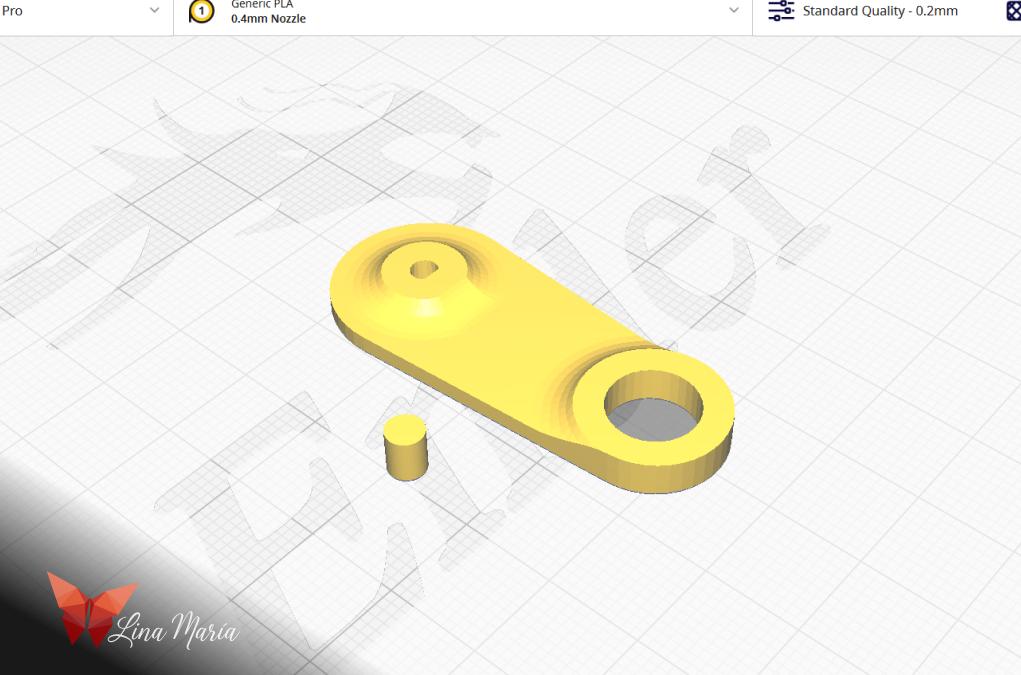
I 3D modeled a custom piece to create the rotating motion. On one side, it connects to the motor shaft, and on the other side, it has a hole designed to fit a small bearing. I also 3D printed a second, smaller piece that fits snugly inside the bearing — this is the part I would later use to tie the strings.
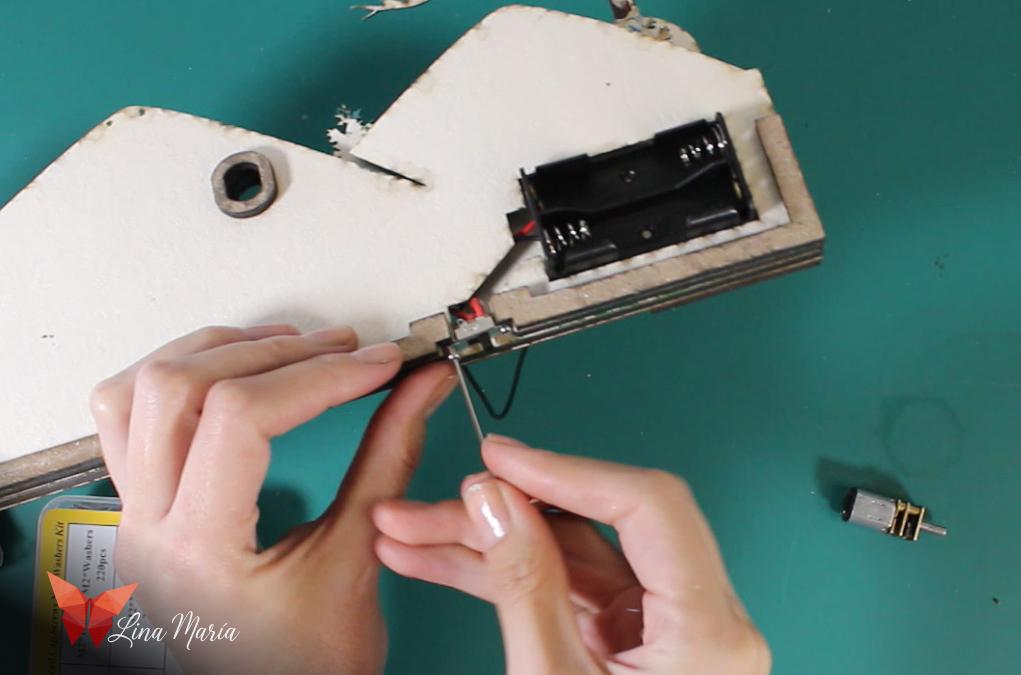
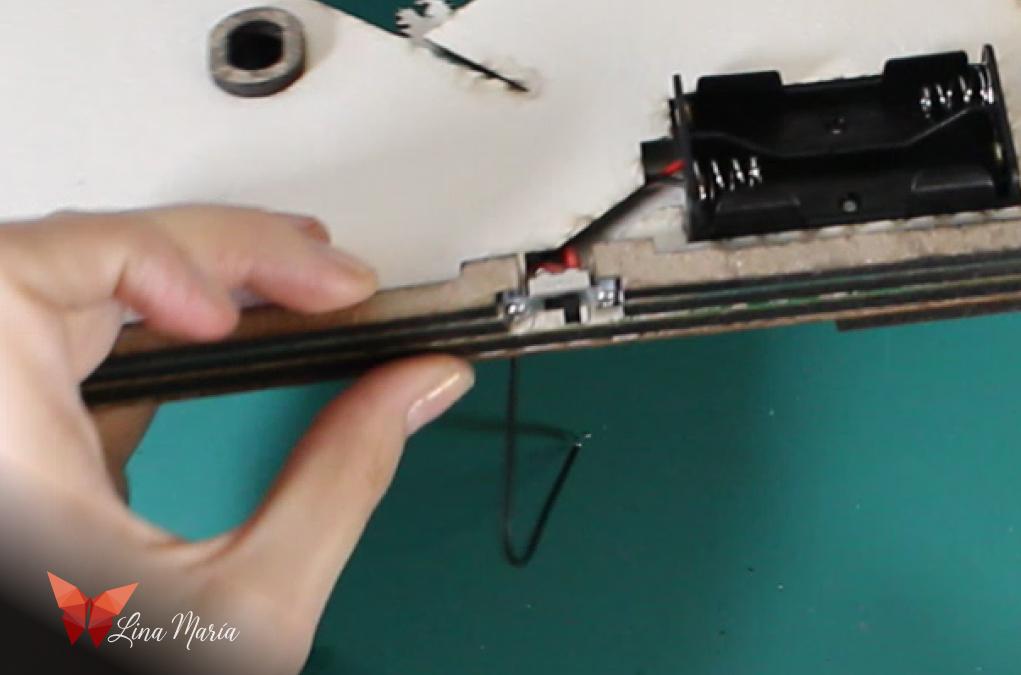
🔩Assembling the Thread Holder
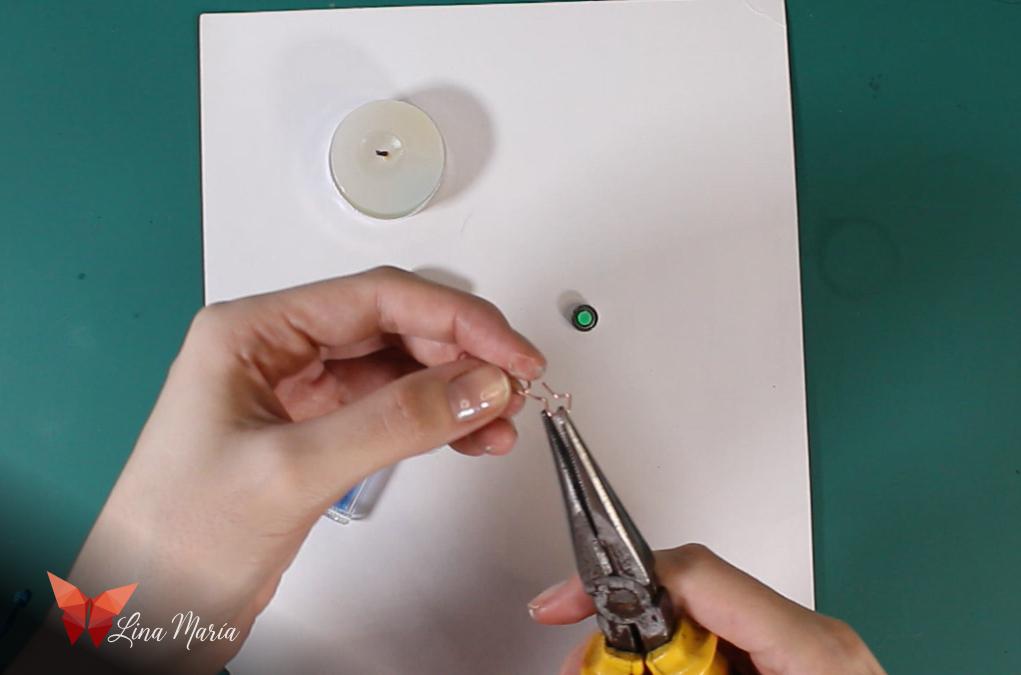
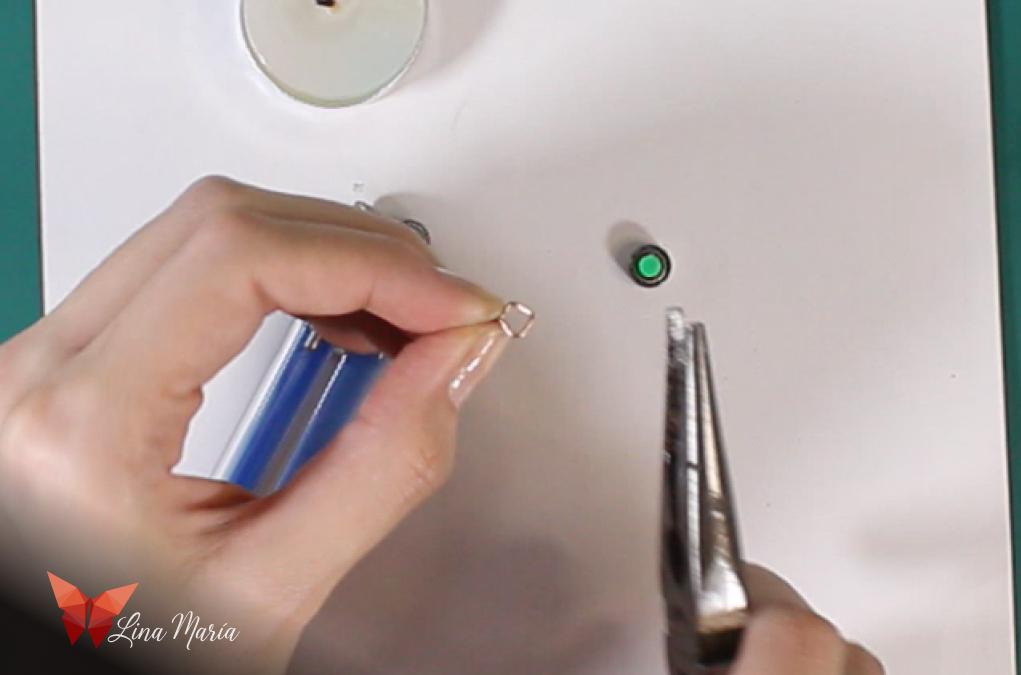
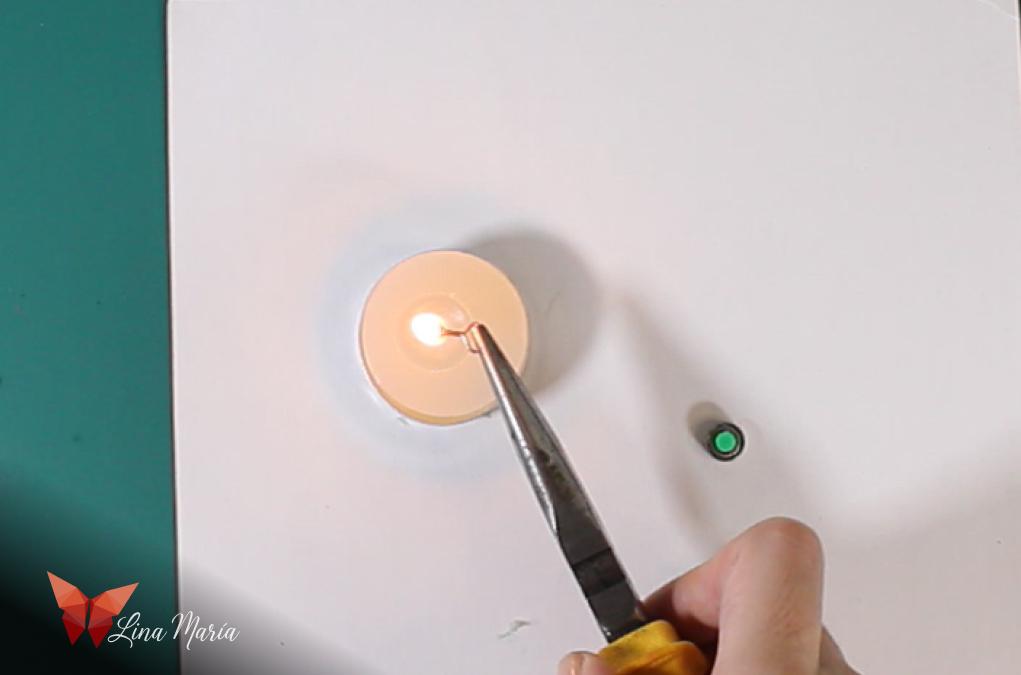
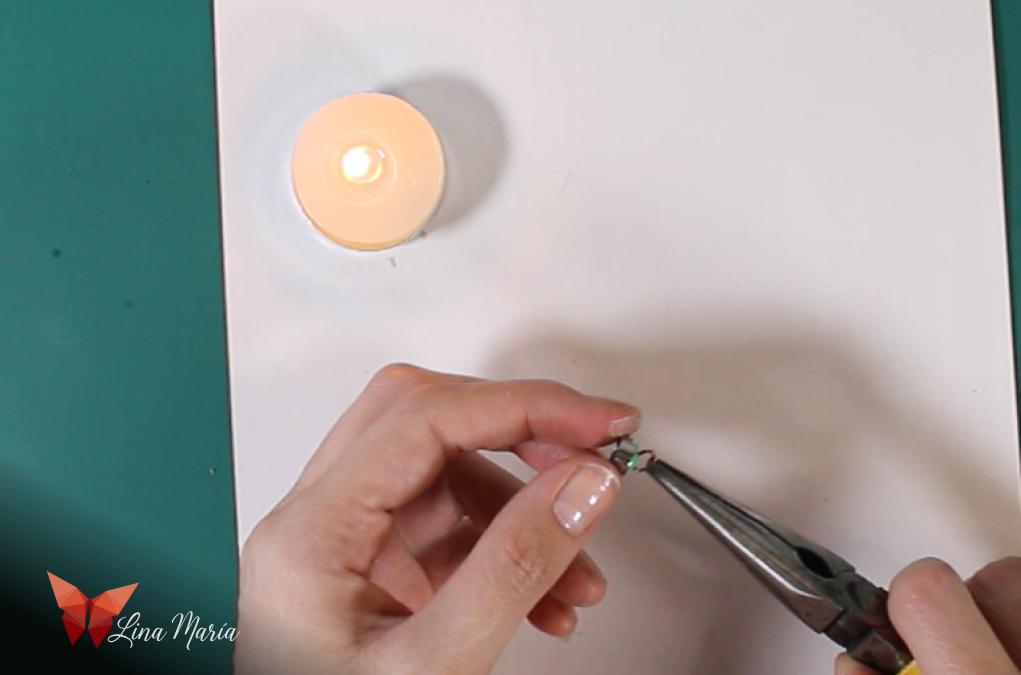
I inserted the small 3D-printed piece into the bearing. Then, using a piece of wire, I shaped a loop with two straight ends. I heated those ends with a candle and carefully embedded them into the small printed piece inside the bearing. This created a secure metal loop where I could later tie all the threads.
Mounting the Motion System
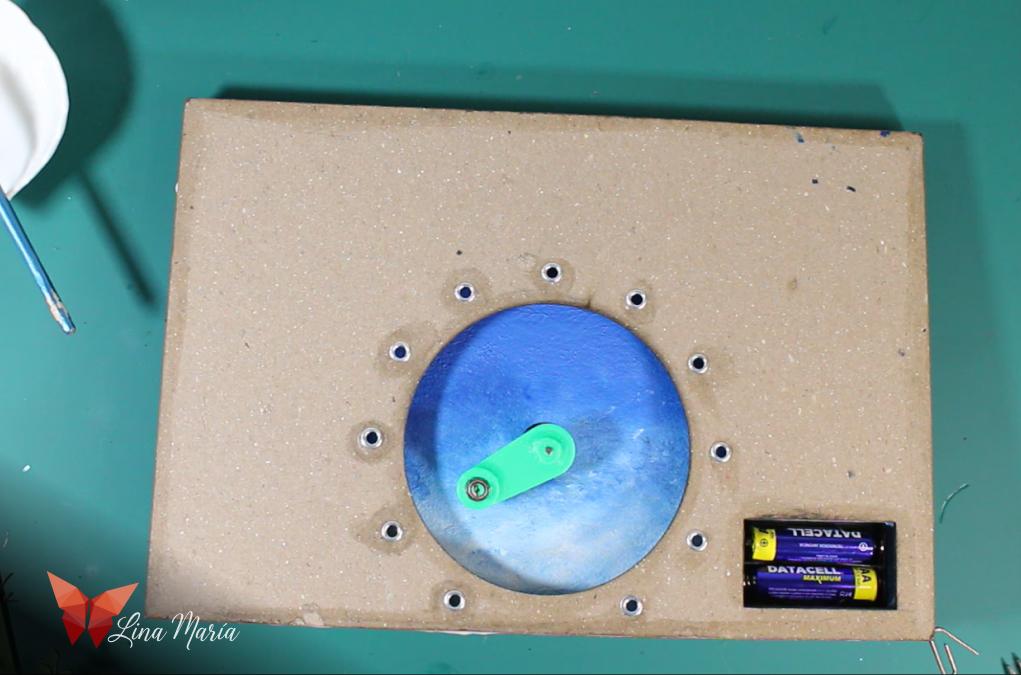

I installed the 3D piece on the motor axle, added two more depth layers, and finally glued the back layer with holes for hanging the frame on a wall.
🎻Violin Details
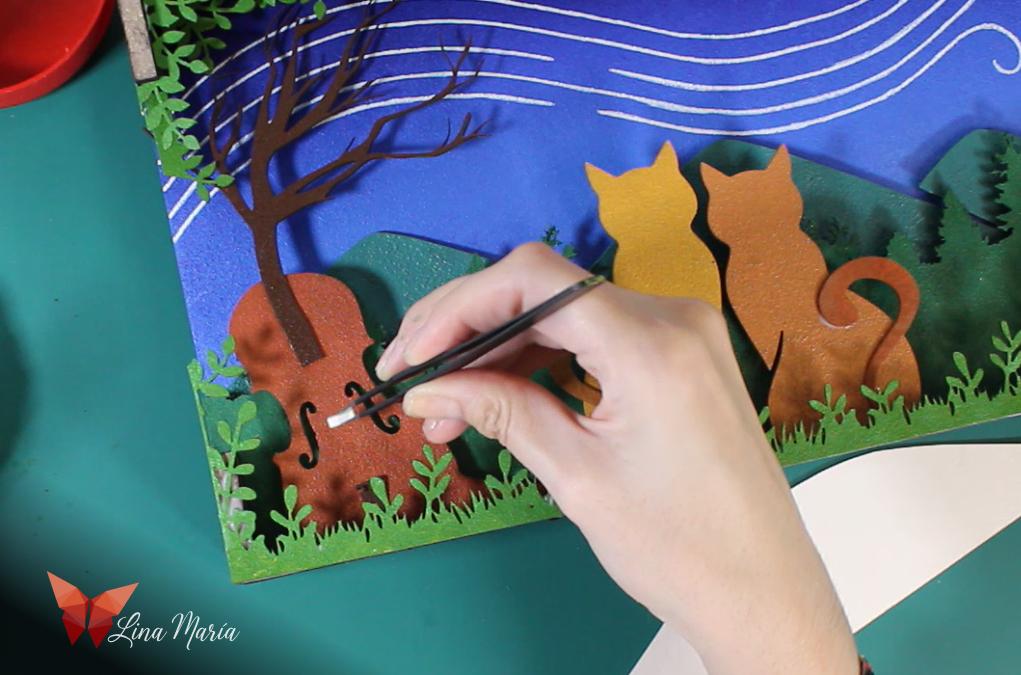

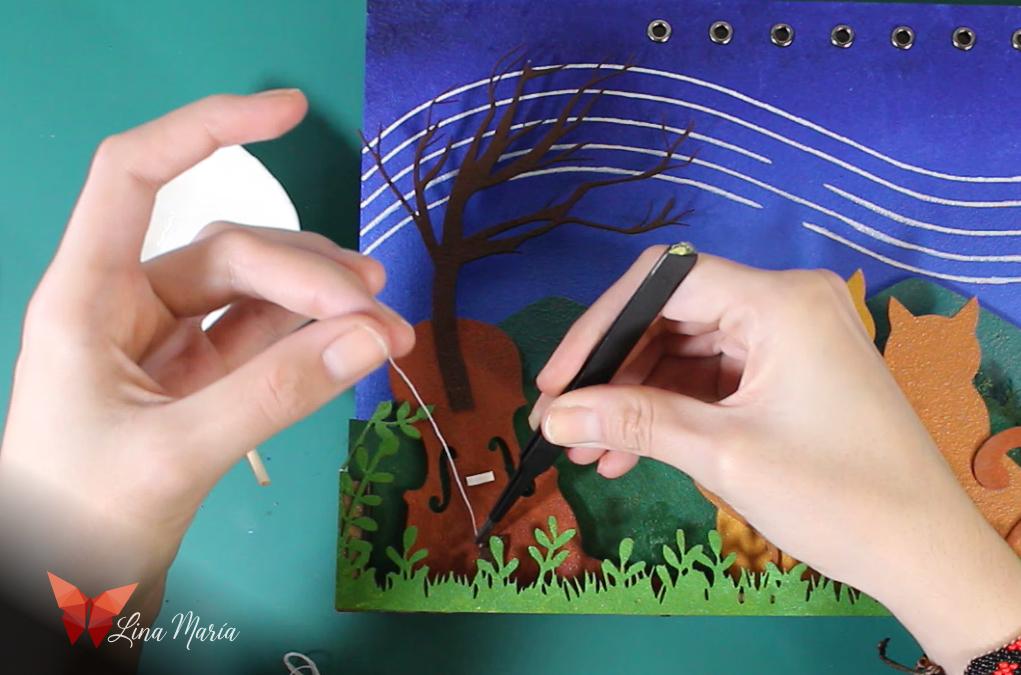
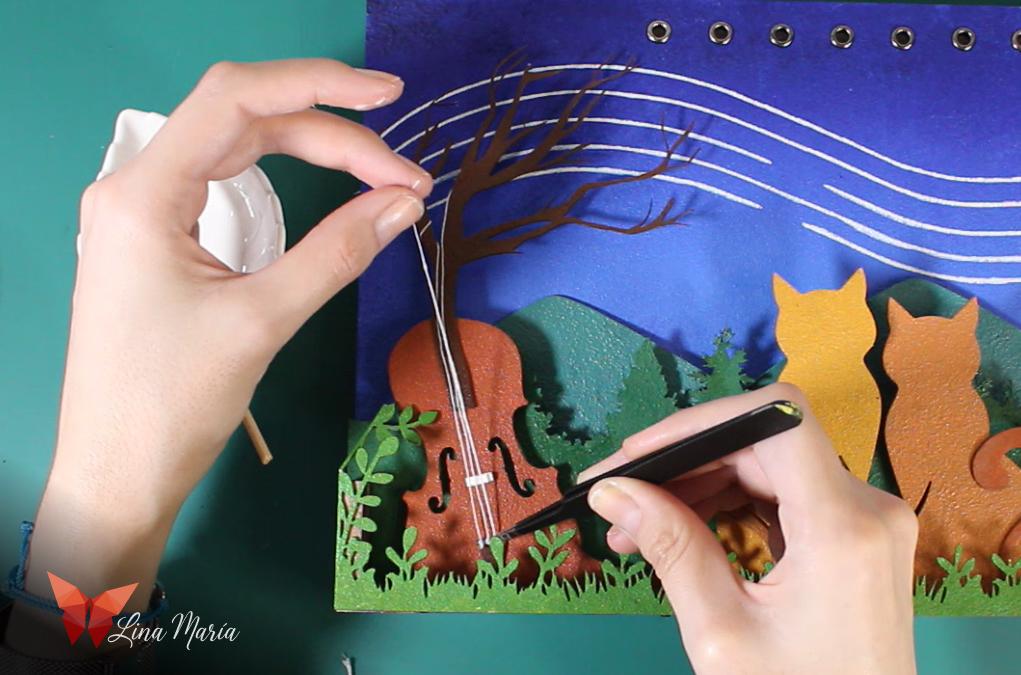
I added a small piece to simulate the bridge and glued white threads as strings after dipping them in glue.
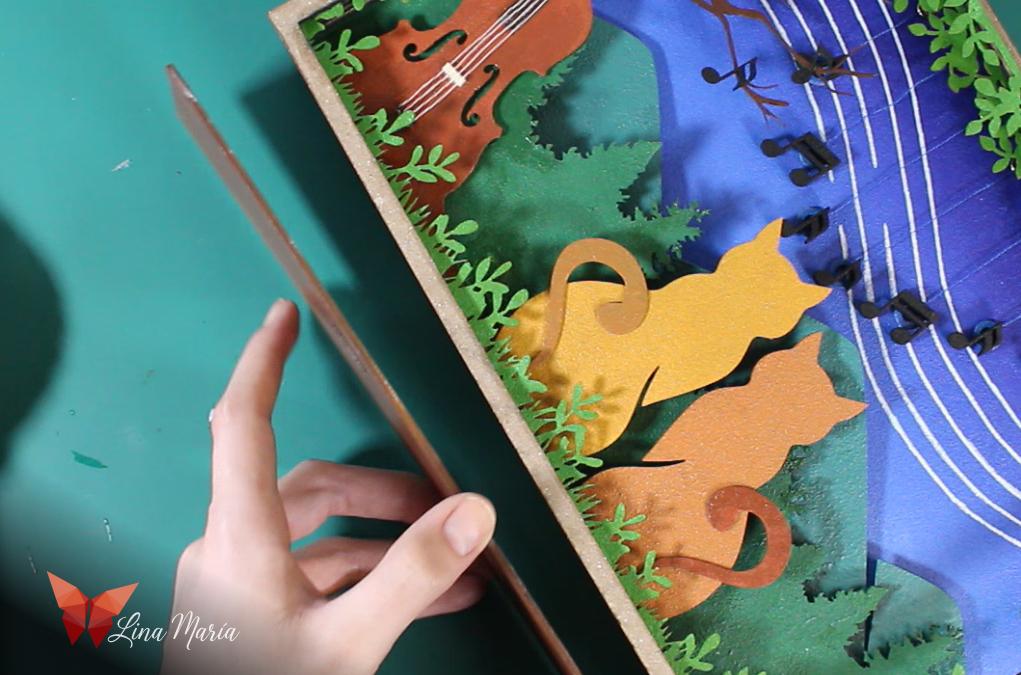
🎵 Painting the Musical Notes
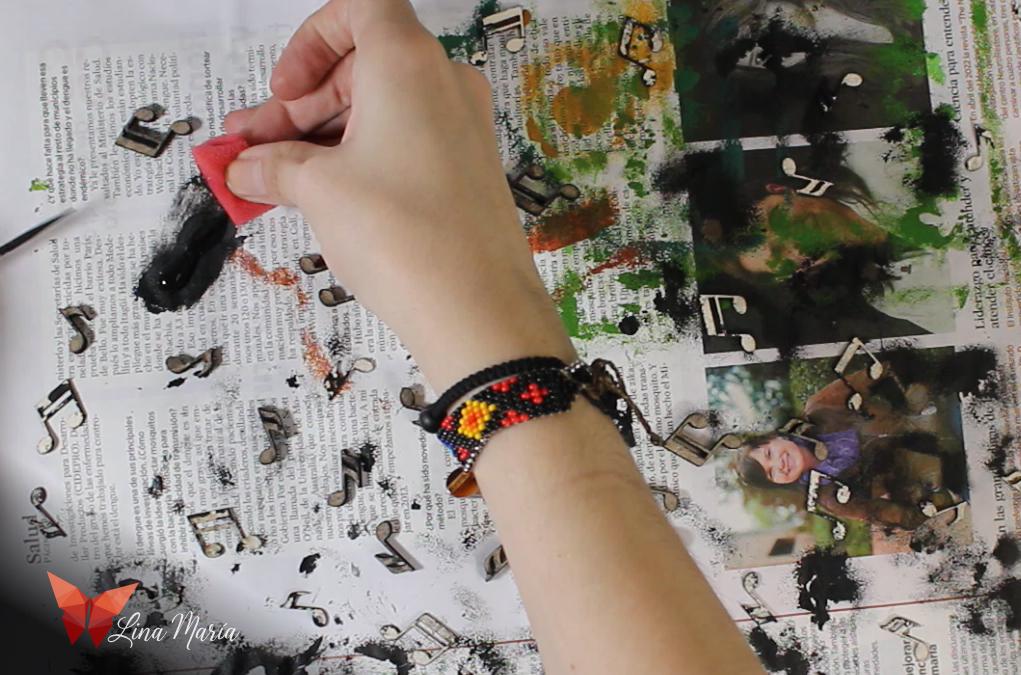
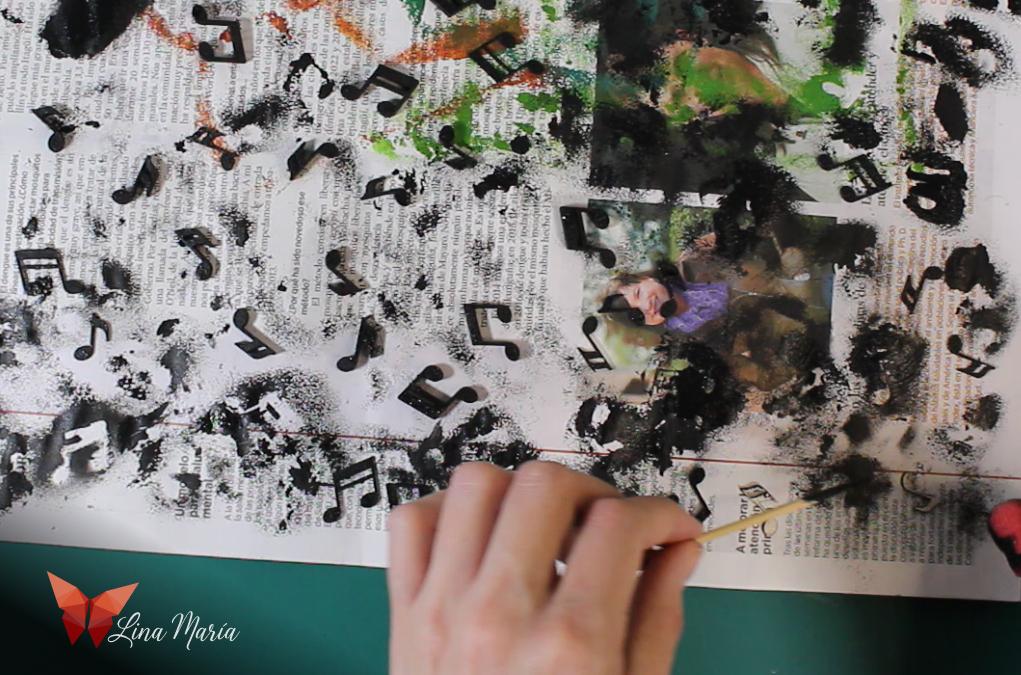
I sponged black paint onto the musical notes.
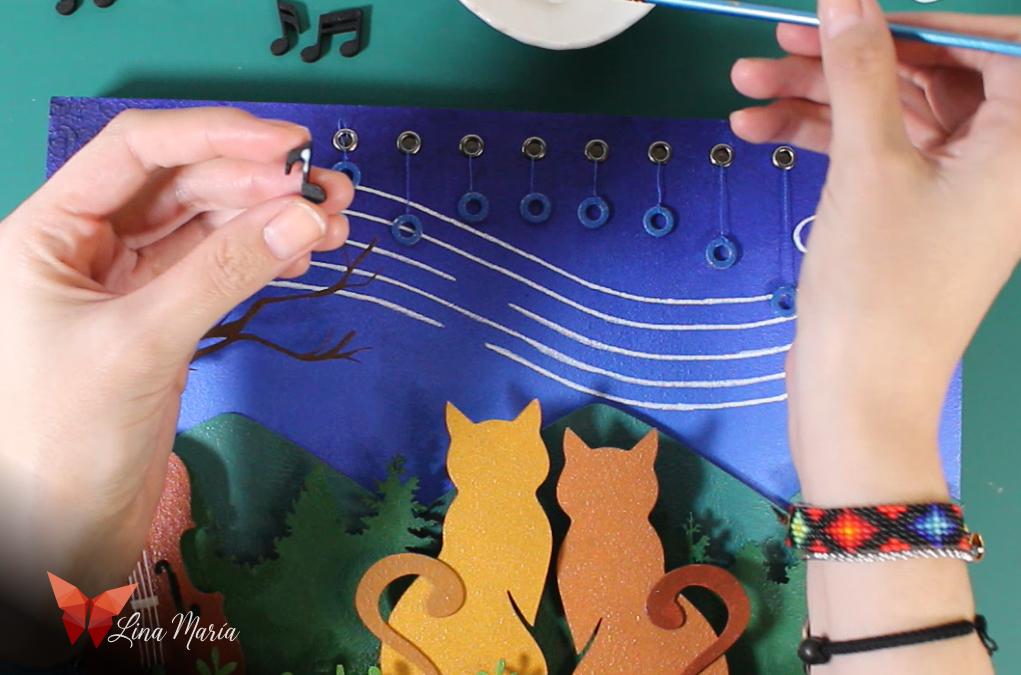
Adding Weight to Notes
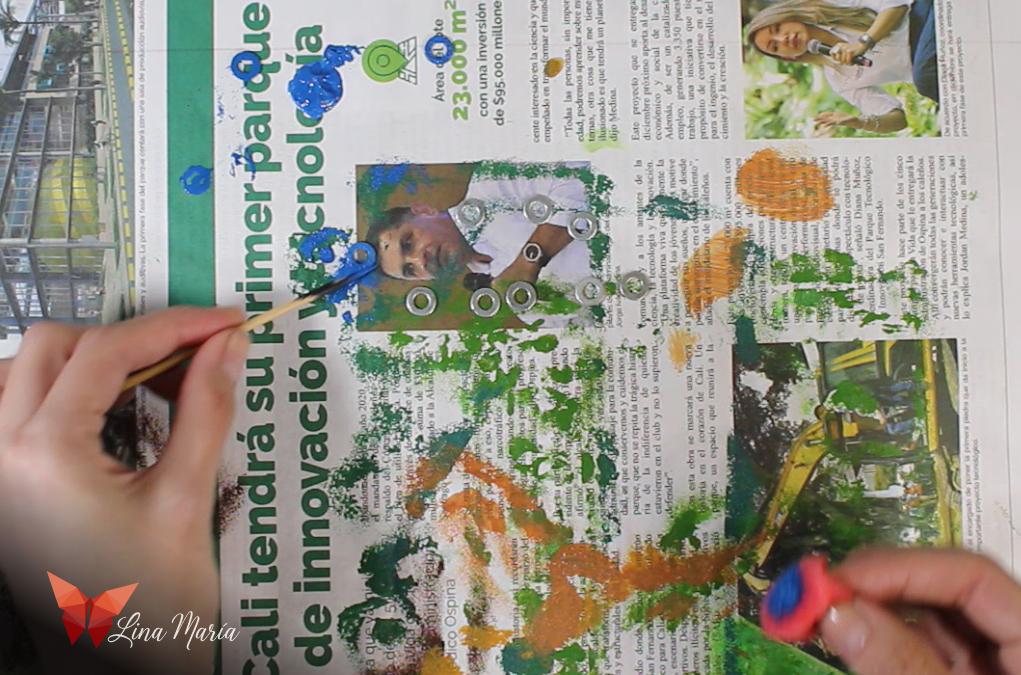

I painted small iron washers blue to blend with the sky and used them to add weight for proper motion.
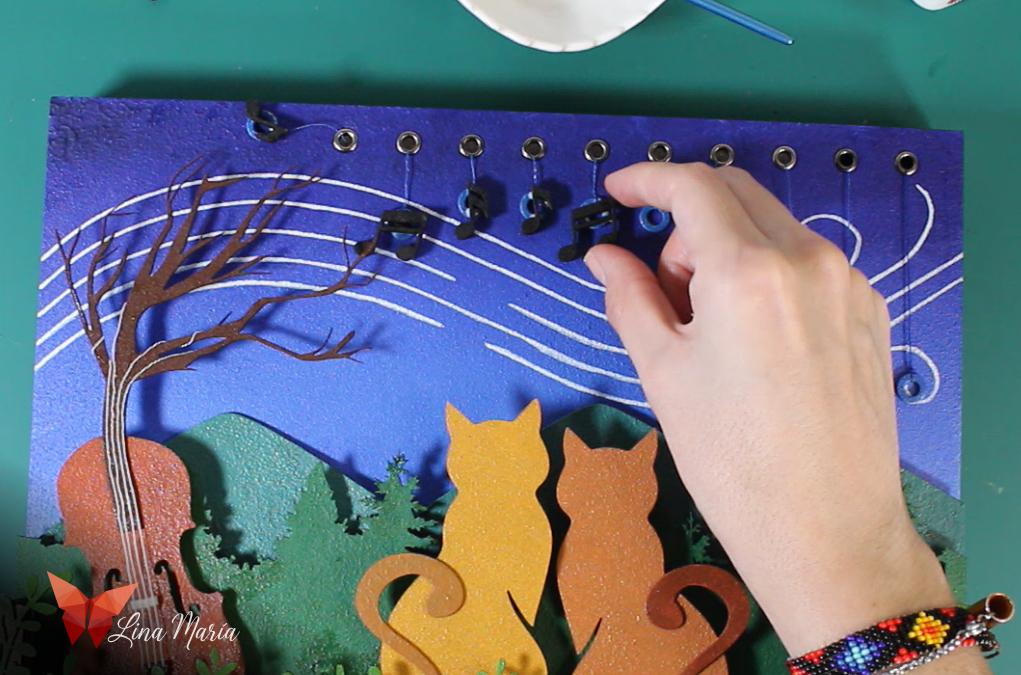
🧵Threading the Notes
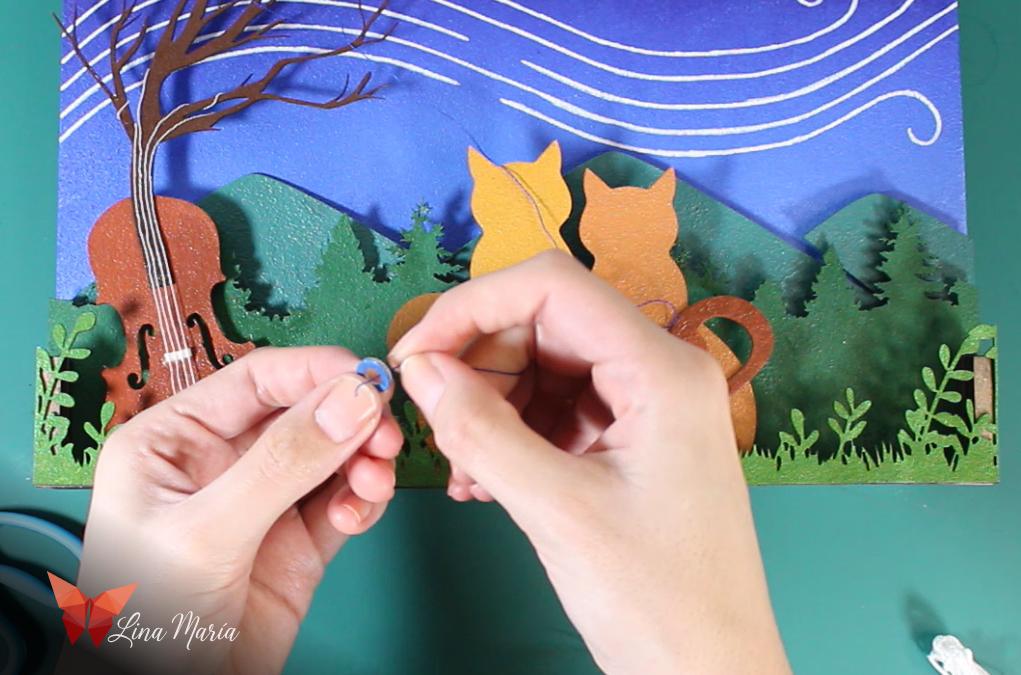
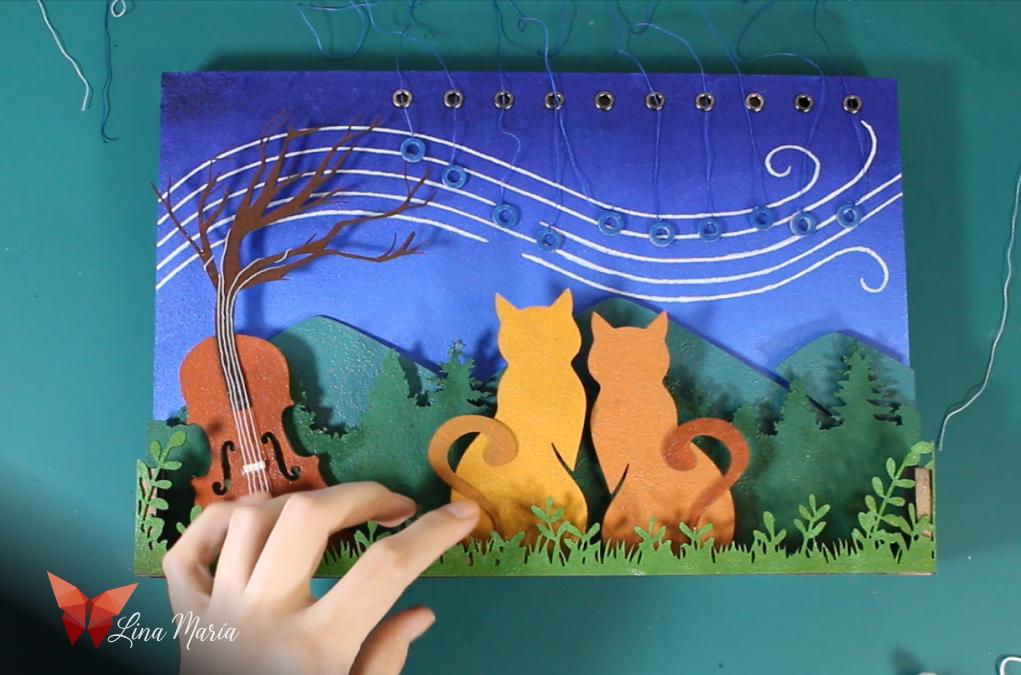
I took pairs of washers and tied them together using a thread. Then, I passed each thread through one of the top holes on the sky layer (where I had installed the eyelets), and continued threading it through one of the smaller holes surrounding the large central circle on the next layer.
Tying All Threads to the Ring
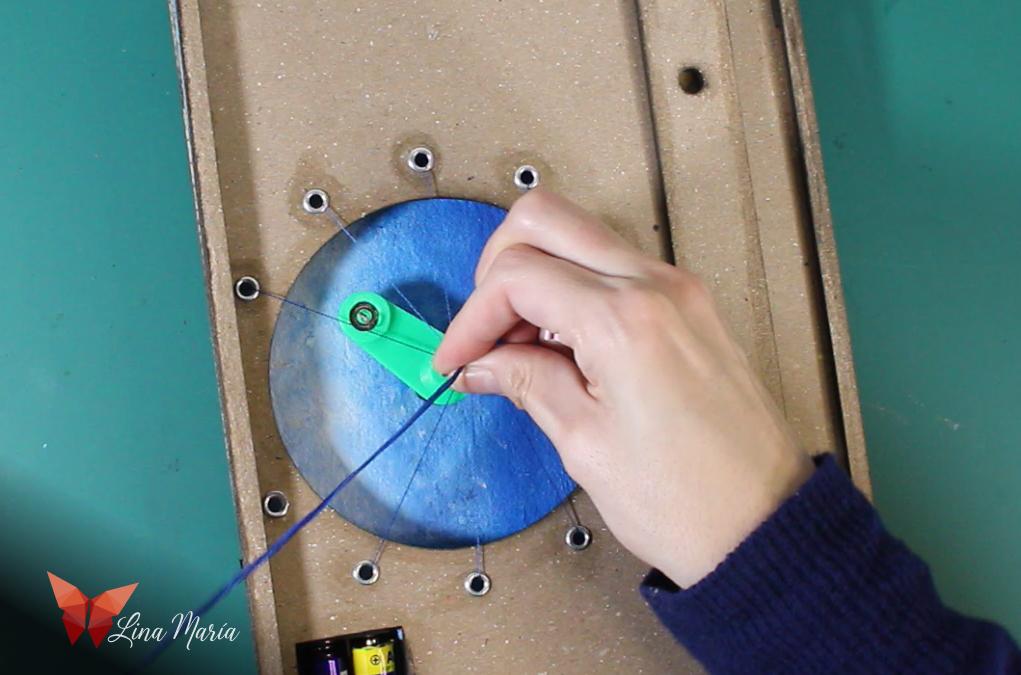
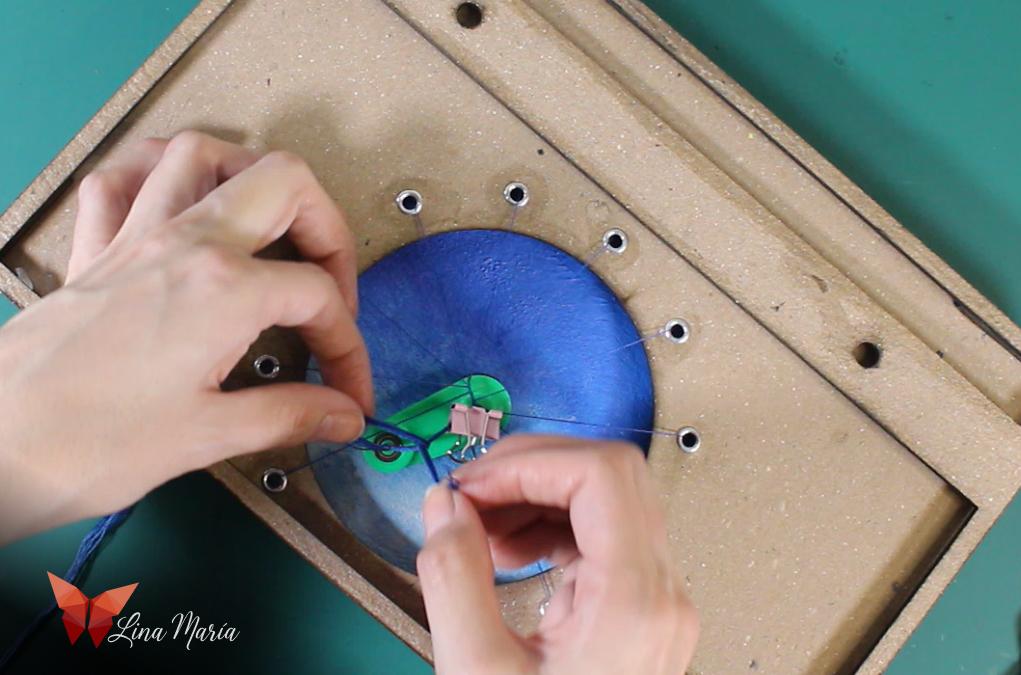
I pulled all the threads tight so that the washers sat snugly against the eyelets on the sky layer. With the threads grouped together, I found the central point where they all met naturally. To that distance, I added the space between the motor’s axis and the loop on the bearing. That gave me the exact spot where I needed to tie a knot, securing all the threads tightly to the metal loop I had embedded in the small 3D-printed piece inside the bearing.
✅ Motion Test


I turned on the motor... and it worked! The washers moved in a beautiful wave as imagined.
🎶 Touches With Notes

I glued the musical notes onto the washers and also some onto the branches.
🎥 Watching the Notes Dance!

Finishing Upper Layers
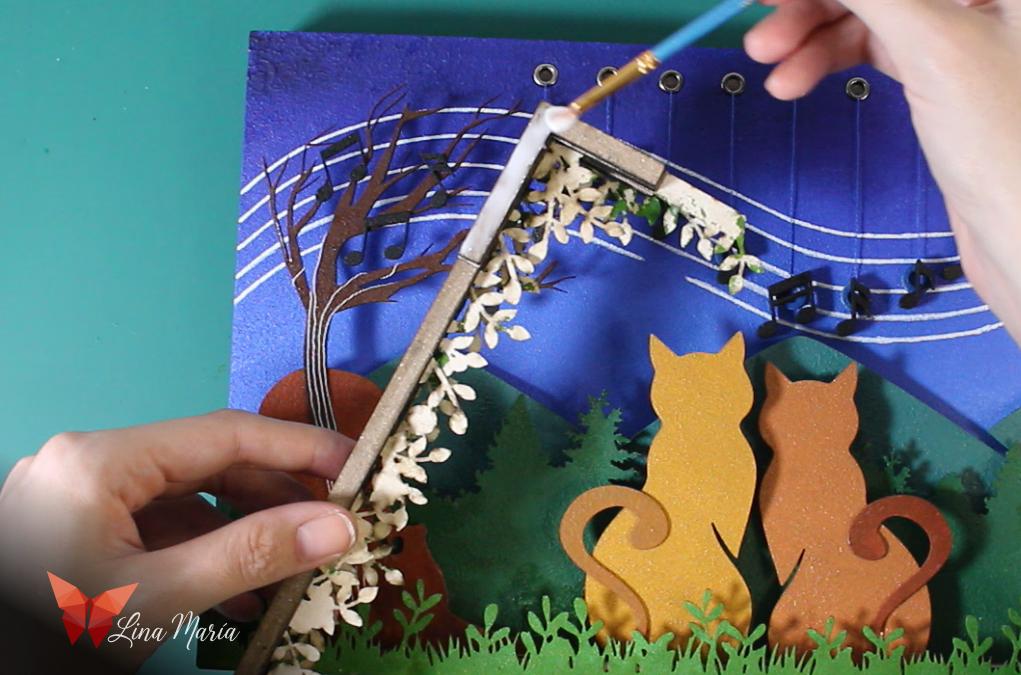
I glued the remaining top layers.
🖼️ Designing the Frame
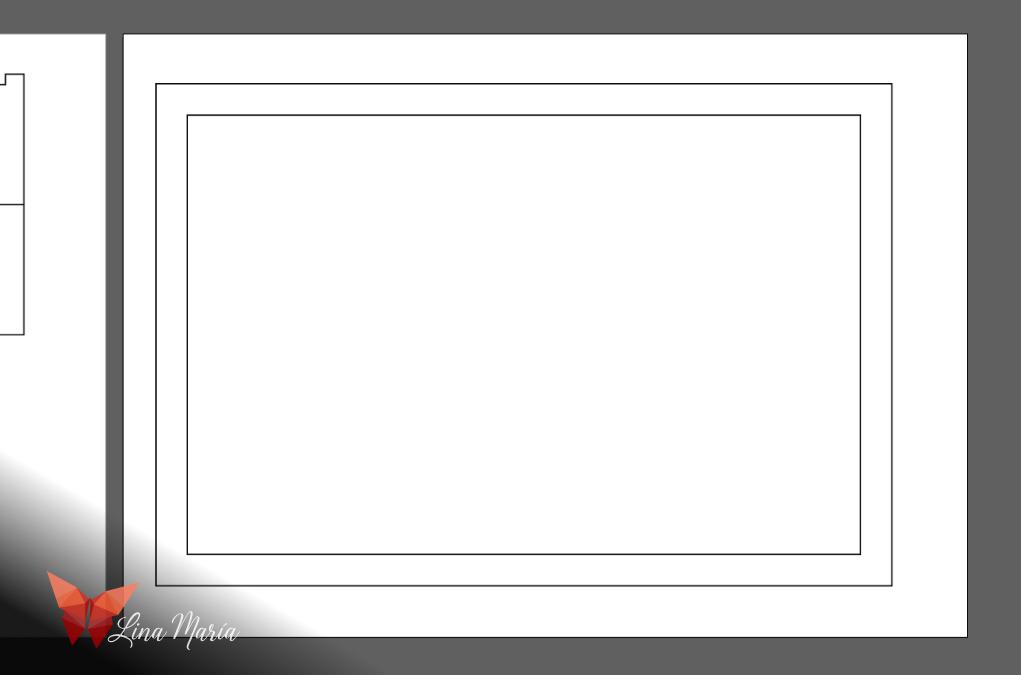
I measured the final depth and designed the frame in Illustrator, accounting for a front acrylic slot and a bottom switch hole.
🎨 Painting the Frame
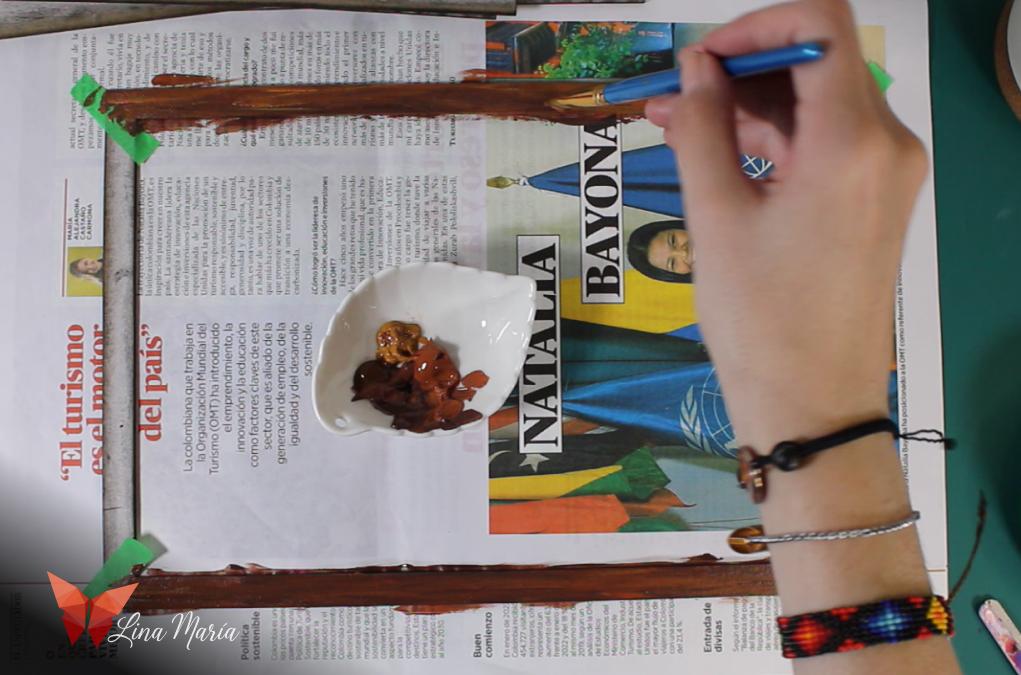
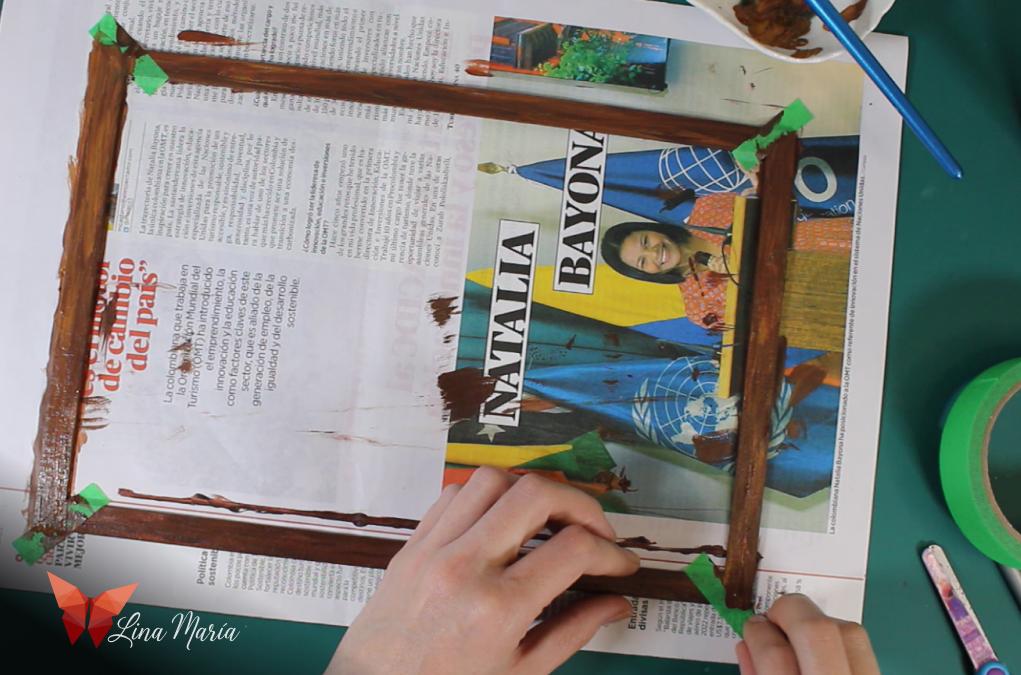
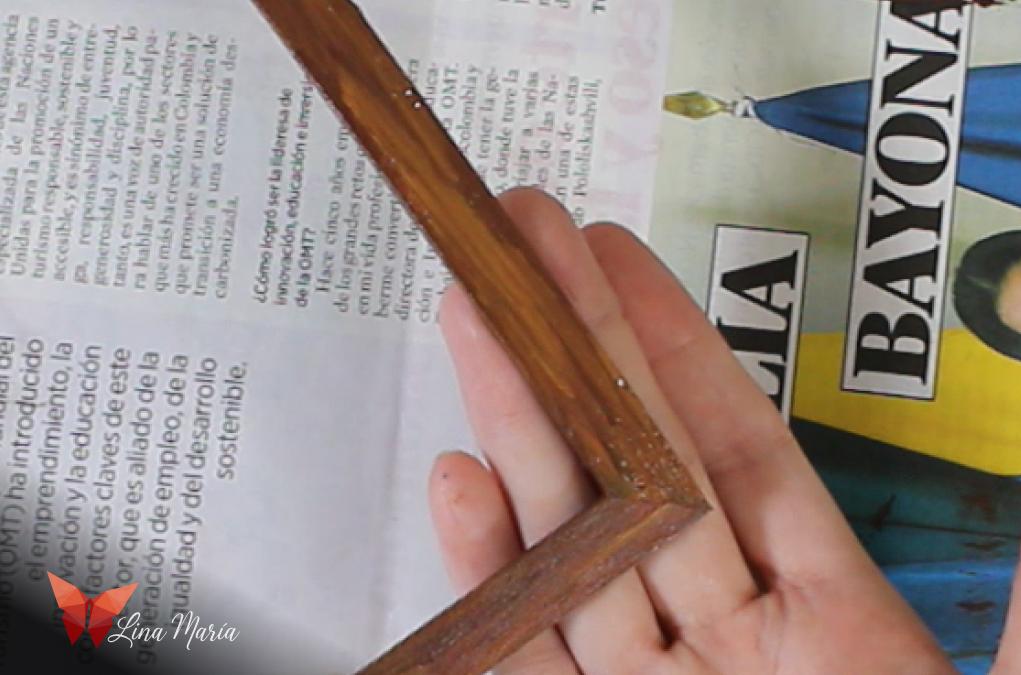
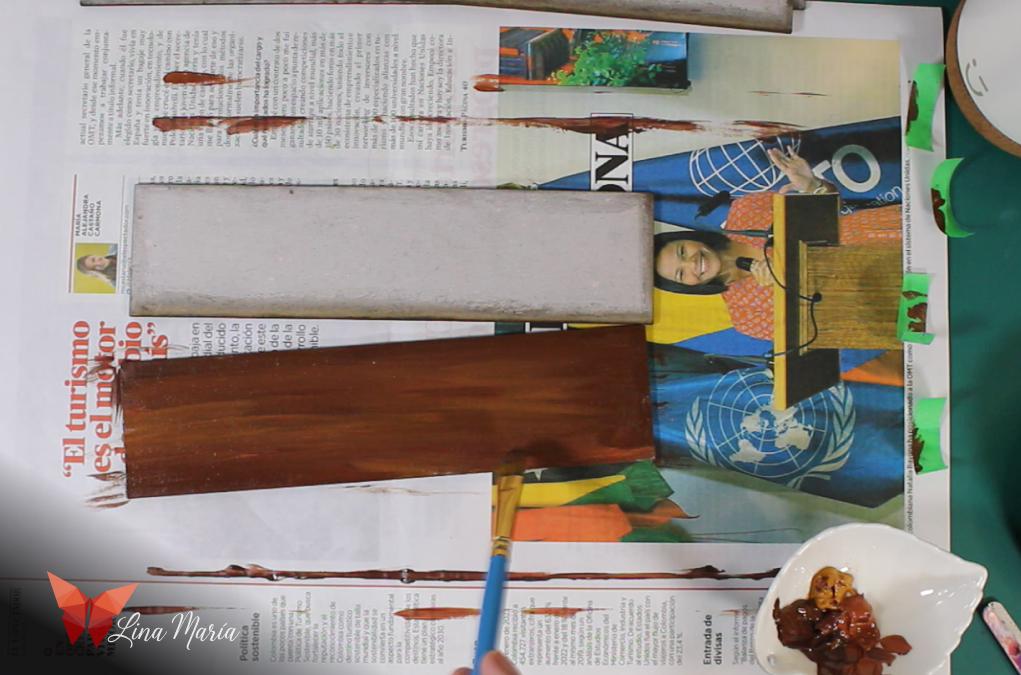
I painted it with various brown tones using a brush for a wood-like texture.
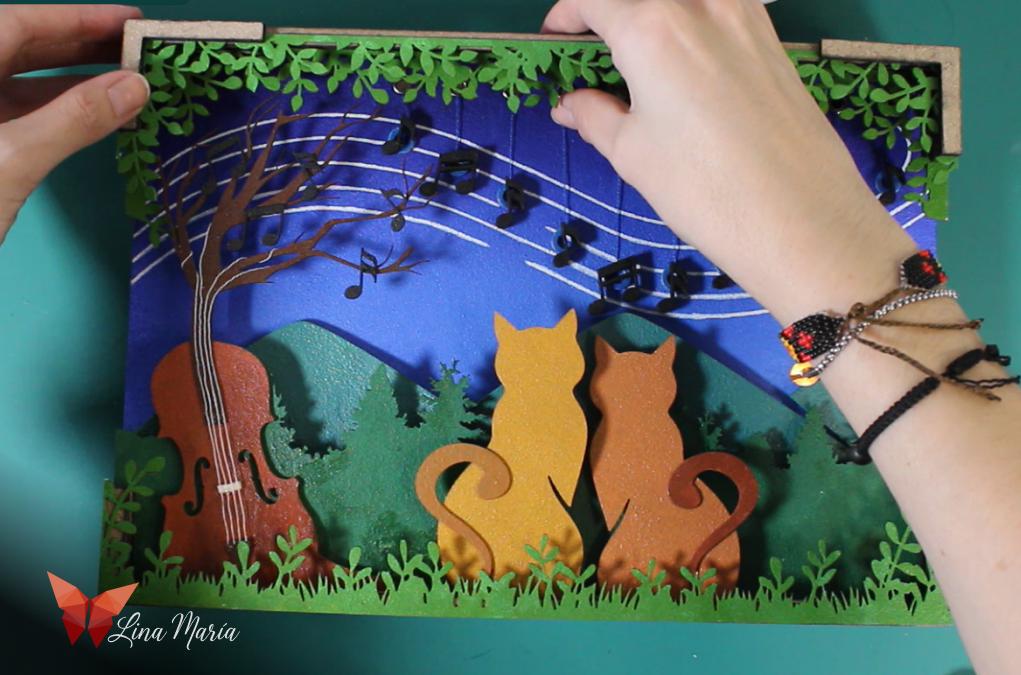
Assembling the Frame
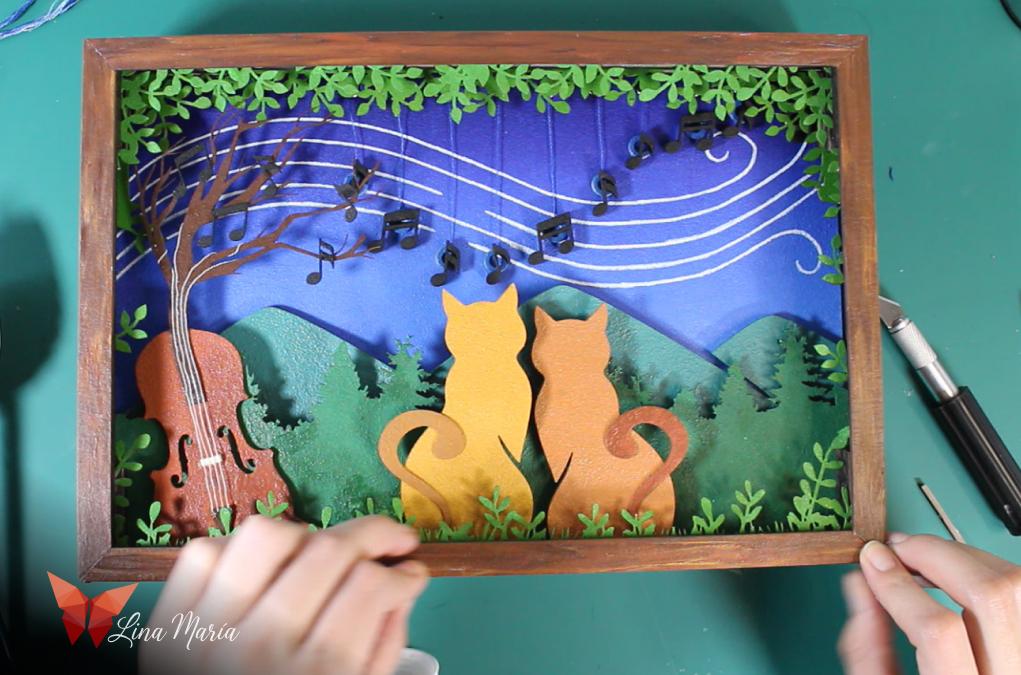
I glued the sides and front frame pieces.
Inserting the Acrylic
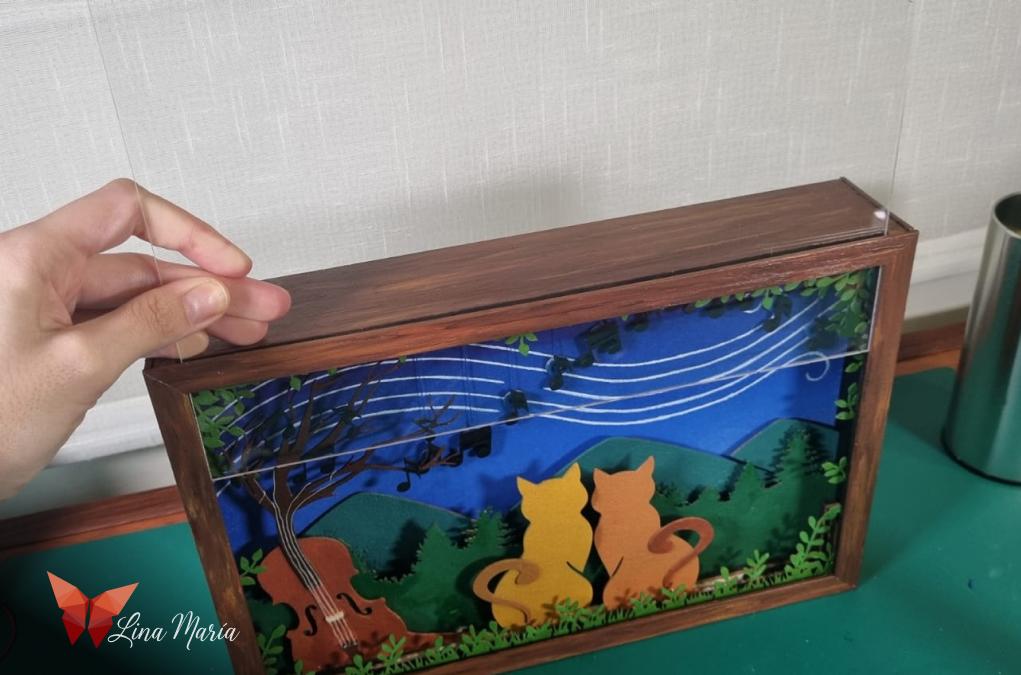
I slid the acrylic panel into the front slot for protection.
🎉 Display It Anywhere!
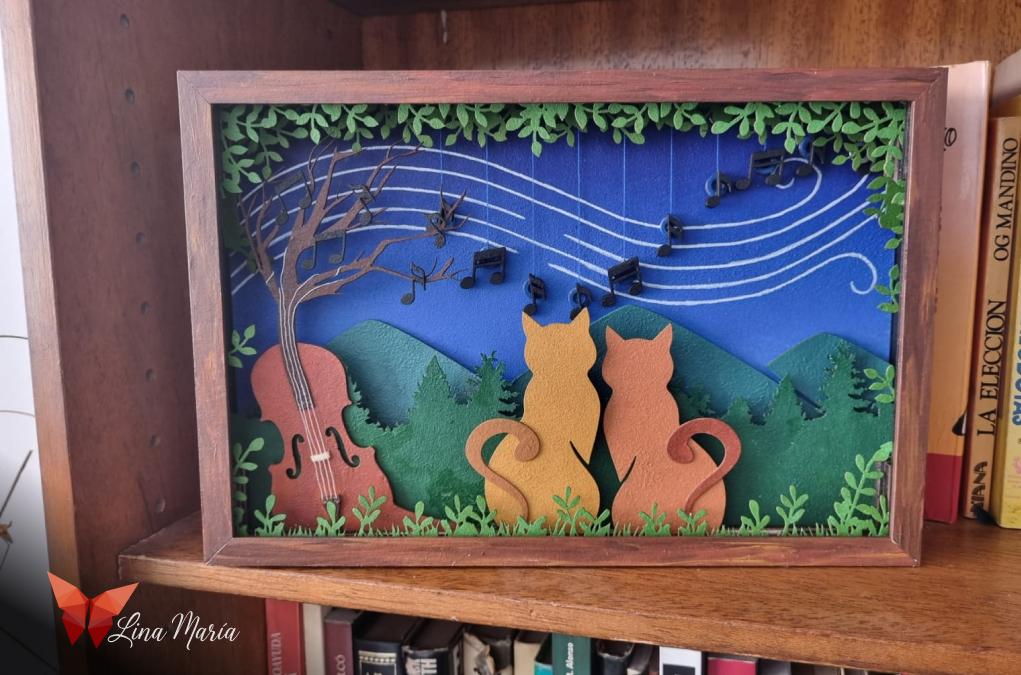
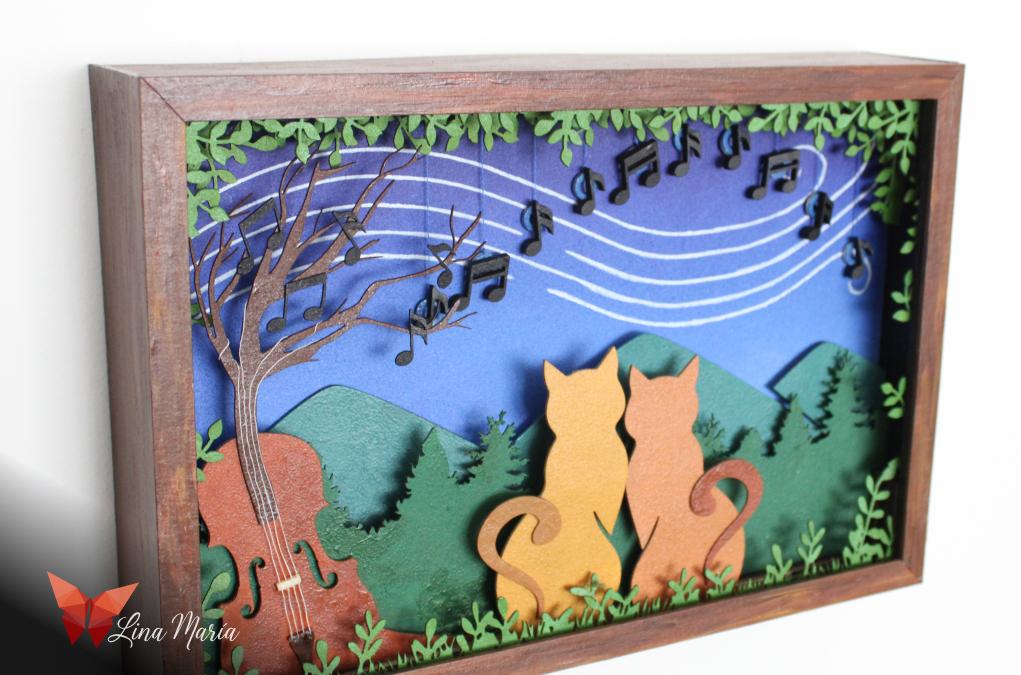
And it’s ready! You can display it on a table, shelf, or hang it on the wall.
Happy making!
