Merry GIF-mas a Christmas Ornament
by mars91 in Circuits > Microcontrollers
1047 Views, 19 Favorites, 0 Comments
Merry GIF-mas a Christmas Ornament

.jpeg)
A customizable Christmas ornament that plays GIFs! This ornament plays a jingle, shows family photos, and plays holiday GIFs. I made a few for family presents this year and was surprised at how much my family liked it, especially when I used their own pictures.
Supplies


For one ornament
- Adafruit QT Py ESP32-S2
- Adafruit microSD Card BFF Add-On
- Adafruit MiniBoost 5V
- micro SD Card
- 1.28 Inch TFT LCD Display Module Round RGB 240 * 240 GC9A01
- 10k and 4.7k Resistor
- 2N3904 NPN Transistor
- Passive Electronic Buzzer (Passive Buzzer will play a melody)
- Mini Micro Slide
- CR123A 3V Lithium Battery
- CR123A Battery Holder with PCB Solder Mounting
- 2 pin Momentary Push Button Switch
Animations and the SD Card


.jpeg)


Hardware
We need four items to play GIFs. The microprocessor(Adafruit qt esp32), the microSD add-on, the SD card, and the screen(tft GC9A01).
You can set this up on a breadboard first if you'd like.
The Adafruit microSD Card BFF Add-On has a specific alignment with the Adafruit QT Py ESP32-S2. Adafruit has kindly added silk screen instructions on the microSD add-on chip to help. On the microSD add-on make sure the silkscreen usb arrow is pointed to the usb side of the Adafruit QT Py ESP32-S2. Second, align the pins so if you firmly stacked the esp32 on top, the microSD slot and card would still be accessible on the bottom. Adafruit’s great tutorial. For my final version, I soldered the microSD add-on to the bottom of my esp32.
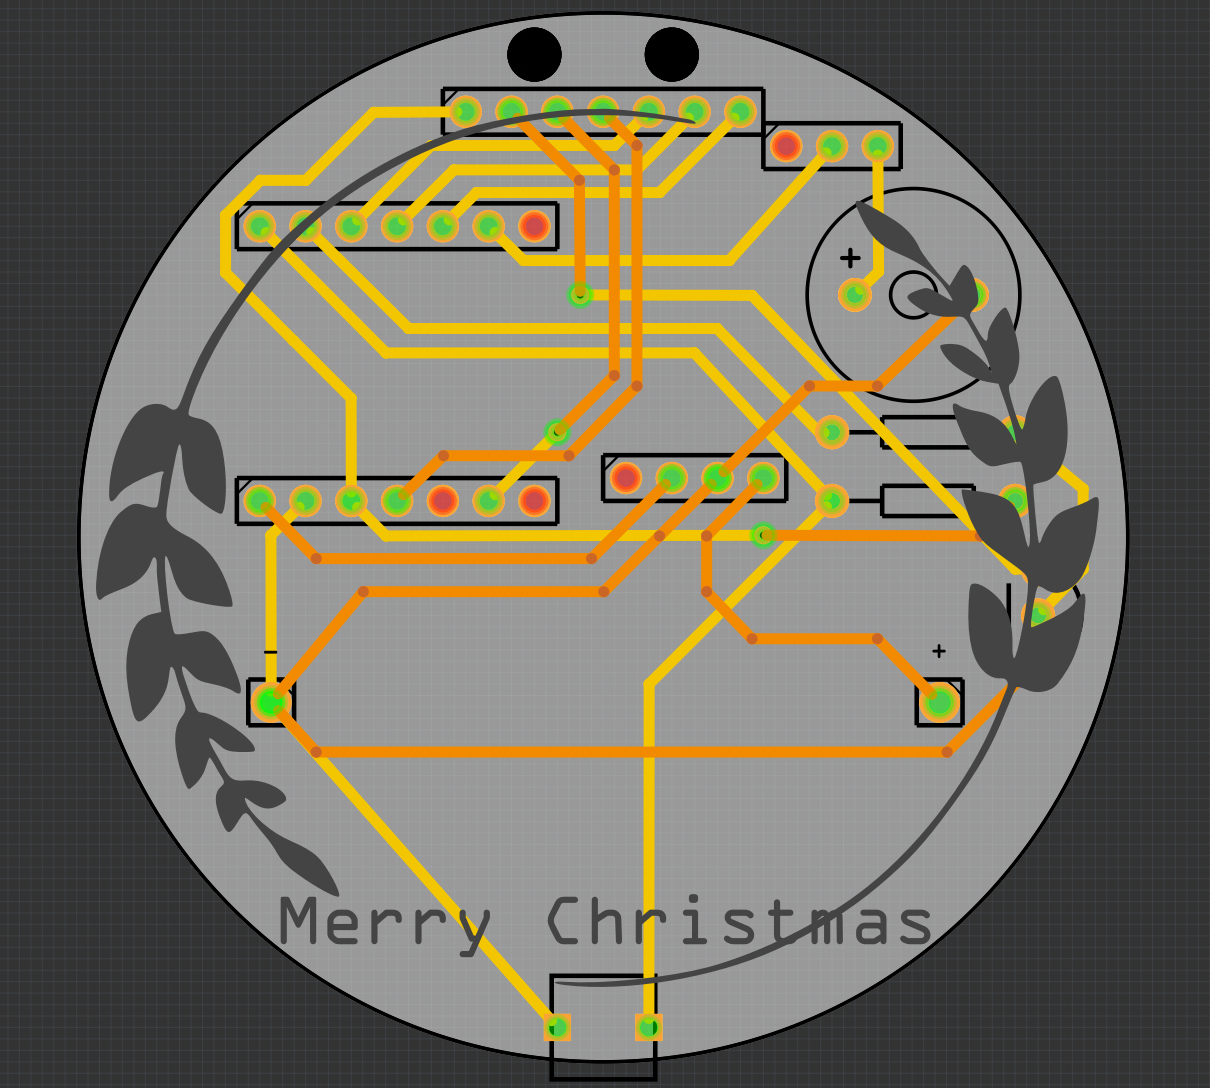
From the code and PCB below, the screen wiring is:
- screen 3.3v --> esp32 3.3v
- screen ground (for now) --> esp32 gnd
- screen SDA --> esp32 M0
- screen SCL --> esp32 SCK
- screen DC --> esp32 A2
- screen CS --> esp32 A3
- screen RST --> esp32 SDA
The 1.28 Inch TFT Round GC9A01 has seven pins. The screen's 3.3 volts comes from the esp32. For now, ground can go to ground (more on this below). The tft screen's SDA pin will go to esp32's MO pin and the tft screen's SCL pin will go to the esp32's SCK pin. These are the most important pins because they use the chip's high speed SPI (Serial Peripheral Interface) communication to quickly fill up the screen with correct pixels!
Code
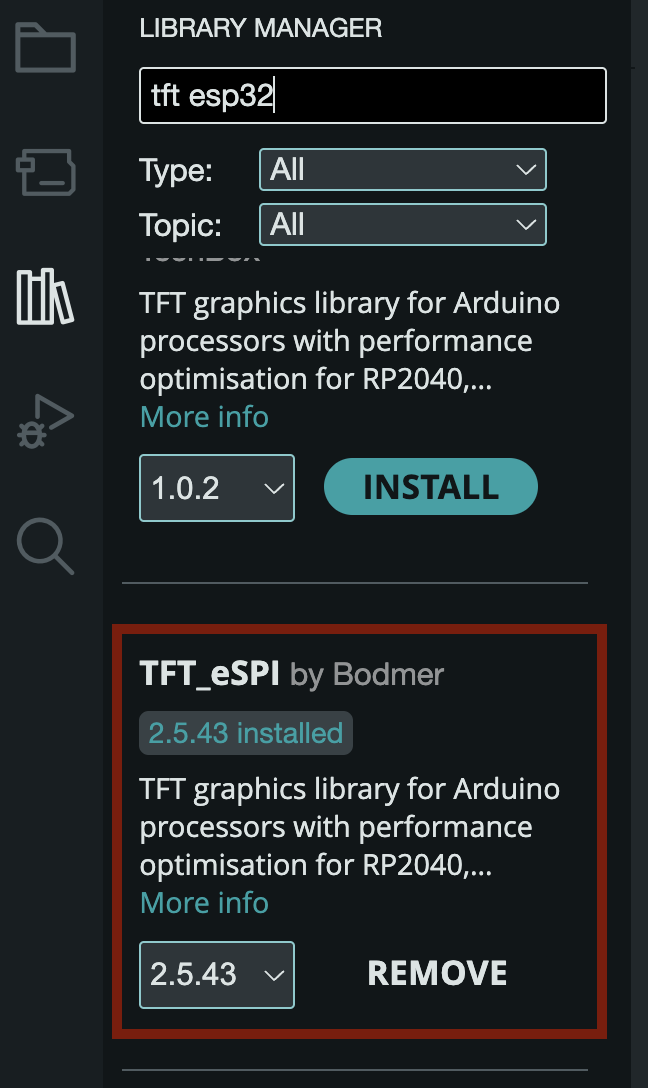
We'll be using the great tft esp32 graphics library https://github.com/Bodmer/TFT_eSPI. This can be added to your arduino environment from the manage libraries drop down.
This is a great library but I'll be honest, it took me a while to figure out. In order to use this library for this set-up:
- Go to User_Setup_Select.h and uncomment #include <User_Setups/Setup200_GC9A01.h>
- In User_Setup.h uncomment #define GC9A01_DRIVER and comment out the original driver
- Go to Setup200_GC9A01.h to define the SPI pins like this
These are the gpio number pins for the Adafruit QT Py ESP32-S2 that the arduino code expects. Here is a diagram provided by Adafruit.
Now you should be able to play some of the awesome examples from the TFT_eSPI library with the fast esp32!
I'll also include the TFT_eSPI files I have on my computer when I programmed the chip incase I missed something.
Creating Arduino GIFs


We need to turn frames or images into c arrays. The c array is what the chip uses to color and assign each pixel. This is also why we need a SD card since these c arrays take up a lot of memory. My first instinct was to use this great website https://notisrac.github.io/FileToCArray/ to create the GIF frames into c arrays. I did end up using this site at first. Look at the attached picture to set up the c array.
It was taking a lot of time and was boring to go thru each frame of a GIF and save it using the site. So what did I do? I spent probably the same amount of time writing some python code to do it for me. This code did help stop careless mistakes and is a lot less boring. I pushed a version of this code to my GitHub:
https://github.com/chrismars91/gif2c/tree/main
lmk if something doesn't work.
In main.py you'll see this example. This will take the classic `that's so fetch` GIF from Mean Girls located at GIFS/IMG_5776.GIF, create a folder called `tsf`, set the longest side of each frame to 200 pixels, and save each frame in the correct format.
Setting the longest side to 200 pixels is important because our screen is only 240 pixels at its max. But you can vary any of these parameters.
Also using a short project_name is required. We'll be using the SdFat.h arduino library and it can only read files with a short name. Why only short names? Idk but we are using boards the size of a fingernail to quickly write 57,600 pixels over and over so some things you just accept. For example, if you named the project thats_so_fetch_gif it would most likely not work.
Ornament Hardware
.jpeg)


.jpeg)
The ornament hardware is pretty much some fluff added to our existing esp32 GIF player.
Deep Sleep
We want our ornament to be cordless and last as long as possible on one battery. So in the arduino code, it will play the GIFs twice, along with some buzzer music, then the chip will enter a deep sleep where it uses an extremely small amount of current. To awaken the chip, a button is used. This is all easily done with the esp32 chip.
Battery Powered
I've been experimenting with the best way to portably power my circuits. This is the first time I've used this so I'm hoping it's at least ok. A 3V CR123A Lithium Battery (yes they are kinda expensive) will be boosted to 5 volts using the Adafruit MiniBoost 5V. The esp32 chip can be powered by suppling 5 volts to its 5v pin and by connecting the battery or Adafruit MiniBoost 5V Gnd to the chip's Gnd.
Adafruit also has great 3+ volt lithium rechargeable batteries and Q T attachment that I'm sure could be used.
I did test the current pull on this circuit and it does, at times, pull over 100 mA.
Turning the Screen Off
Why couldn't this great cheap tft screen have a backlight pin - A pin to turn off the backlight to save power. Oh well, my solution was to use a npn transistor to disconnect the screen's ground wire. Again this is something I'm experimenting with so I'd like to know other ways to accomplish this. Pretty much the transistor will only let the screen's ground make a complete path if the esp32 gpio A1 pin allows it. The chip will turn off the transistor right before it enters deep sleep, turning off the screen.
PCB
the fritzing file is attached below.
The PCB can be ordered from here.
https://www.pcbway.com/project/shareproject/W775378ASH55_ornament_deepsleep_v2_58_4_bfe697cc.html
Downloads
The Code


The code does a few things.
- Plays a Christmas Jingle as a background task. Why a background task? The GIF player function uses a delay (how awesome is that this setup plays the GIFs so fast we need a delay) but the Christmas jingle also uses a delay. Arduino delay code will delay all operations so it's easy to see how these independent delays will conflict. However, the esp32 once again shows why it's an amazing chip and lets us avoid this issue by playing the jingle as a background task.
- Deep Sleep. The esp32 makes this easy. The chip awakens from a button click.
- TFT screen. Uses the https://github.com/Bodmer/TFT_eSPI library.
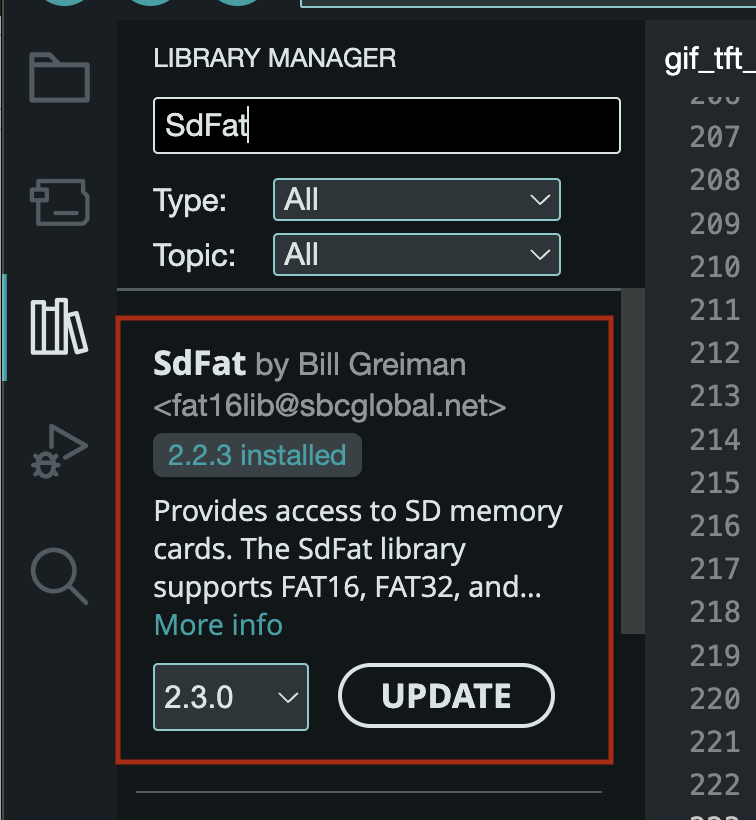
- SD card reader. Uses the SdFat.h Arduino library also found in the library manager. You may need to format your SD card to FAT32 using online tools like https://www.sdcard.org/downloads/formatter.
- C++ Functions. animate_gif function will call the displayImageFromSD and play the GIFs! Functions are defined below:
Running the python code conveniently prints out the array of pointers needed in the arduino C++ code. See attached image.
the line
holds the background images behind every GIF. In the python code gif2c.py the function img_to_h will create a background c array image.
Finale

.jpeg)
Get the PCB board (if you want), solder the components or use a breadboard, add family photos, and watch your esp32 play some holiday GIFs. Thanks for checking out my instructables!