Mesmerizing Animations in Scratch
by DA_BRINK in Teachers > Coding
3922 Views, 9 Favorites, 0 Comments
Mesmerizing Animations in Scratch

Scratch is a social coding platform that helps people not familiar with coding to get started in the world of JavaScript. Scratch uses simple code blocks to represent lines of code. The user can stack the blocks onto each other to make really anything they want.
The project options are limitless. . .
In this instructable, I'll be showing you how to create colorful looping animations. We'll go through the topics of clones, variables, interactive projects, and vector graphics.
In each step, I'll try to explain how it works as best I can. This way you can learn how the code functions and expand your knowledge to create your own projects without help.
--------------------------------------------------------------------
~HERE'S A LINK TO MY SCRATCH PROJECT~
https://scratch.mit.edu/projects/457524251/
--------------------------------------------------------------------
Create Your First Sprite & Costumes
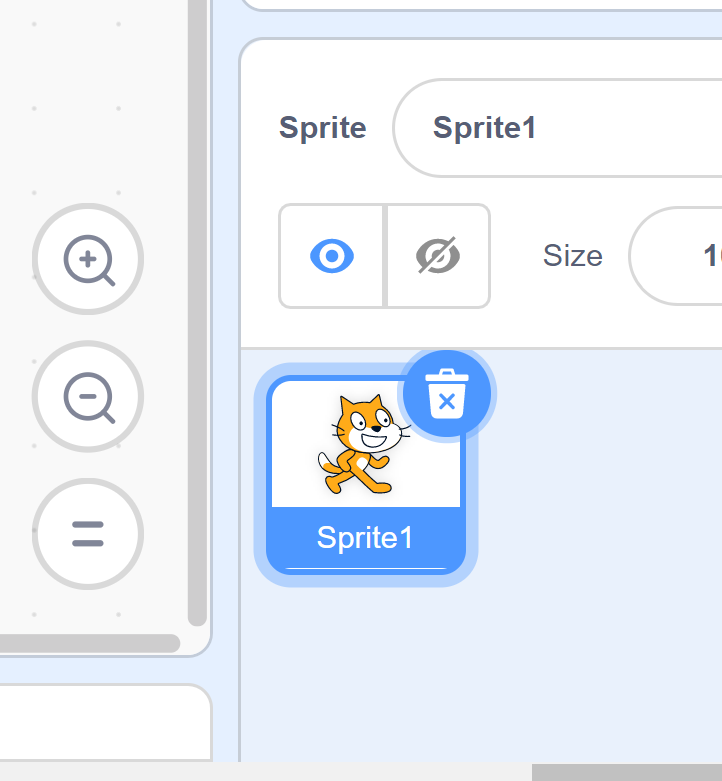


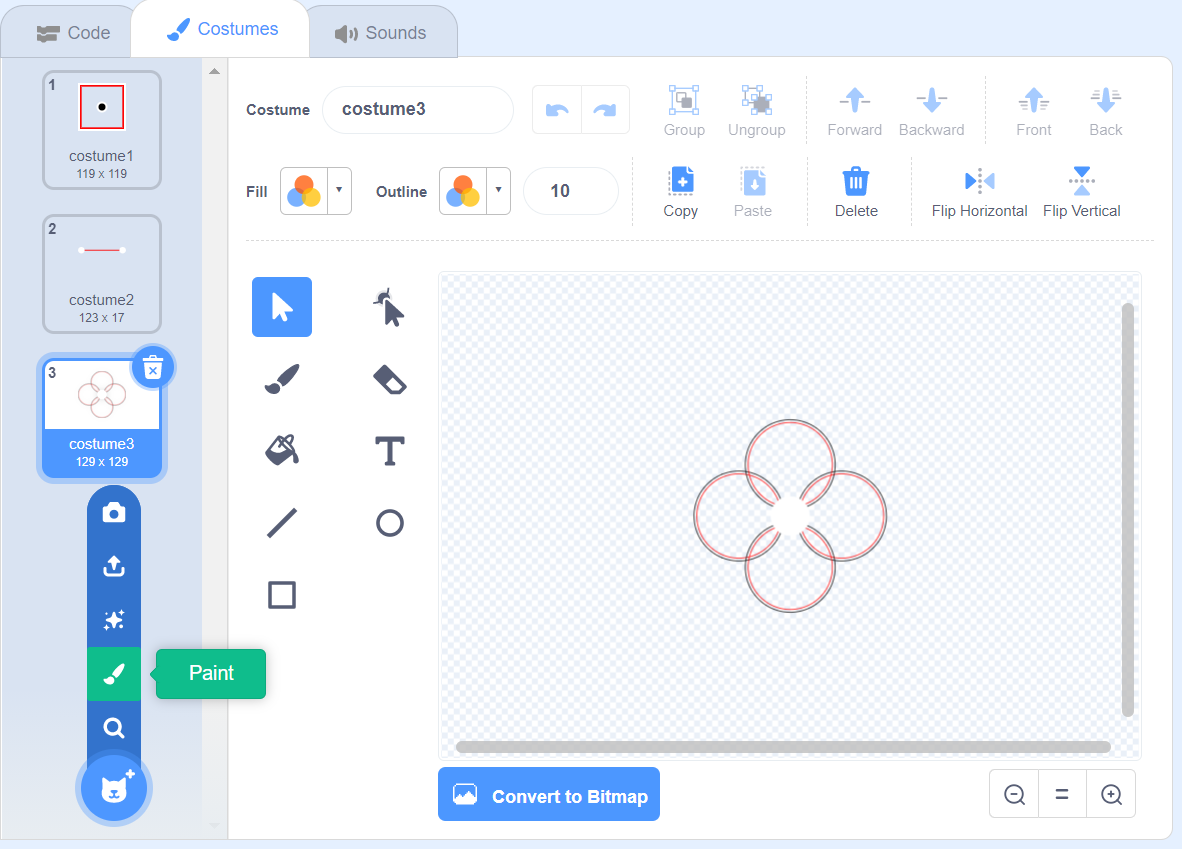
A sprite is what the code acts upon. For example, you could code "turn 15 degrees" and the sprite will turn 15 degrees. A sprite can have multiple costumes which changes how it looks.
The default sprite when you make a new project is a cat. Delete that sprite by clicking on the trashcan next to the icon. (pic. 1)
Next, hover your mouse over the "add sprite" button and click on the paint option. This will bring up a vector graphic editor. (pic. 2)
Now it's time to make your first costume. This can be really anything because it is just used for visibility and you can revise it later. On the left side of the editor, click on the square and then click and drag on the workplane to draw a rectangle. You can hold "shift" to make it a perfect square. You can change up your design however you want just don't make it too big. Click and drag your design and align the cross in the center to the cross on the workplane. You should see your design in the output area on the right. (pic. 3)
Add three more costumes by hovering over the "add costume" button and clicking paint. These costumes can be whatever you want and, of course, can be revised later. They may not look very interesting now, but it will very soon. (pic. 4)
Change the Backdrop

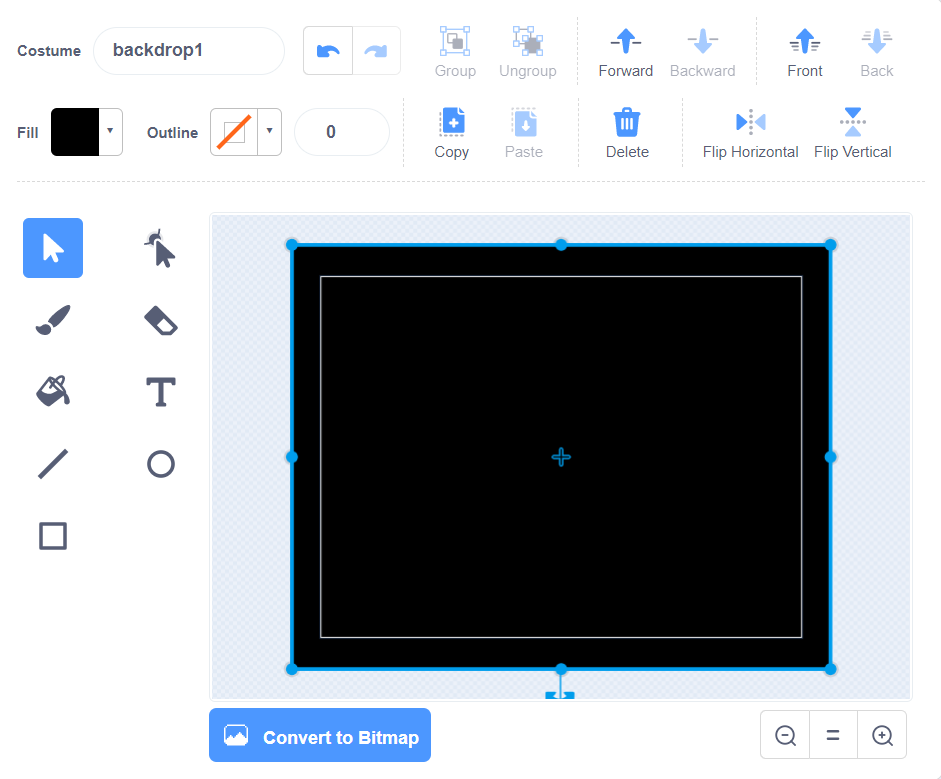
This step is used to change the background of your project.
First, on the bottom right, click on the white rectangle in the stage section. This will bring up a vector graphic editor. (pic. 1)
Click and drag a rectangle to fit over the workplane. If you can't see the full workplane, click on the "-" symbol to zoom out. (pic. 2)
X-Axis Movement


Right now, your "Mesmerizing Animation" is not very mesmerizing. It's just an object with no movement. In this step, you'll code the X-axis movements. (Left and right)
First, click on the code tab on the upper left corner. Each code block has a specific color that corresponds to its section. This makes it easy to navigate around. Grab the three blocks in the picture and stack them like so. This code is just the starting position. (pic. 1)
Now, it's time to make your first variable. A variable is a value that can change and store data such as letters and numbers. On the left tab, click on "variables" and then click "Make a Variable". Name this variable X-Axis Speed. (pic. 2)
Next, using the blocks, make the line of code shown above. This will make the sprite move from side to side and gradually slow down or speed up depending on where it is. The code in the forever block will continue running on forever until stopped manually. (pic. 3)
It may look fine now, but we want it to turn into each movement. Add the blocks of code in the picture into the forever block. This will make it point in a specific direction depending on the X position of the sprite. (pic. 4)
If this doesn't make sense, watch the video above. This should be how your sprite moves.
Clones


In this step, you'll be making the trail. The trail in this animation is made up of clones of the sprite.
First, add a "create clone of myself" block into the bottom of the forever block. (pic. 1)
Next, add these blocks in the picture. The "turn" block turns the clone depending on the X-axis of the sprite. This gives it a cool swirl effect. The "change Y by 2" block makes the clones gradually go up. Notice how they are all surrounded by a "repeat 100" block until being deleted. Changing the number in that block will change how long the trail behind the sprite is. Make sure to add the "delete this clone" block or else they will infinitely spawn and crash your project. (pic. 2)
The video above shows how the clones should look.
All the Variables
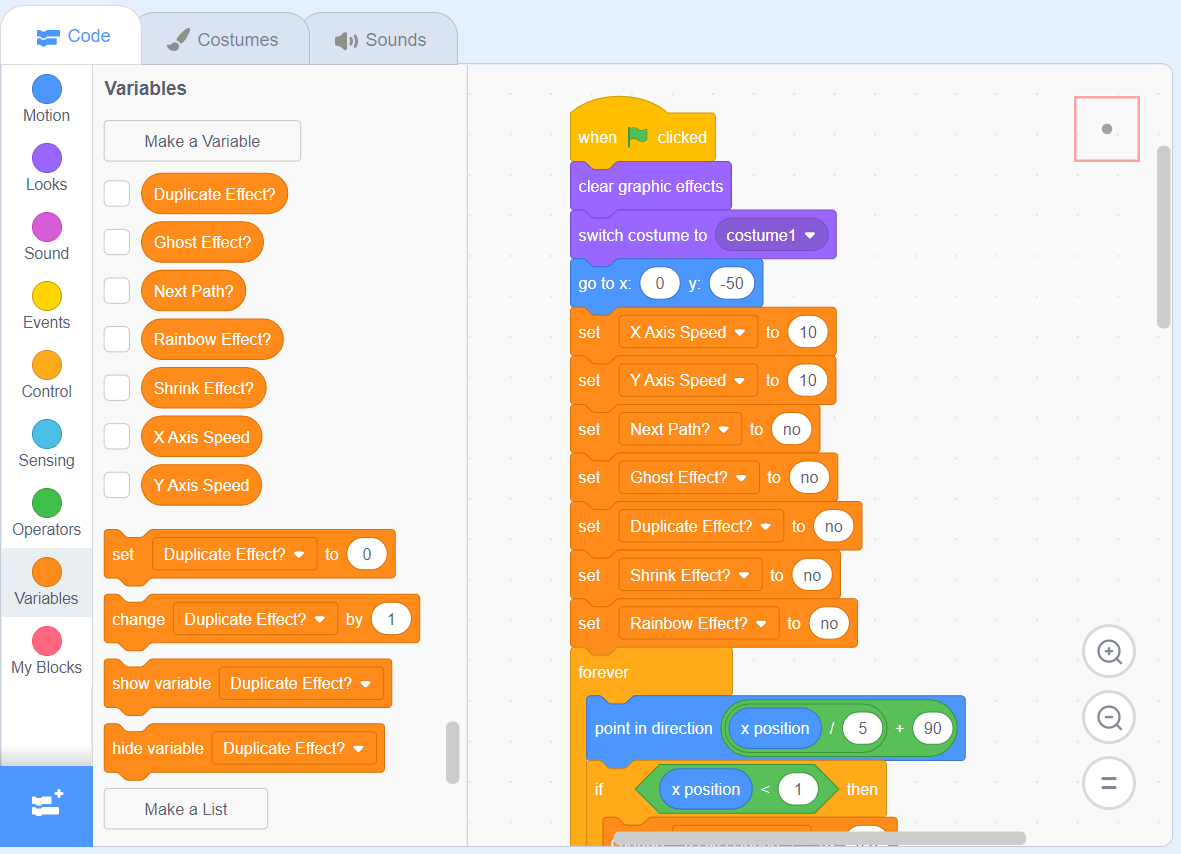
These are all the variables you'll need to make for this project.
First, create all the variables shown on the left side. Then, add the blocks shown in the photo into the movement code. This way whenever you start the project, each of the variables will be set to a specific value and will always start up the same. (pic. 1)
Y-Axis Movement


Right now, the sprite only moves left and right. In this step you'll be able to toggle, making it move up and down.
First, make the code in the photo. This code means if the key "p" is pressed (which stands for path), it will set the variable, "Next Path," to either yes or no. This is how you'll be able to toggle the Y-axis movements. (pic. 1)
Next, make the code in the photo. This next line of code is what actually moves the sprite. It starts off by asking if the "Next Path" variable equals yes. If it does, then continue on with the code below. This code is very similar to the X-axis movements. (pic. 2)
The new path should look like the video above.
Clone Effects
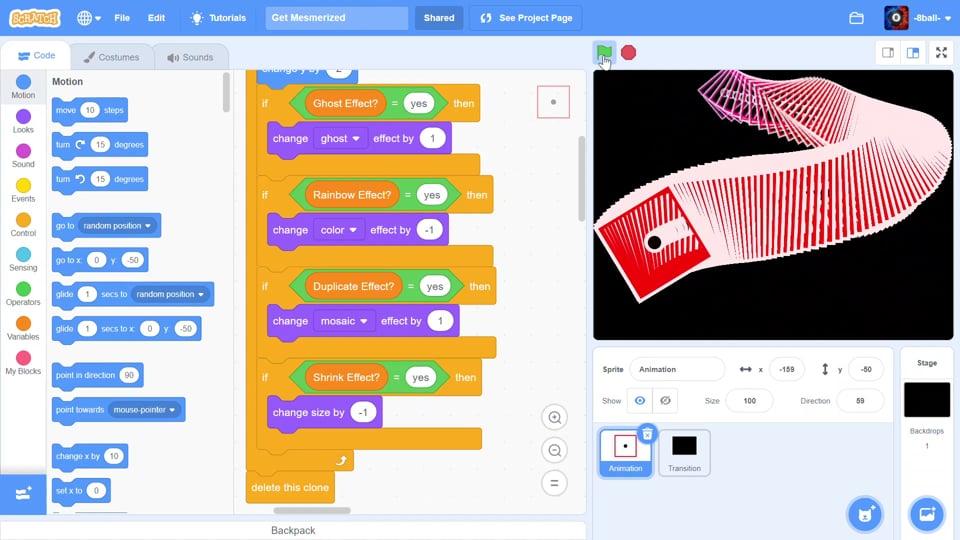

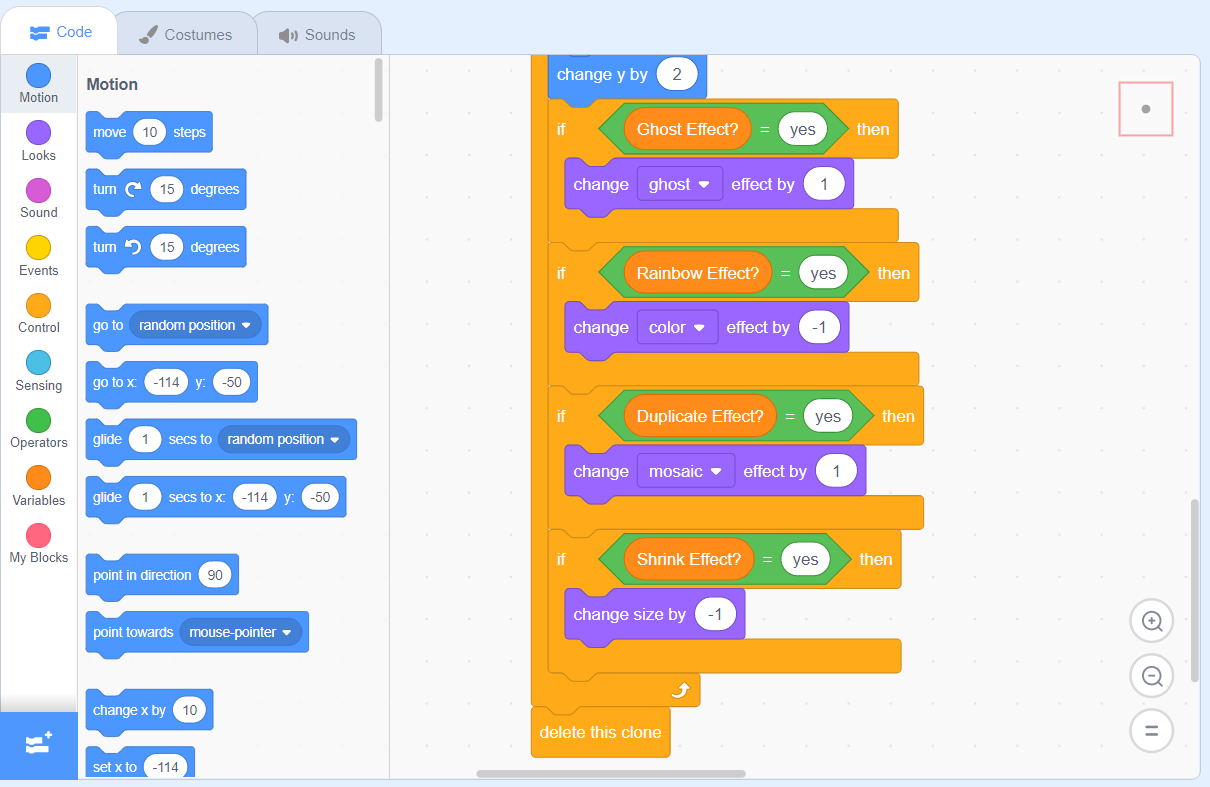
This animation already looks pretty "mesmerizing," but it could be better. In this step, you'll code a way to toggle clone effects on and off.
First, make the code in the photo. It's really just a repeat of the code from the last step so you can simply duplicate it by right clicking the code and pressing duplicate. All the code shown is used to change the variables to either a yes or a no depending on what key you press. (pic. 1)
Next, add the code in the photo into the "repeat 100" block you made for the clones. You can see that all the effect blocks are inside an "if" block. This makes sure they only apply the effects to the clones if the variable equals yes. (pic. 2)
Now, your animation should look like the video above. The effects really do make it more mesmerizing.
Fade Transition


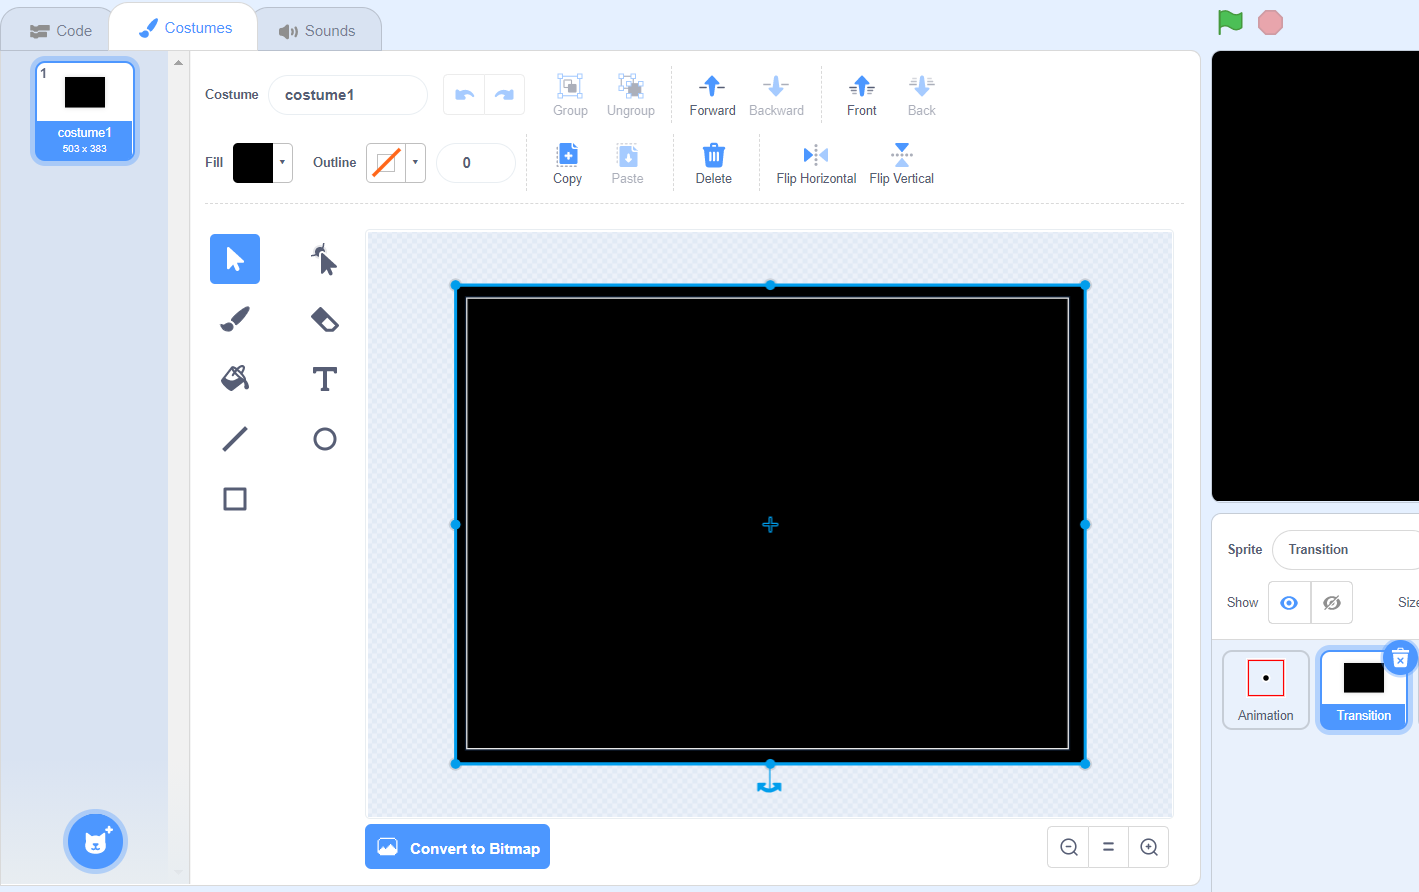
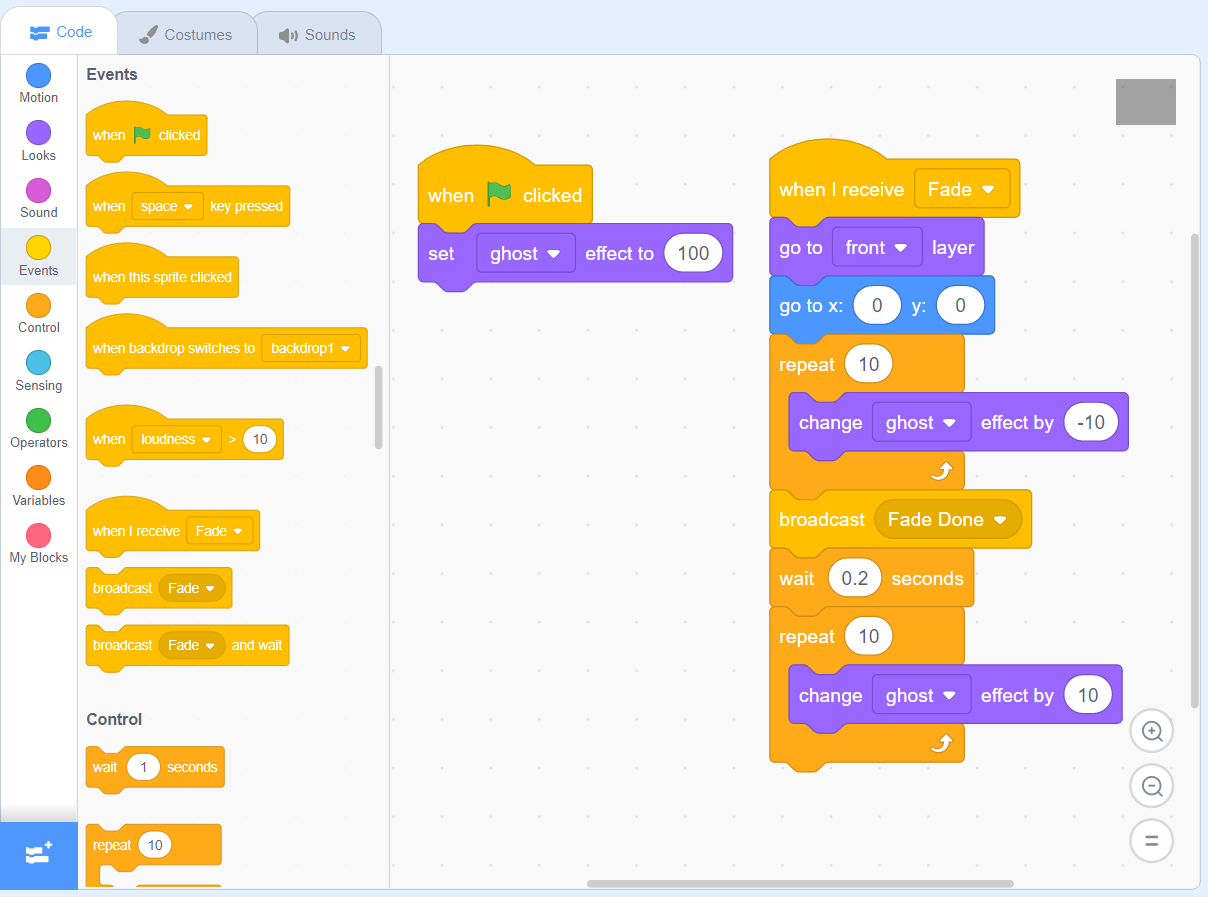
Now, remember the costumes you made in step one? Right now, there is no way you can see them. In this step, you'll make a line of code that will be able to switch the costumes with a smooth fade transition.
Start by making the line of code in the photo. The "broadcast, fade" block is used to send a message to another line of code telling it to start. The "when I receive, Fade Done" block is used to to tell if the fade transition is done so the sprite can switch costumes. (pic. 1)
Next, make a new sprite and call this one "transition." Use the rectangle tool to make a black square over the whole workplane like you did for the backdrop. (pic. 2)
Click the code tab on the transition sprite and make the code in the photo. When the flag is clicked, it sets the ghost effect to 100 so it is completely clear. 0 ghost effect is solid and 100 is clear. In pic. 1, when the user presses "space," it sends a message called "Fade." This sprite is the one that receives the message telling it to start the fade transition. (pic. 3)
The transition should look like the the video above.
Advanced Costumes



So far, you've only made three different costumes and they all look geometric. What if the sprite could have one costume, and the clone trail could have a different costume? This could lead to much more creative animations.
First, go to the "costumes" tab. Create two new costumes. Name the first one "pencil front" and the second one "pencil back." (pic. 1)
Select the "pencil front" costume. Using the vector graphic editor, create a pencil and drag it so the tip is on the cross in the center of the workplane. To make other shapes, click on the reshape tool. When you select one of the shapes you drew, the reshape tool changes each shape into lines or curves with movable endpoints. You can click on a line to add an endpoint or double click on an endpoint to delete it. (pic. 2)
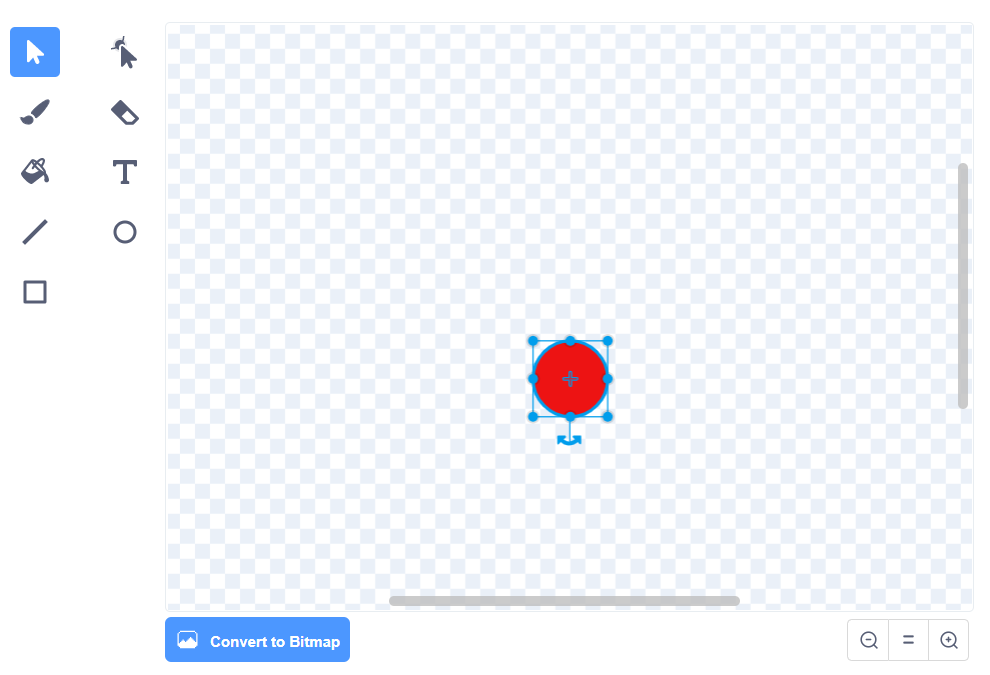
On the "pencil back" costume, draw a small circle. Drag it so the cross in the center lines up with the one on the workplane. (pic. 3)
Now it's time for the code. First, make the code above and add them to the X-axis movement code and the clones code. For the clones code change the "back" to "front". This code makes sure that the sprite has the pencil costume and the clones have the circle costume. (pic. 4)
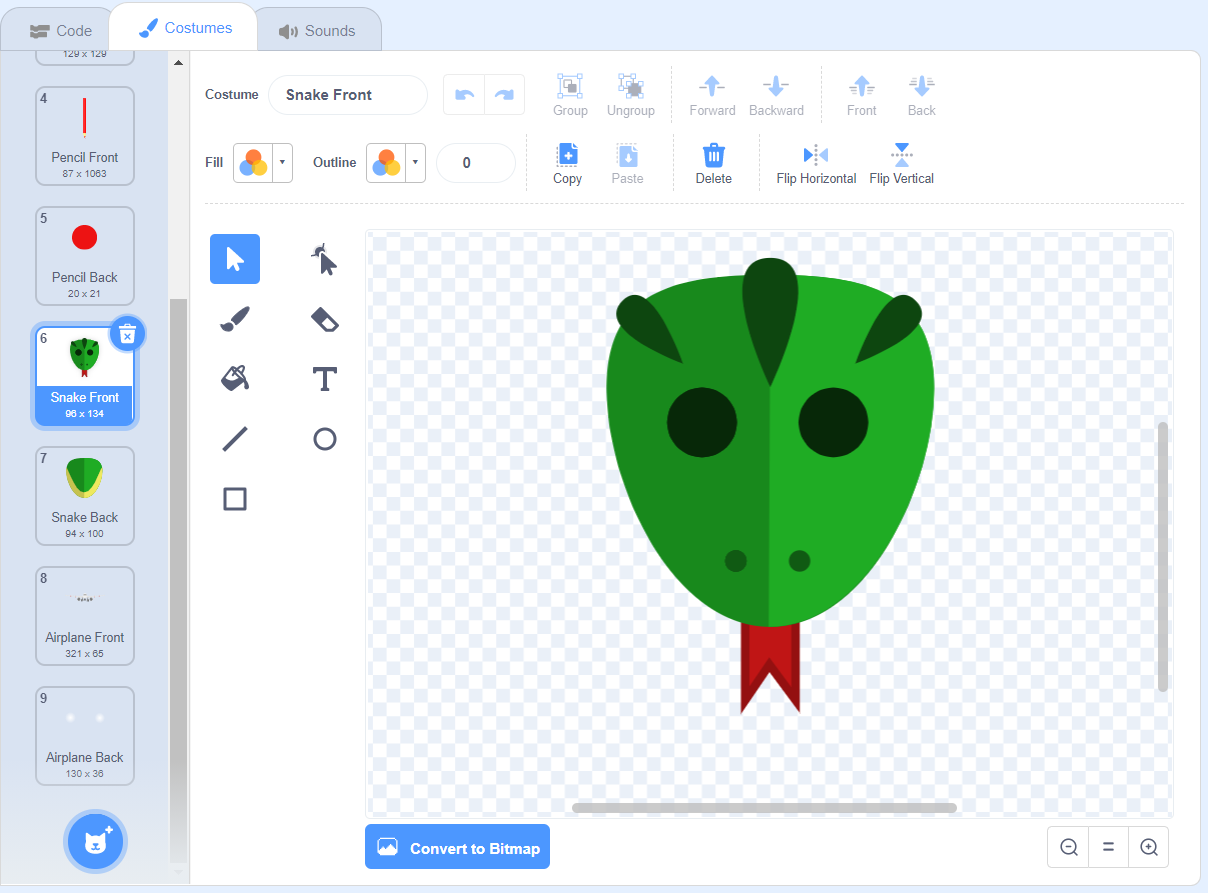
You can make as many costumes as you want. For example, I made a snake costume and an airplane costume. (pic. 5)
The new costumes should look somewhat like the video above.
Get Mesmerized

I had a fun time making this project and I hope it makes sense to you. If it doesn't, or you're just too lazy to code it yourself (which I totally understand), go ahead and remix my project by clicking the "Remix" button at the top right.
-----------------------------------------------------------
https://scratch.mit.edu/projects/457524251/
-----------------------------------------------------------
Remixing someones project basically makes a copy of their project and saves it as a project of your own. This way, you can make it better and change it in your own creative way.
I'd love to see all the cool animations you can make.