Messi Club Teams Shirt

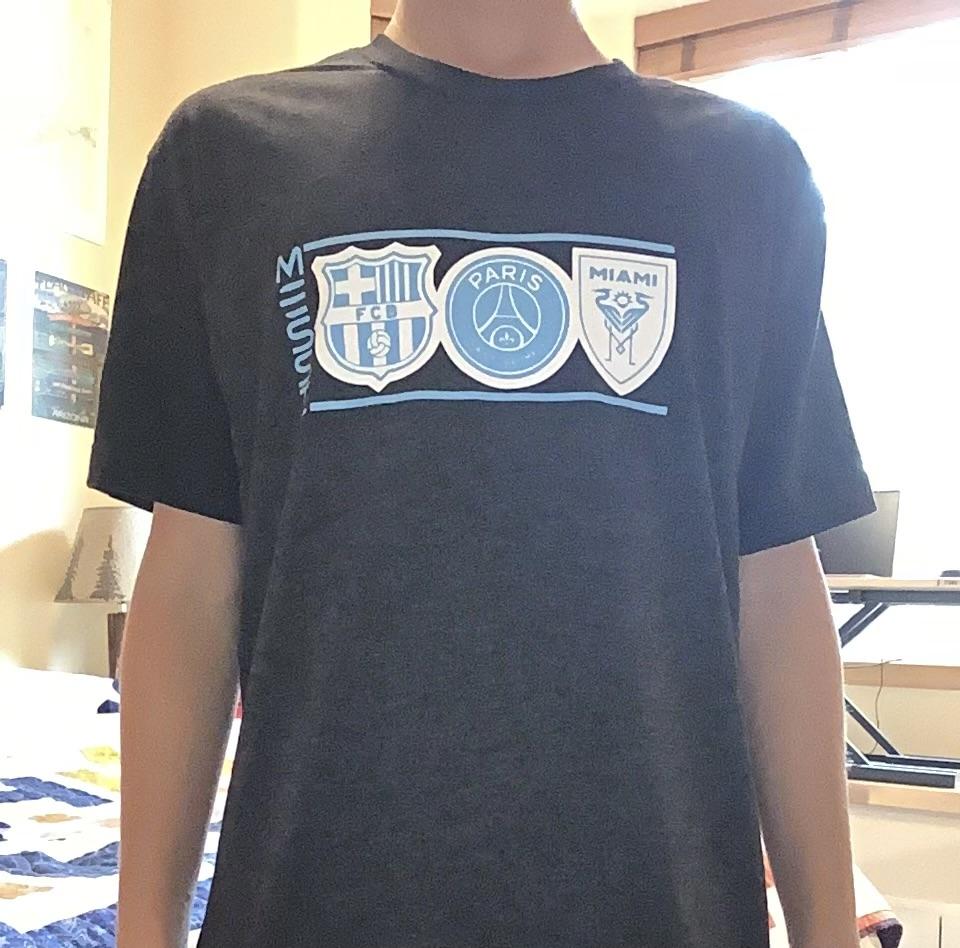
I am a fan of Messi, The 7 time Ballon d’Or winner, and Leo just joined Inter Miami FC, which inspired me to create this shirt including all of the CLUB teams he has played for in order. The shirt is blue and white to represent Messi’s country Argentina. This shirt just has Messi written all over it.
Supplies


You will need the following:
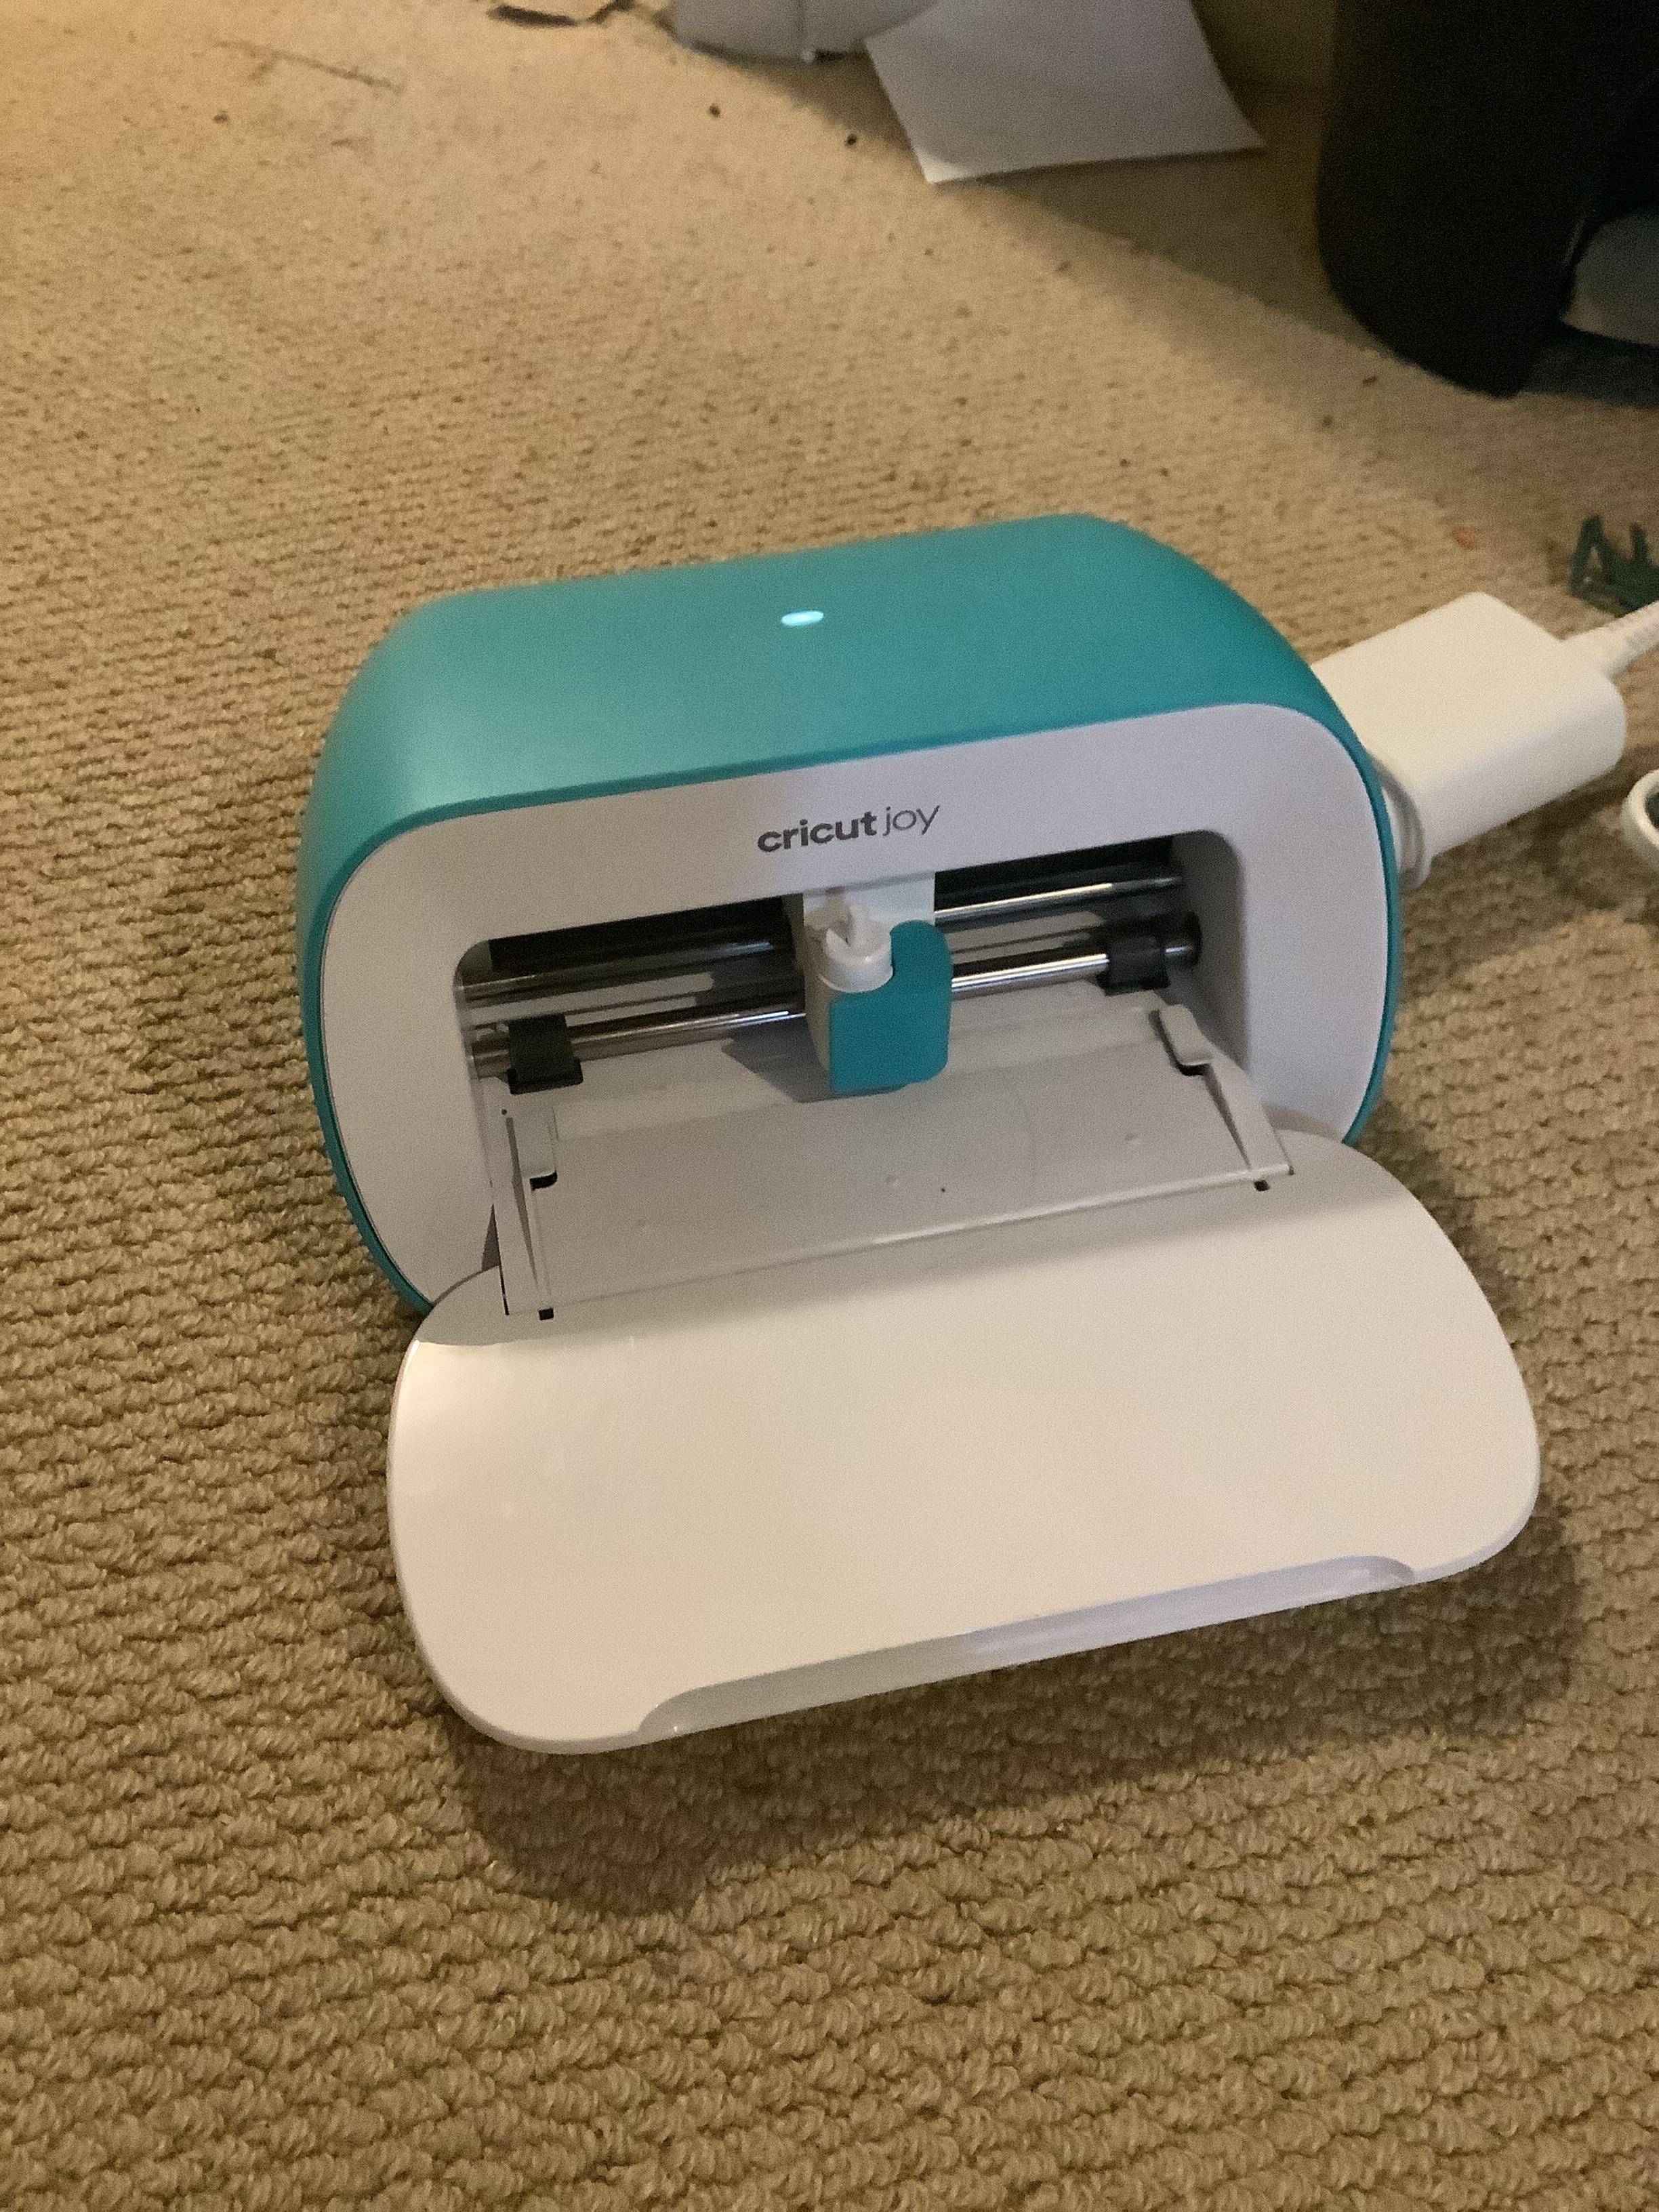
-Cricut (any member of the Cricut family or any die cutting machine works(for machines outside Cricut family, adjustments may need to be made)) https://cricut.com/en-us/cutting-machines/cricut-joy/cricut-joy/cricut-joy/2007991.html
-Iron
-Ironing table
-Light blue Iron On vinyl https://www.hobbylobby.com/Scrapbook-Paper-Crafts/Machines-Vinyl-Accessories/Vinyl-Specialty-Sheets/Sky-Blue-Iron-On-Transfer/p/80926364
-White Iron On vinyl https://www.hobbylobby.com/Scrapbook-Paper-Crafts/Machines-Vinyl-Accessories/Vinyl-Specialty-Sheets/White-Iron-On-Vinyl/p/80941039
-Black shirt https://www.hobbylobby.com/Wearable-Art/T-Shirts-Clothing/Adult/Black-Adult-Tri-Blend-Crew-T-Shirt---Small/p/81022448
-Thin towel
Getting the Design


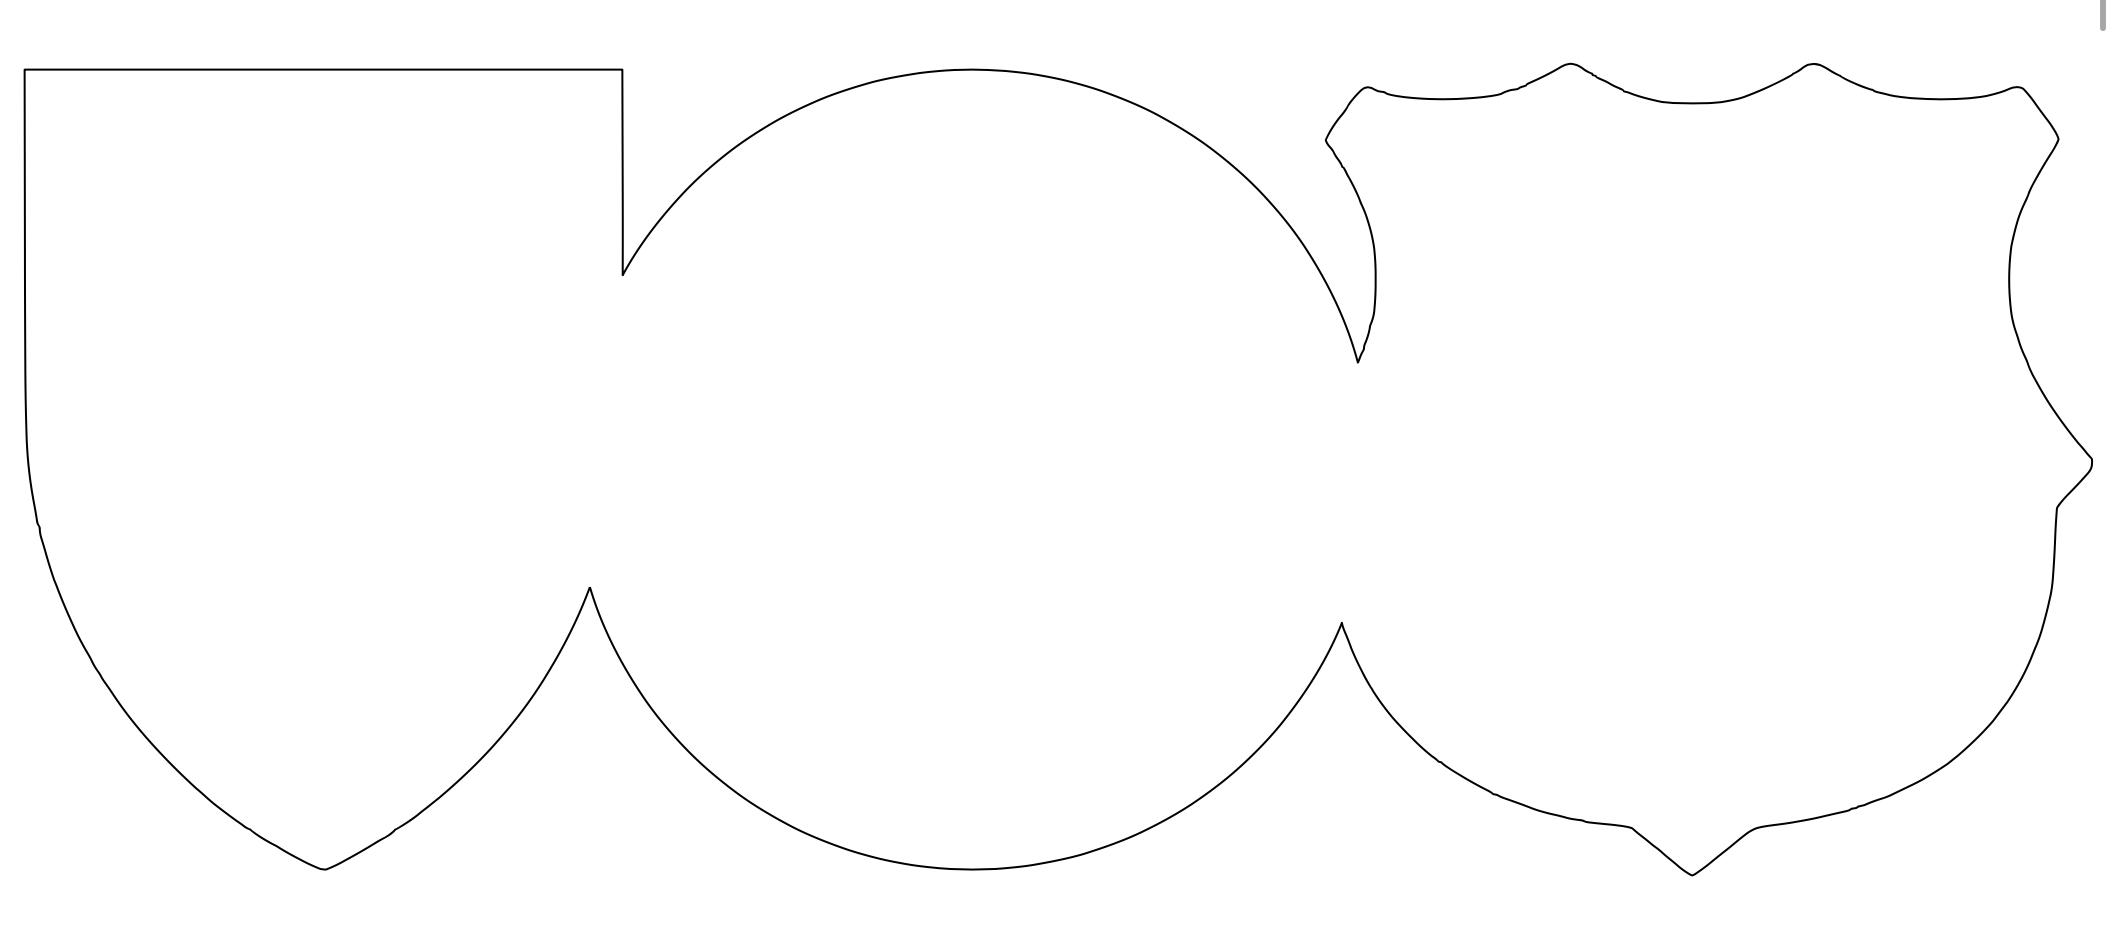
Step 1: First open the first two attached photos with completely white backgrounds and take a good screenshot of them.
Step 2: Next, Open the Cricut Design Space software and select add new project. Replace any designs you have been working on(don’t forget to save!) This will open a blank canvas.
Step 3: Select upload, a box will pop up and select upload from photo library. Select the first screenshot and a box will appear asking if you want to pay to get an automatic background remover, you don’t want this! Select the x and it will show options in the bar at the bottom. Click on the select option and hover your mouse/finger on the white parts of the screenshot. When you release your mouse/finger, all of the color touching the area your mouse/finger will turn into white and grey checkered background. Continue this step until all white areas are checkered. When you are done, select apply, and it will ask you to name the design and it will ask you if you want to cut or print then cut, you want to cut so select the black option and press upload.
Step 4: The design will pop up on your canvas and you will need to repeat step 4 to get the design.
Step 5: Mirror both designs horizontally(the words Messi should be on the right) and change colors to your taste.
Step 6: Size the design with Messi on it to your need(I did width 8”) and size the blank design to about a quarter inch shorter than the design with Messi on it. (Make sure that your designs are locked so that you are not stretching them out of shape.
Congratulations! You now have your design.
Downloads
Cutting and Weeding


Step 1: Select make it. A screen will open asking you what mat you want to place your material on, select 4.5x12.
Step 2: It will ask you to pair your device. Go to your Bluetooth settings and select your device.
Step 3: Select iron-on in your material settings and insert your mat, with your iron-on vinyl shiny side up, and press go when the green go button appears. Wait for the machine to finish and take the vinyl off the mat, realest this step for the other design.
Step 4: Take a weeding tool and weed out all of the unneeded vinyl for both designs. You should be able to see the design clearly if you turn it over onto the smooth/shiny side.
Downloads
Ironing on the Design


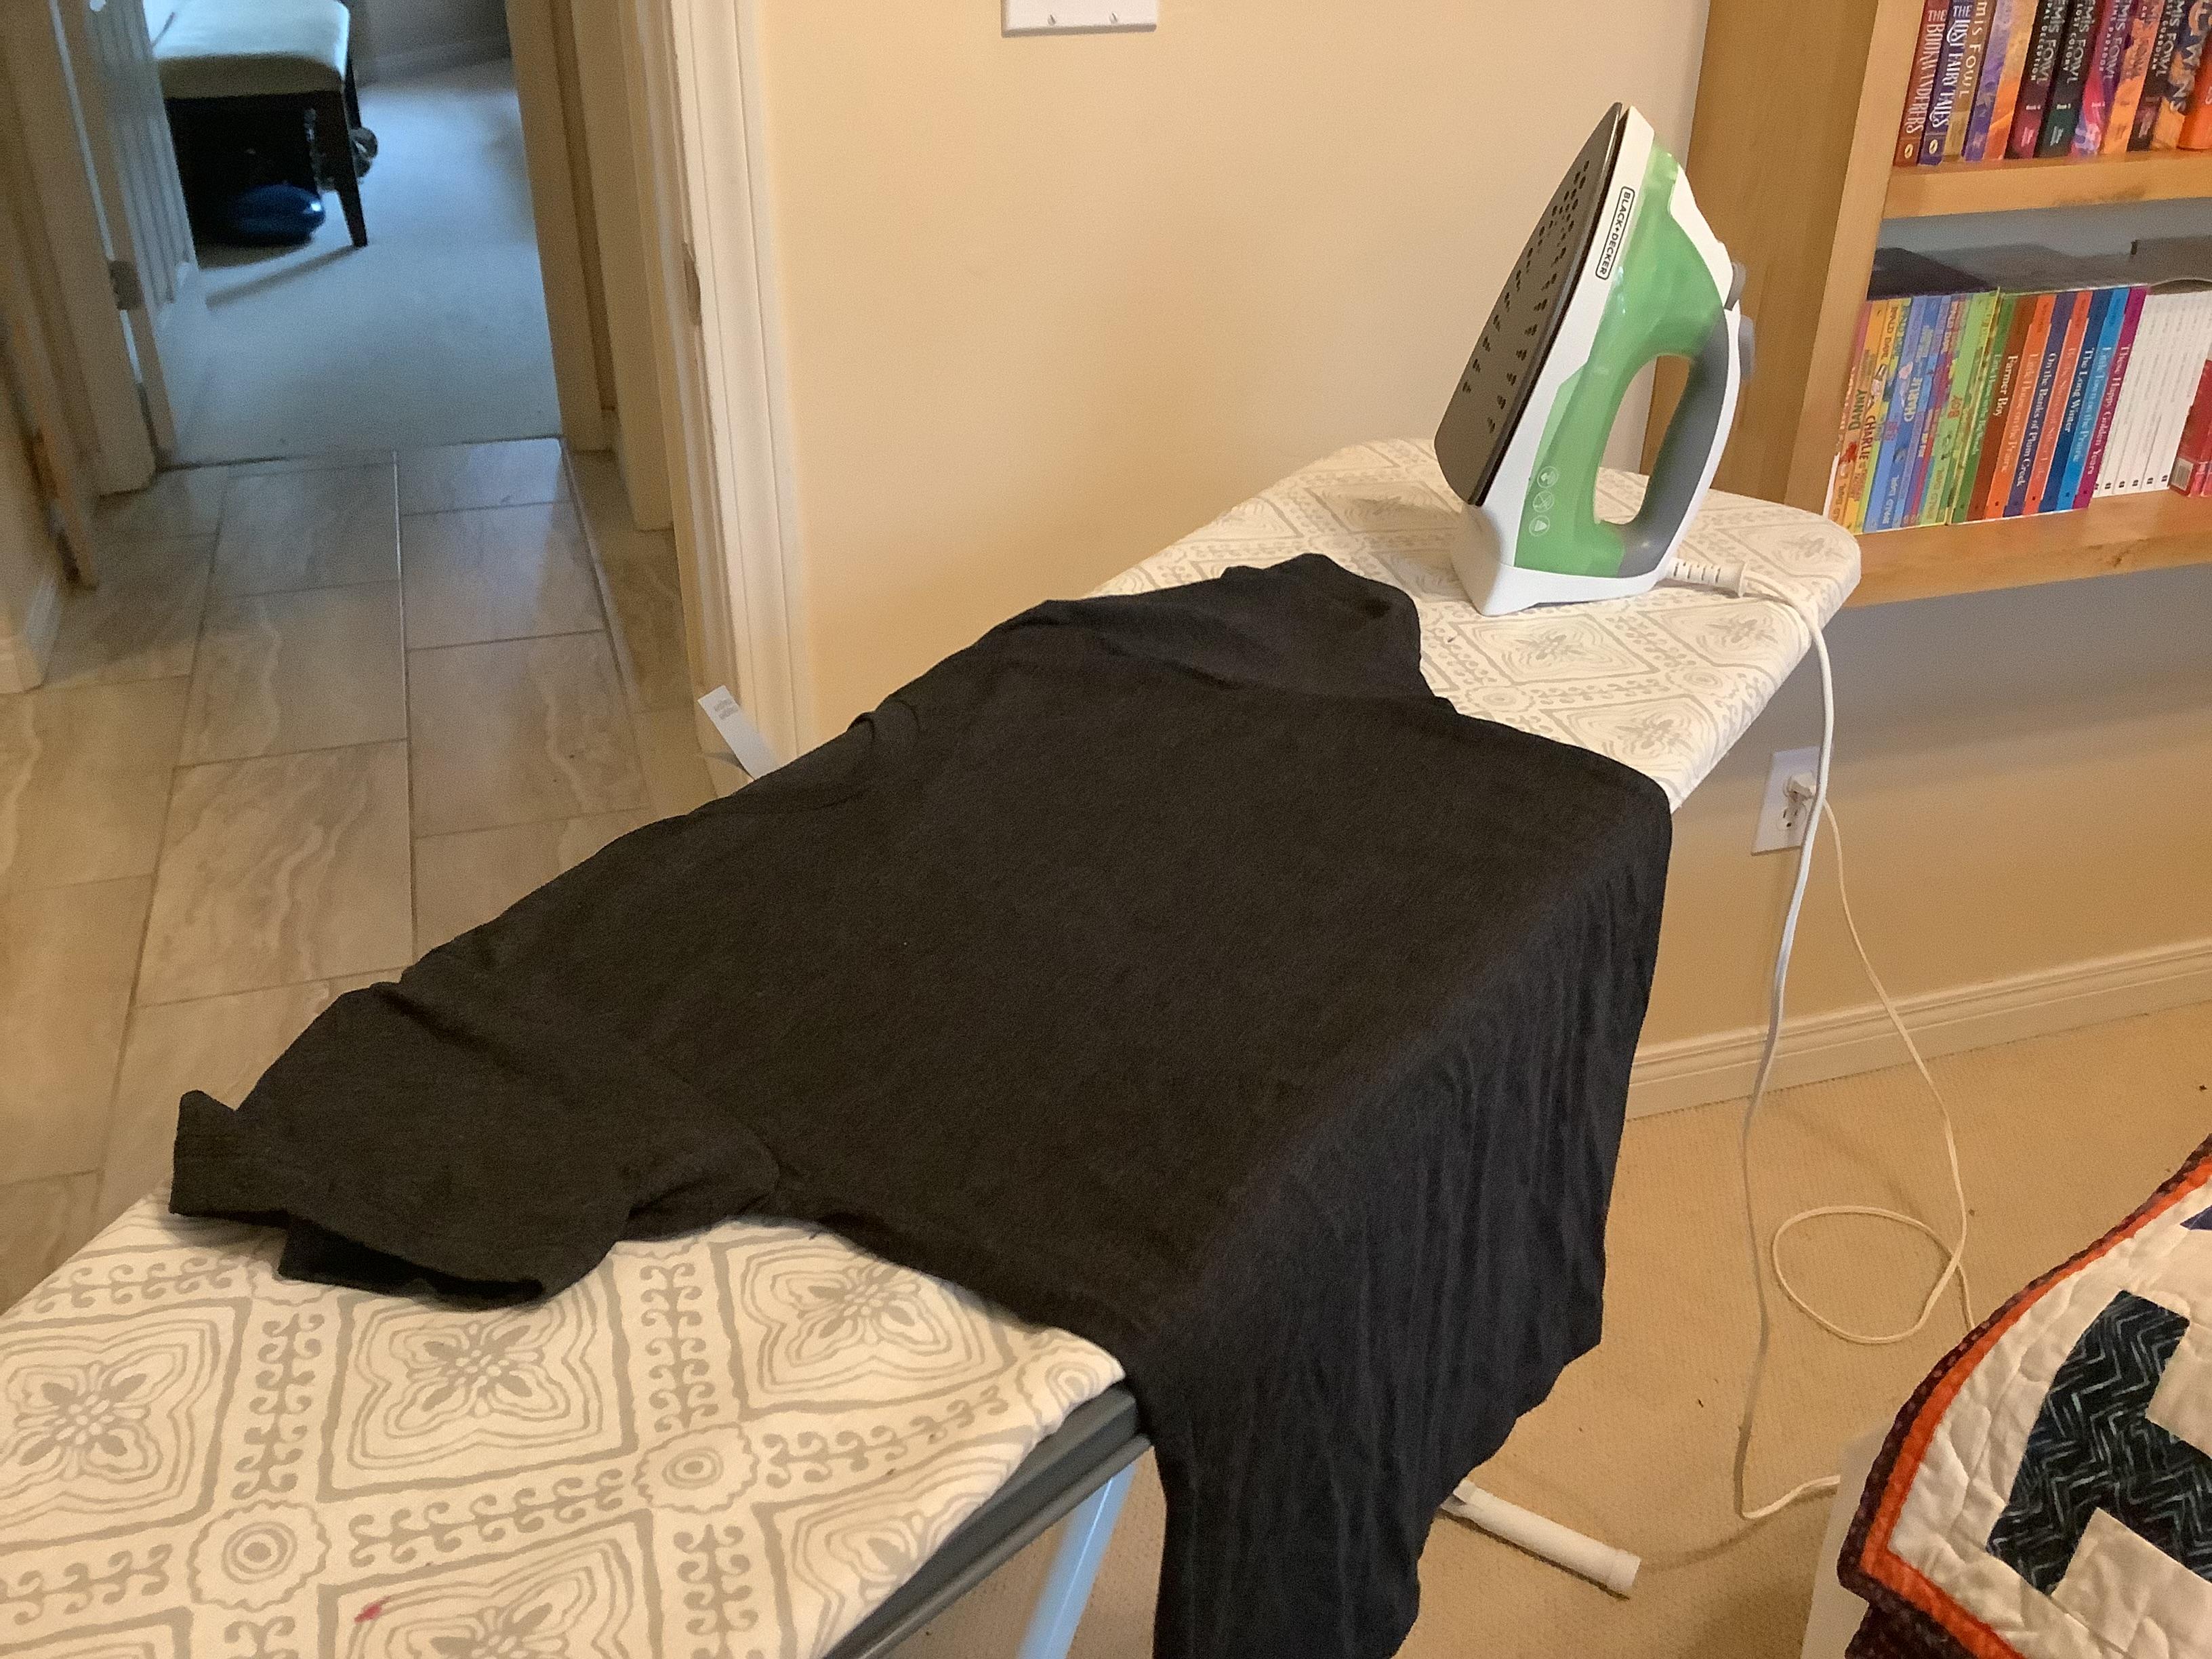
Step 1: Put your shirt on your ironing board, turn on your iron, grab your thin towel, and have the designs ready.
Step 2: Check the tag on your shirt and look at the material of the shirt, adjust iron temperature accordingly.
Step 3: Place the blank design on your shirt about a hands width from the neck and center the design, place the thin towel over the design, and iron. Take the towel off and let the shirt cool down. When the shirt is cool, peel off the plastic and you will have the blank design.
Step 4: Place the design with Messi on it on top of the blank design. Align this design so that the crests on the design with Messi on it center with the blank design. The word Messi should not be touching the blank design. Once aligned, iron on with the towel, wait for shirt to cool, and peel off plastic.
Good Job! You have finished your Messi Club team shirt!