Metal Frame Bench

This project was inspired by a need for a bench in the MBHS batting cages for the baseball team. The benches we used to have collapsed and this was NOT okay. Making it my mission to construct a bench capable of withstanding the elements and help MBBA rest up after a long day of school. This bench was developed with no prior welding experience (as can be seen in images) and I learned as I went which was both frustrating and entertaining but overall made it a much better experience. -- For the Morro Bay Baseball Team of 2025-- #45
Supplies


.jpeg)
.jpeg)
.jpeg)
.jpeg)
.jpeg)
Tools Used:
- Metal cutting bandsaw
- Planer
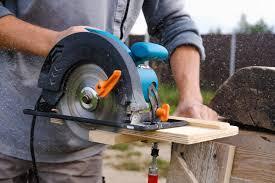
- Circular saw
- Bandsaw
- MIG welder
- Welding magnets
- Grinder
- Handheld drill (Center drill + a couple drills in between that and 1/2", for making holes to bolt wood down.)
- Cutting oil
Safety Gear:
- Welding jacket
- Welding mask
- Welding gloves
- Safety glasses
- Ear Plugs
Stock:
- 2x2'' square metal tubing(0.083'' Wall) X4
- Scrap wood to throw on top or purchased wood to fit 16 x 48" (Bench dimensions) for the minimum, but would recommend adding a bit of length to the wood in order to fit more people.
- 1/2" thread carriage bolts, ~1.5" length, along with nuts to secure them.
Sketch

Here is my sketch. Yes it is a bit plane but my bench was a custom build which was not directly symmetrical. This made it fun to build but keep in mind that building a bench with this material is going to be strong so don't stress on perfecting the initial design because you can easily switch up a measurement to fit your needs in the moment.
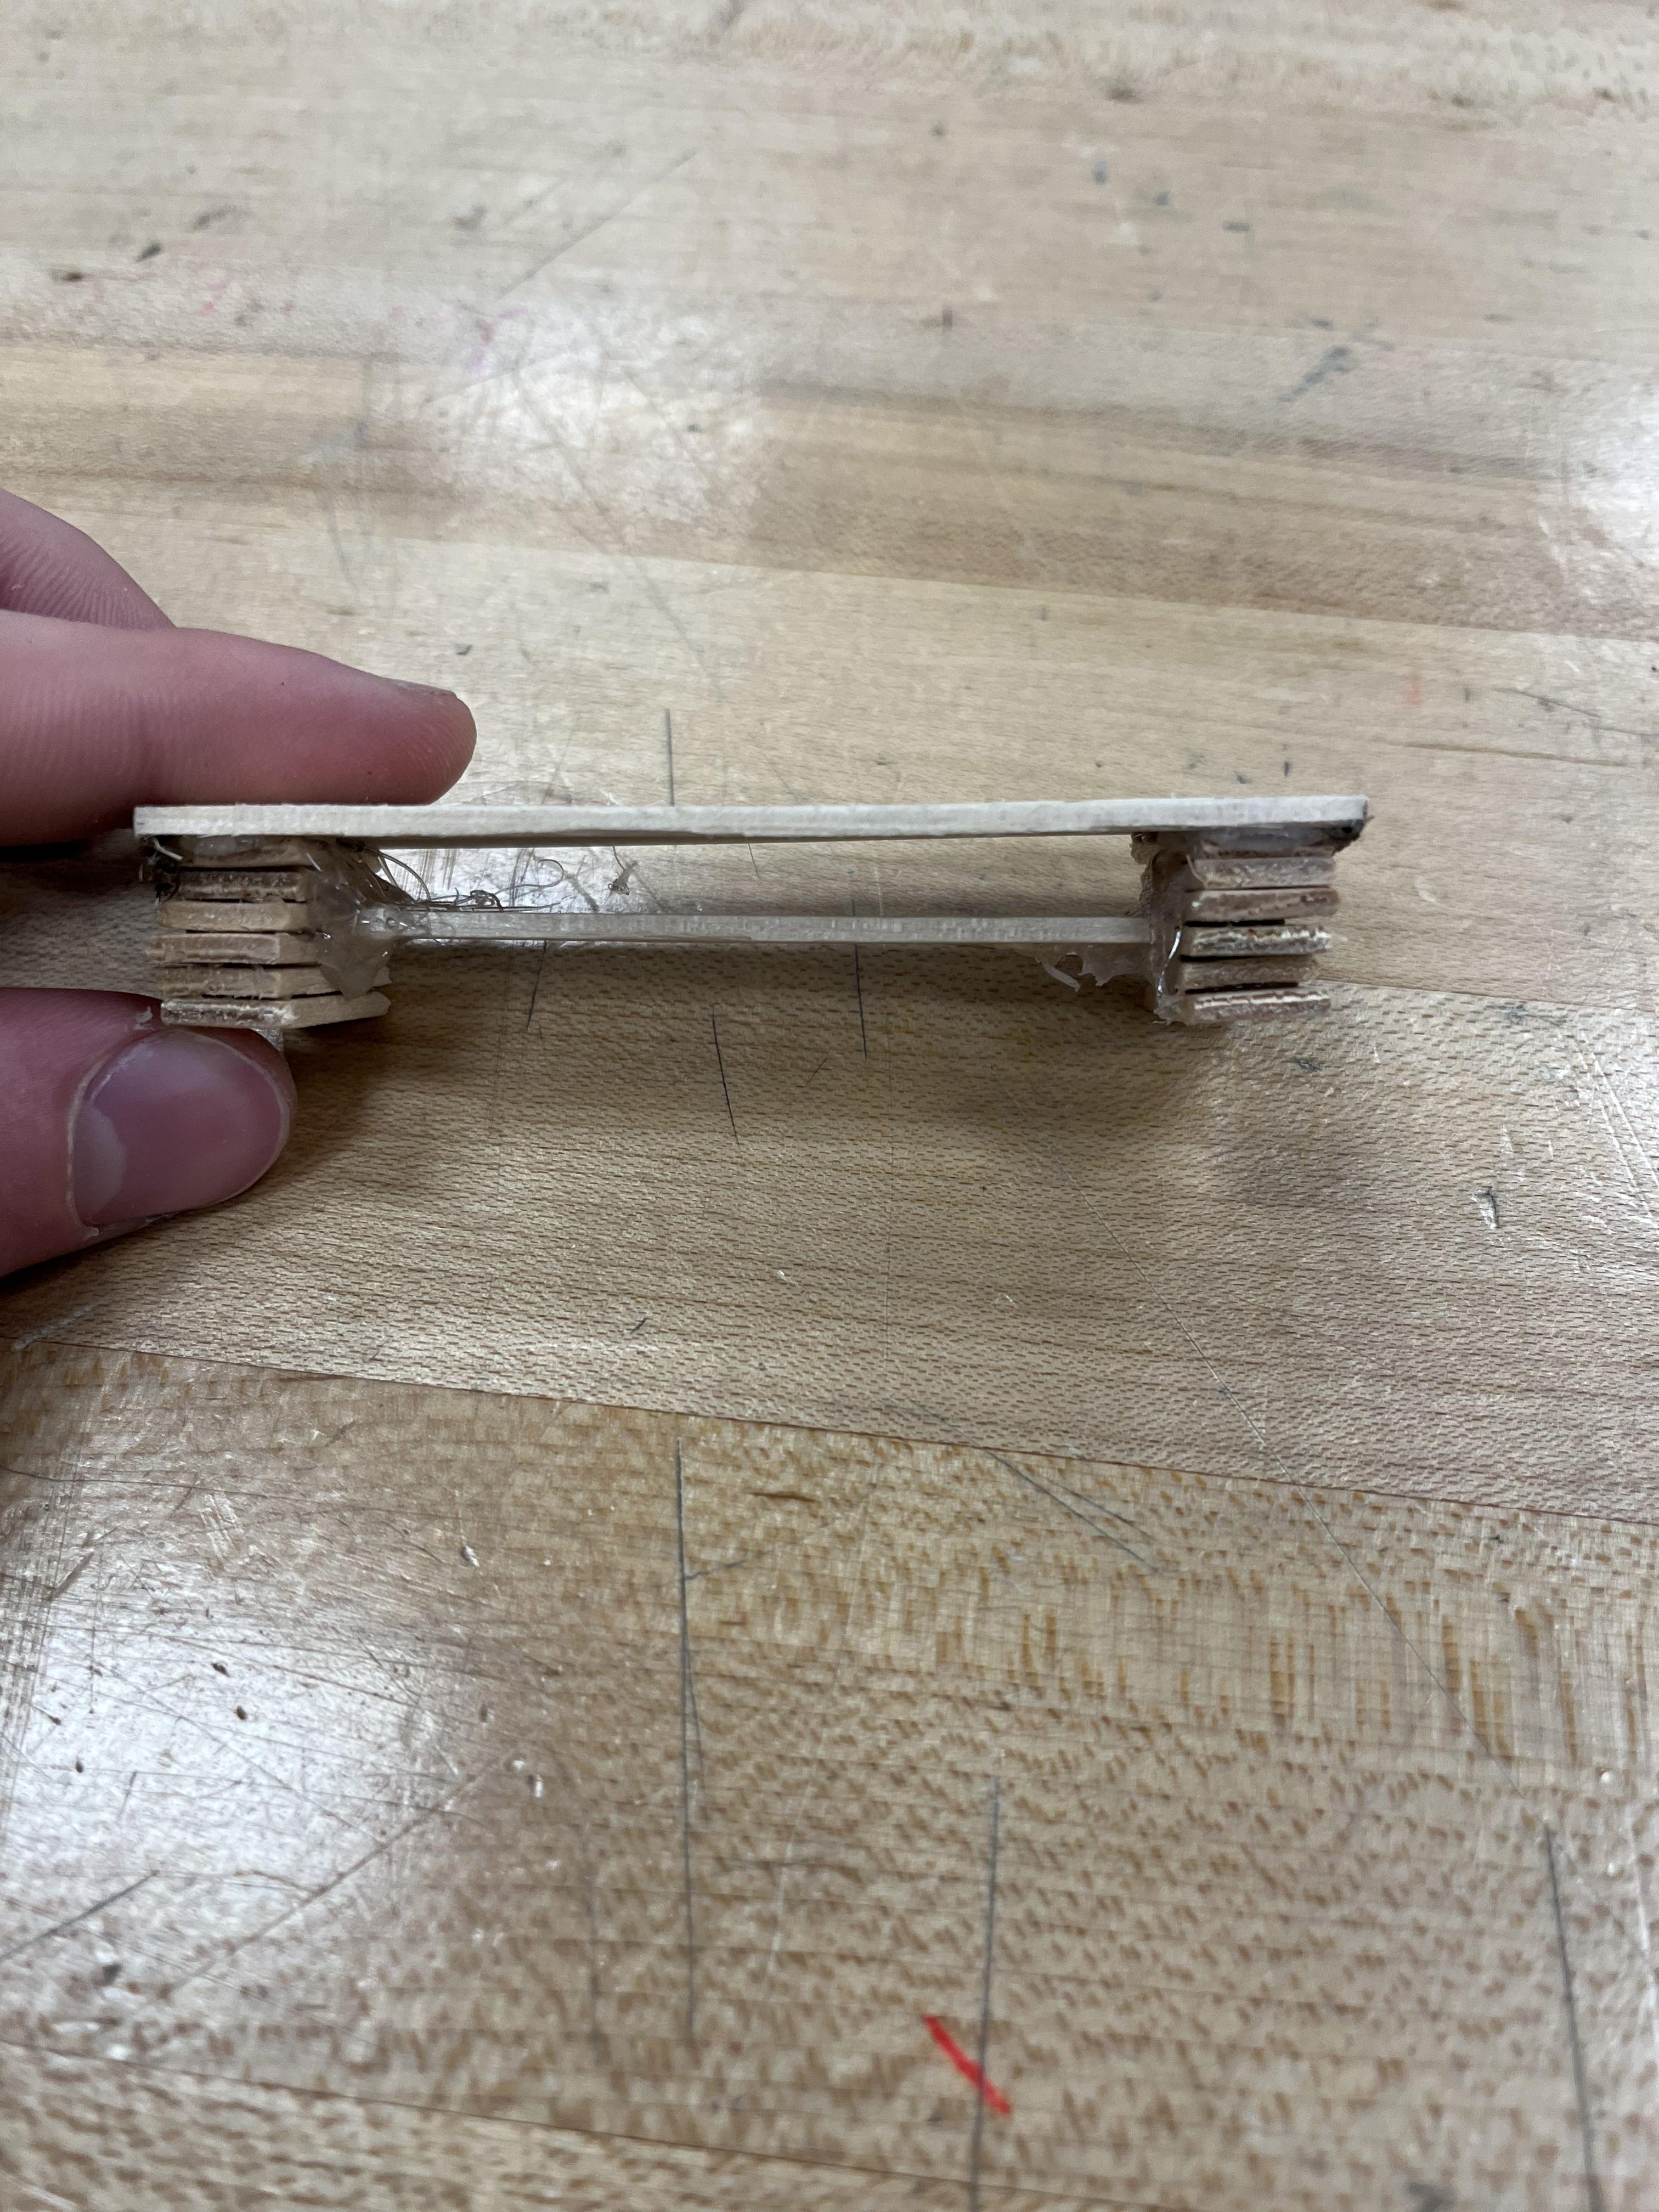
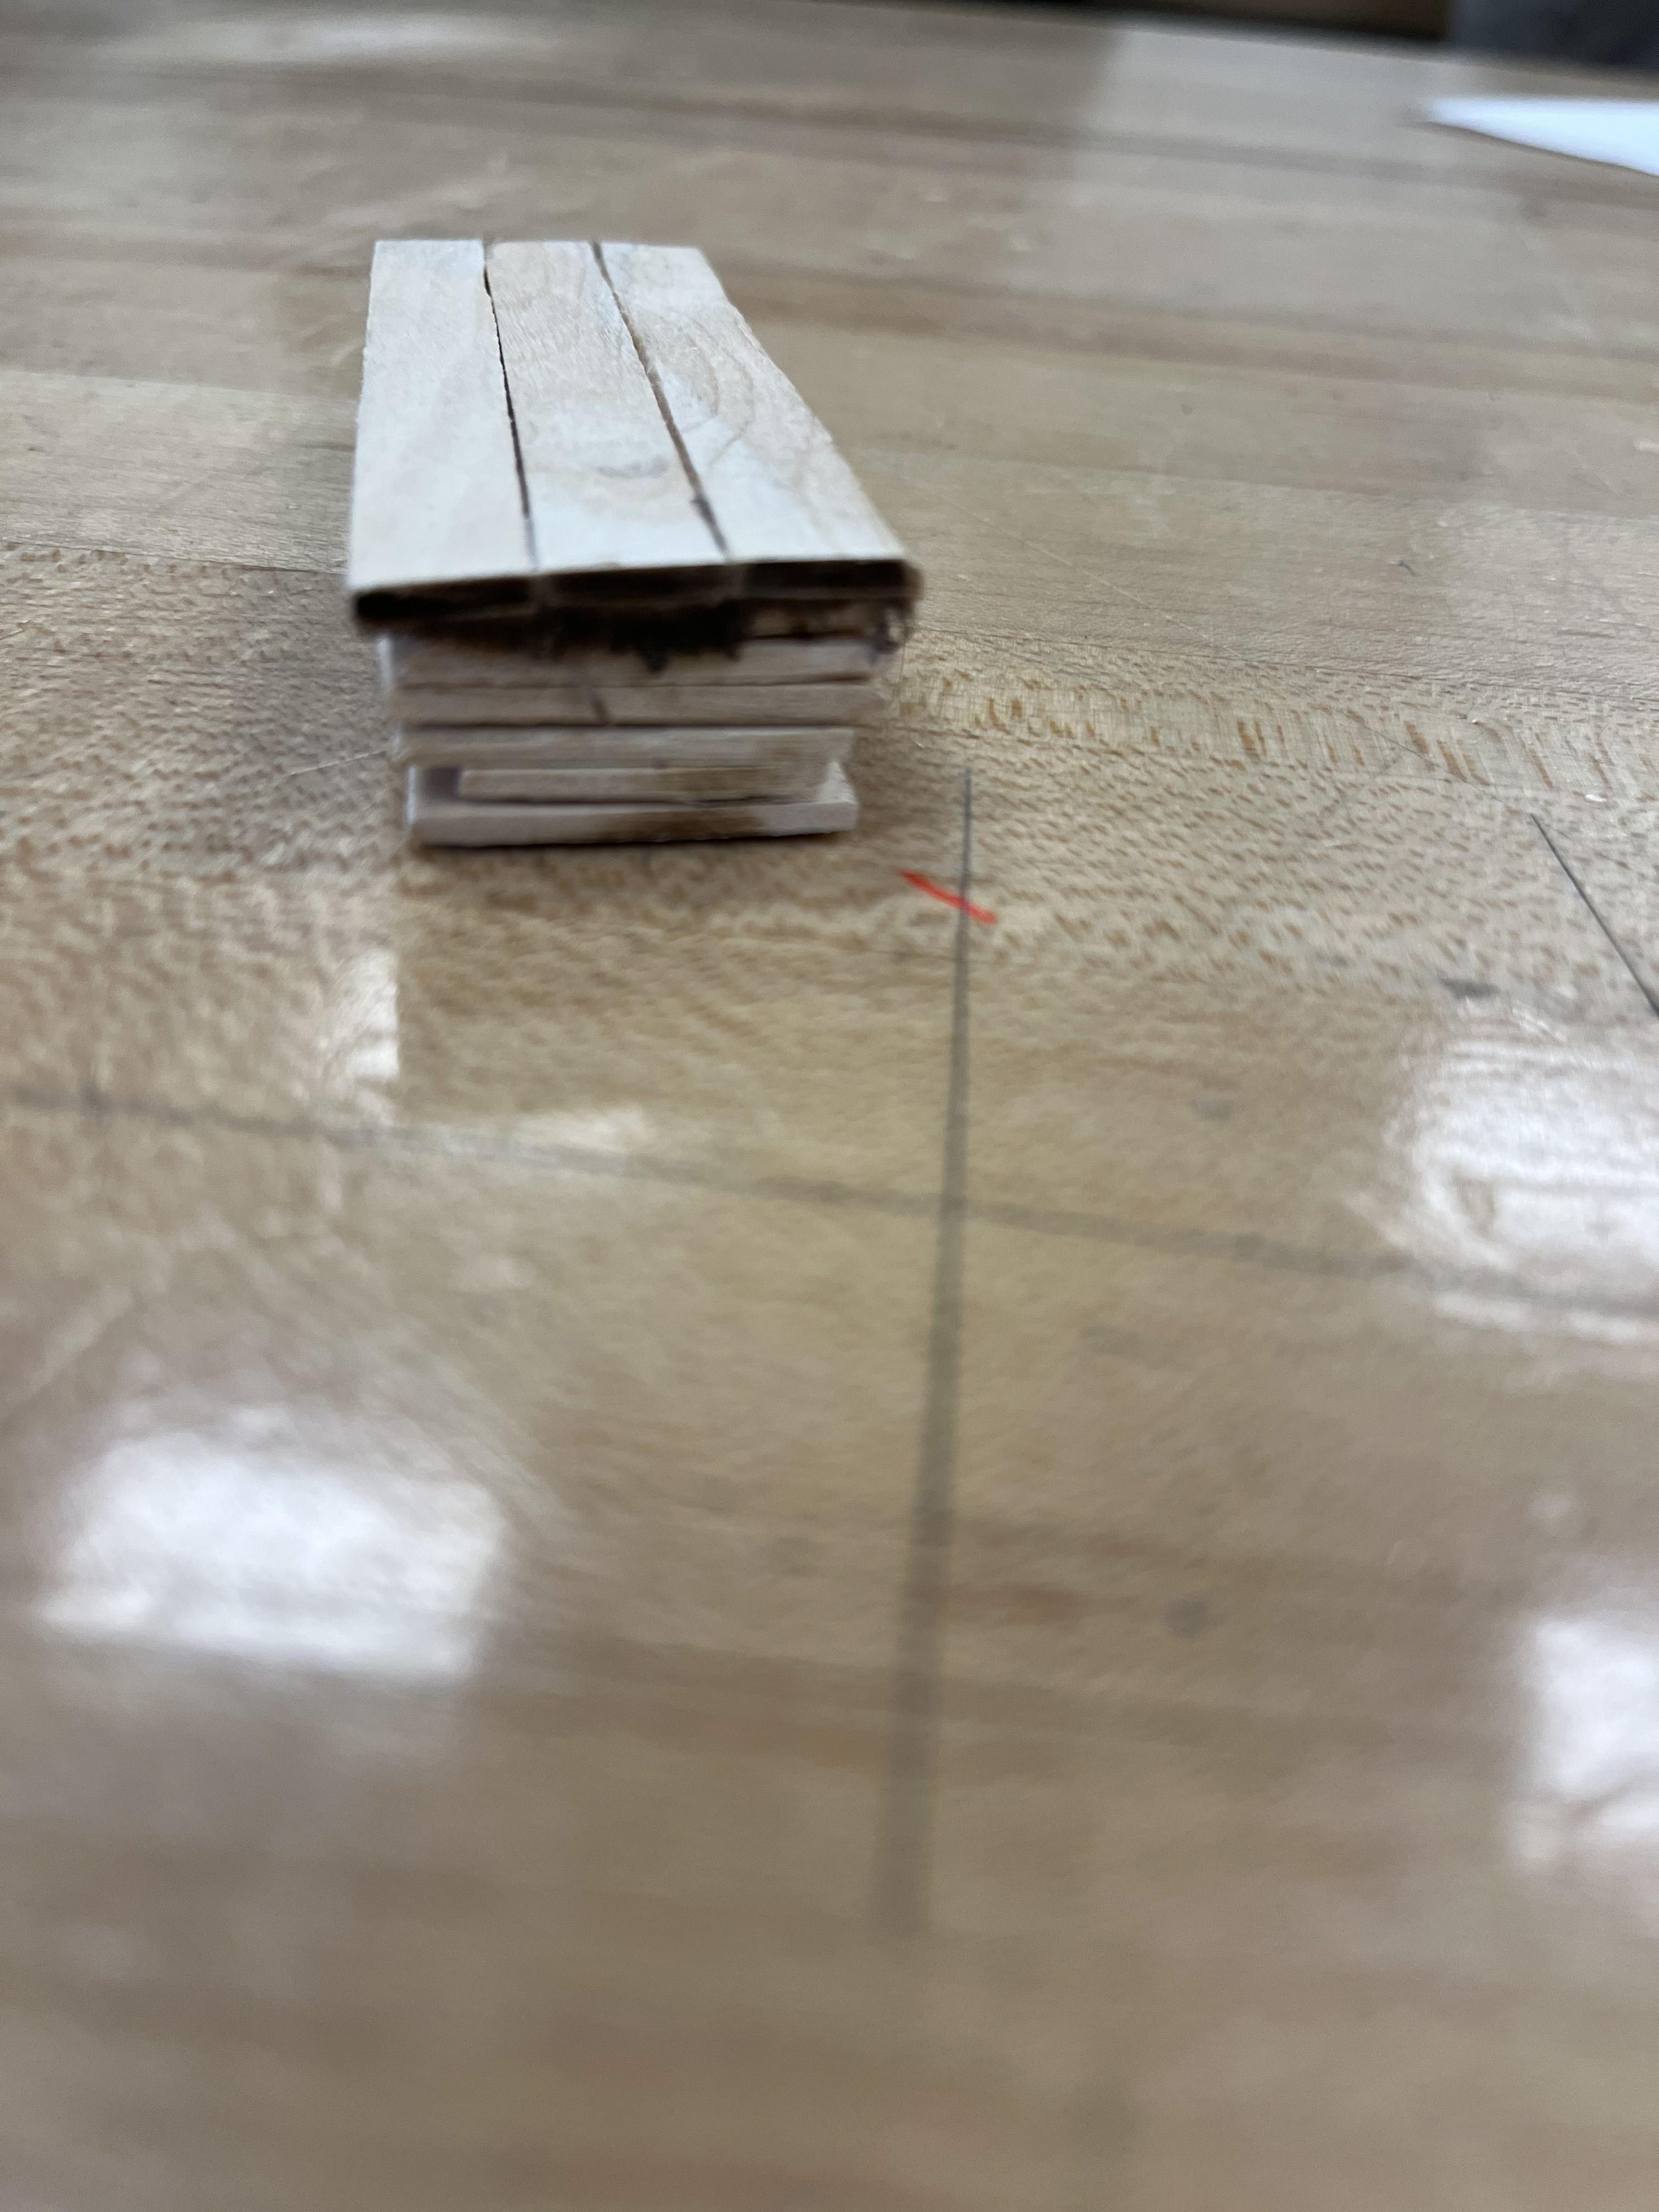
Prototype
.jpg)
.jpg)
.jpg)
- Grab some popsicle sticks
- Design something in relation to your sketch that seems stable
- Implement this creativity to the CAD model
CAD Model
The cad process was difficult with no prior experience but here is what I came up with. (This was before I acquired the metal so it looks a bit different, however, the design process followed the CAD until I realized that the middle support underneath was not needed.
- Play with the CAD to fit what material you have on hand.
- Use the CAD to create basic measurements which makes the building process easier.
Cut Tubing to Size
Cut the Legs
- Cut four (4) pieces of square tubing, each 24 inches long, using the metal bandsaw.
- These will be the legs of the frame.
Cut the Long Sides of the Top Frame
- From the tubing leftover after cutting the legs, you'll have a piece that's about 72 inches long. This is your first long side of the top frame.
- Now, take a new piece of tubing and cut 24 inches off it. Set this 24" piece aside.
- Use the leftover 48 inches from that same tube to make the second long side of the top frame.
Cut the Short Side of the Top Frame
- From another piece of tubing, cut one (1) piece at 24 inches.
- This will be the 2nd short width side of the top frame.
Cut middle supports of the Top Frame
- Cut 24 inches of tubing in half so you are left with two 12 inch pieces. (These will support the center of the bench and prevent the wood from bending inward.)
Cut/Prepare Wood


.jpeg)


Either use some purchased wood or some bum ass scrap wood to go on top. (These steps will be for non-purchased wood)
- Use a circular saw for a length of ~65.5"
- Split the planks on the band saw (or not if you have a not to thick piece, my plank started at 2 inches thick so anything around that thick is pushing the bench height a too high.)
- Plane planks ( I planed mine to 1 inch thick)
- Trim sides lengthwise on bandsaw. (I trimmed to have about 8.5")
Prepare Welding Equipment

- (For MIG):
- GAS: 20
- WIRE FEED: 30
- Amperage: 2 (Could use 3 for some filler welds, just work quickly if using the same thickness of metal)
Weld Da Rectangle


- Square frame on flat surface (Used welding magnets)
- Tac together
- Weld the seams (Could put pressure on metal when welding to help prevent warping)
- Transition between corners/sides to spread heat evenly
Attach Legs


- Tac both sides to frame
- Fill it welds to secure. [Minimum two strong welds]
Take into consideration the floor the bench will be on. In my case it will be sandy gravel so symmetry between the legs is less of a necessity as I will be able to wedge it in the ground to not wobble. If your bench is on a flat floor then symmetry is needed to avoid wobble. (Just grind down the ends of the welds on the top frame so your able to fit the tubing over the bulk of the weld and so it sits flat.)
Add Middle Supports


- ~12 inches from the short sides insert the support pieces on either side. (If they don't fit easily you may need to grind for a proper fit)
- Weld together
GRIND

- Whip out the grinder to create a flat top surface for the top wood.
- This is a great time to grind down some bad welds.
Drill Holes for Bolts


Before You Start
- Mark the Center: Identify and mark the center point on each corner of the metal tubing where you plan to drill.
- Safety Gear: Wear safety goggles
Part 1: Drilling Through Metal Tubing
- Set Drill Speed:
- Adjust your drill to a low speed setting to reduce heat buildup.
- Apply Lubricant:
- Use cutting oil on the marked spot to minimize friction and heat.
- Create a Starter Indentation:
- Drill a pilot hole with a center drill
- Enlarge the Hole Gradually:
- Progressively use larger drill bits (Only have to use about 3 in total as working way up to 1/2")
- Final Hole Size:
- Use a 1/2" drill bit to reach the desired hole size. Ensure the drill remains perpendicular to the surface for a straight hole.
- Clean the Area:
- Remove any metal shavings and excess oil from the tubing.
Part 2: Aligning and Drilling Wood Planks
- Position the Wood:
- Place the wood planks on the metal tubing, ensuring they are centered and symmetrical.
- Mark Hole Locations:
- From underneath, use a pencil to trace the 1/2" holes onto the bottom of each wood plank.
- Drill Through Wood:
- Using a 1/2" drill bit, drill straight through the marked spots on the wood planks. If preferred, start with a smaller bit and work up to 1/2".
- Final Check:
- Align the drilled holes in the wood with those in the metal tubing to ensure proper fit for bolts or fasteners.
Attach Wood to Top

Now all you have to do is obtain some carriage bolts (1/2" threads) that are about 1.5" long to secure the wood and walaa. (Carriage bolts were used to keep a smooth surface but other bolts work fine.)
Bench Complete.