Micro:bit No-code Summer Hand Fan
by MistyPearl in Living > Holidays
170 Views, 2 Favorites, 0 Comments
Micro:bit No-code Summer Hand Fan
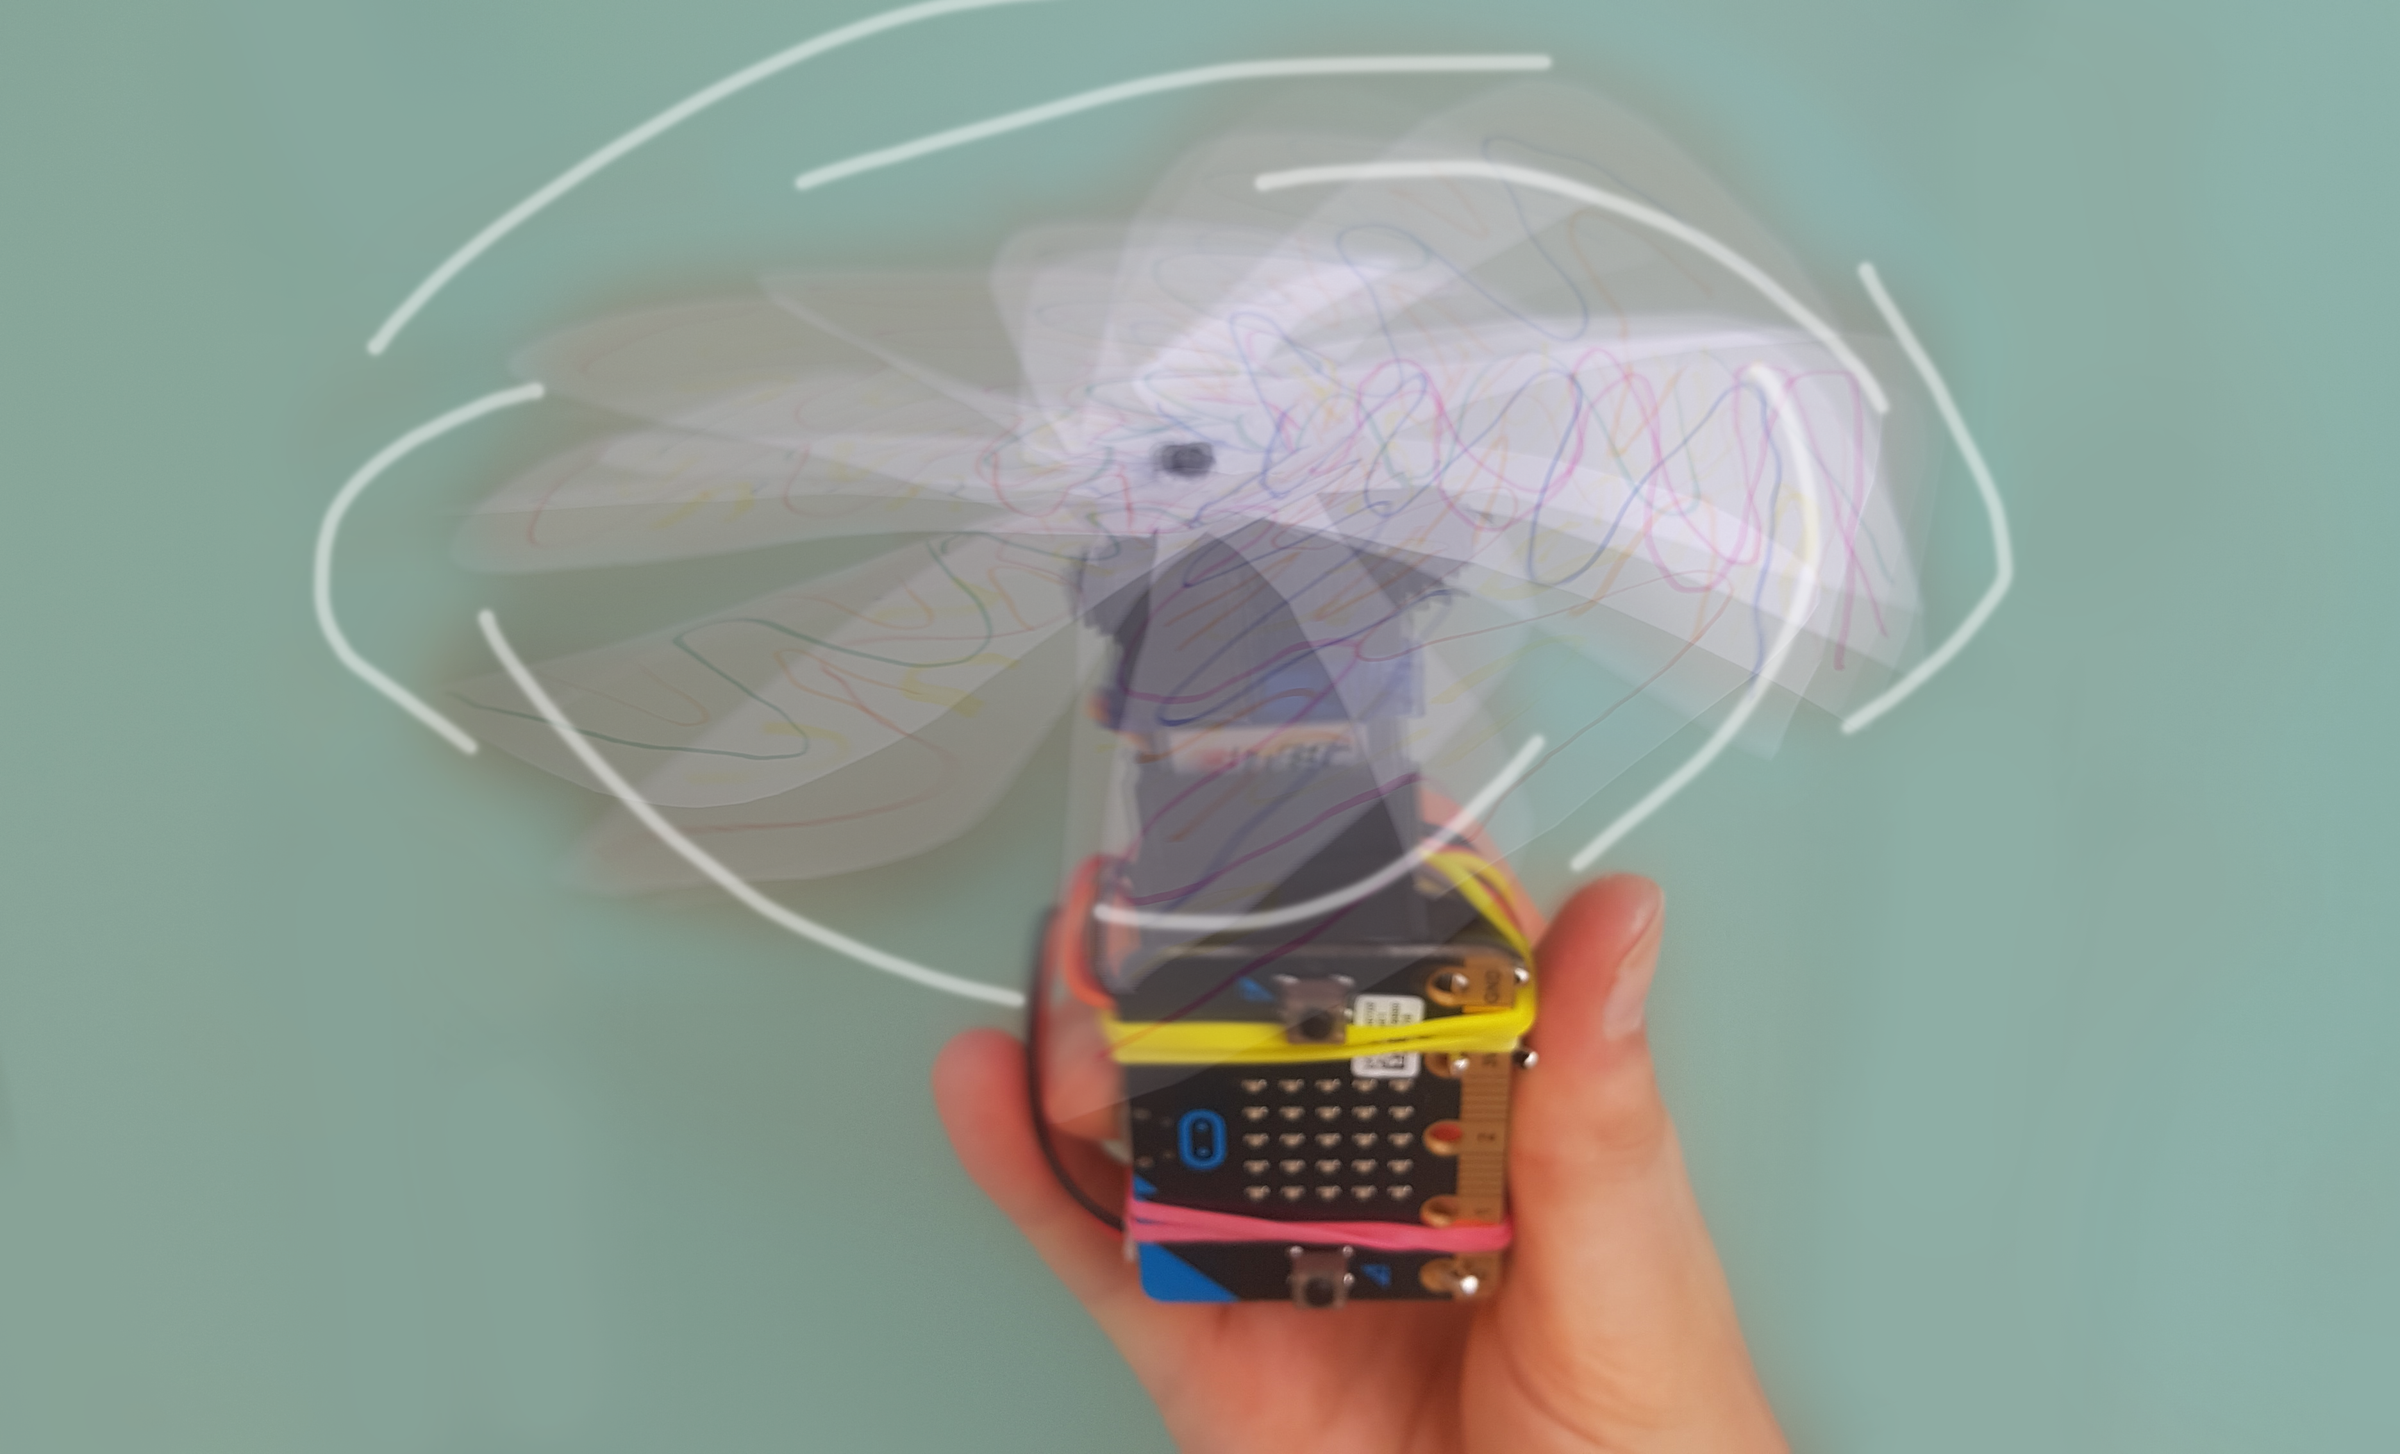
When the British weather decides to surprise us with a summer heatwave and you've run out of ice creams, there's only one sensible thing to do... Build your own cooling fan!
This project is designed to introduce children to electronics, simple mechanisms and 3D printing through a fun, hands-on summer activity. Using only a BBC Micro:bit, standard battery pack and servo motor, this project demonstrates how engineering can be creative, practical and surprisingly easy to get started with—all without writing a single line of code.
Designed to be compact, inexpensive and highly customisable, the project encourages young makers to experiment, personalise their creations and discover how changing different parts of a design can affect its performance.
For those who do want to take a step further, the fan can also be programmed using the Micro:bit website, for example to adjust the speed or even switch itself on automatically when the micro detects that the temperature is getting a little too warm.
So, grab a cool drink and let's build the perfect gadget for those rare occasions when the sun decides to show its face!
Supplies
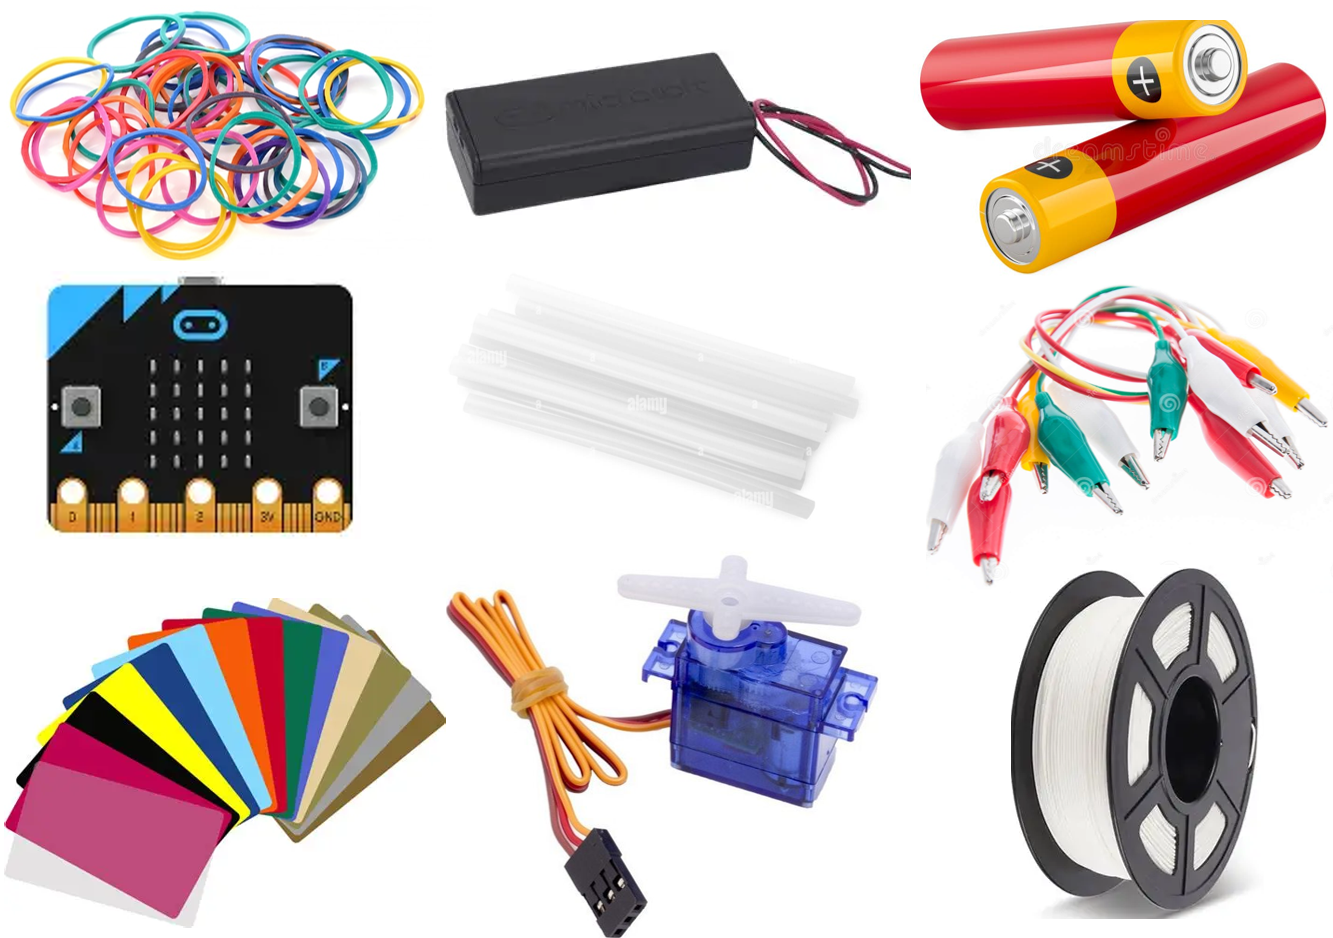
Materials:
- 1 × BBC micro:bit
- 1 × Micro:bit battery pack (2 × AAA)
- 2 × AAA batteries
- 1 × FS90R Continuous Servo motor
- PLA / other 3D printing filament
- 3 × Crocodile clip leads
- Card or paper (for the propeller blades)
- Hot glue gun sticks
- 2 × rubber bands
- Sellotape
Equipment:
- 3D printer
- Computer with internet access
- 3D printer slicer software
- Hot glue gun
- Scissors
- Pencil
Design
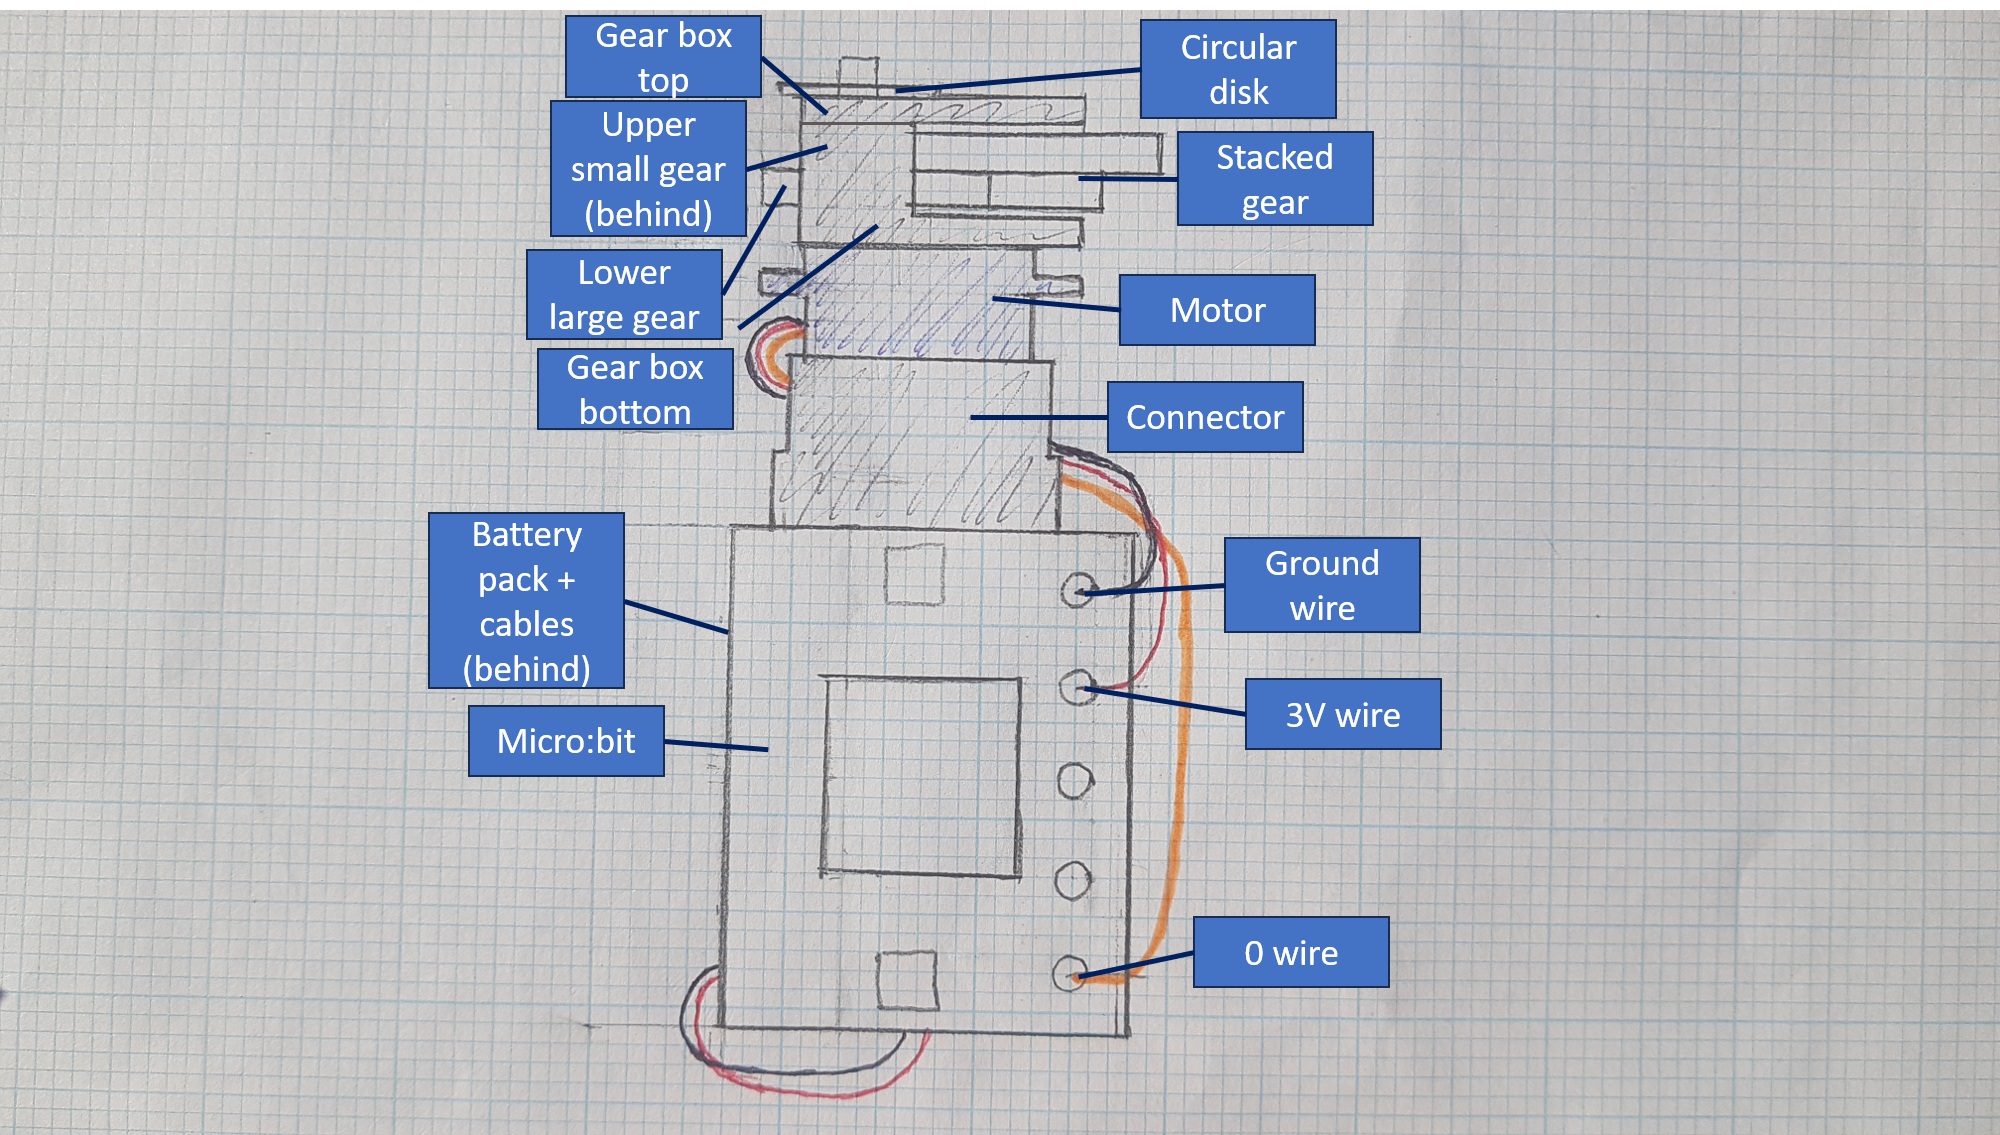
I wanted the fan to be simple, compact and easy to adapt, so I focused on creating a lightweight design that used only the essential components: a BBC Micro:bit, battery pack, motor and a few crocodile clips.
I figured that the design should be quick to print and fit together. It consists of the battery box behind the Micro:bit, with a 3D printed connector piece that slots over the top of the battery pack to fix it to the bottom of the servo motor. This would create a rigid structure that is easy to take apart if needed. Two elastic bands would hold everything securely together, as its an affordable and simple approach to implement, compared to 3D printing an entire case for the fan. This way, I could have the gears at the top fully exposed, which adds interest to the model and makes it easier to fix if anything goes wrong!
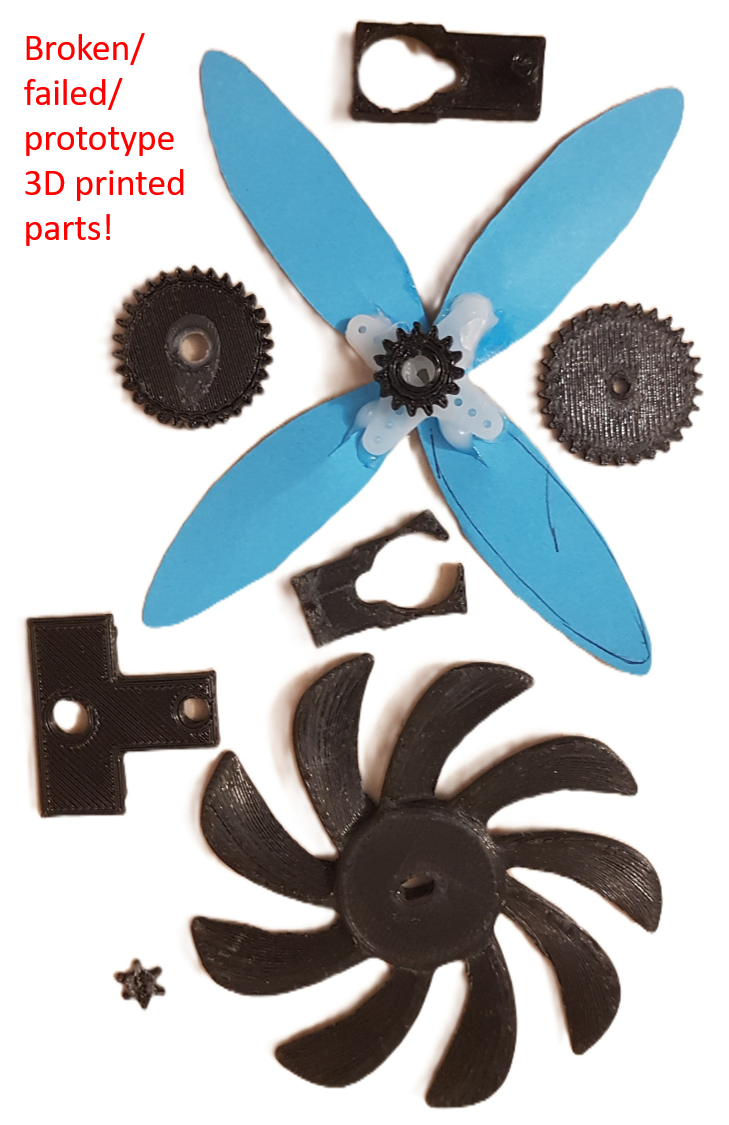
I originally planned to use simpler, star-shaped set of gears, but upon testing, I found they were not as smooth when running and tended not to mesh so well, due to having fewer teeth.
There is a link to my original Tinkercad files in the step below, so you can customise the design in your own way! Some ideas include adding decorations to the 3D printed parts, or experimenting with different gear arrangements. Adding a 3rd layer of gears would make the fan turn even quicker. Get creative and see what improvements you can make!
3D Printing
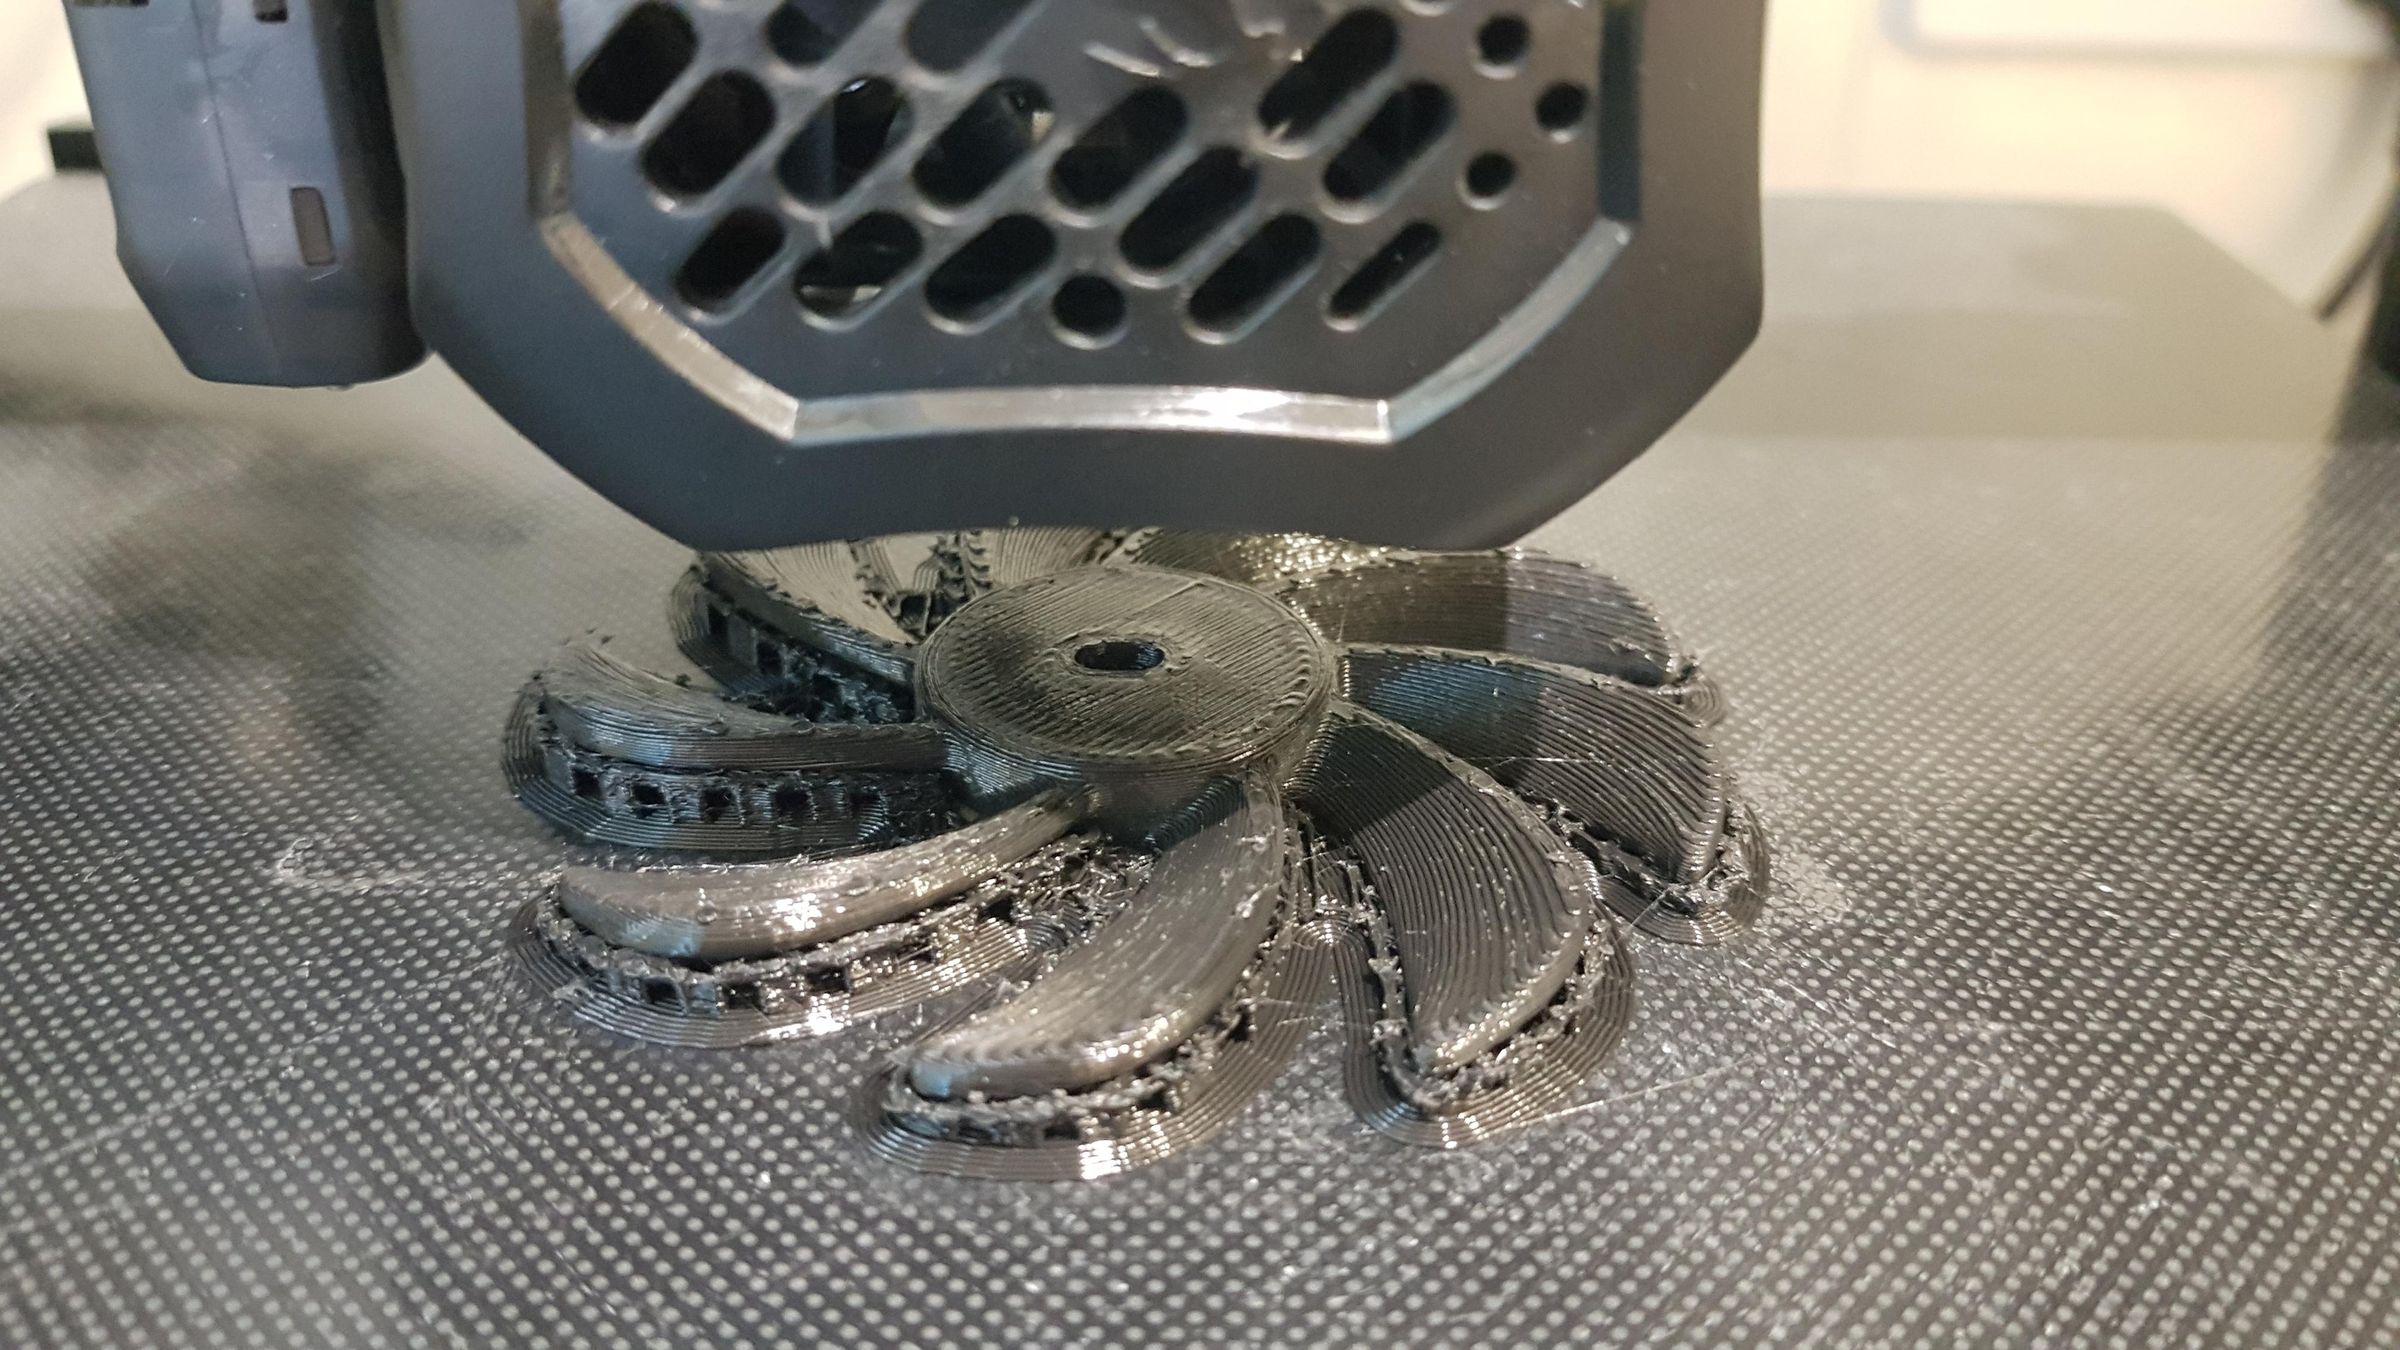
I carefully measured the dimensions of my Micro:bit, battery pack and motor to create a series of 3D printed parts that would hold everything together securely whilst keeping the design as compact as possible.
The main connector consists of two stacked sections. The larger lower section fits around the battery pack, while the smaller upper section supports the motor and keeps it perfectly aligned above the batteries. I made each section approximately 1 mm larger than the components it holds to allow for small inaccuracies in the 3D printer and expansion of the PLA, ensuring everything fits together smoothly.
I designed all the 3D printed parts using Autodesk's Tinkercad (a 3D design and modelling software), because I love its simple, quick and beginner-friendly nature—making it perfect for creative projects like this!
View my design here: https://www.tinkercad.com/things/jm9IiIehsUK-hand-held-fan-final?sharecode=qDt3oM62YrLuz4d8Trbnklid-44mQWBLaXn-Ru5VWNs
All parts were printed with no supports, a 3mm brim (to help with sticking to the build plate), and 20% infill density.
Assembly
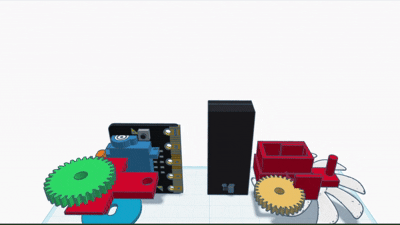
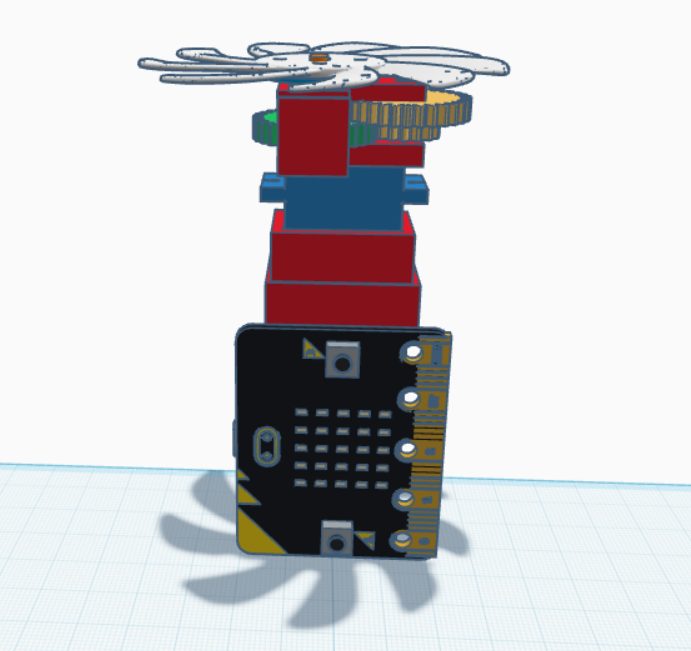
Once you have printed the parts, construction is simple. Watch the animation above for a more visual guide!
- Insert the bottom of the motor into the smaller half of the connector, and the top of the battery box into the larger half. Make sure they only take up half the depth each, and that the motor is the correct way around so that the wires protrude from the side with a slight curve in the wall of the connector.
- Bundle use crocodile clips to connect the yellow wire from the motor to the 0 port on the Micro:bit, the red wire to the BV port, and the brown one to the ground port. Position the crocodile clips so they are perpendicular to the plane of the Micro:bit, and pile the wires behind. Use 2 elastic bands to hold the wires, Micro:bit, and battery box in place.
- Press the gear box bottom onto the top of the motor, the cut-out circle fitting over the raised circle on the top of the motor to hold it firmly in place.
- Press the lower large gear over the axle of the motor poking through the gear box bottom, and the stacked gear should be threaded onto the 3D printed rod on the other end of the top face of the gear box bottom. The smaller gear should be underneath the larger gear in the stack.
- Place the upper small gear on top of the lower large gear, with the 3D printed rod pointing upwards, and slot the gear box top over it, so that the rod pokes through the hole into the gear box top. Make sure the ridges on the opposite sides of the gear box top are facing downwards so they line up with the gear box bottom. Sellotape them together over the corner.
- Slot the circular disk onto the rod poking through the gear box top.
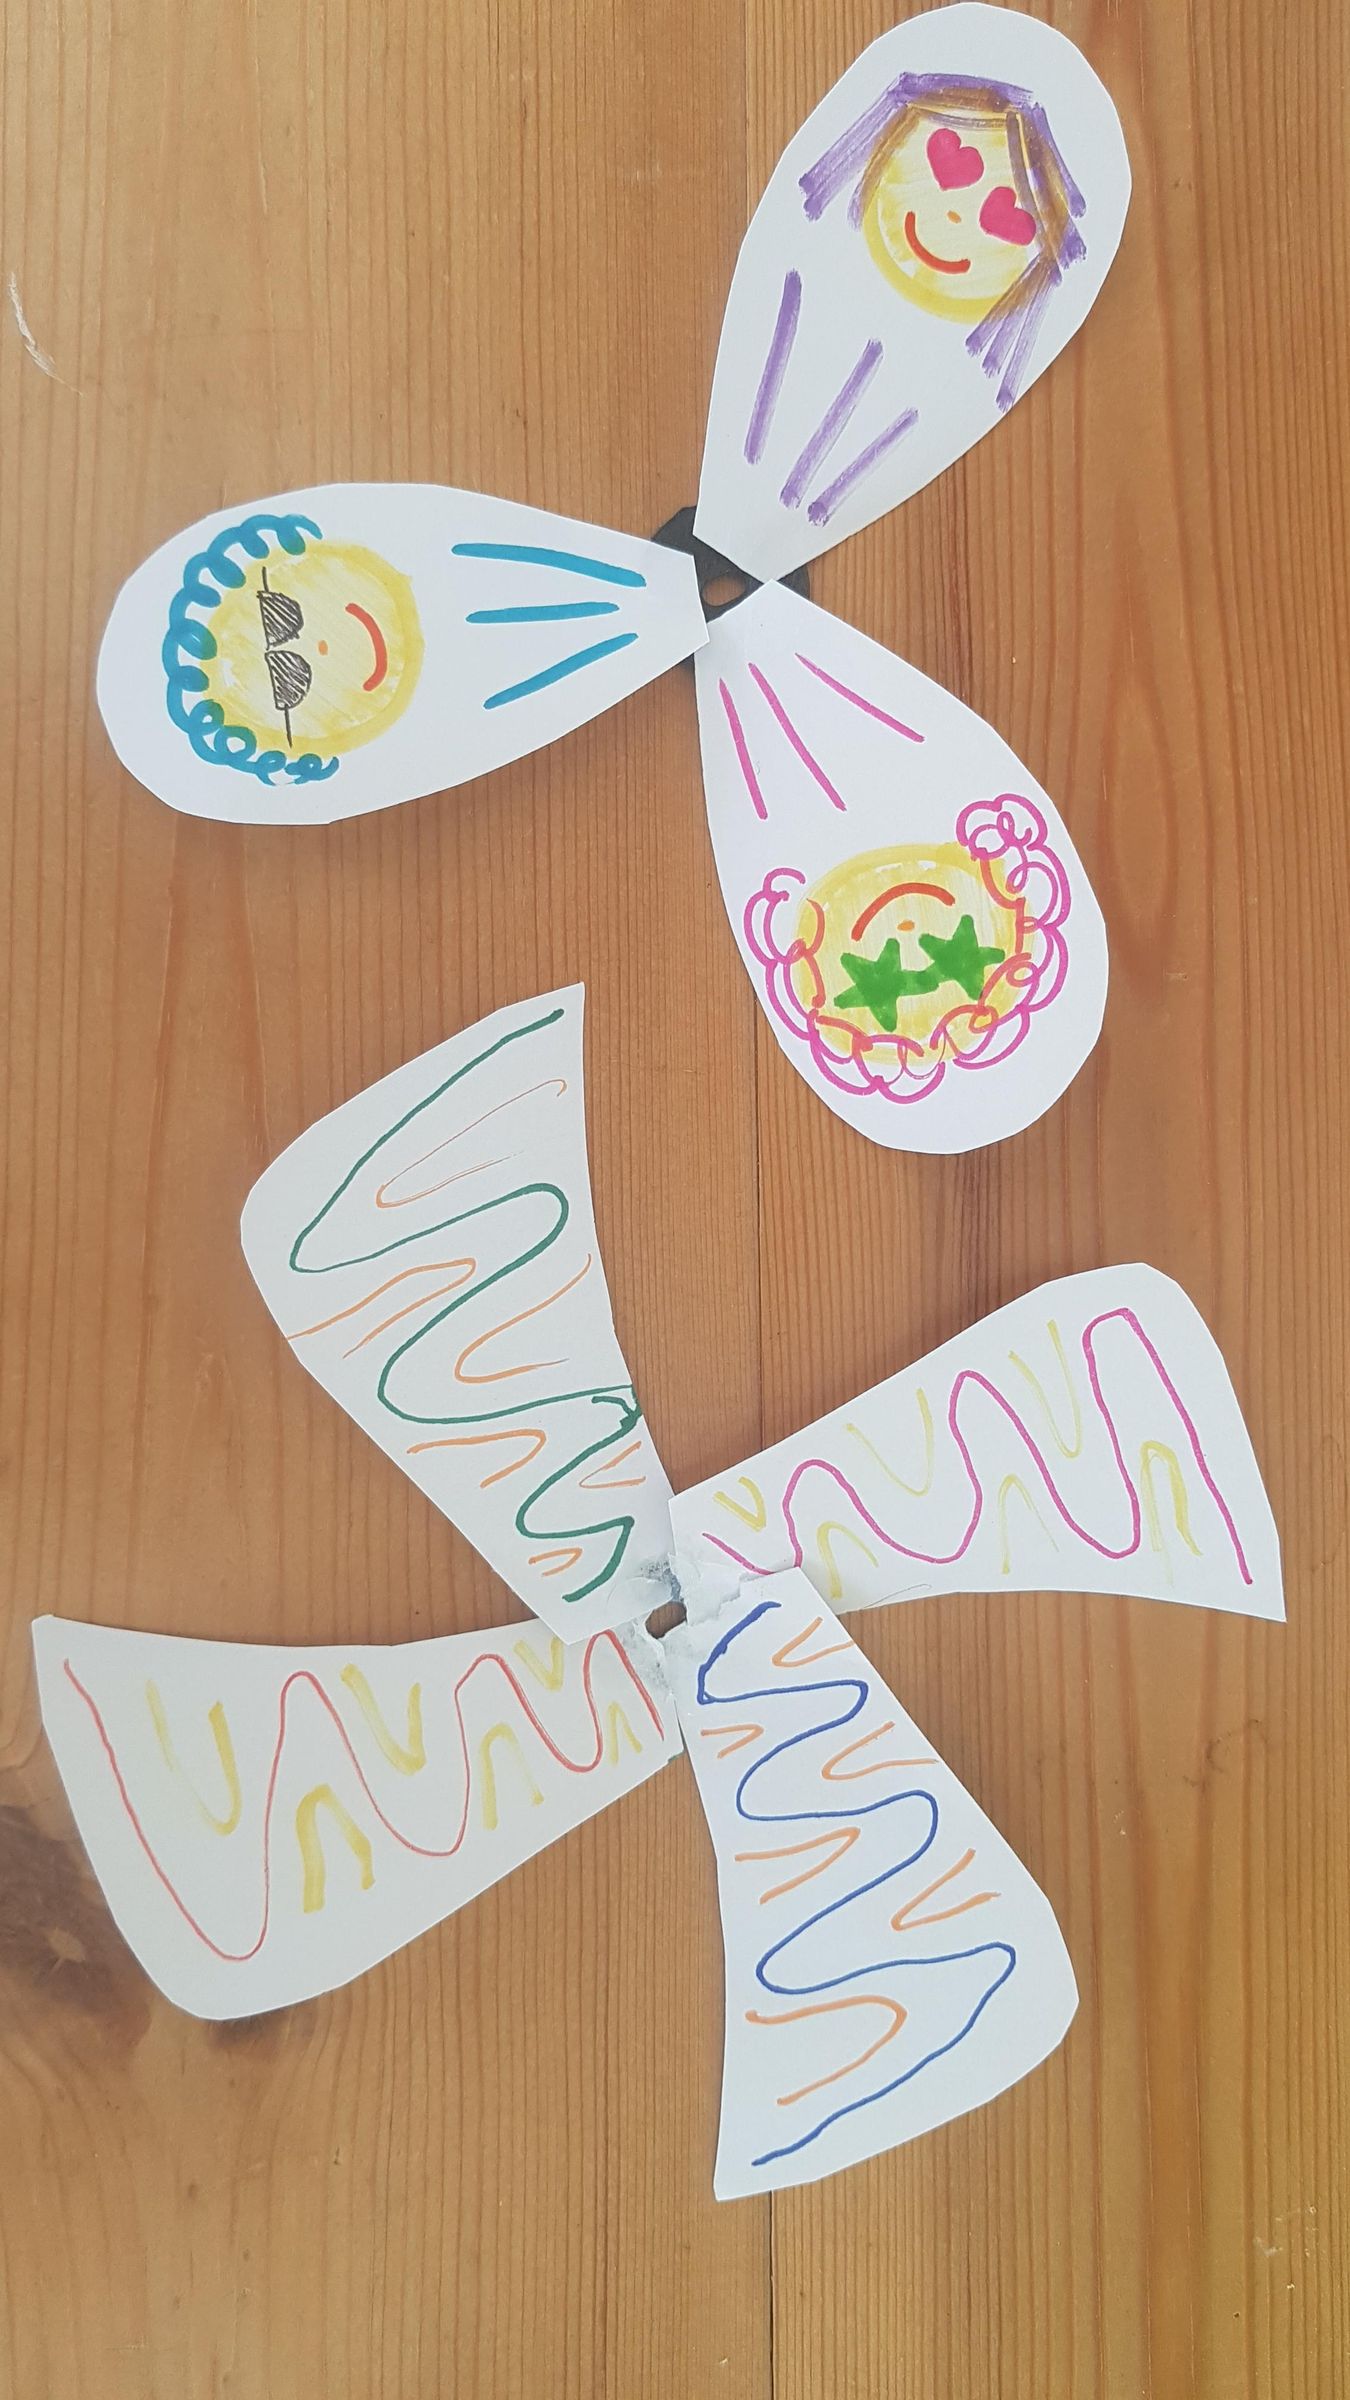
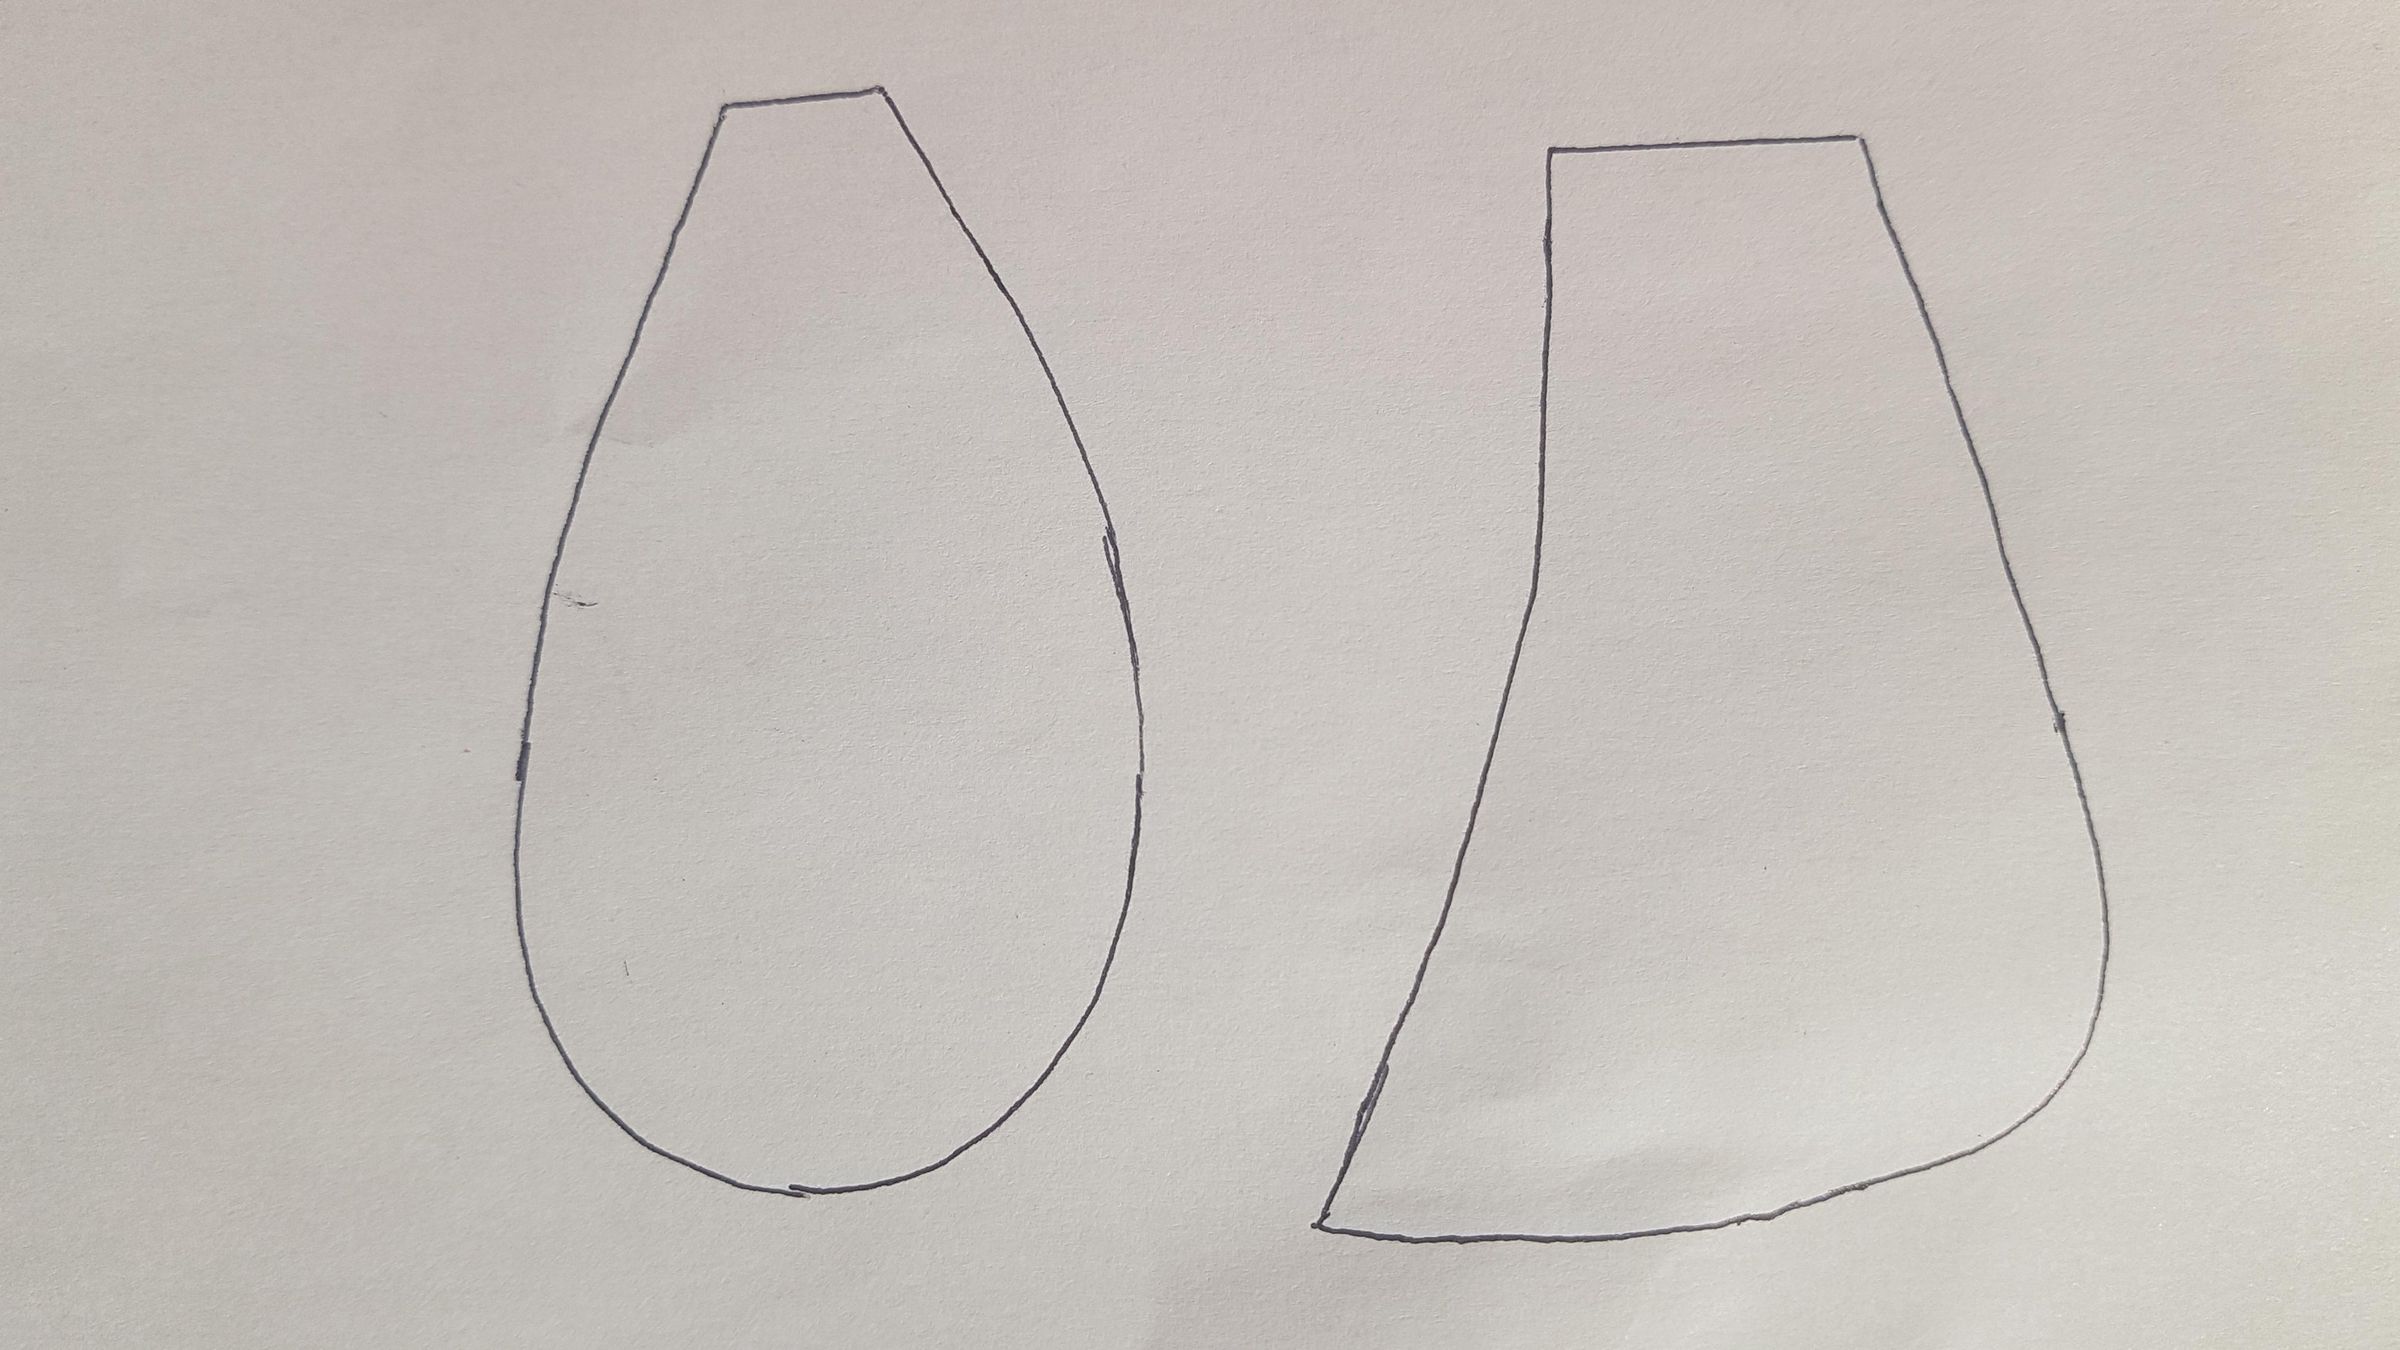
- Cut out some blades from paper or card, decorate them, then use a hot glue gun to stick them onto the plate. What materials, shapes, and quantity of blades work best? There are 2 circular disks included in the 3D printable files for you to experiment with, but you can of course print more! If you like, use the examples above for the shapes of the blades, or draw your own! When you stick them onto the circular disk, do so at an angle to ensure they "push" air towards you.
That's it! Your fan is now ready to test. Switch on the battery pack and watch your gears start spinning as your homemade summer cooling gadget springs into life! :)
Expansion Options
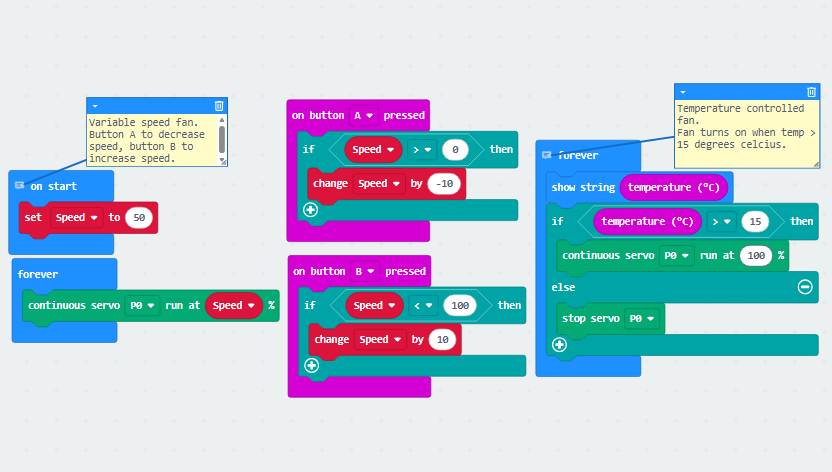
1- Temperature controlled fan:
When the temperature displayed on the Micro:bit is greater than 15 degrees celsius, the fan turns on automatically to start cooling you down.
JavaScript code:
2- Variable speed fan:
Pressing the B button increases the fan speed, and pressing the A button decreases the fan speed (newer version of Micro:bit only).
JavaScript code:
Check out the block code for both projects below:
Evaluation
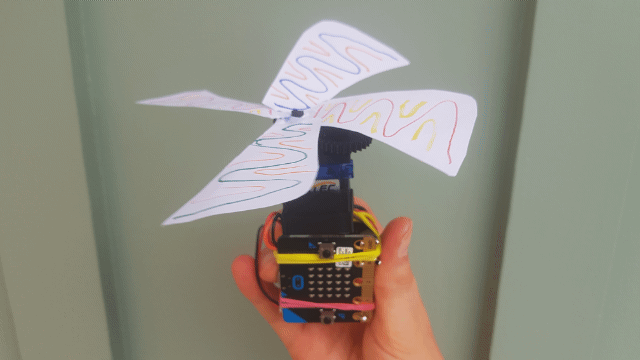
Thanks for joining me on this creative endeavour; I hope you have found my write-up interesting and informative!
What went well:
I love how the simple combination of a Micro:bit, motor and some 3D printed parts can be transformed into a fun and educational project, with so much scope for adaptation and personalisation.
What I would change:
The biggest improvement I would make would be to continue refining the propeller and gearbox design to produce a stronger breeze. Although the final fan works well, there is opportunity to experiment with different blade shapes, sizes and gear ratios.
My favourite part:
My favourite part has been experimenting with the further options for expansion of the fan using the MakeCode editor, although unfortunately not all the latest Micro:bit features are compatible with the older version Micro:bit (which I have).
What I learnt:
The smallest changes can make a big difference! From adjusting gear designs to testing different propeller shapes, this project taught me that engineering is all about experimenting, improving and occasionally accepting that your first idea might need adapting!
Please check out the rest of my Instructables here: