Micro:bit Sound Meter!


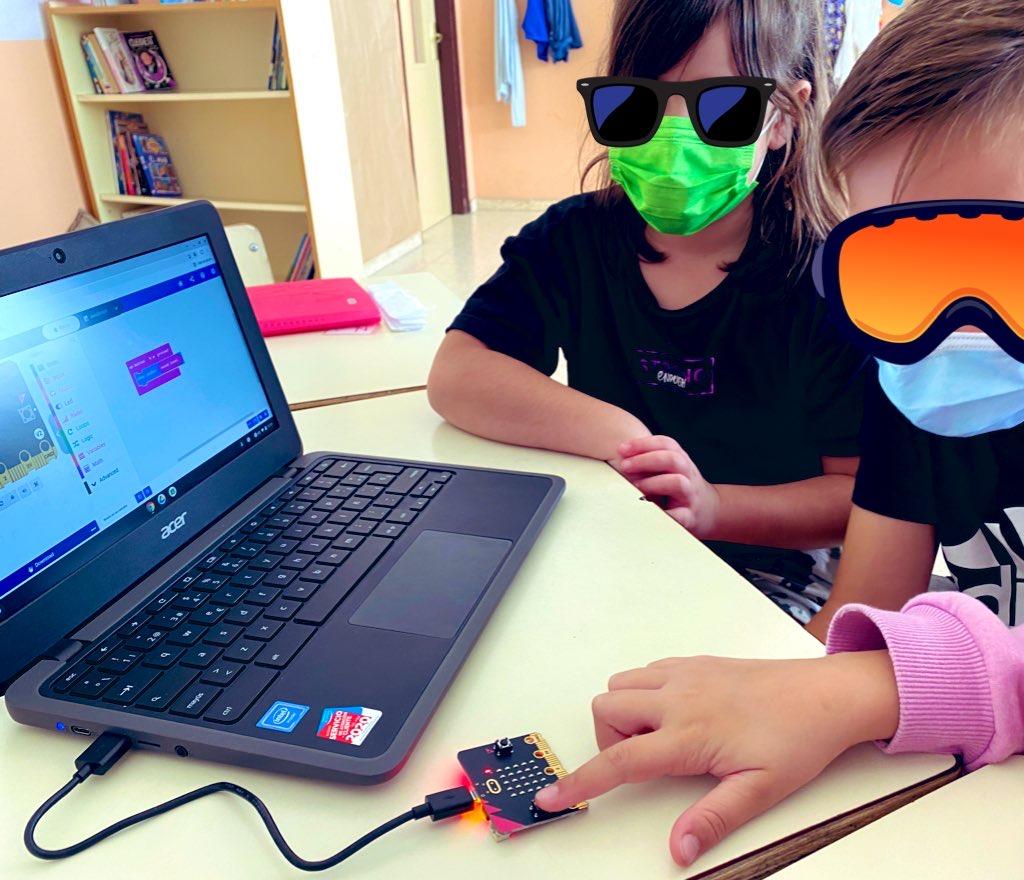
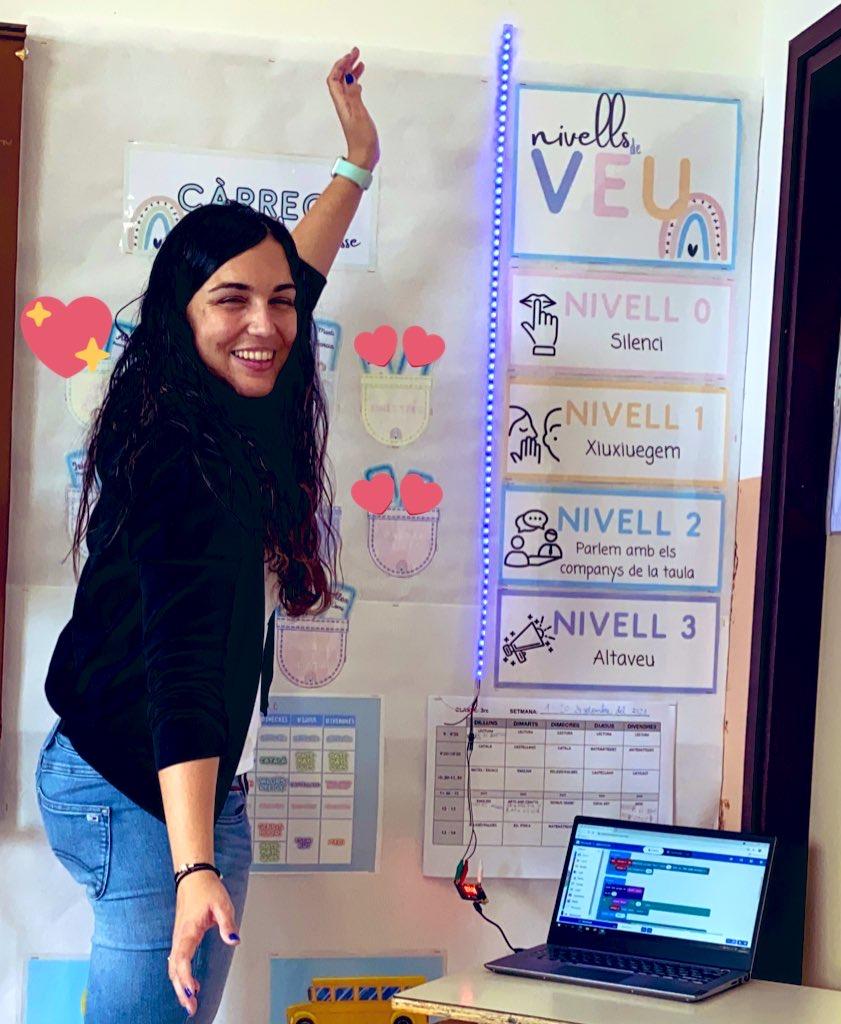
We created a sound meter with a LED strip and the micro:bit so that the students would know if they were using the adequate level of voice.
In a collaborative classroom, it is important to keep the volume to the stablished level so that everyone will be comfortable. For example, if we are working in teams, we should be speaking in a voice tone so that everyone in the team will listen to us, but at the same time that the other students in the team next to us will be comfortable speaking among them. That is why we created the micro:bit sound meter about the voice levels chart.
Downloads
Supplies


Downloads
Define the Voice Levels Using the Micro:bit V2 Microphone


Using the micro:bit V2 microphone, we can decide the minimum and maximum values of each voice level. We explain the students that the minimum value will be 0 and the maximum 255.
- First, use an input block to detect the voice level: When button A is pressed.
- After this, use one of the basic blocks to show a string.
- Fill the string with the input block "Sound level".
And try it! :)
Here is an example of a possible code: https://makecode.microbit.org/_d5sMFFH67Xkm
Code the Micro:bit Using MakeCode

Now is the time to code the micro:bit with the values we have decided using boolean conditionals and the Neopixel library.
- On start, set the strip to the pin you will be using and also the brightness of the LED lights (I usually use 100 as the maximum brightness).
- Forever:
- Add a plot bar graph of the sound level up to the maximum voice value we will be using (For example, 80).
- Add a condition for each sound level:
- If sound level is higher than 80, then turn the strip colour to violet and pause for one second.
- If sound level is lower or equal to 80 and higher or equal to 60, then turn the strip colour to blue and pause for one second.
- If sound level is lower or equal to 59 and higher or equal to 30, then turn the strip colour to orange and pause for one second.
- Else, turn the strip colour to white.
Here is an example of the code created by our students: https://makecode.microbit.org/36132-67695-49271-89748
Create the Voice Level Chart Using Canva


Using Canva, we will design the posters for every voice level and place it in our classroom.
Now, get ready for some quiet time!✨✨✨