Micro:bit V2_Virtual Cat & Pal

micro:bit V2 Virtual Cat
The two micro:bits talk to each other through sounds and led displays. I decided to use the back micro:bit as the controller. This allows the front micro:bit to be the LED display for interacting with your Virtual Cat.
Supplies


Equipment:
2 - micro:bit V2
2 - AA Battery Pack
1 - micro:bit Extension Board
2 - External Push Buttons
1 - External Red Led Light
1 - Copper Tape
7 - Jump Wire F-M
Optional Equipment:
9V Battery
9V Battery Cable
3rd micro:bit V2
Segment Display
LCD Module
Additional Jump Wires
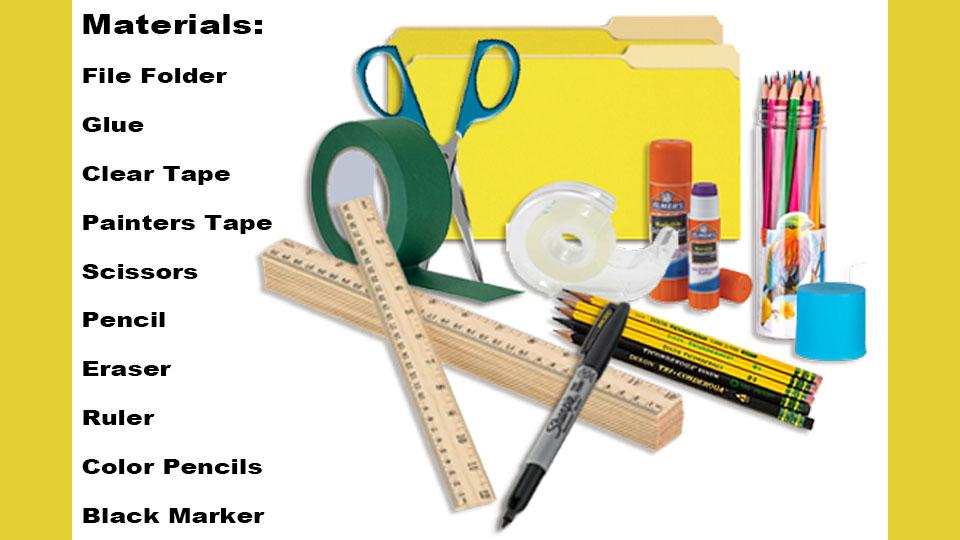
Materials:
File Folder
Glue
Clear Tape
Painters Tape
Scissors
Pencil
Eraser
Ruler
Color Pencils
Black Marker
Design Brief

Micro:Bit V2_Virtual Cat & Pal Design Brief
MakeCode Micro:Bit Download


Use MakeCode to download the code/programing to 2 micro:bit V2 for the Virtual Cat & Pal
Project Link: https://makecode.microbit.org/_MHidorTuLd1K
MakeCode Website: https://makecode.microbit.org/
Optional:
- You can add a 3rd micro:bit as a display
- You can add additional code/program for other micro:bit equipment/devices
Downloads
Making the Shell


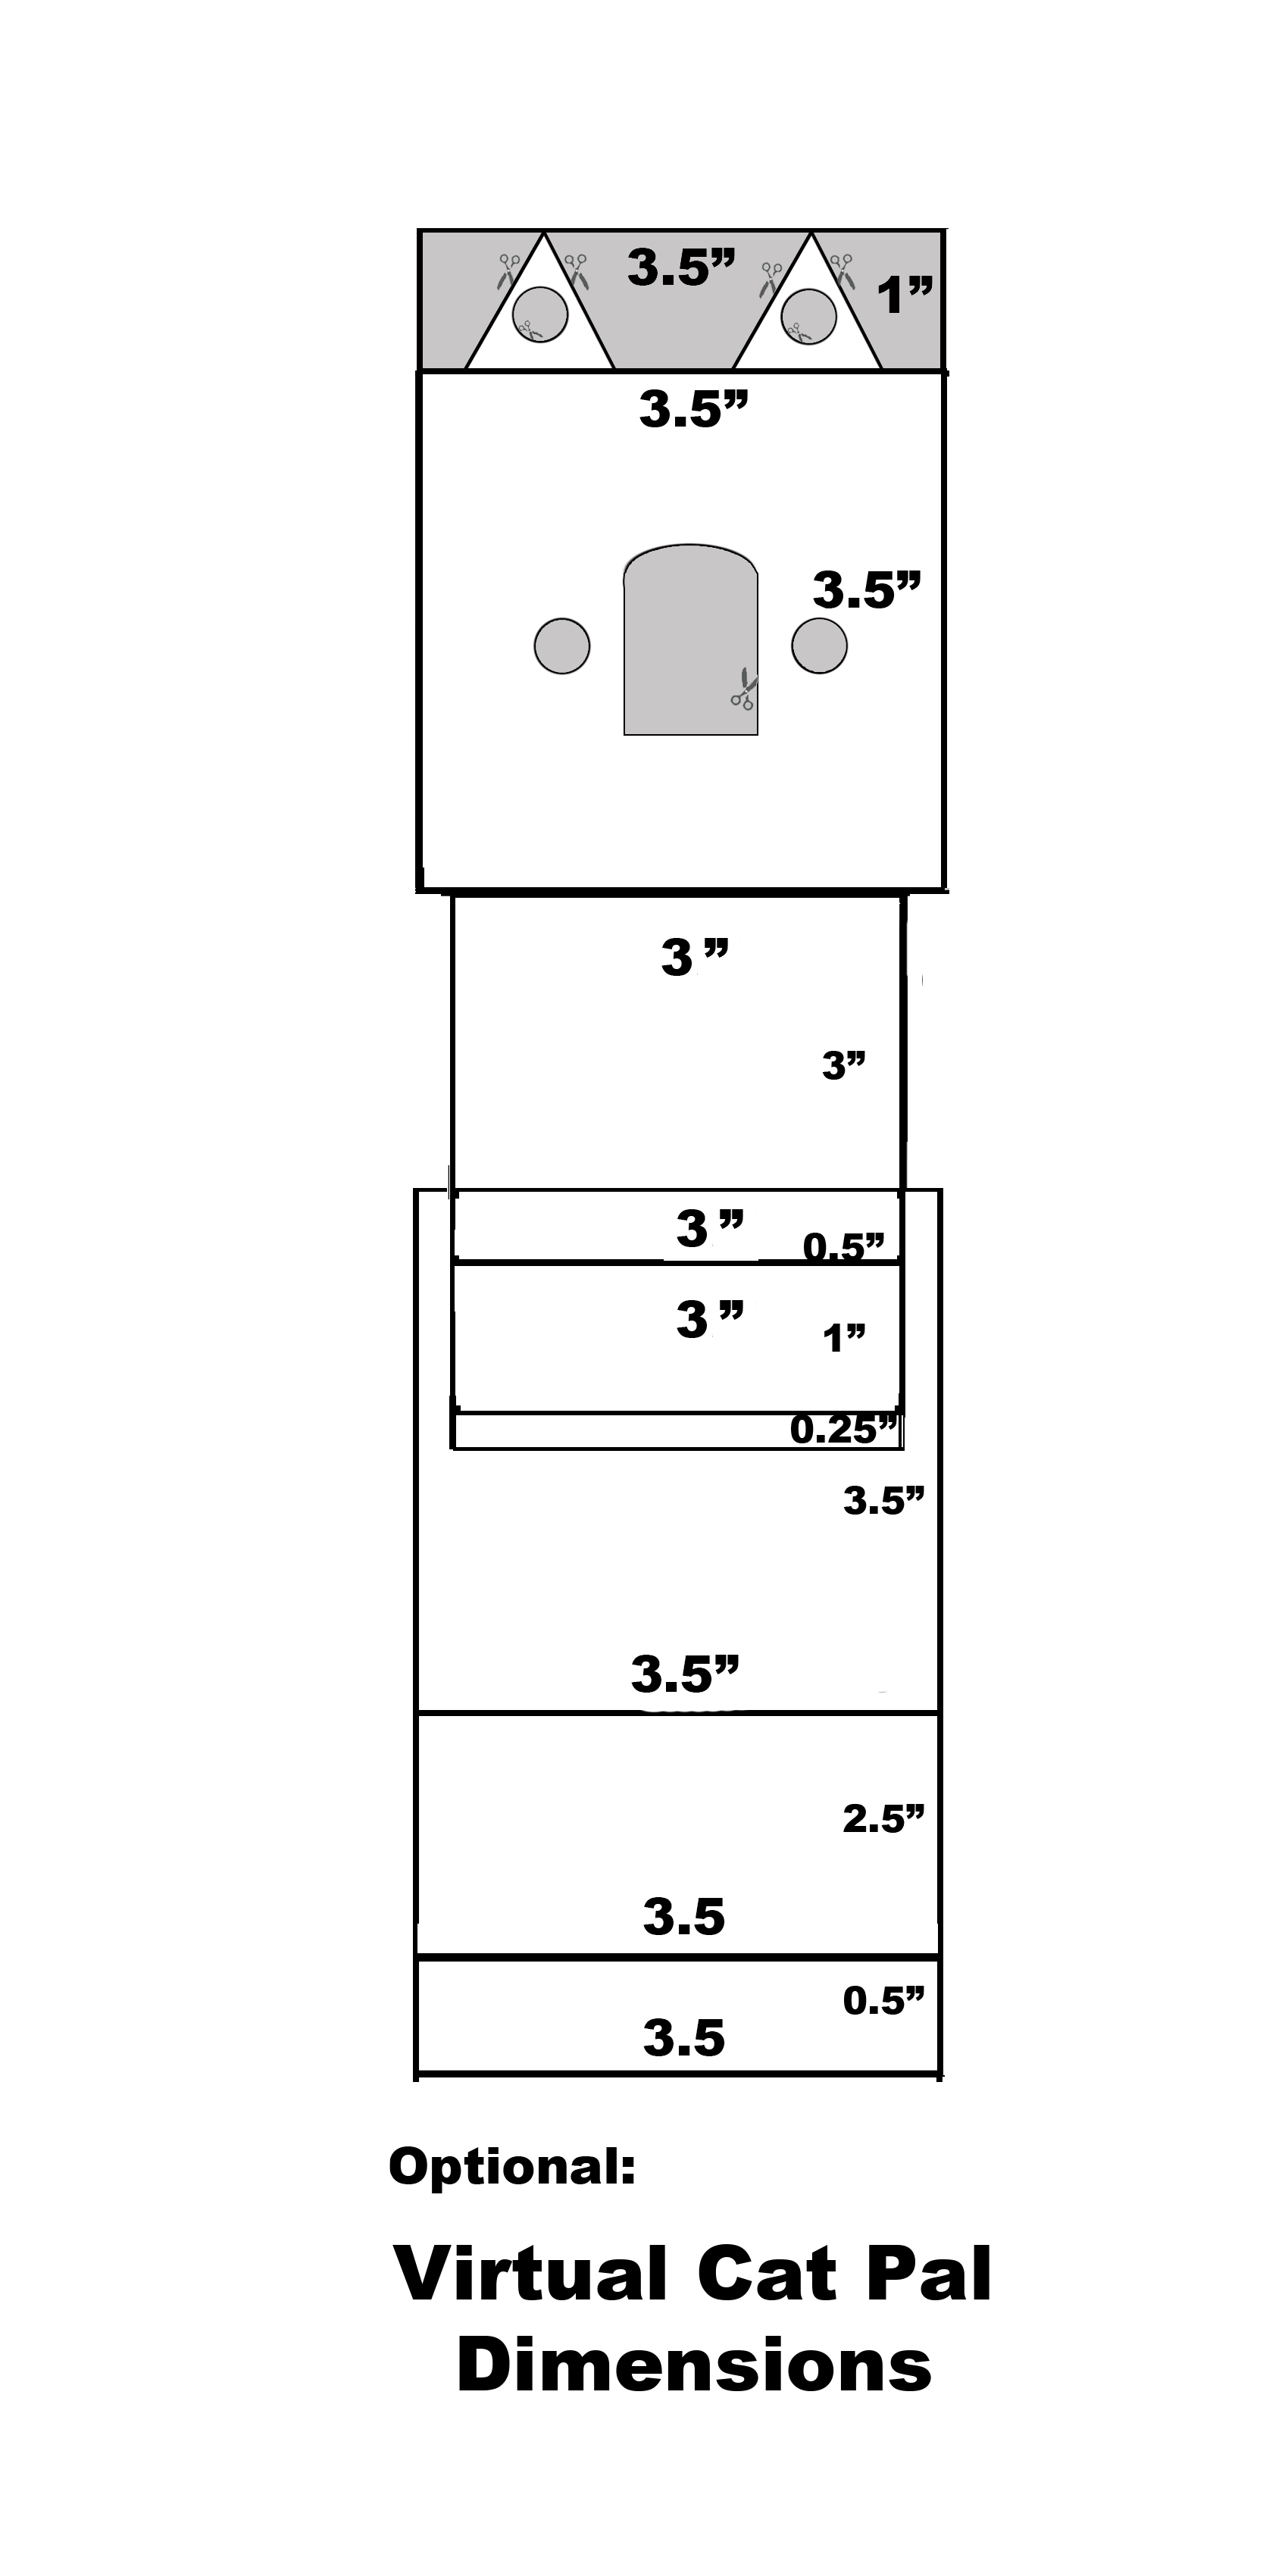
Materials: File Folder or Card Stock, Glue, Tape, Scissors, Pencil, Eraser, Ruler, Color Pencils or Markers, Black Marker, & Virtual Cat Dimension Plan
Downloads
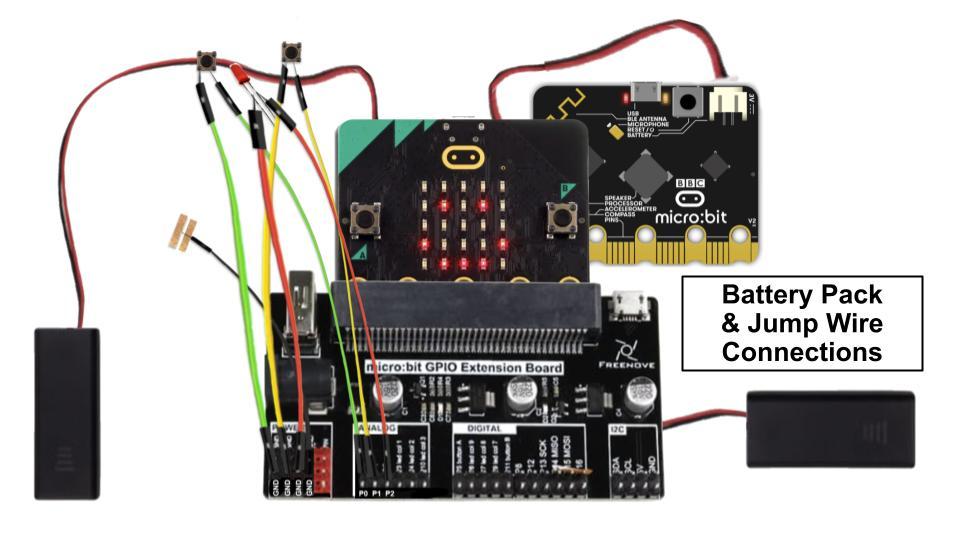
Visual Diagram


Use the Diagram to assist you in connecting your micro:bits to your Virtual Cat (*see equipment list)
Instructions


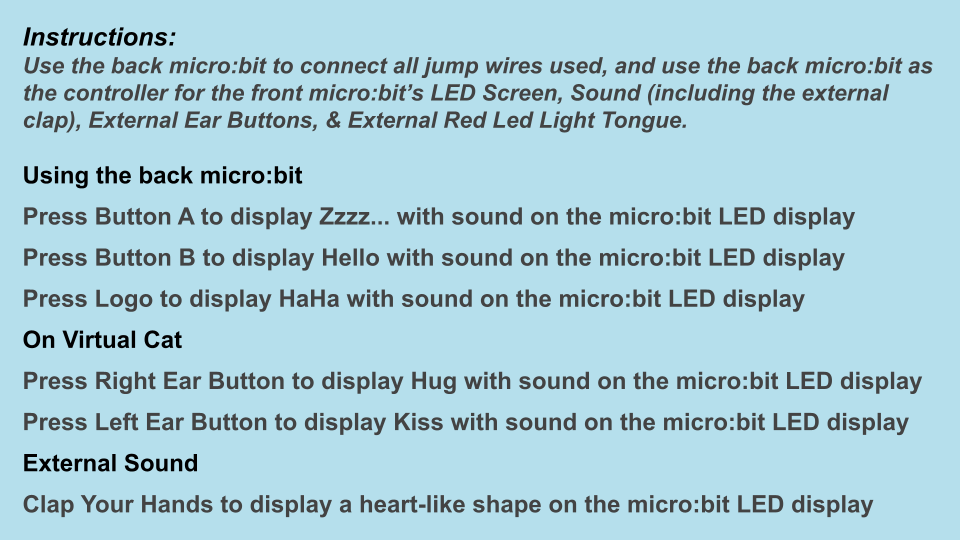
Instructions:
Use the back micro:bit to connect all jump wires used, and use the back micro:bit as the controller for the front micro:bit’s LED Screen, Sound (including the external clap), External Ear Buttons, & External Red Led Light Tongue.
Using the back micro:bit
Press Button A to display Zzzz... with sound on the micro:bit LED display
Press Button B to display Hello with sound on the micro:bit LED display
Press Logo to display HaHa with sound on the micro:bit LED display
On Virtual Cat
Press Right Ear Button to display Hug with sound on the micro:bit LED display
Press Left Ear Button to display Kiss with sound on the micro:bit LED display
External Sound
Clap Your Hands to display a heart-like shape on the micro:bit LED display
Video

This is a short YouTube video on how the micro:bit Virtual Cat works.
How To Operate Your Virtual Cat & Pal
Unit Project Write-up
Unit Project Write-Up: Micro:Bit V2_Virtual Cat & Pal
The PDF talks about the micro:bit Unit Project.
Project Plan
Radio Project MakeCode
Project Ideas and Resources
Interactive Art
Project Idea Resources
Video
Reflection