Micro:bot Assembling Tutorial EHMS
by Zachary Rubi in Circuits > Robots
5 Views, 0 Favorites, 0 Comments
Micro:bot Assembling Tutorial EHMS
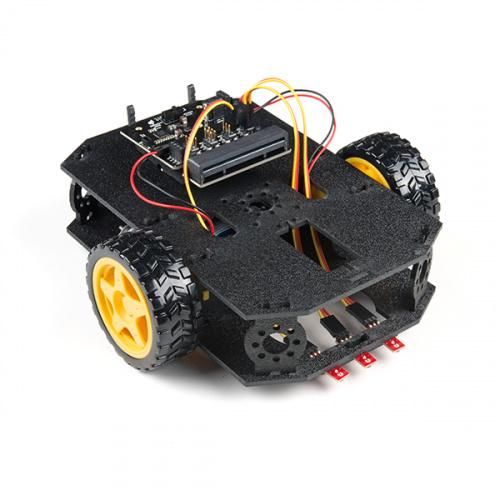
Today you will be assembling a Micro:bot
Supplies
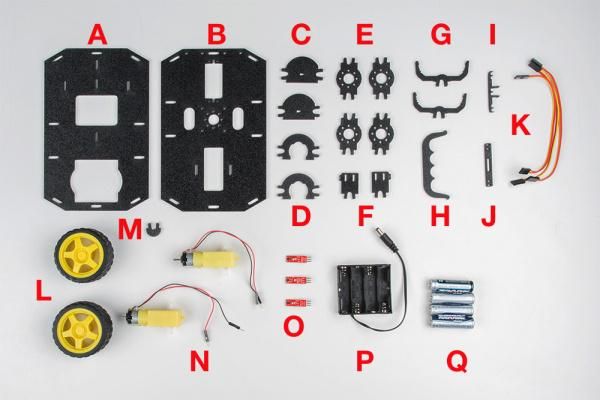
These are the parts you get in your micro:bot kit. You will use these parts to create your robot.
Making the Motors
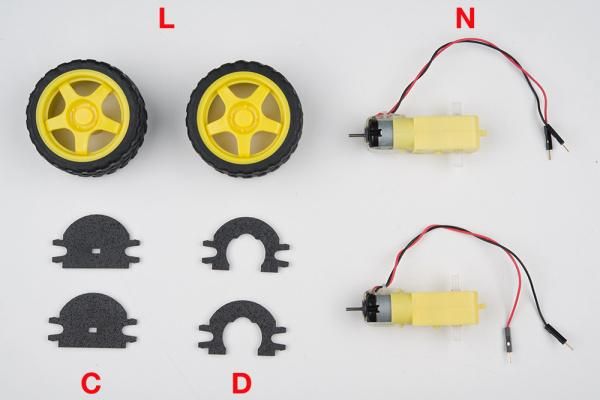
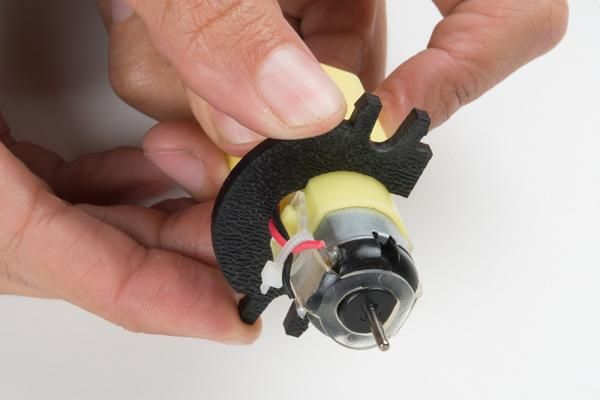
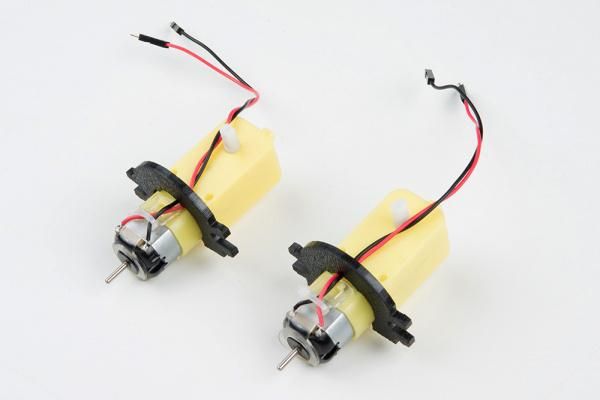
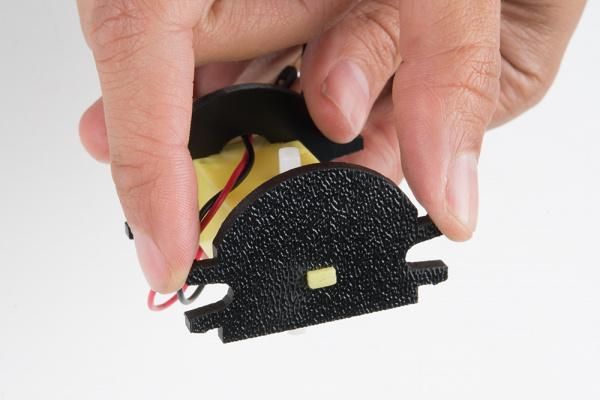
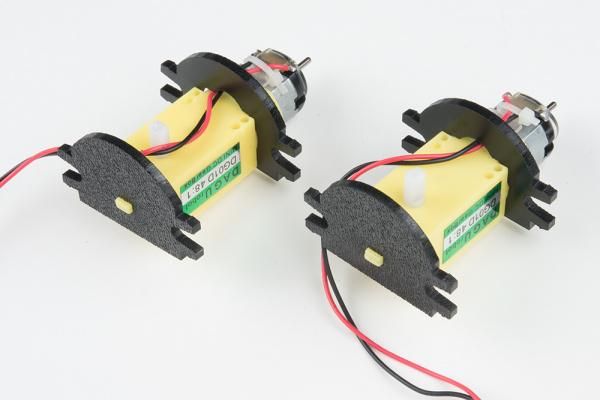
First, attach the rear motor mount(D) to the motor (N) carefully(Make sure the wires are centered bottom gap). Repeat to the second motor.
Second, attach the front motor mount(C) to the front and back of the motor. Repeat to the second motor.
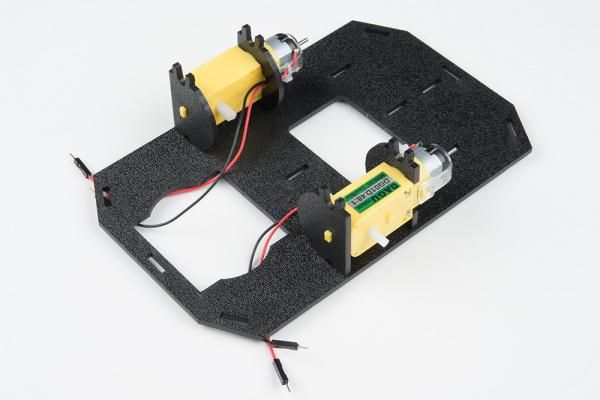
Lastly, attach the two motors to the Bottom Chassis Plate (A).
Adding the Wheels to the Motors
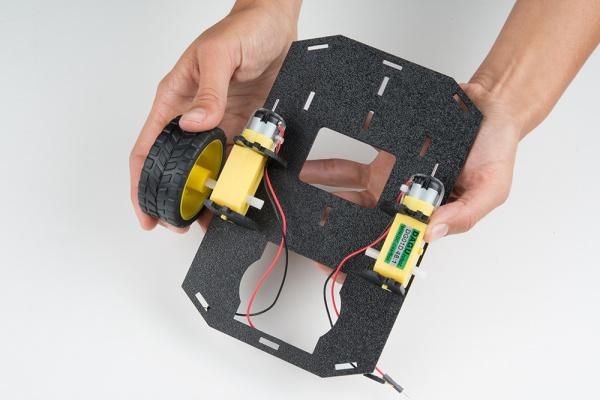
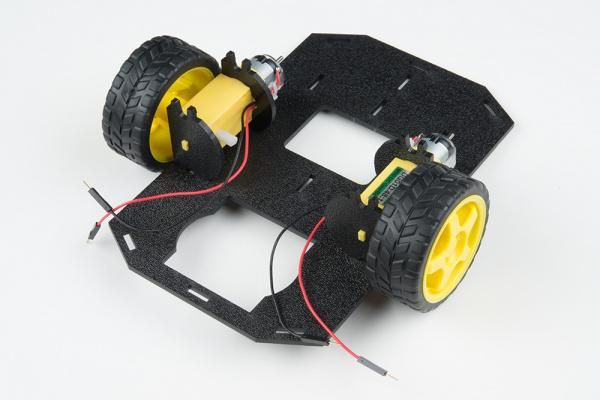
Attach one of the wheels to plastic shaft (The white plastic part) of one of the motors. Repeat to the second motor.
Adding Line Sensors
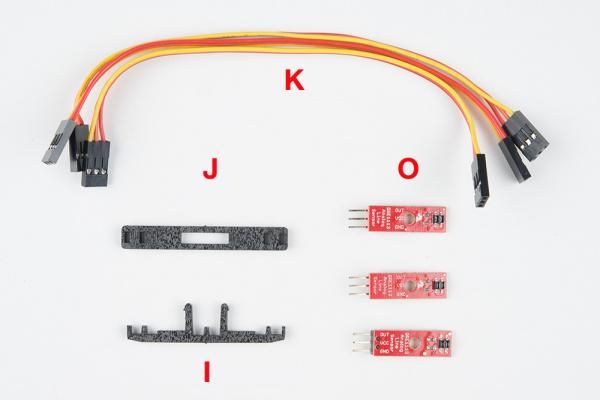
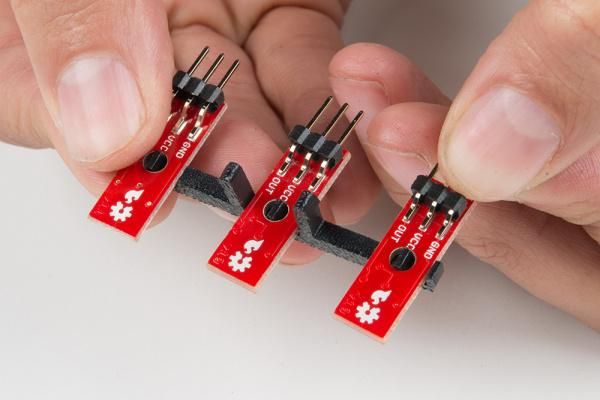
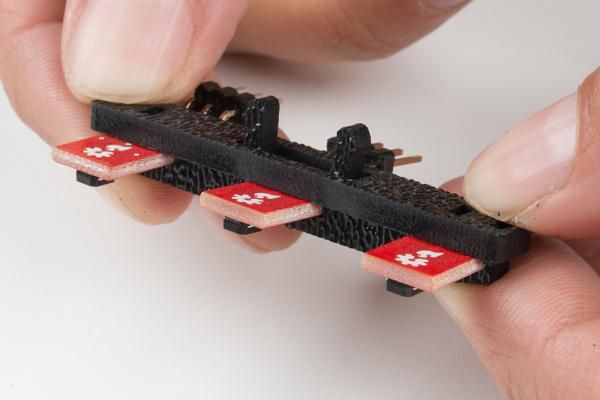
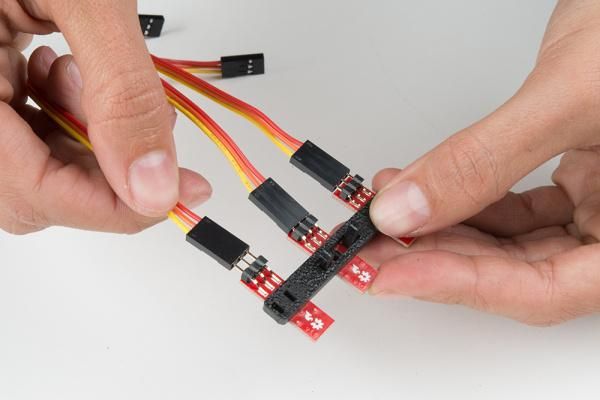
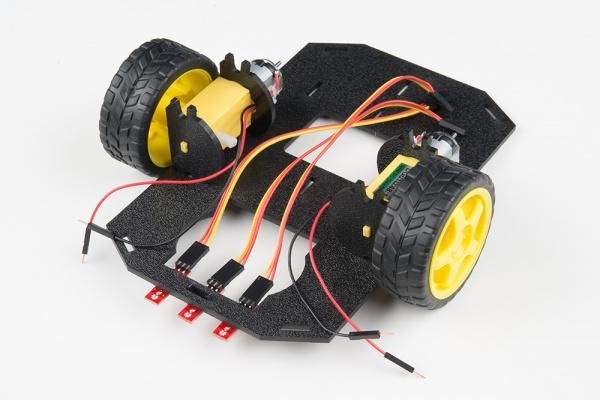
First, carefully add the Line Follower Boards(O) to the Line Follower Mount(I).
Second, attach the Line Follower Mount Plate(J) on top of the Line Follower Mount with the Line Follower Boards in it.
Then, attach the wires to the on Line Follower Boards(O) with the yellow wire on the right and the red wire on the left.
Finally, attach it to the rectangular slot at the front of the base with the wires facing inward.
Adding the Top Chassis Plate
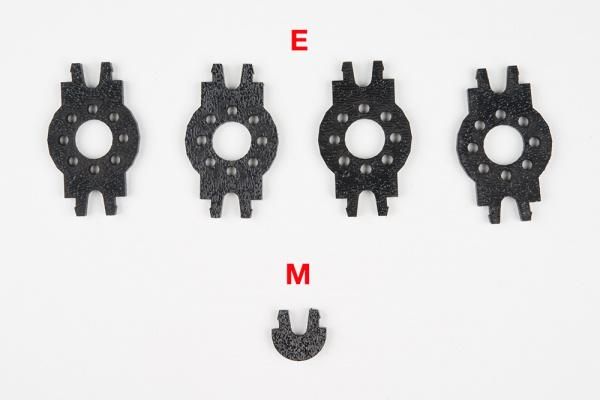
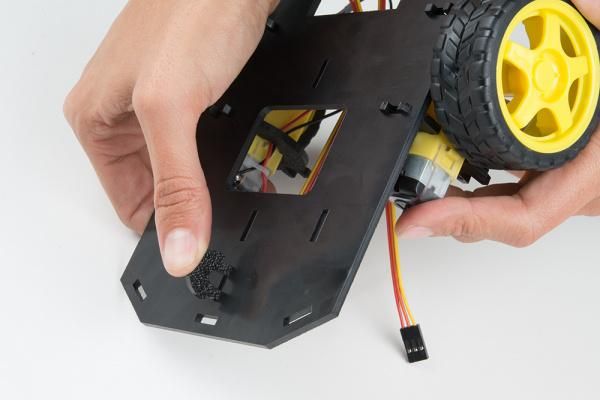
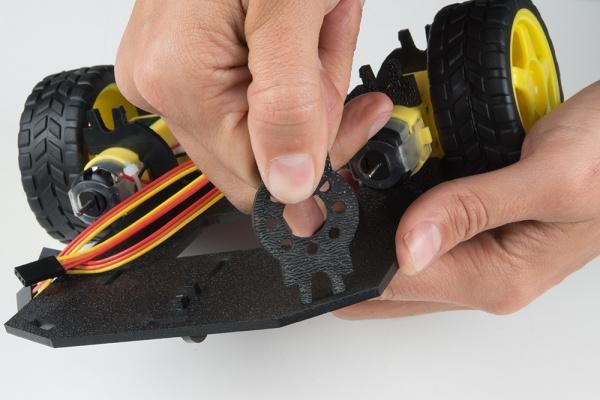
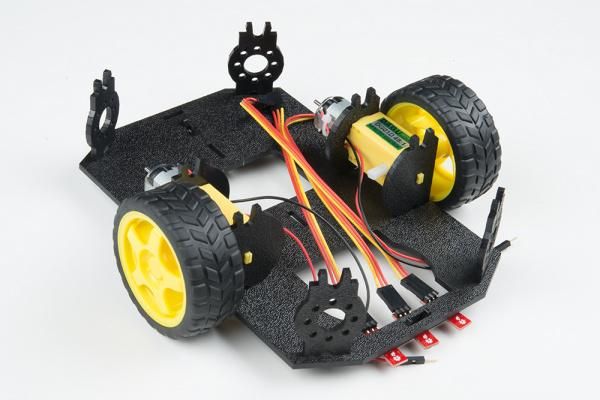
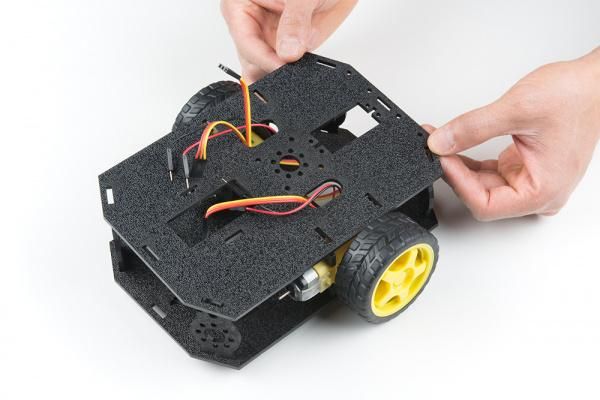
(Before you make attach the top of the base, add the Nub Caster(M) to the bottom of the base.)
First, add the four Side Struts(E) to the for corners of the base.
Second, add the Top Chassis Plate(B) on top of the struts
Attaching the Moto:bit
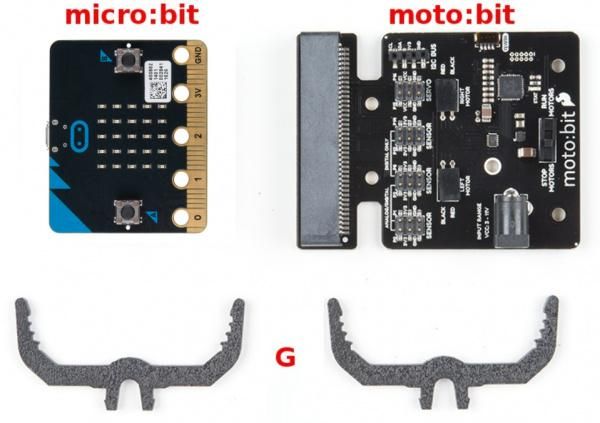
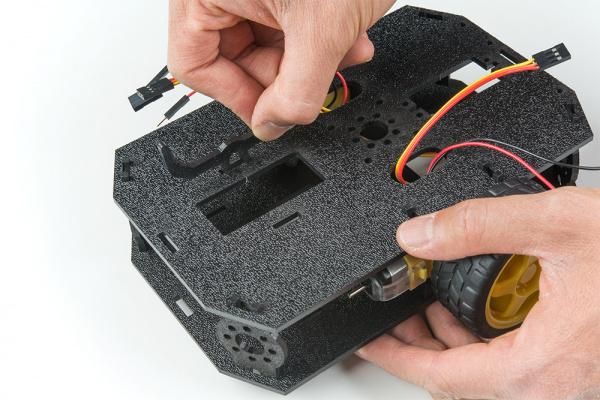
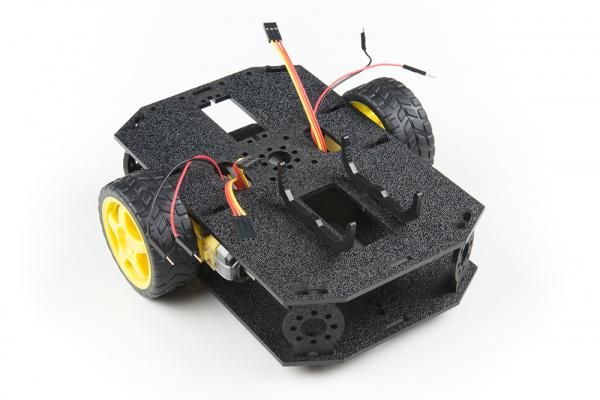
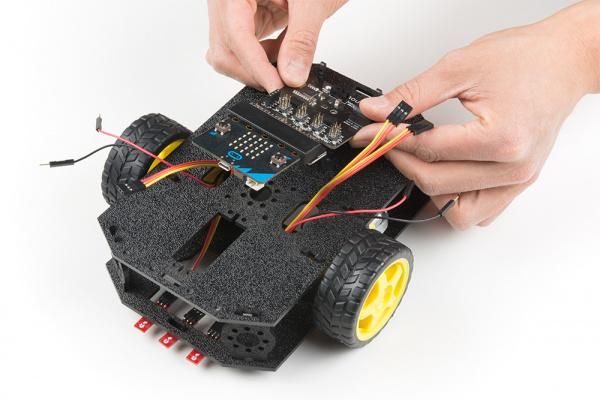
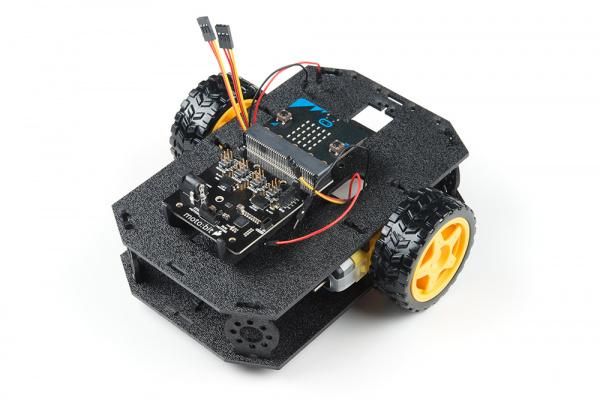
First, attach the moto:bit mounts(G) to the Top Chassis Plate(B).
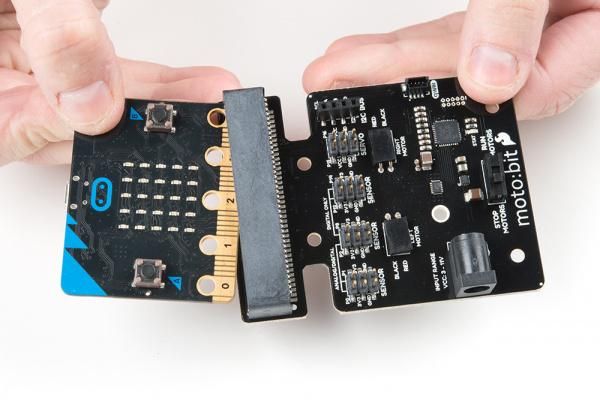
Second, insert the Micro:bit into the moto:bit board.
Third, attach the moto:bit board to the lowest notches of the moto:bit mounts.
Attaching the Cables
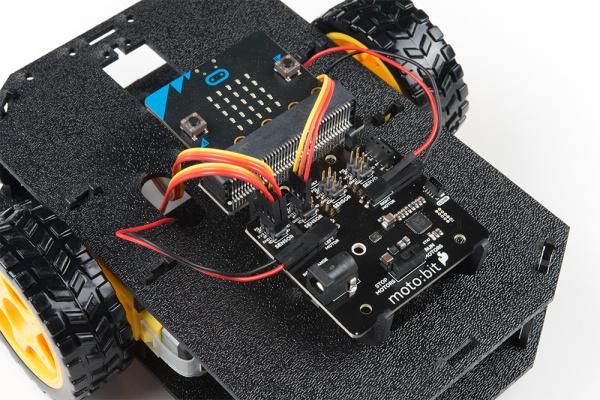
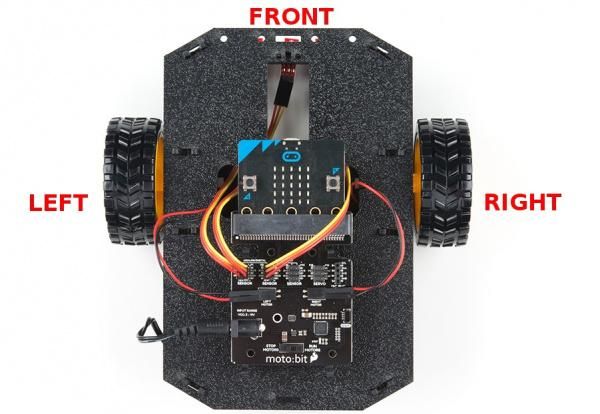
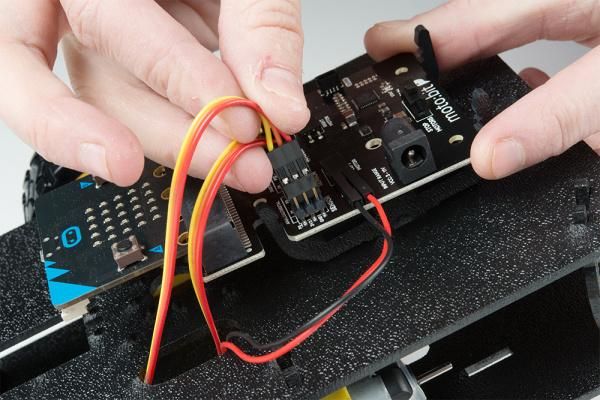
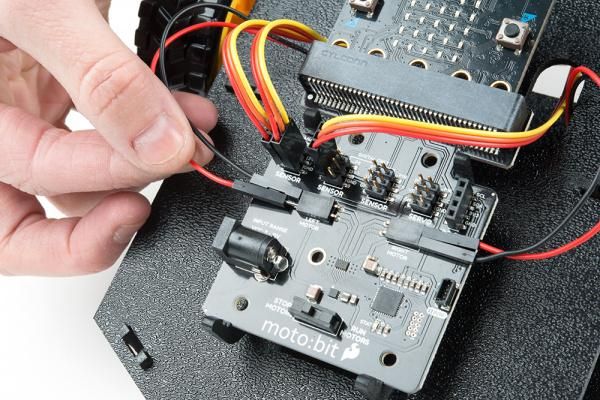
Attach the cables to the moto:bit.
Adding the Battery Pack
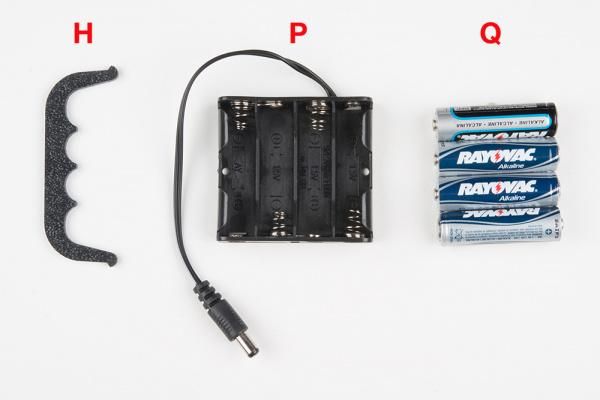
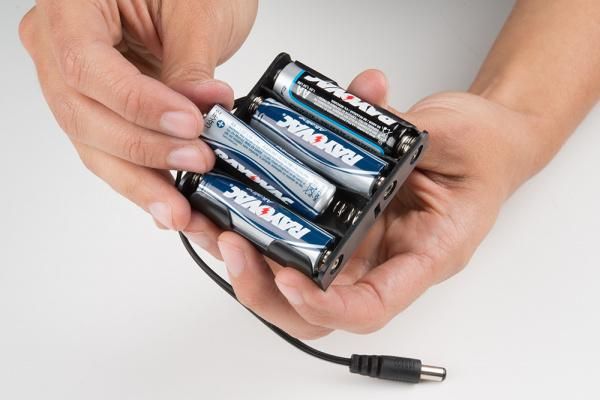
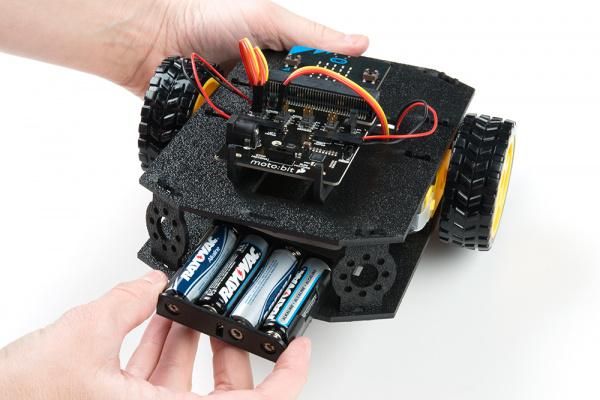
First, attach the Batteries(Q) to the Battery Holder(P).
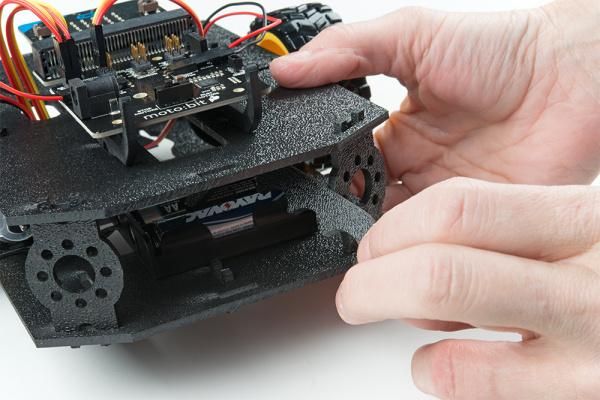
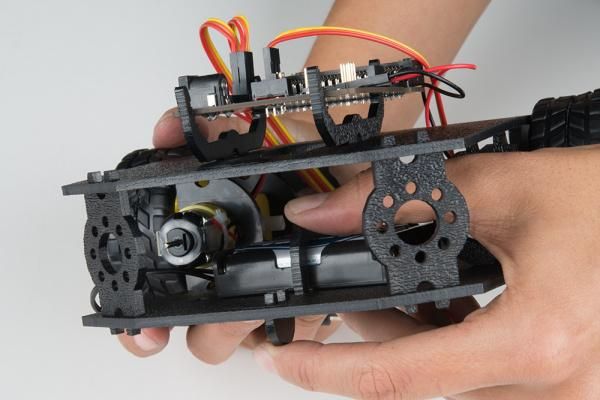
Second, place the Battery Holder inside of the base.
Finally, put the Battery Pack Clip(H) on top of the Batteries and Battery Holder and attach it to the Bottom Chassis Plate