Midi Program-name Display


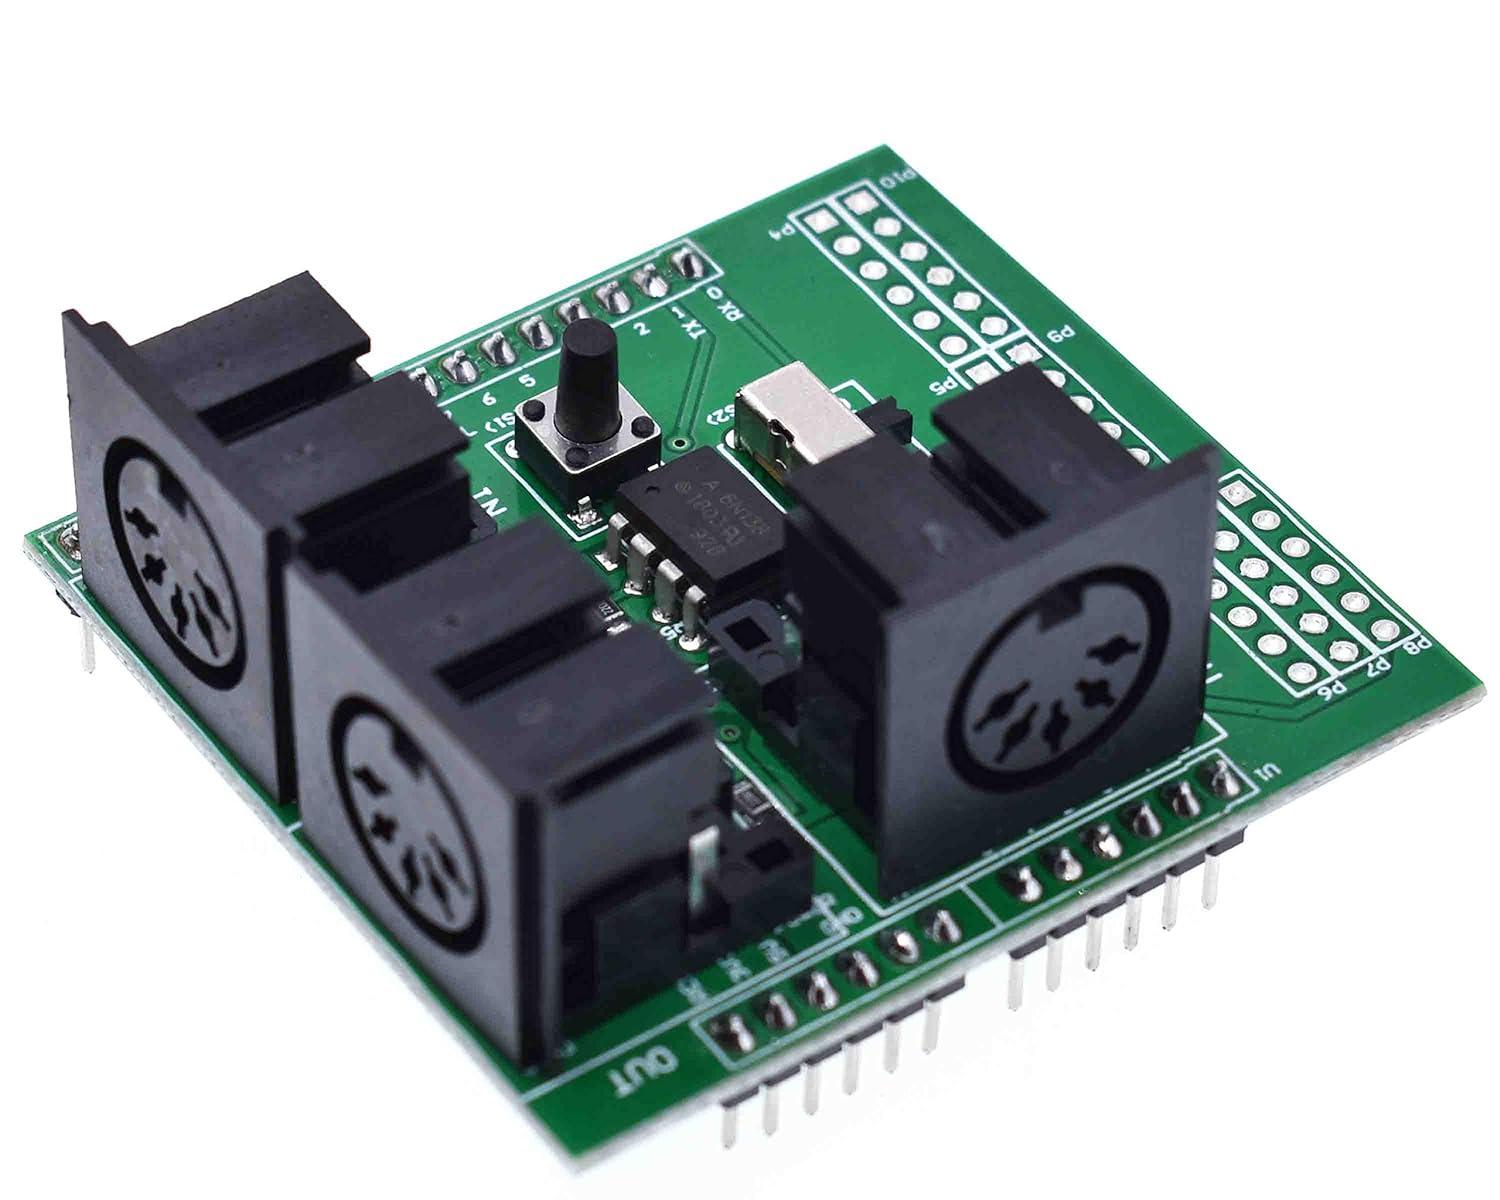
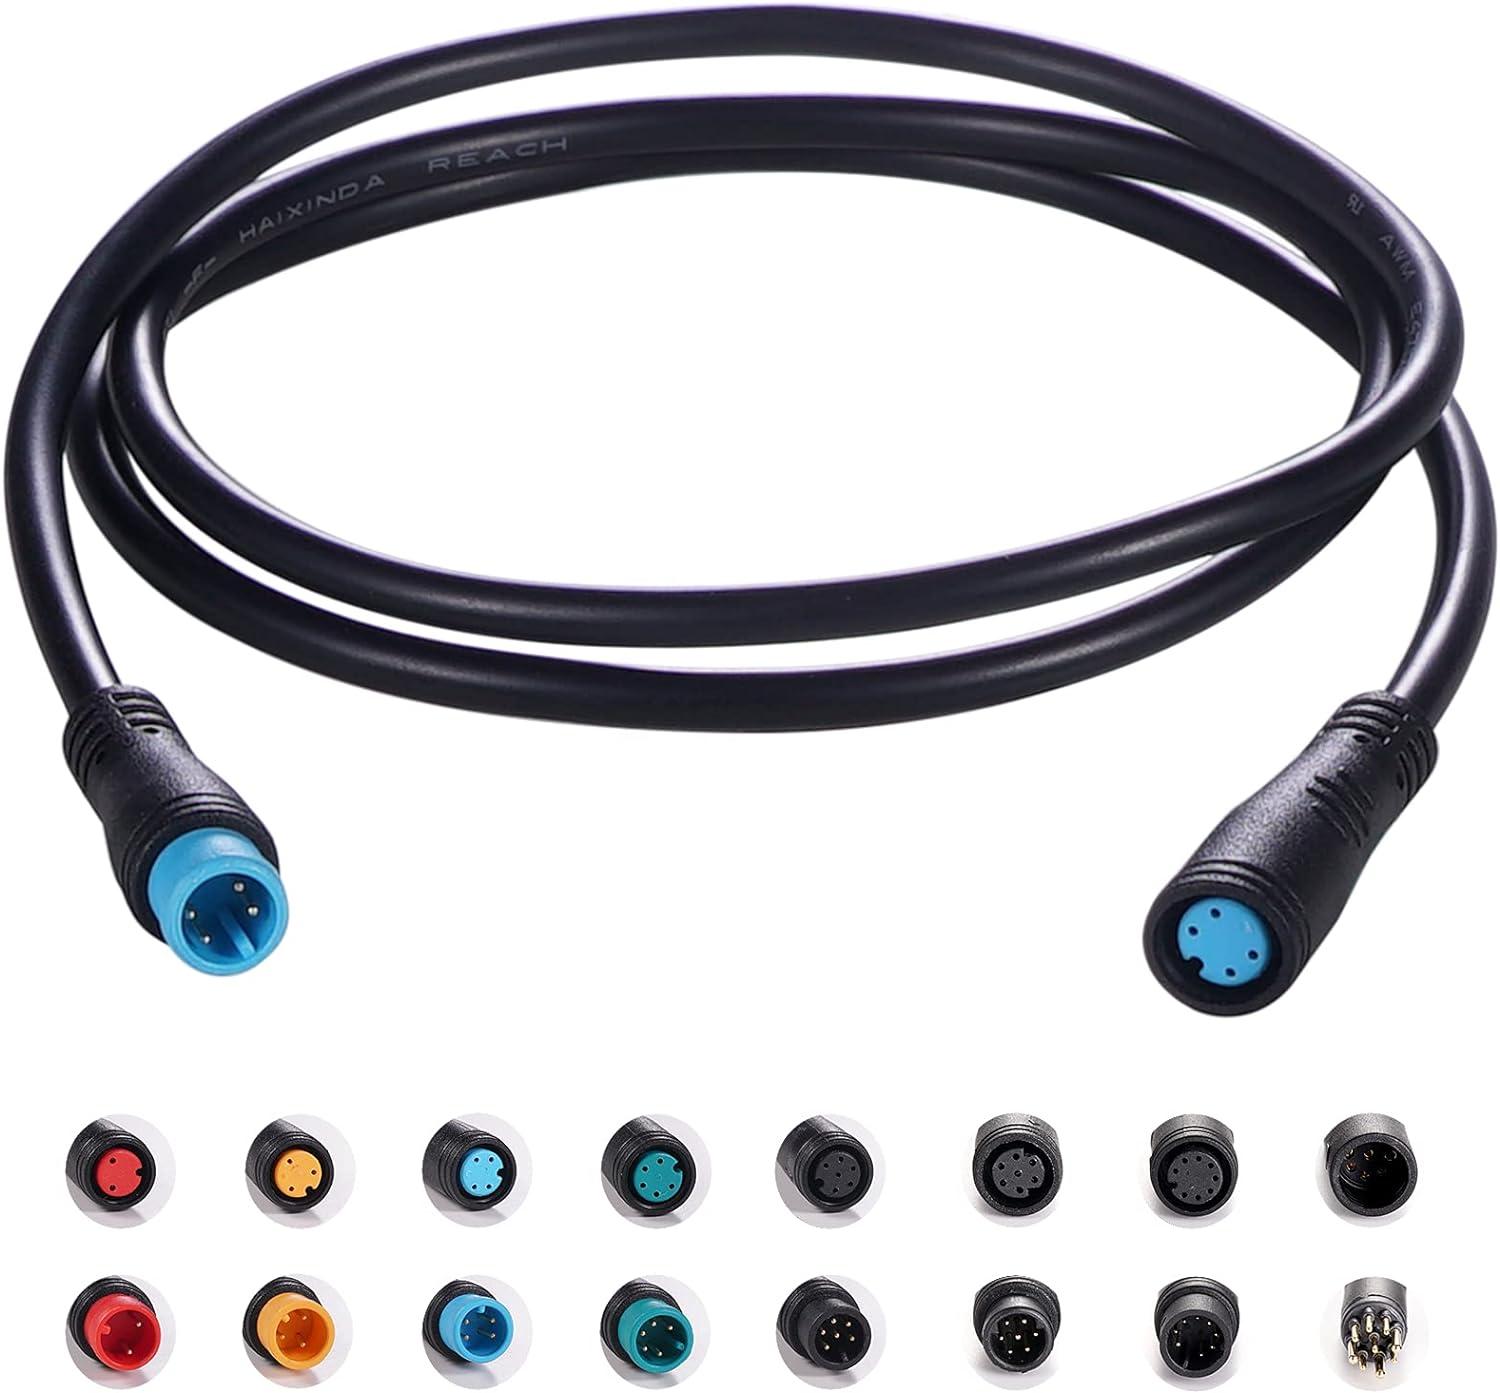
I wanted to make a 14-segment display that would read a midi program-change, and display the characters large enough so that I could see which program was active on my Pedalboard. This is made up of a base unit, hidden in the pedal board, and a display unit visible on my pedalboard, connected to the base unit by a cable connector. It is important to understand that this will only read the Midi signal you send to it for a program change. You have to alter the code I have added here to have the display read what you want it to read. It will not duplicate the name of the midi preset - it must be changed in the code.
Supplies
Modifying the Midi Shield

- The first thing I did was to remove the out jack from the Midi shield. I needed the space to make it more compact. I also removed the on/off switch soldered to the board (I will explain more later). Once the midi shield is in place on the Arduino board, you can wire up the alphanumeric displays. I would recommend you go to this link https://learn.sparkfun.com/tutorials/sparkfun-qwiic-alphanumeric-display-hookup-guide to better understand how to use the display, and how to link them together. Its pretty simple and you can link four (4) of them together. In my project I linked three (3). Its important to follow the following pin-outs when you are soldering the connections from the midi shield to the displays. When the shield is installed the SDA and SCL spaces will be free. You will have to add the red wire to the 3.3V pin labeled on the shield. The GND should be connected to the shield in the accompanying photo. No other wiring information is needed as the shield takes care of everything else.
- Black = GND
- Red = 3.3V
- Blue = SDA
- Yellow = SCL
Design / 3d Print Case

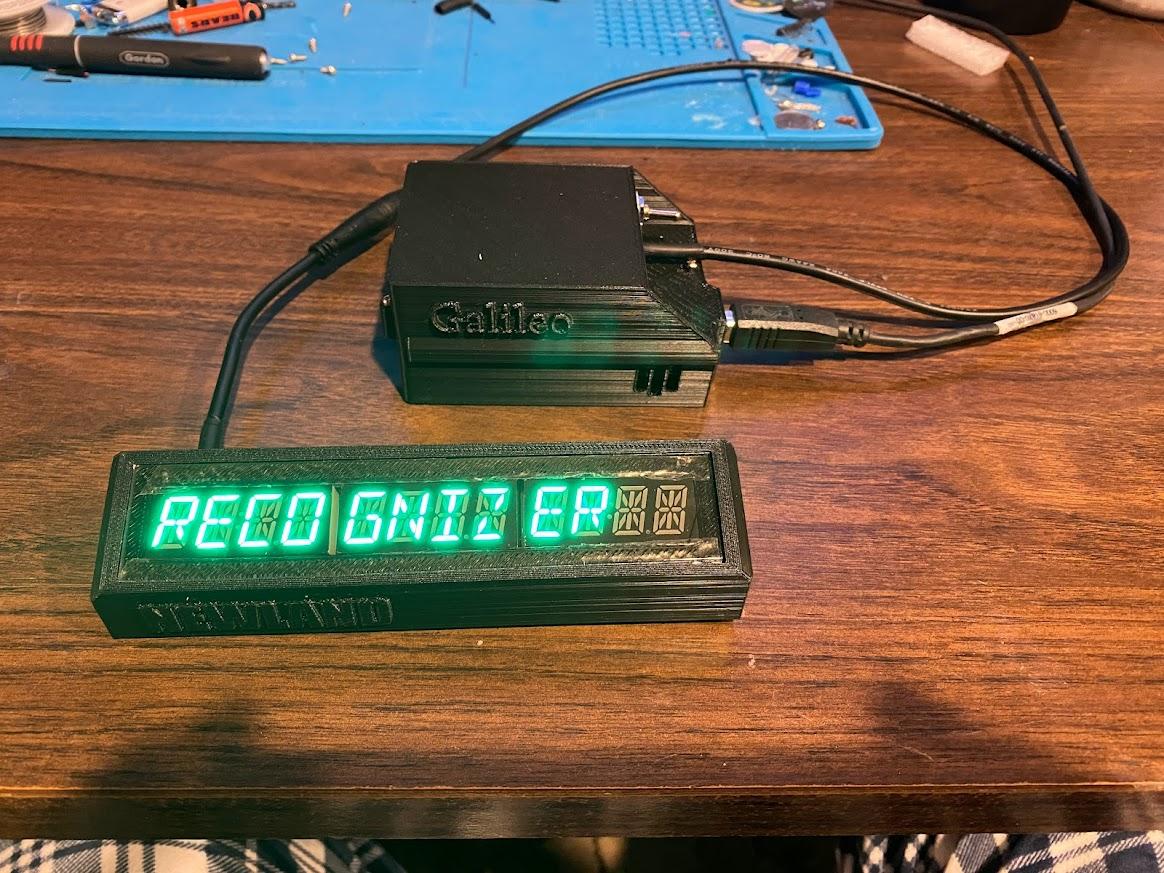
Here I have included my files to 3d print the Arduino/midi shield, and the separate case for the display. I name base unit and the display unit.
Understanding the Code
This is the code that I used to program the Arduino. There are a few important things here to understand.
- in the code there is a line that reads MIDI.begin(5); You are essentially building a midi device number 5 You have to tell your midi pedal (or what is sending a signal to this device) to do something with midi device number 5. If you already have a device number 5, then you need to make this device something different. For example on my pedalboard device 1 is an eventide, device 2 is my amplifier, device 3 is my reverb, and so on. You have to tell the controller which device this is, and what it should be doing. Learn your midi.
- In the loop function of the code, you will need to chance the display.print functions to read what you want them to read. for example my first channel reads RHYTHM which is why the reads display.print("RHYTHM");
- The downside to this project is that you need to hook the Arduino up, and change the code in order to change the names of your presets in this device.
The Cable to Split the Units
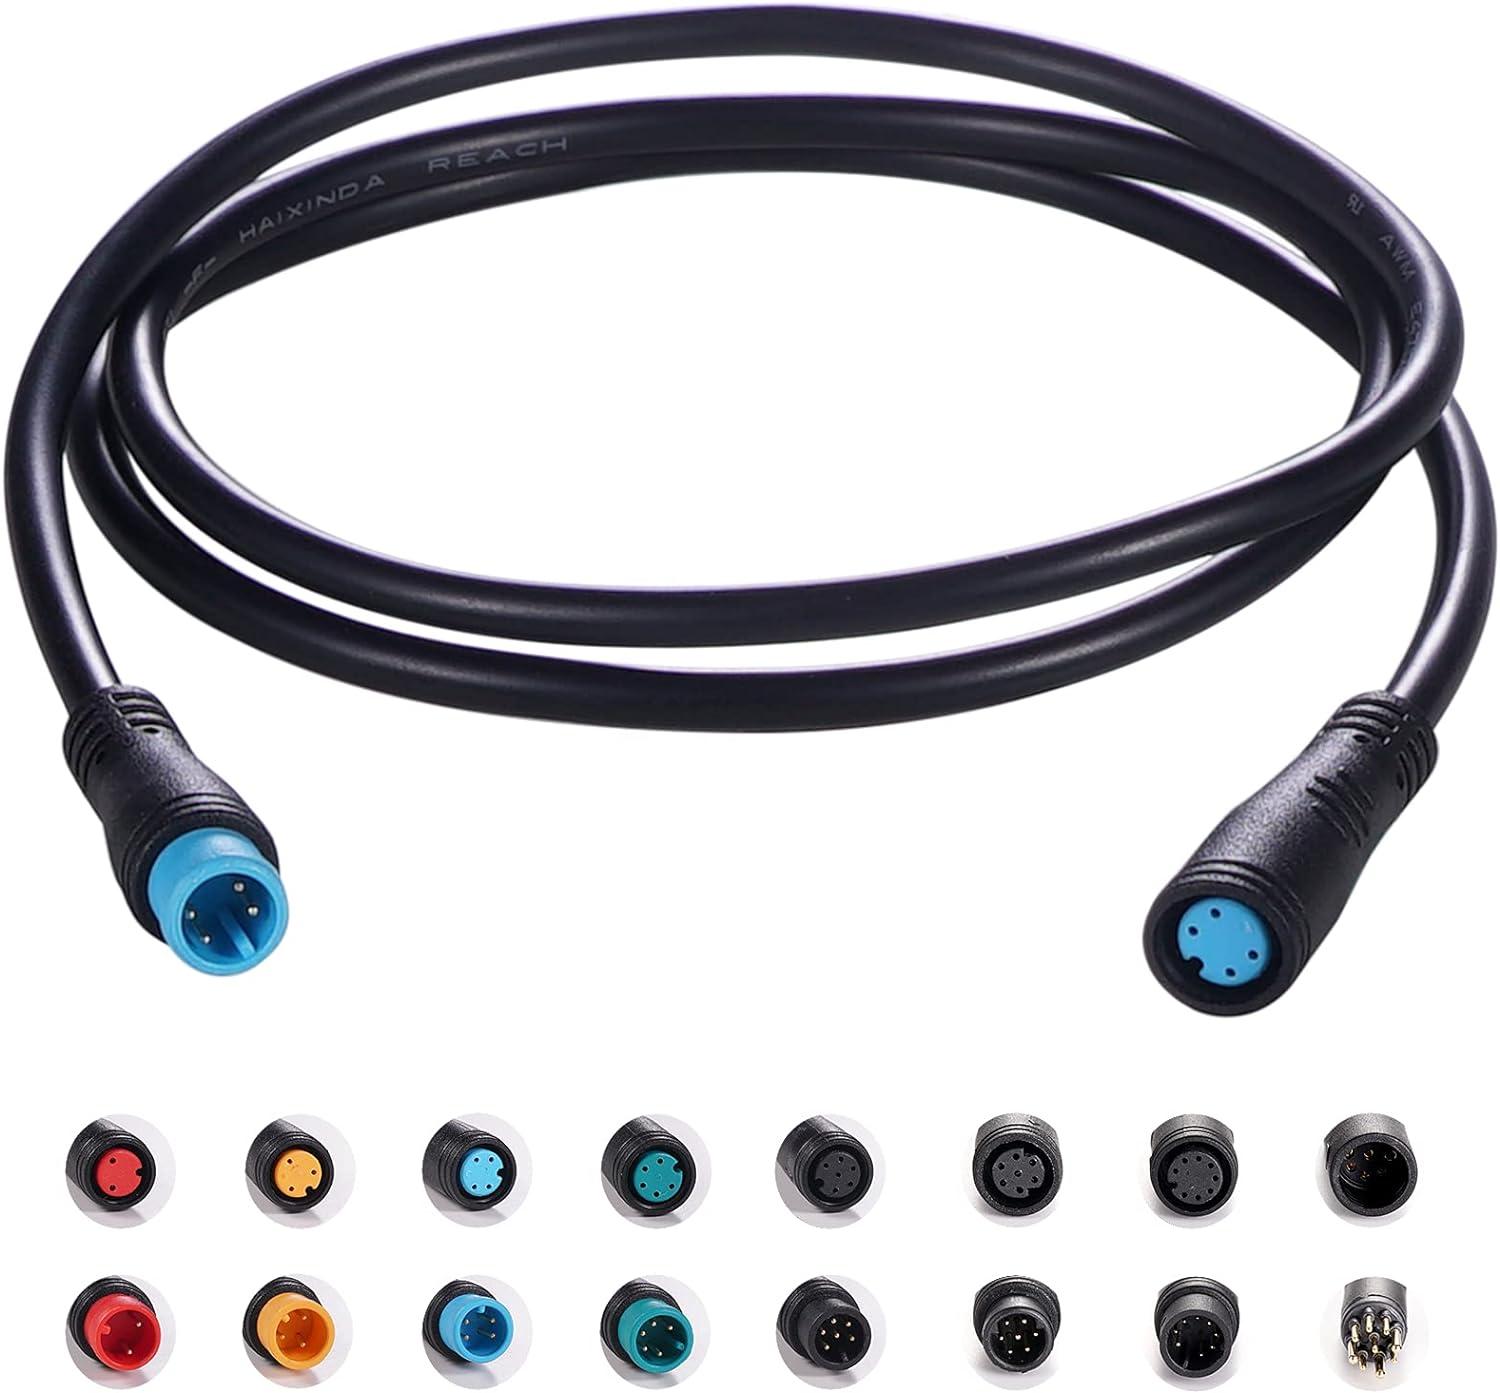
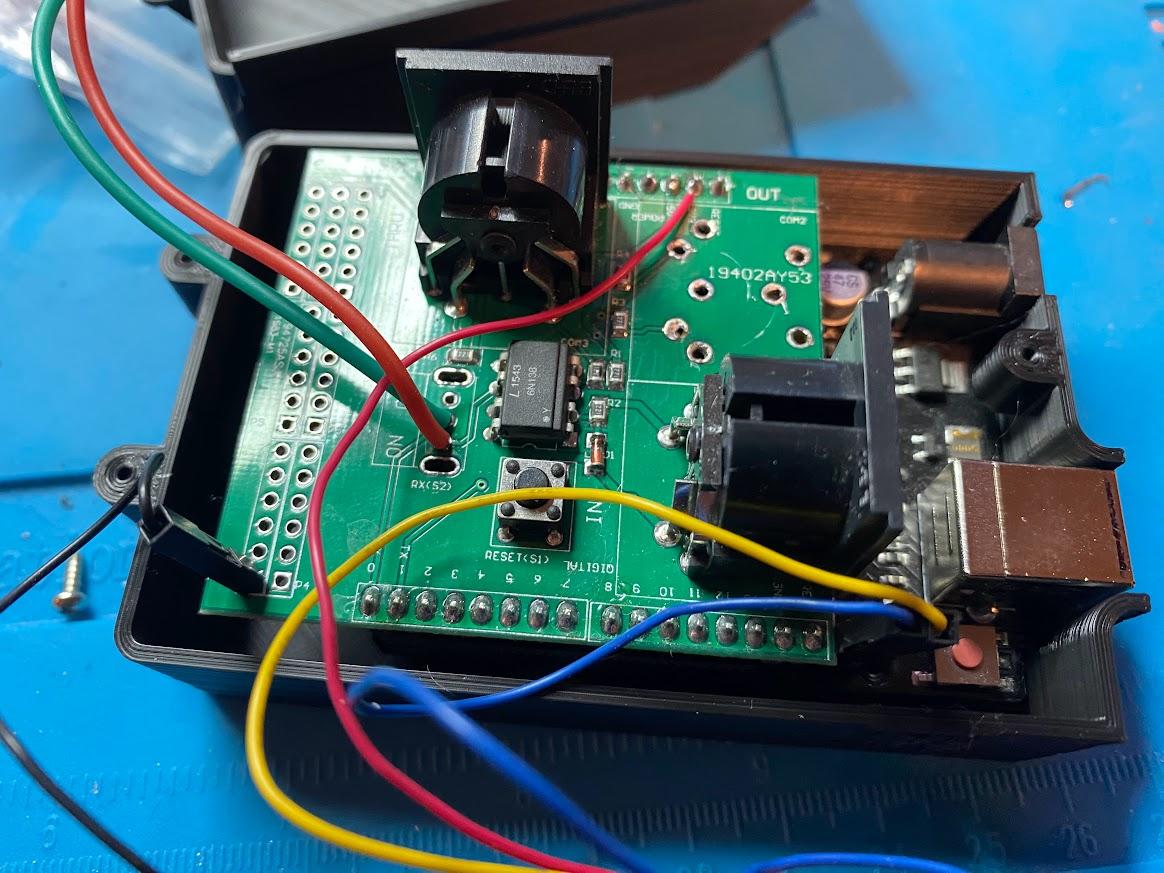

I used a connector I found on Amazon. This helped me to add the base unit and the display independently on my pedalboard. I left a long section on the base unit and a short section on the display. The midi display has an on and off switch. When you are uploading the code, you have to turn it off. Otherwise the midi signal interferes. I then soldered two wires (red and green pictured) to a toggle switch I installed on front of the base unit.
Done and Installed

Once this was all done I installed it on my pedalboard as pictured. (Excuse the names on my controller - they make amuse my guitar player :)