Milliput Bowl Inlay


Start with a hunk of walnut firewood, and add some two part epoxy putty and you've got a very striking looking bowl! Milliput is awful sticky stuff to work with, but it's hard to argue with the results!
A very interesting inlay and some new material to play with.
From Firewood to Bowl Blank
.png)
.png)
.png)
.png)
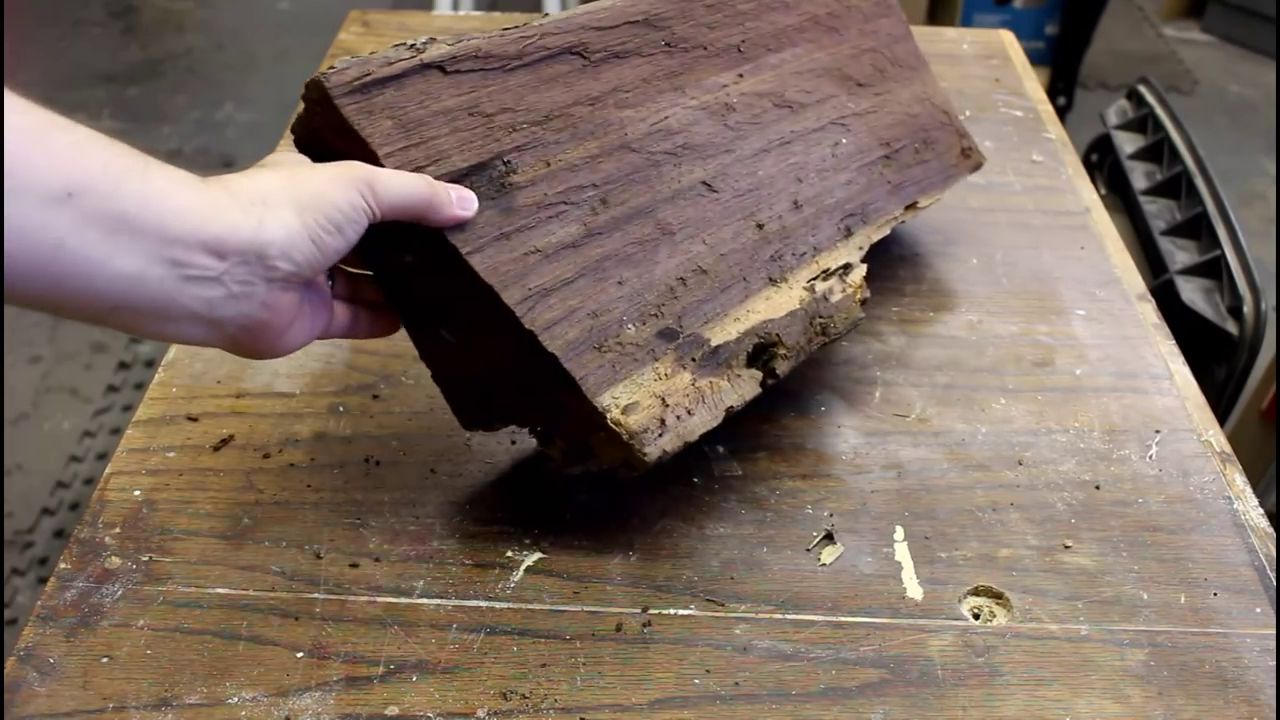
This piece of walnut was given to me by a co-worker of mine. She saved it from a firewood pile and I've been keeping it safe in the shop for a couple of years.
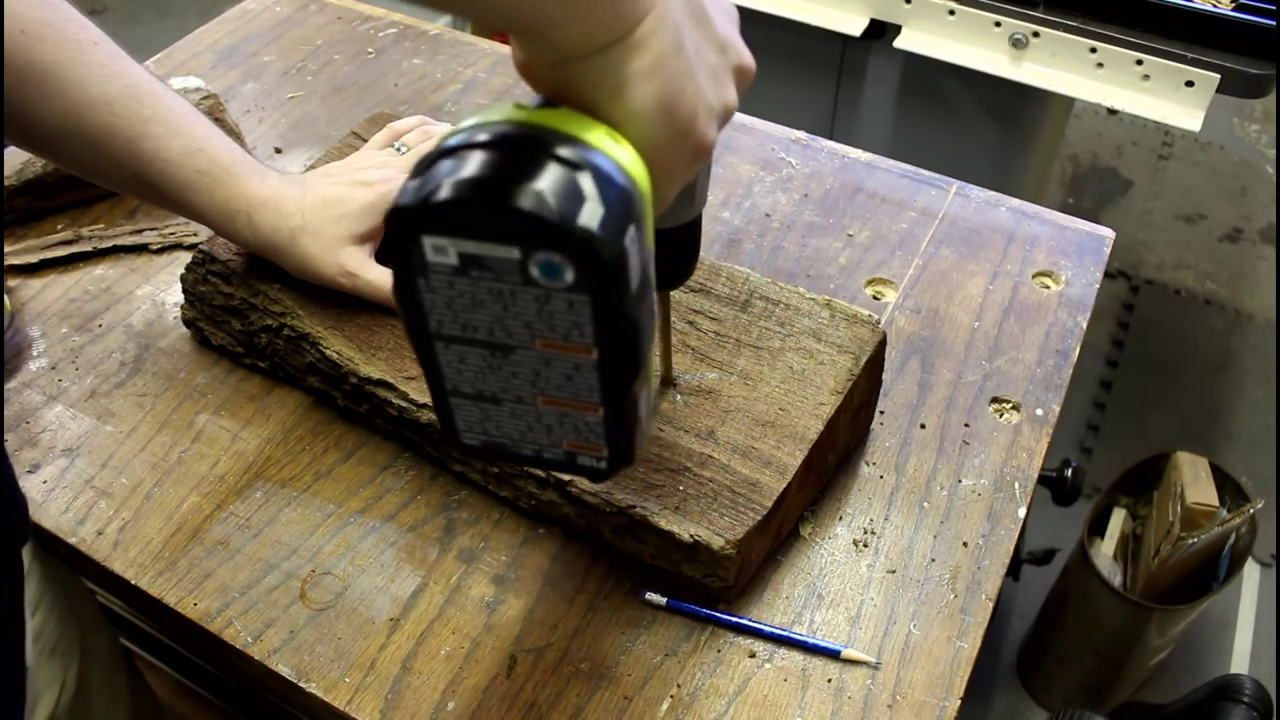
There are many ways to cut a piece of wood down to size for turning but the easiest is probably with a circle jig at the band saw. I drilled a 5/16 inch hole, mounted the firewood on my jig and spun the work piece against the blade. Instant turning blank! Now we're ready to mount this on the lathe.
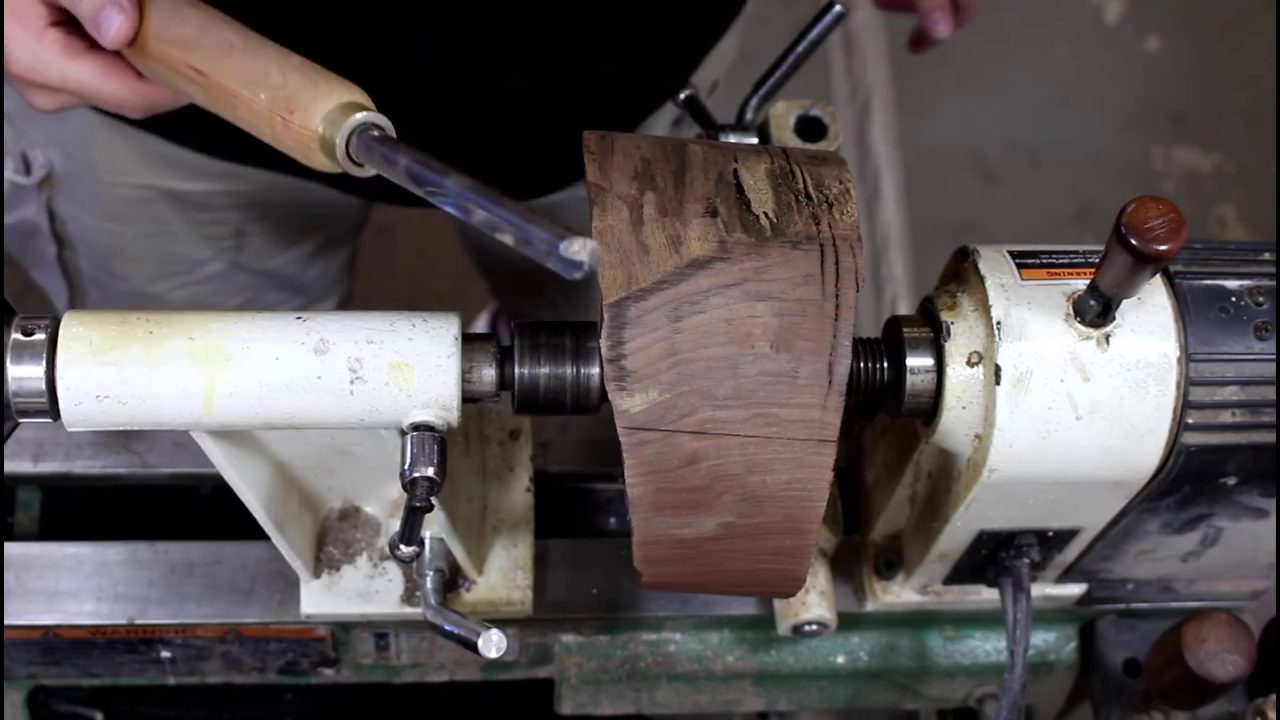
For a bowl, I always like the mount the blank between centers rather than on a faceplate or worm screw. It allows you a certain amount of flexibility to find the best balance and bowl from your blank.
Turning the Bowl
.png)
.png)
.png)
.png)
This Instructable is less about the turning process and more about the inlay, but I do show a truncated view of all the bowl turning steps in the video.
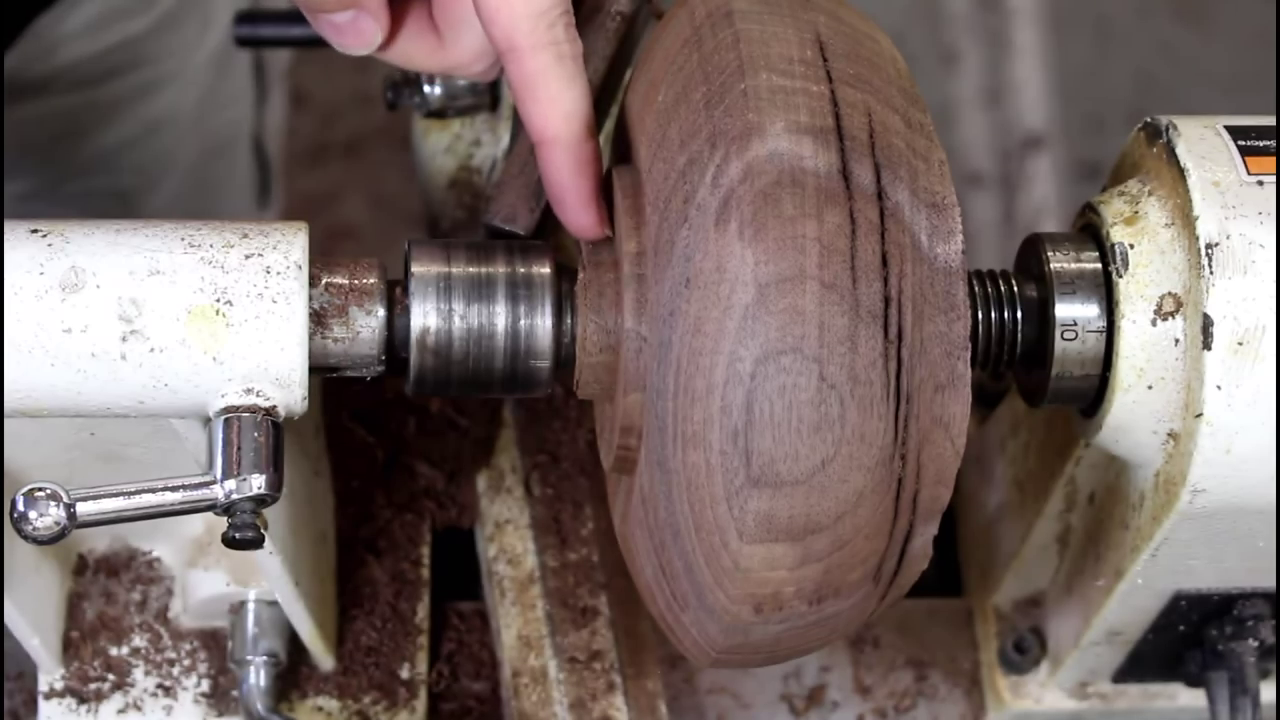
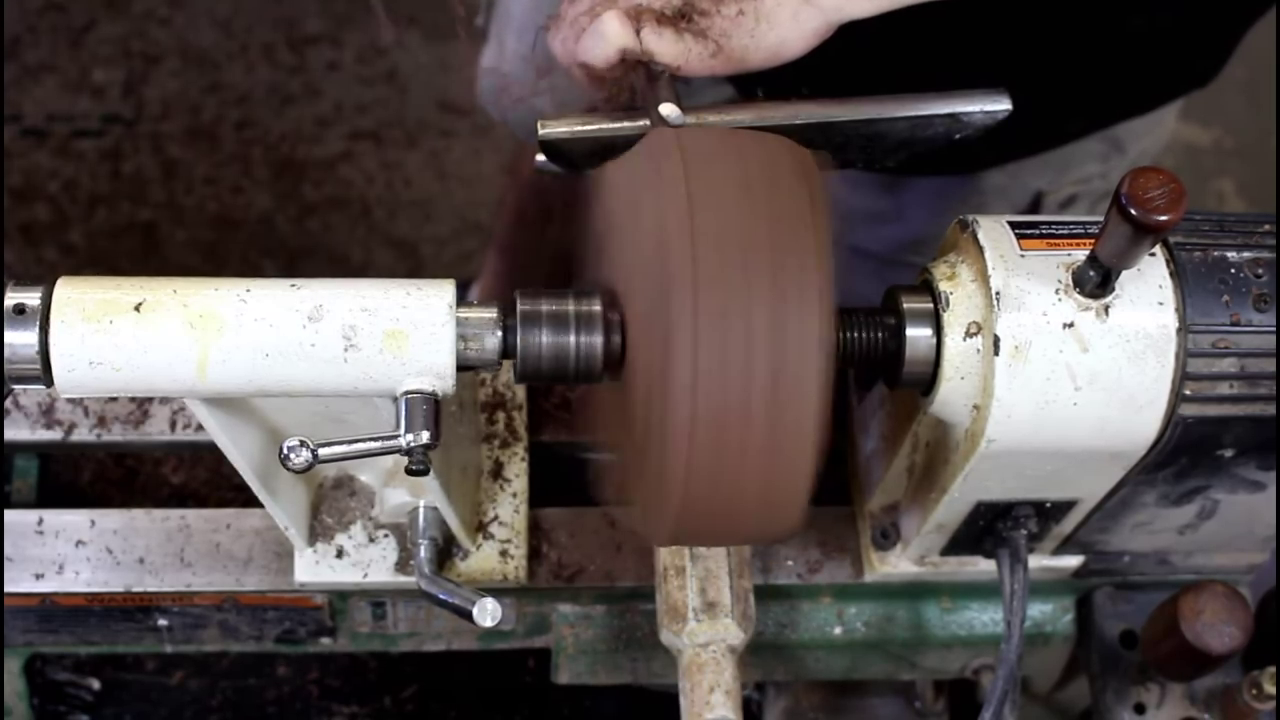
The turning is started with my bowl gouge. I established the outside shape which is rather pot shaped. Next I make a tenon for mounting in my 4 jaw chuck with the aid of my scraper.
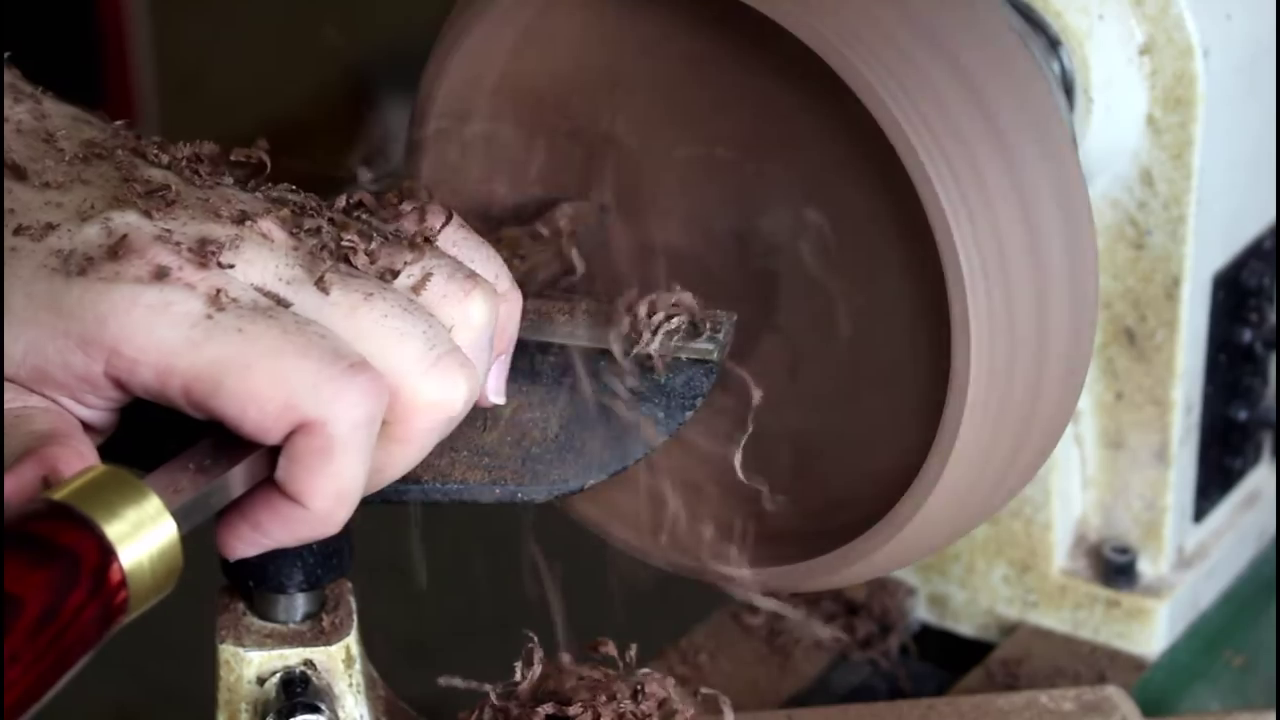
Then the blank is turned around and mounted in the chuck jaws. This allows me access the top of the bowl, and I can then hollow out the wood with my bowl gouge. For the finish work in the inside of the bowl, I used my round nose scraper to get the undercut to the bowl. I worked hard on shaping a smooth transition from the walls to the bottom. That transition is one of the more challenging aspects to bowl turning, and a soft curve makes for a more appealing looking bowl in my opinion.
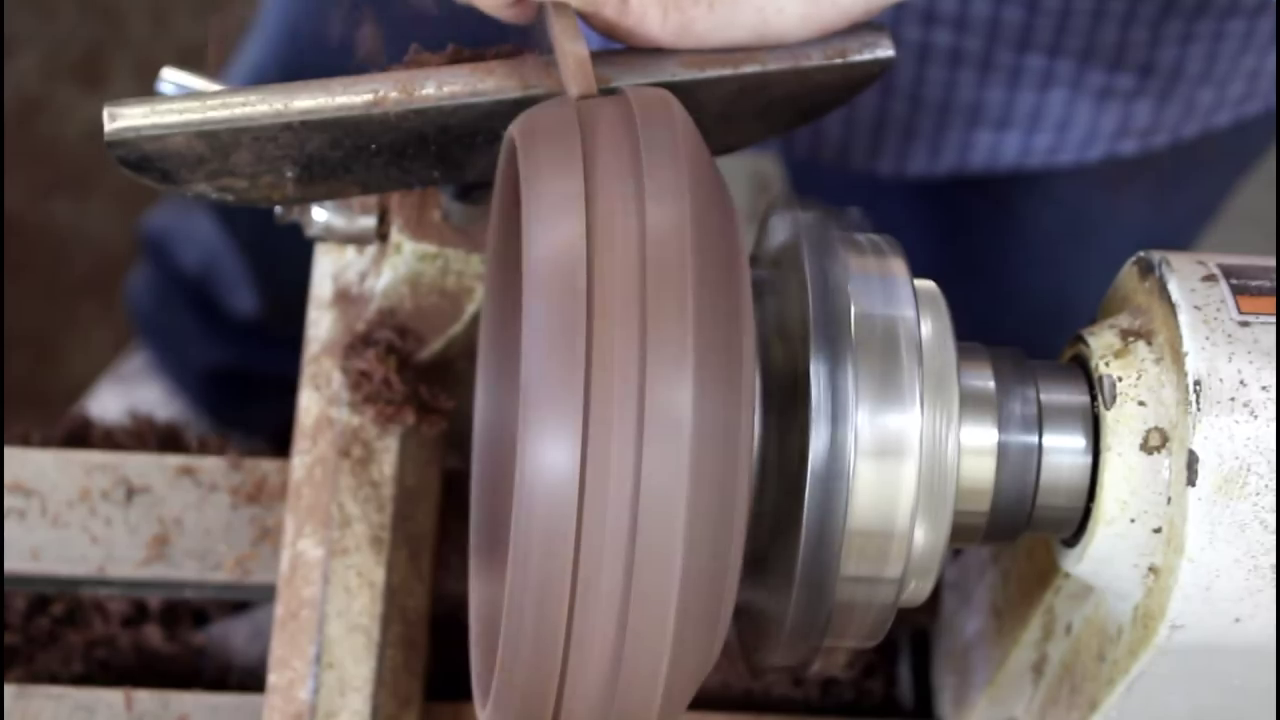
At this point the bowl is mostly done, but the fun has just gotten started for this project. I used my 1/8" parting tool to make a 3/8" groove in the outside of my bowl. On to the joys of epoxy putty....
Working With Epoxy Putty
.png)
.png)
.png)
.png)
.png)
.png)
.png)
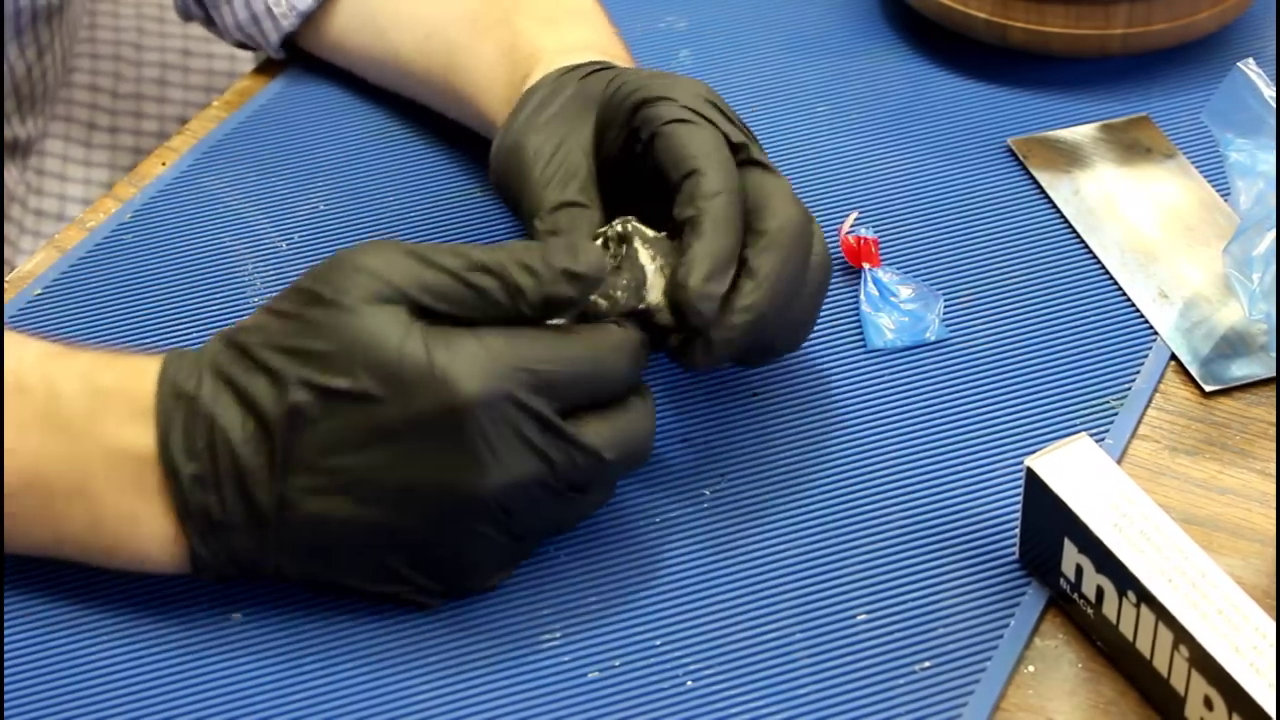
I have had epoxy putty in the shop for a while, but it was just gray putty and I never considered it for an inlay. I then watched some videos on Jimsons Stuff's Youtube channel and fell in love with the bowls he was making.
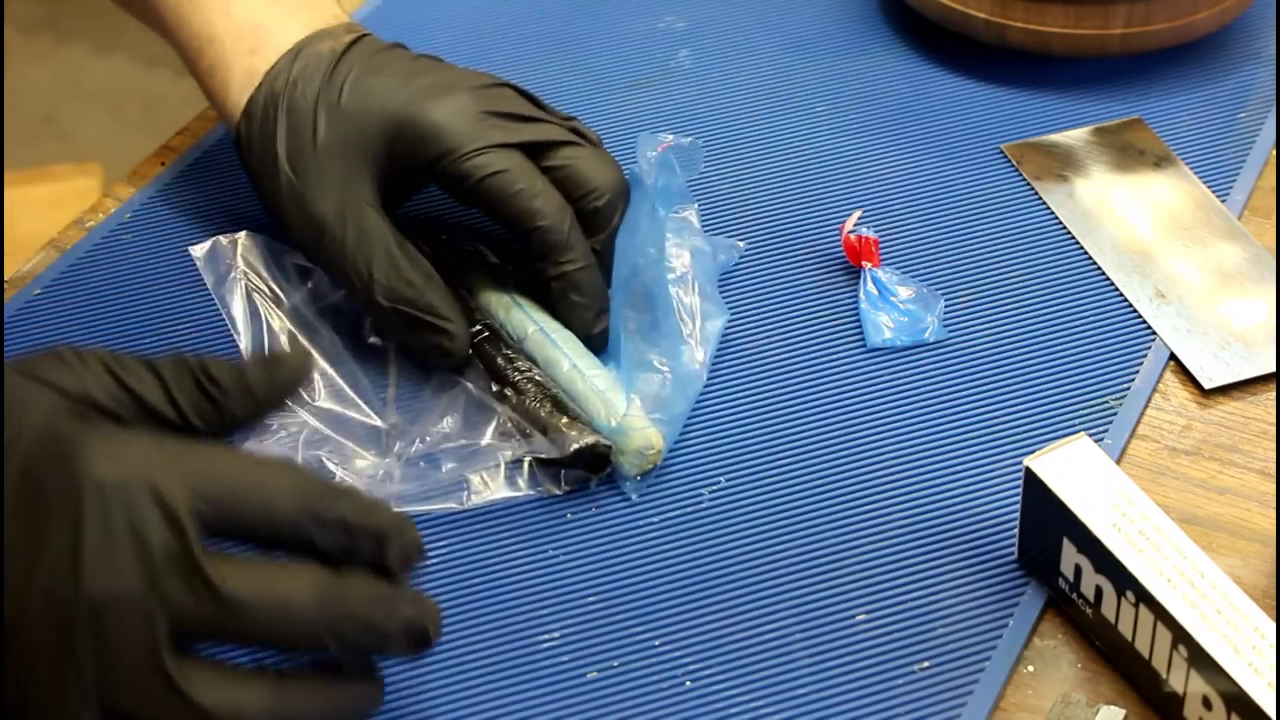
I bought two colors of Milliput, one black one white. The putty comes in two parts. You use equal parts of the putty and hardener and mix them together until you get a uniform color. After I mixed both the black and the while, I flattened them out. This process wasn't easy, as the putty is very sticky and stuck to everything I threw at it. Rubber gloves, silicone mats, parchment paper and my razor blade.
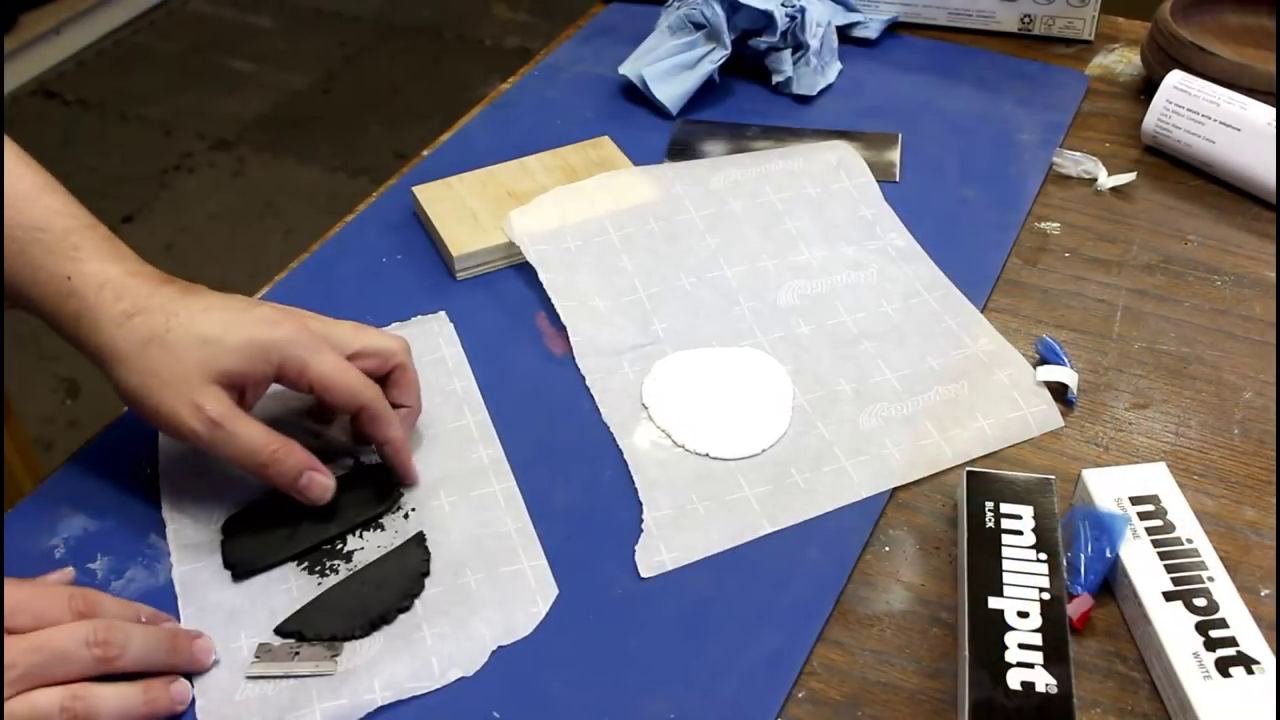
- Mix up the putty. One black, one white.
- Flatten each out.
- I put each ball between layers of parchment paper
- I applied pressure with a flat block of wood to get each into putty disks.
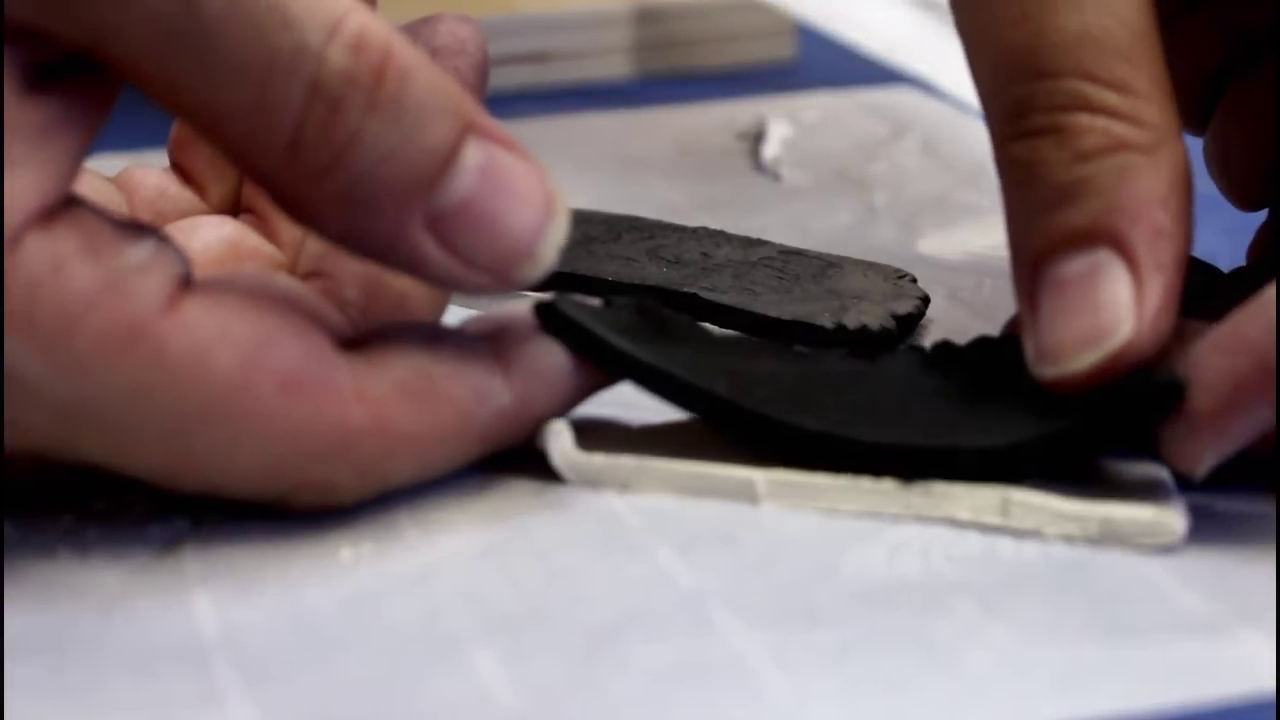
- Use razor to slice the disks in half
- Stack the two halves together
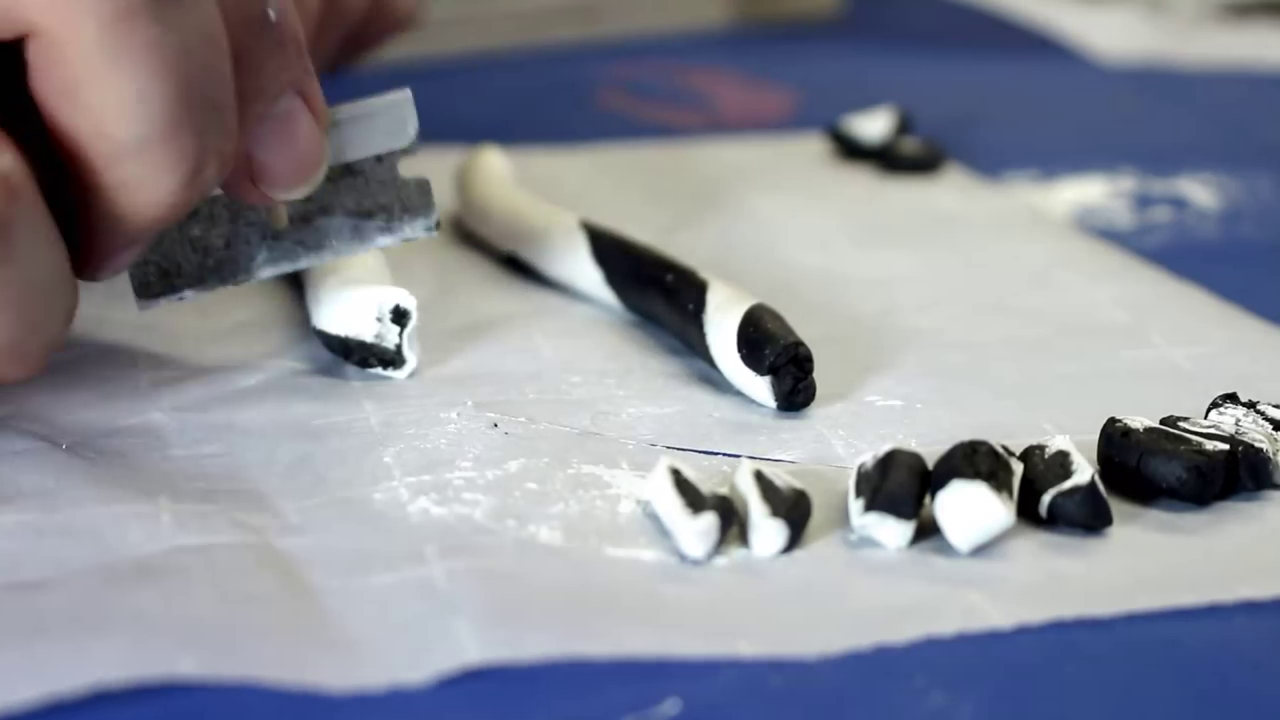
- Roll that black and white stack into a "putty snake" between your palms
- Slice the rolls into small cross sections that will go into the inlay groove.
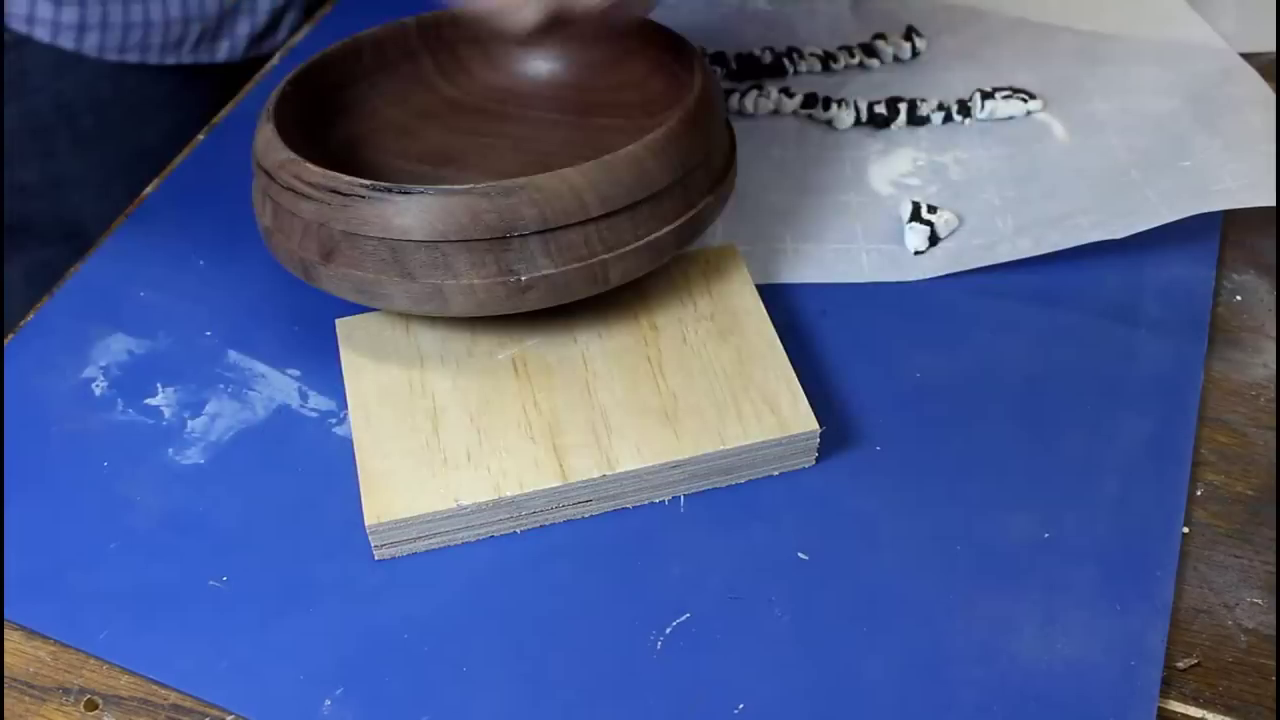
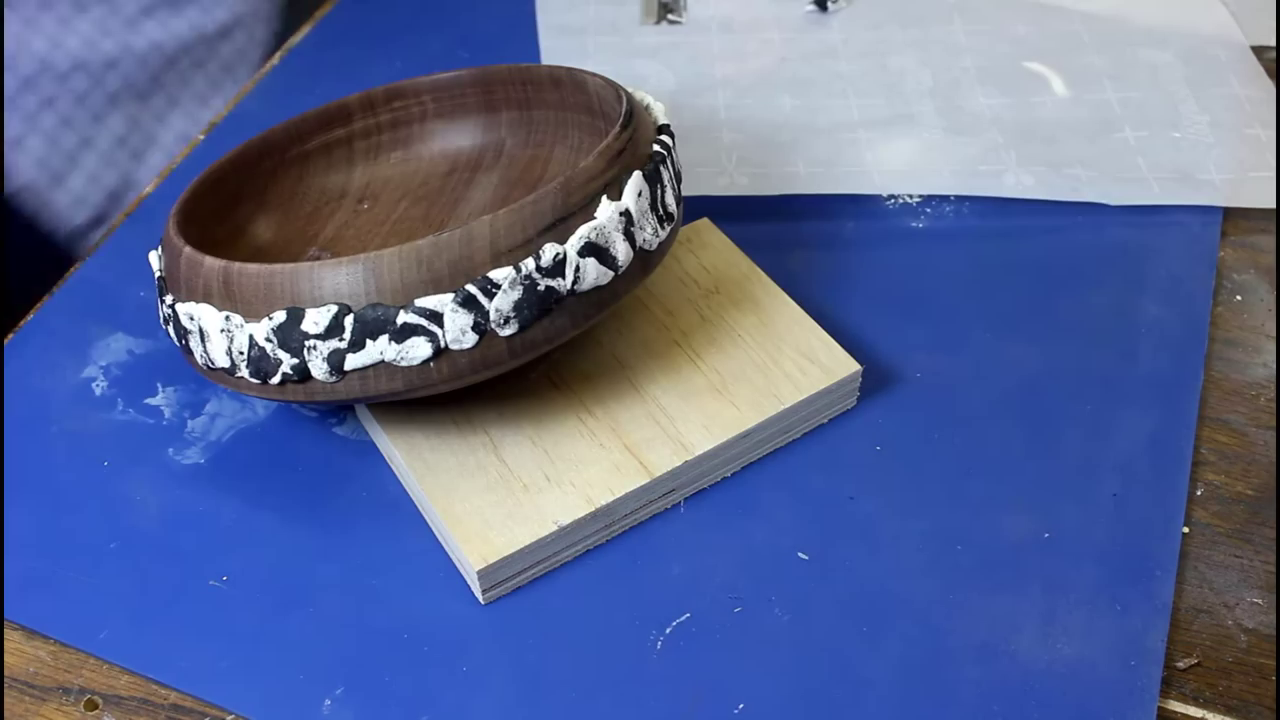
Eventually I got two snakes of the putty rolled out and sliced into segments. Those segments where then lined up to be added to the inlay grove on my bowl. Oddly enough, the putty didn't stick to the wood as much as my fingers, so another putty fight ensued.
I got it well packed into the groove and I left it for a couple of days to harden up. Honestly, I wasn't sure it was going to work out at this point.
Back to the Lathe
.png)
.png)
.png)
.png)
.png)
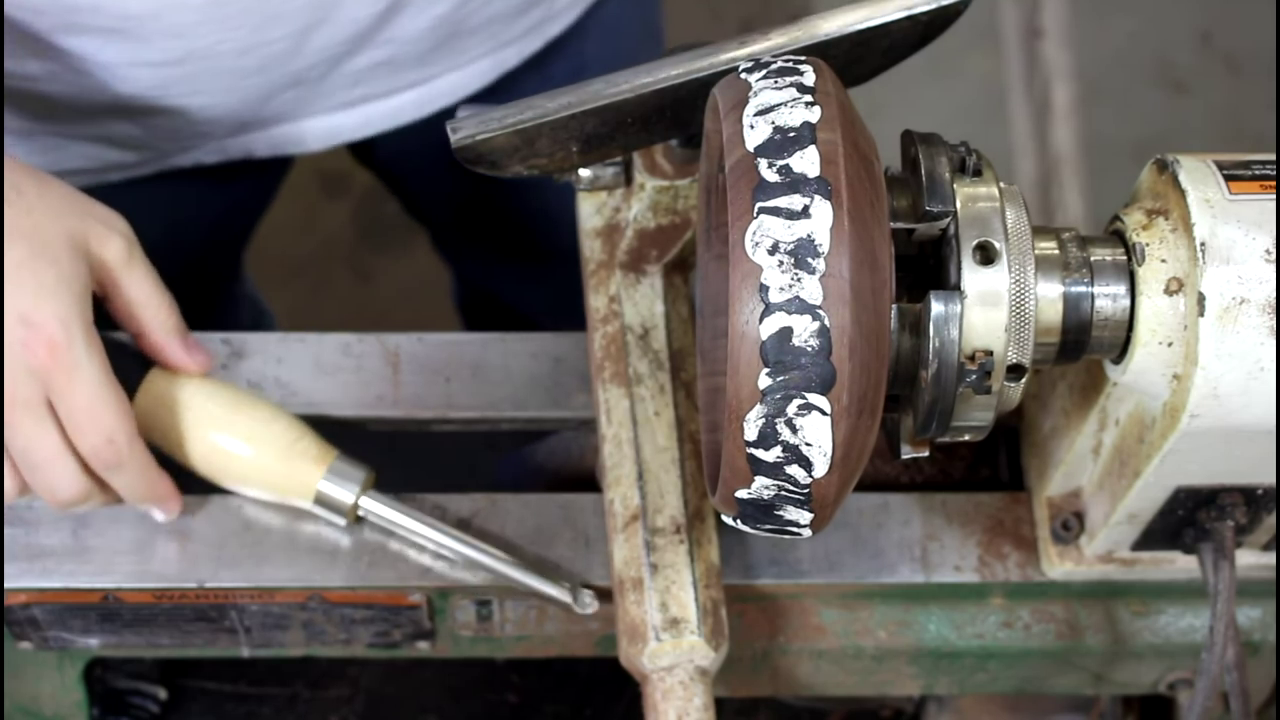
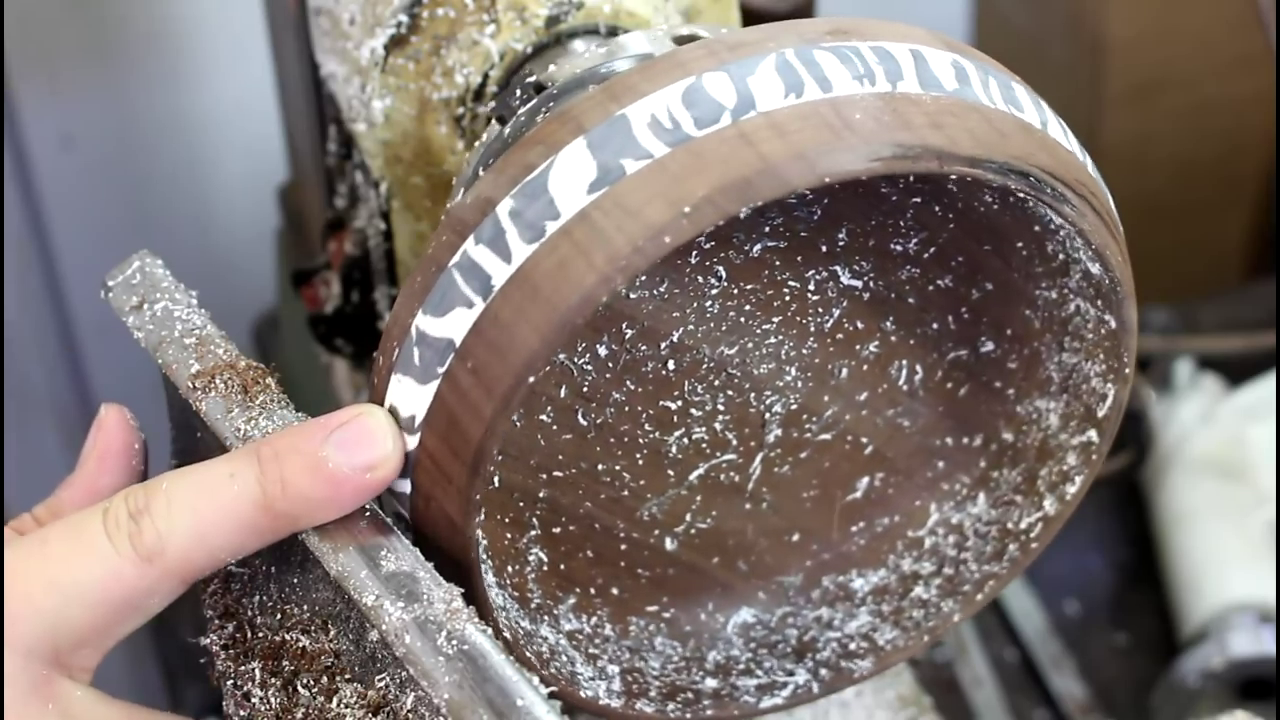
After 48 hours I had some time in the shop again.
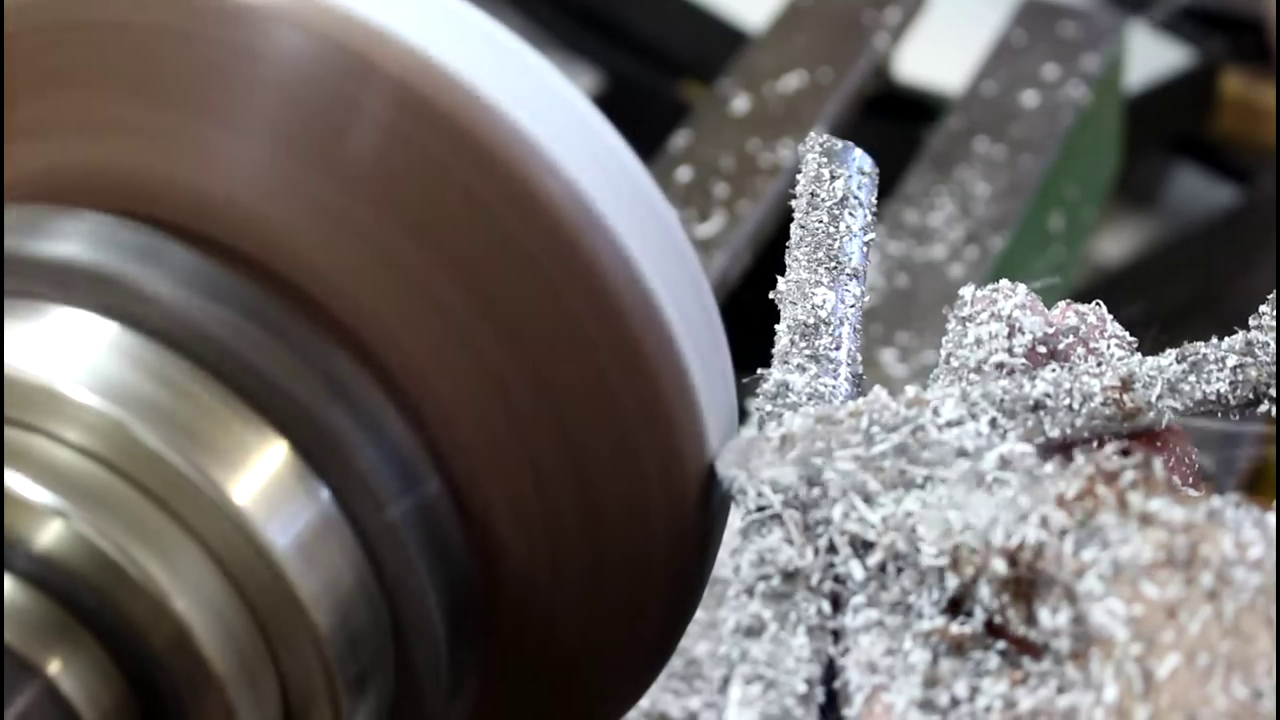
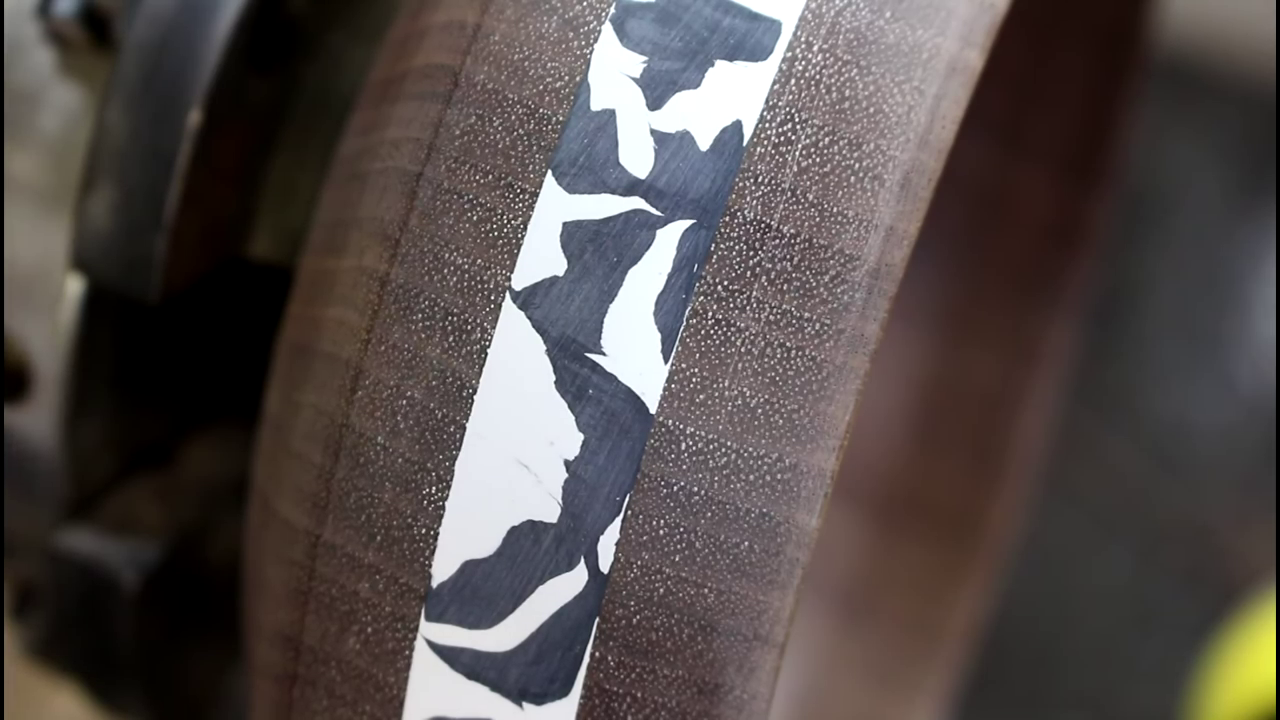
The bowl was re-mounted on the lathe and ready to turn. At this point the Milliput was rock hard. I used my carbide tool to turn down up the putty and make it flush with the walnut. I was amazed.
It looked awesome! Even with all the troubles and stress and issues, it come out great. A nice clean cut and it already had a smooth finish just off the carbide tool!
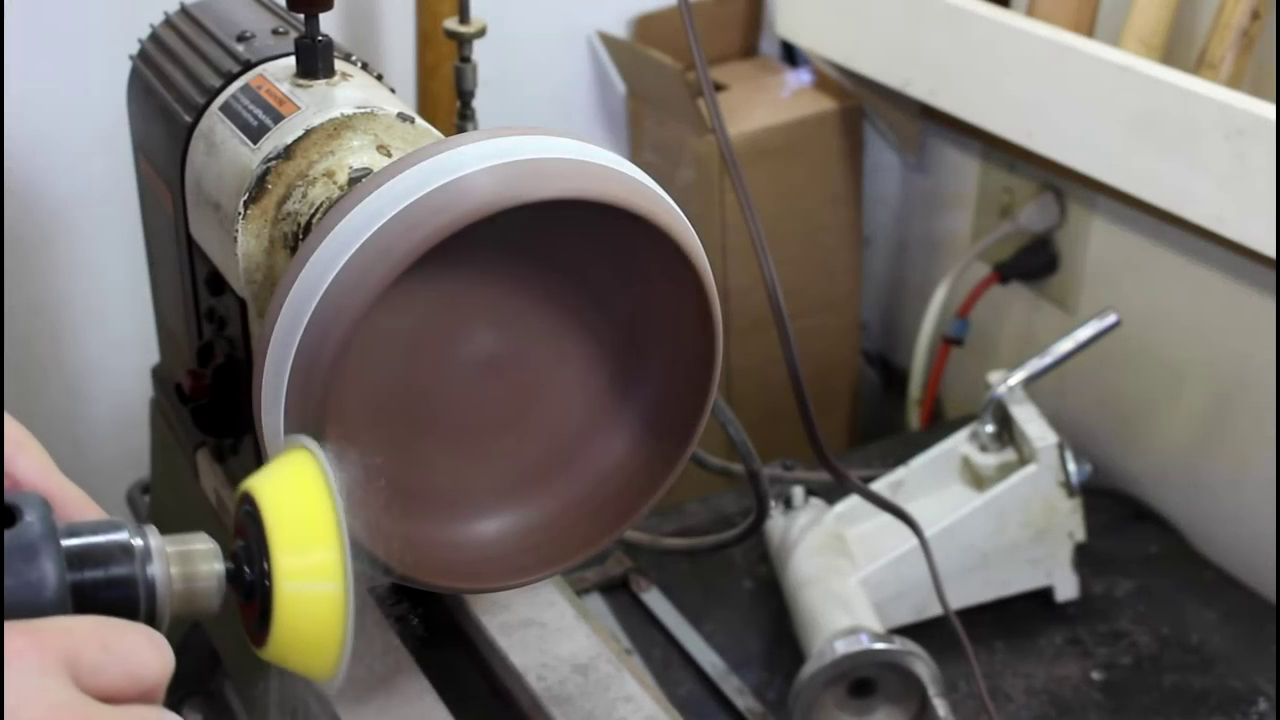
I sanded to 400 grit. Which got a LOT of the putty dust stuck in the pores of the wood. A little time with my air compressor and and about an hour picking out the some of the stubborn ones with a sewing pin, and it was mostly cleaned up. I think if you added a finish to the wood prior to the putty would help to eliminate most of that.
Across the Finish Line
.png)

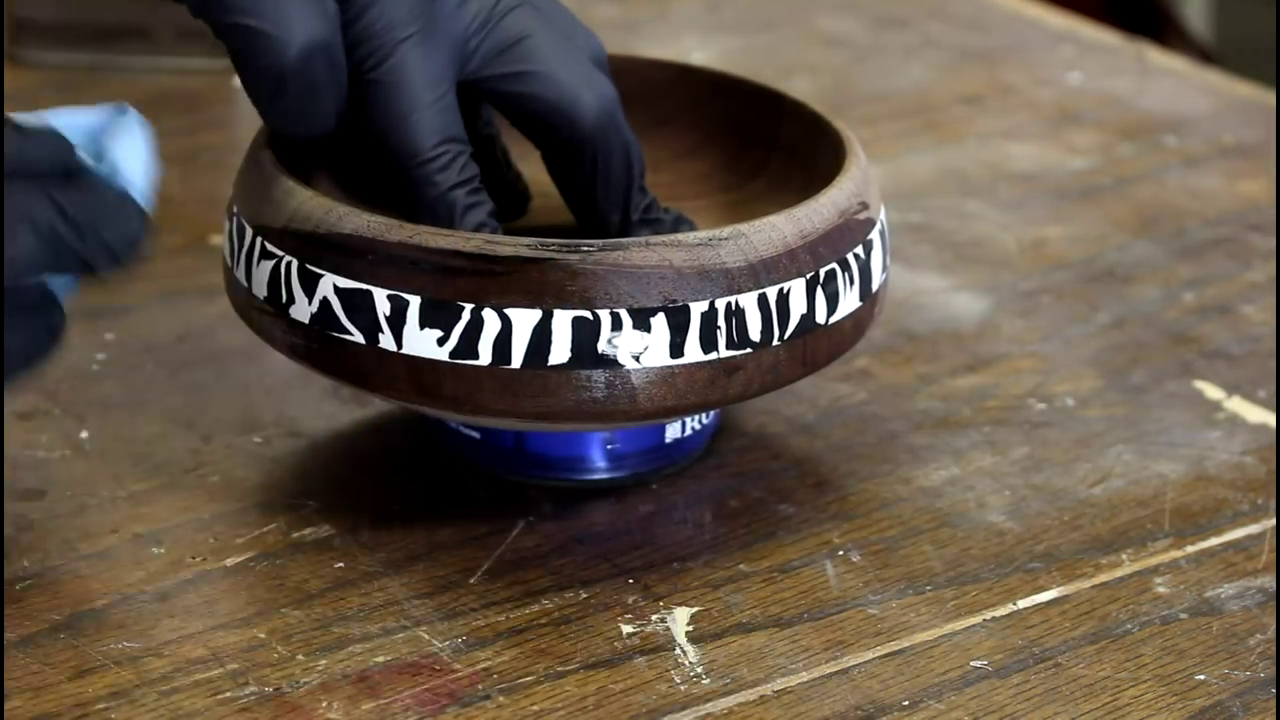
For a finish I used three coats of wipe on poly. It came out excellent and I couldn't be more pleased.
I would encourage you to give this project a try. The only limit would be the pattern you could create! Thanks for looking!