Minecraft Every Color Potion Lamp
by JamesA300 in Circuits > Arduino
789 Views, 2 Favorites, 0 Comments
Minecraft Every Color Potion Lamp
.gif)
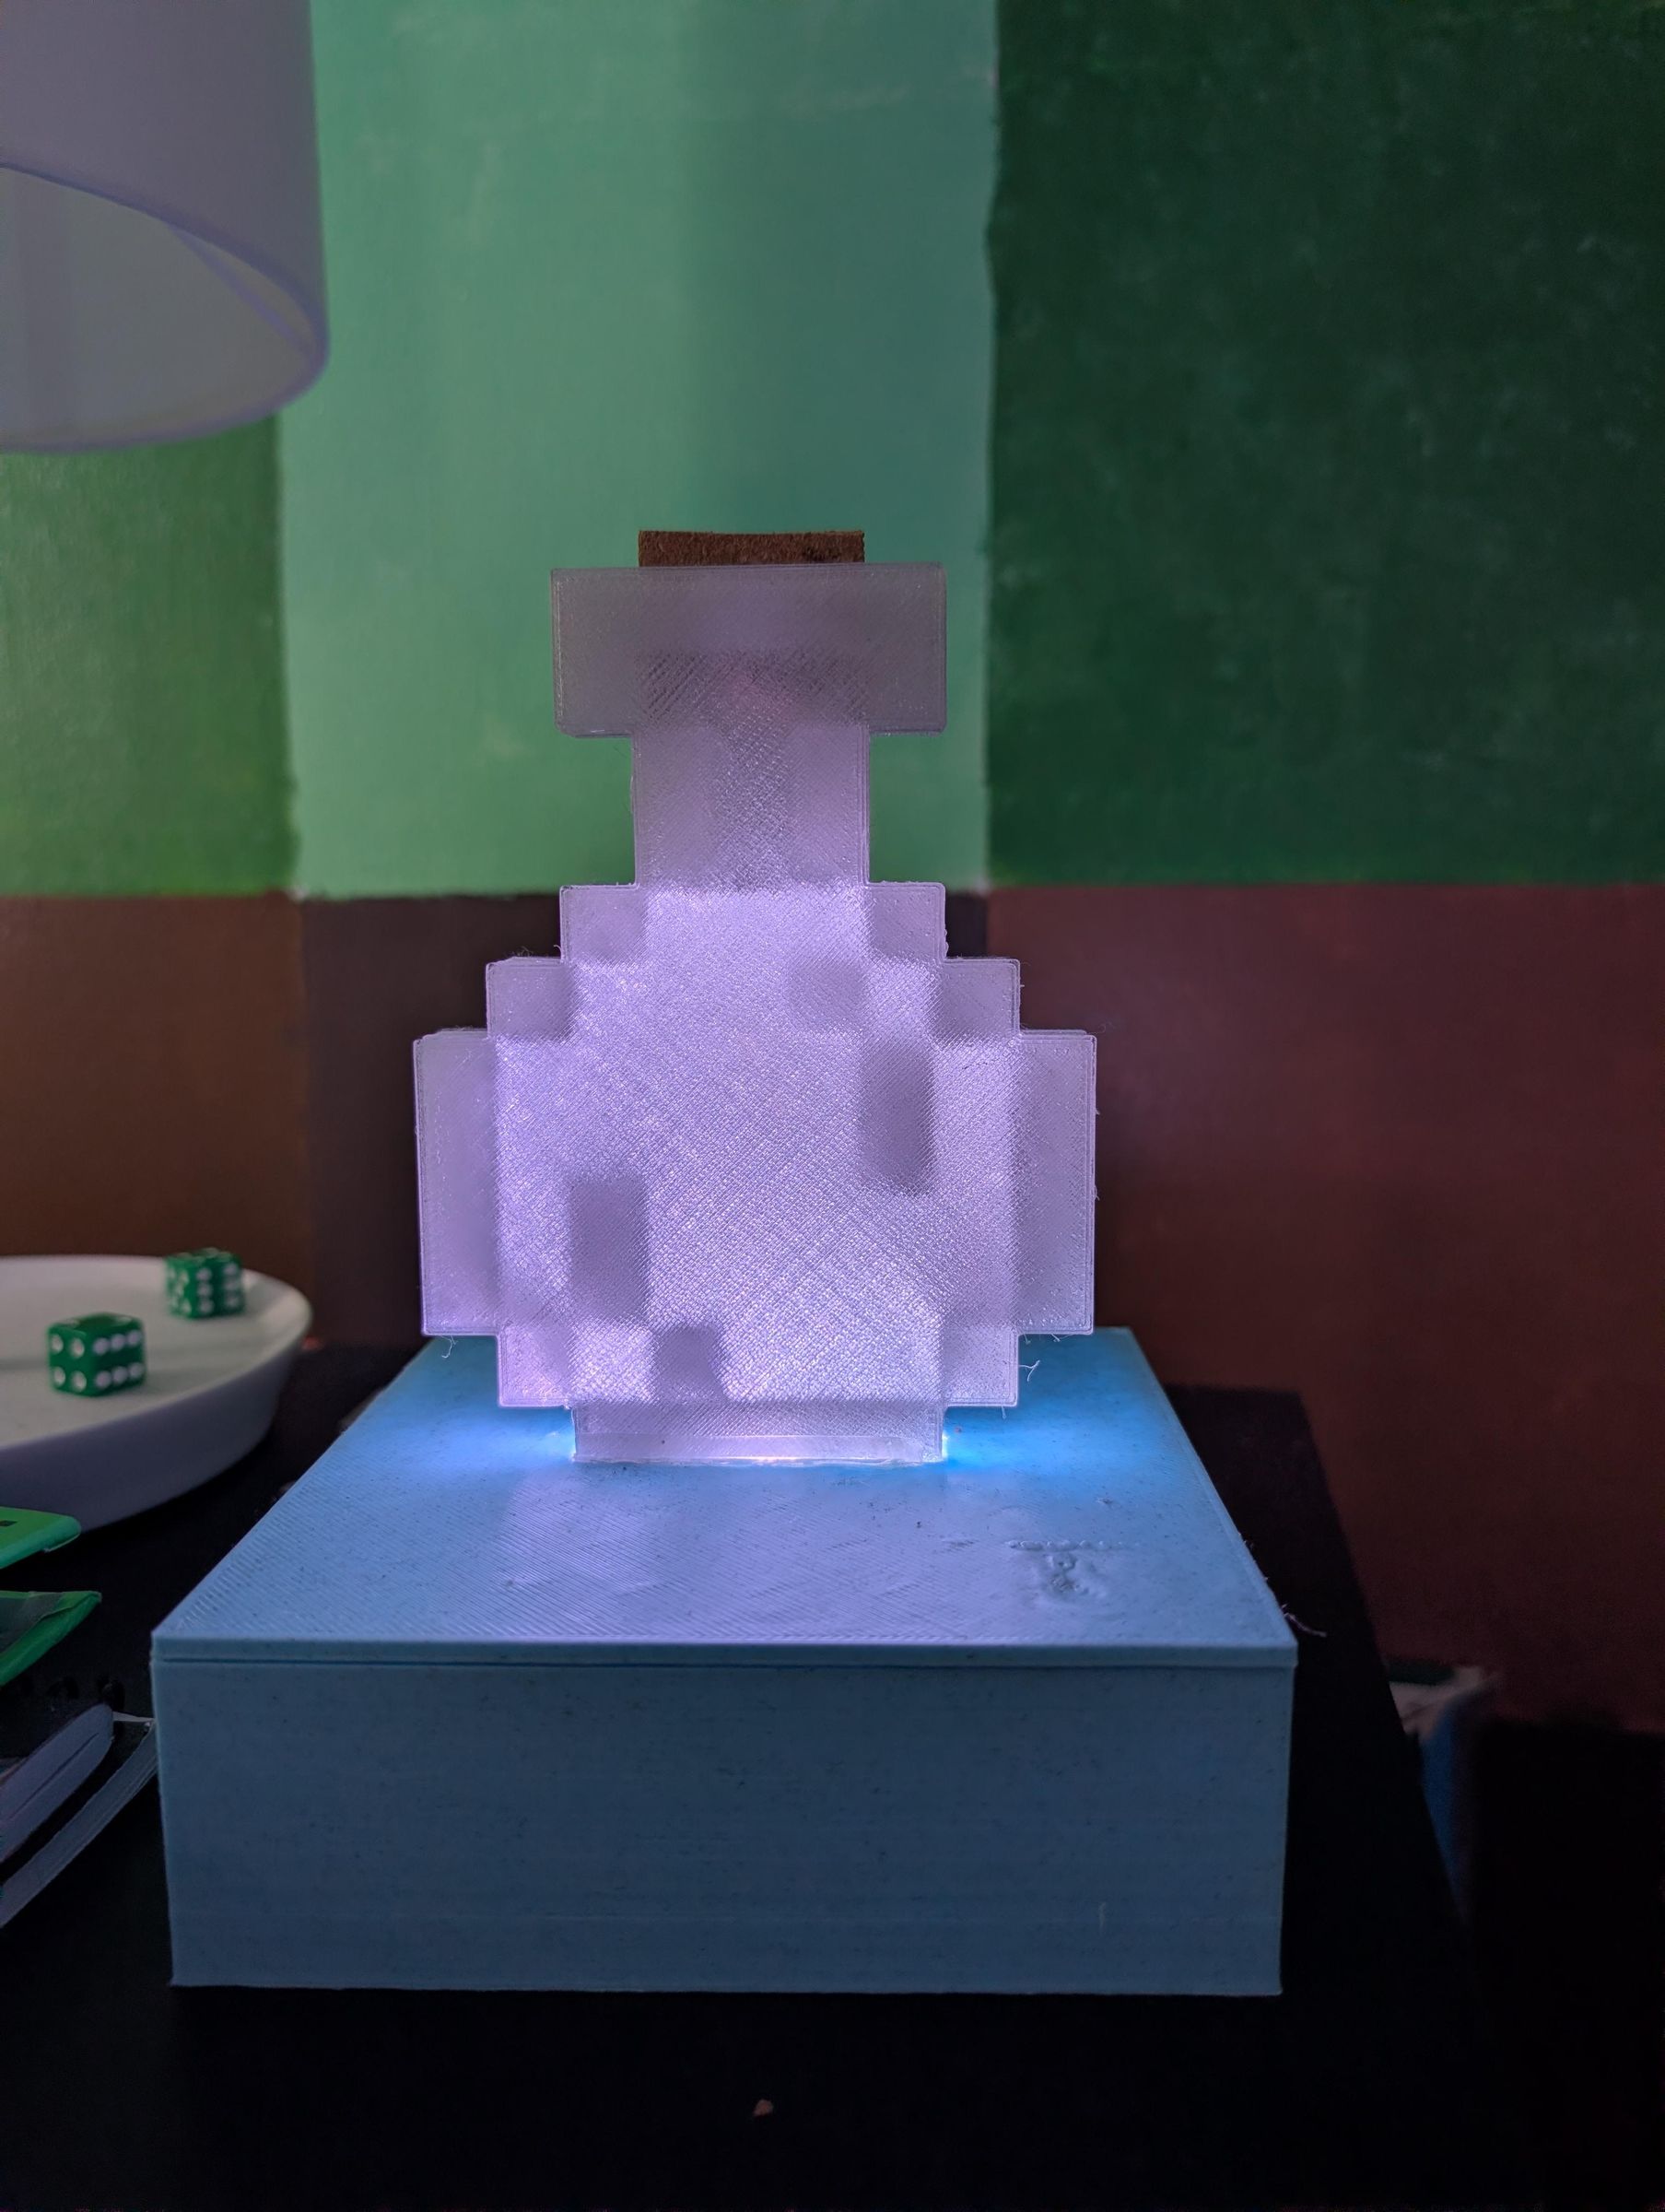
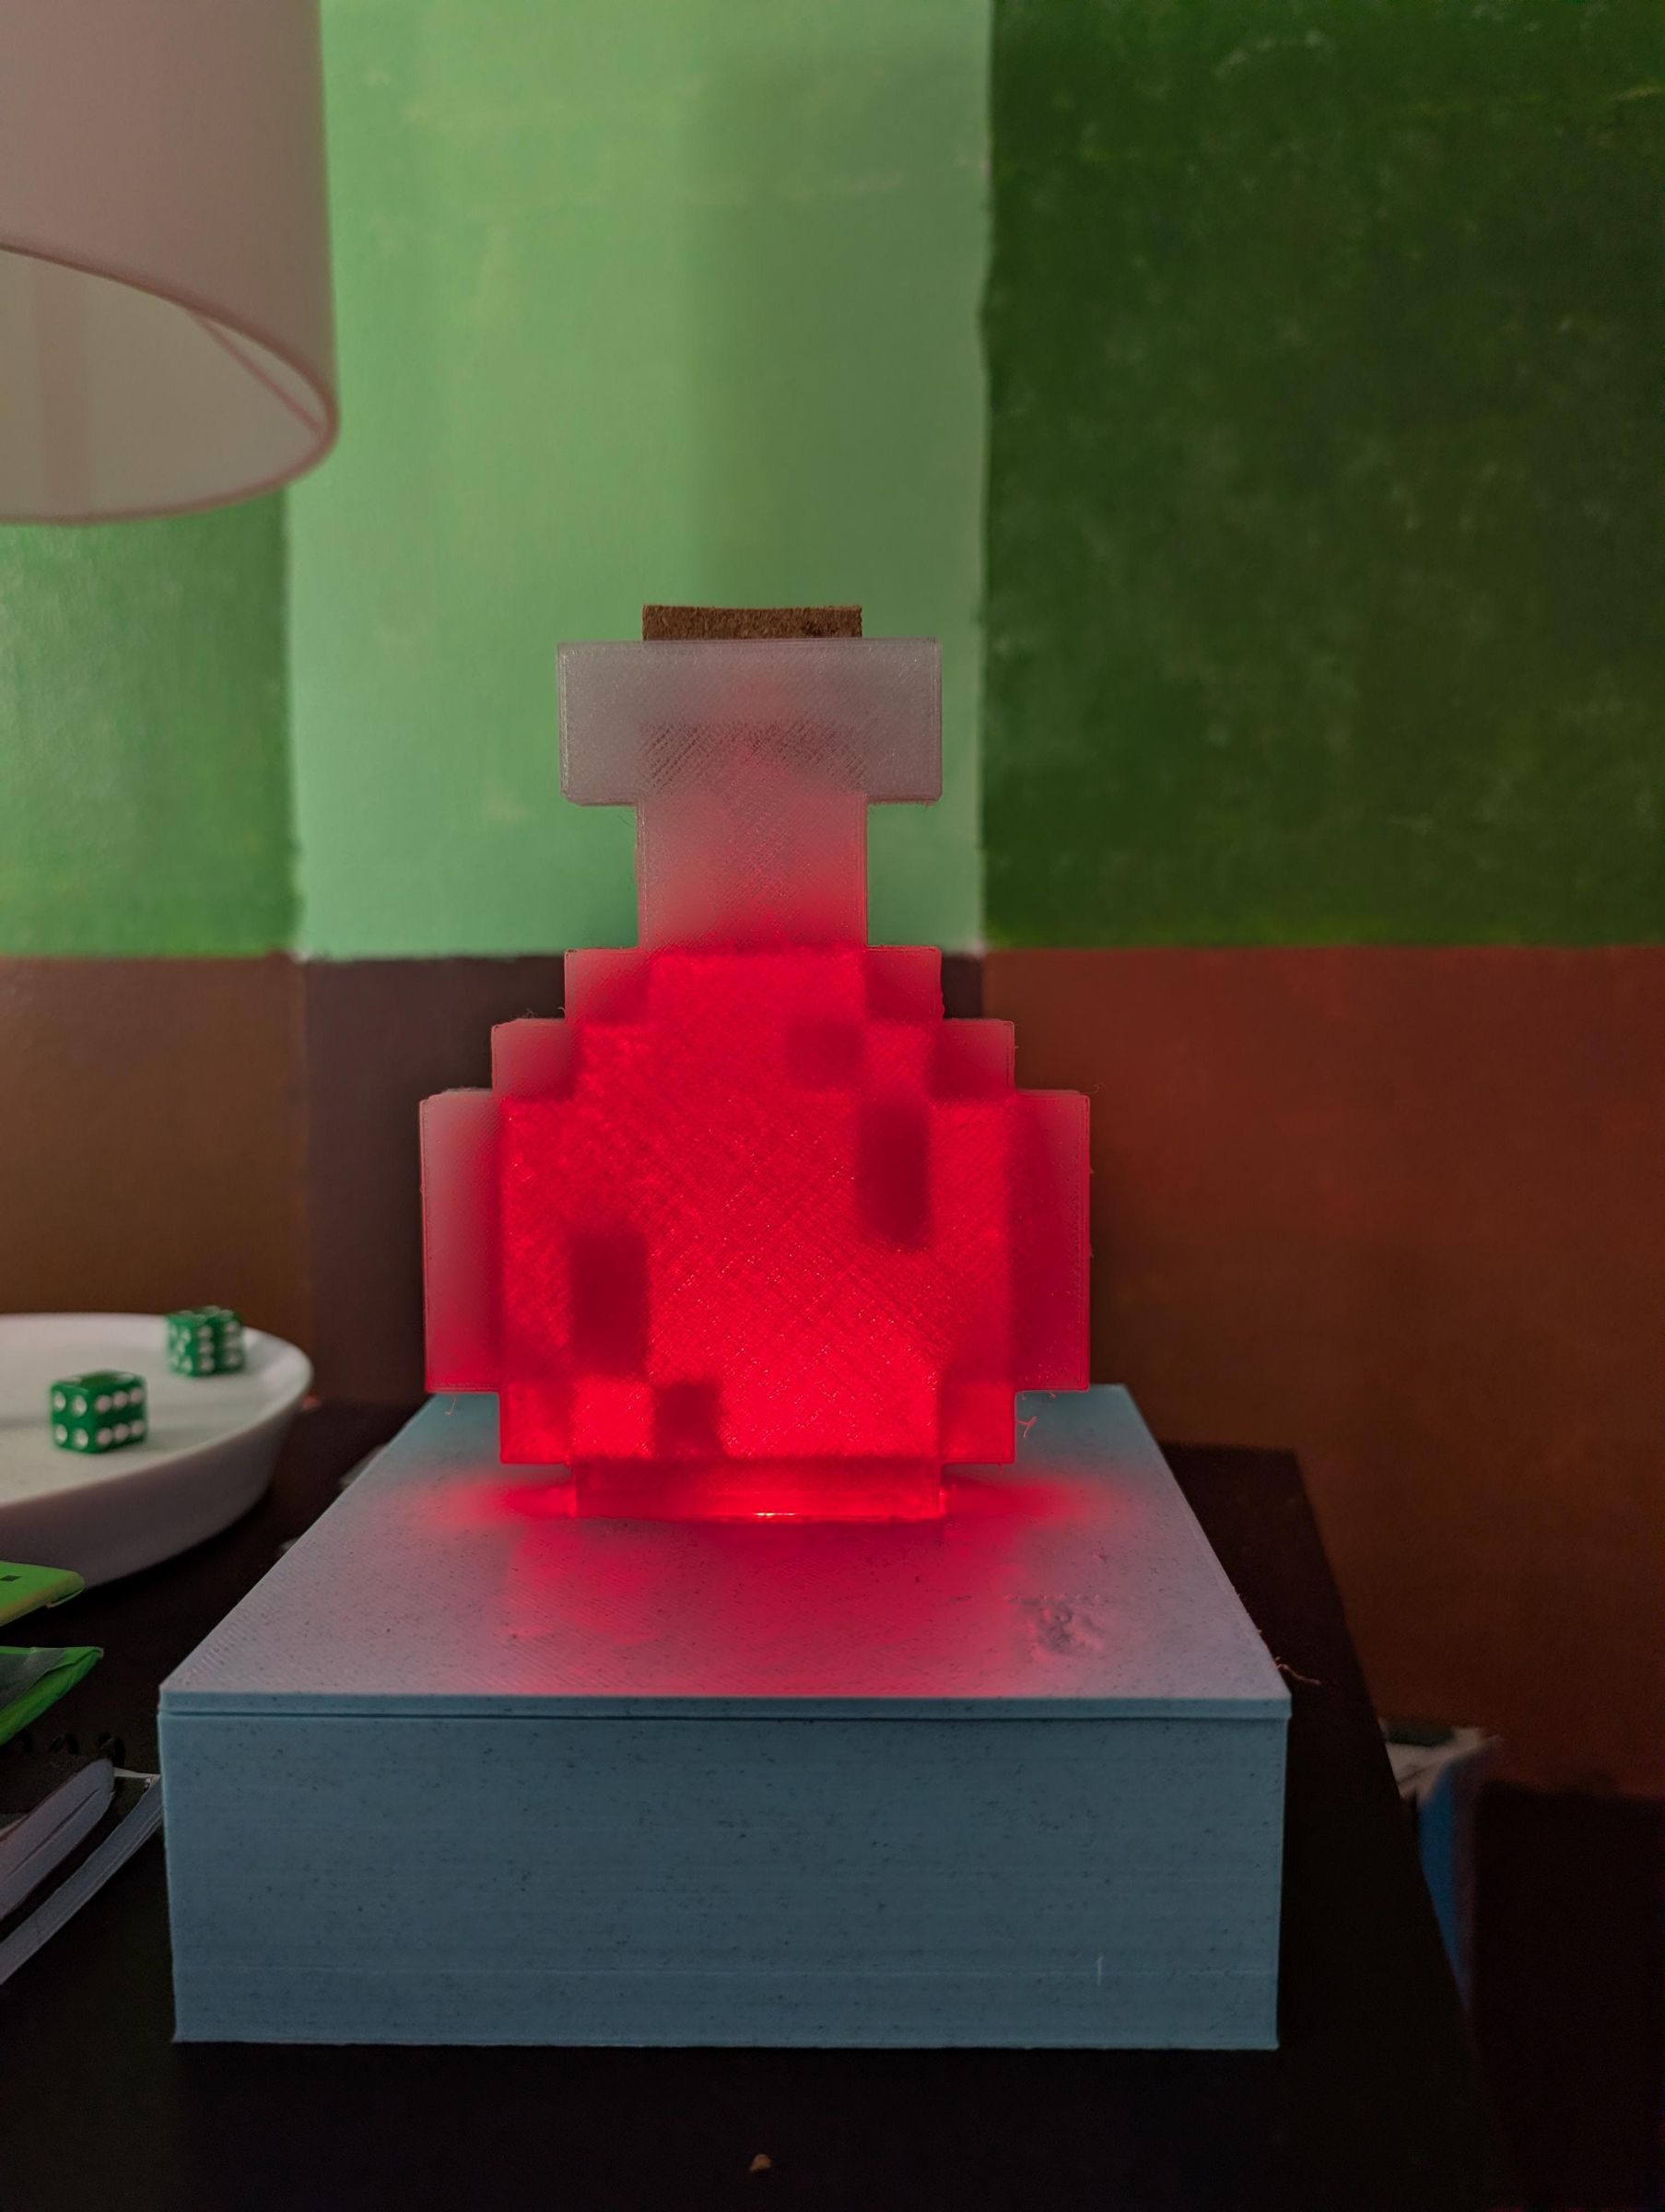
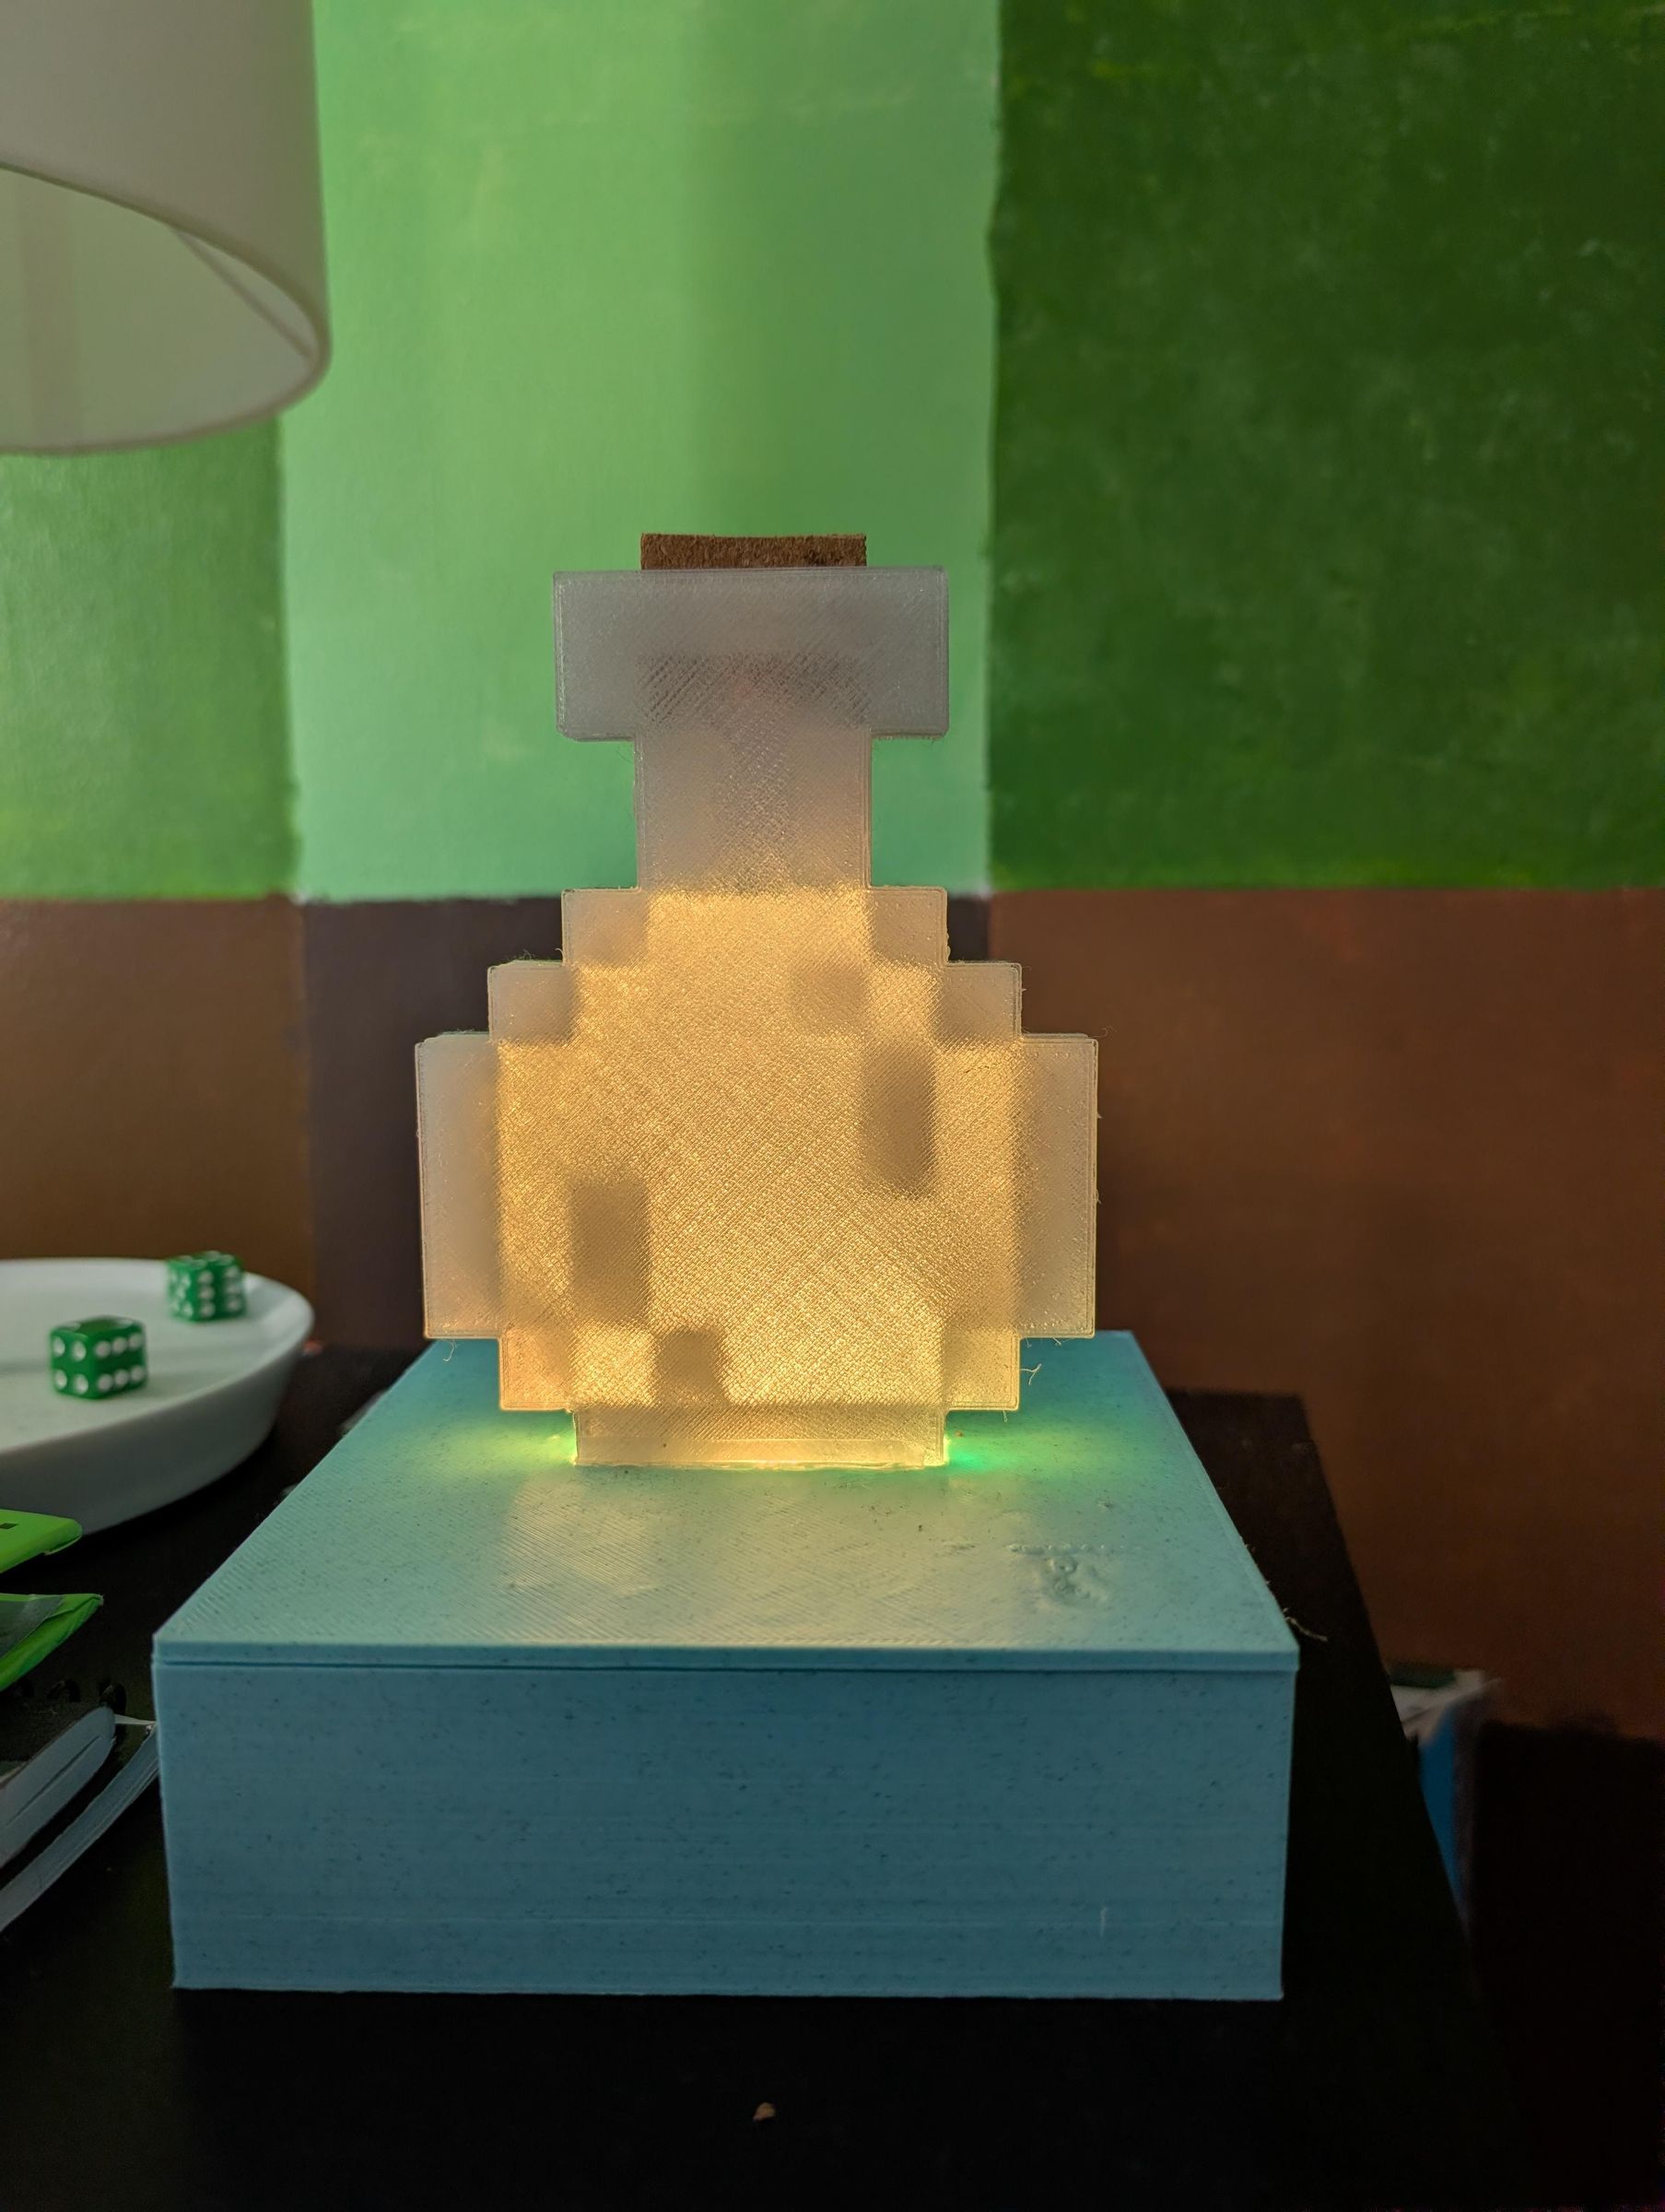
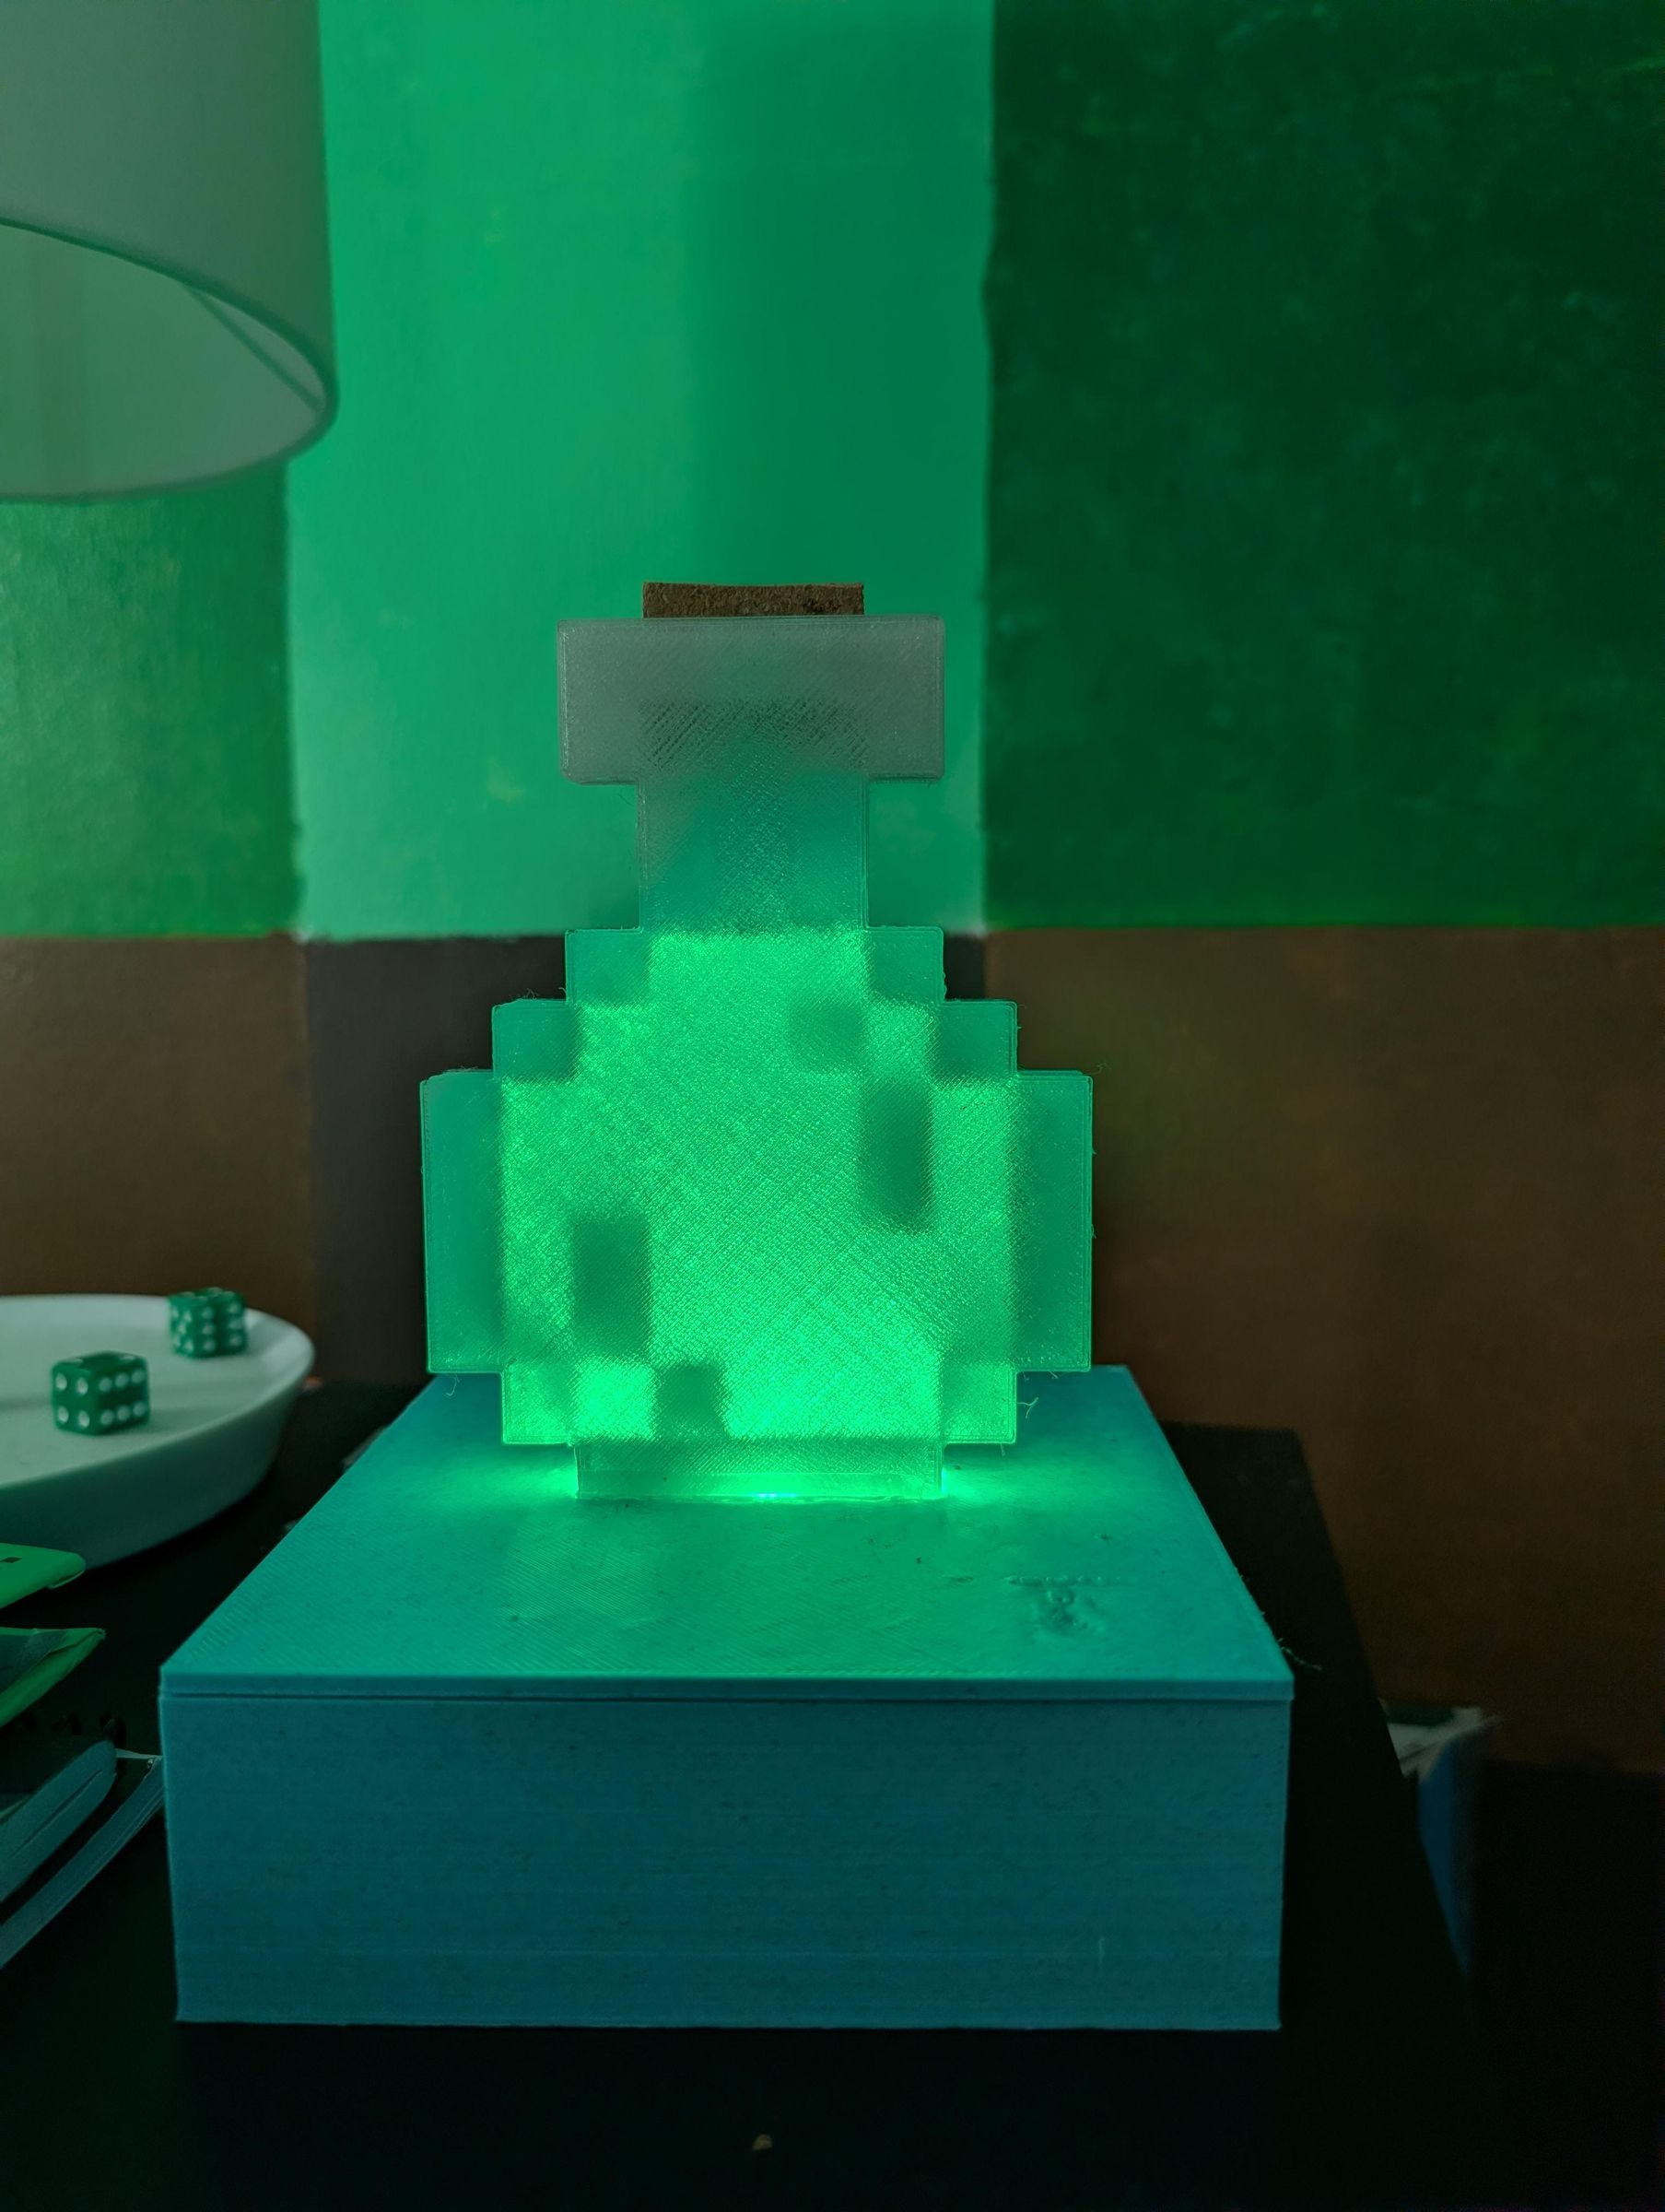
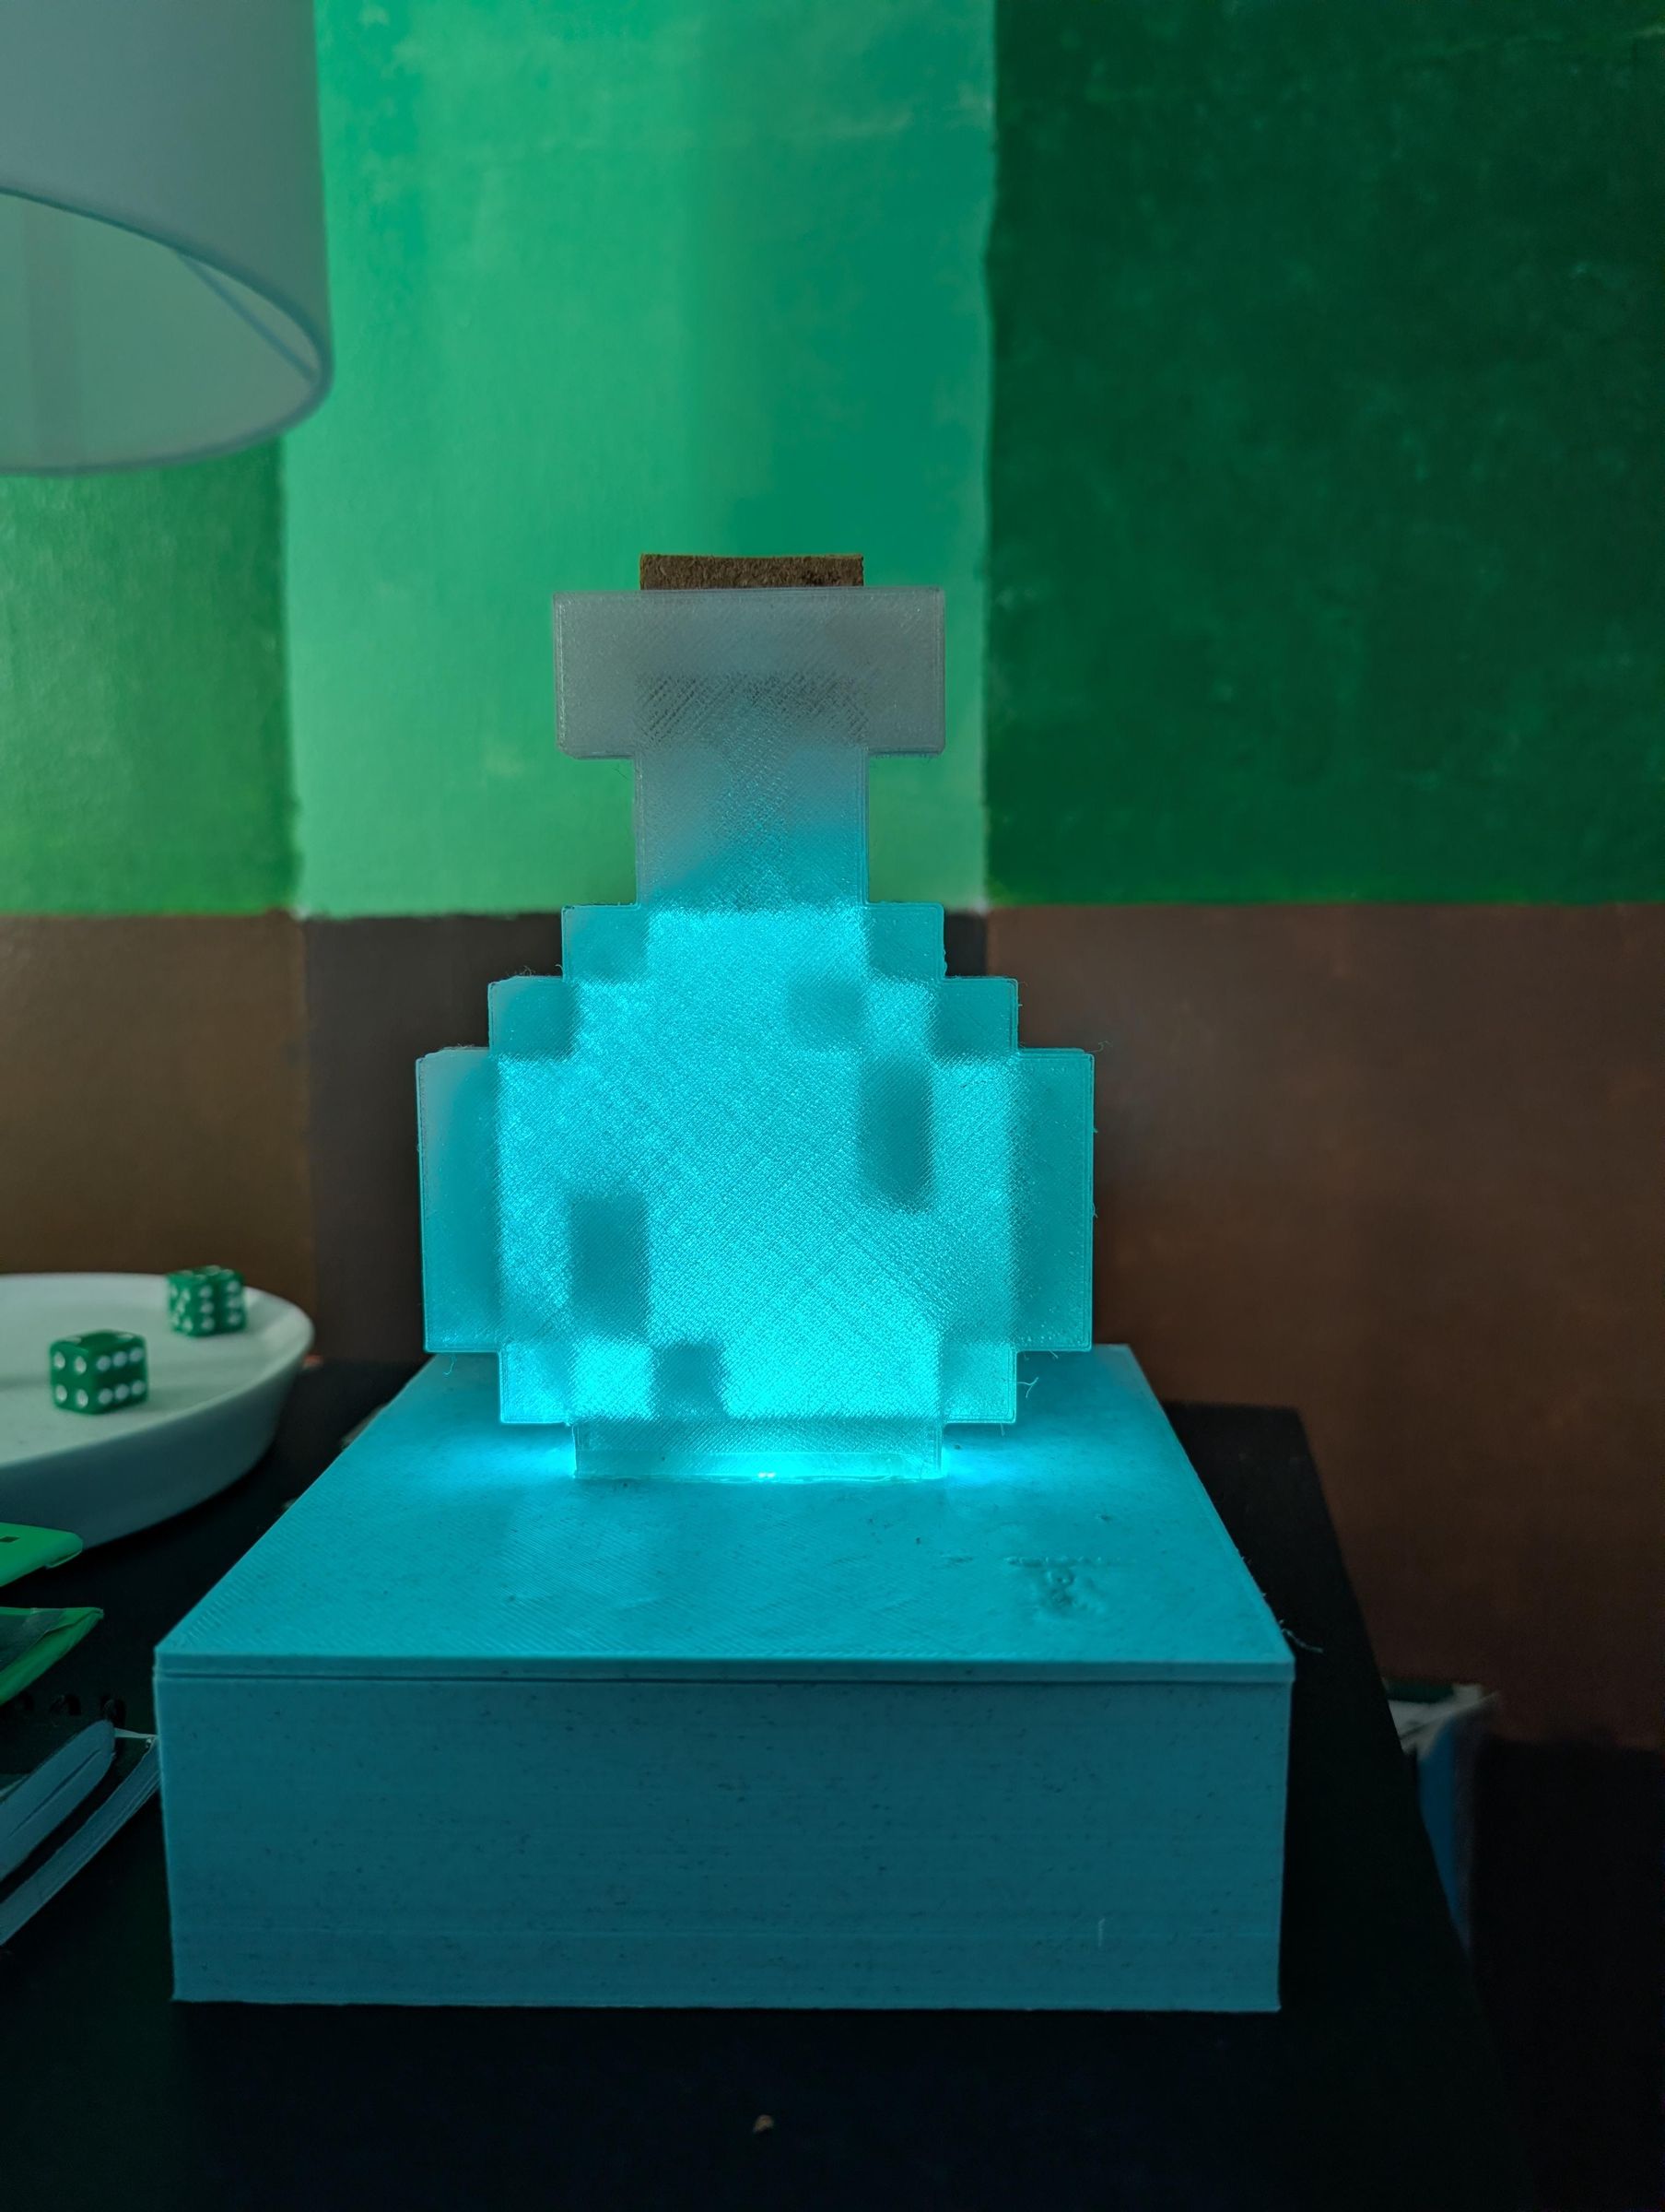
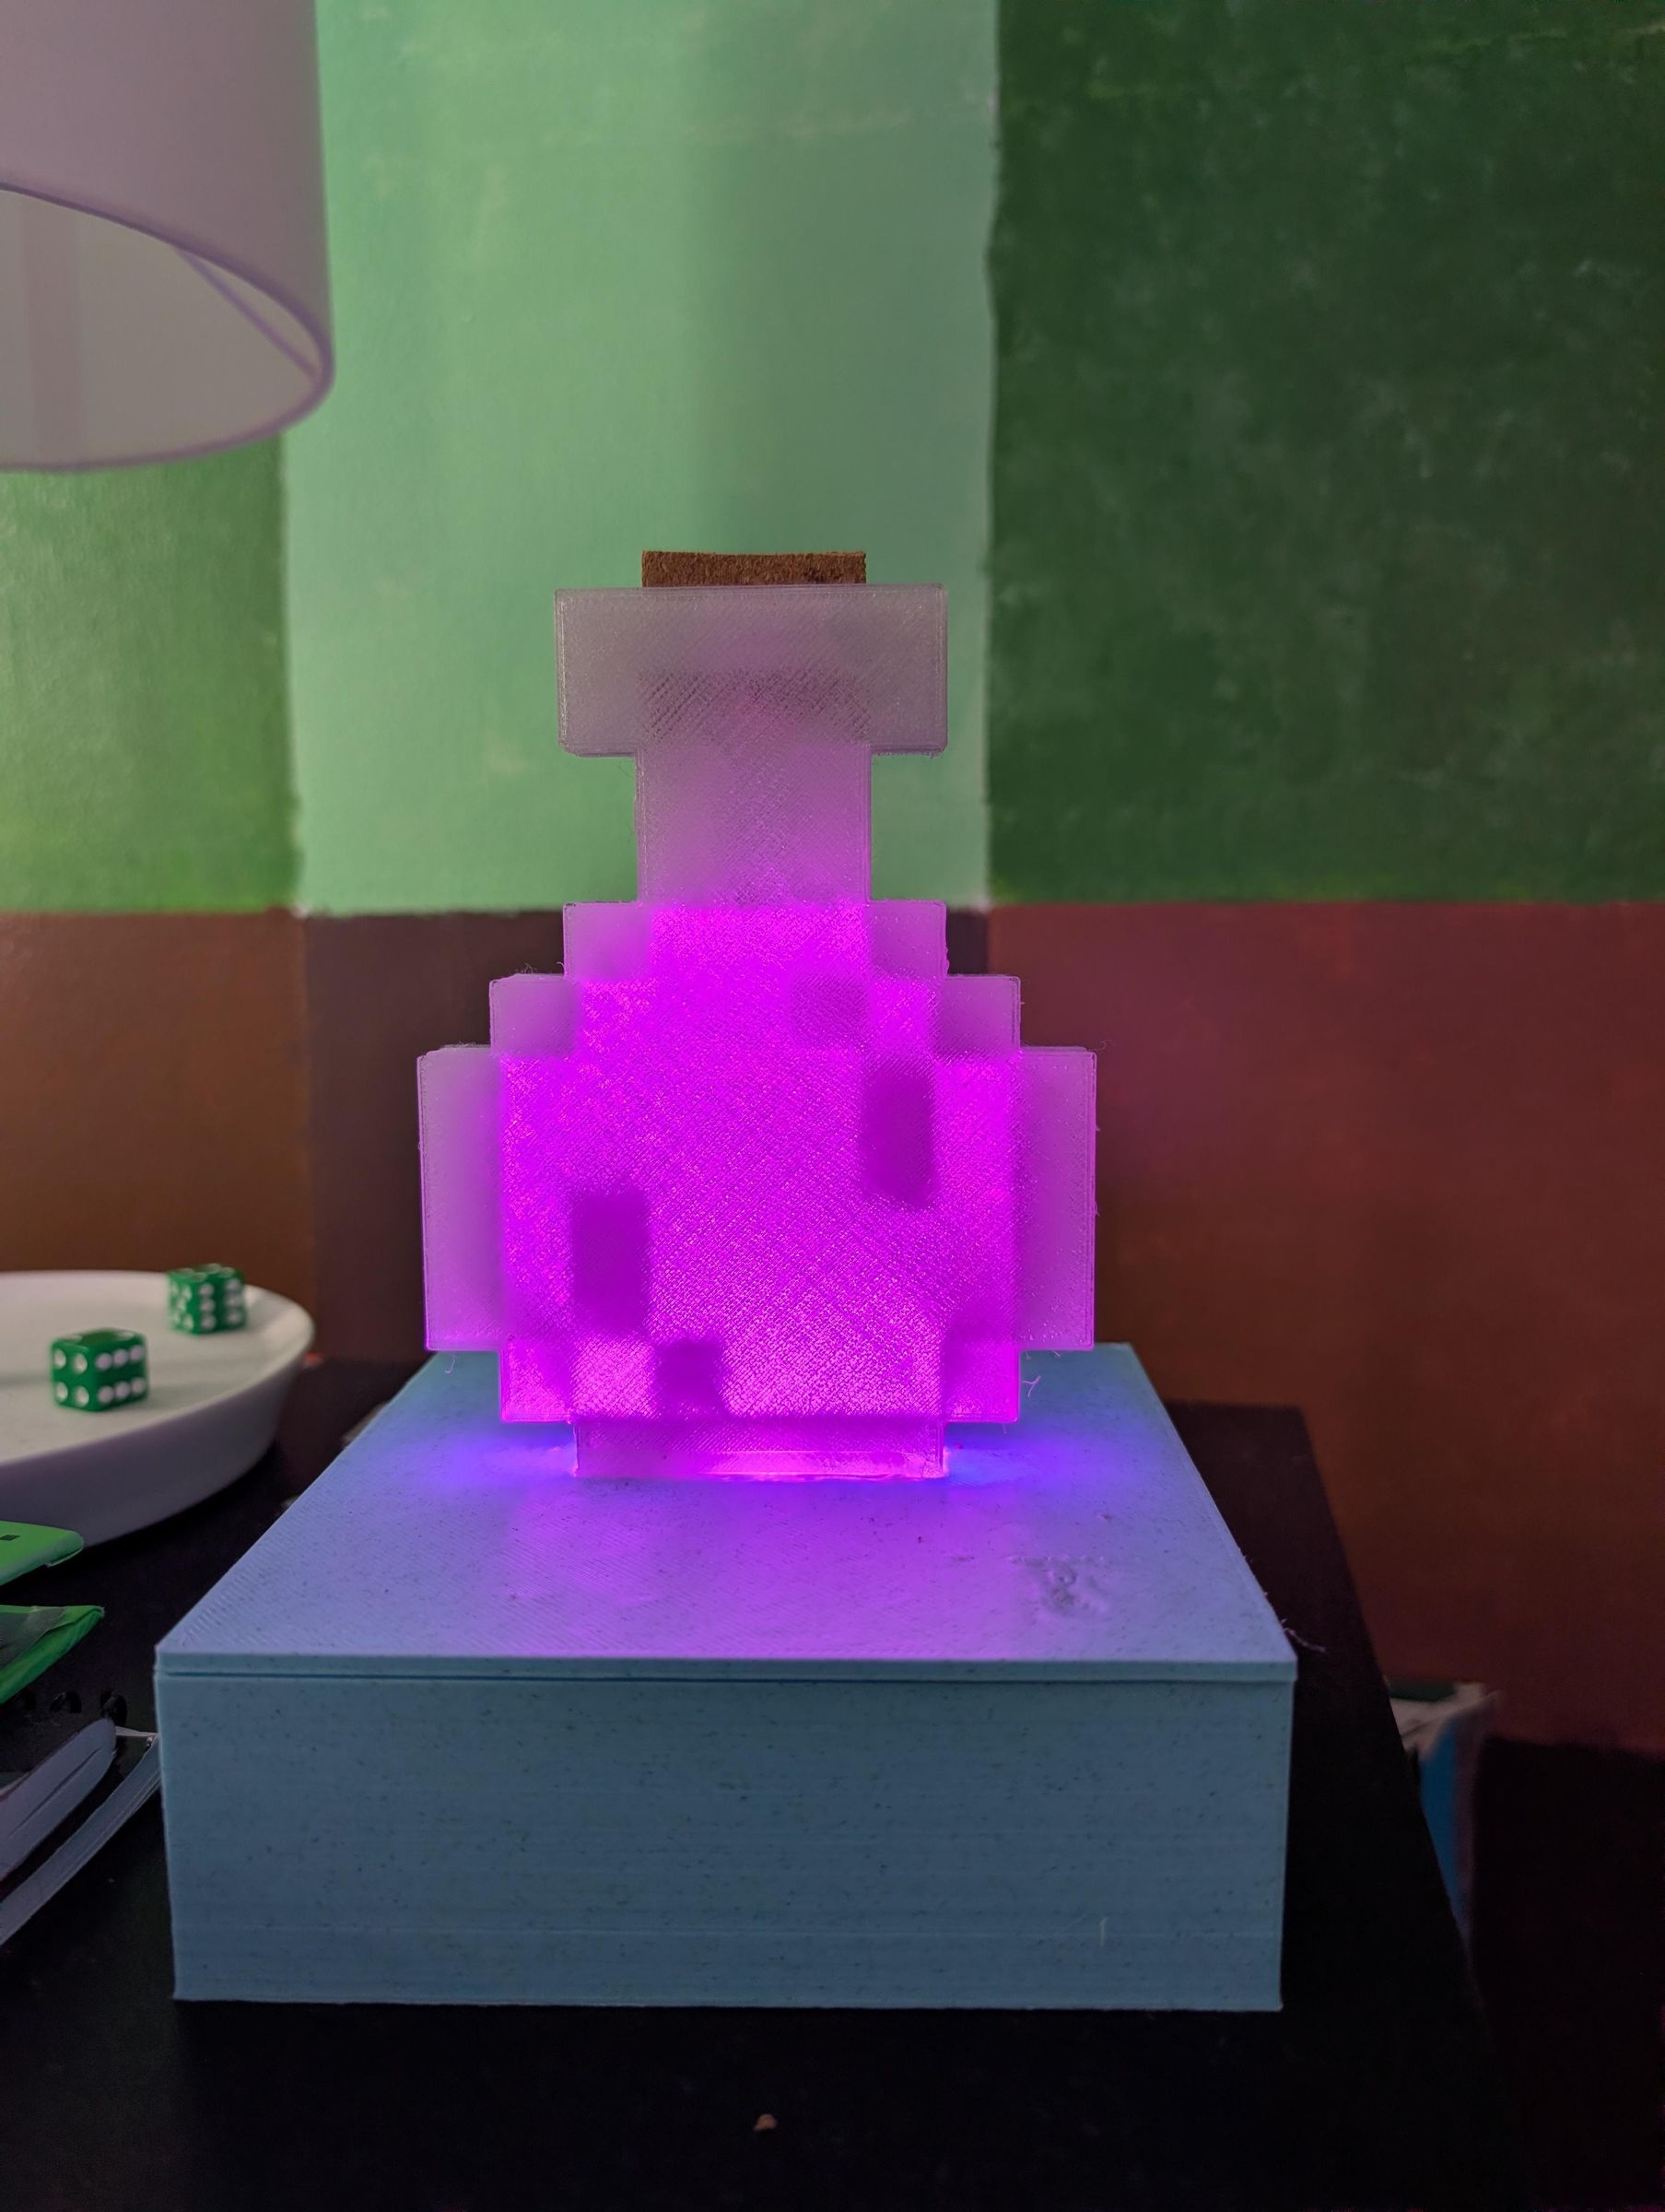
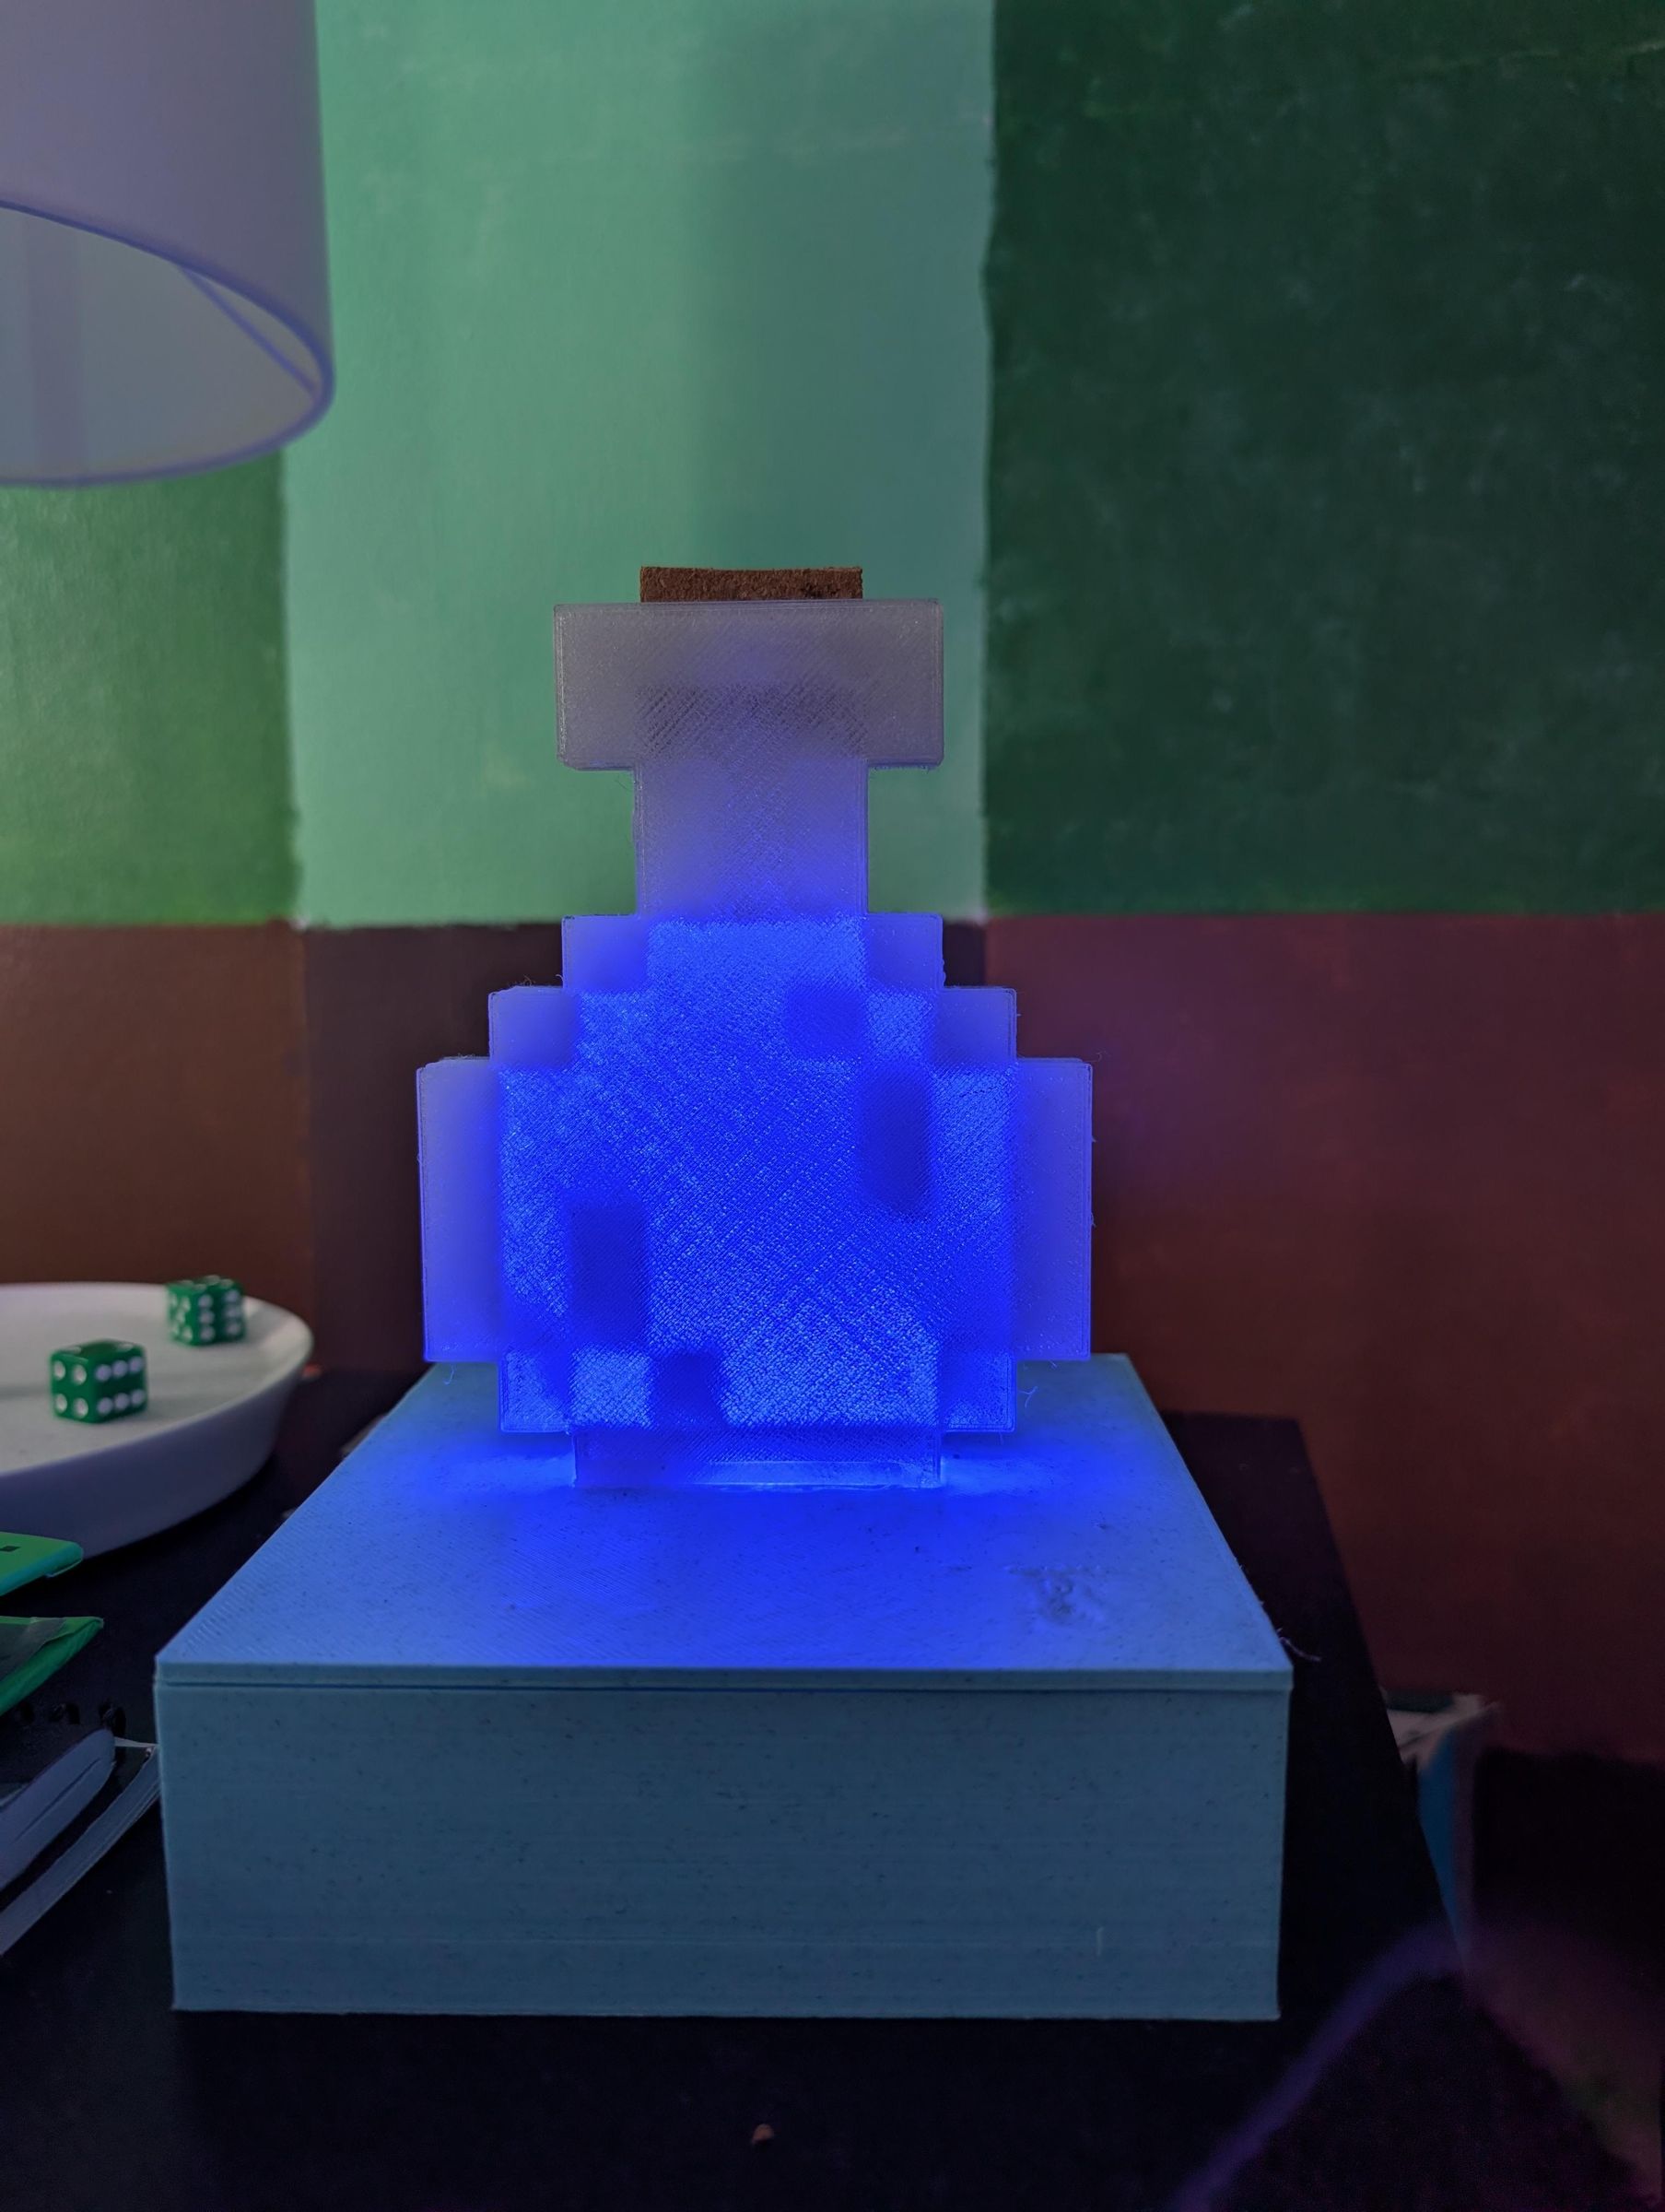
I have been looking for a project to ease my son into working with CAD software over the summer and when a Minecraft themed lamp caught his eye at the store, I knew it was the perfect starting point. Since this project started as a teaching tool, most of the design elements were primarily chosen for learning purposes so if you are looking to make this, feel free to swap things out with more appropriate options.
PROJECT FEATURES:
- Recreation of the design of the in game potion using CAD
- On/Off Switch
- Brightness Toggle
- Programmable options like changing colors, rainbow cycle and a fun shimmering effect using a single button
Note: Many of the steps have notes included in the pictures which detail additional tips, tricks, and further explanation.
Supplies
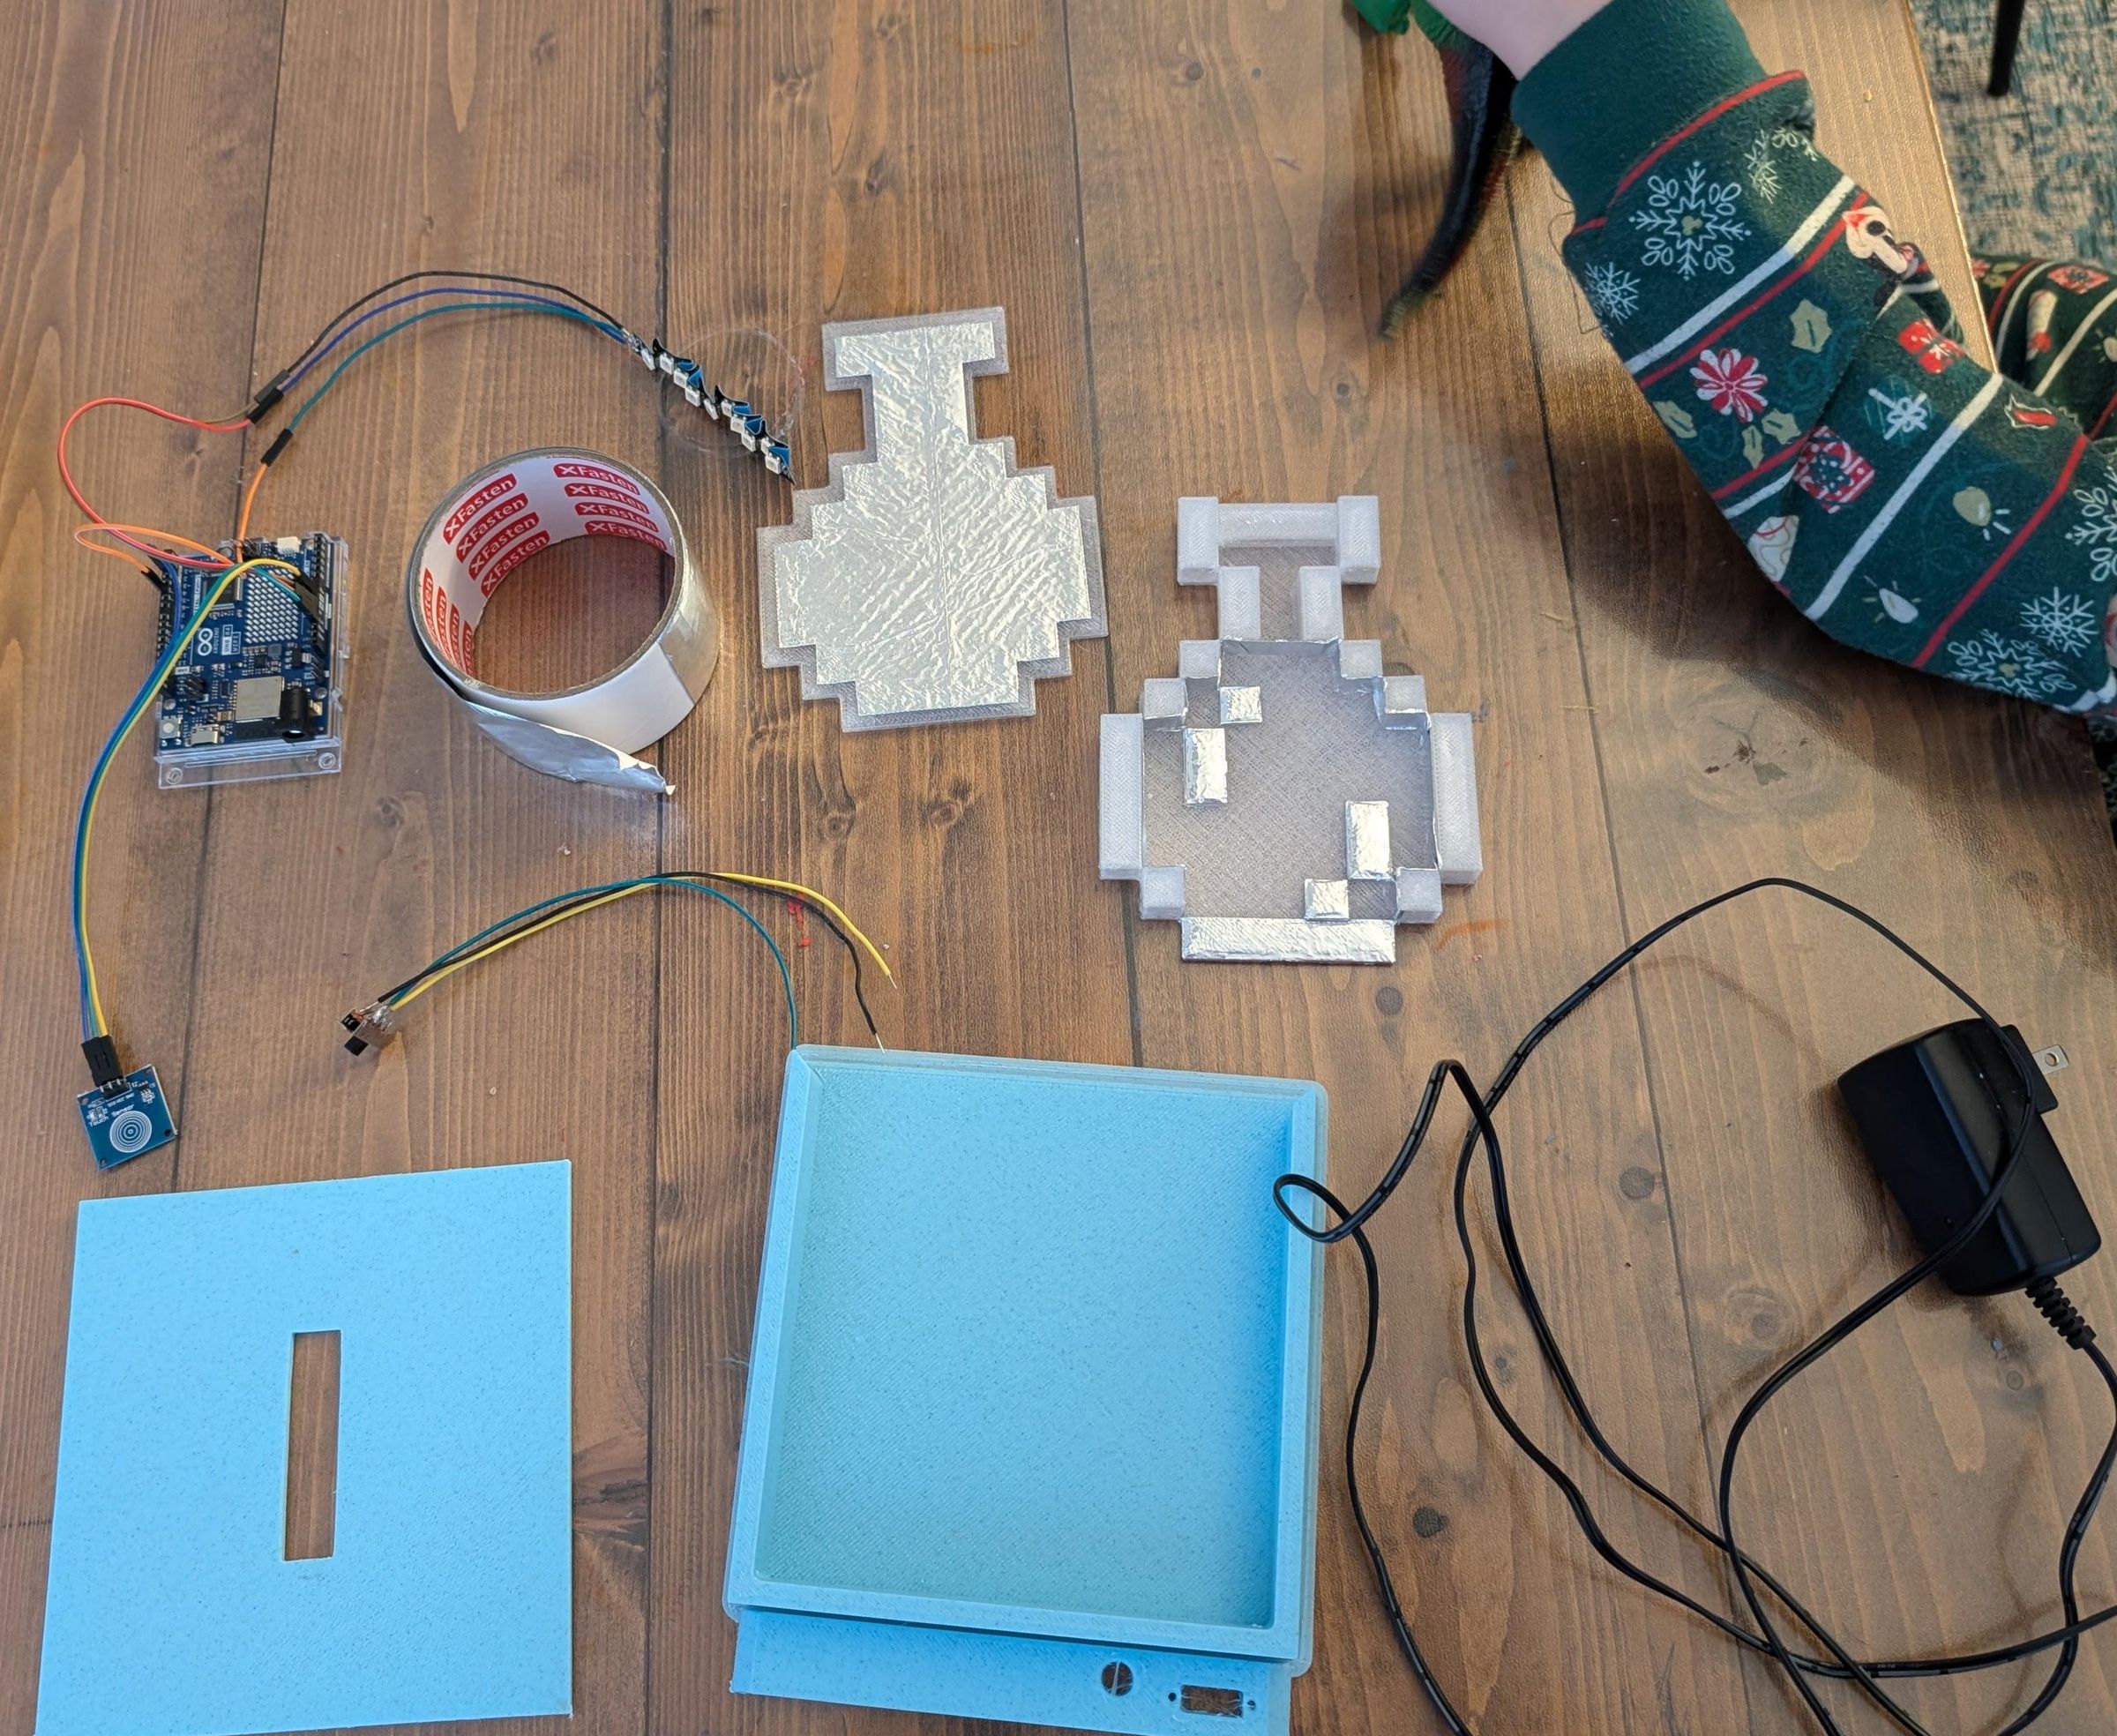
Links included where possible but some parts were salvaged and I do not have links to the specific ones used
Software/Tools I used
3d Printer
Hot Glue Gun
Supplies
Arduino Uno R4 (this is a bit much for this project but it's what I had on hand)
Toggle Switch
Wire Link is for jumper wires but this is project dependant
Addressable LED strip (this project uses WS2812B)
(NOT PICTURED)
If you are printing the models yourself, you'll need some transparent filament for the bottle and the box can be whatever color you want for the Minecraft block
Small flat piece of cork for the bottle stopper (I used a coaster I cut into shape)
Designing the Lamp
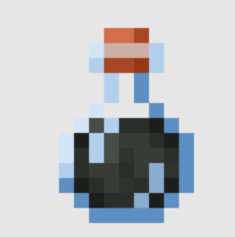
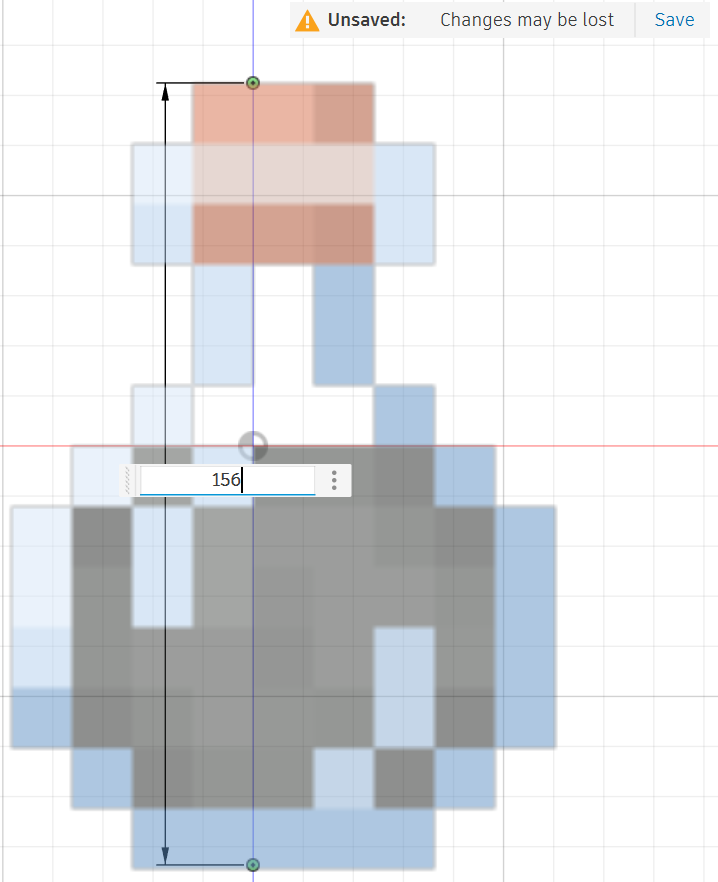
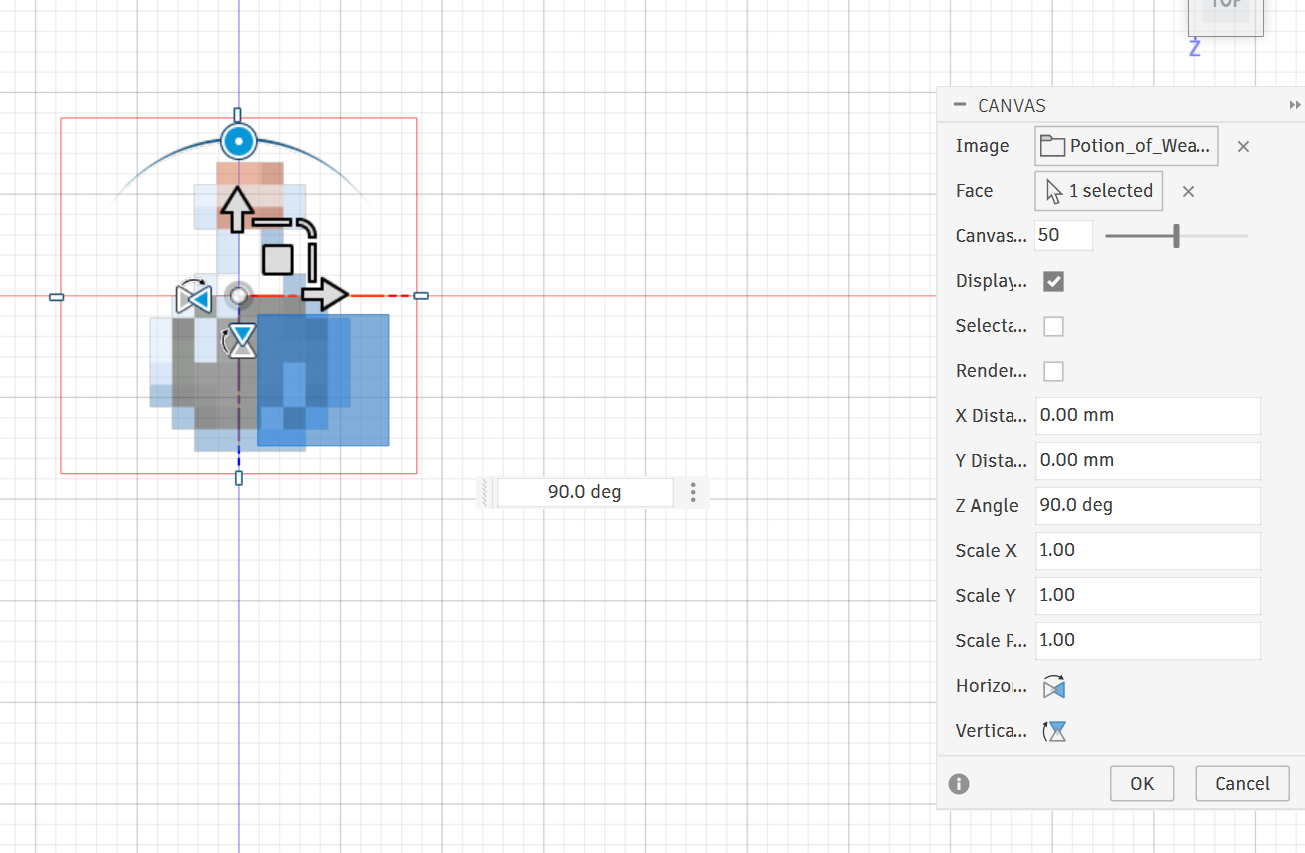
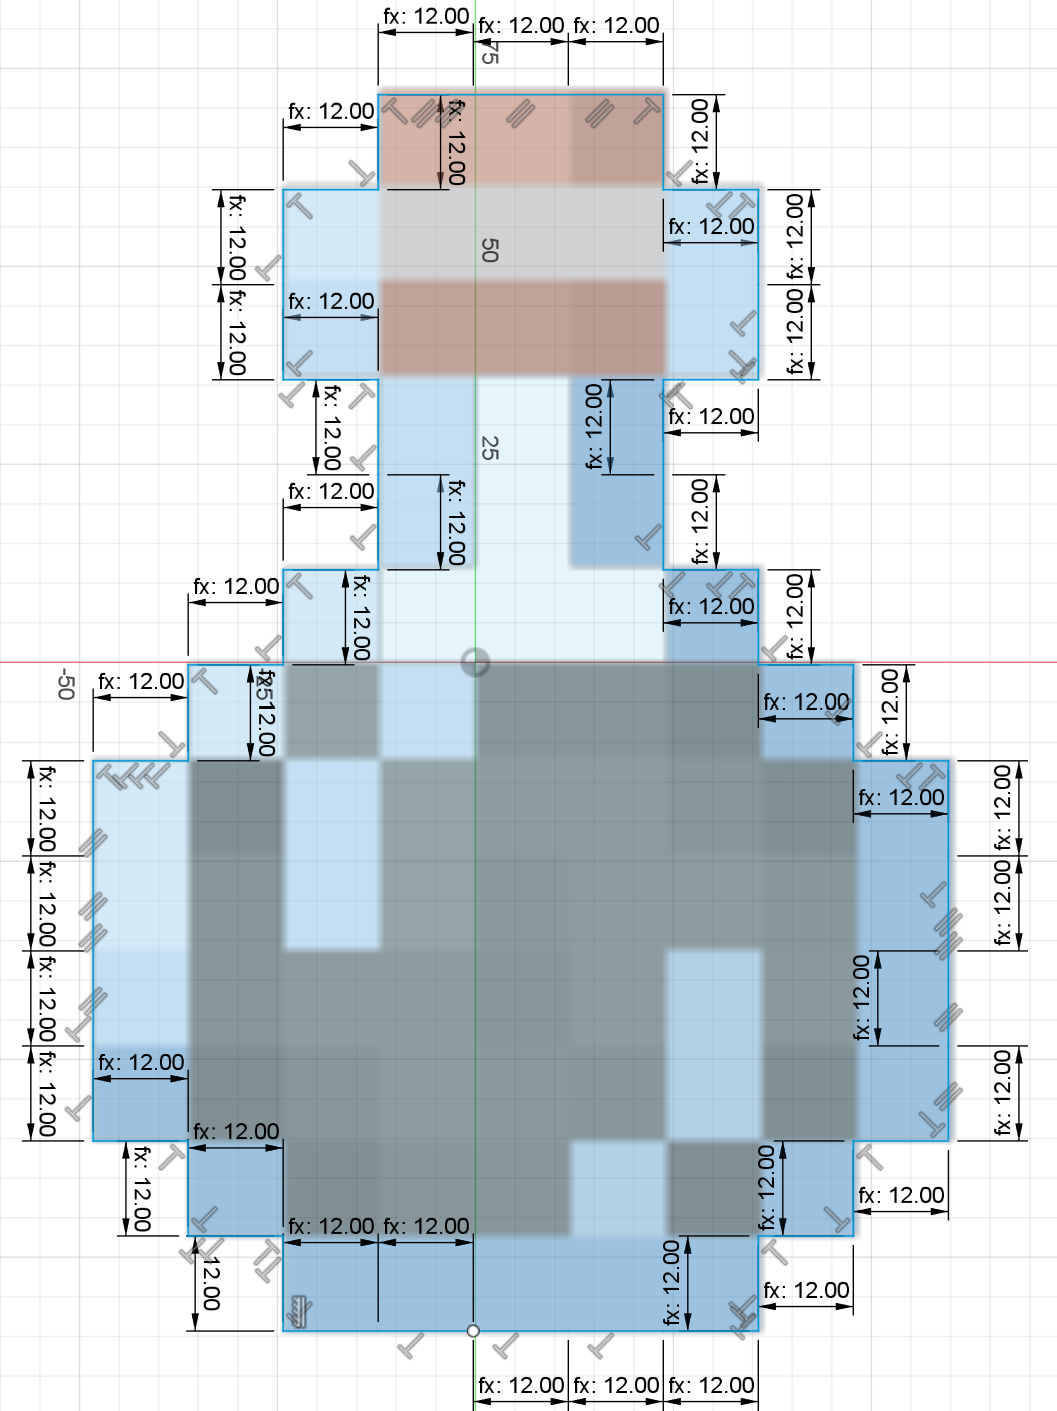
First, find and download a reference image of the object you are recreating. The potion is a simple 2D object so only a single image is needed. I downloaded this image from the Minecraft wiki. Open up a new project in Fusion 360 and at the top toolbar go to Insert>Canvas, navigate to the image you downloaded and click Insert. Since we are at the top view, go ahead and click the visible plane and you'll see the potion appear in the background. You may wish to rotate the canvas to better align with your view.
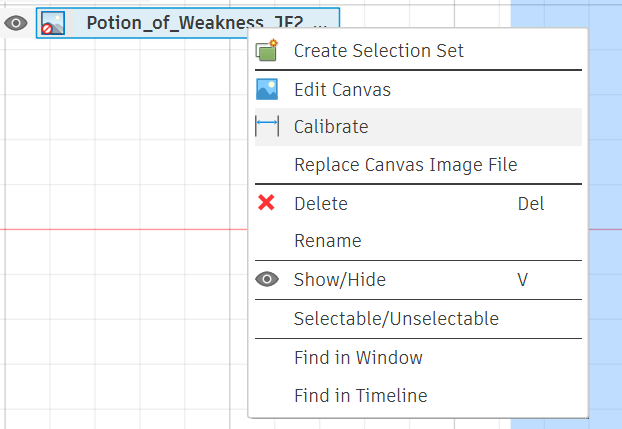
On the Browser panel to the left, locate the Canvases folder and right click the potion canvas and click Calibrate. This will prompt you to click two points and tell Fusion 360 the real life distance between the points. In this case I wanted the potion (not including the box) to be about 6 inches tall. I also wanted to keep the square pixel aesthetic so I calibrate the top and bottom most points to be 156 mm apart. This puts the whole potion at just over 6 inches and keeps each "pixel block" in the potion as a 12x12mm square.
Note: The dimensions were chosen factoring in the dimensions of the LED strip. We were able to barely fit in our strip using the following steps, take care to ensure your LEDs have enough space.
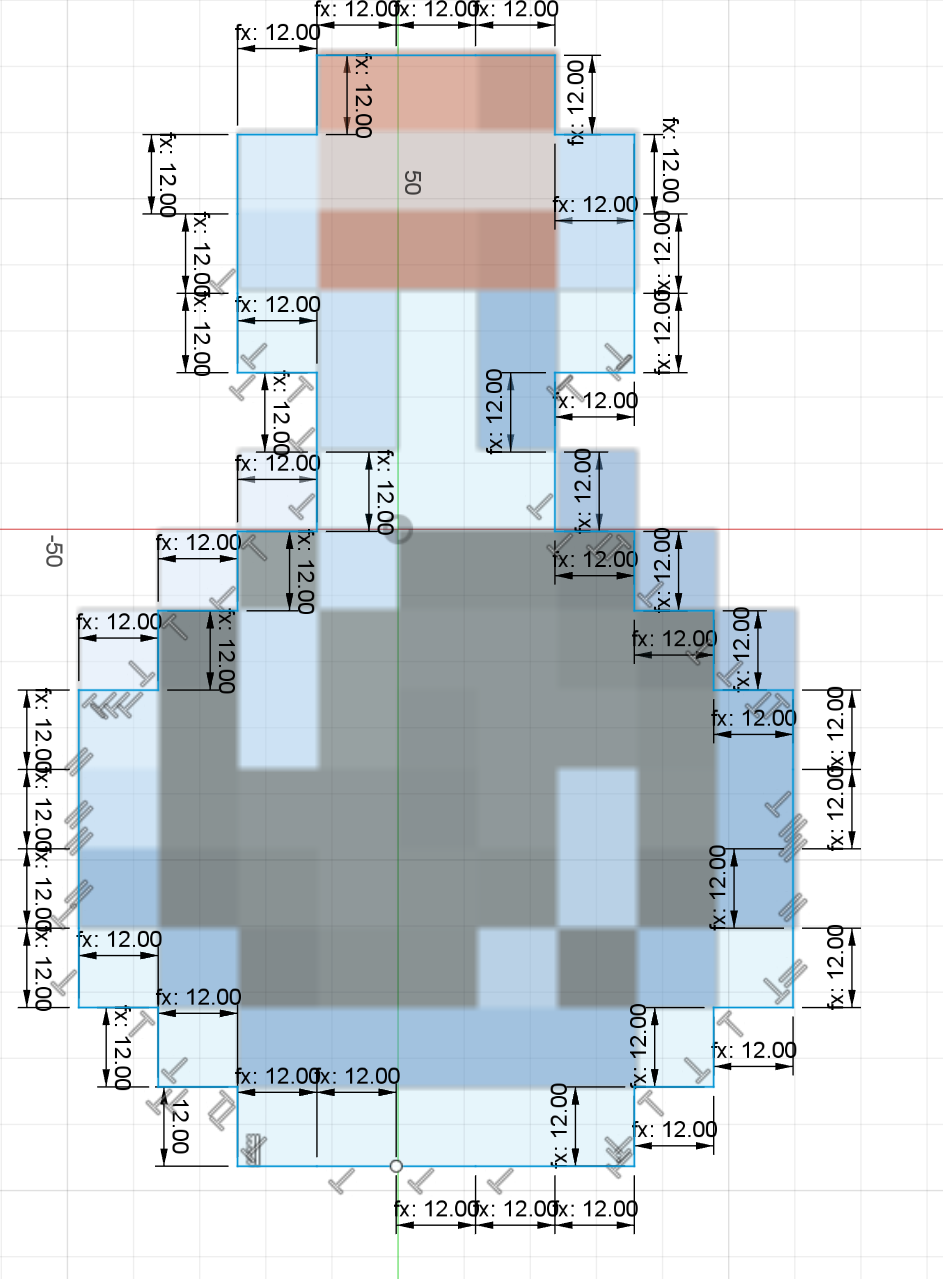
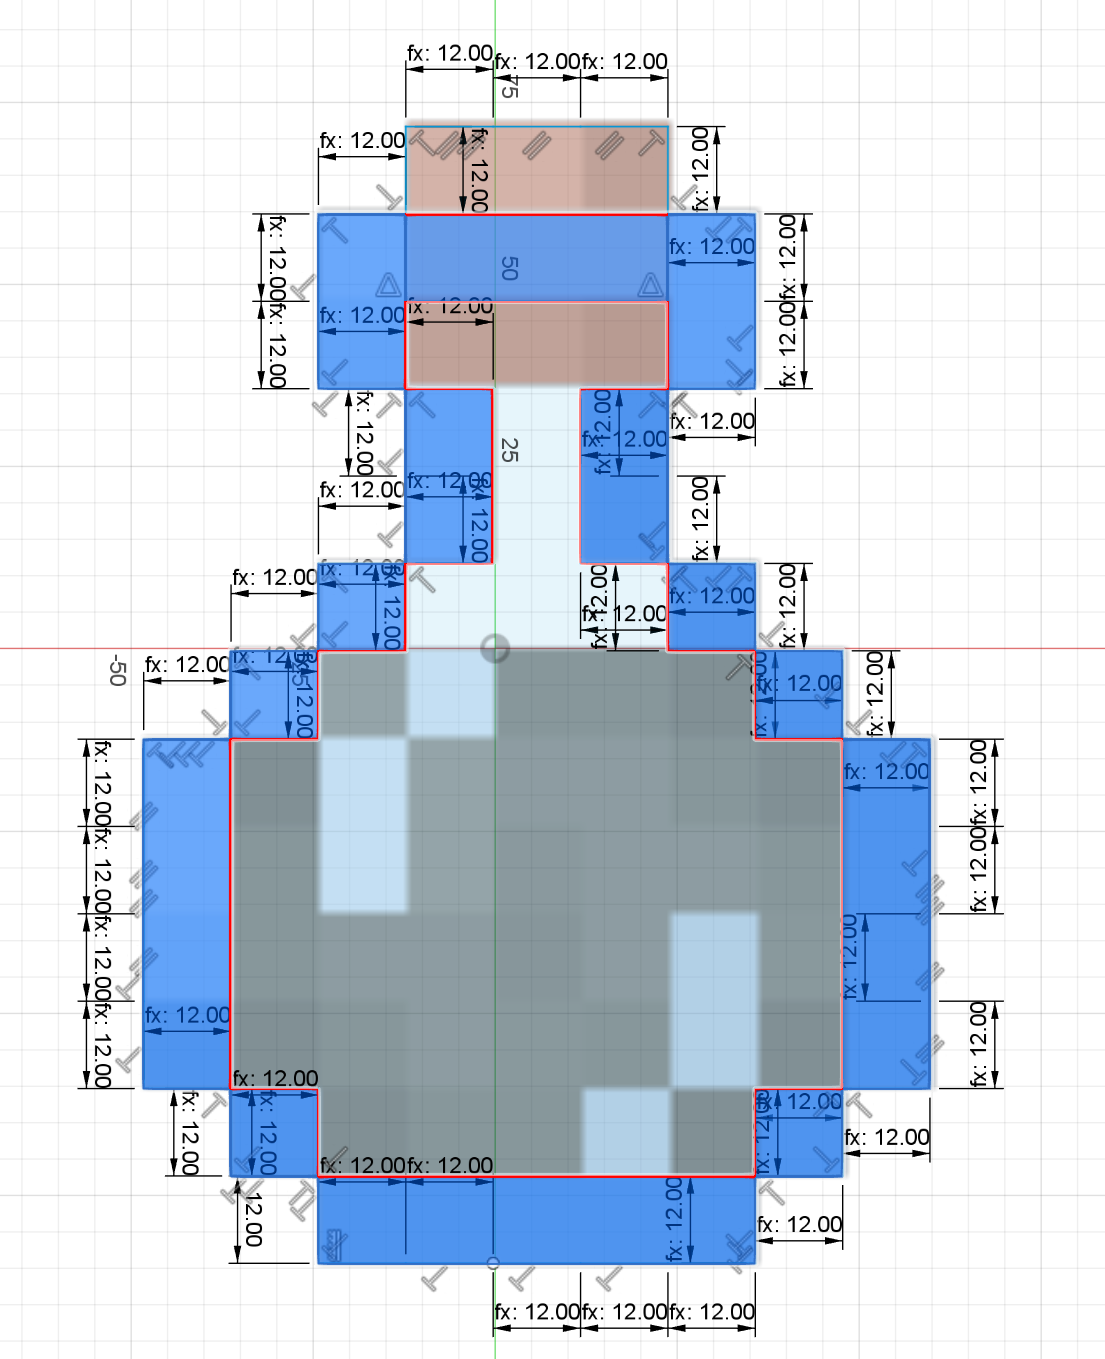
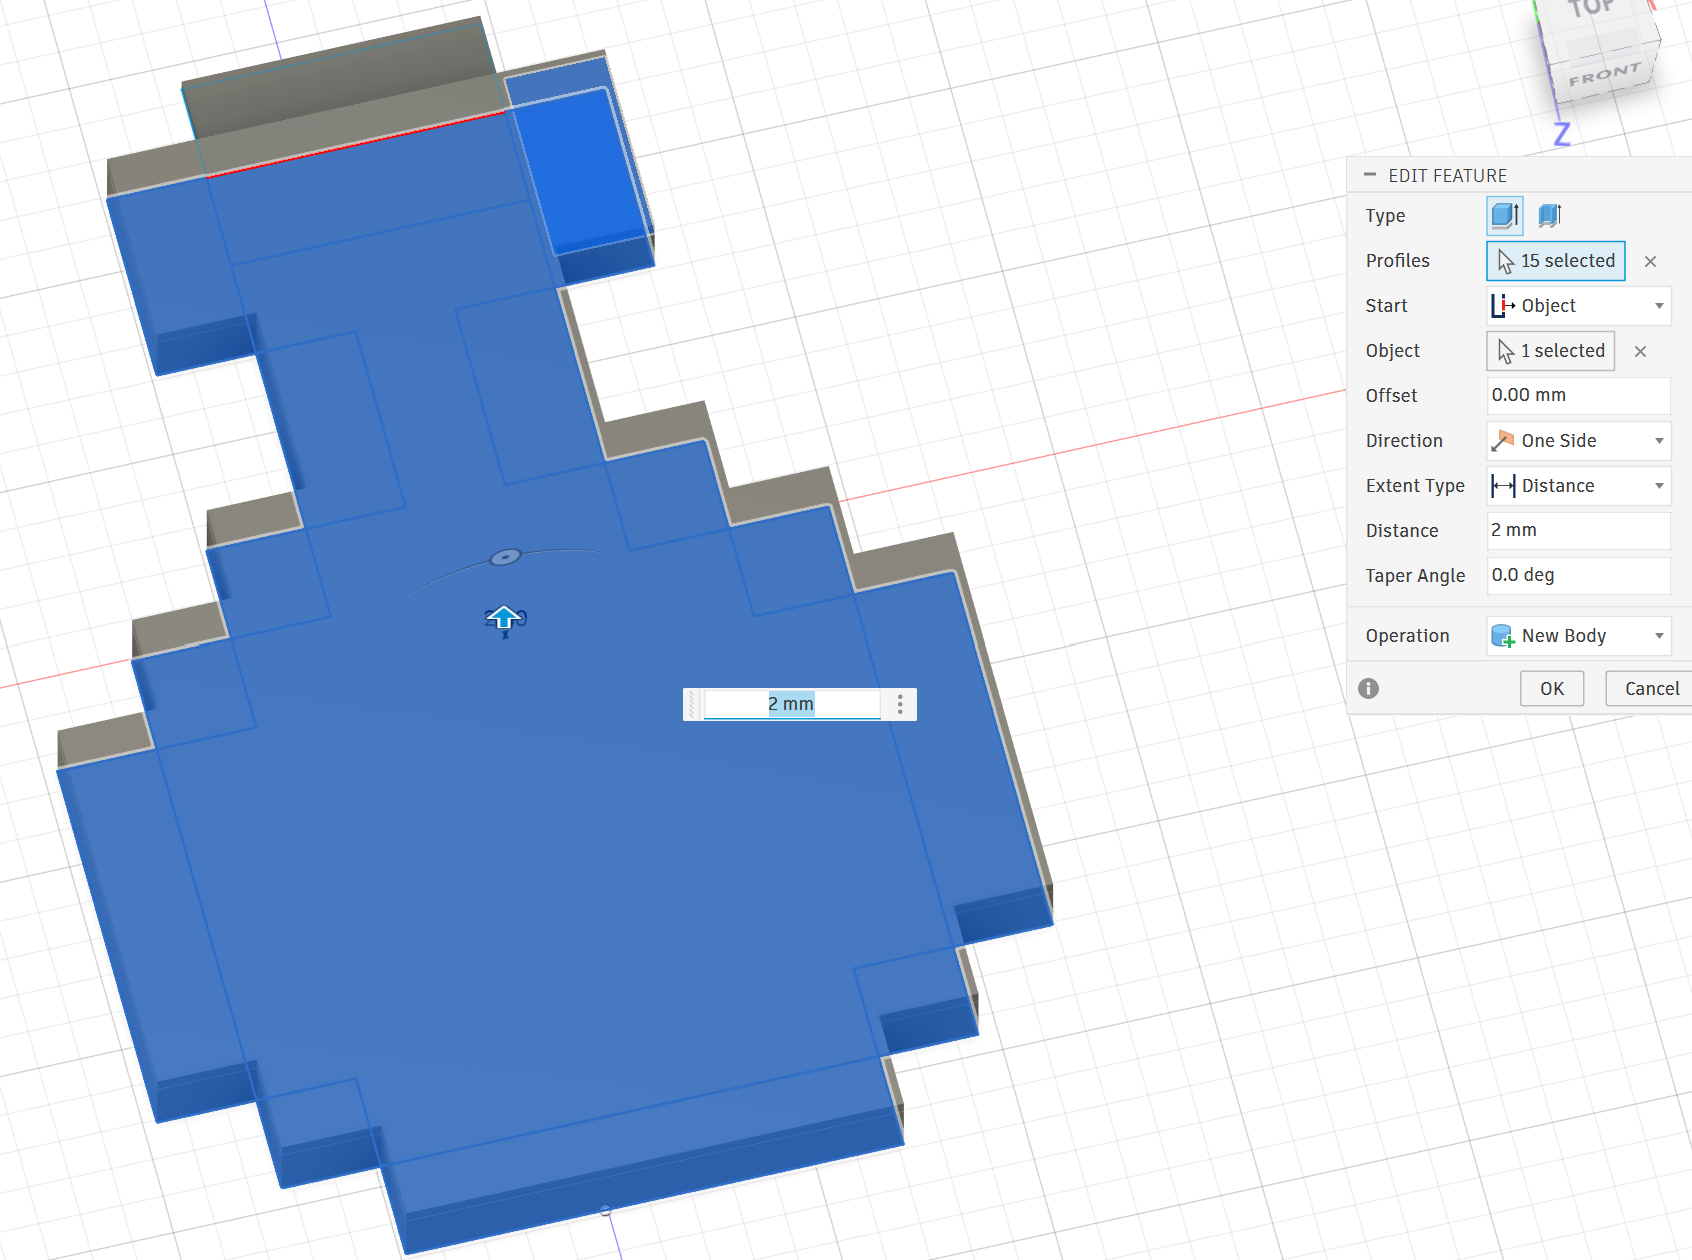
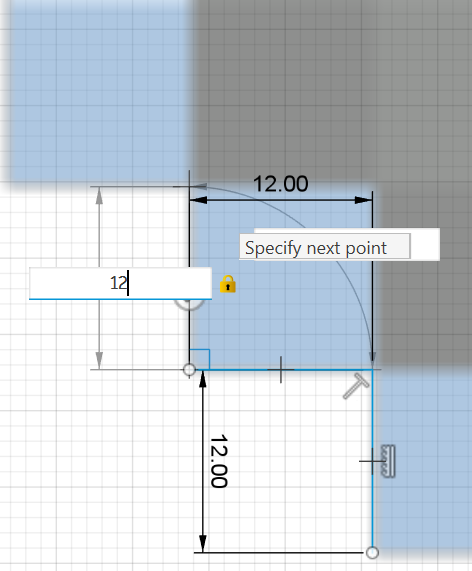
At the top toolbar click Create Sketch and use the same plane as the canvas. Using the Line tool, trace the outside of the potion, taking care to set each line as 12mm, our pixel size. You can also set each dimension after the first as "d1" which will tell Fusion 360 to update each pixel automatically based on whatever the first measured line is. This way if you need to change your pixel size, you only need to change the first one and all the others will update. Once complete, Right click inside the potion>Extrude 2mm. The innermost pixels do not need to be extruded since they will be colored by the LEDs later, but we need to go back to the sketch and solidify the outermost pixels. Double click the first sketch and again using the line tool, trace the inside line of the outermost pixels. This time extrude the outermost pixels of the "glass" part of the potion, not including the part that overlaps the cork or the bottom most layer. This will leave a hole for the cork to be inserted at the top later and another to lay the LEDs at the bottom. Set the Operation type to Join and extrude by 8mm. Then extrude the overlapping part by 4mm. Finally, extrude the back panel of the potion by selecting everything but the top cork layer. Set the "Start" to "Object" and select the top of any of the 8mm extrusions. Set the operation to New Body and extrude by 2mm. This gives us 2mm for the front, 2mm for the back, and 8mm in-between finalizing the potion body while keeping the 12mm pixel block size.
Remember to save often!
Downloads
Designing the Box
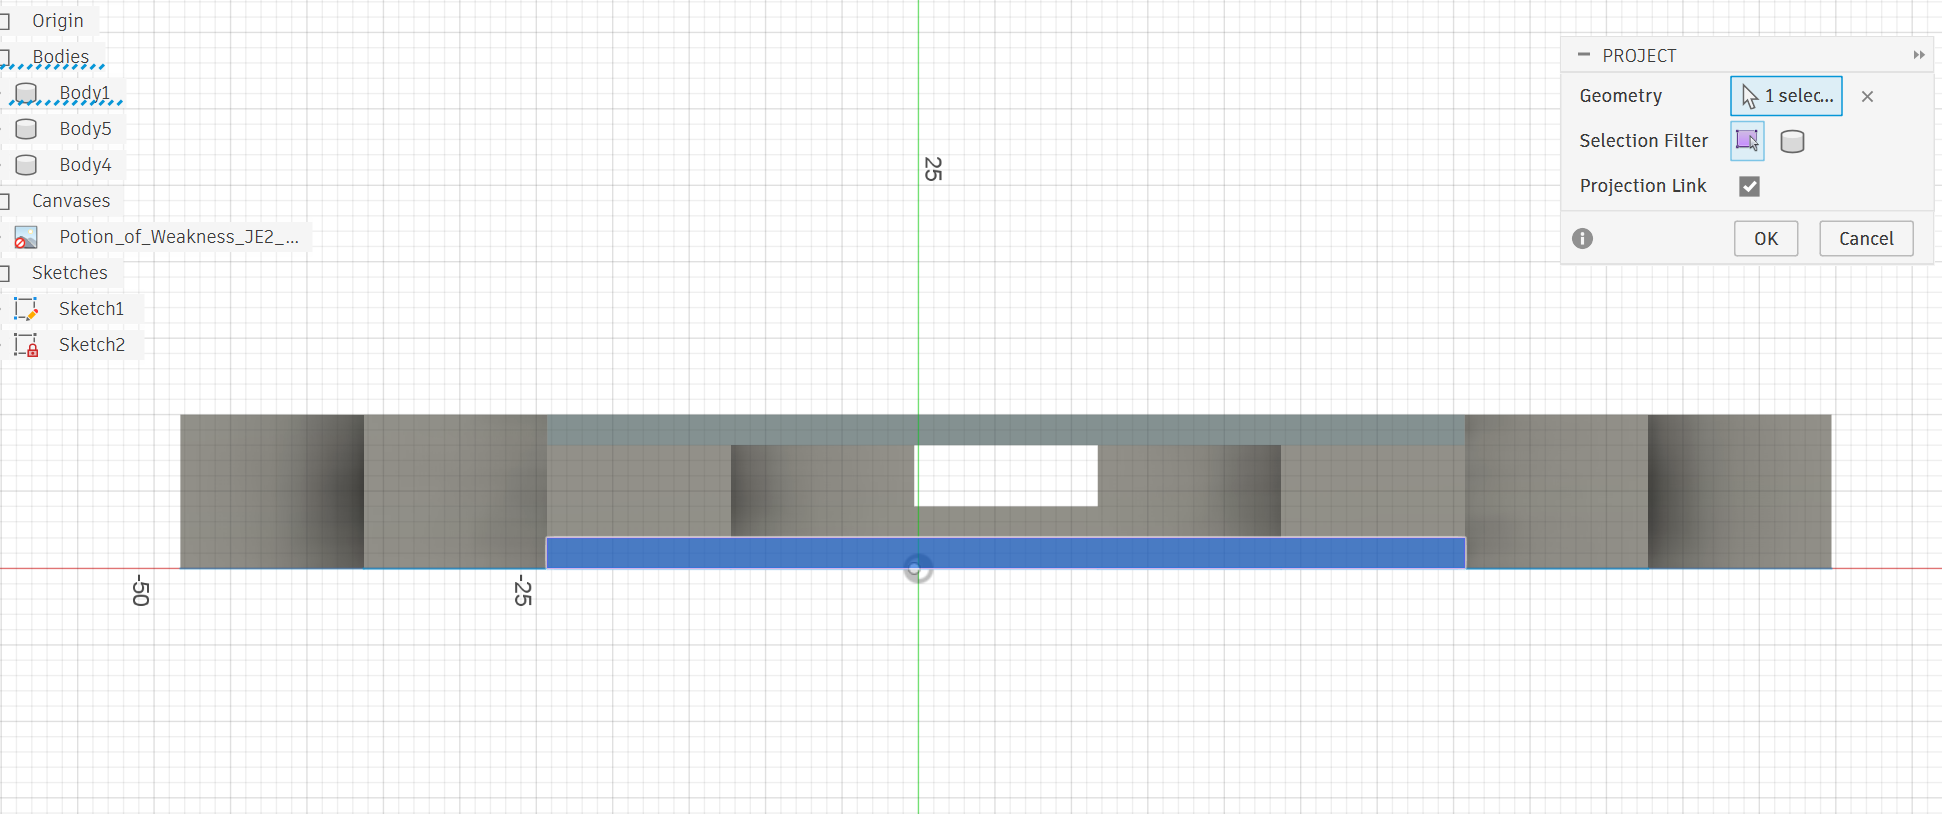
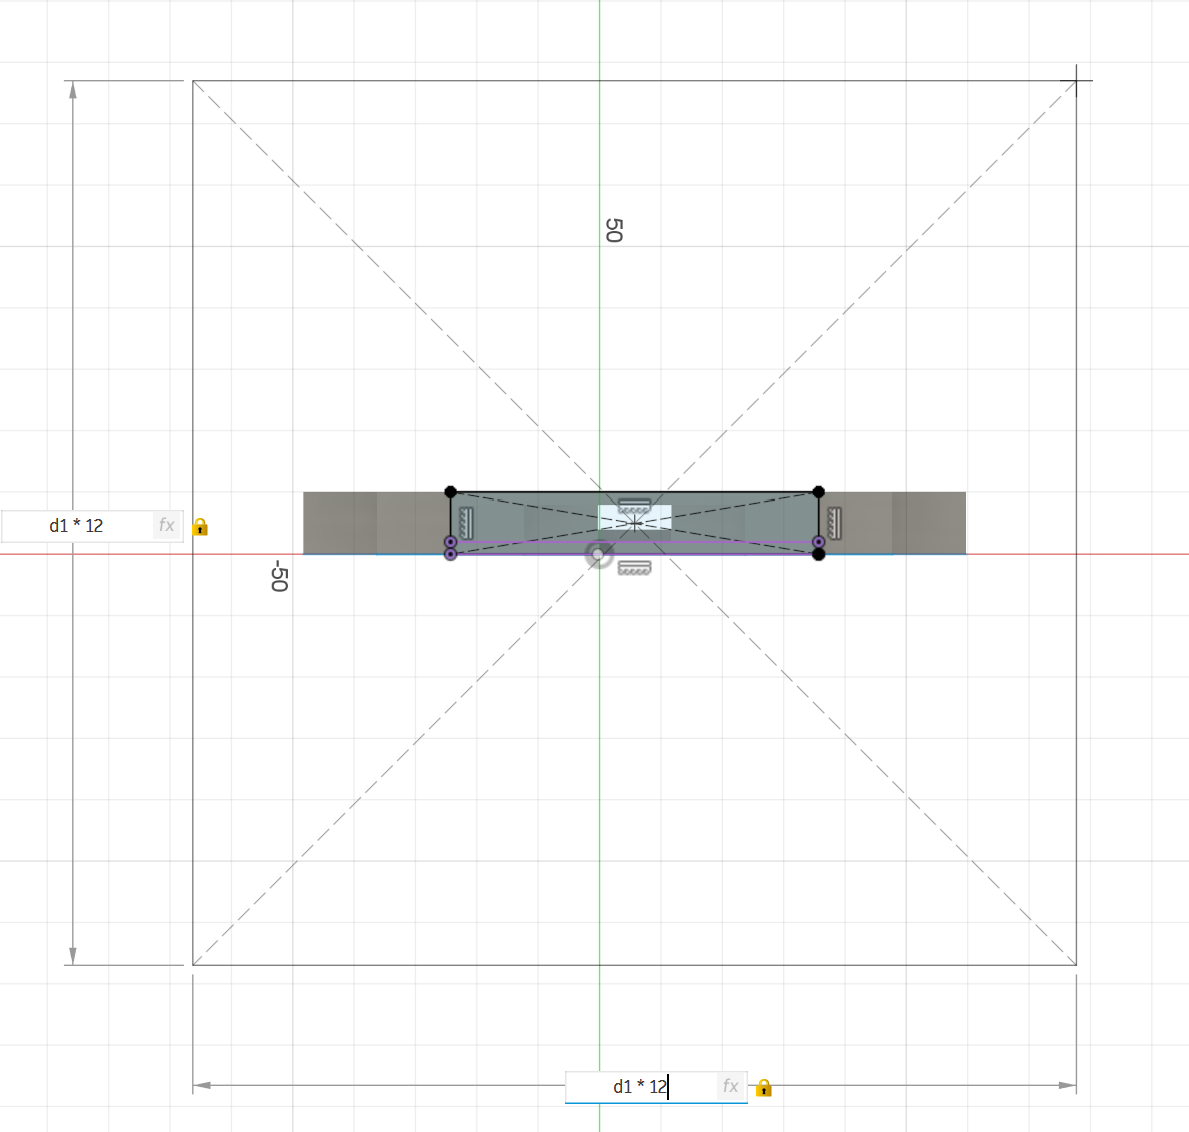
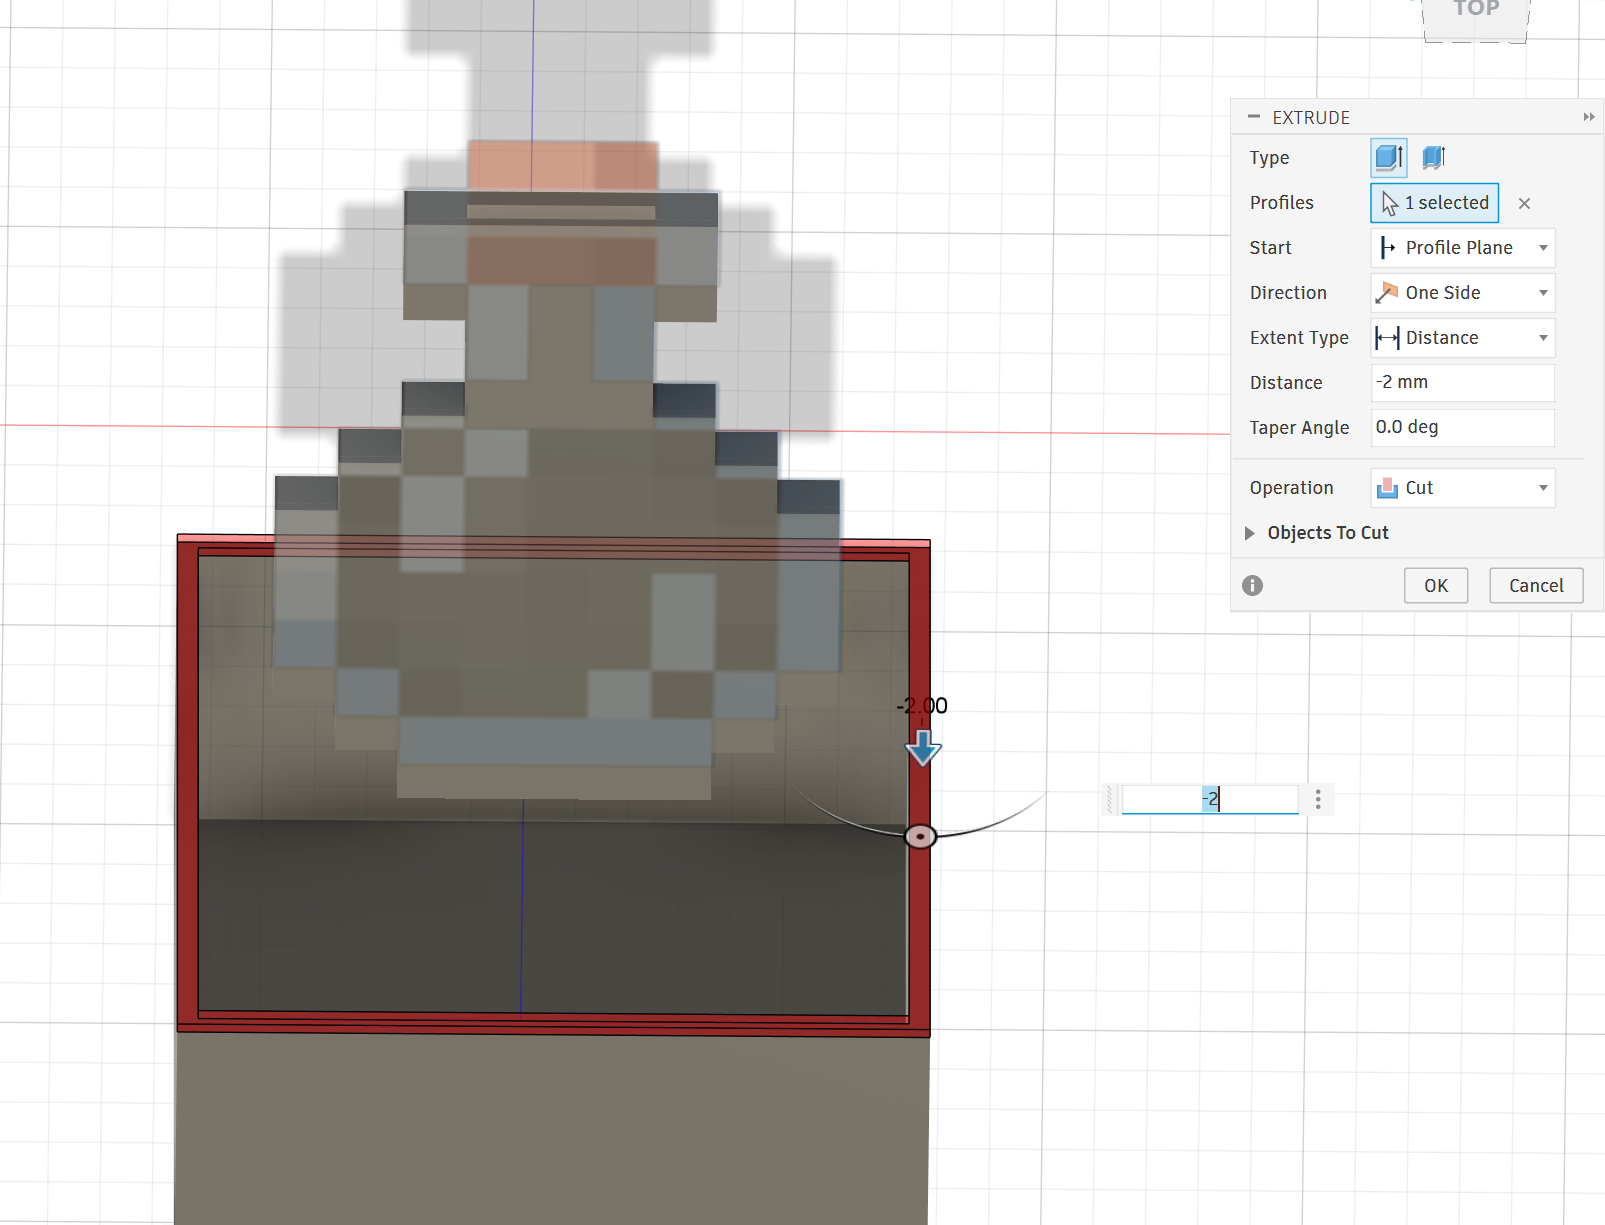
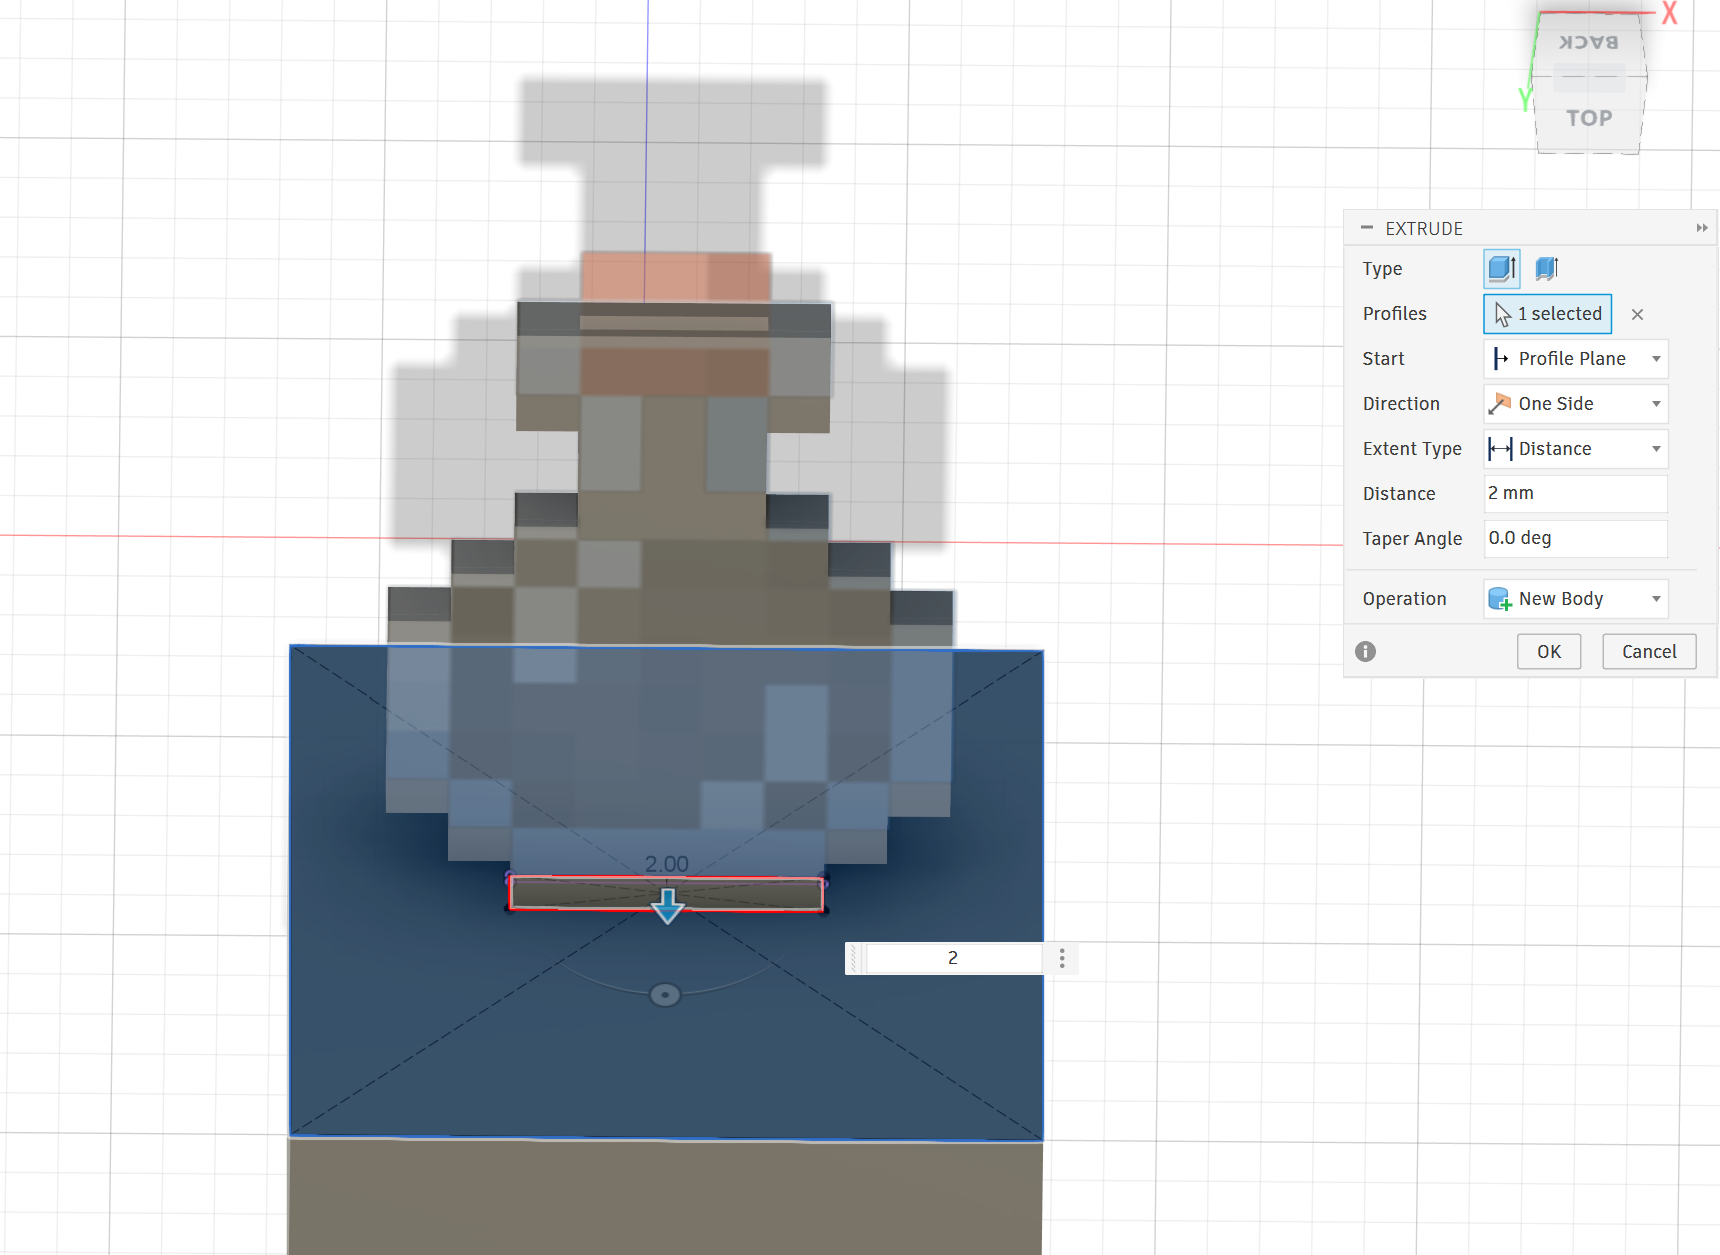
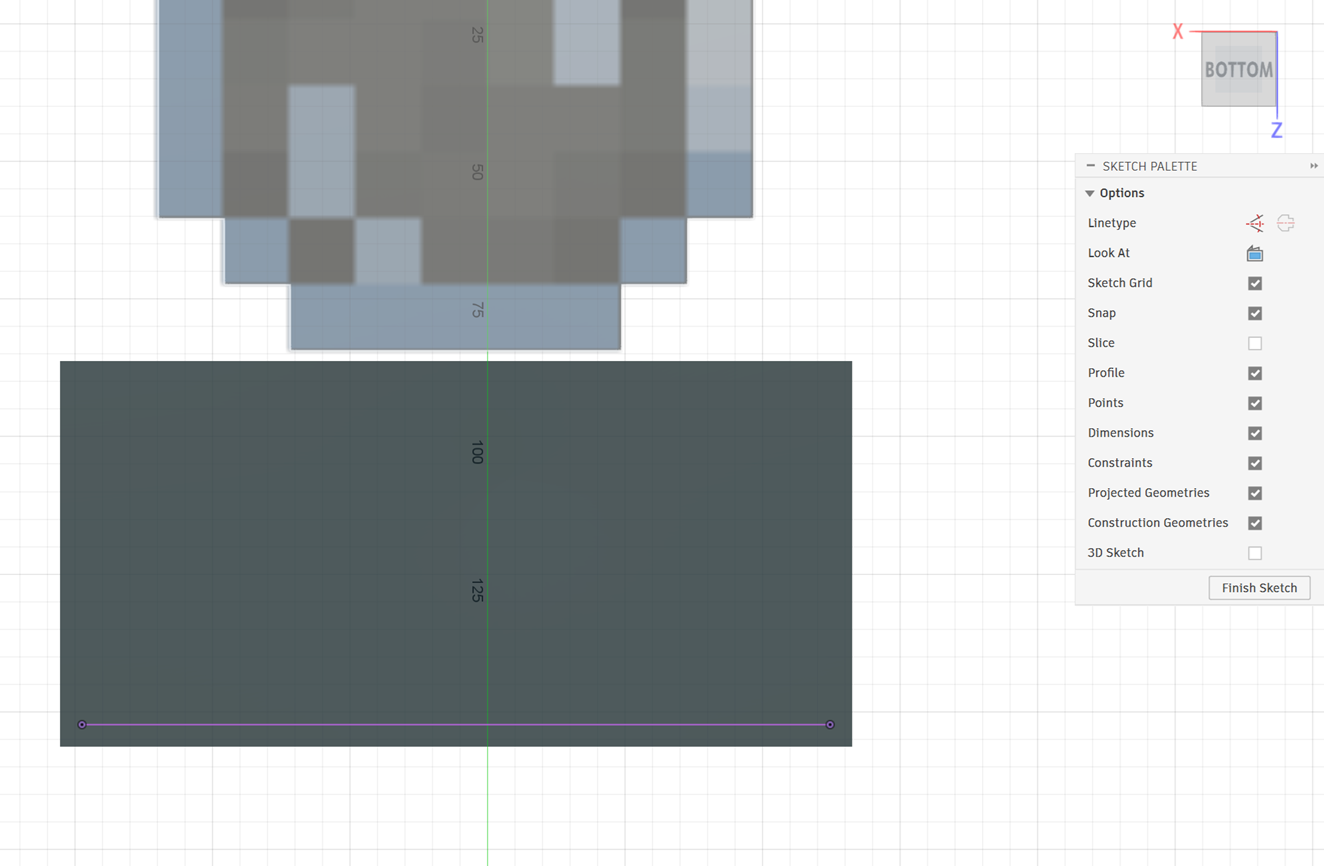
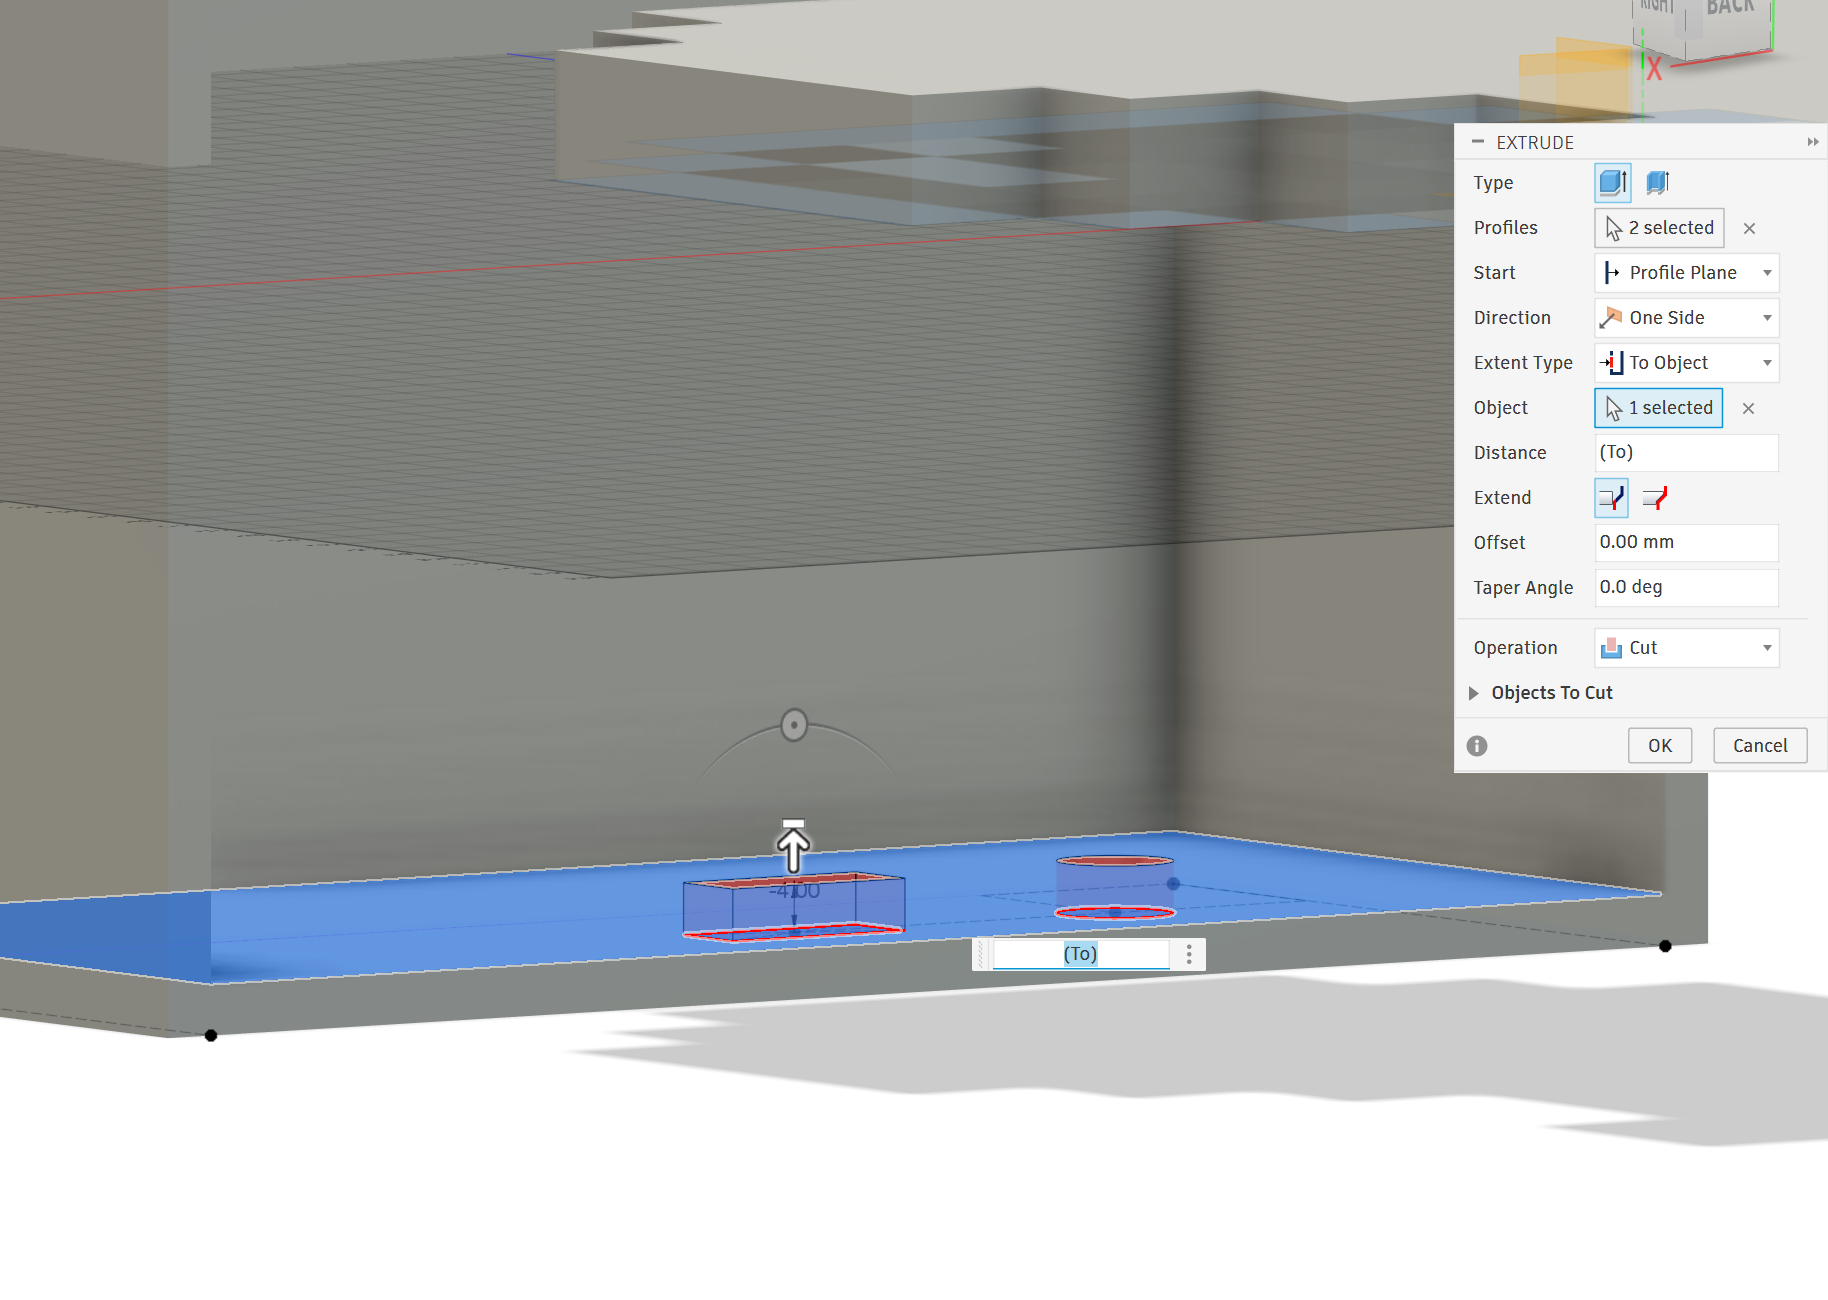
To start the box, change your orientation to Front (this is looking up from underneath the potion), and create a sketch using the bottom of the front plate. Press "P" for project, and select the other plate. Use the 2-Point Rectangle tool at the top toolbar and make a rectangle from the top left to the bottom right. This is the hole the LEDs will be put in. Click the line tool and on the Sketch Palette choose Linetype>Construction. Then make a line from top left to bottom right. This will give us a center point to reference for the next step. Create>Rectangle>Center Rectangle and set both sides to "( d1 * d1 ) / 1 mm". That sets us up for a perfect cube based on our pixel unit established in the beginning. Extrude everything to "(d1 * d1) / 2 mm". Dividing by 2 gives us a half sized Minecraft block, if you want a full sized block, divide by 1 mm.
Note: If you try d1*d1, Fusion 360 will give a unit mismatch error. Right now d1 is set to 12mm so d1*d1 =144mm^2, which is an area, not a length. Dividing by 1 mm solves the issue.
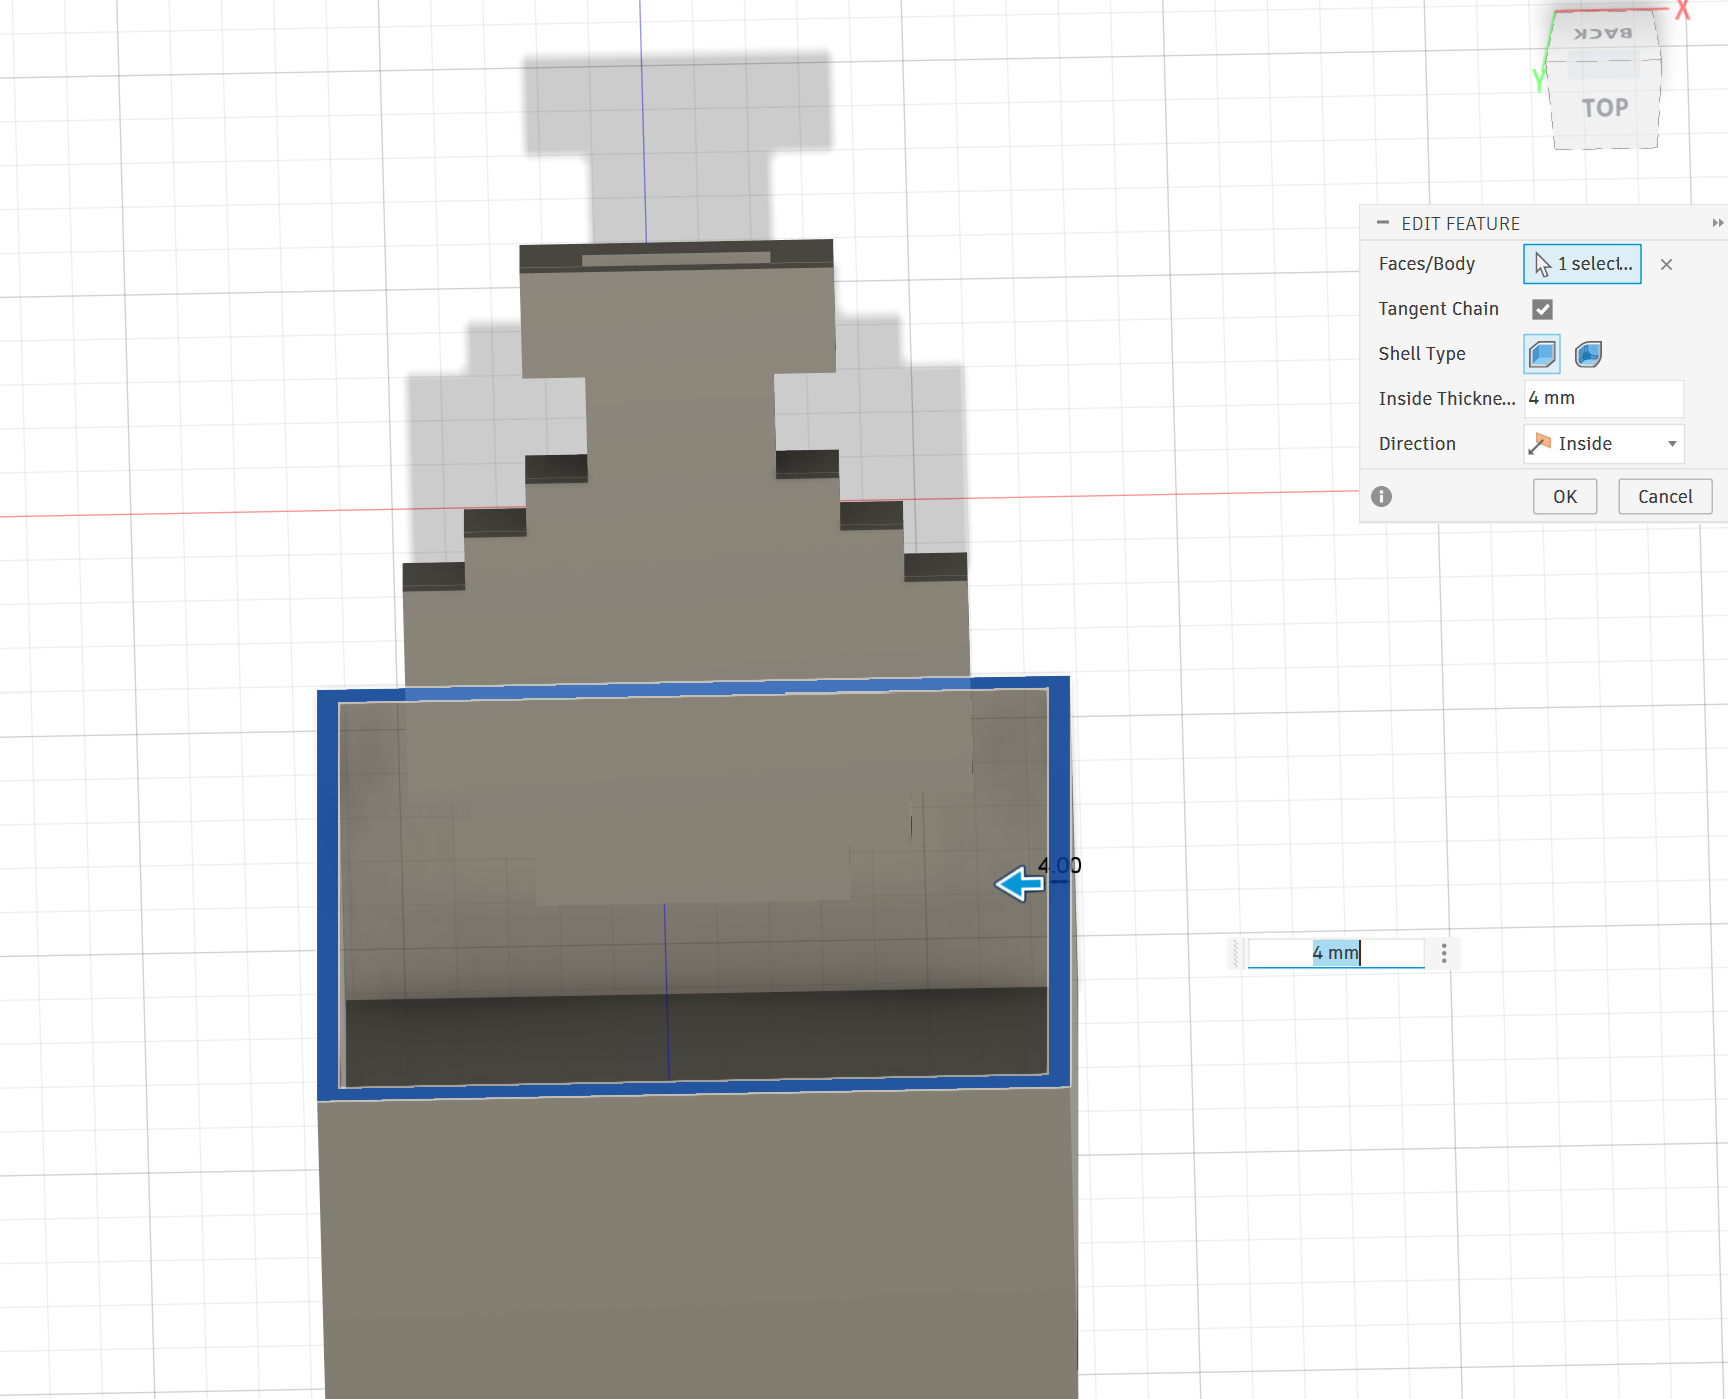
Now that we have the solid box, we want to put everything inside so we'll need to make space. Use the Shell tool in the top toolbar and click the top face of the box. I settled on 4 mm walls for strength. Then click the resulting top face and Extrude by 2 mm. Ensure the operation is set to Cut. This will remove some material from the top of the box to make room for the lid. Now extrude again this time using the sketch profile we made for the box but do not extrude the center hole. Set operation to New Body and extrude by 2 mm.
The only thing left to do is create some openings for the inline power switch and the toggle switch.
Note: I used a capacitive touch switch that I glued to the underside of the lid. I only used it because I had an extra and I wanted to show my son how it worked. I would recommend using a standard pushbutton and creating a hole for it to fit in. The button I used is a little finicky.
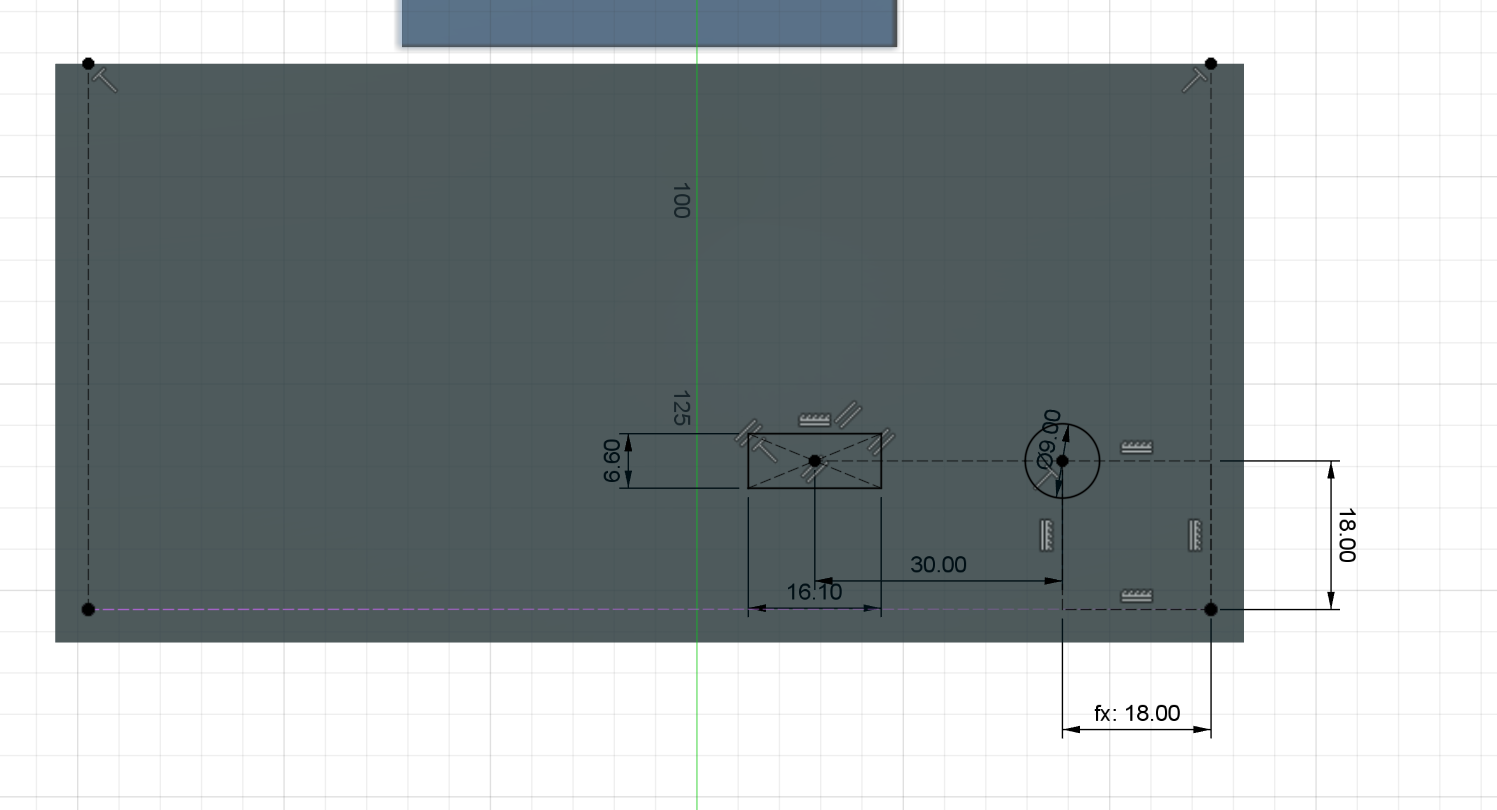
Start a sketch on the back of the lamp (Bottom view in Fusion 360), press "P" for project and select the bottom panel from the inside. Create a construction line straight up from each projected end point. This will give us guidelines for where the walls end. Make the appropriately sized and shaped holes for the switches and buttons if needed. If you are using the same power switch as I am, a 9mm hole is plenty of room to feed it through. I used construction lines to create the hole 18mm away from the bottom and sides, and to keep the switch I used aligned with it. The toggle switch I salvaged from a broken toy and the measurements I used for the rectangular hole are only for that specific switch. You can use calipers to measure your switch or look up the specs online for dimensions. Extrude (Operation set to Cut) the created profiles. Set the Extent Type > To Object and click the inside wall.
Save As Mesh
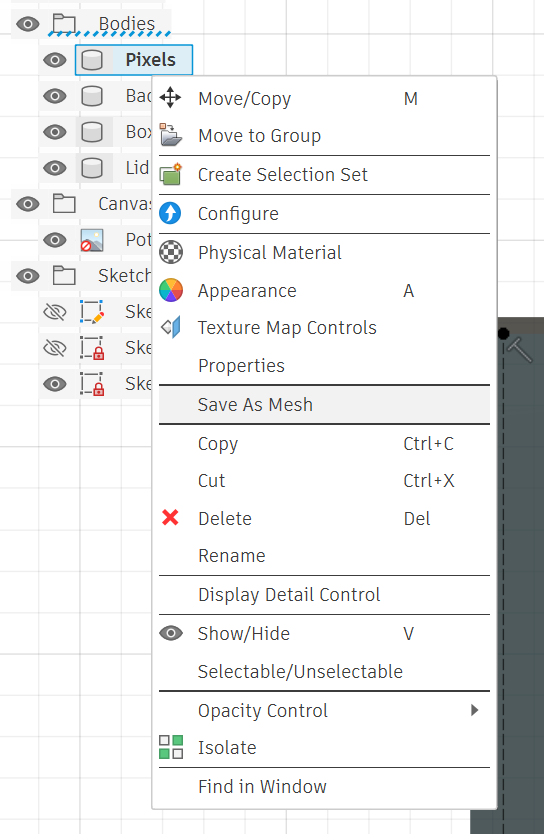
For each body, right click in the browser and click Save As Mesh. From here the file can be exported as 3MF, STL, or OBJ. Which filetype you choose is dependent on your slicer or the requirements of your 3d printing service. For this instructable I used 3MF.
3d Printing
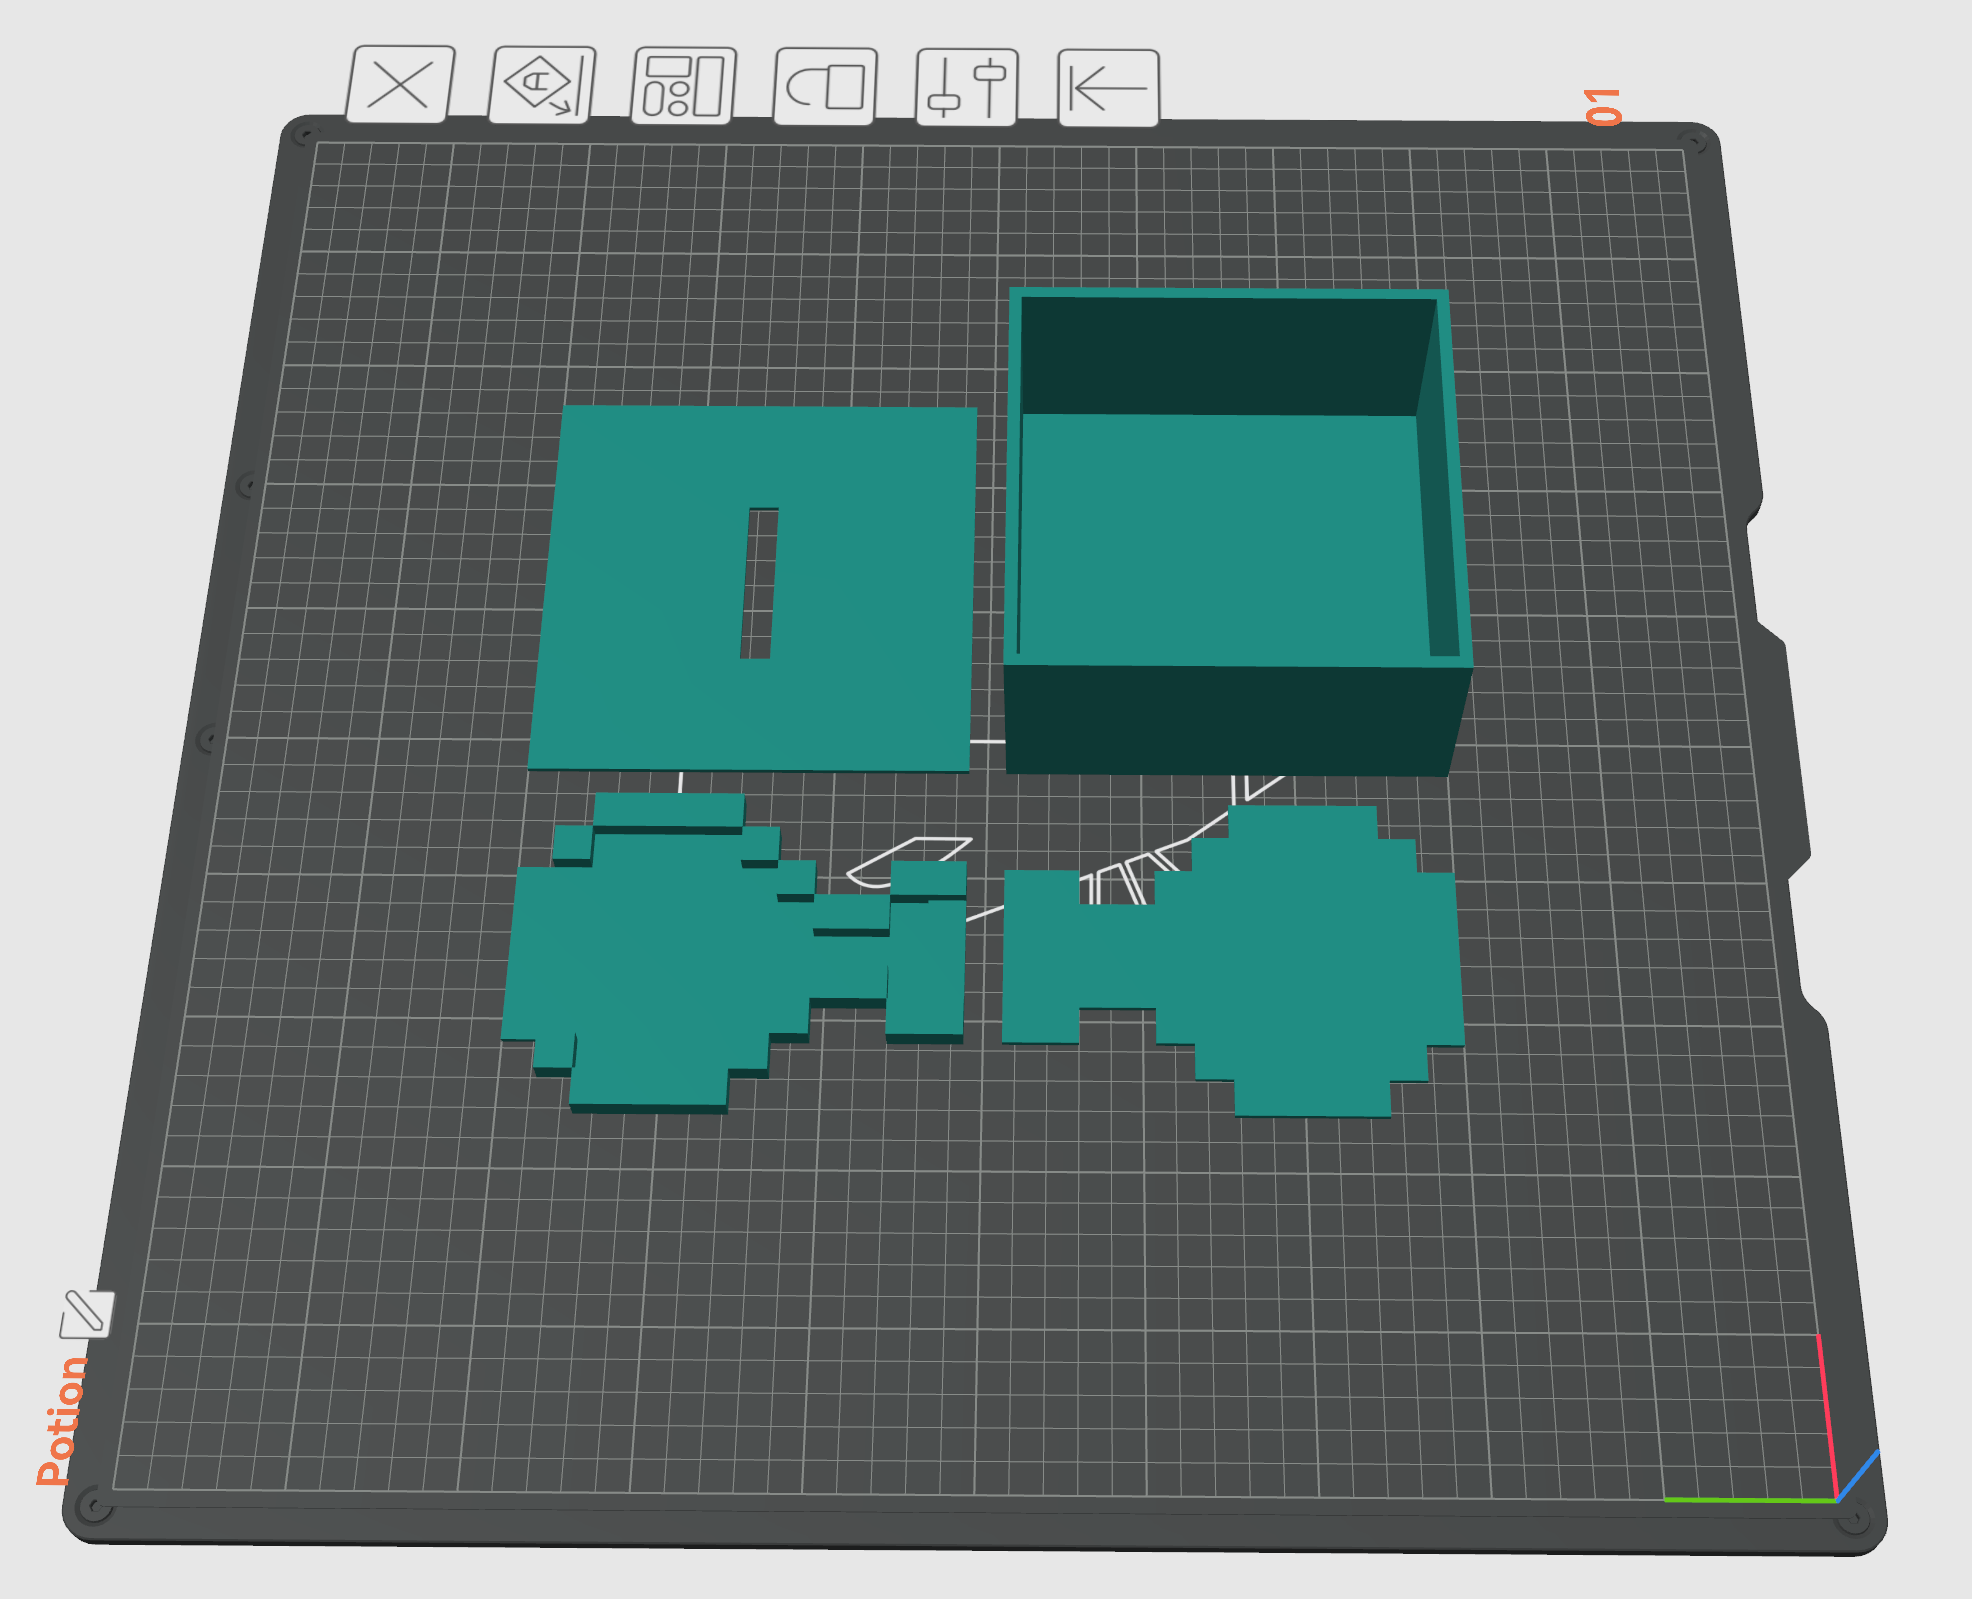
This Instructable will not be covering the ins and outs of 3d printing. It would be better to learn more about your machine and how to use it then it would be for me to give step by step instructions. I printed everything flat to the bed without supports. I have a textured bed and I like how the transparent filament diffused the light when it took on the texture from the bed. You may wish to print differently if you want a different effect. Additionally, the bottle was designed for a perfect fit and does not take into account your printer's tolerances. Some sanding may be required or you can enlarge the holes in Fusion 360. Alternatively, you can have the models printed from a service. There are many places online that offer 3d printing or you might want to look at Etsy or your local marketplace to see if someone is offering.
Programming the Arduino
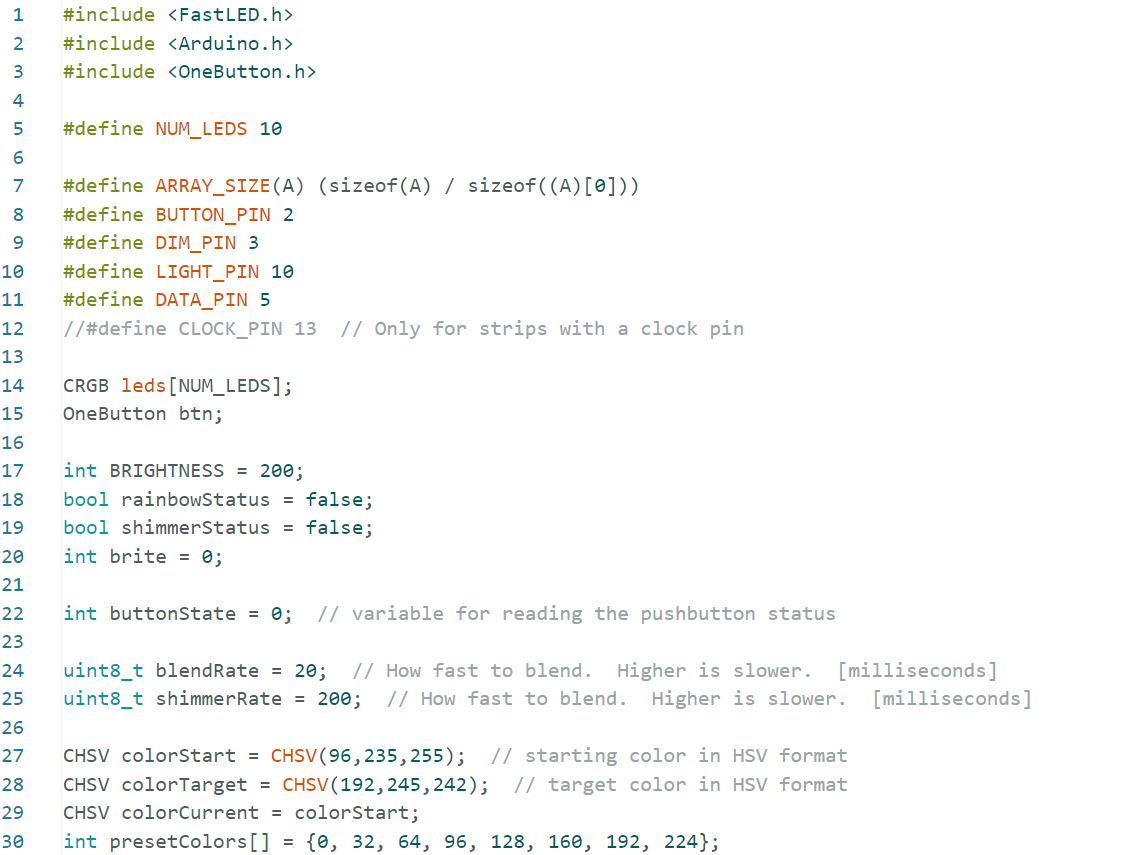
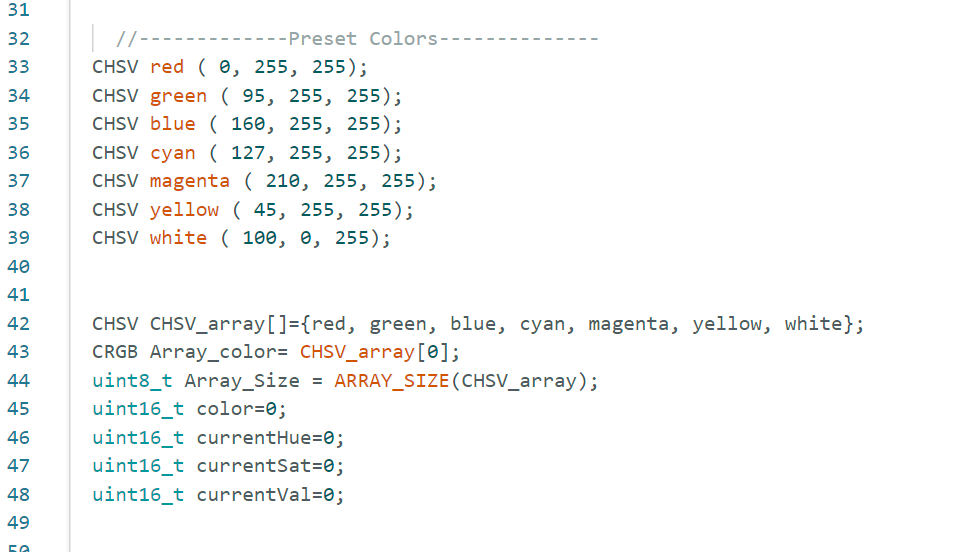
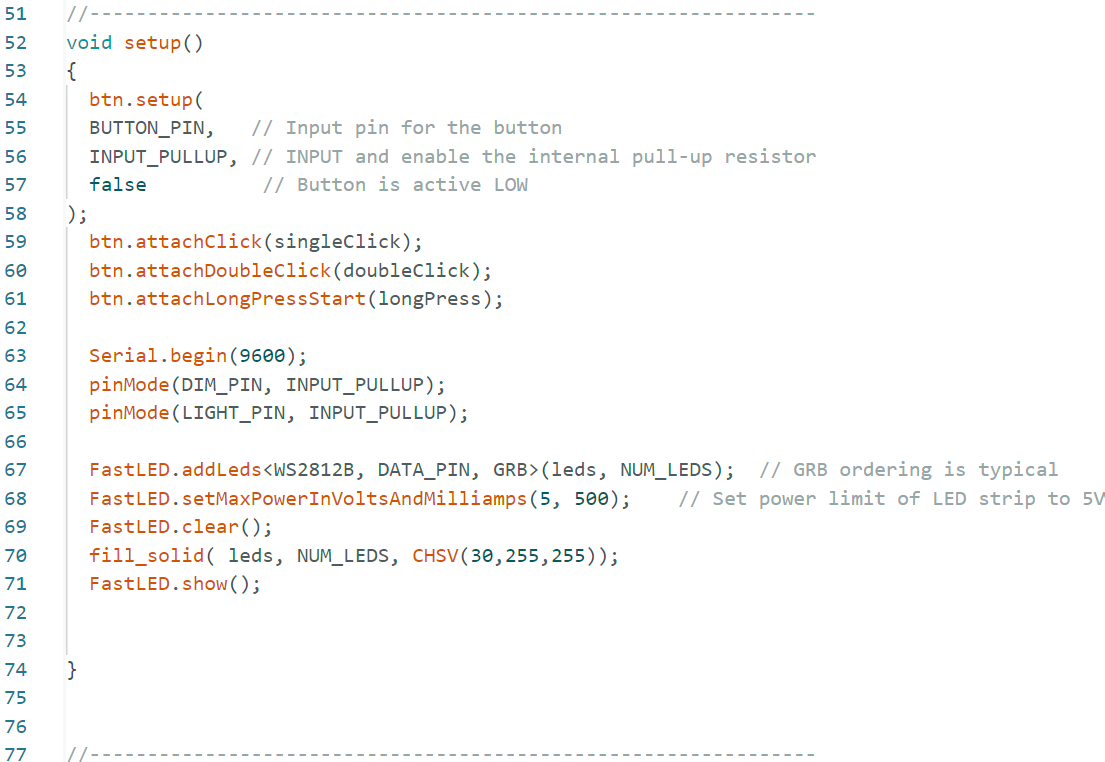
I have attached the code for reference and notated some sections above where you may need to change things to suit your project. Simply plug in the arduino, fire up the arduinoIDE and upload the code.
The code is set up to:
Single press - cycle through a list of preset colors
Double press - toggle on/off the shimmering effect which makes it look like the potion liquid is swirling around
Press and Hold - Activates rainbow mode which will continuously fade between random colors on the spectrum. While in rainbow mode if you press and hold again, it will stop at the currently shown color in case you see one you like.
The toggle switch is set to go between dim, normal, and bright.
Downloads
Wiring
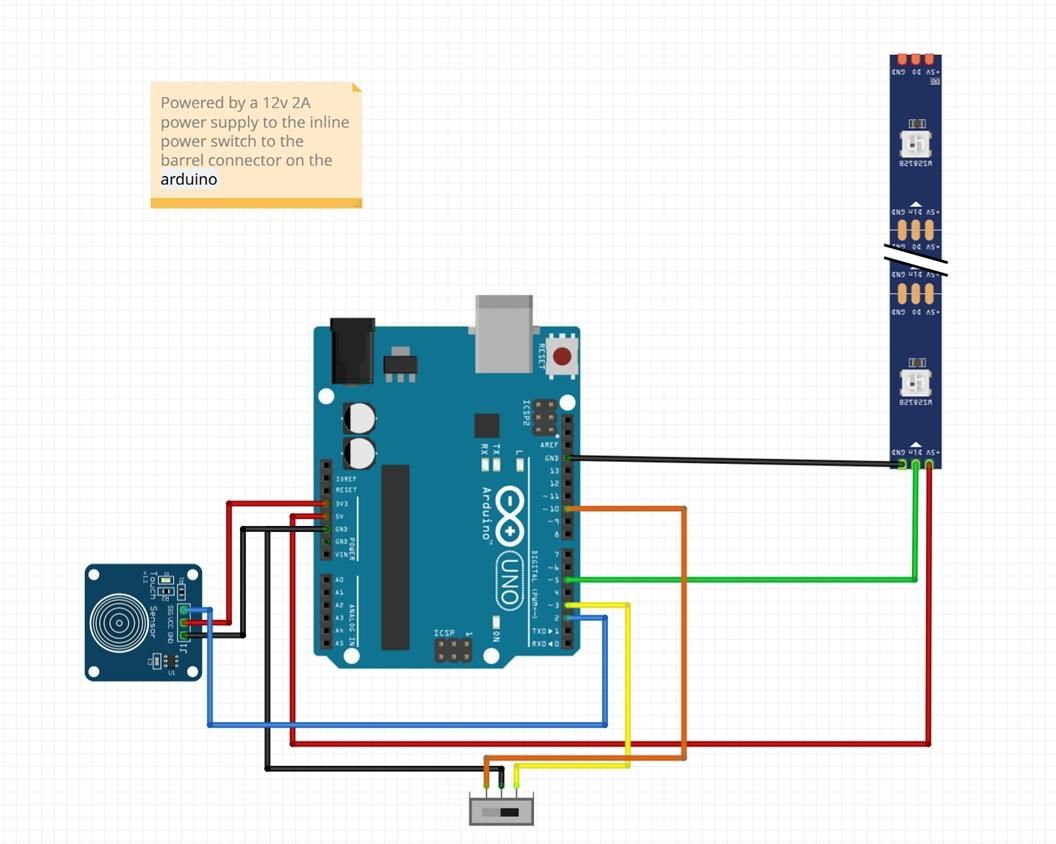
Note: As with any wiring project use caution or risk damaging components
The wiring is straightforward. I used jumper cables between the buttons and LEDs to the pins of the arduino using the code as reference. I would recommend testing all the connections here before continuing.
Assembly
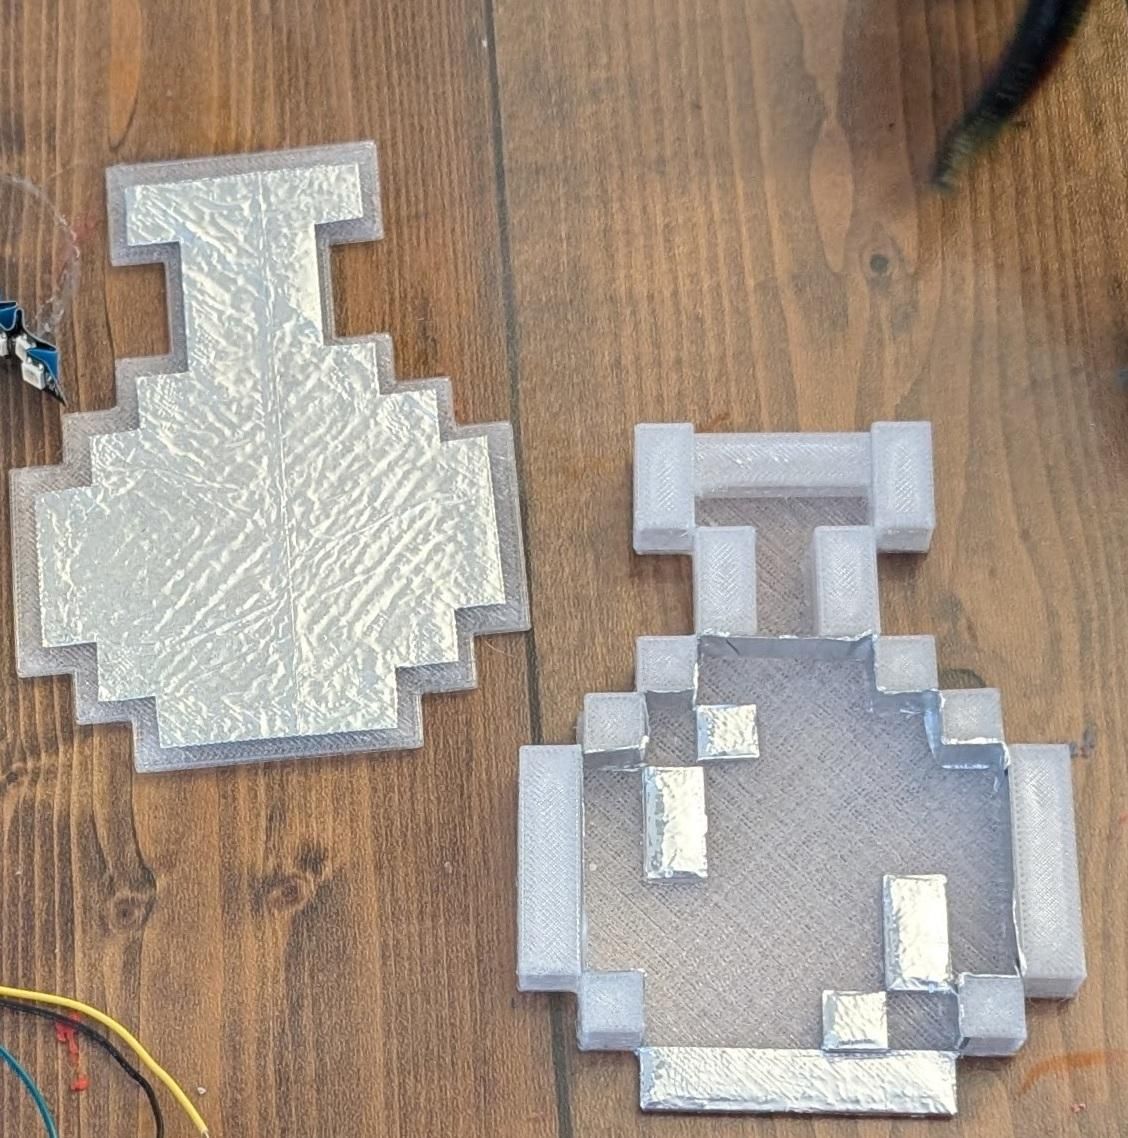
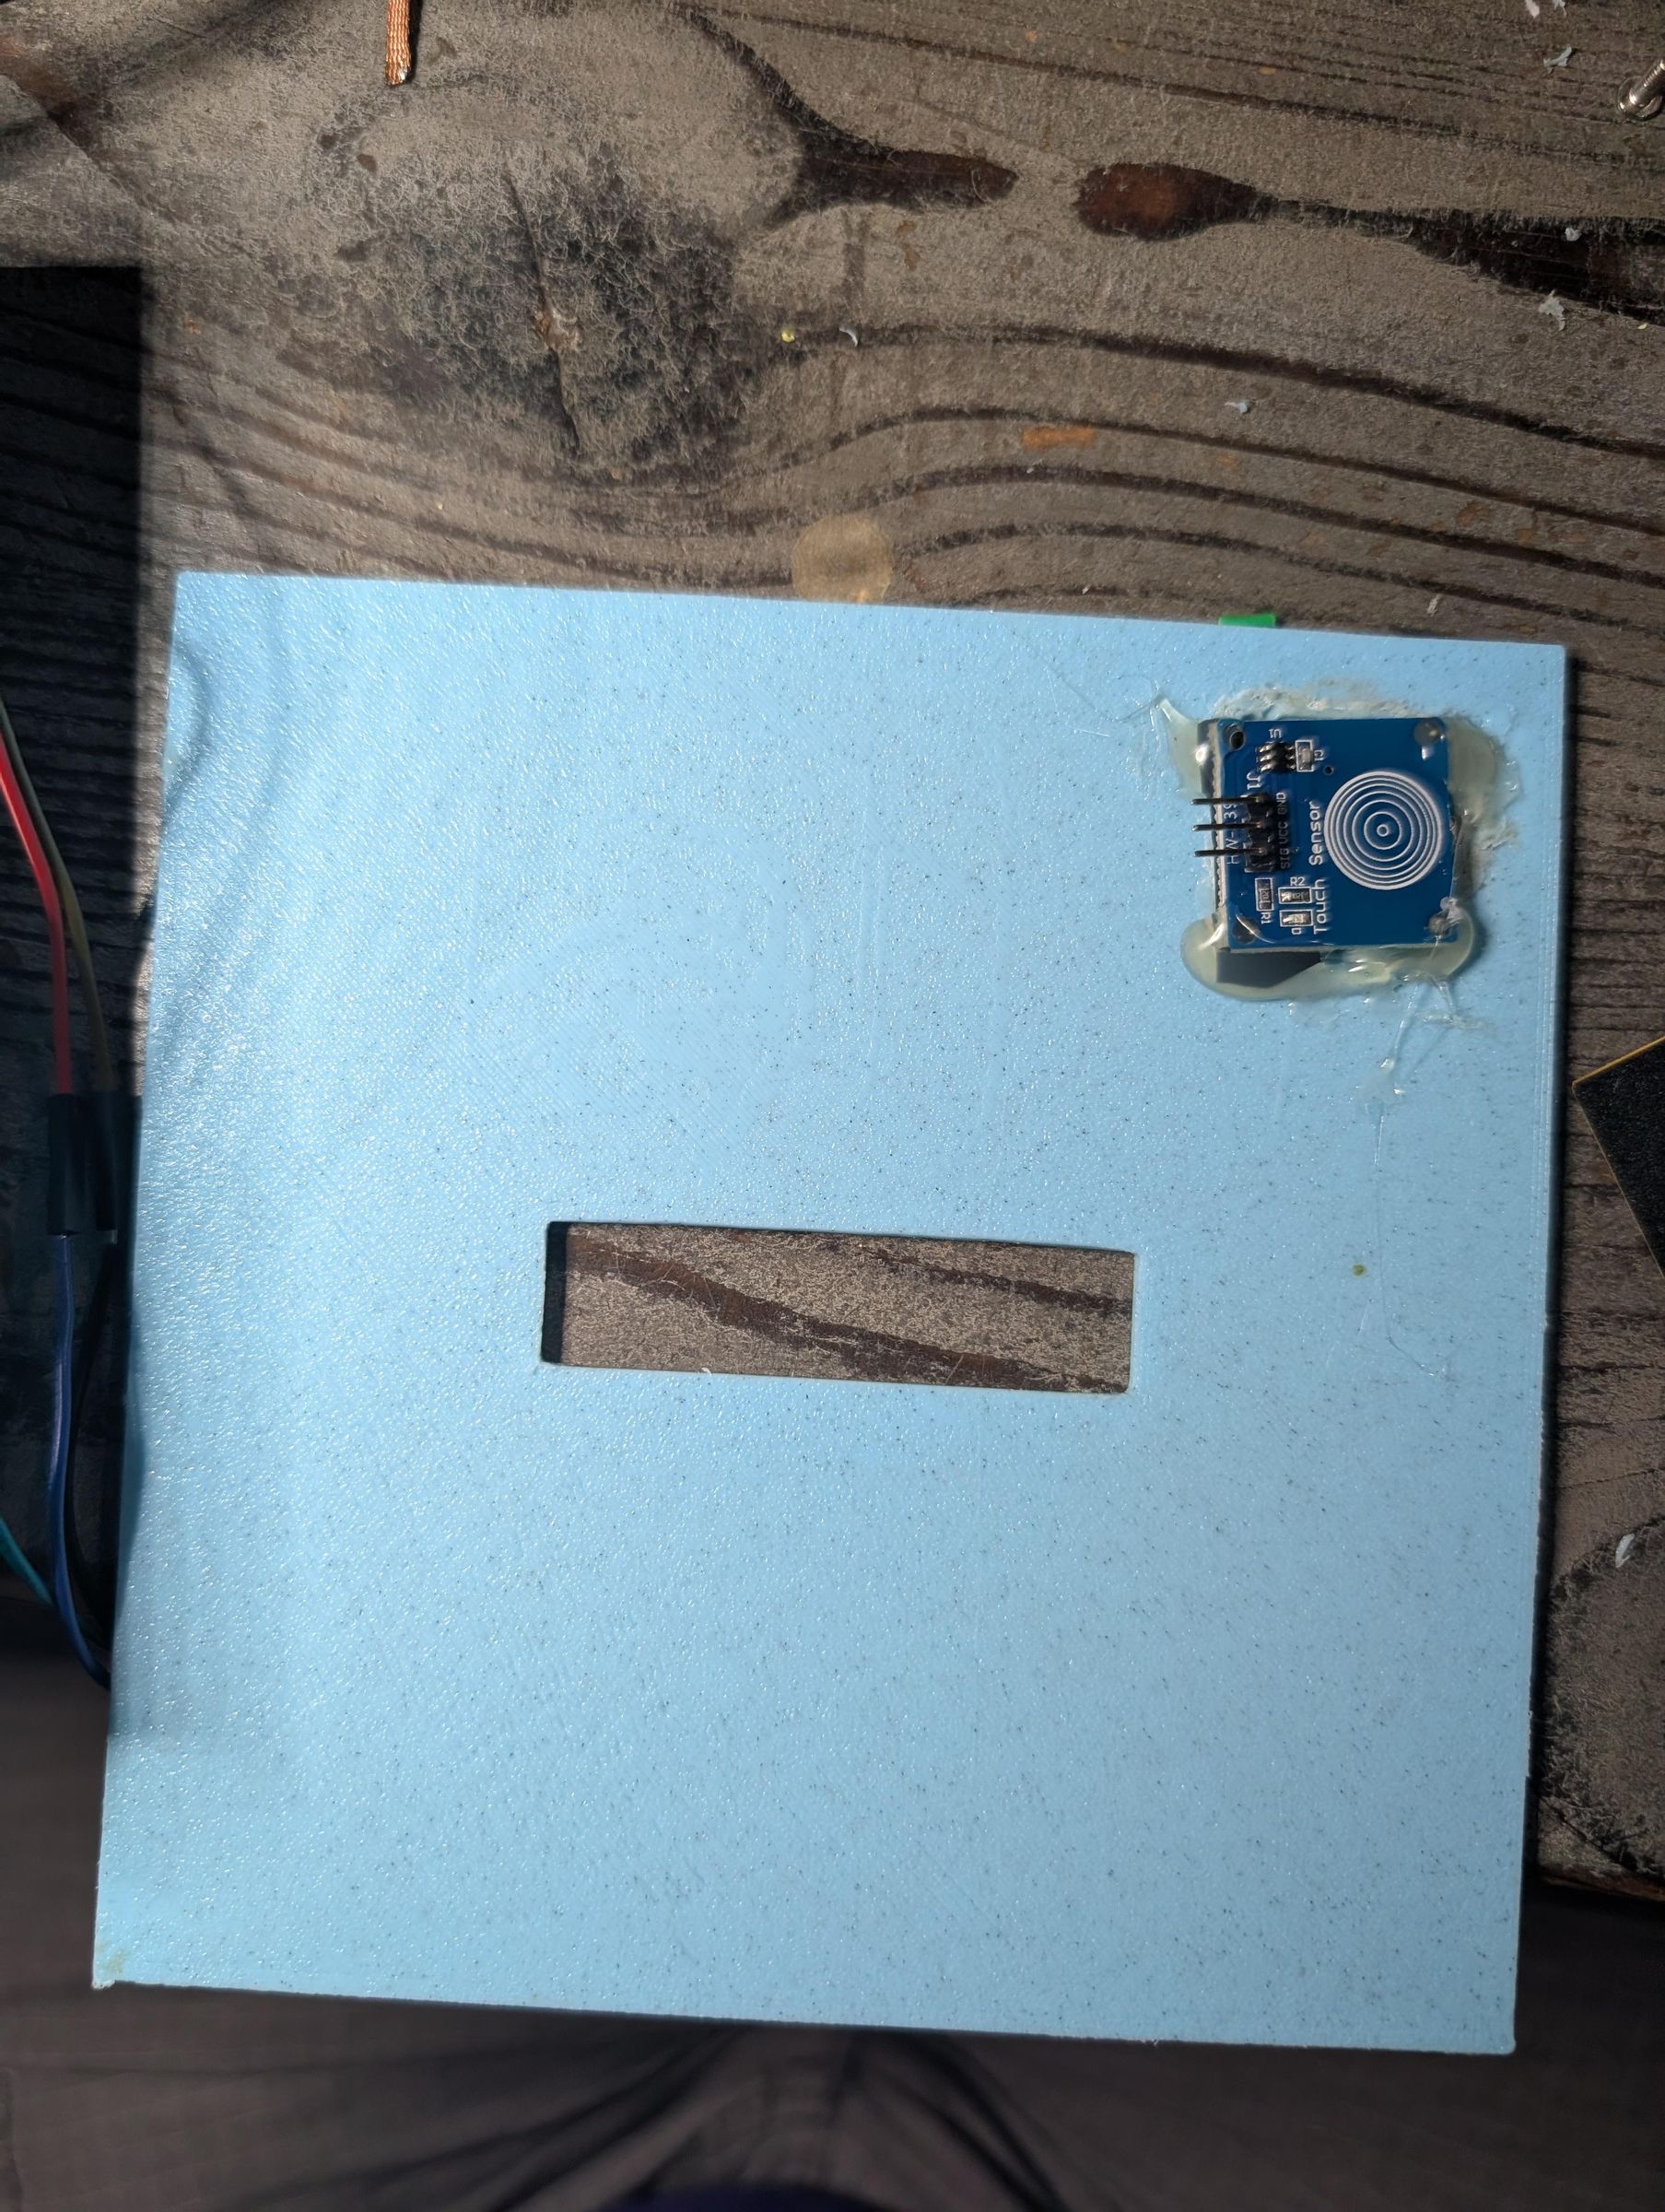
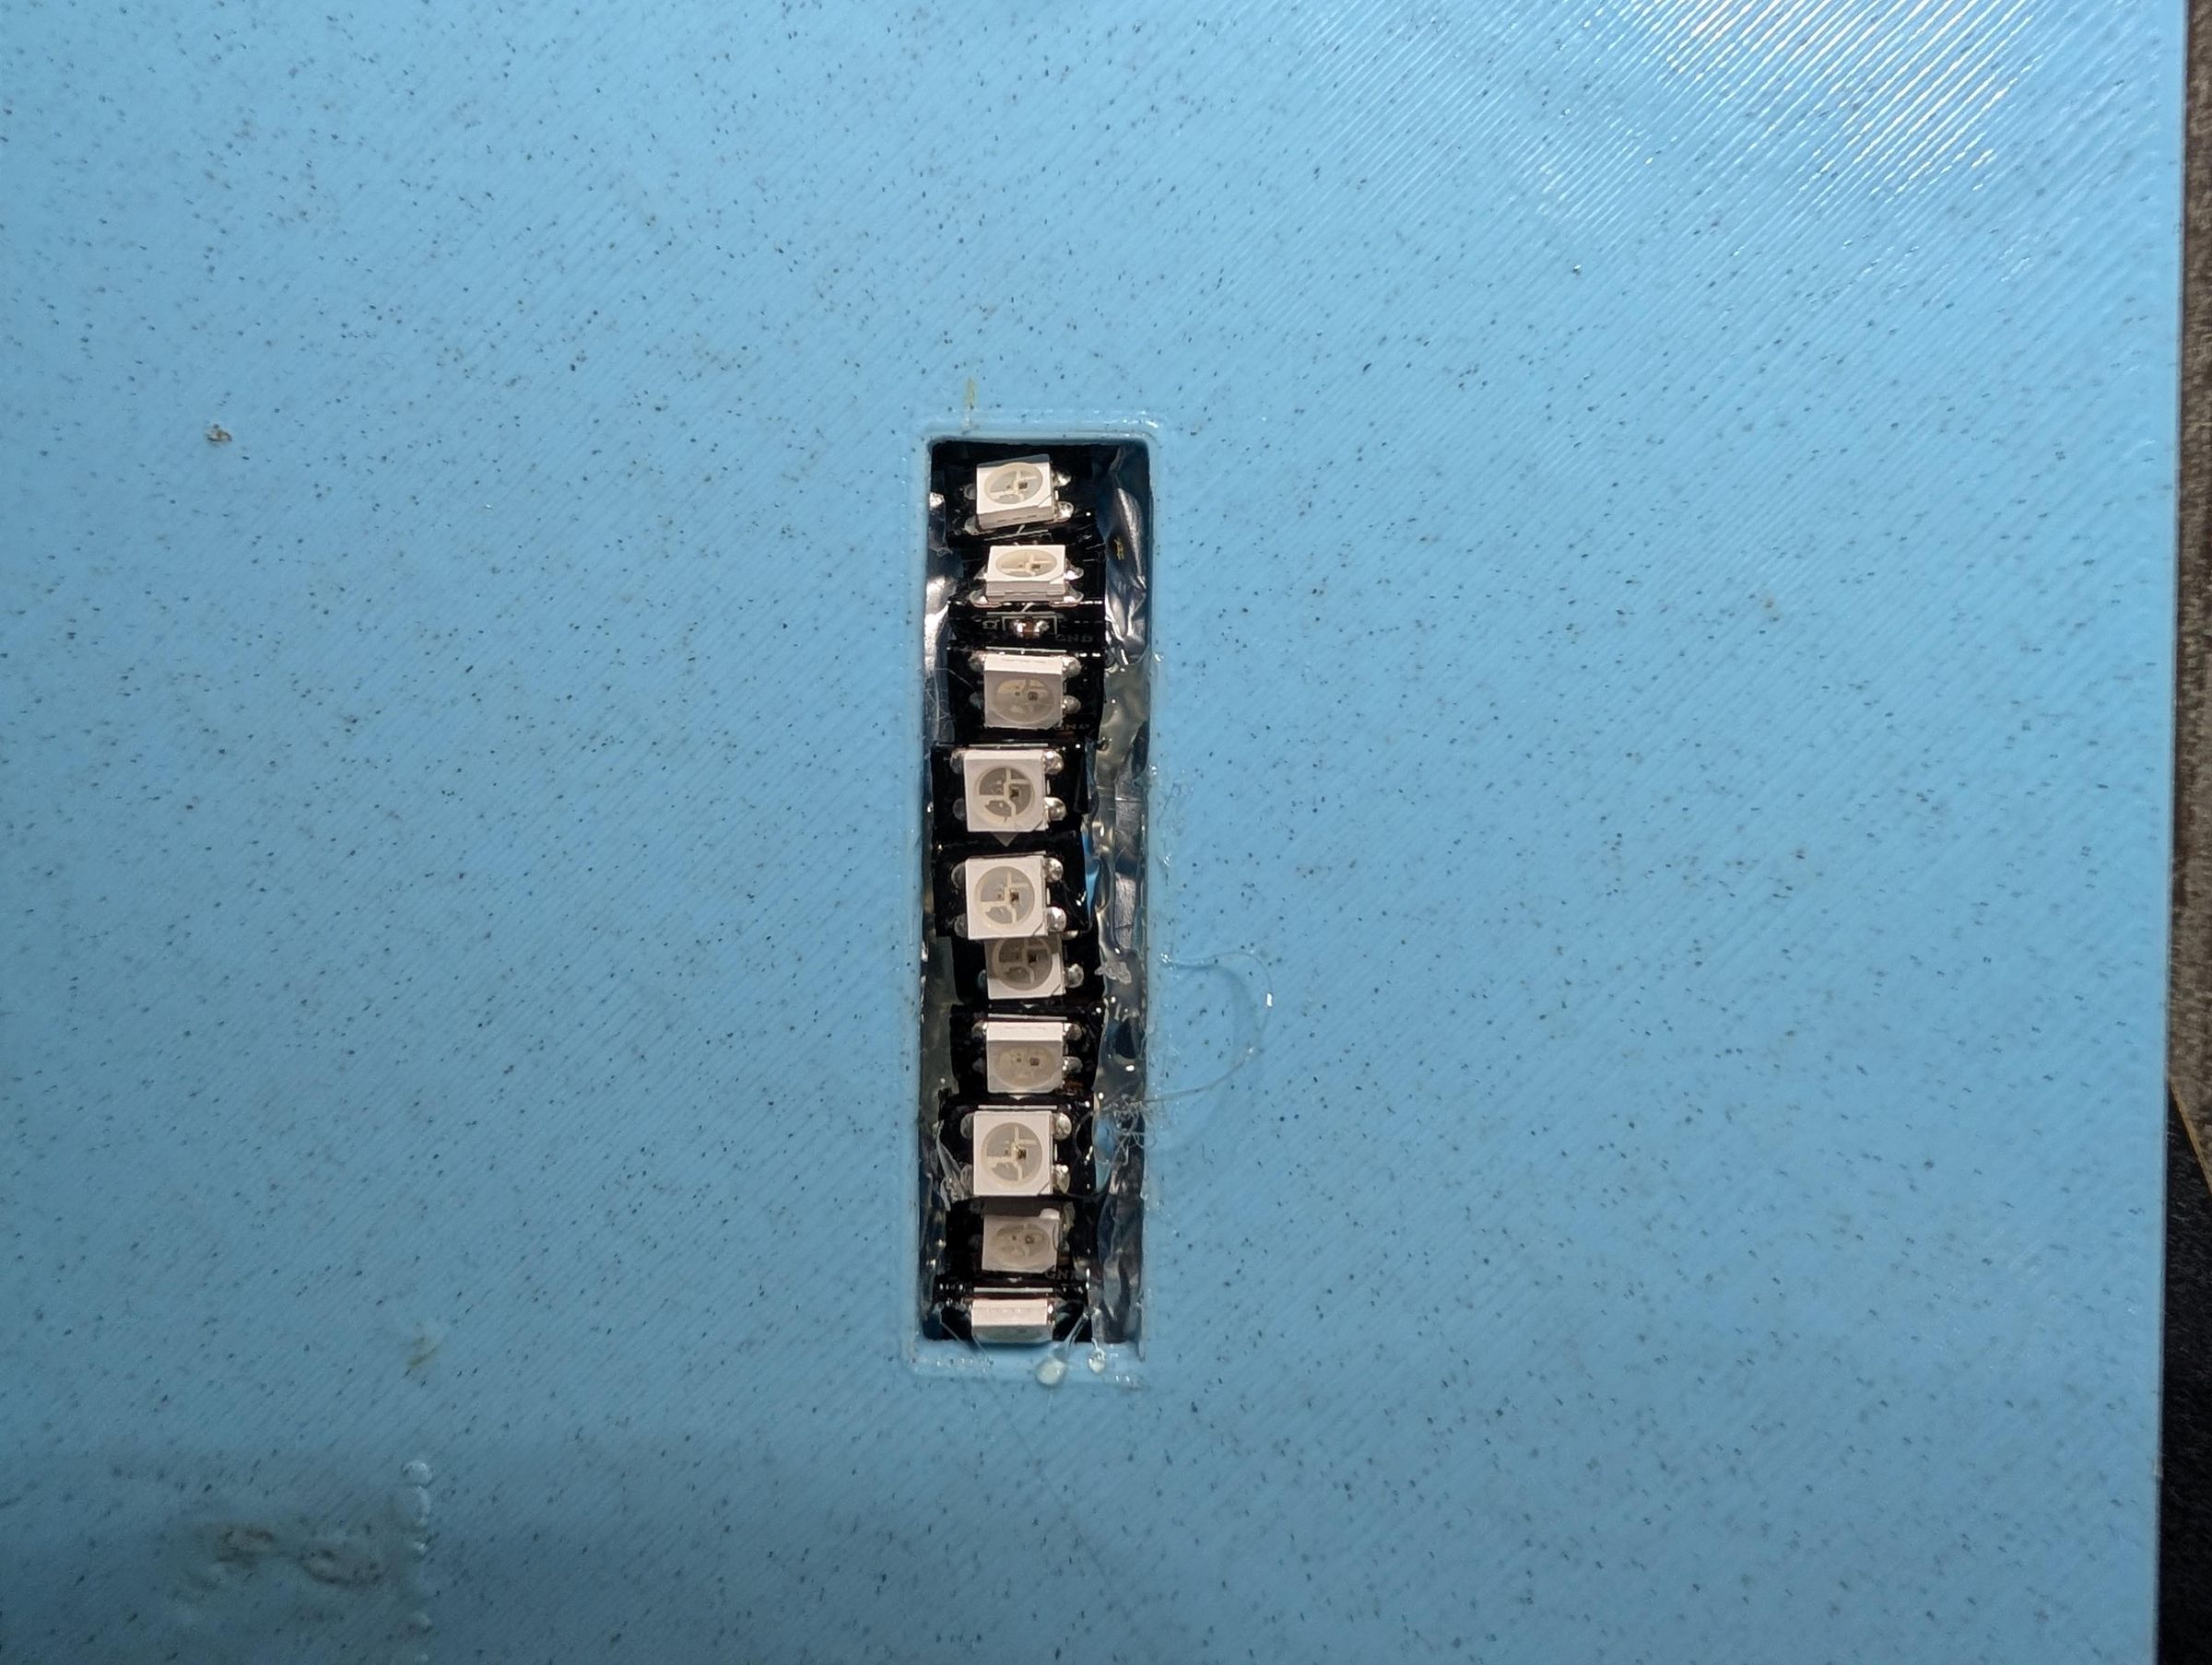
I used hot glue to affix everything inside the box as shown. The LEDs I used need to be squished into position to fit all 10. I applied reflective tape as shown above to evenly distribute the light and block out the appropriate pixels. Then I glued the potion halves together and affixed them to the slot in the box. Trim the corkboard to size and put it in the top of the bottle. It should fit snugly without gluing. Finally, the lid is glued on (make sure the potion is facing the right way).
Finished
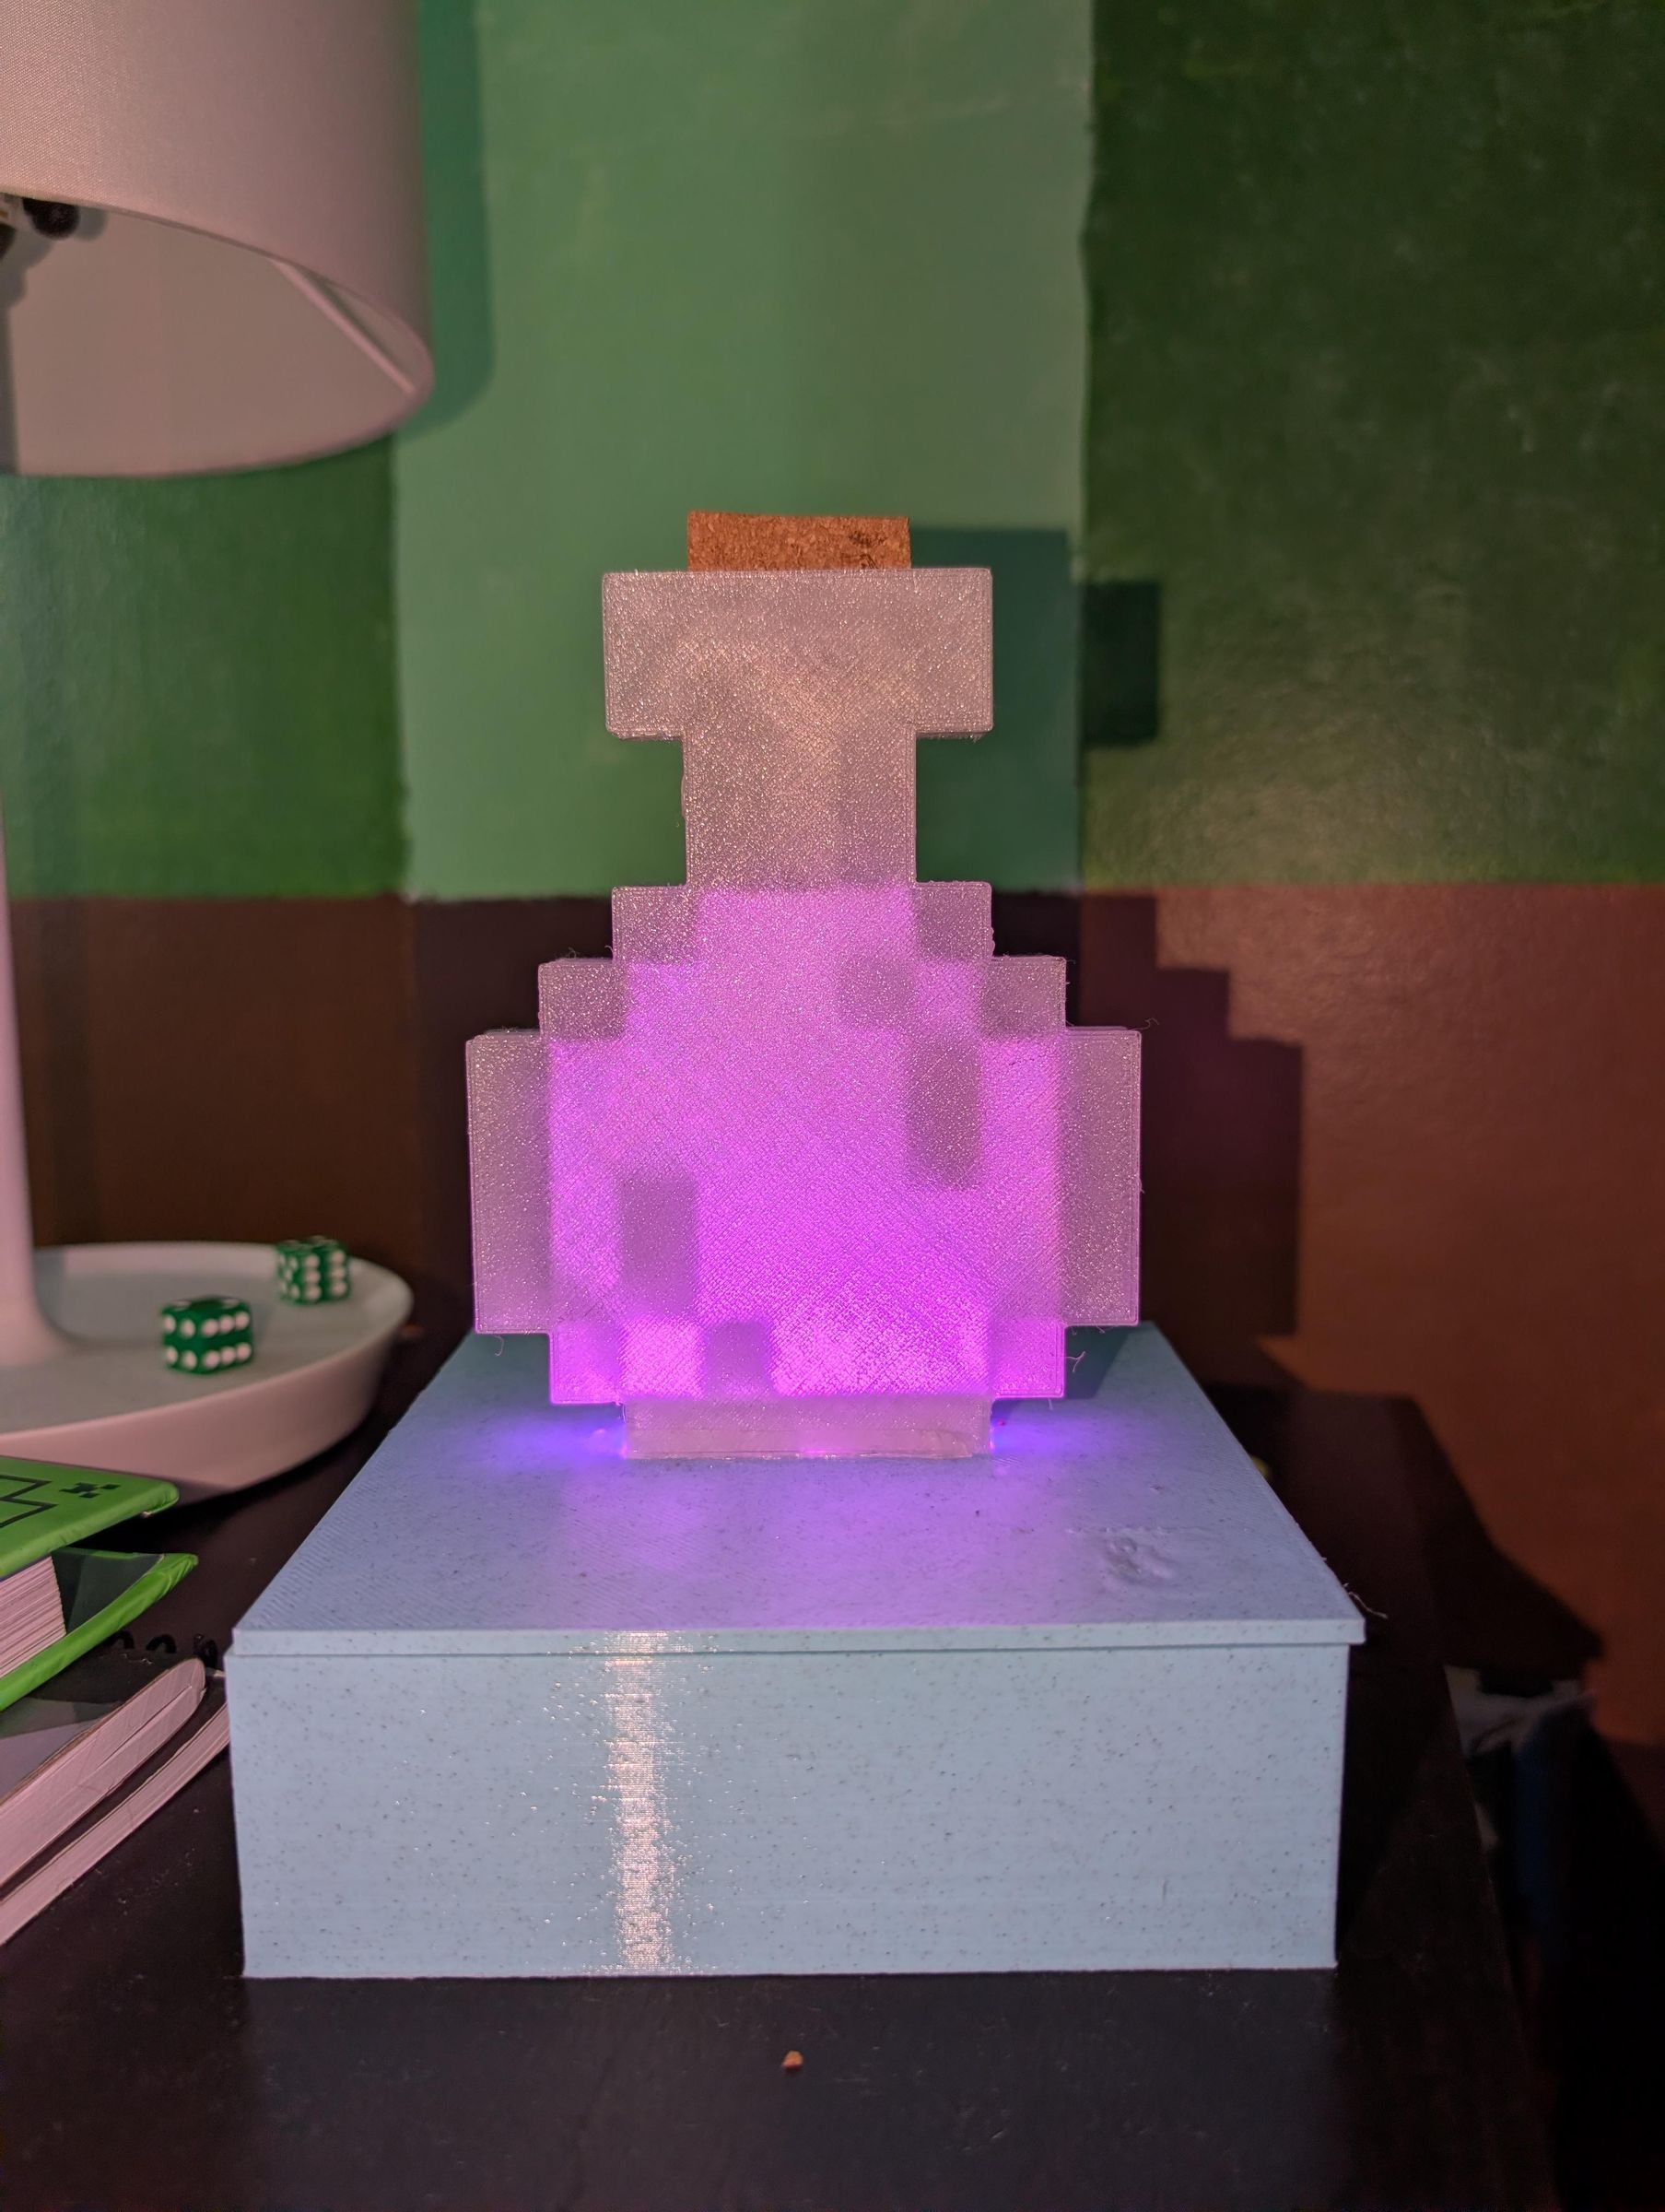
I really like how it turned out and it was fun making it with my son. He likes using it at the lowest setting as a night light.