Mini Gas Leakage Detection Device Using Arduino
by QIUKAILEI in Circuits > Arduino
61 Views, 0 Favorites, 0 Comments
Mini Gas Leakage Detection Device Using Arduino
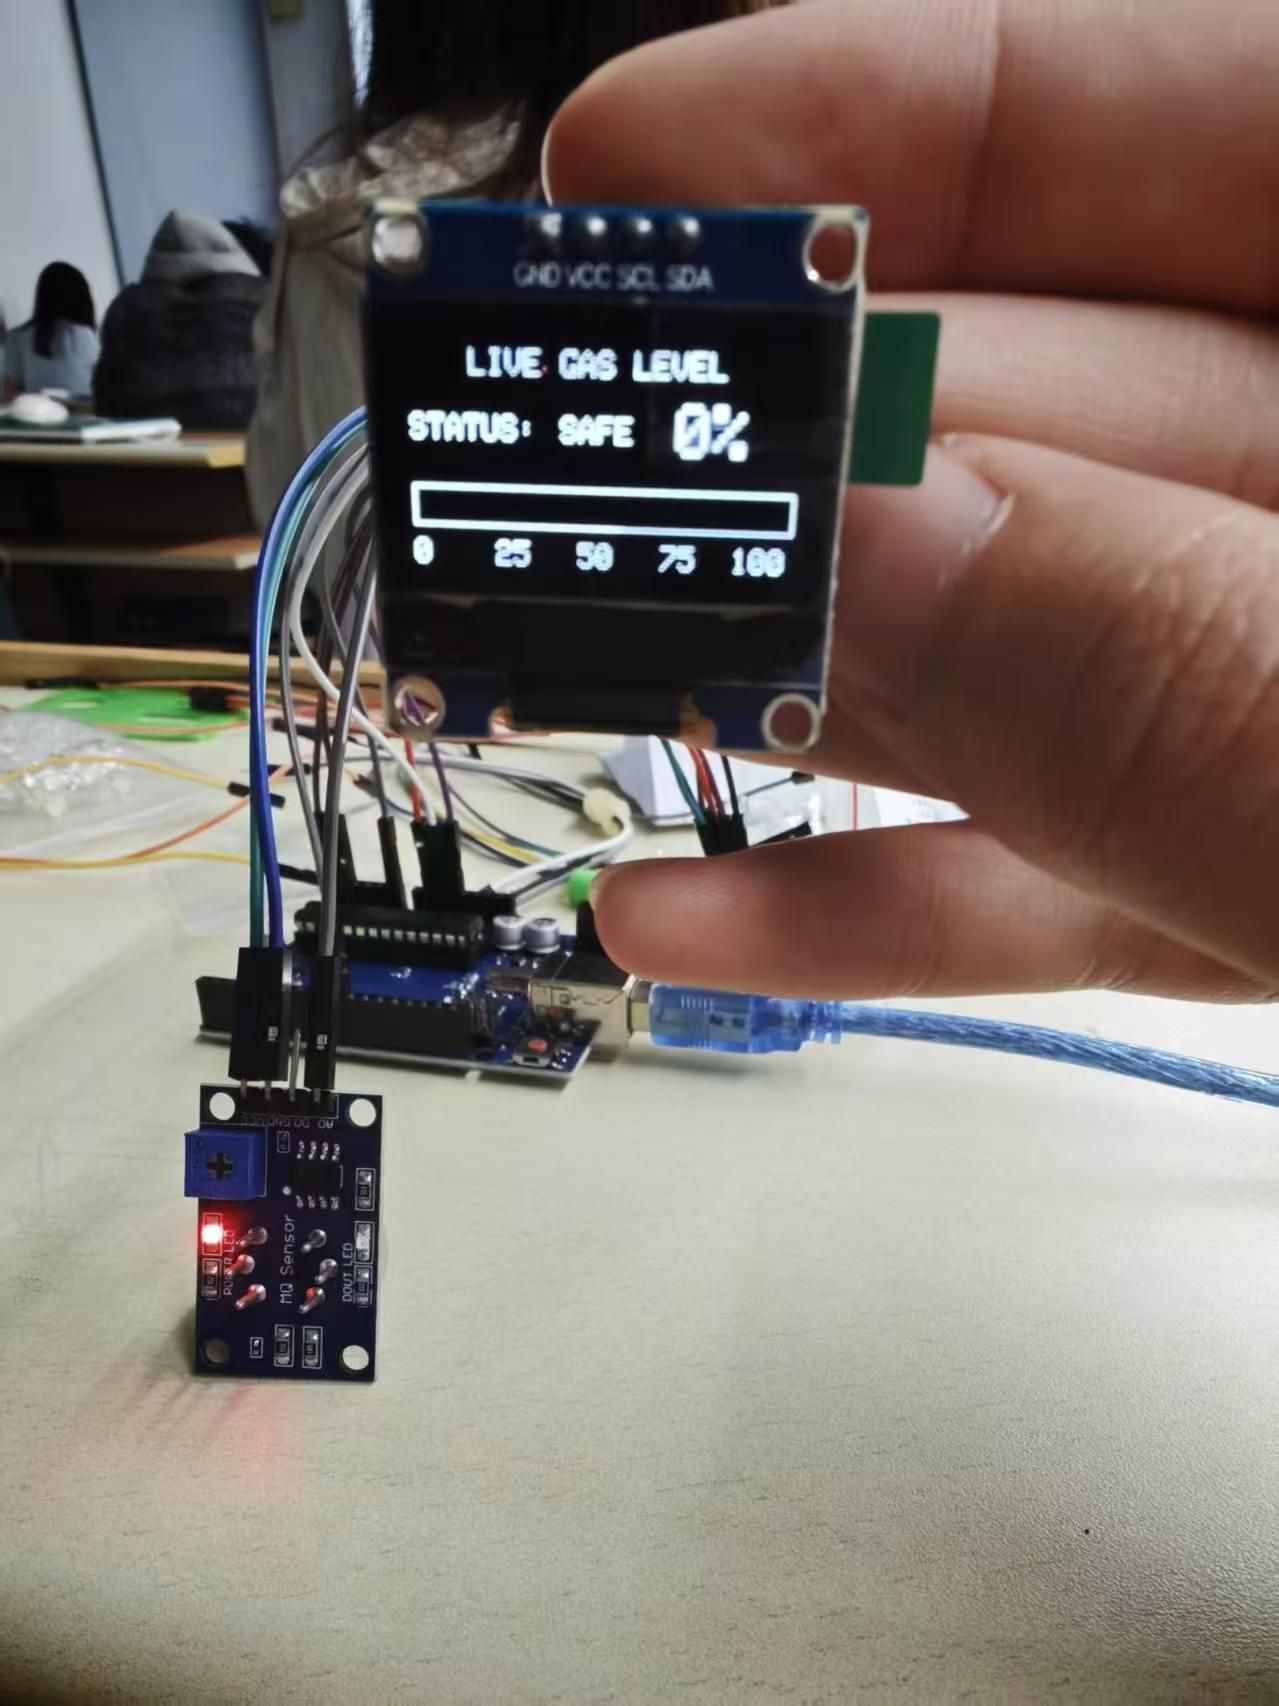
This project is a gas leakage detection device developed based on *How To Make Mini Gas Leakage Detection Device Using Arduino* from ROBO HUB.
Original link: https://www.instructables.com/How-to-Make-Mini-Gas-Leakage-Detection-Device-Usin/
This is a compact visual gas leakage detector. It uses an MQ2 gas sensor to detect gas concentration and displays the real-time gas percentage on an OLED screen.
Supplies
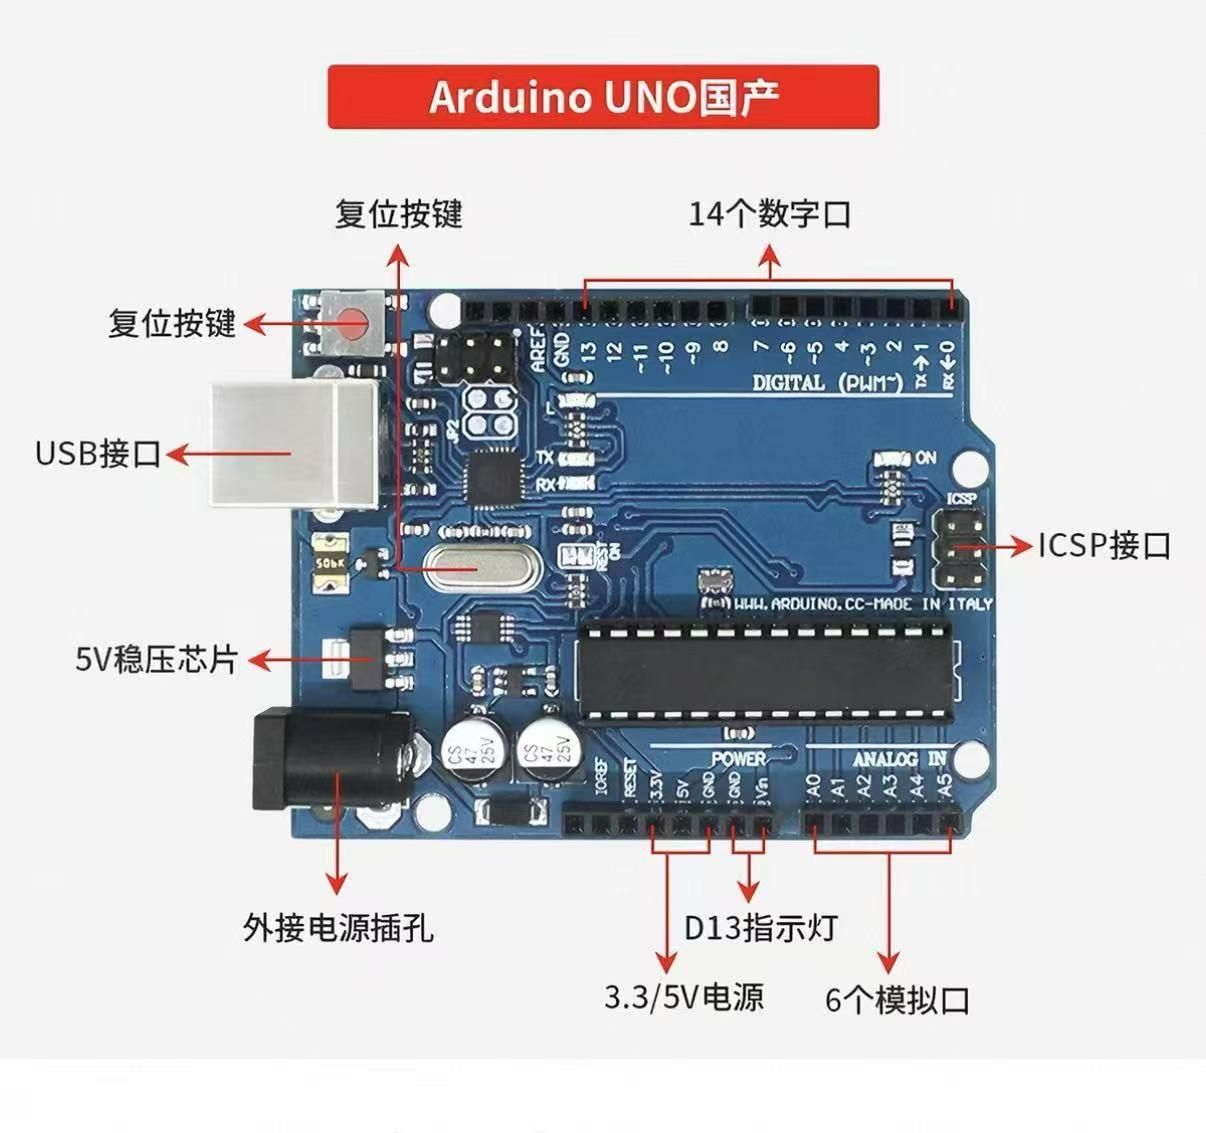
Arduino UNO R3
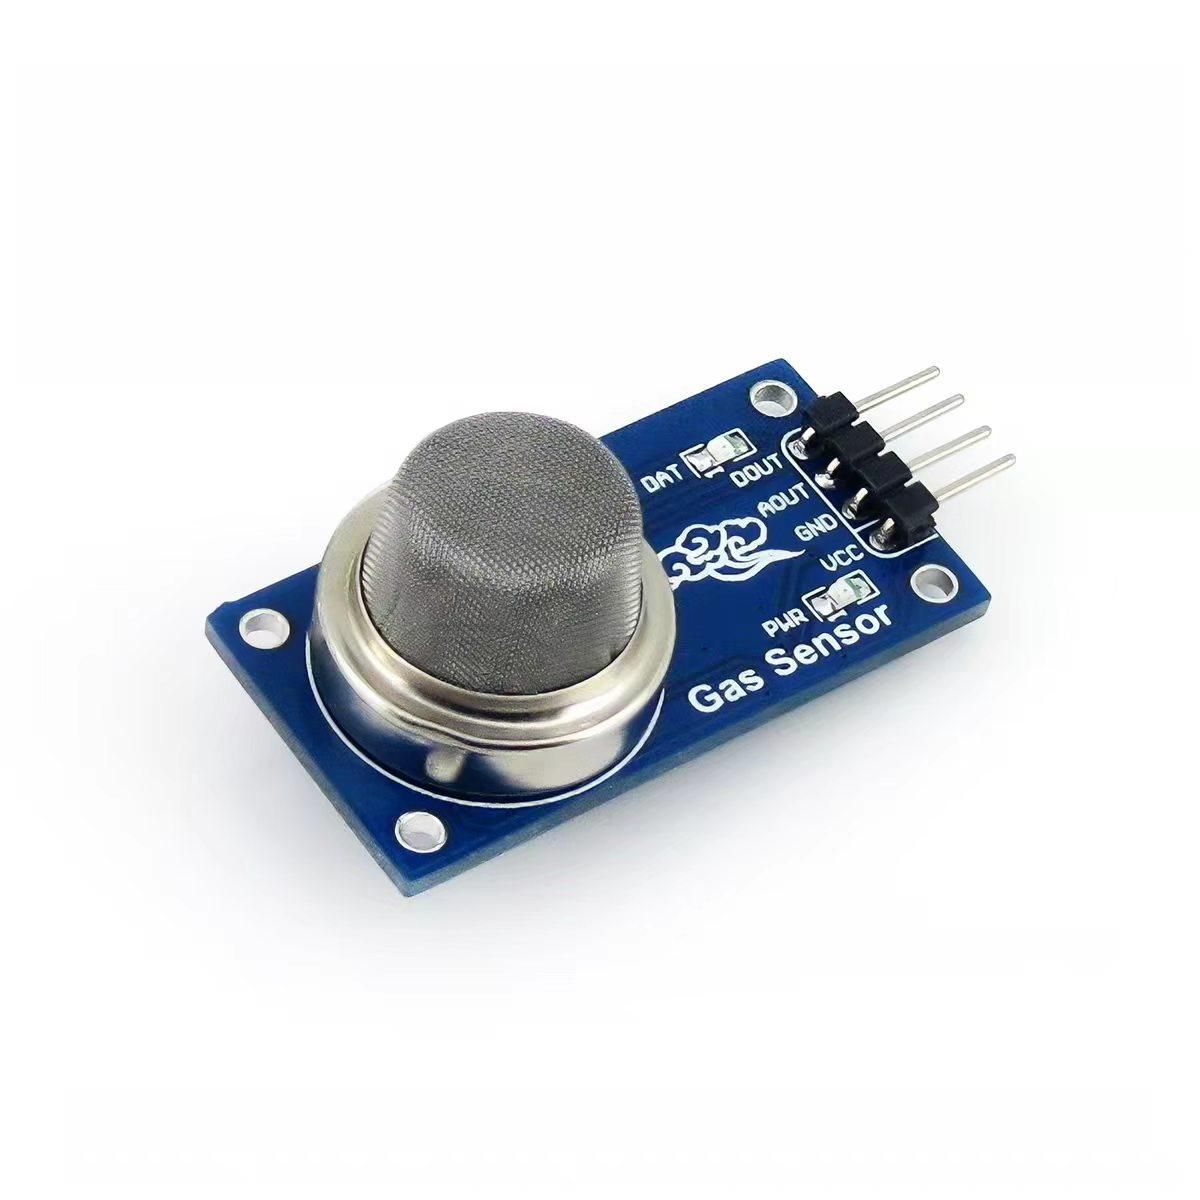
Gas Sensor(MQ2)
Jumper Cables
OLED Module
Arduino IDE and programing cable
Solderless Breadboard
power supply (USB port)
Tinkercard Design and 3d Printing
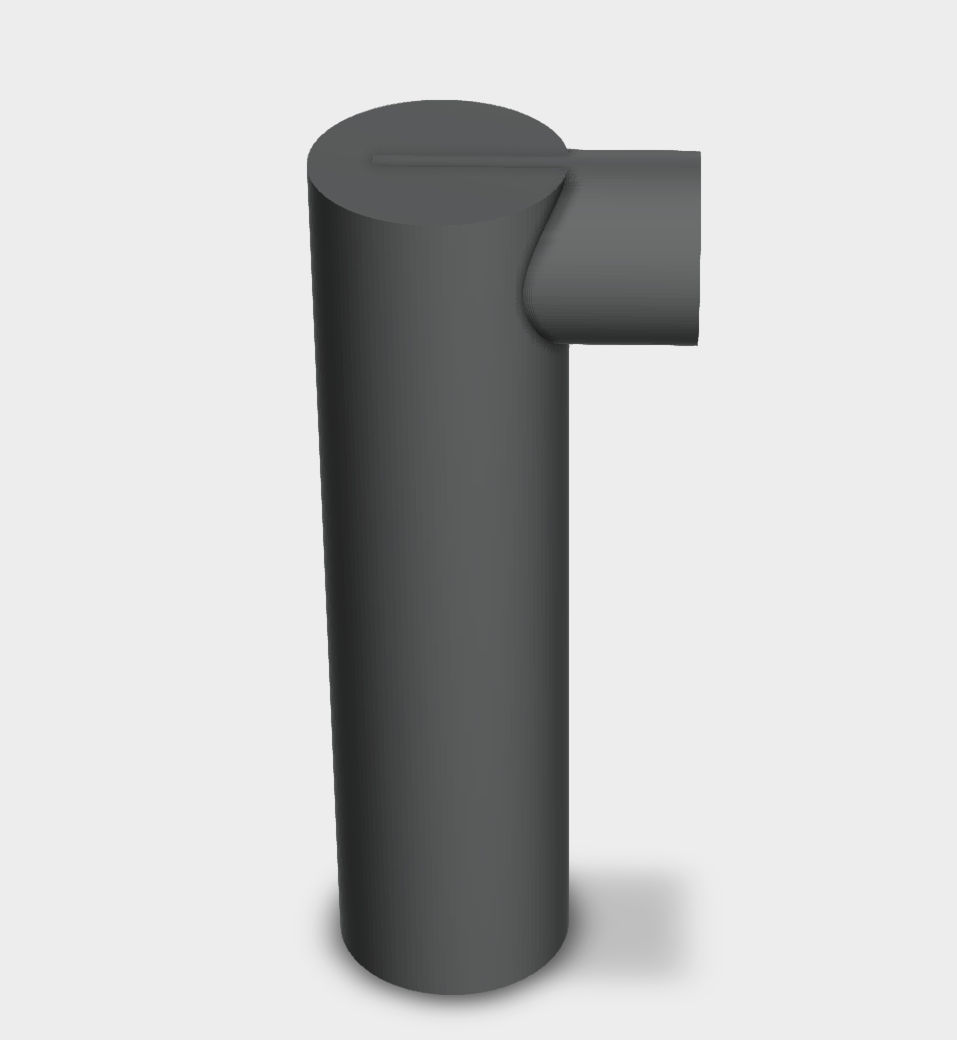

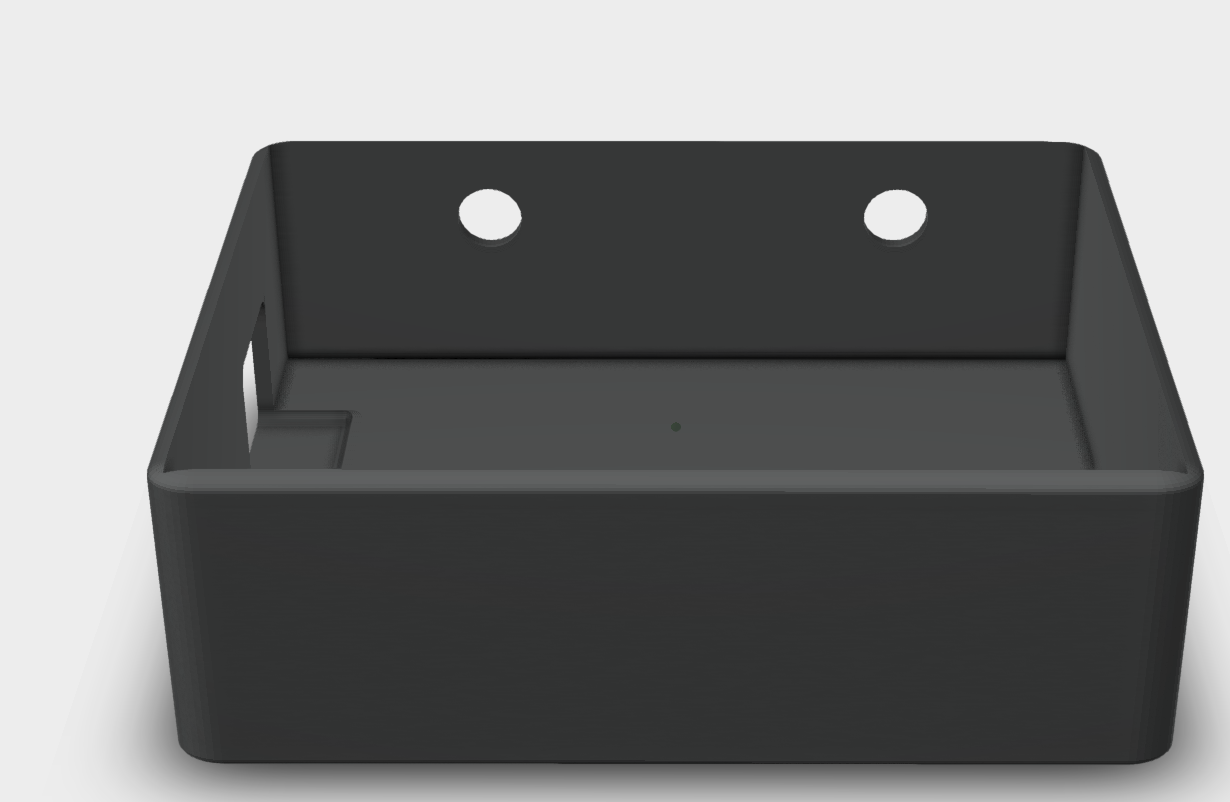
print the base , the lid and the top frame with PLA filament via 3D printing.
You can download the STL files from the original creator for 3D printing.
Circuit and Program

Starting with the OLED
module I will connect the Scl and Sda to the A5 and A4 pins to the uno board
The gnd and Vcc is connect to the ground and the 5v pins of the Uno
Gas sensor connections
It comes with 4 pins and we are using the 3 pins only
Gnd and the power is connected to the ground and the 5v pins of the Uno board(A breadboard is used here to route the GND and 5V pins of the UNO board)
The analog pin from the sensor A0 is connect to the A0 on the Uno board
I will be using jumper cables to solder the terminals and then connect these to uno board pins directly.
The other pin will be the ground and we will connect this to ground on the uno pin
You can find the program below from oringin creator
Downloads
Assembling Components
After you make the connections test it before installing all of these inside this 3d printed case.
use the space provided on the frame side to glue this to the main frame.
While you work on this filament make sure you solder the wires well and place the led properly in the top frame slots because this will be a highlight that shows the leakage.
Then before closing the lid connect the board to power (i will use power bank) and check for oled display.
If the display reads some values you can assume that almost the circuit is fine if not check for the connections.
How to Use

I will use the arduino programming cable and connect it to the power bank to power this project.In few minutes the gas sensor will be ready(it undergoes filament heating inside that detects the gas).After connecting to the power supply, the OLED display will show the gas concentration. Users can judge the risk of gas leakage based on the numbers displayed on the OLED screen.