Modern Plant Stands
by timberbiscuitwoodworks in Workshop > Woodworking
12569 Views, 136 Favorites, 0 Comments
Modern Plant Stands
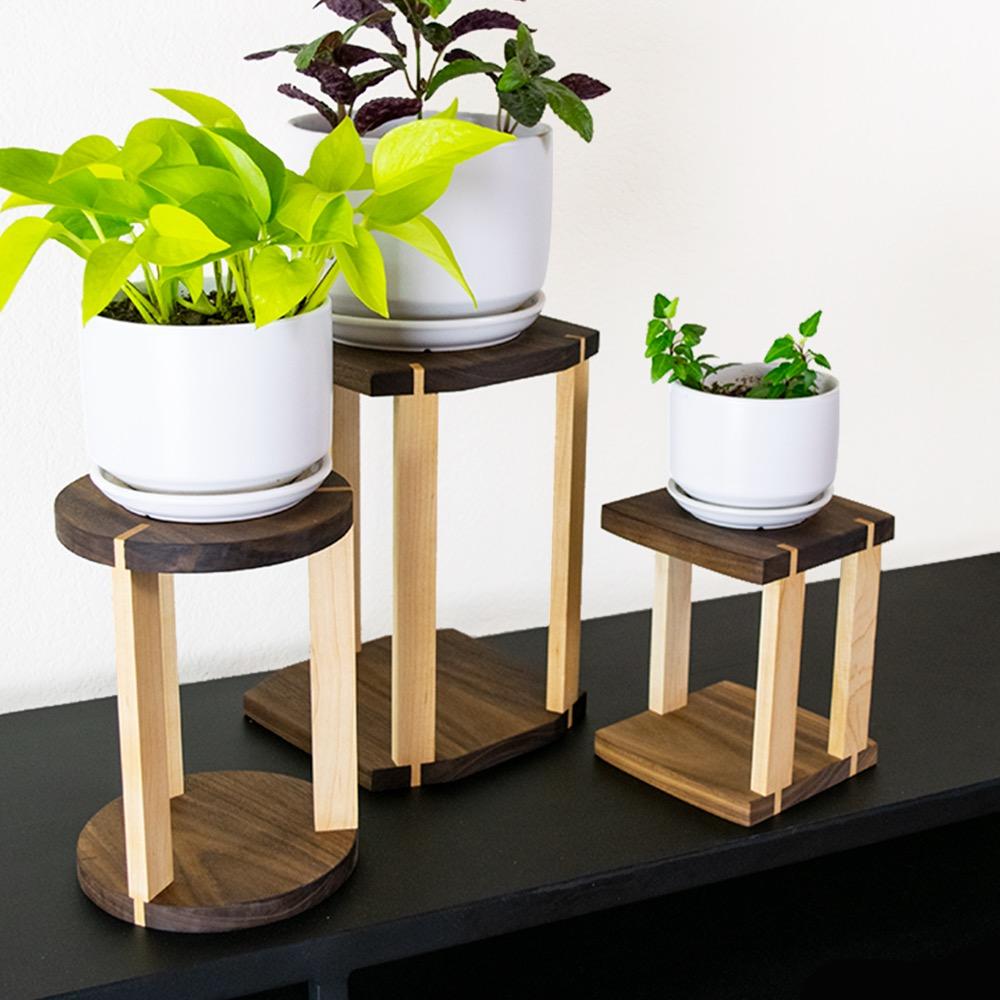
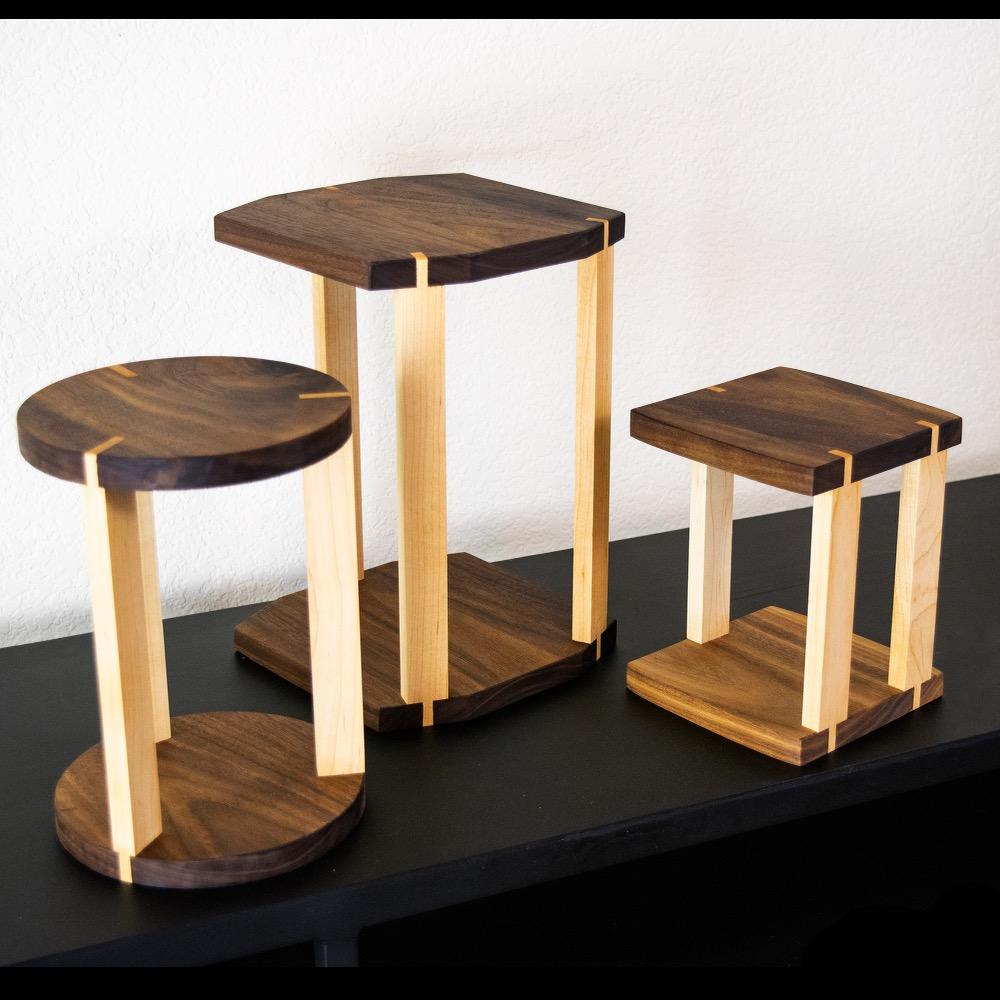
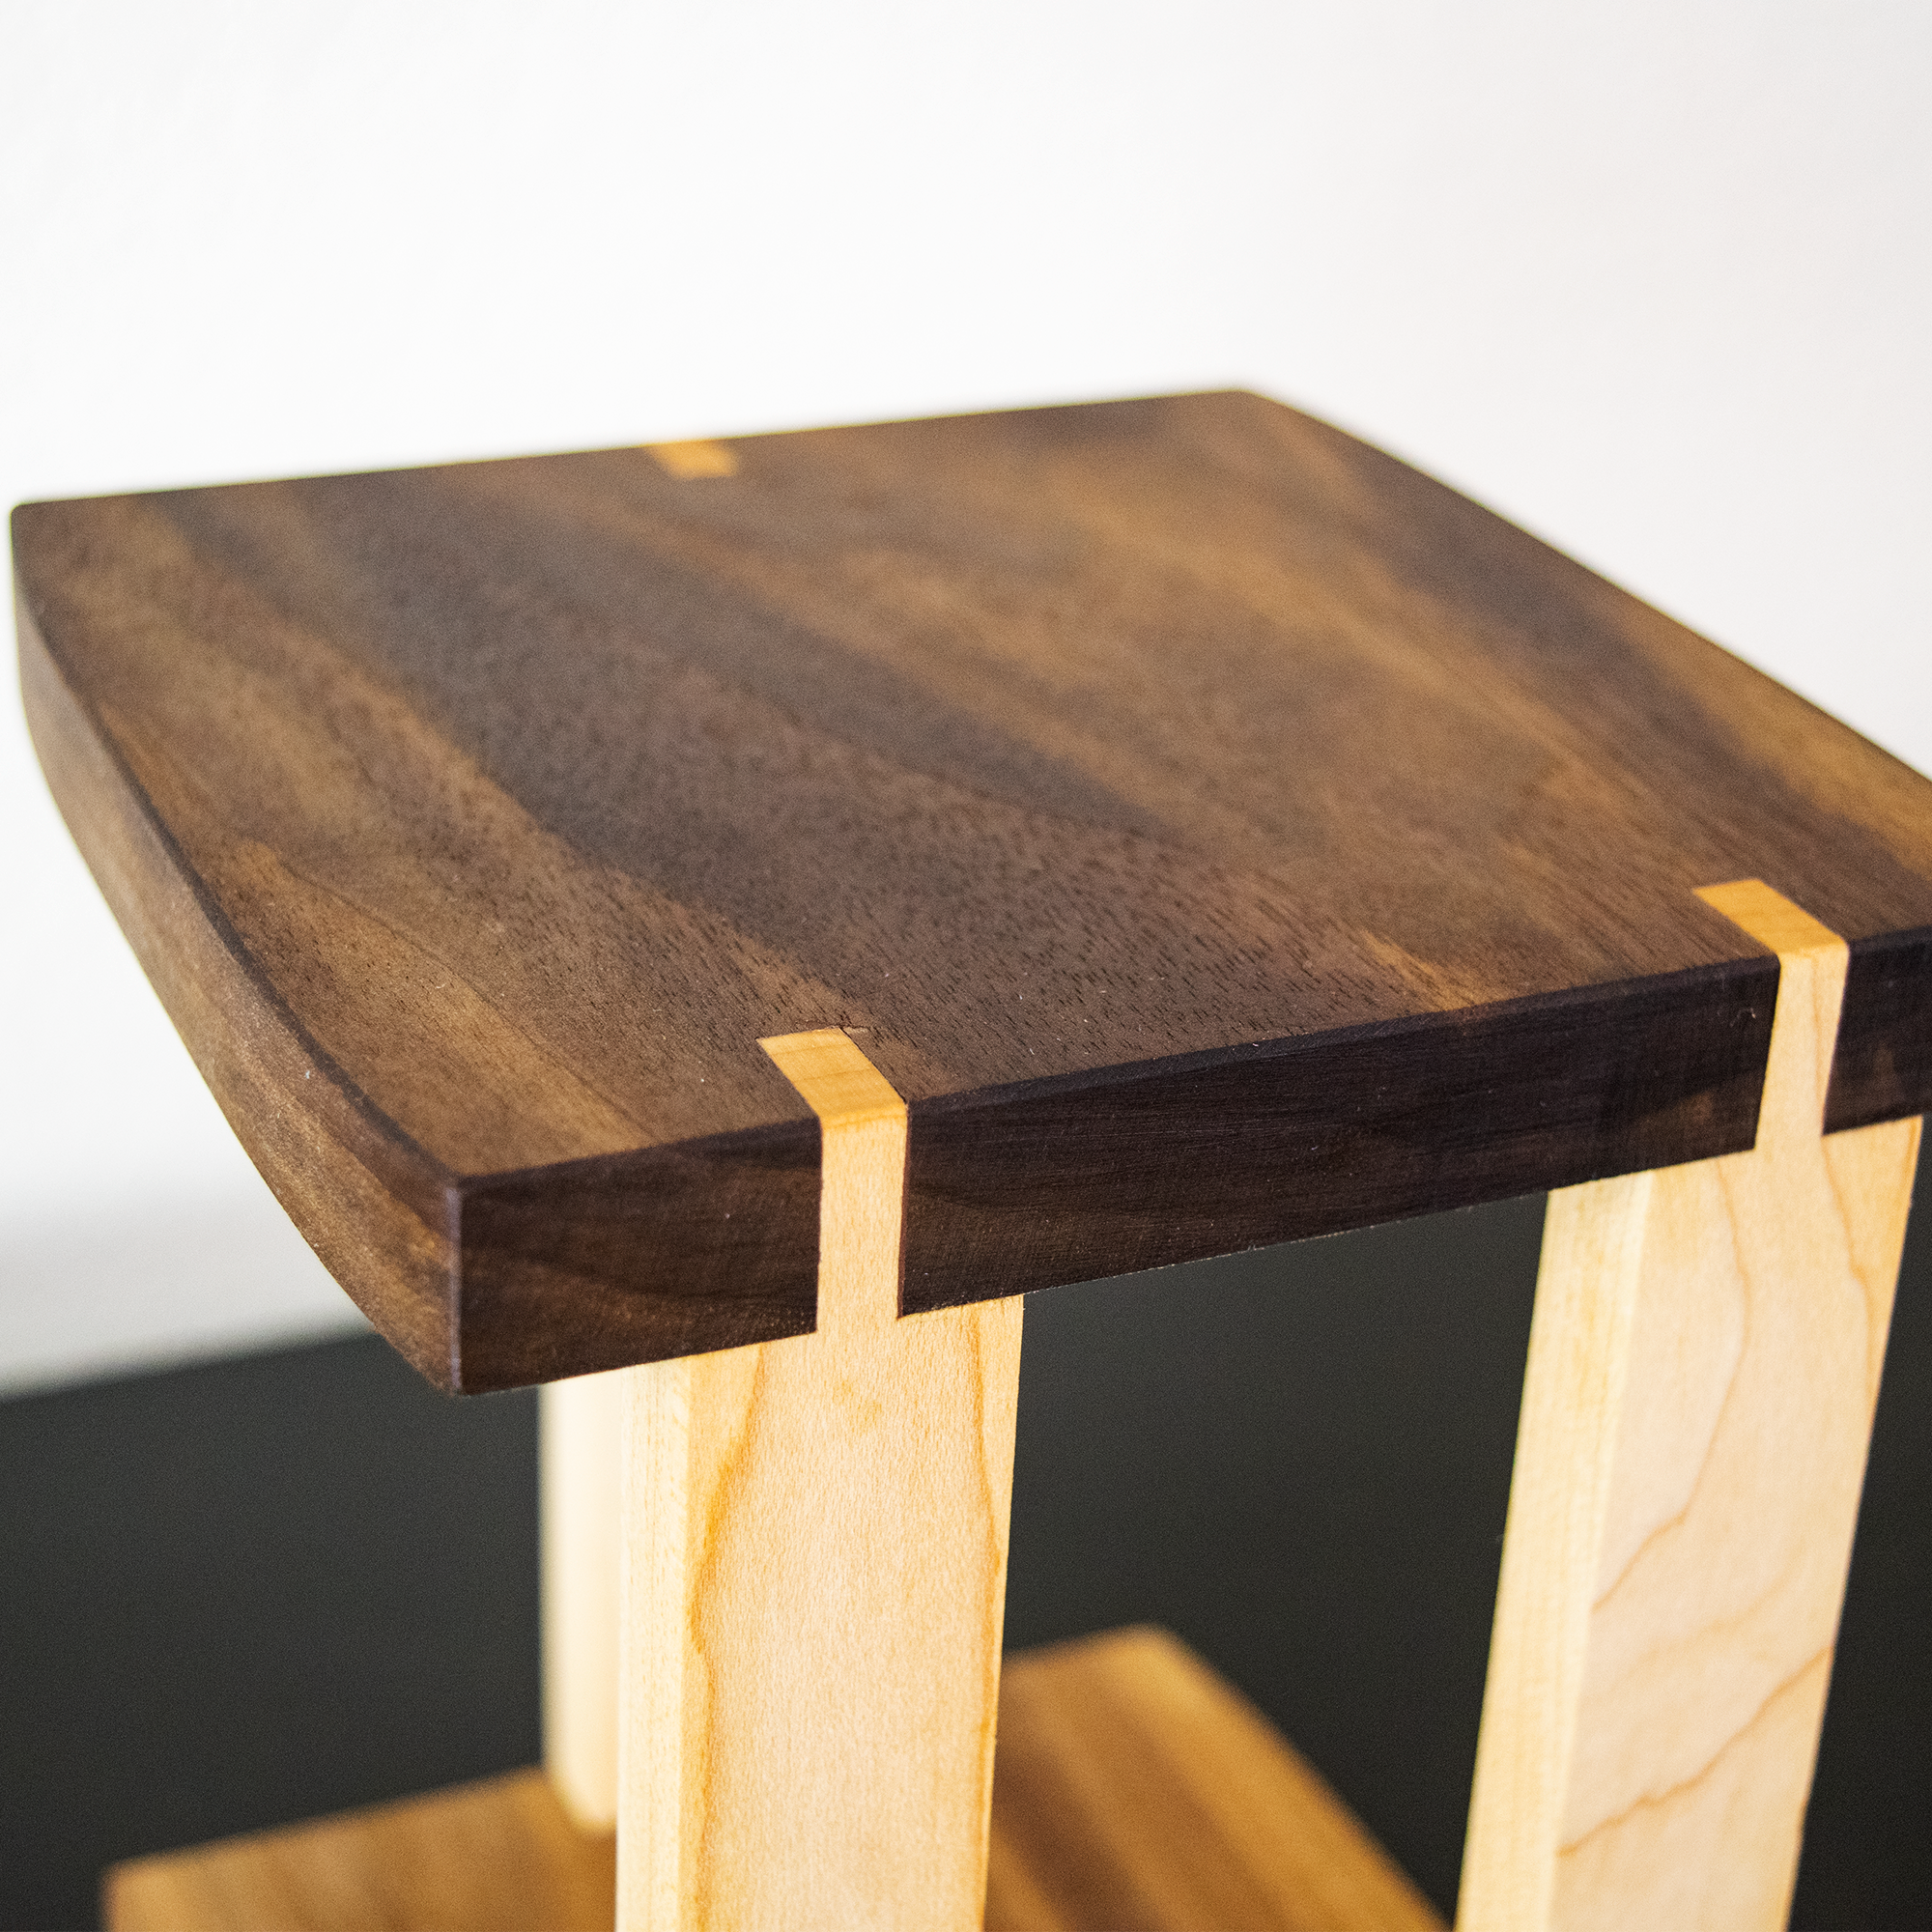
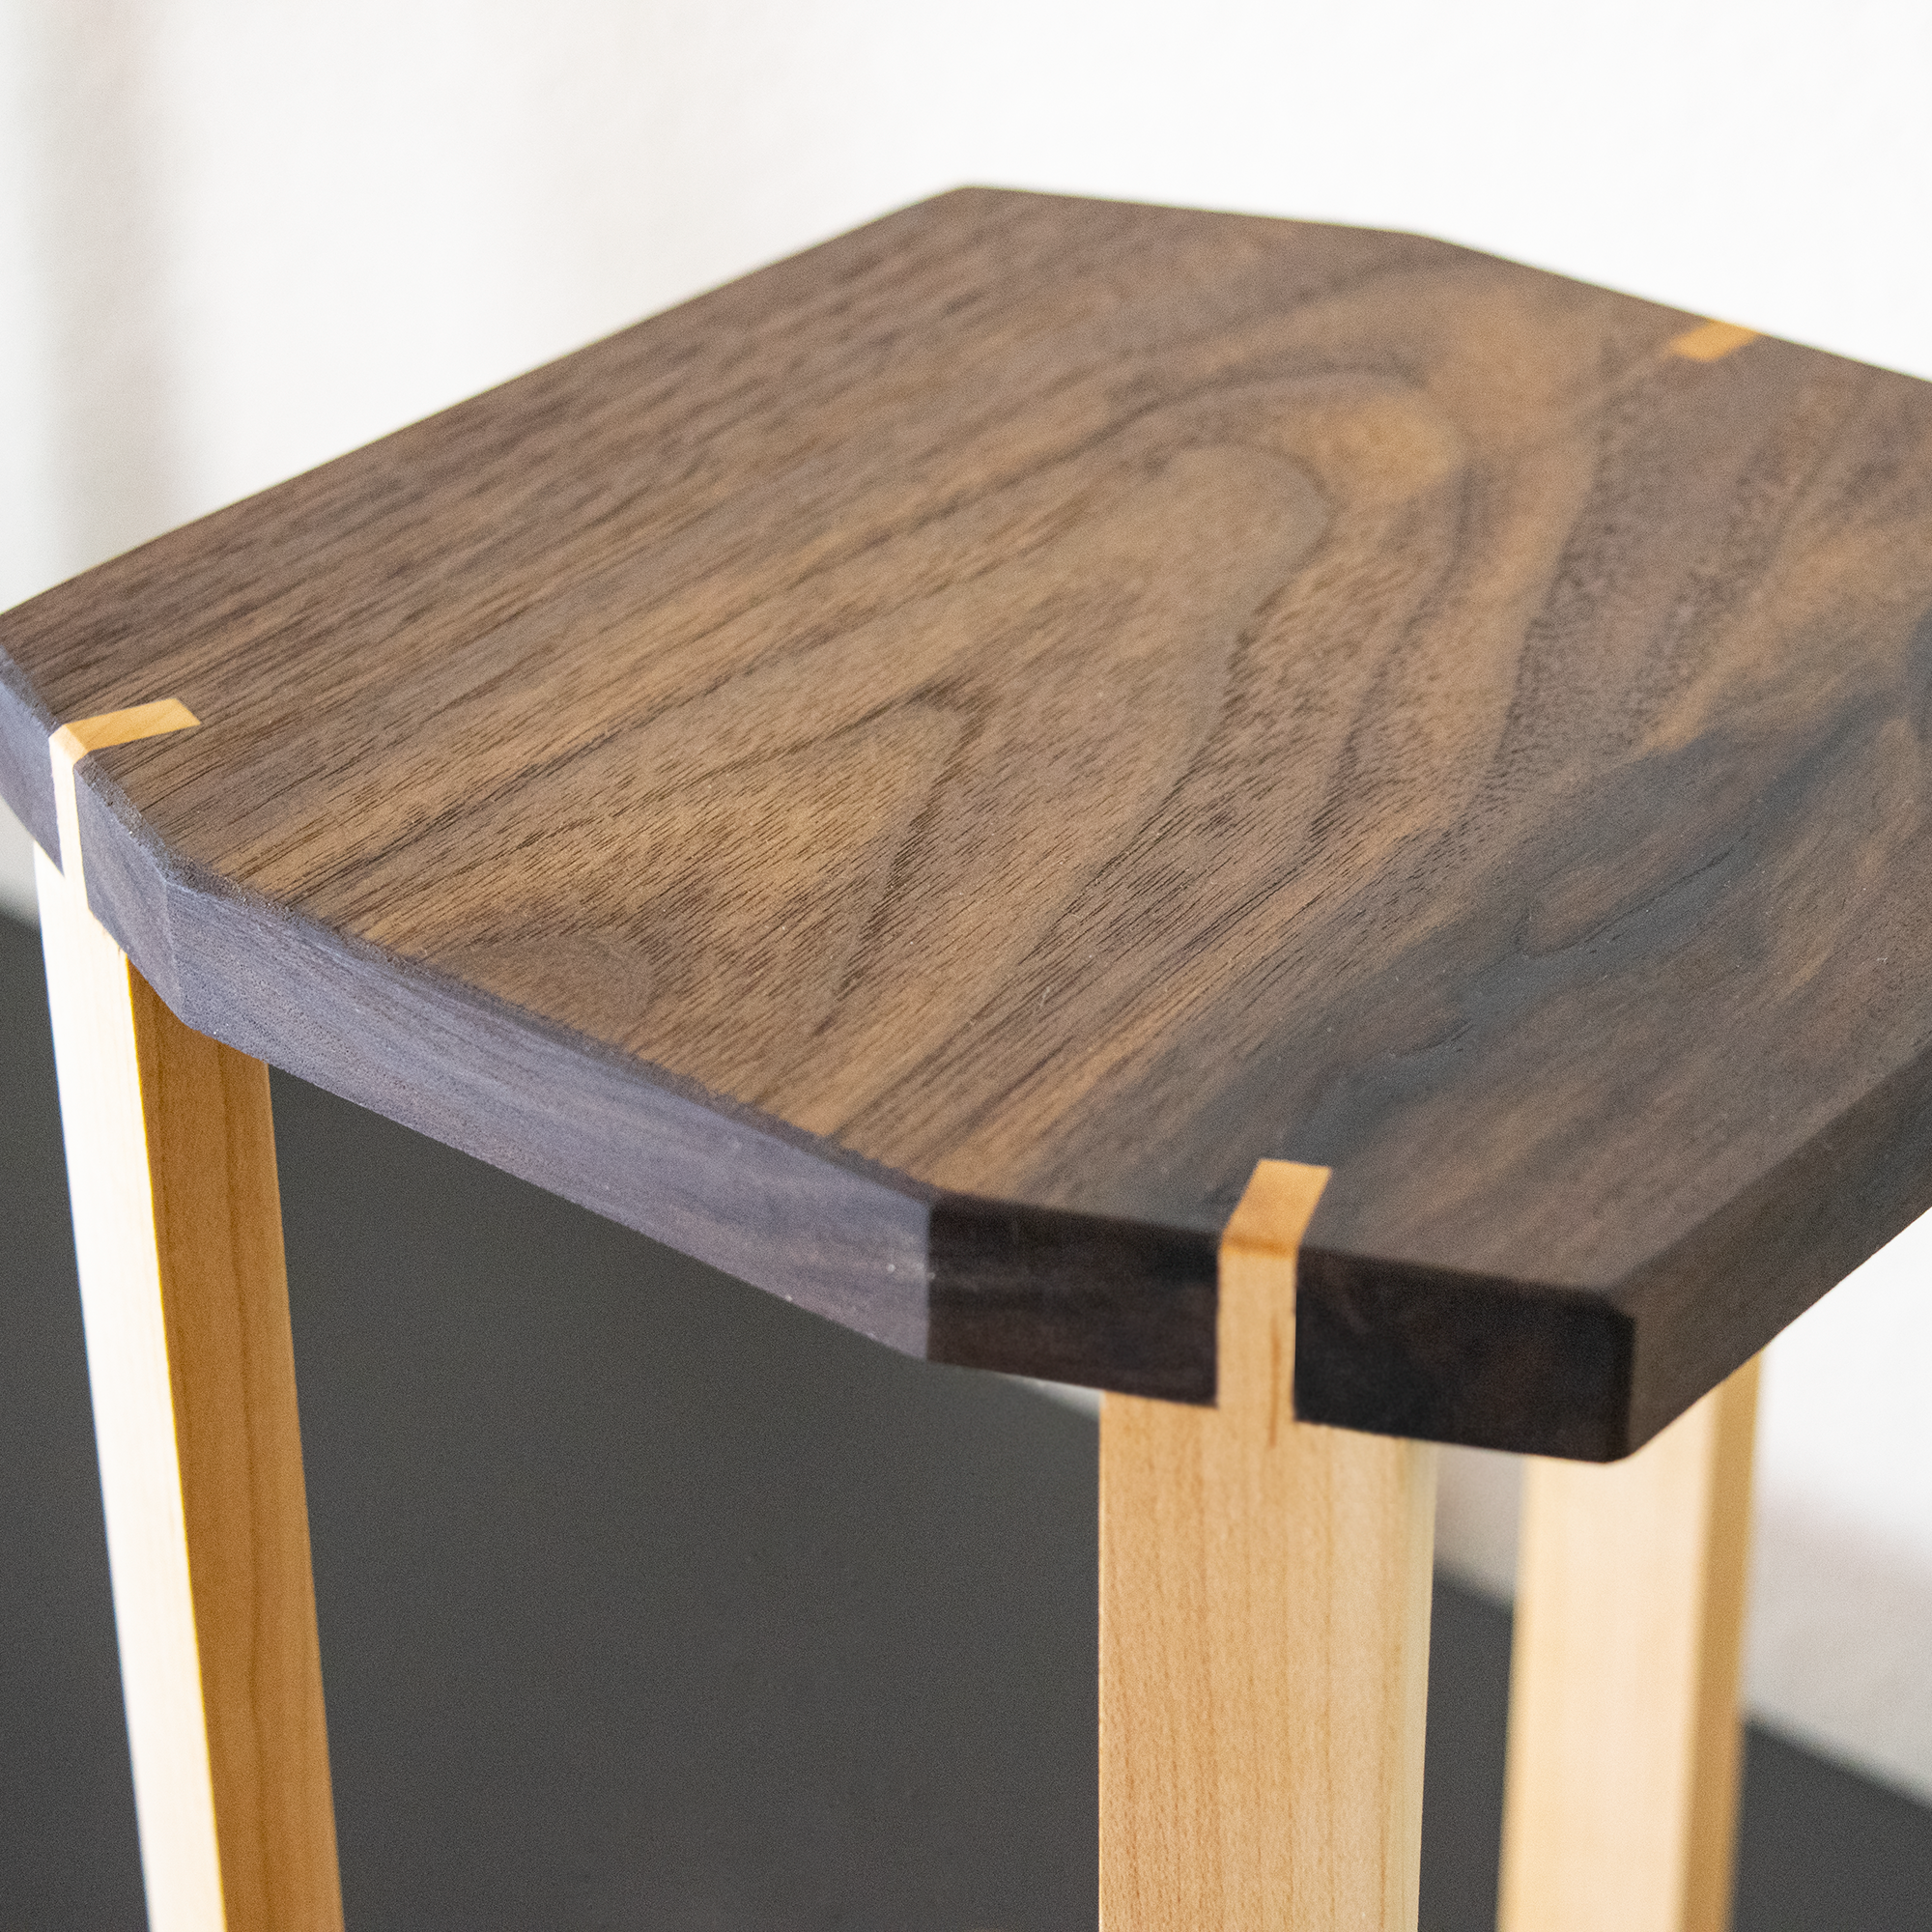
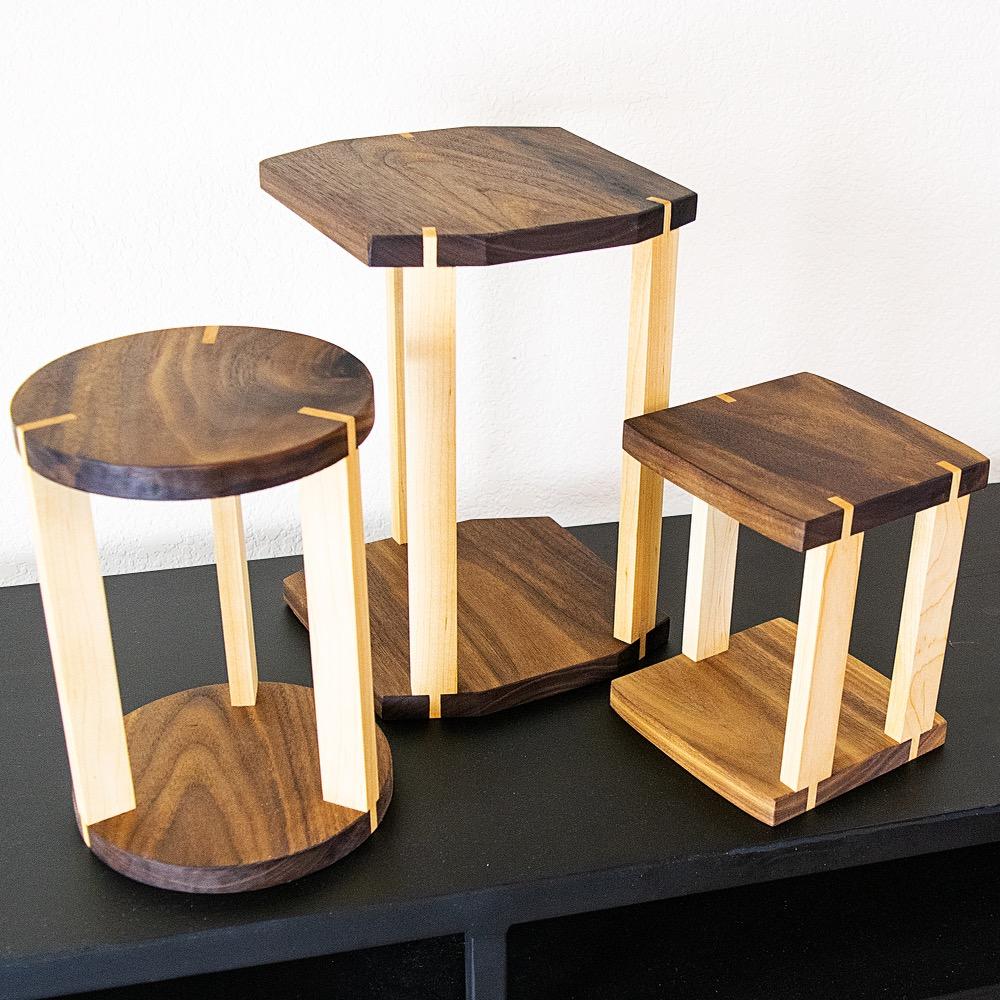

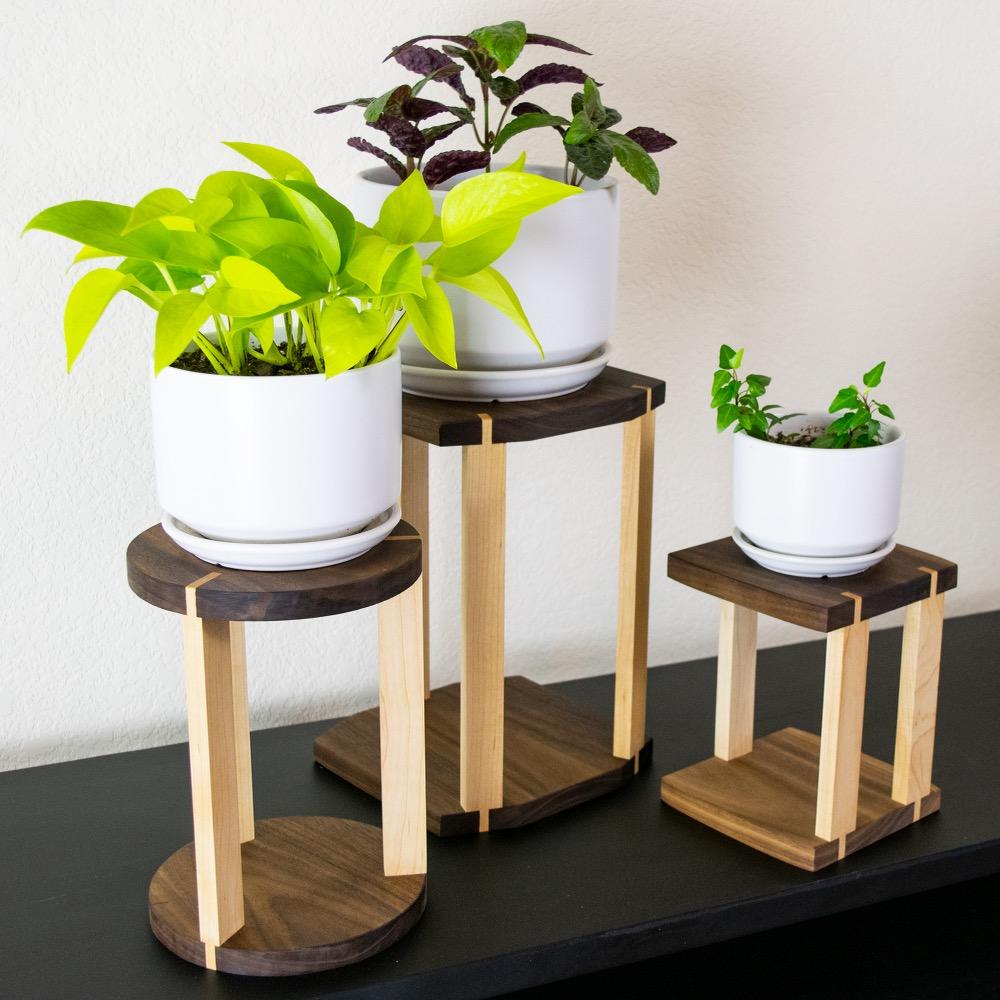
I made a set of modern plant stands with exposed tenons. My wife has amassed a bunch of house plants and we needed more ways to display them all! The stands can be used as speaker stands or any display pedestal. The exposed mortise and tenon joinery is relatively simple, making this a good project for any woodworker.
For this project, I used walnut and maple hardwood to add a ton of contrast and showcase the joint. But you can use whatever wood species you like for this project - I would just recommend that you use hardwood. I enjoy building projects that serve two purposes, one being design aesthetic and the other utilitarian. This woodworking project hits on both of those notes, and I couldn't be happier with the final result.
I am a huge fan of minimal design that packs a big punch. So I took that to heart when designing these pieces. I tried just to let the joinery tell the story. You can have fun with this one and create a ton of shapes for your home. I had a ton of fun with this one, and I hope you enjoy the project as much as I did. Plans for this project are available to download below. Enjoy the build!
Downloads
Supplies
- Your favorite wood
- Table saw
- Dado stack or flat bottom blade
- Bandsaw or jigsaw
- Router
- Flush trim bit
- Wood Glue
- Clamps
- Your favorite wood finish
Cut Down the Tenon Pieces
- Mill the lumber using a jointer and planer to a 1/2 inch thick
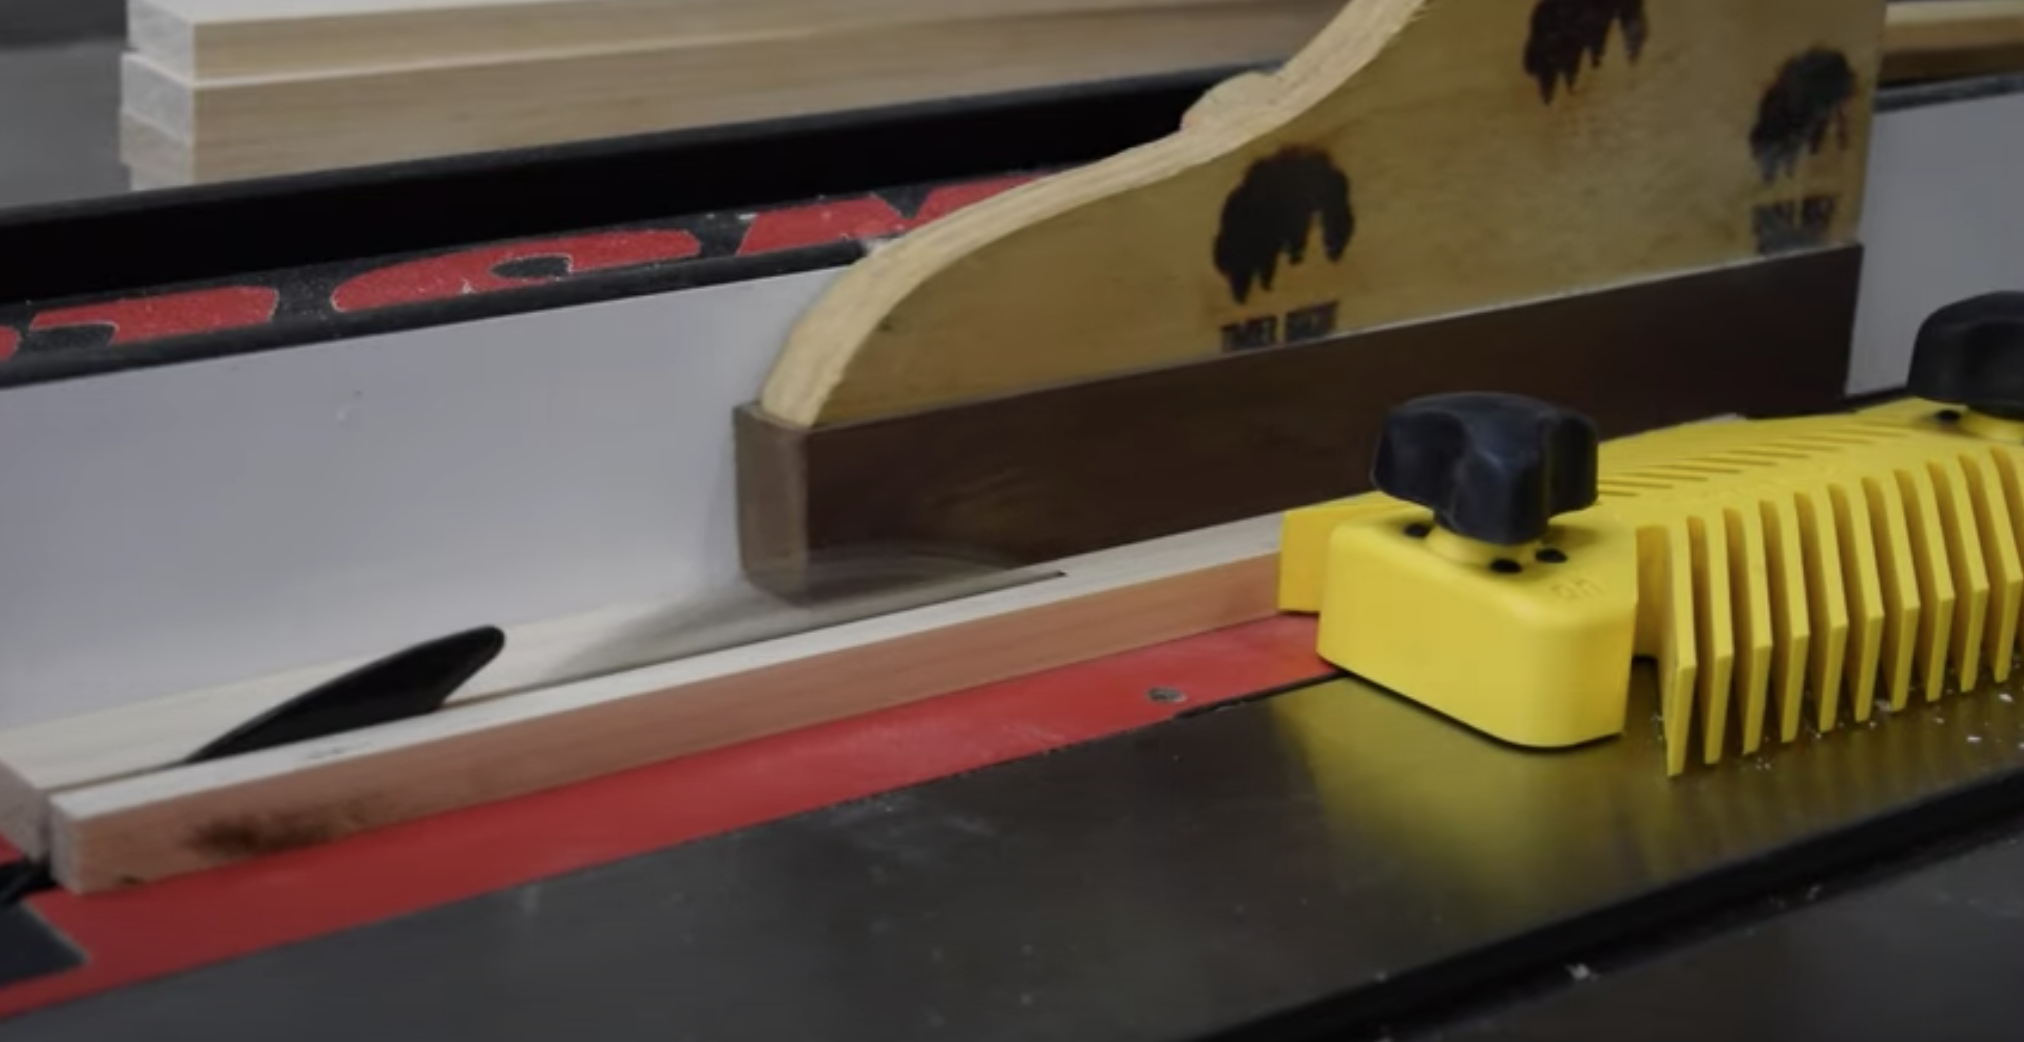
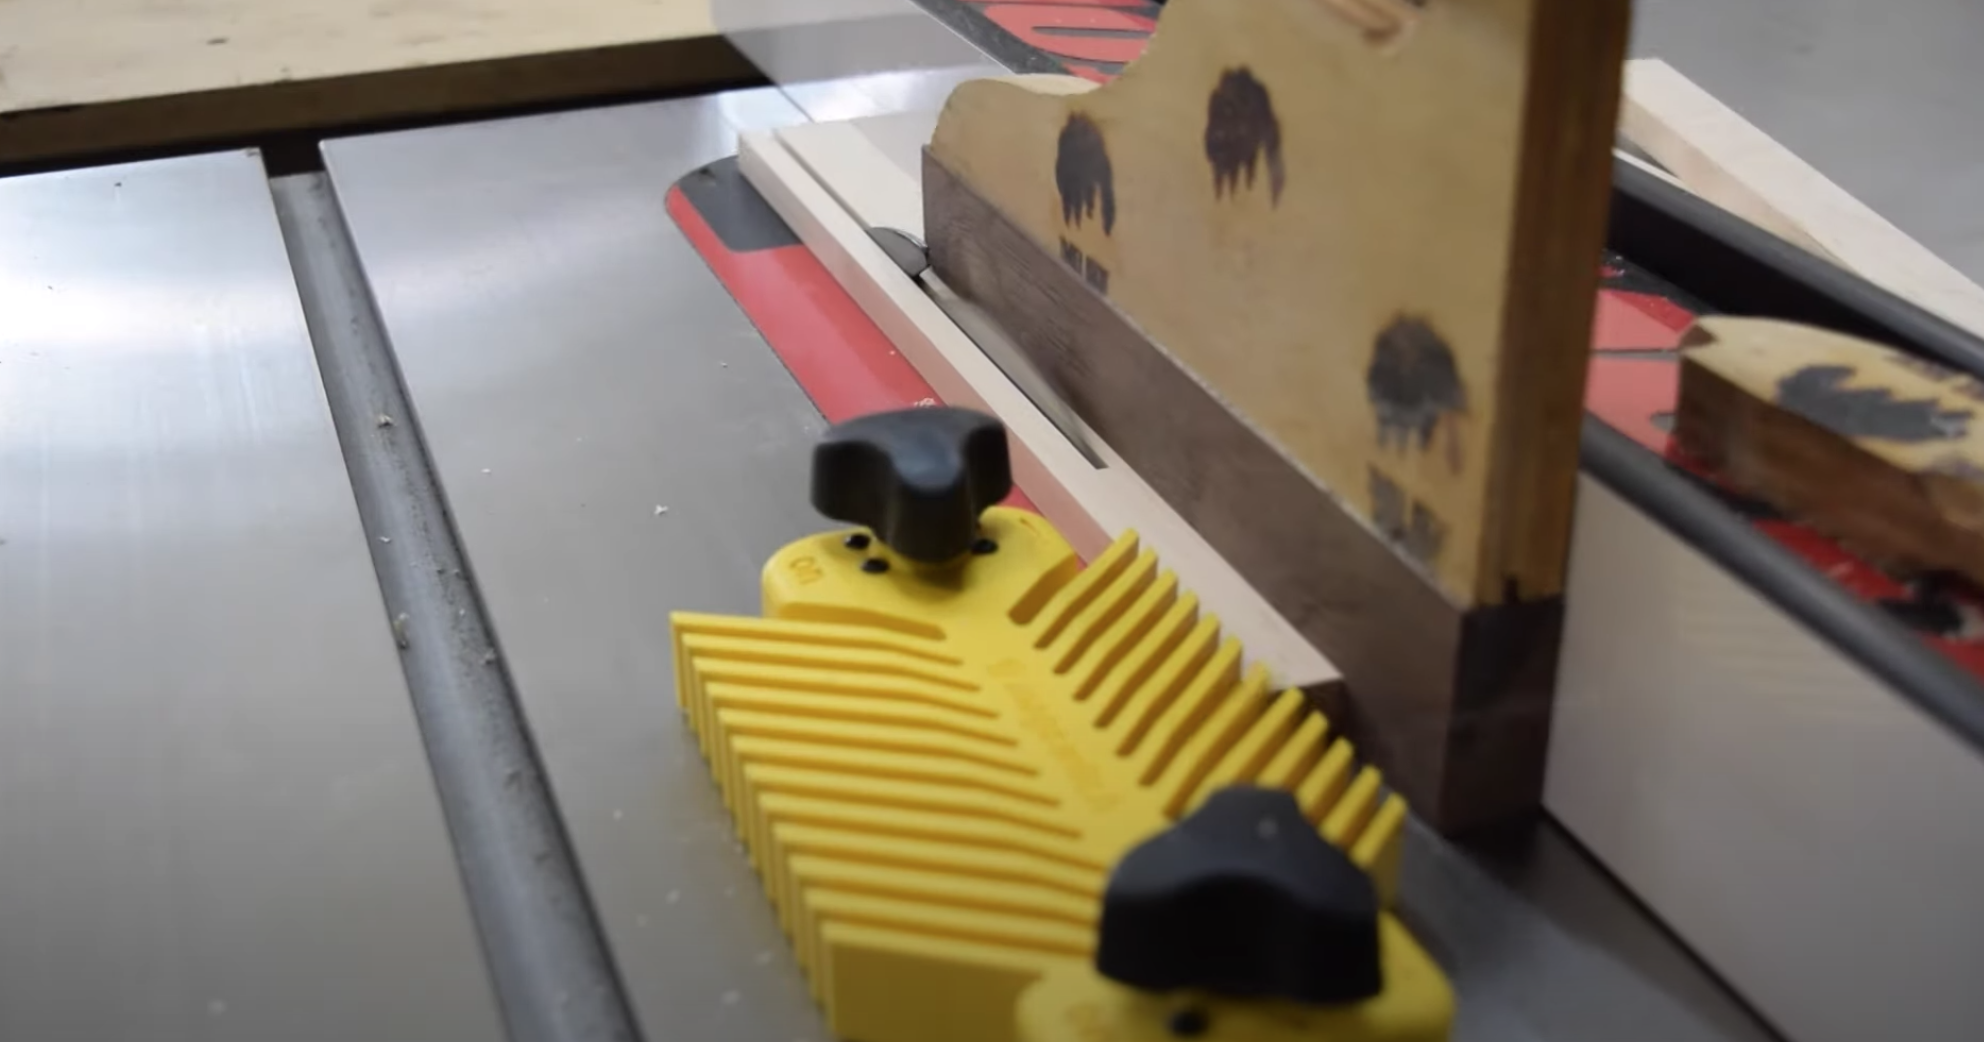
- Cut the pieces to their final width - 1 inch
- For narrow cuts like this, using a feather board to hold the pieces flat against the fence makes for straighter cuts and helps avoid getting kickback from the saw blade.
- You should have 9 total. You will need a total of 81" for all 9 tenon pieces.
Making the Templates
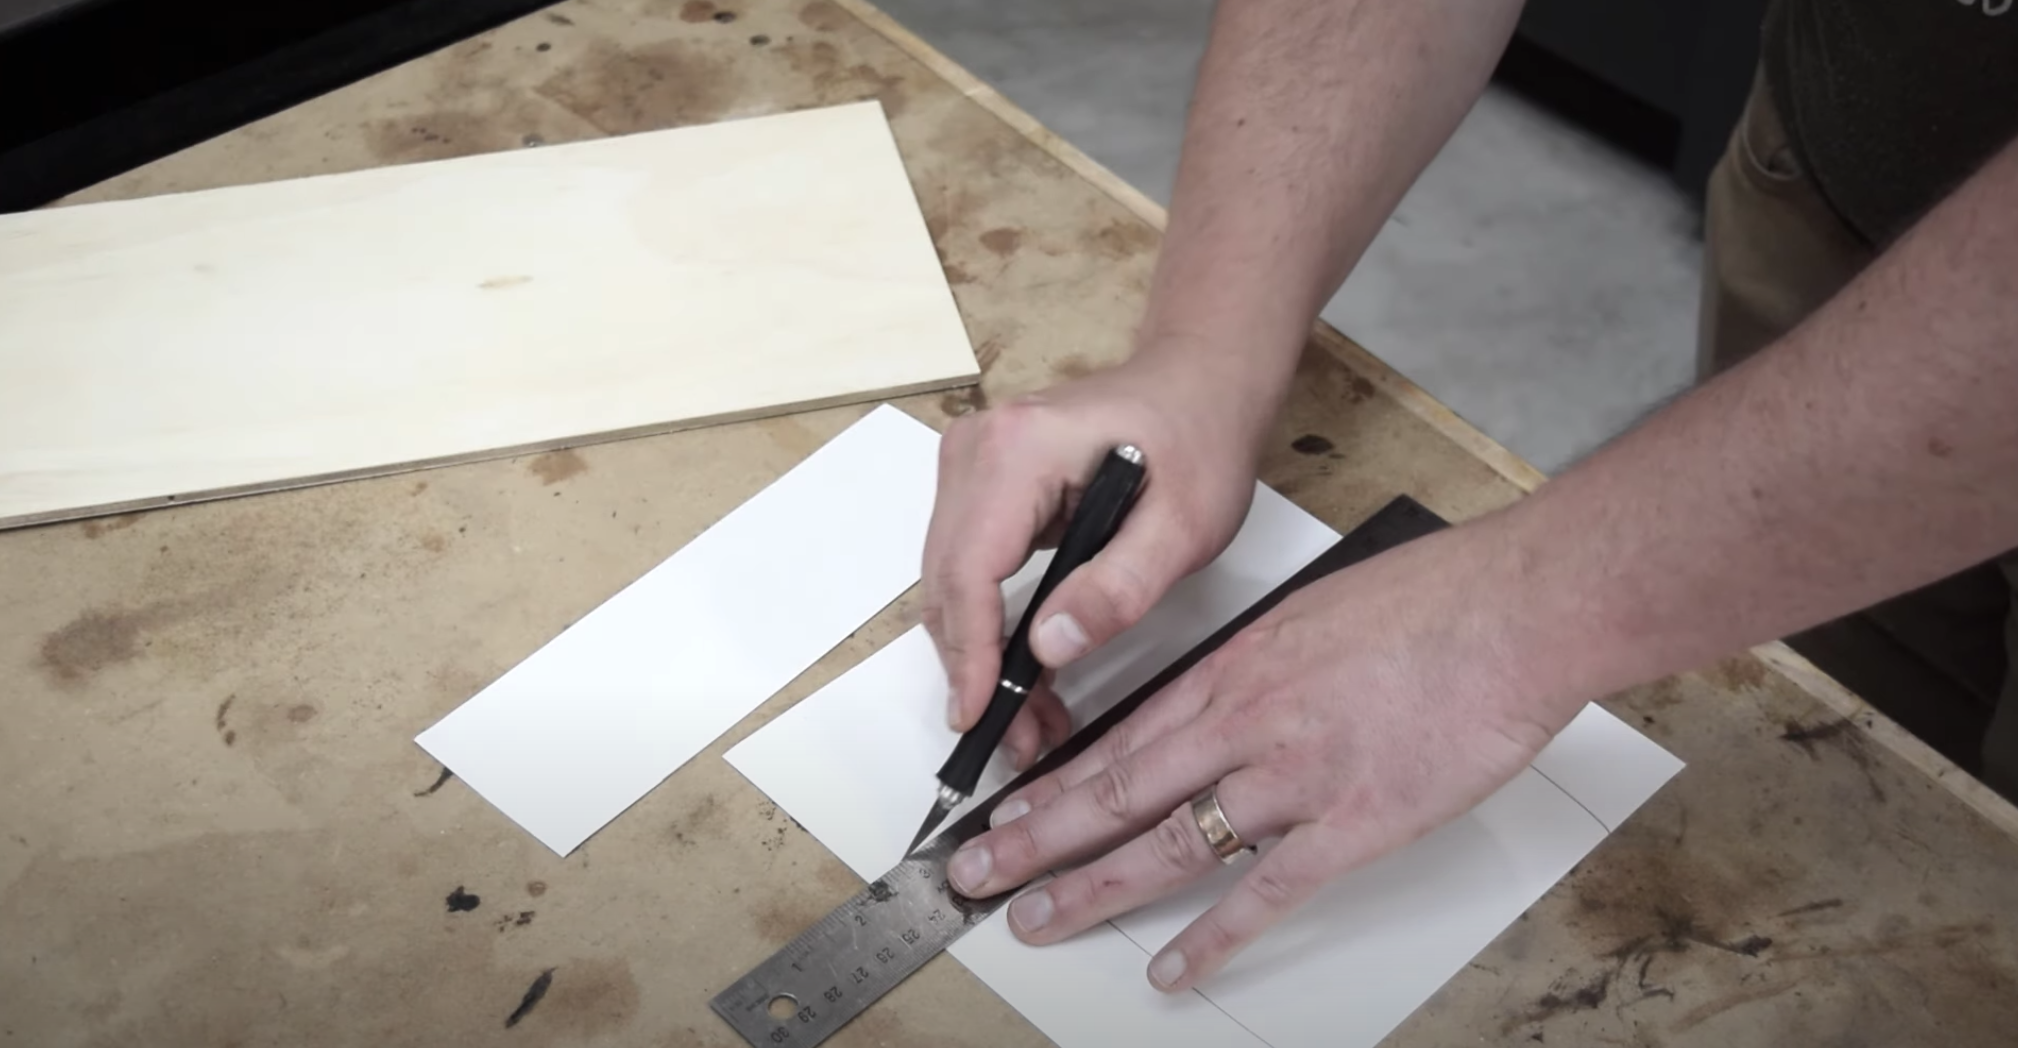
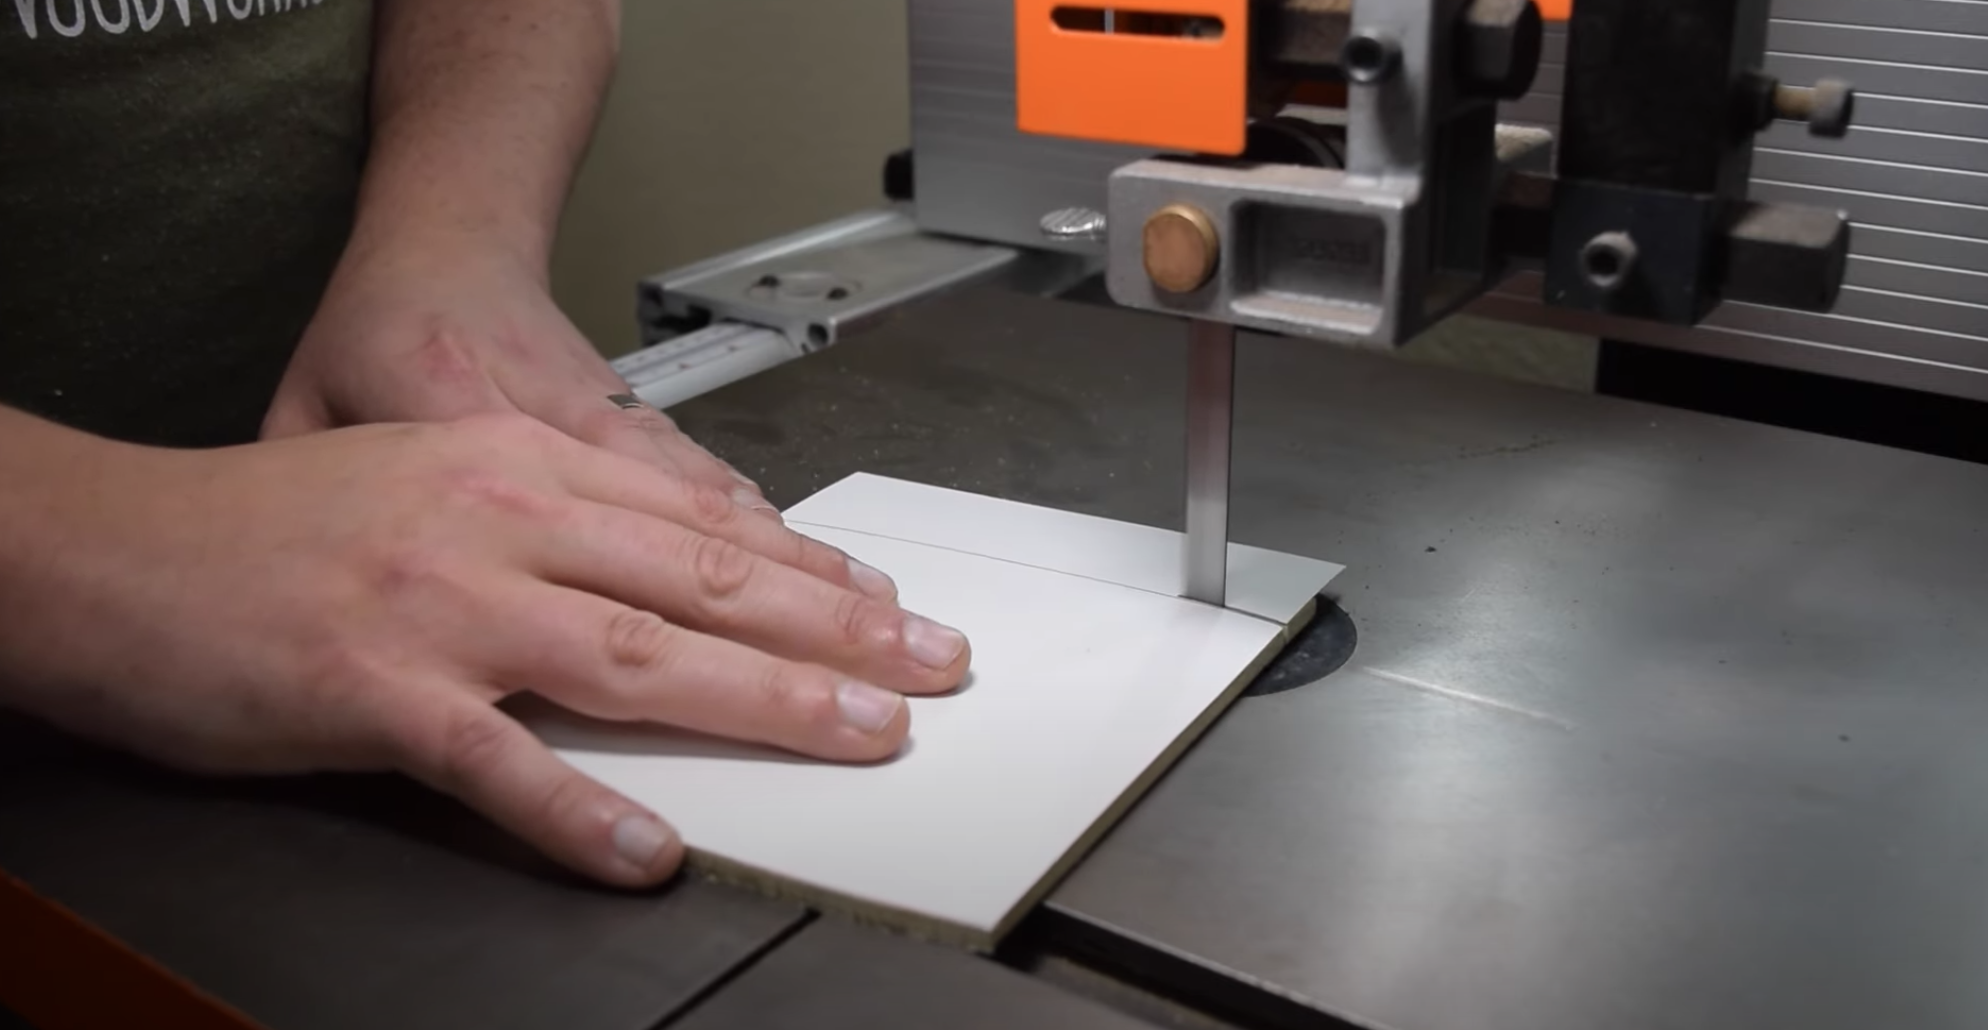
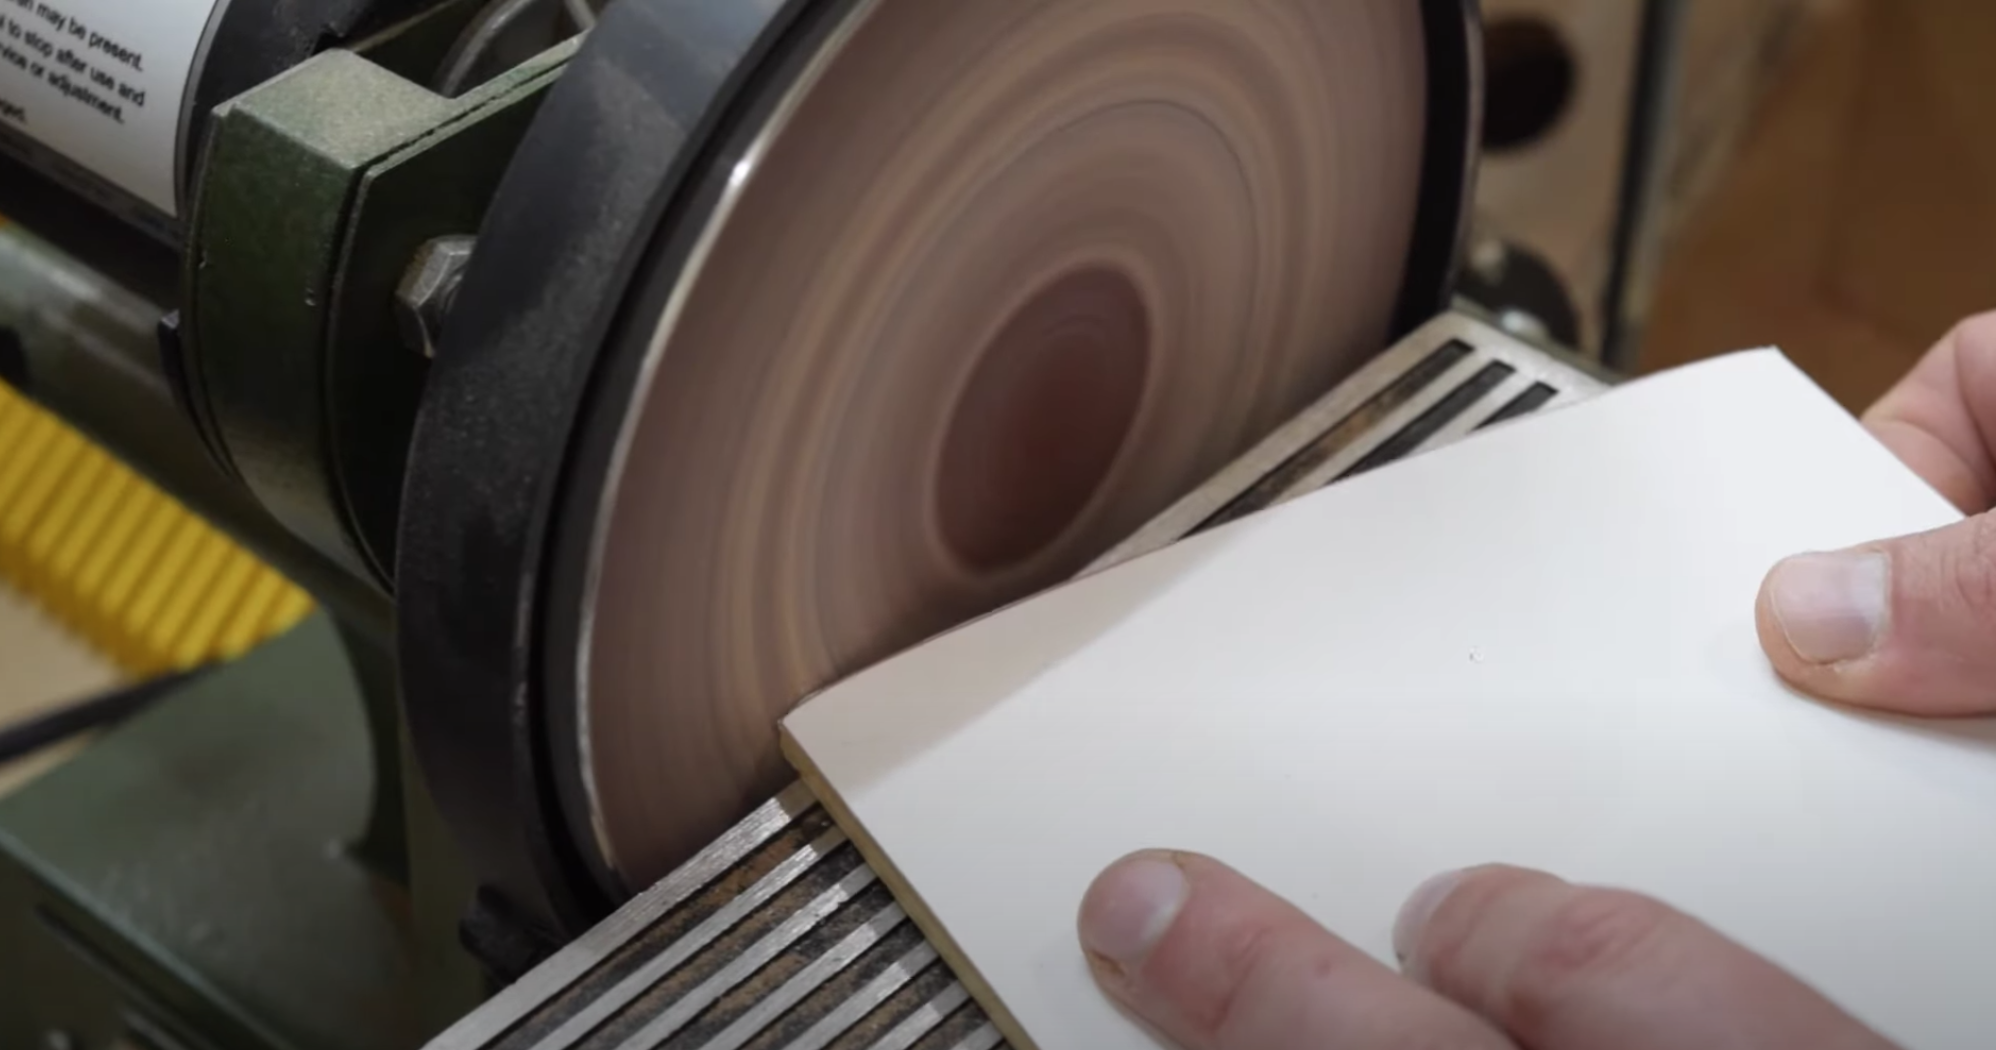
- Cut out the templates for the tops and bottoms from the downloadable plans
- Use spray adhesive to attach the templates to some 1/4 inch plywood.
- Rough cut the templates out at the bandsaw (a jigsaw would work here too).
- Shape the templates at the disc sander or a sanding block.
Making the Tops and Bottoms
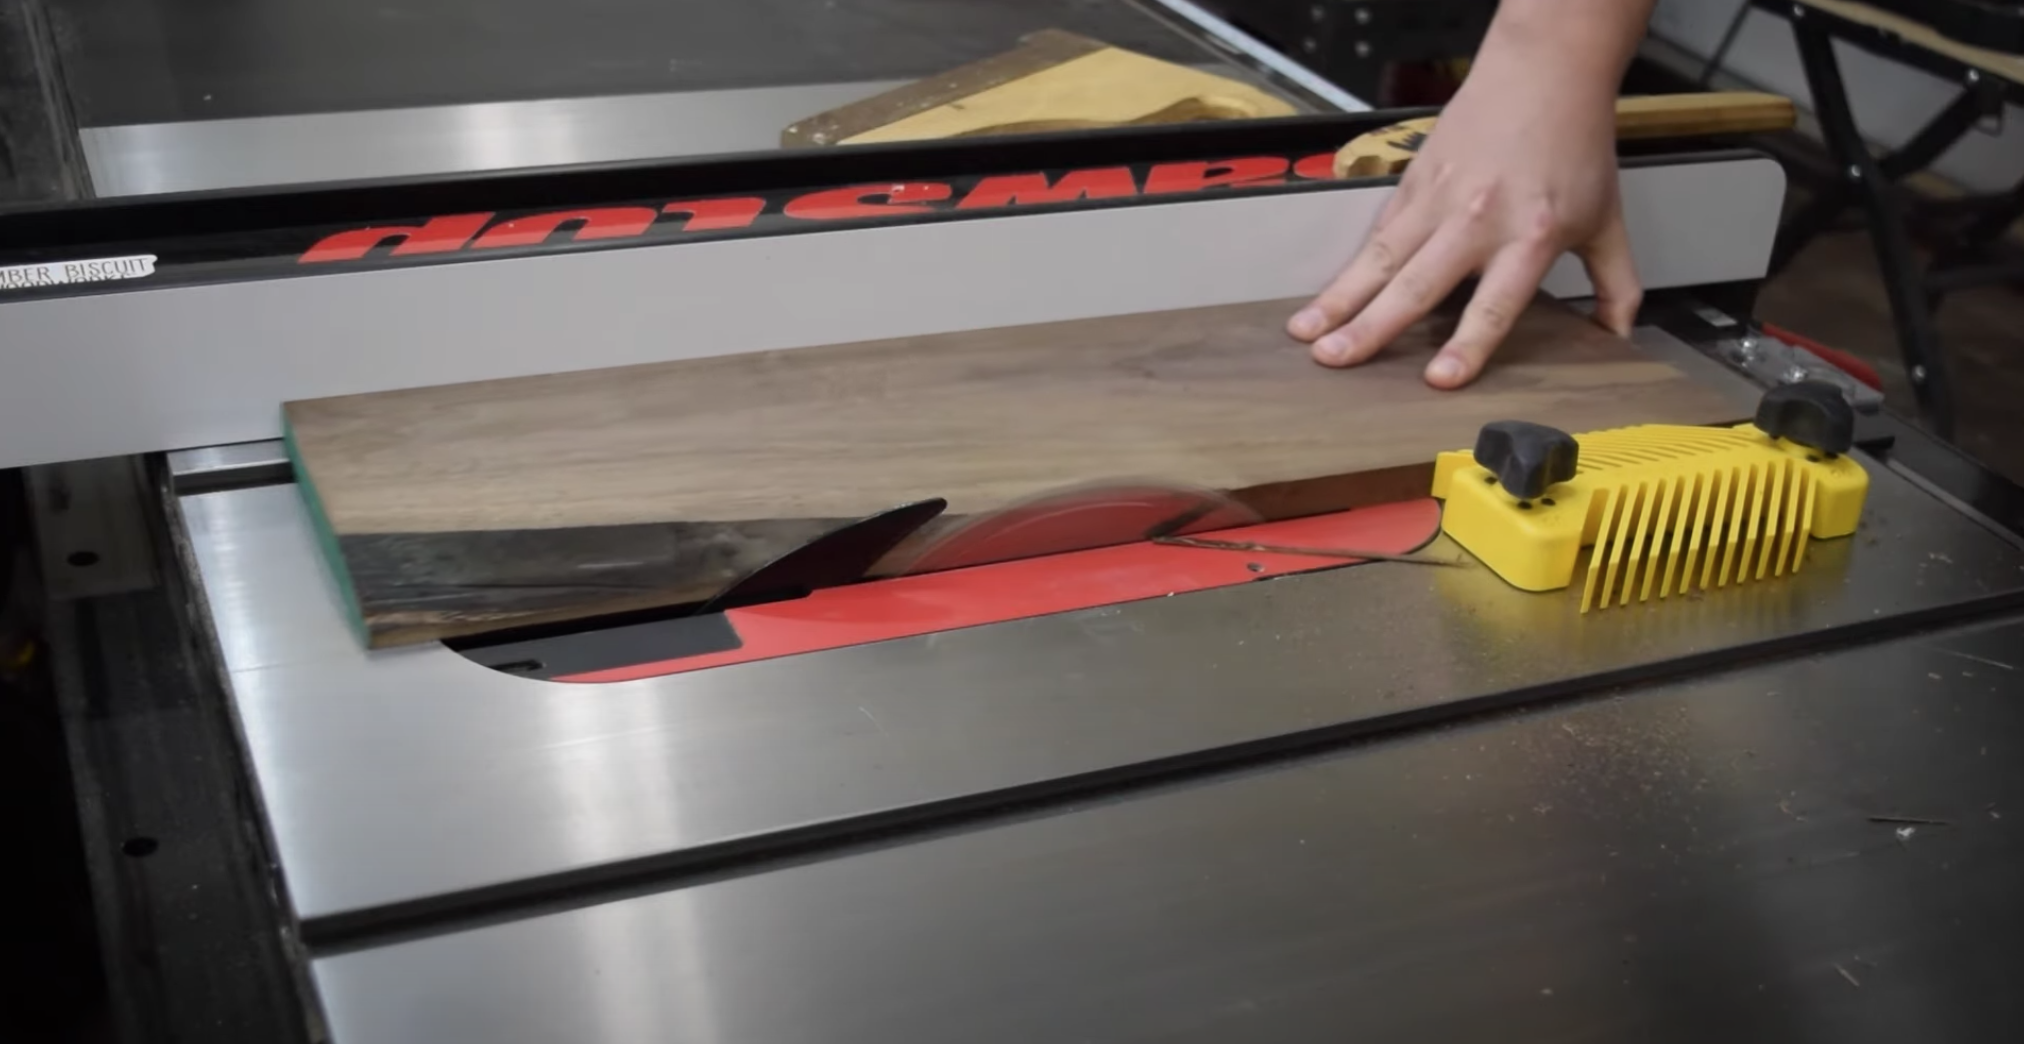
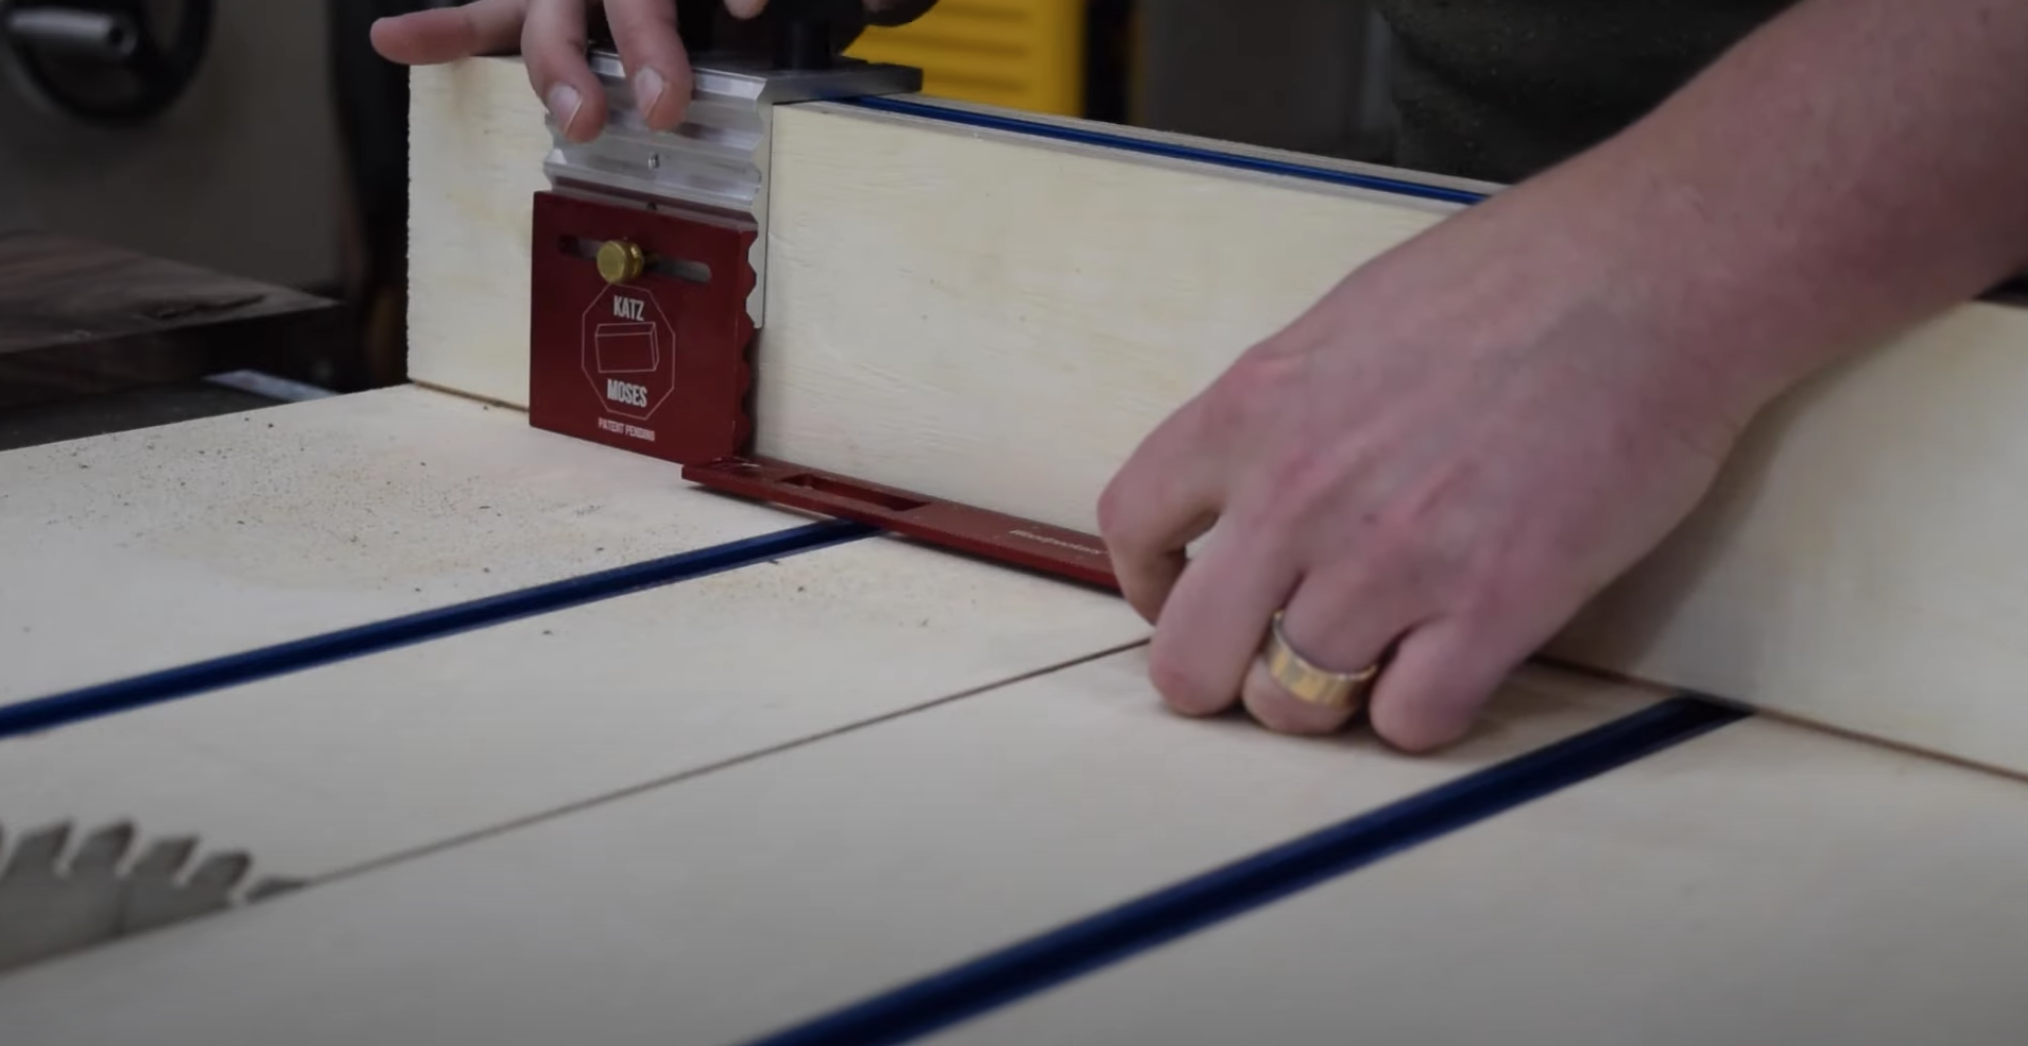
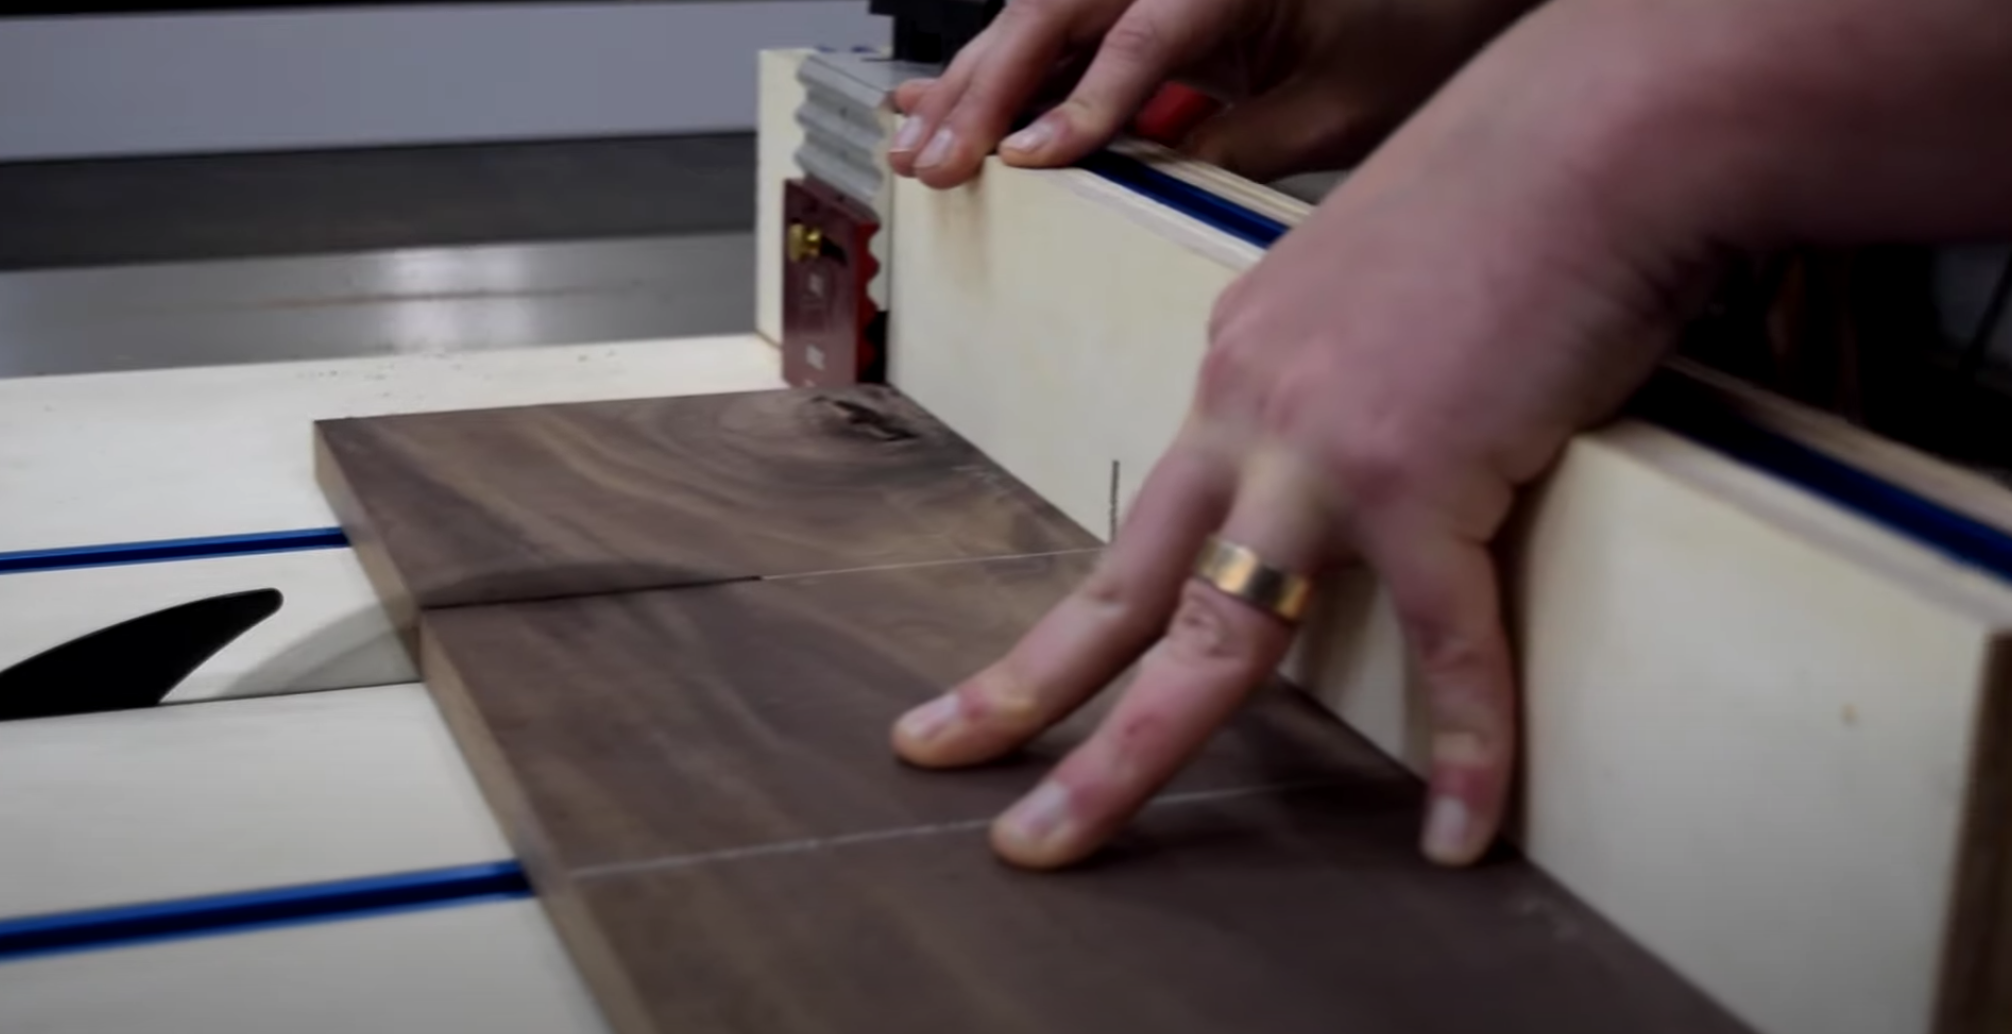
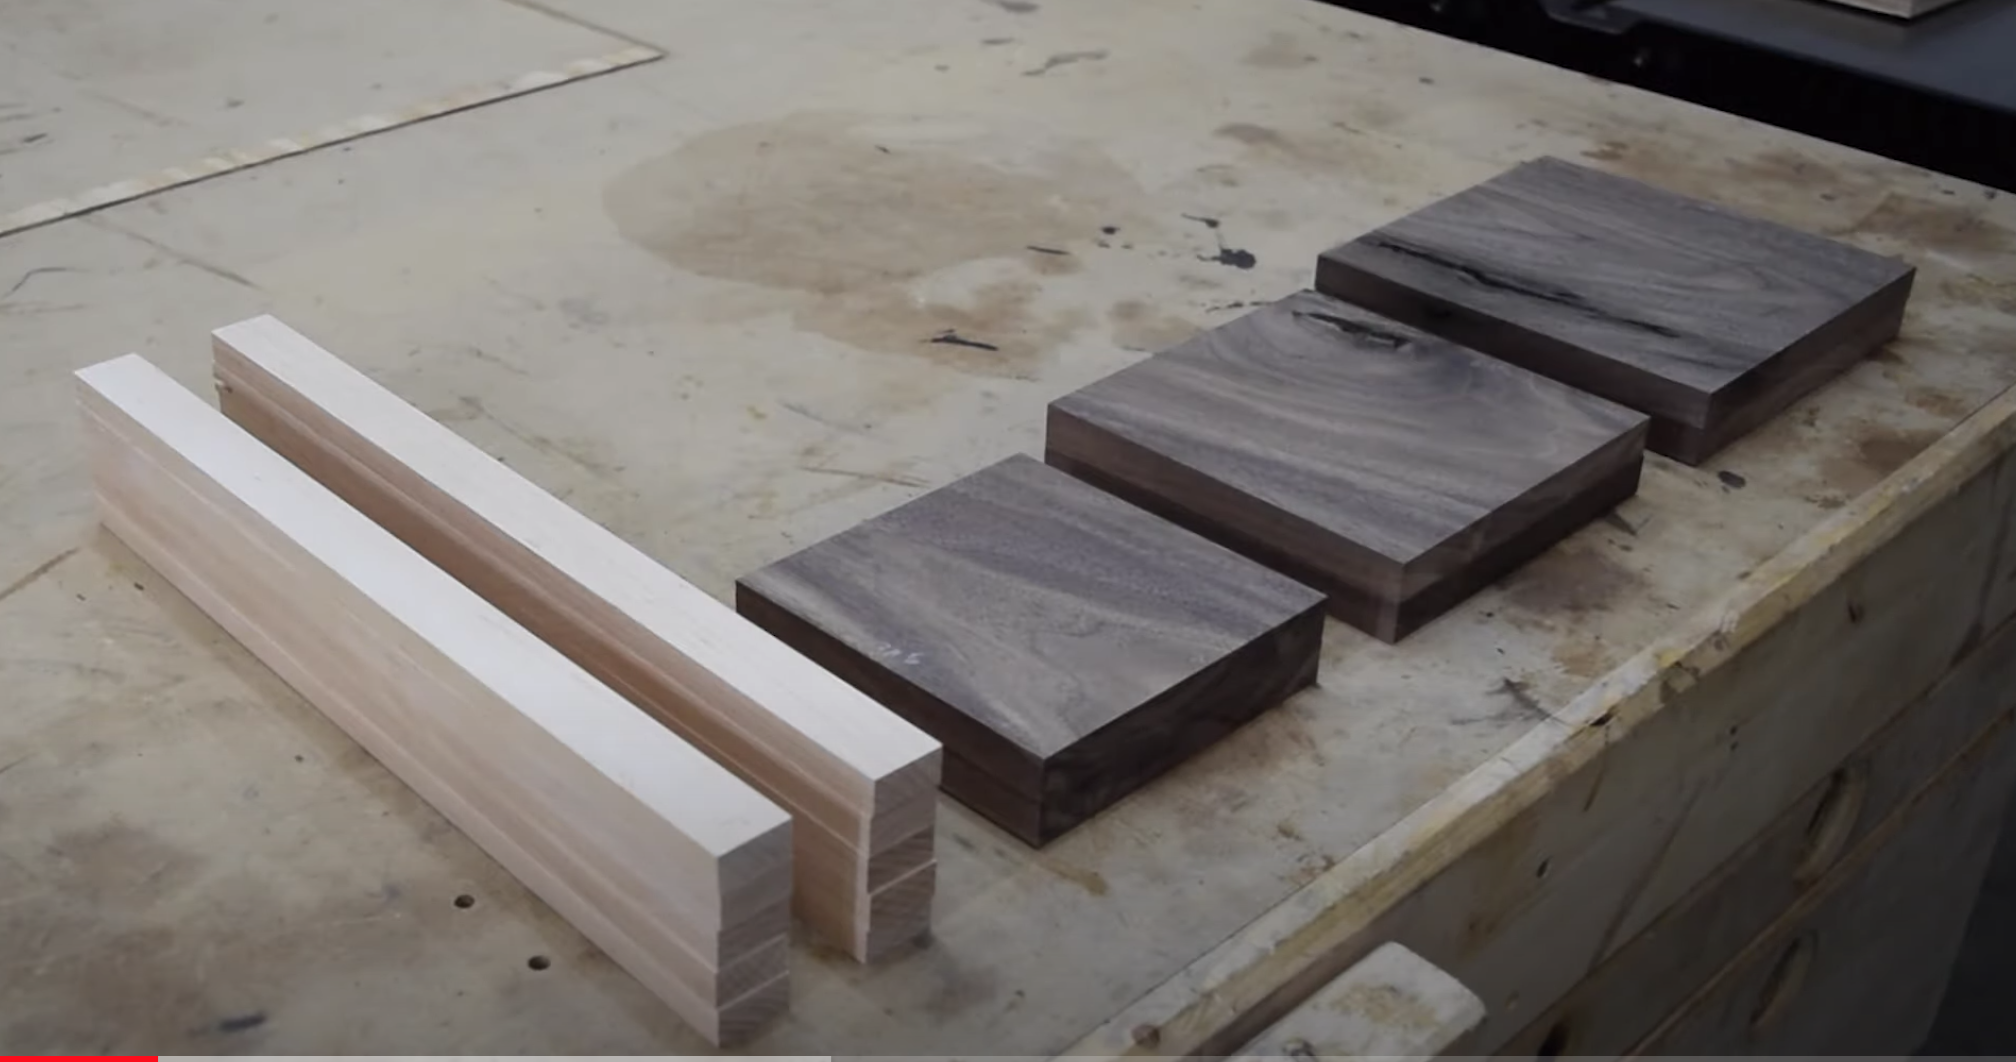
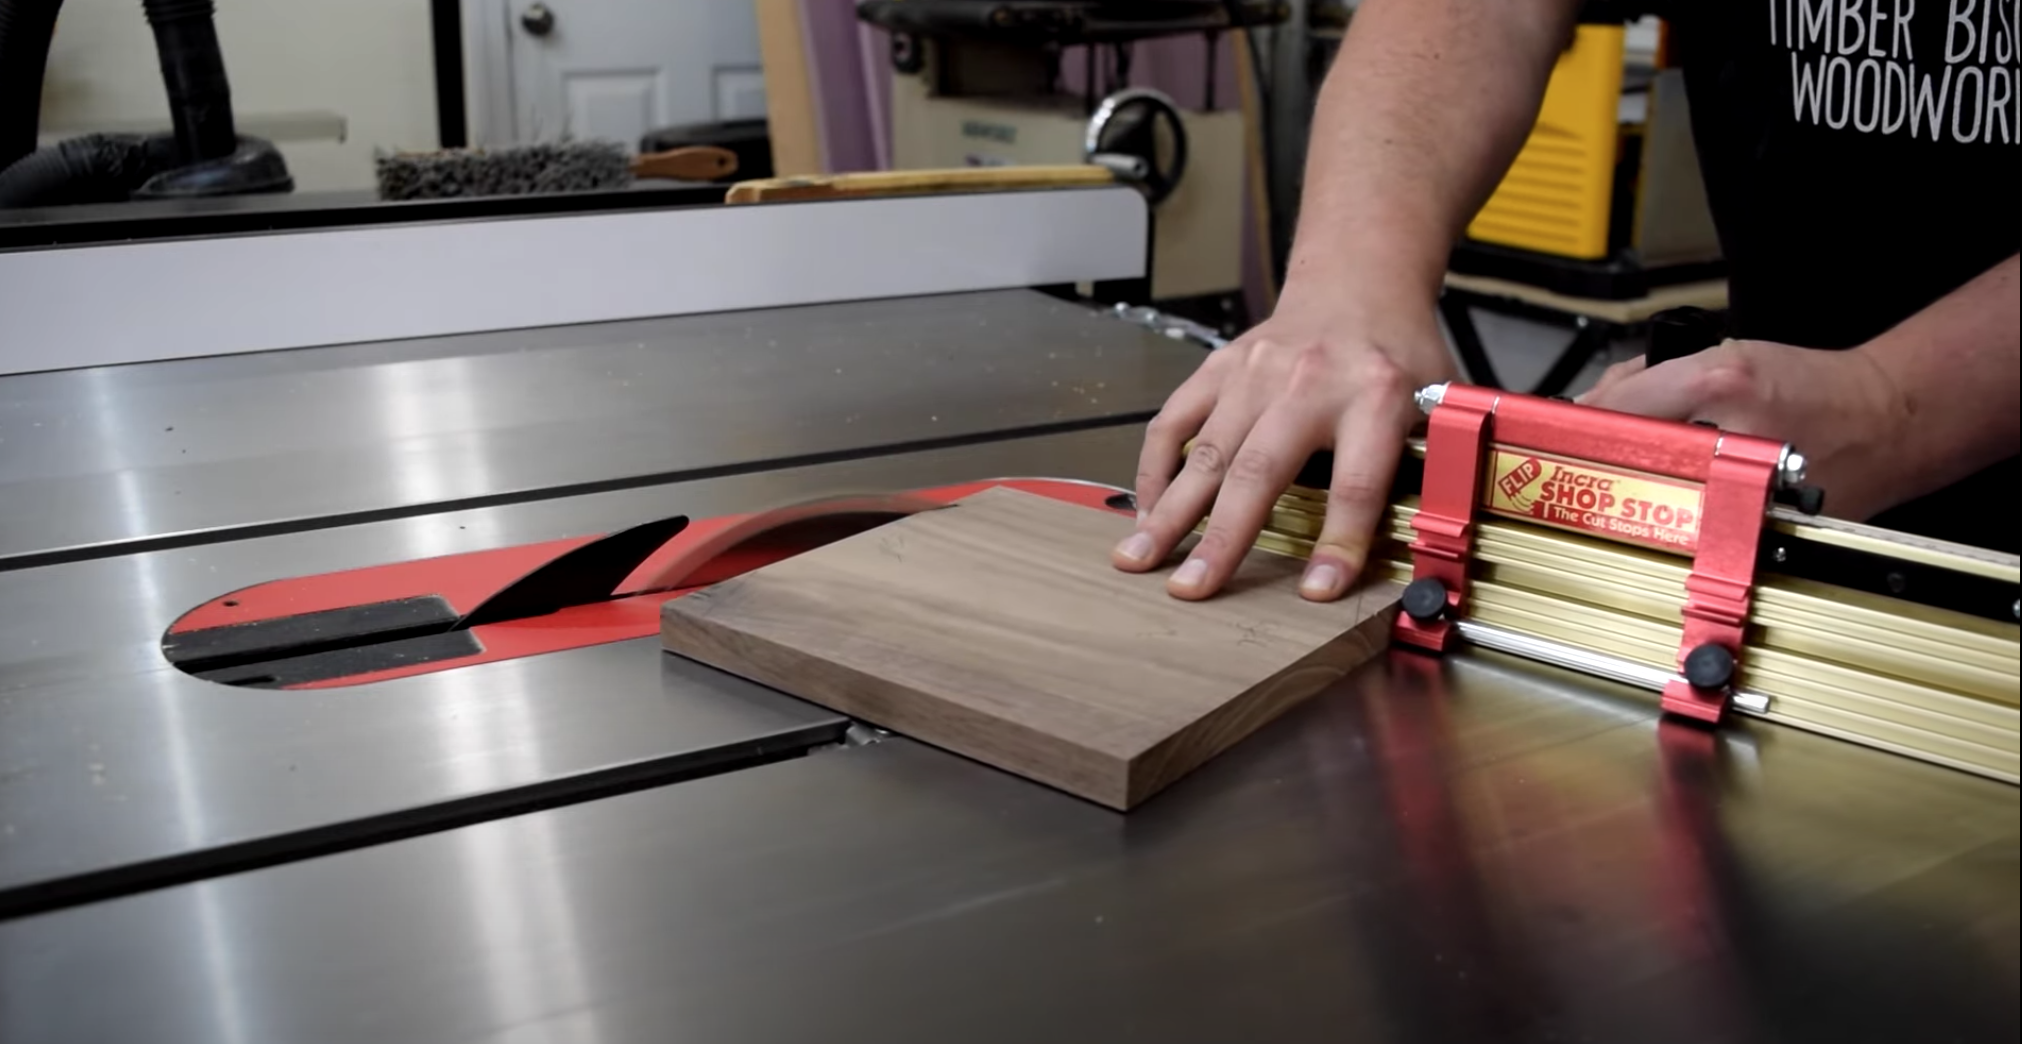
- Rip down boards for the top and bottom. You will need a matching pair for each stand.
- Swap out ripping blade for a crosscut blade.
- Set up a stop block on the cross-cut sled
- Slice out each of the pieces for the top and bottom of the stands (2 for each shape)
- Rounded Square: 5.5" x 5.5"
- Circle: 6.5" x 6.5"
- Octagon: 7.5" x 7.5"
You should now have all of your pieces cut out!
Cutting Out the Tops and Bottoms
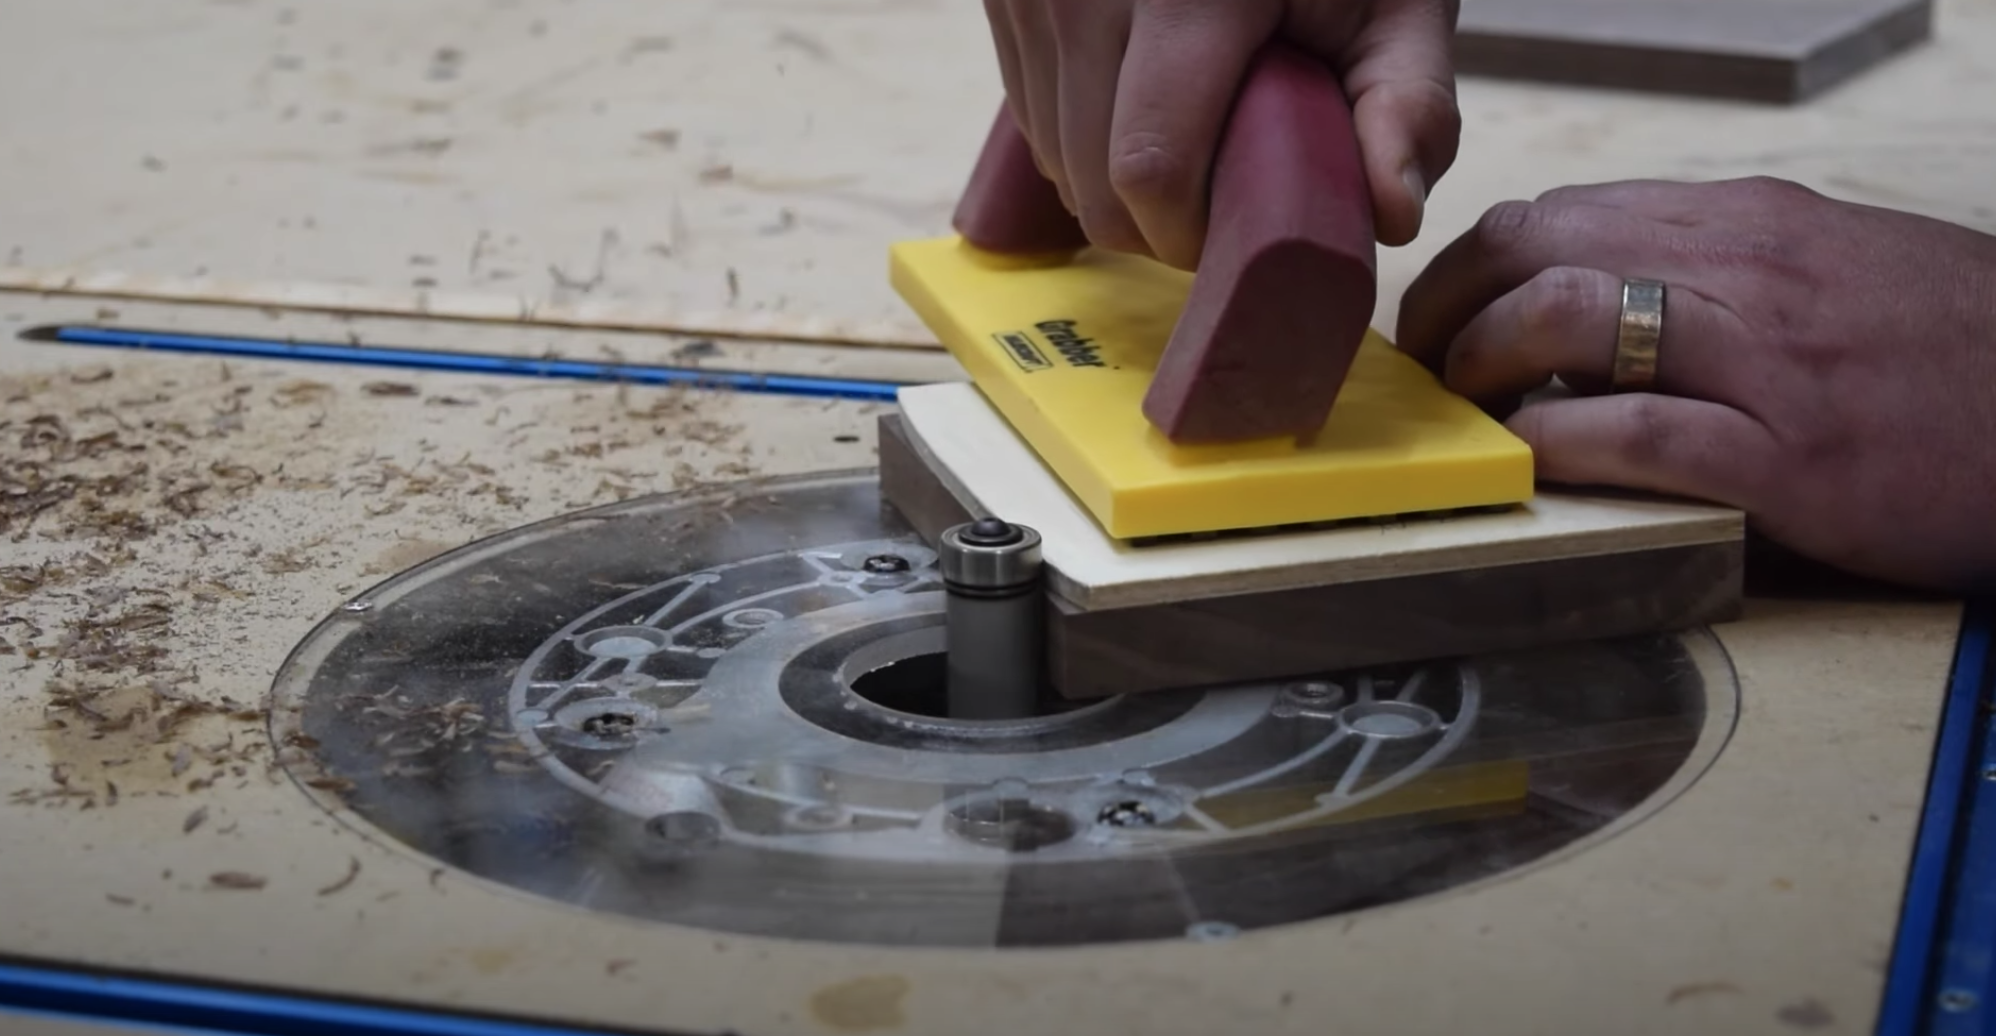

Rounded Square Shape
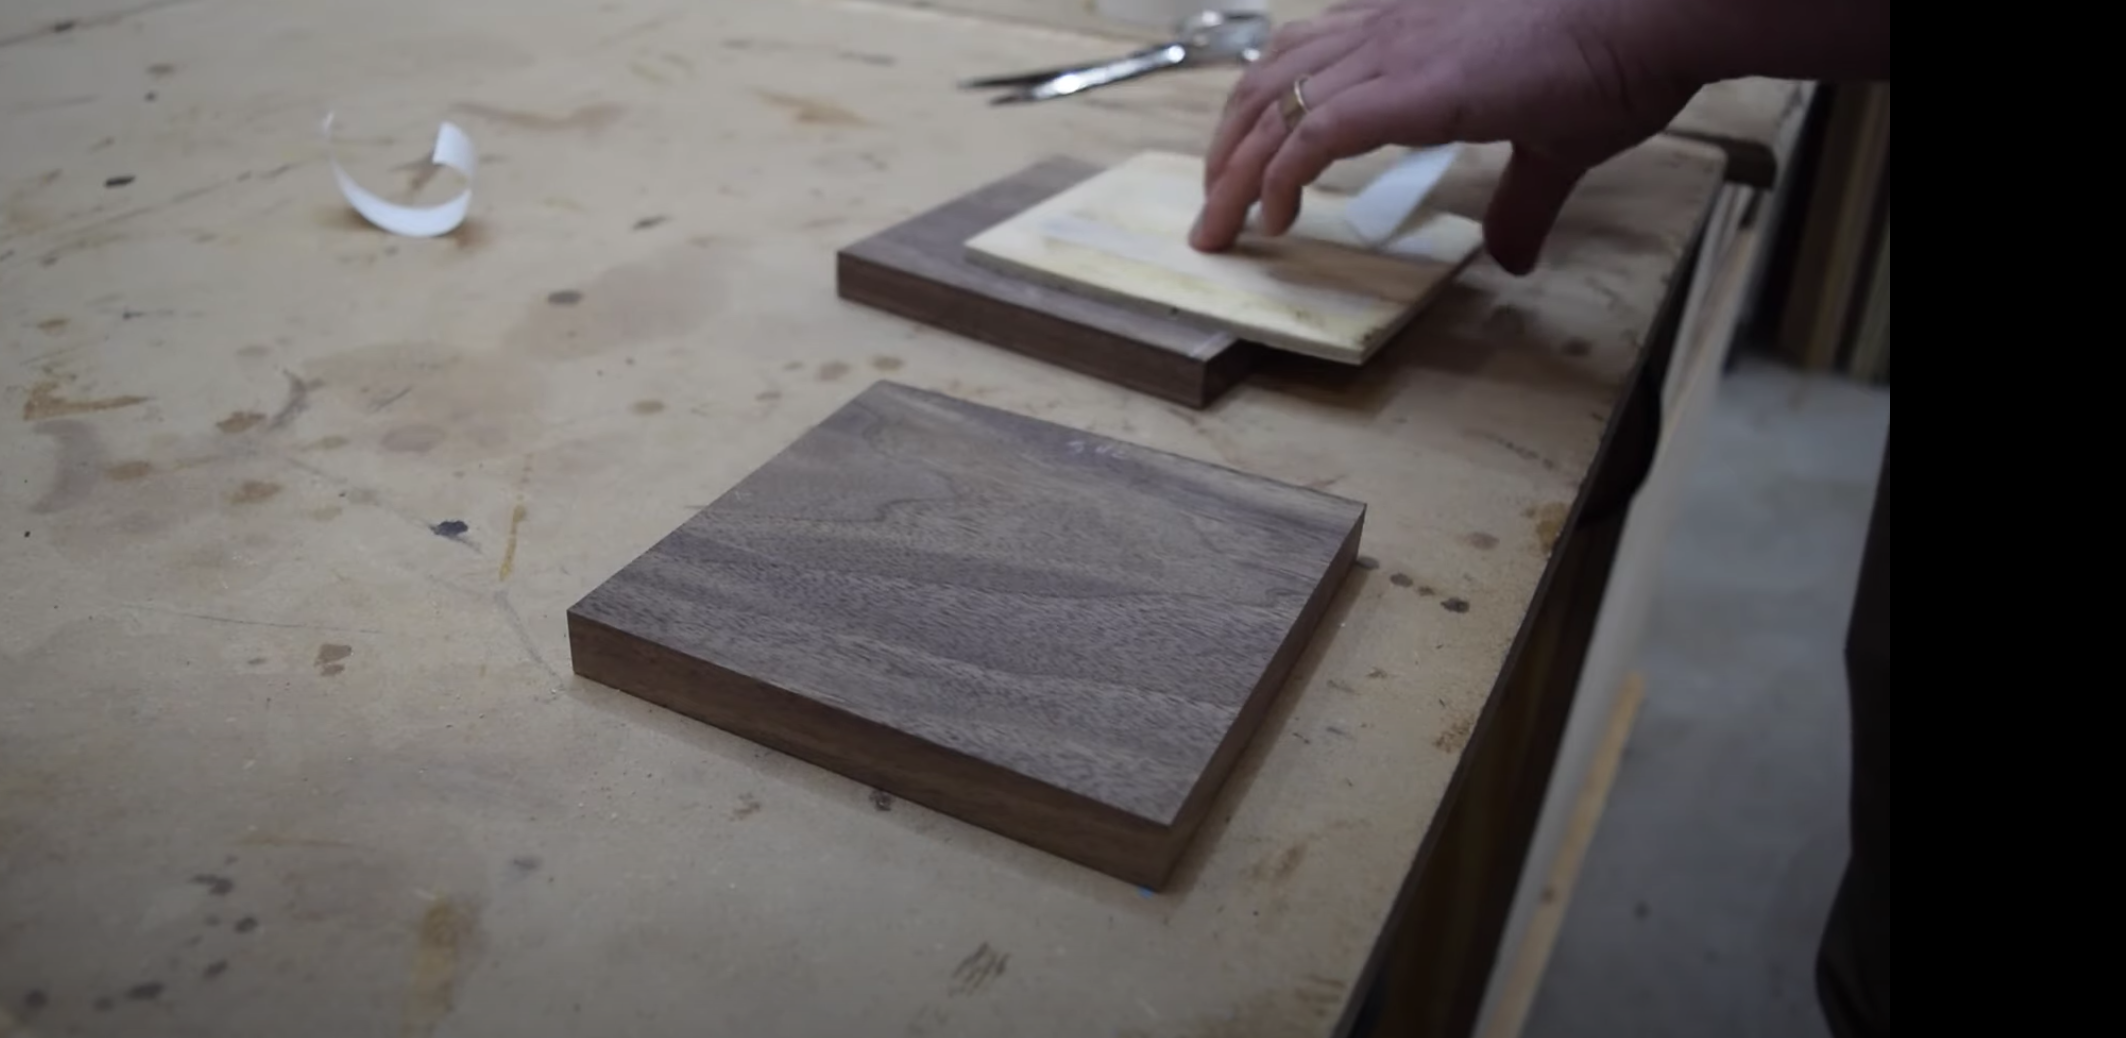
- Attach the finished templates with double sided tape to the top and bottom wood slices.
- Use a flush trim bit at the router table to cut in the curve
- Repeat these steps to make the bottom
Circle Shape
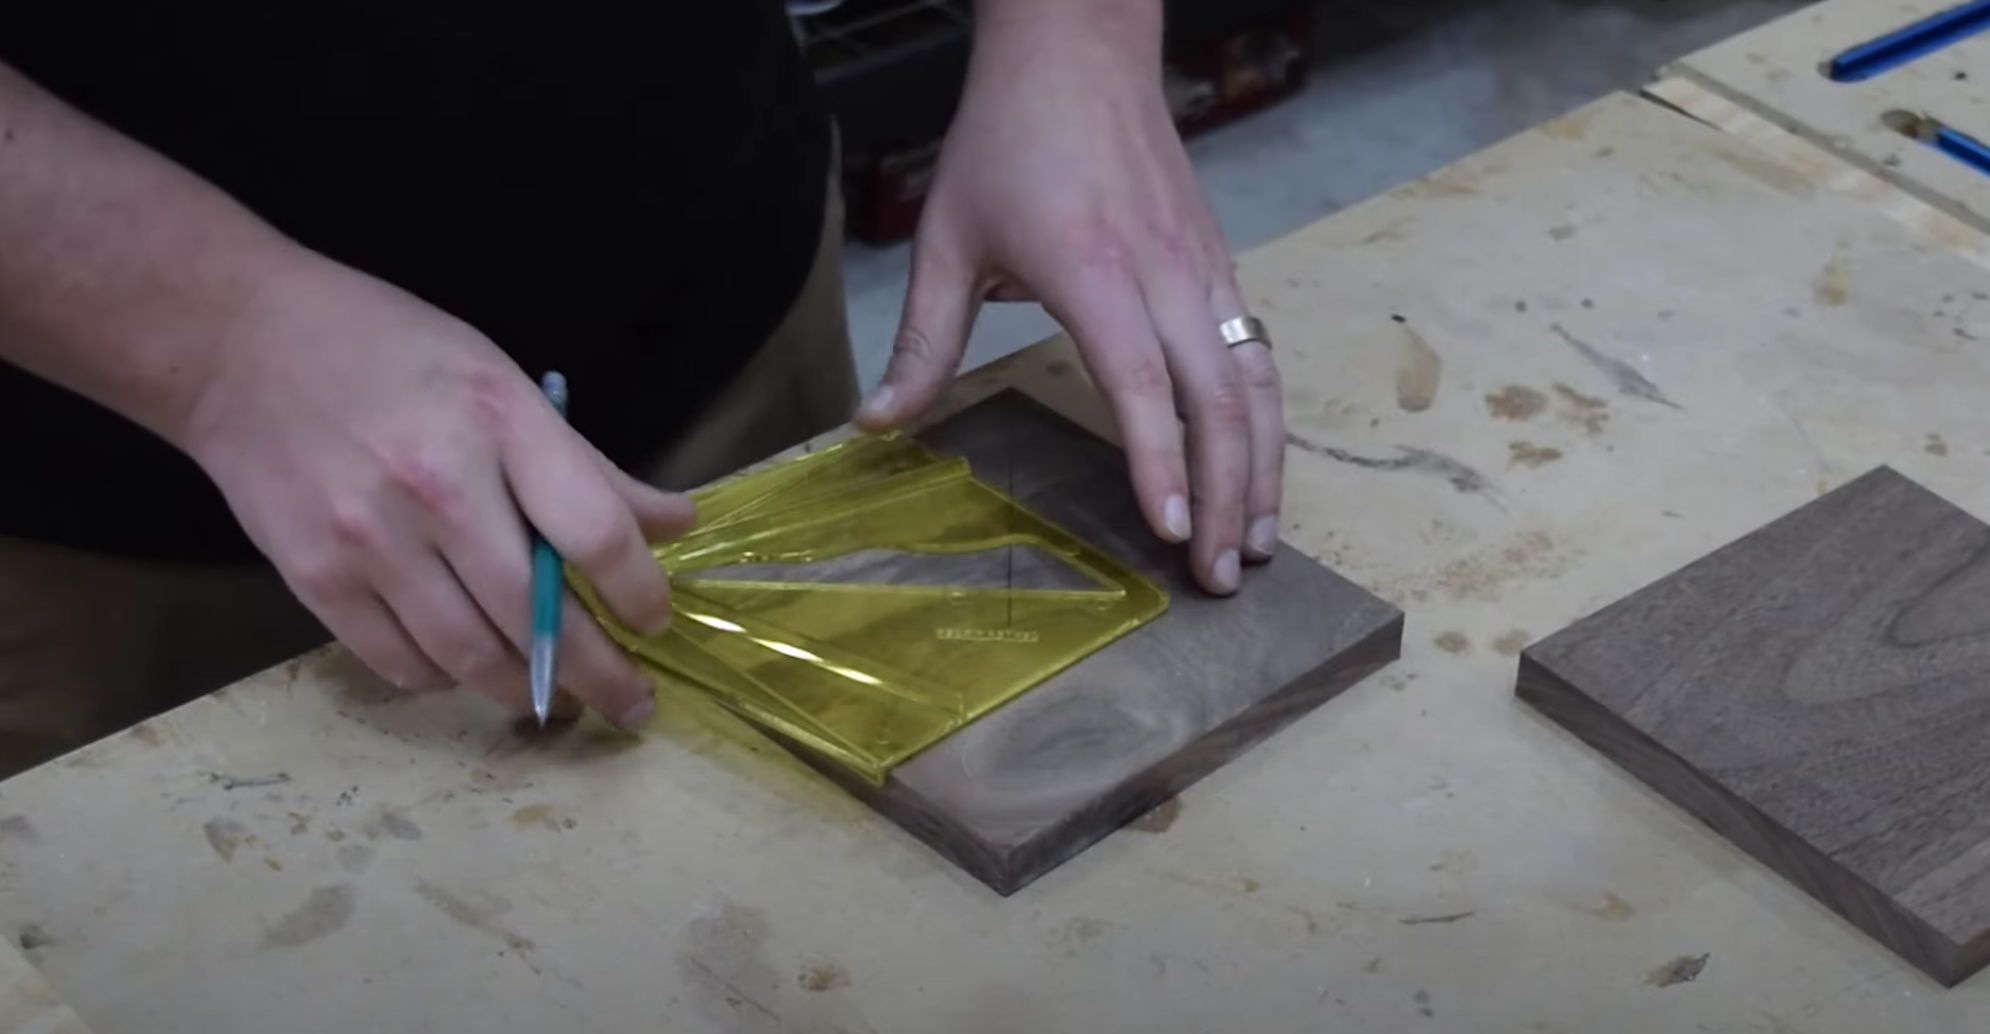
- Use a center finder to mark the middle of the wood slice
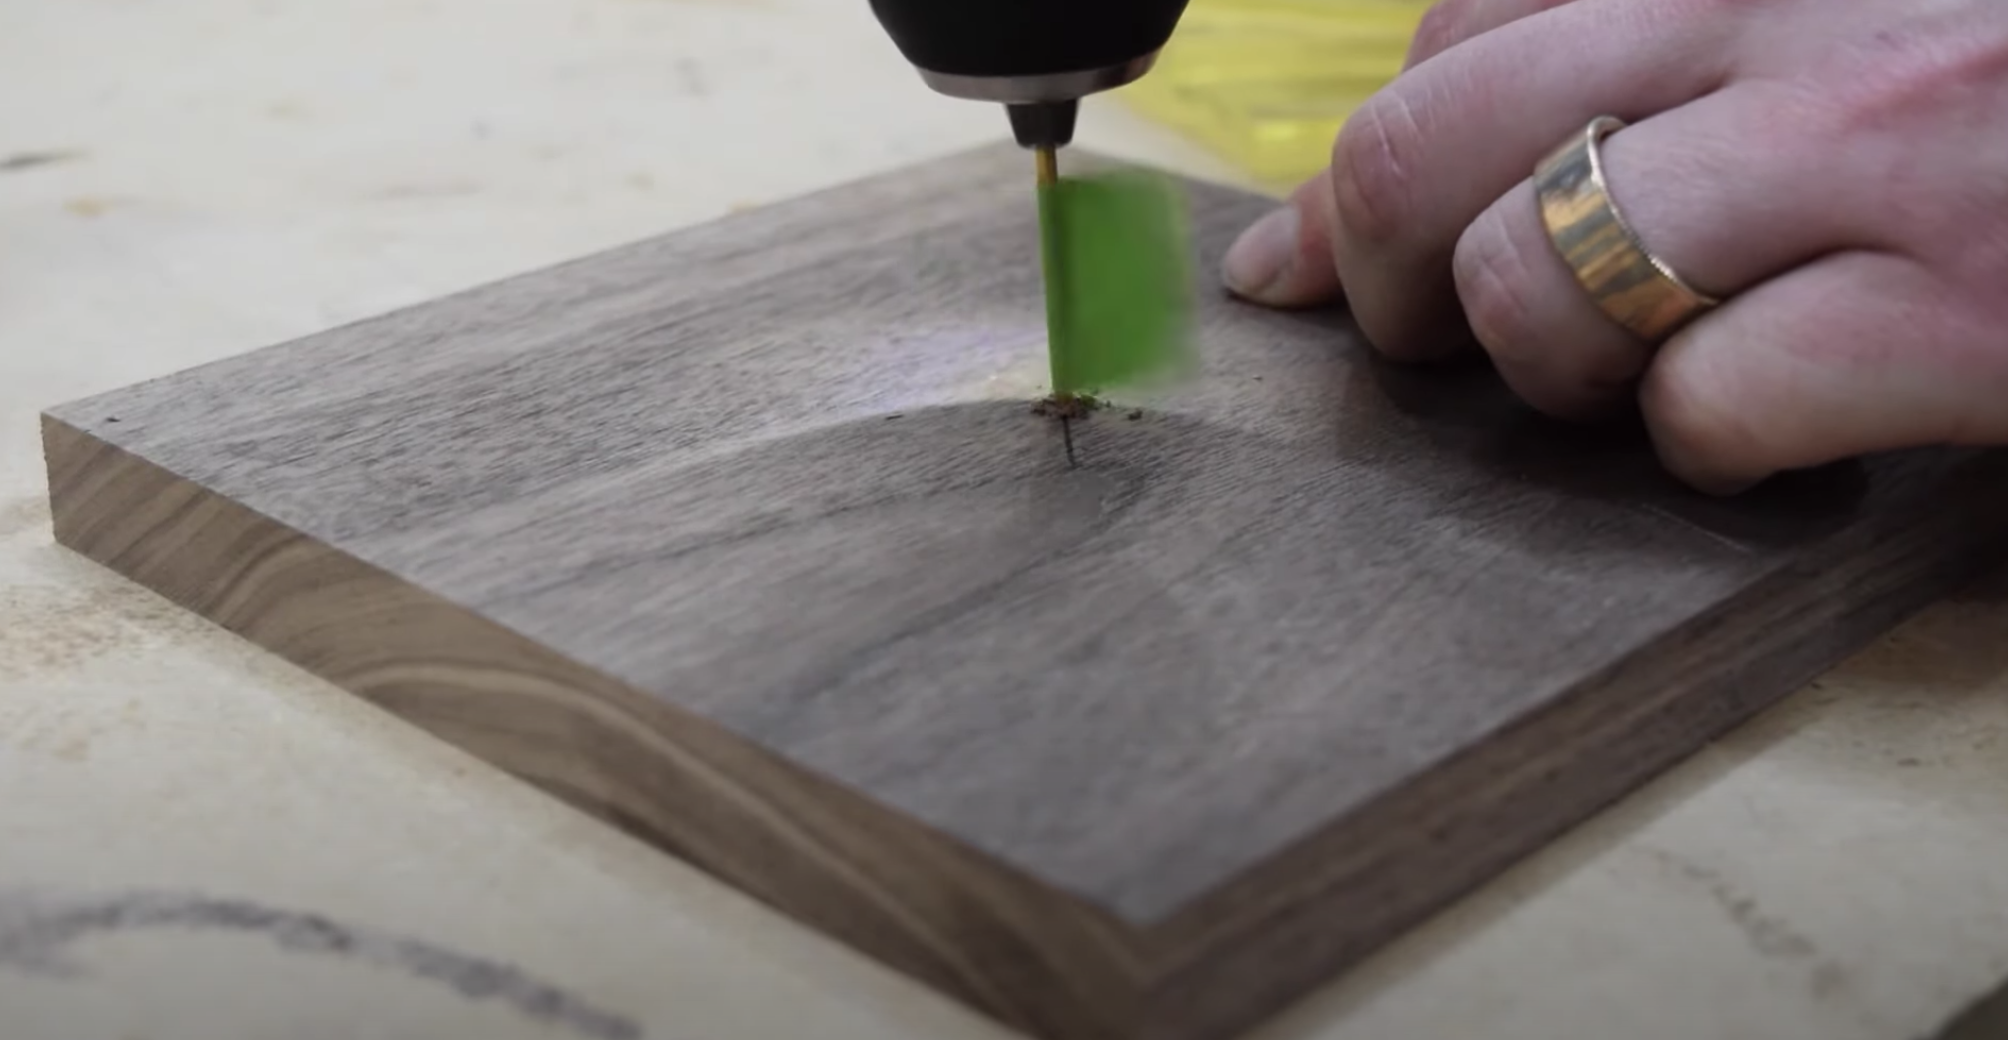
- Drill a small pilot hole to hold the workpiece in place in a circle cutting jig.
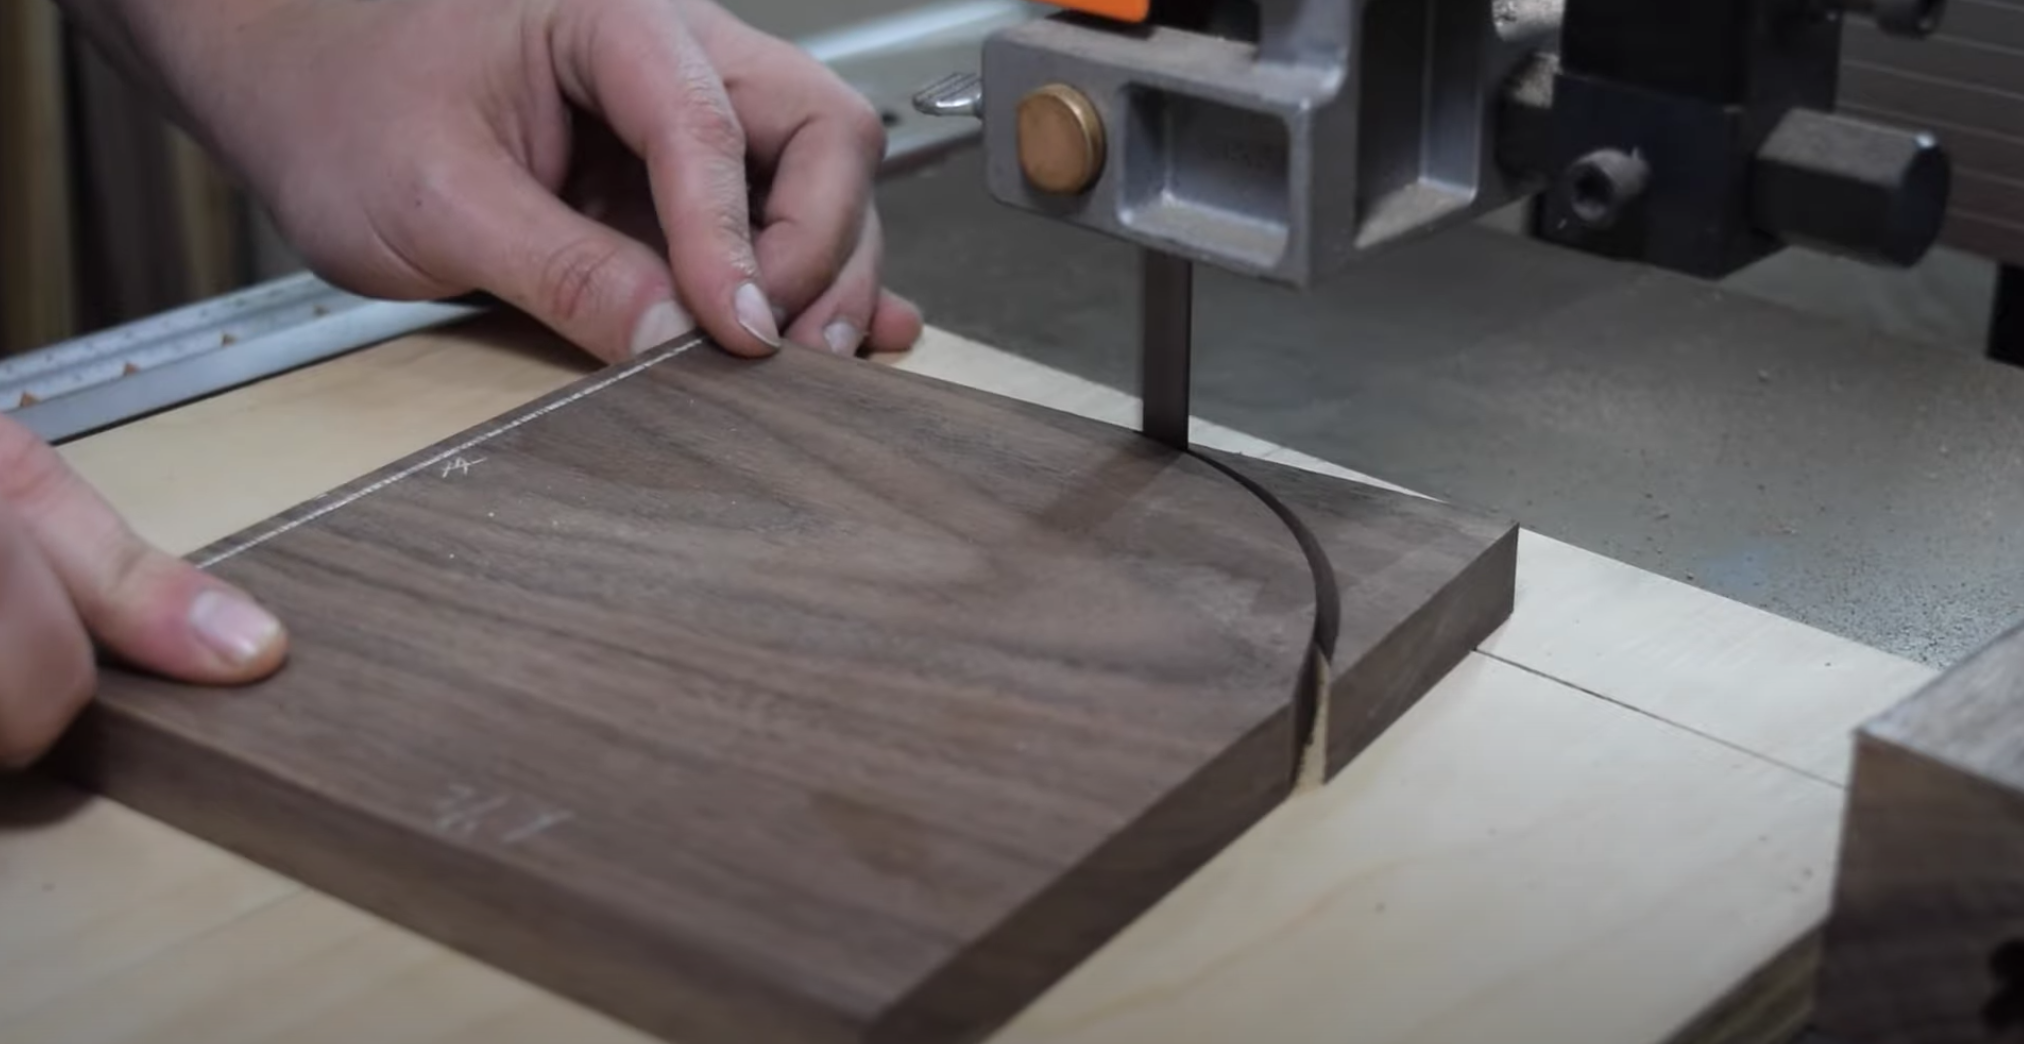
- Attach the wood slice to the jig and cut the circle at the bandsaw.
- You can use a jigsaw here but be sure to clean up the circle with a sanding block
- Repeat these steps to make the bottom
Octagon Shape
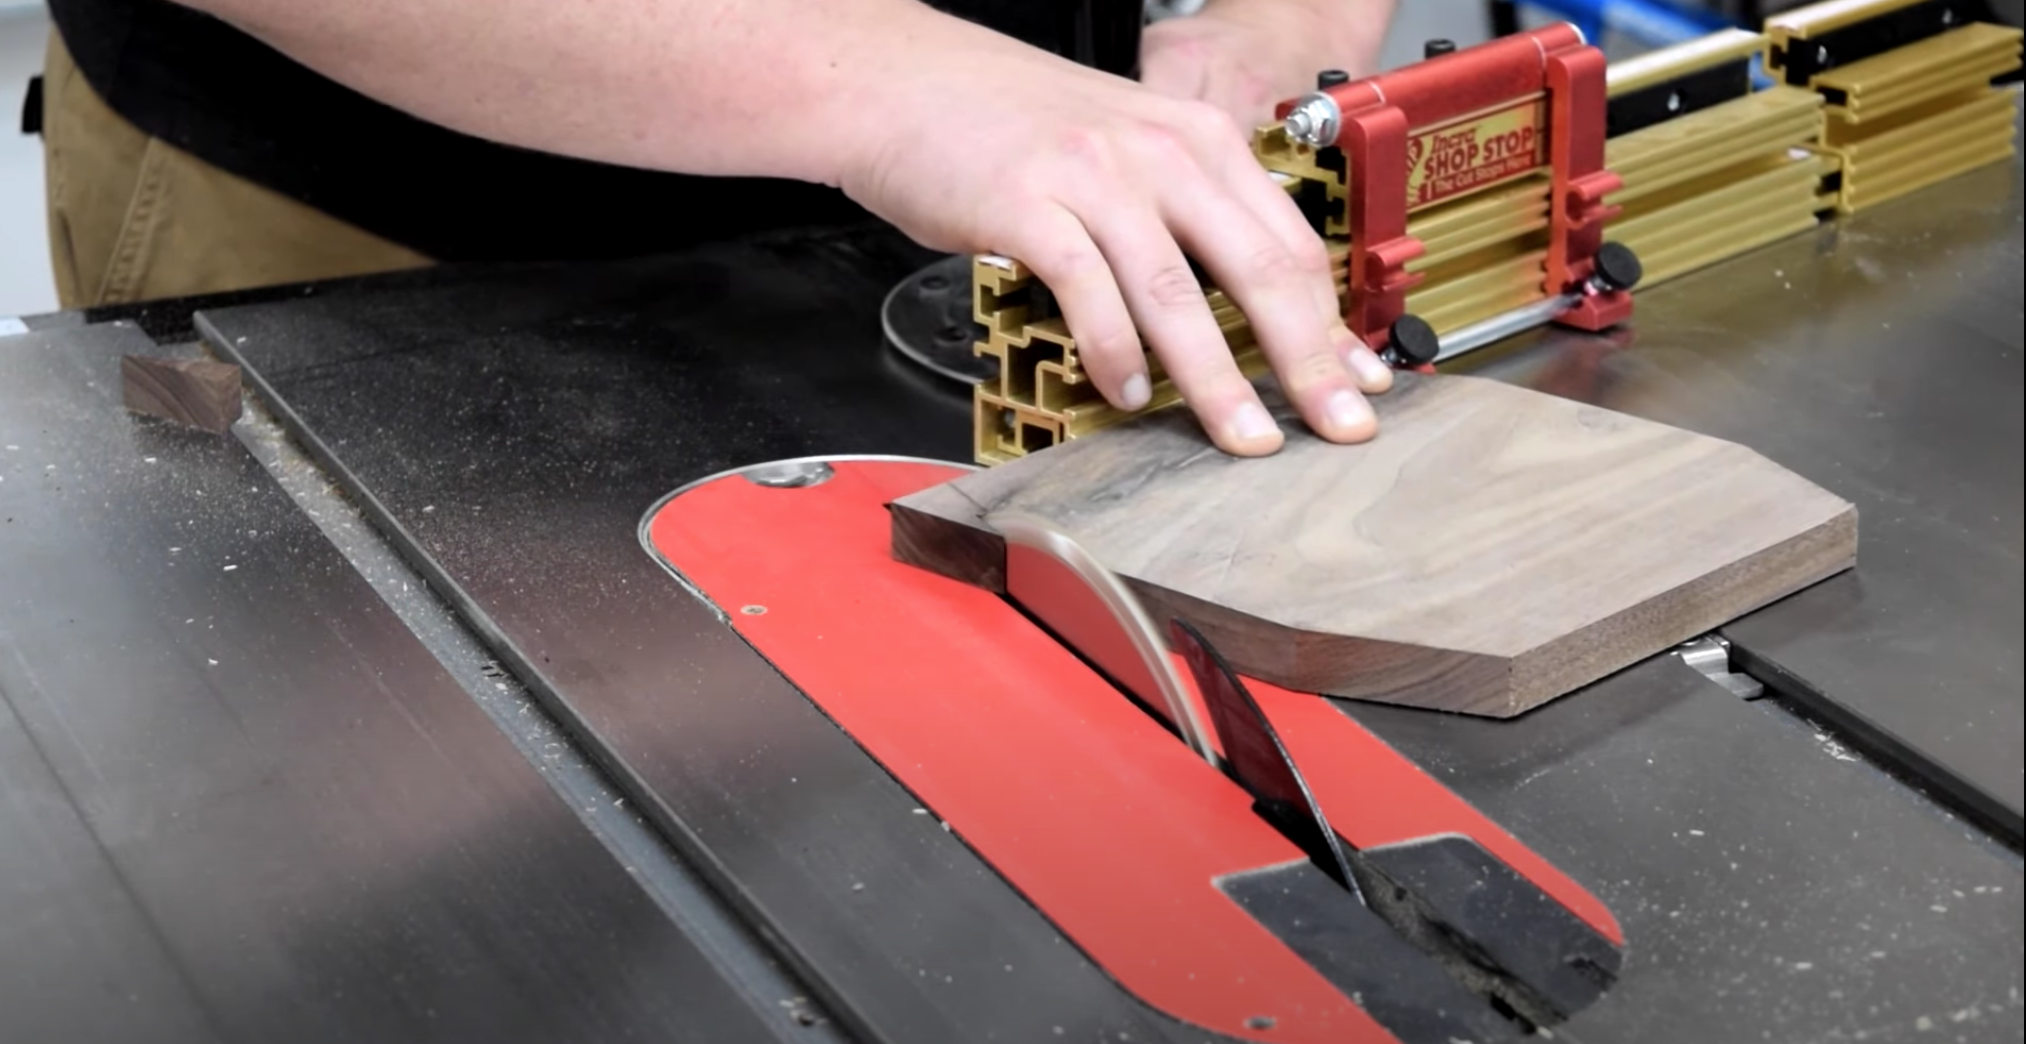
- Trace the templates to the top and bottom wood slices.
- Use a miter gauge and a stop to cut the first two angles.
- Cut outside the mark for the remaining two and angles, then slowly sneak up to the line.
- Take your time here and try not to lose your position on the miter gauge
Cutting the Through Mortises
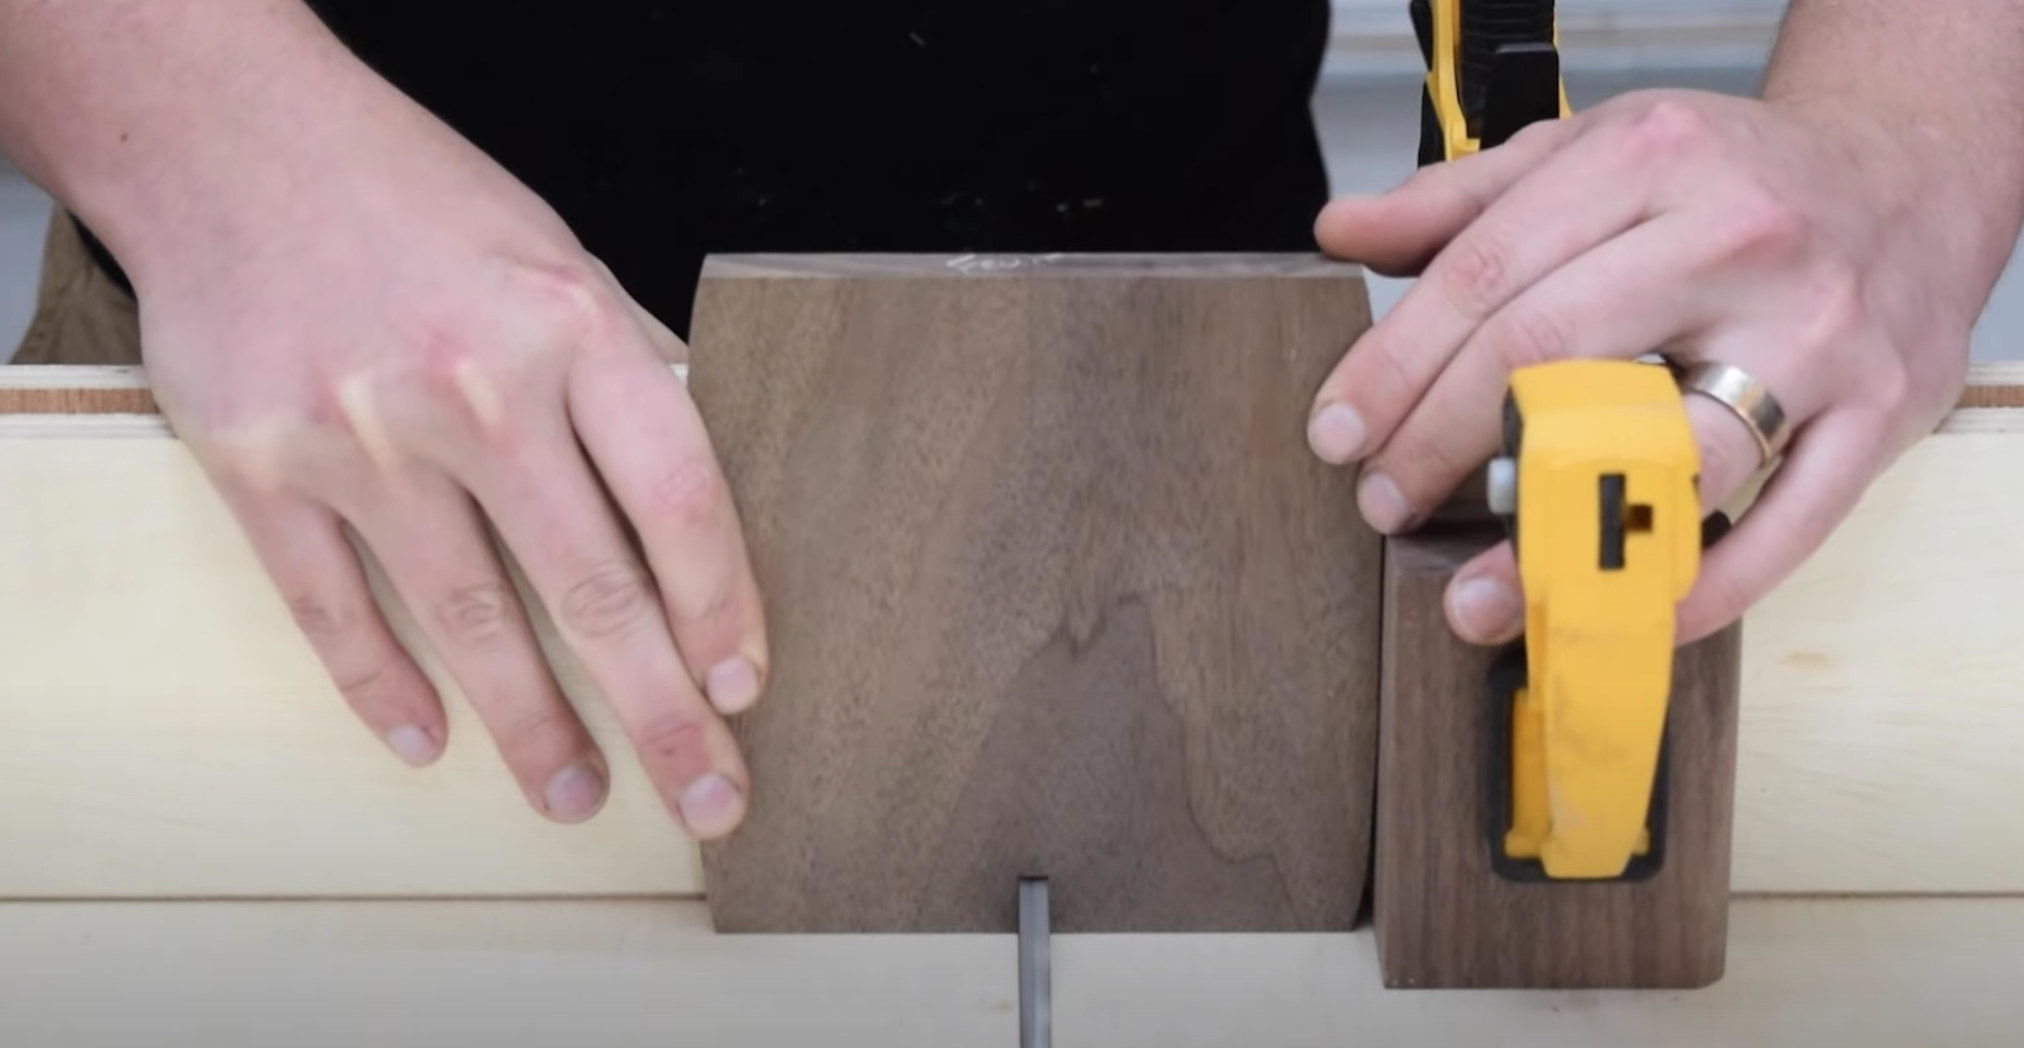
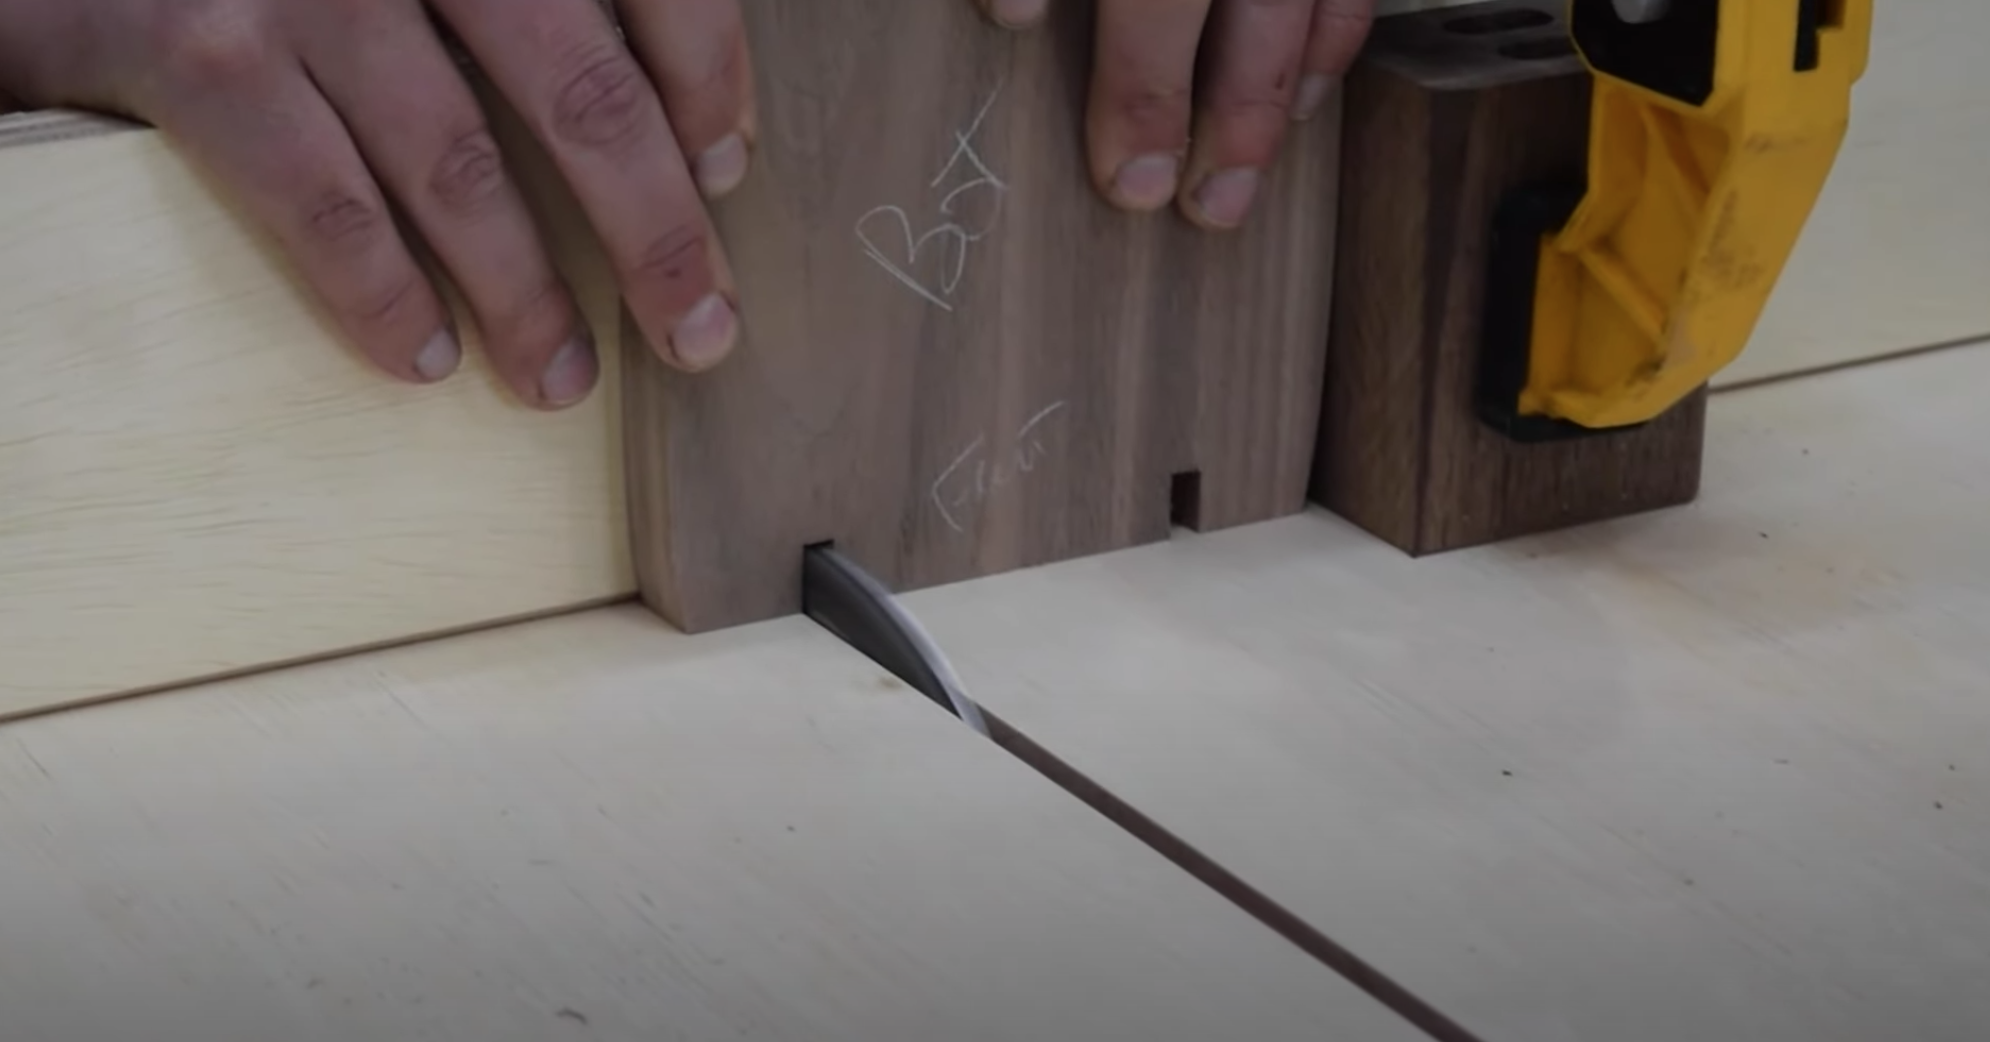
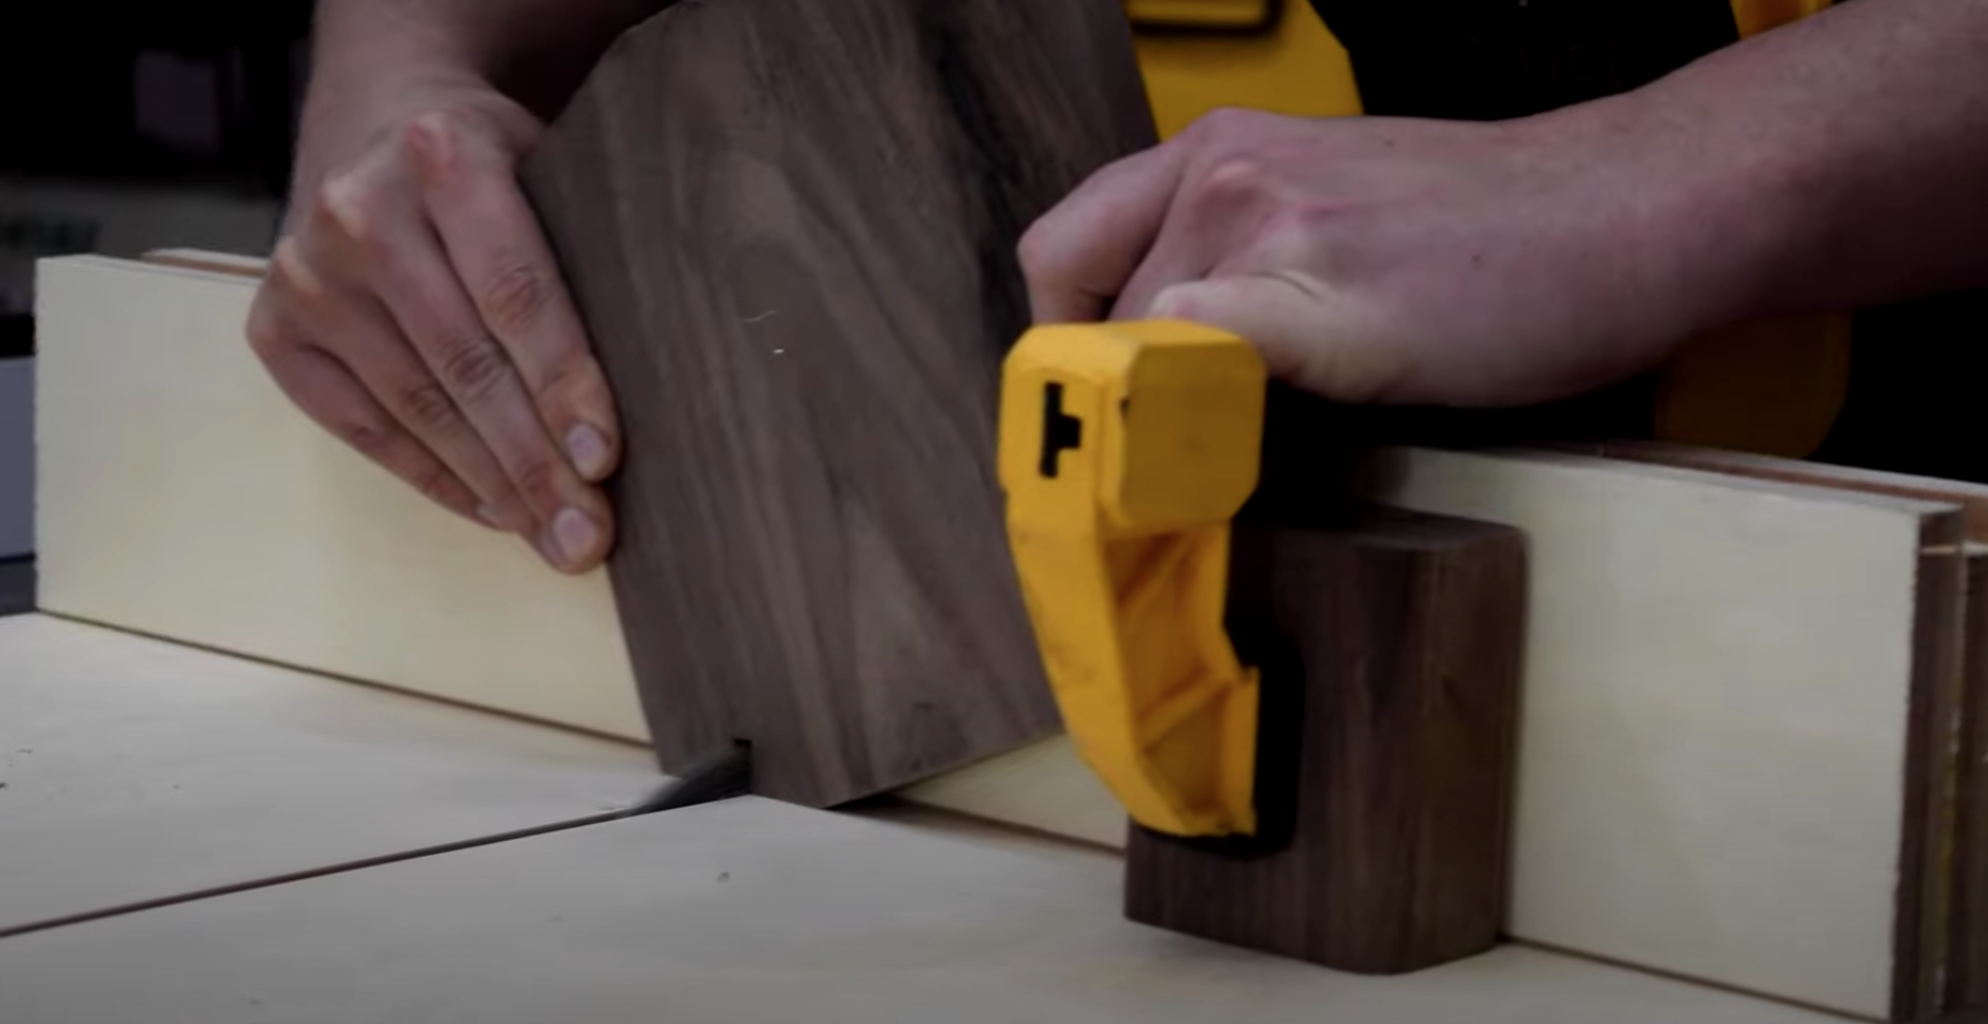
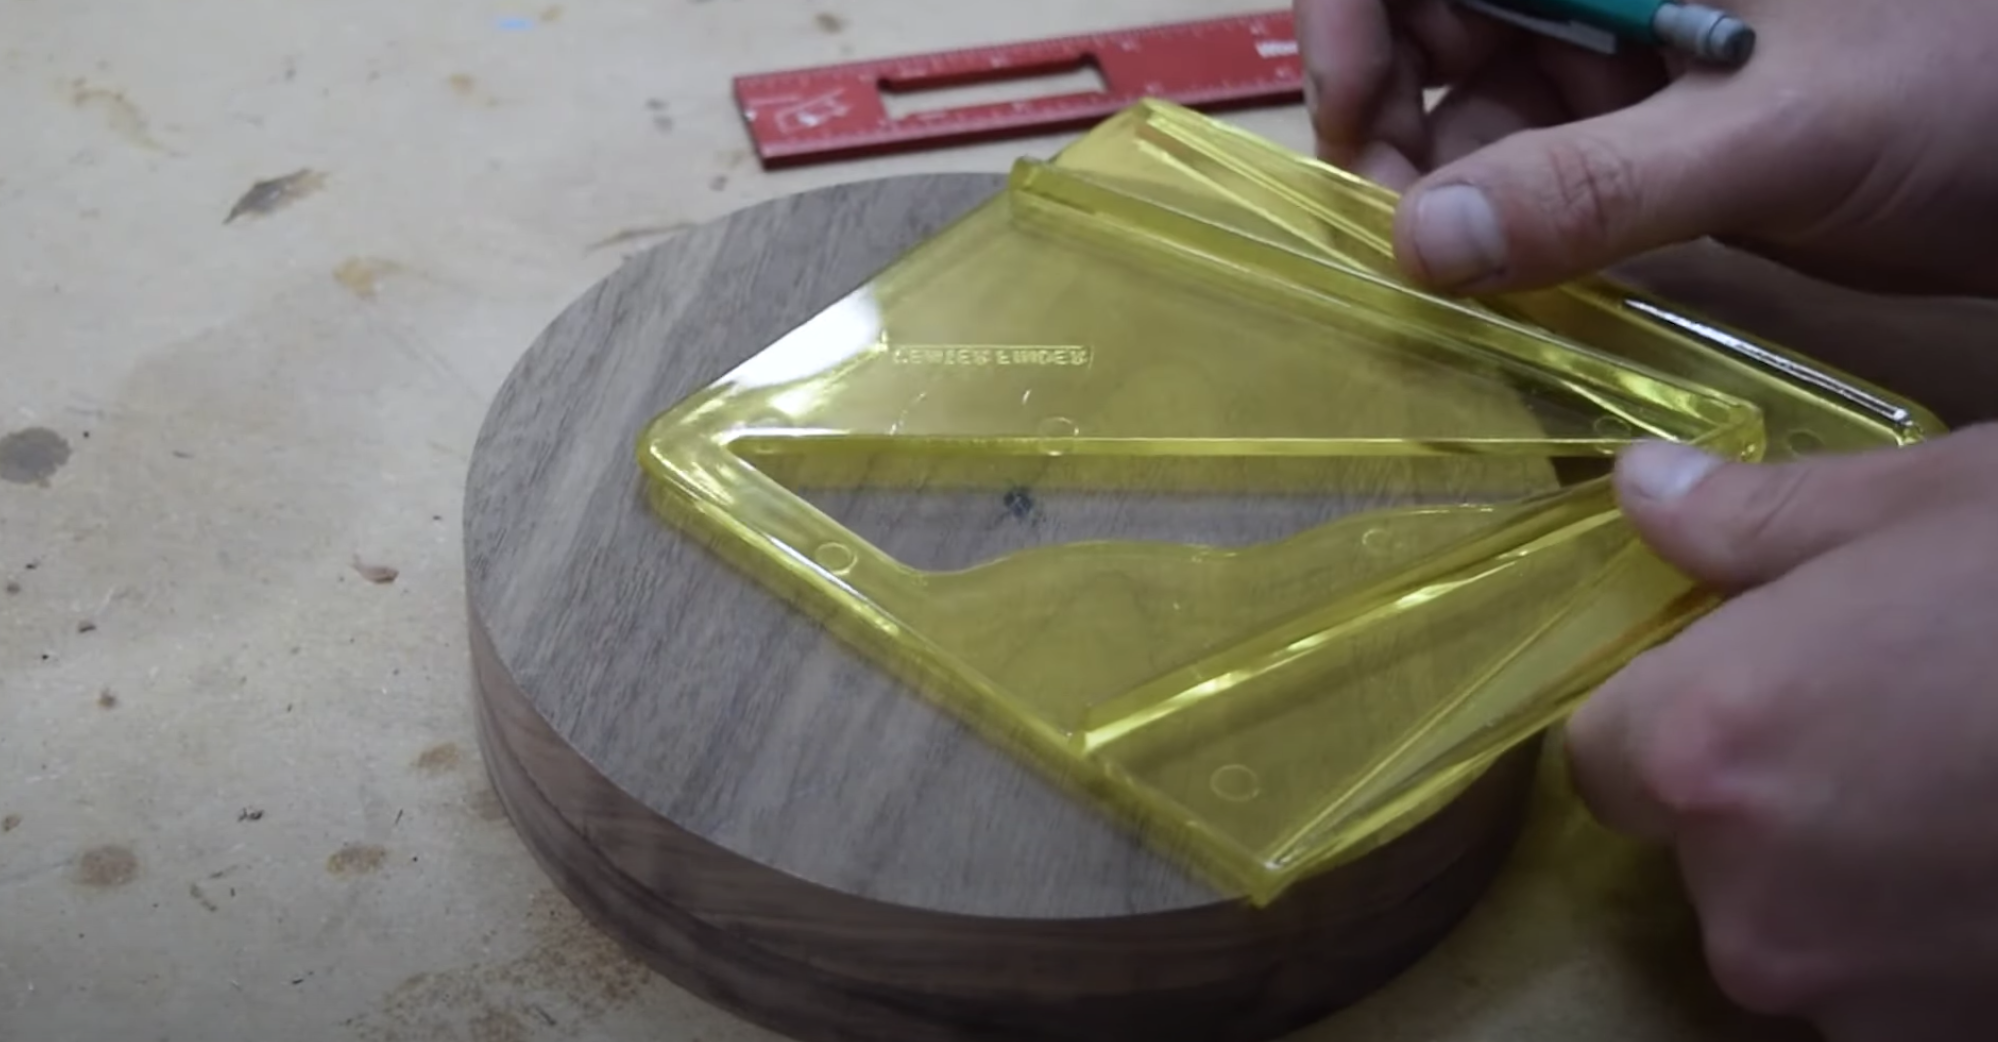
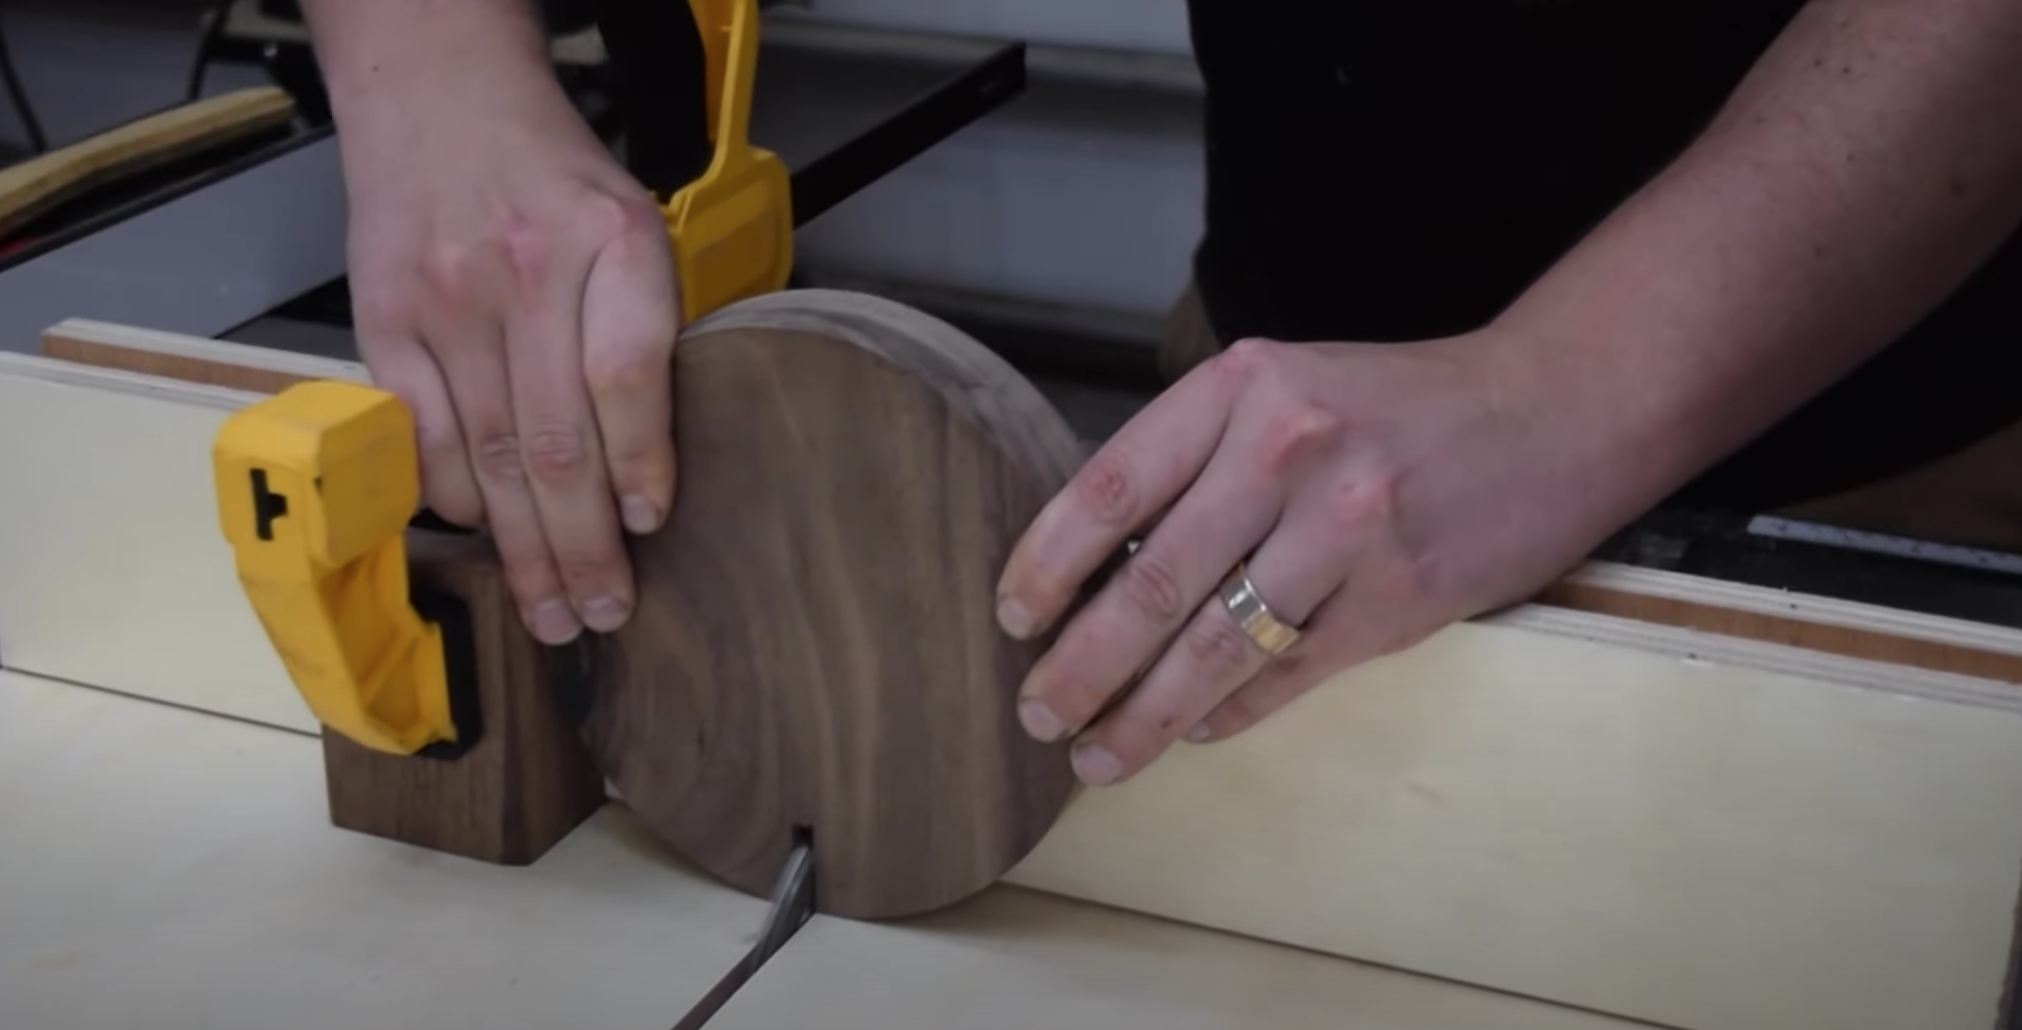
Refer to the plans for placement of the through mortises.
Rounded Square and Octagon Shape
- Install a 1/4 inch dado stack at the table saw.
- Use the templates to set up a stop block
- Test cut the templates first before making cuts into the actual tops and bottoms of the stands
- Cut the mortises using the table saw.
Circle Shape
- Mark out the cuts for the circle wood pieces
- The main difference here was the height of the cut. I also stuck the two circles together and cut them in both a single pass to ensure the cuts stayed aligned.
-
Cut the mortises using the table saw.
Downloads
Cutting the Tenon Pieces
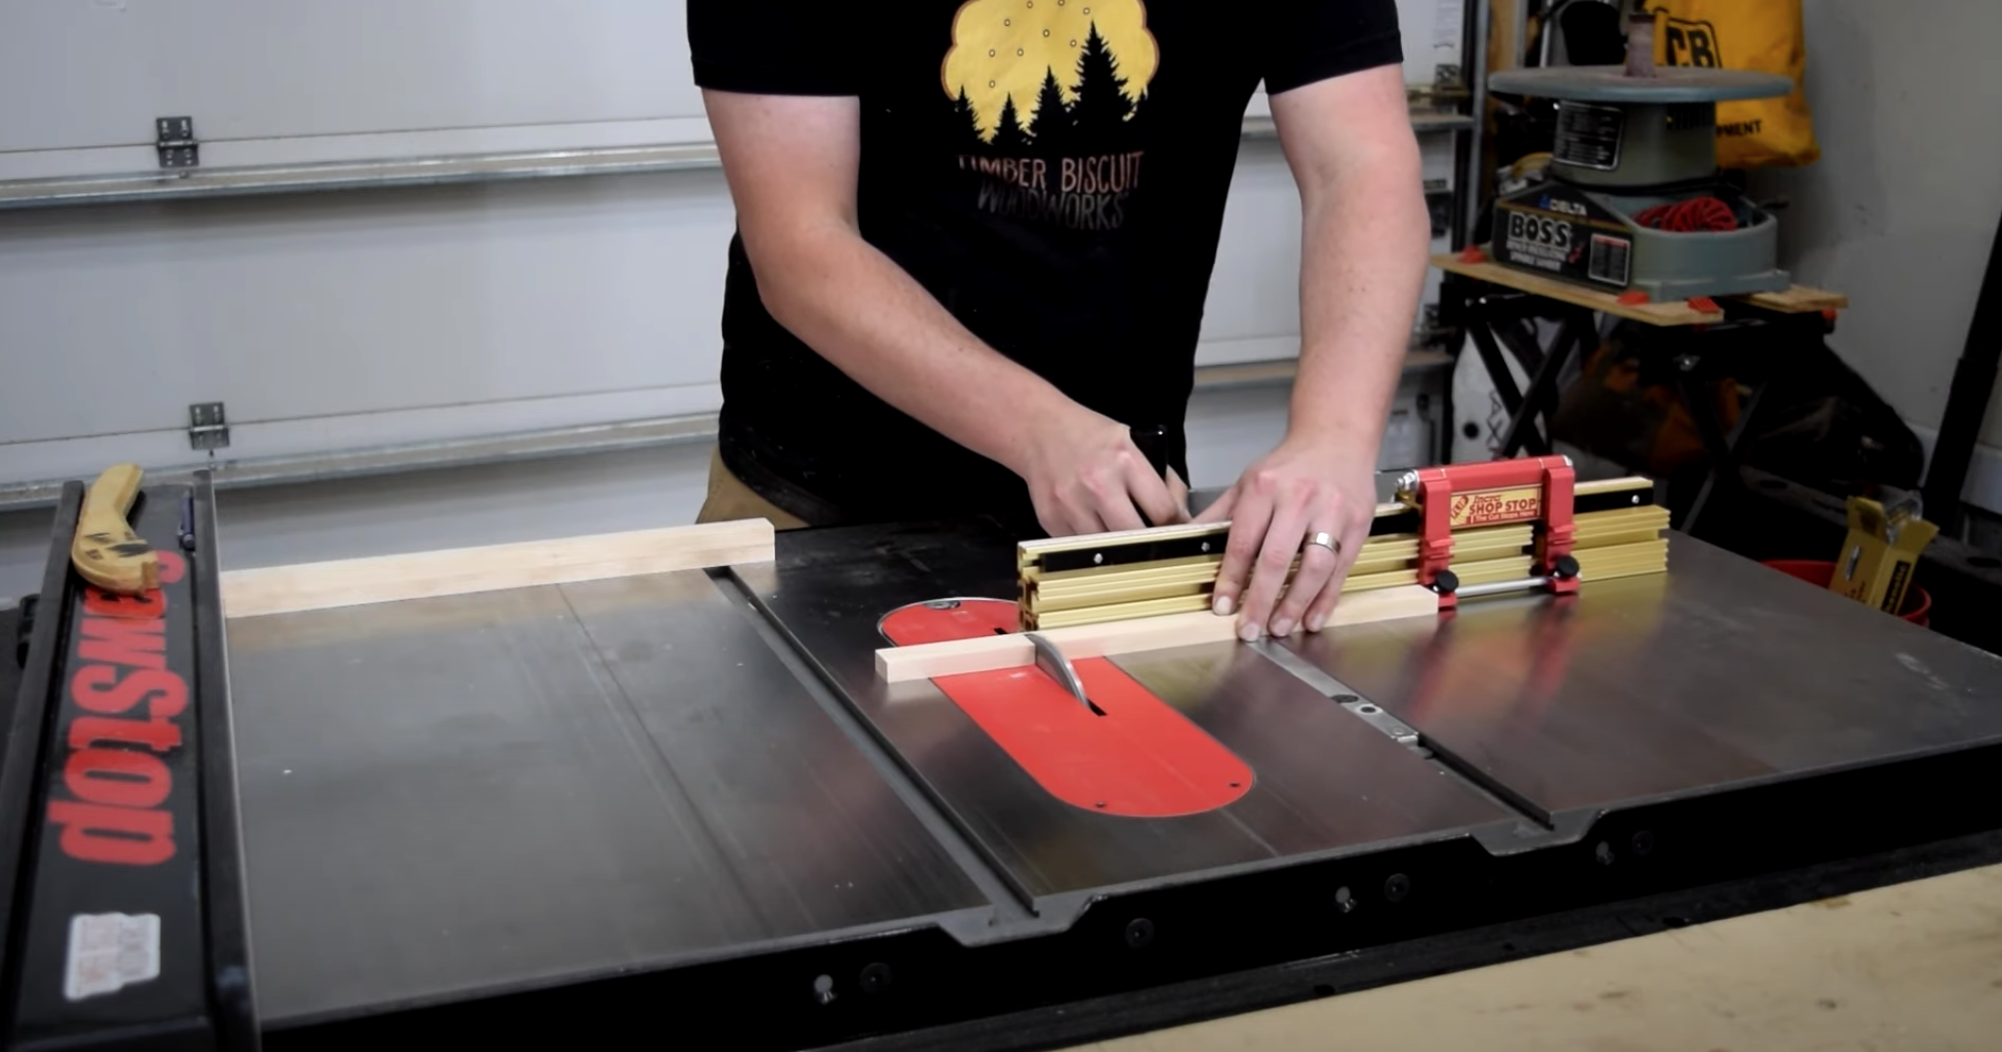
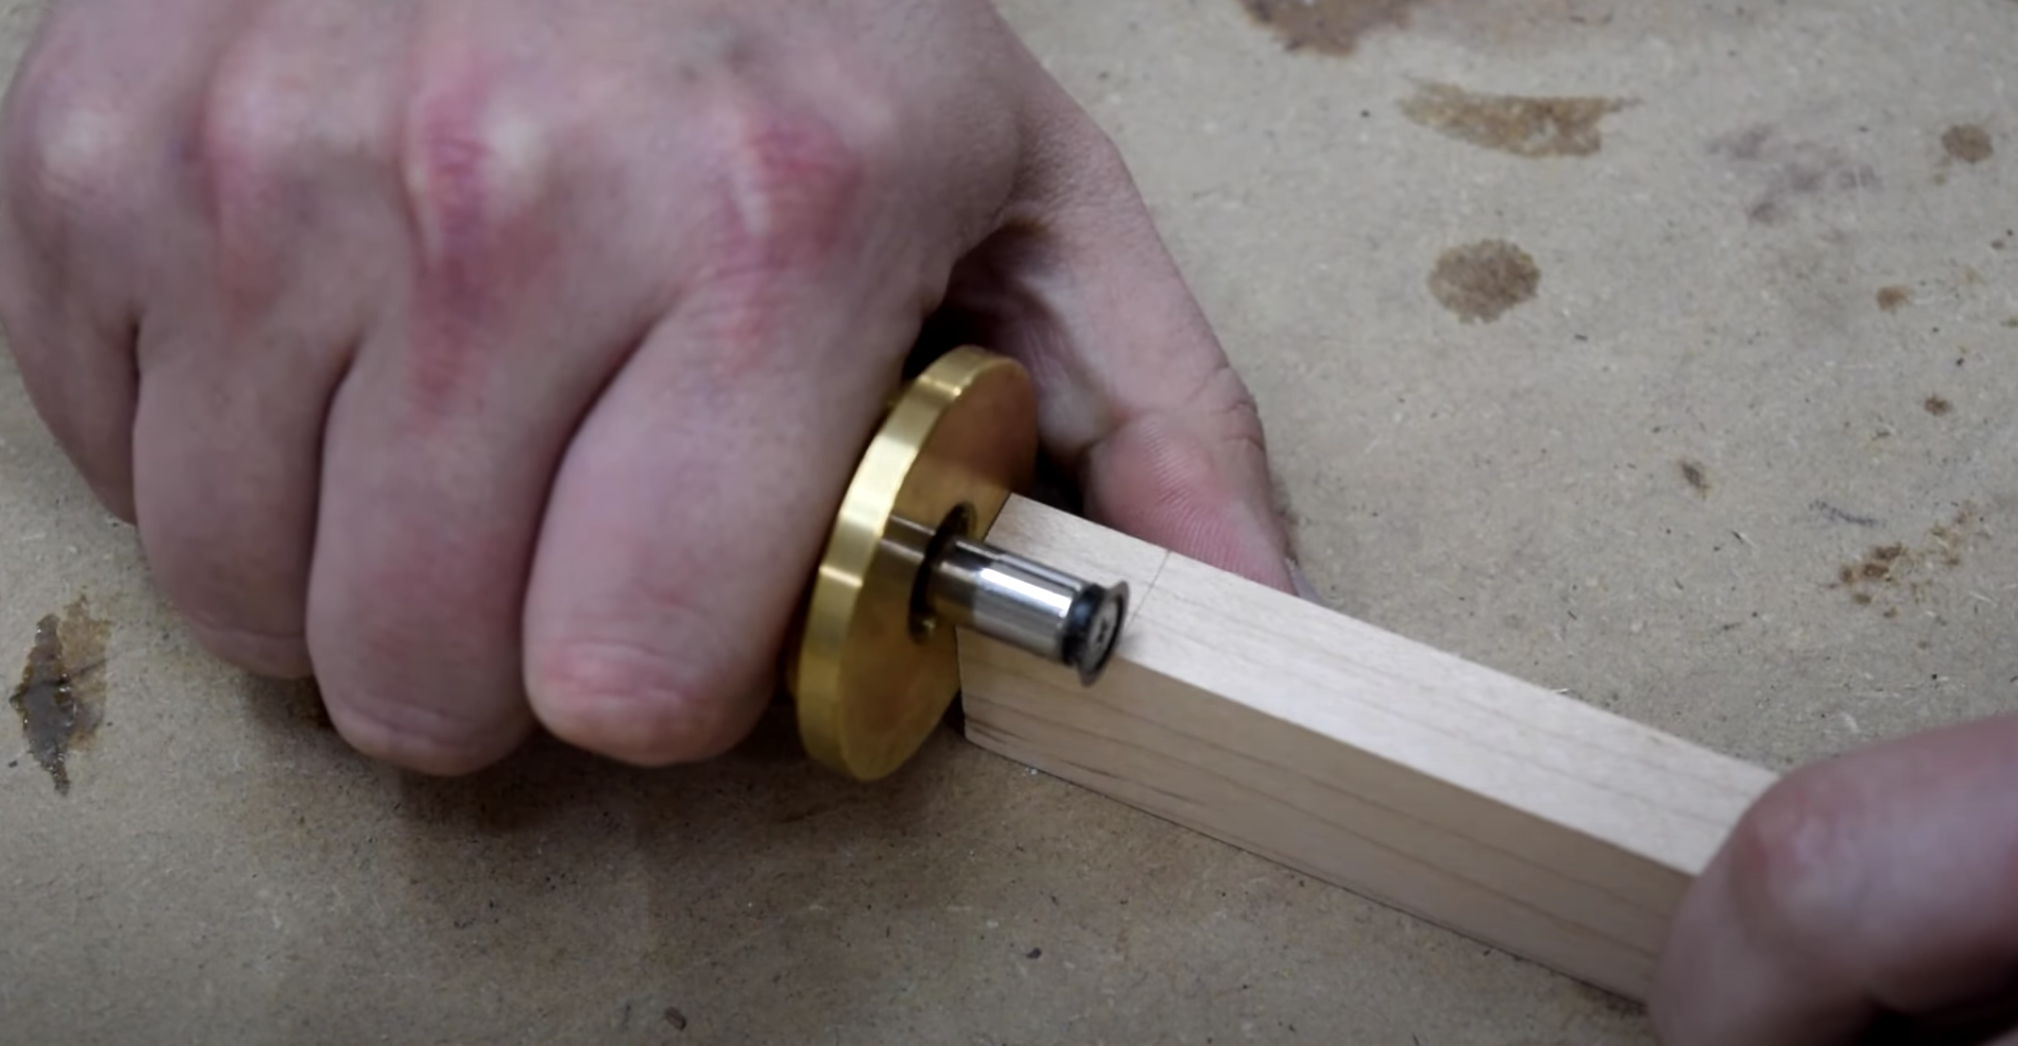
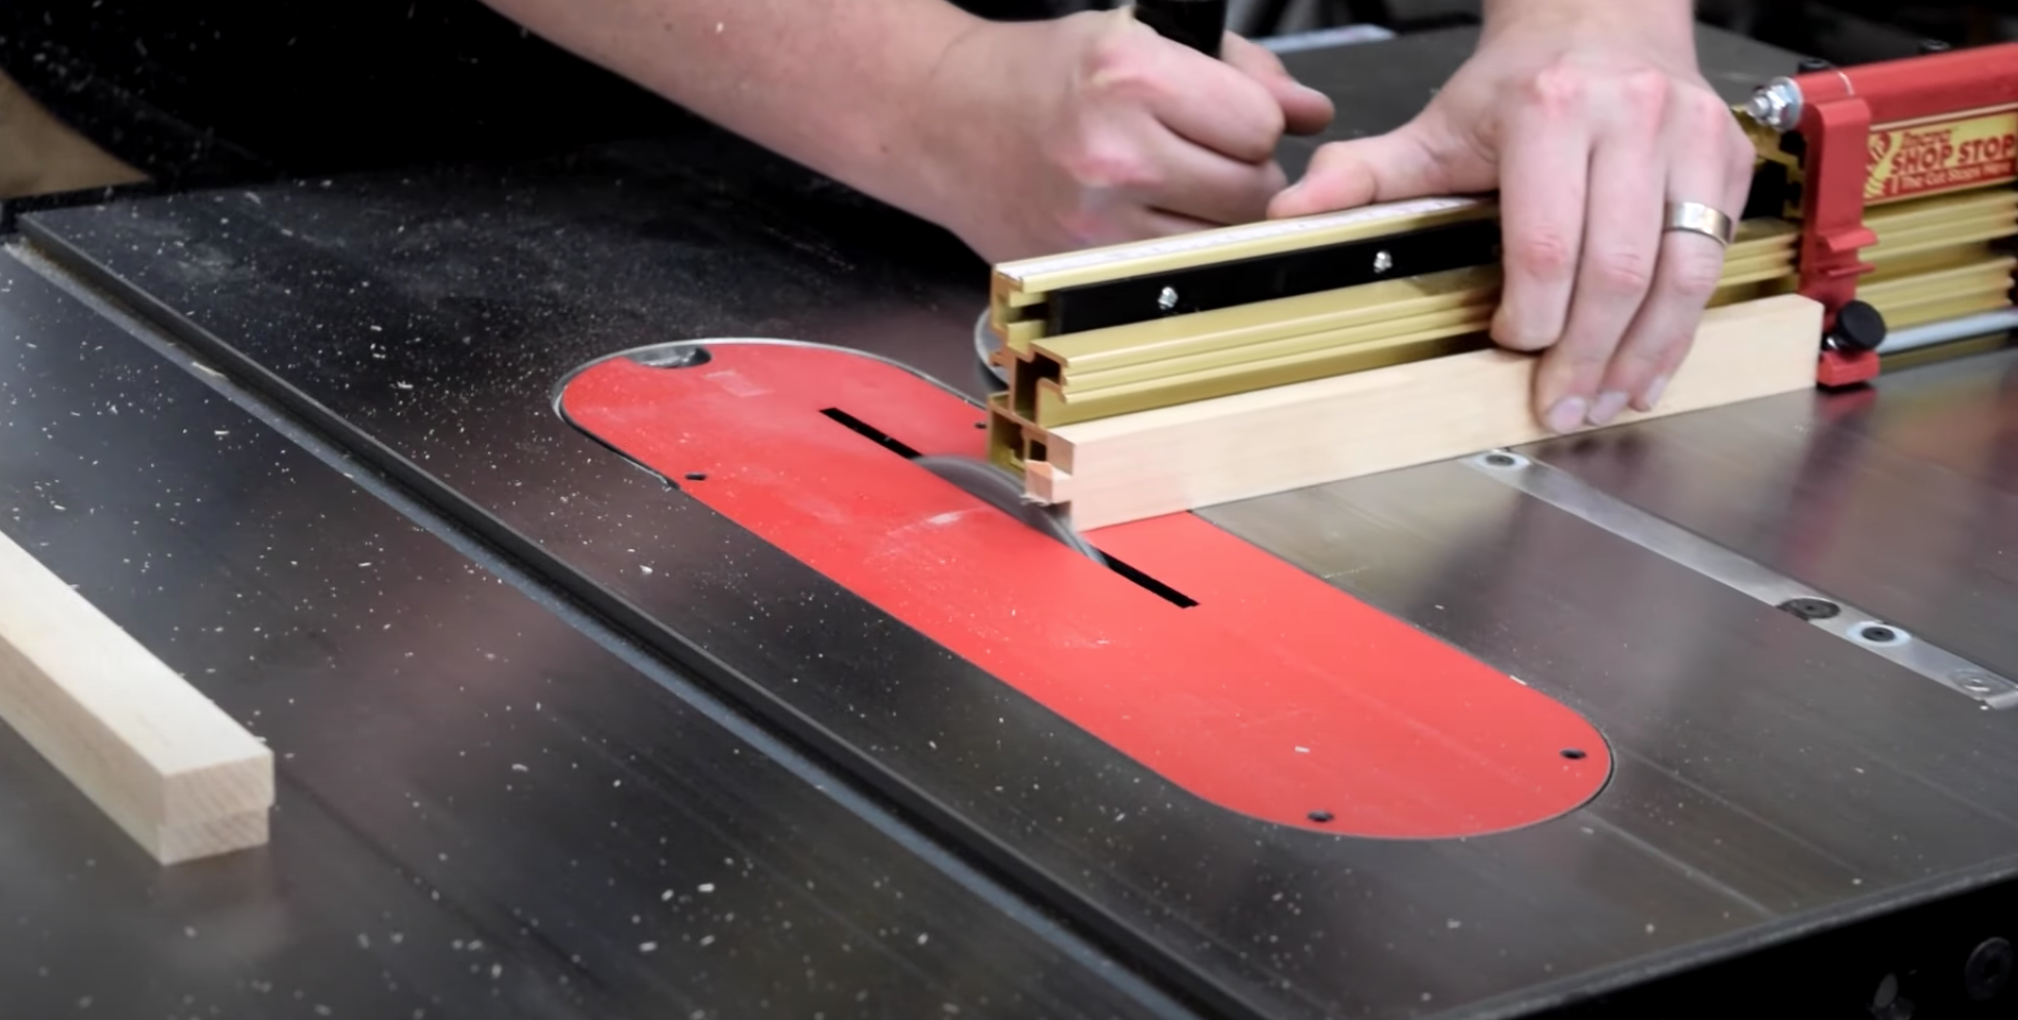
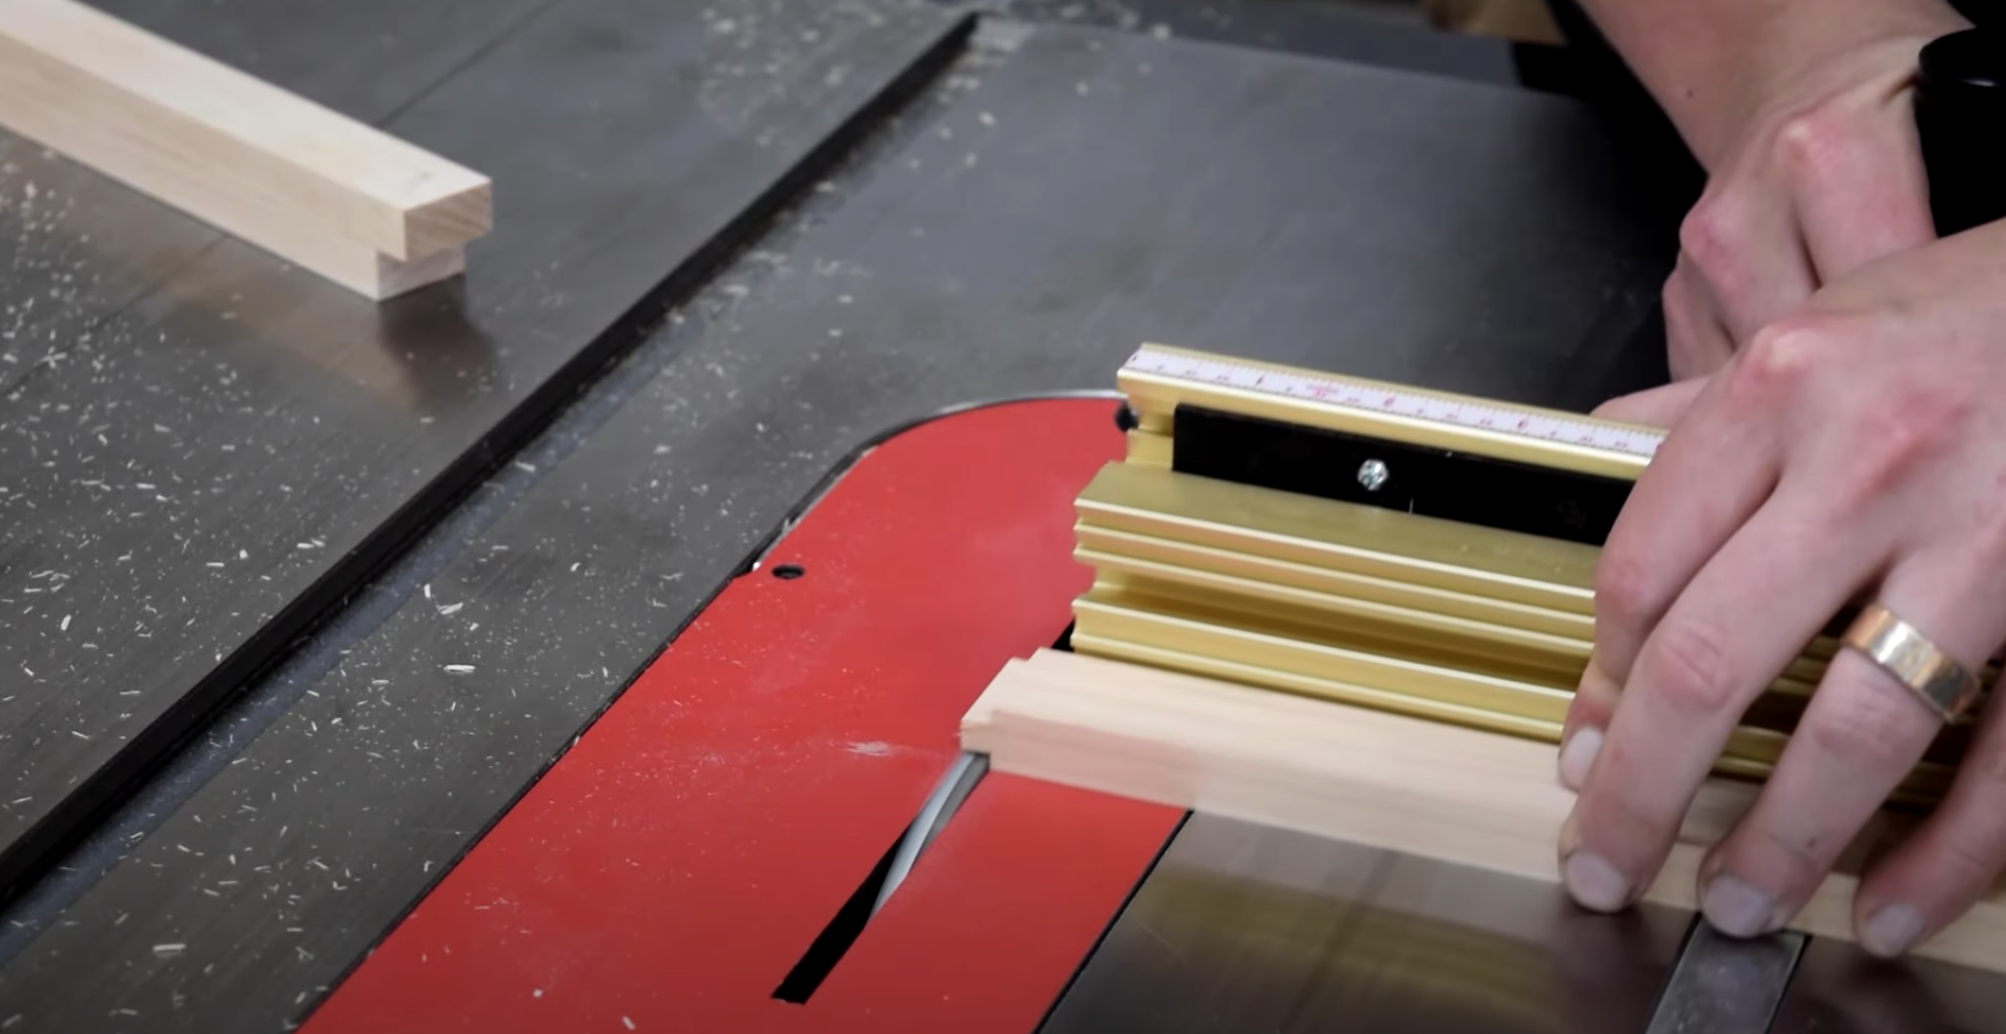
- Cut the tenon pieces to their final dimension. You should have 3 of each size.
- Rounded Square: 7"
- Circle: 9"
- Octagon: 11"
- Use a marking gauge to set the tenon length.
- Rounded Square: 5/8"
- Circle: 5/8"
- Octagon: 5/8"
- Cut one side first then flipped the workpiece to cut the other. This ensures the tenon is centered on the workpiece.
- Rounded Square: 3/8" on each side
- Circle: 1/8" on each side
- Octagon: 3/8" on each side
- Repeat this process on each piece until I reached my desired length, which was just proud of the top and base.
- For the circle, I turned my pieces, so the face was flat against the saw table and followed the same process.
Glue-Up and Finishing
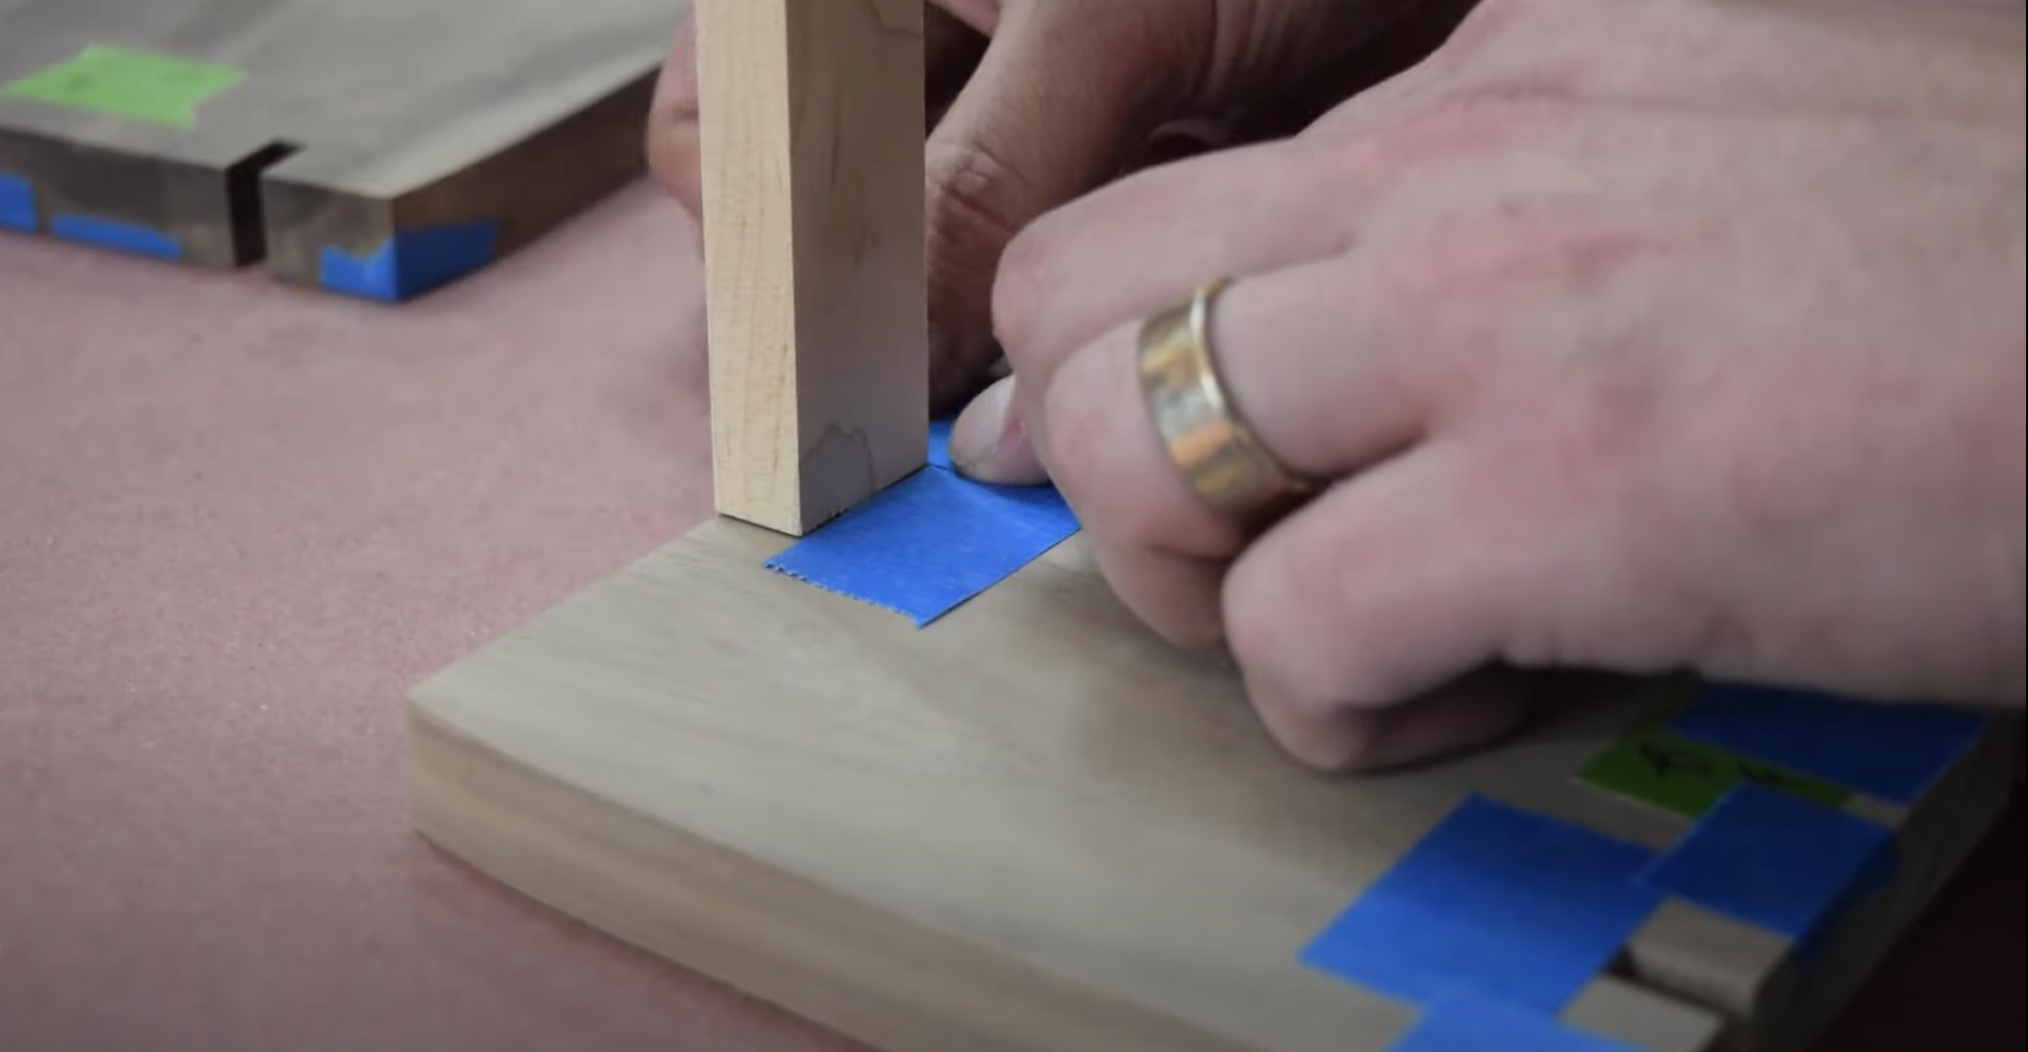
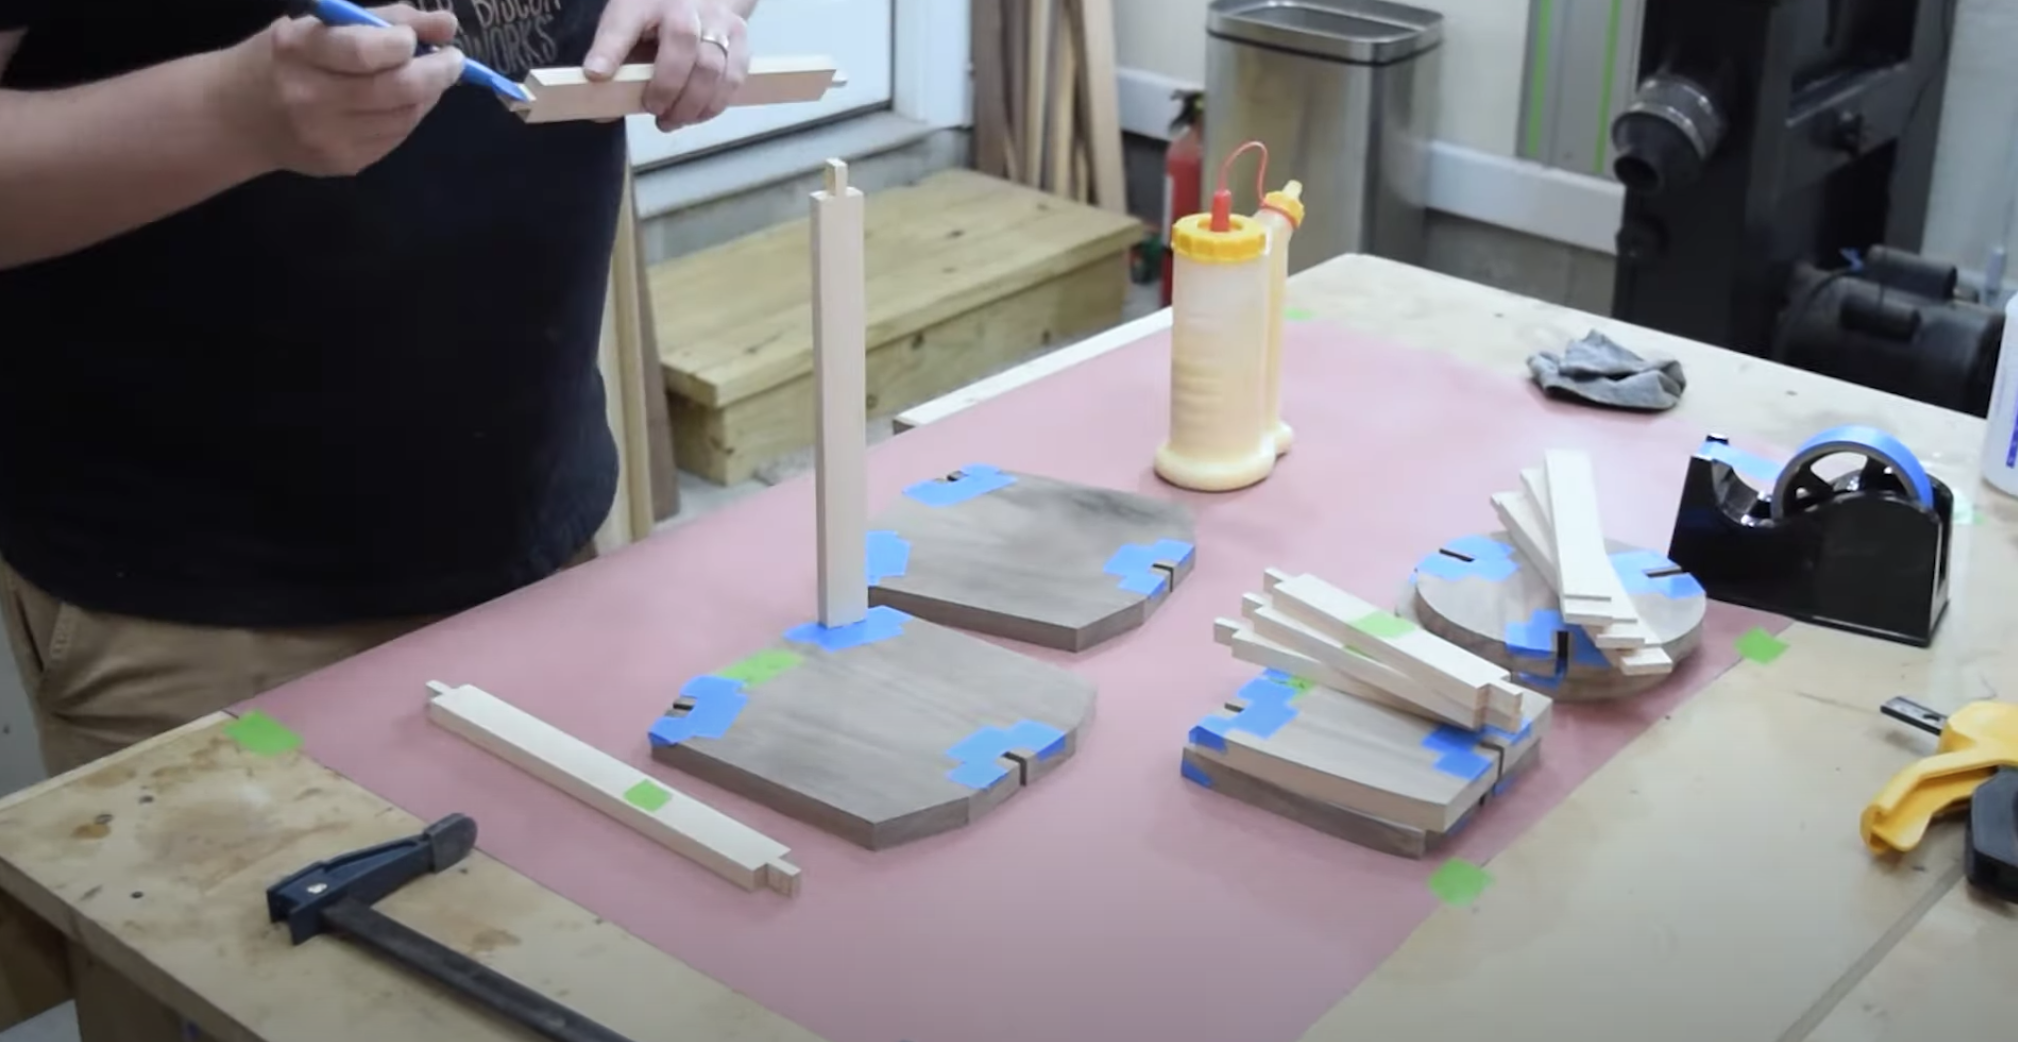
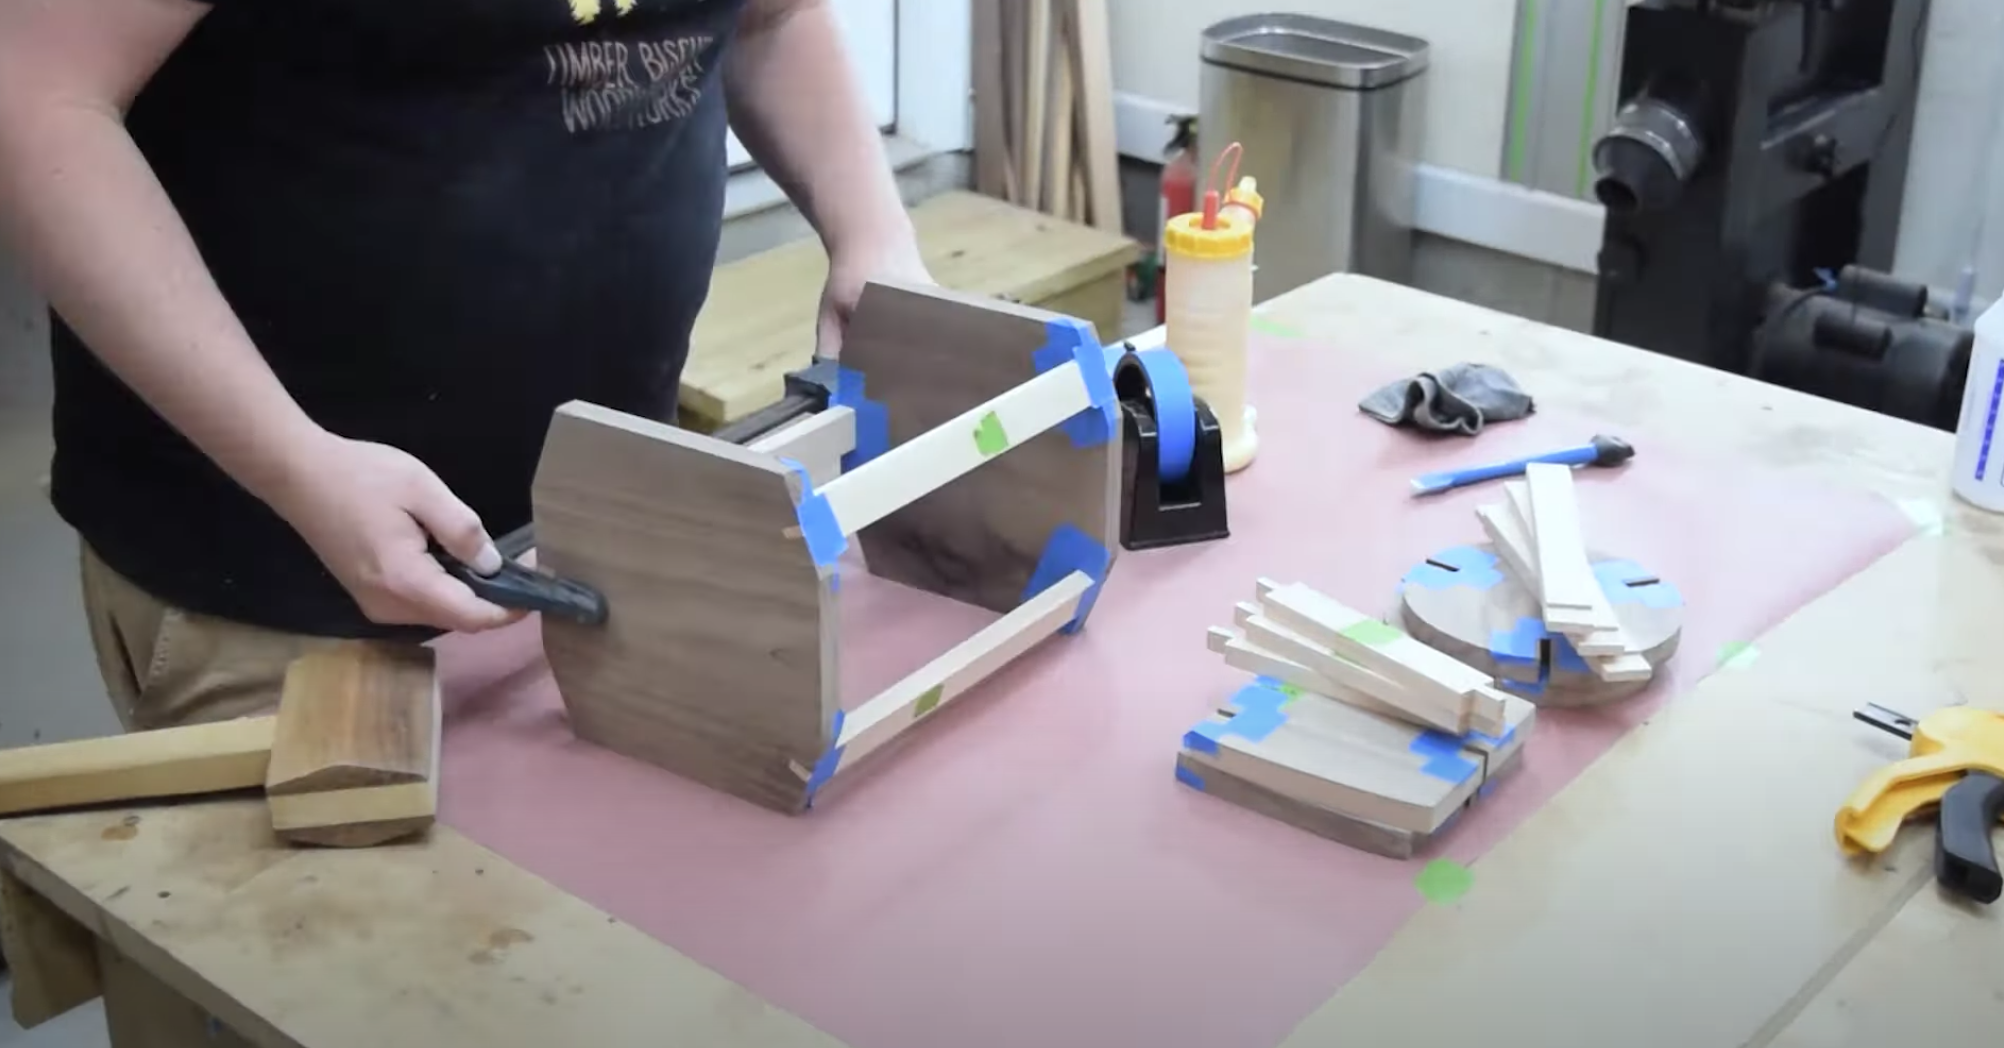
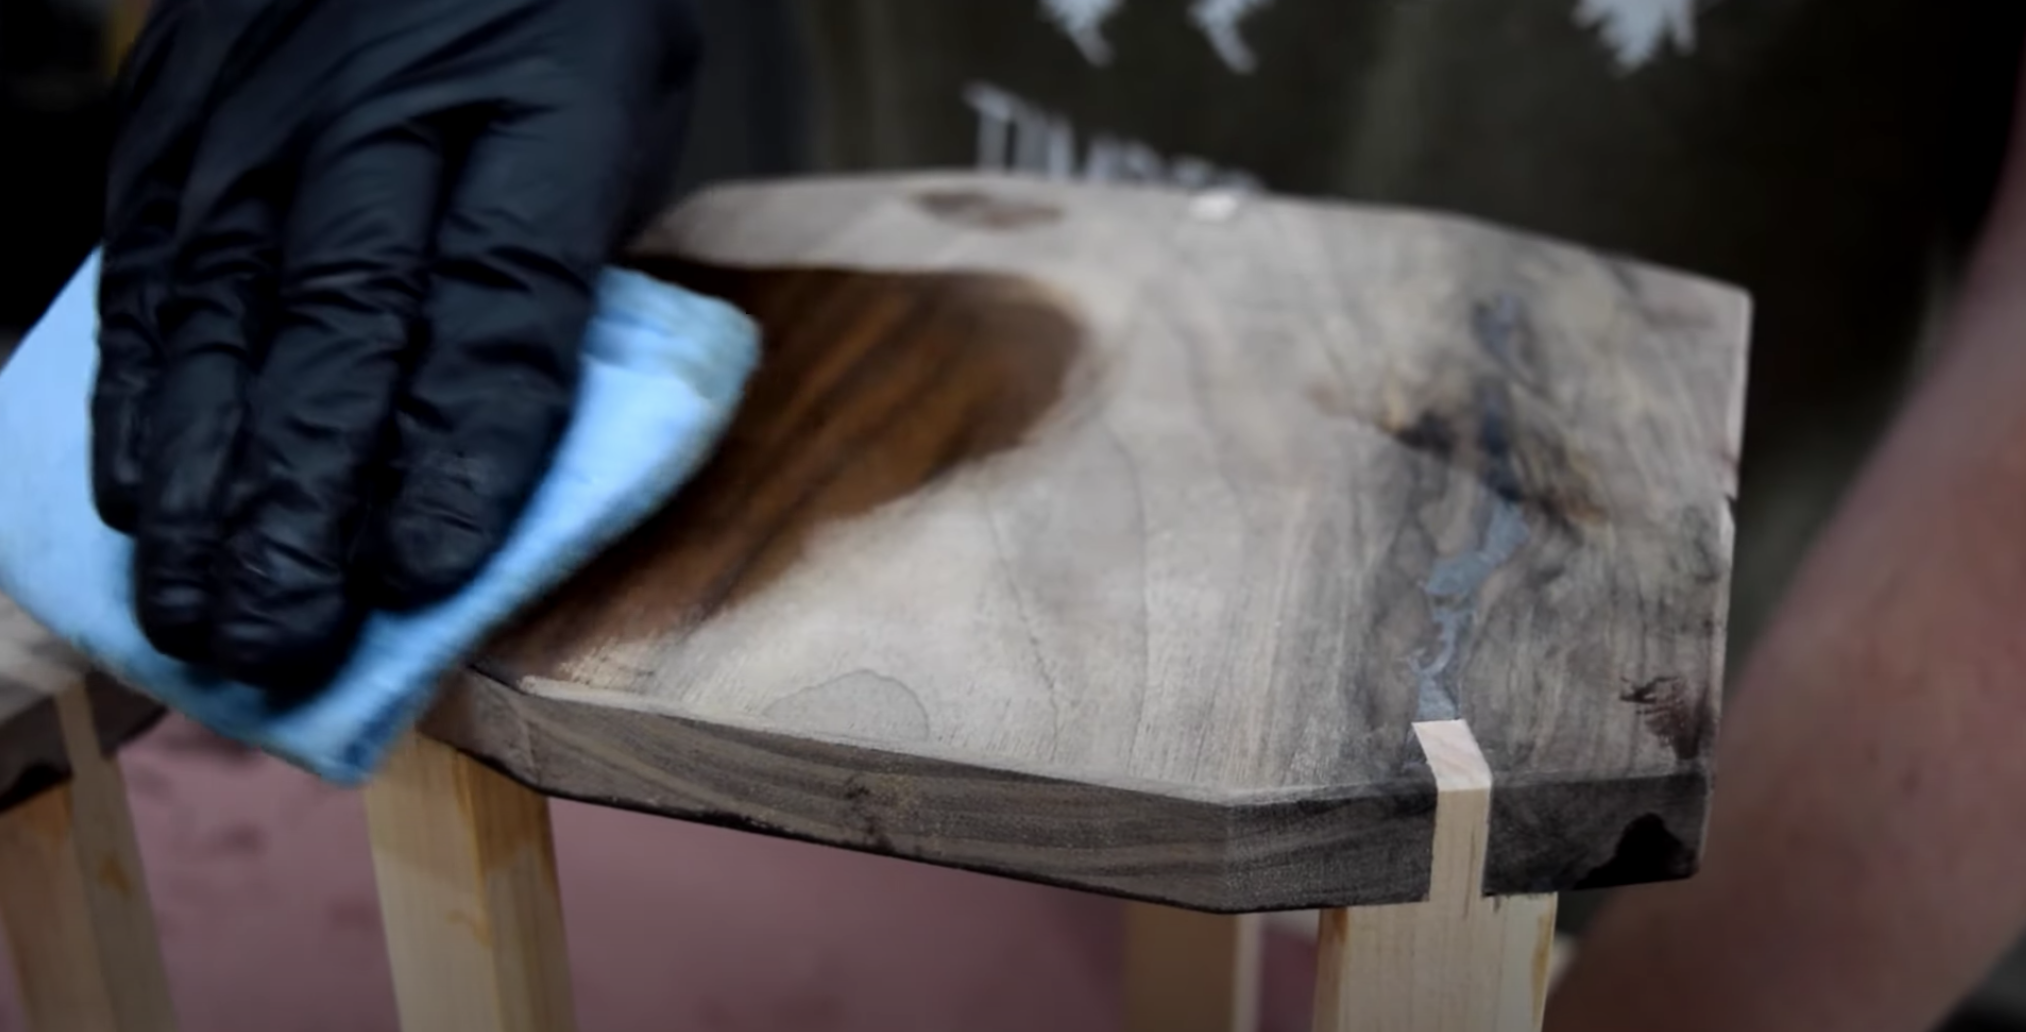
- Before gluing the pieces together, mask off the inner joint to help with any glue squeeze-out. Cleaning these up later could be tricky.
- Glue and clamp the pieces together.
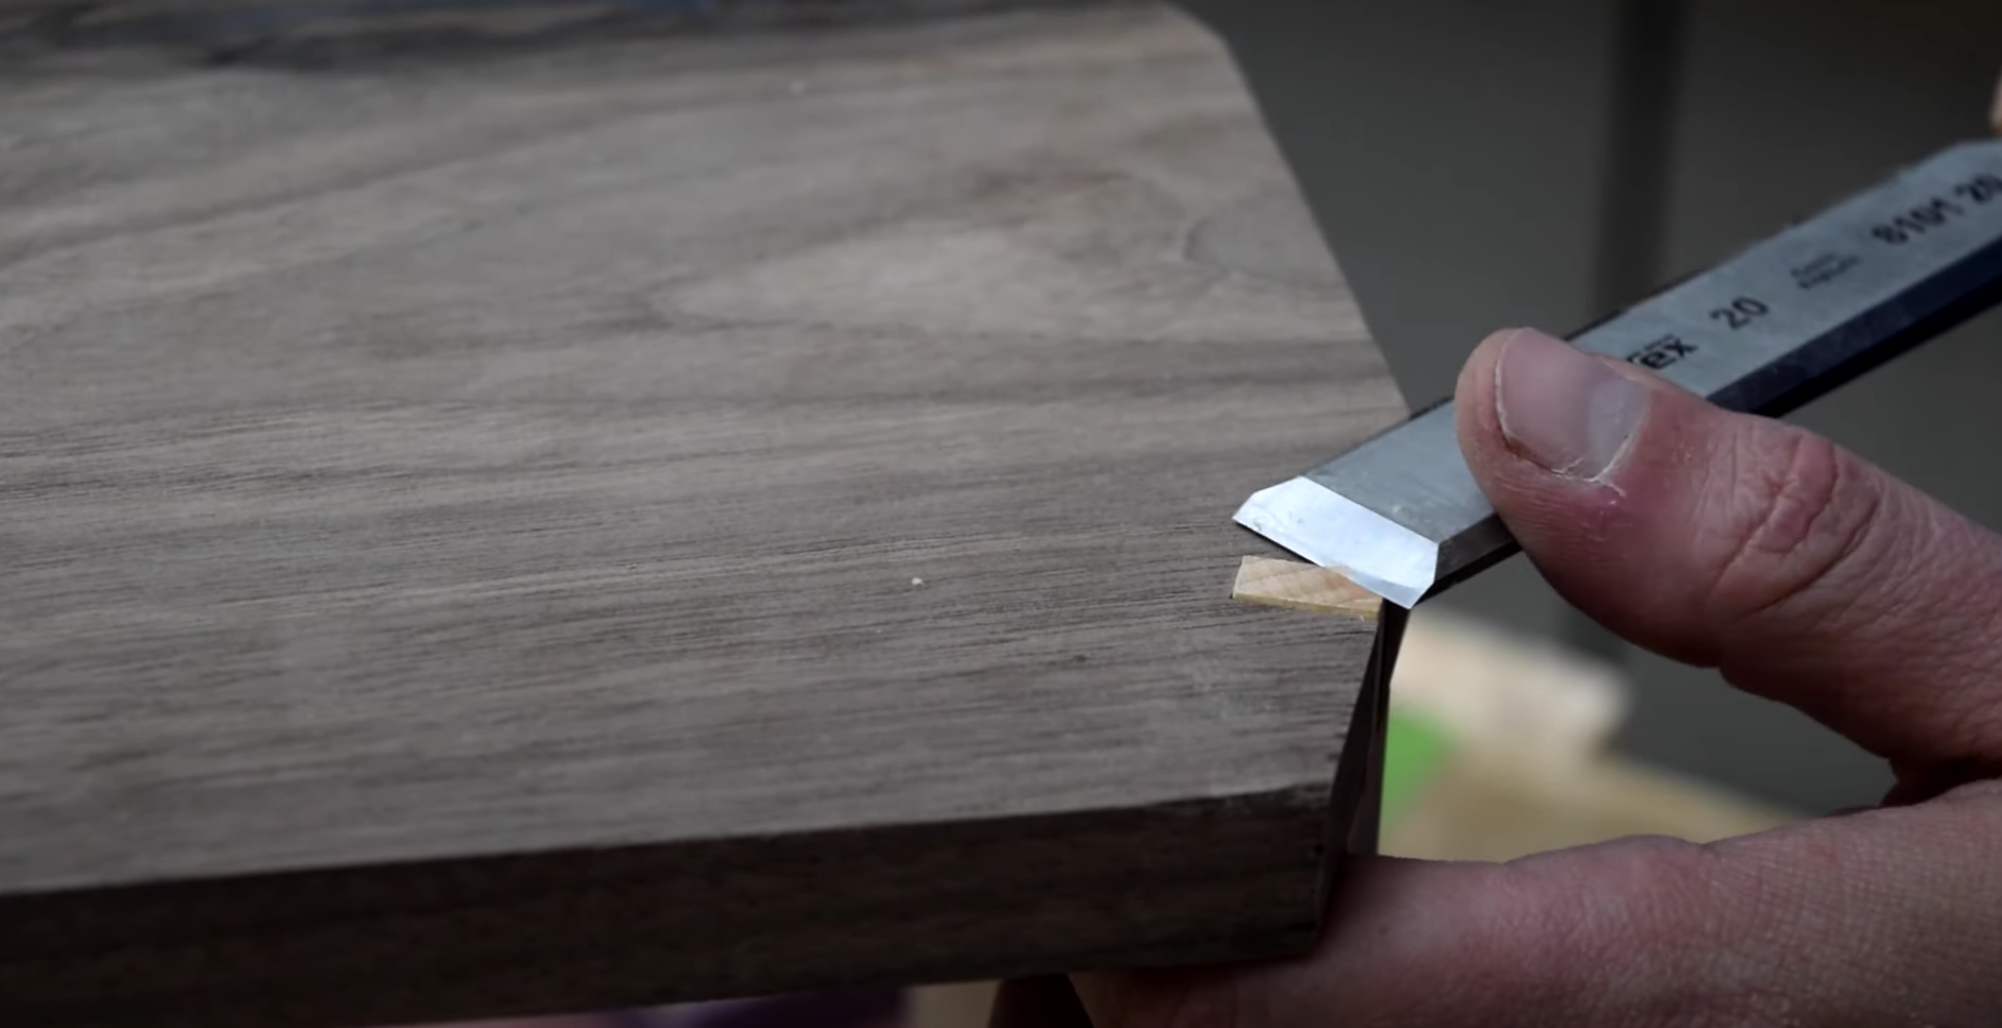
- The exposed tenon material can now be flushed up with a chisel.
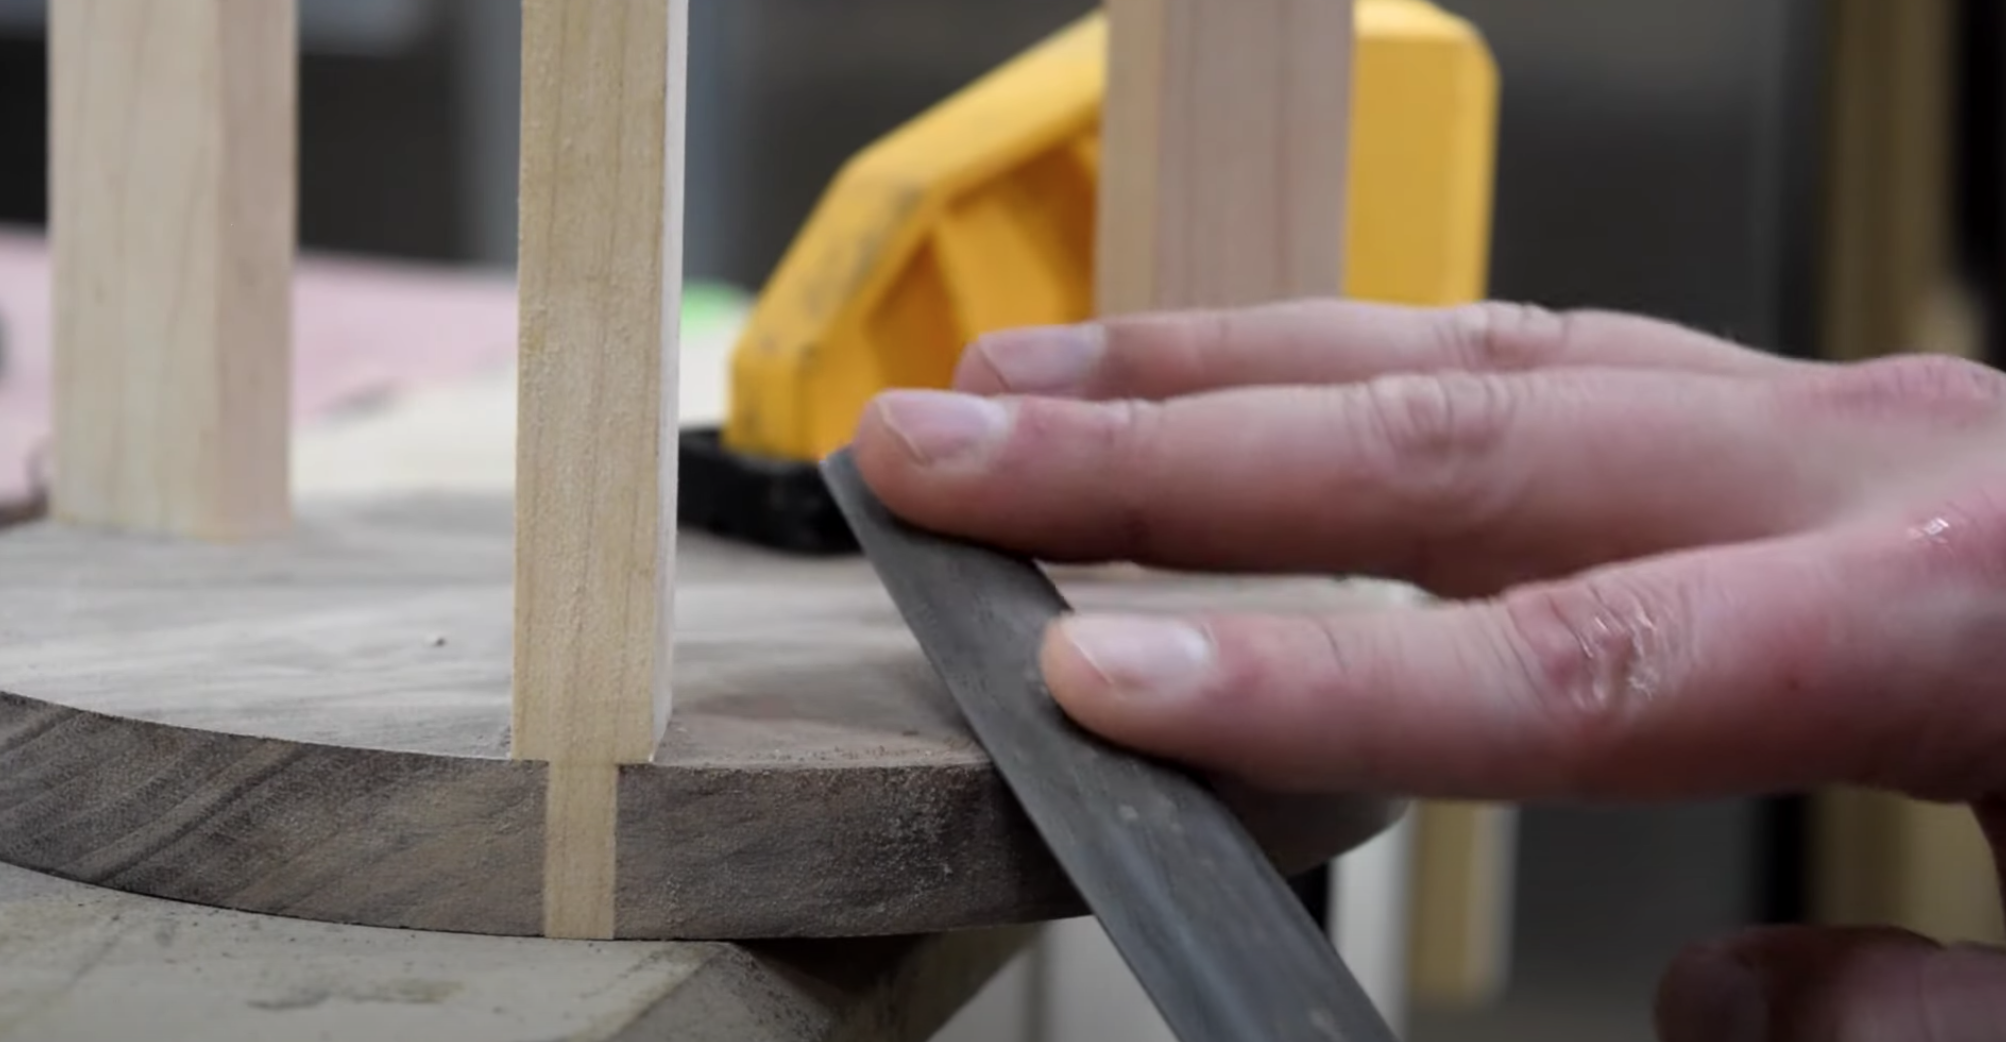
- To ease the edges around the top of the faces, you can use a rasp. This also adds a nice edge profile to the finished piece.
- To finish the stands, you can use penetrating oil or a finish of your choosing. This brings out the wood's natural color and adds some protection to the piece.
Put some plants on top of these stands and admire their beauty!