Modular Backyard Minigolf
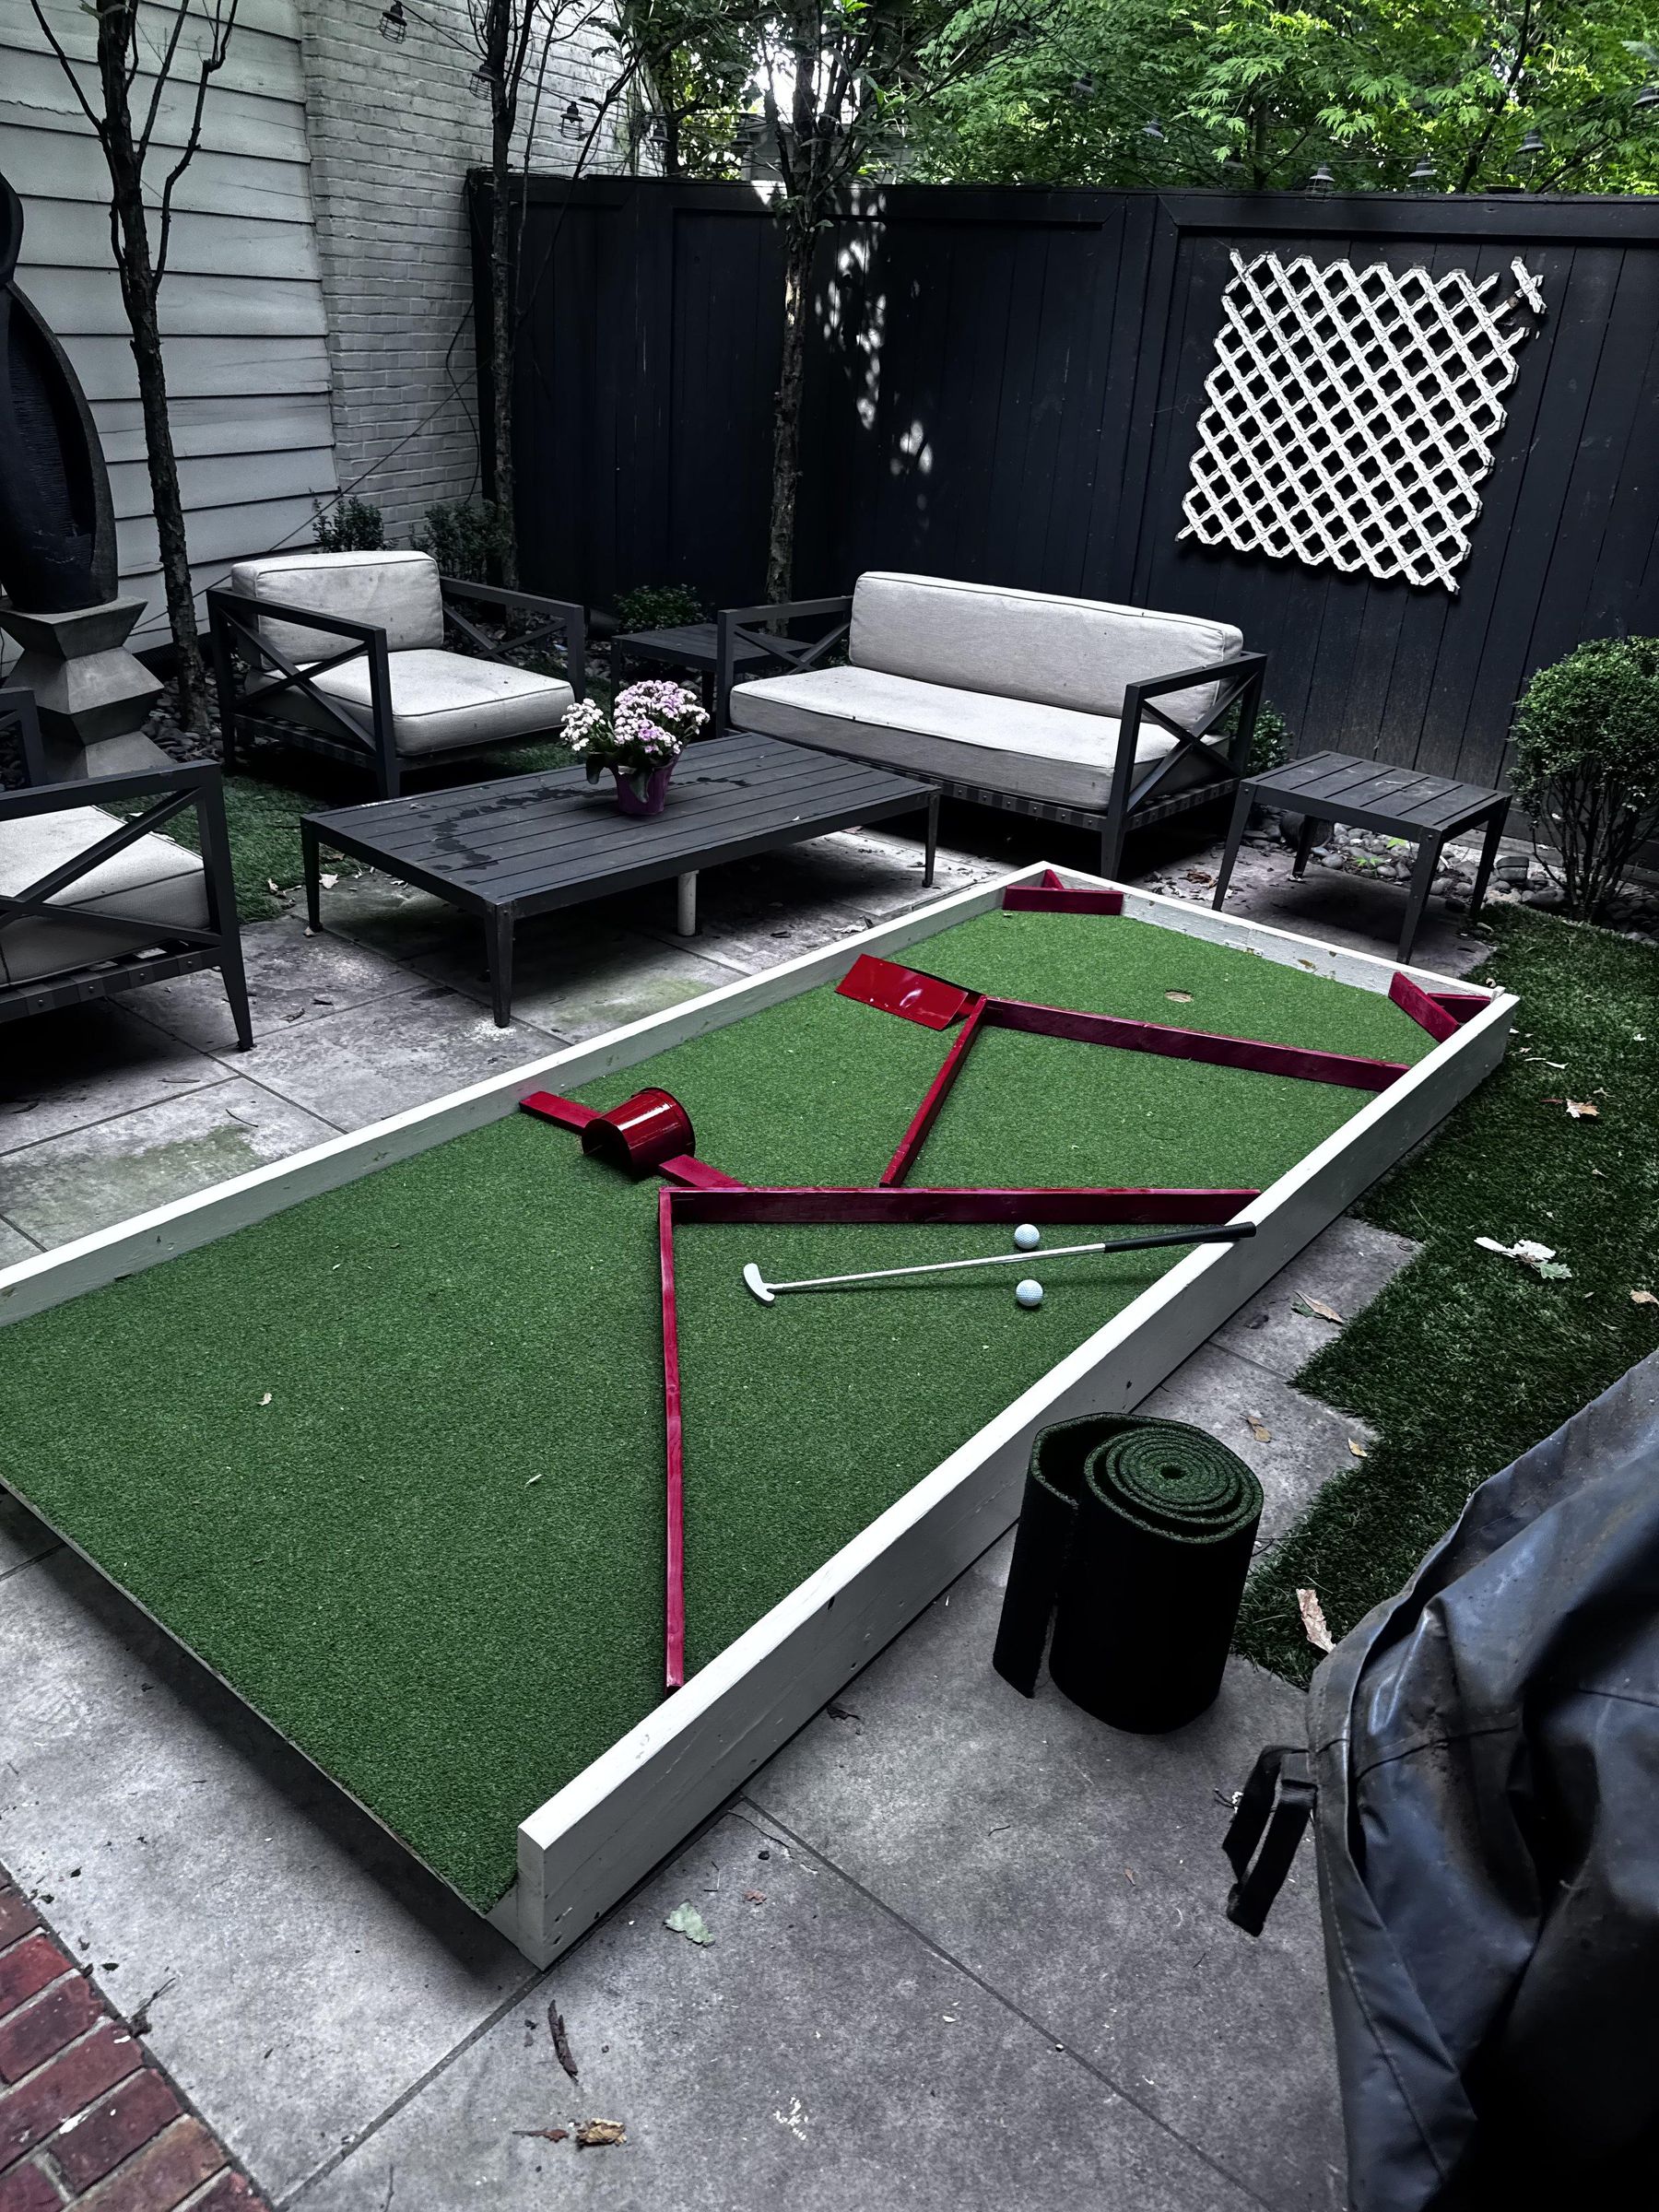
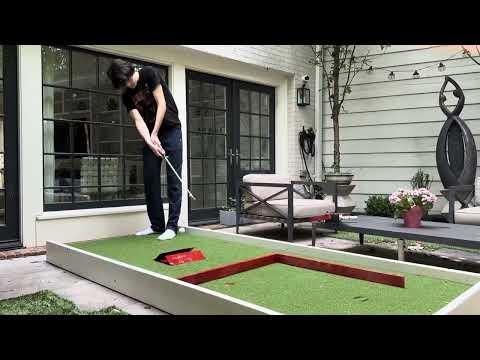
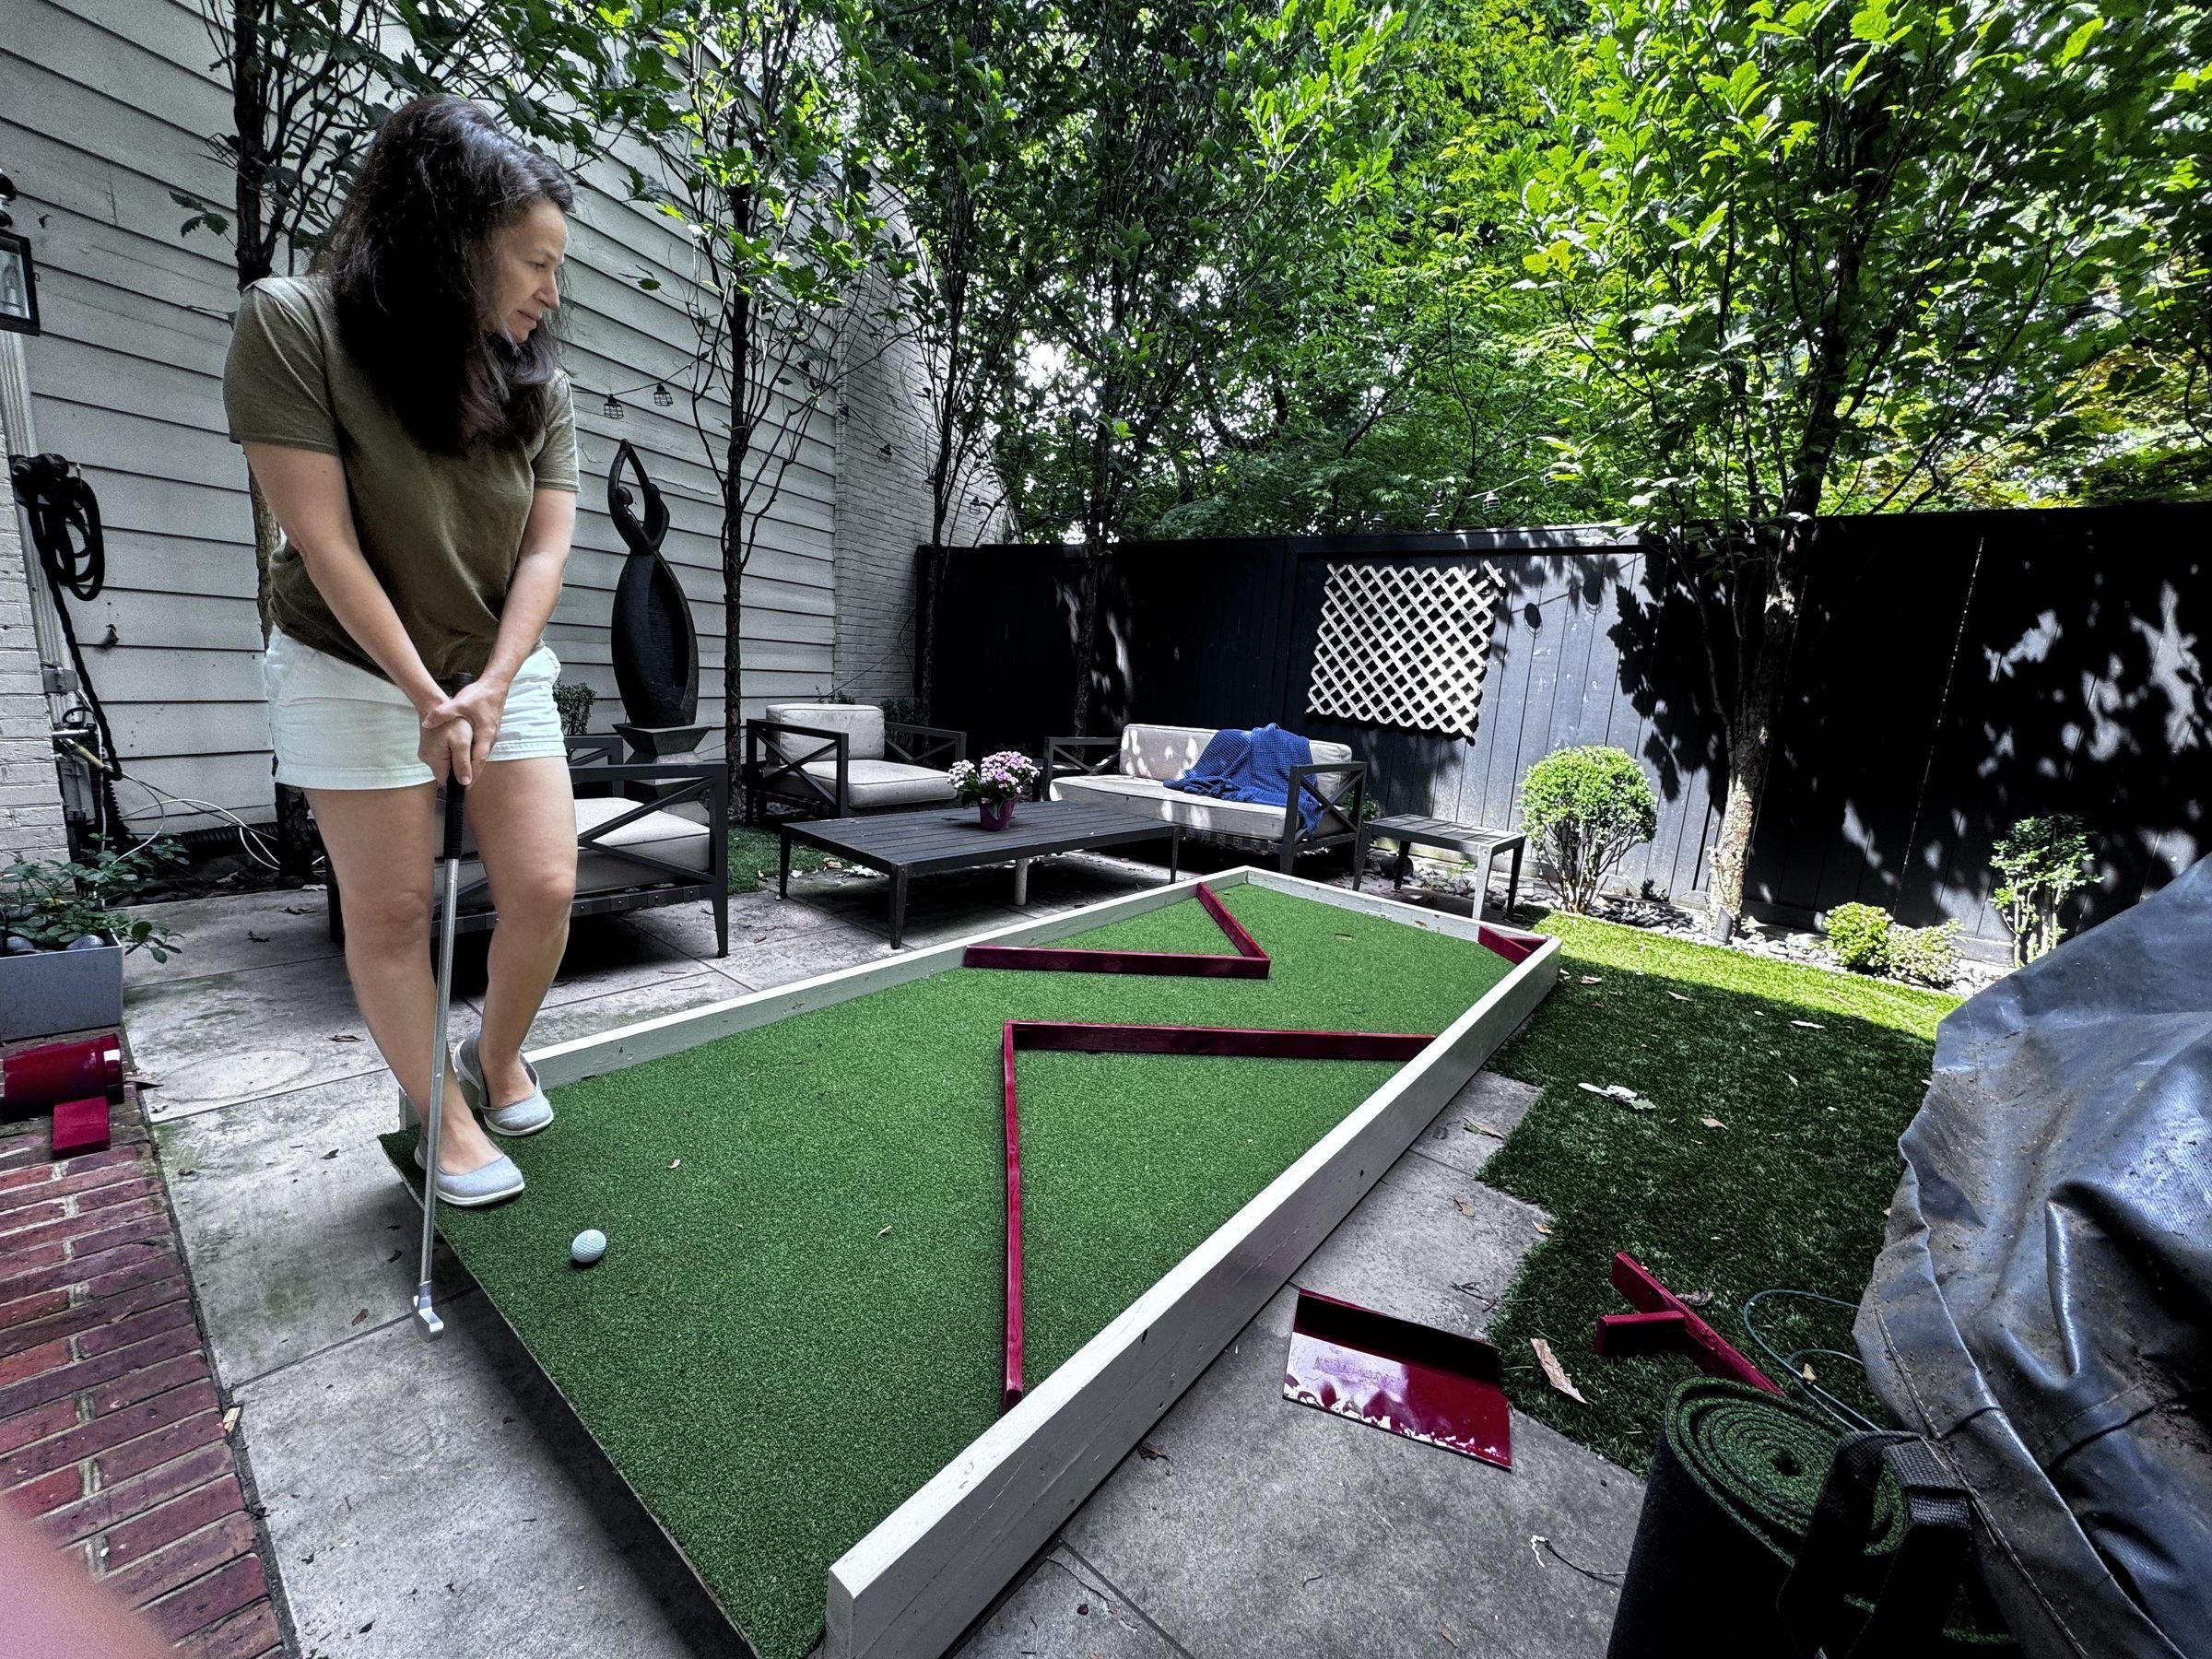
These instructions detail how to build a compact, modular minigolf system in your backyard.
In our household, we love the challenge and smack talk of minigolf, but we live in an urban area with a small backyard. I wanted to build a full minigolf course with many different challenges that could all fit in a small fraction of the yard and be stored when not in use.
I encourage everyone following the tutorial to take creative liberties in how you build this course and its obstacles, as this post is only an example of one way to build it. Part of the fun of this project is the potential for different and unique obstacles. It can also be made in any size, as long as you adjust the size of your lumber accordingly.
Supplies
Base/Foundation
The minigolf system starts with a reinforced wooden base. Our course measures 4x10 feet; if you want a larger or smaller course, the dimensions of the needed lumber would change.
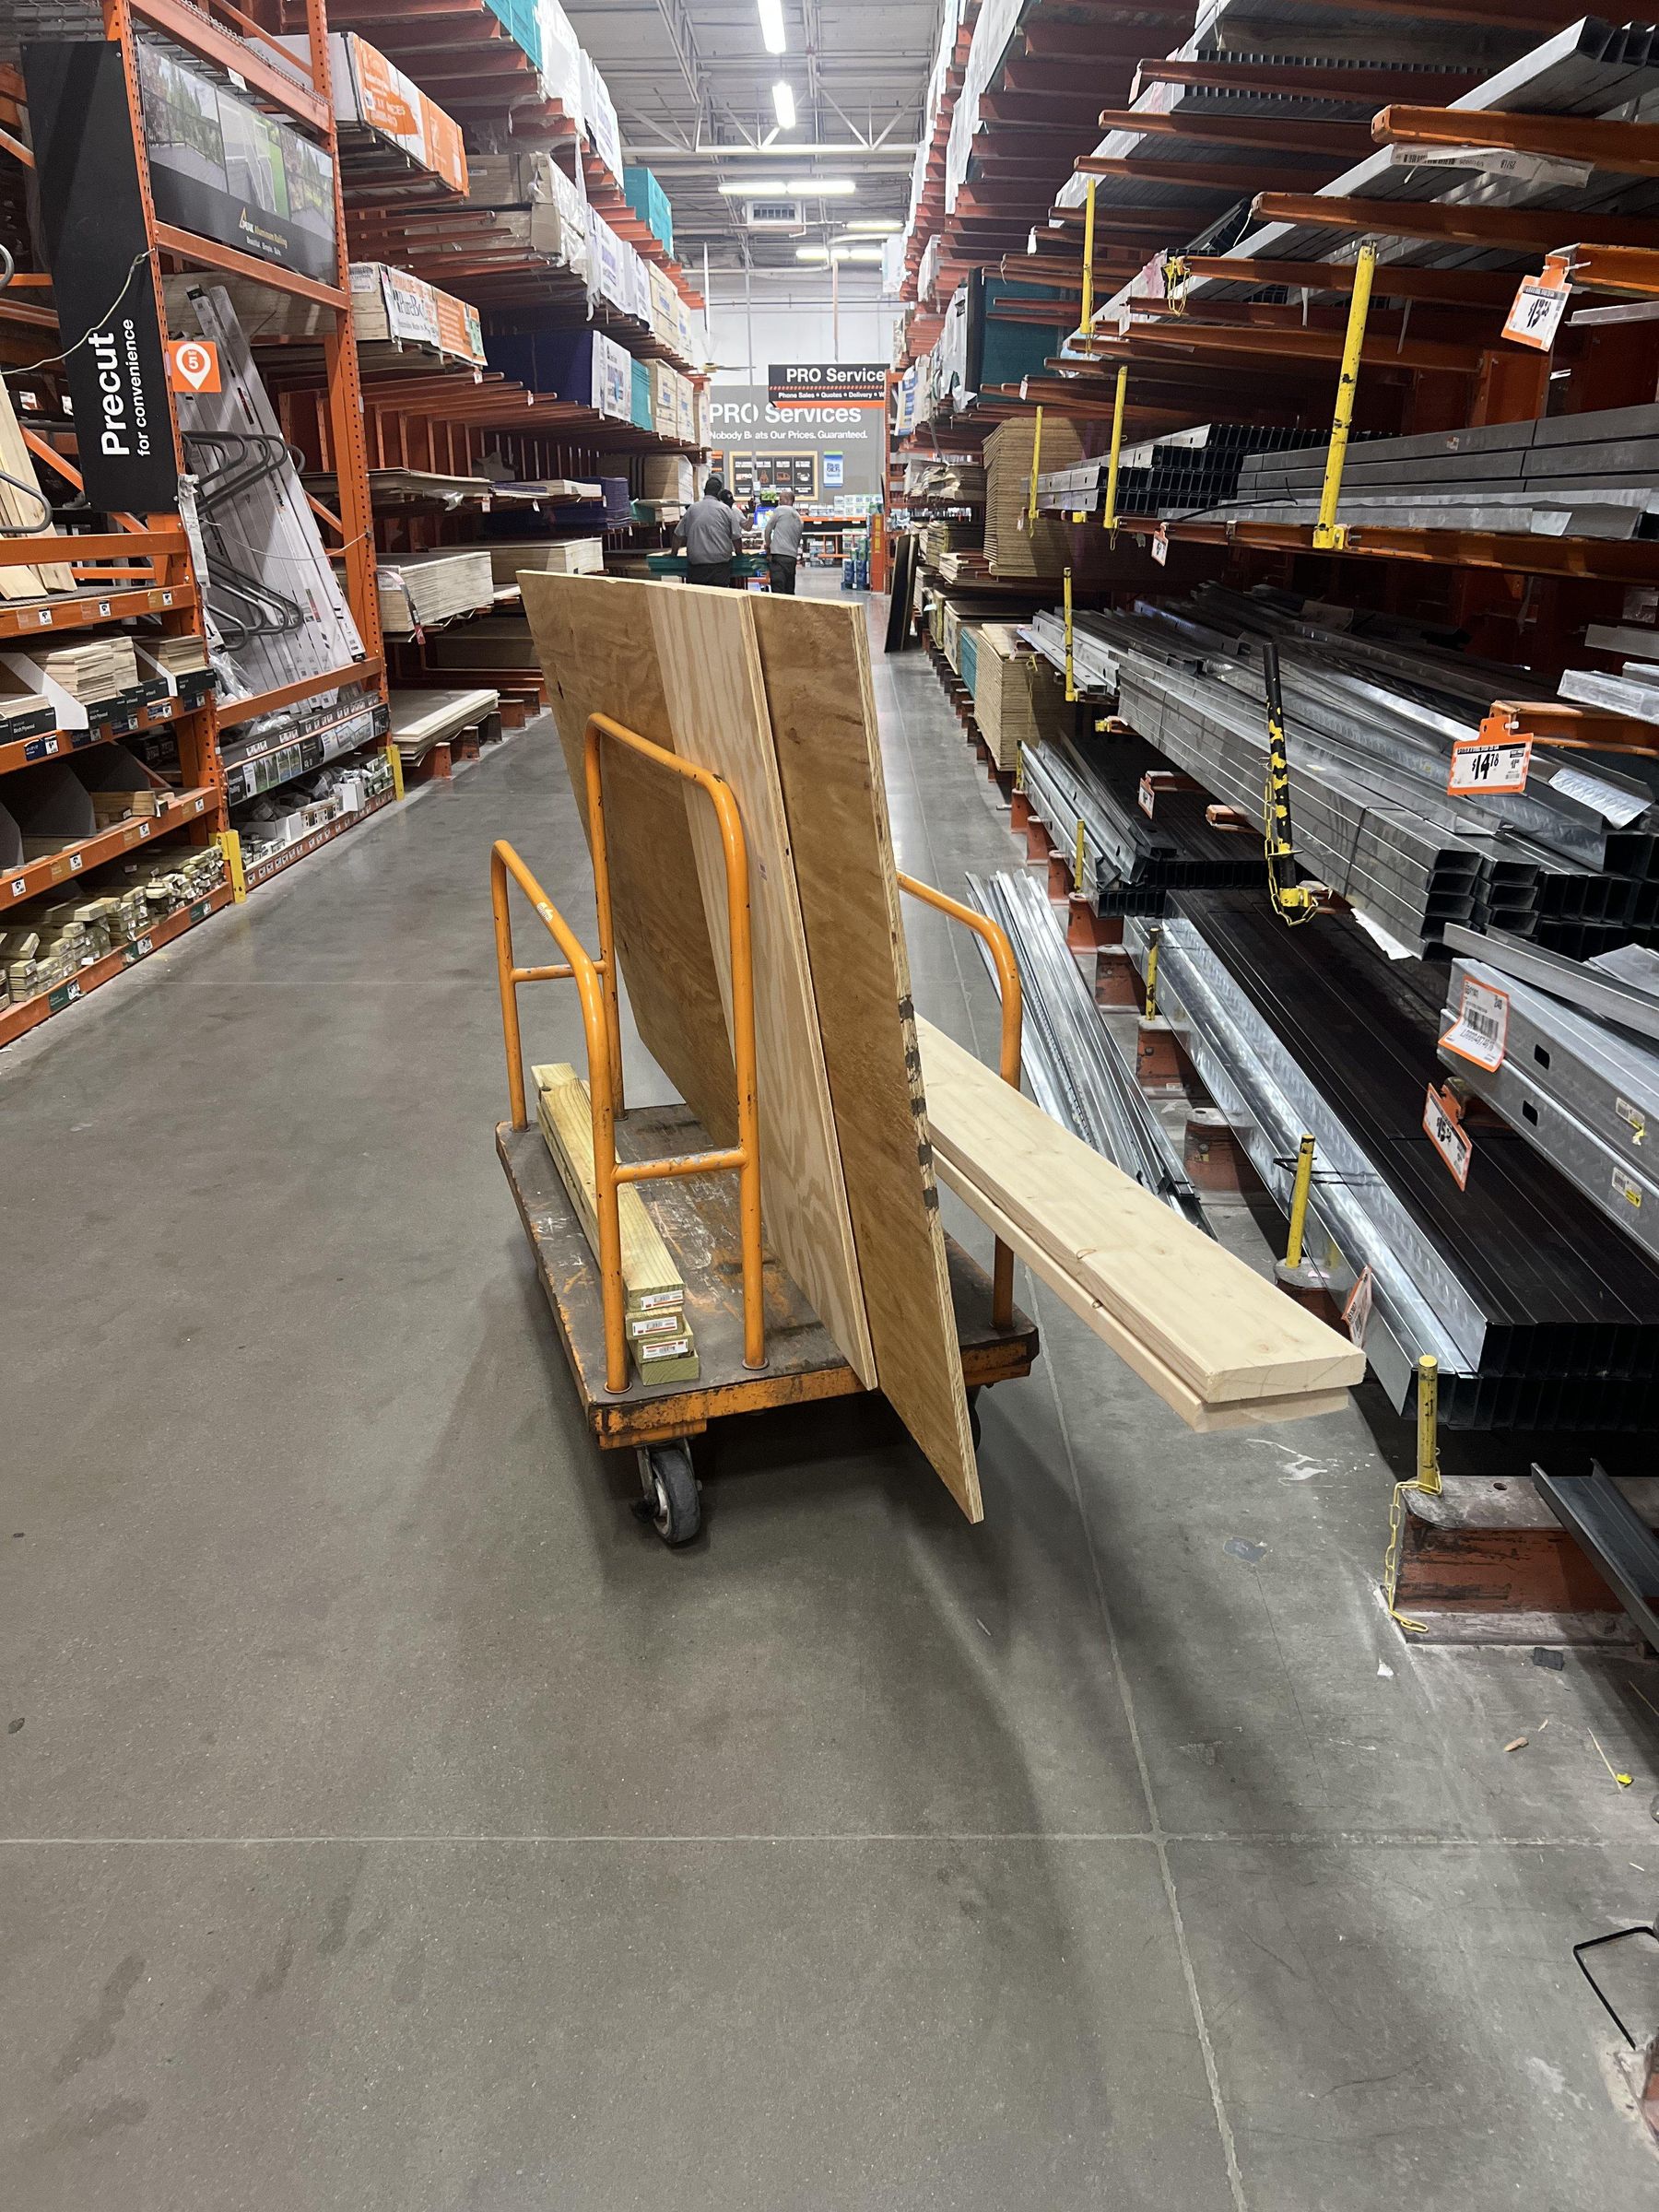
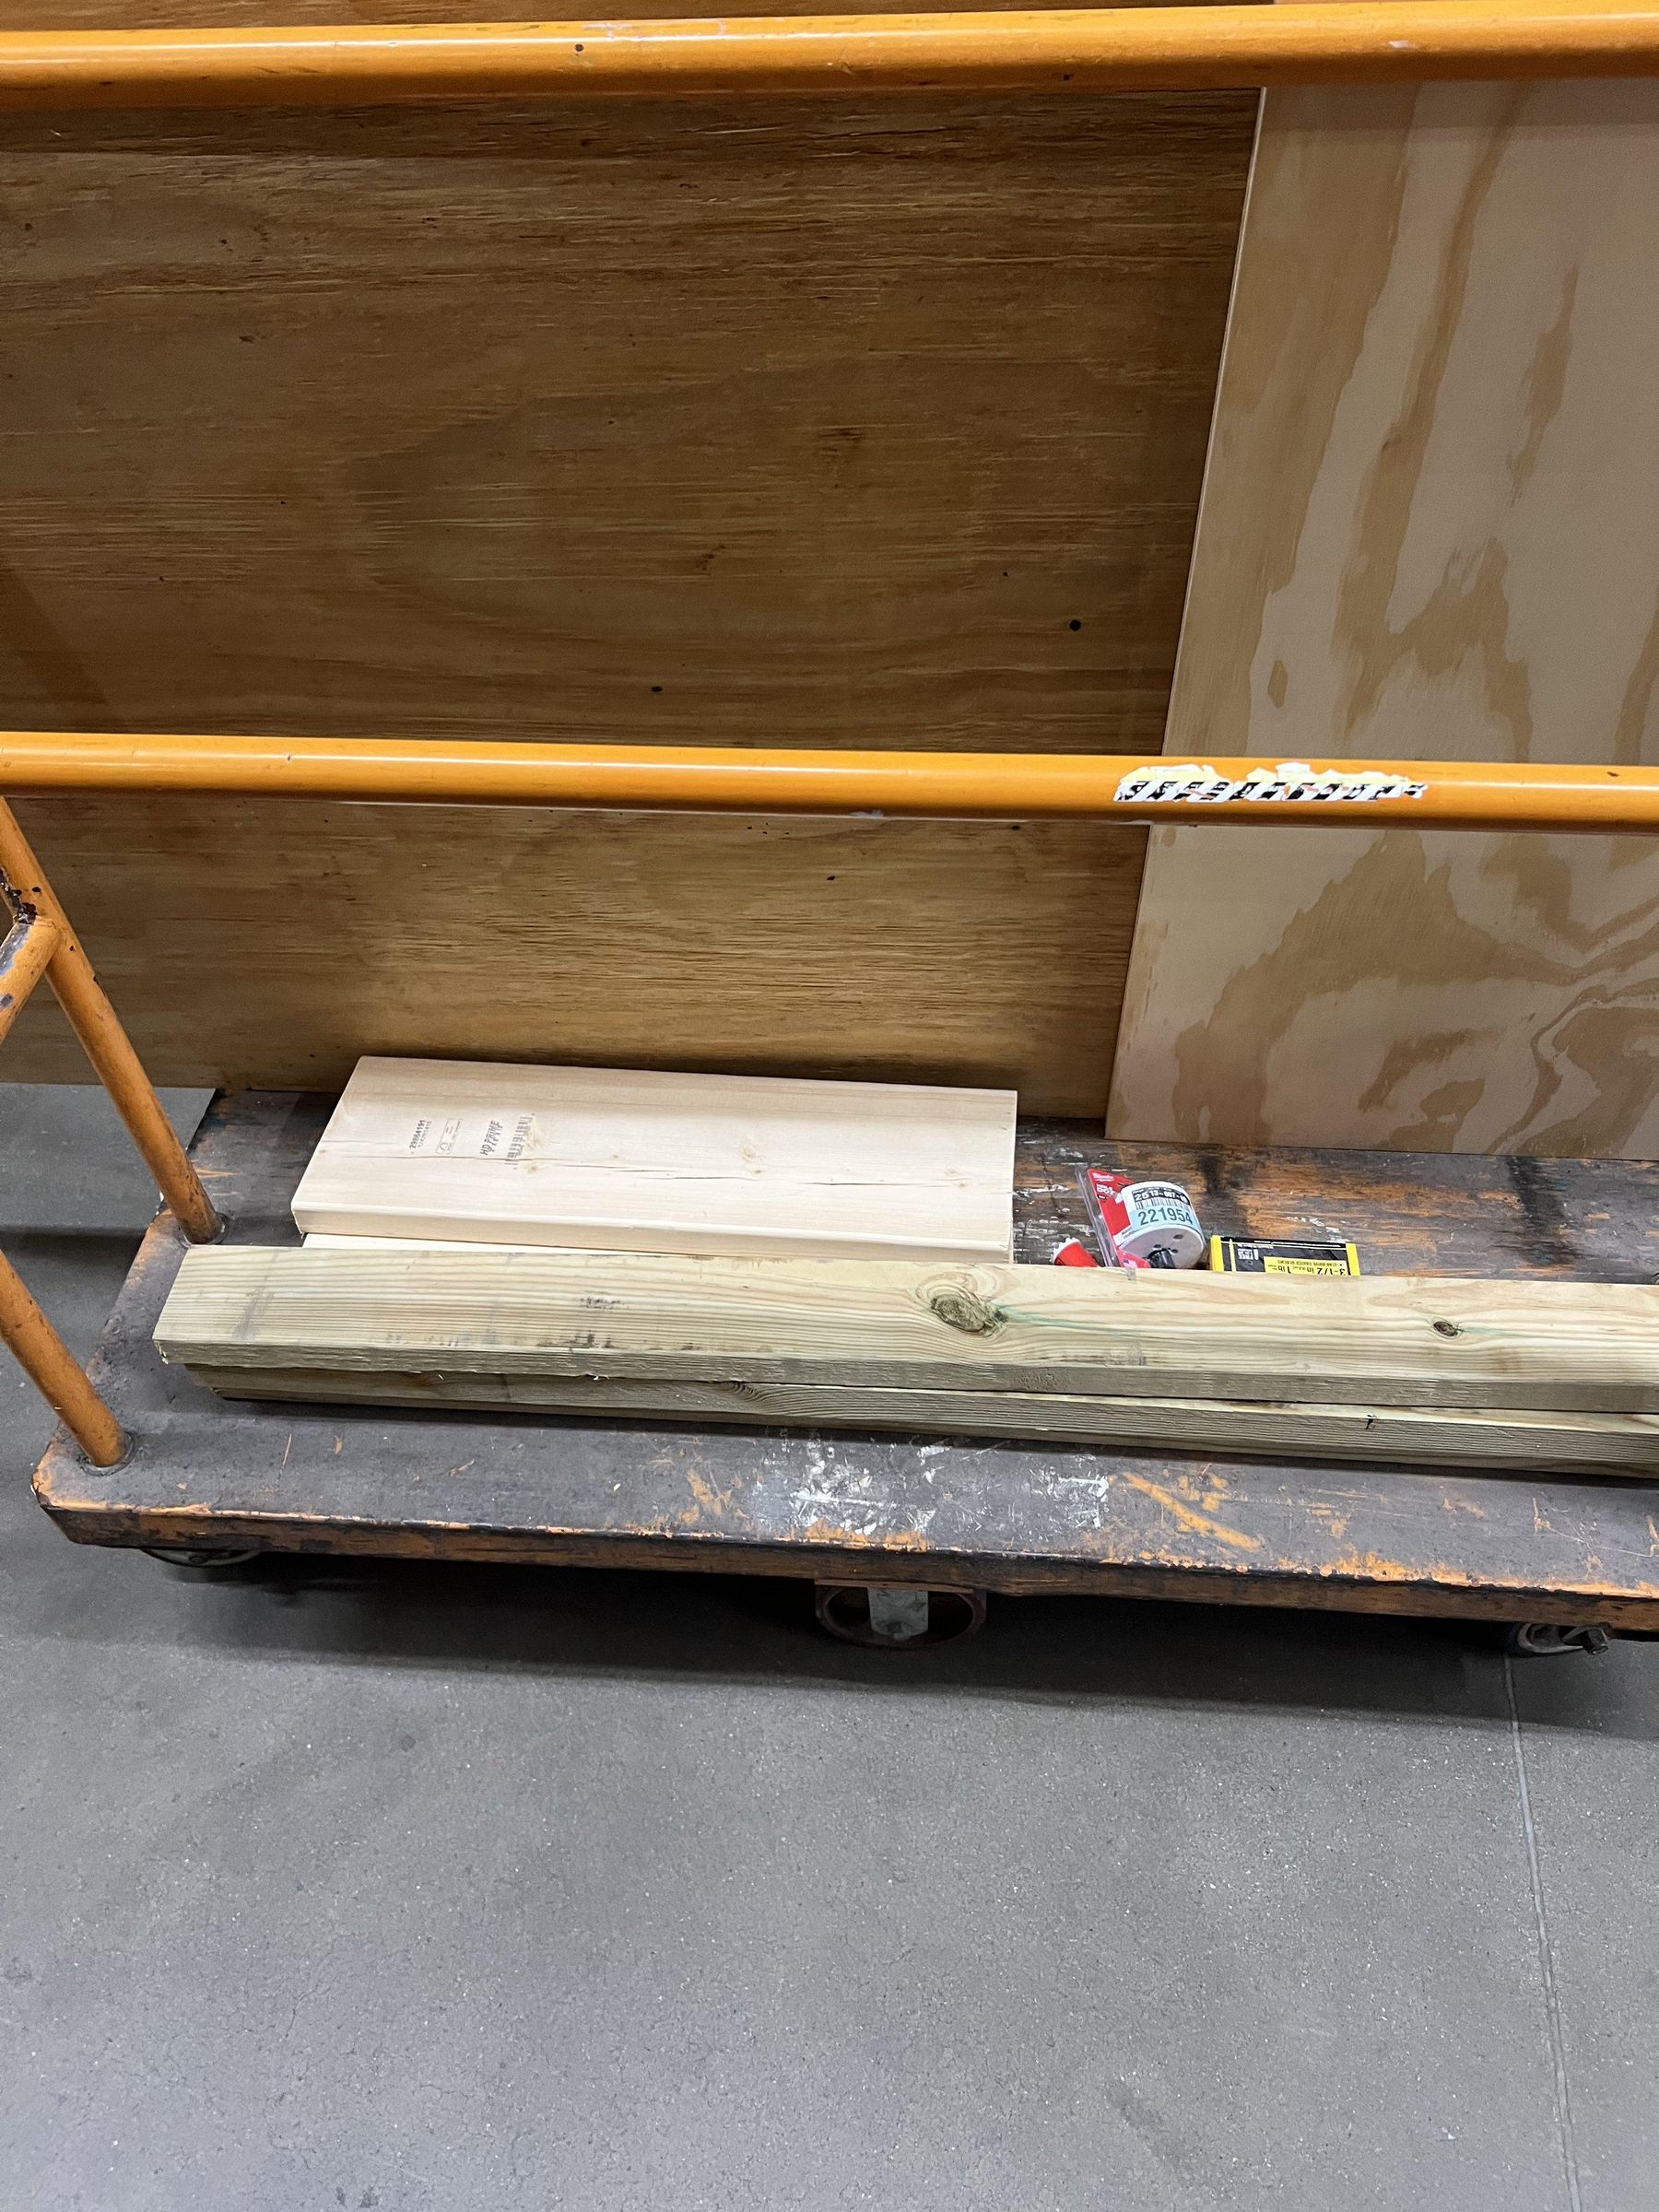
We used two 2"x8"x10' planks for the long walls, one 2"x8"x4' plank for the short wall, and pieces of plywood that combined to become a 4x10' piece with a thickness of 23/32". For our support beams, we used six 2"x4"x4' pieces.
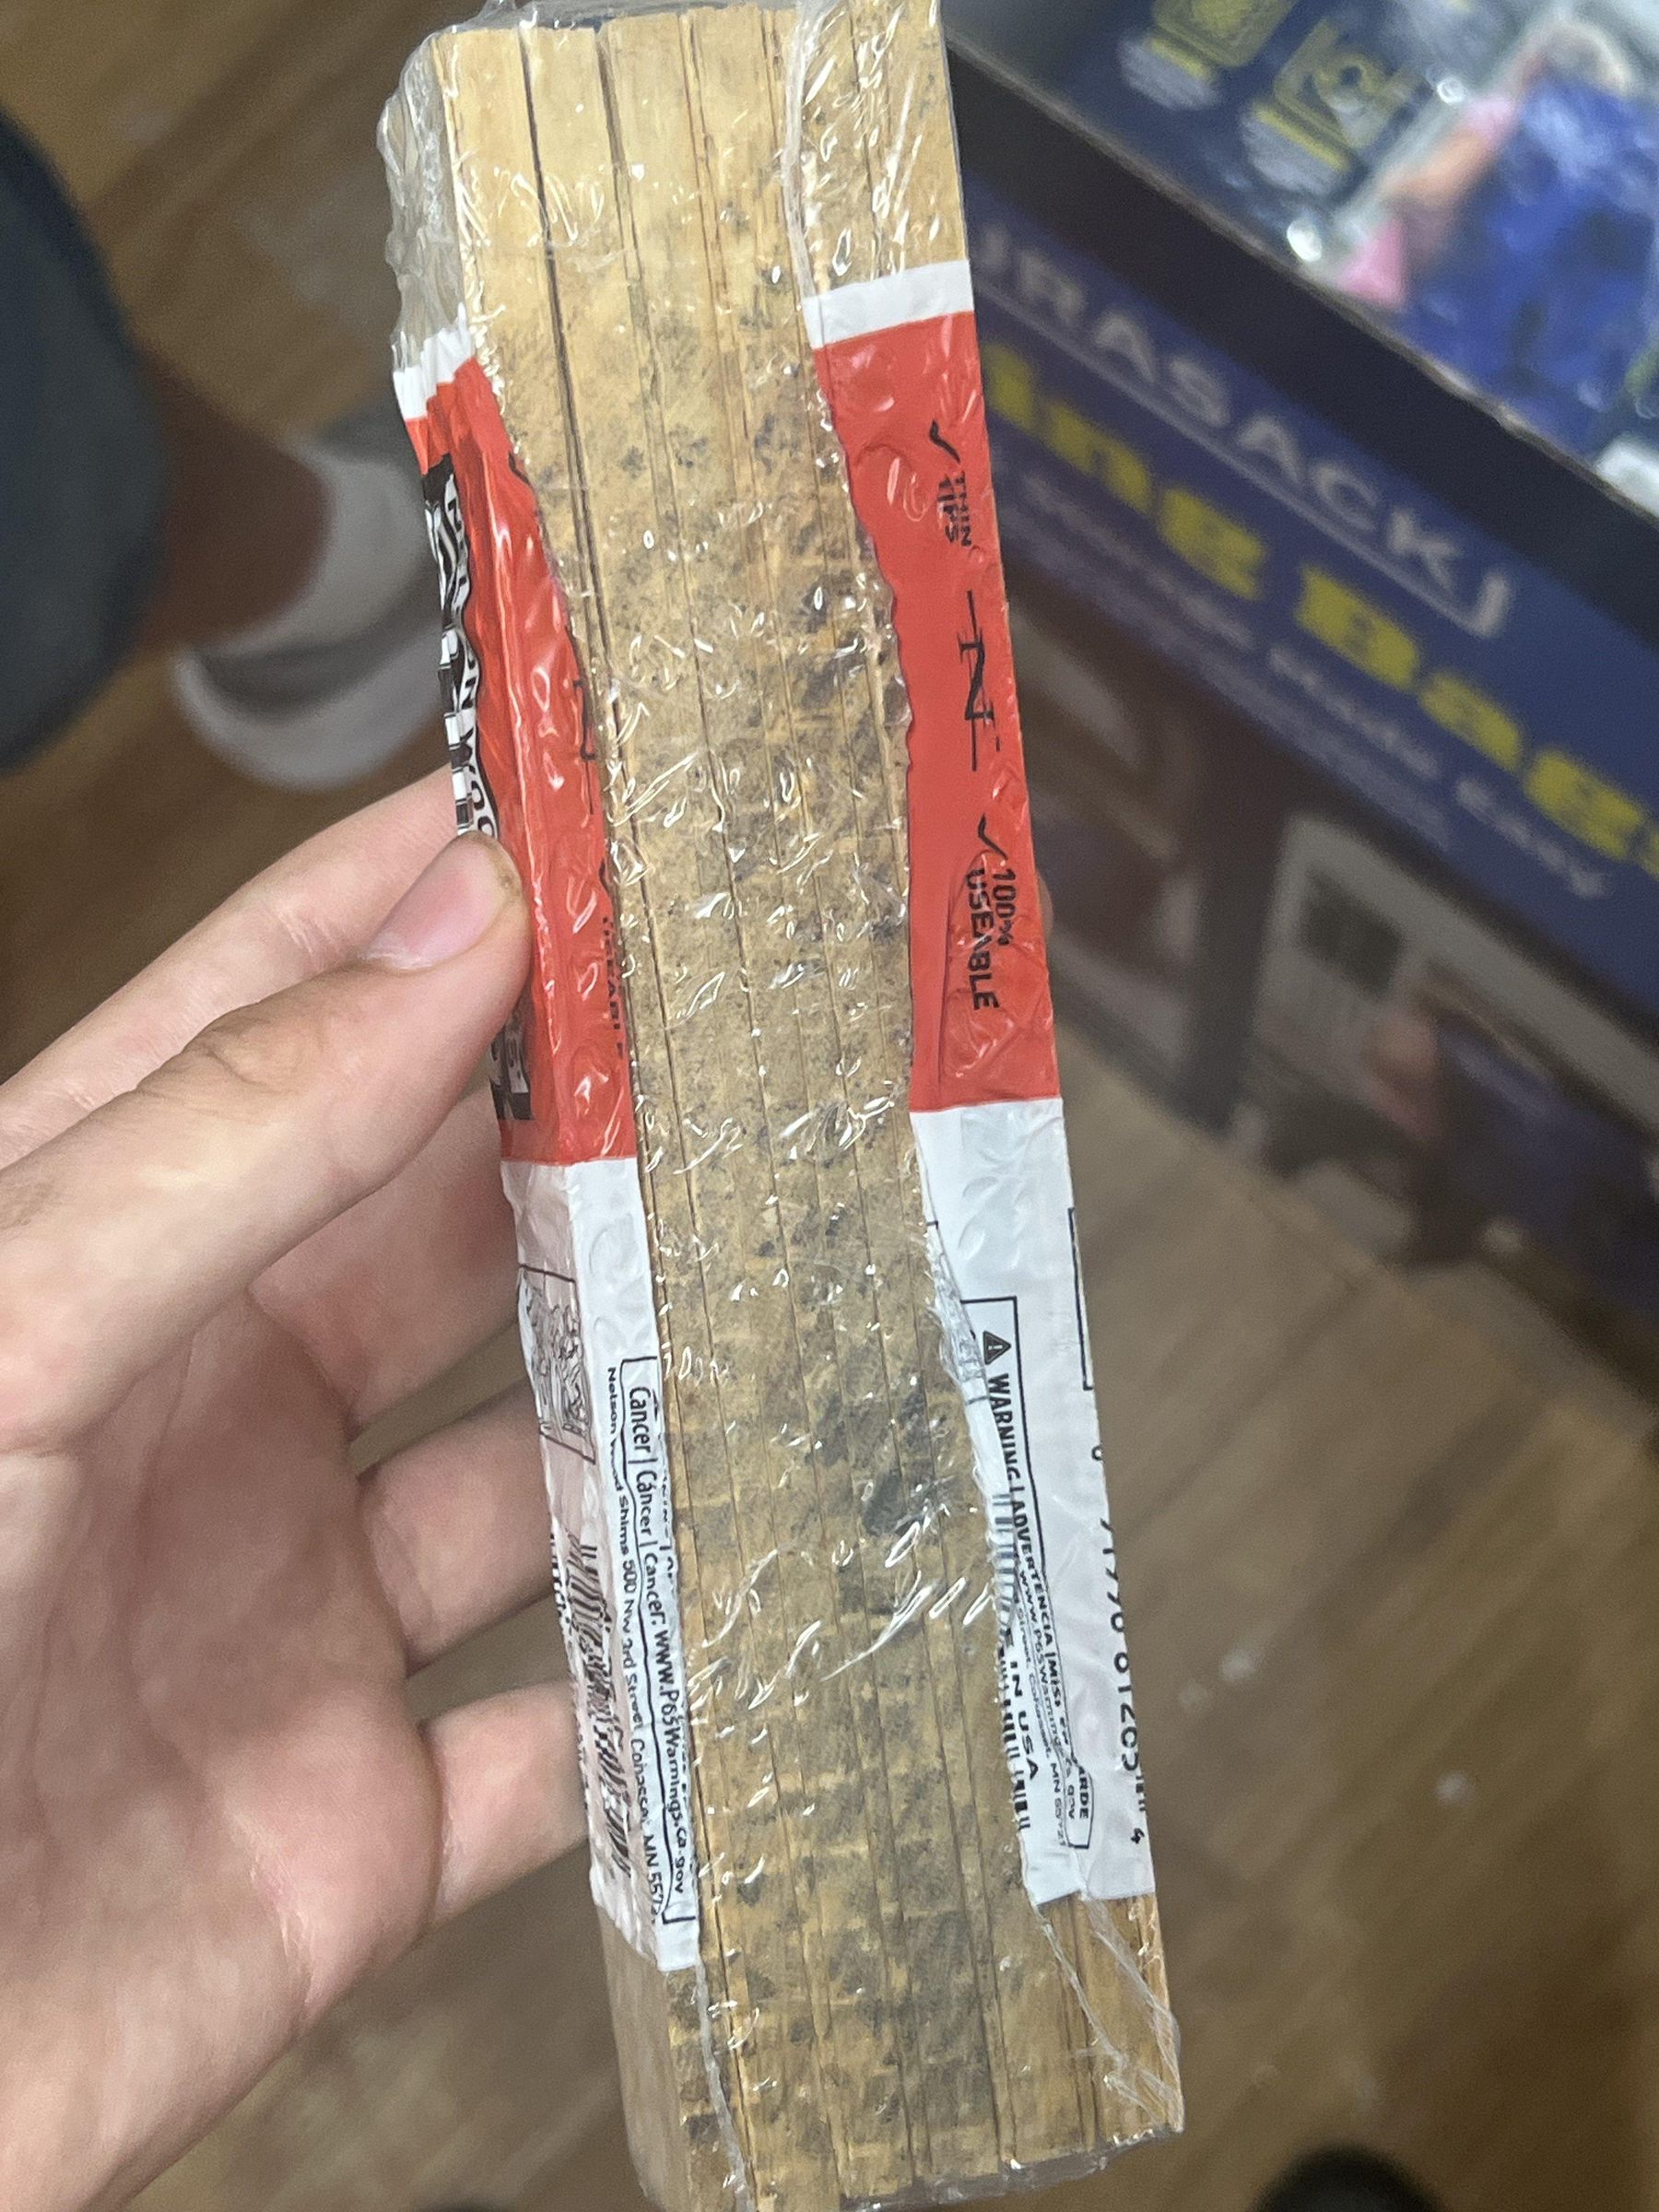
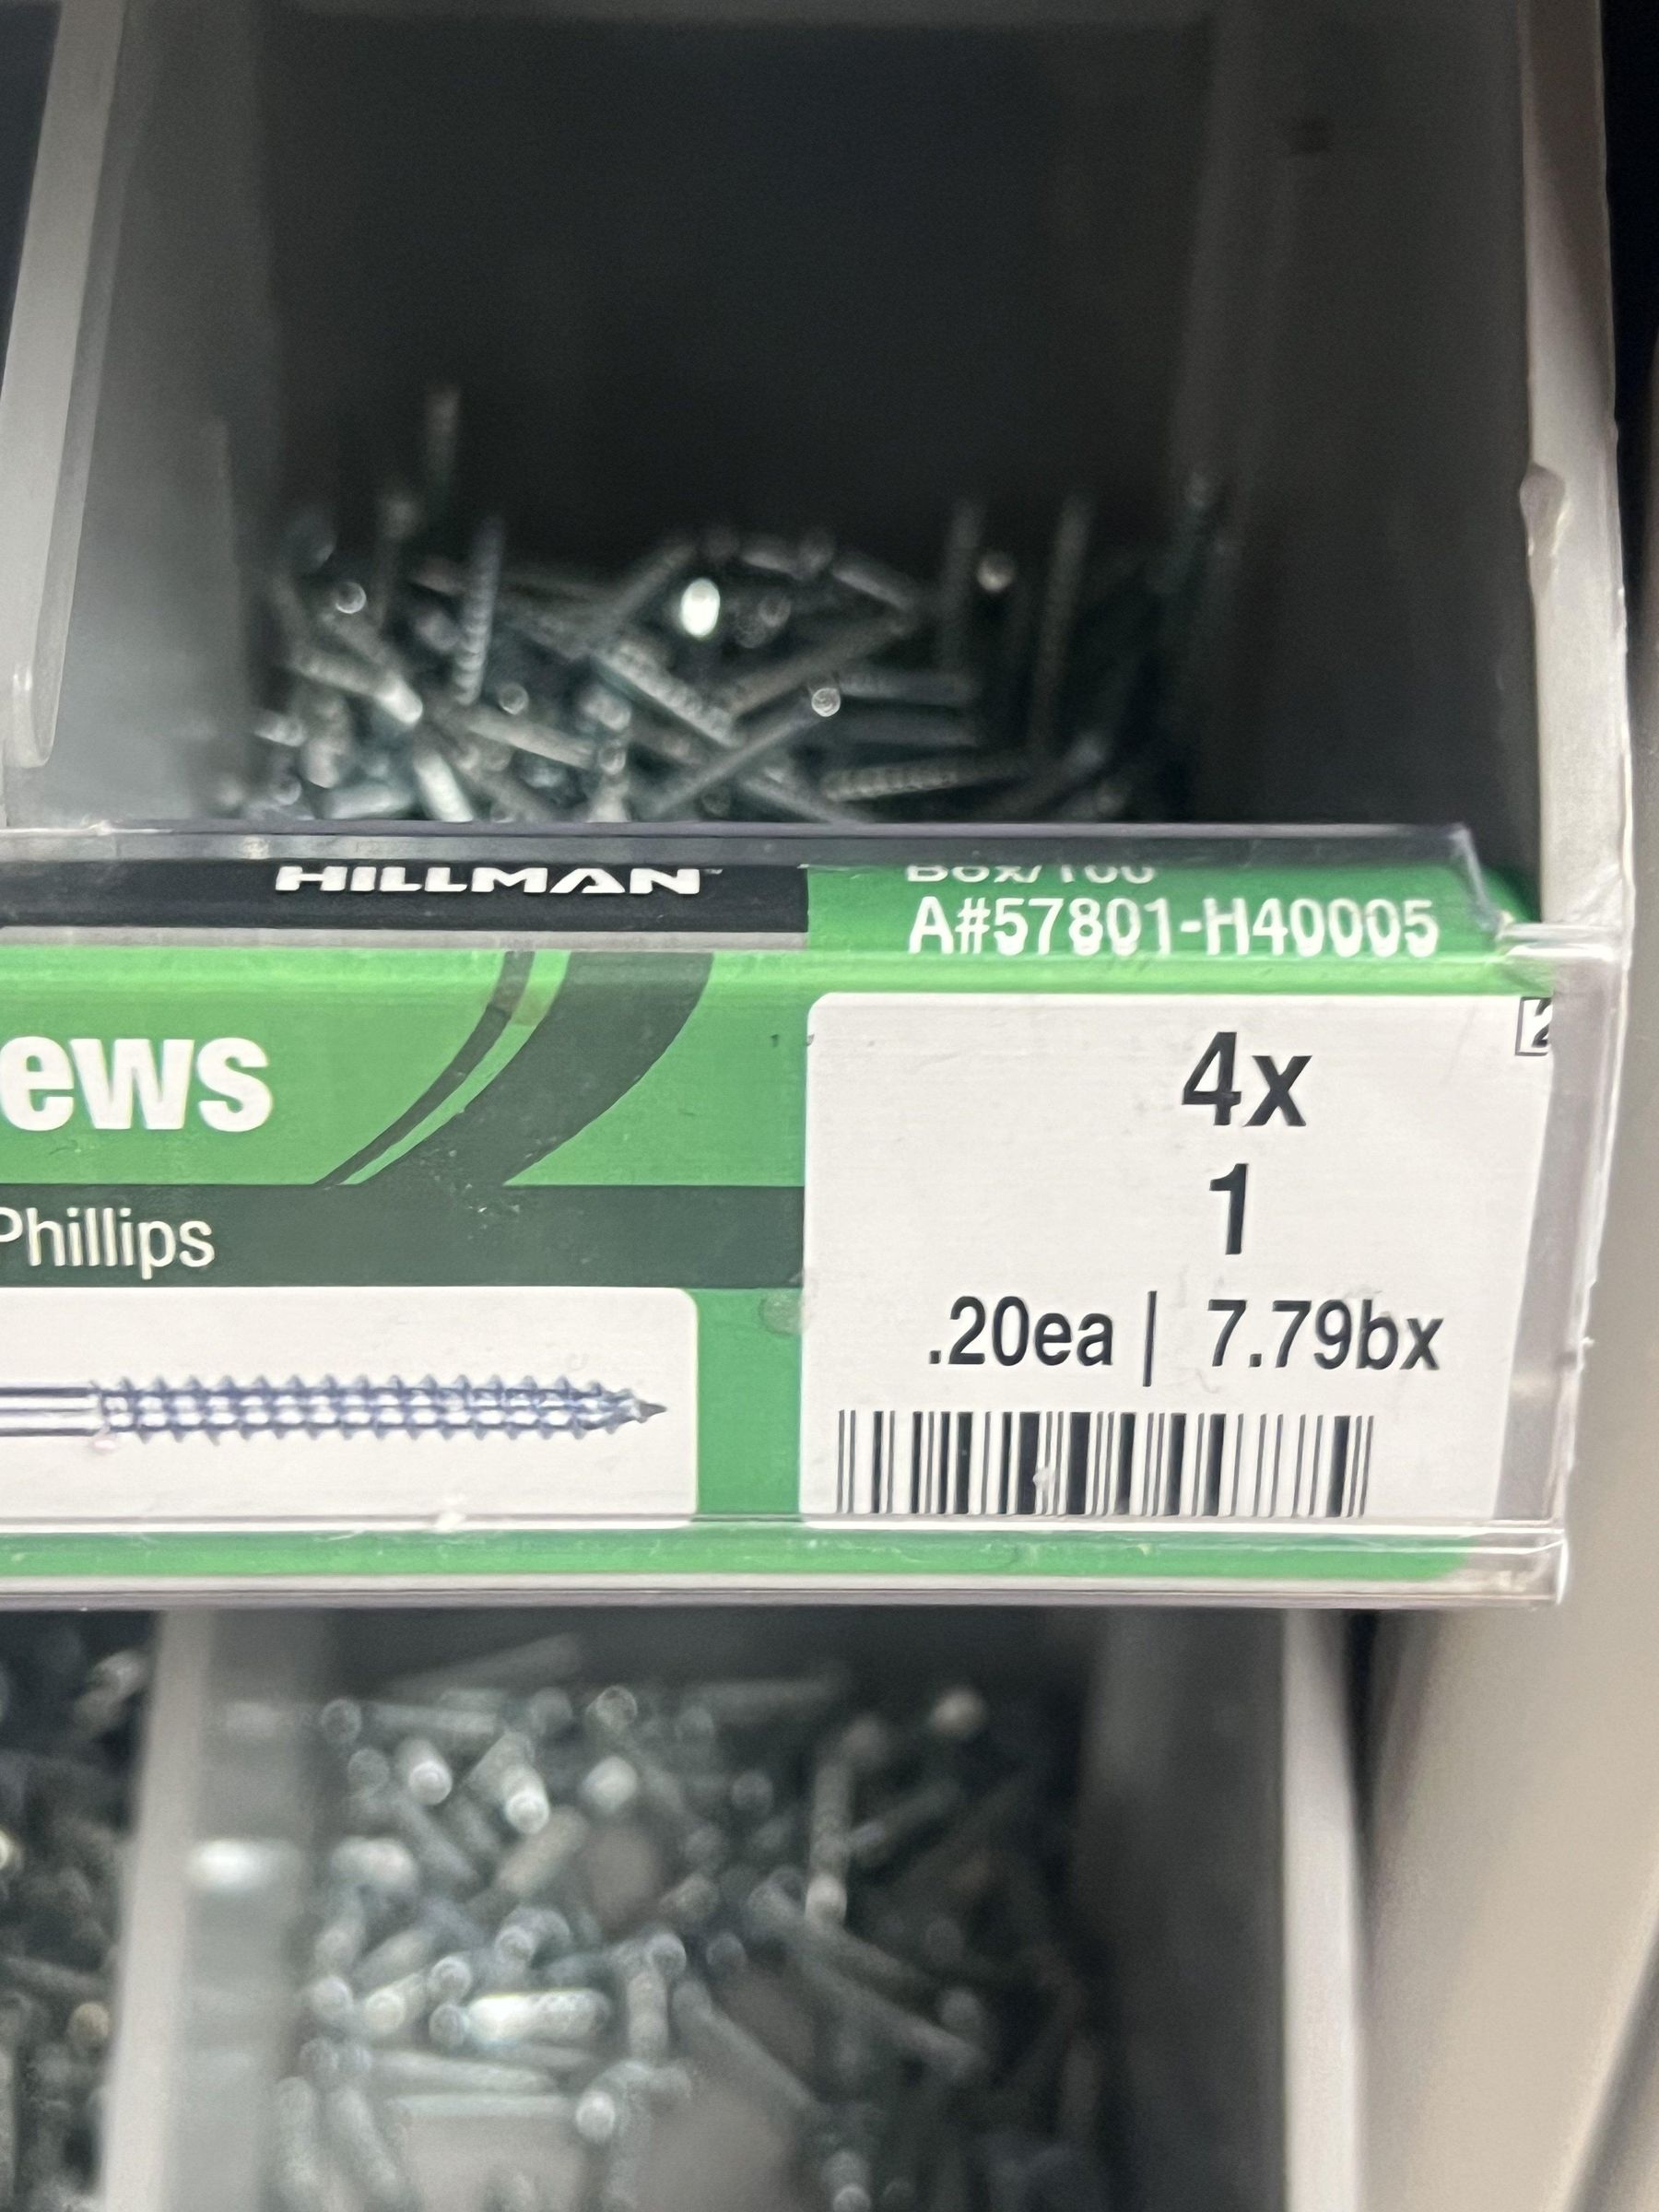
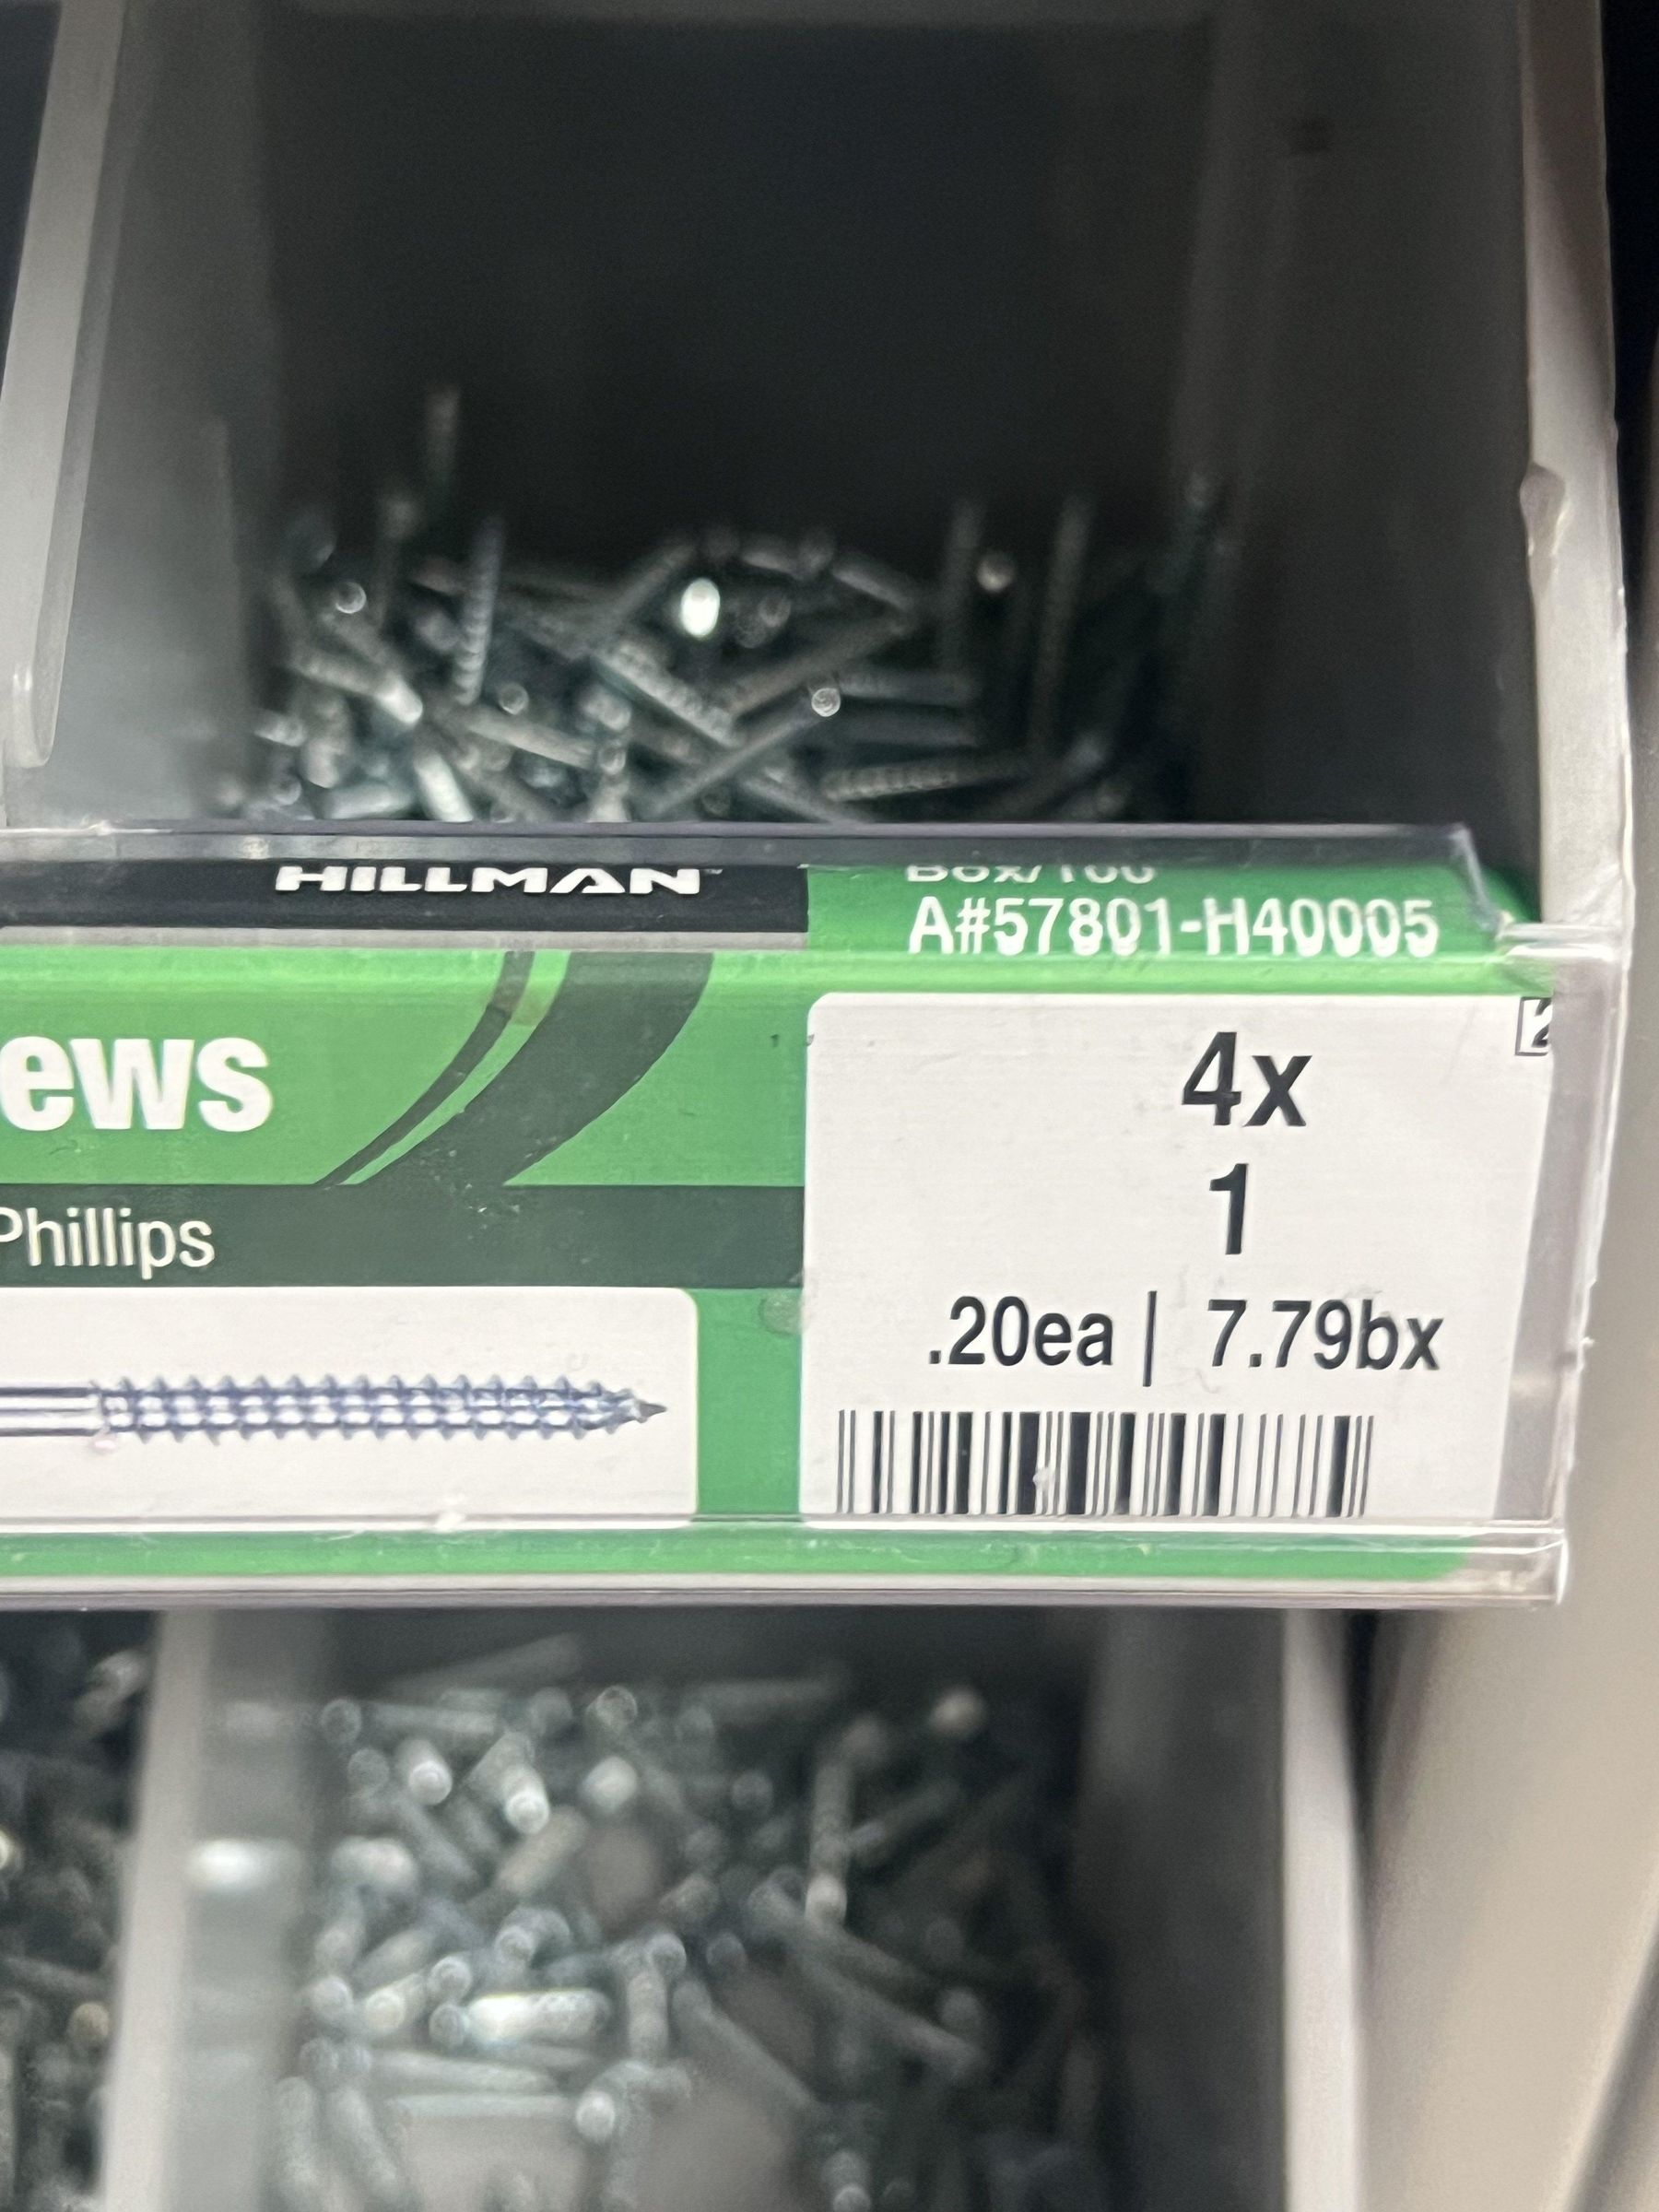
We bought a box of 3-1/2 inch deckmate deck screws and Nelson wood shims (1.5"x8")as well.
We bought a 5x10 roll of artificial turf from here
We also bought 1-1/4" and 3" holedozers for the holes, as well as two 4" PVC caps as golf ball cups.
We used white latex weatherproofing paint/coating for the foundation
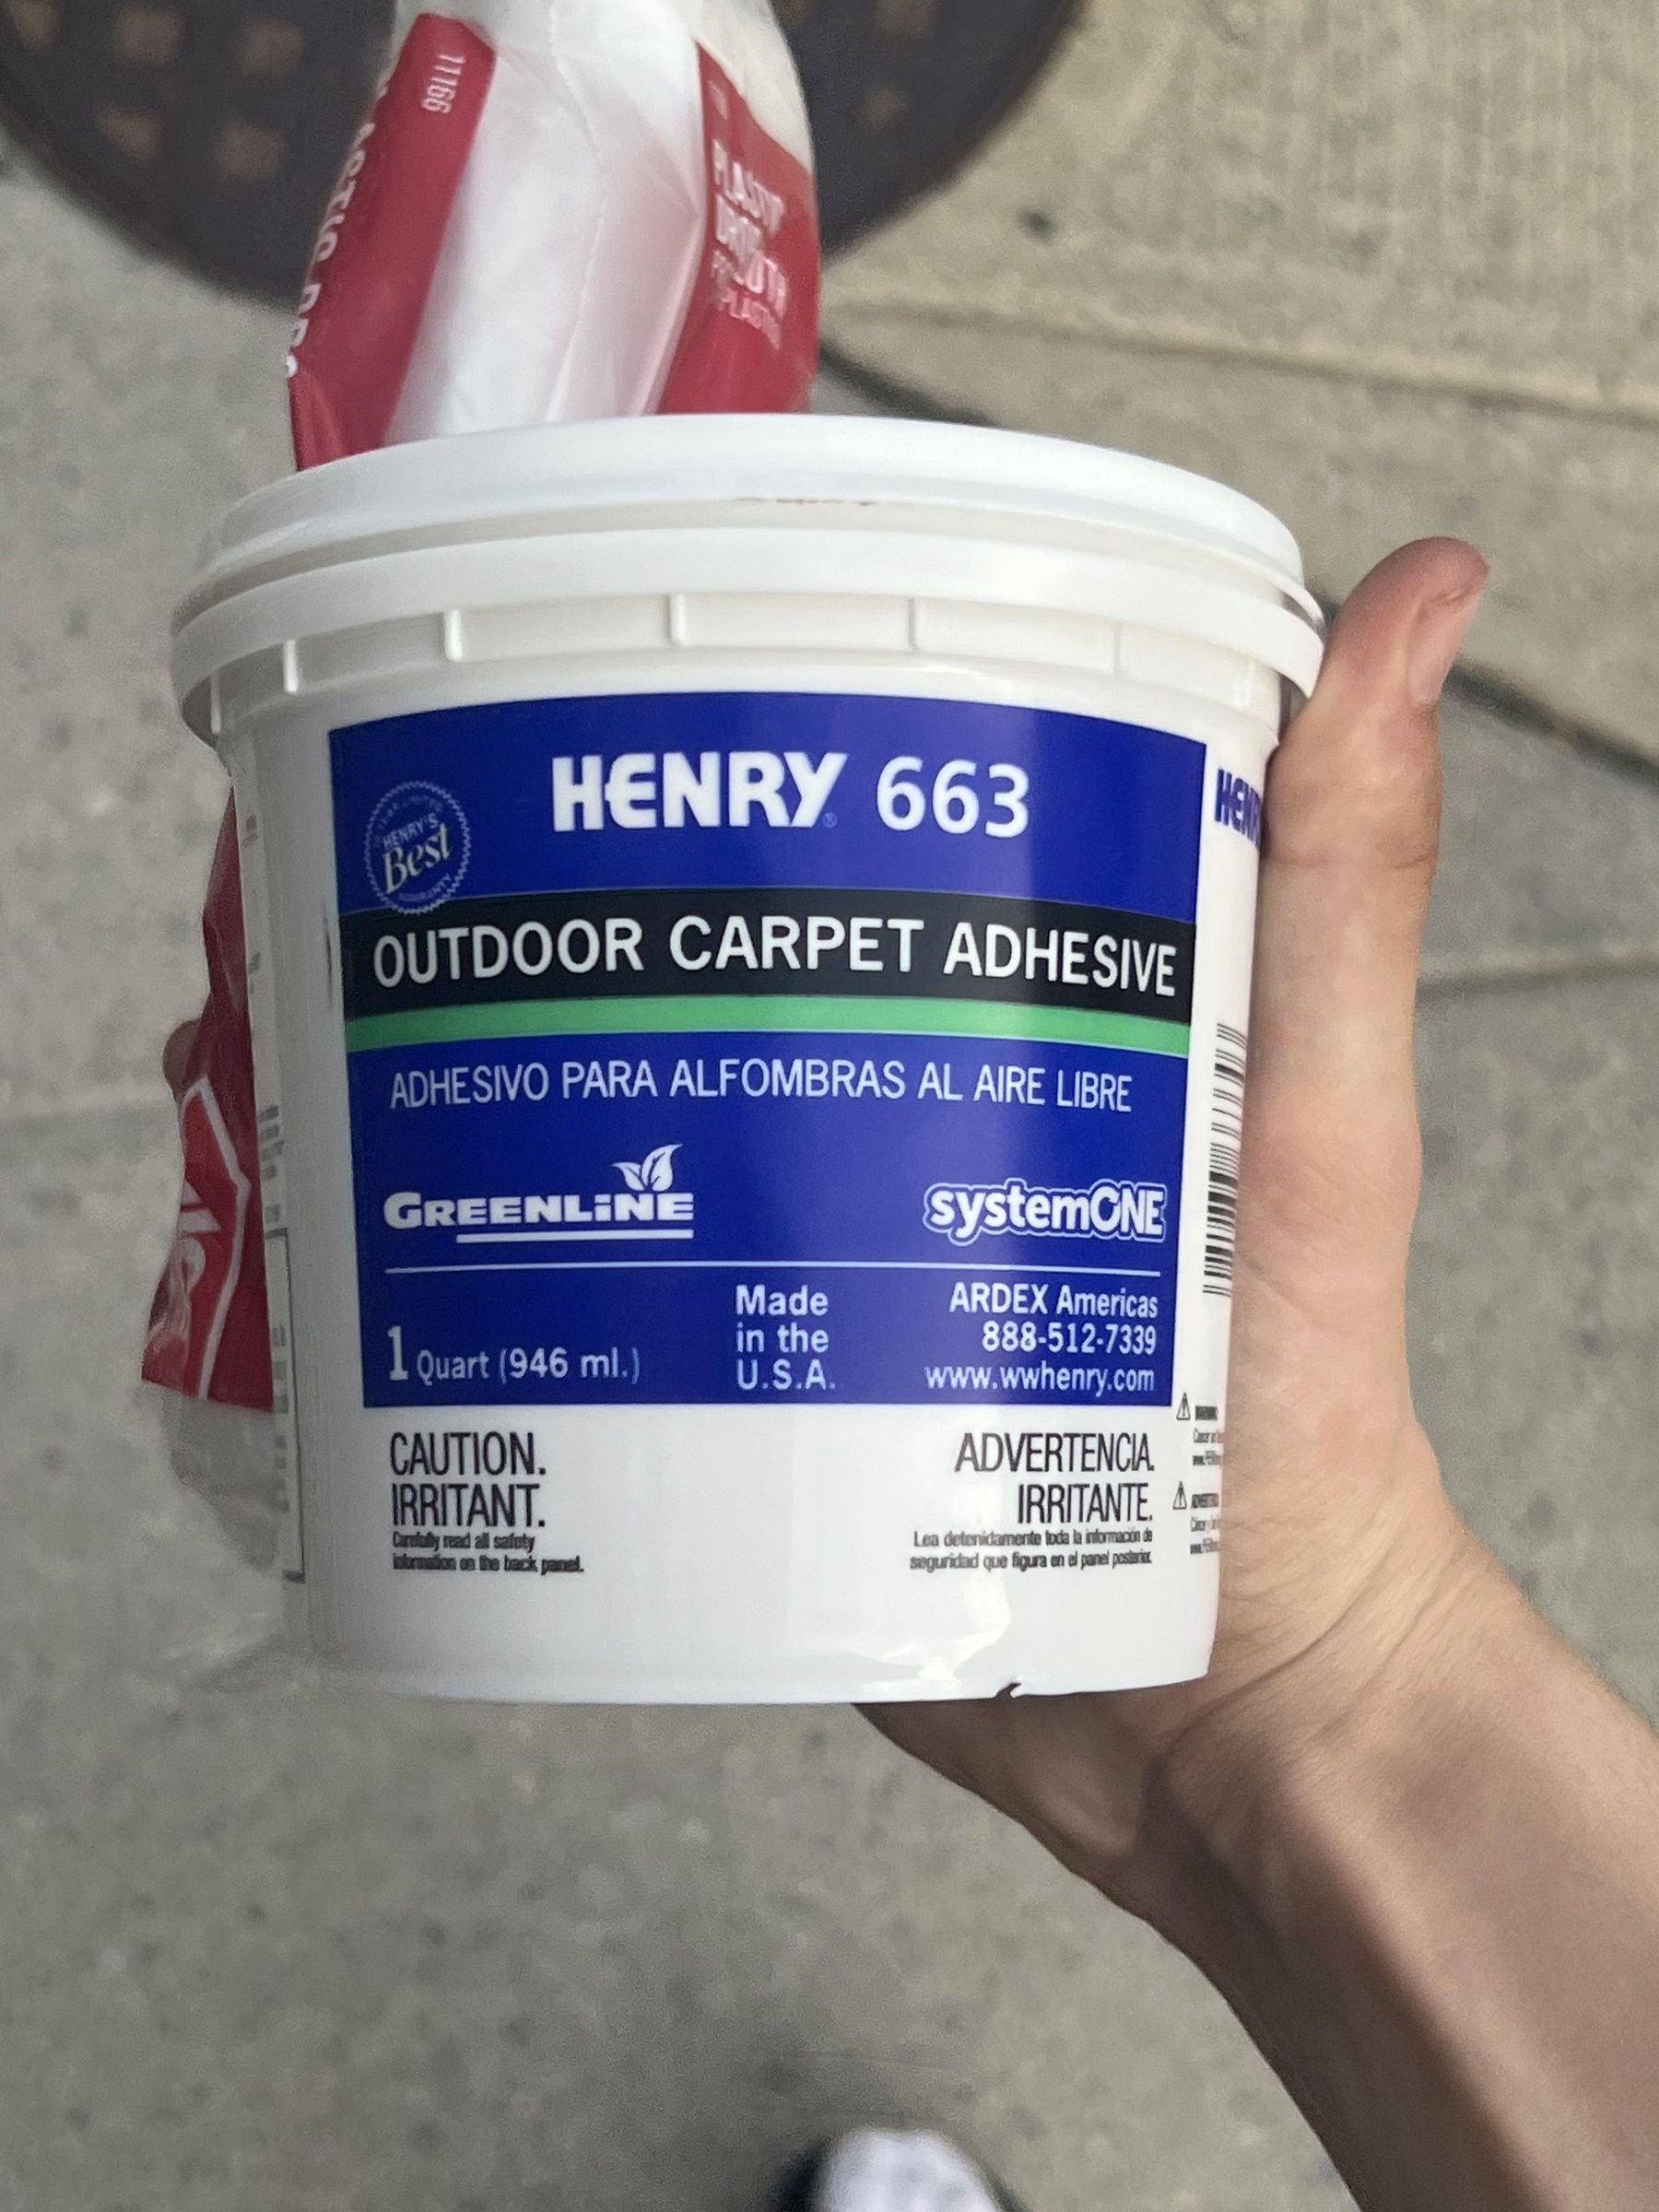
2 cans of outdoor carpet adhesive
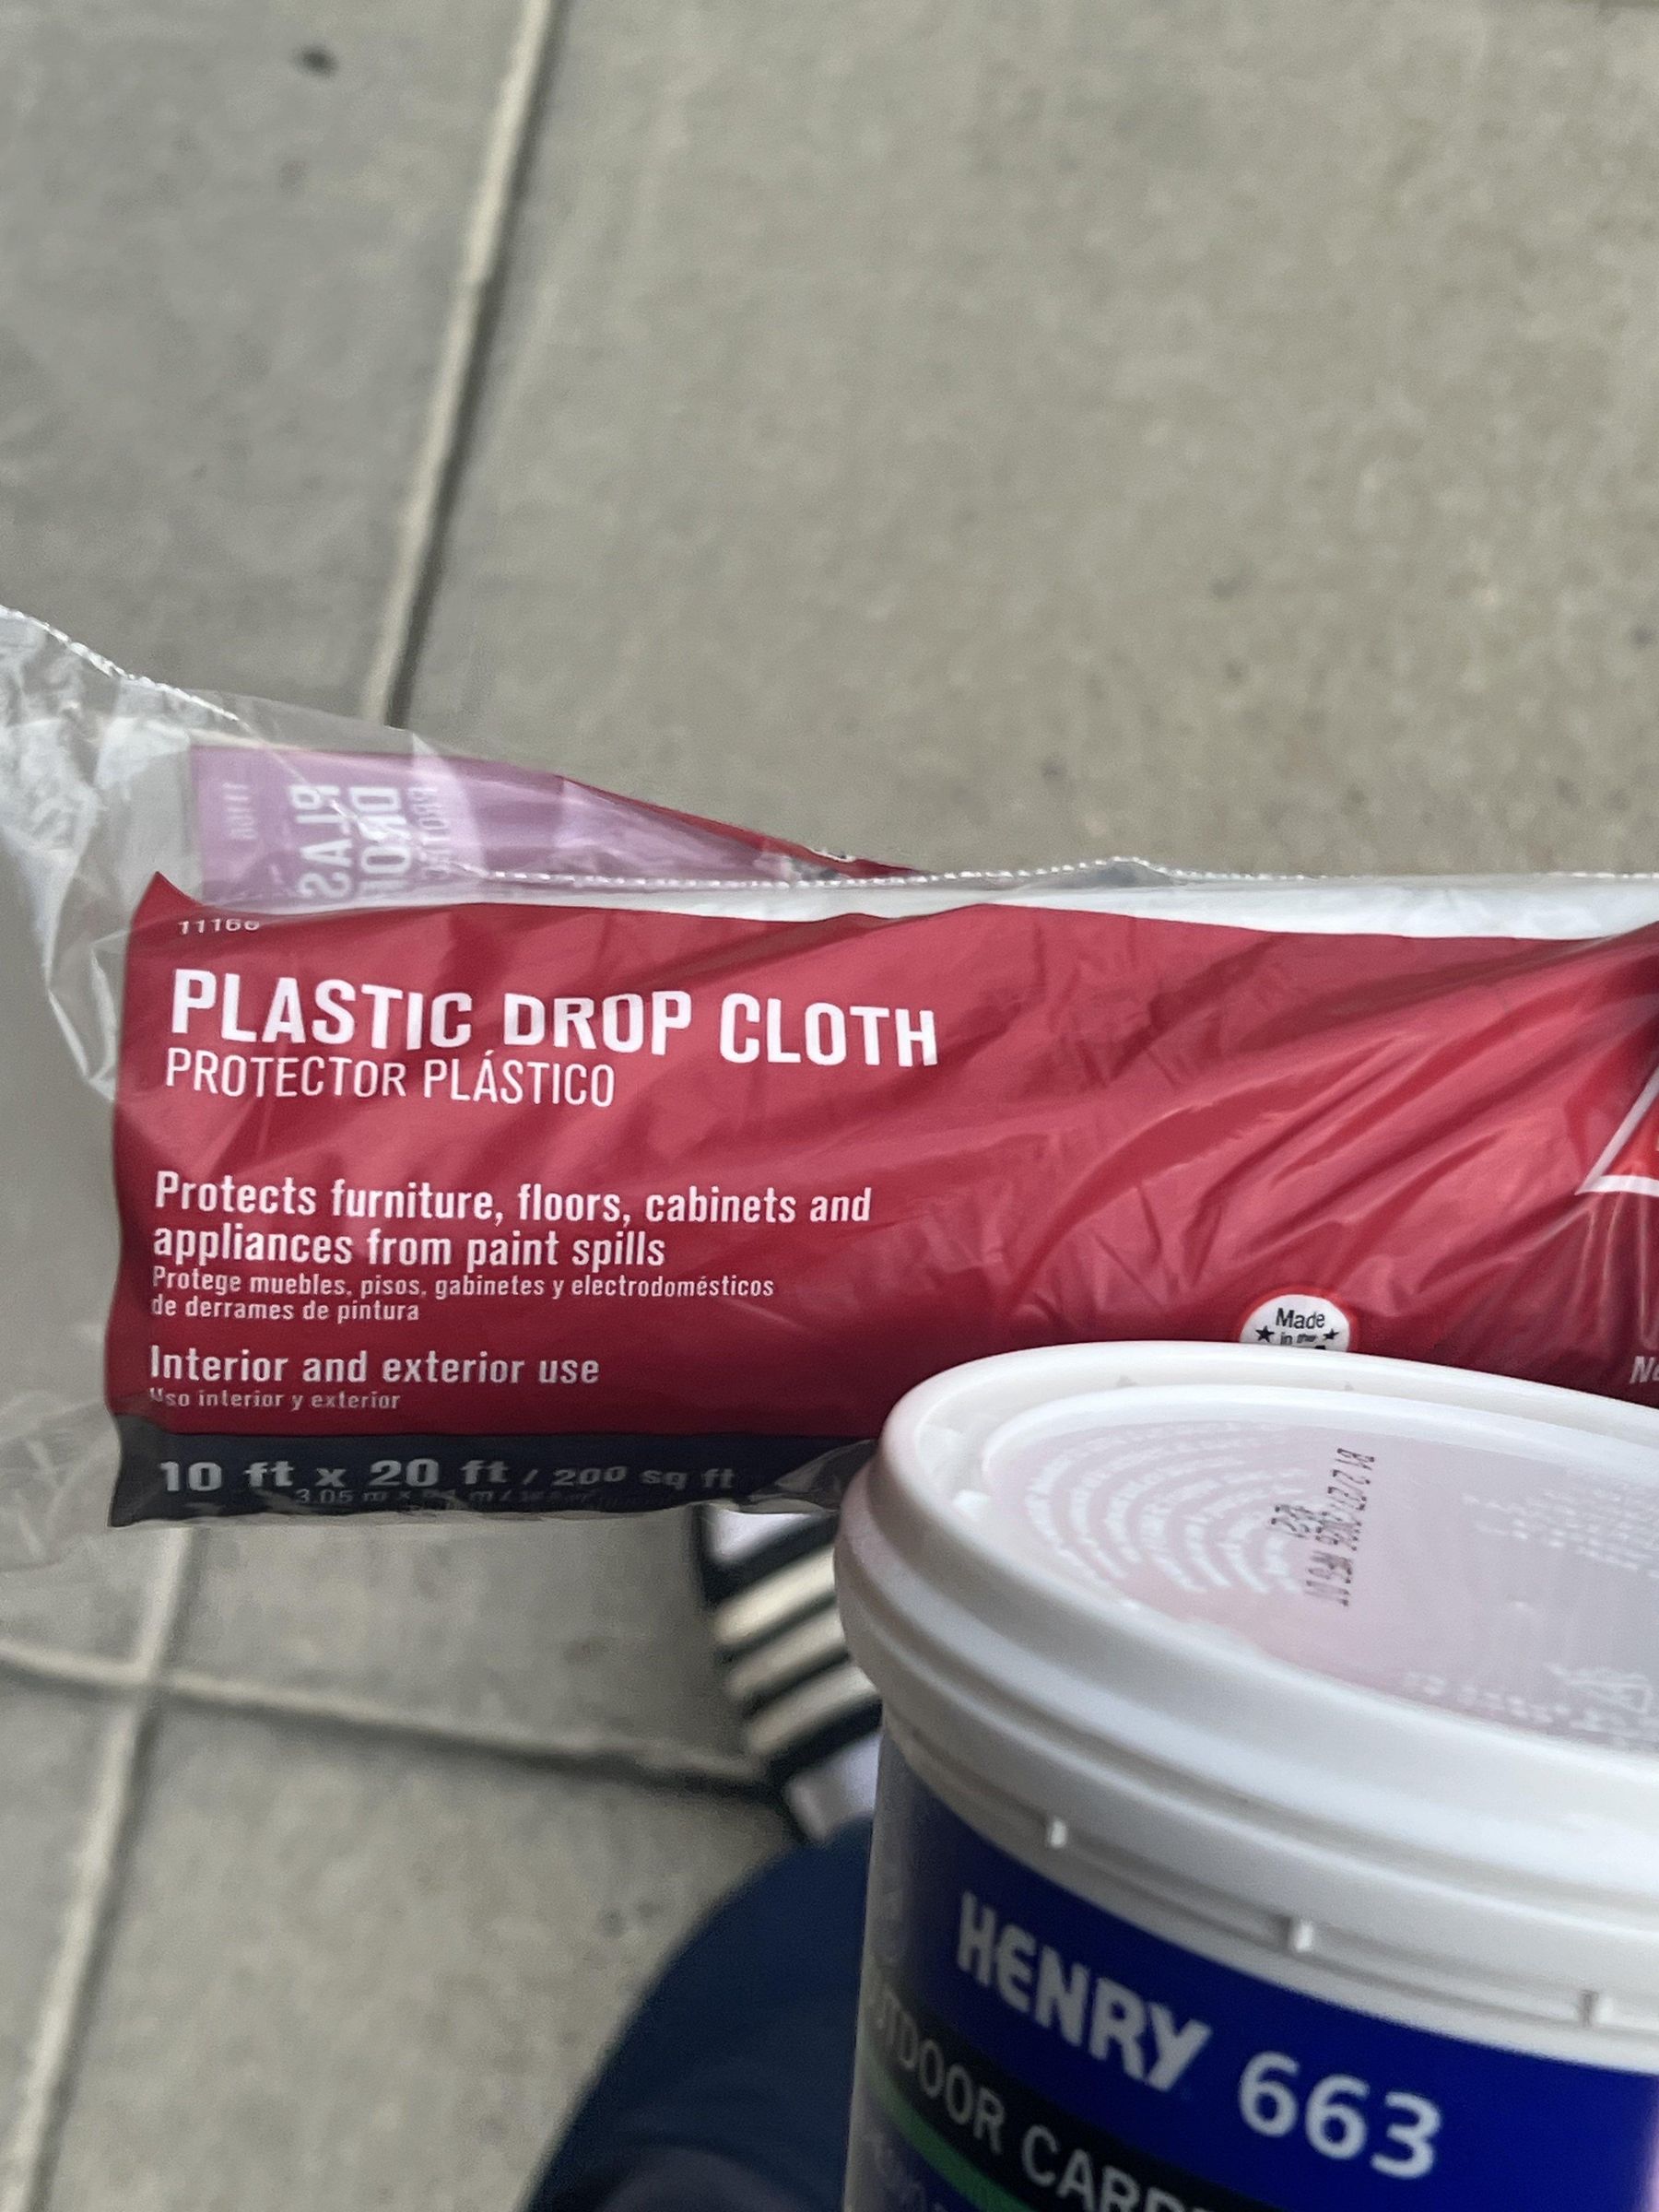
Plastic tarp/dropcloth
Tools
Drill with a bit that is similar in size to 3/16" for the deck screws
Caulking gun
Hand saw
Wire stripper (you can also use scissors)
Pliers (for the screws too big for a screwdriver)
Notched trowel
Hammer
Mini-putter & golf balls
Obstacles
1"x3" lumber - varies in length depending on the obstacle
1.5" L-braces
18"x12" sheet metal (gauge doesn't really matter as long as you can bend it and it can support a golf ball)
Small 5-quart bucket (for tunnel)
12v motor with mount (we got this one)
12v battery pack (we got this one)
3"x2"x8" lumber for the motor
3/4" PVC with hanger (like this one)
1/16" rubber sheet (like this)
Gorilla heavy-duty adhesive here (what we used, not vital to the build)
Wood screws that fit into the motor mount (for our mount, we brought it to the hardware store and tried screws to see which fit)
Screws for the PVC mount (ours used 3/8")
Extra insulated wire (we got ours from the extra battery pack)
Two 1/4" plywood 7x~5" (depends on the dimensions of your motor/other things. recommend getting a 24x6" or 24x12" and cutting it to size)
1"x2"x2' lumber
Weatherproofing spray paint (optional)
Foundation
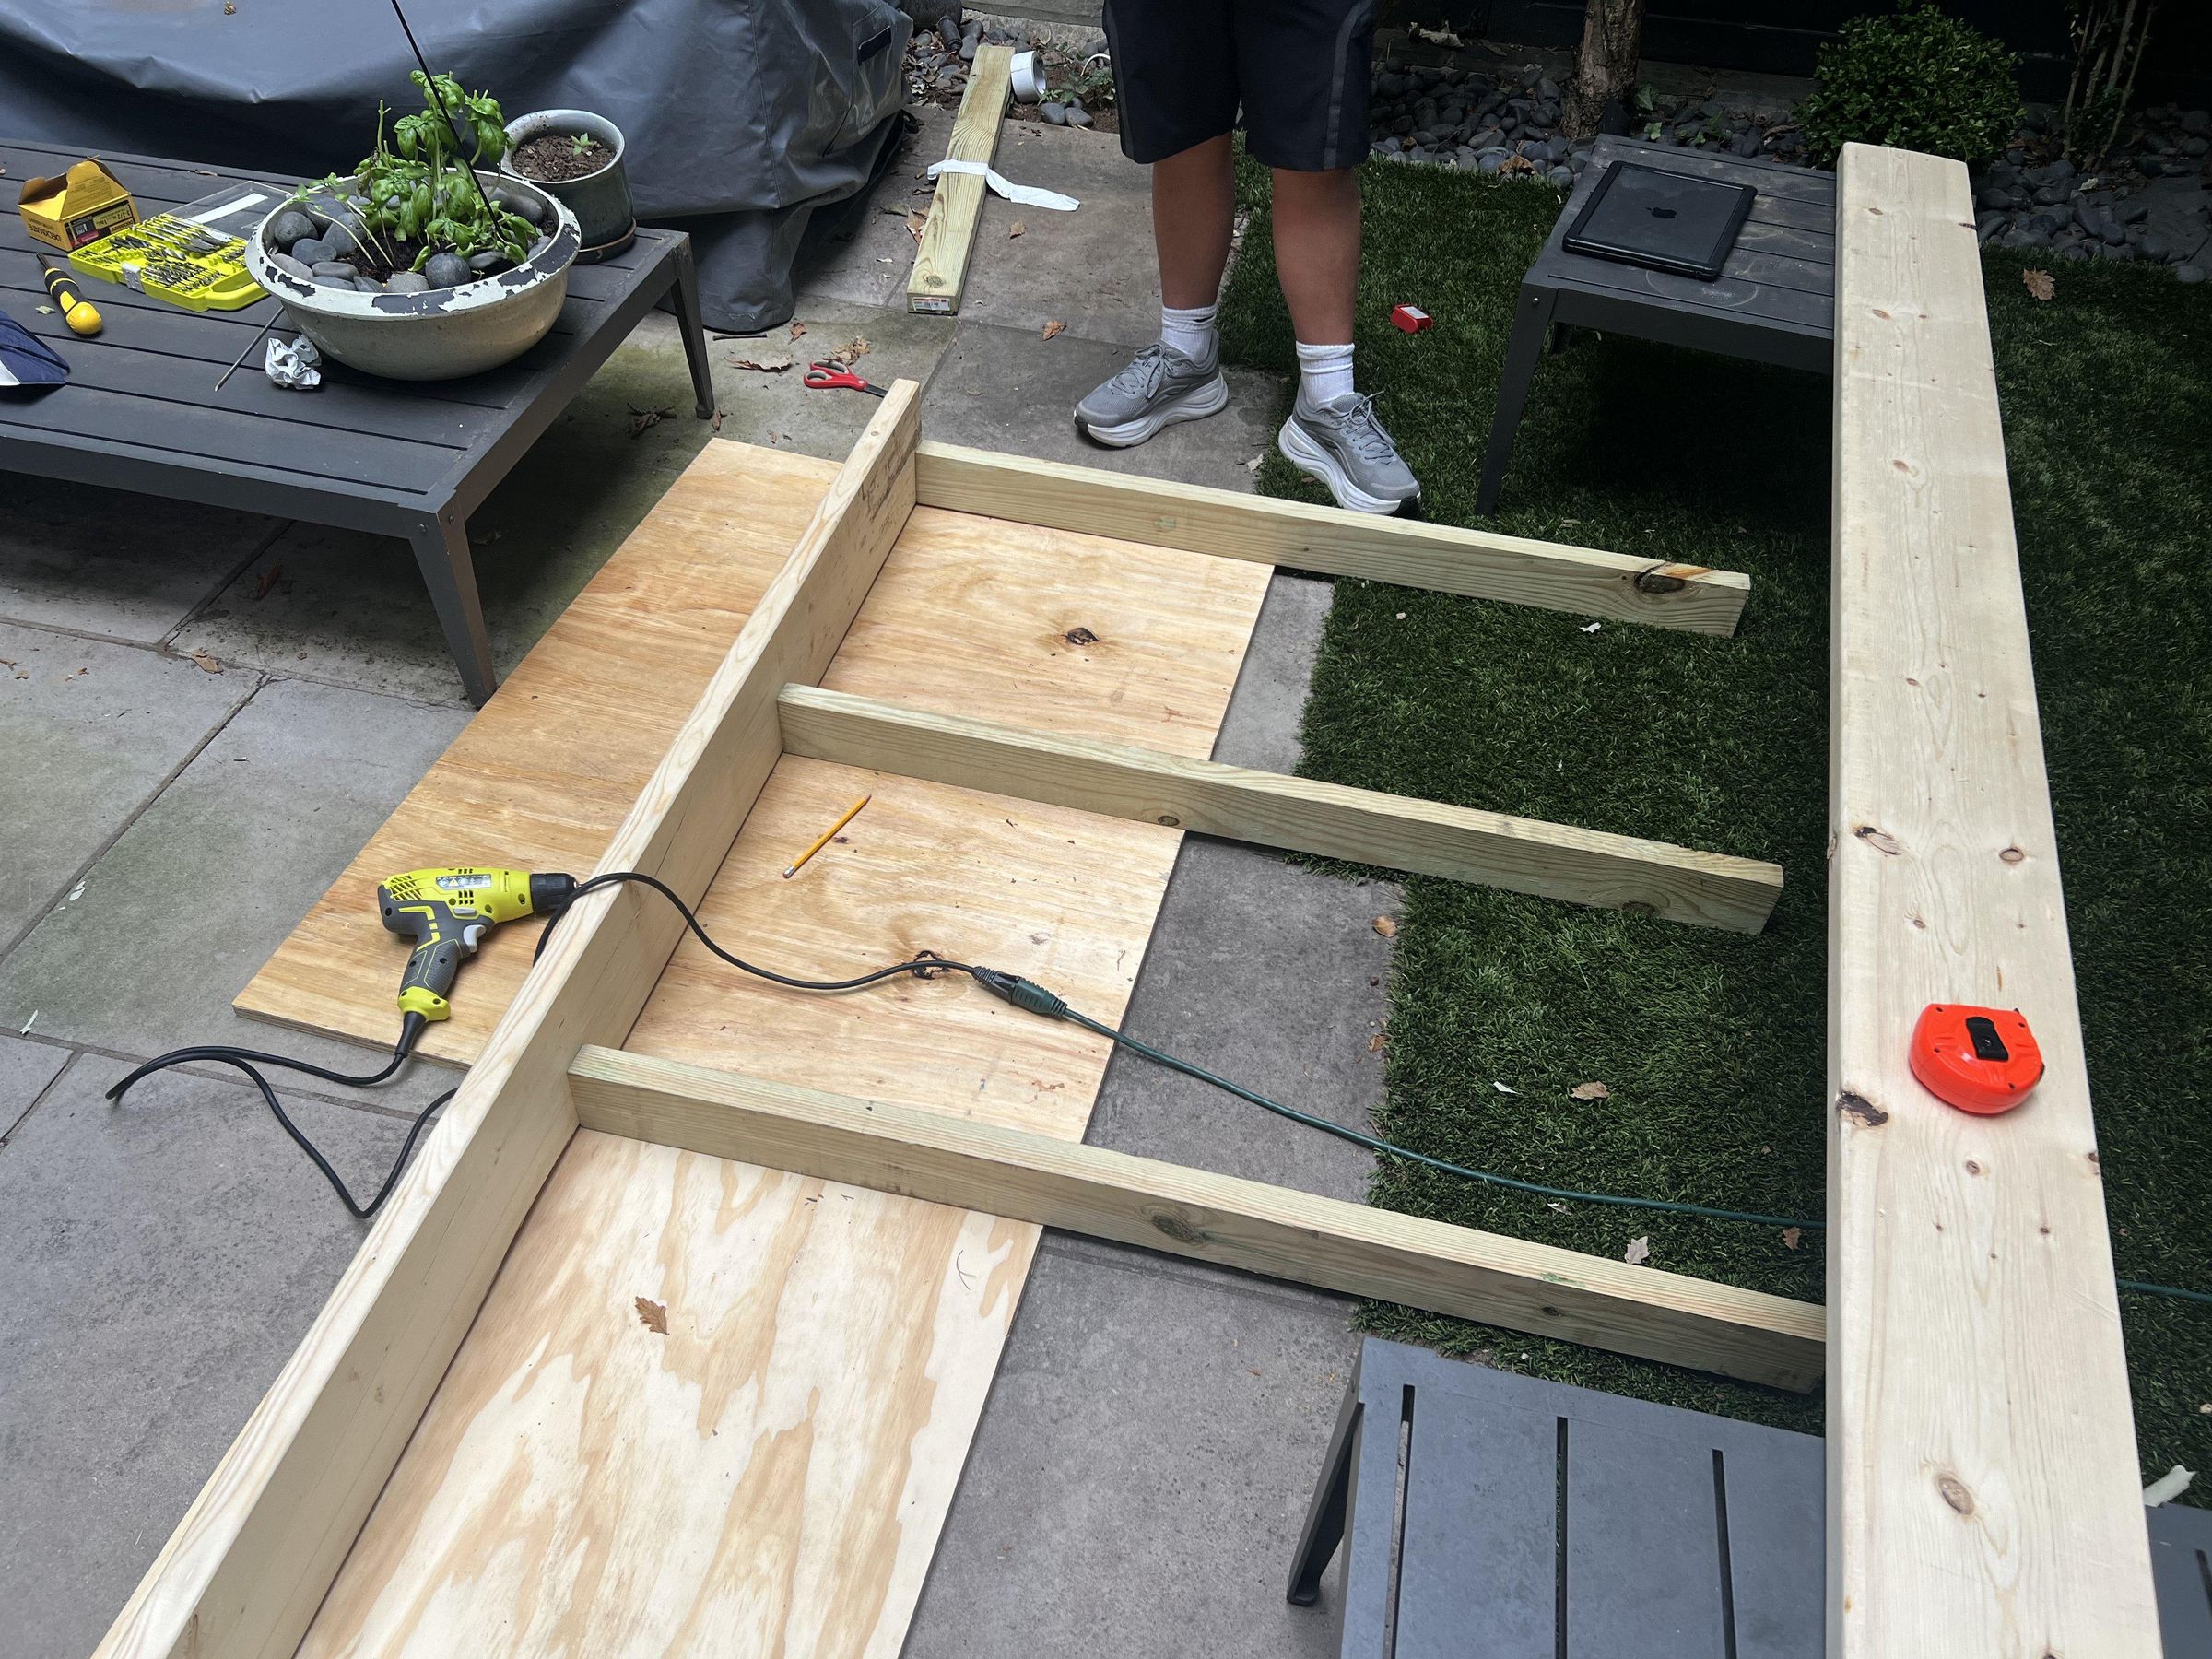
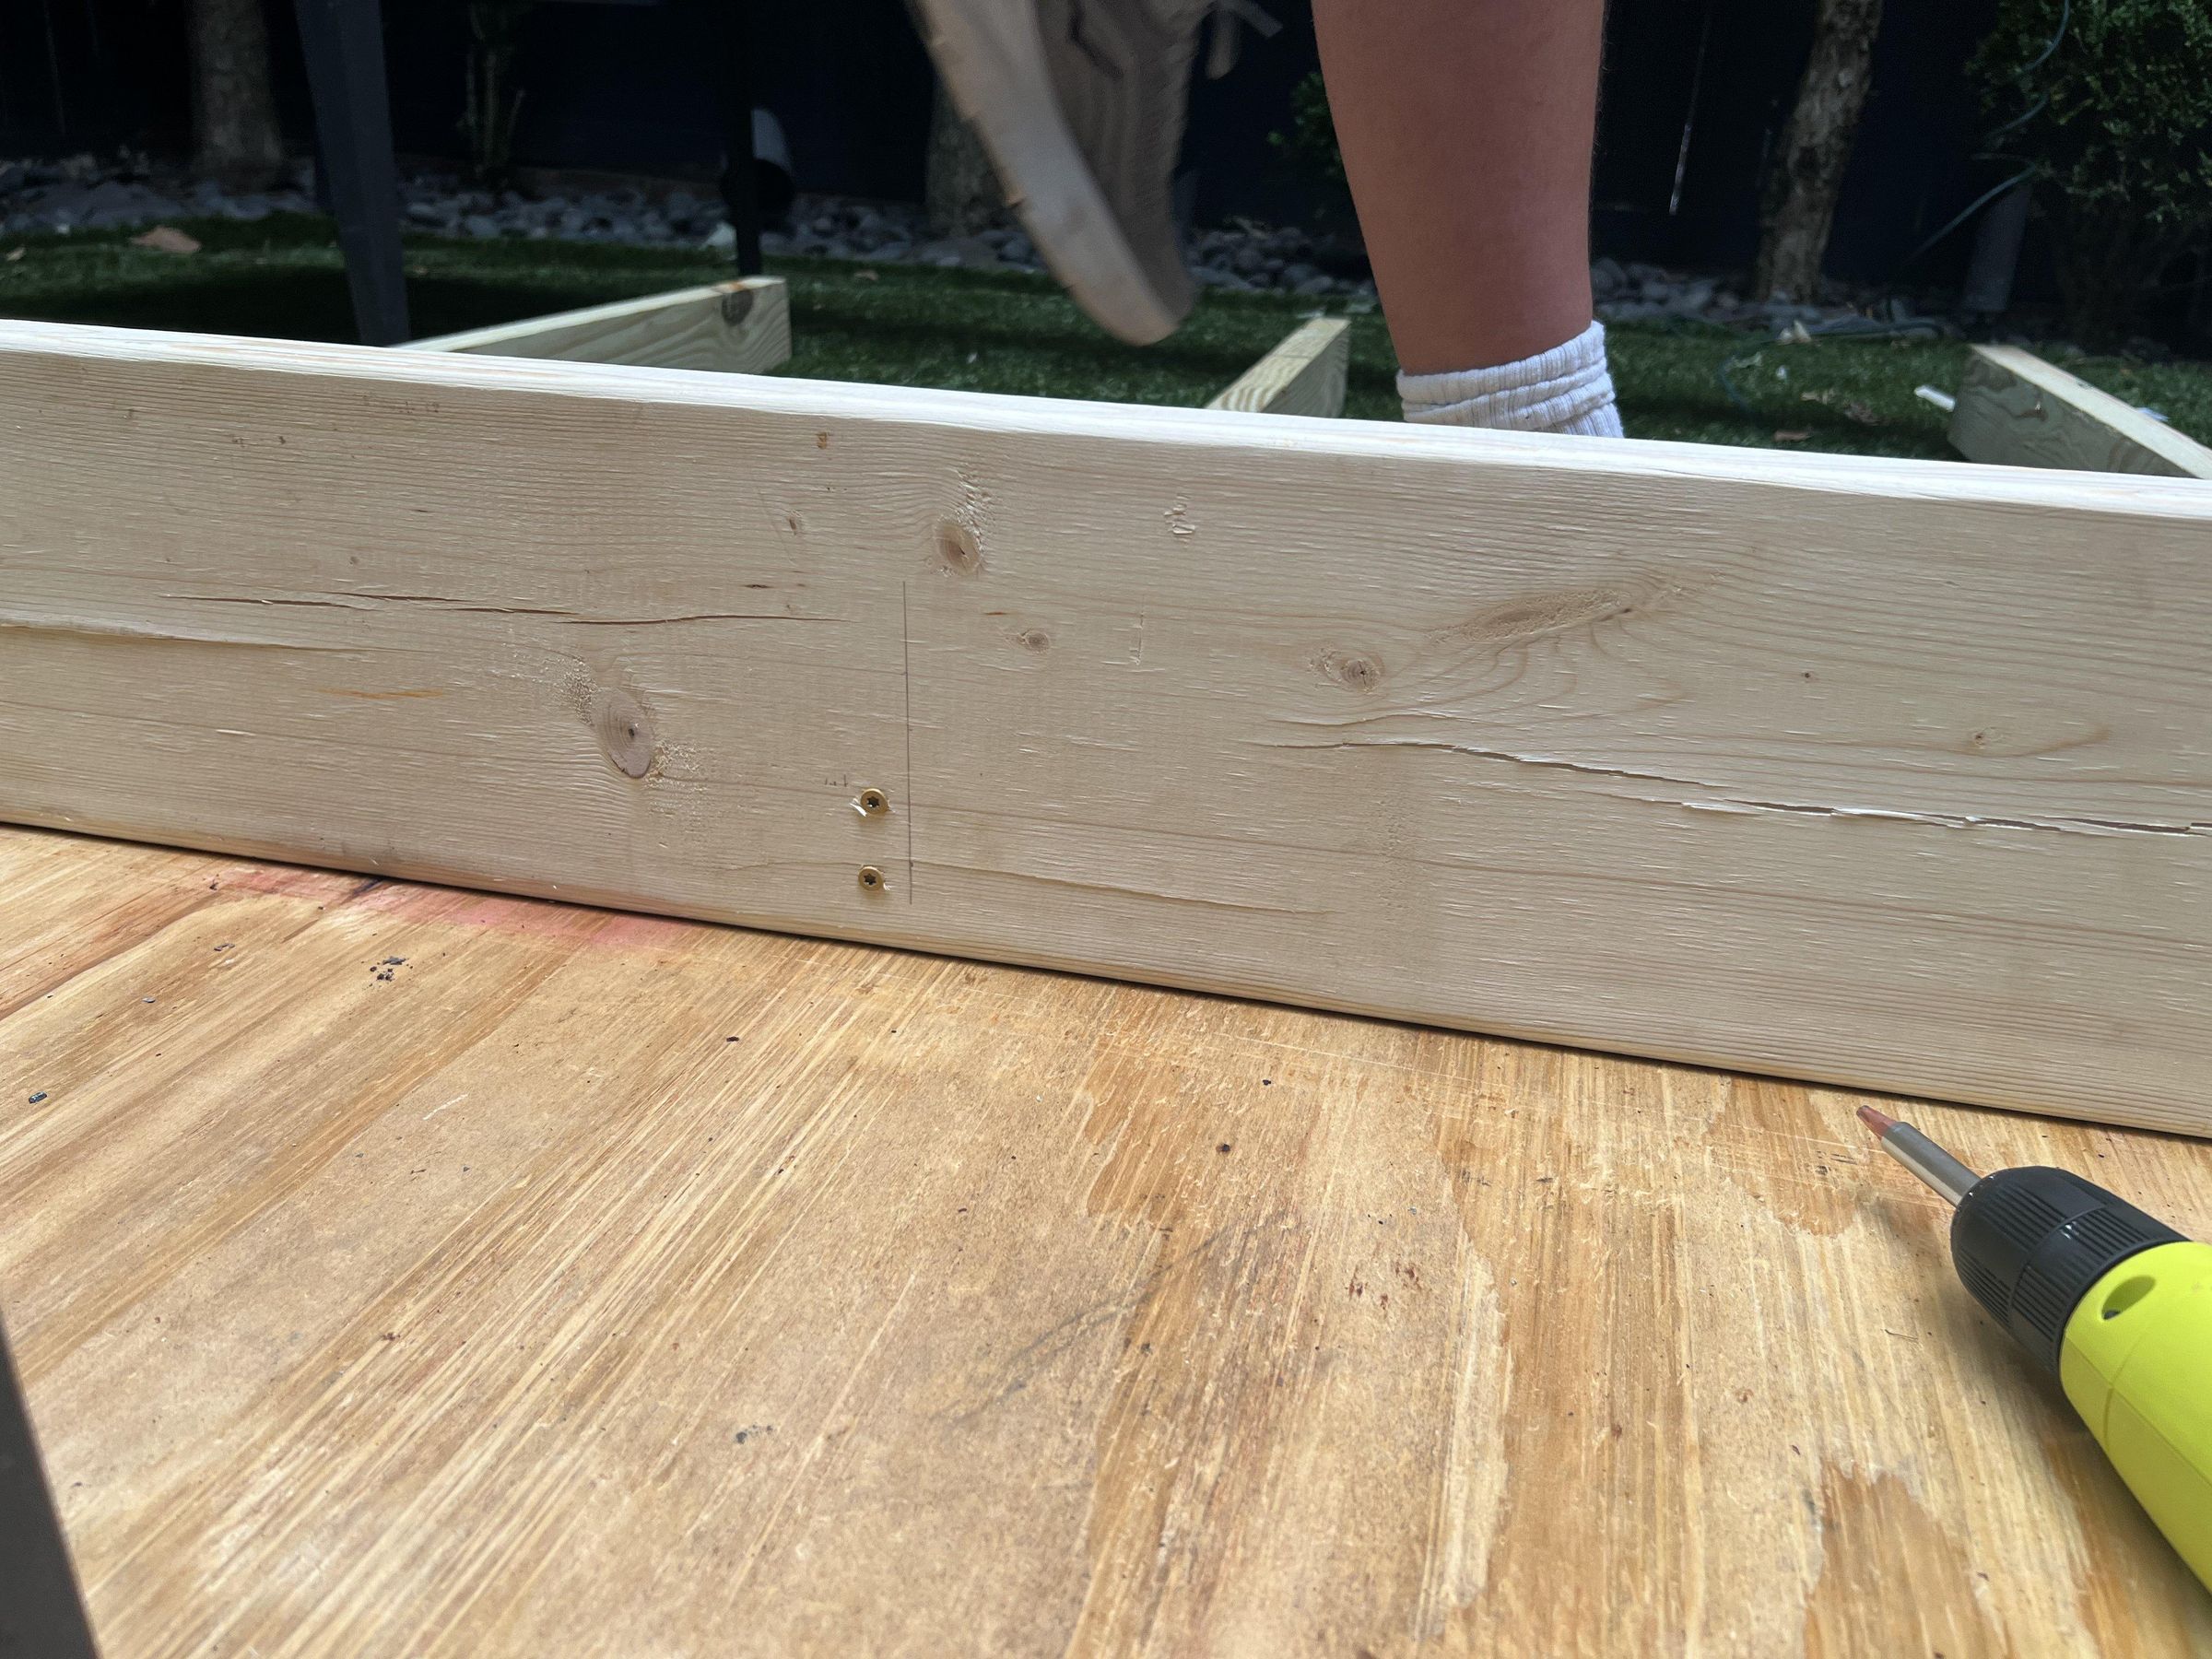
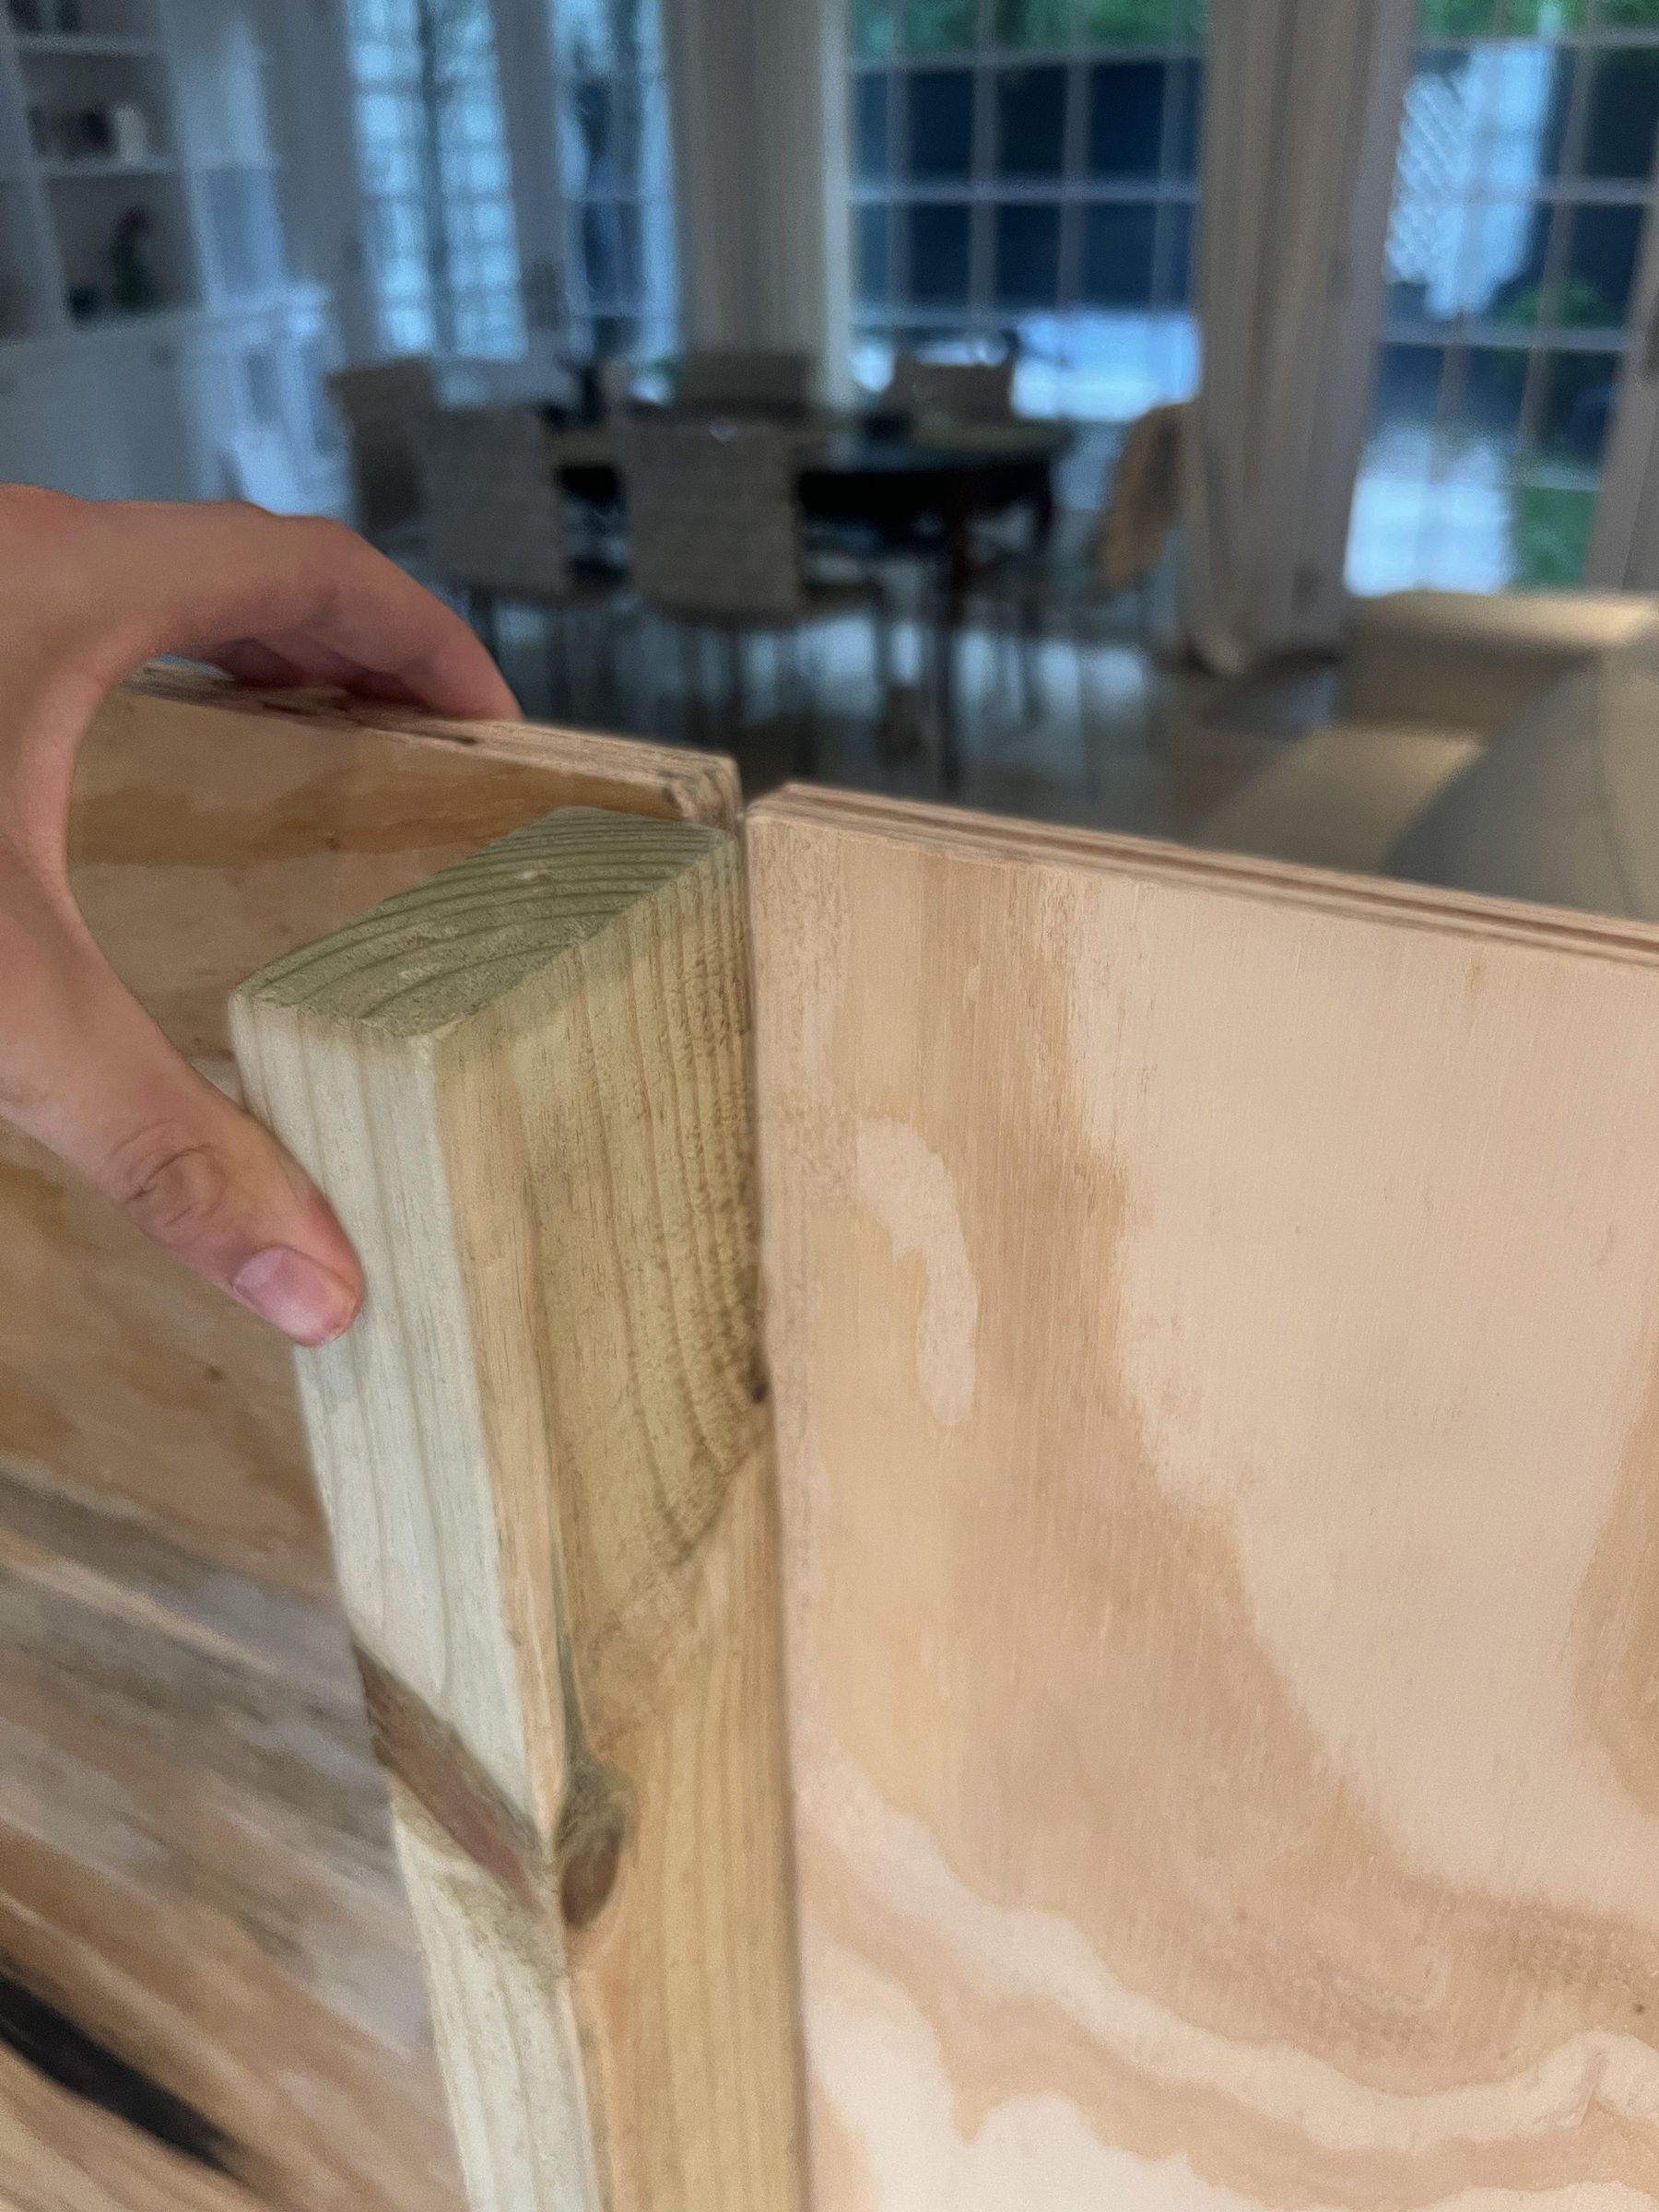
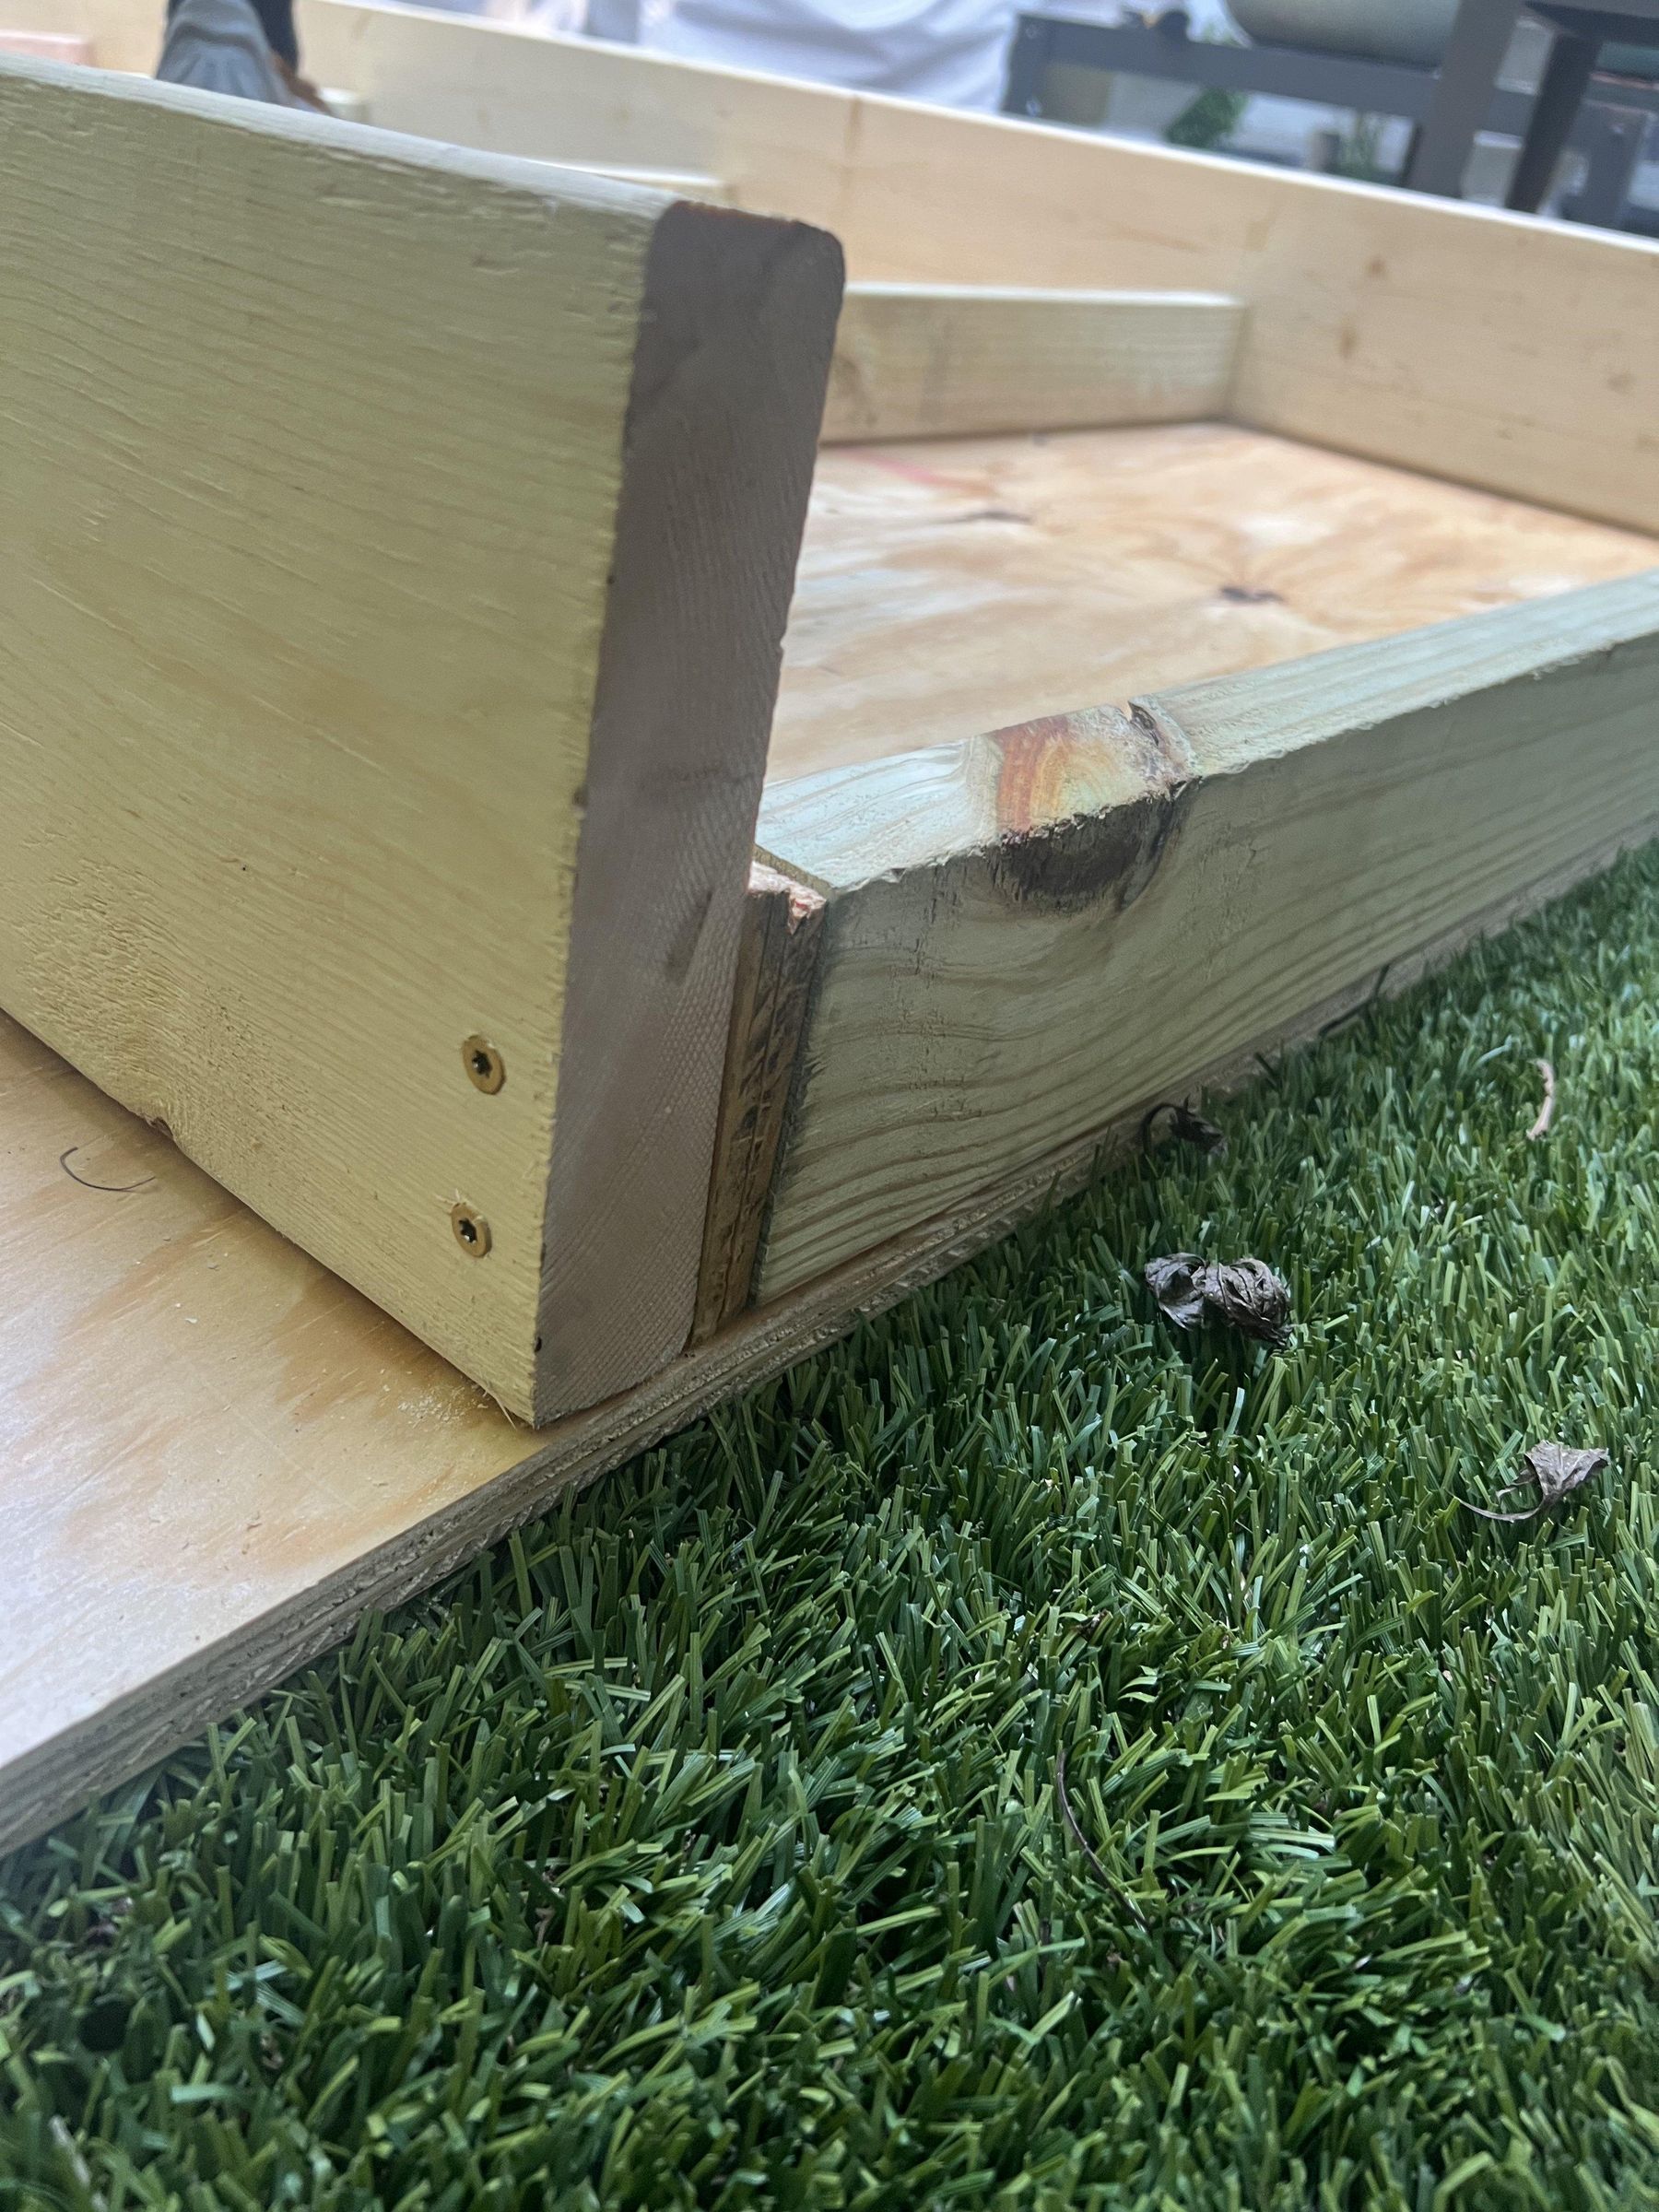
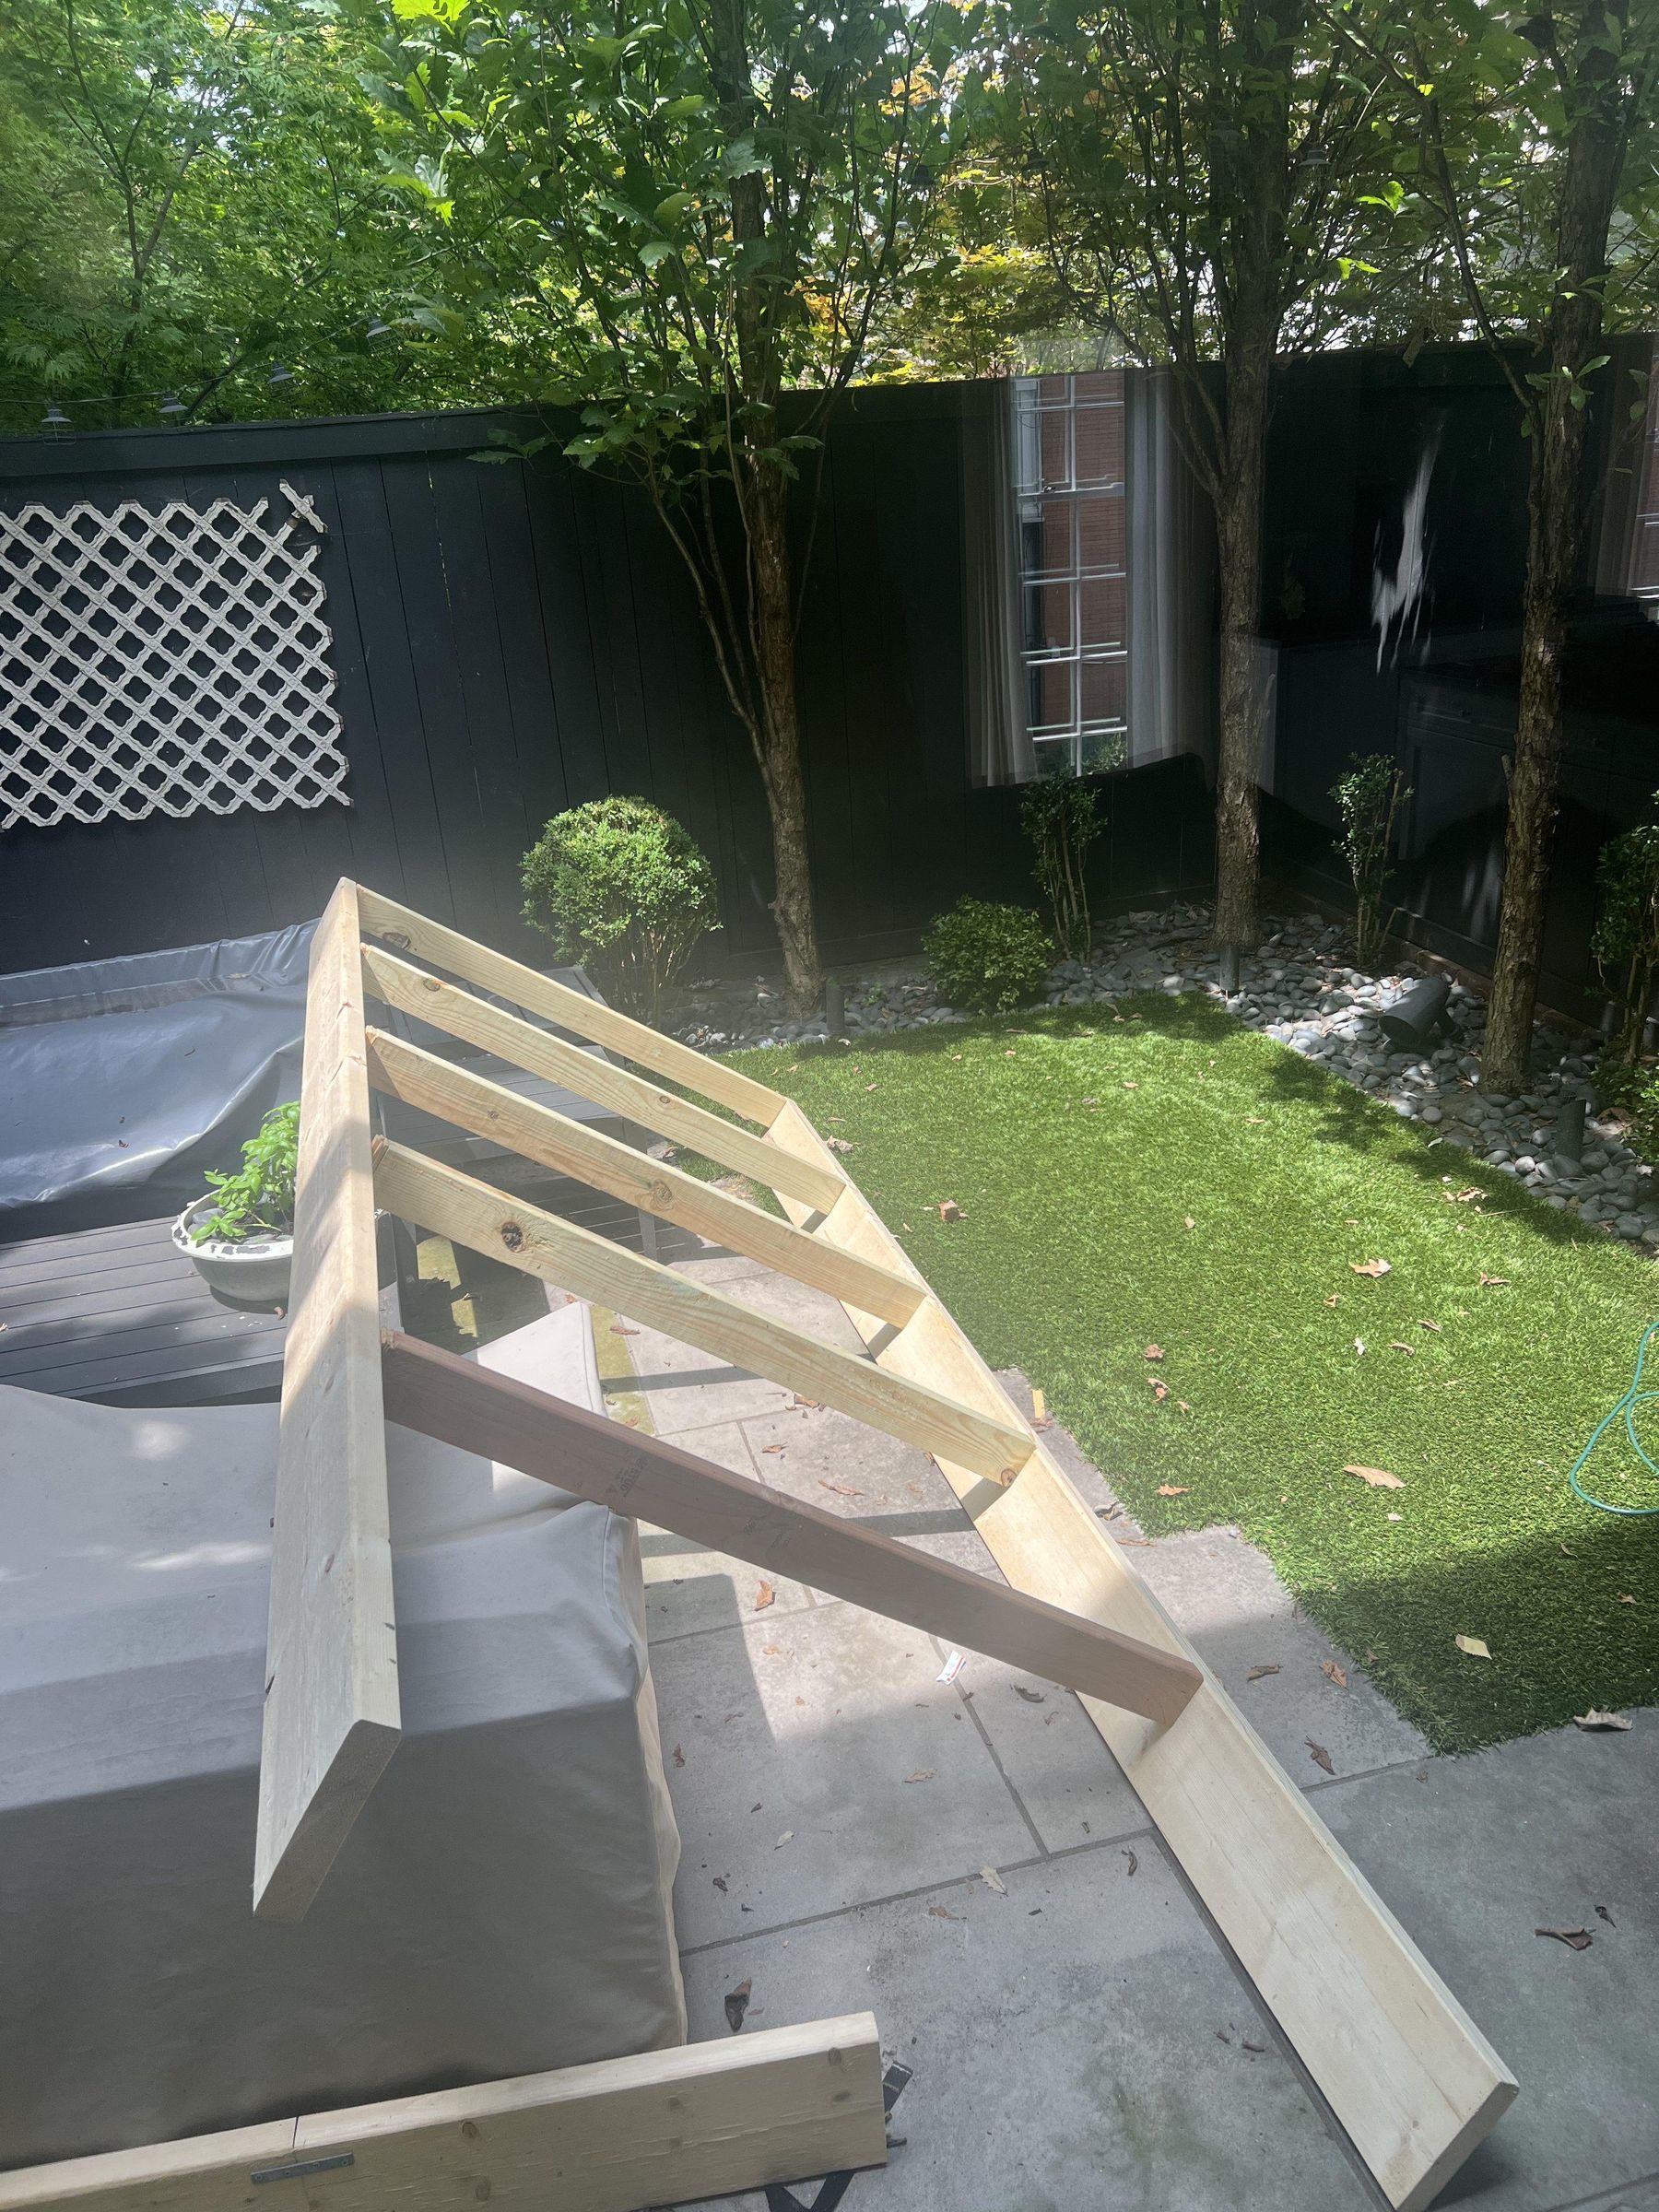
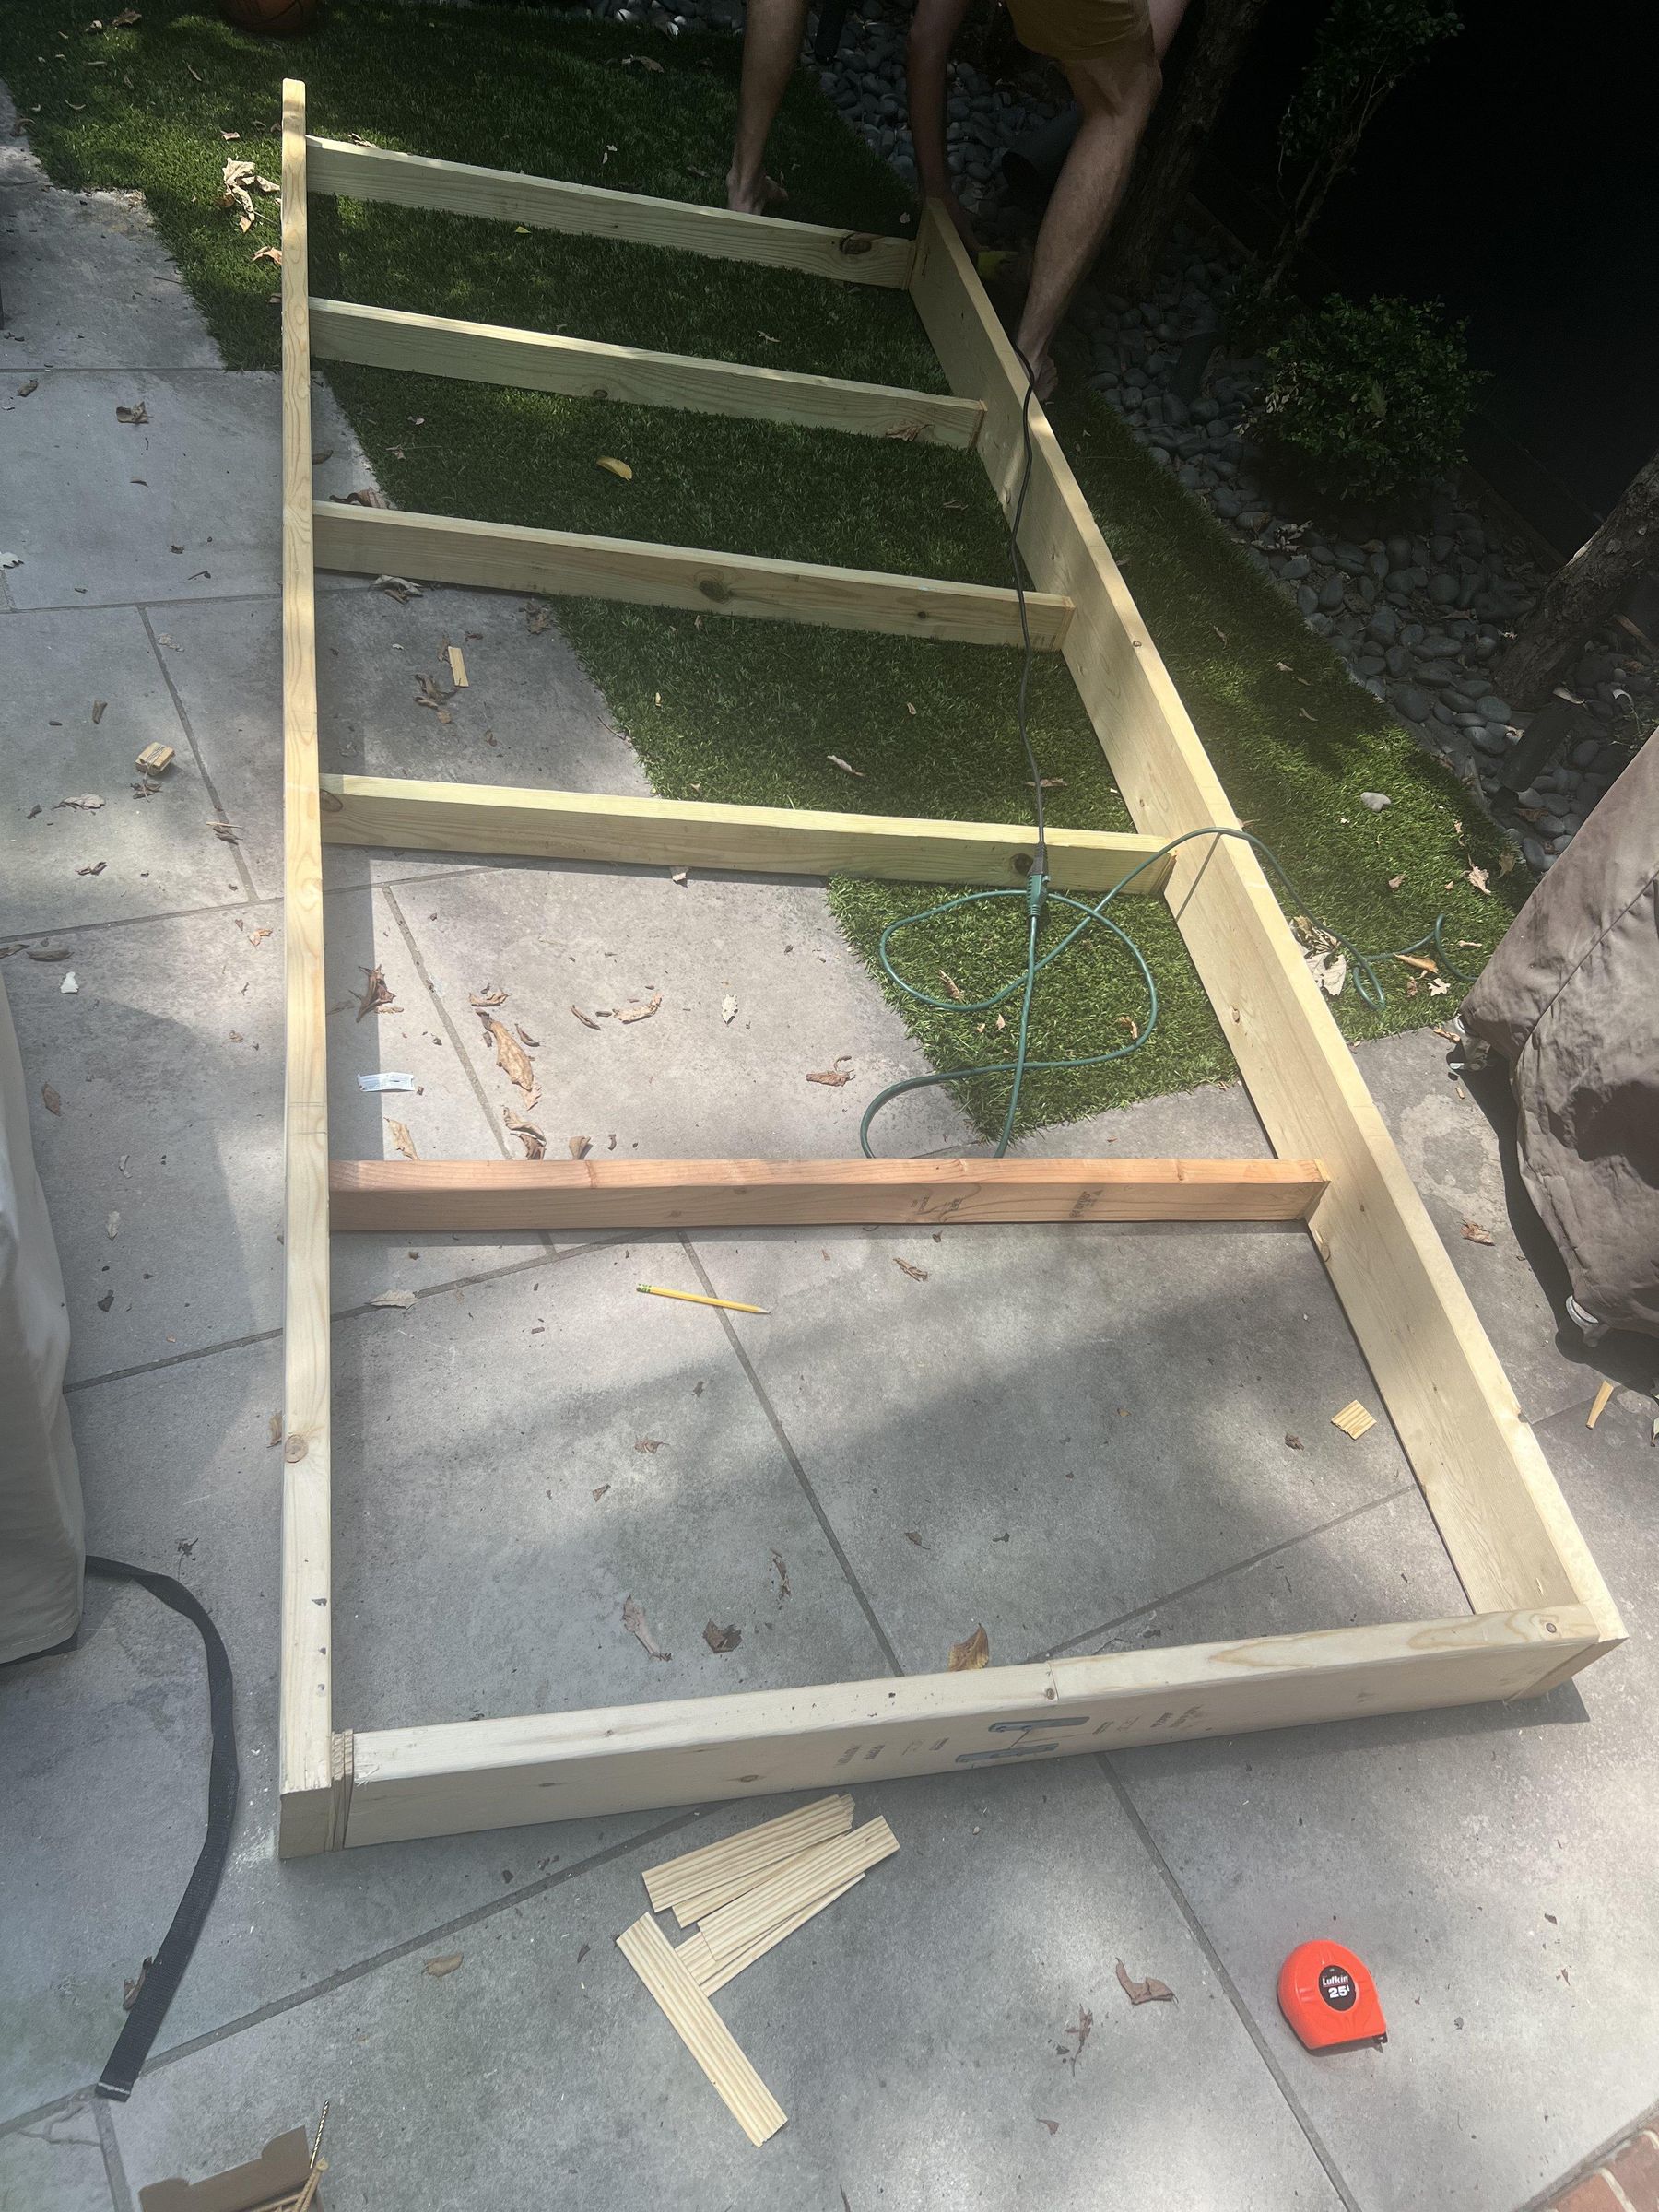
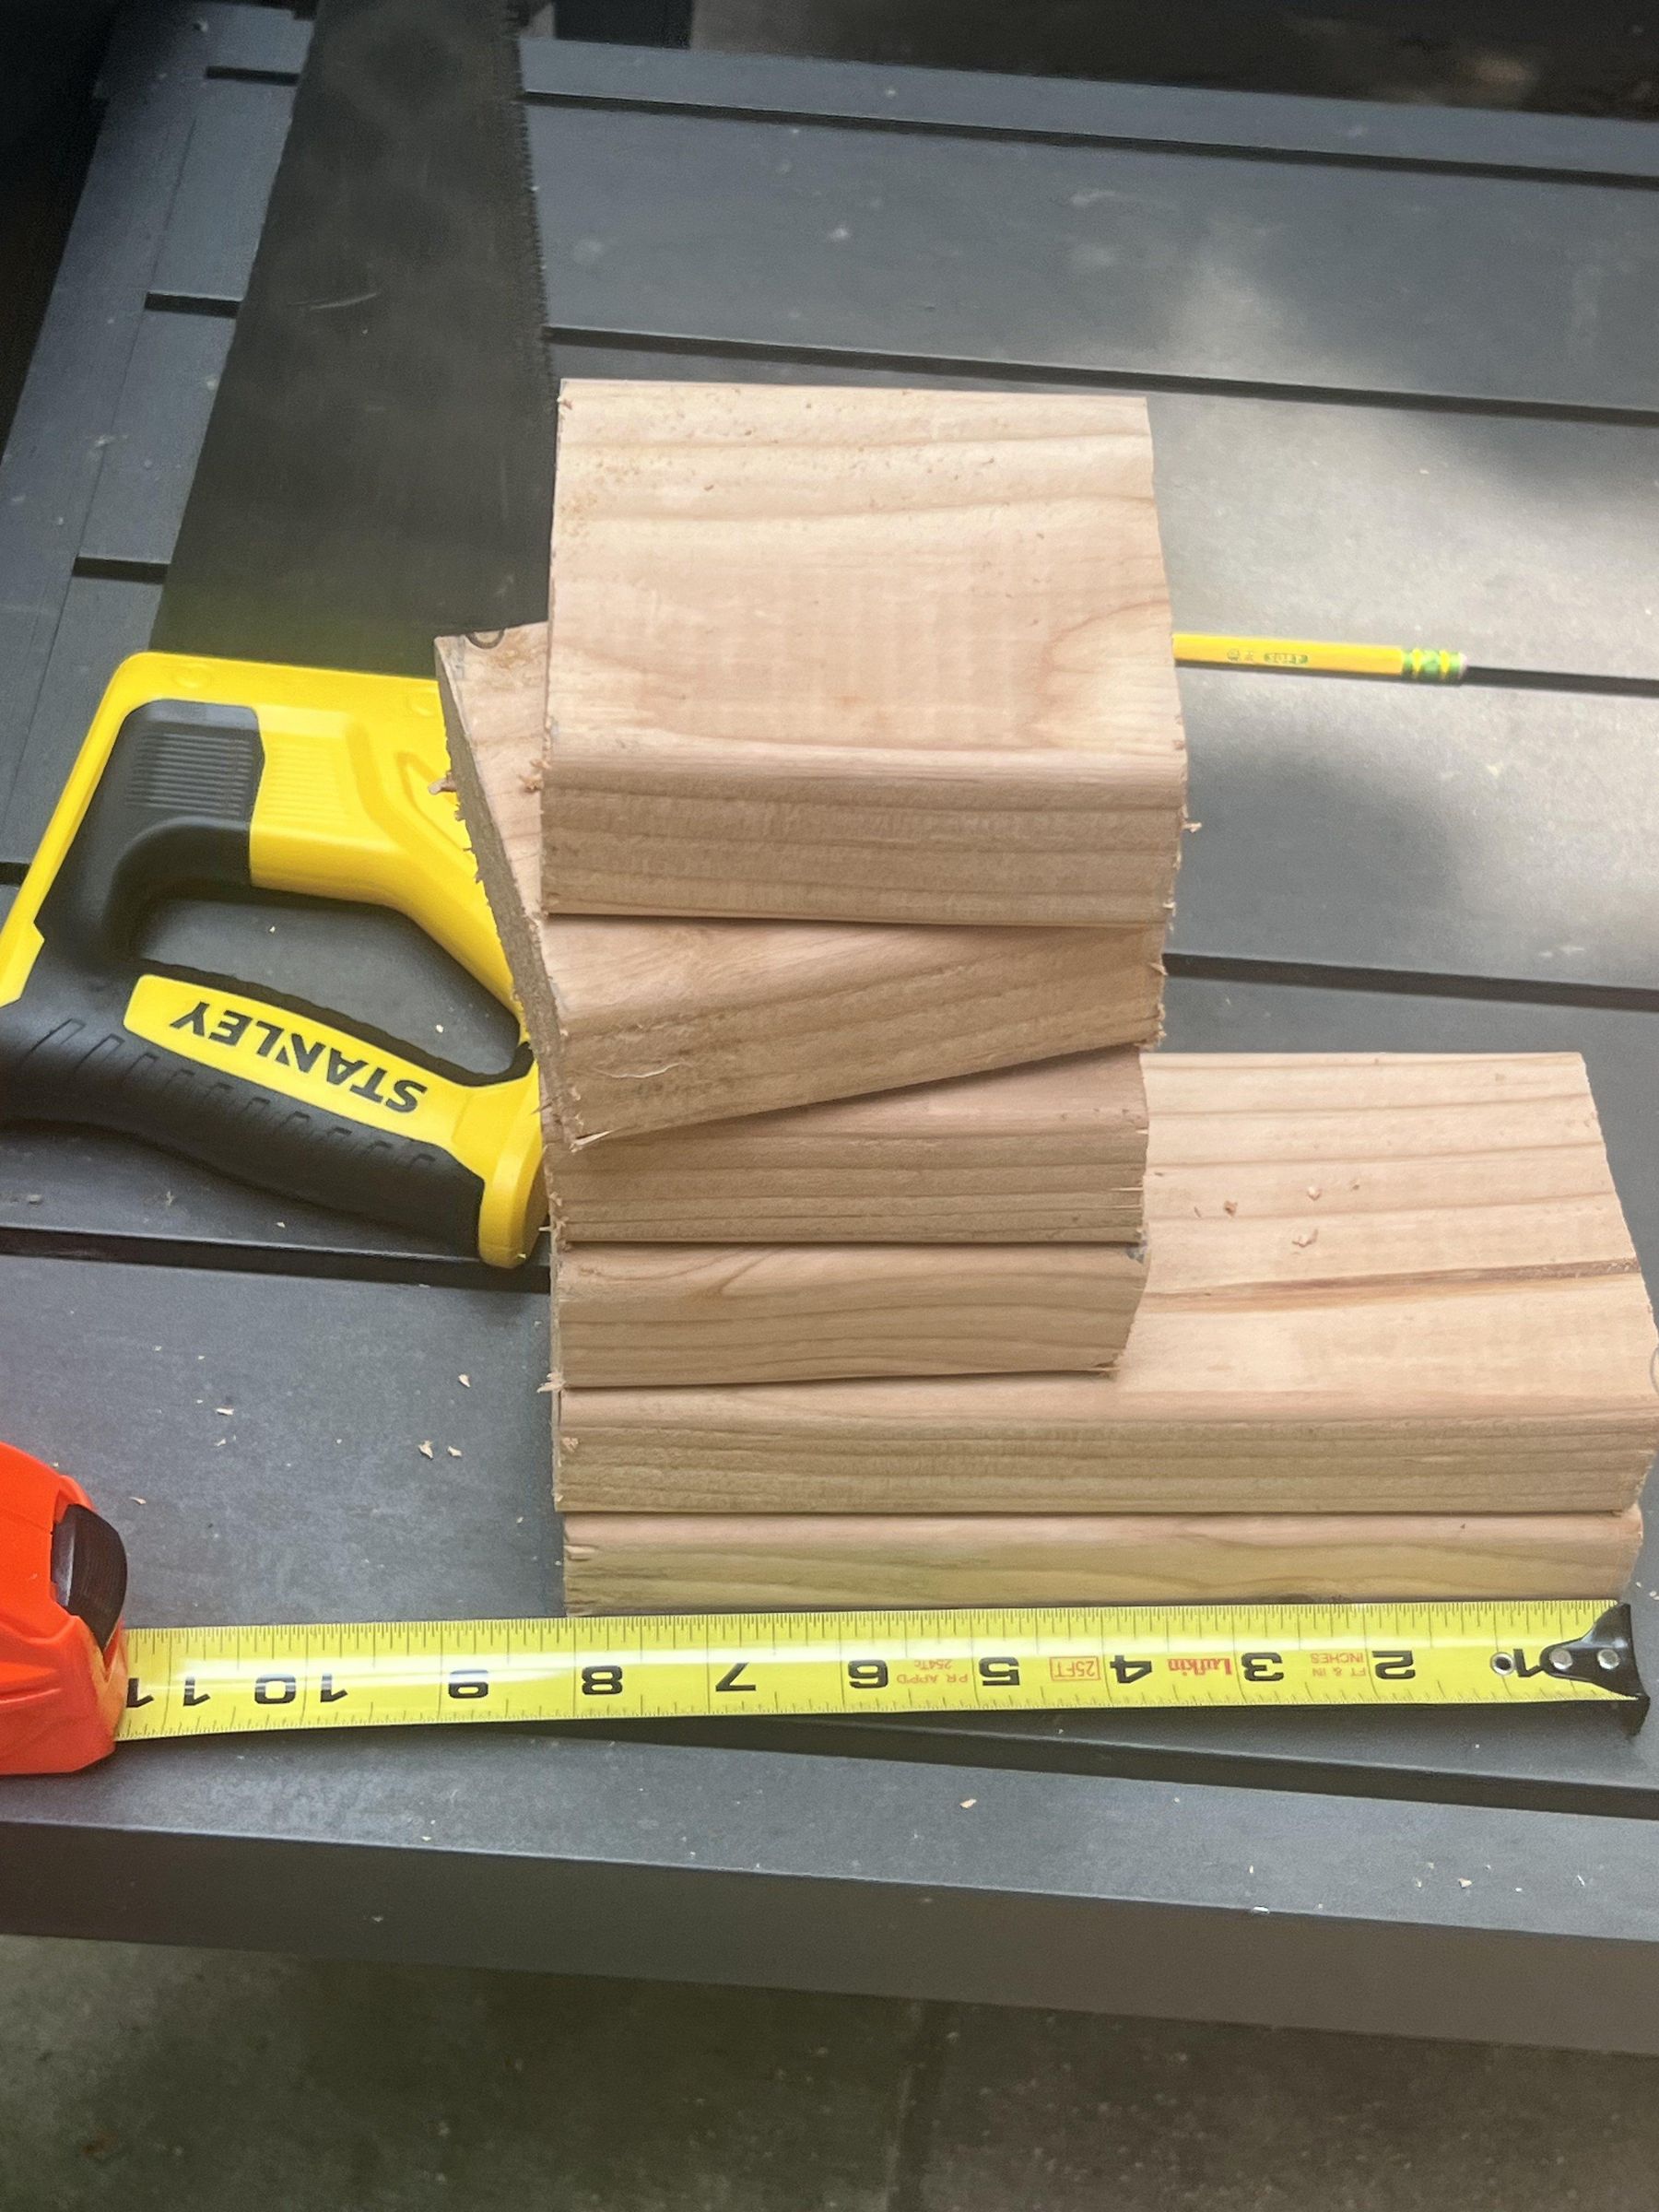
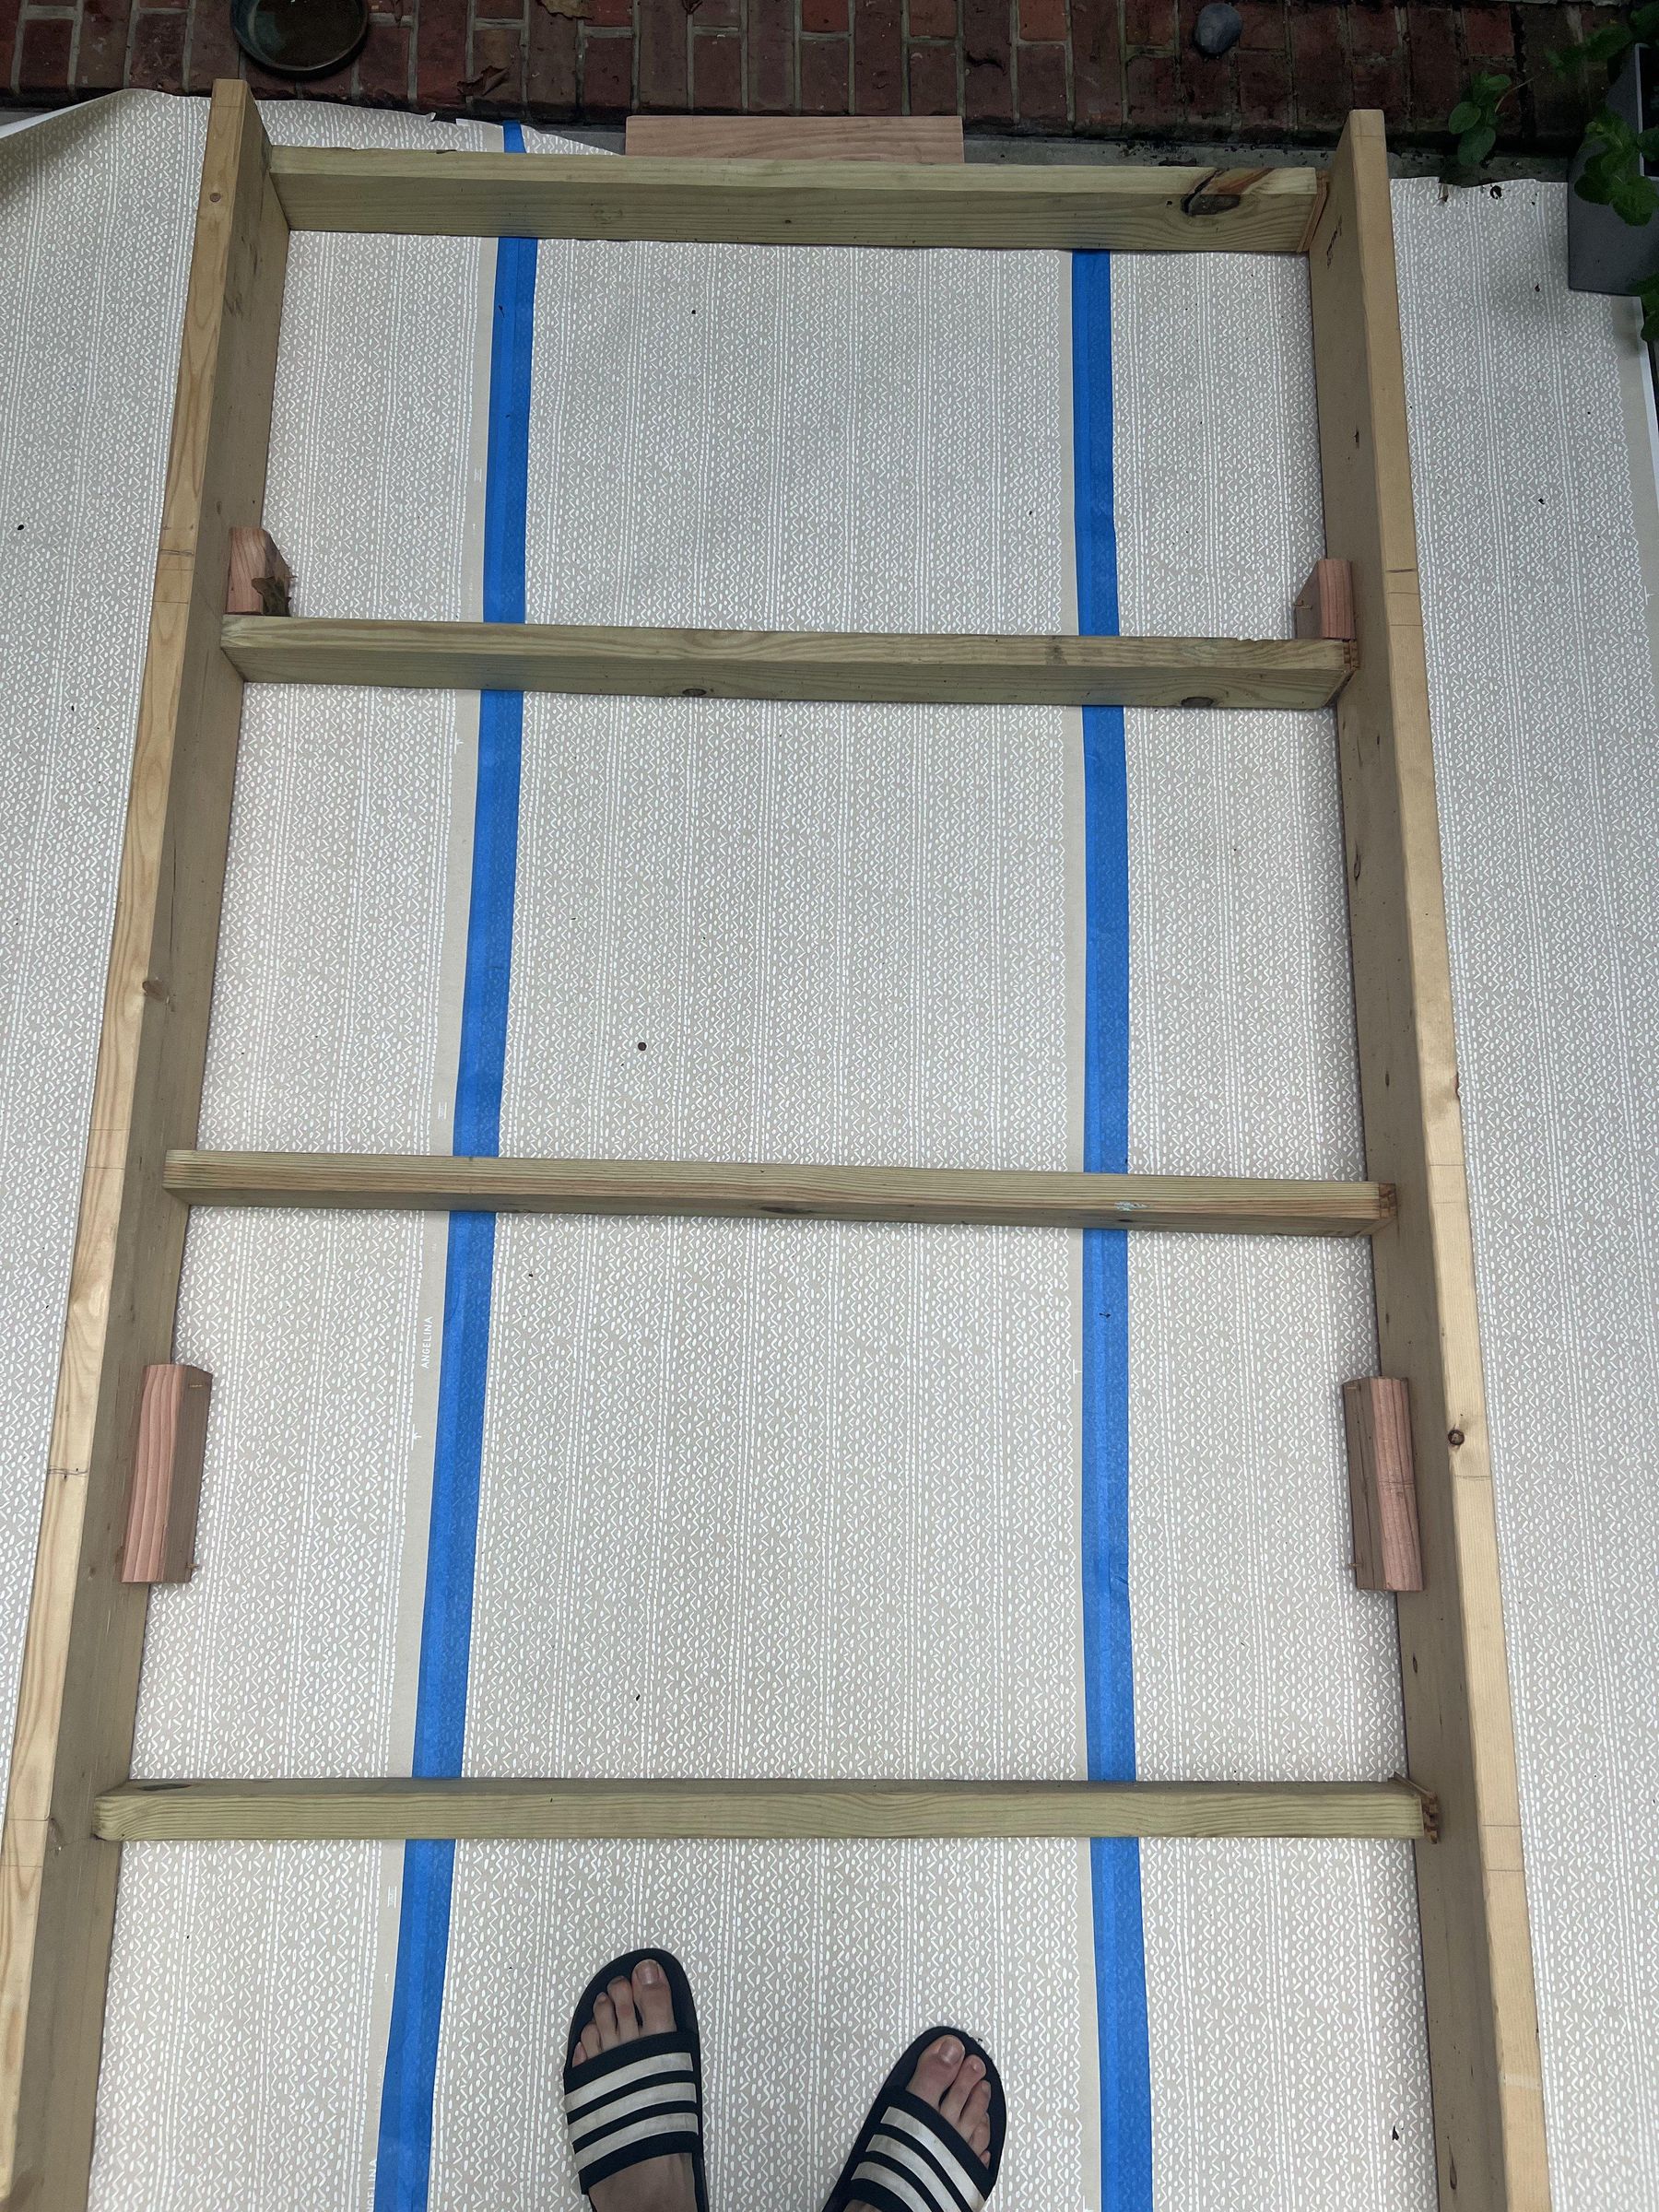
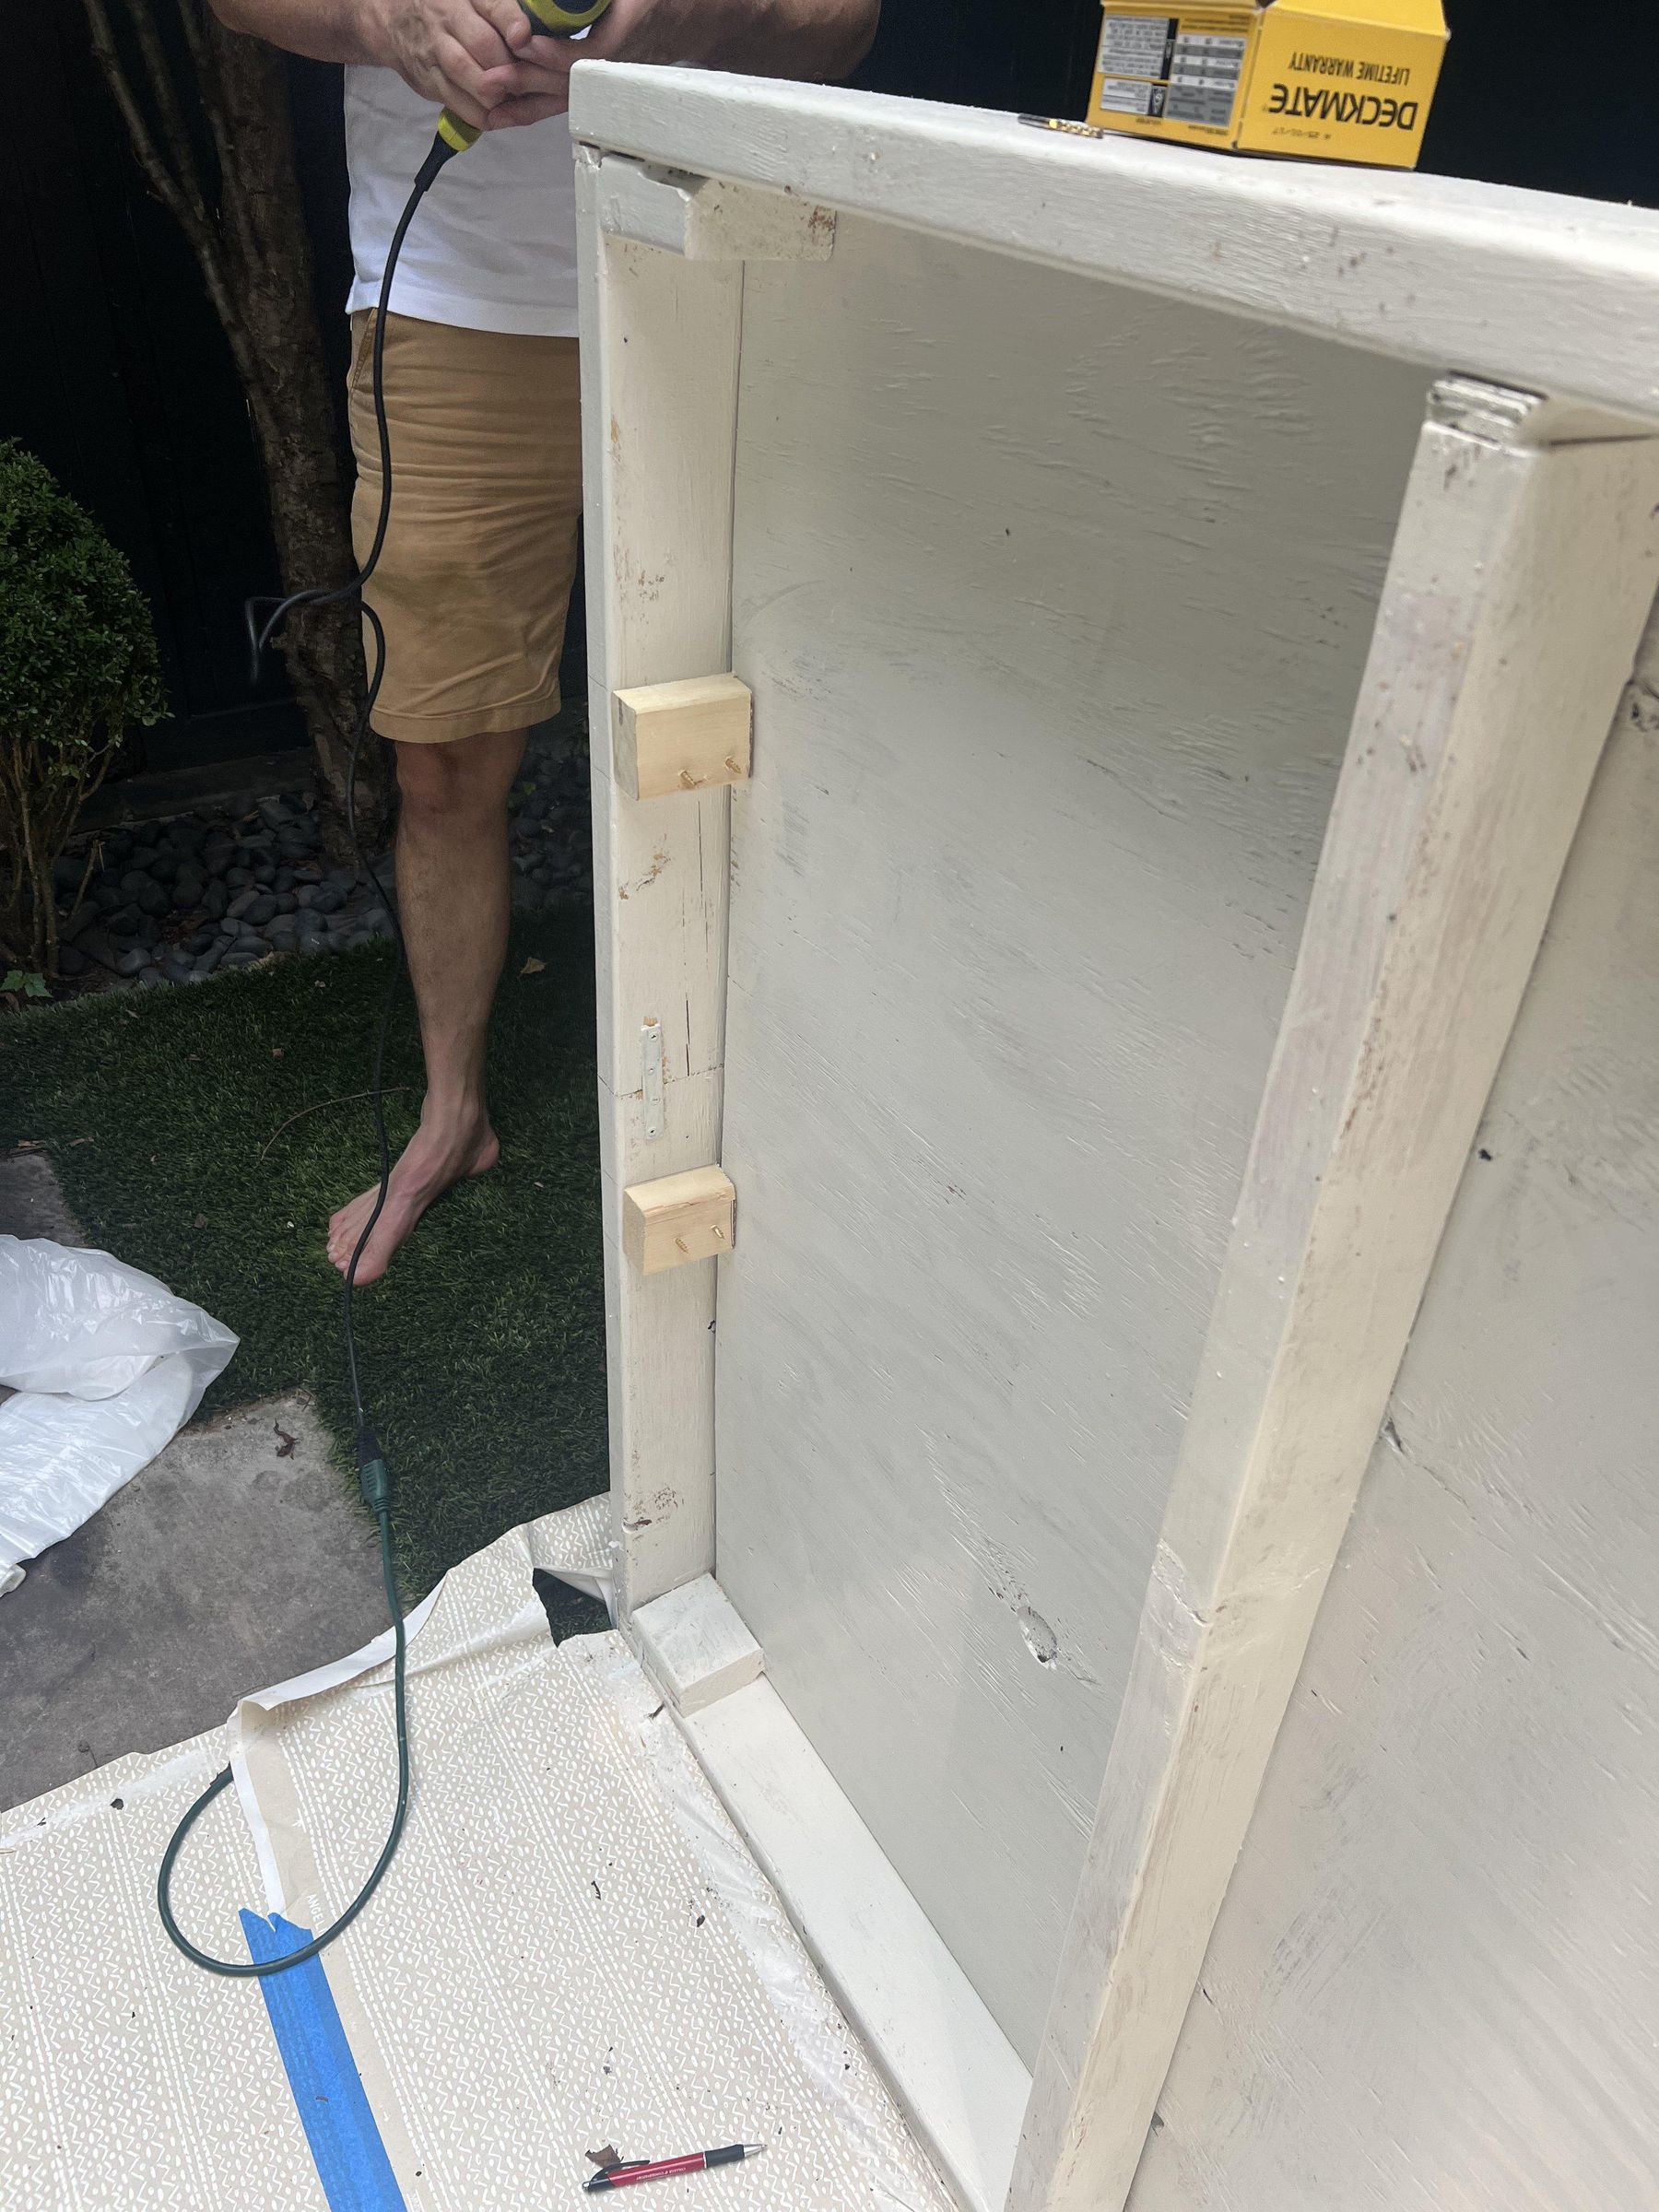
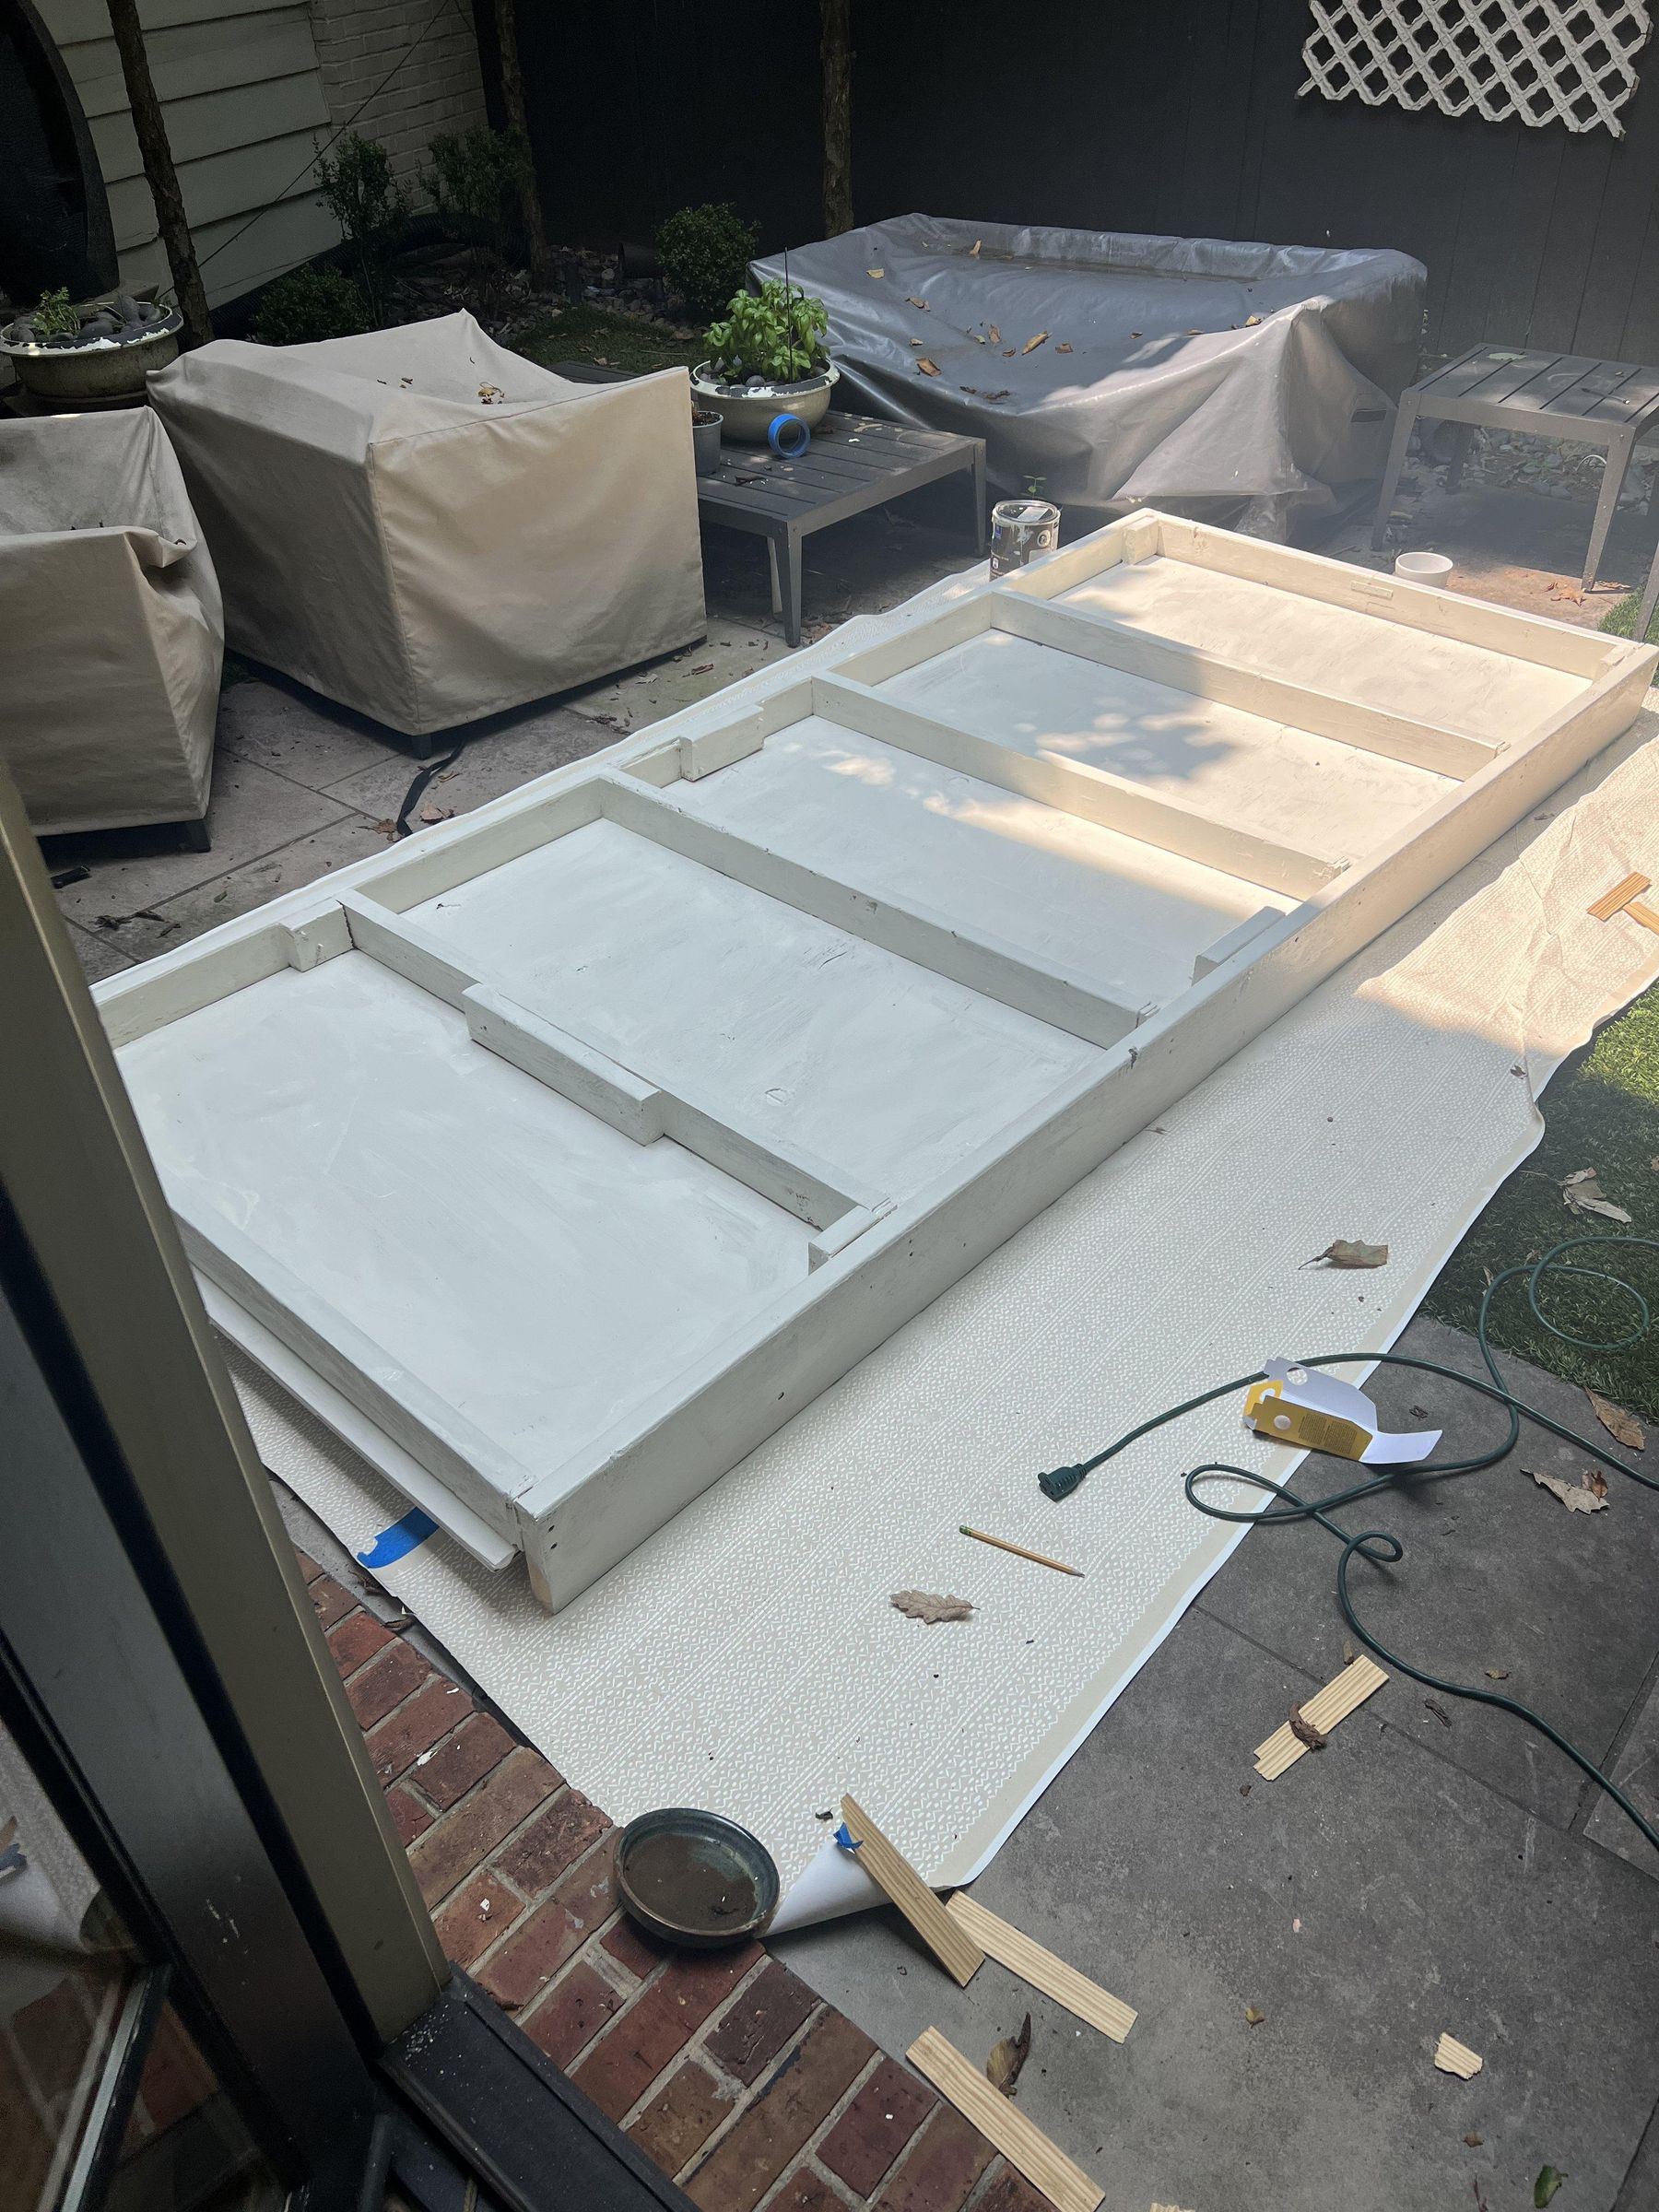
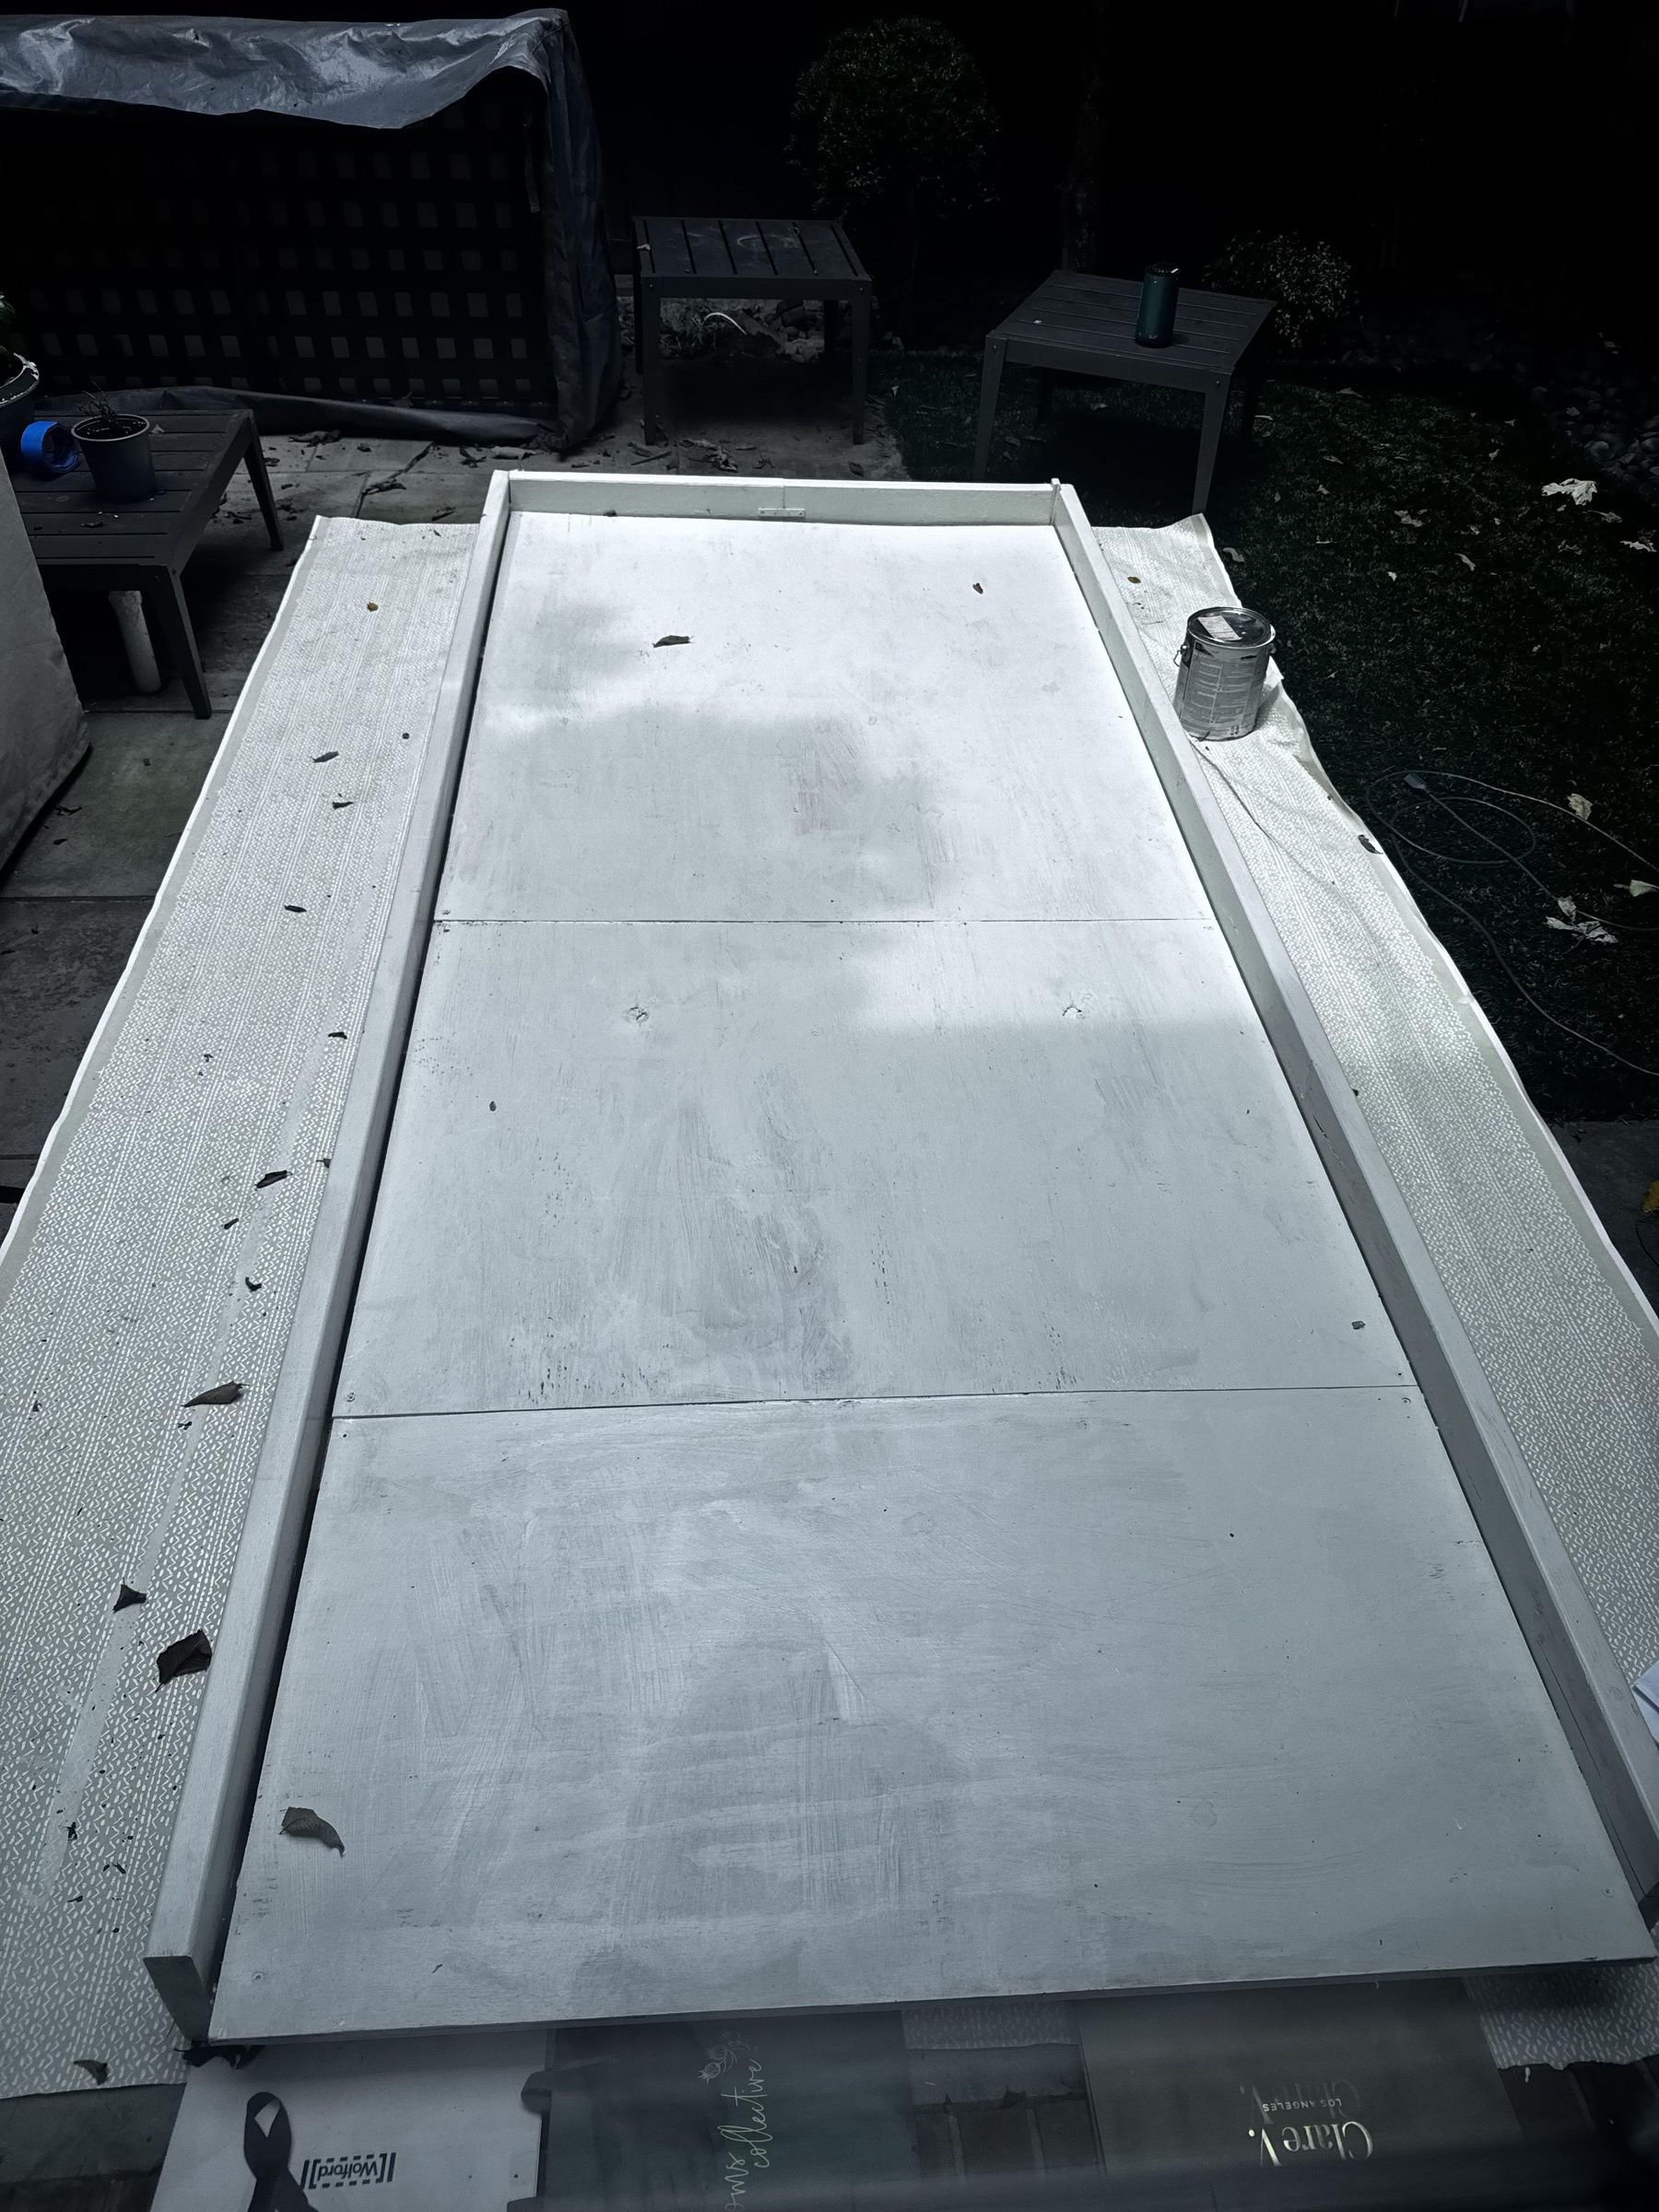
In designing the course, we used 2x8" planks for three sides as our walls, which were higher than the other planks to keep the ball from rolling off the course. Then we set braces between the walls and set the plywood down over the braces to create a foundation that will hold the weight of the players and maintain enough height from the ground for the golf cups to hang below the plywood.
First, make sure you have a flat workspace and divide the length of the long walls into 5 roughly equal sections and mark the locations on the side of the long walls. The base should have a support at one end but not the other, as that's where the shorter 8" wall will go. Line up the support beams at the points you have marked. Then drive screws through the outside of the walls into the support beams as shown in pictures 1 and 2. We recommend drilling a hole and then drilling in the screw. After all 5 supports have been screwed in, it's time for the other long wall to be attached. In order for the plywood to fit into this frame, the supports need to be a little longer than the plywood. To achieve this, we used wood shims to make the supports a little longer on one side, and screwed through the shims as shown in picture 4. Having a flat workspace is especially important for these steps to make sure the supports are straight and equal in height. Once you've screwed the supports to the first wall and the second wall to the supports, you should have something that looks like picture 5. Next, use your last 2"x8"x4' (we used two 2"x8"x2' screwed together with a brace) and screw it into the walls with shims on the end with no support beam. It should now look like picture 6. Before attaching the plywood, it's important to make sure it will hold up. Because we had to split up the plywood to fit it into our car, we added extra supports on the sides with extra pieces of 2"x4" plank, which we cut up and screwed into the neighboring braces. Depending on the dimensions of your plywood, cut up the extra 2"x4" to support any sections of the plywood that are not supported enough to avoid bowing of the wood(see pics 8 & 9). After all the construction was complete, we applied a coat of white weatherproofing paint.
Grass
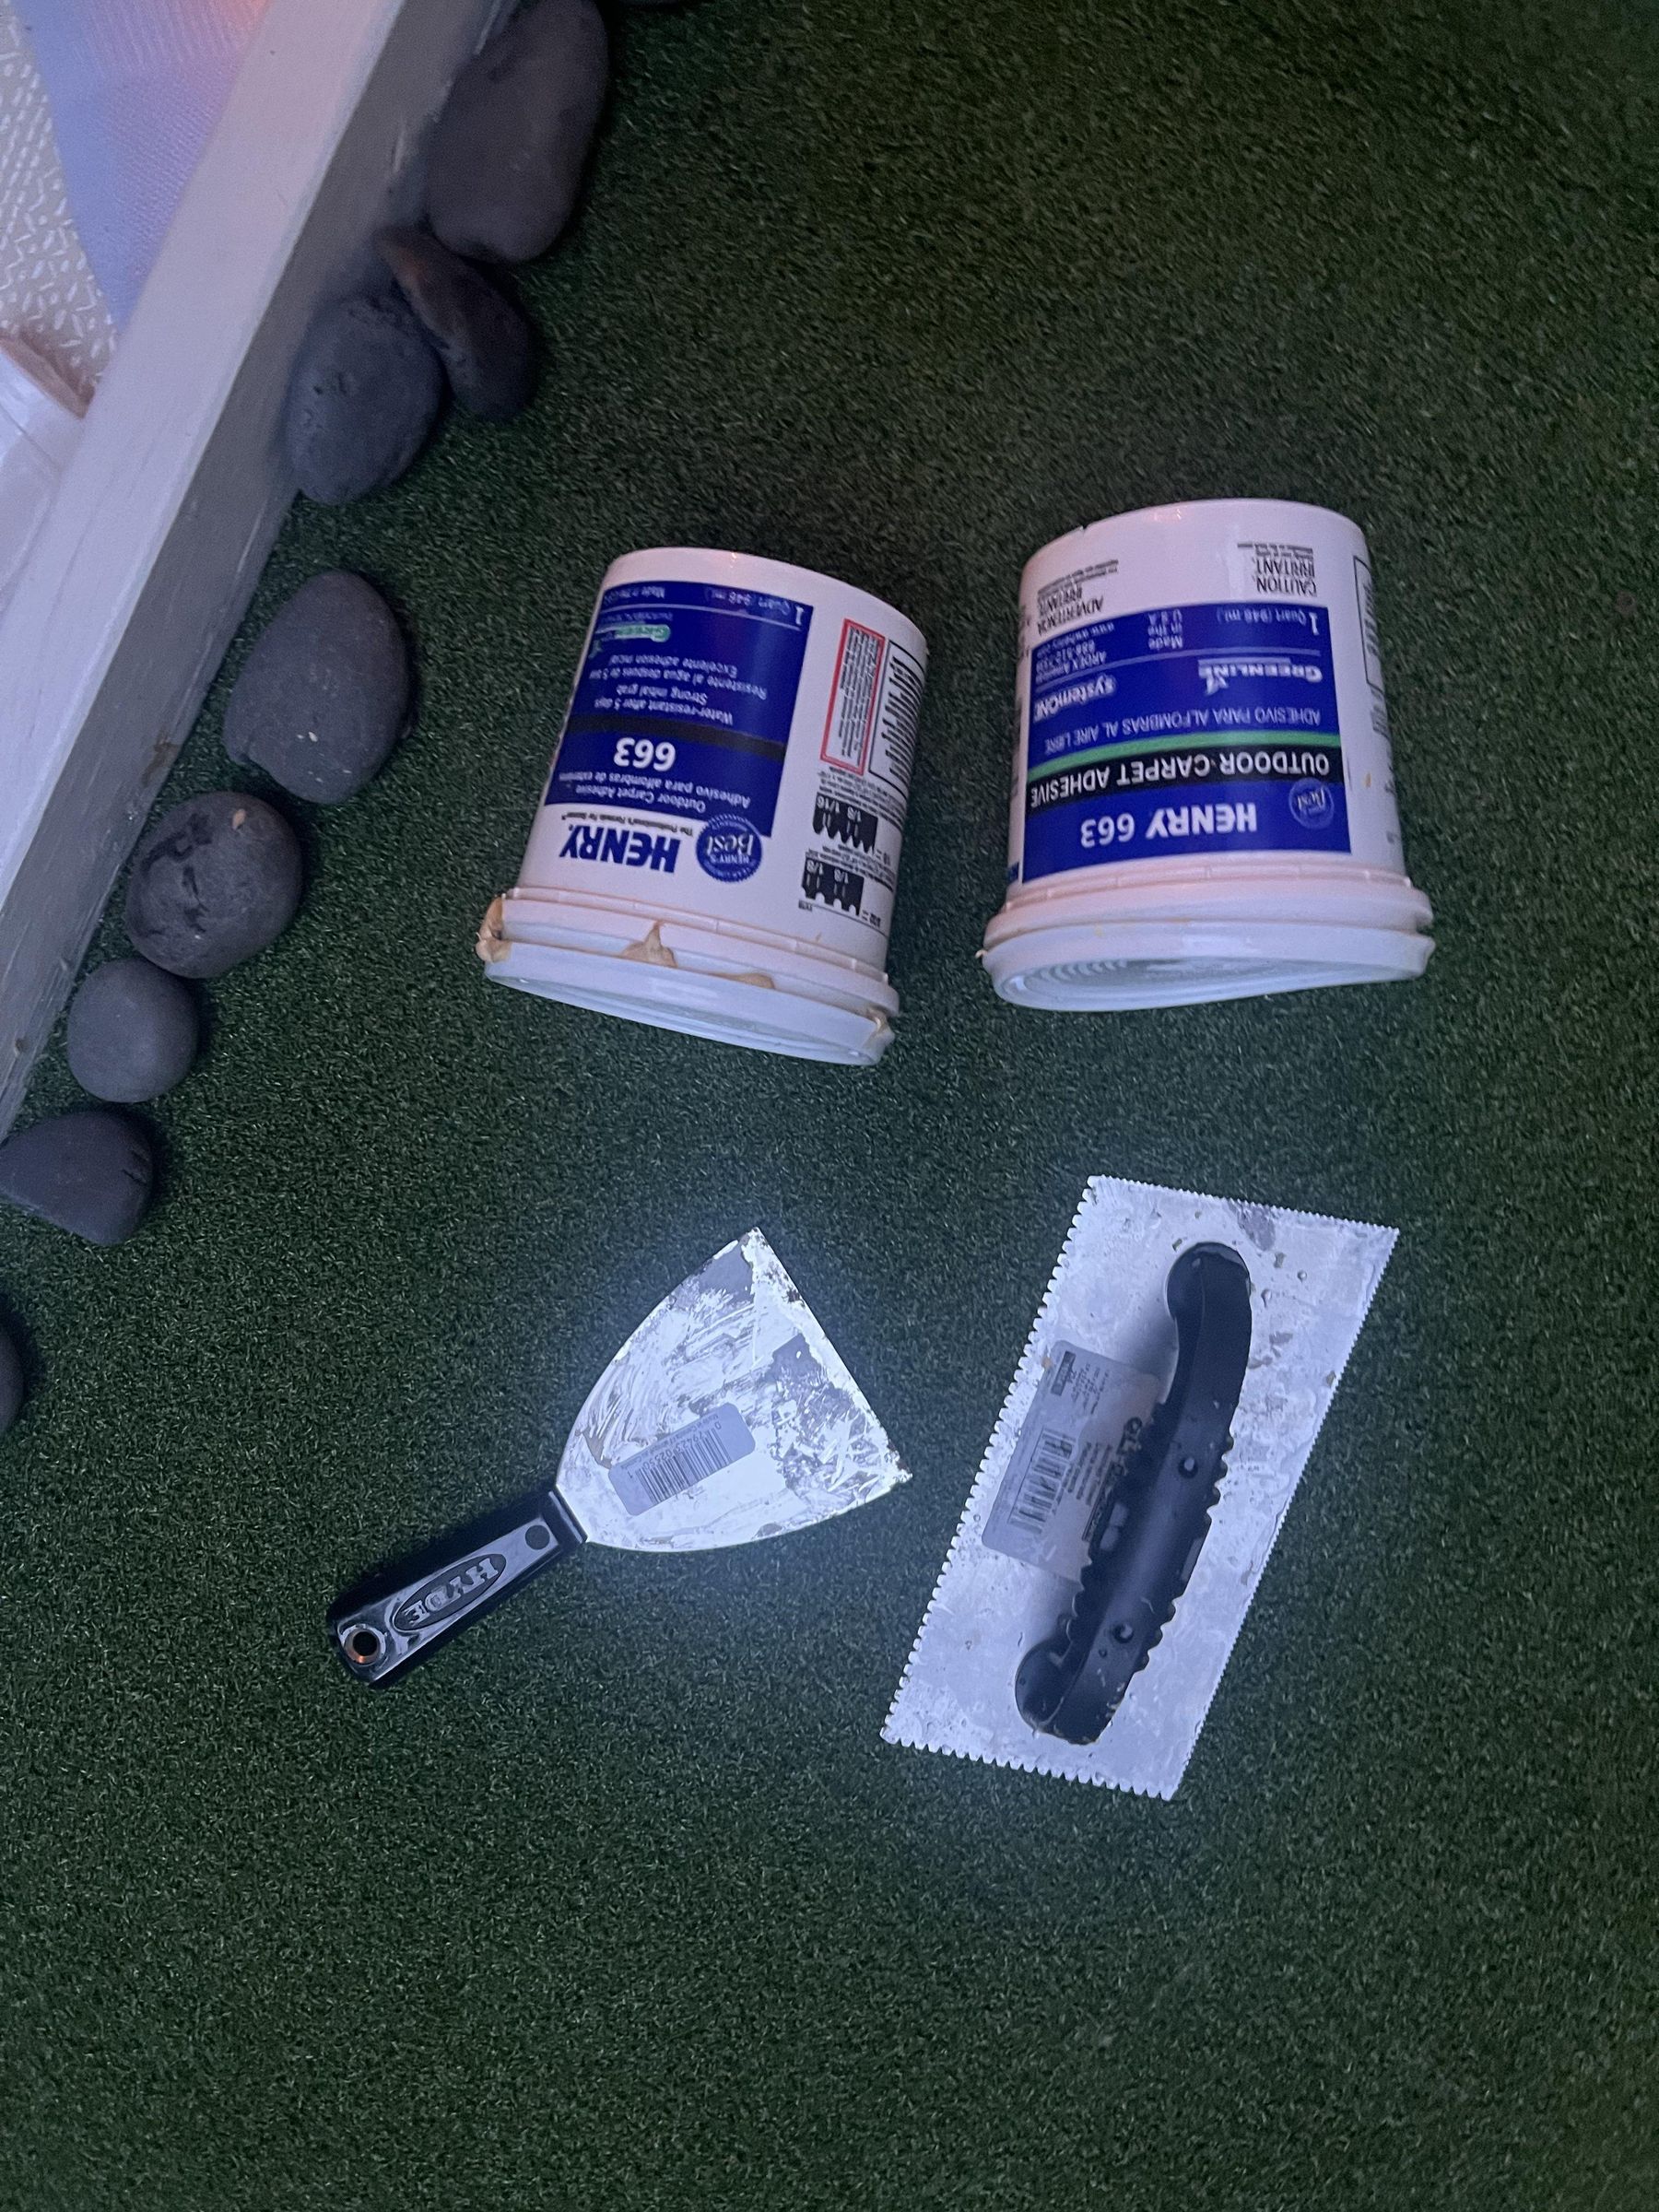
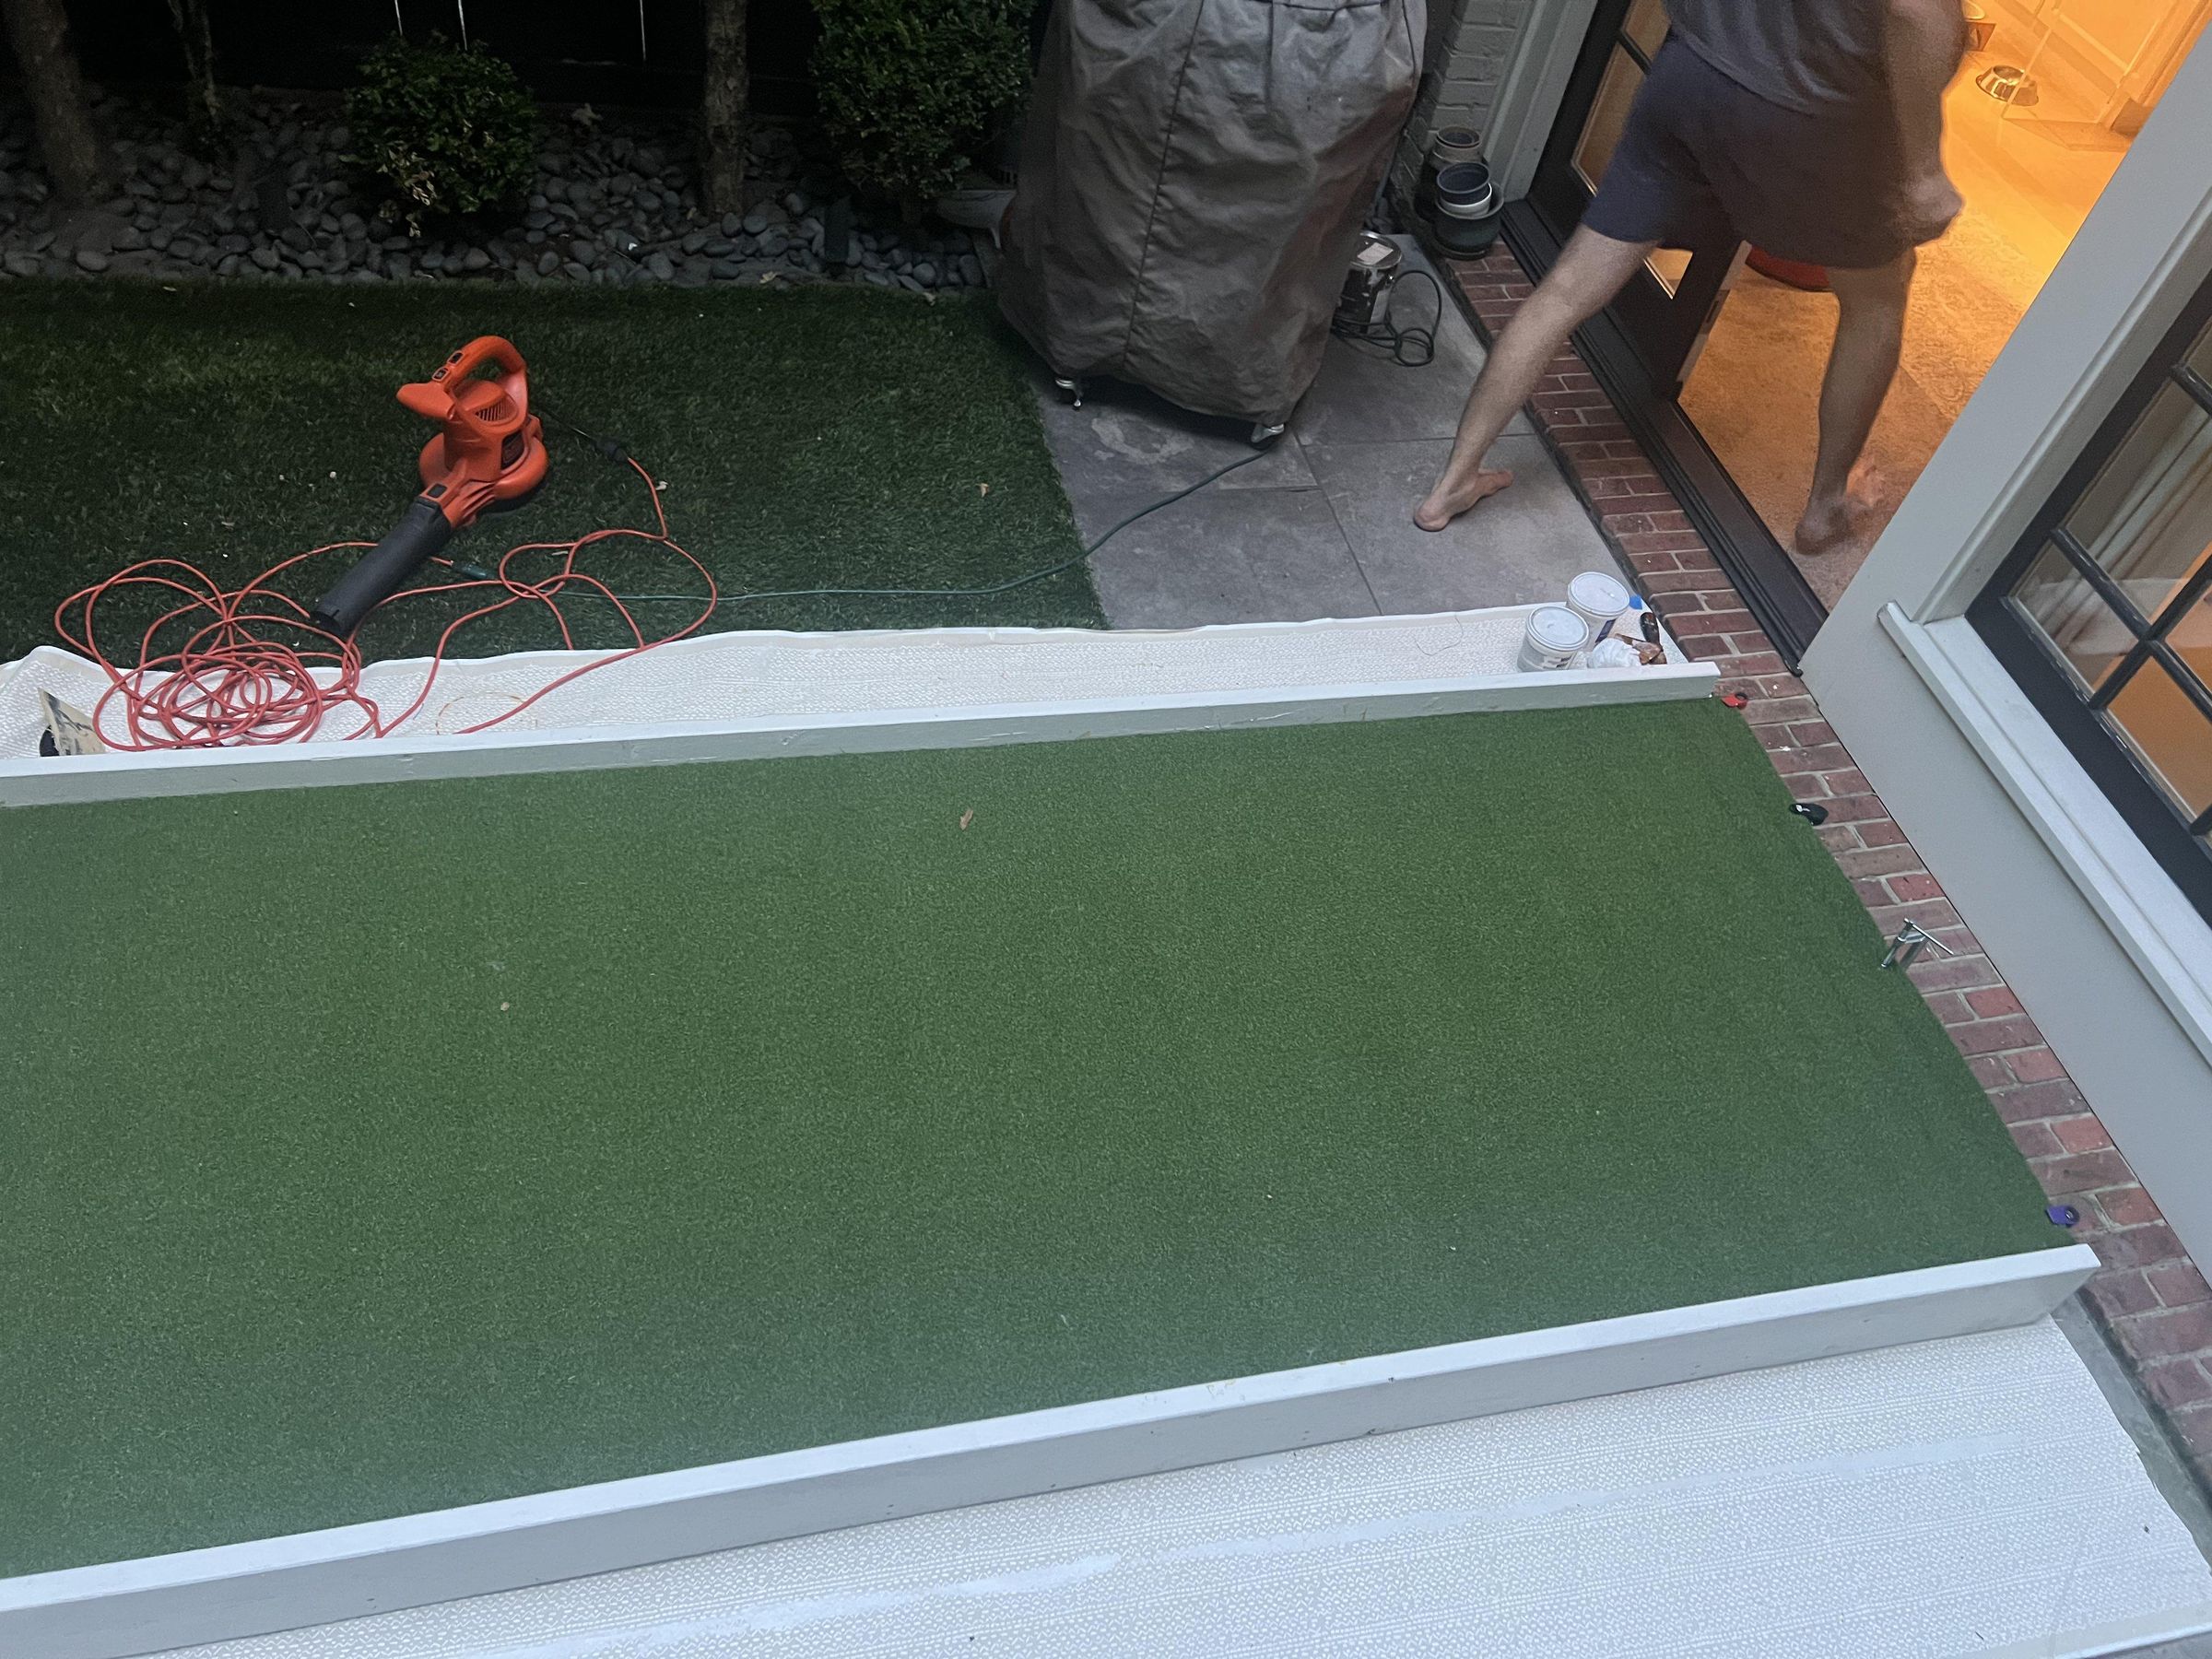
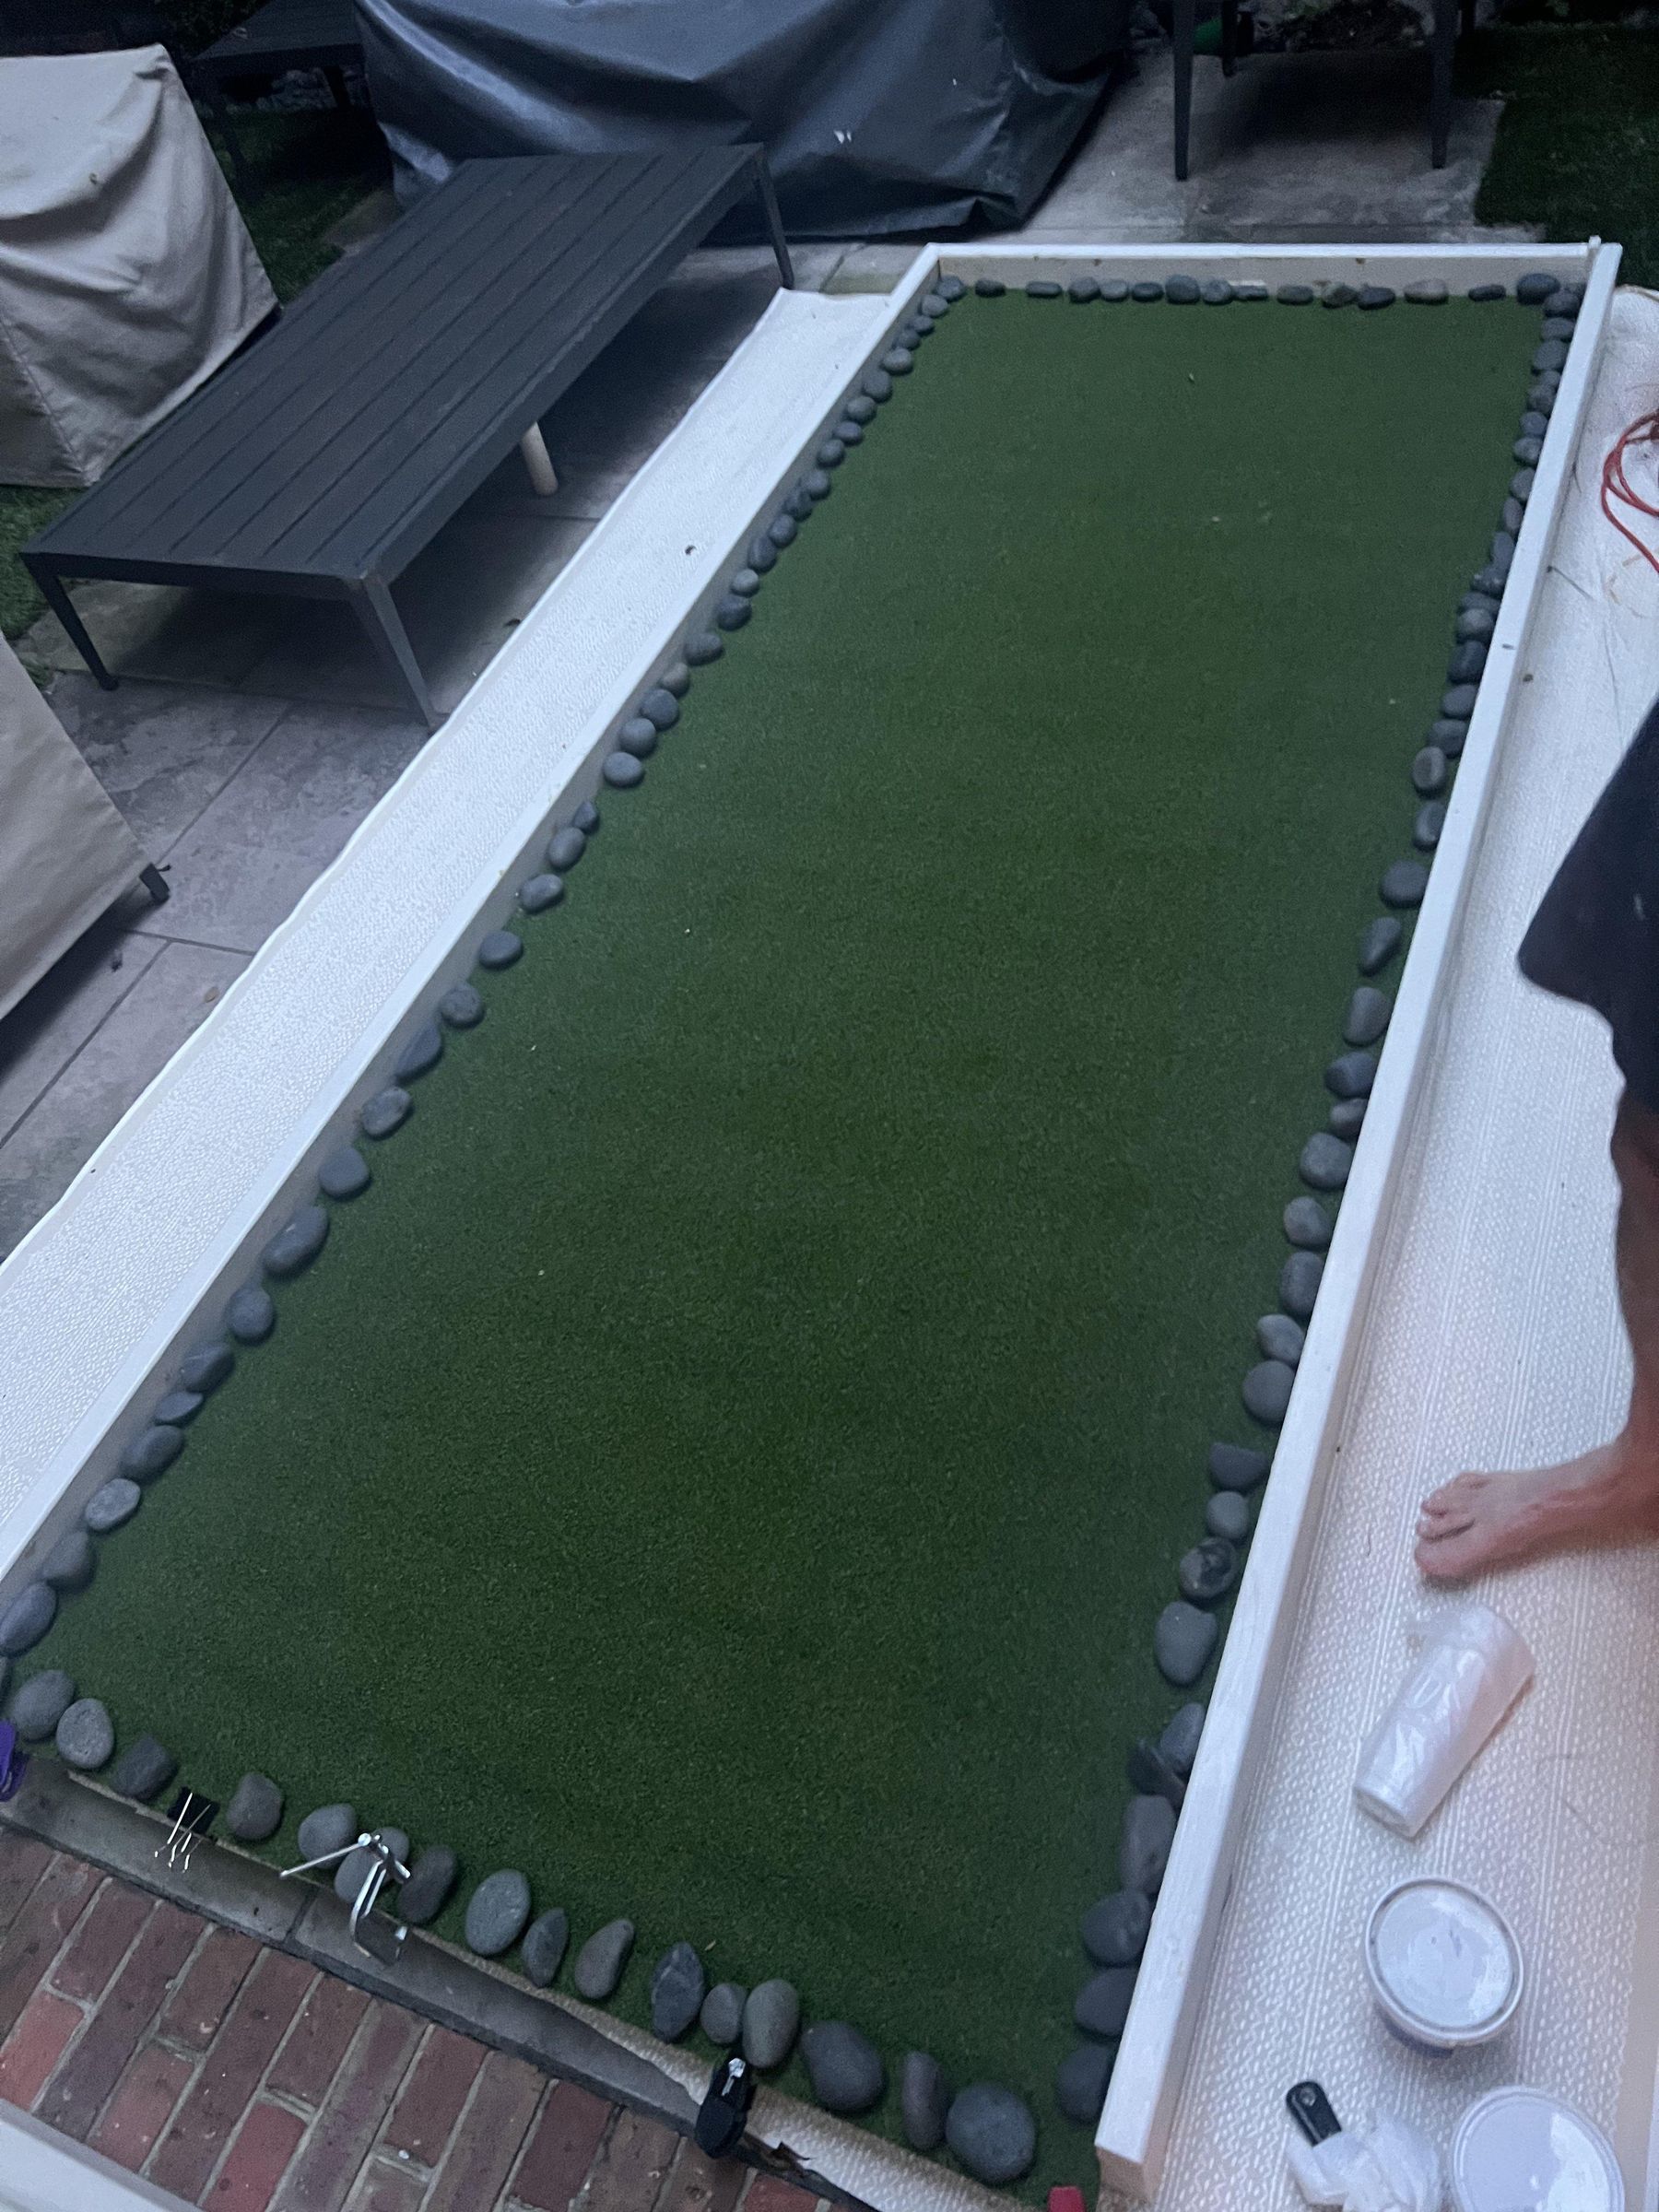
The next step is to secure the grass to the plywood with an even coat of glue to ensure smooth and quality play.
Cut the artificial turf to fit your base. Ours was cut to 4'x10'. We applied outdoor carpet adhesive to the painted plywood with a notched trowel. We chose the trowel size based on the instructions for the adhesive. We then rolled out the artificial turf. After rolling it out, we pressed it down consistently over the area and added stones around the edges to keep it from curling. On the side with no wall, we used clamps to keep it from curling up. Keep any extra turf (if you have any) for making obstacles and terrain gradation.
Holes
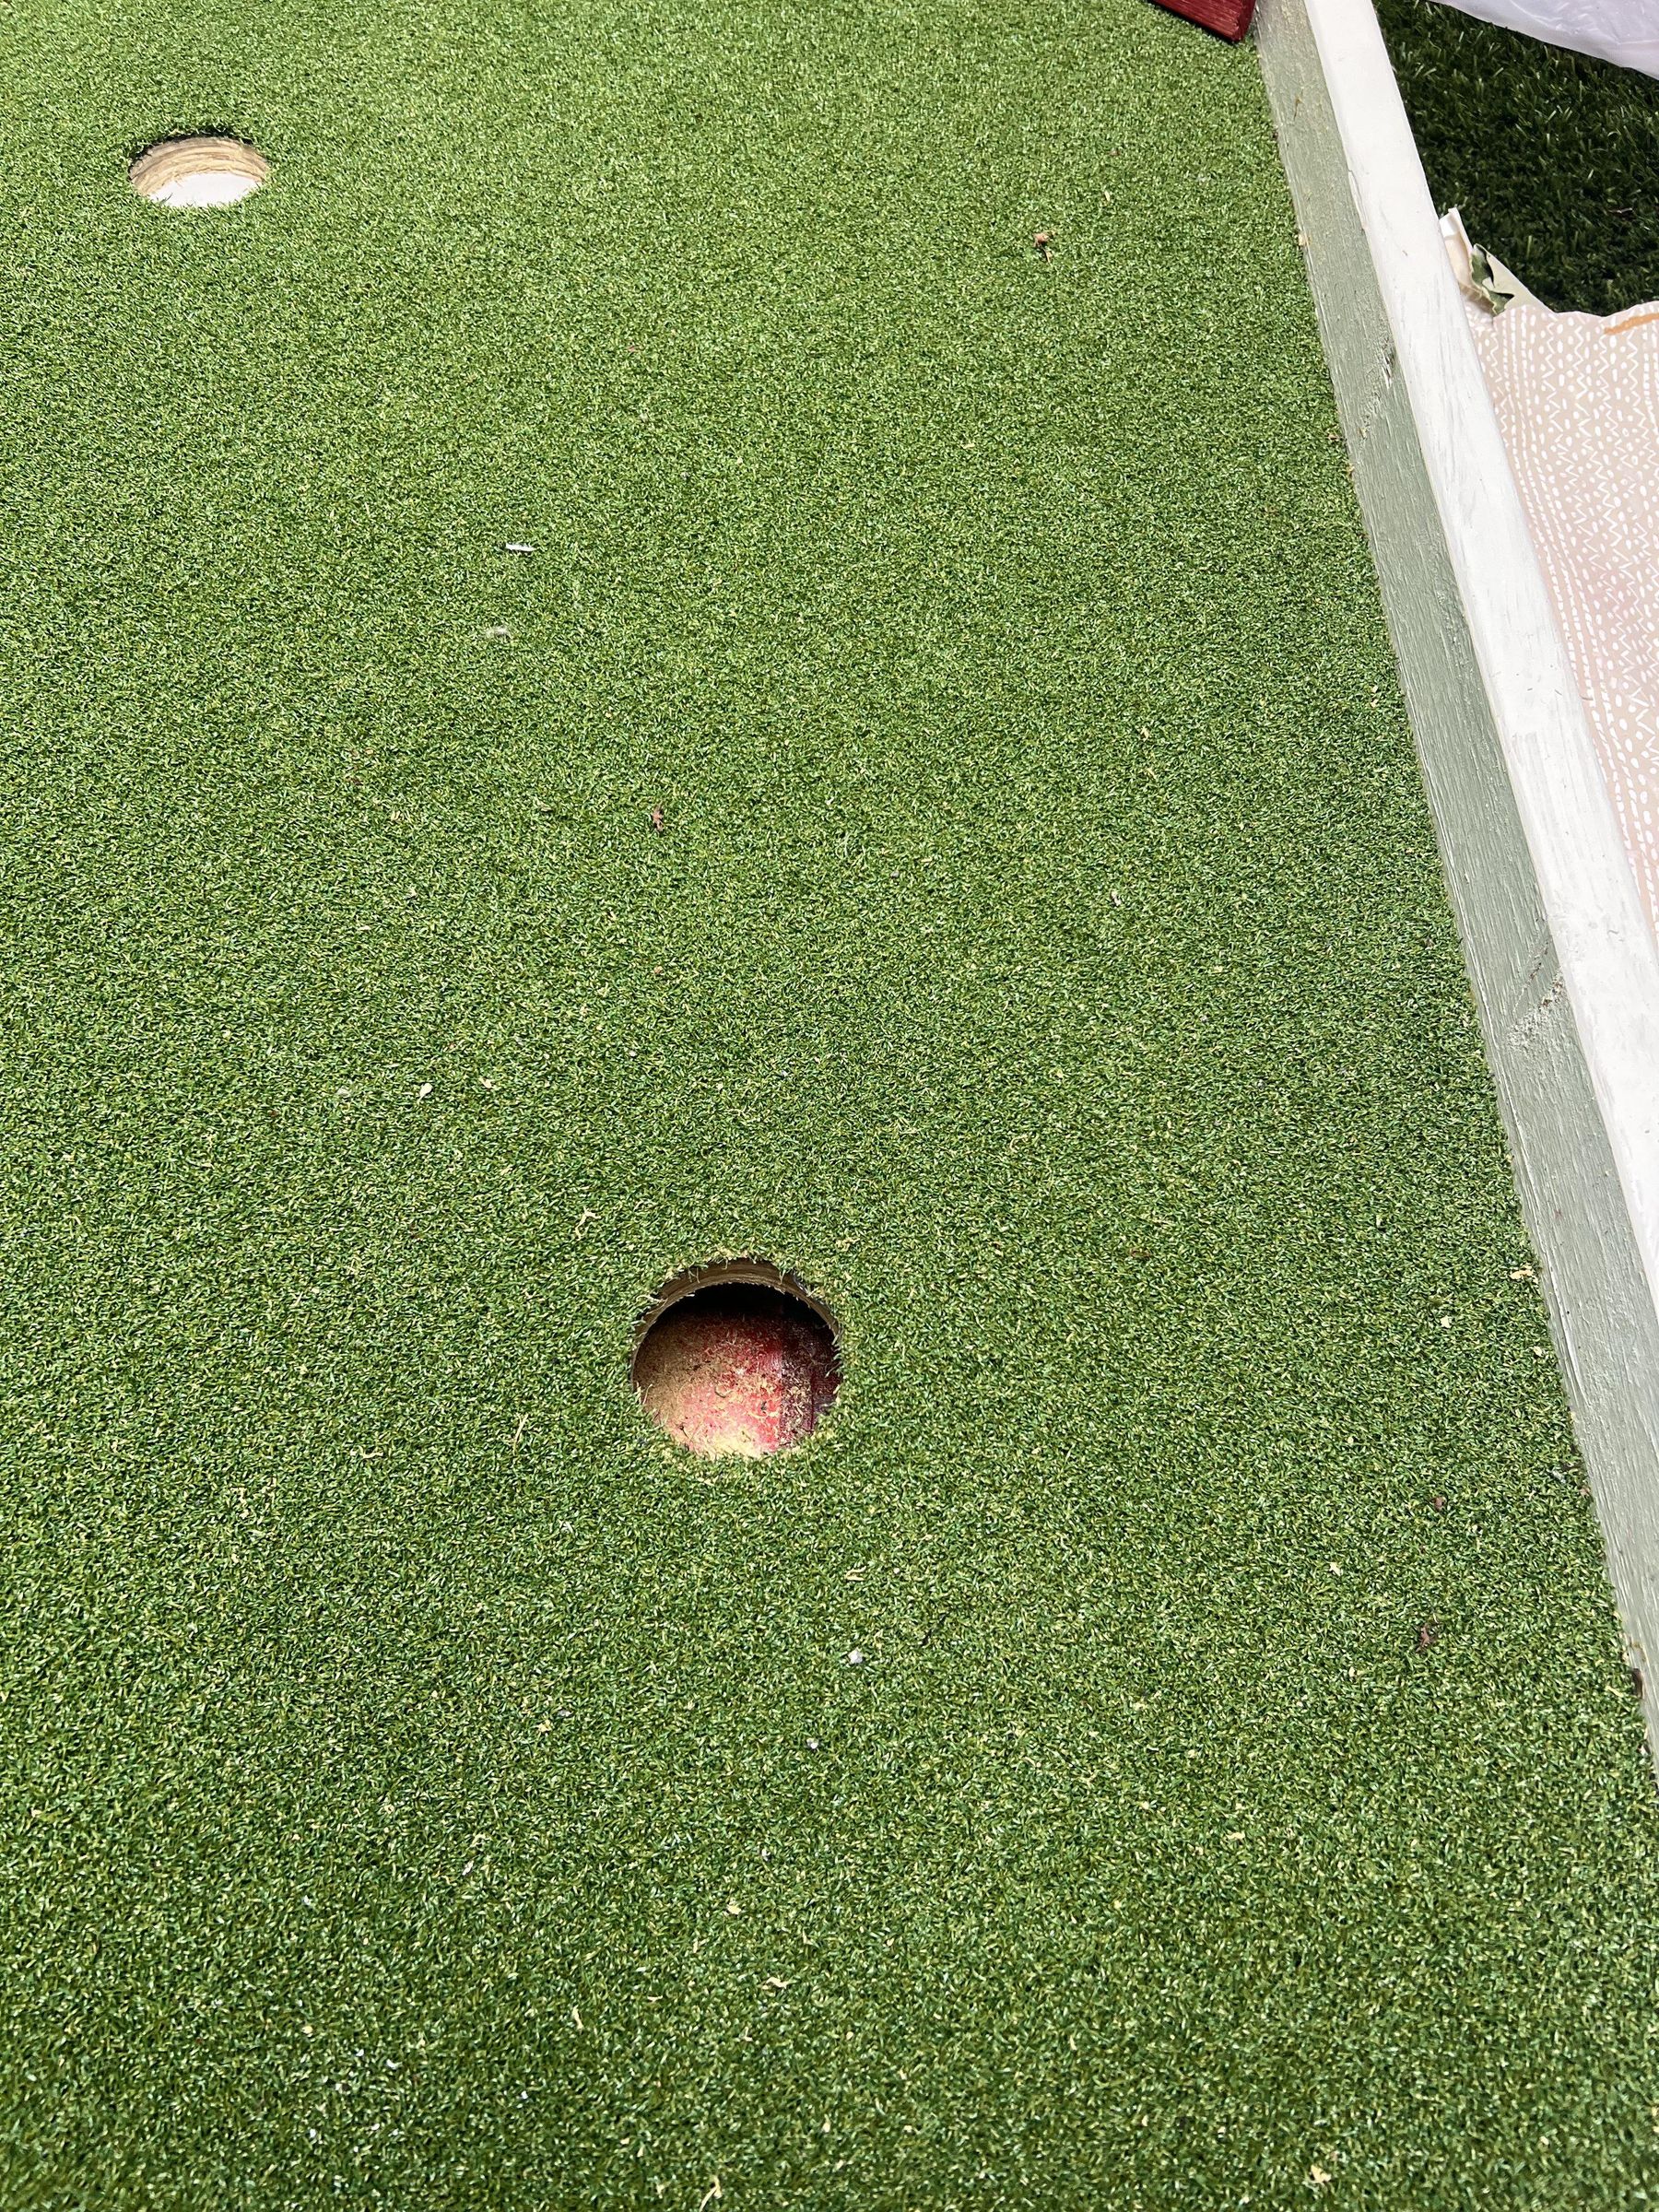
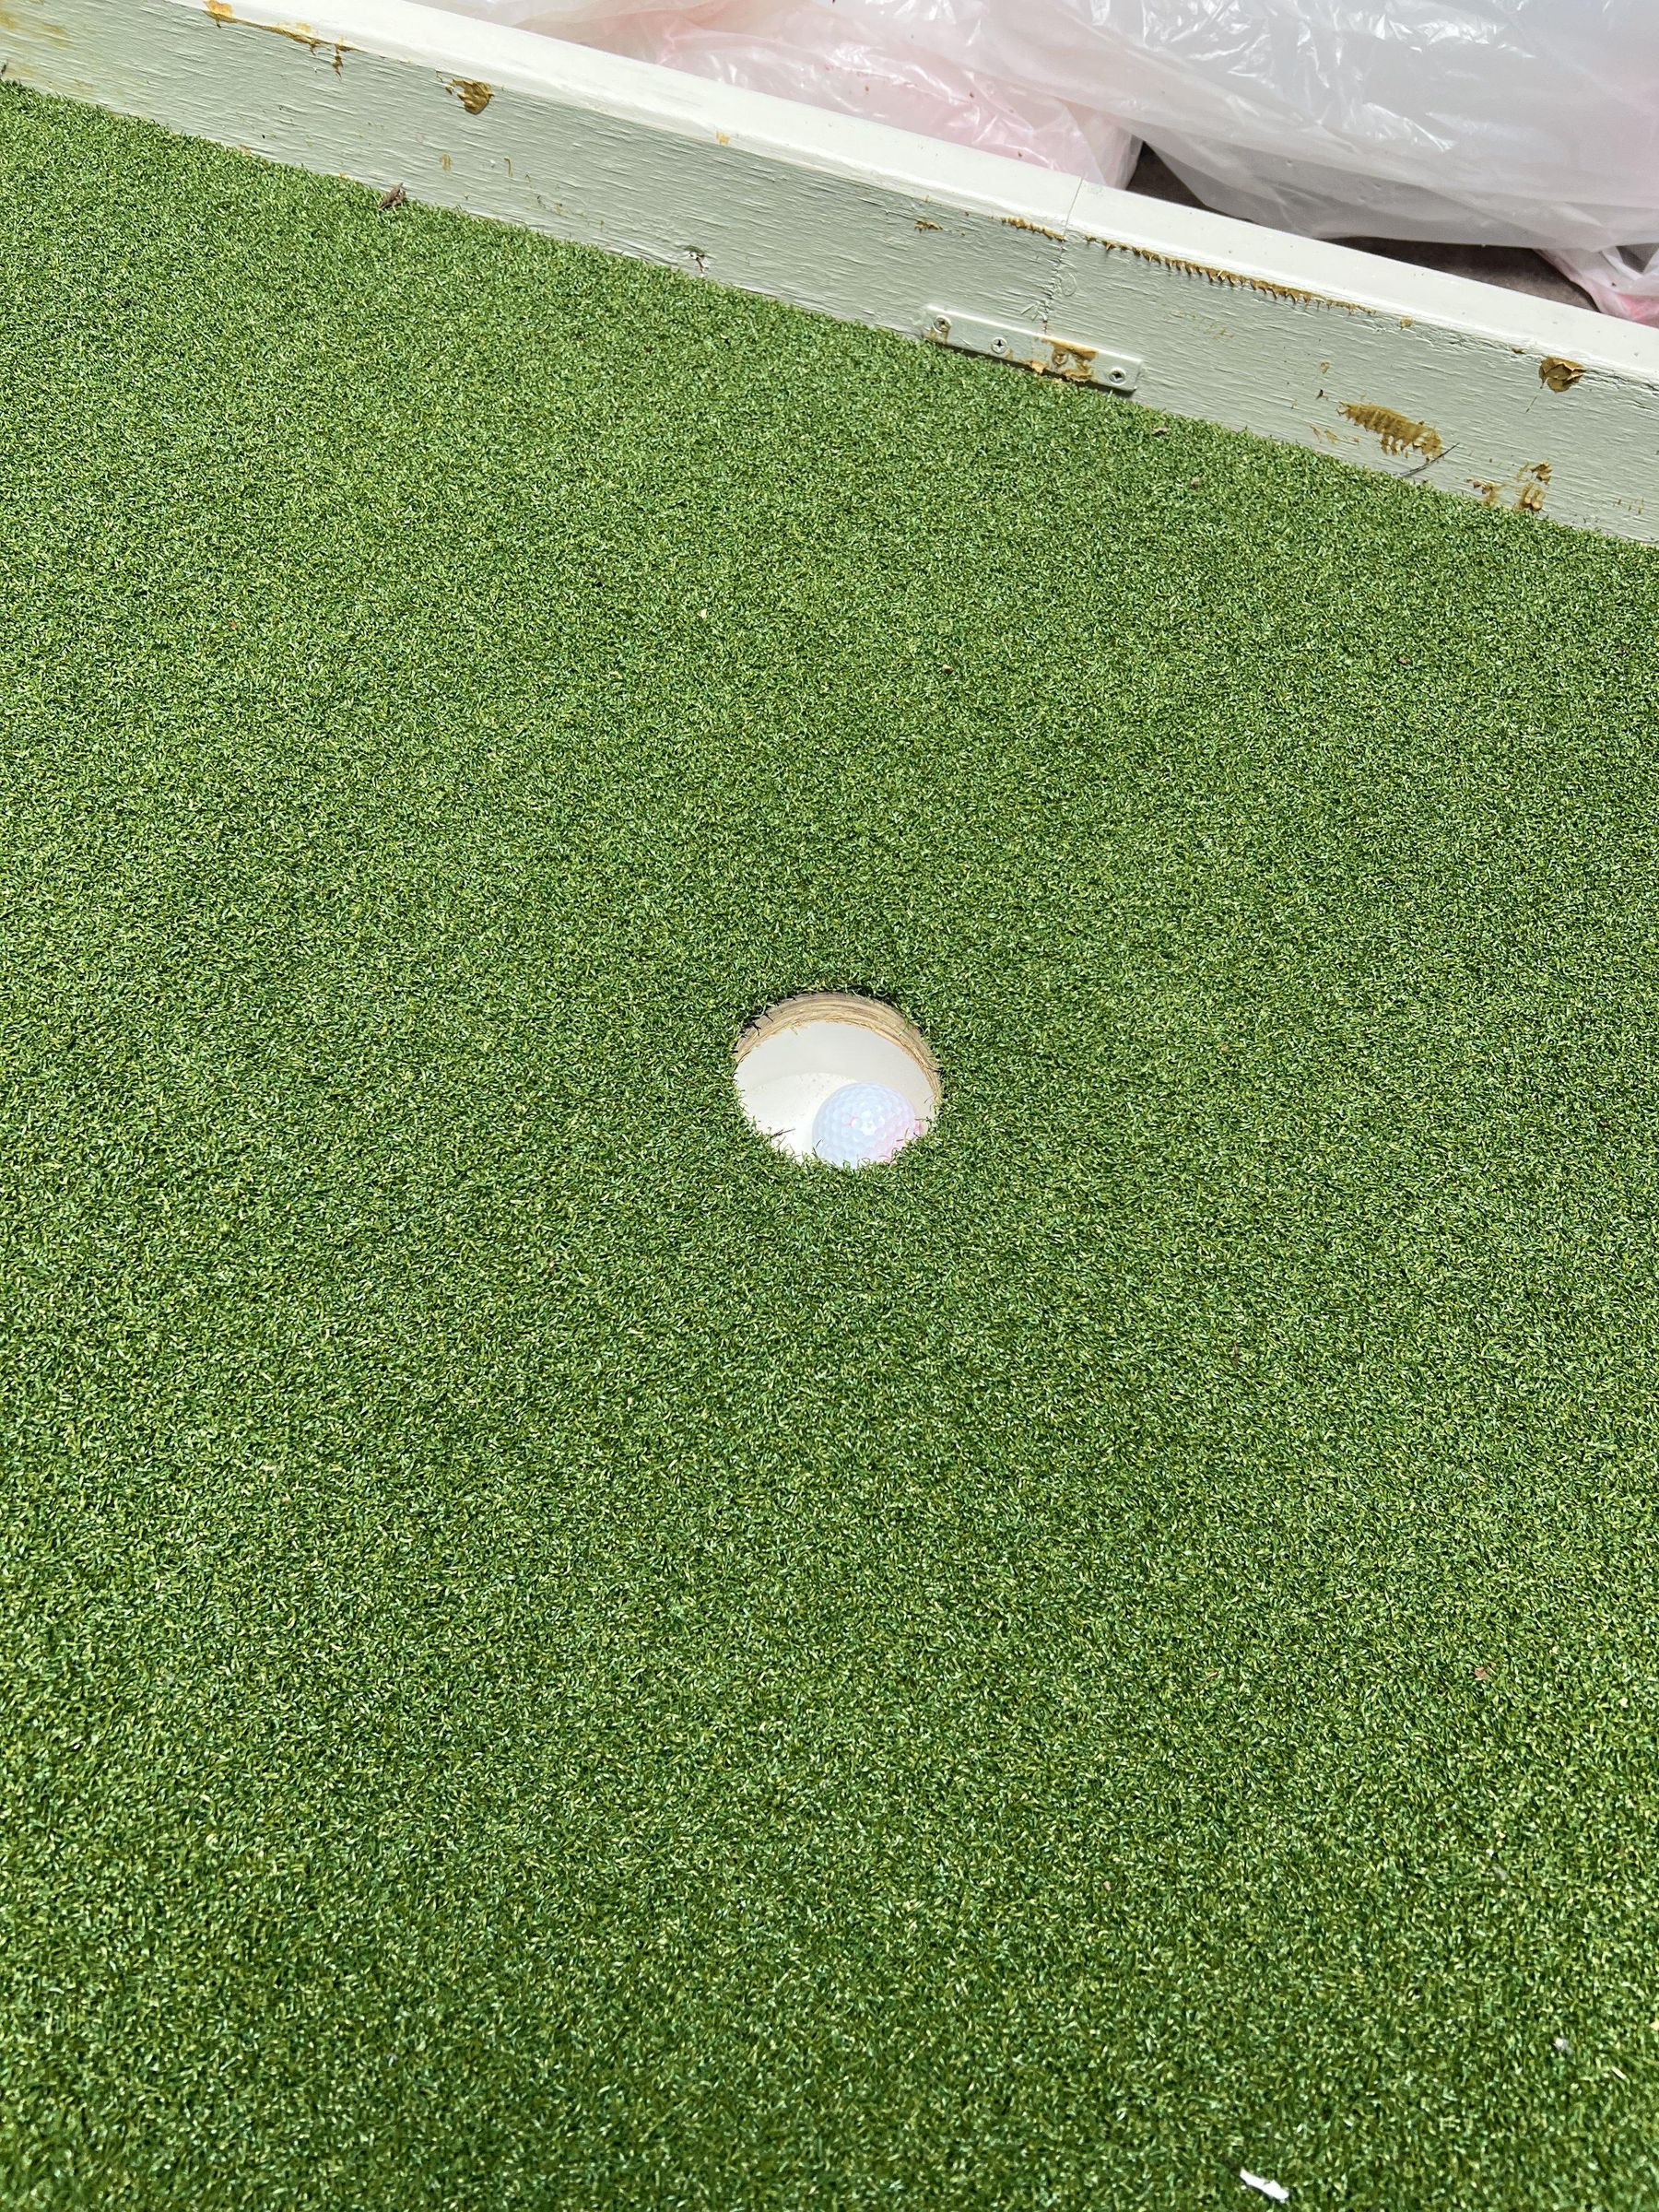
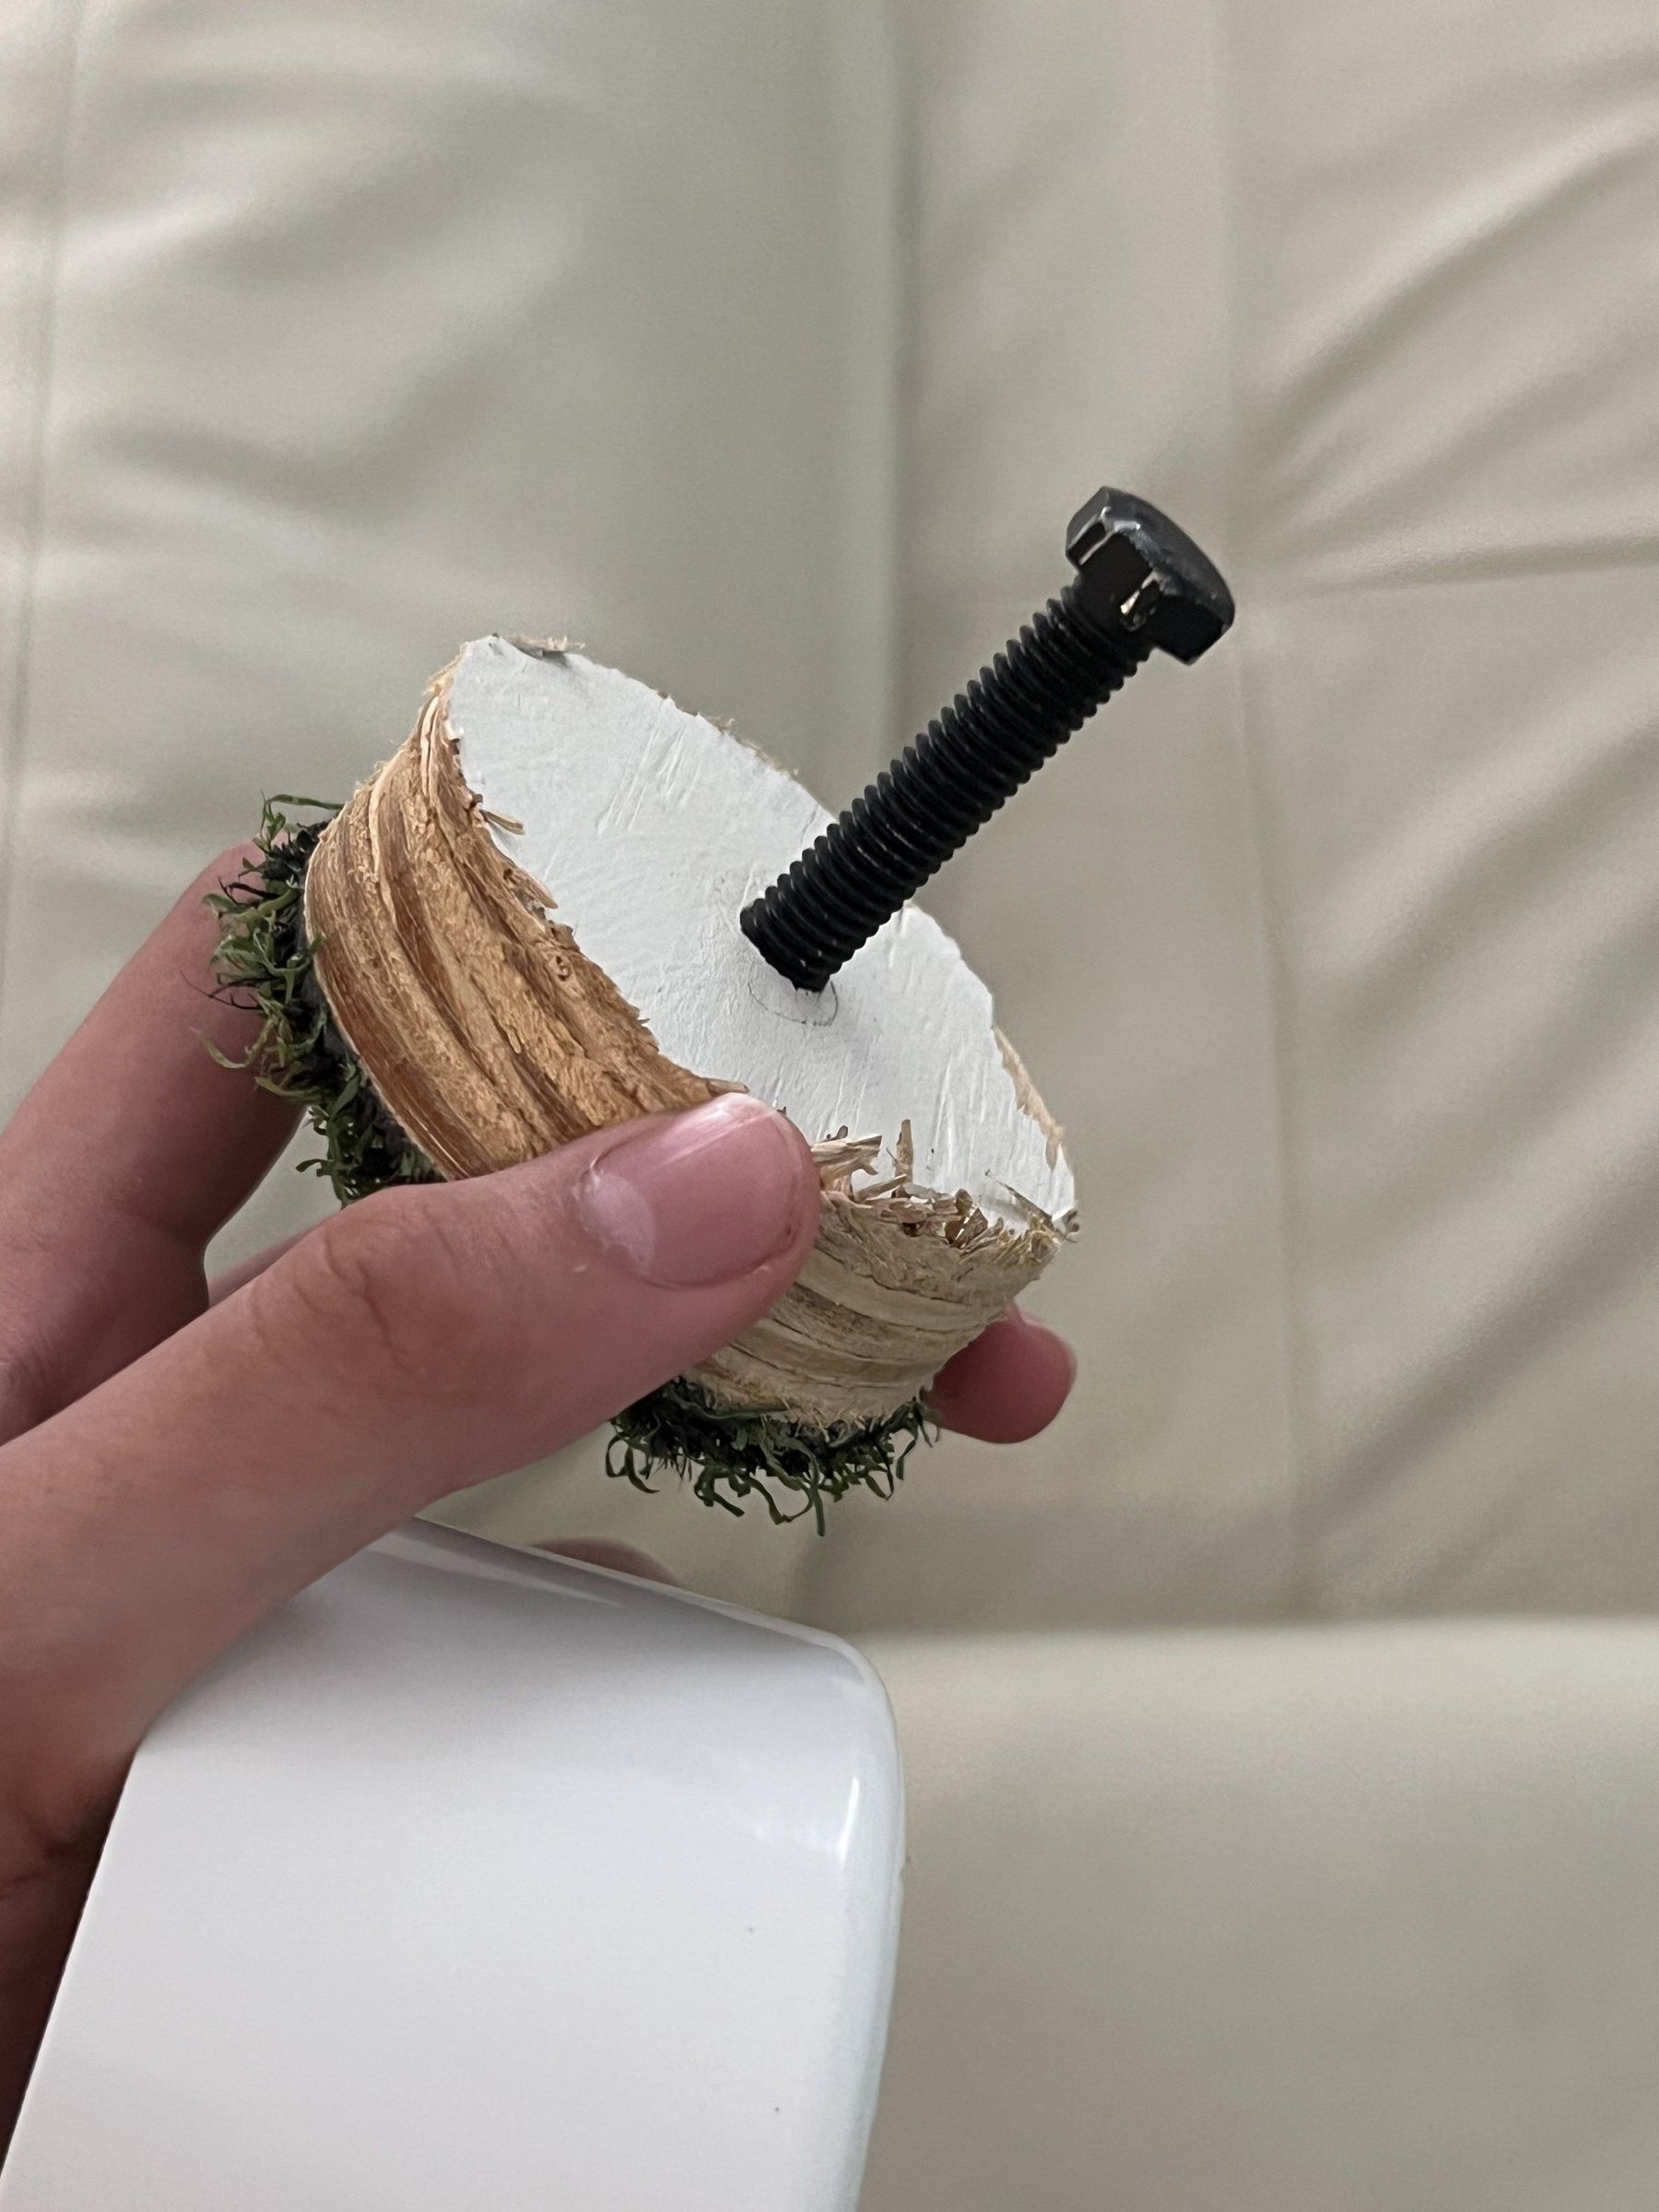
We wanted a golf hole size that would not be too easy given the compact course, so we chose a 3" hole size. We also wanted to have multiple possible hole locations, so we needed a way to plug one of the holes when not in use.
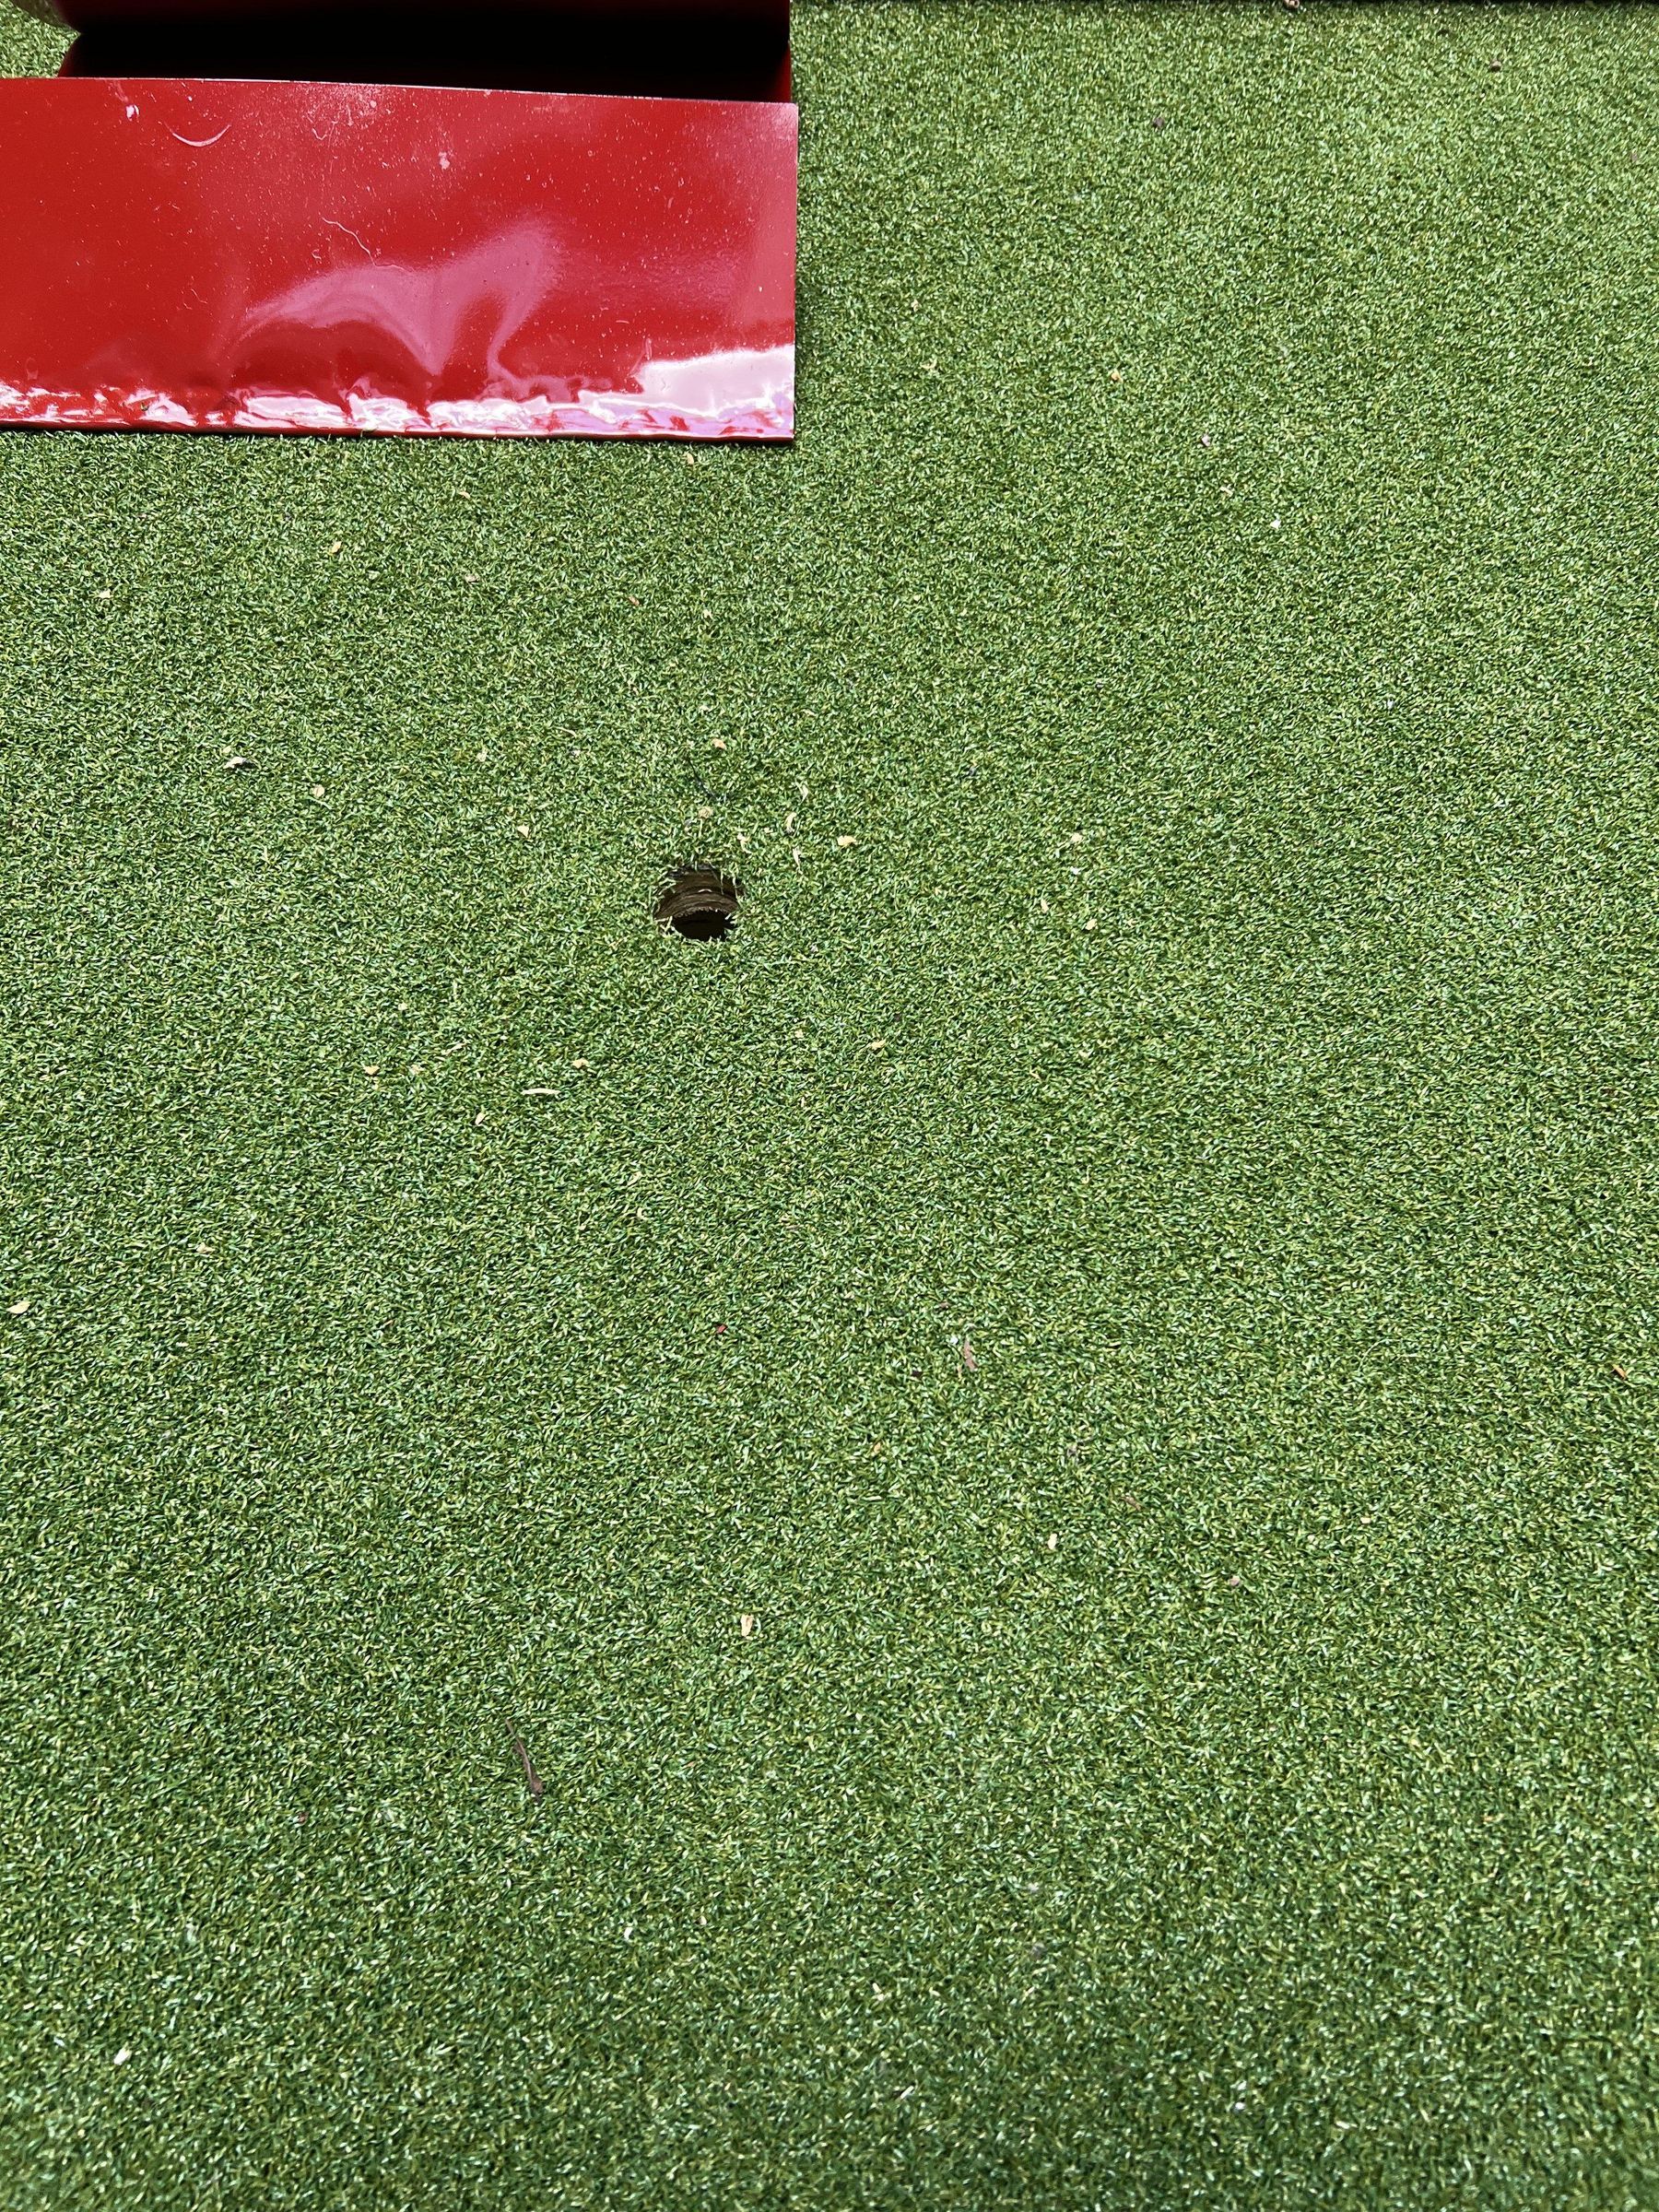
We drilled two holes in the turf/plywood base with the 3" Holedozer. We chose to put one in the middle of the course set back from the wall by 12" and the other about 2/3 of the way down the course about 24" from the right wall, but you can put the holes wherever you want to, just make sure you don't drill them on top of one of the supports.
We then drilled holes into the bottom of the PVC caps for drainage if it rains, then flipped the foundation over and used adhesive to attach the PVC caps to the plywood on the opposite side of the 3-inch holes.
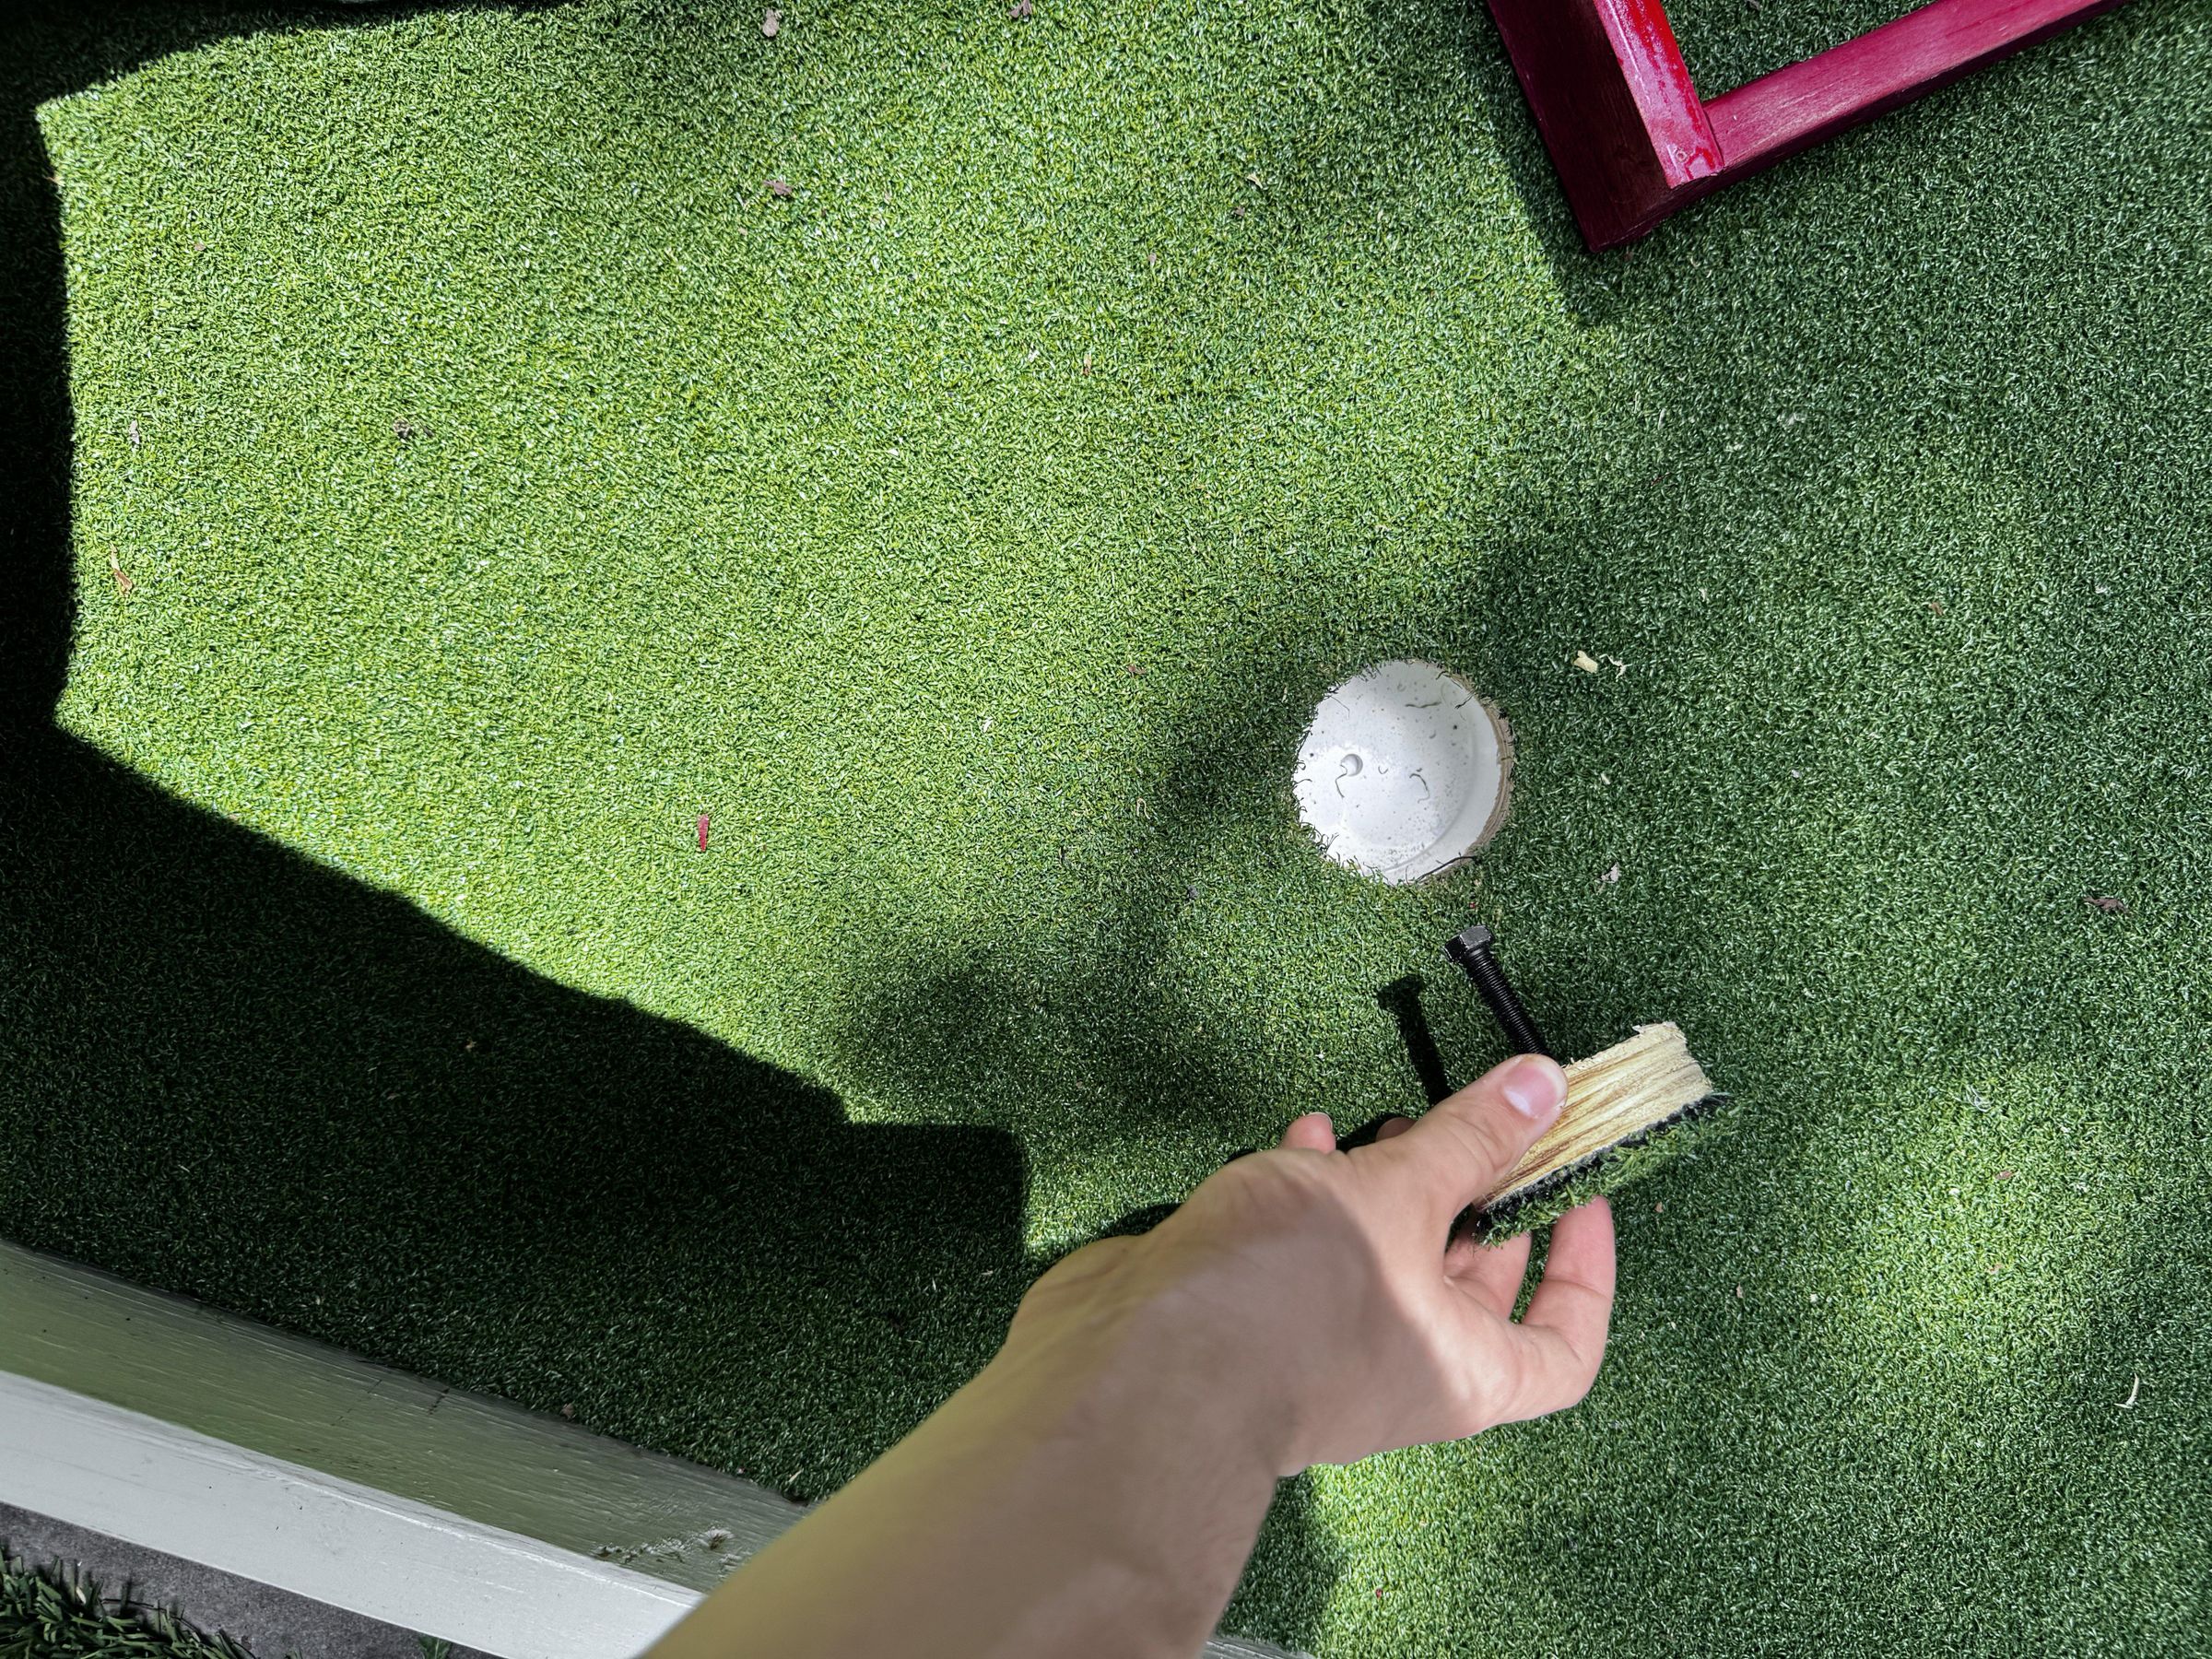
We used one of the leftover drilled 3" grass/ plywood discs to use as a plug for one of the holes when not in use. To keep it at the right level as the grass, we drilled one of our 3/8" screws in the bottom and adjusted the height of the screw to create a level grass surface when in place.
Wooden Obstacles
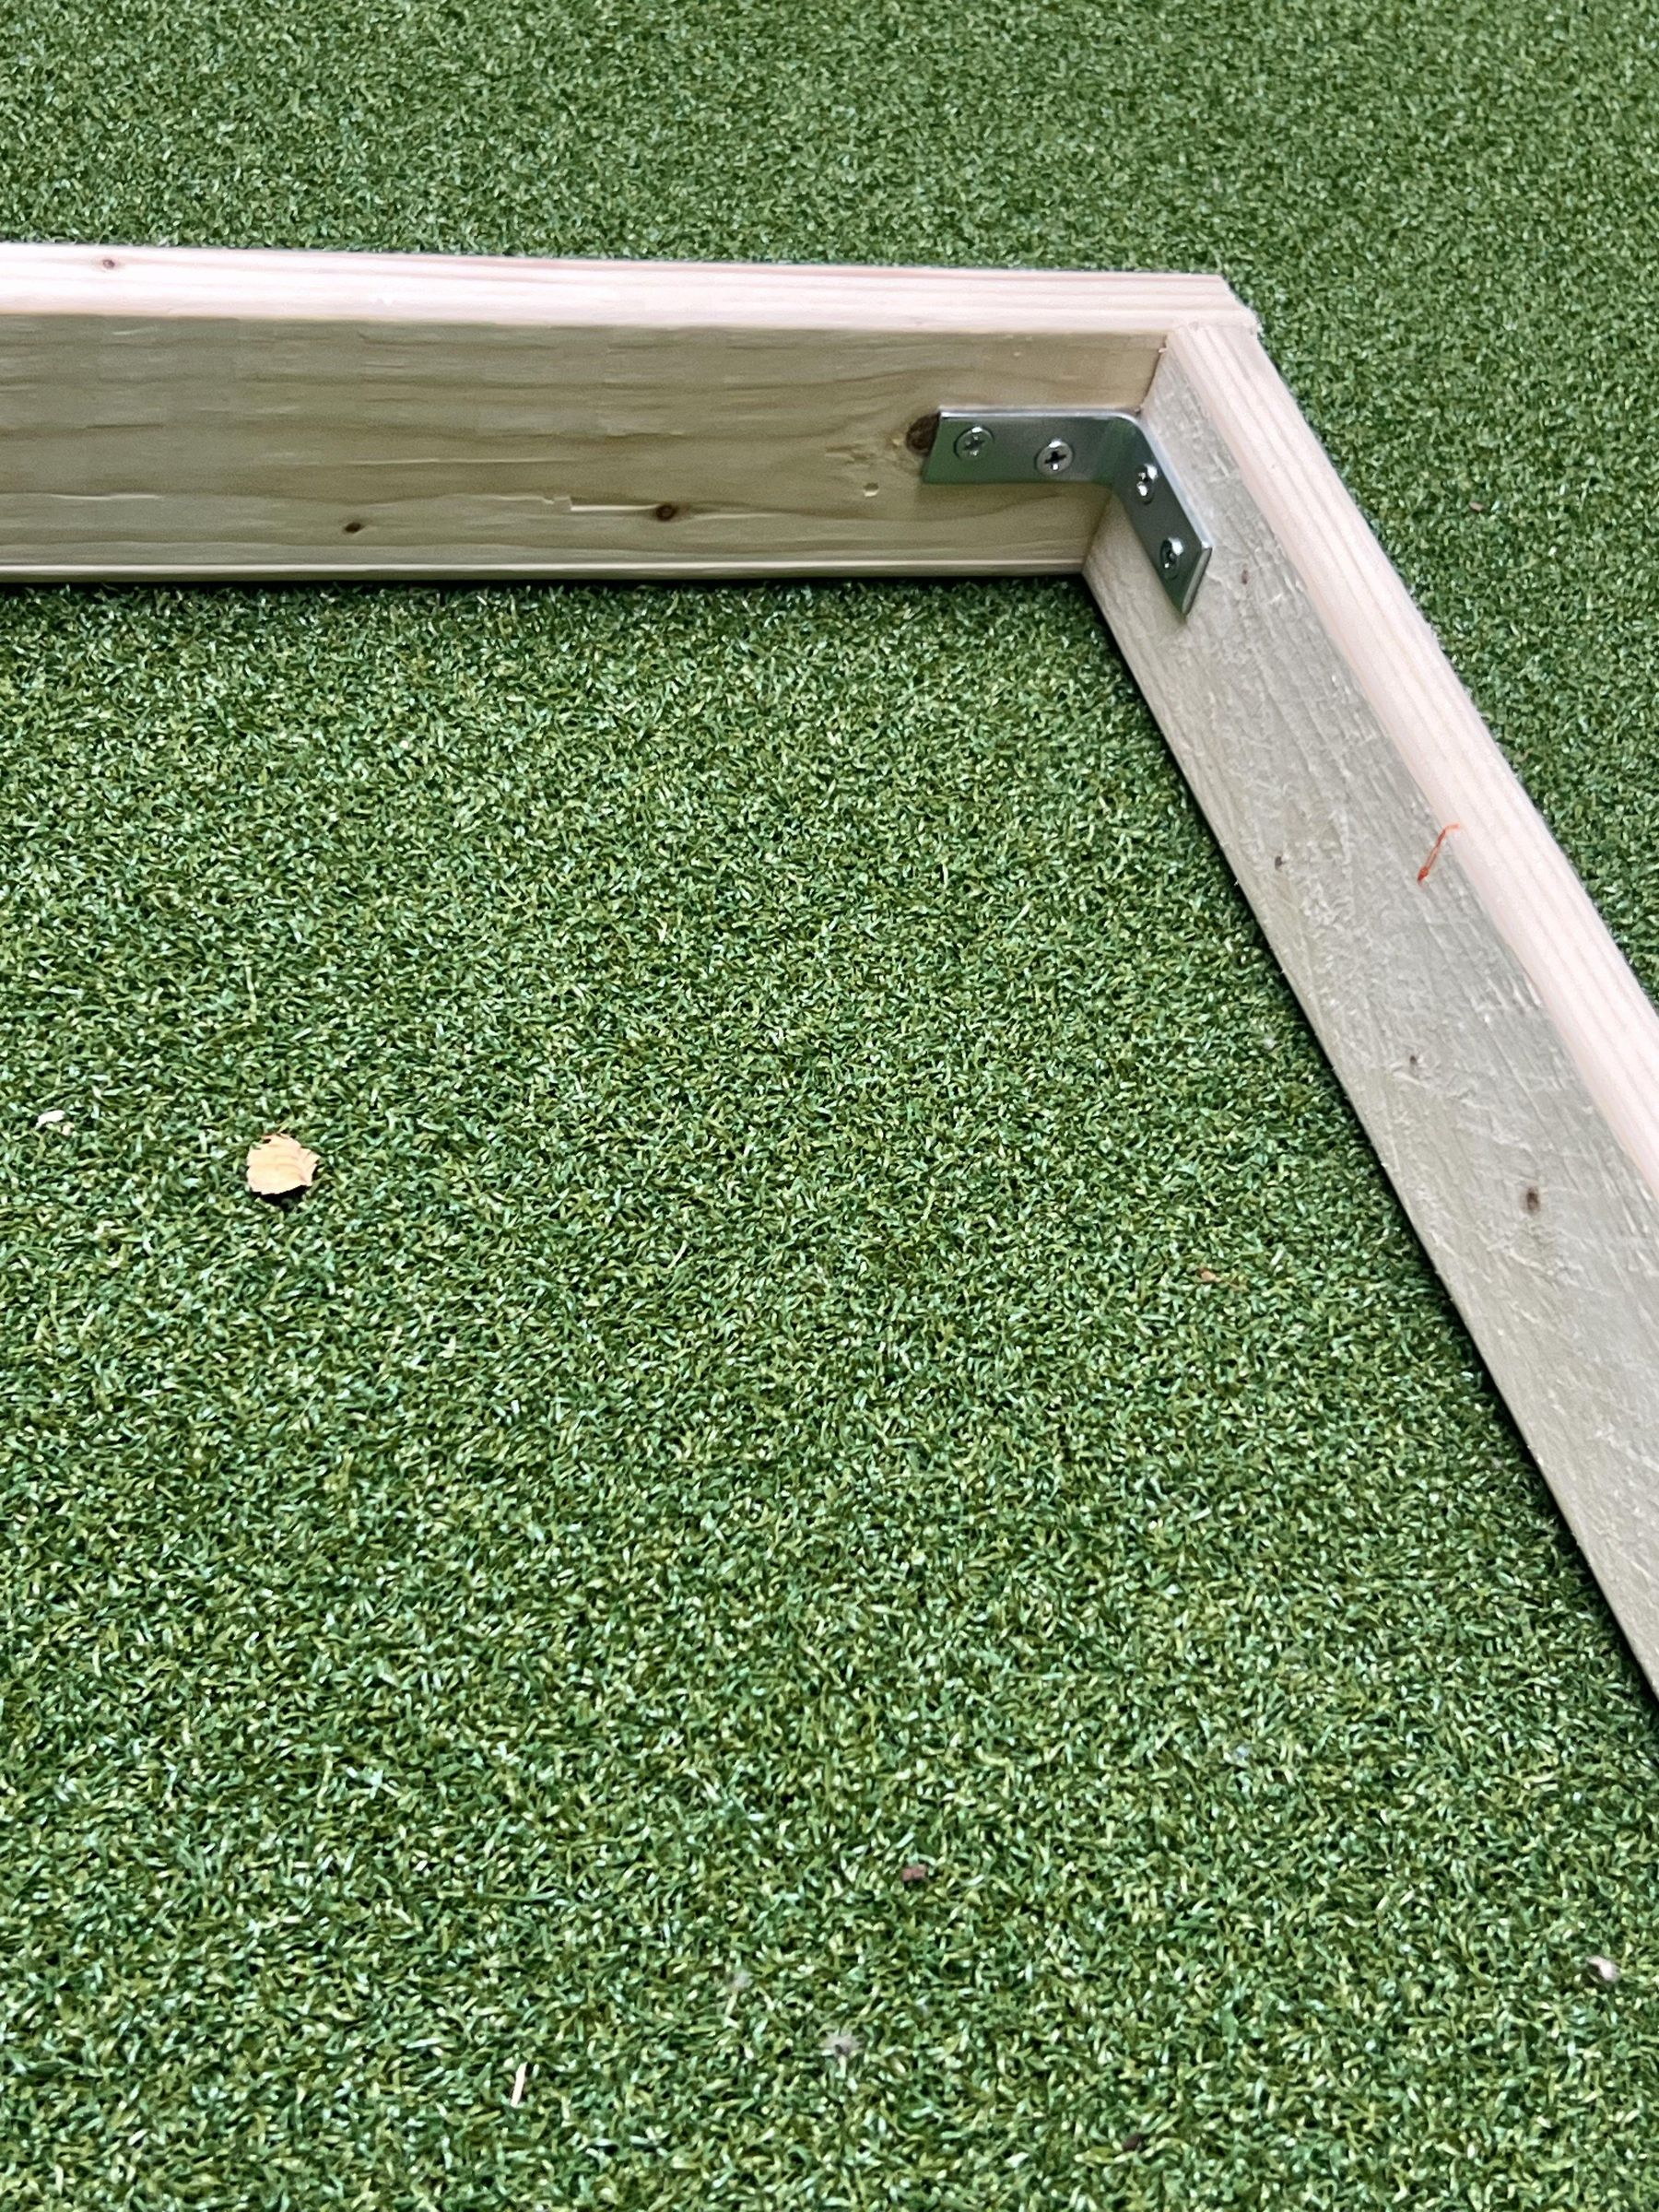
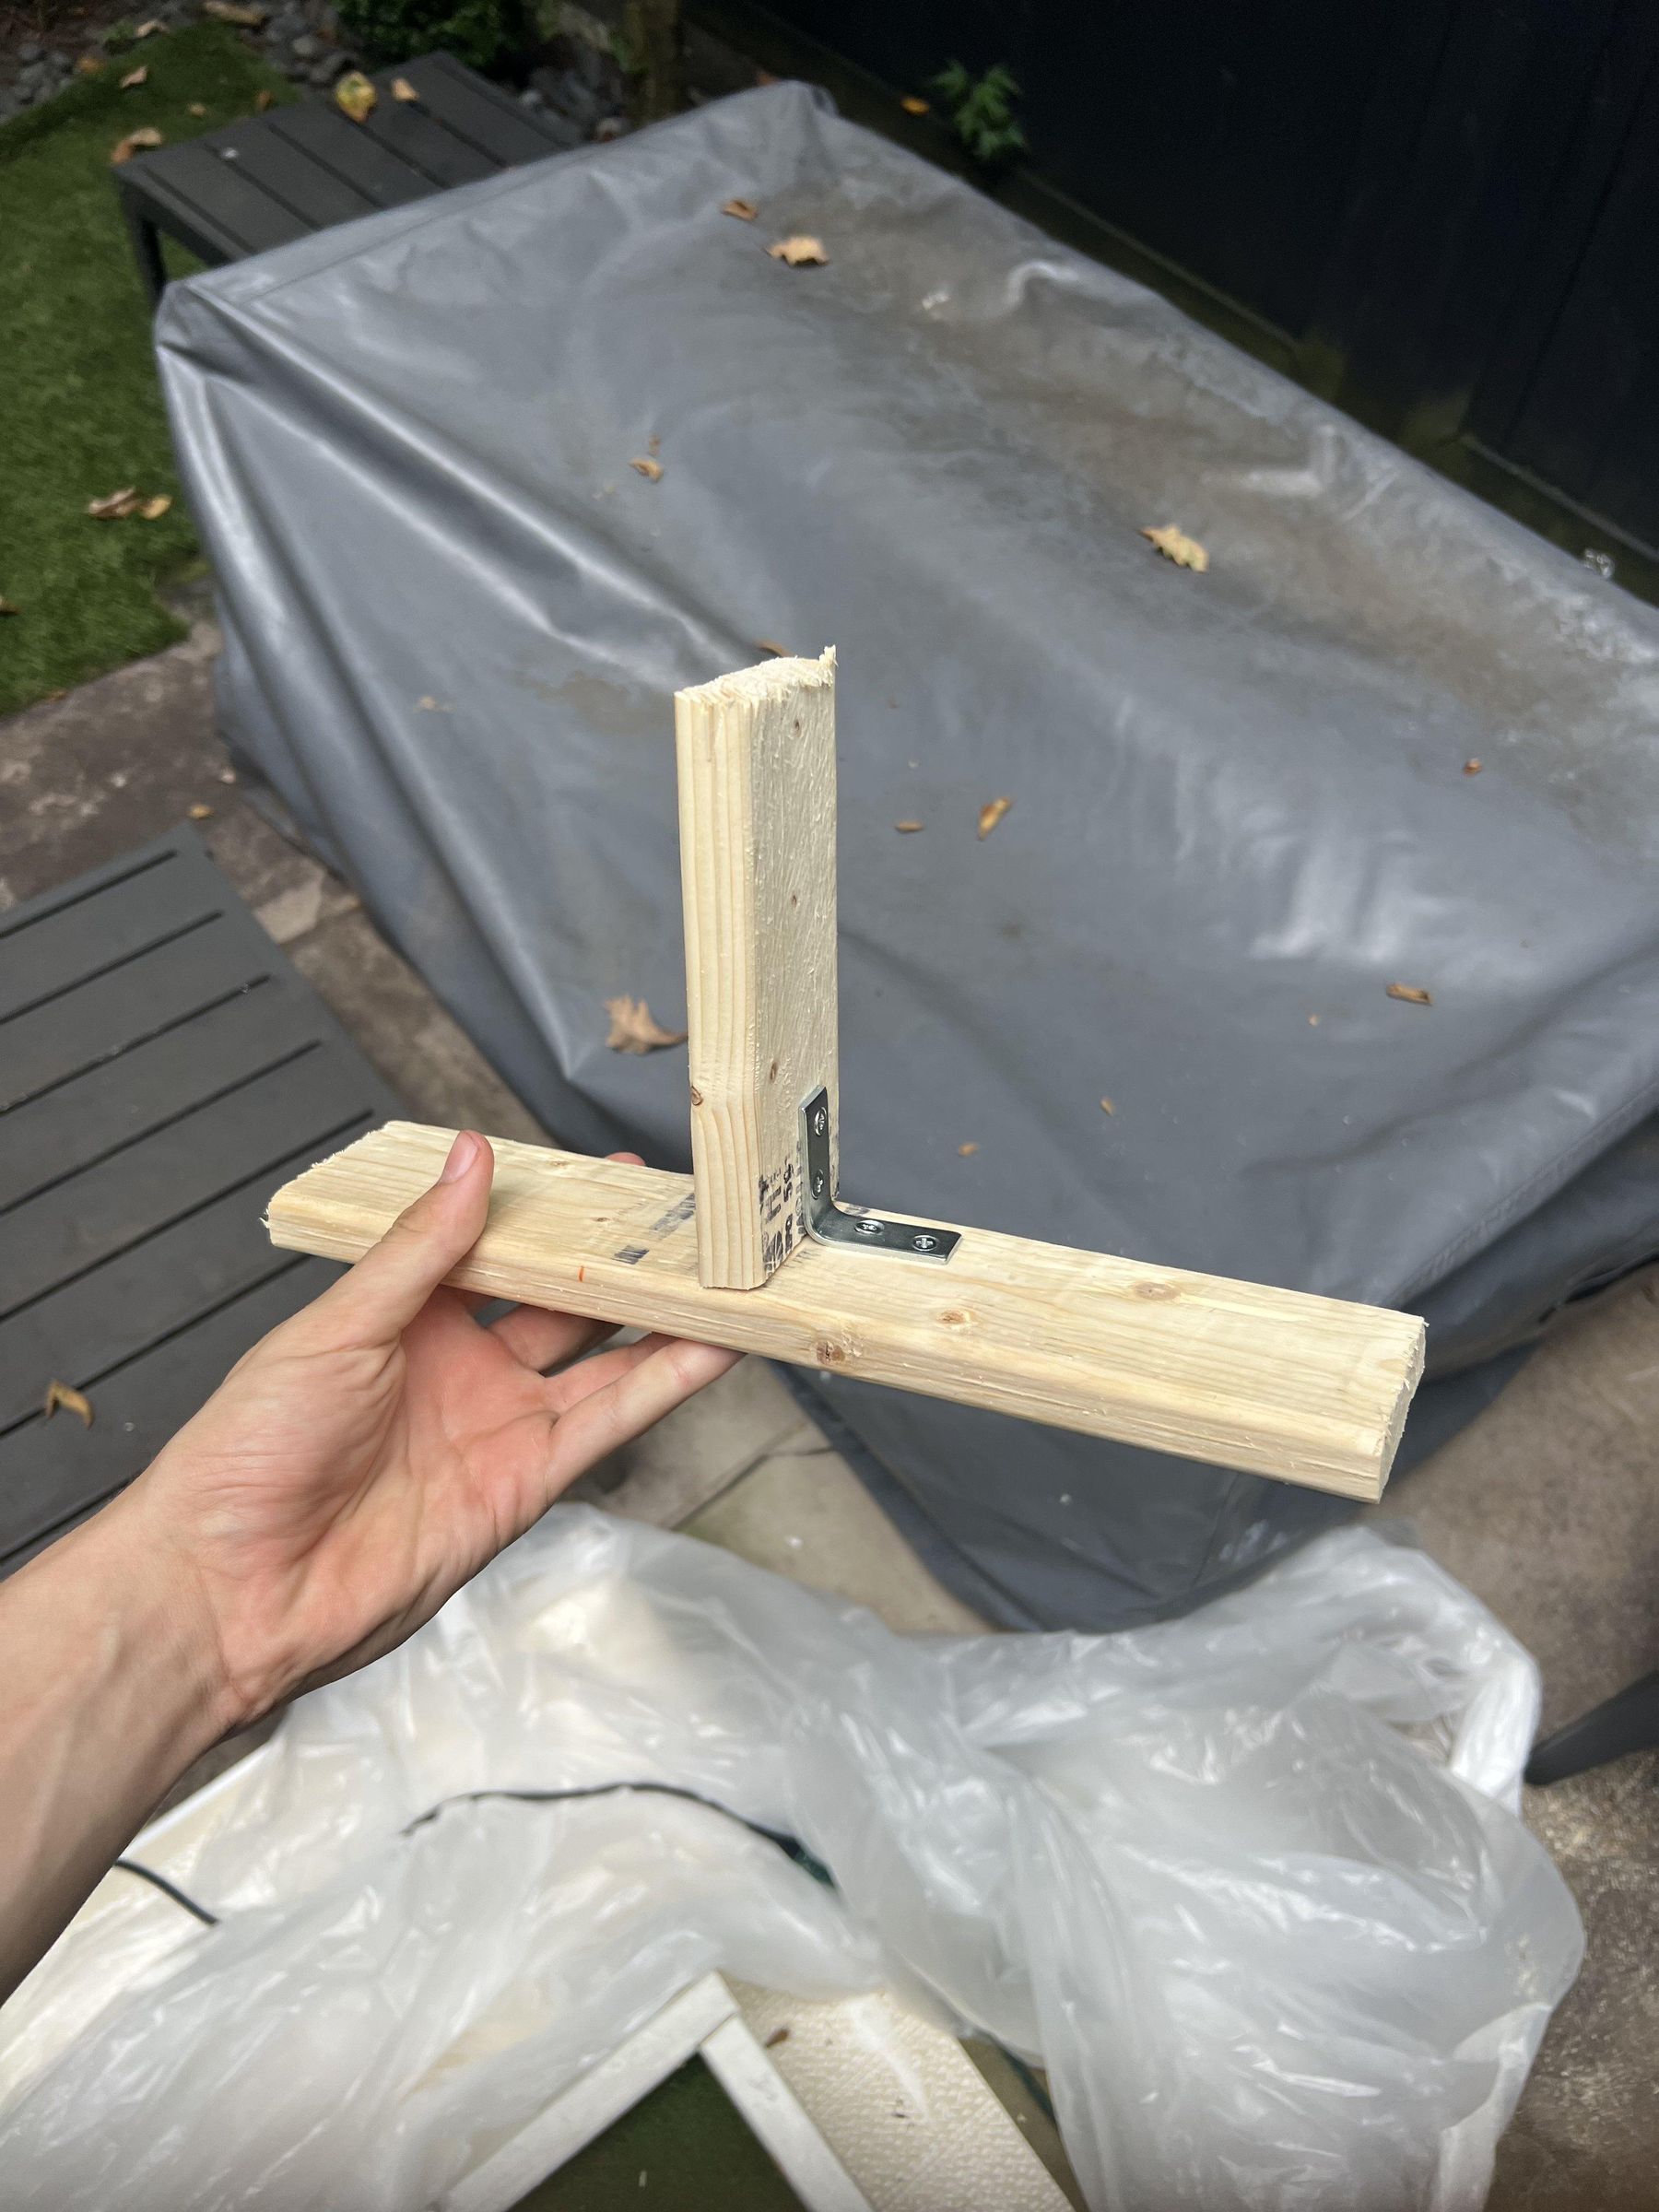
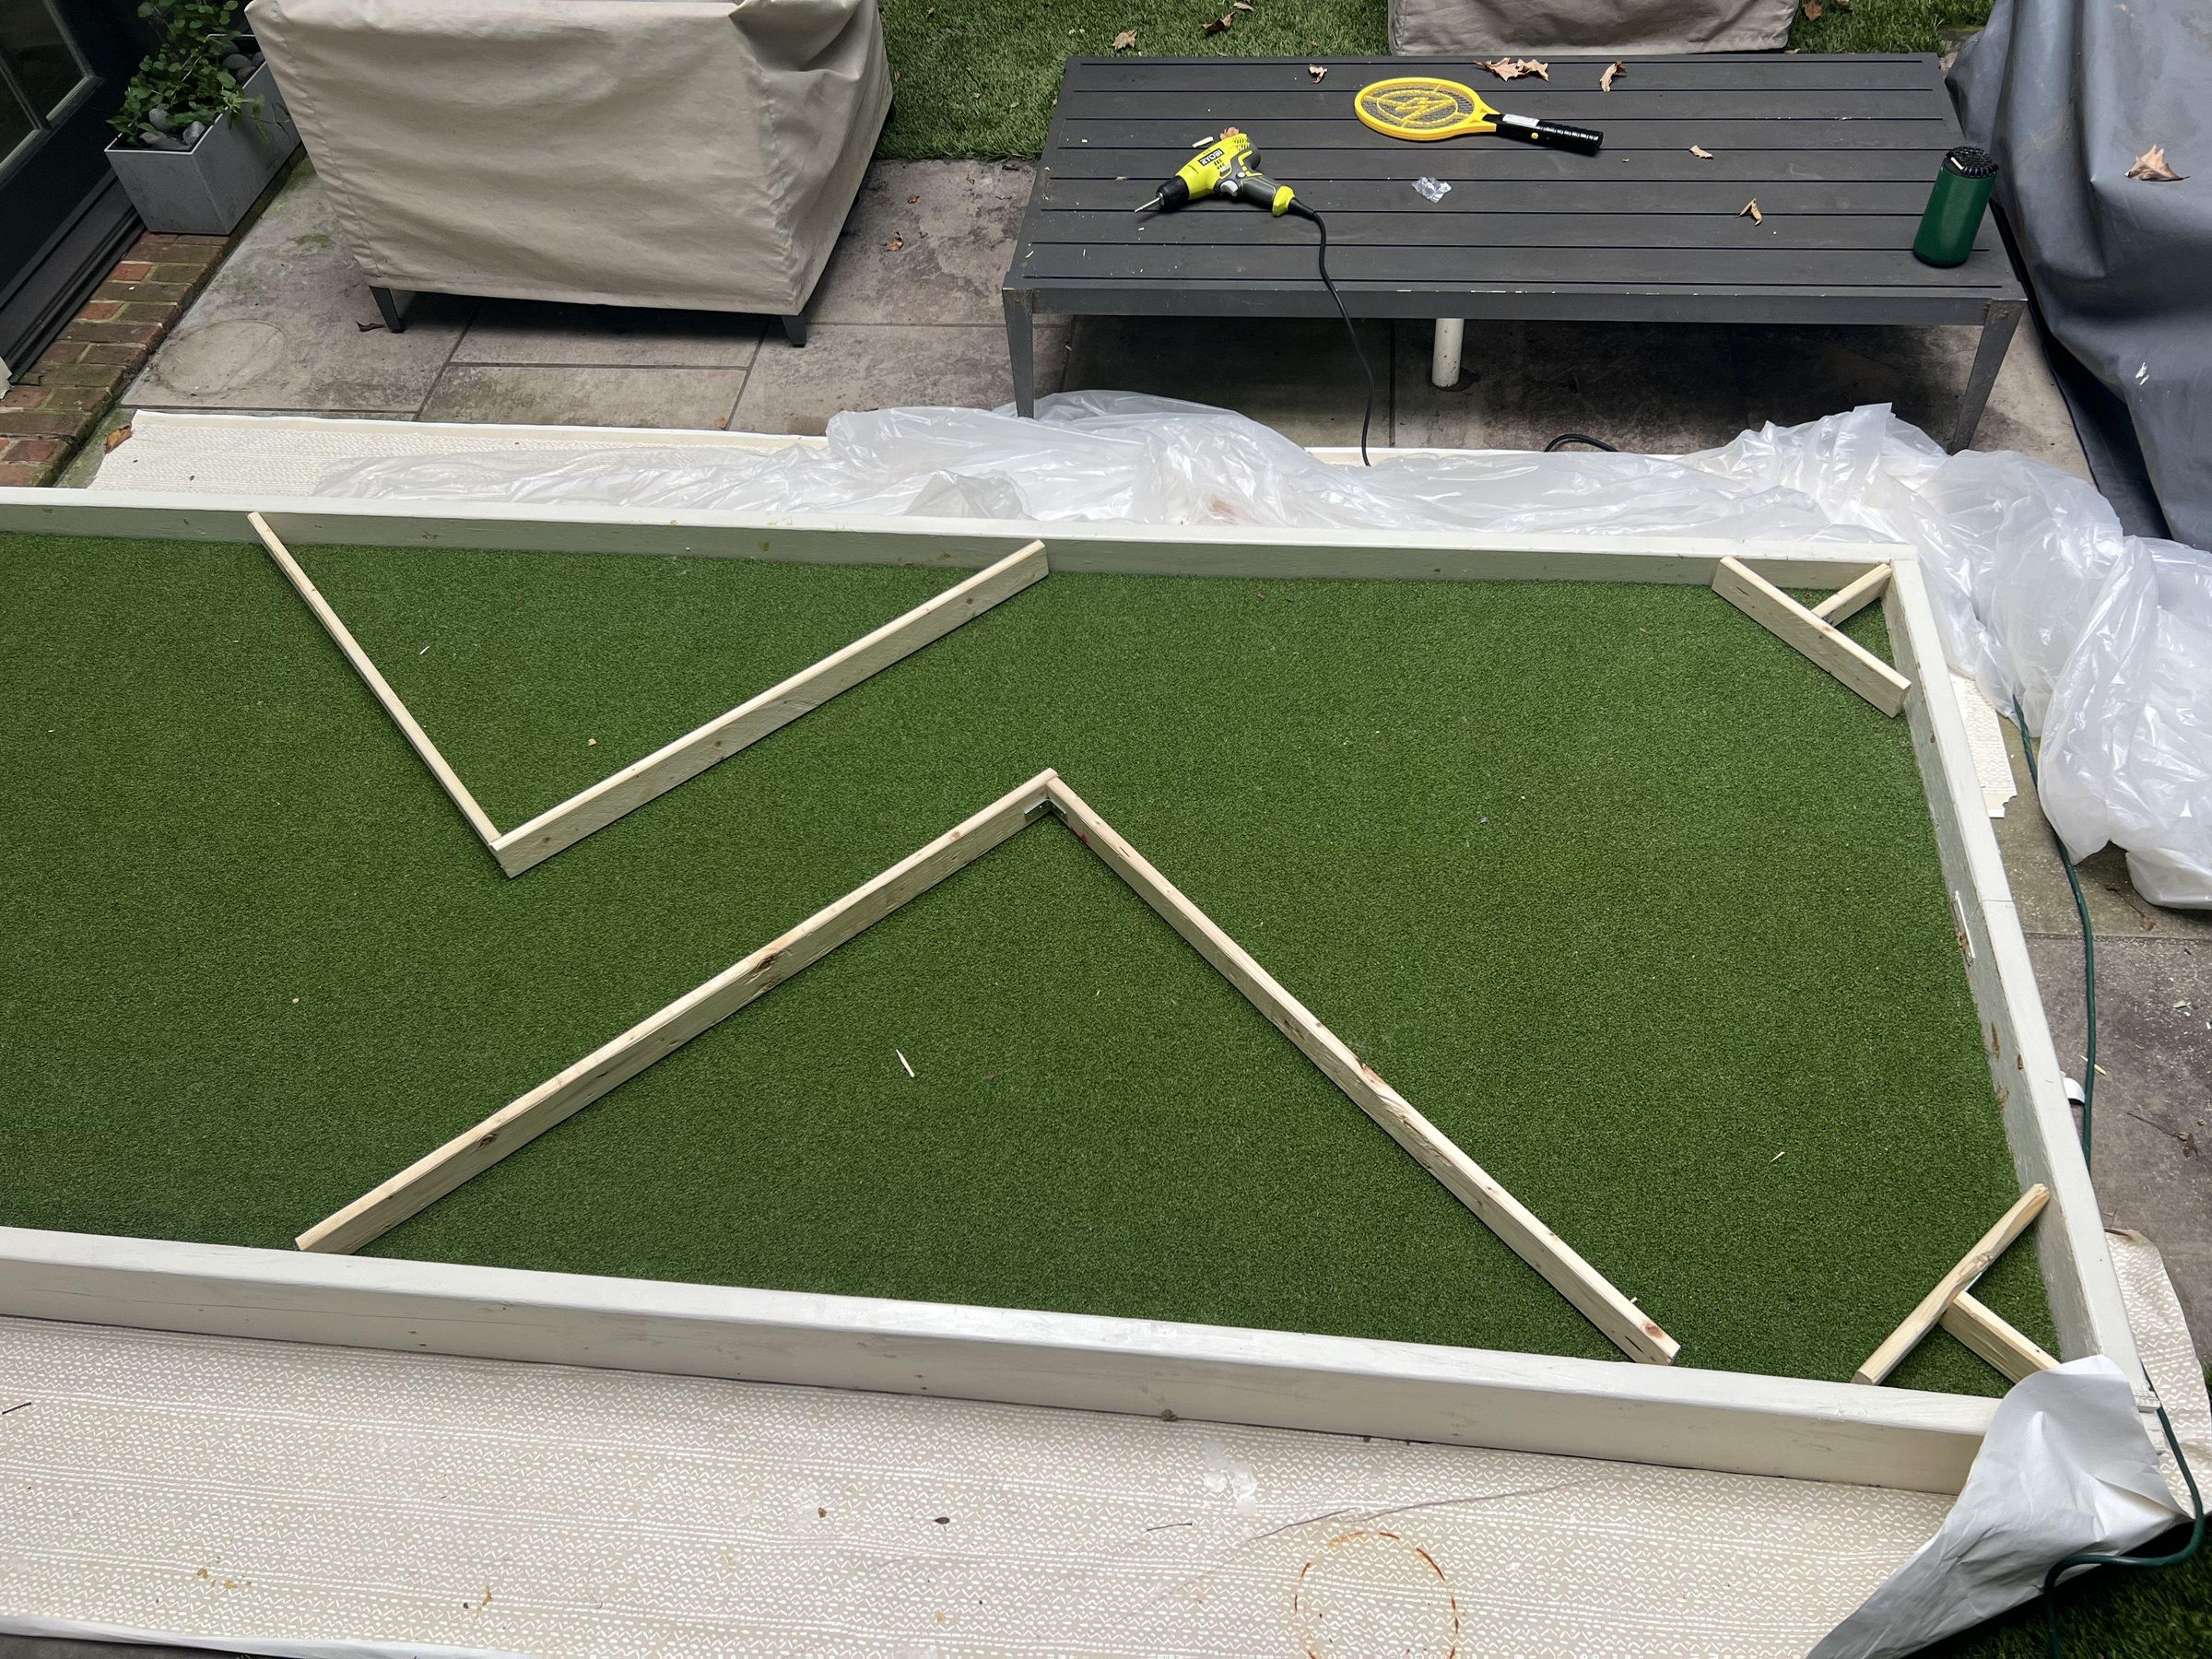
We wanted to have a modular system that could narrow the playing field to force the player to navigate certain paths, so built a number of wooden obstacles to narrow the course at key points and create reflecting angles for the player to bounce the ball off to reach the hole.
Using the 1"x3" lumber and the L-braces, we created walls and triangles like the ones shown. You can create any size wall or triangle, but we made the height of our triangles a little longer than 2 feet and the height of the other a little smaller than 2 feet. The lengths of the wood on the arms of the triangles should not be equal, as the width of the 1x3 (0.75") needs to be subtracted from one of them because of the way they are attached (see pic 1). For example, if you wanted a triangle with a height around 2 feet, you'd have one 1x3x17" and one 1x3x16.25".
Ramp
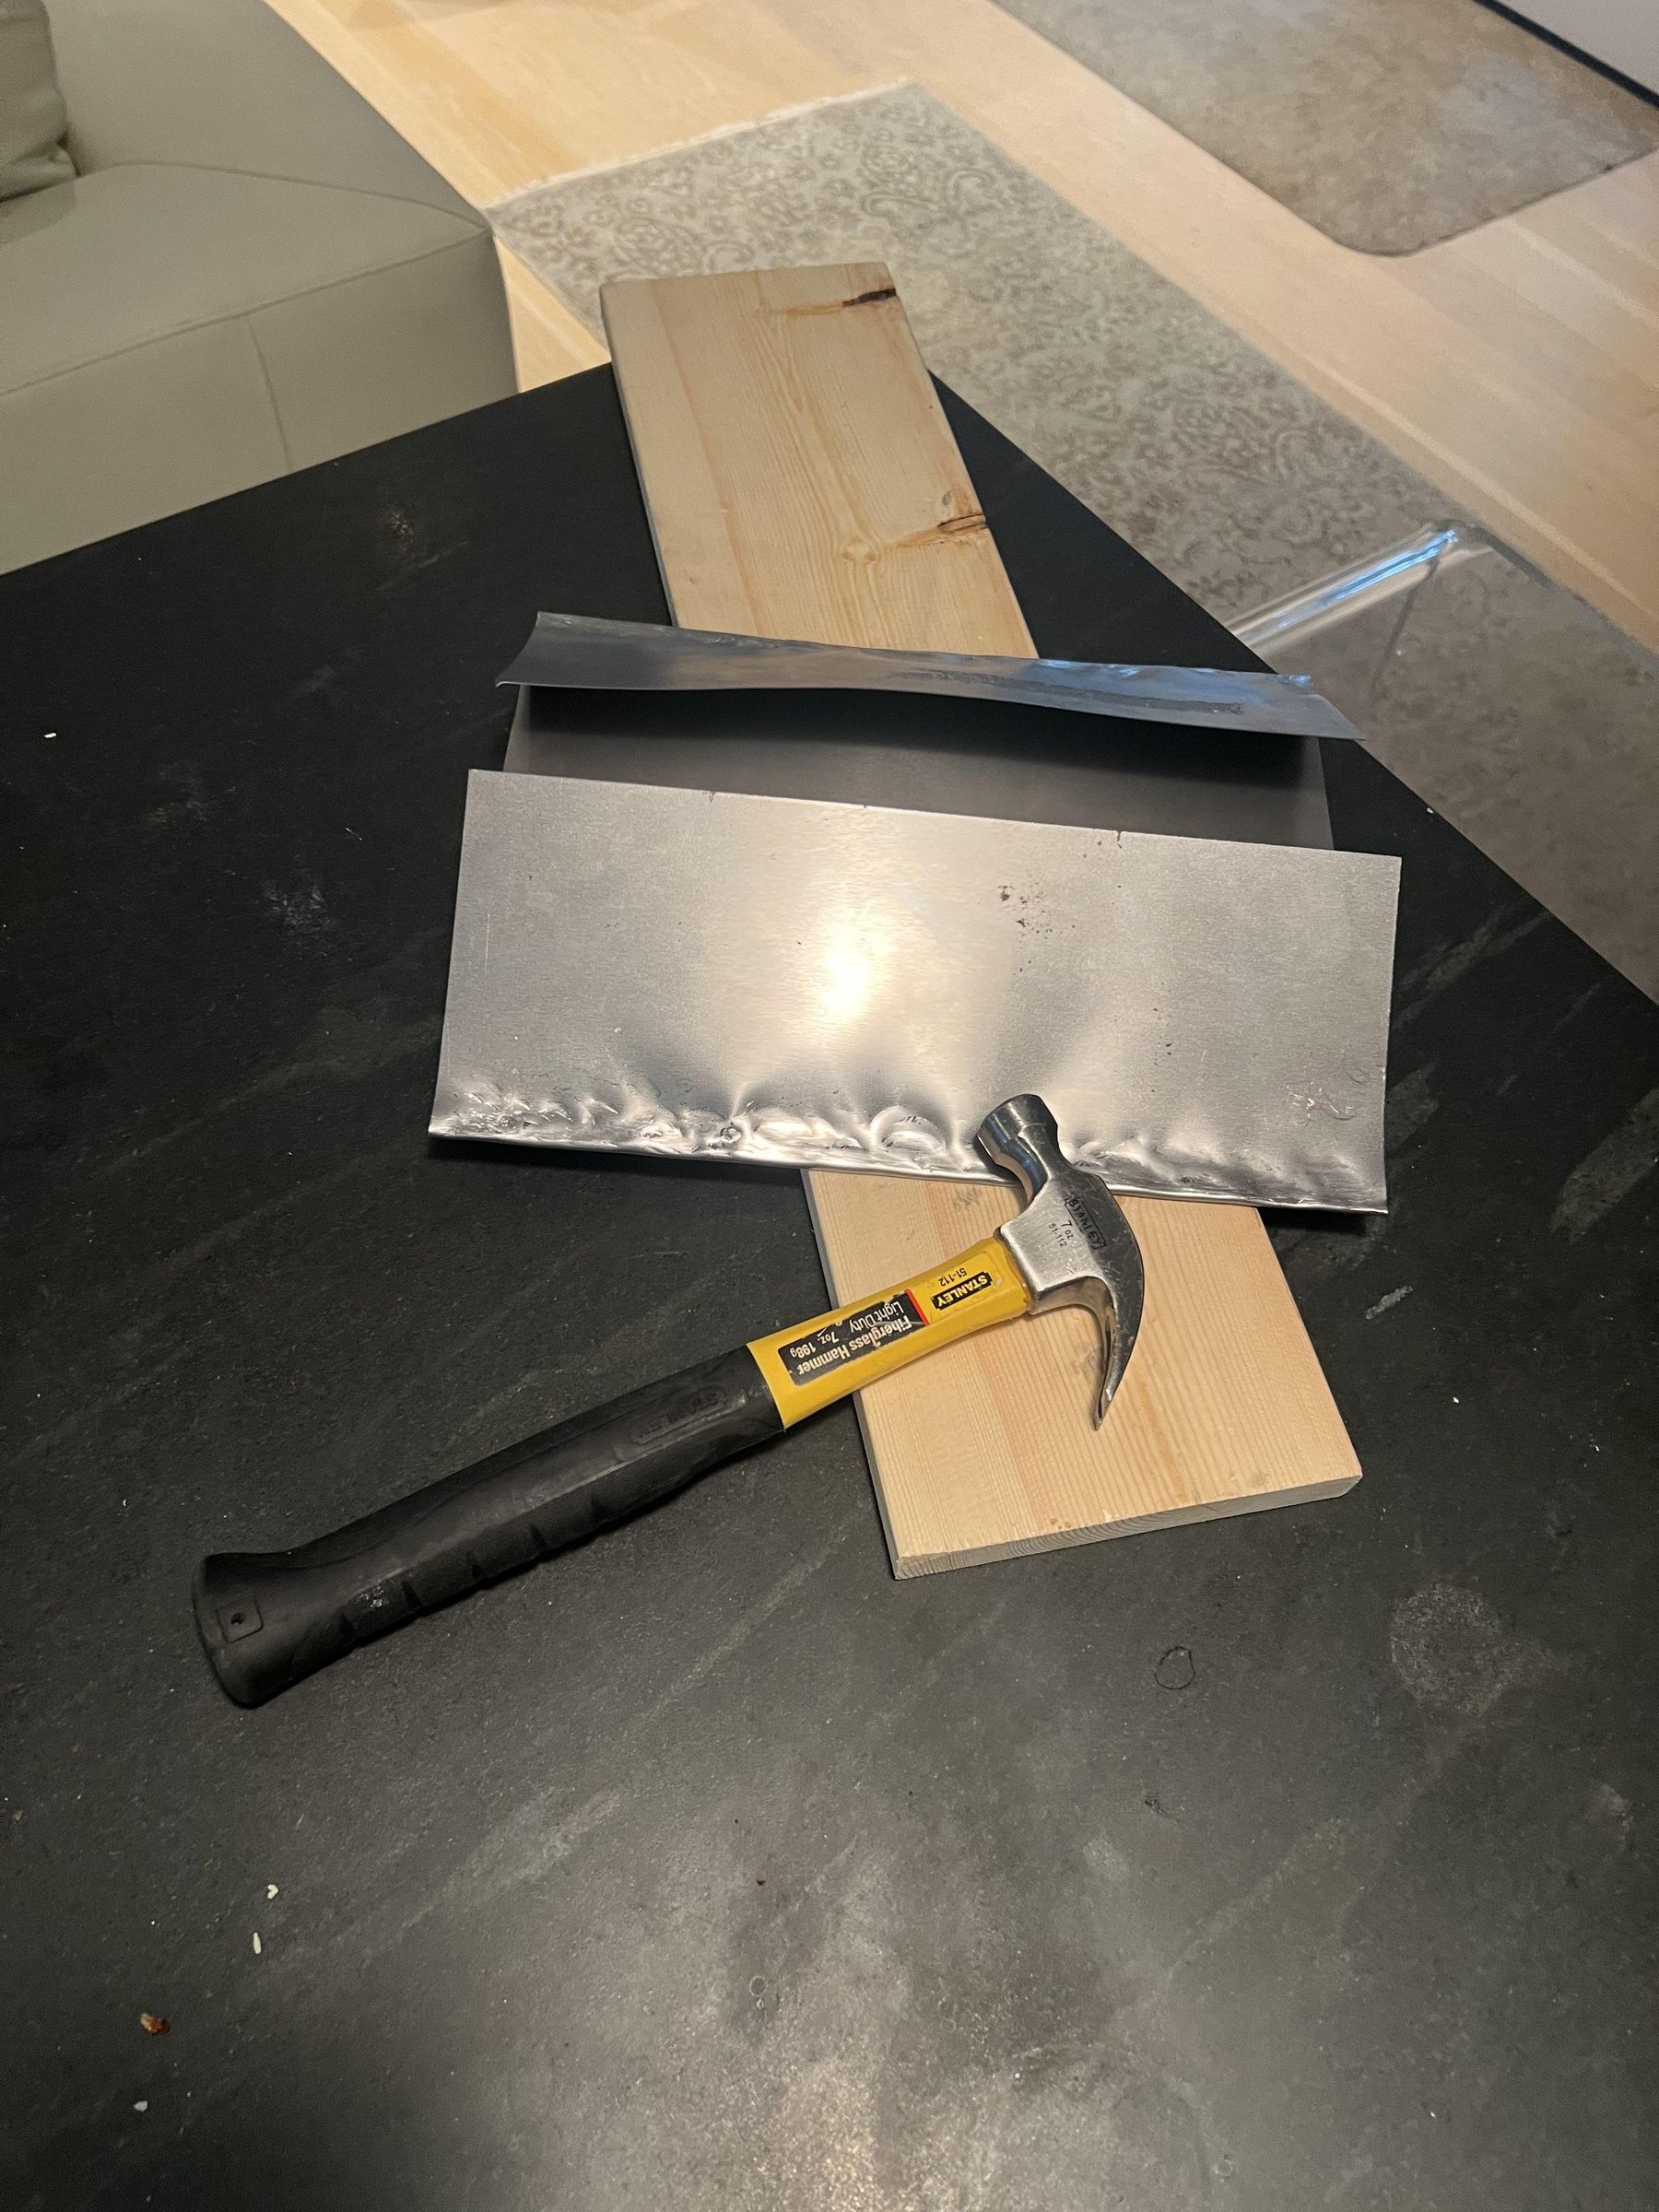
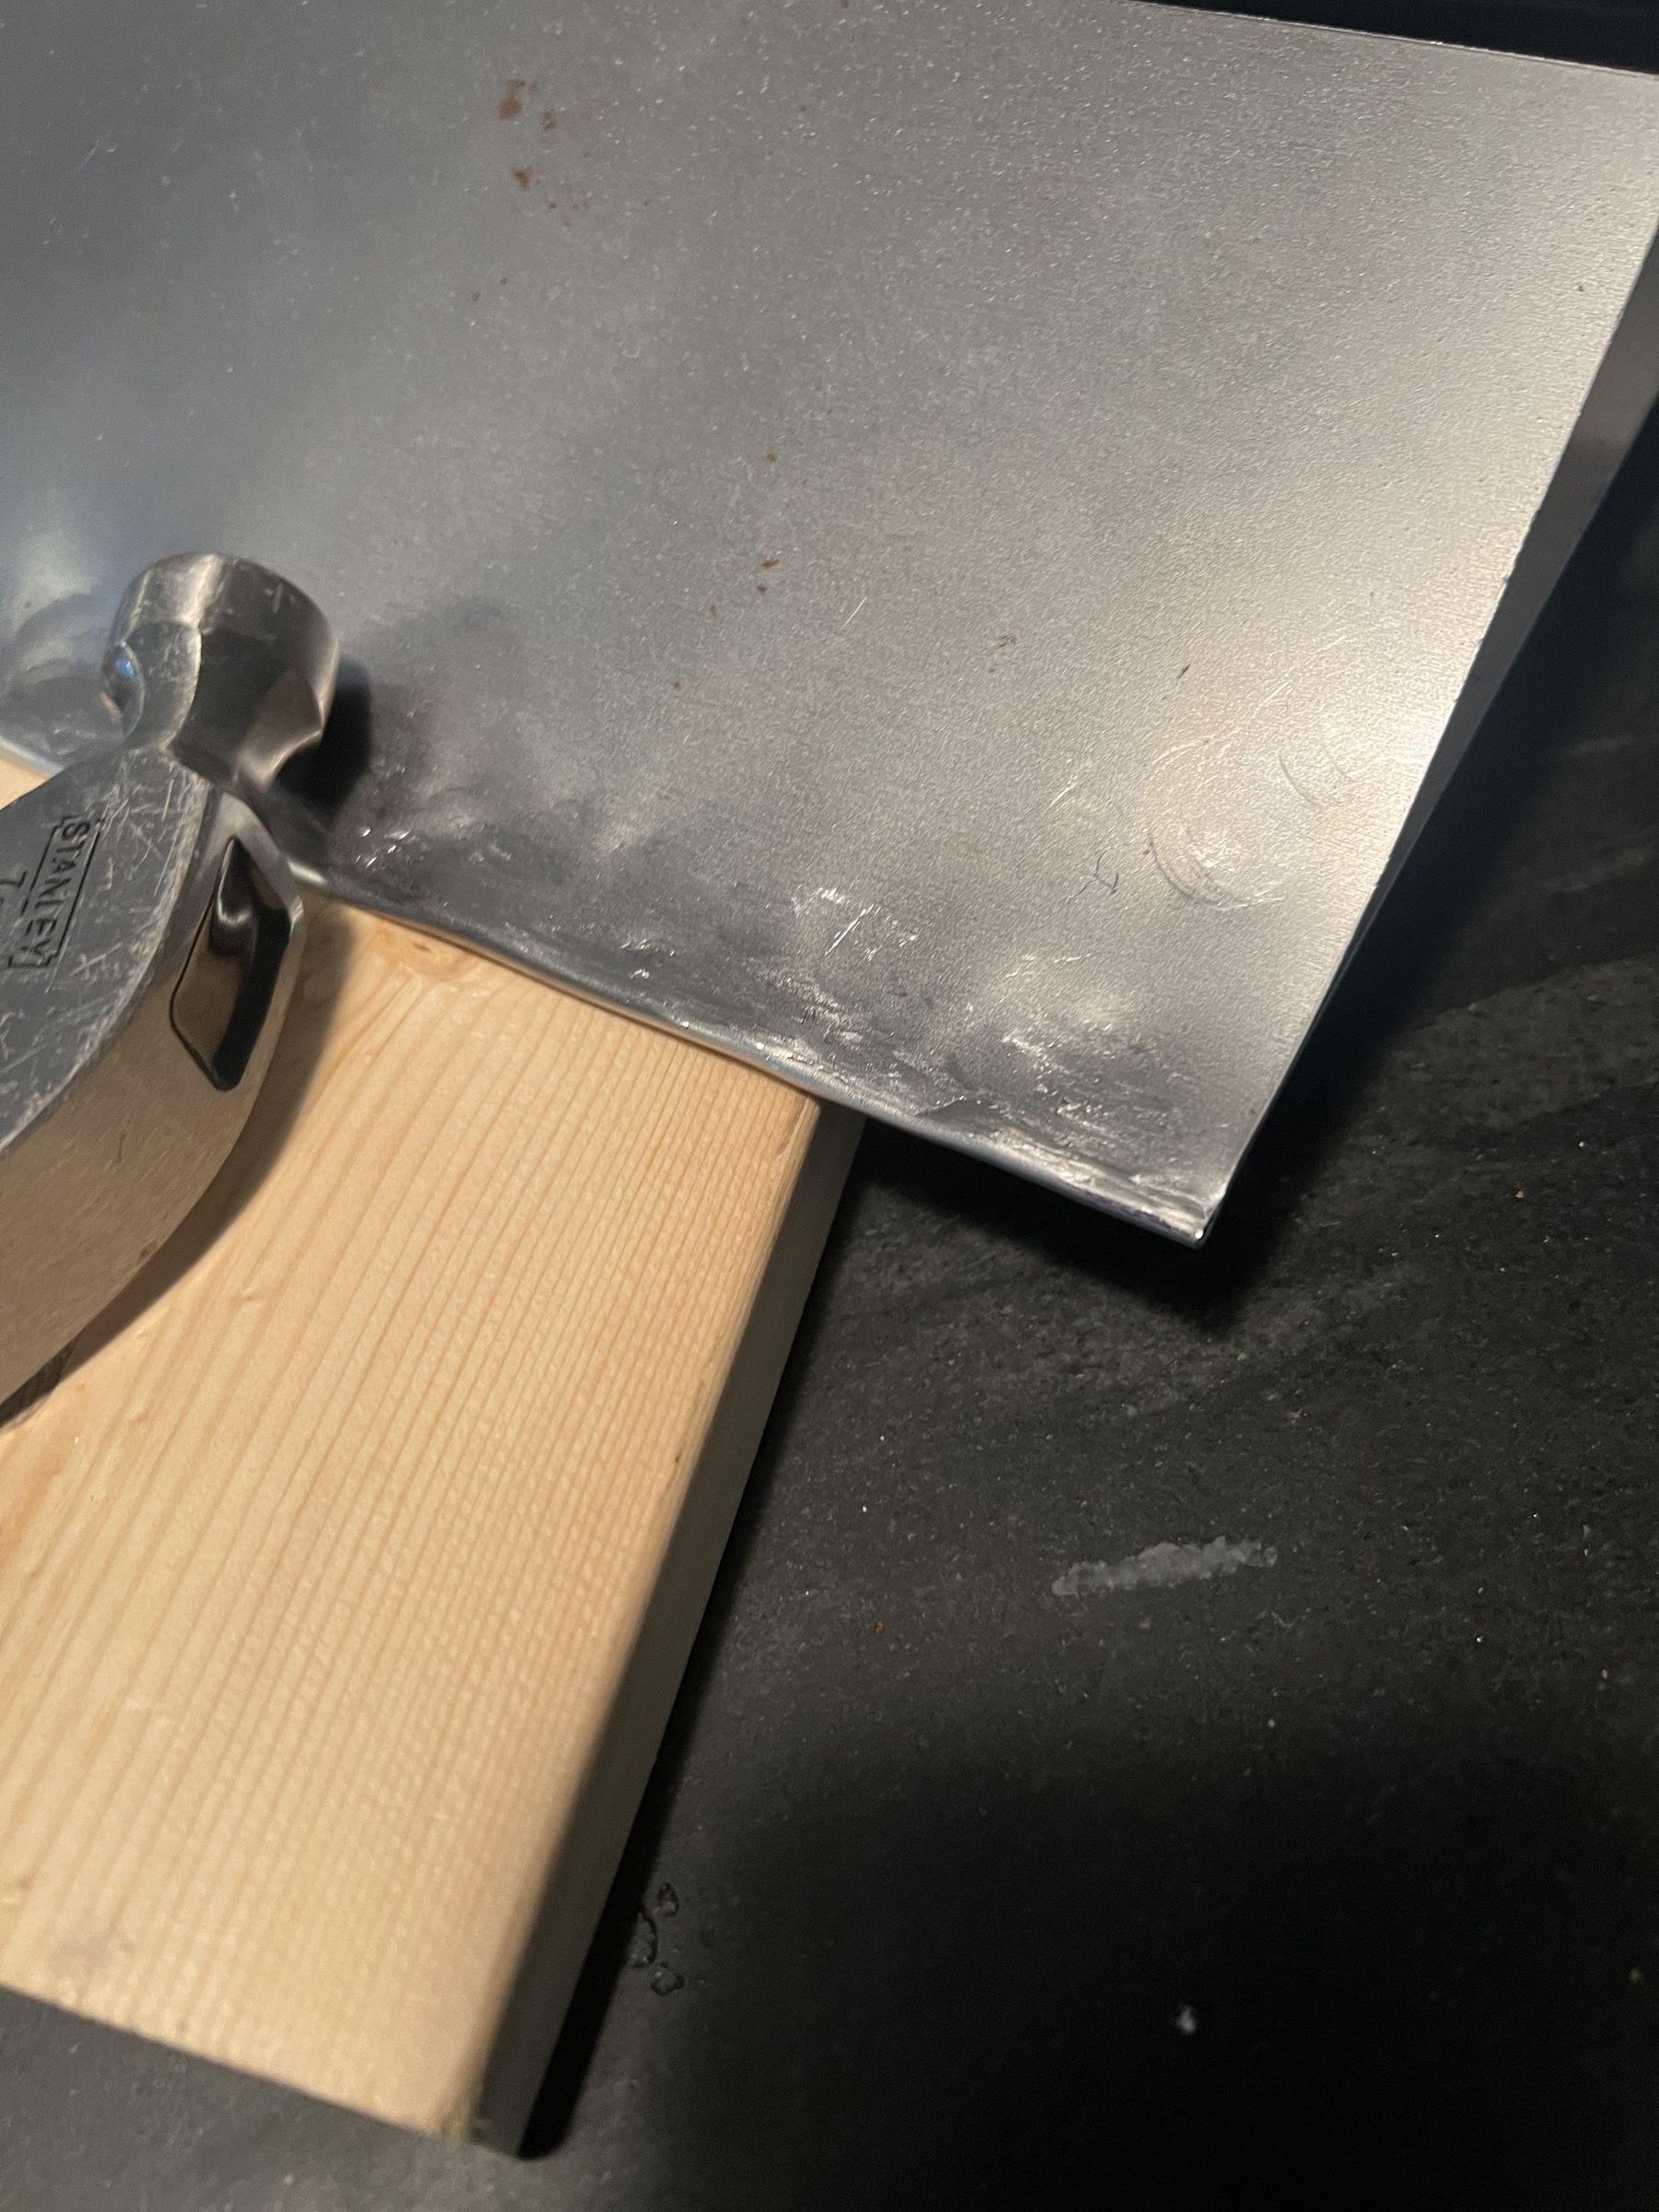
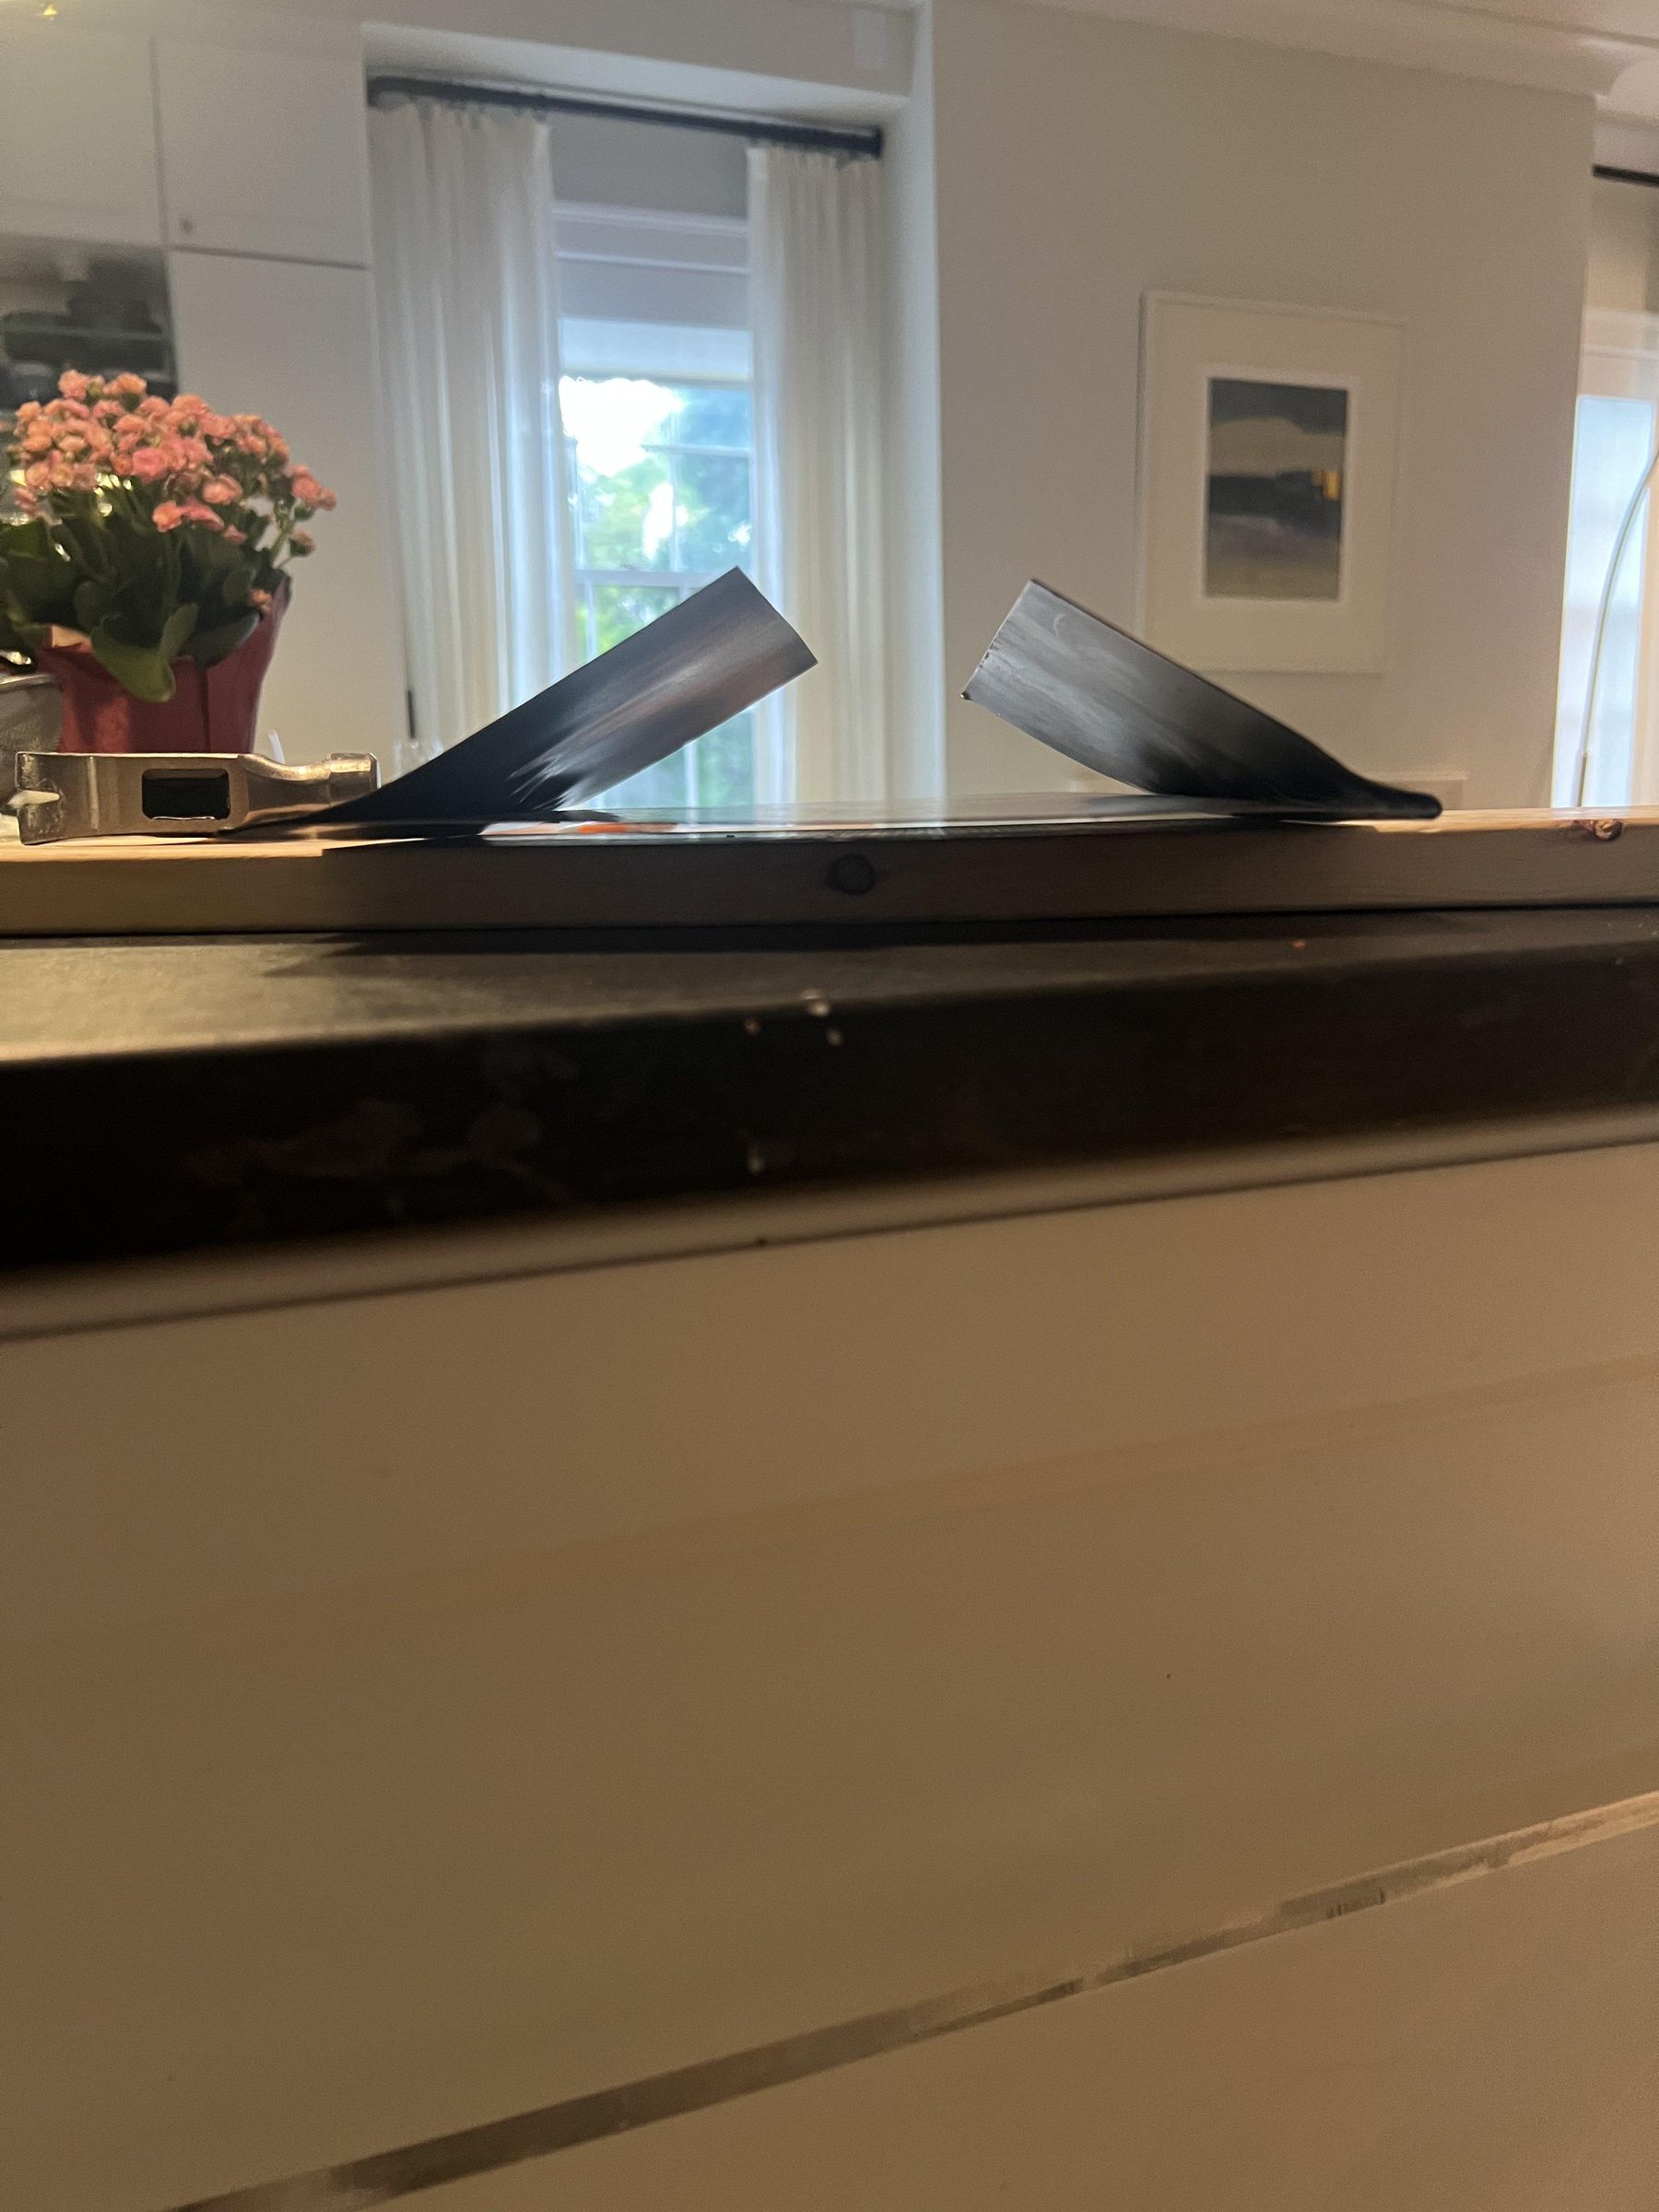
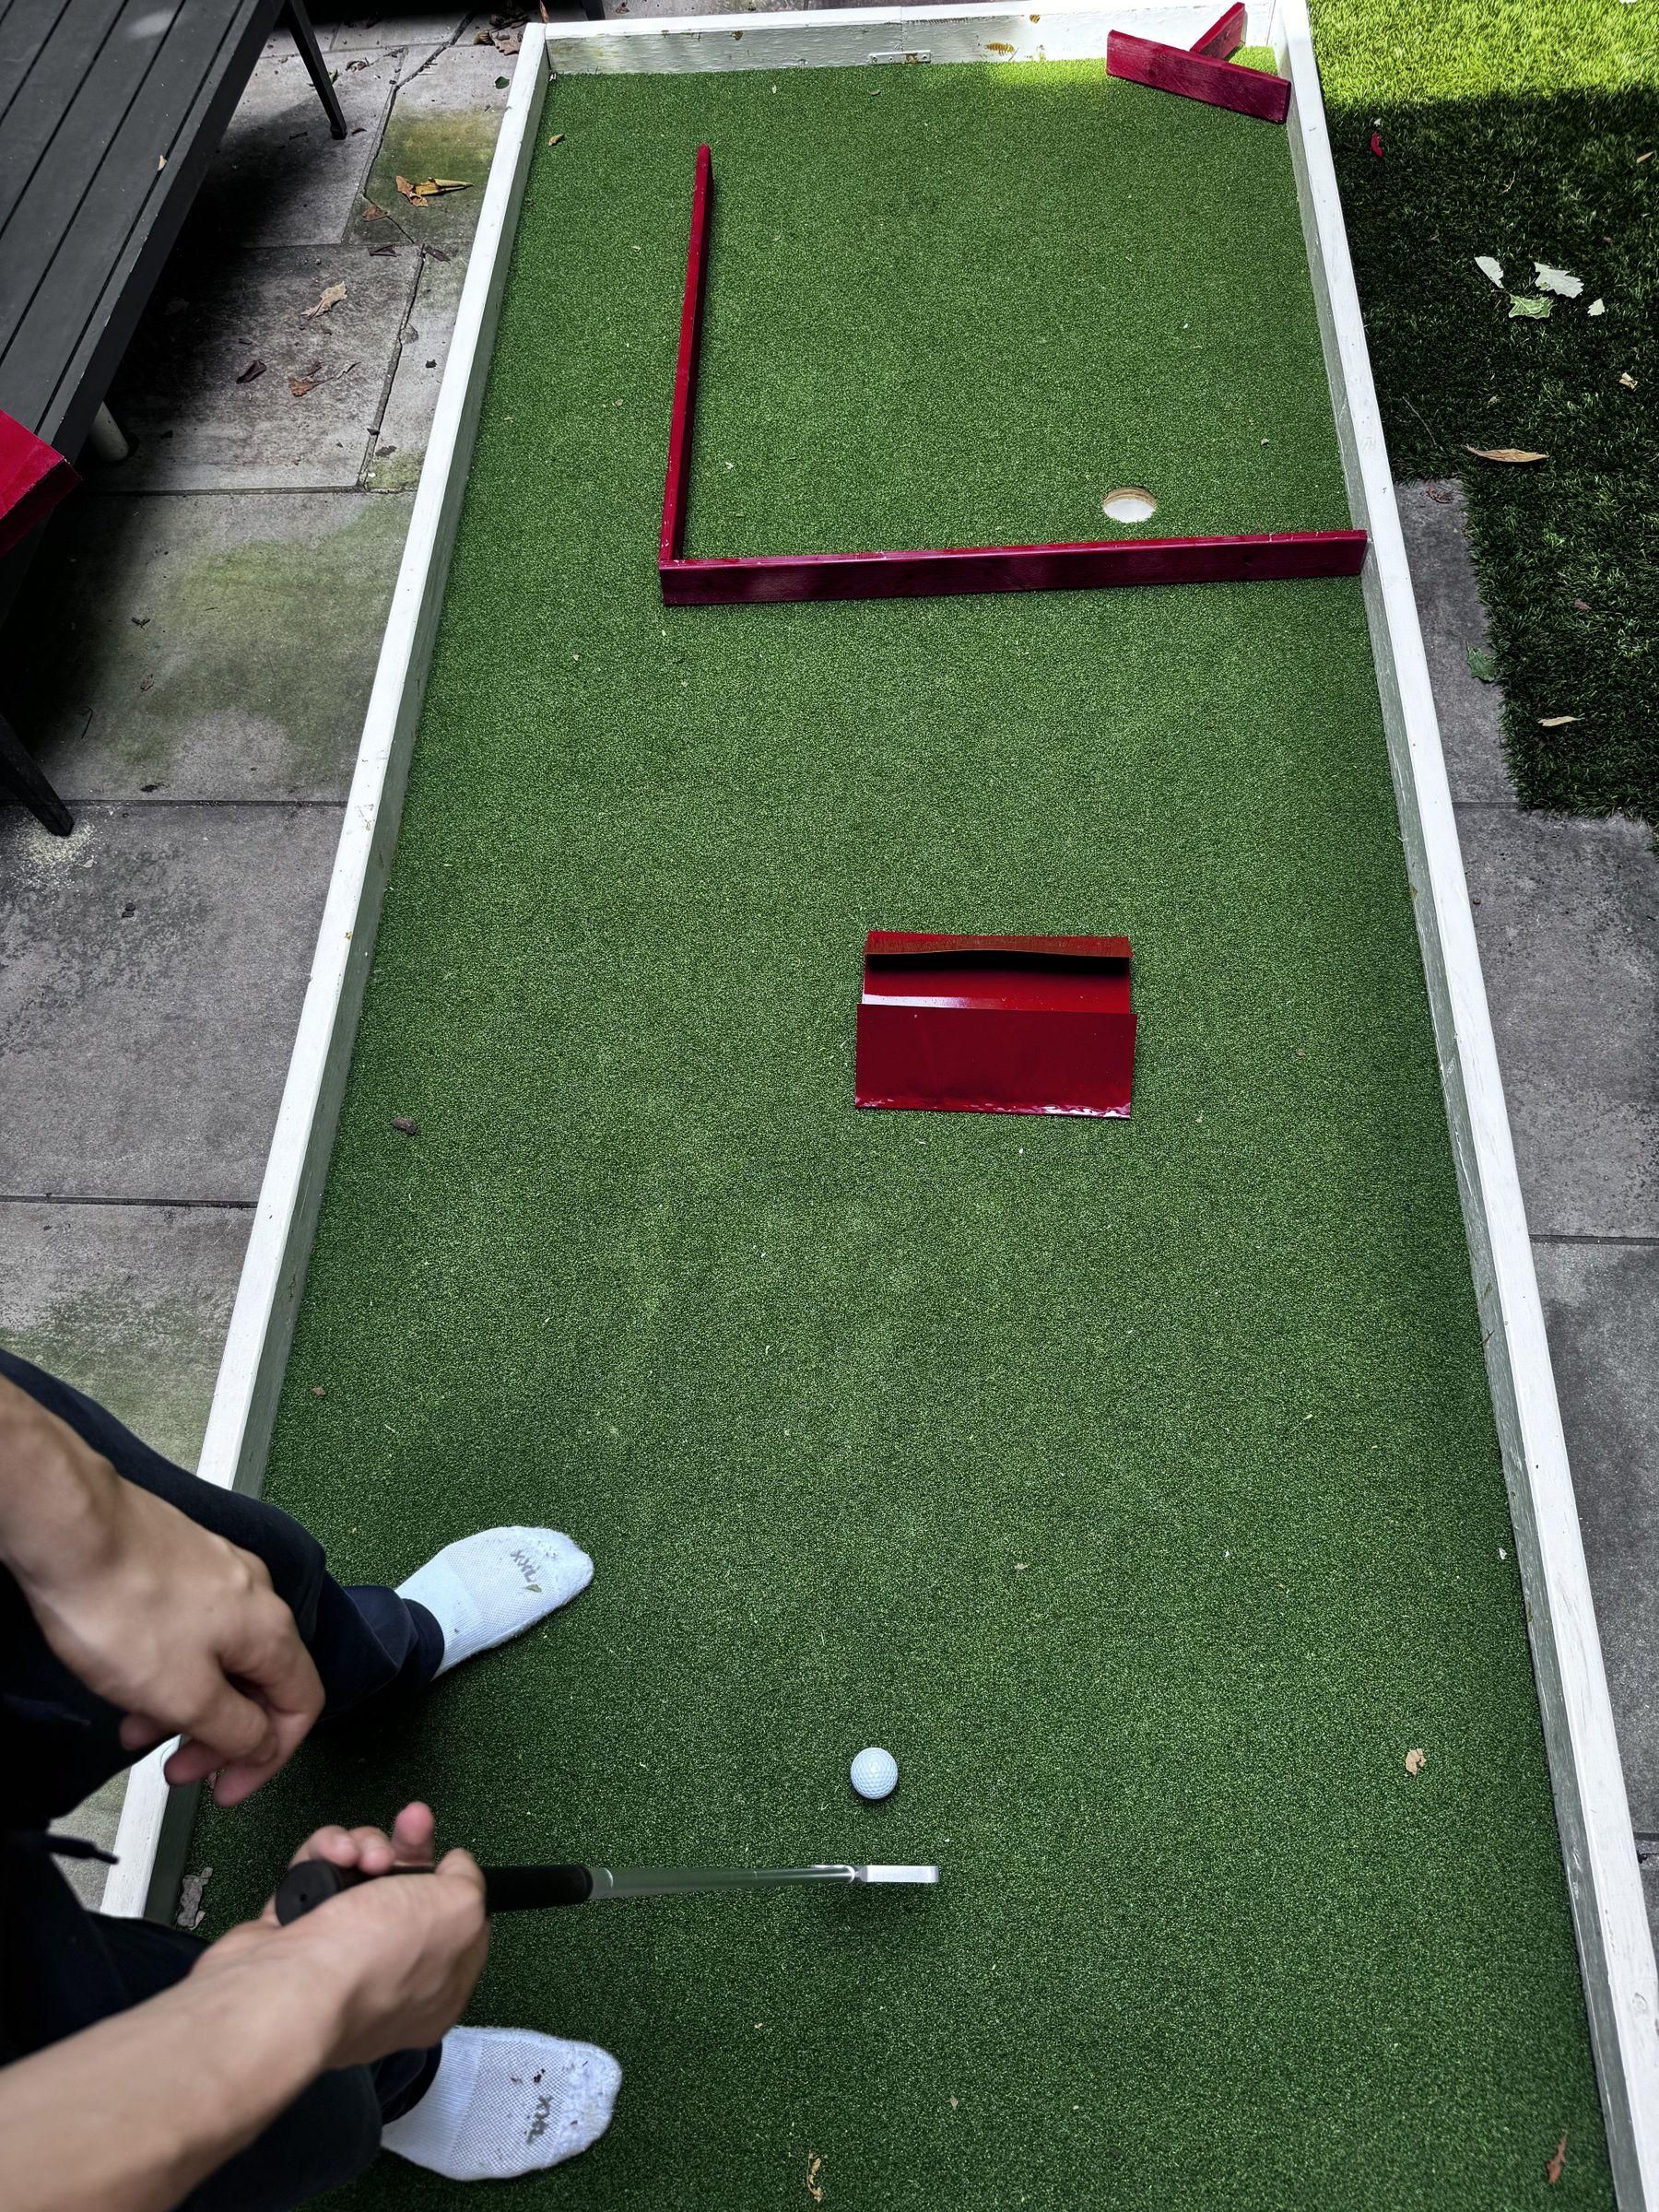
A staple of minigolf courses is a ramp. We built ours from sheet metal so that the lip of the ramp would not be elevated significantly.
First, we drew a line across the short side of the sheet metal at 9" from one edge and 7" from the other. We then found a straight surface and bent the metal along the lines we drew. Then, using a hammer, we pounded the sheet metal's edge down to make a flat edge. We made the ramp have a gap in the middle, so if you don't hit it hard enough, it will fall into the center.
Tunnel
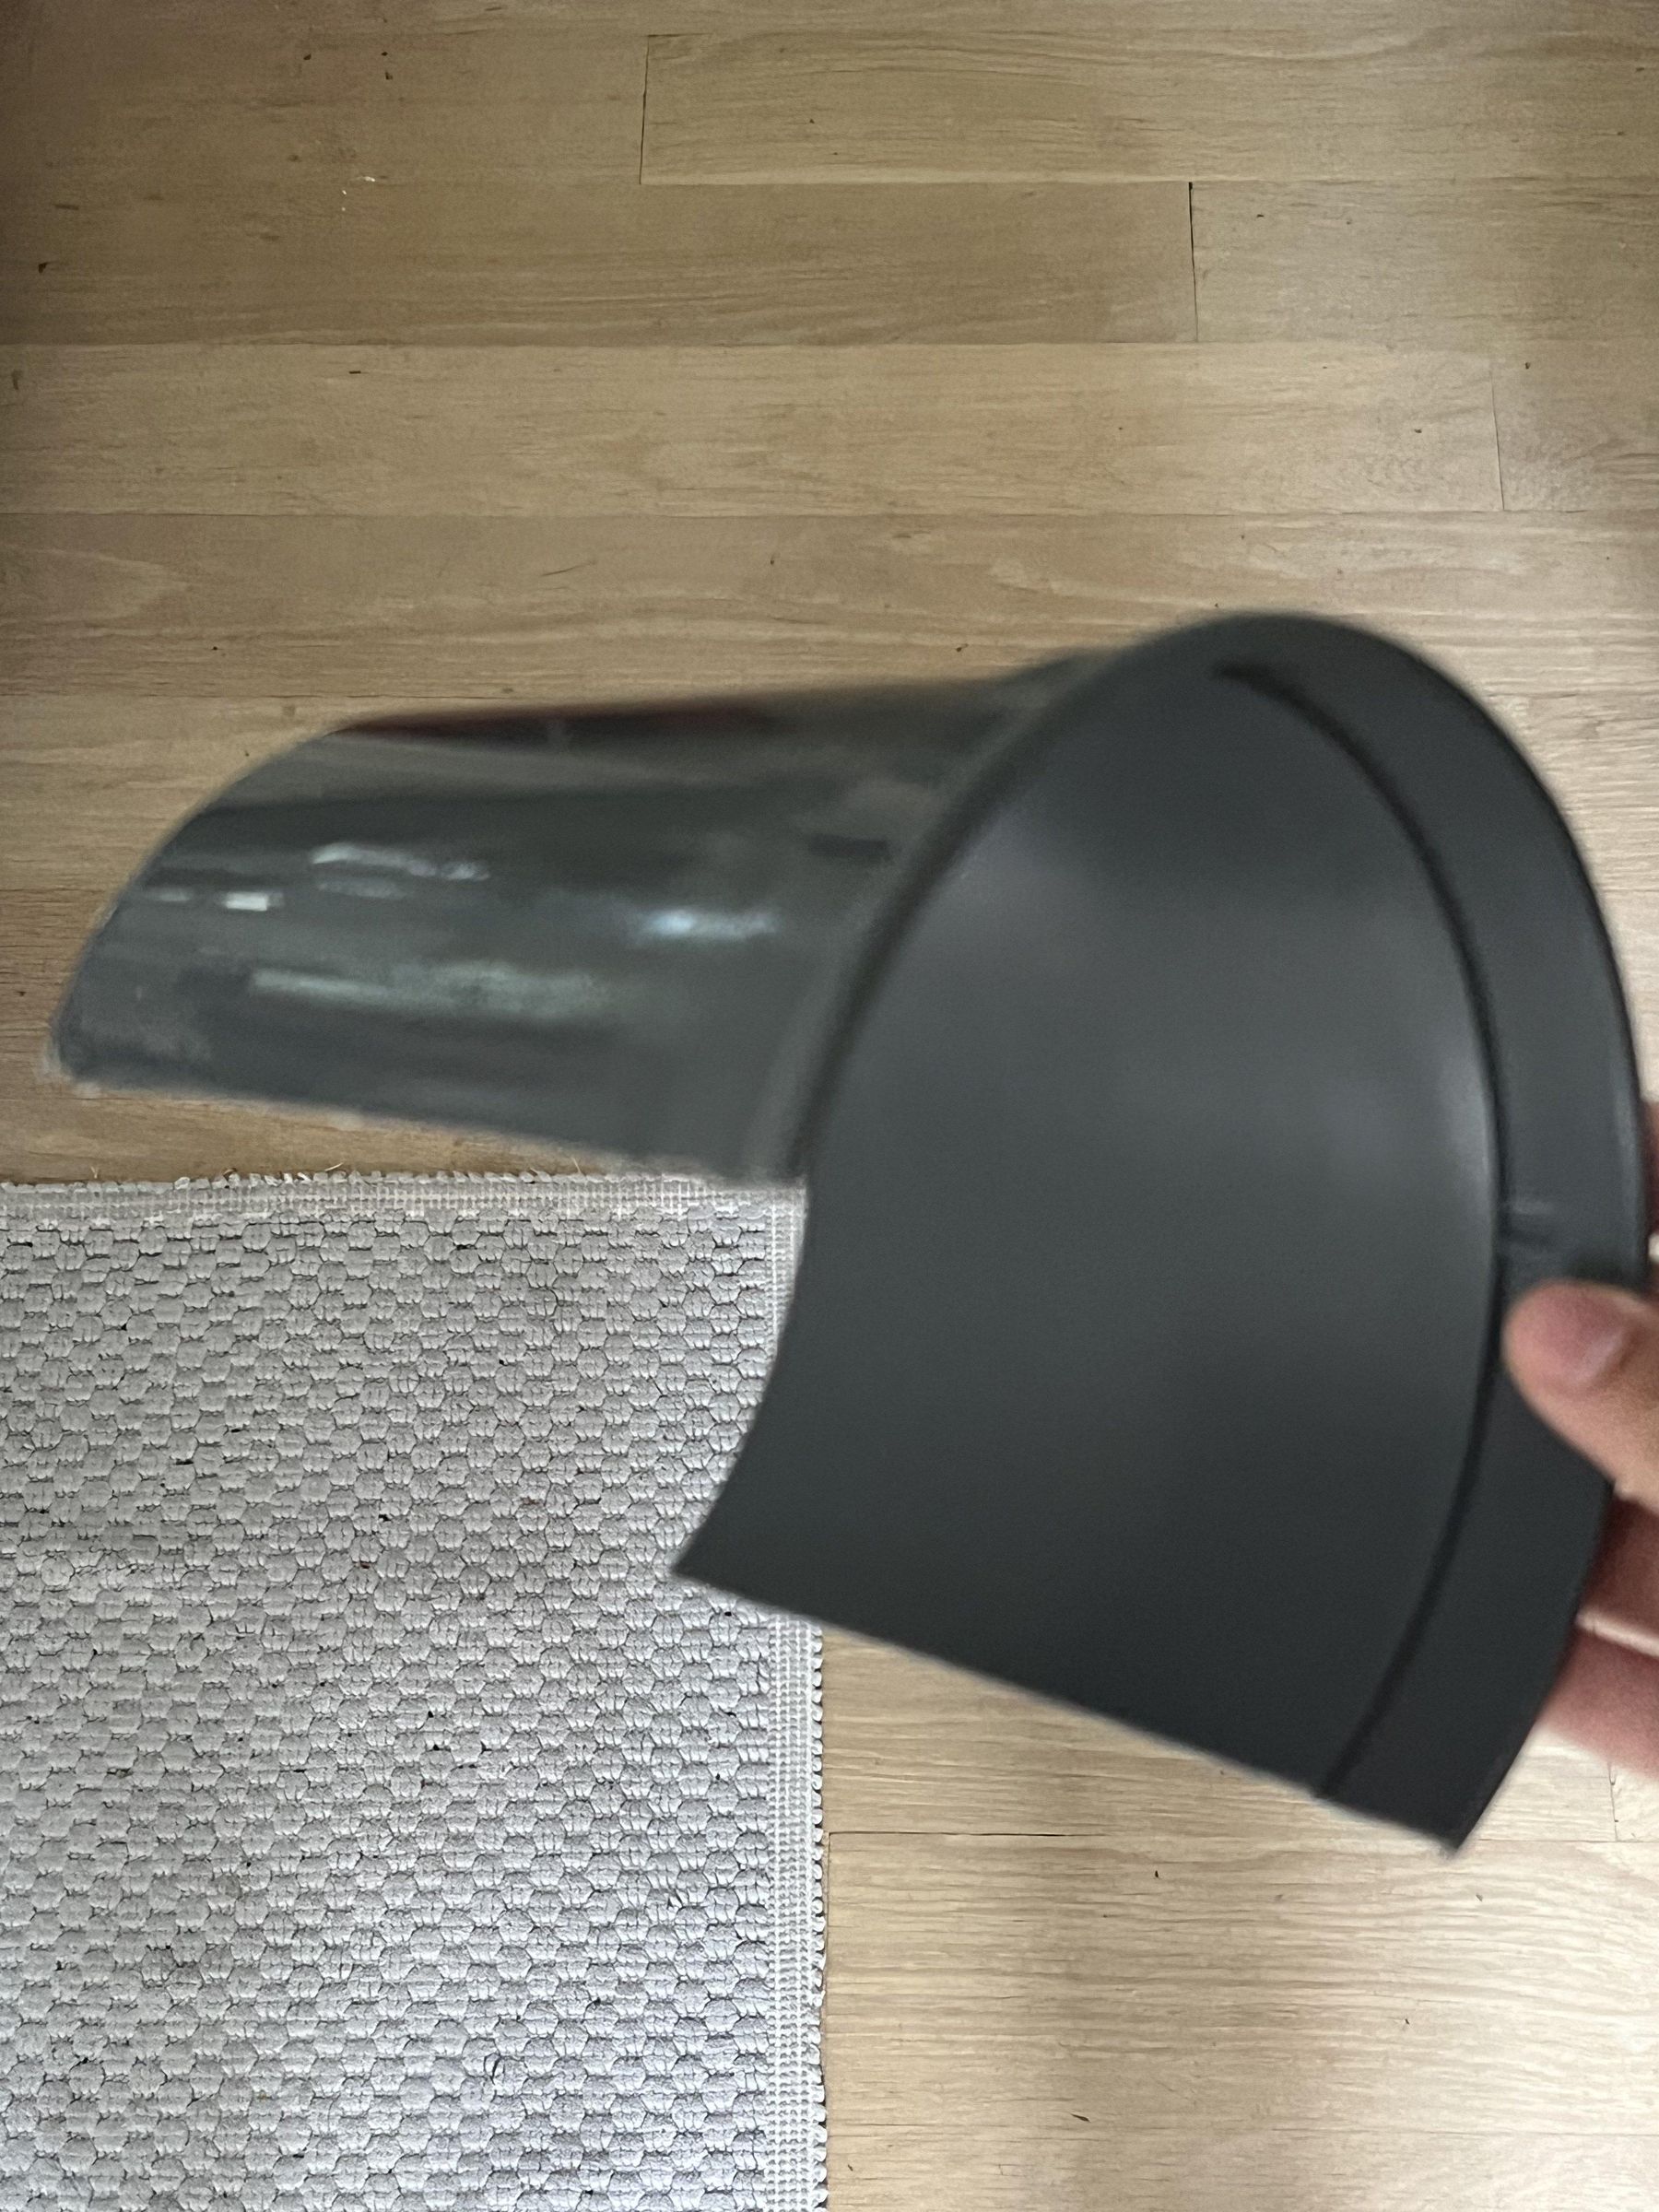
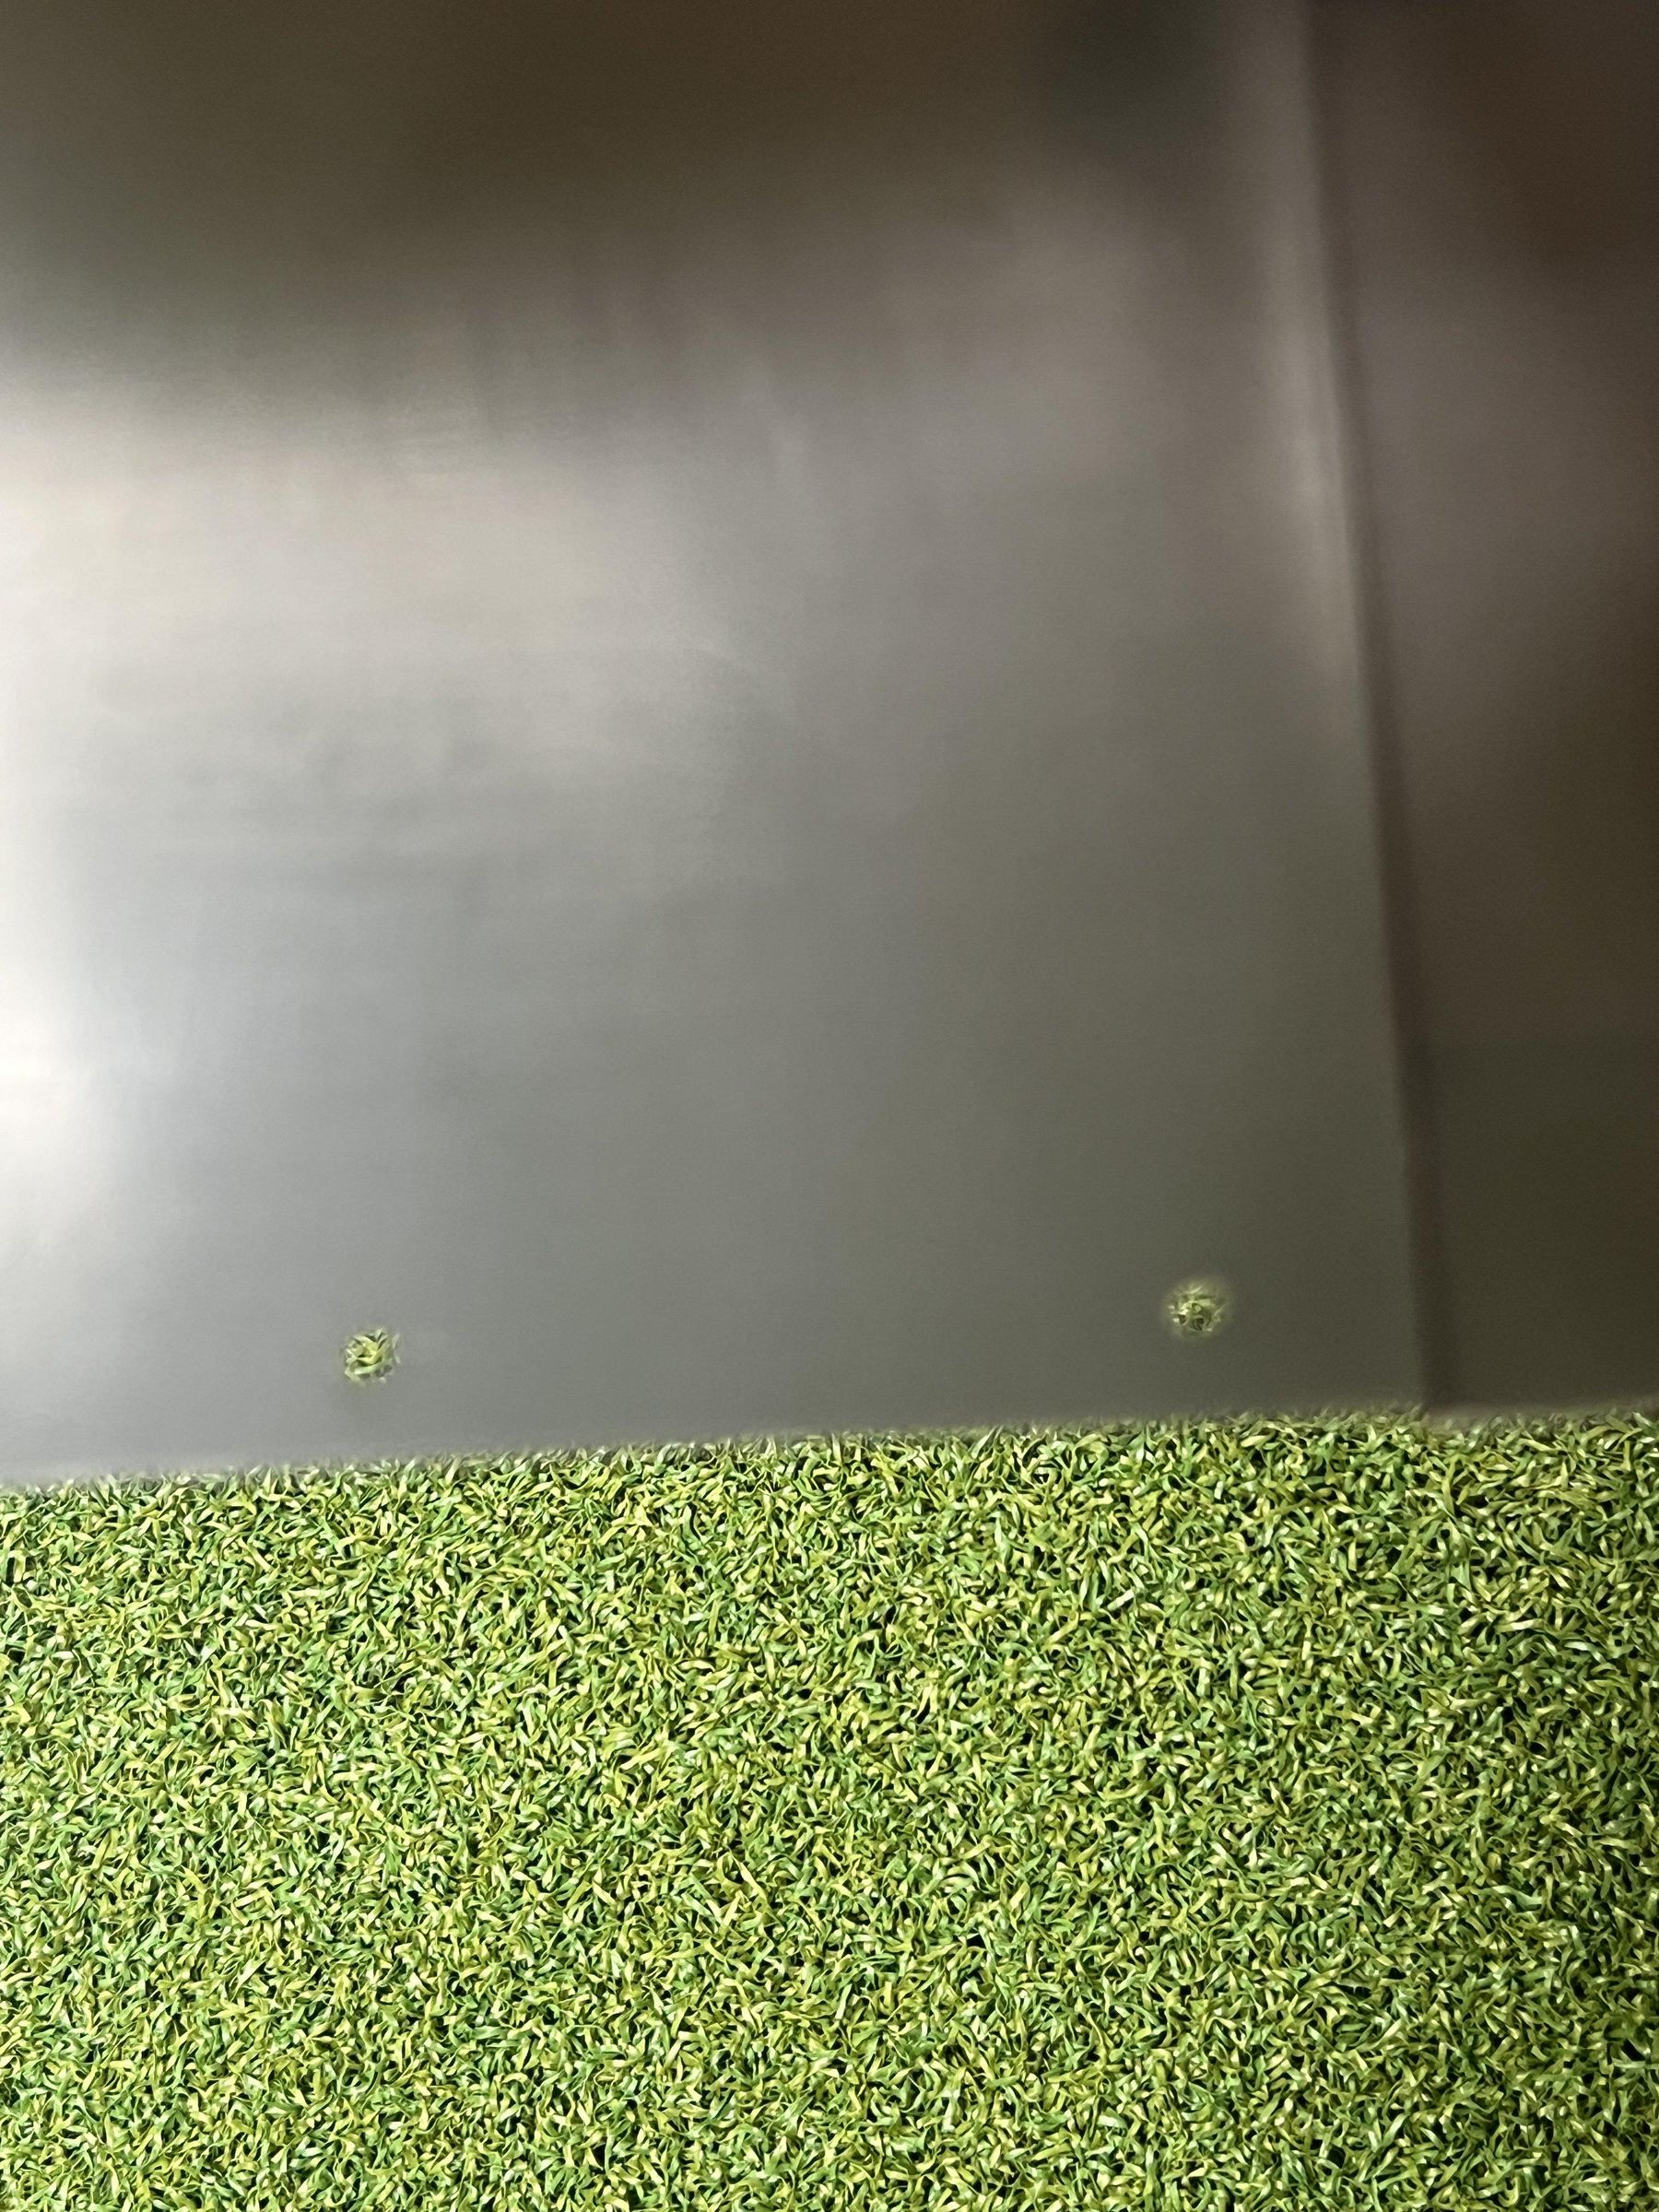
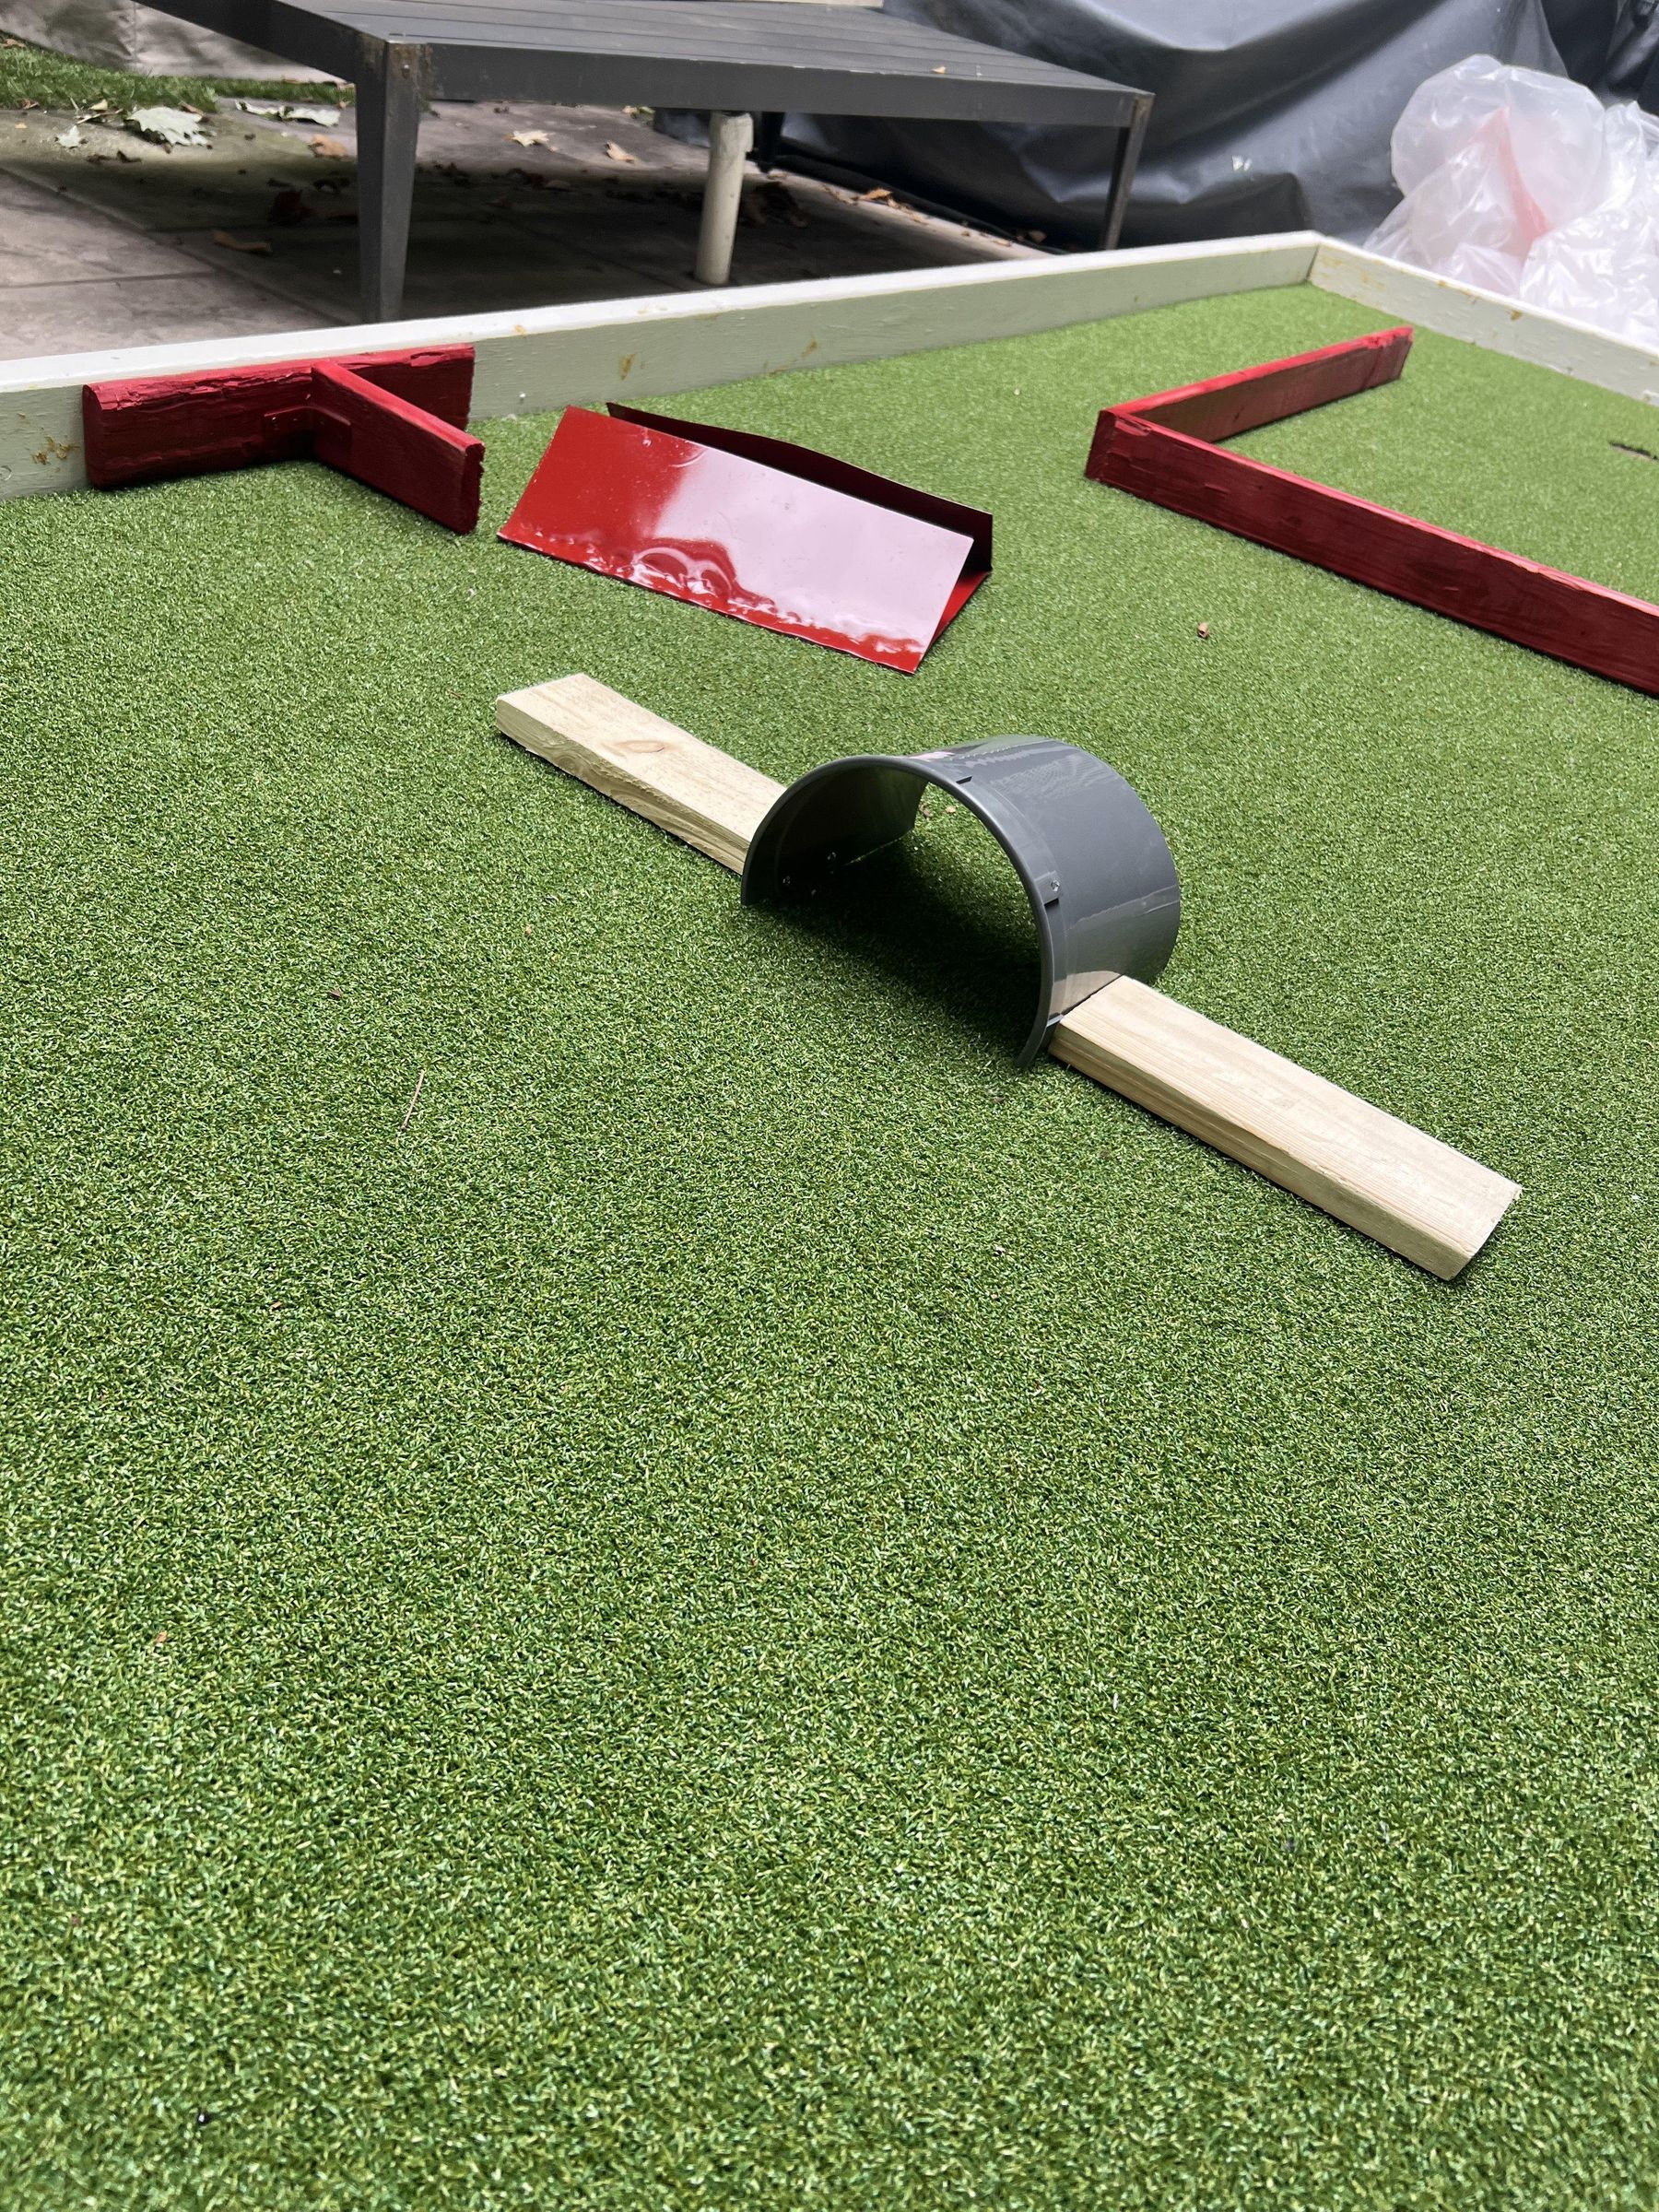
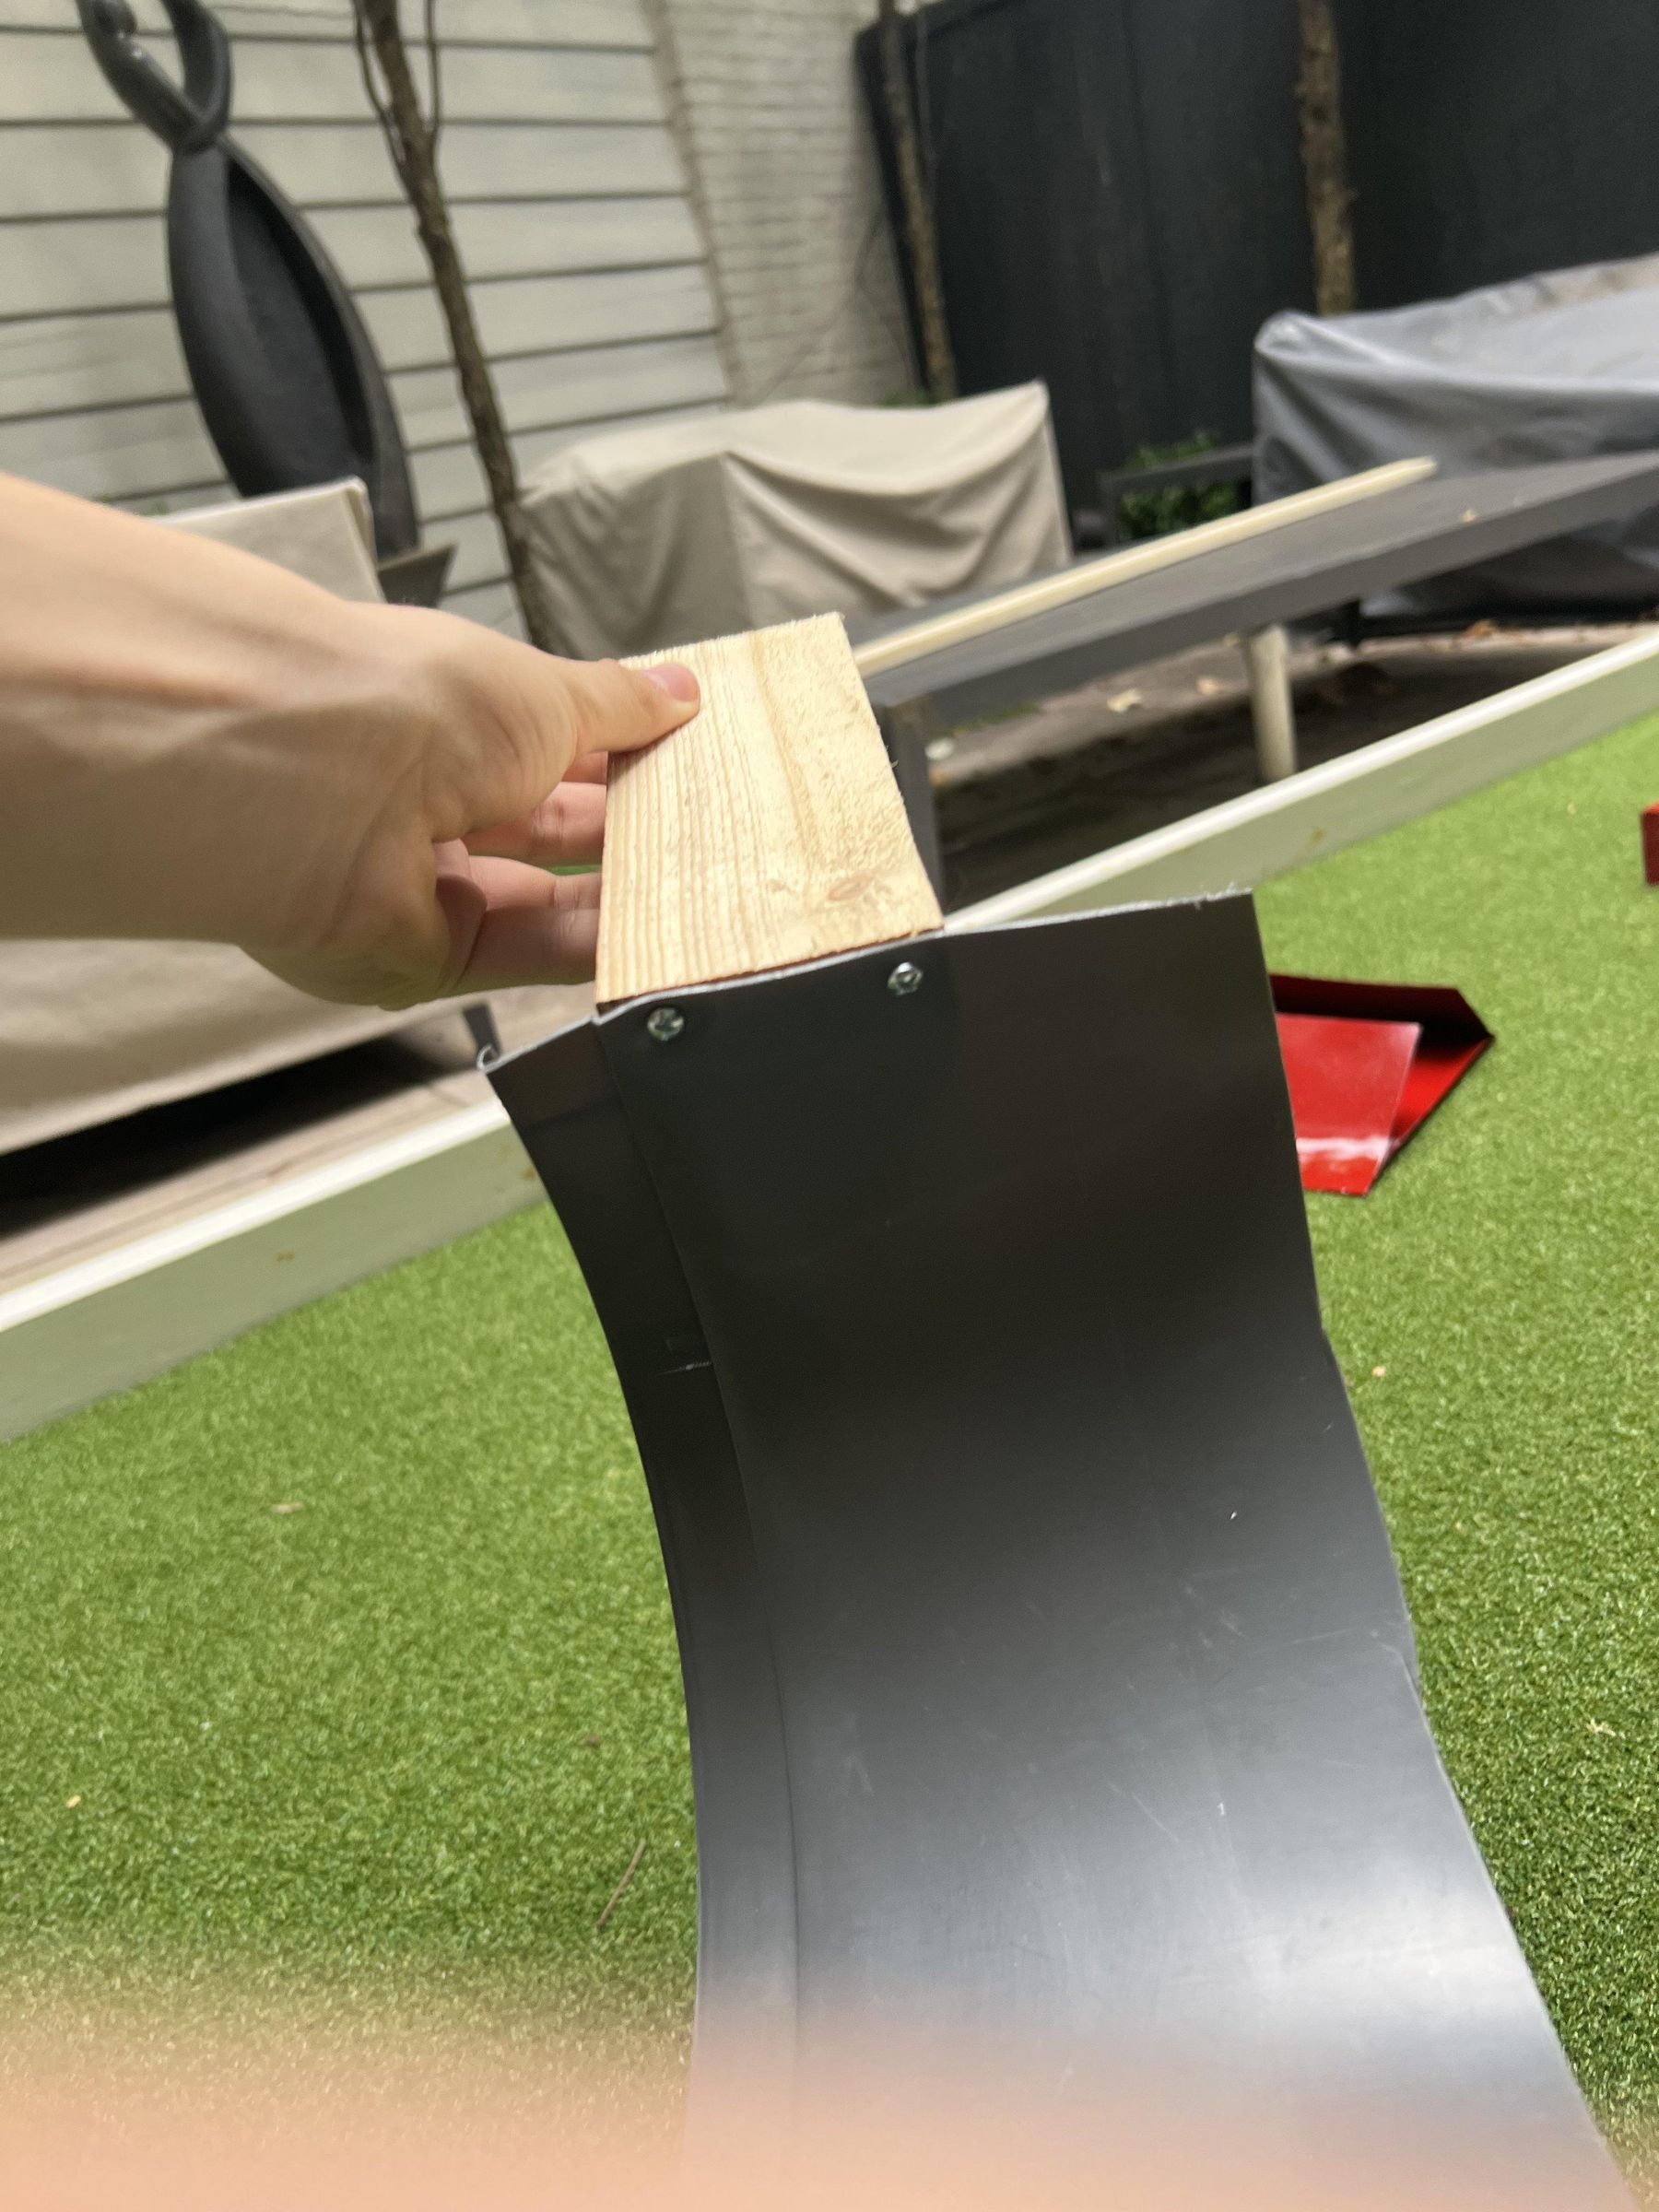
First, we got a plastic bucket (I got a 5-quart paint bucket from Home Depot). We cut it in half, then drilled holes as shown in pic 1 near the mouth. Through those holes, we screwed pieces of 1x3" wood into the sides. I measured these pieces so the pieces and bucket together would measure 2 feet across. You can do less or more, but 2 feet or less gives you more options with where to put it. After screwing the wood in (use smaller screws than the 3-1/2"), the tunnel should look like pic 3.
Spinning Obstacle
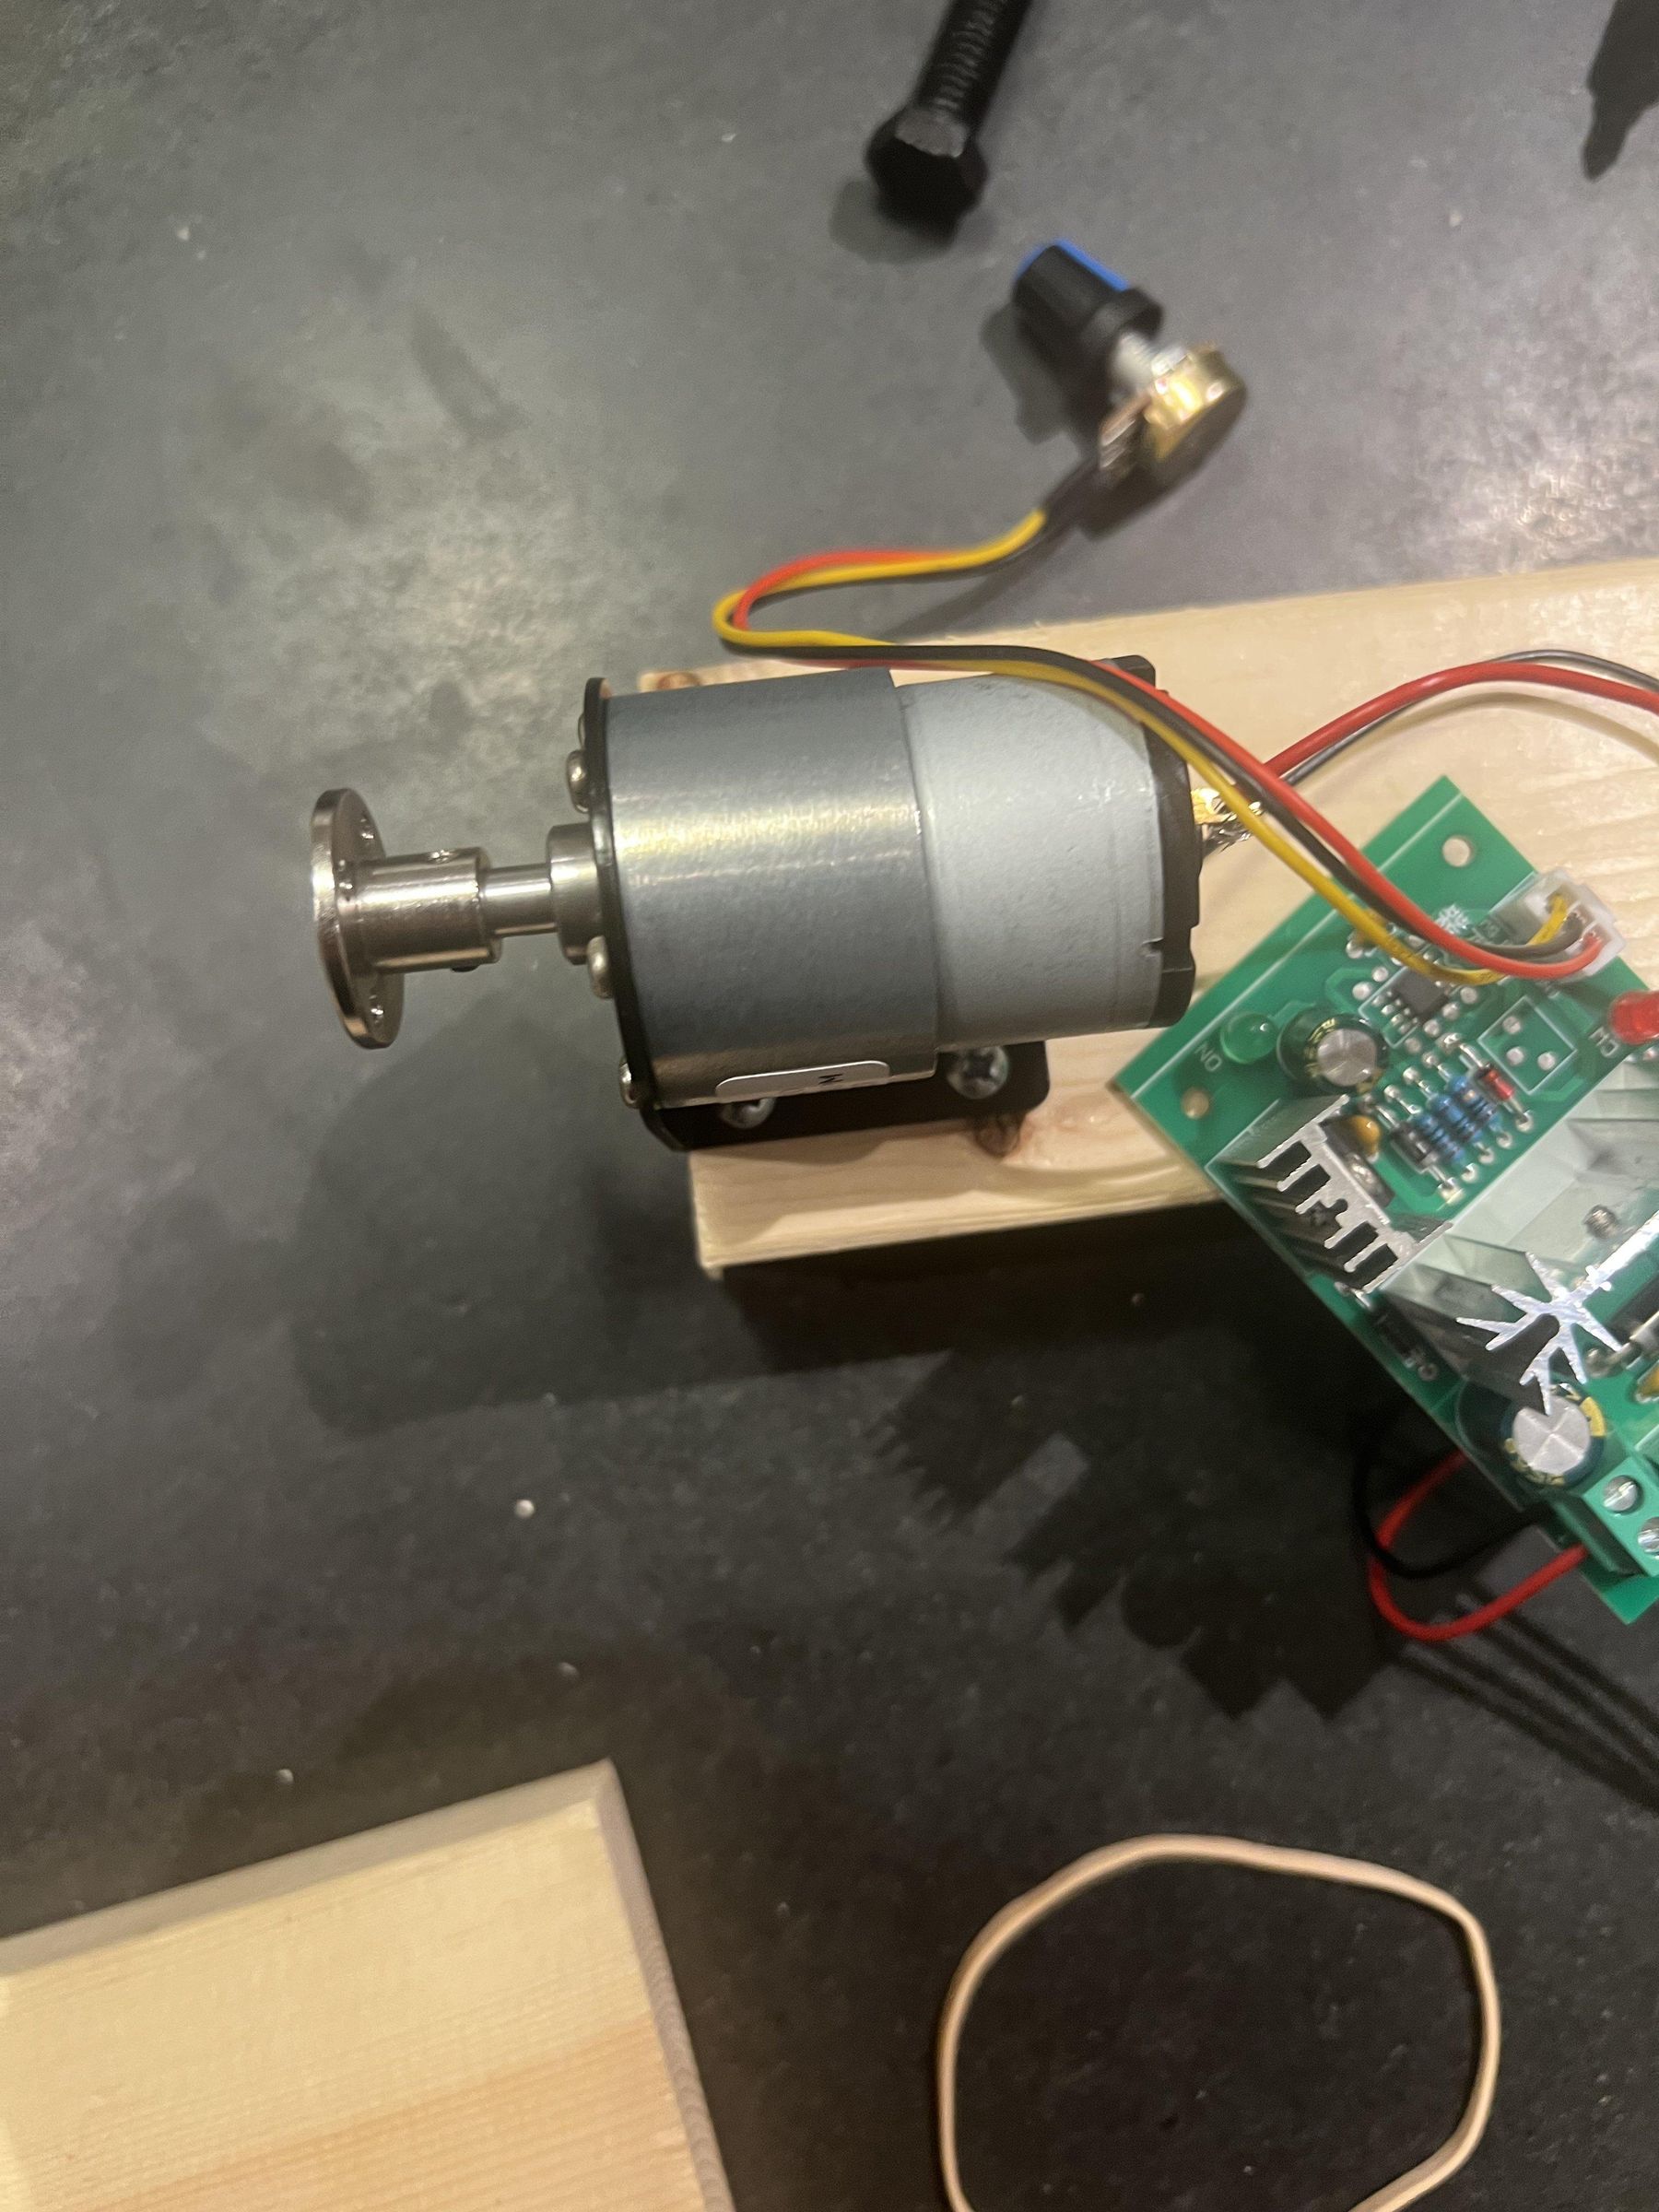
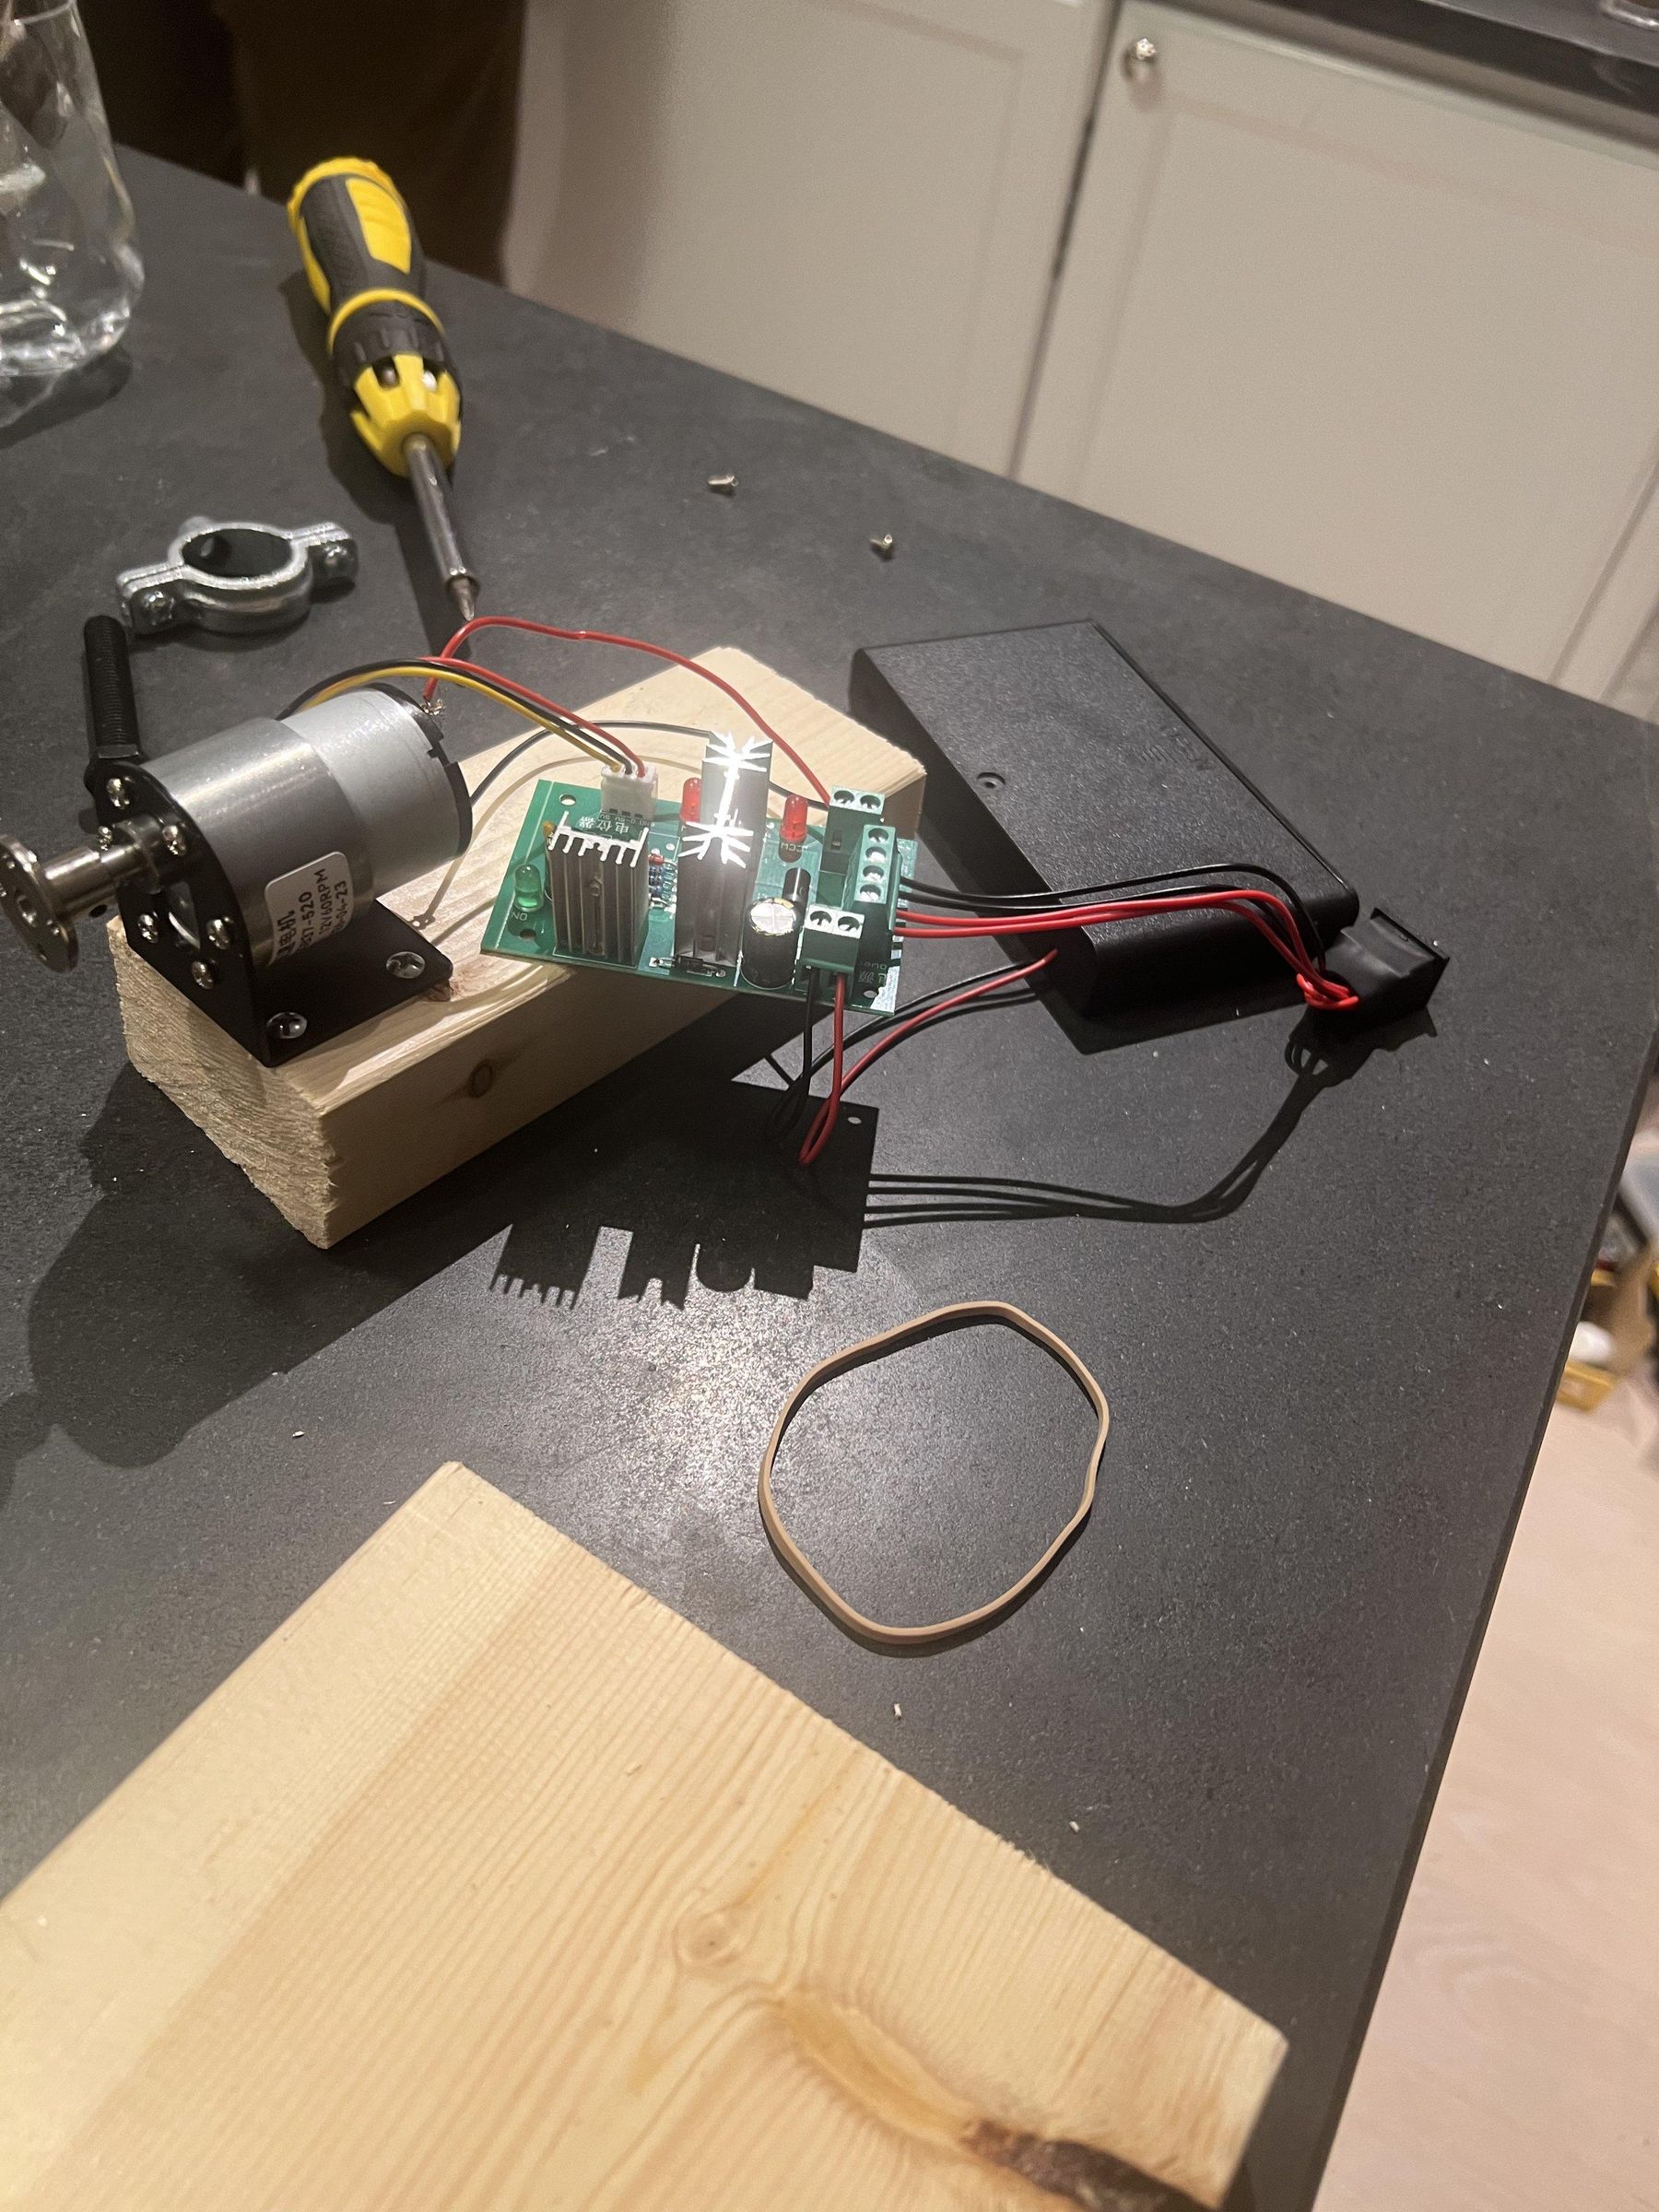
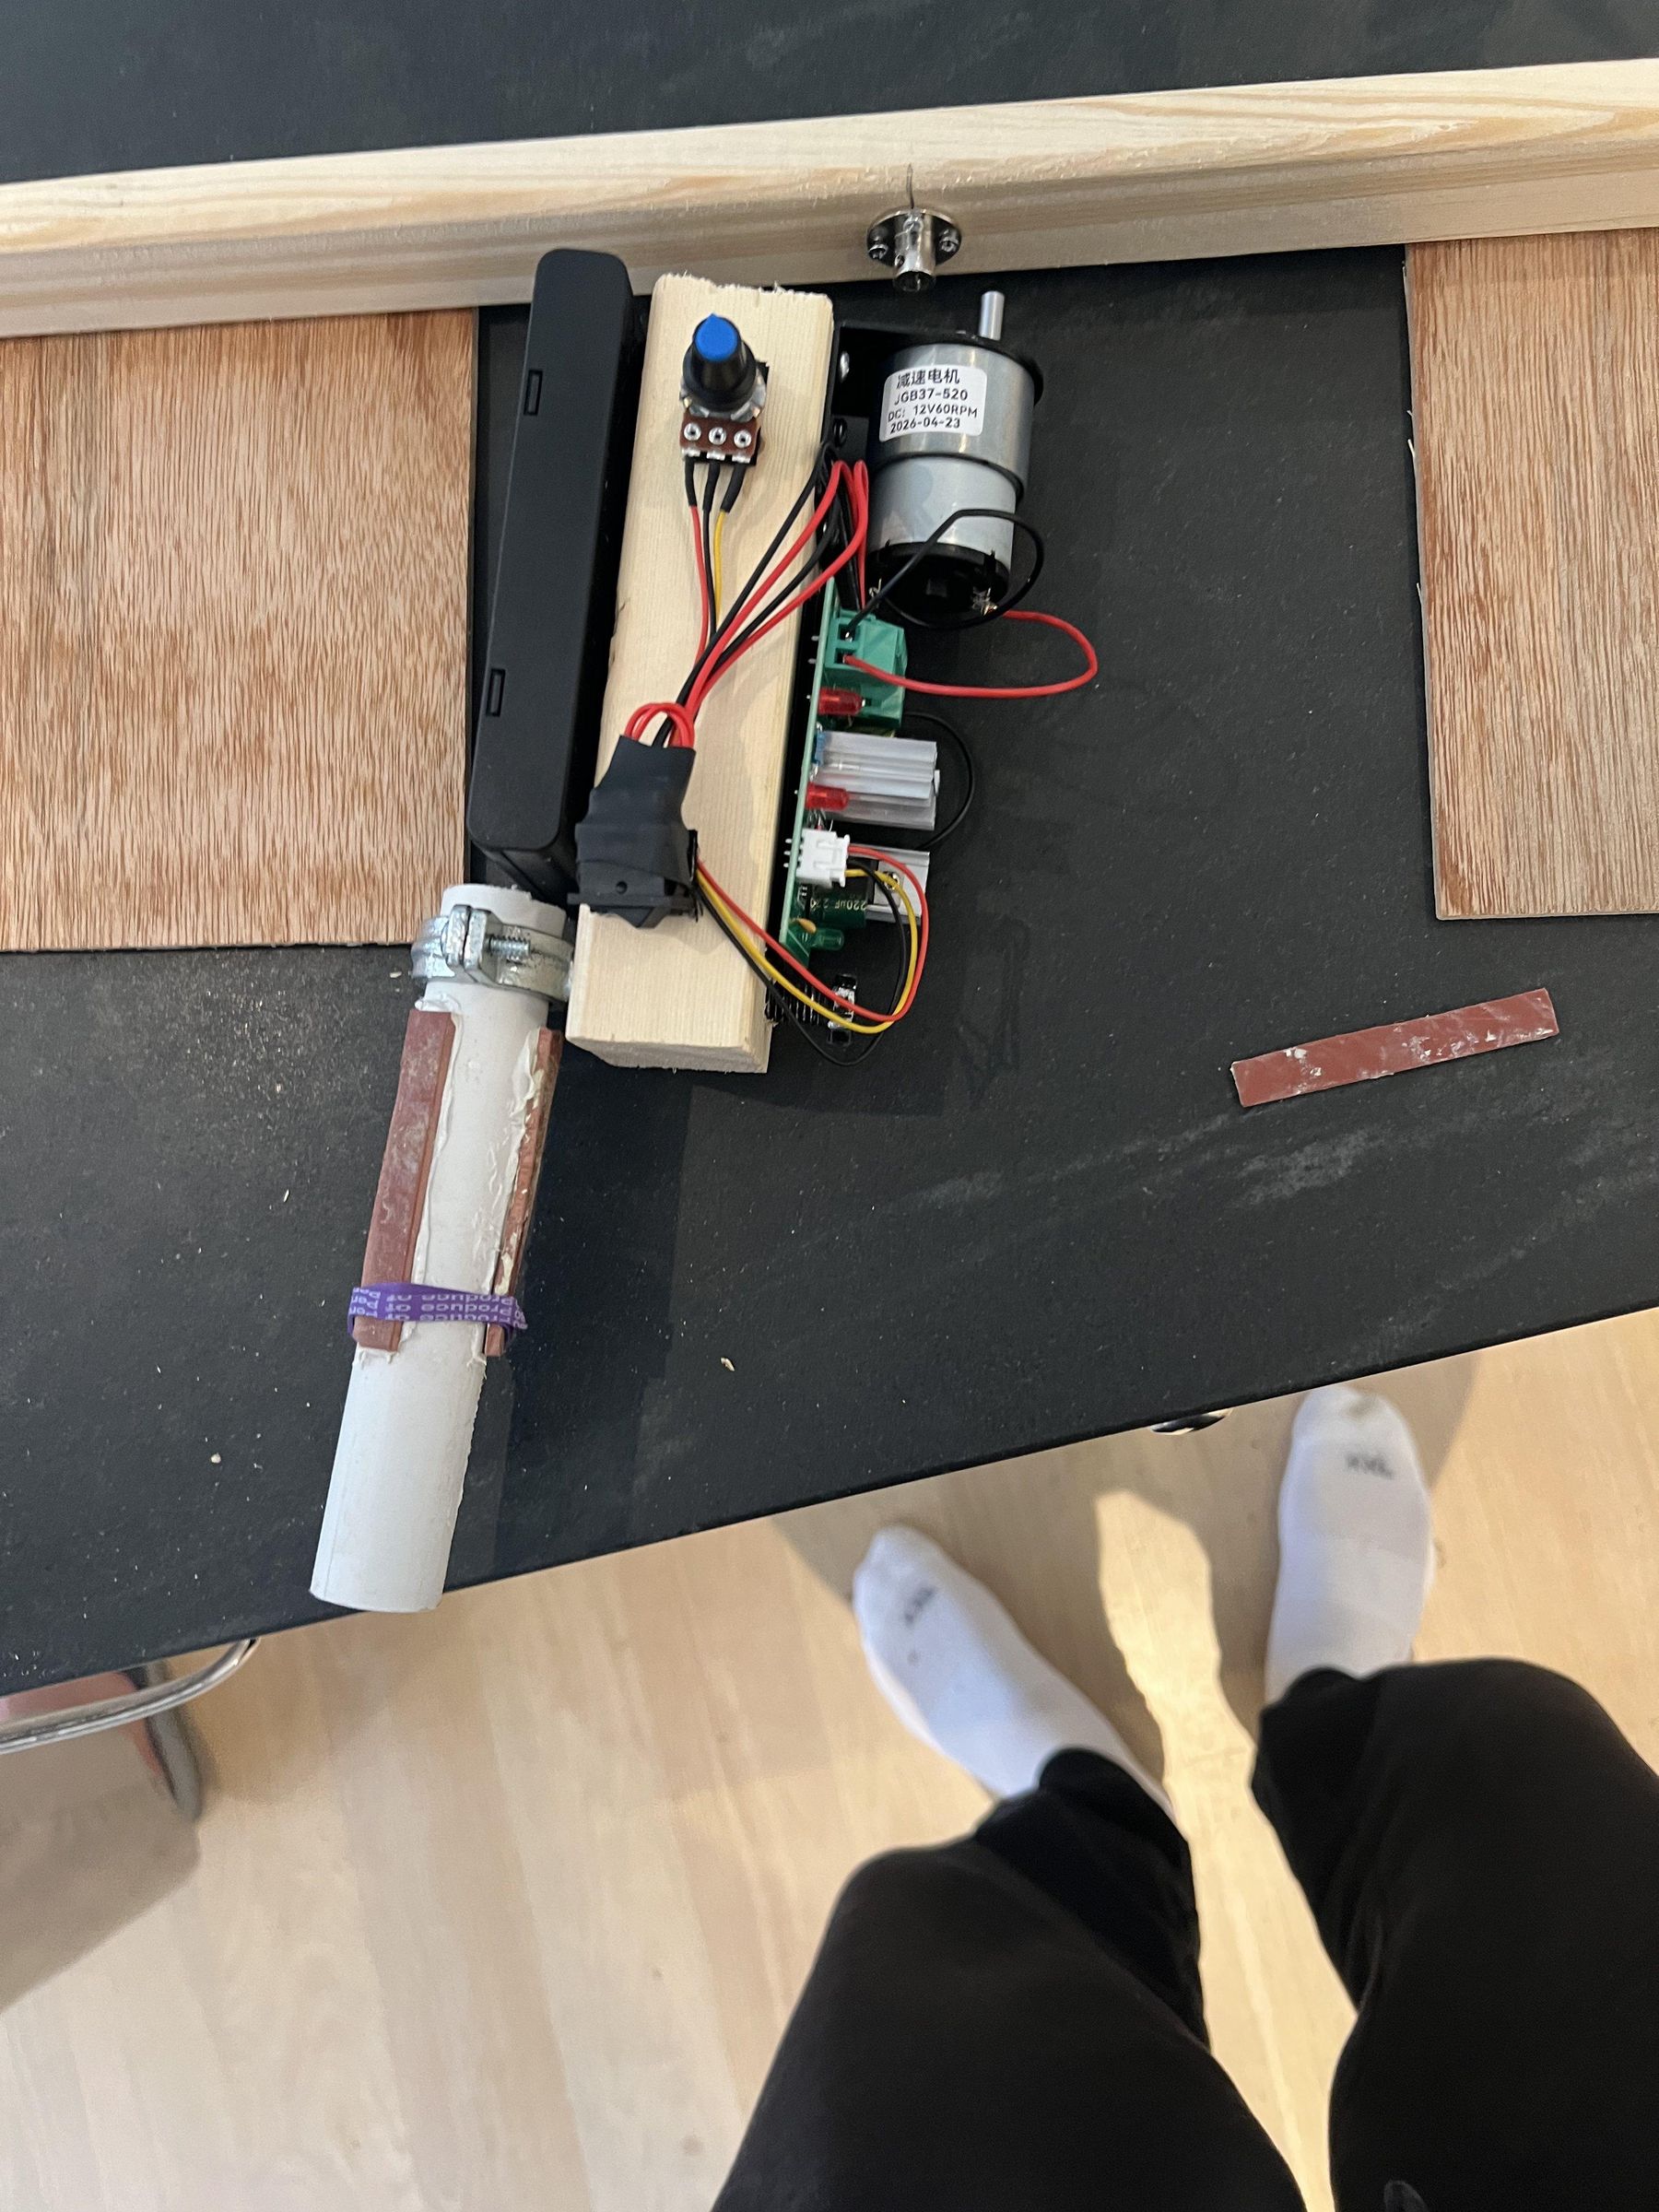
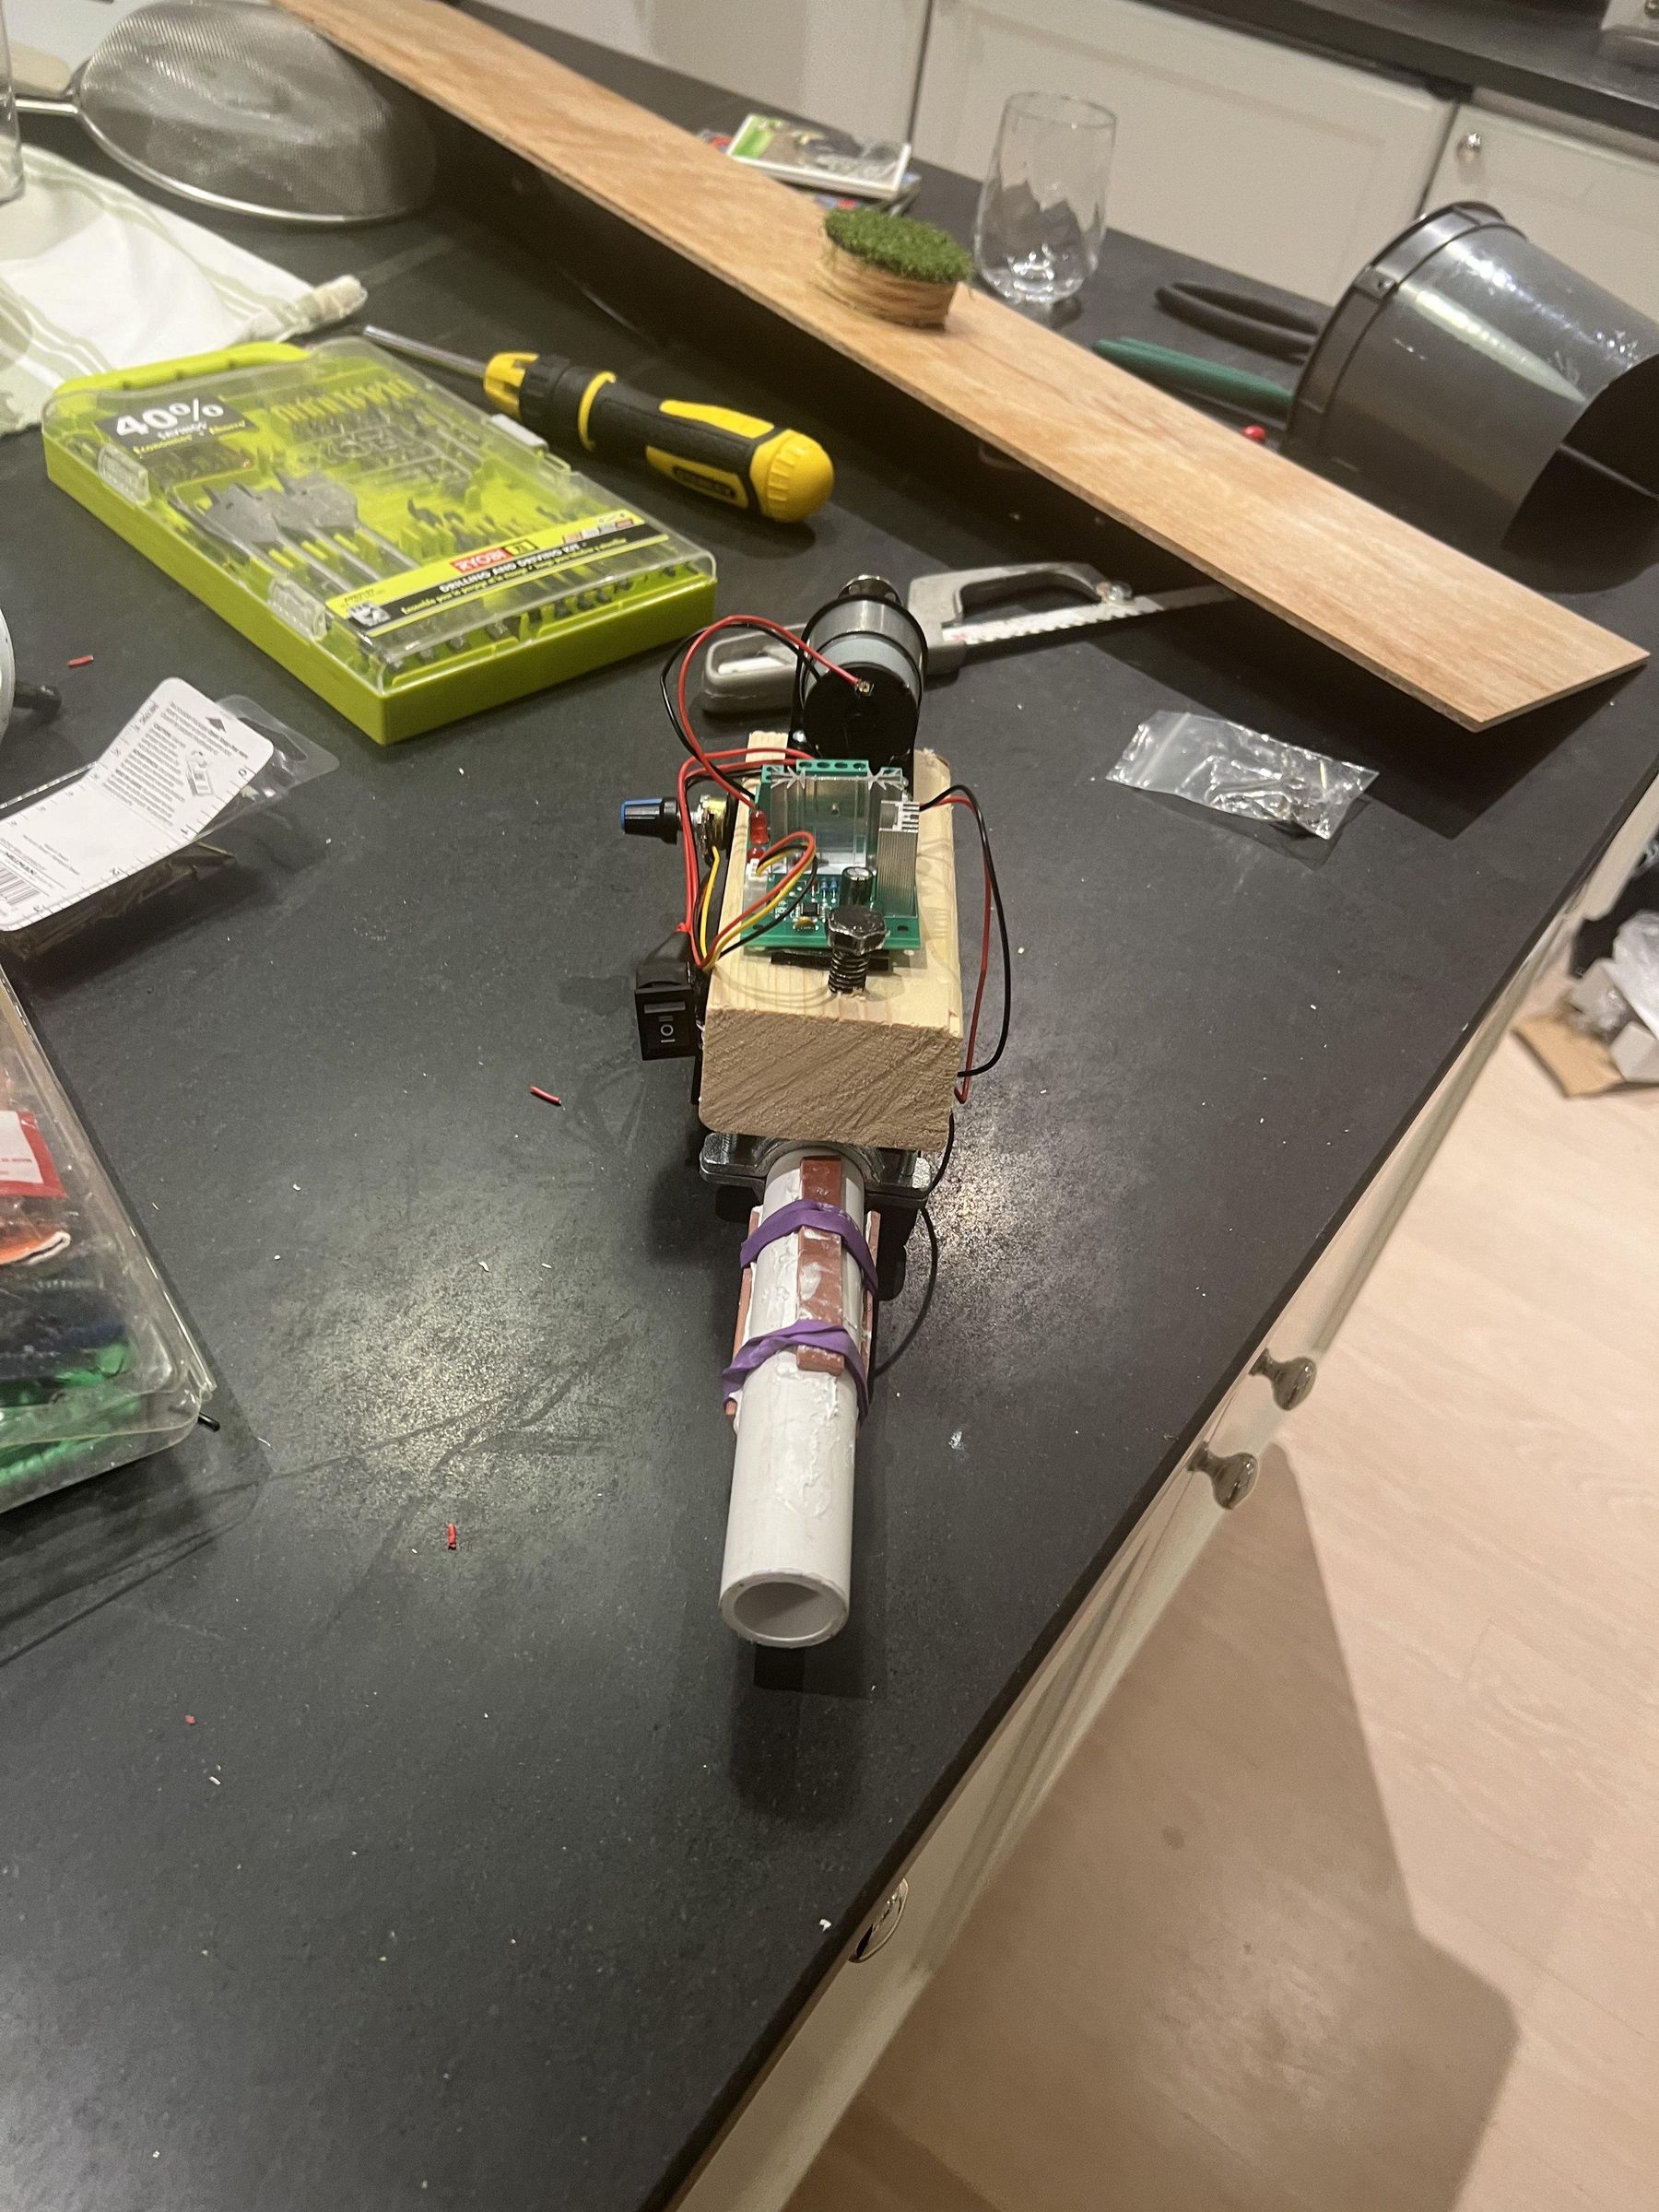
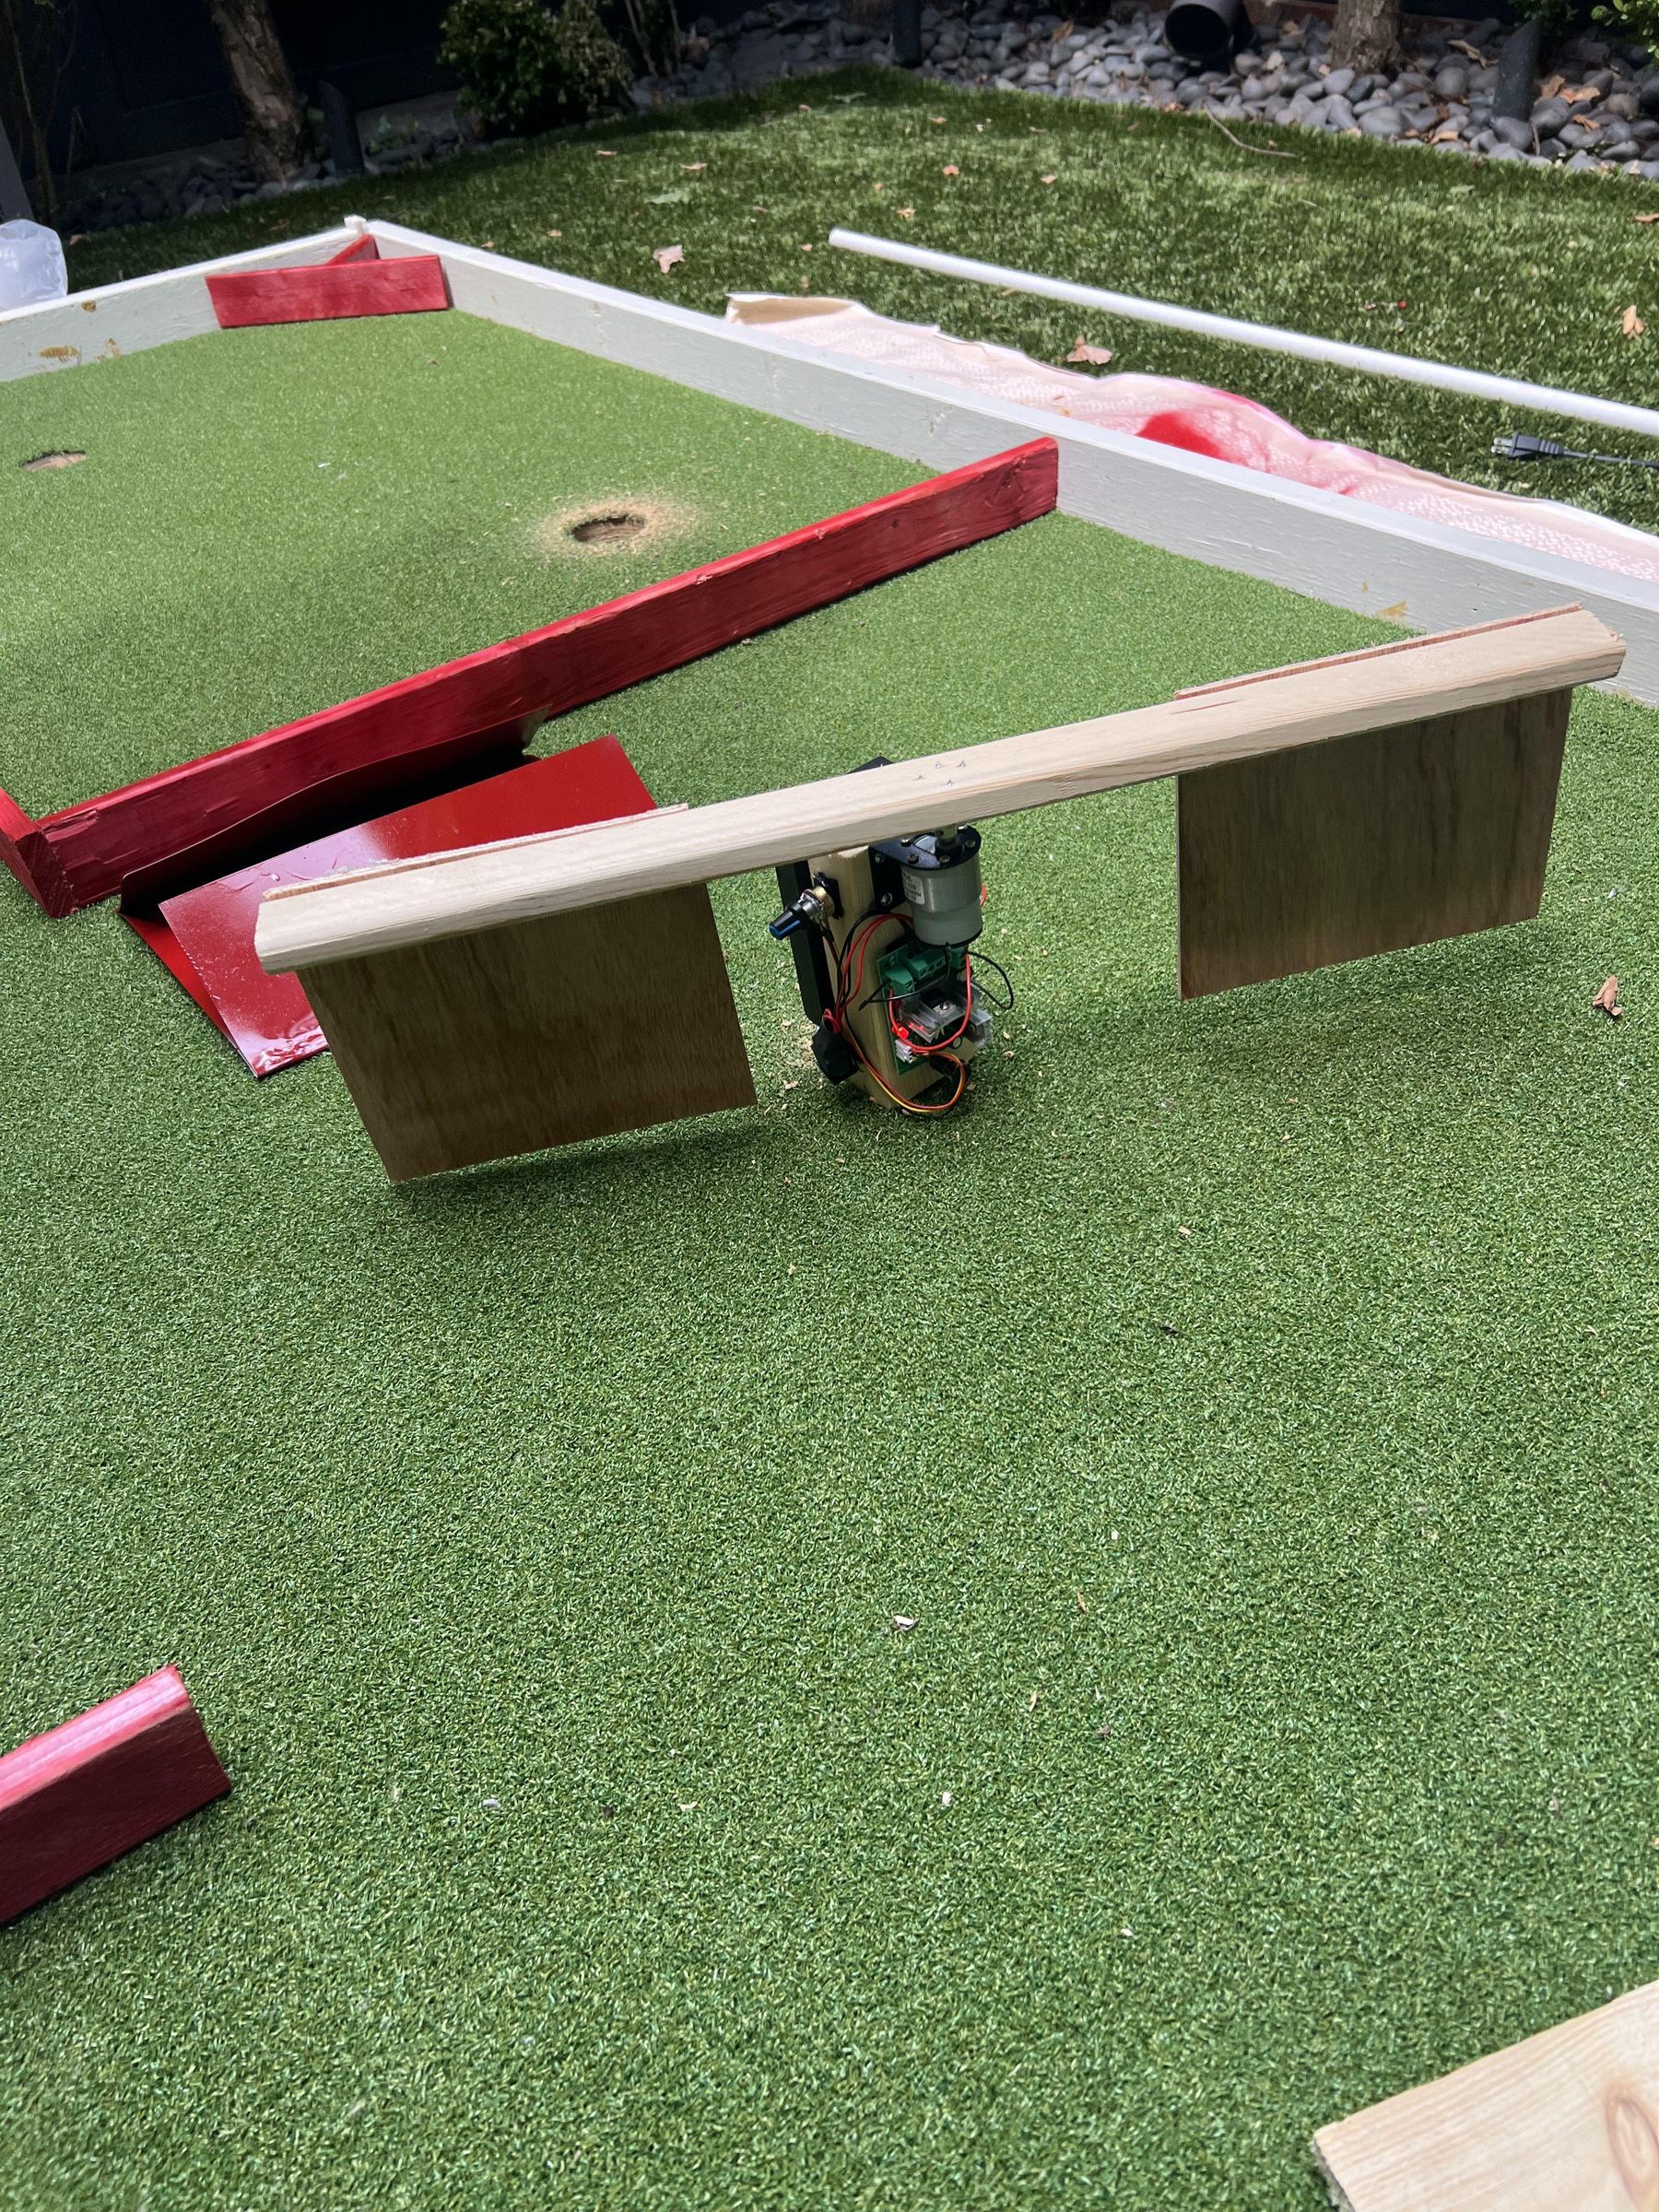
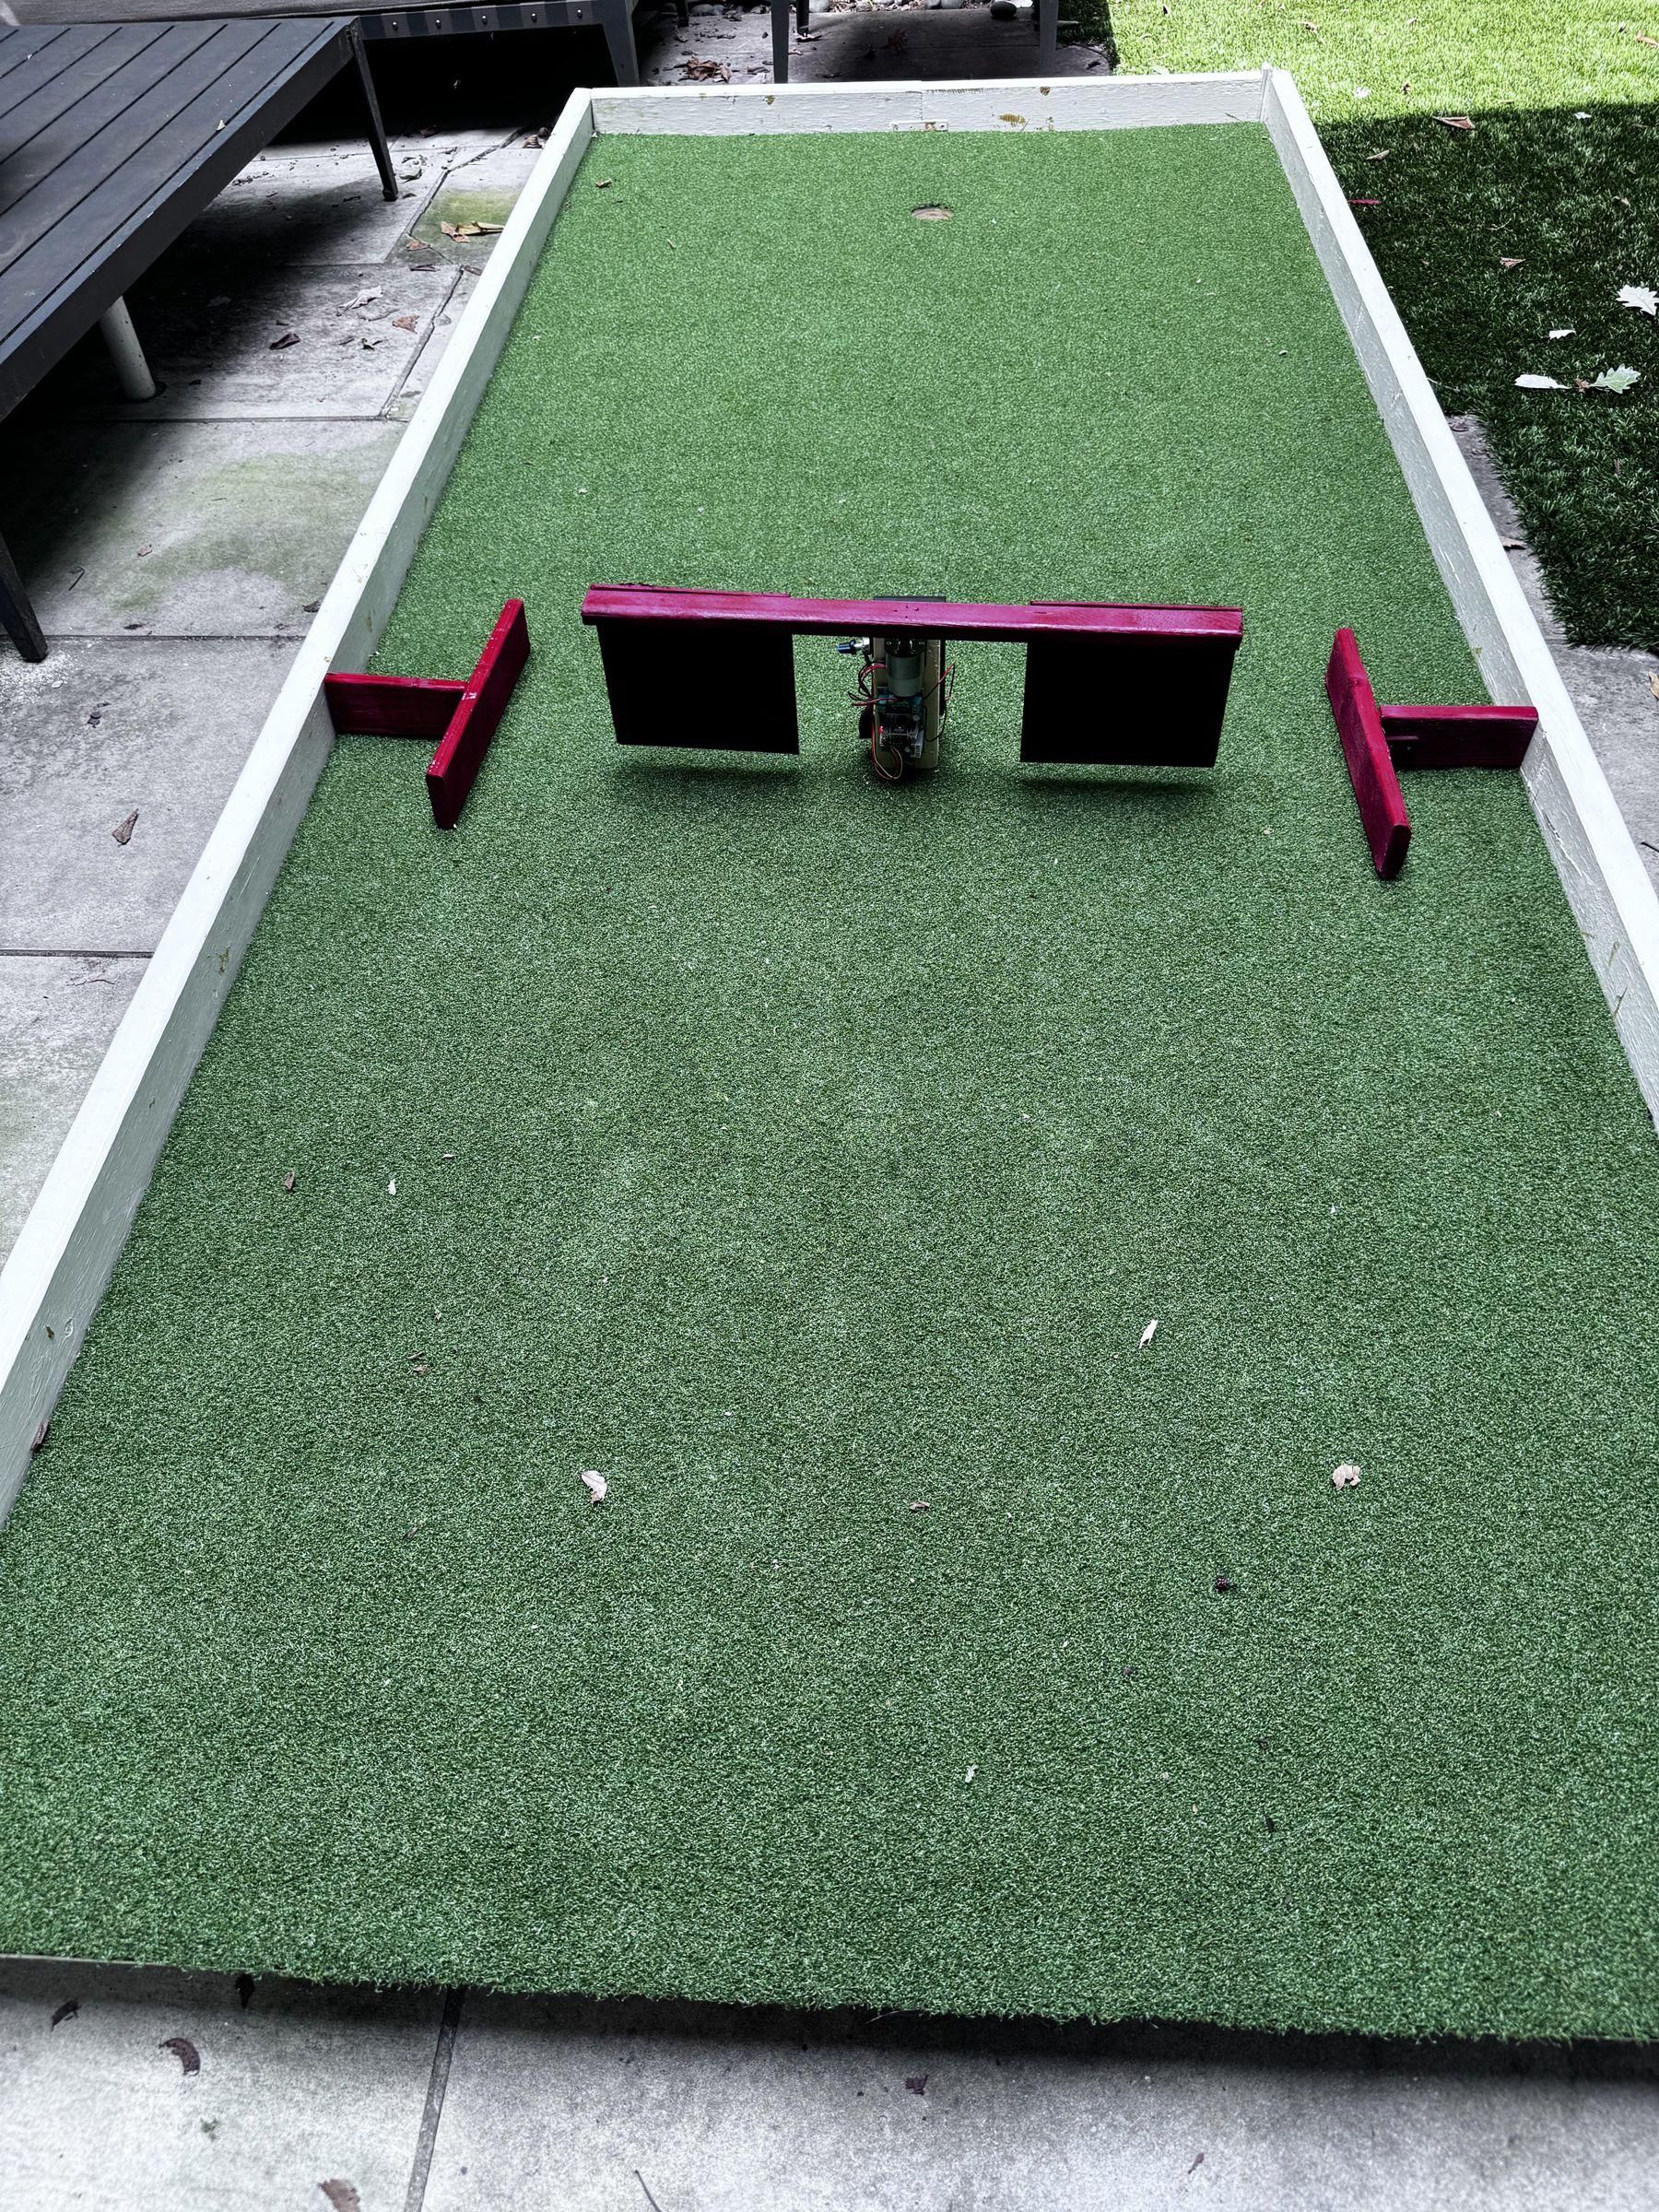
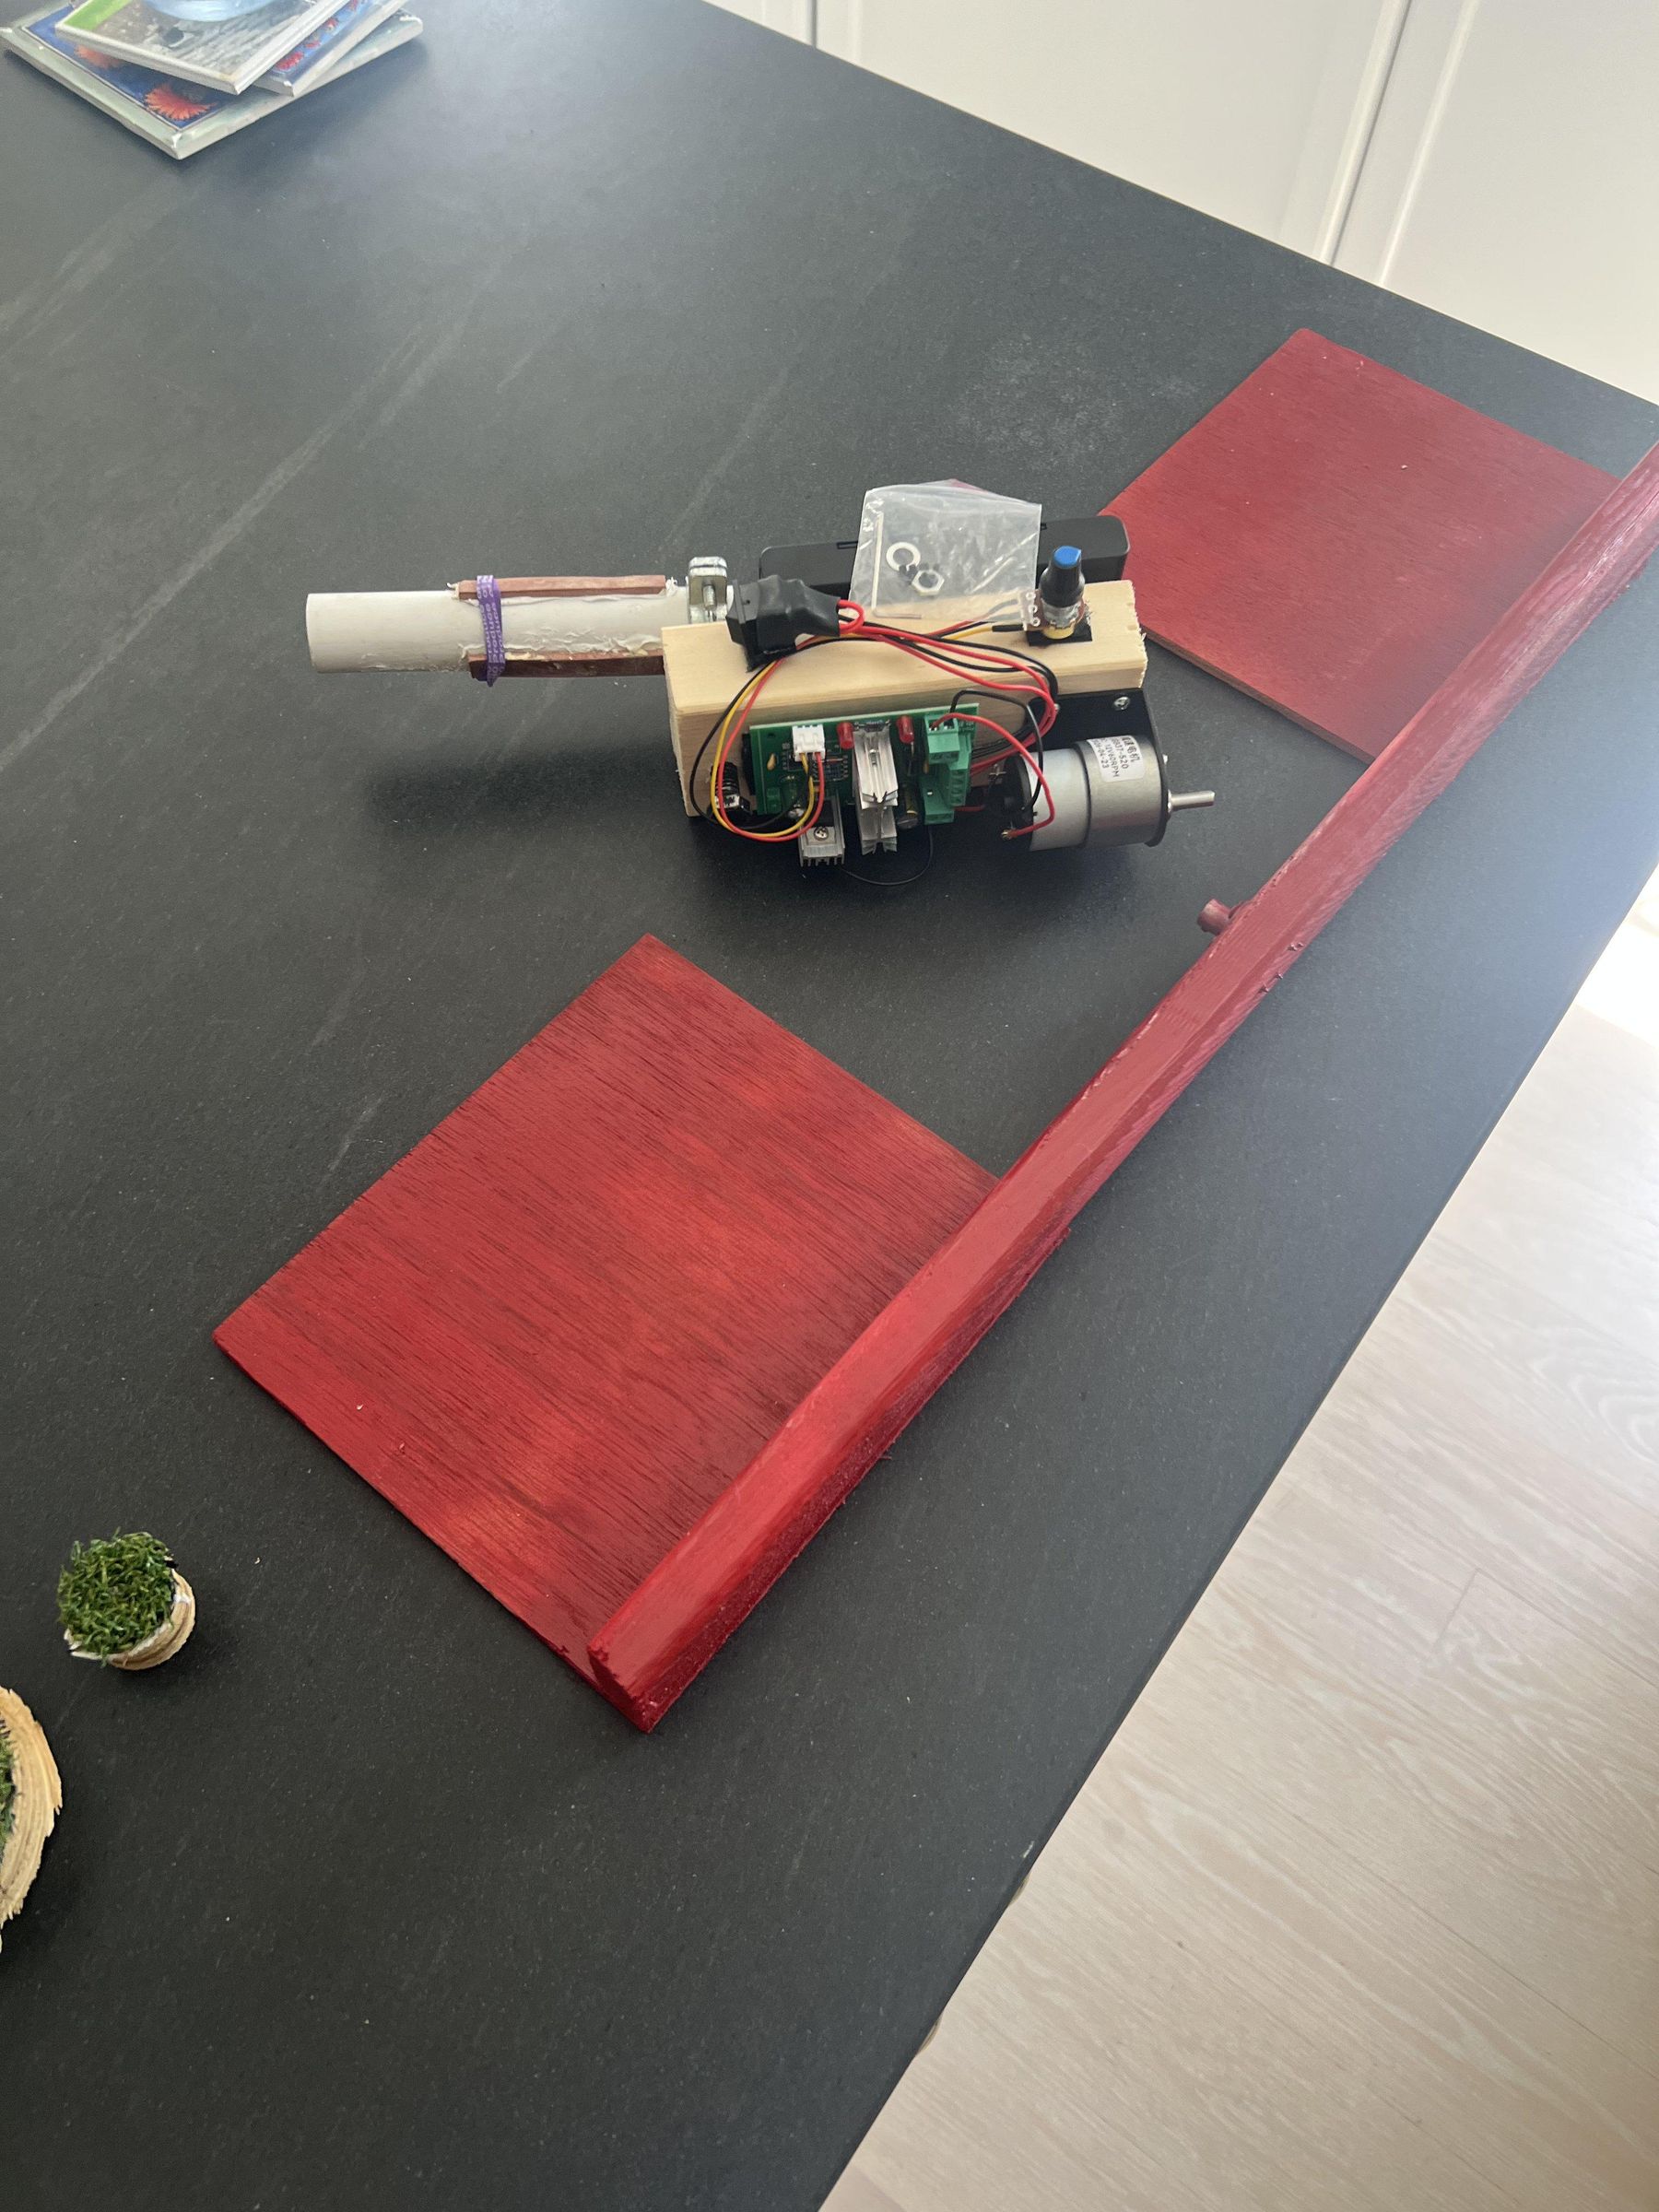
We really wanted a motorized, spinning obstacle with variable speed options, and built this from off-the-shelf parts from Amazon and Home Depot. It consists of a motor mounted to a wood and PVC base, with an upside-down "U" shaped wooden paddle connected to the motor that spins and deflects the ball of the unwary player.
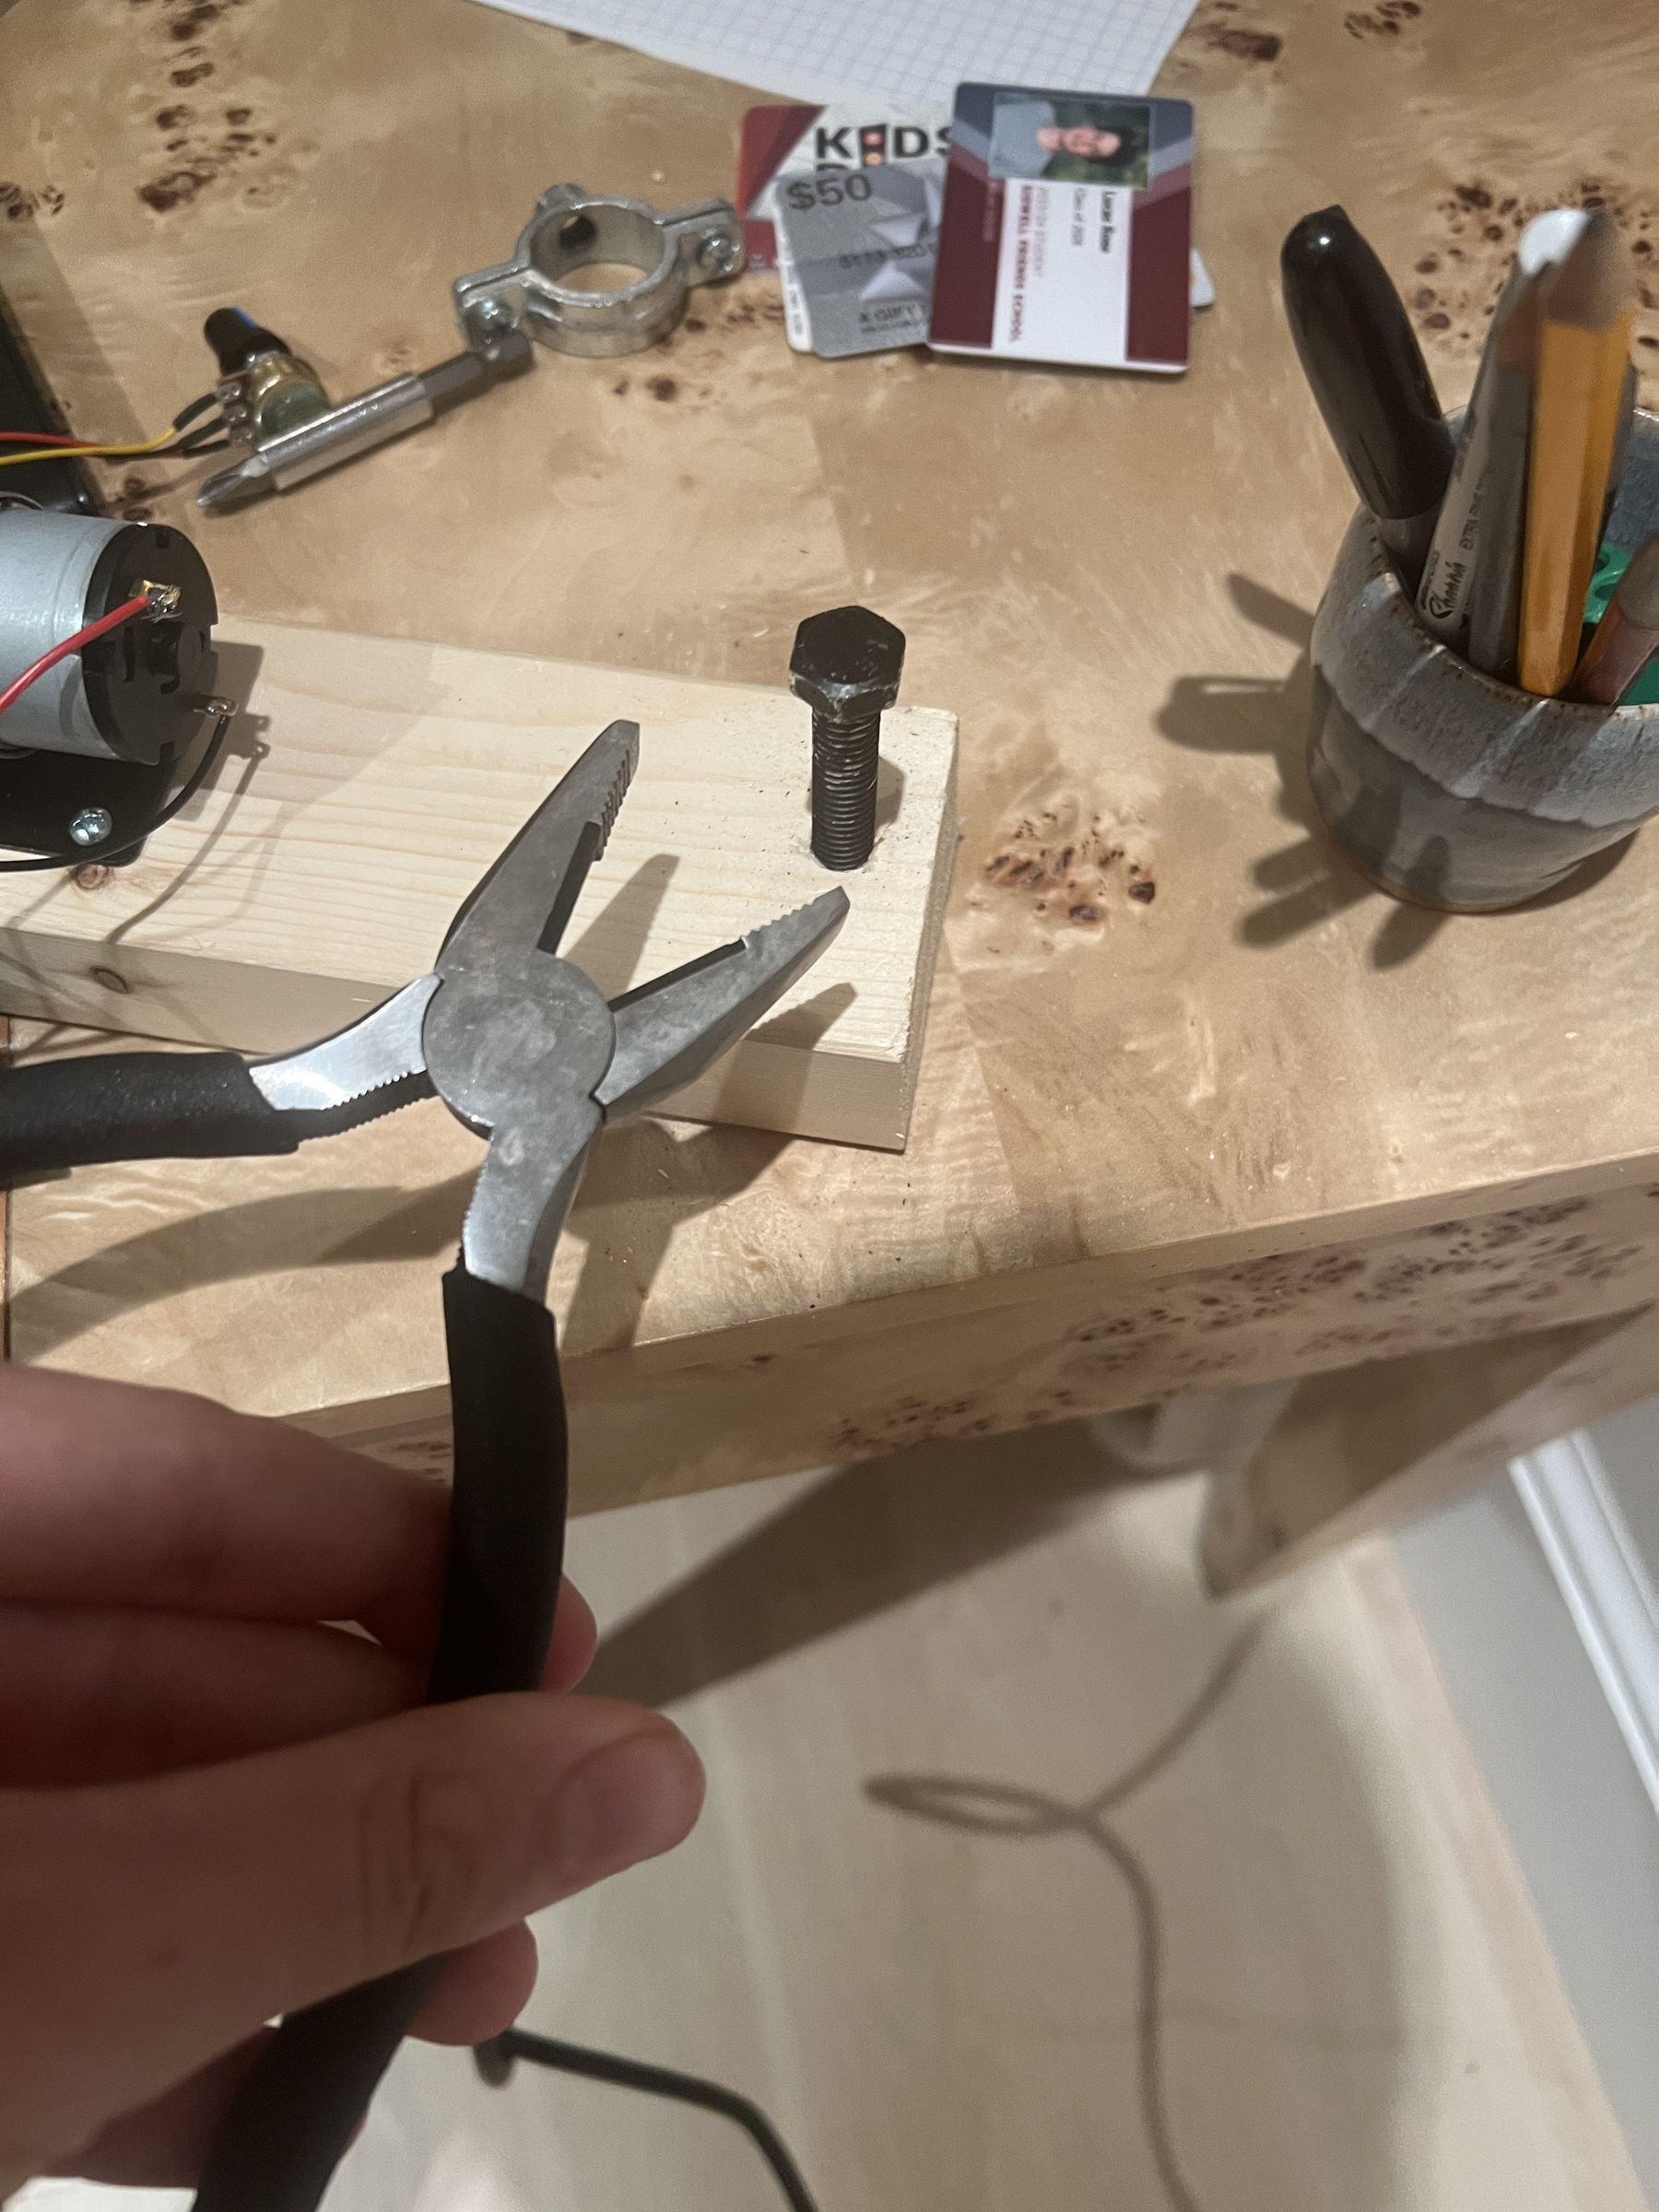
This obstacle takes the longest, but is the coolest. As shown in pics 1 & 2, we used the included mount to attach the motor to a 3"x2" board, with only the axle sticking out. Our motor also came with a speed controller, so we used the Velcro included with our battery pack (you can also just use tape) to attach the speed controller to the block. We attached the battery pack to the other side. We drilled a hole to attach a ring mount for the PVC, then passed a bolt through the hole and attached the mount (see pic 3). We cut the PVC to 6" long and attached it to the mount.
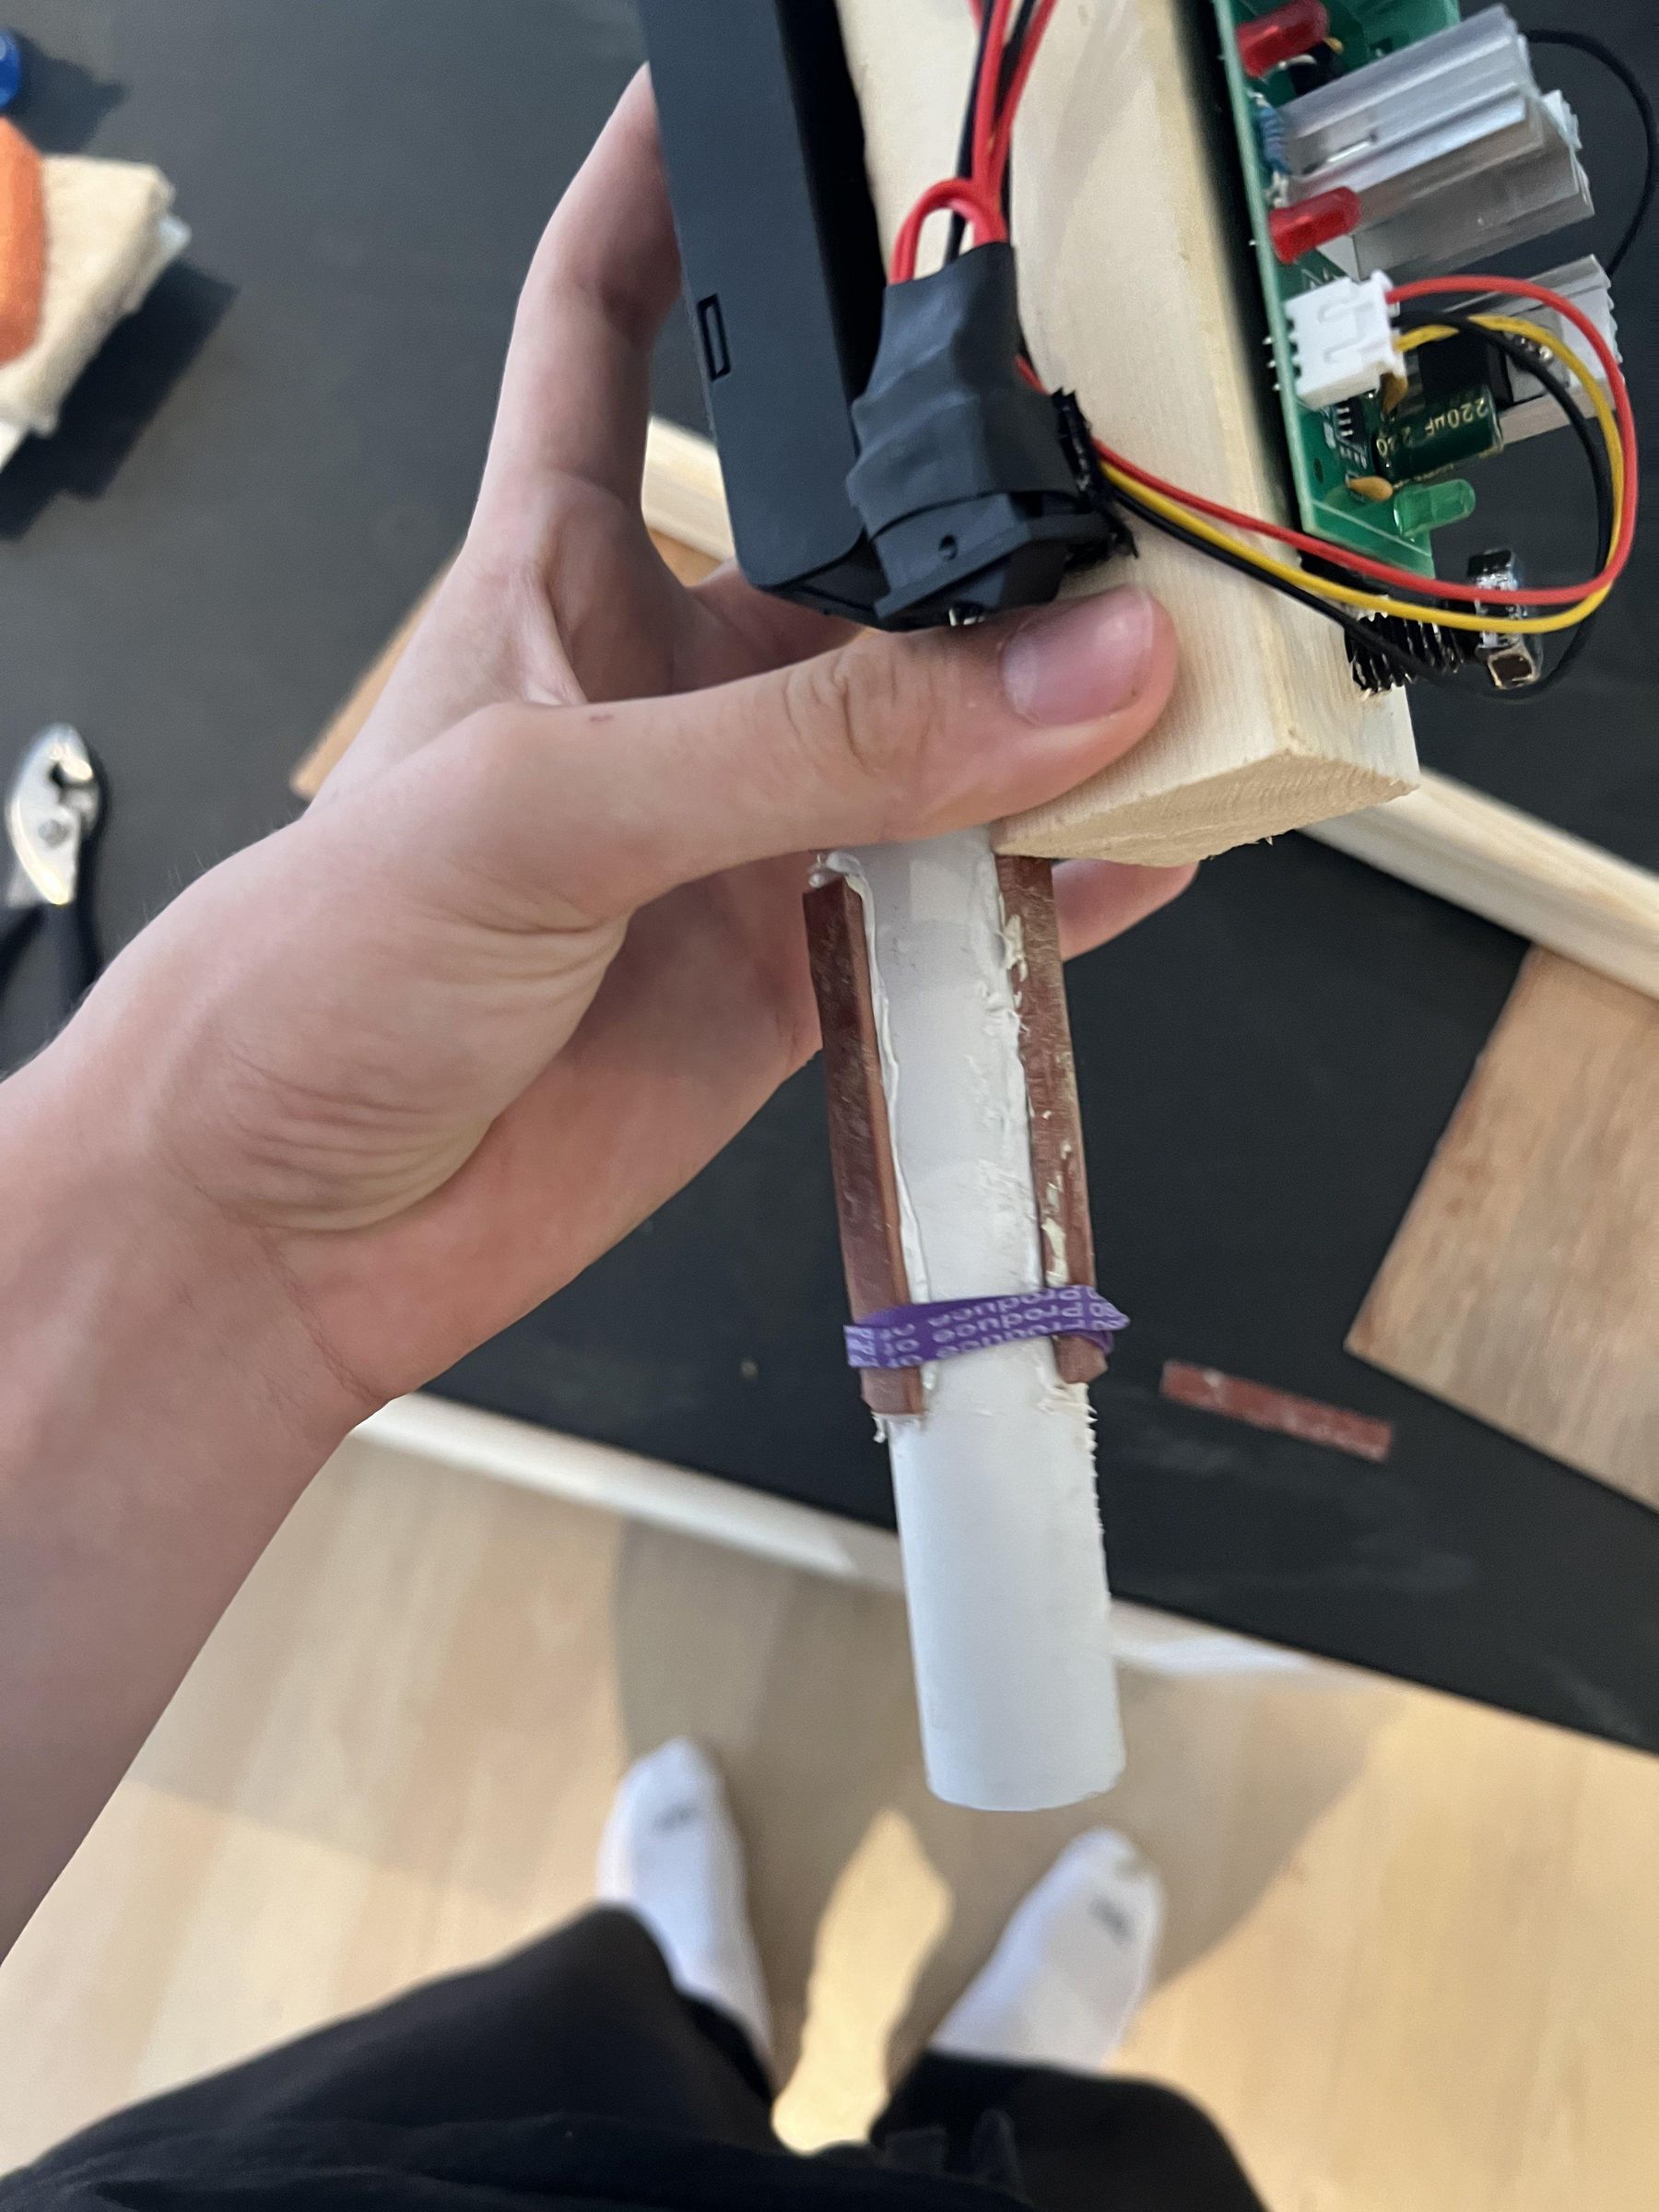
Next, we used adhesive to glue strips of 1/16 rubber around the 3/4 PVC (see pic 5 - we used rubber bands to keep them in place as the glue dried). These rubber strips help with maintaining friction to keep the spinning obstacle mounted in a hole in the foundation. To drill the hole in the foundation, we used the 1.25" holedozer drill attachment where we wanted the option to put the obstacle (we chose the middle about a third of the way from the entrance).
For the spinning paddle, we first screwed the spindle mount into a piece of 1"x2"x24" wood with small screws that fit into its holes (see pic 7), then screwed two pieces of thin plywood onto the 1x2x24 beam in positions where, if spinning, would not hit any part of the central column. Completed, it looked like pic 8. We mounted the obstacle into the 1-1/4" hole, and the friction from the rubber and contact of the PVC with the ground were enough to keep it in place as it spins.
Paint!
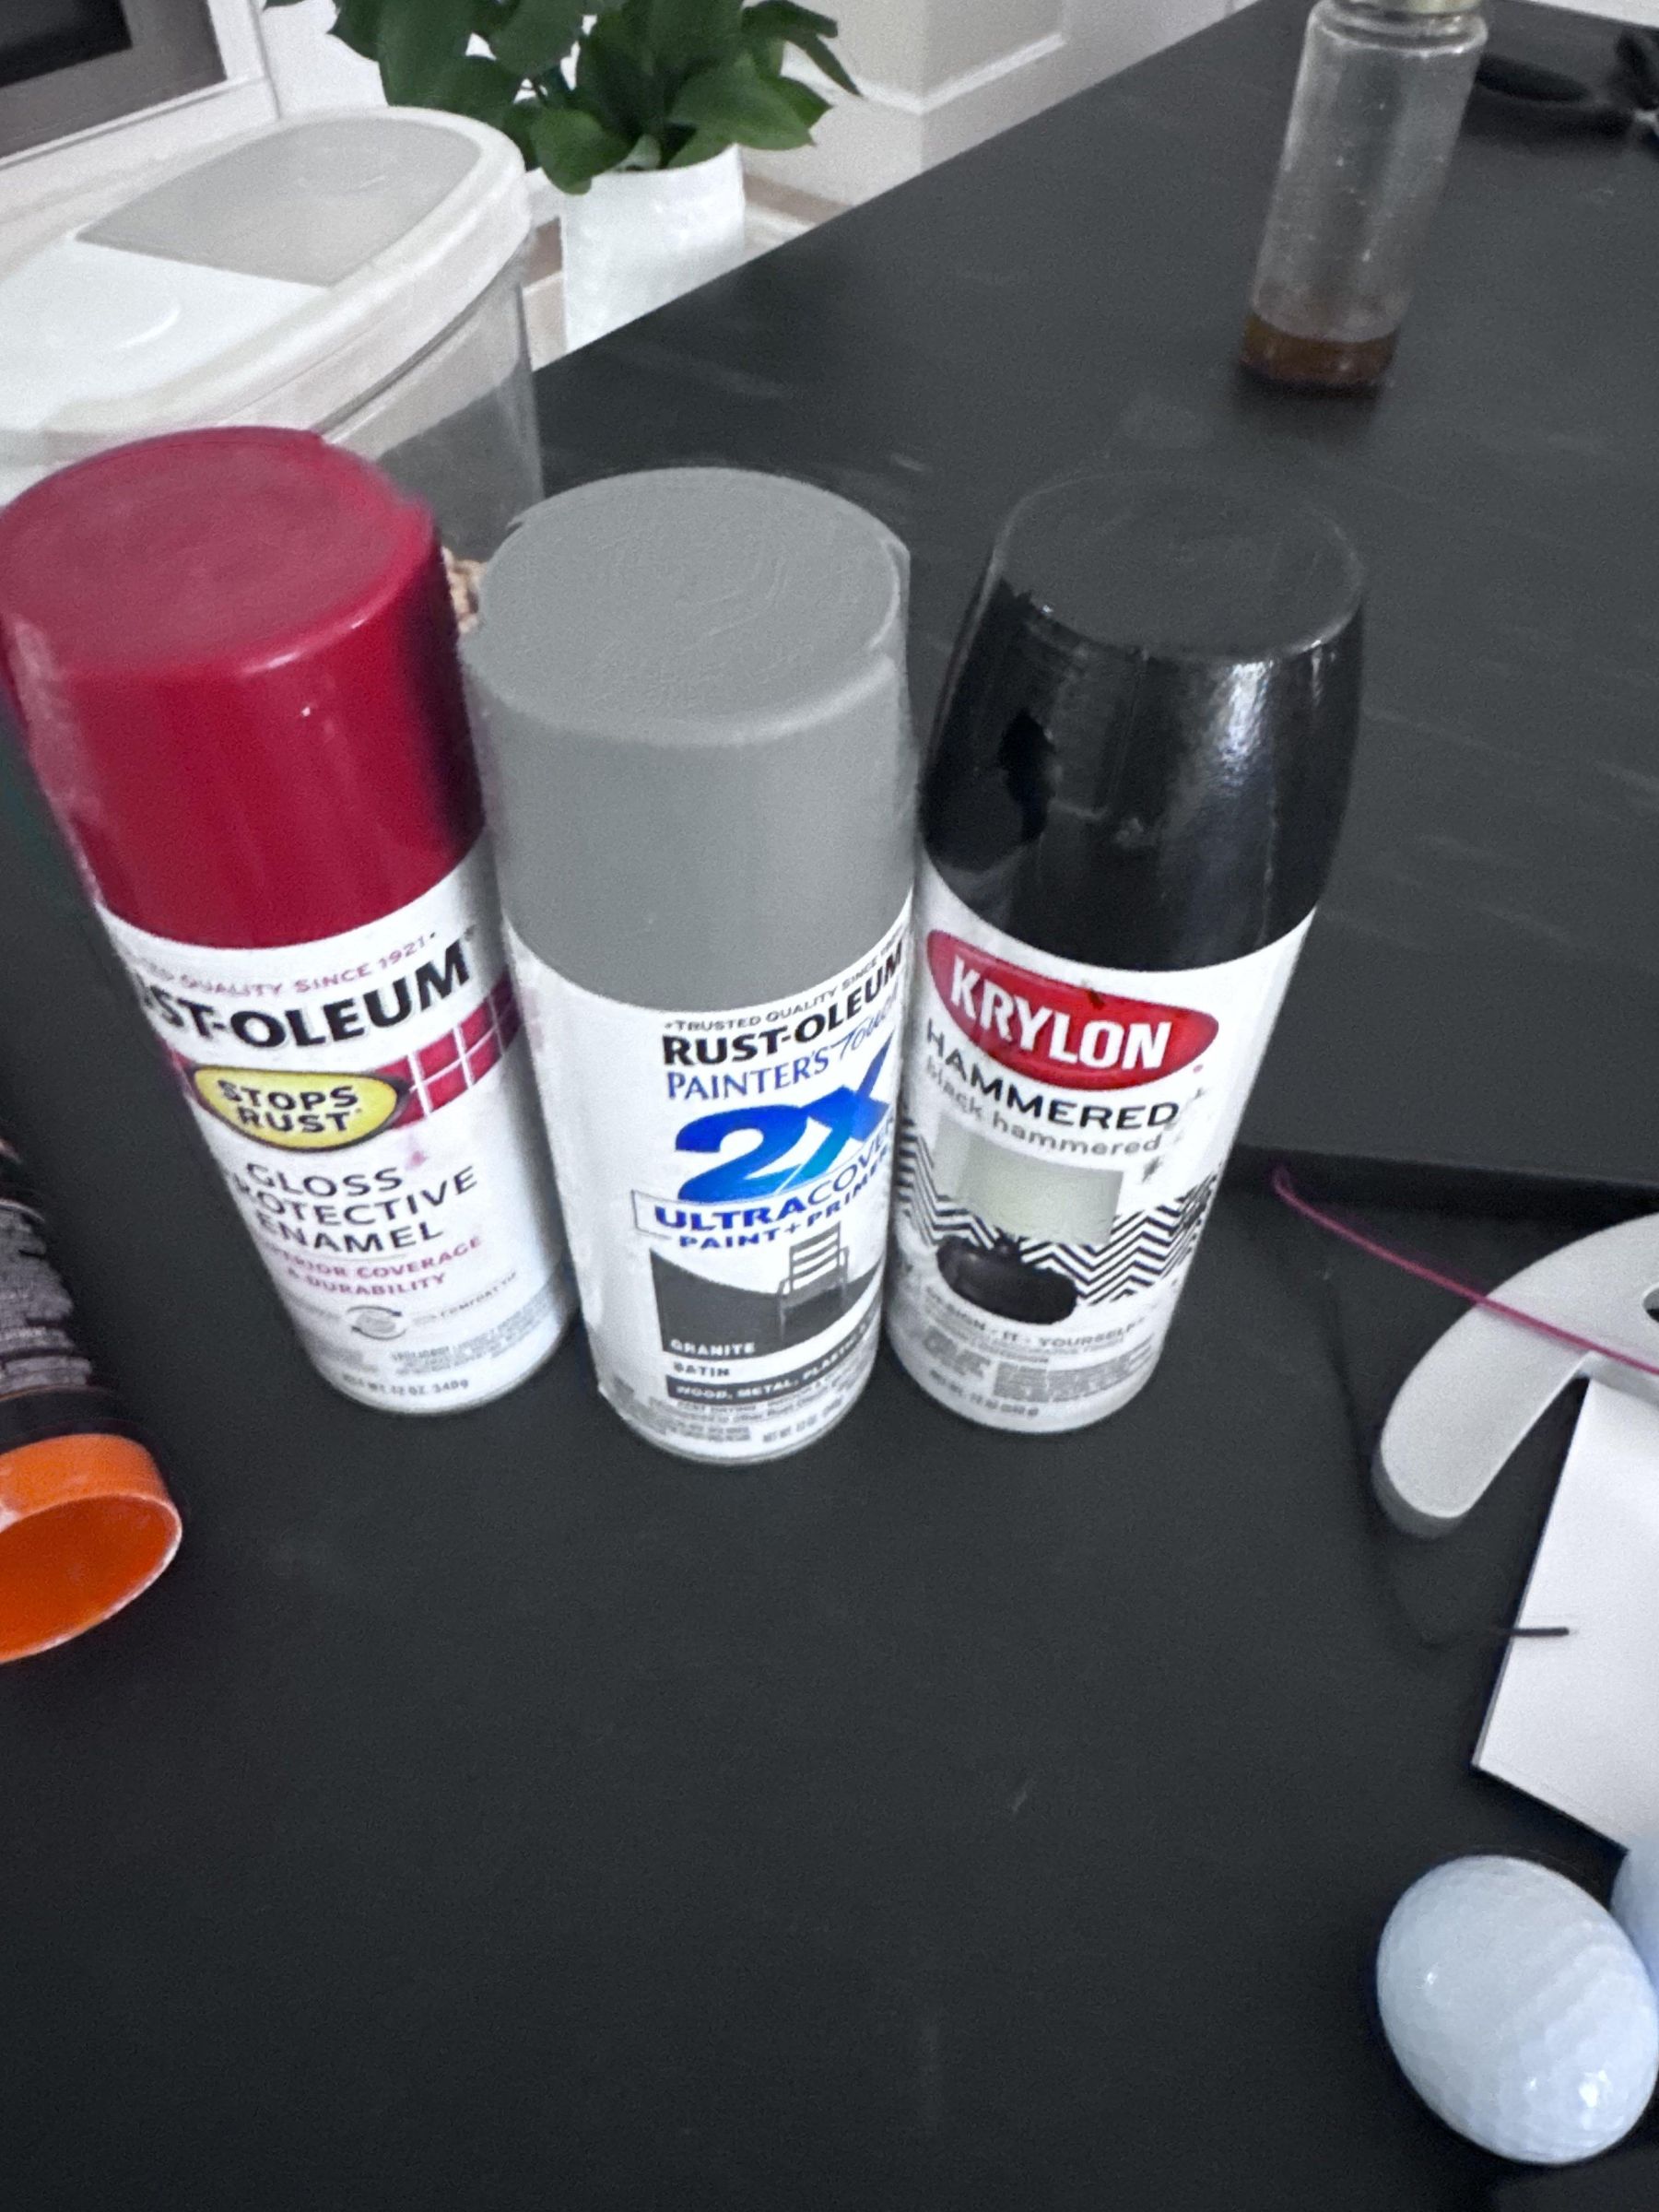
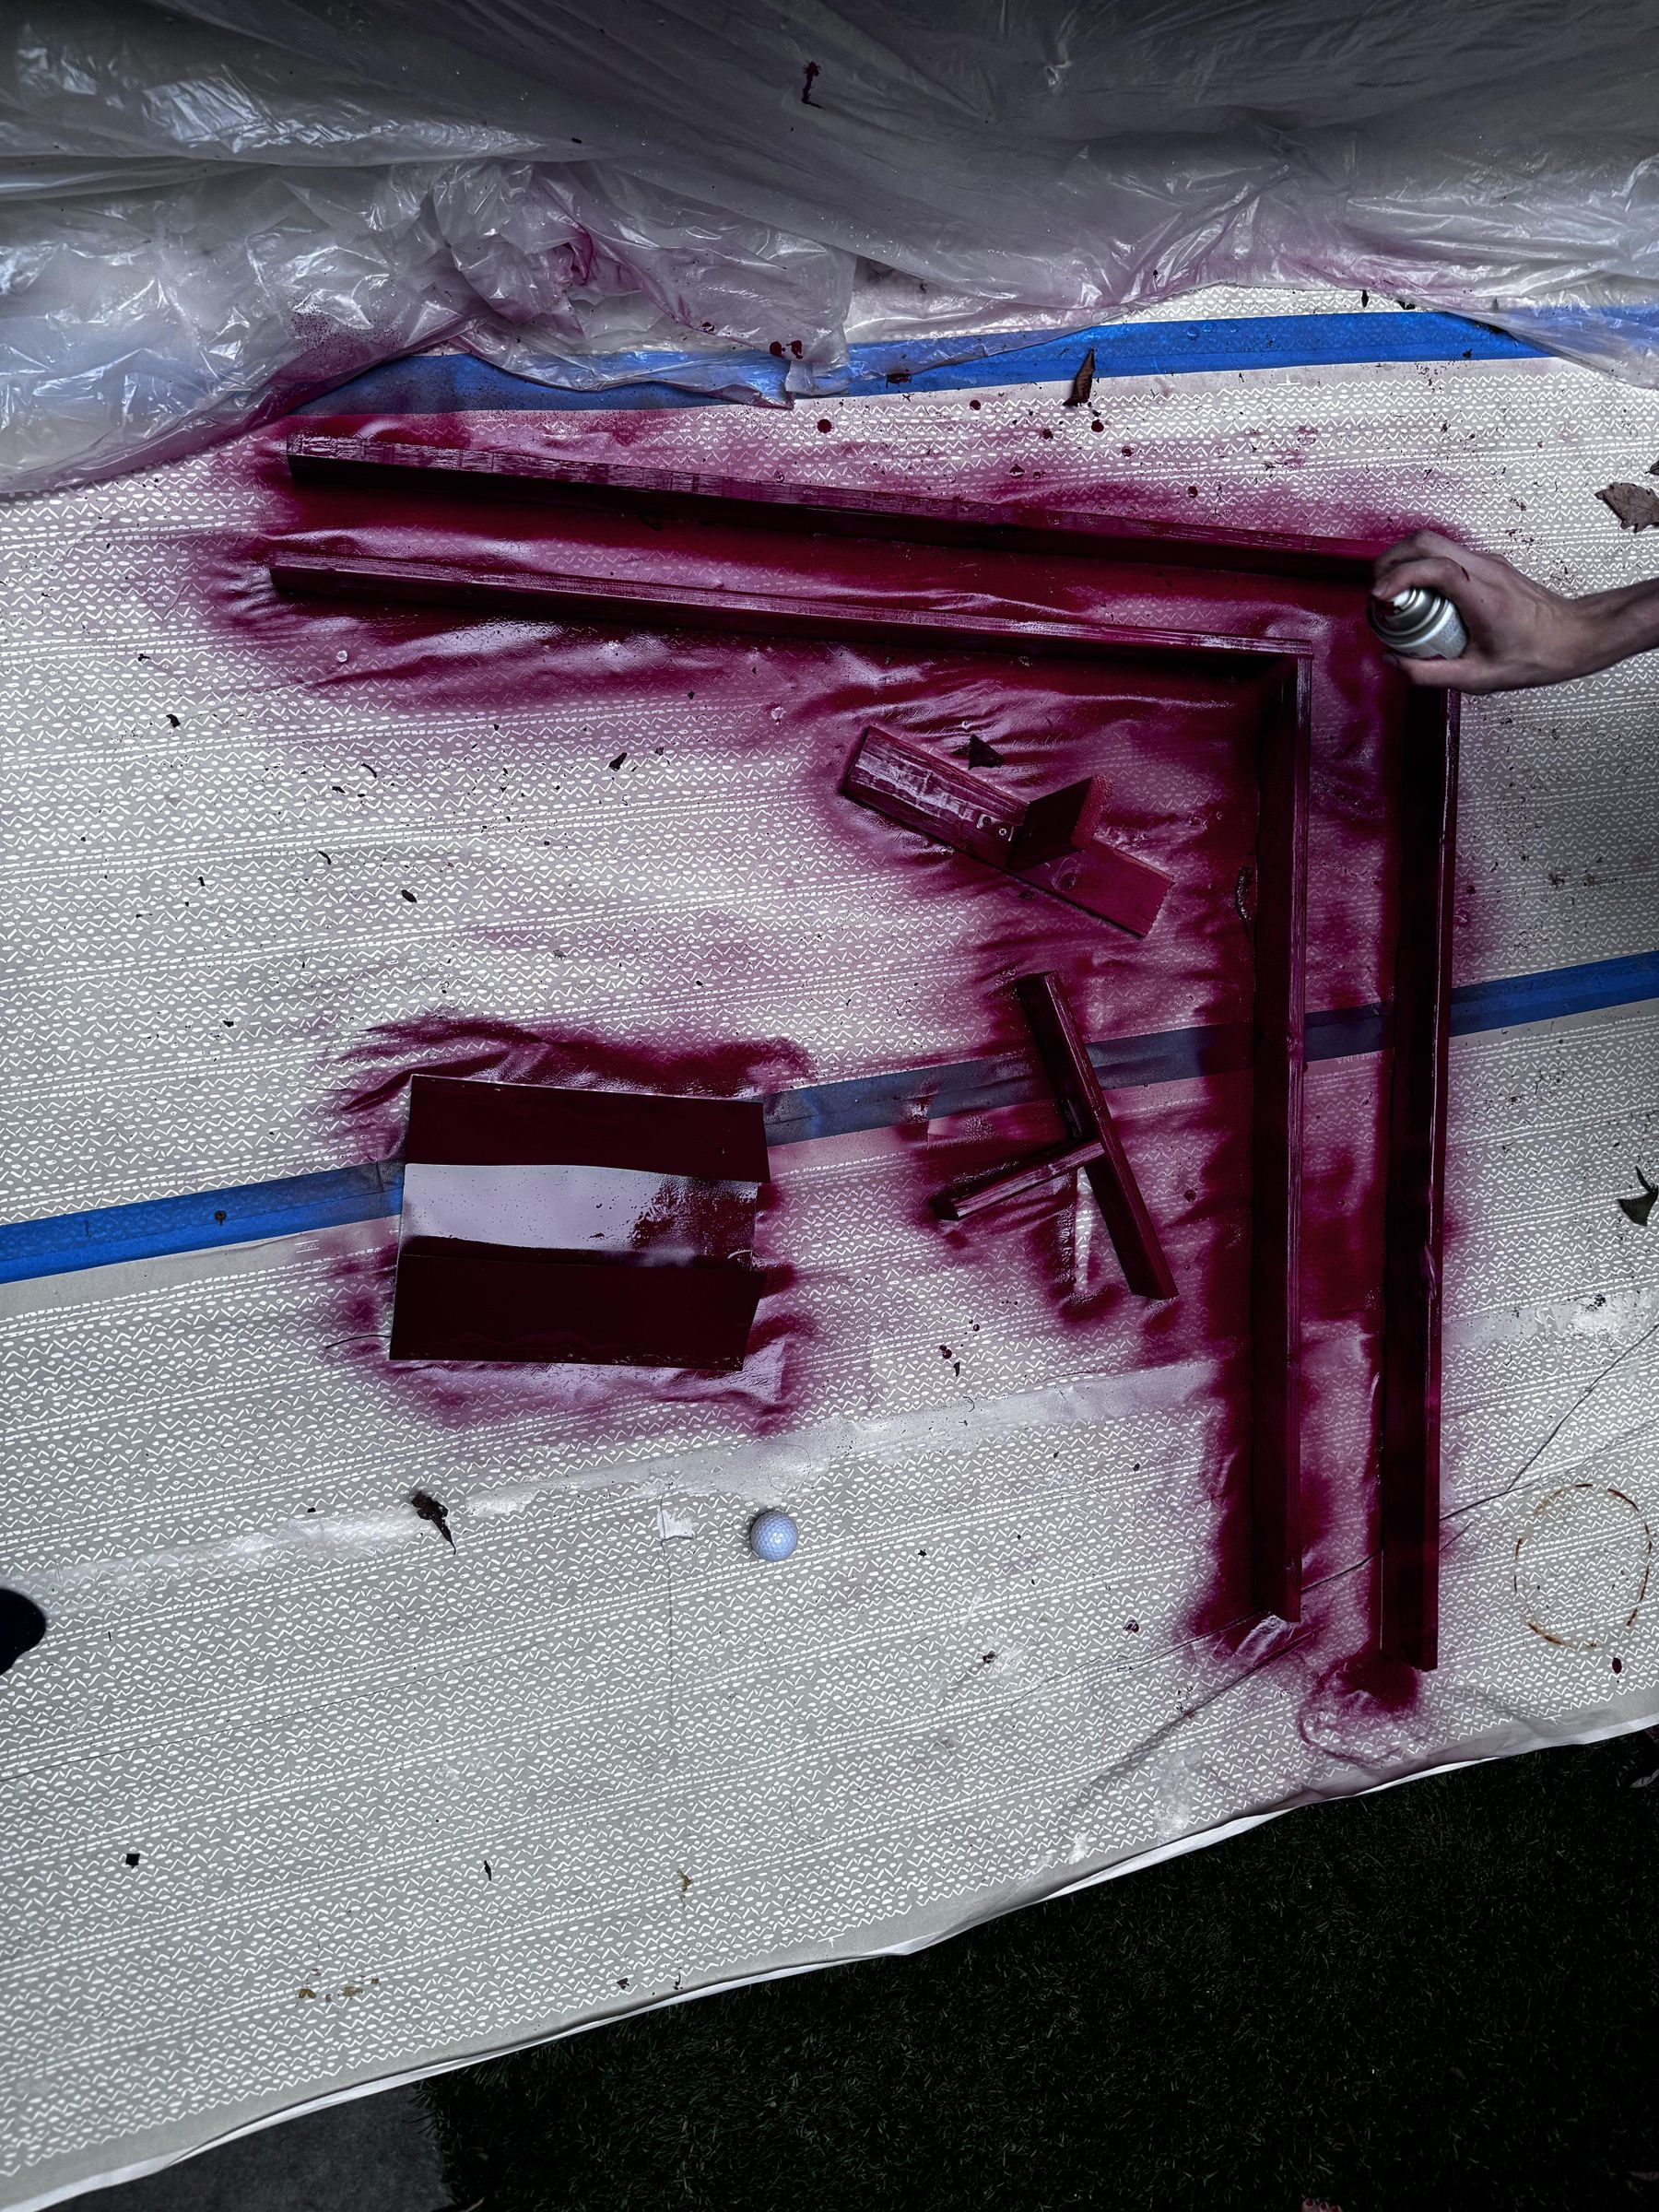
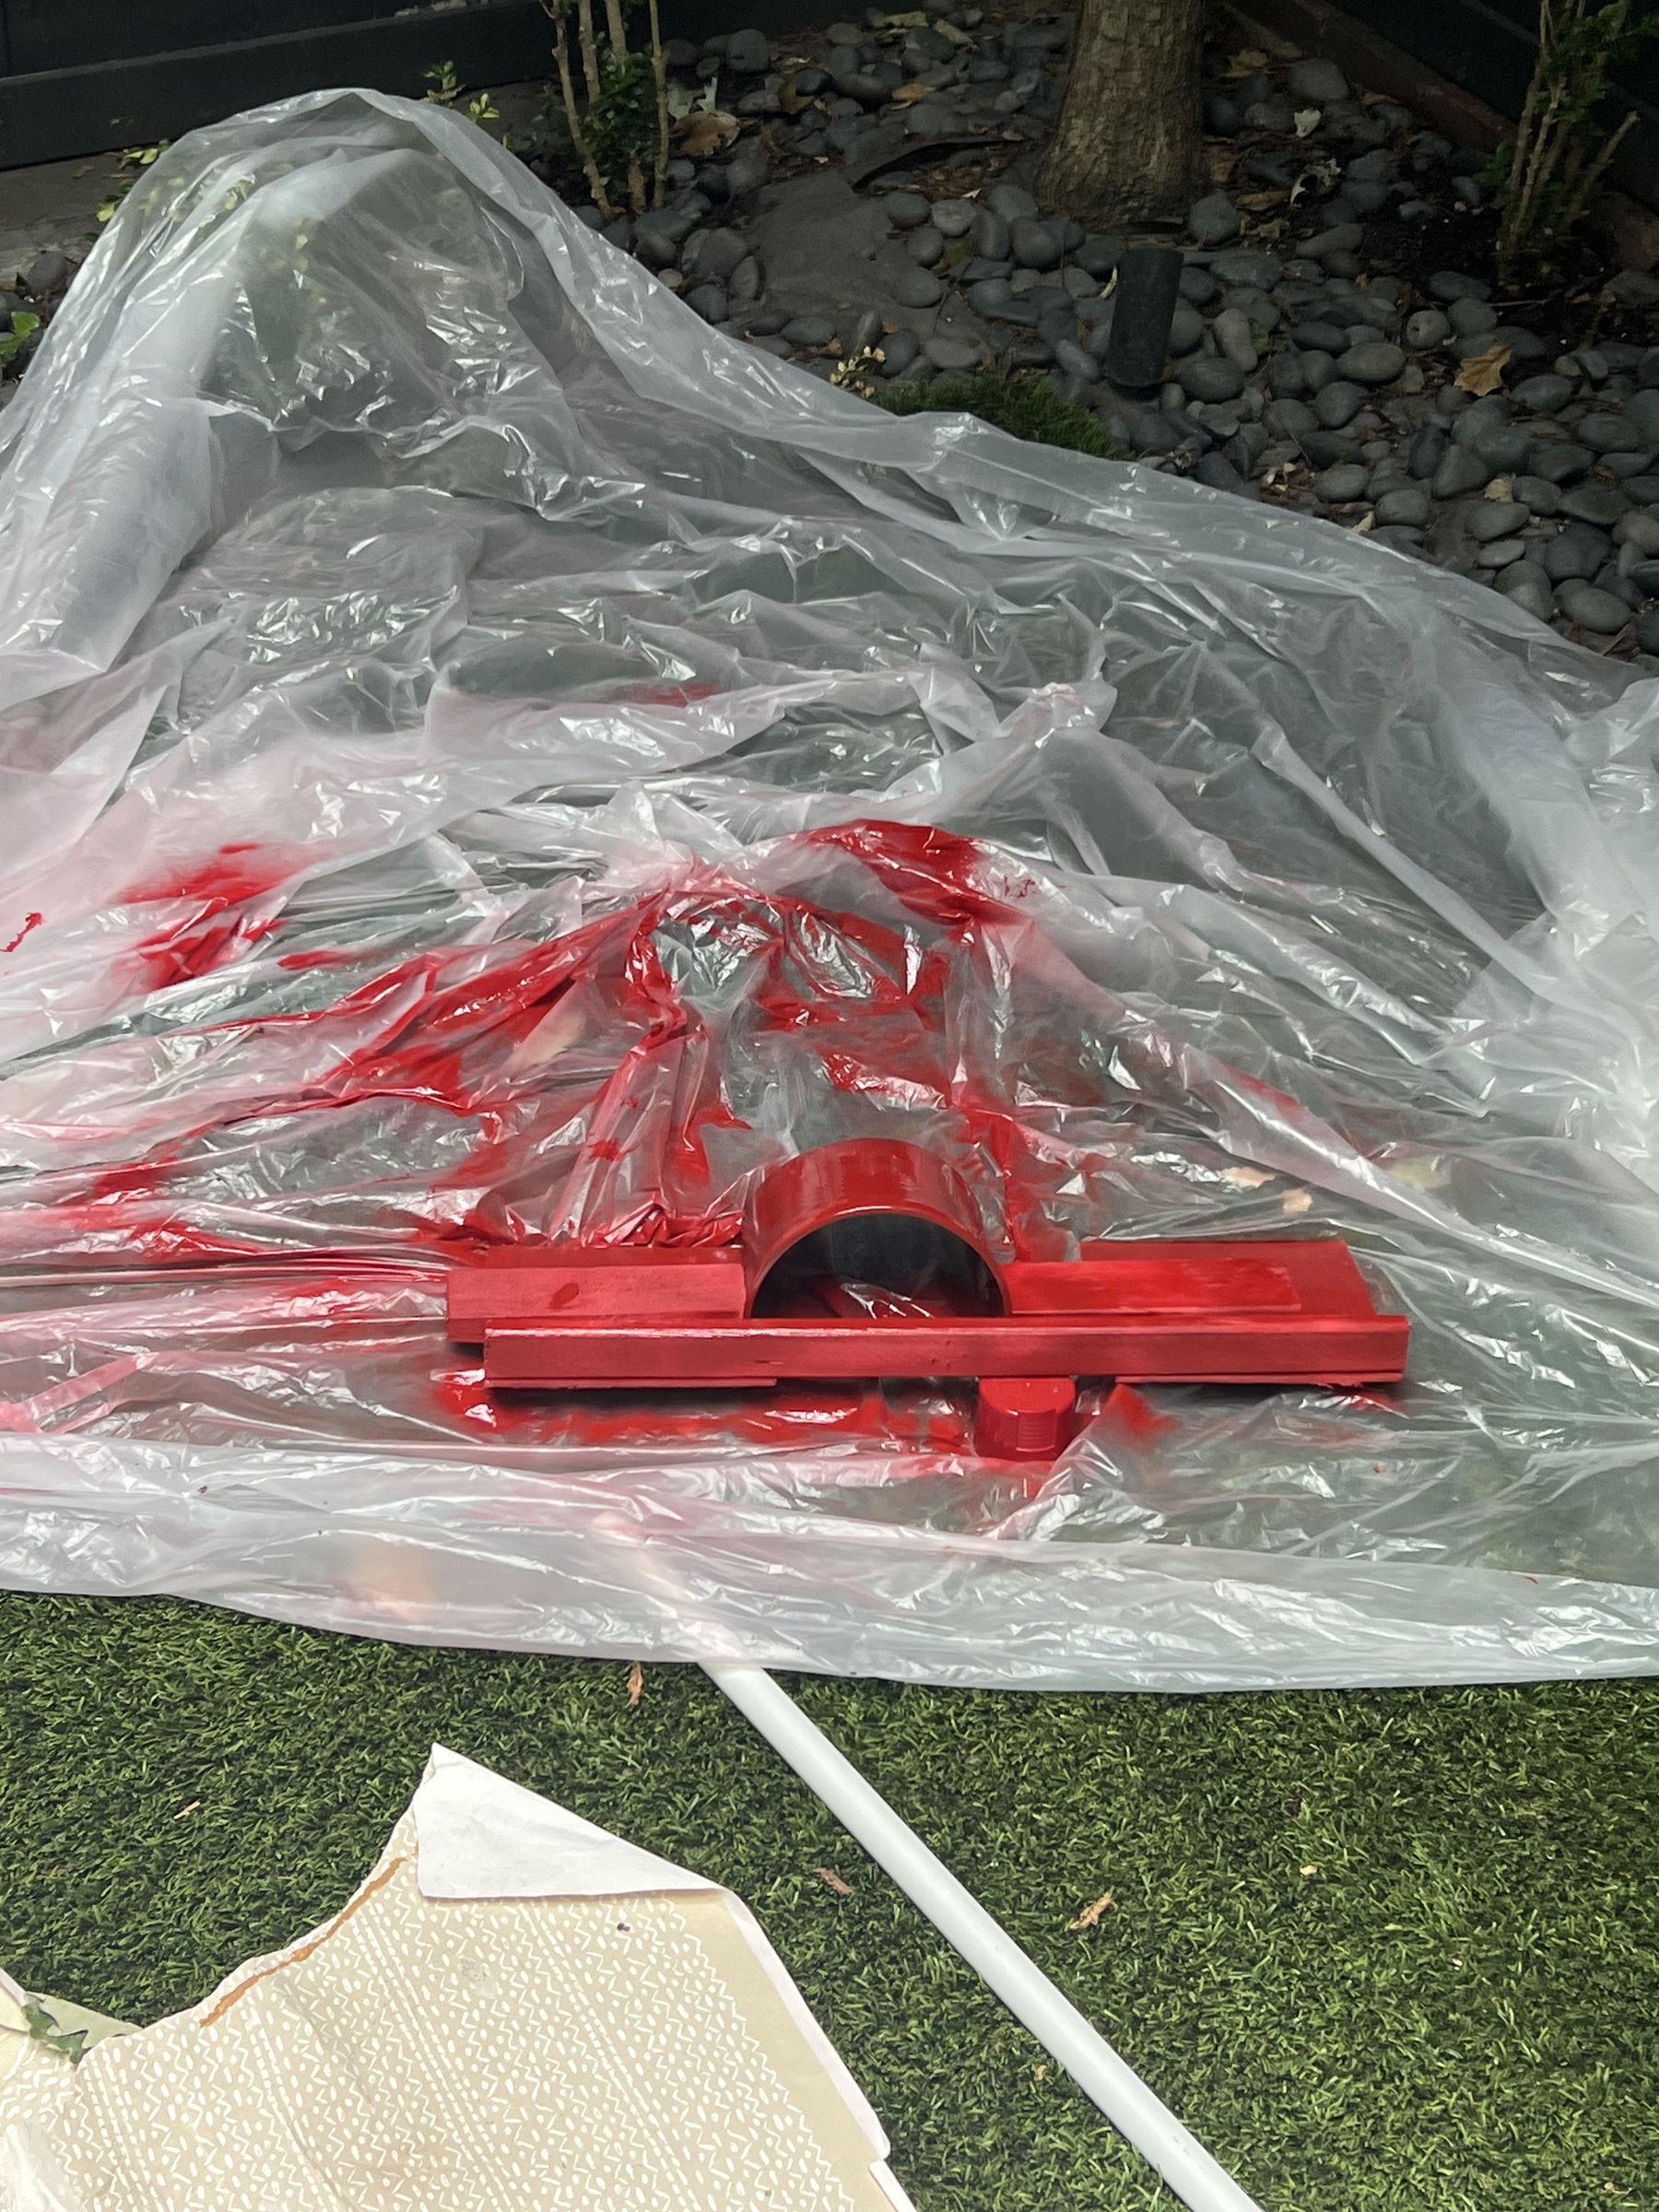
We weatherproofed our obstacles with red weatherproofing spray paint, which had the added benefit of making them look cooler. We laid out everything but the base of the spinning obstacle and sprayed with red spray paint, as shown in the photos. We did this over a plastic tarp to avoid turning the rest of the yard red.
Configure
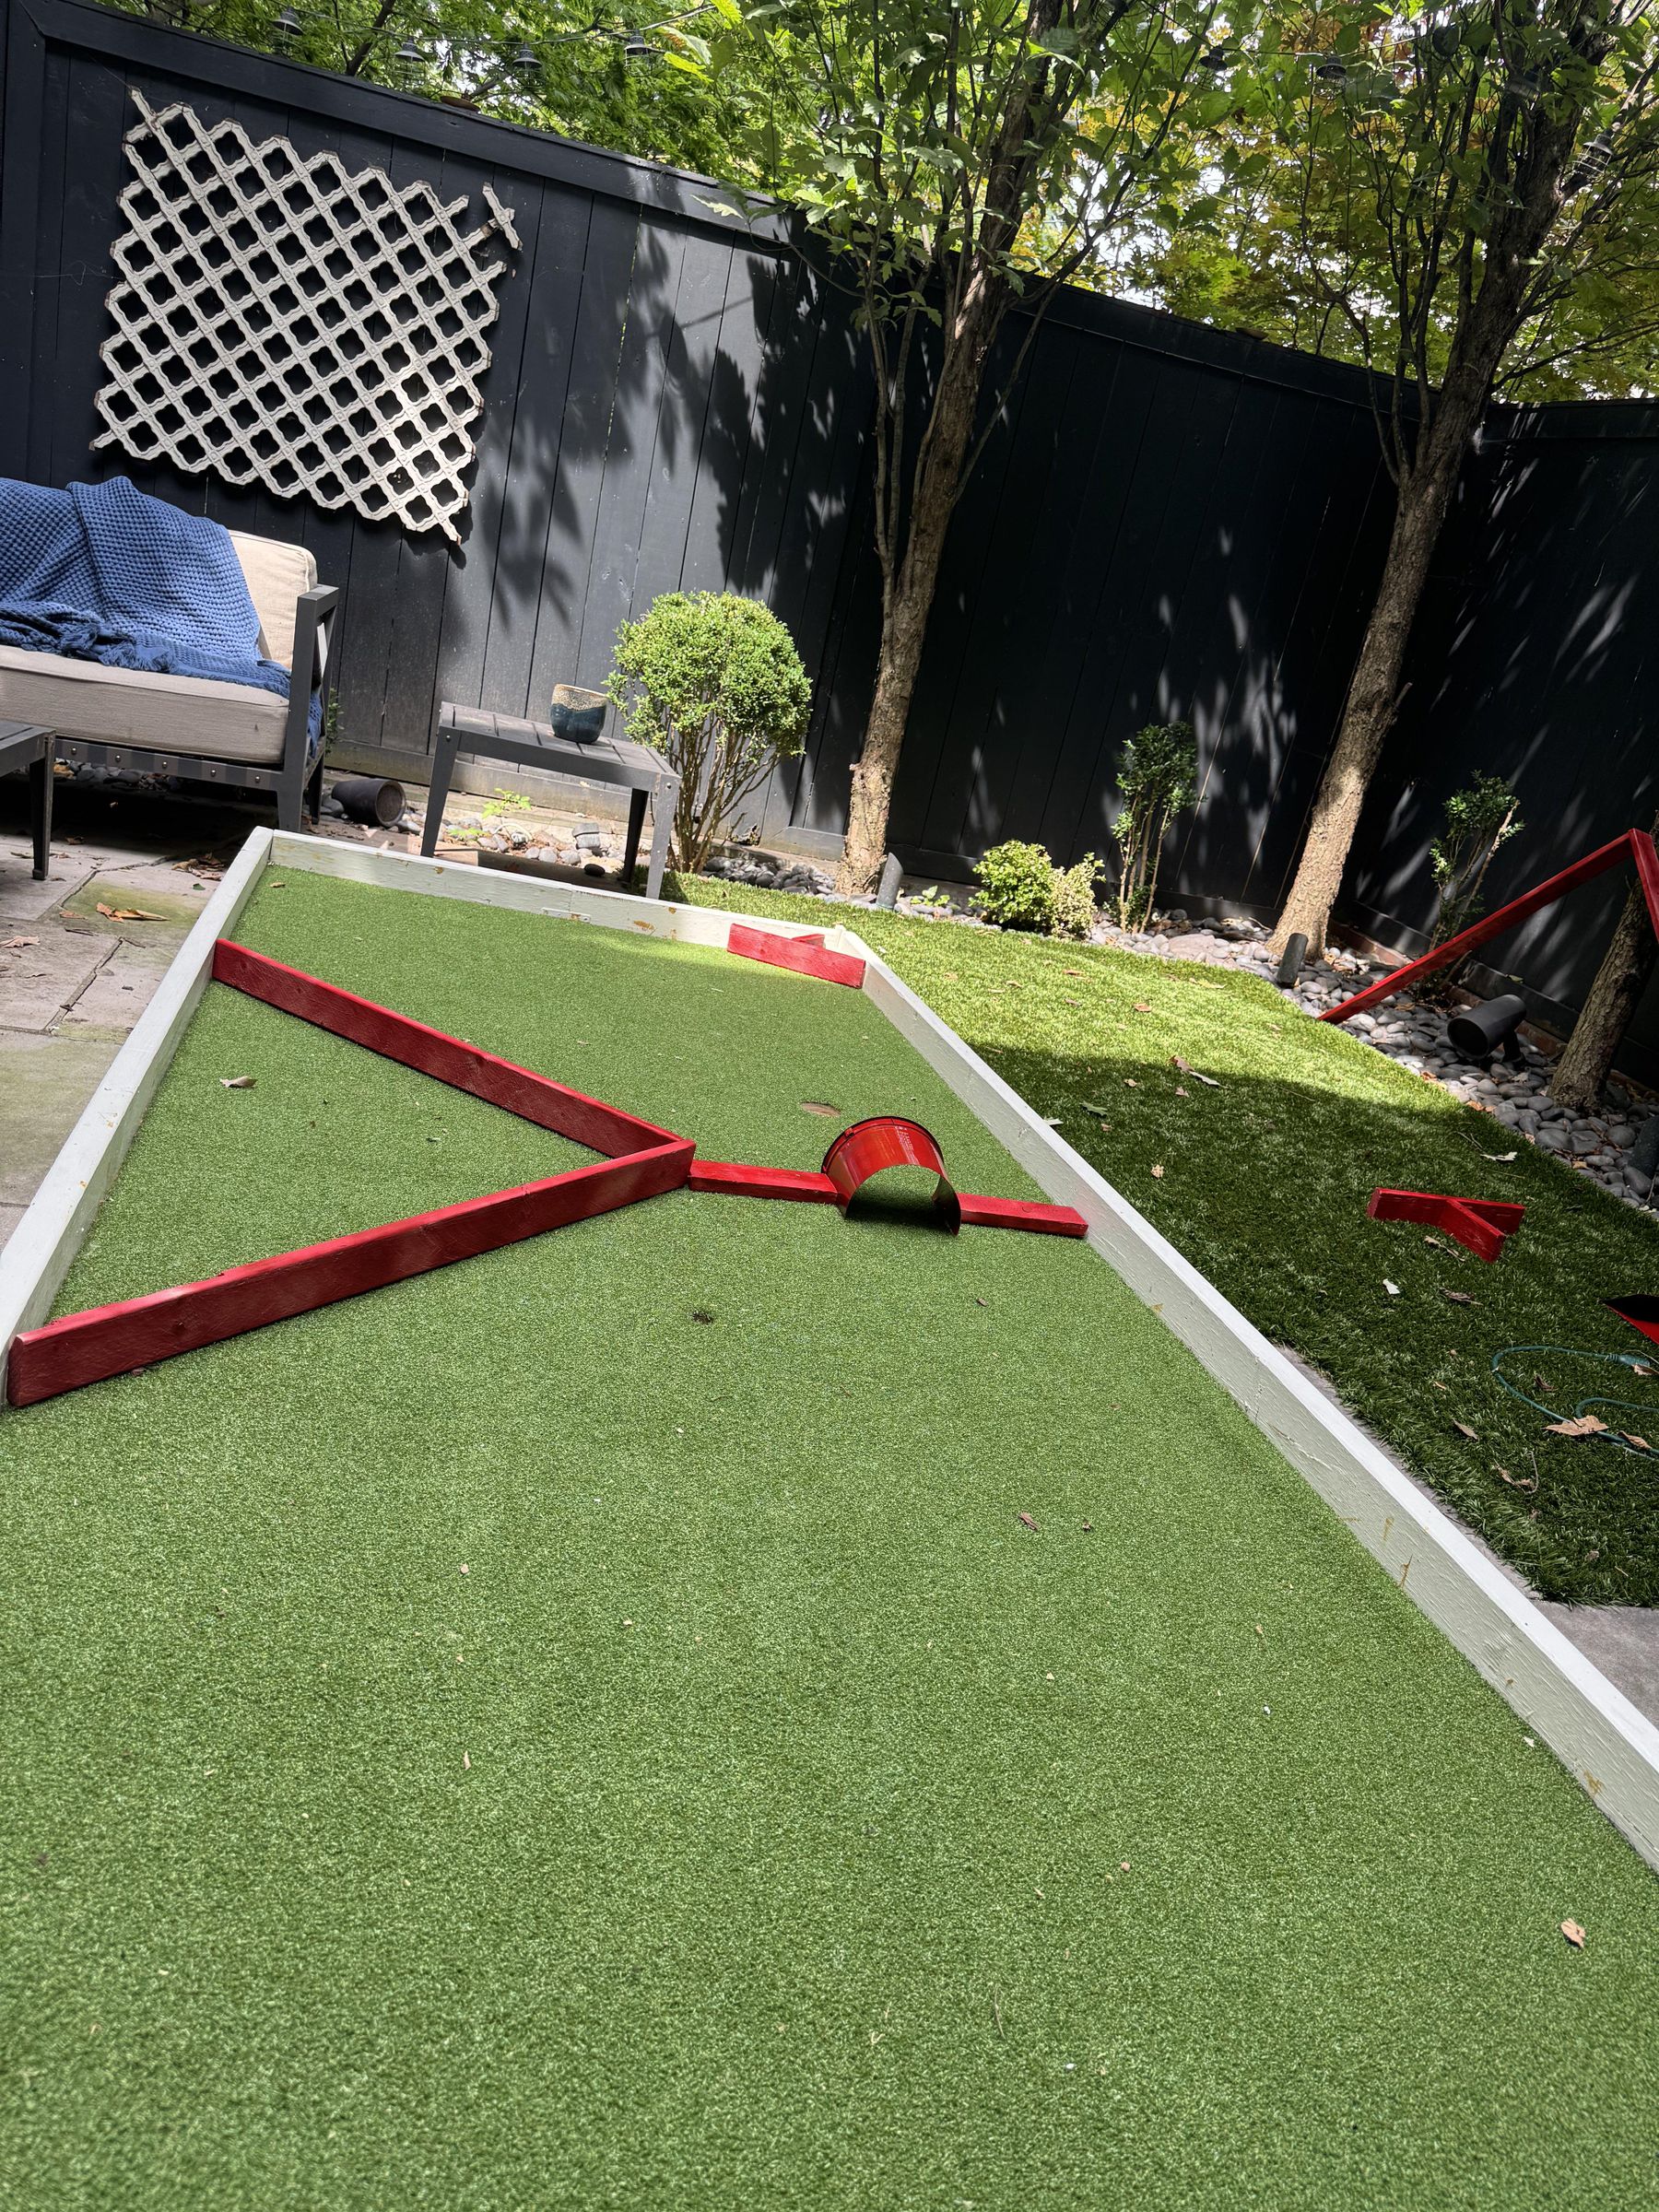
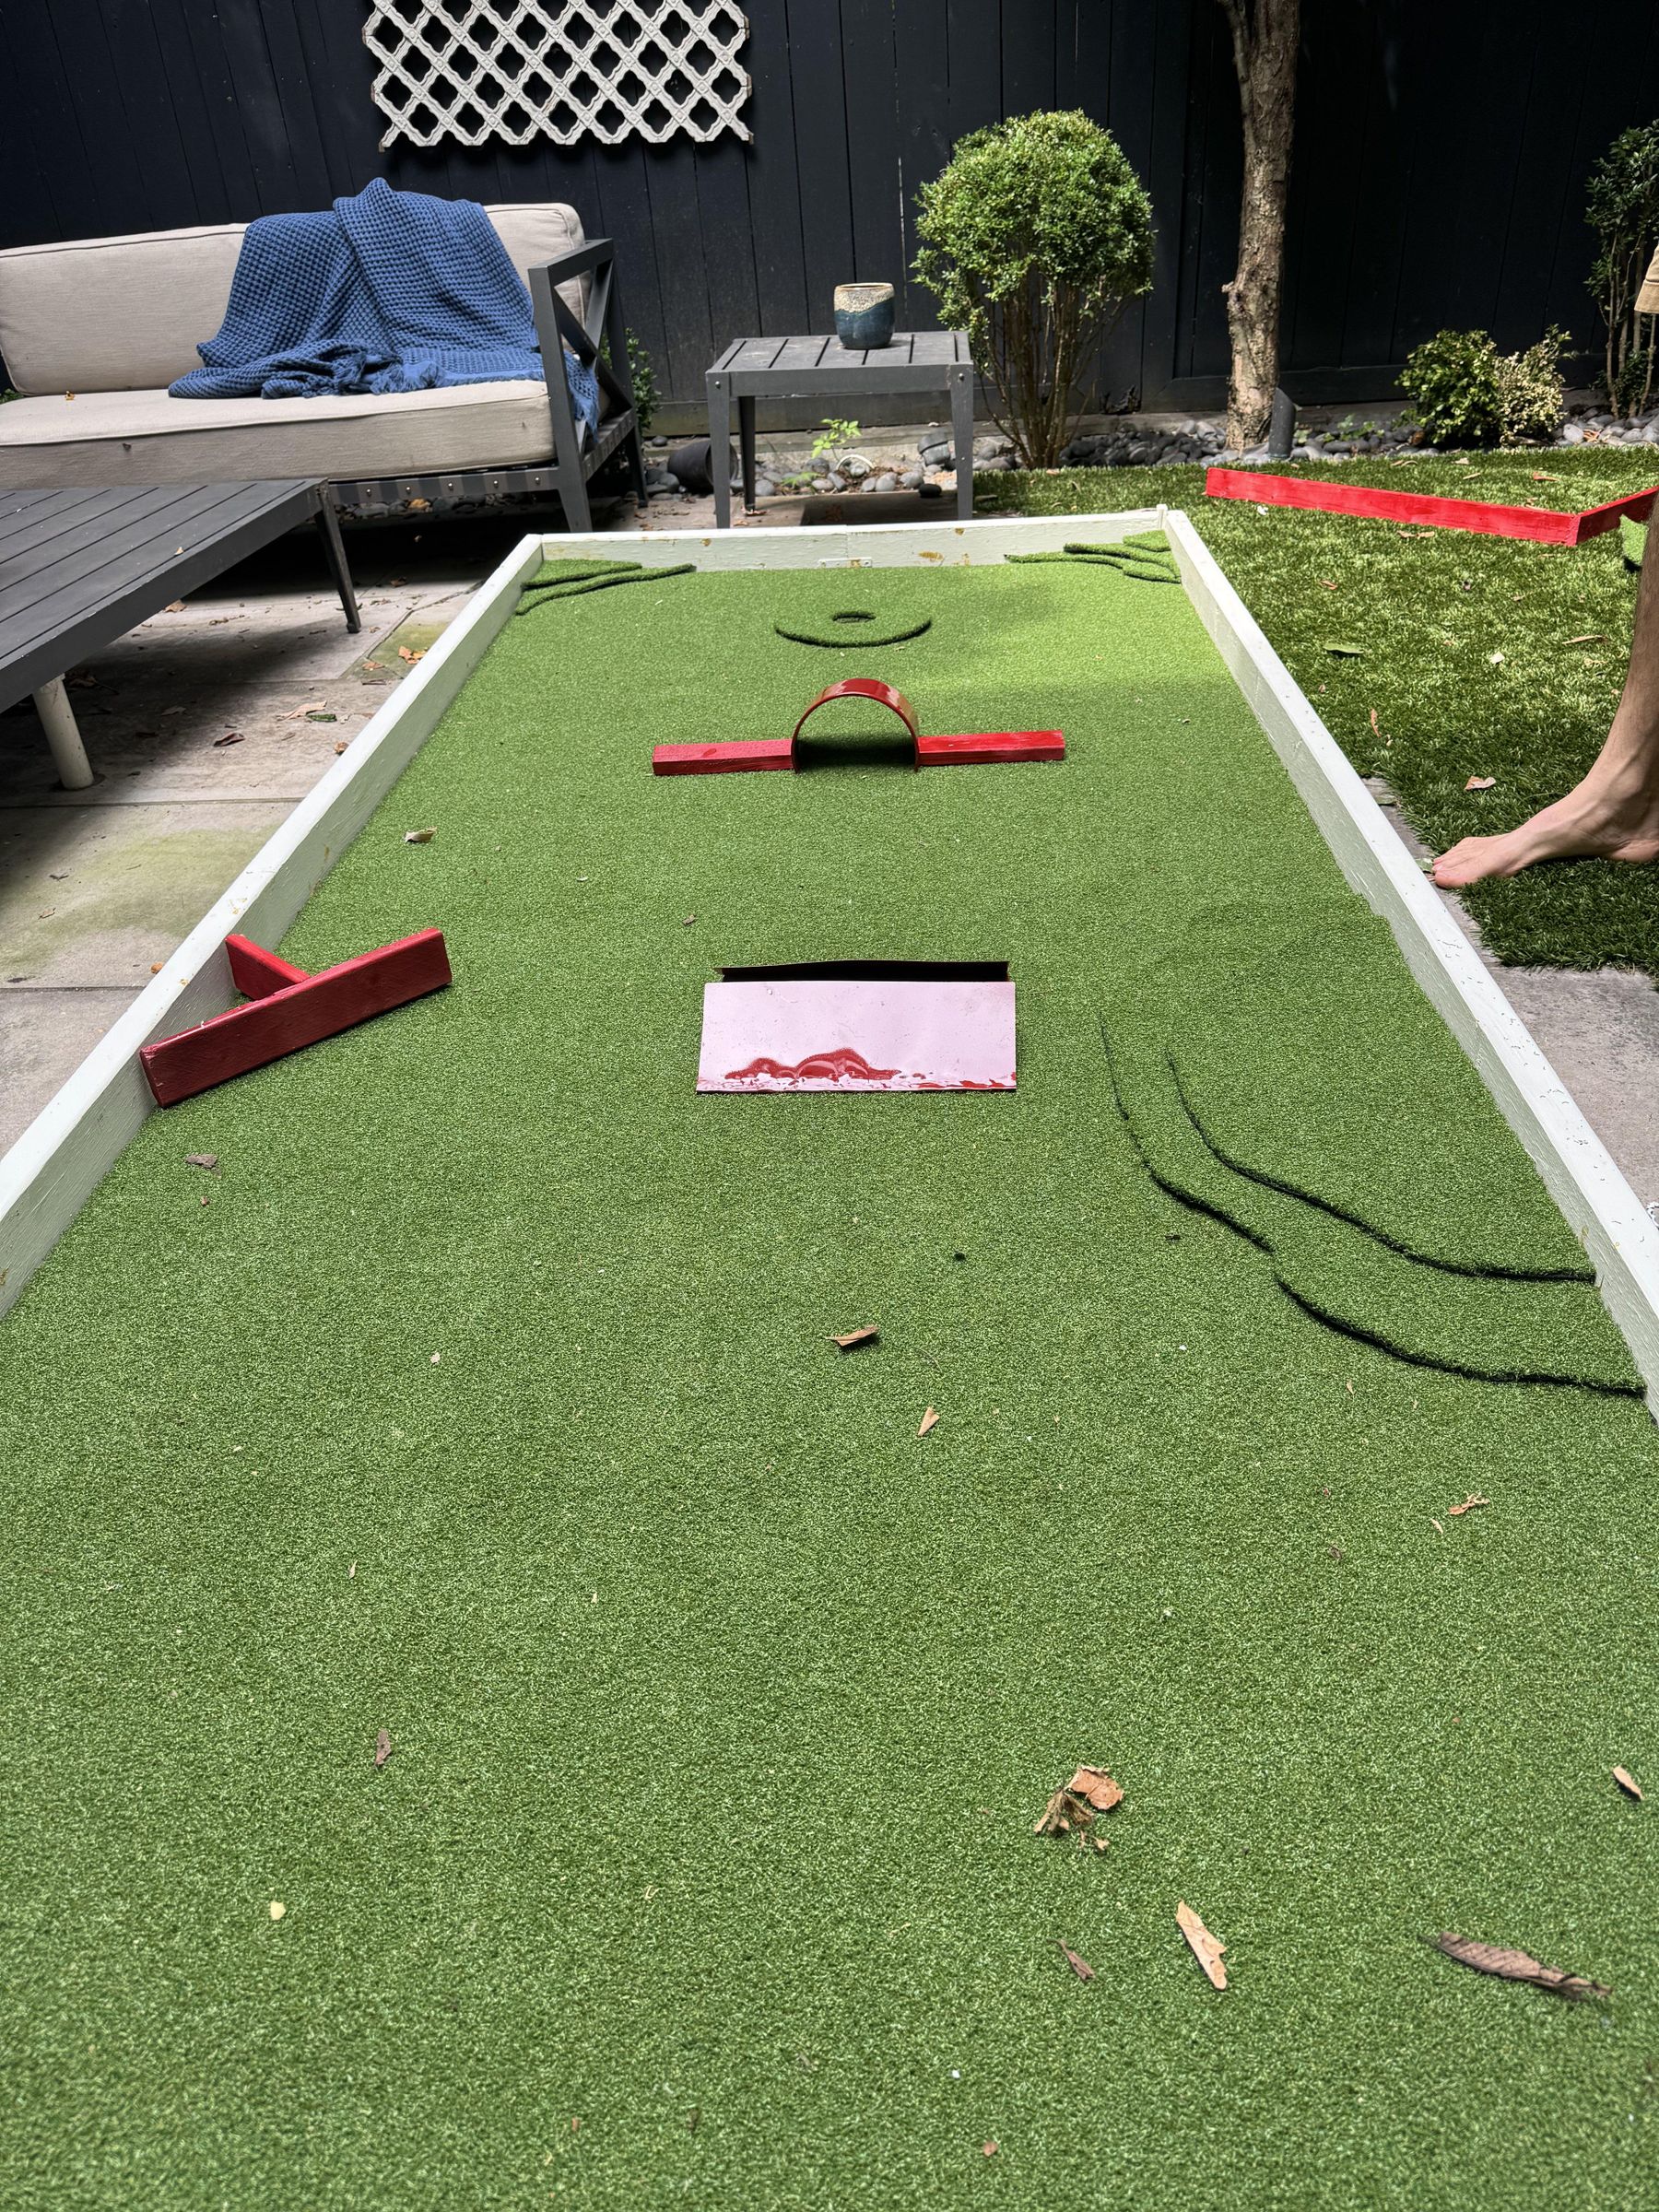
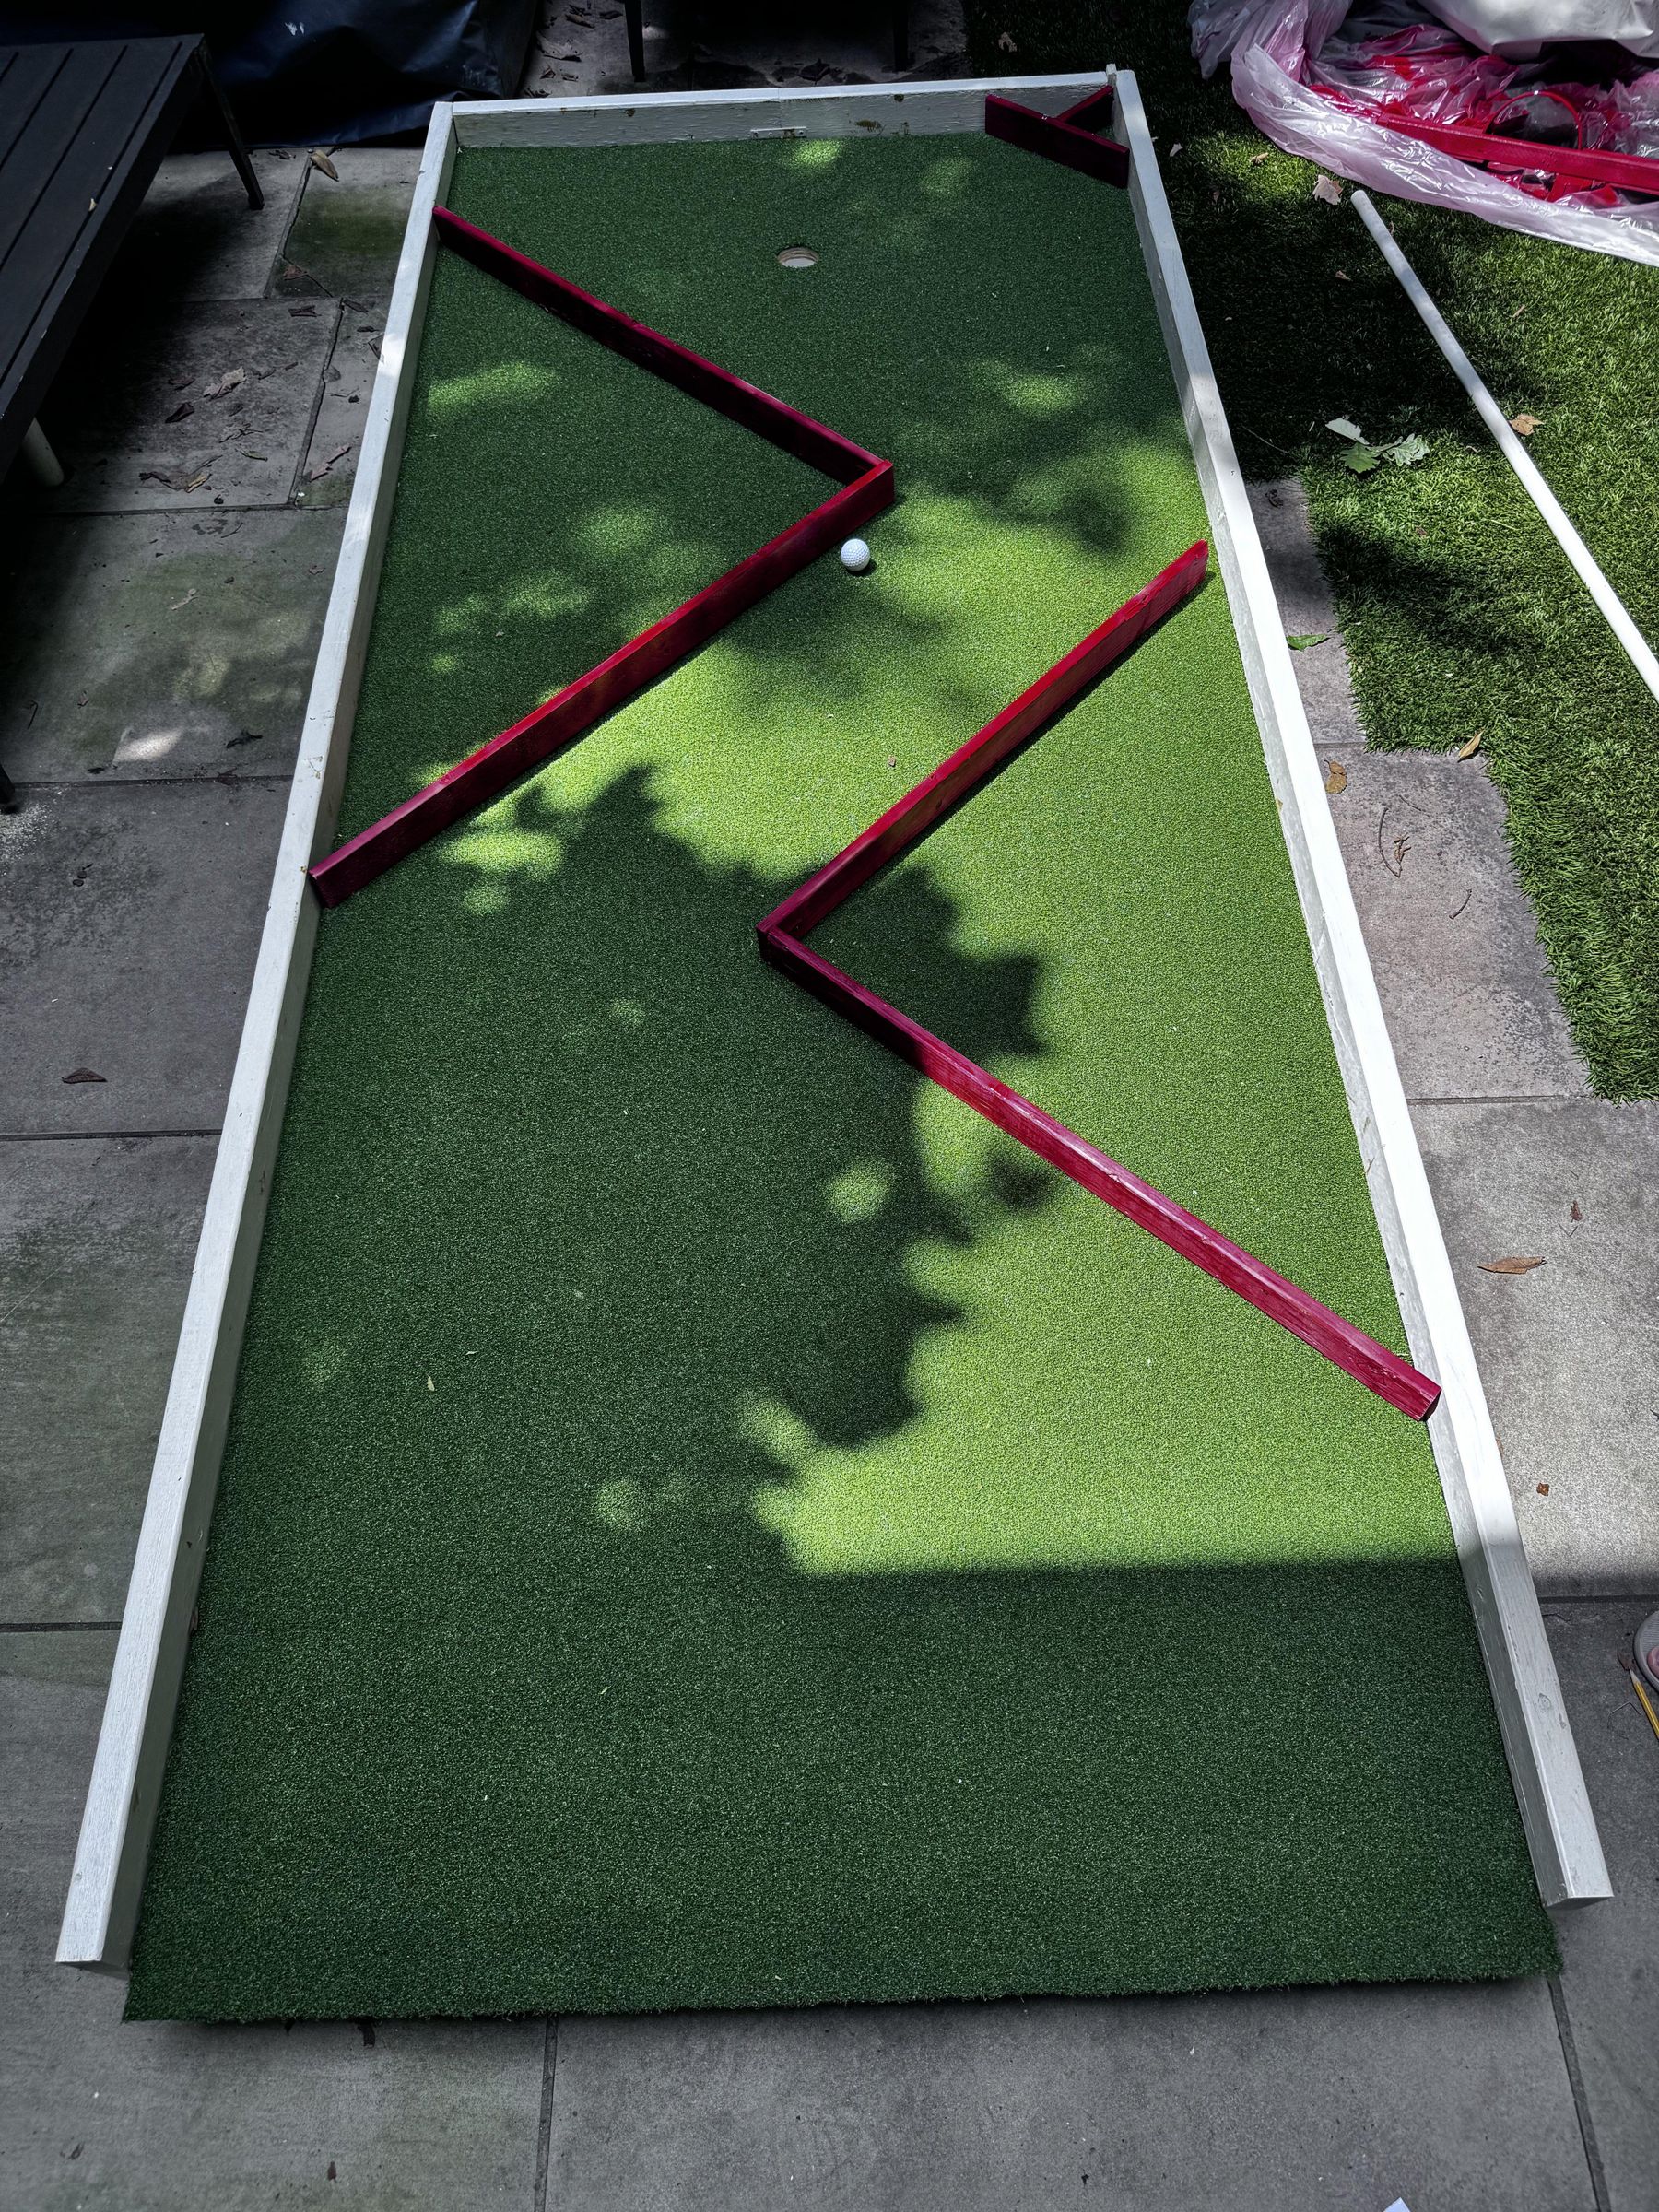
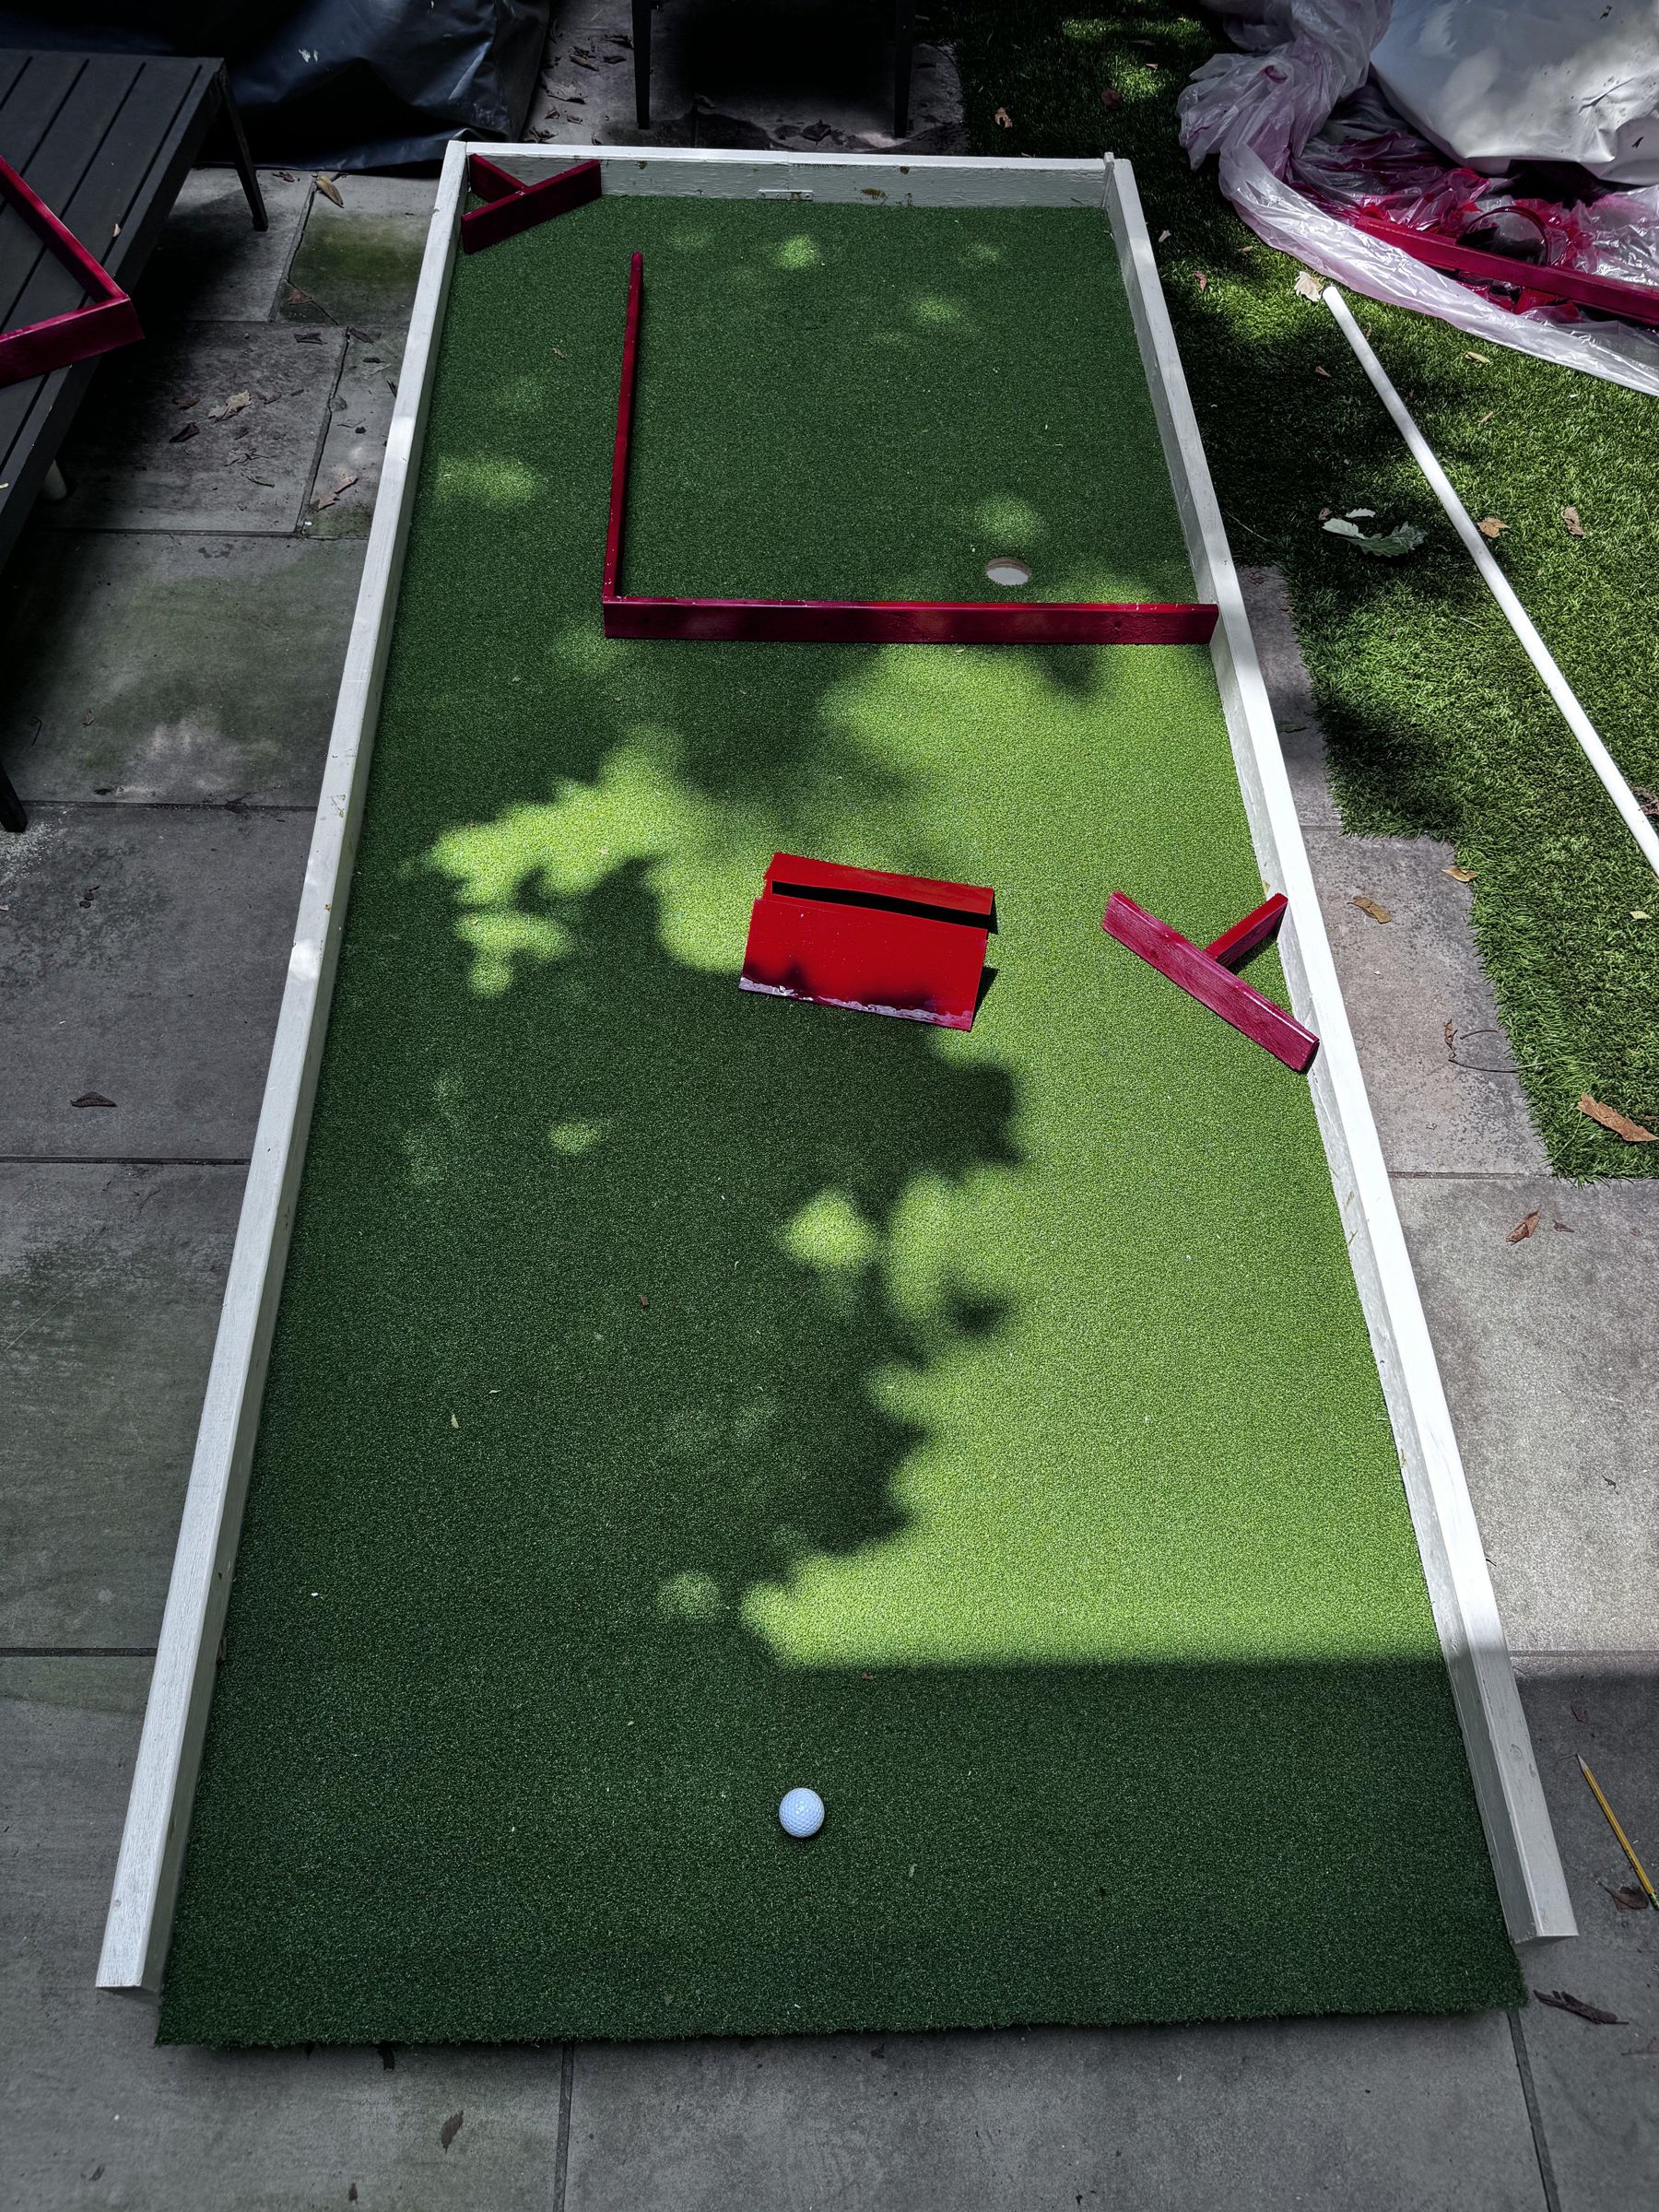
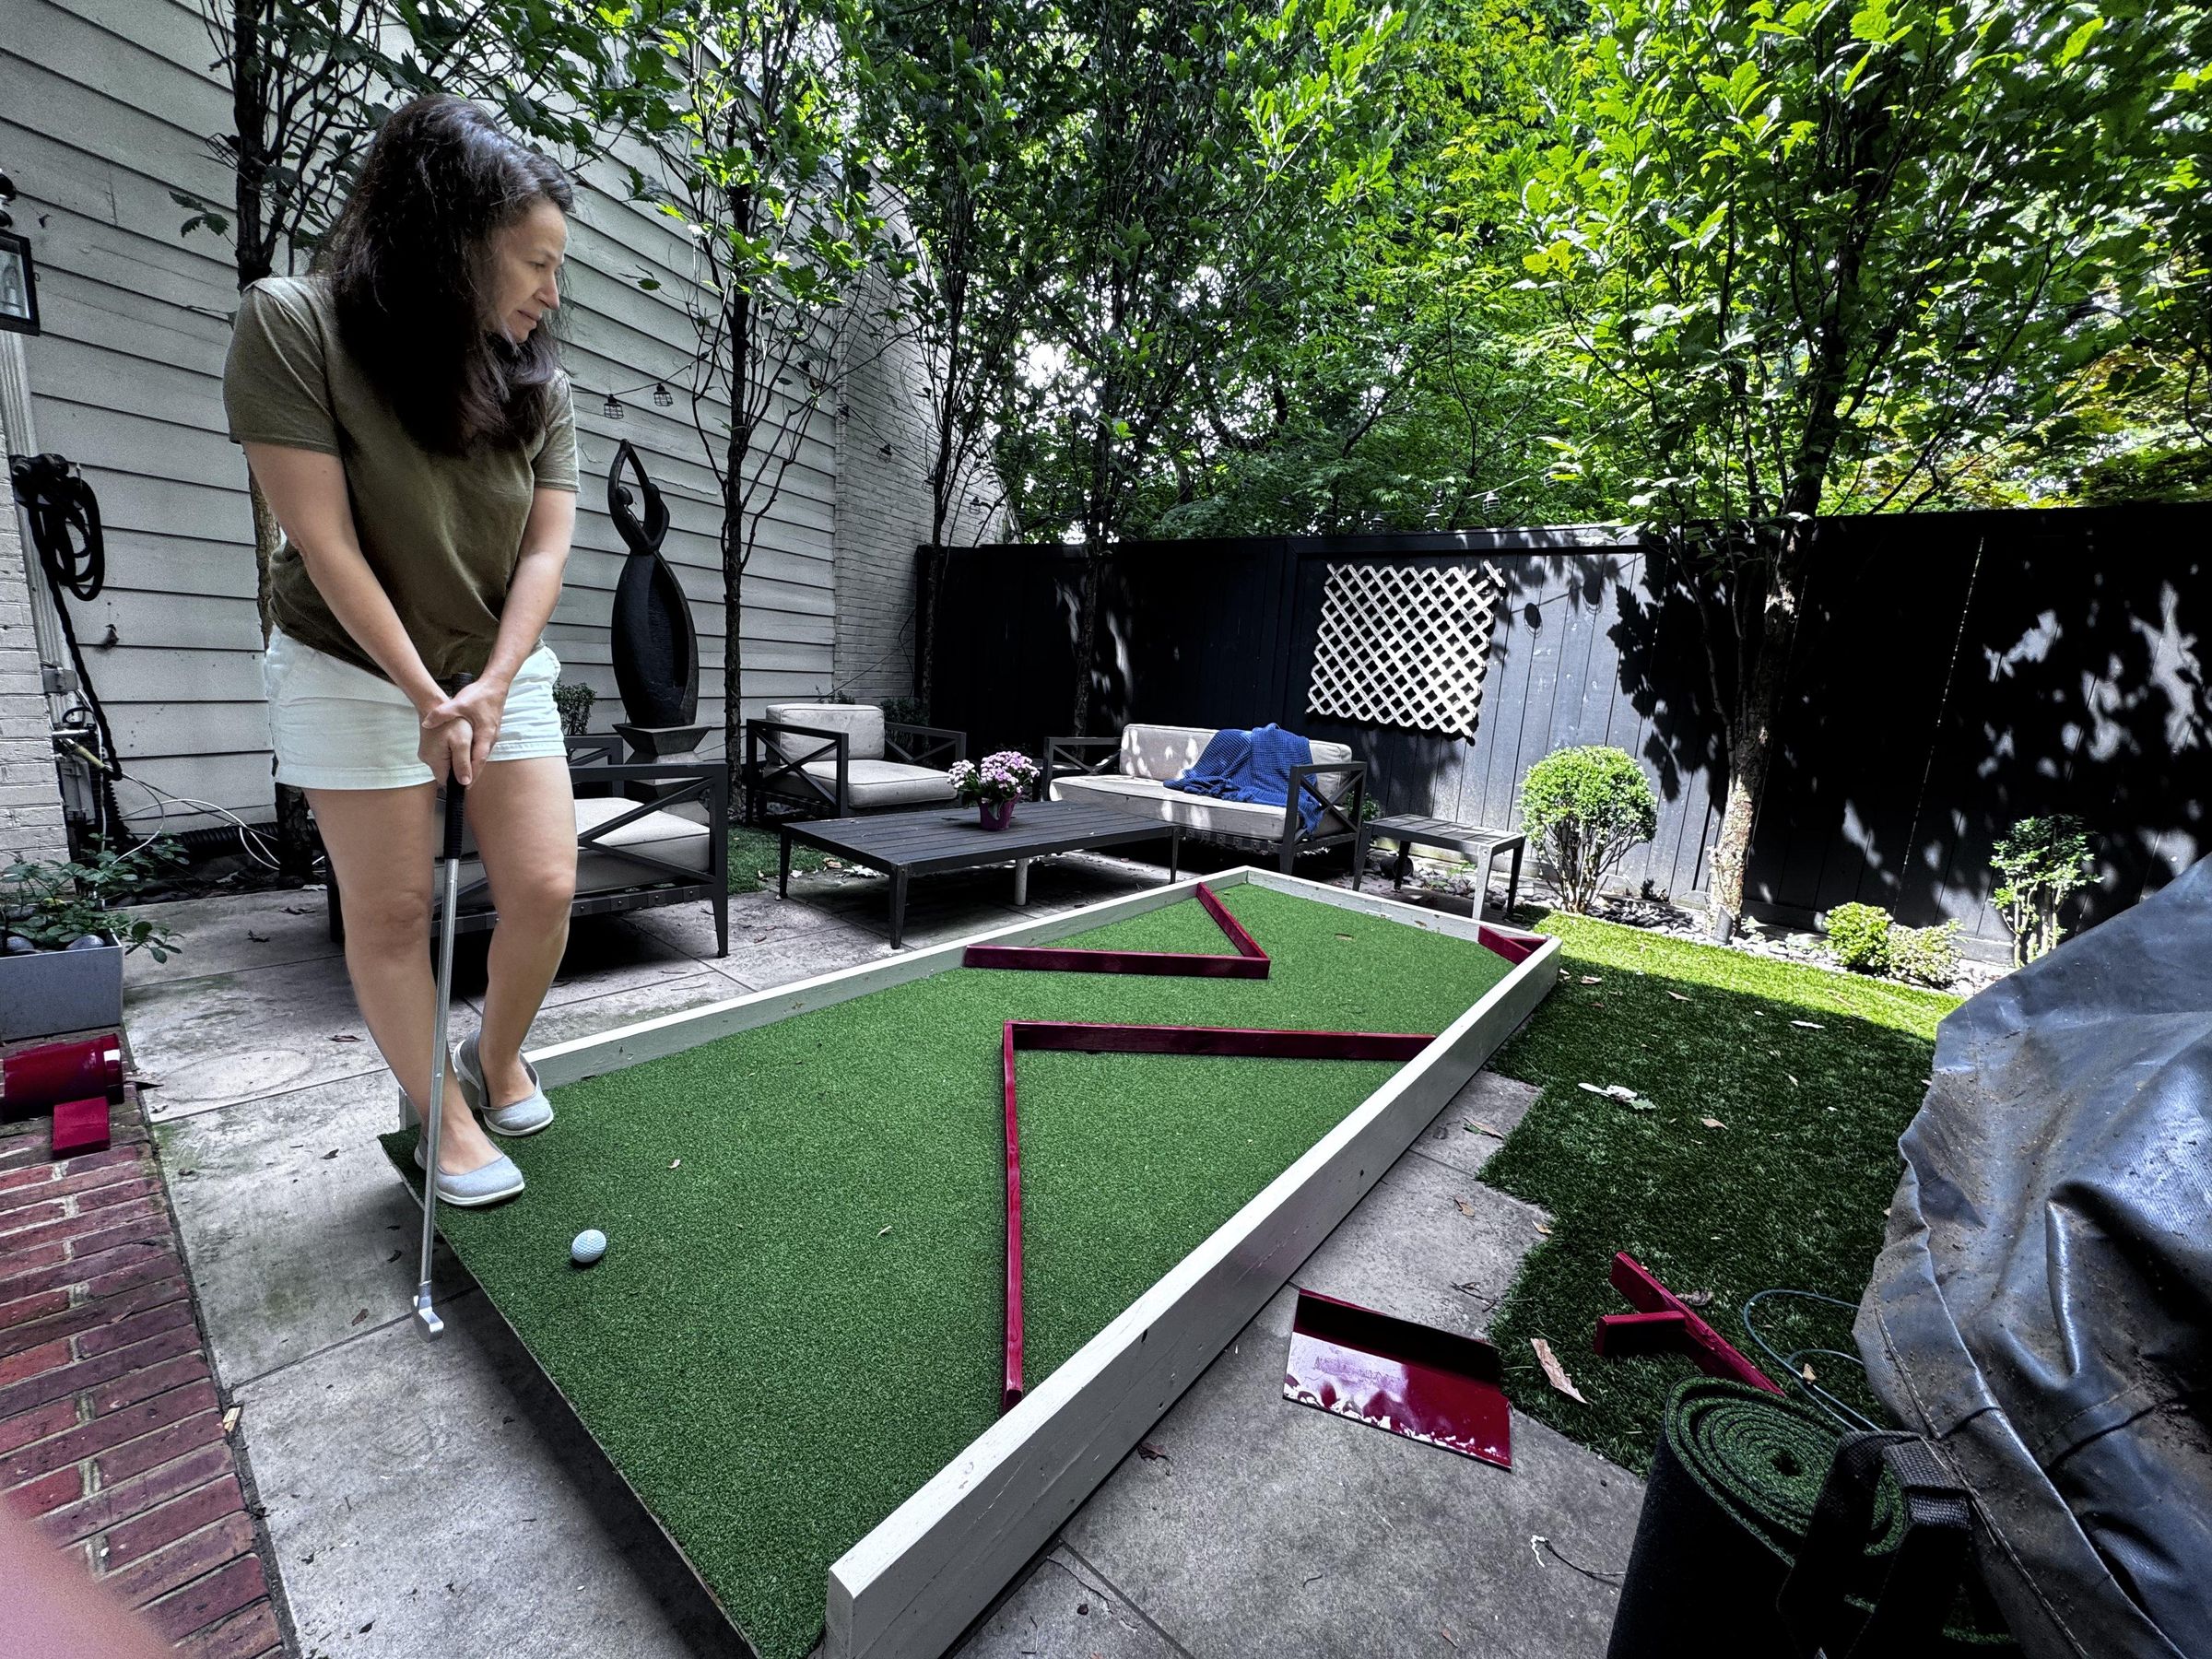
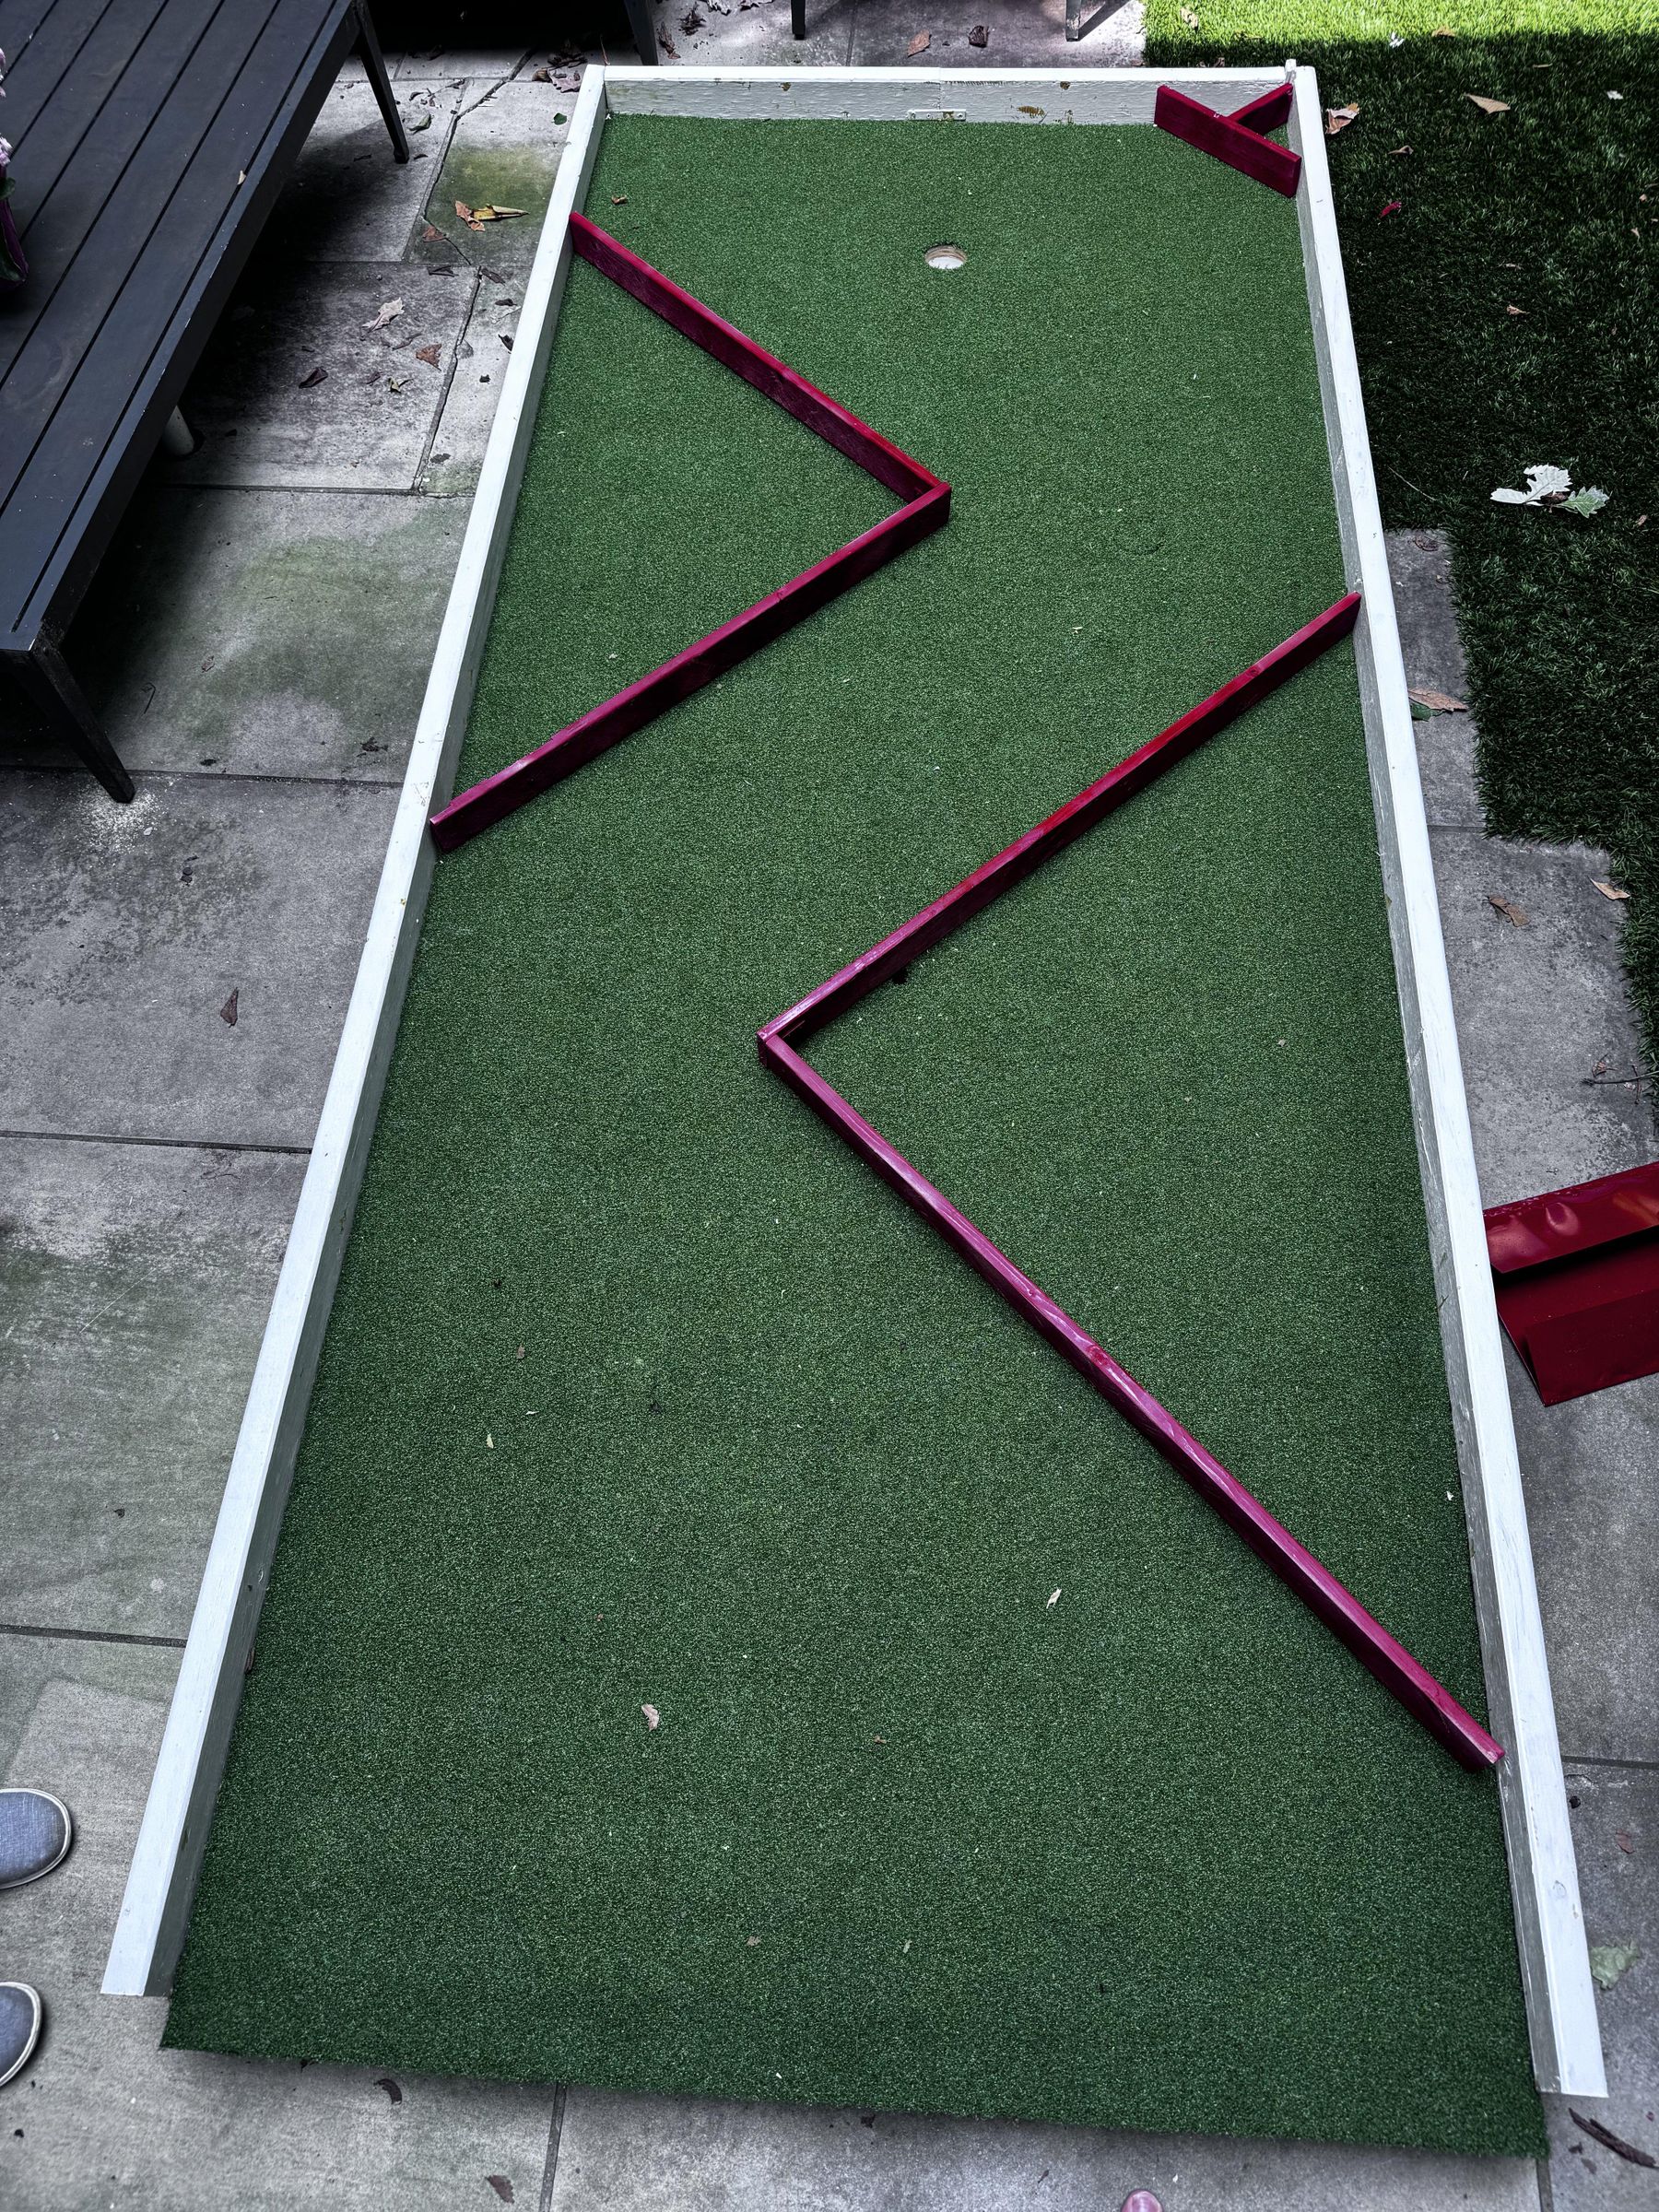
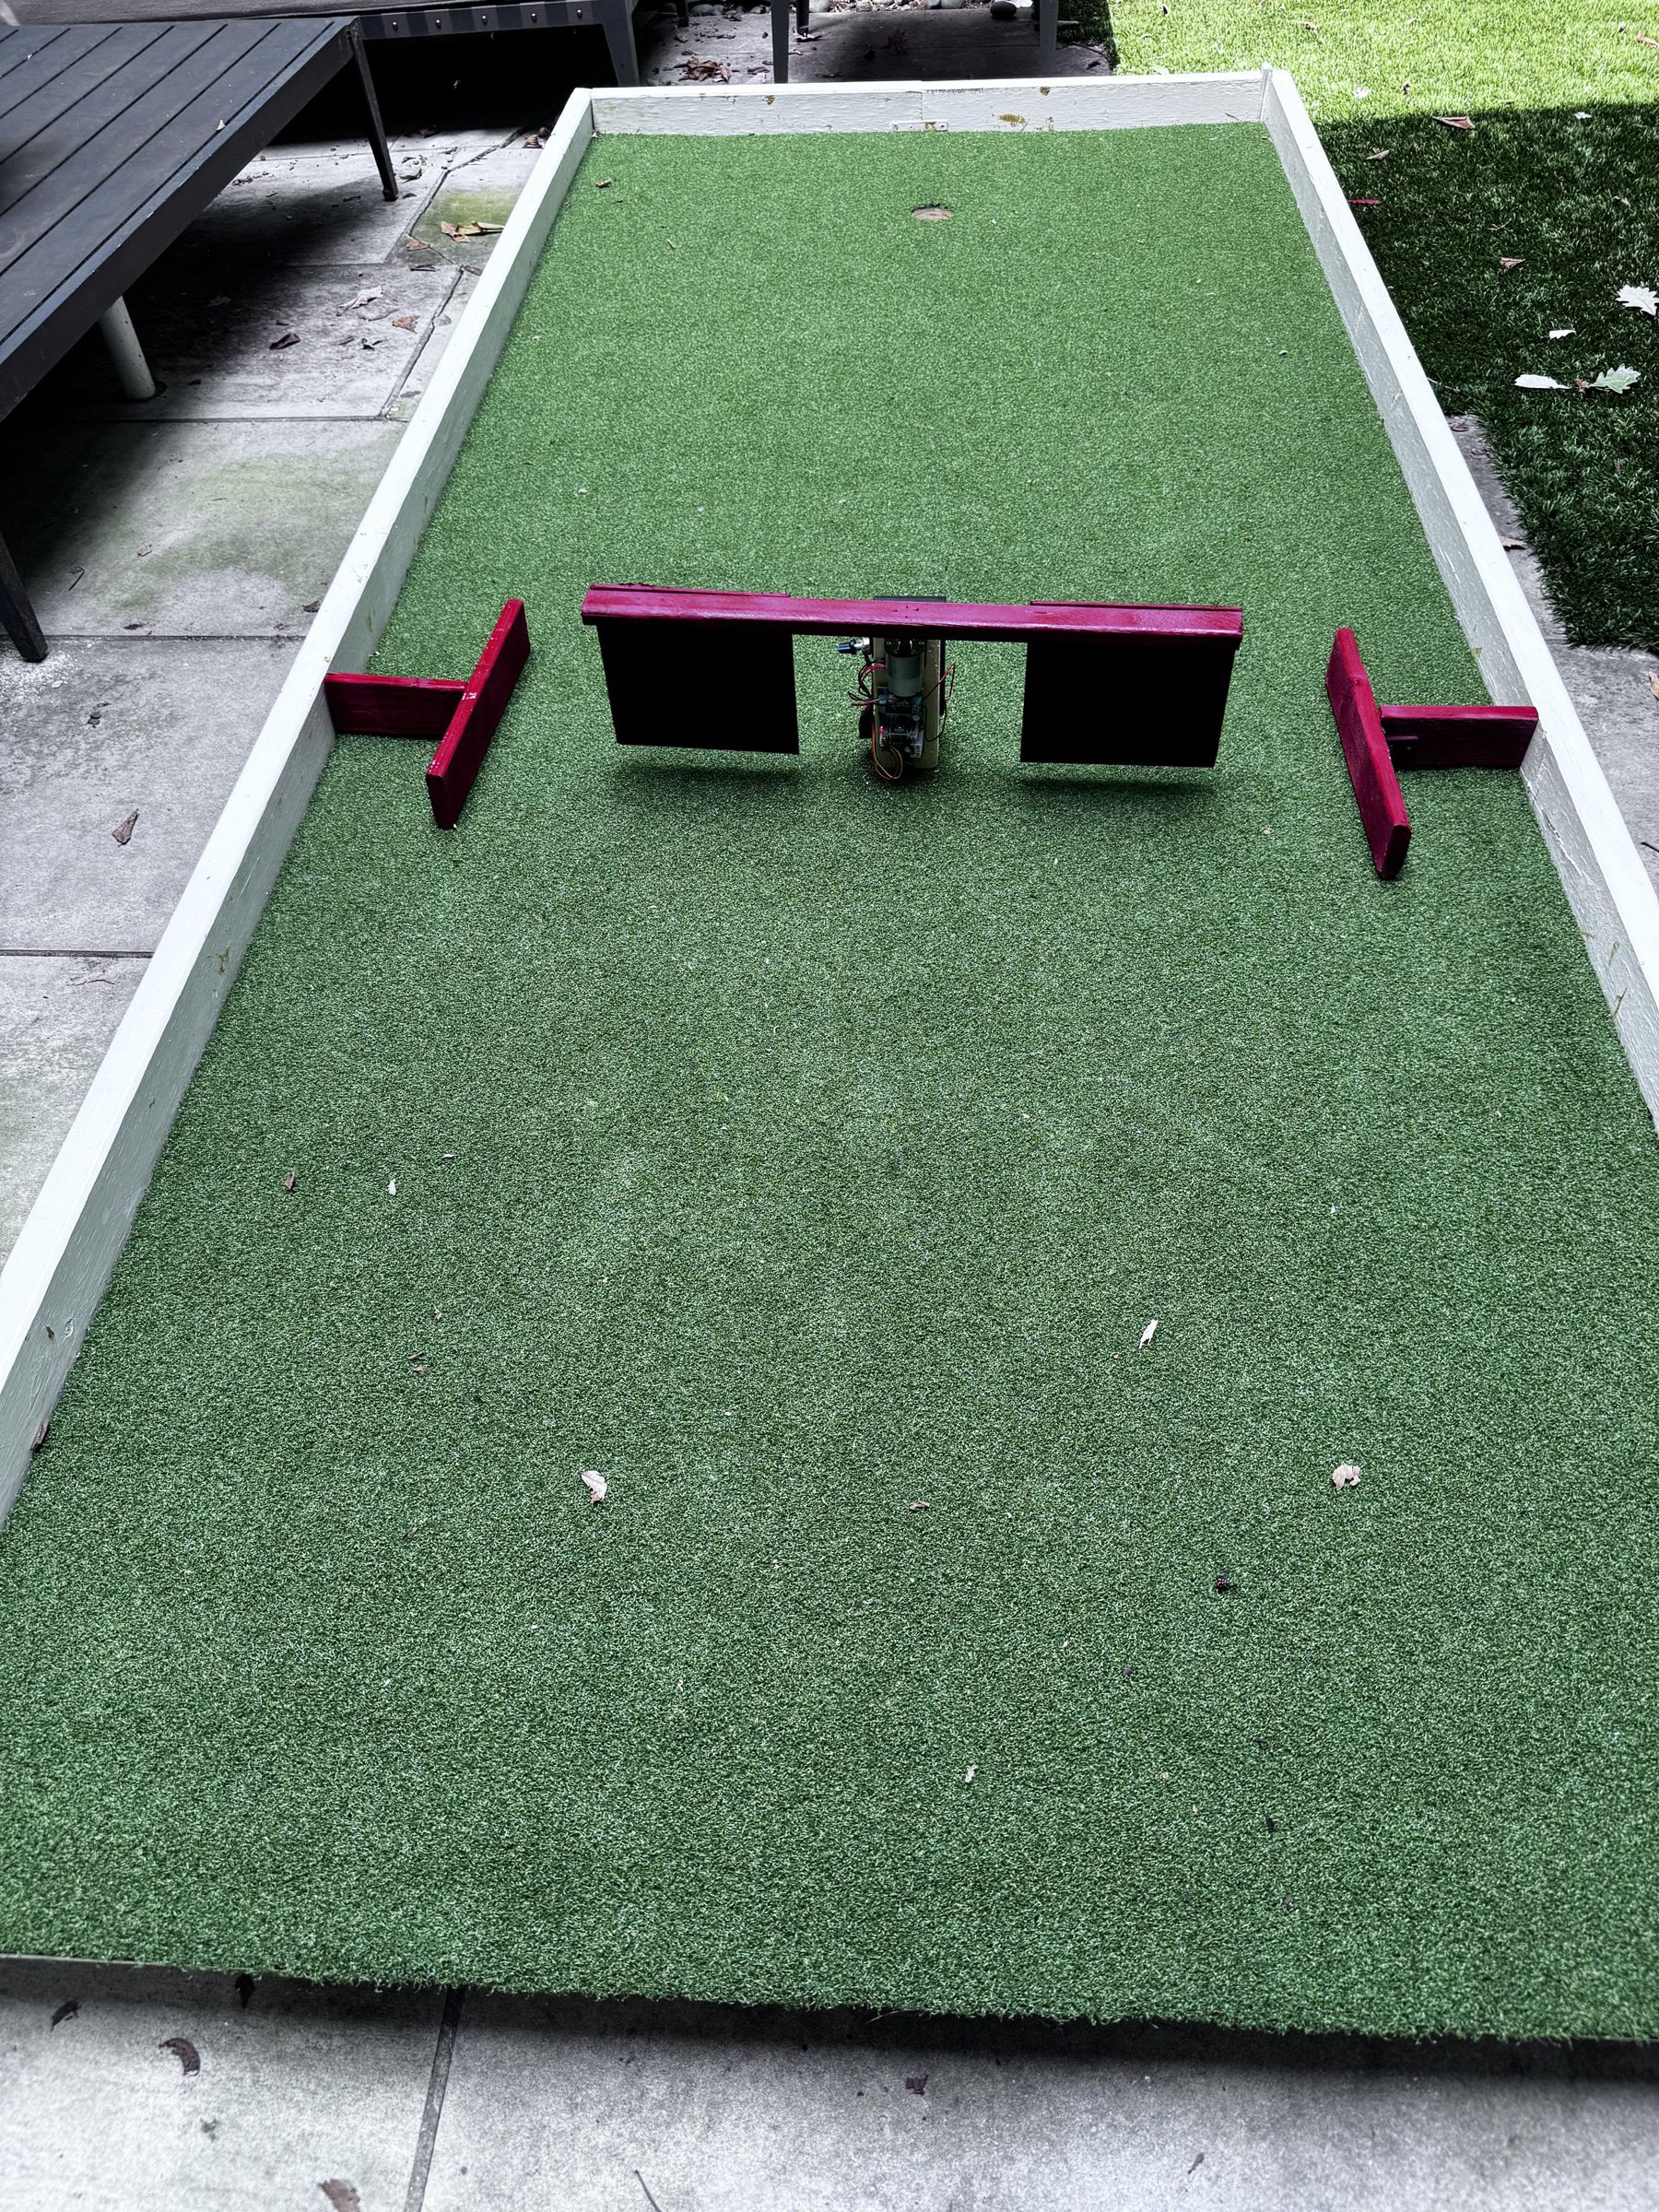
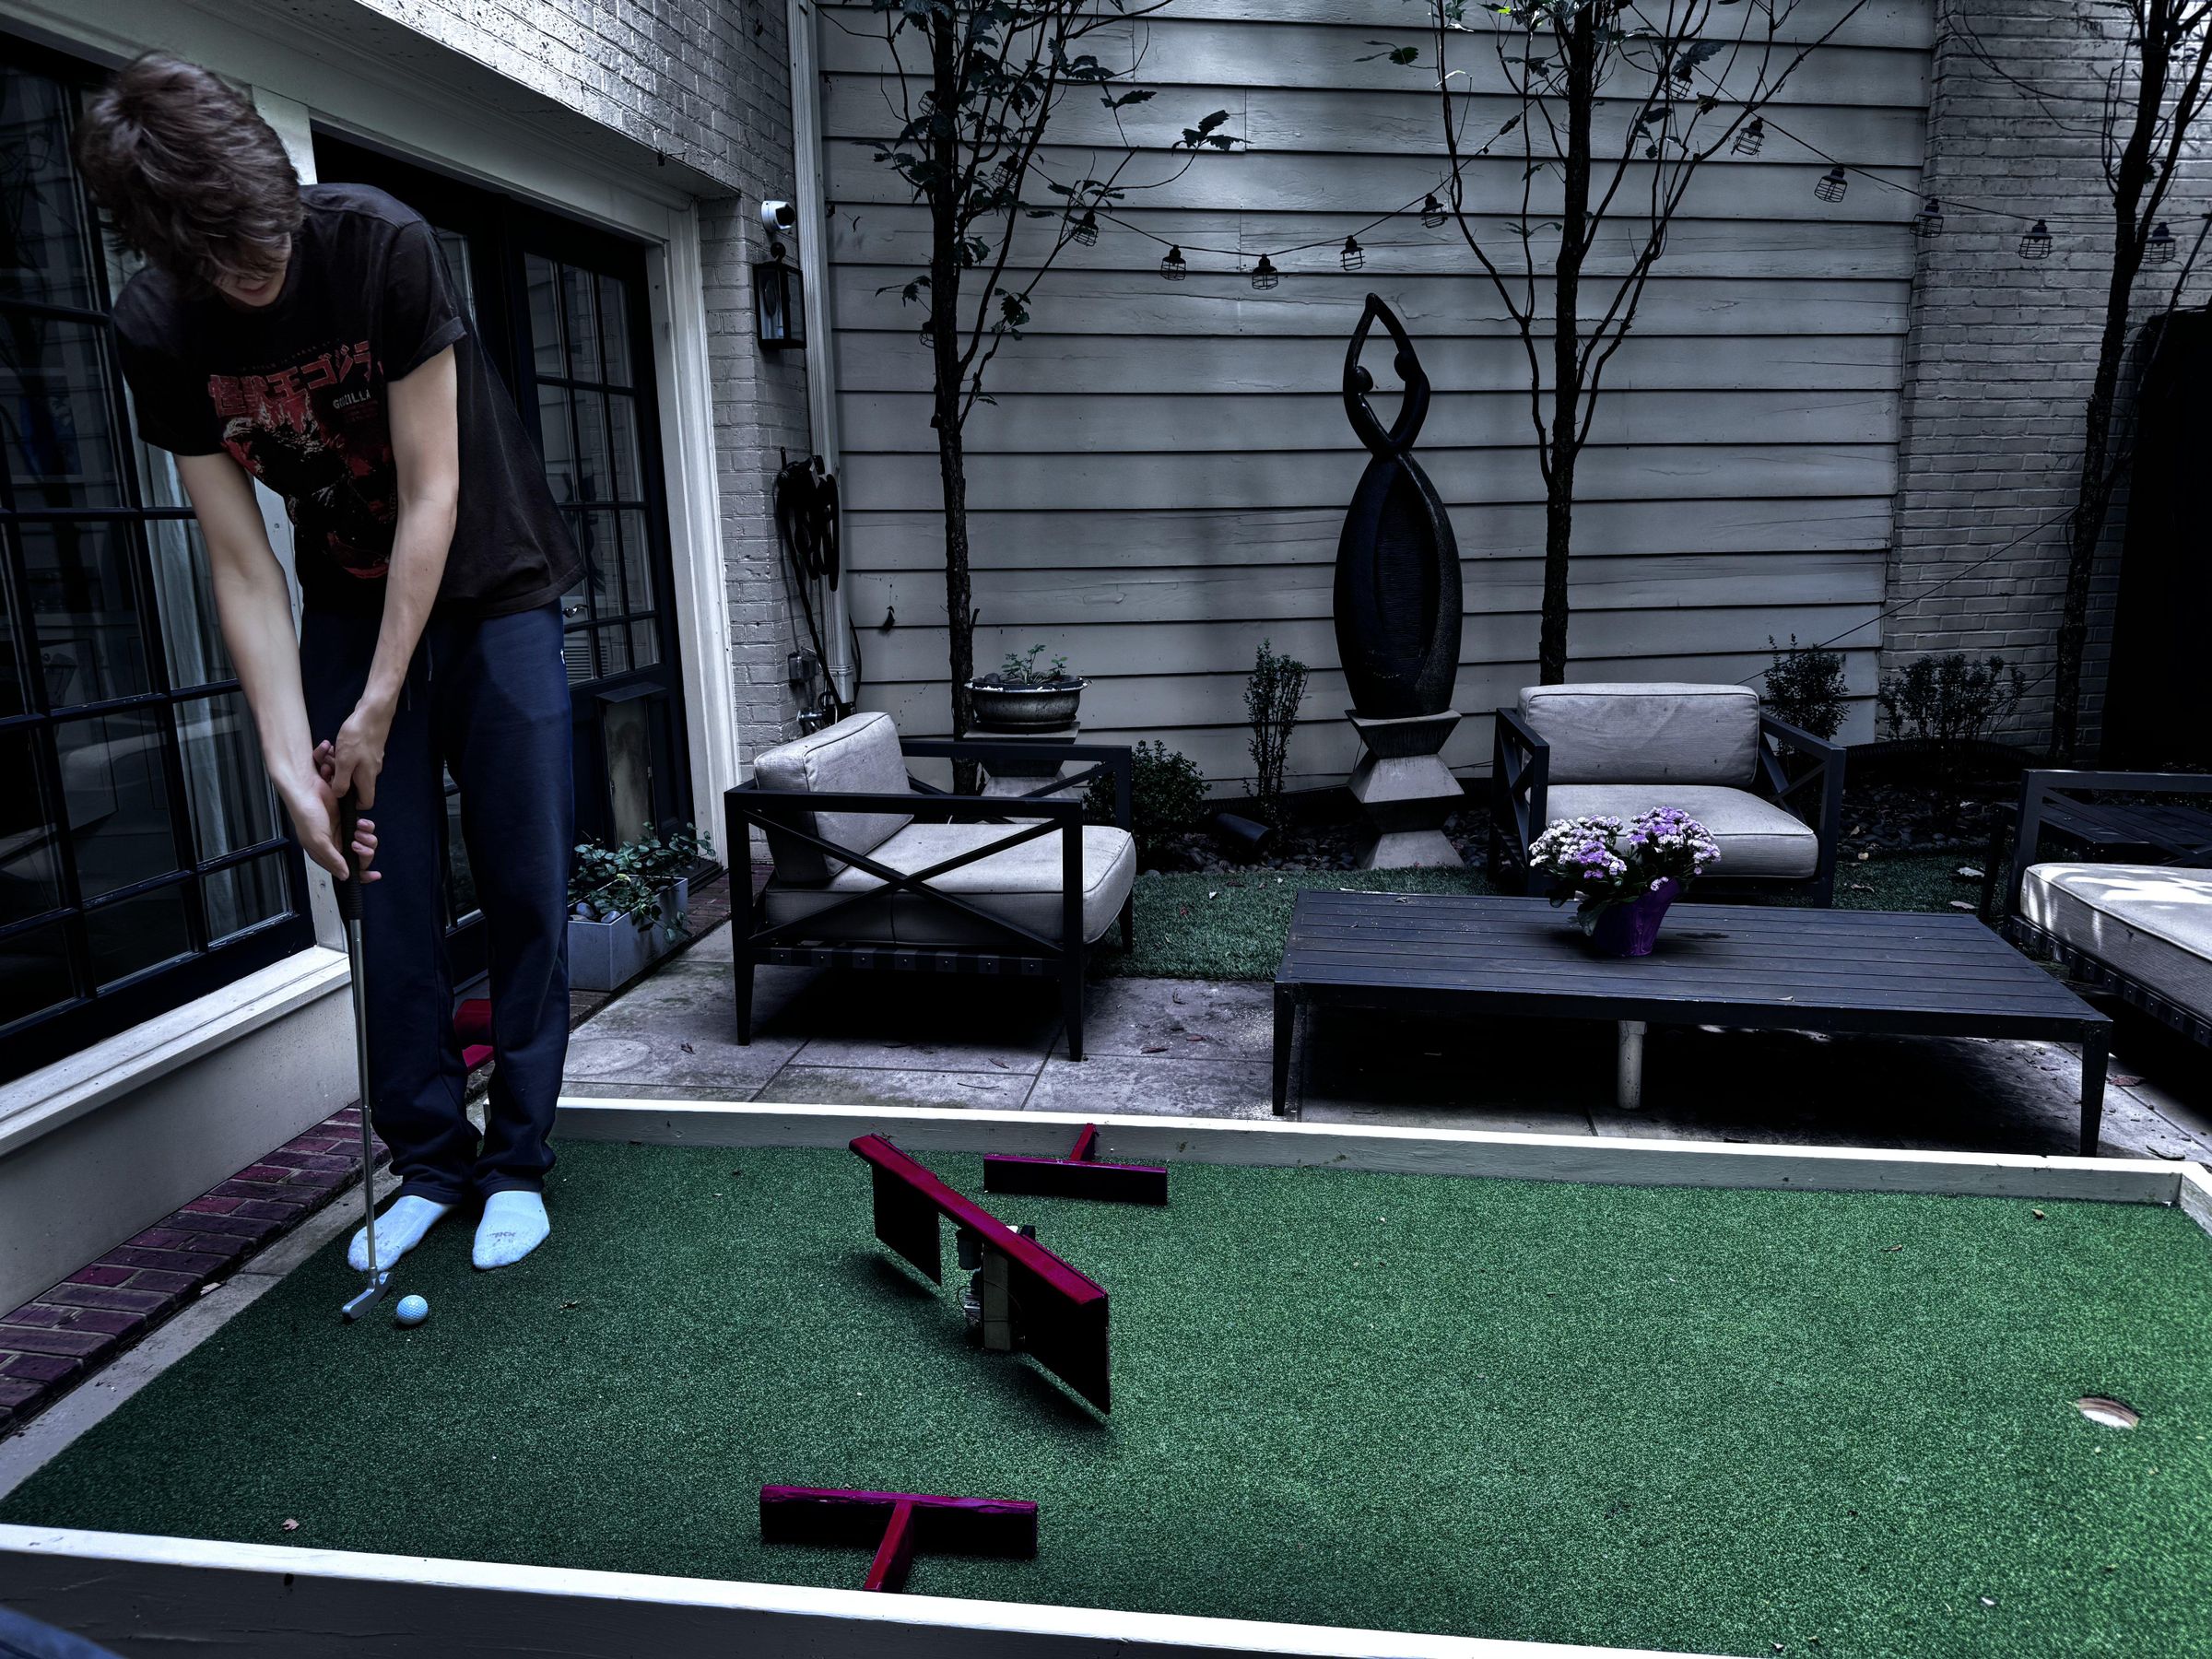
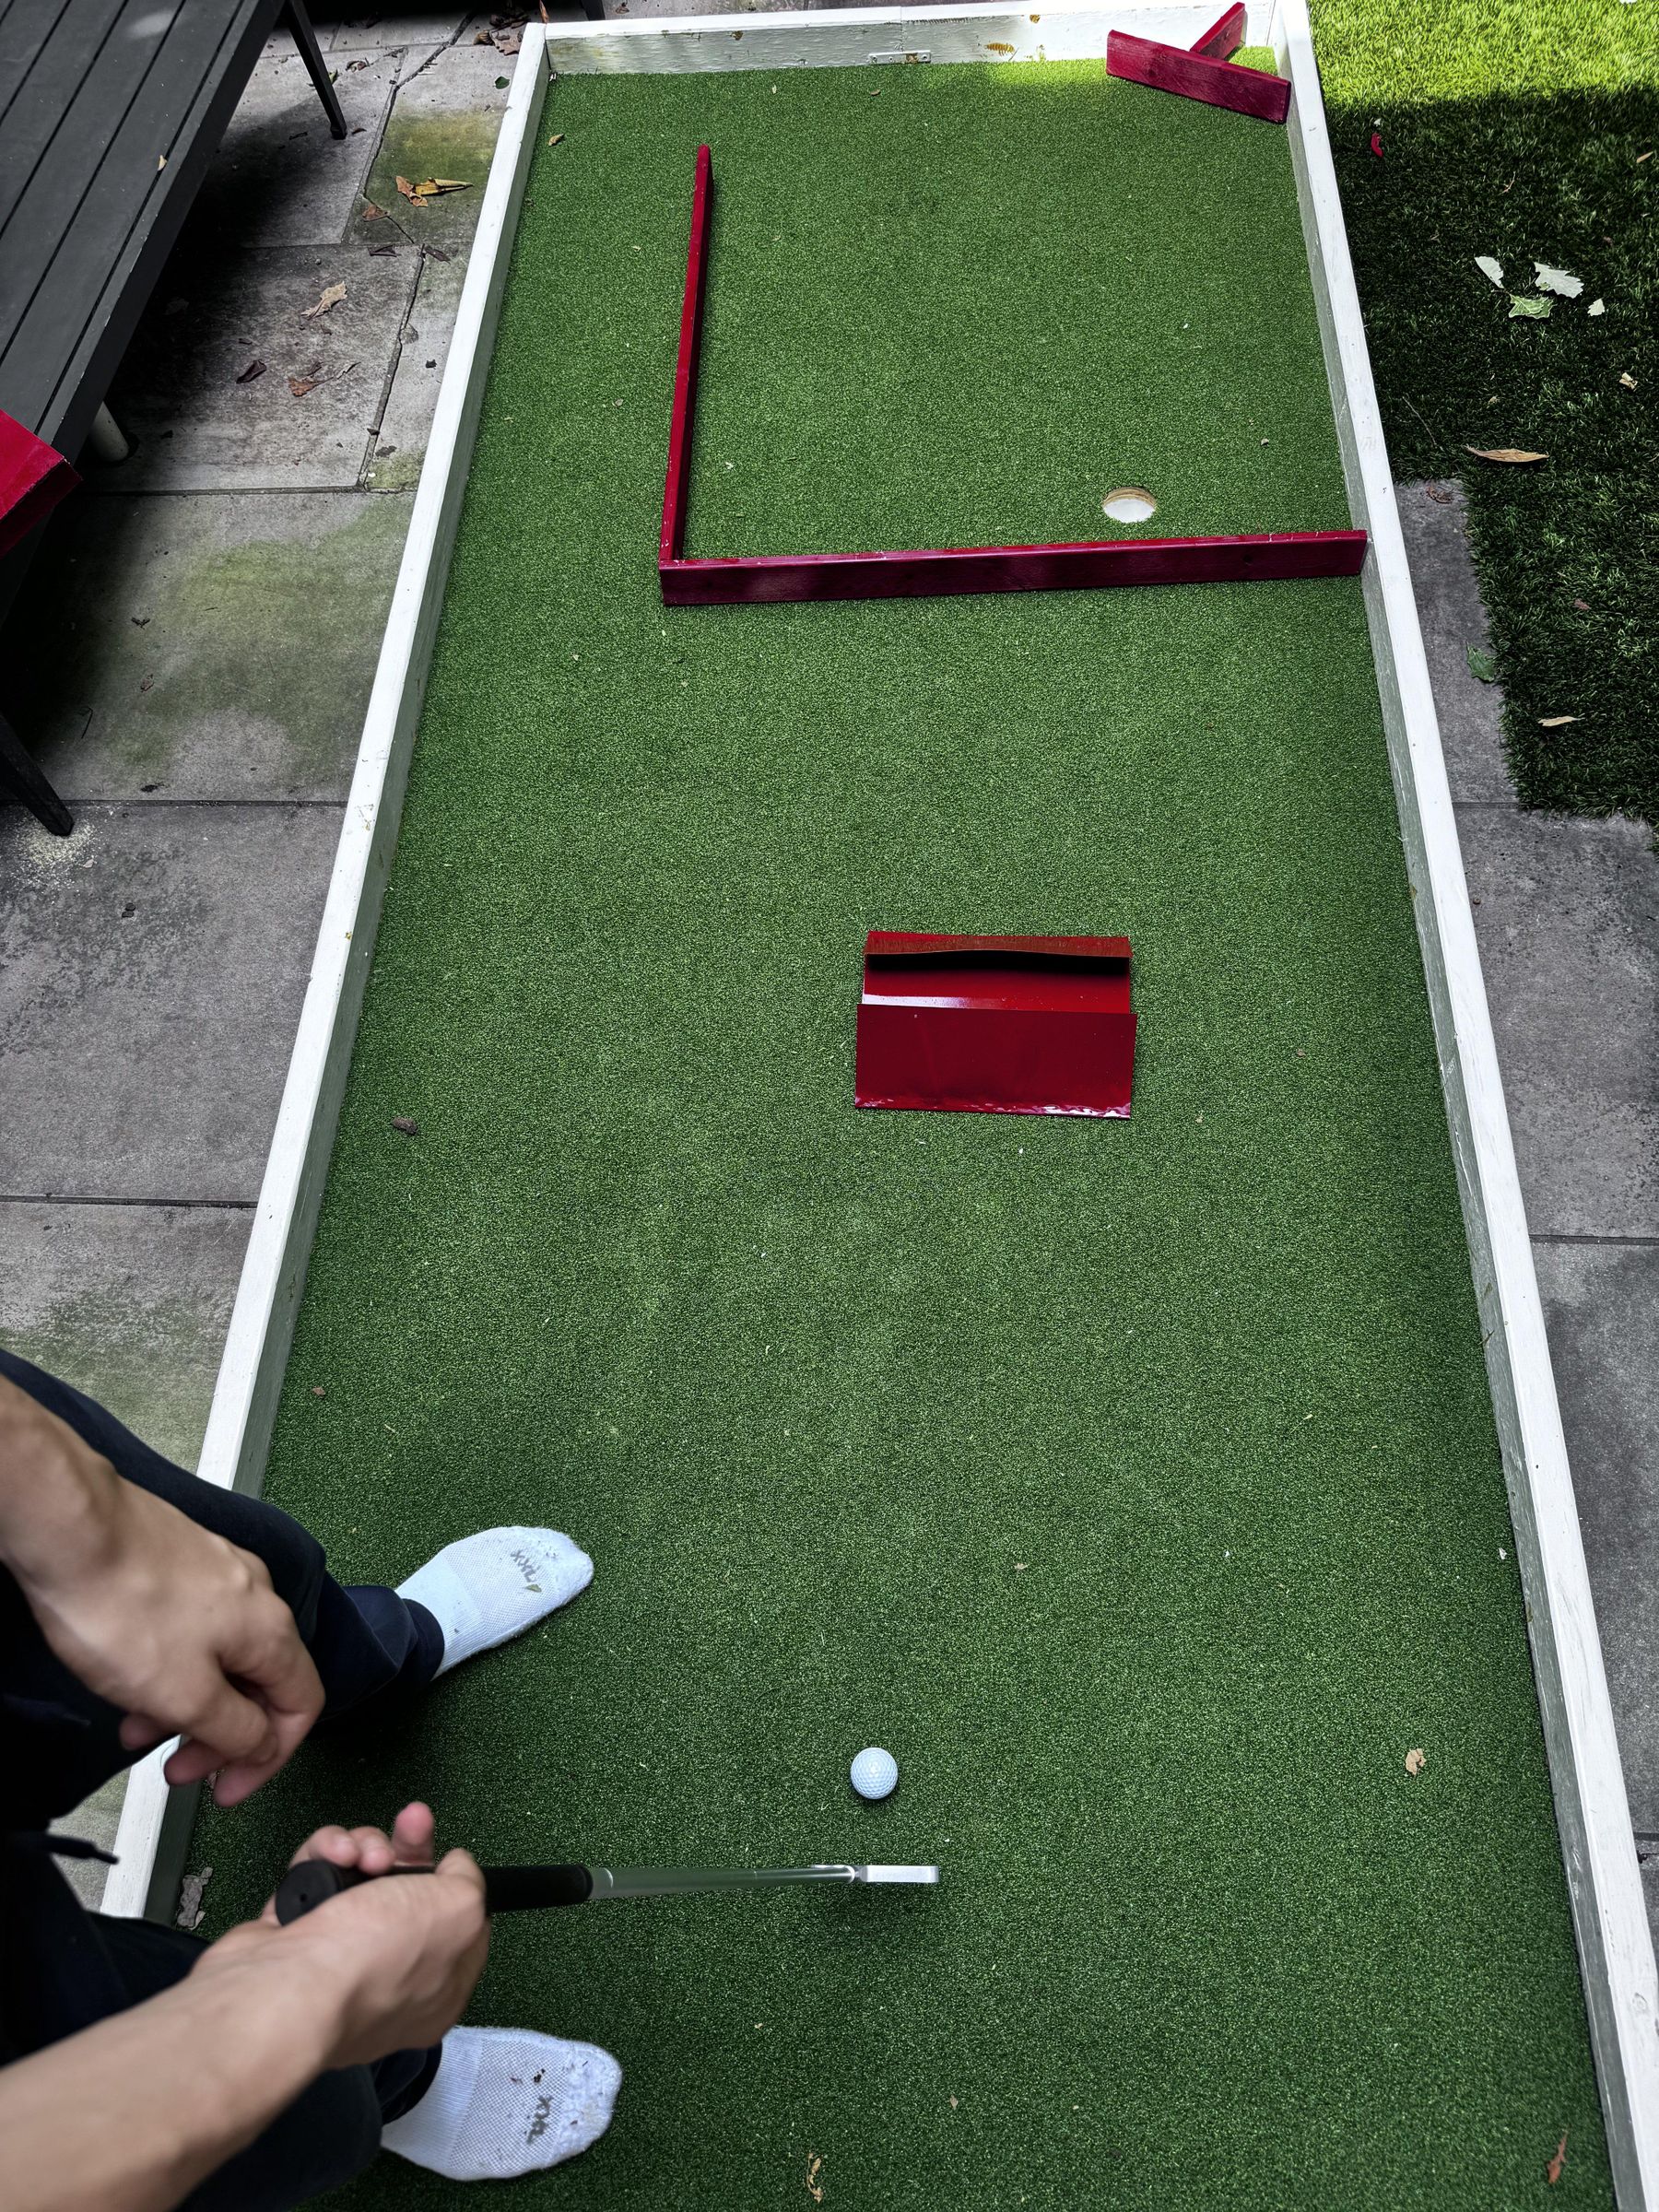
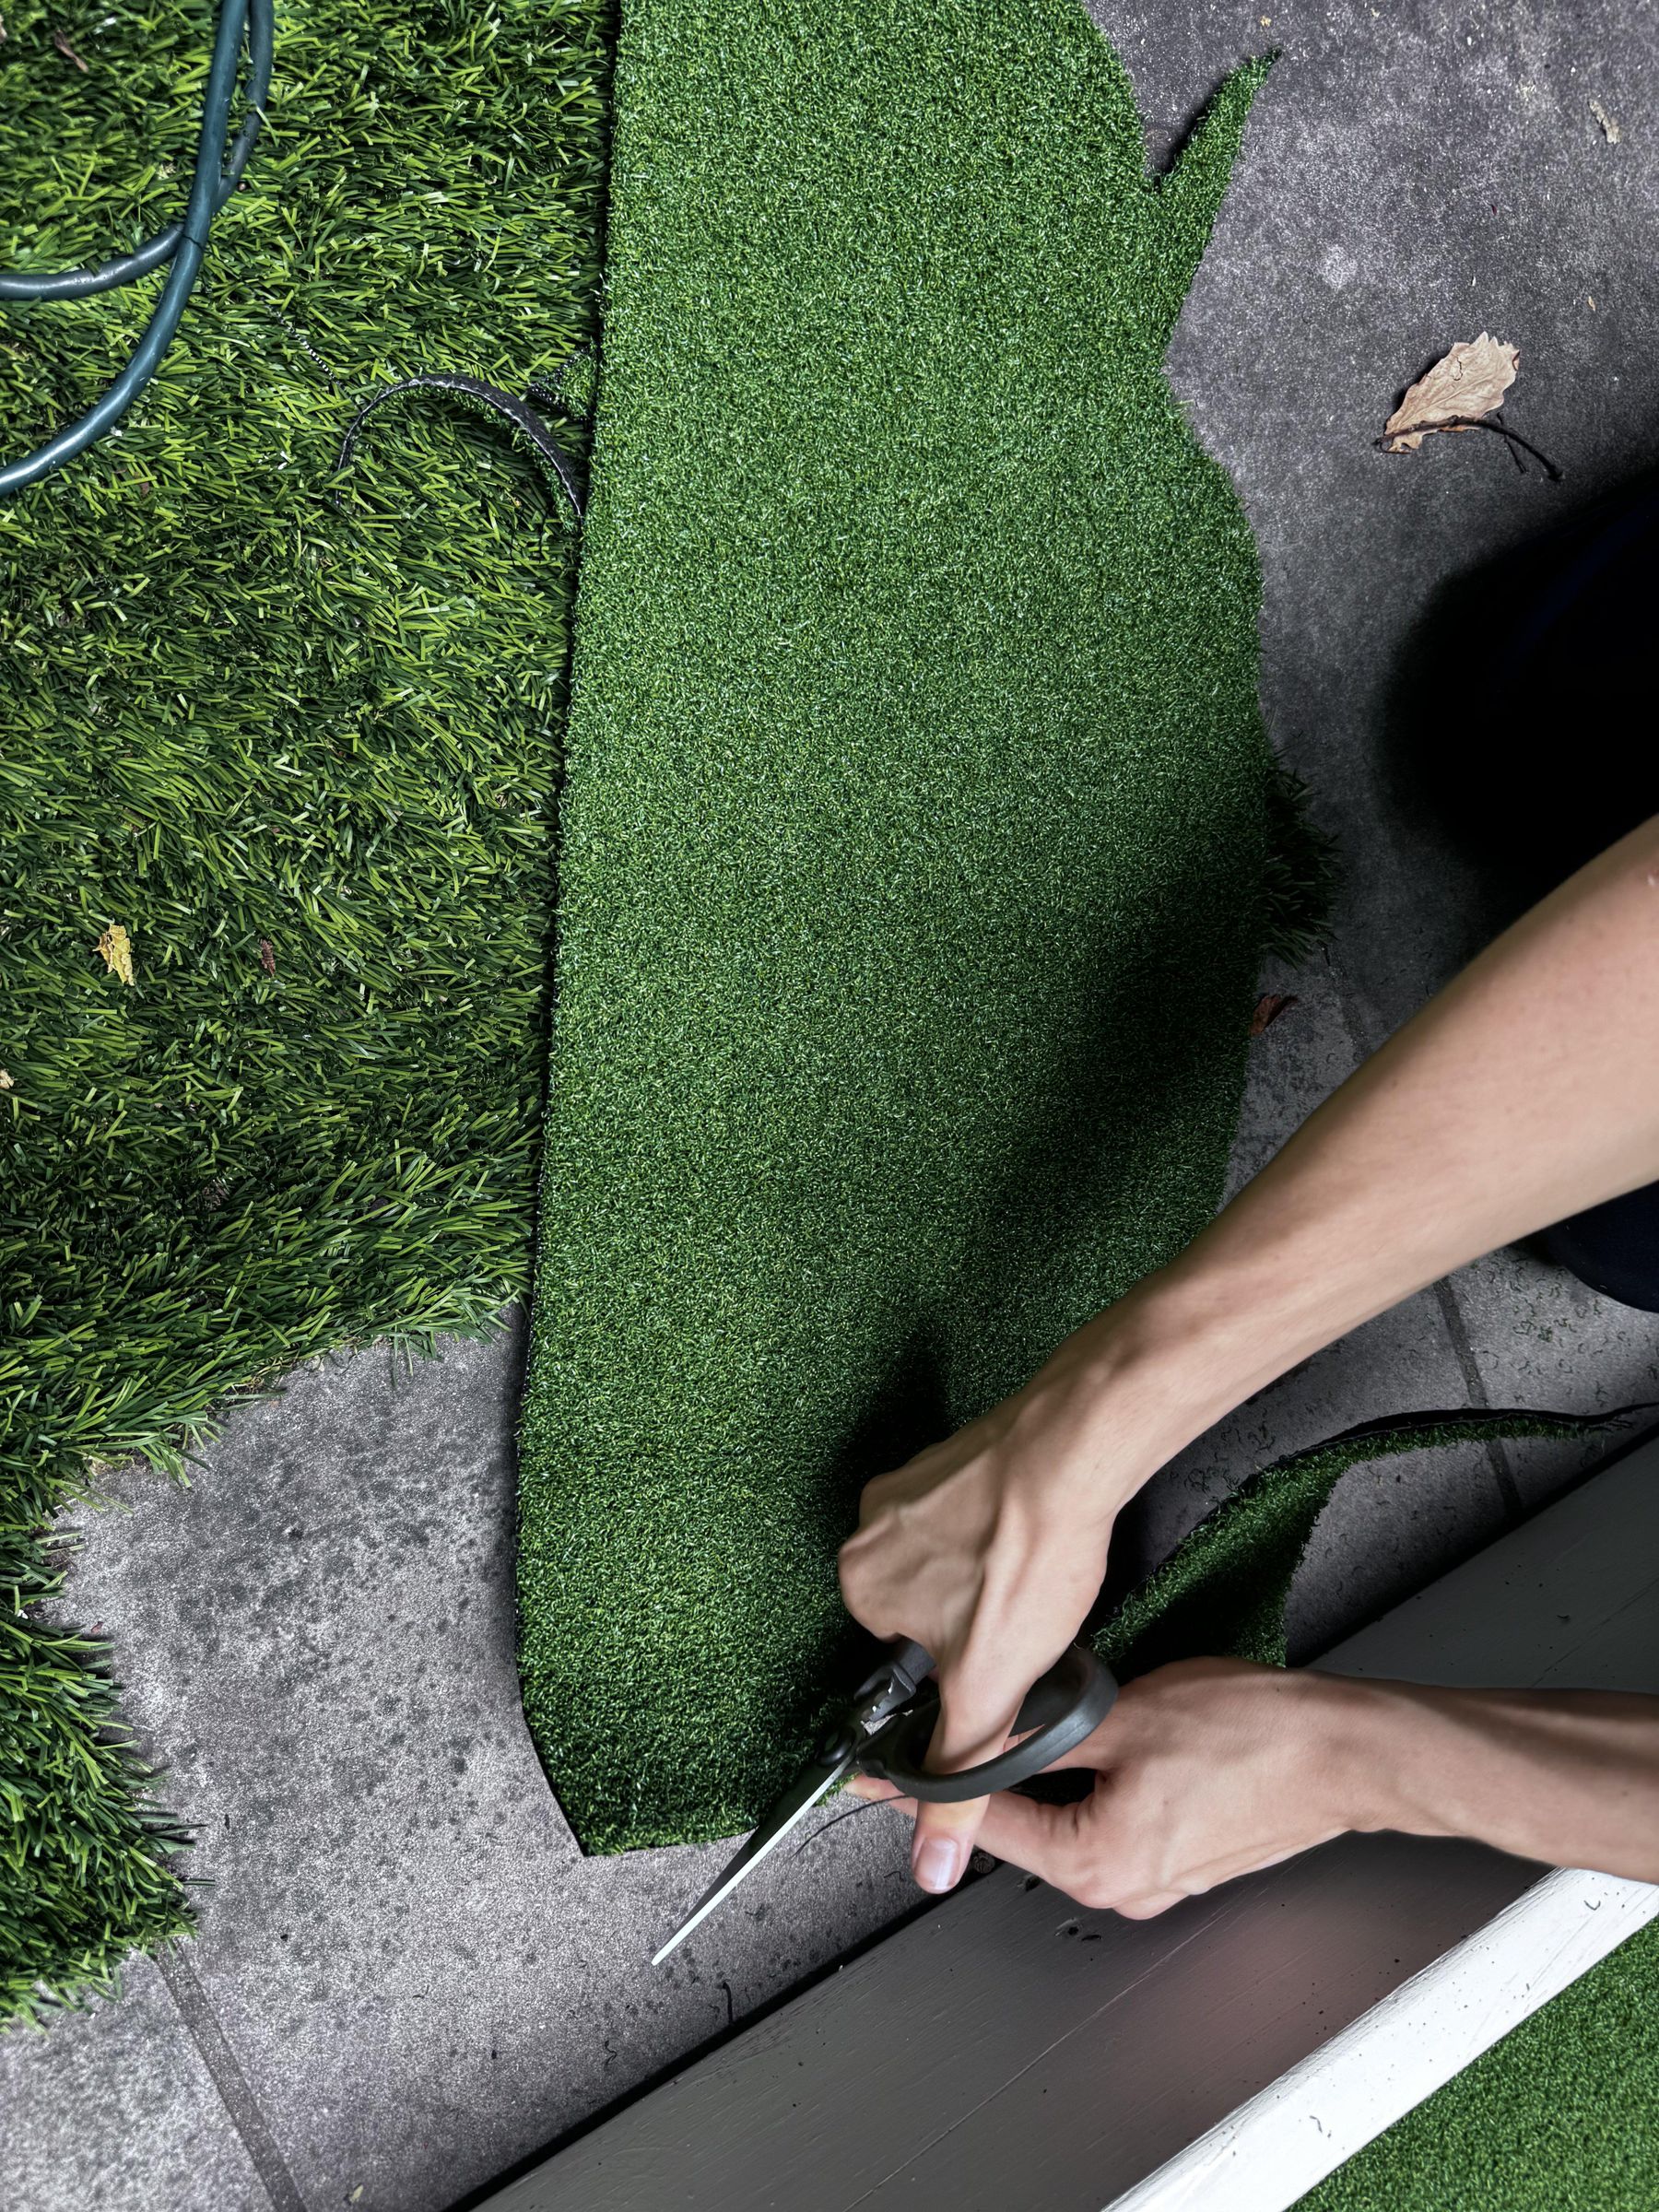
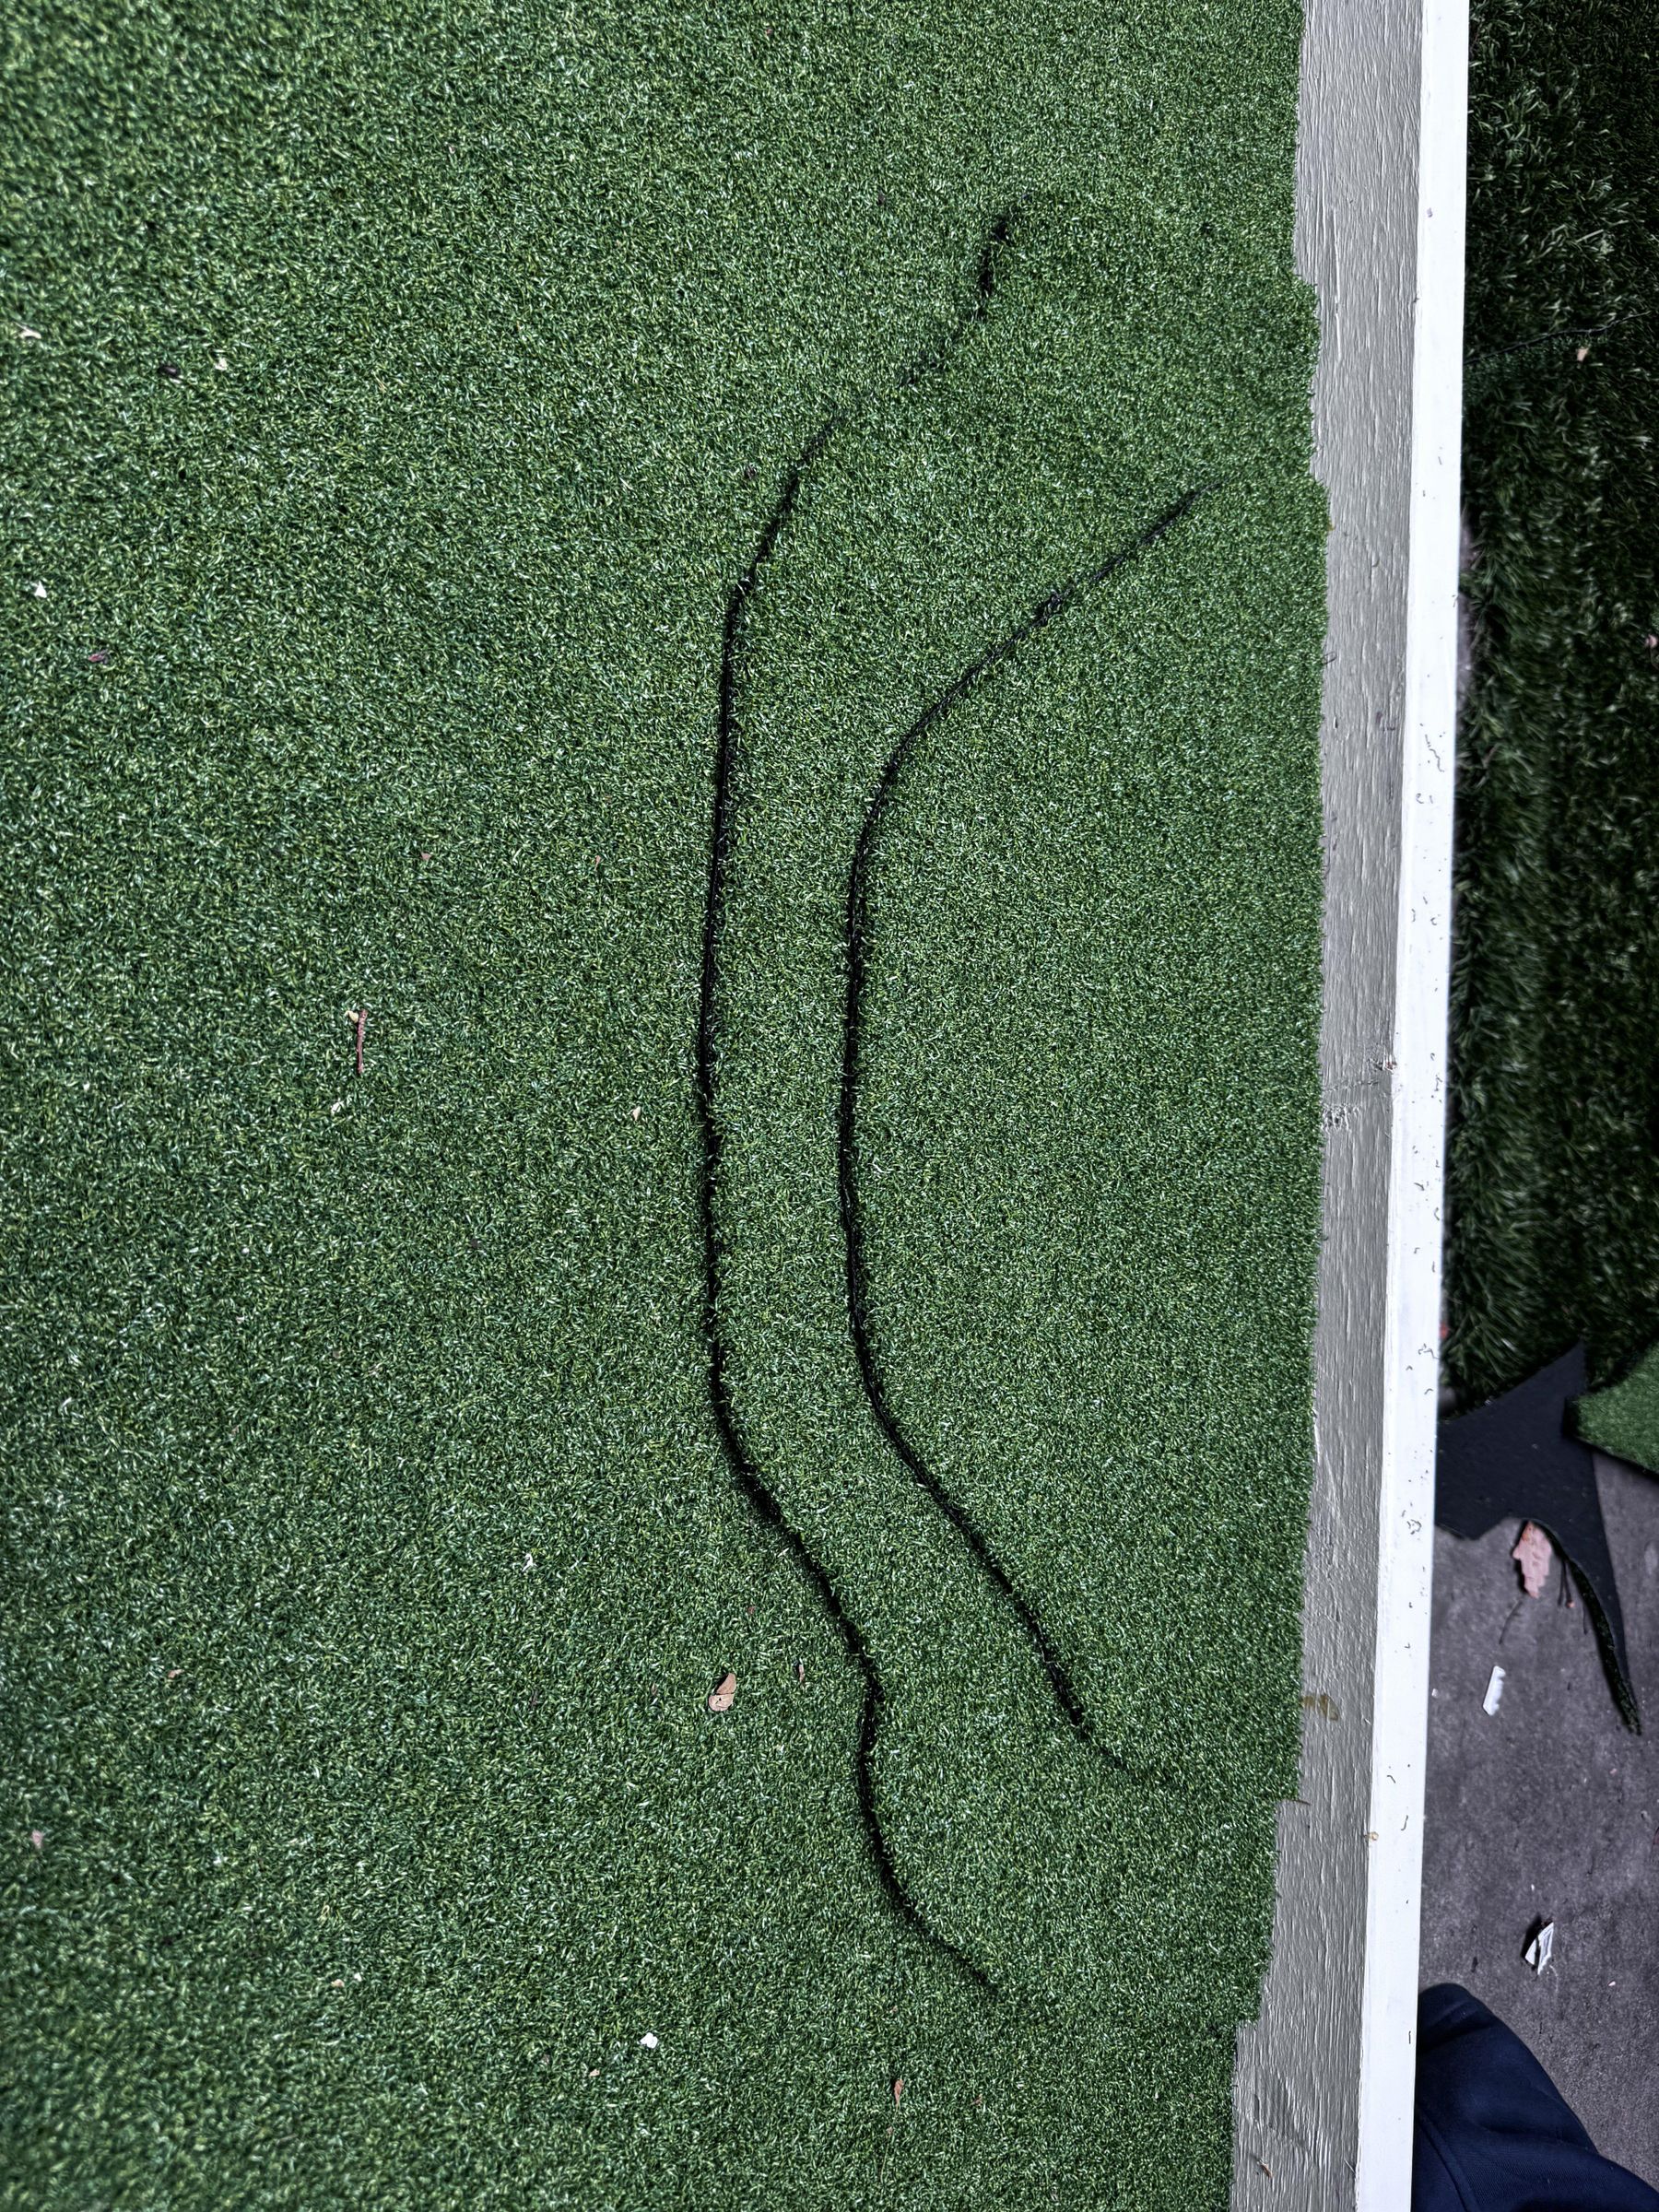
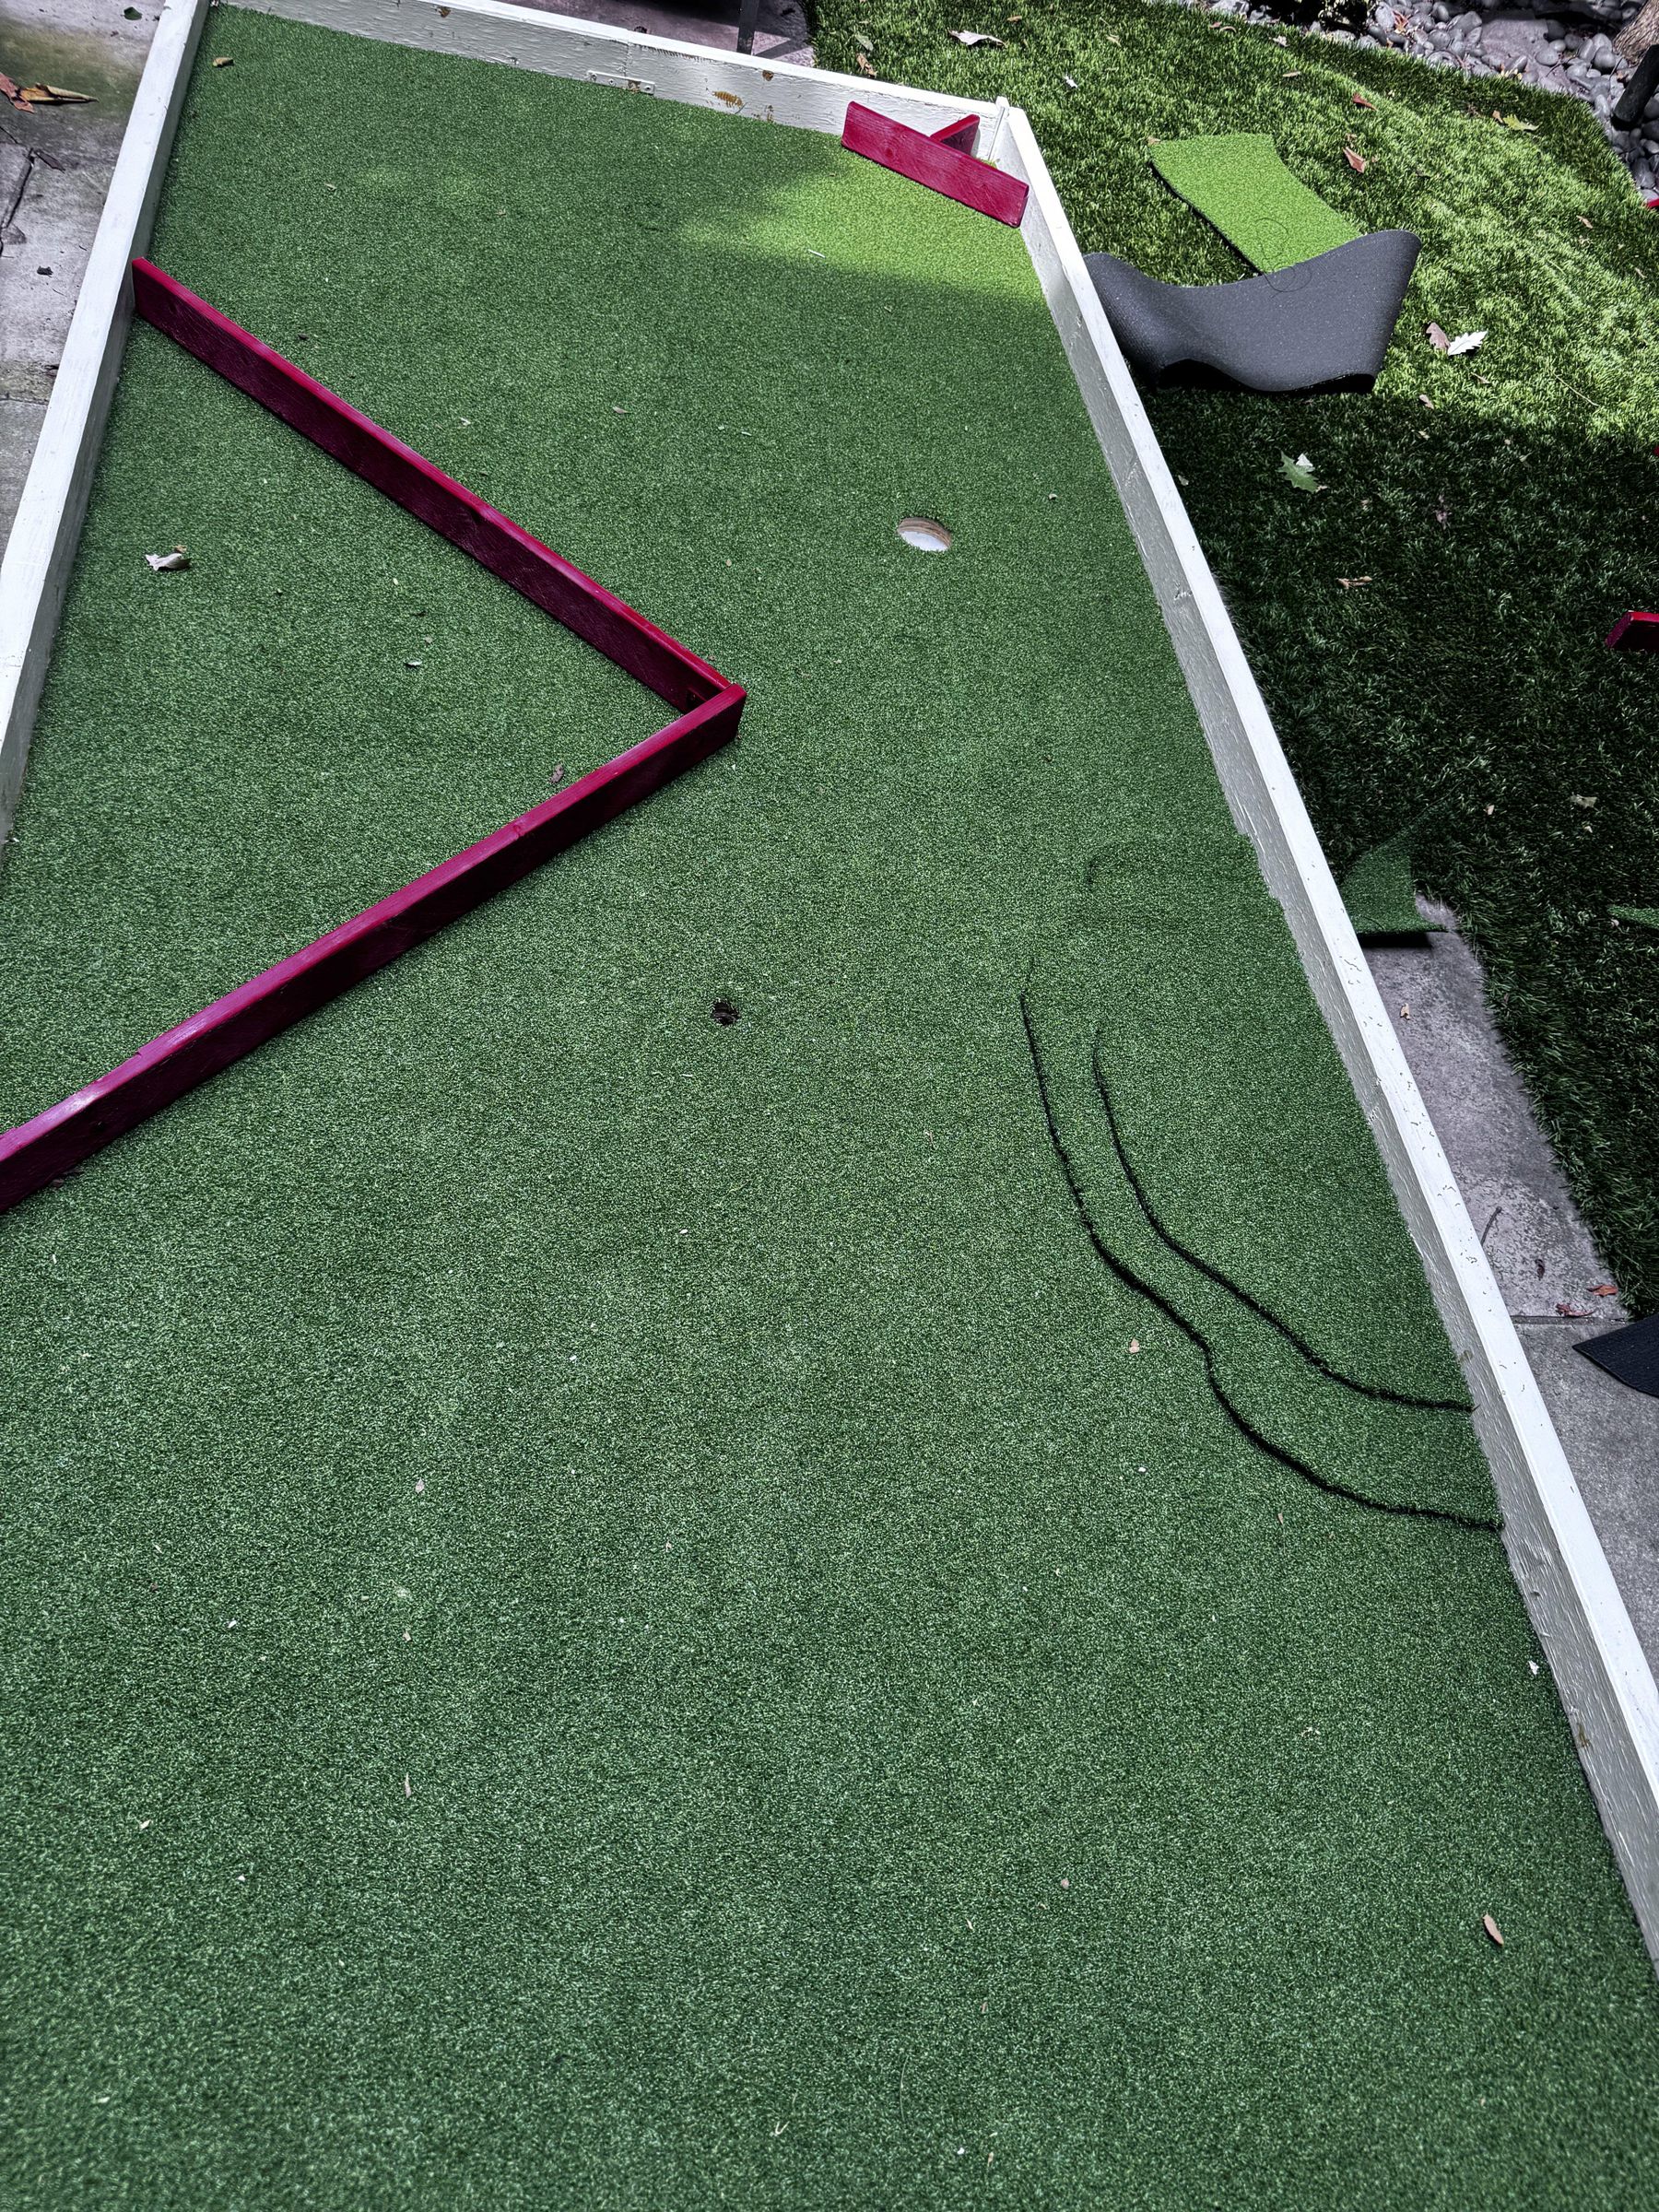
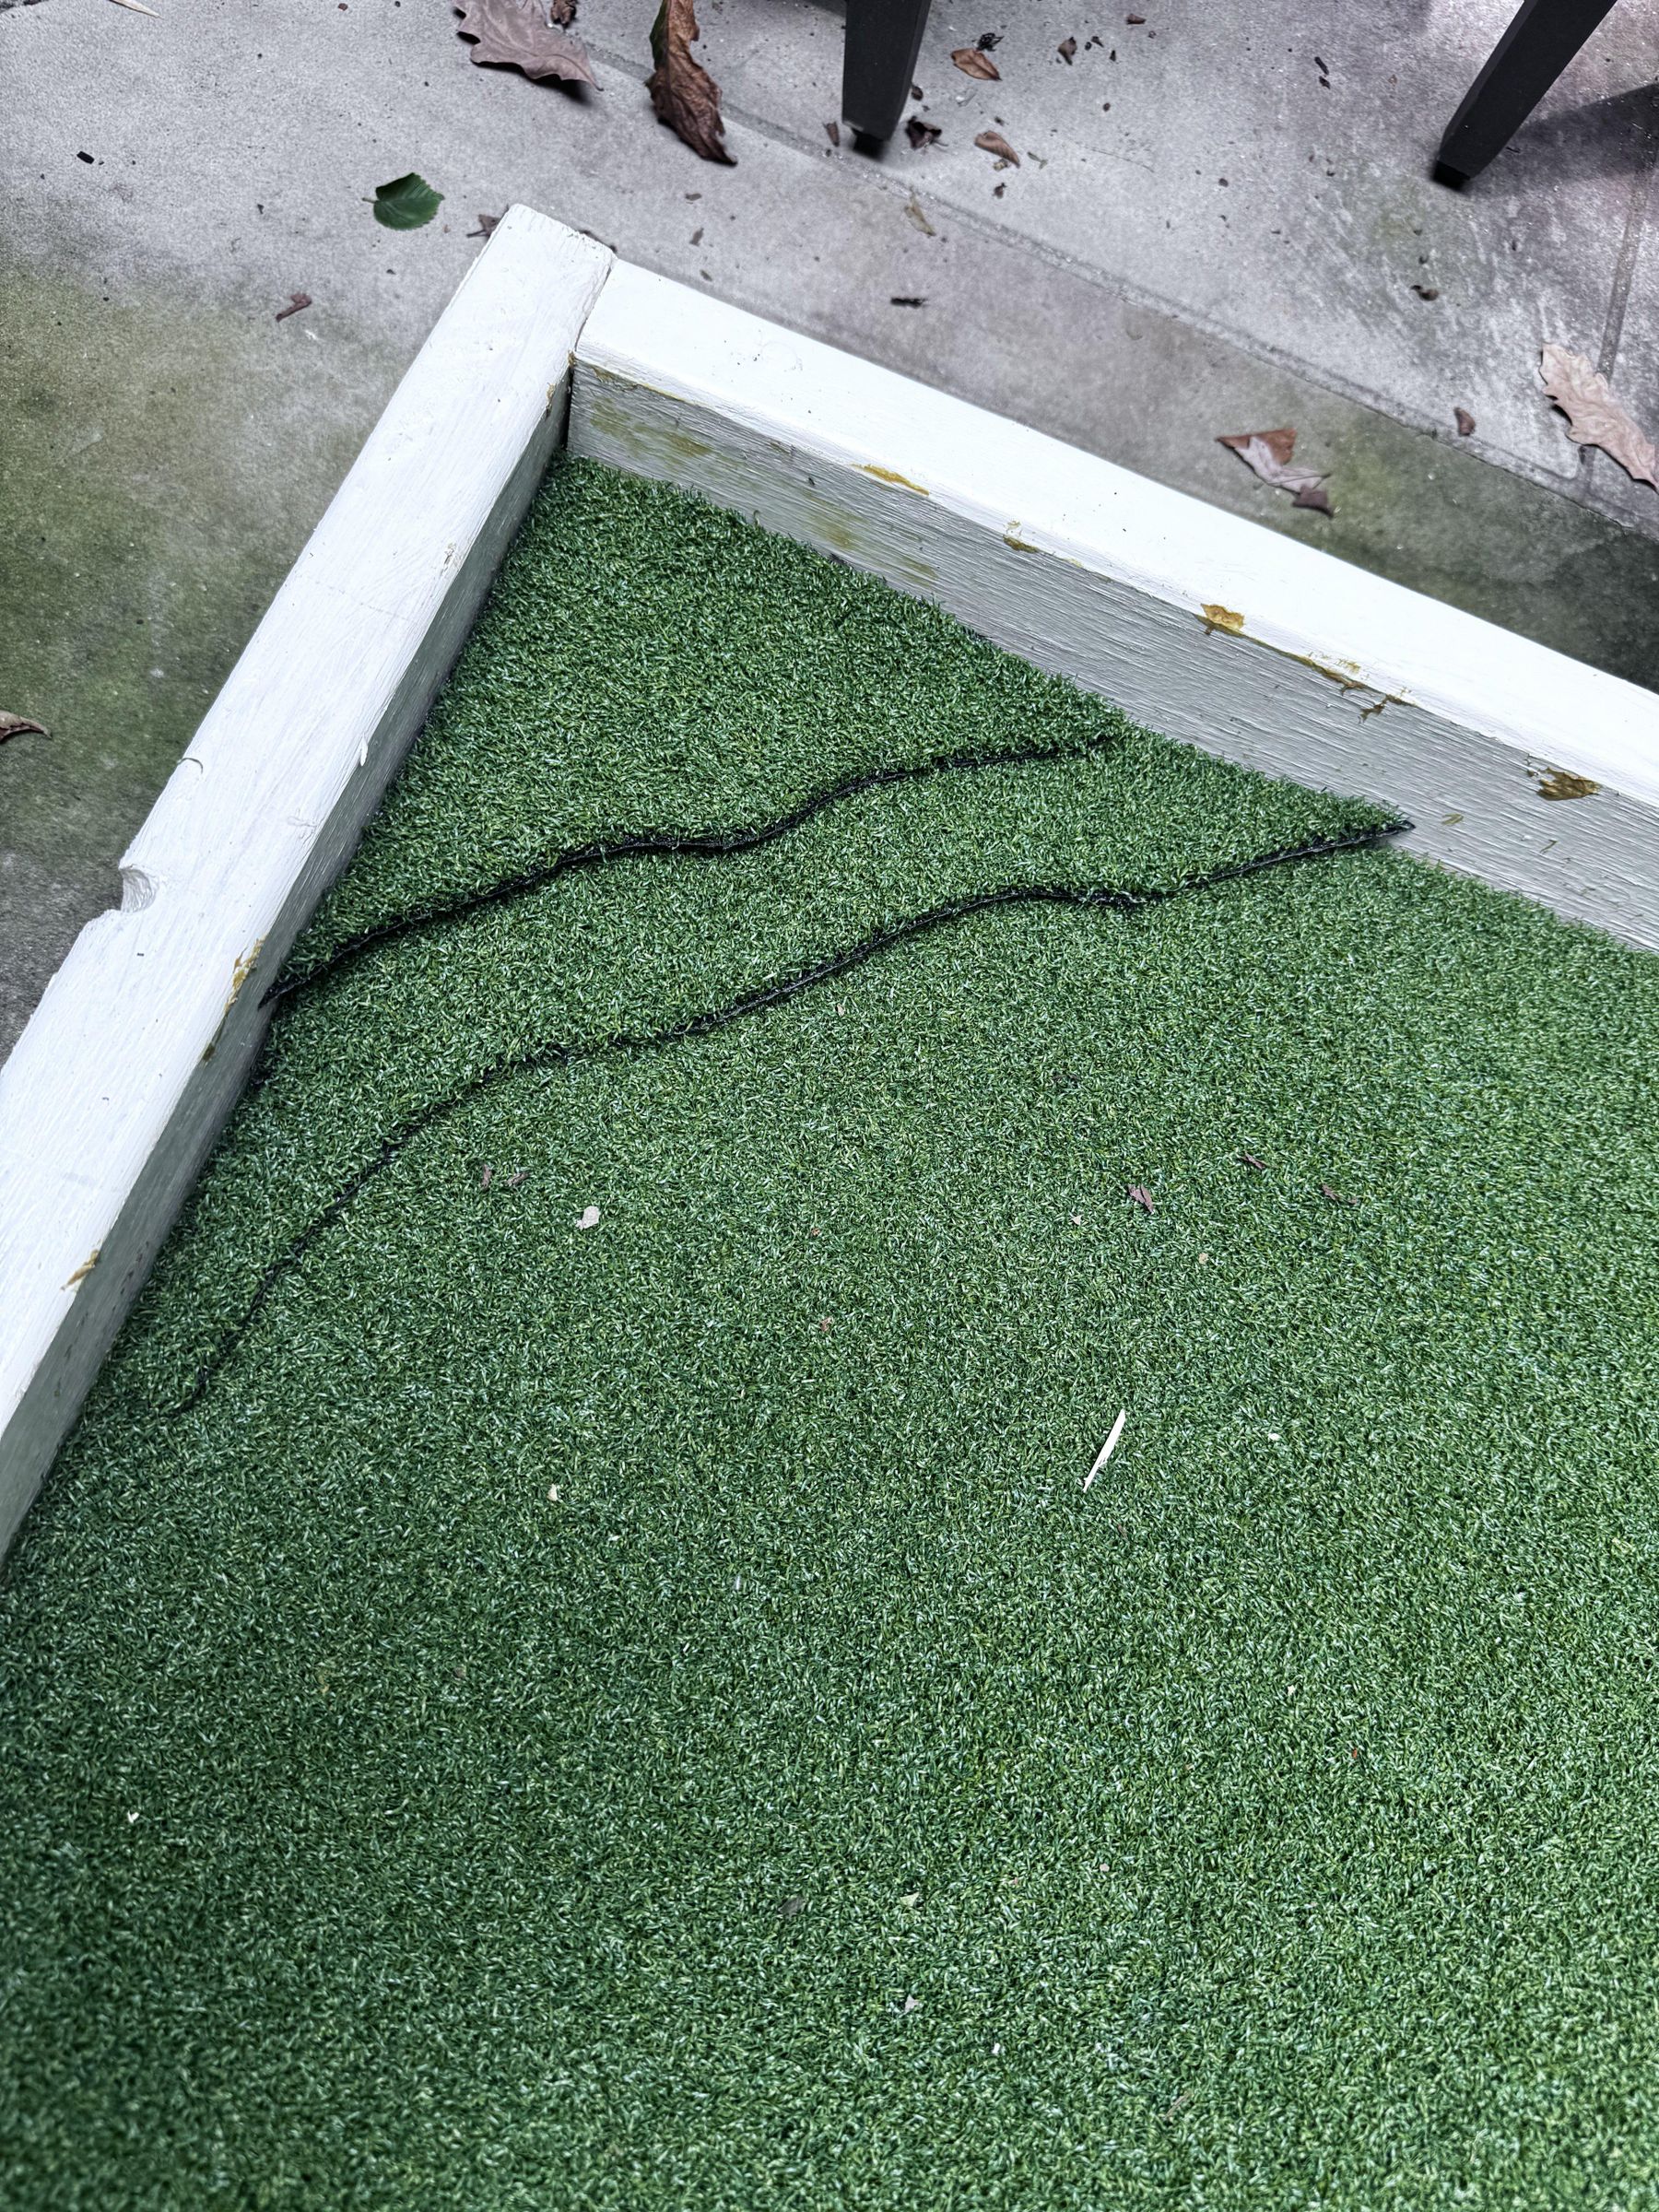
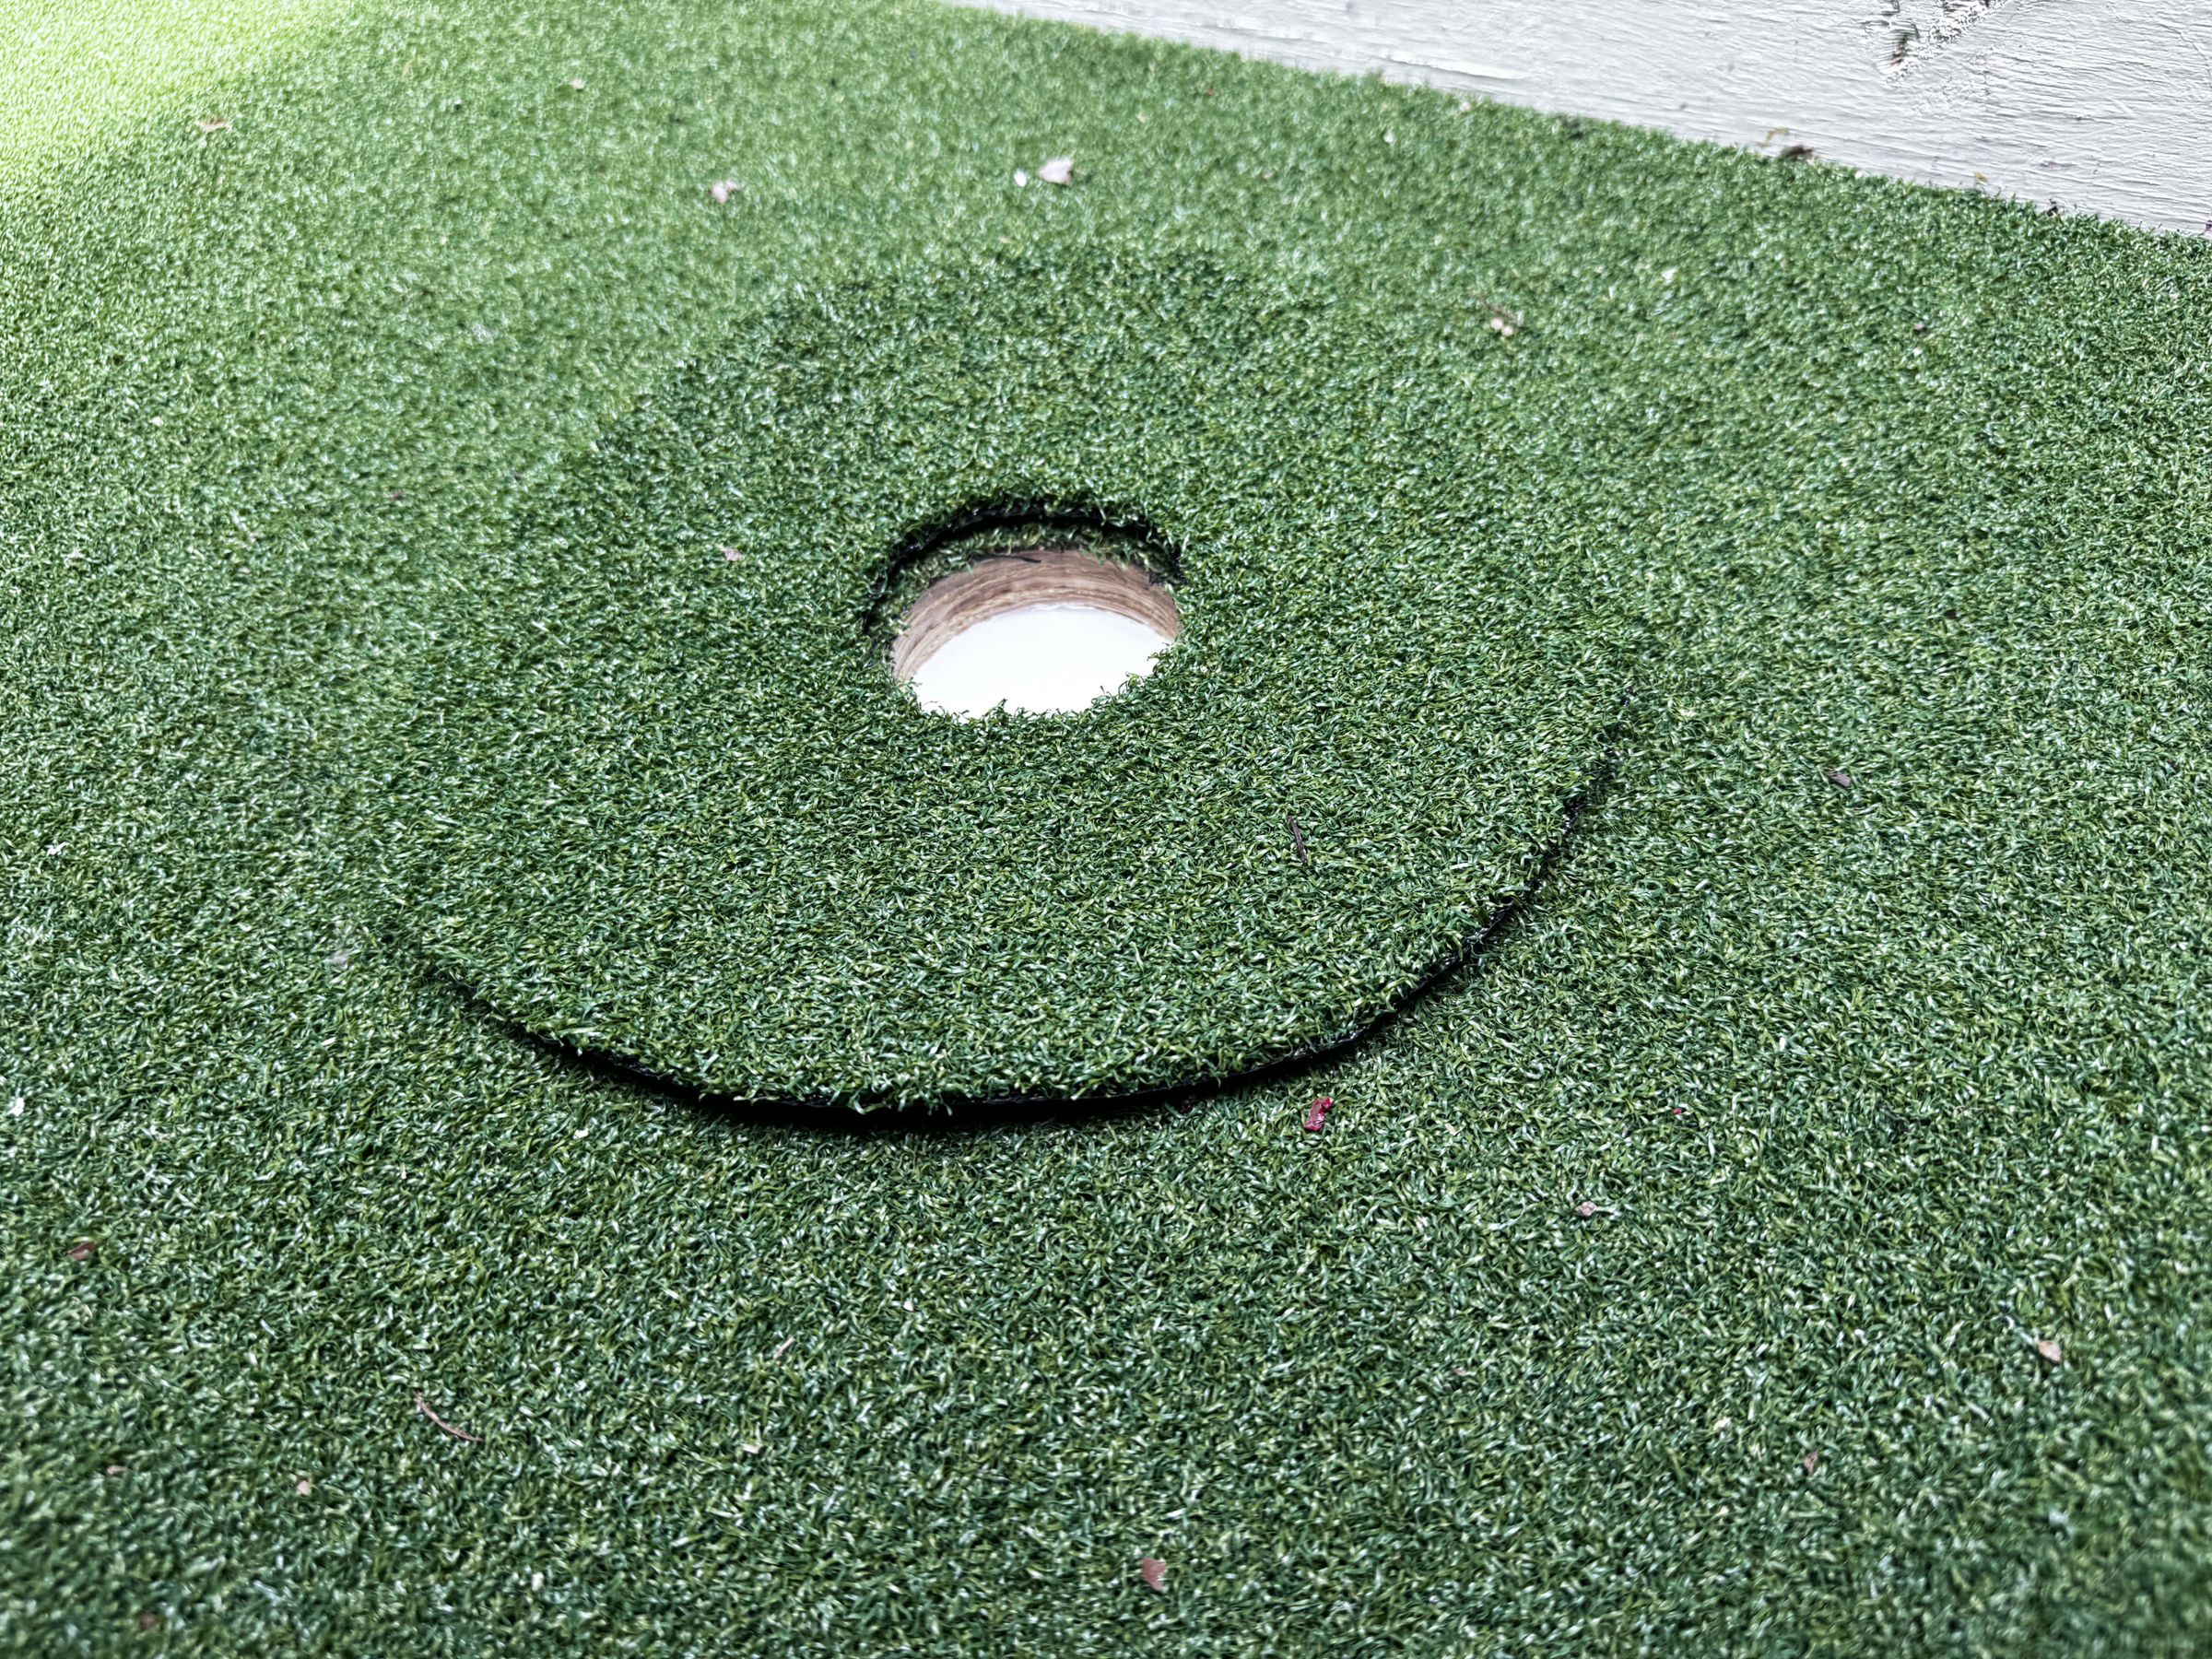
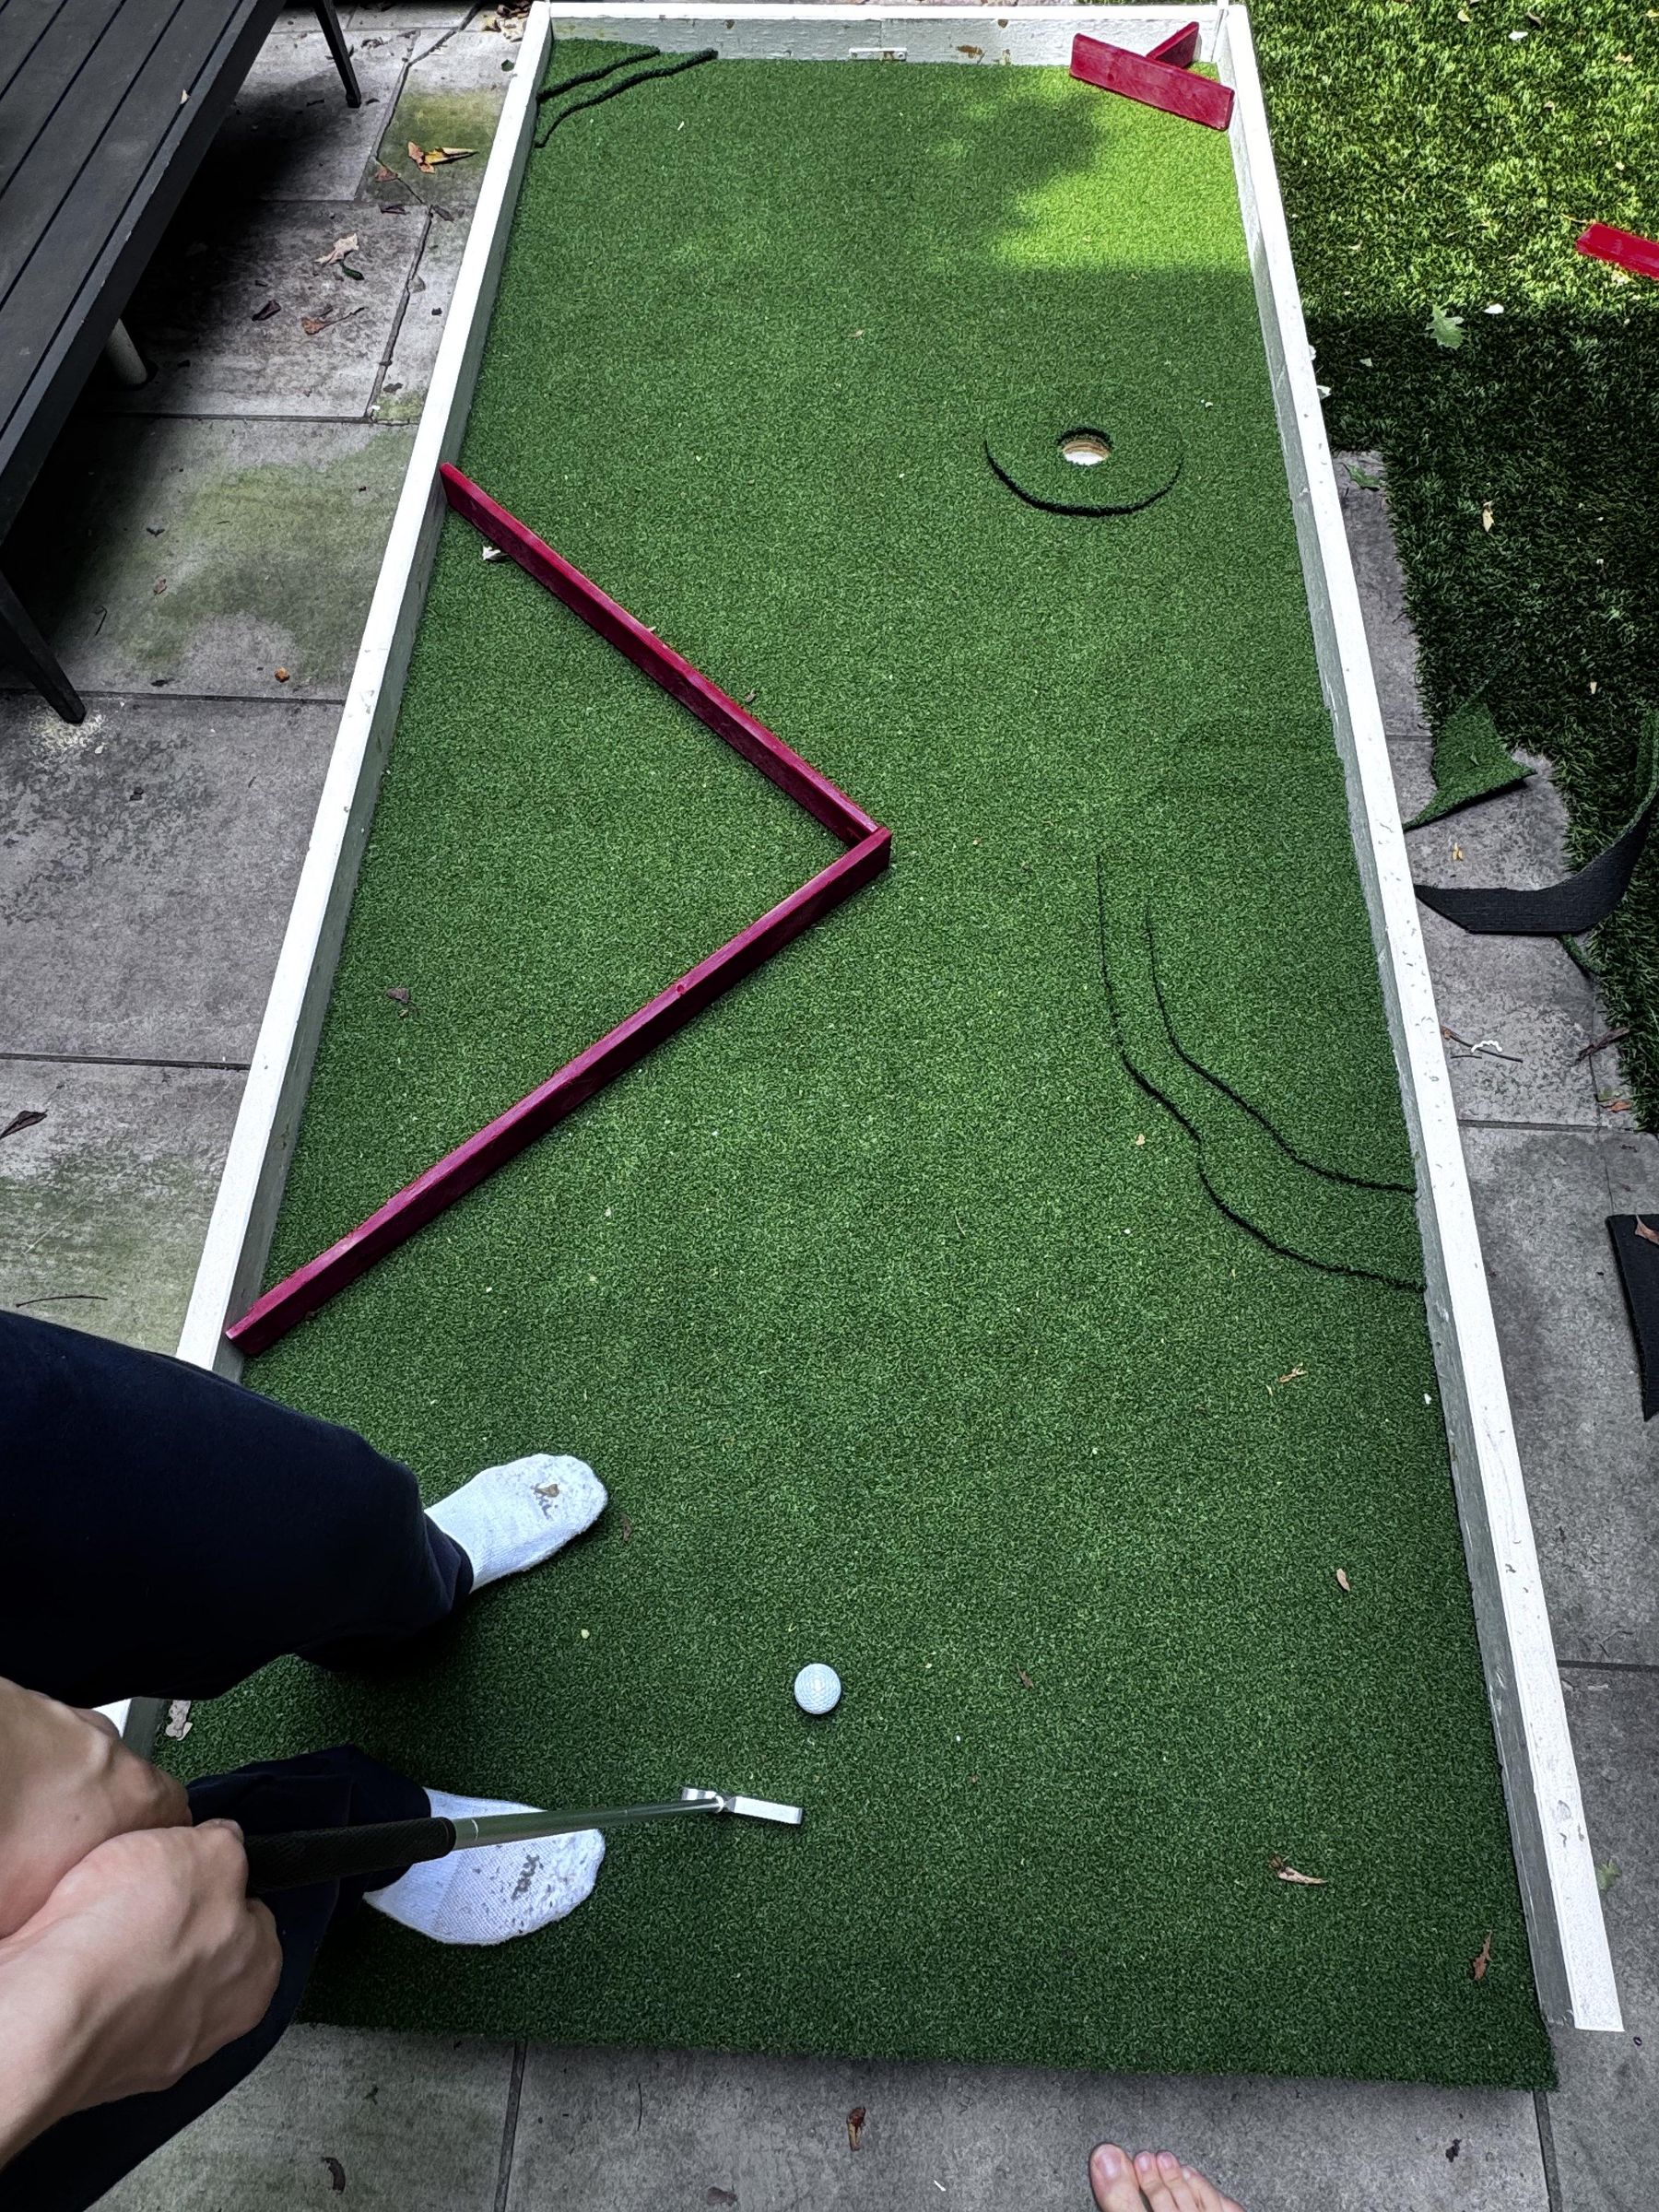
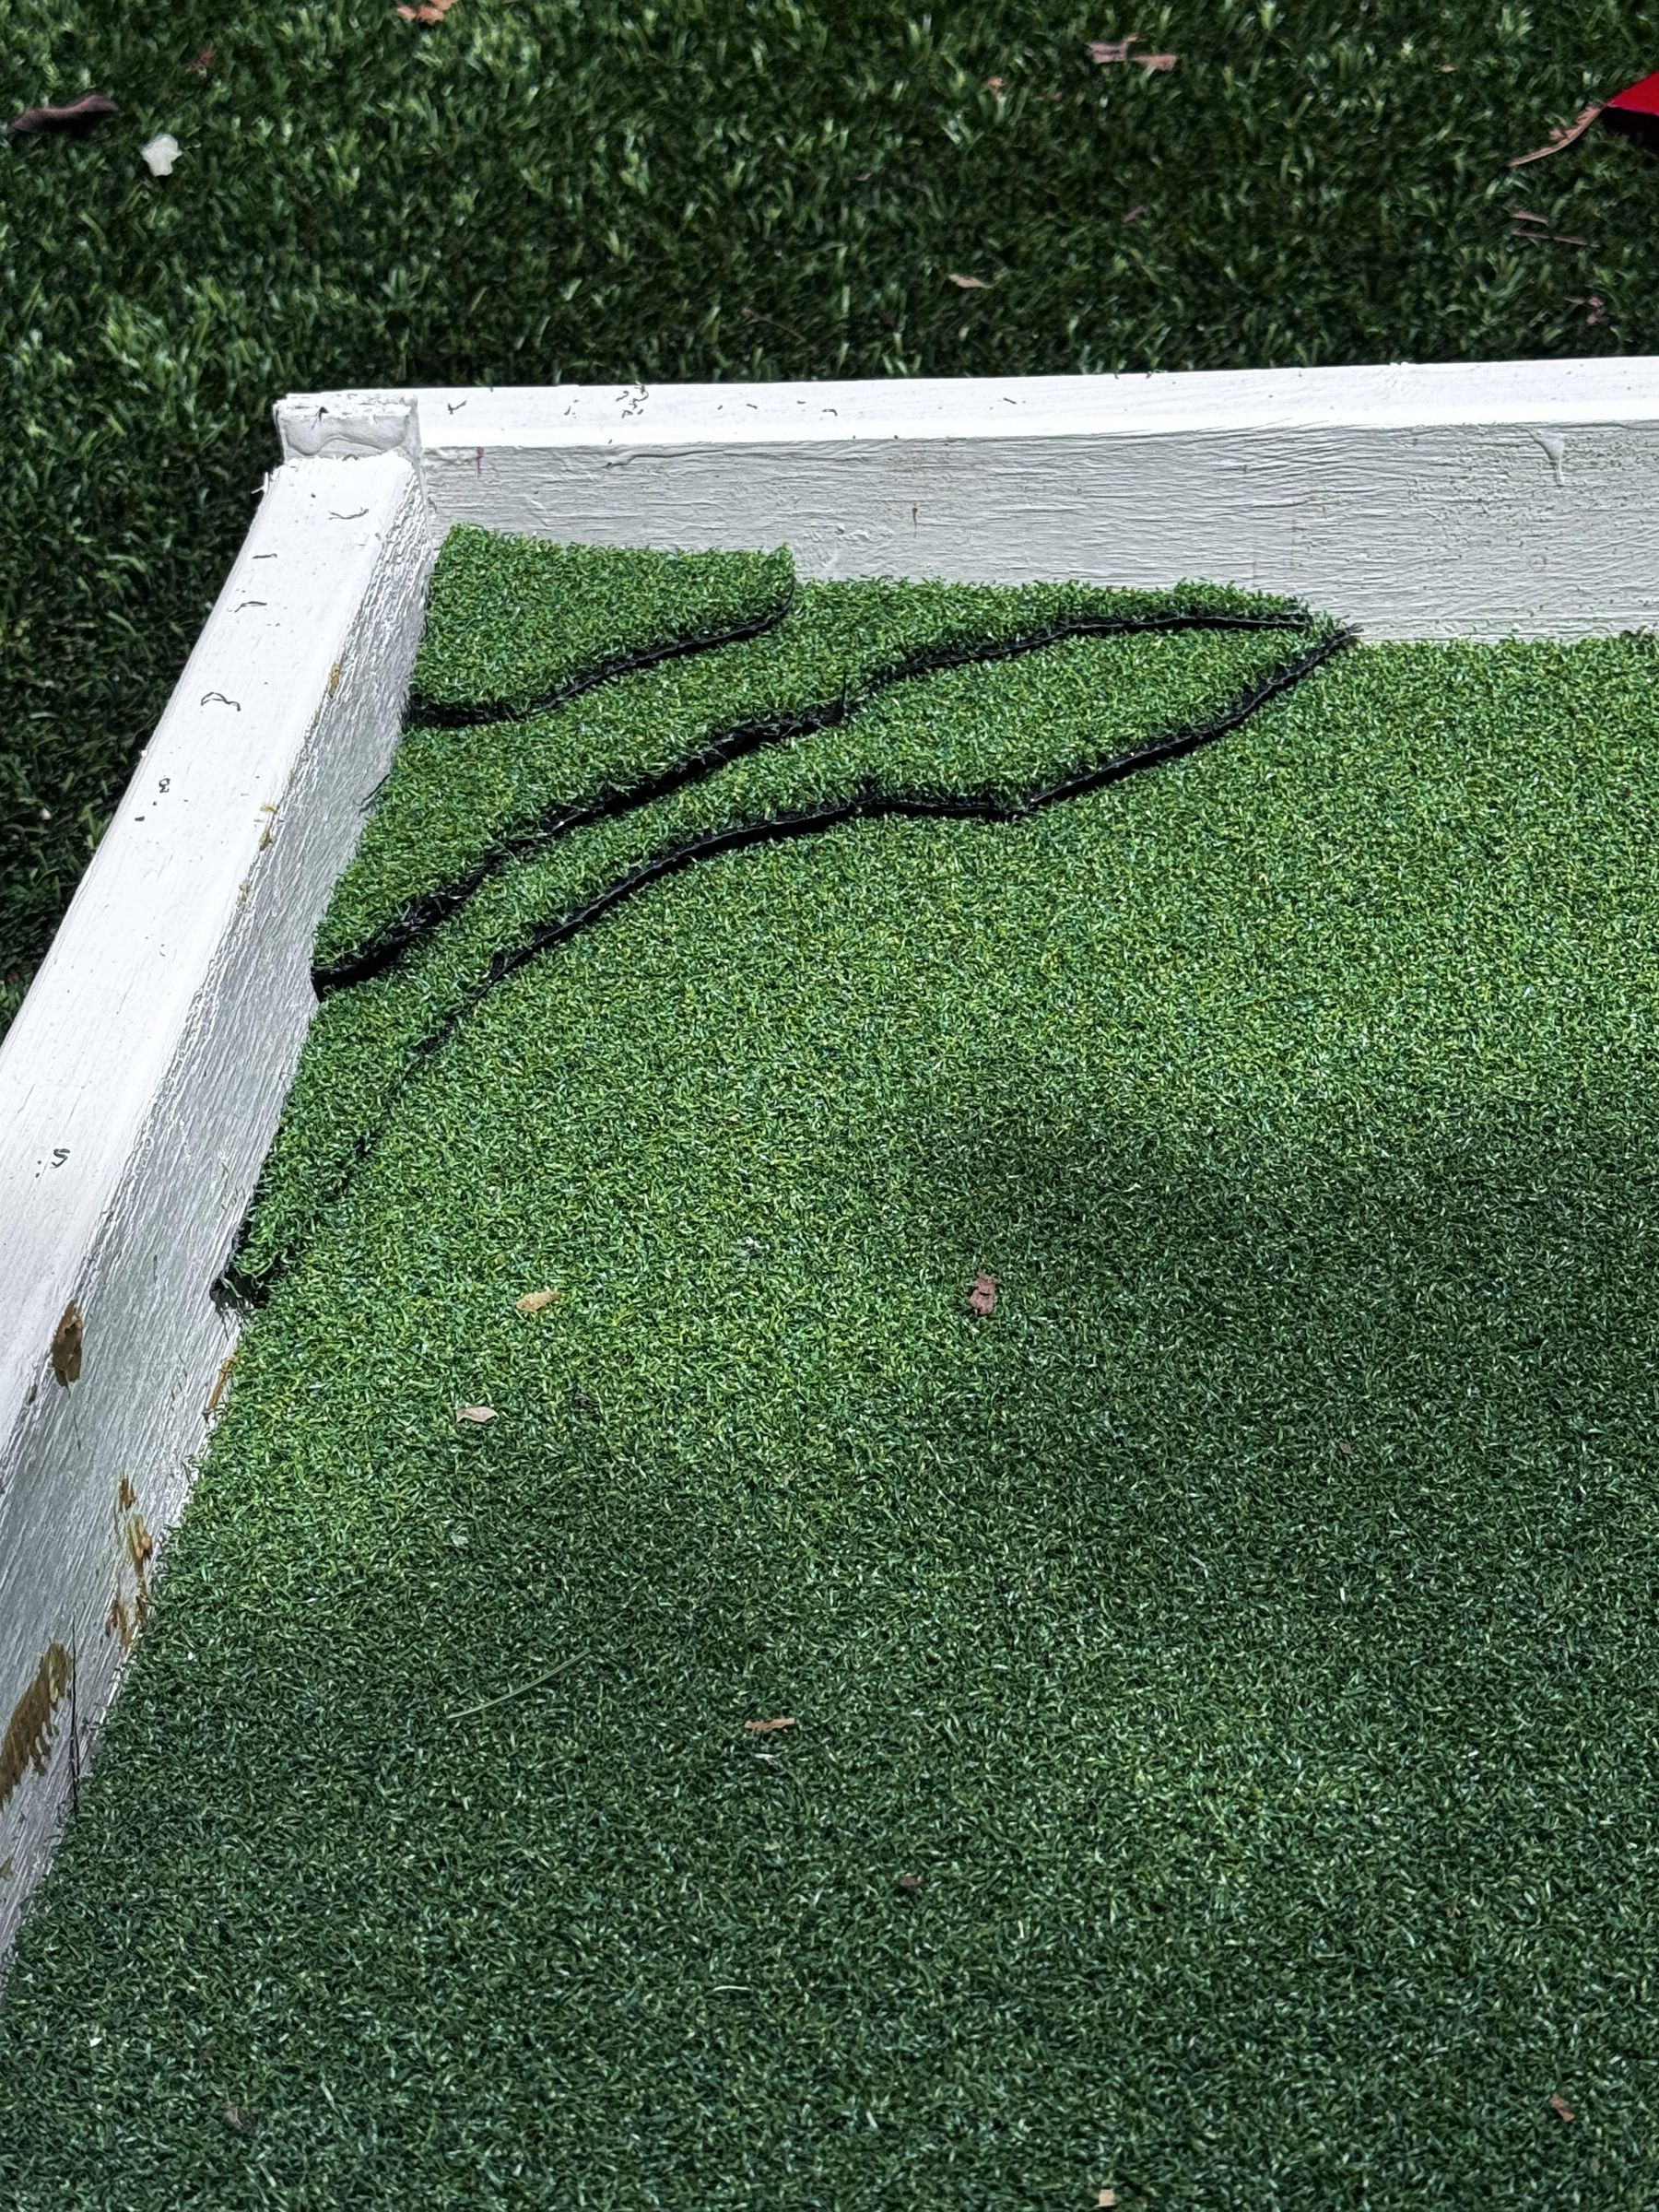
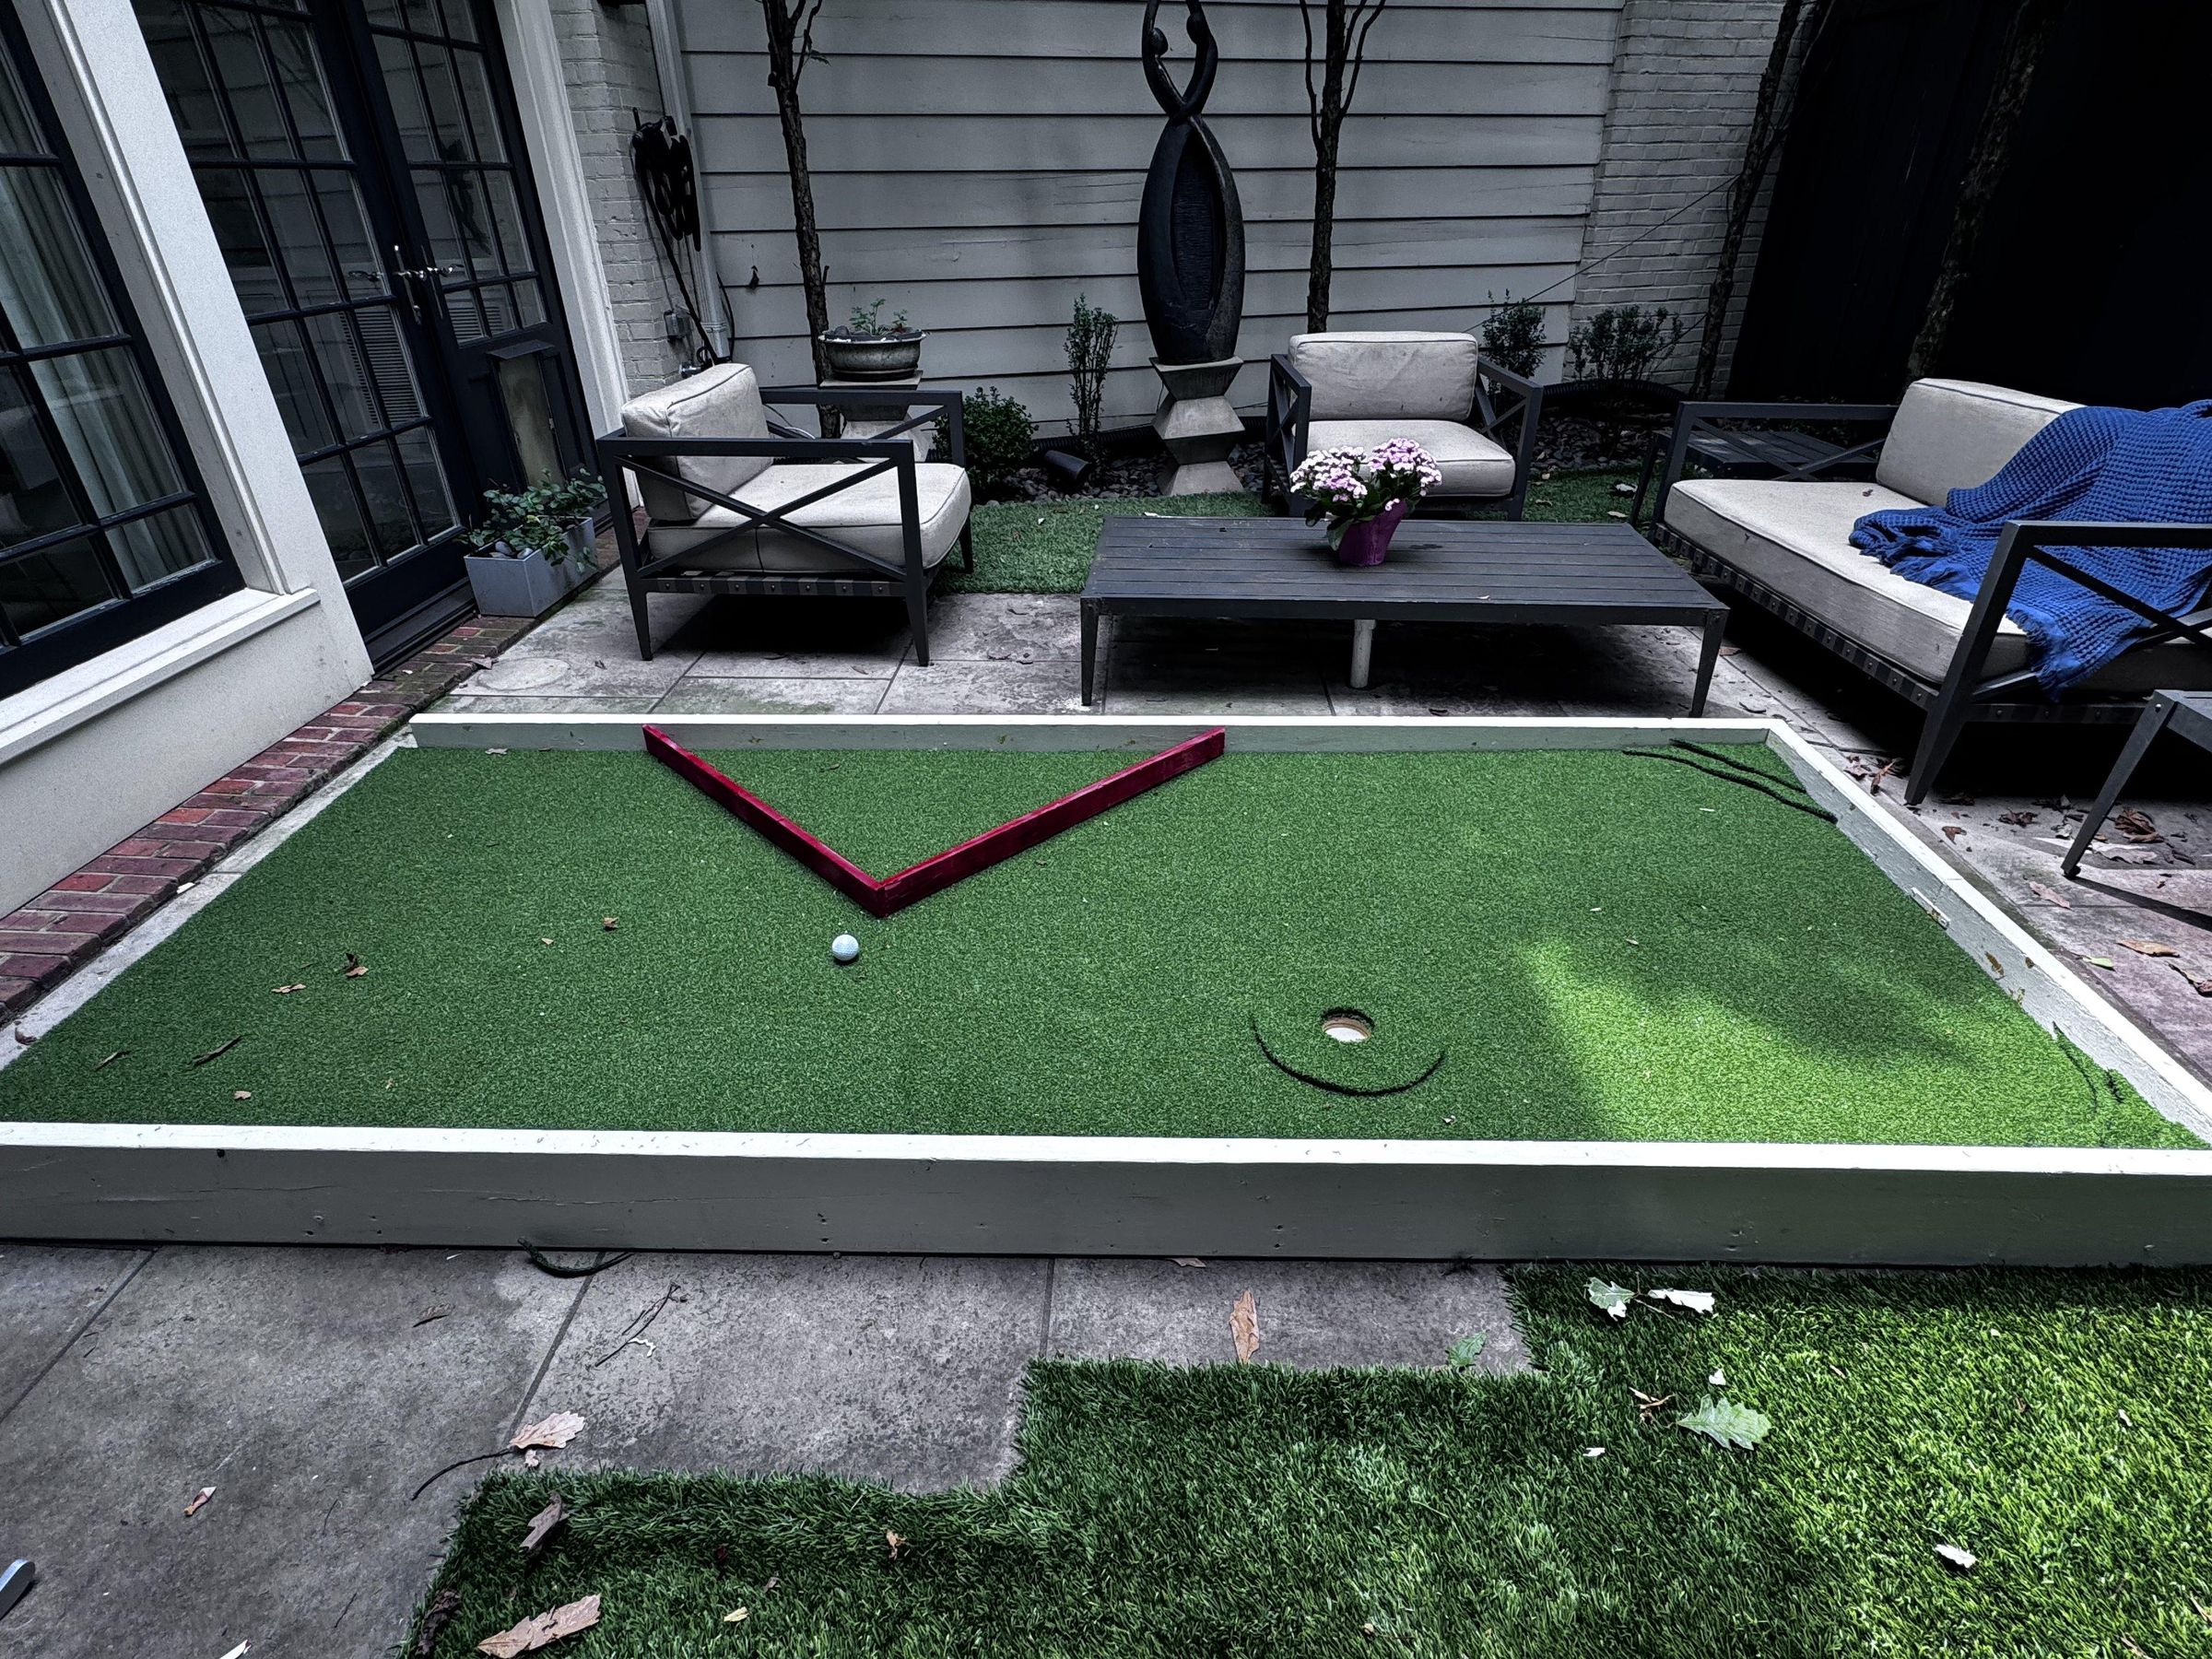
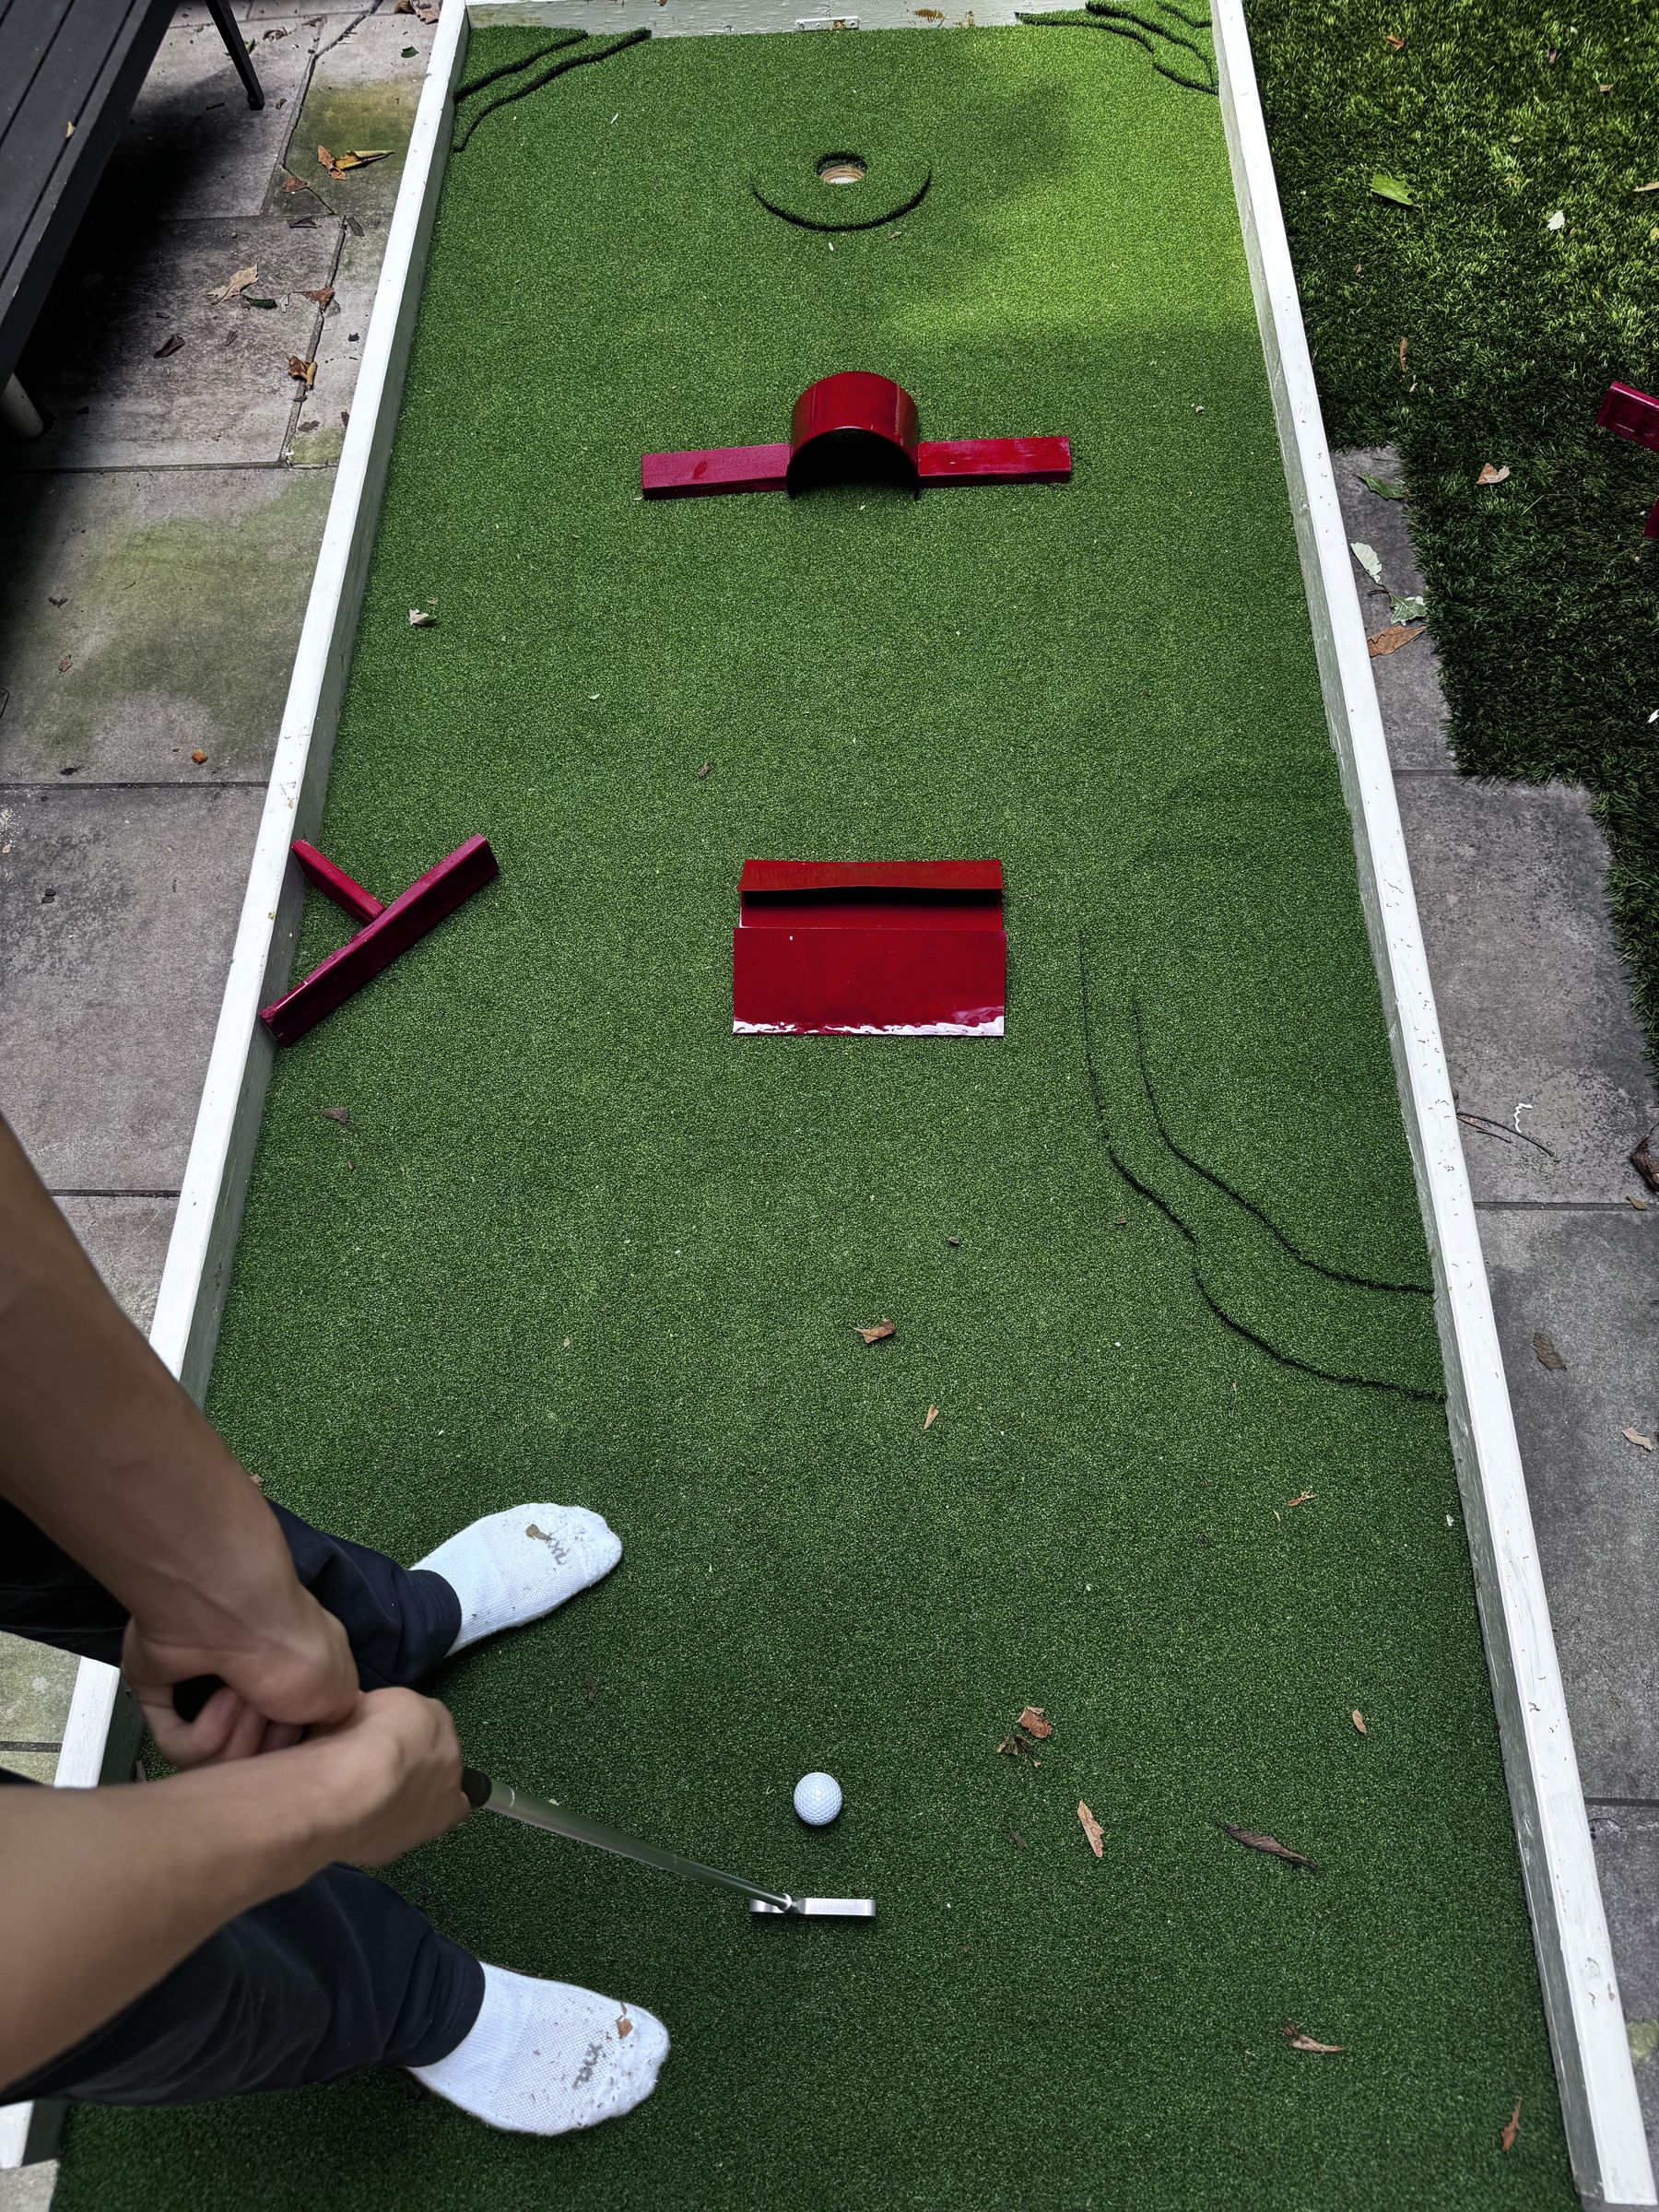
Here's the fun part! We found many different configurations of the obstacles to make many unique courses. We even cut leftover grass to make elevation changes in the course.
I hope you enjoy setting new putting records on your epic home modular minigolf course!