Mosaic Damascus Steel
by Noblie custom knives in Workshop > Knives
28 Views, 1 Favorites, 0 Comments
Mosaic Damascus Steel
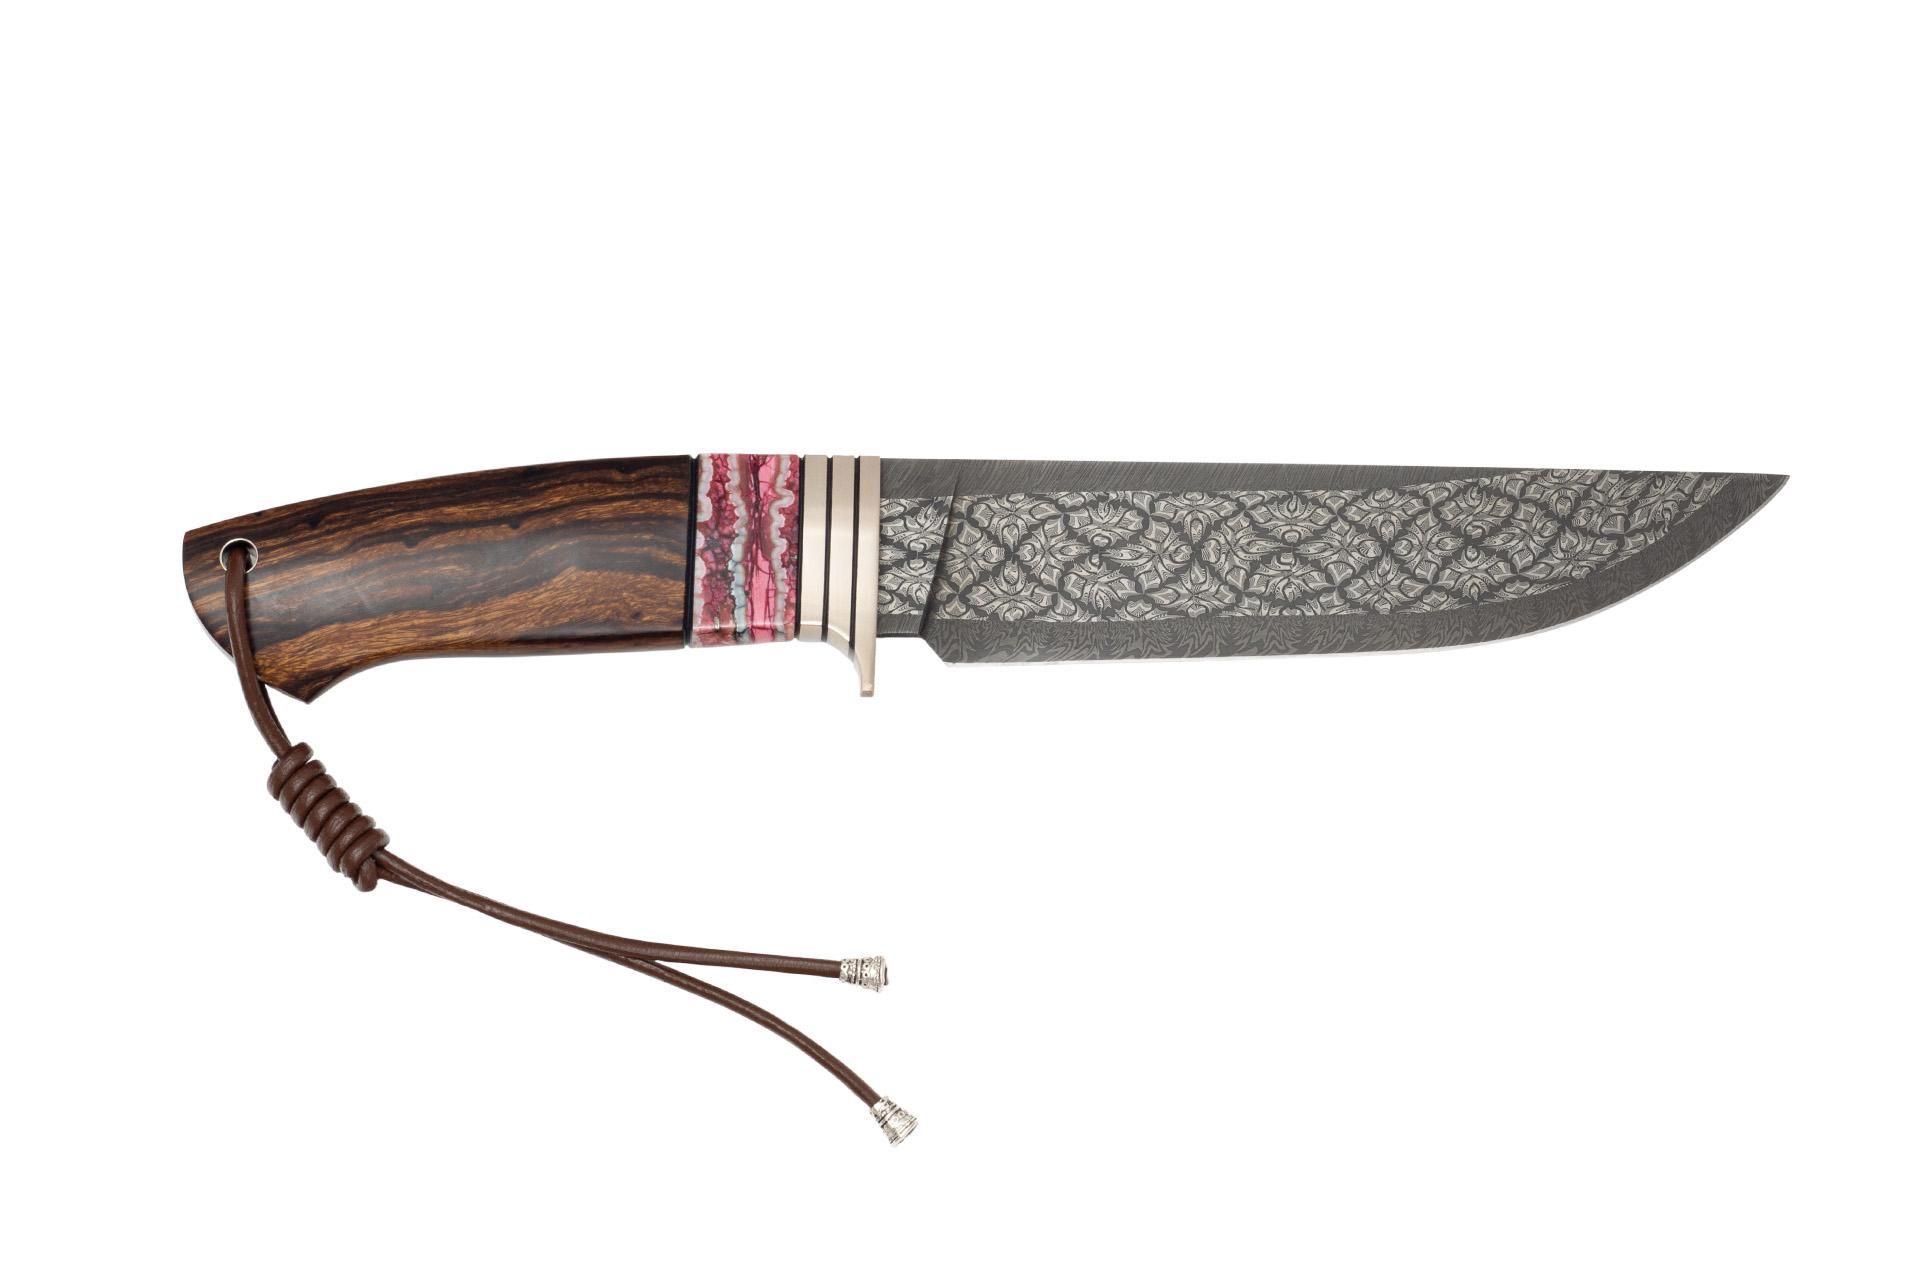
It is necessary to take carbon steel and steel with high nickel content (or pure nickel). Damascus steel patterns vary depending on how the craftsman works with the workpiece. Damascus steel is made from several types of steel welded together into a blank.
This steel is known for its exquisite designs and patterns and is often used to make Damascus knives and daggers. It takes the best steel to make them stable and flexible.
Using two alternating types of steel, the blacksmith heats, twists, and stacks layers of metal to create vibrant patterns. Within patterns of Damascus steel, the steel can be shades of white, gray, or black. Experienced blacksmiths can create many patterns while forging. Then the blade must be hardened.
HOW TO MAKE A MOSAIC DAMASCUS BLADE
Making Damascus blades is quite a simple procedure. Yet, it is time-consuming and requires ongoing accuracy. The common procedure is like this:
1. Collect components in a furnace.
2. Heat furnace to melt the components together. After the furnace has reached its cooling point, remove the metal billet and heat it to a required temperature.
3. Start the folding (‘sandwiching’) stage. Hammer the metal while it is hot. After the metal cools, reheat it to forge again.
4. Cut and re-assemble the billet. For example, you may stack four bars in a quaternary cross-section, or invent another structure. Tack-weld the bars.
5. Repeat the heating and pressing phase. This time you may press the billet from the angle side as well, to add waviness to the pattern.
6. After doing the heating and cutting for a couple of times, you may go creative. This time, cut your billet at an angle, from 15 to 35 degrees, and re-assemble the pieces by turning each of them by 90 degrees. This will reveal the mosaic pattern onto the blade surface. Tack-weld the pieces again.
7. Repeat the previous cycle as many times as you need. Don’t forget to sharpen edges and shape the blade.
8. Once the final shape has been attained, cut and hand-forge the final details of your blade.
9. Move away the carburized metal excess from the blade’s surface.
10. Reheat the blade. Hammer it flat, then polish to set the blade’s near-final form.
11. Etch the surface with acid to amplify the pattern.
12. Upon completion, clean acid carefully from the blade’s surface.
Supplies
MATERIALS AND TOOLS
You will need the following tools to forge Damascus steel:
Forge; Anvil and hammer; Tongs; Tempering oven; Drill or drill press; Vise; Welding tool
Also, these materials are crucial:
flux material (to promote melting), such as fine silica sand or ferric chloride; metal scrap; brass pins; rebar; quenching oil; finishing medium.
1. Assemble Your Billet, As You Normally Do for a Damascus.
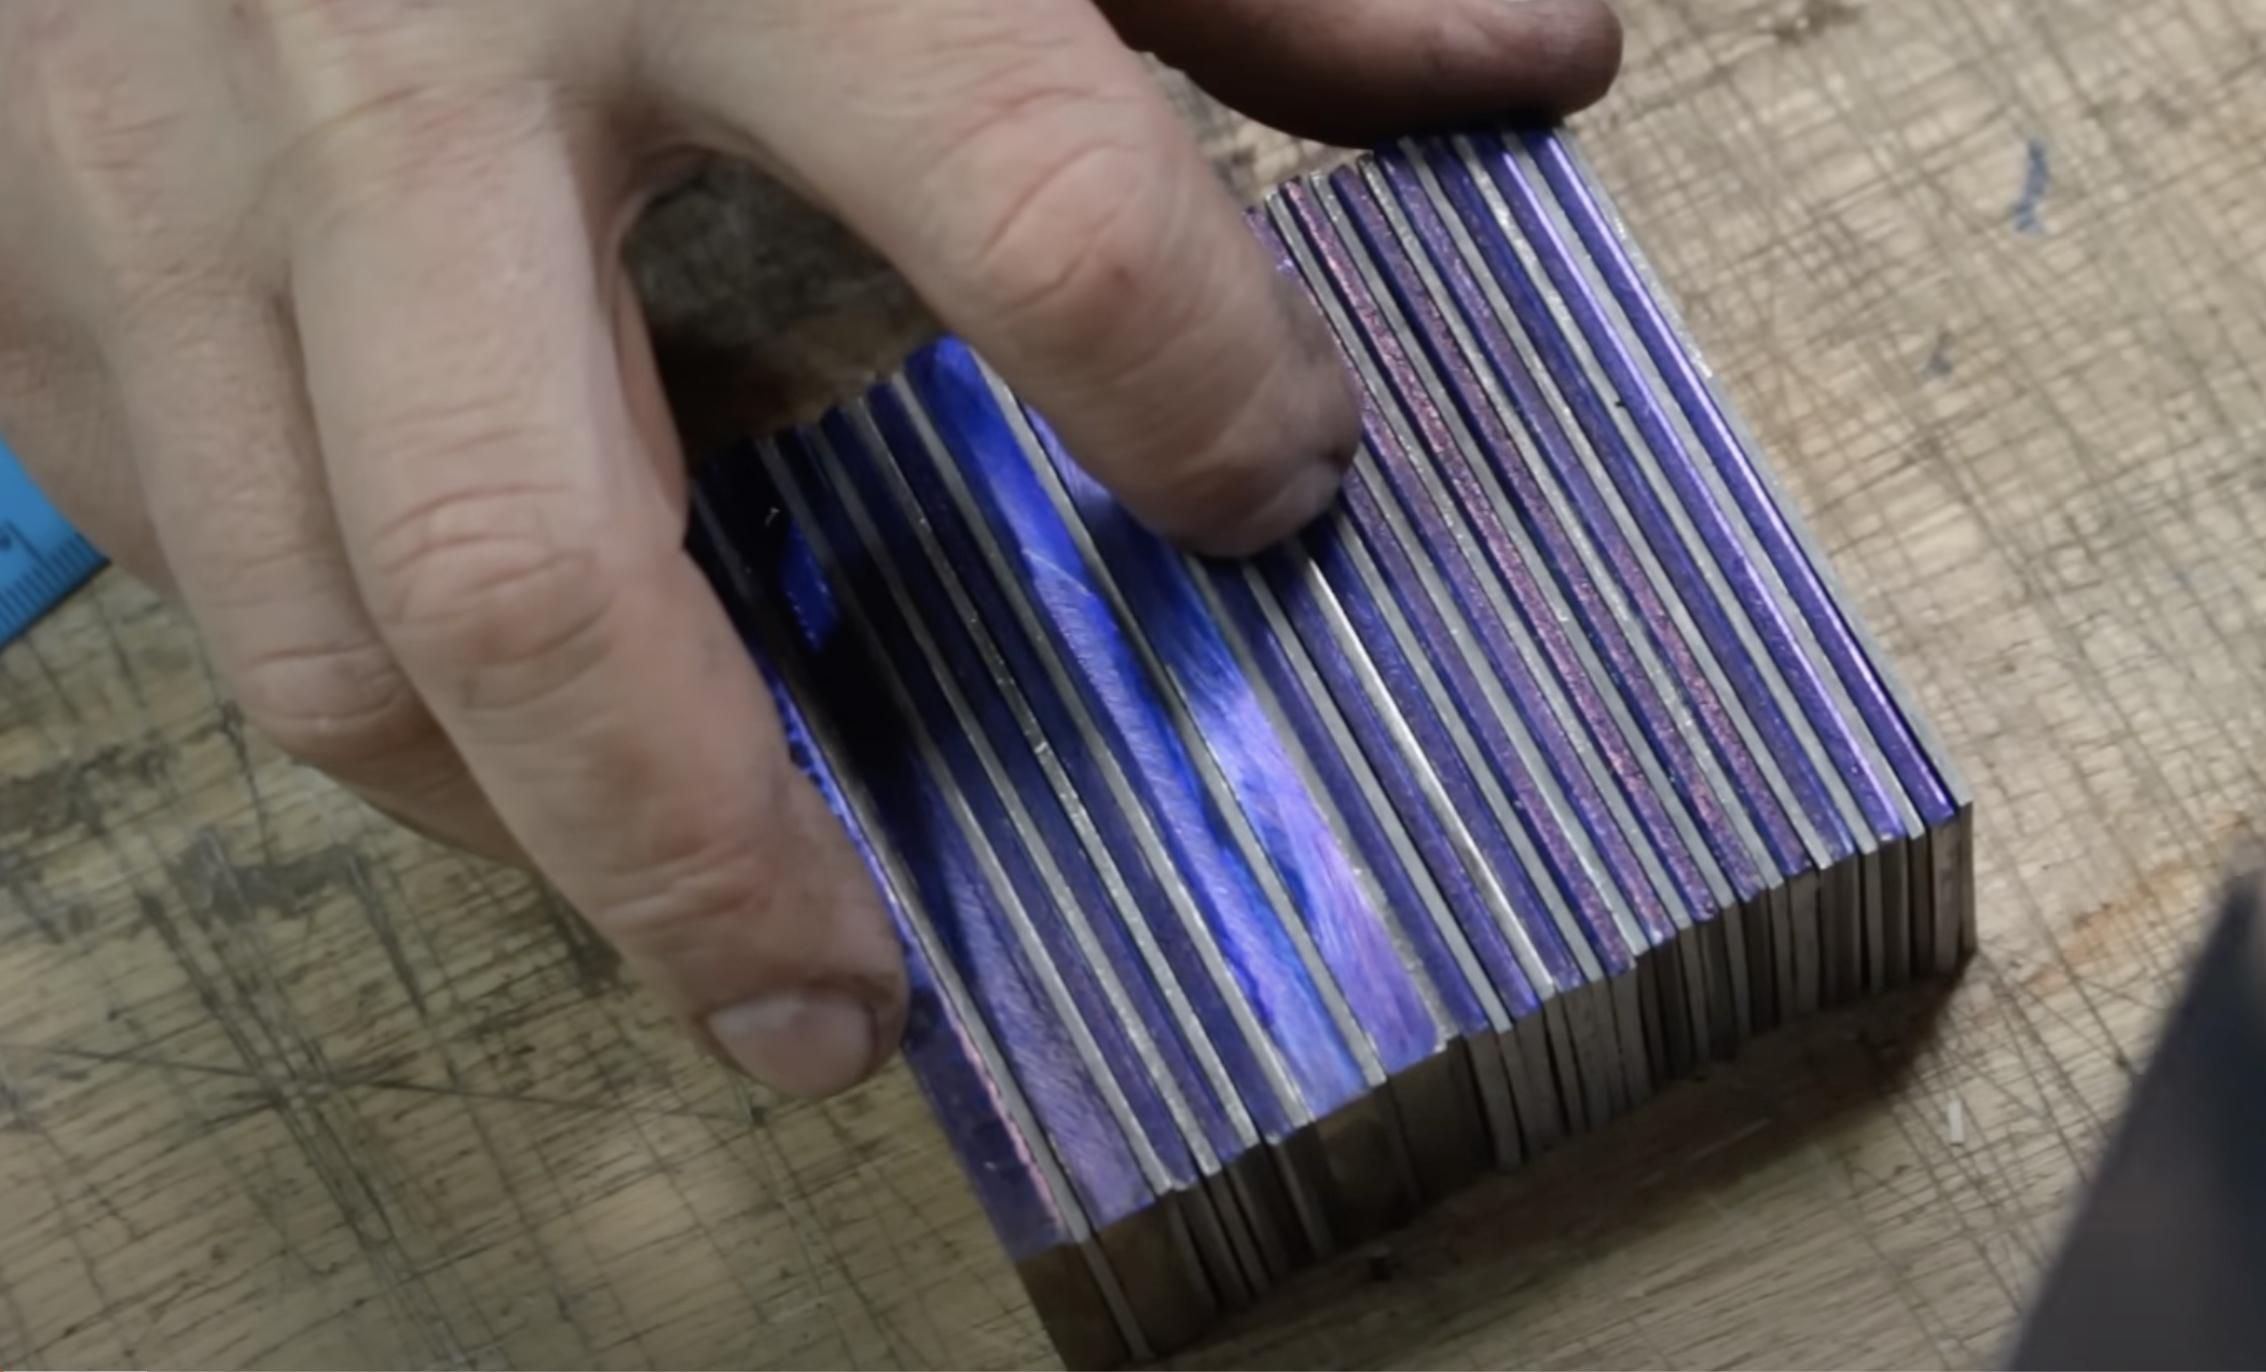
Assembling the billets is the first stage. Cut the steel plates into the right (identically sized) dimensions for your blade and stack them up, alternating low-carbon and high-carbon steel, with the thickest material on the top and bottom of the billet. After aligning all of the layers together and forming a billet, create a temporary handle you can use to move the material in and out of the forge.
Forge Welding
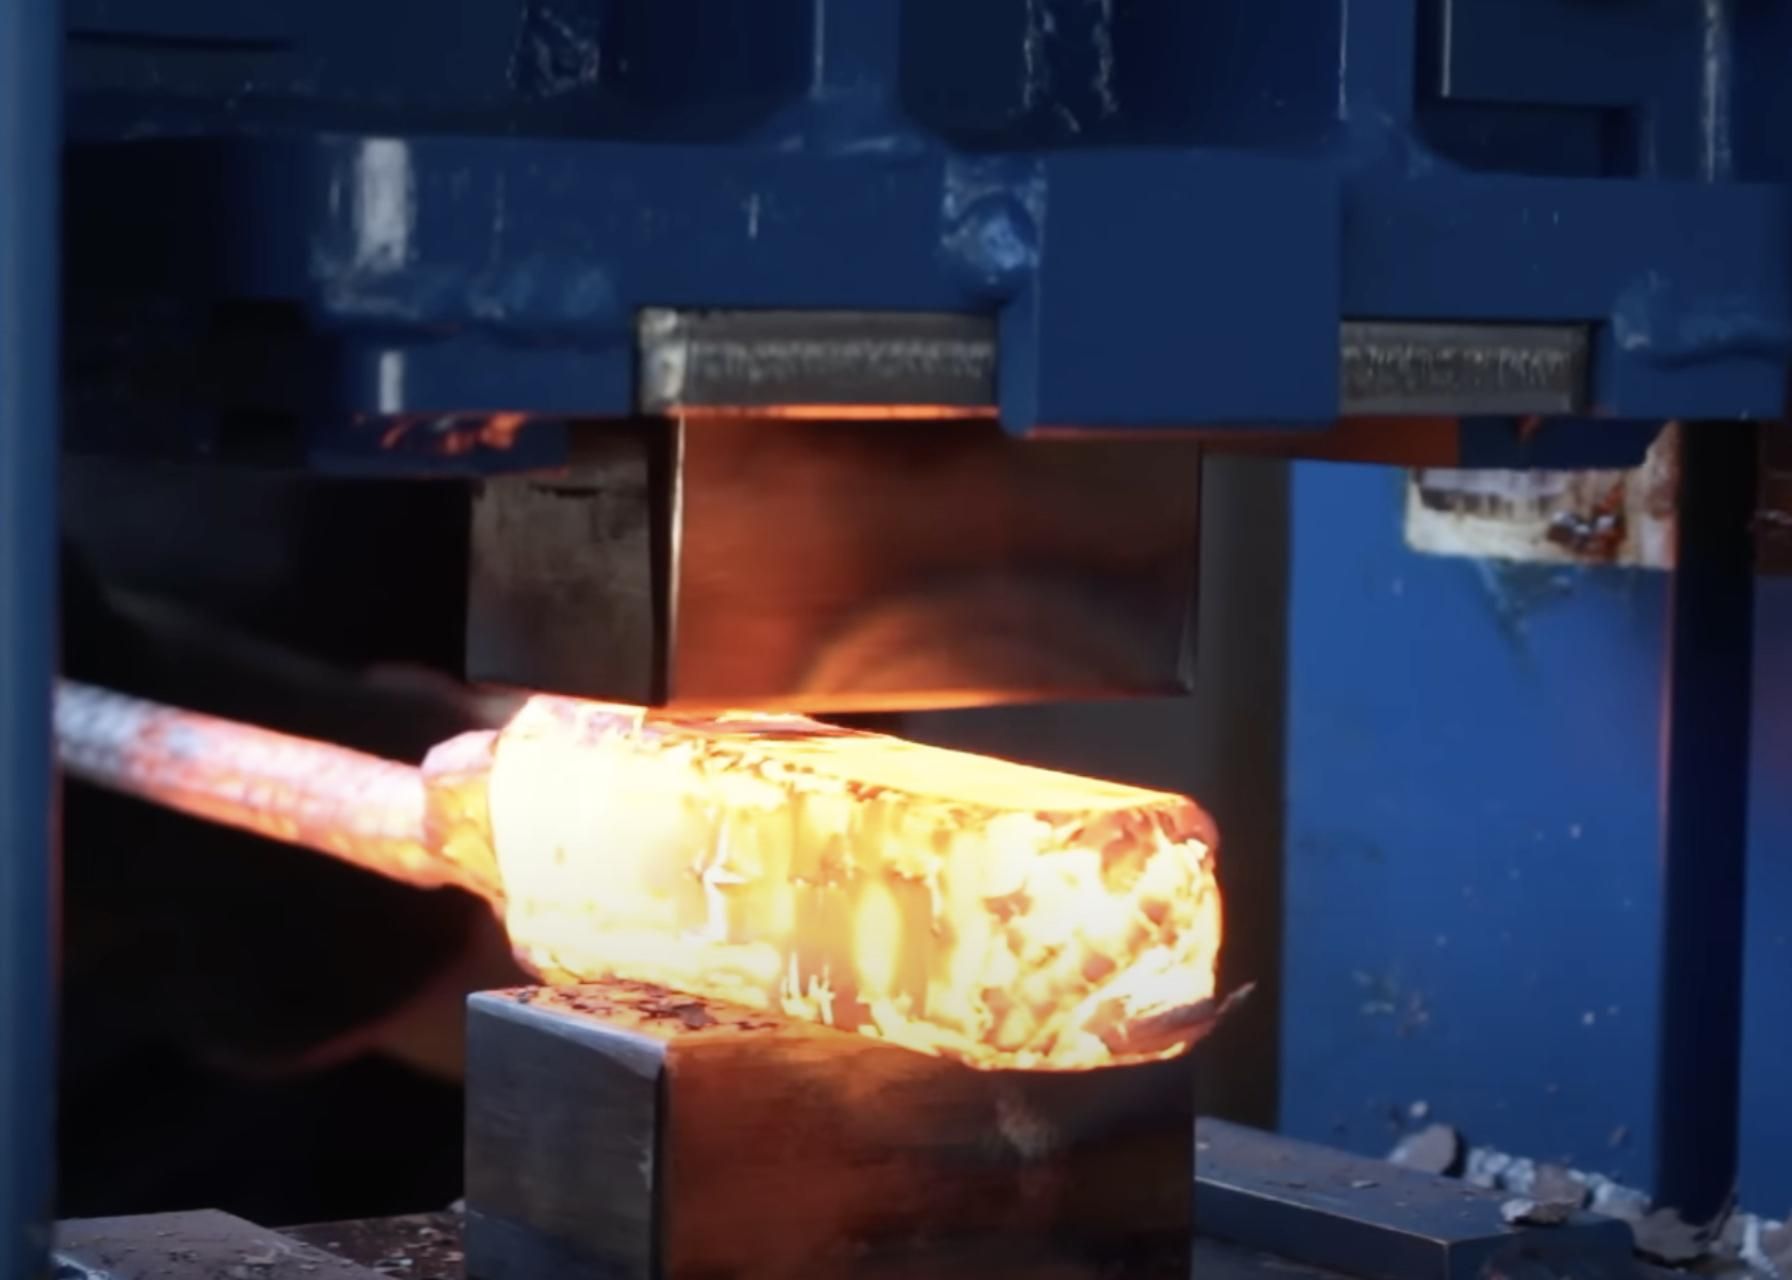
Your forge must be capable of reaching 2,300 degrees Fahrenheit. You may use ceramic fiber insulation or a castable refractory in the forge to help resist flux and also to protect the ceramic fiber from damage.
Standard welding steps are:
1. Place the billet into the preheated forge and soak until the billet is dull red. Then apply anhydrous borax as flux.
2. Allow the billet to reach the right welding temperature, which is when the flux is bubbling quickly. Ensure even heating of the billet by rotating it.
4. Weld the billet using a press or hammer. Hammer while the billet is hot, so that the steel plates form a homogeneous block.
5. Remove the flux and scale with a wire brush. Reheat the billet and forge into a square profile, reheating as many times as needed to reach the required dimensions;
6. When the billet has cooled, remove any scale of the billet. Cut the billet as necessary to reach the desired number of layers, and fold the sections on top of each other.
7. Repeat the welding process and draw the billet out to the required dimensions. Repeat the process as many times as needed to obtain the desired number of layers in the blade.
Cut and Re-assemble the Billet.
For example, you may stack four bars in a quaternary cross-section, or invent another structure. Tack-weld the bars.
Repeat the Heating and Pressing Phase.
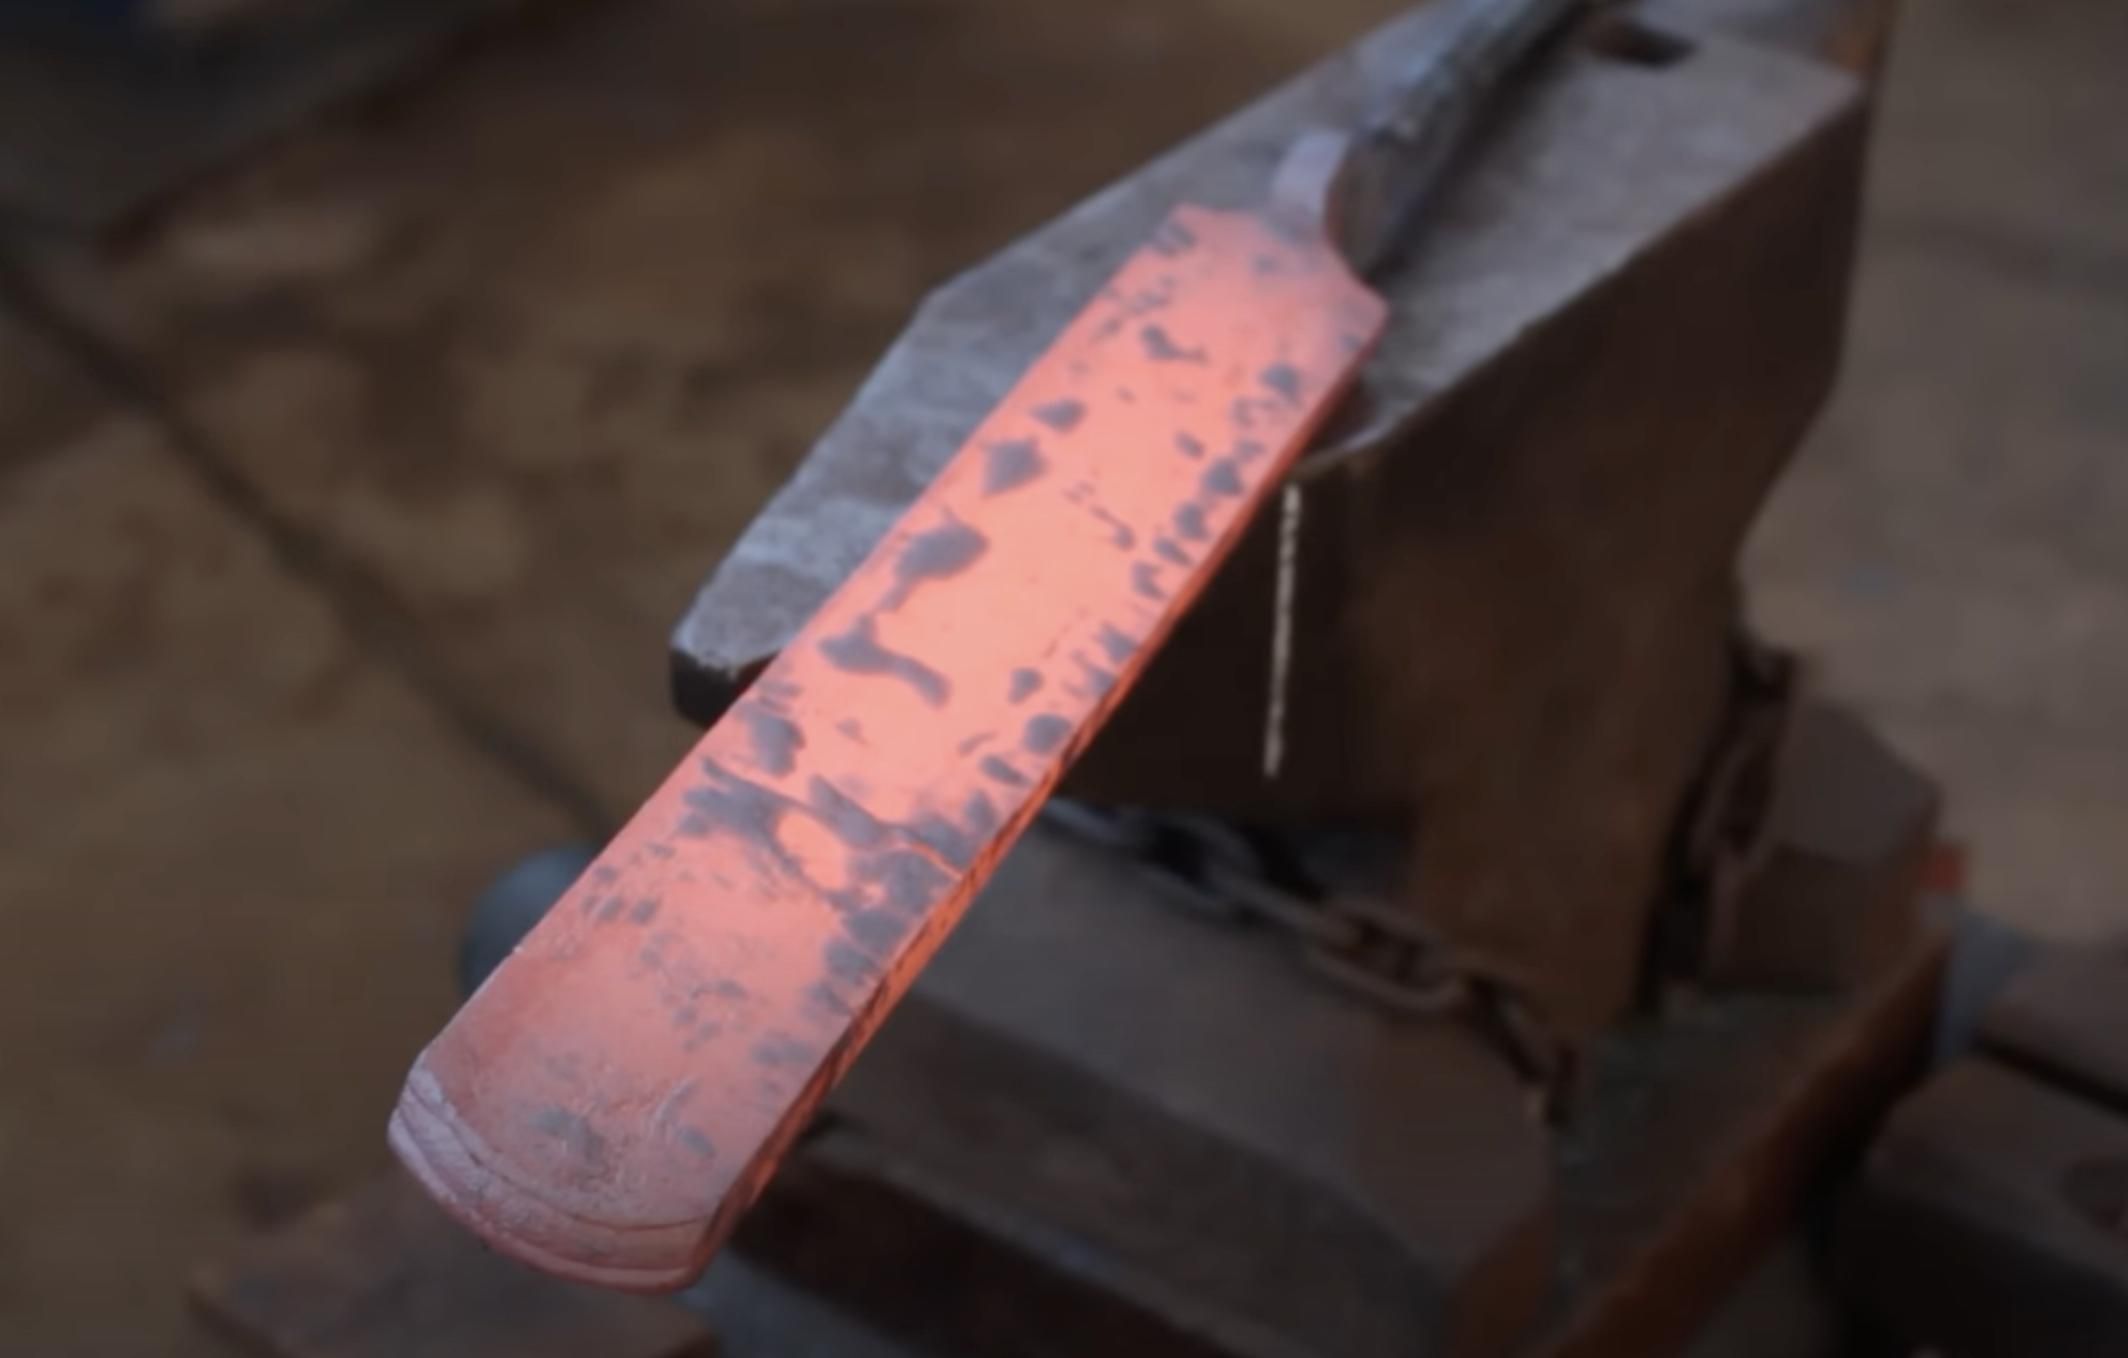
This time you may press the billet from the angle side as well, to add waviness to the pattern.
After Doing the Heating and Cutting for a Couple of Times, You May Go Creative.
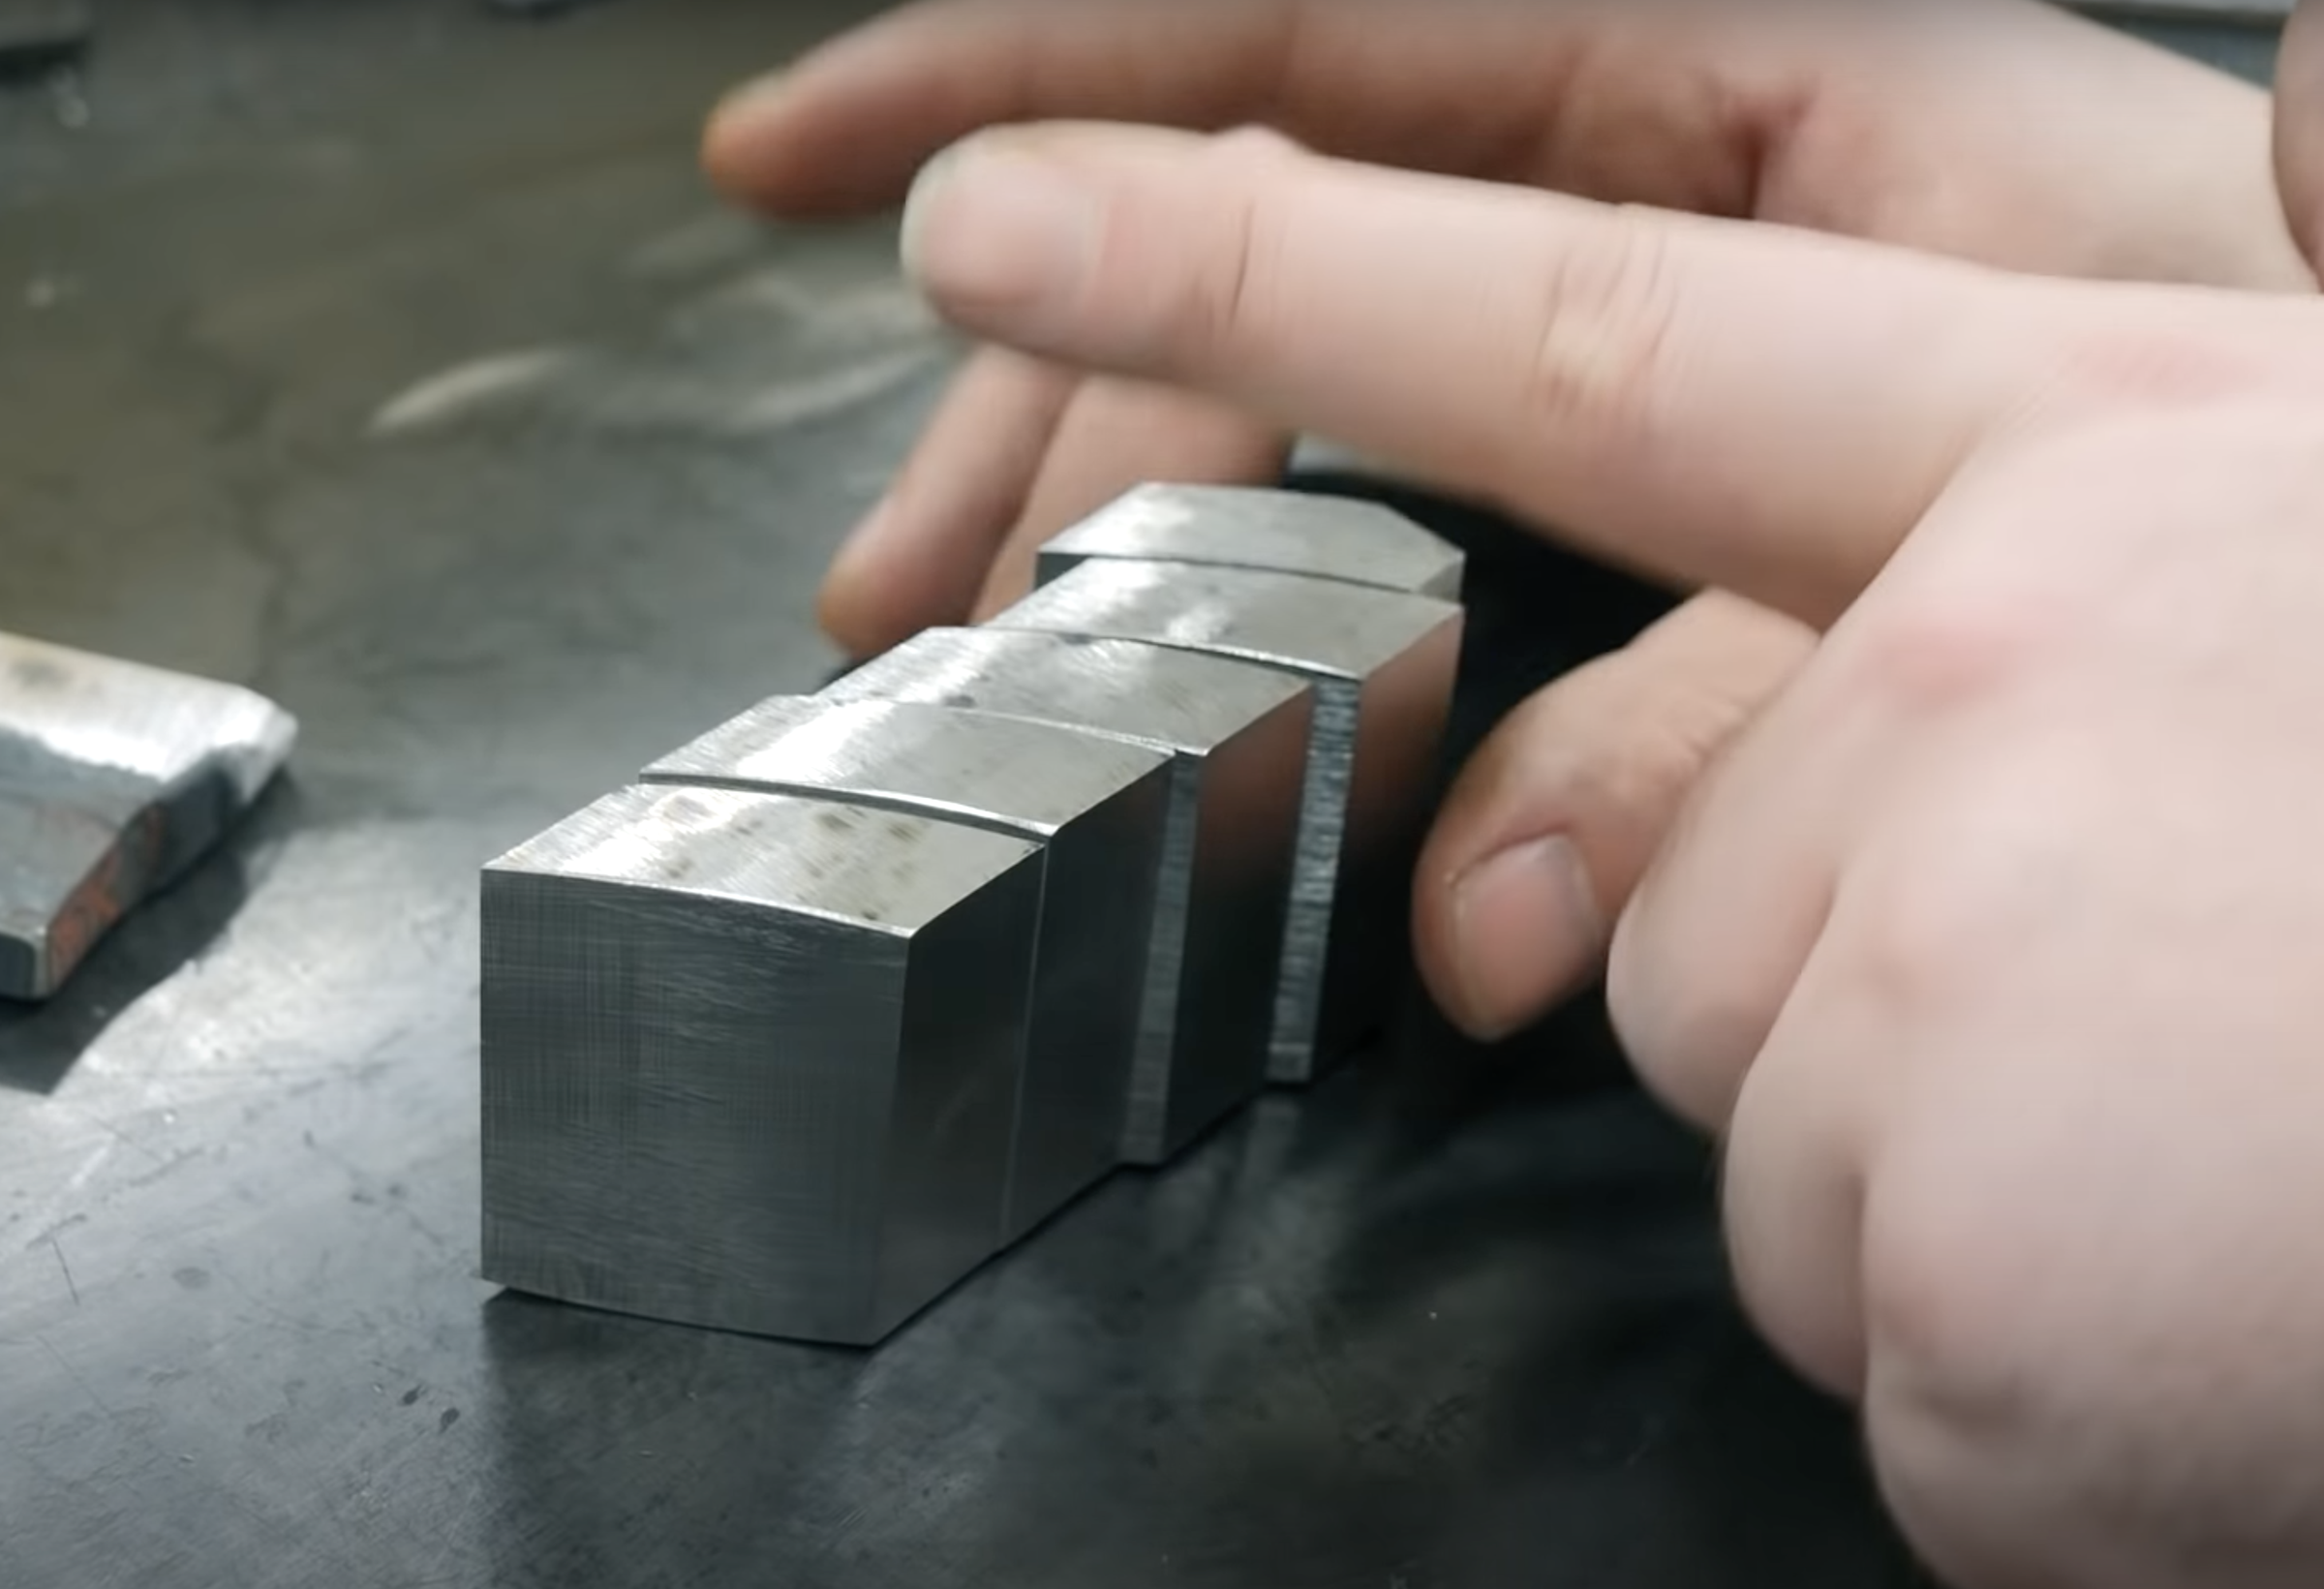
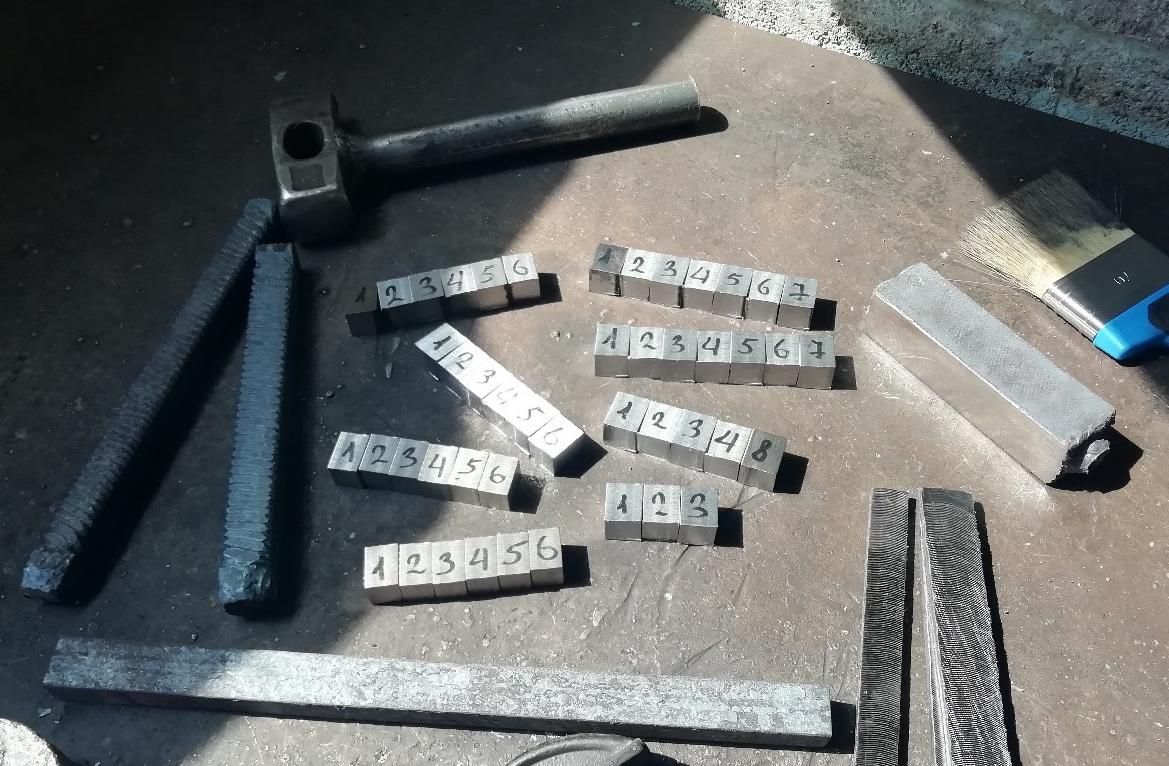
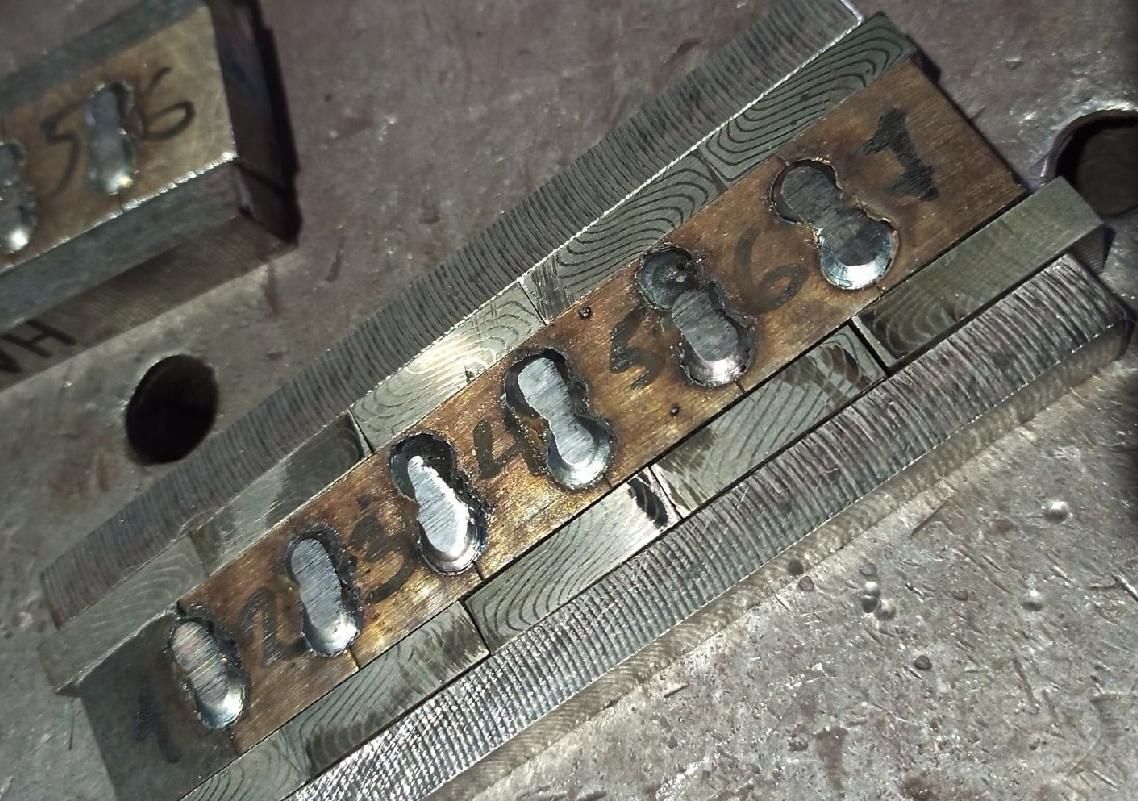
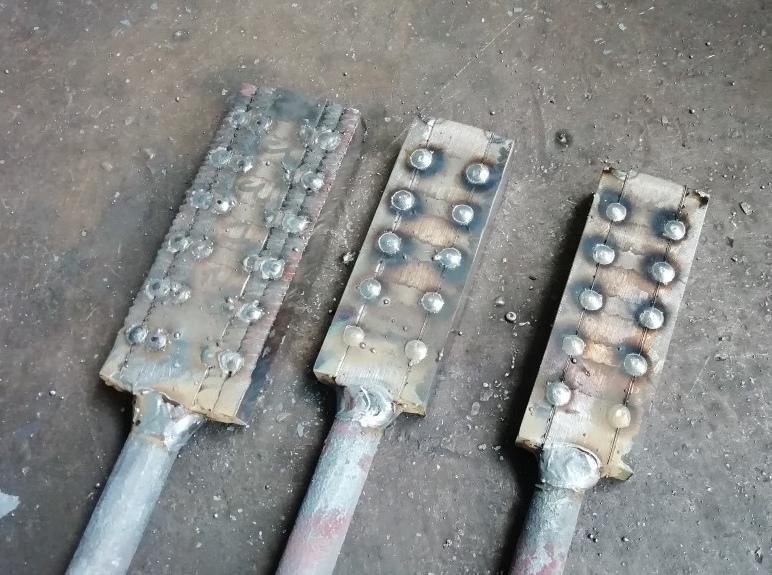
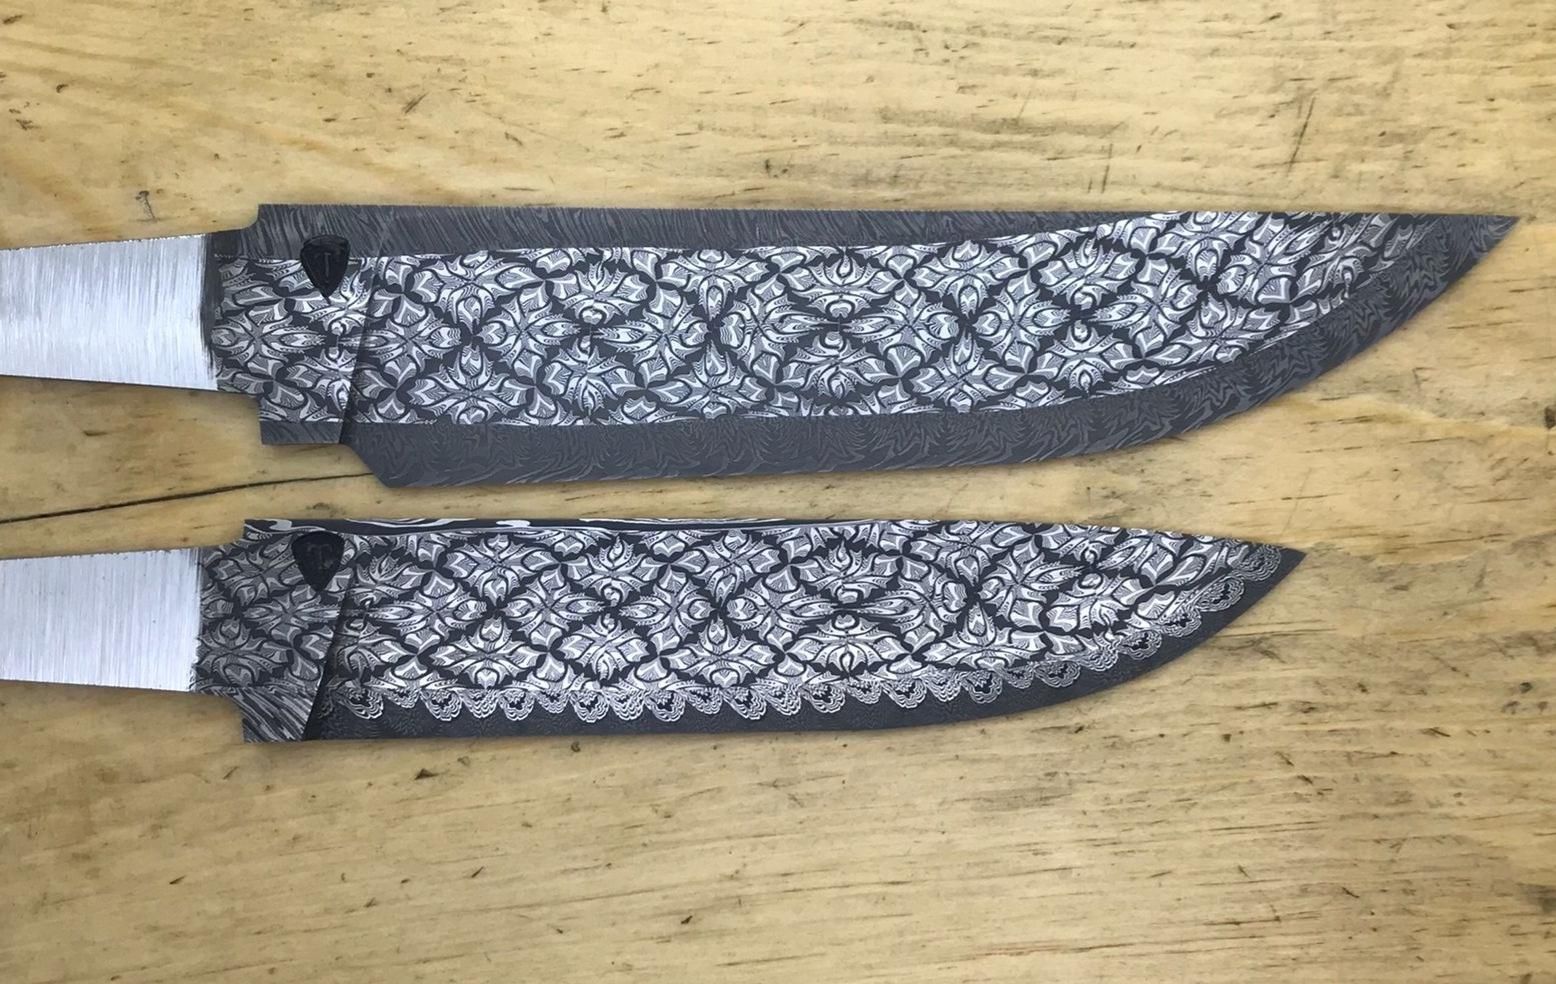
This time, cut your billet at an angle, from 15 to 35 degrees, and re-assemble the pieces by turning each of them by 90 degrees. This will reveal the mosaic pattern onto the blade surface. Tack-weld the pieces again.
Blade Forming and Finishing
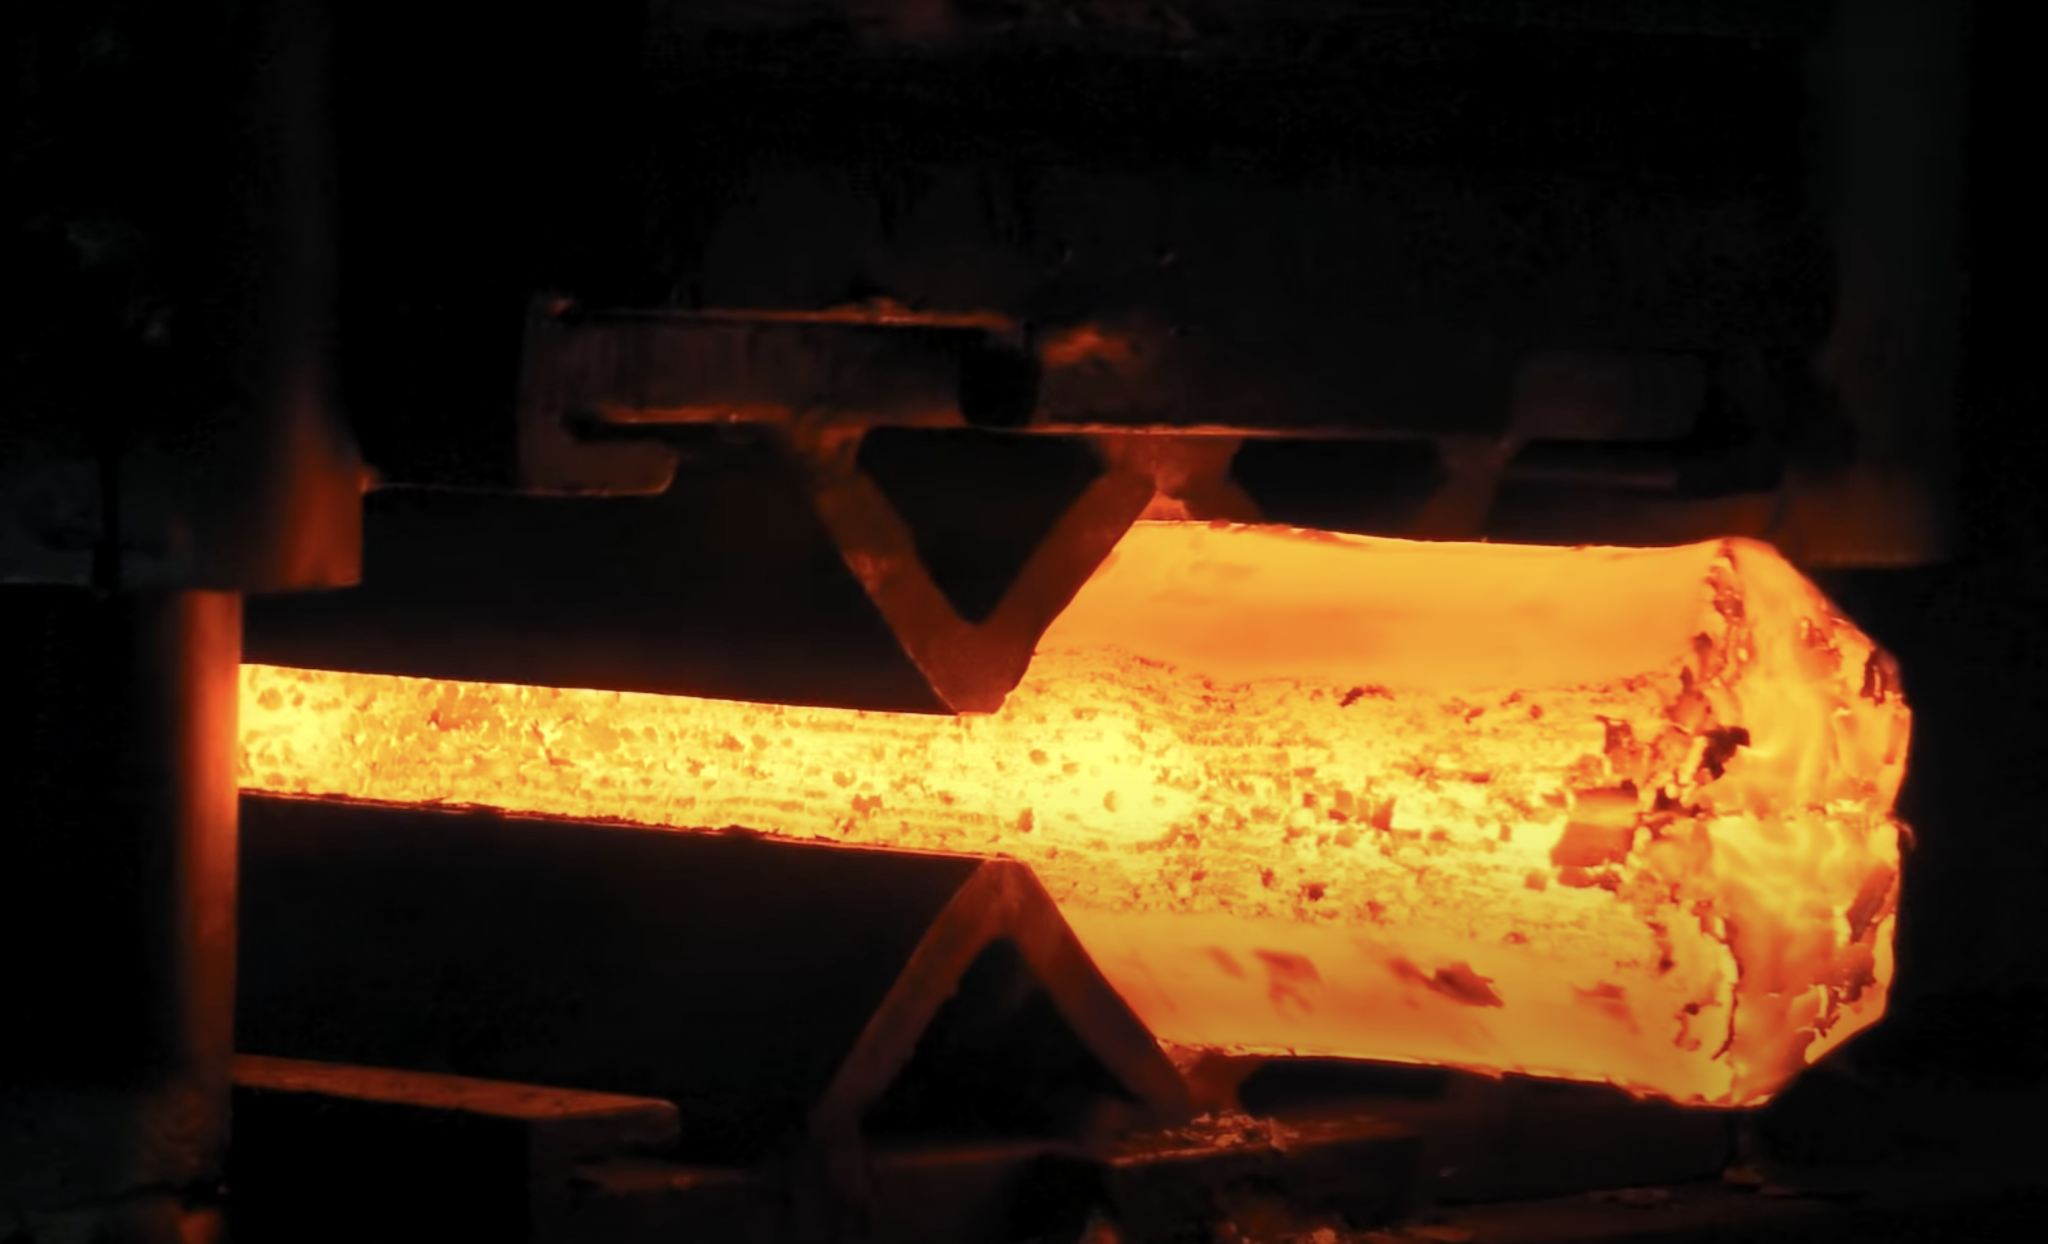
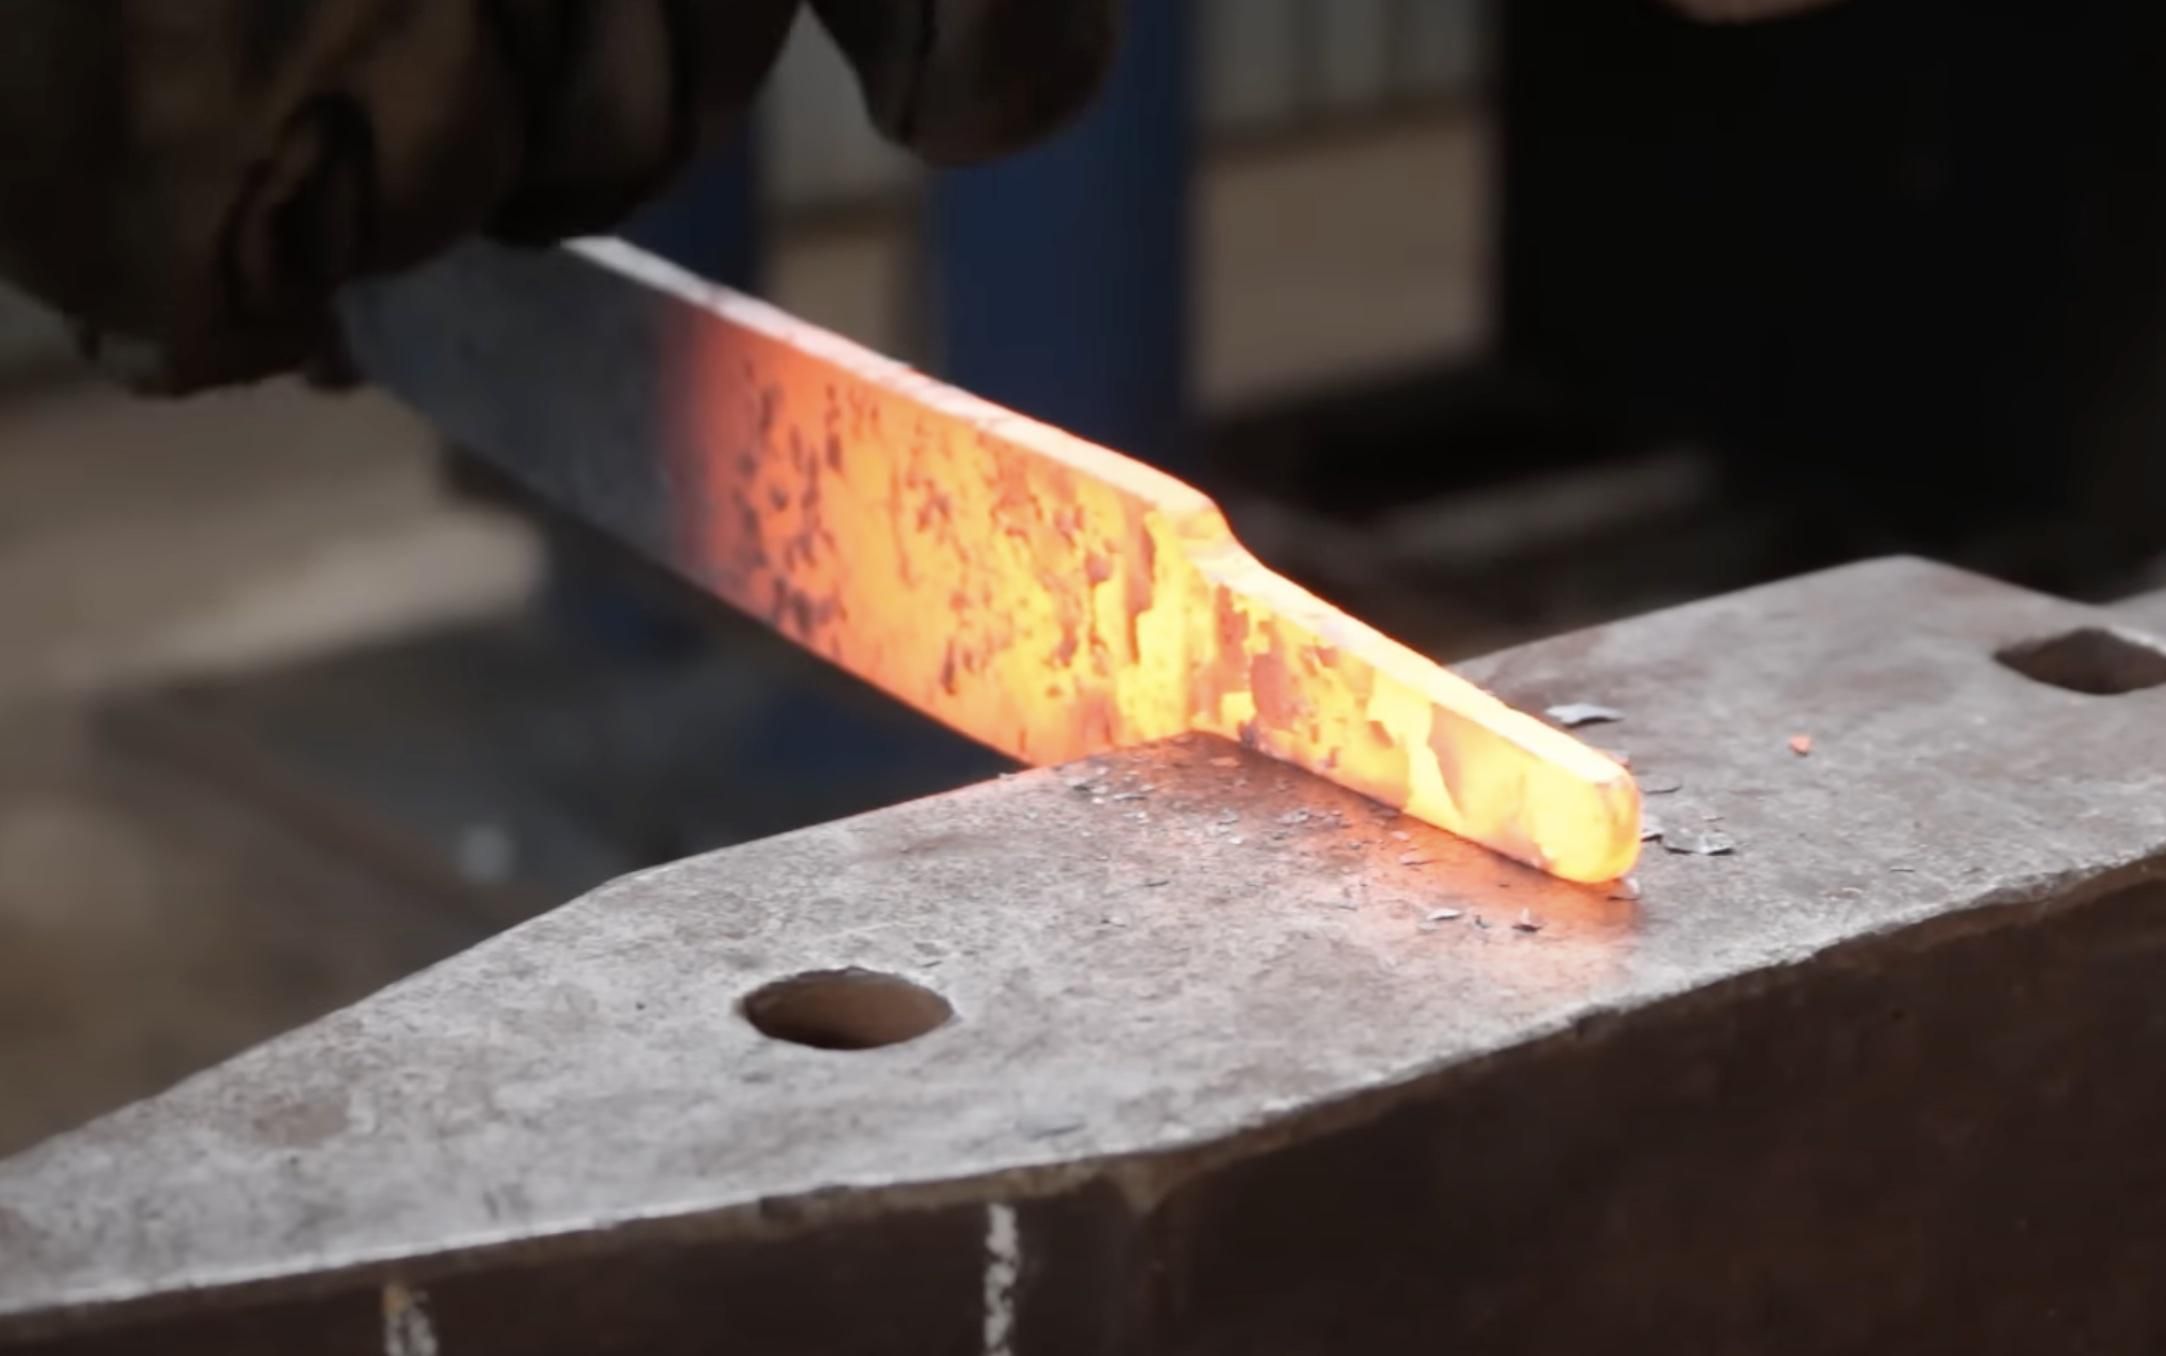
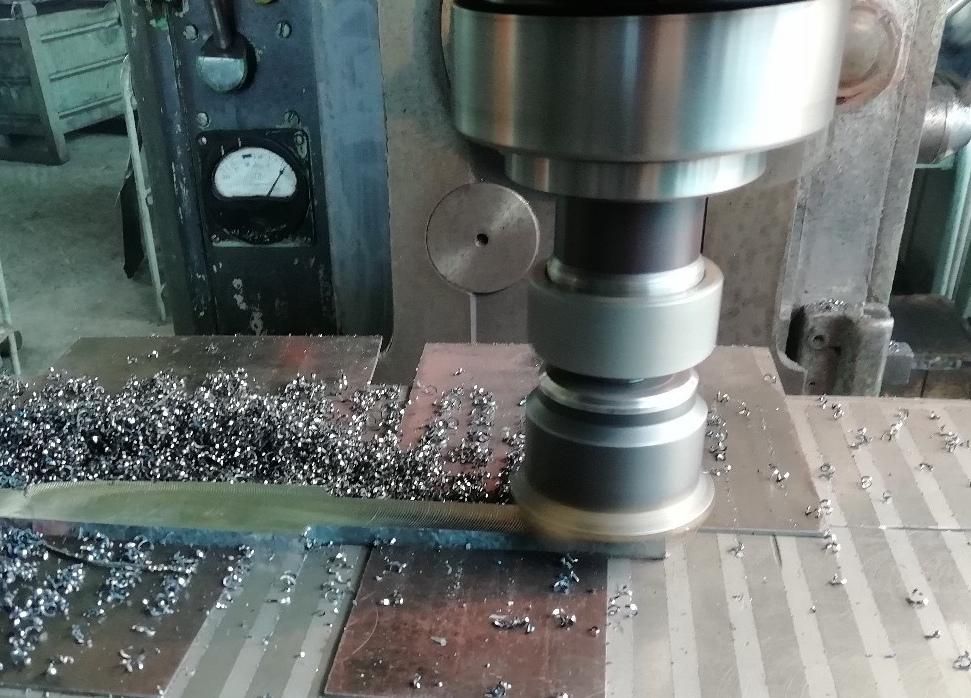
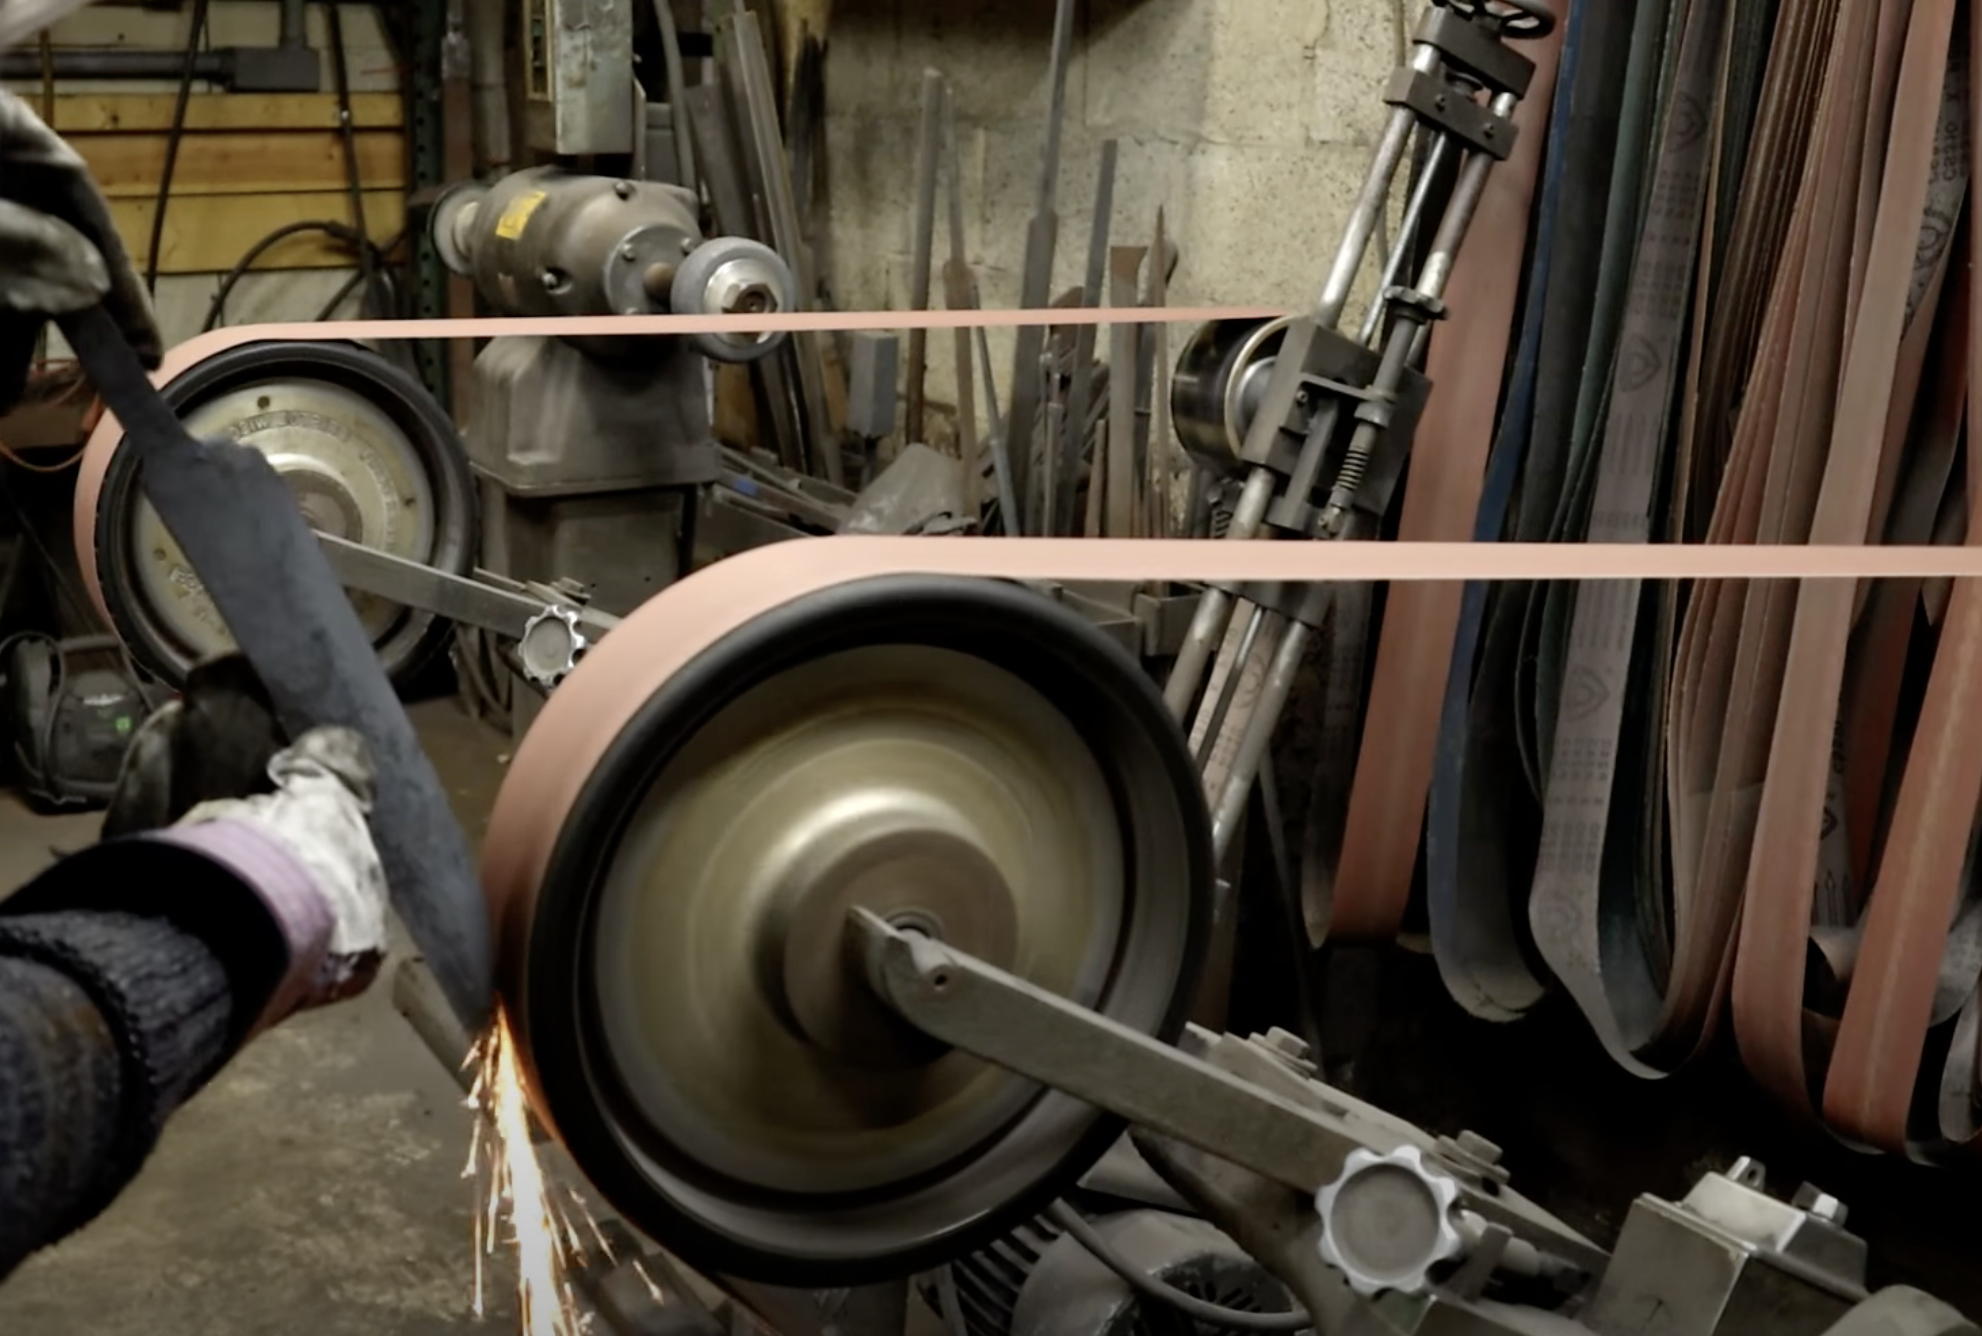
When the billet has cooled, remove any scale of the billet.
After forging your Damascus you must heat-treat it. You’ll have to run three thermal cycles, heating the blade to non-magnetic and then allowing it to cool, to relieve any stresses that may remain after forging. After doing this three times, allow the blade to cool to indoor temperature. This will normalize the steel and diminish the possibility of deformation during the hardening stage.
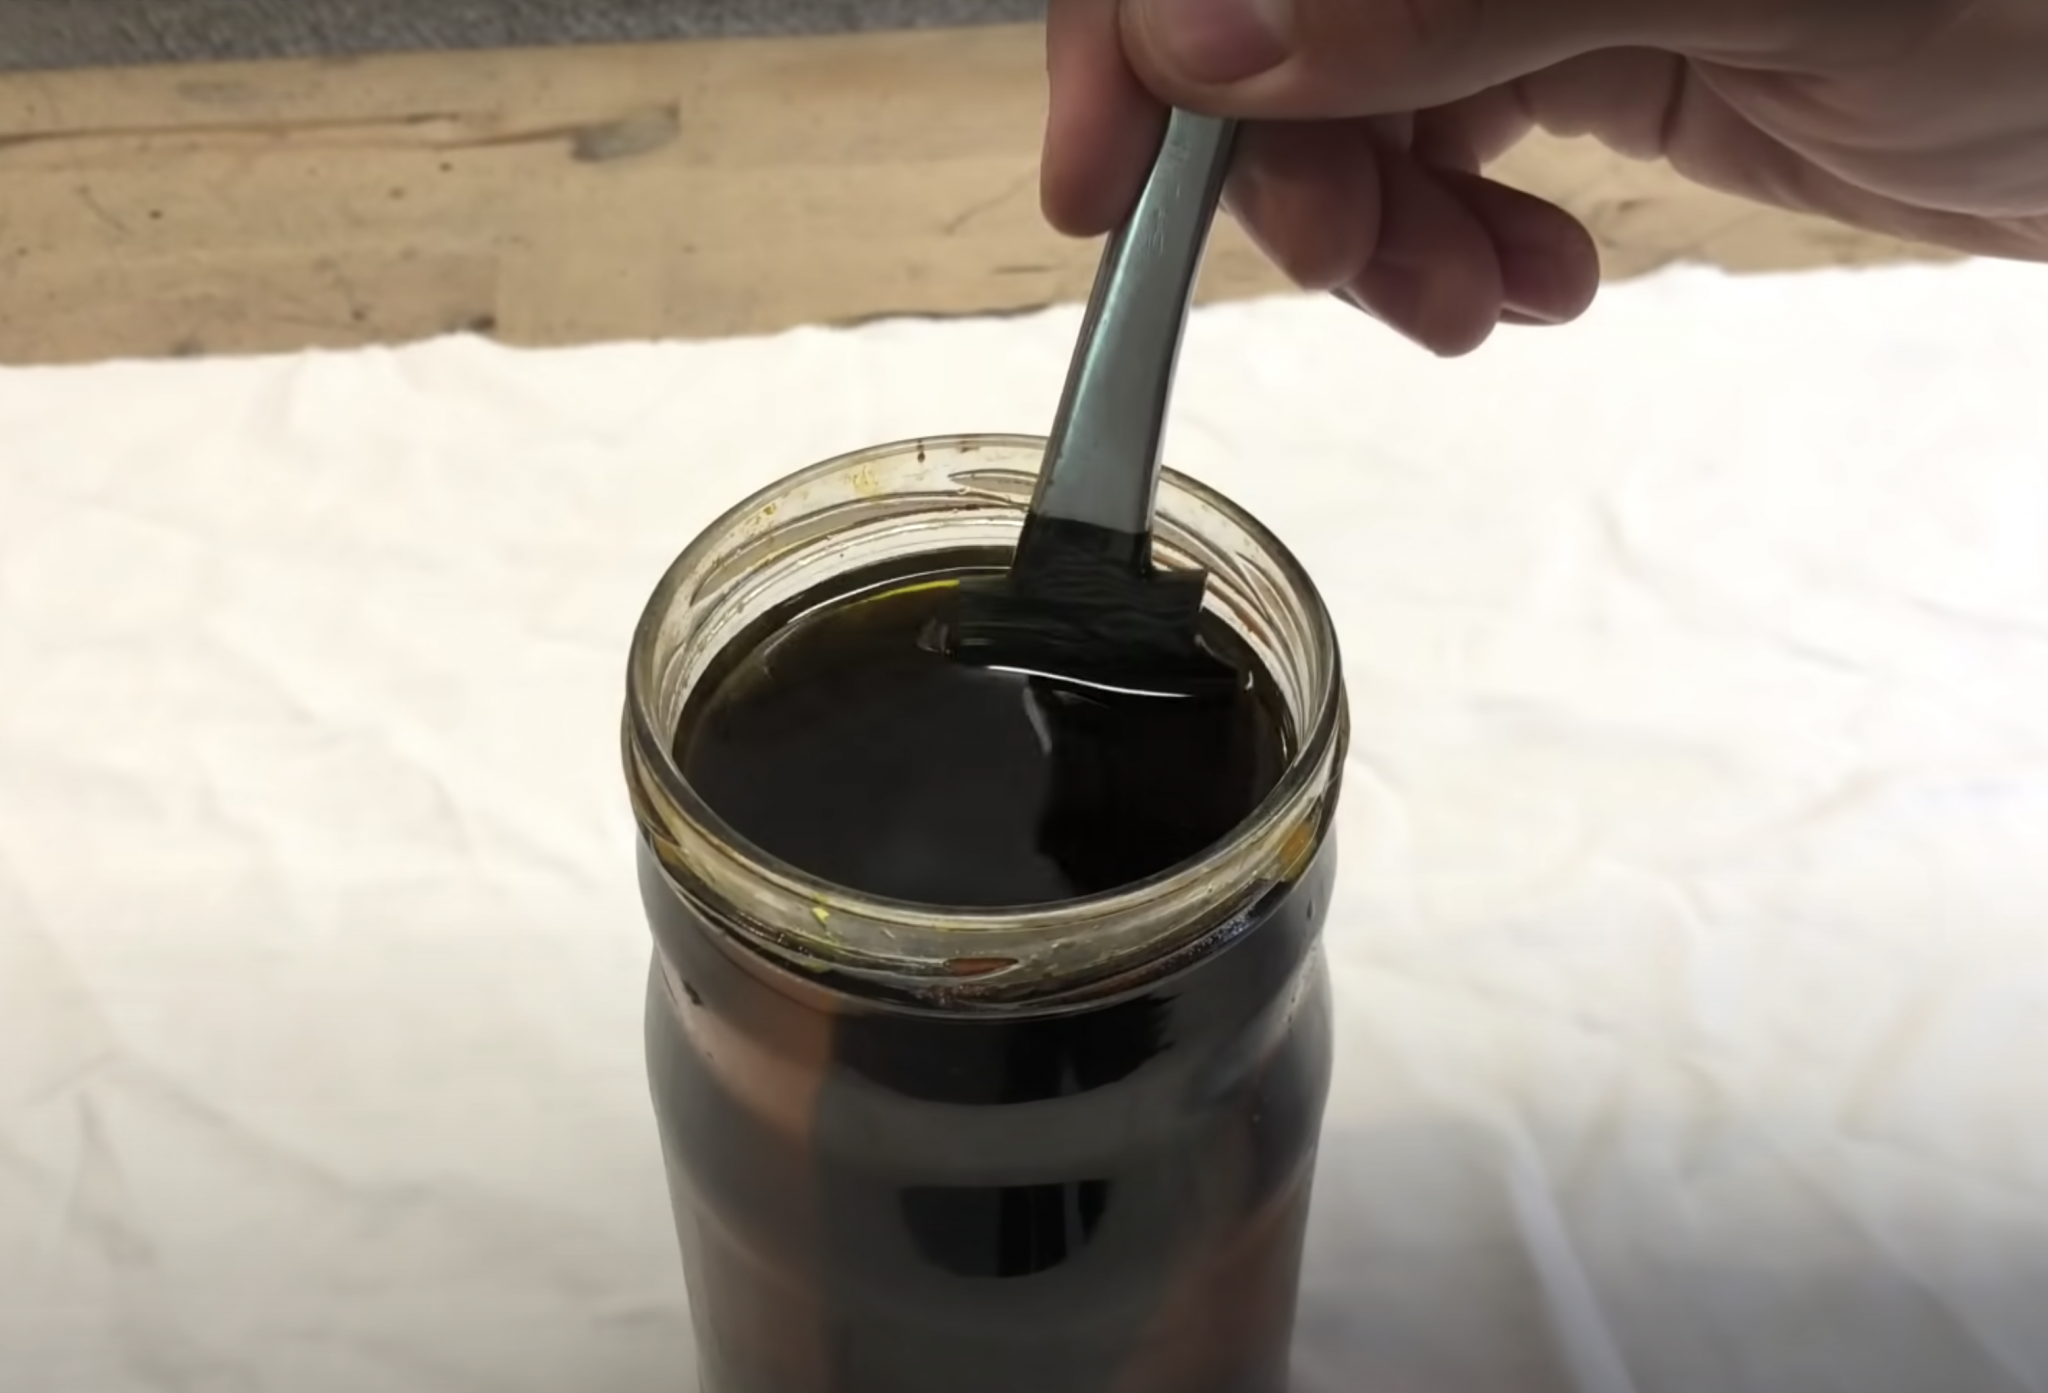
The properly finish-ground and hand sanded blade shall be then etched to reveal the Damascus pattern. Etching is carried out by immersing the blade in an acid bath. More information about mosaic Damascus patterns here.