Mosture Removing Bucket for 3d Filament Storage With Fan.
by scottfrazier in Workshop > 3D Printing
167 Views, 1 Favorites, 0 Comments
Mosture Removing Bucket for 3d Filament Storage With Fan.
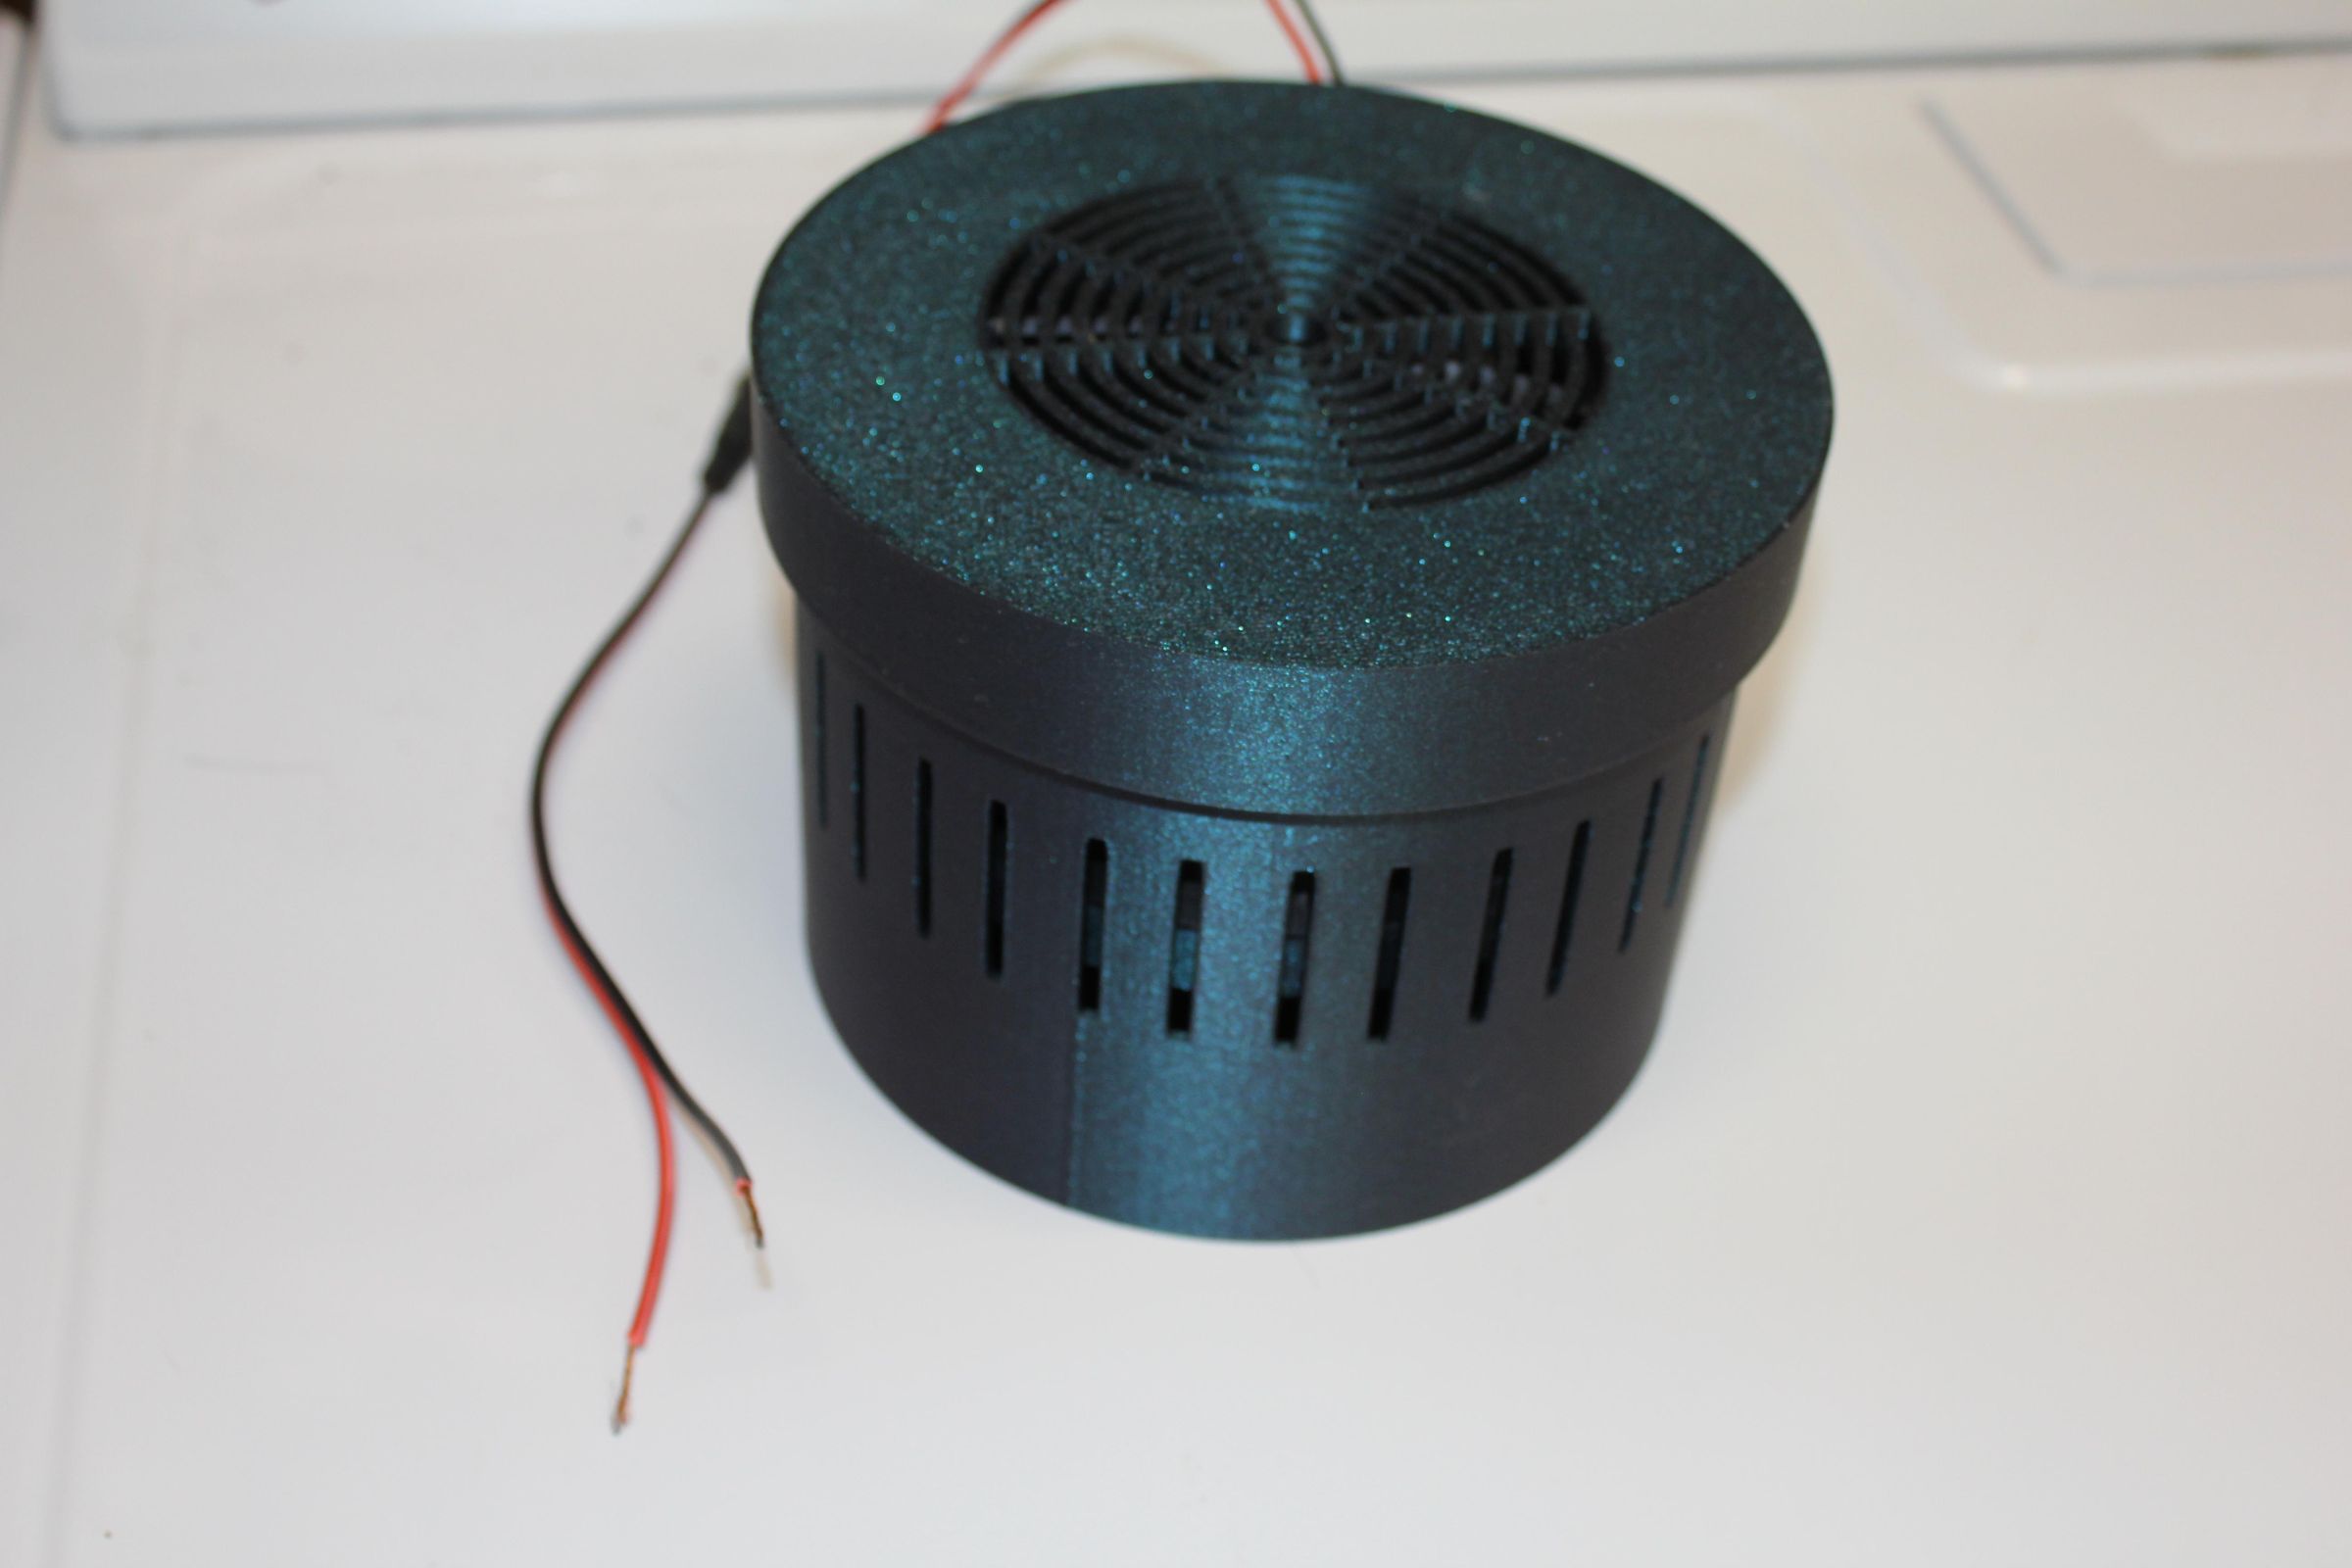
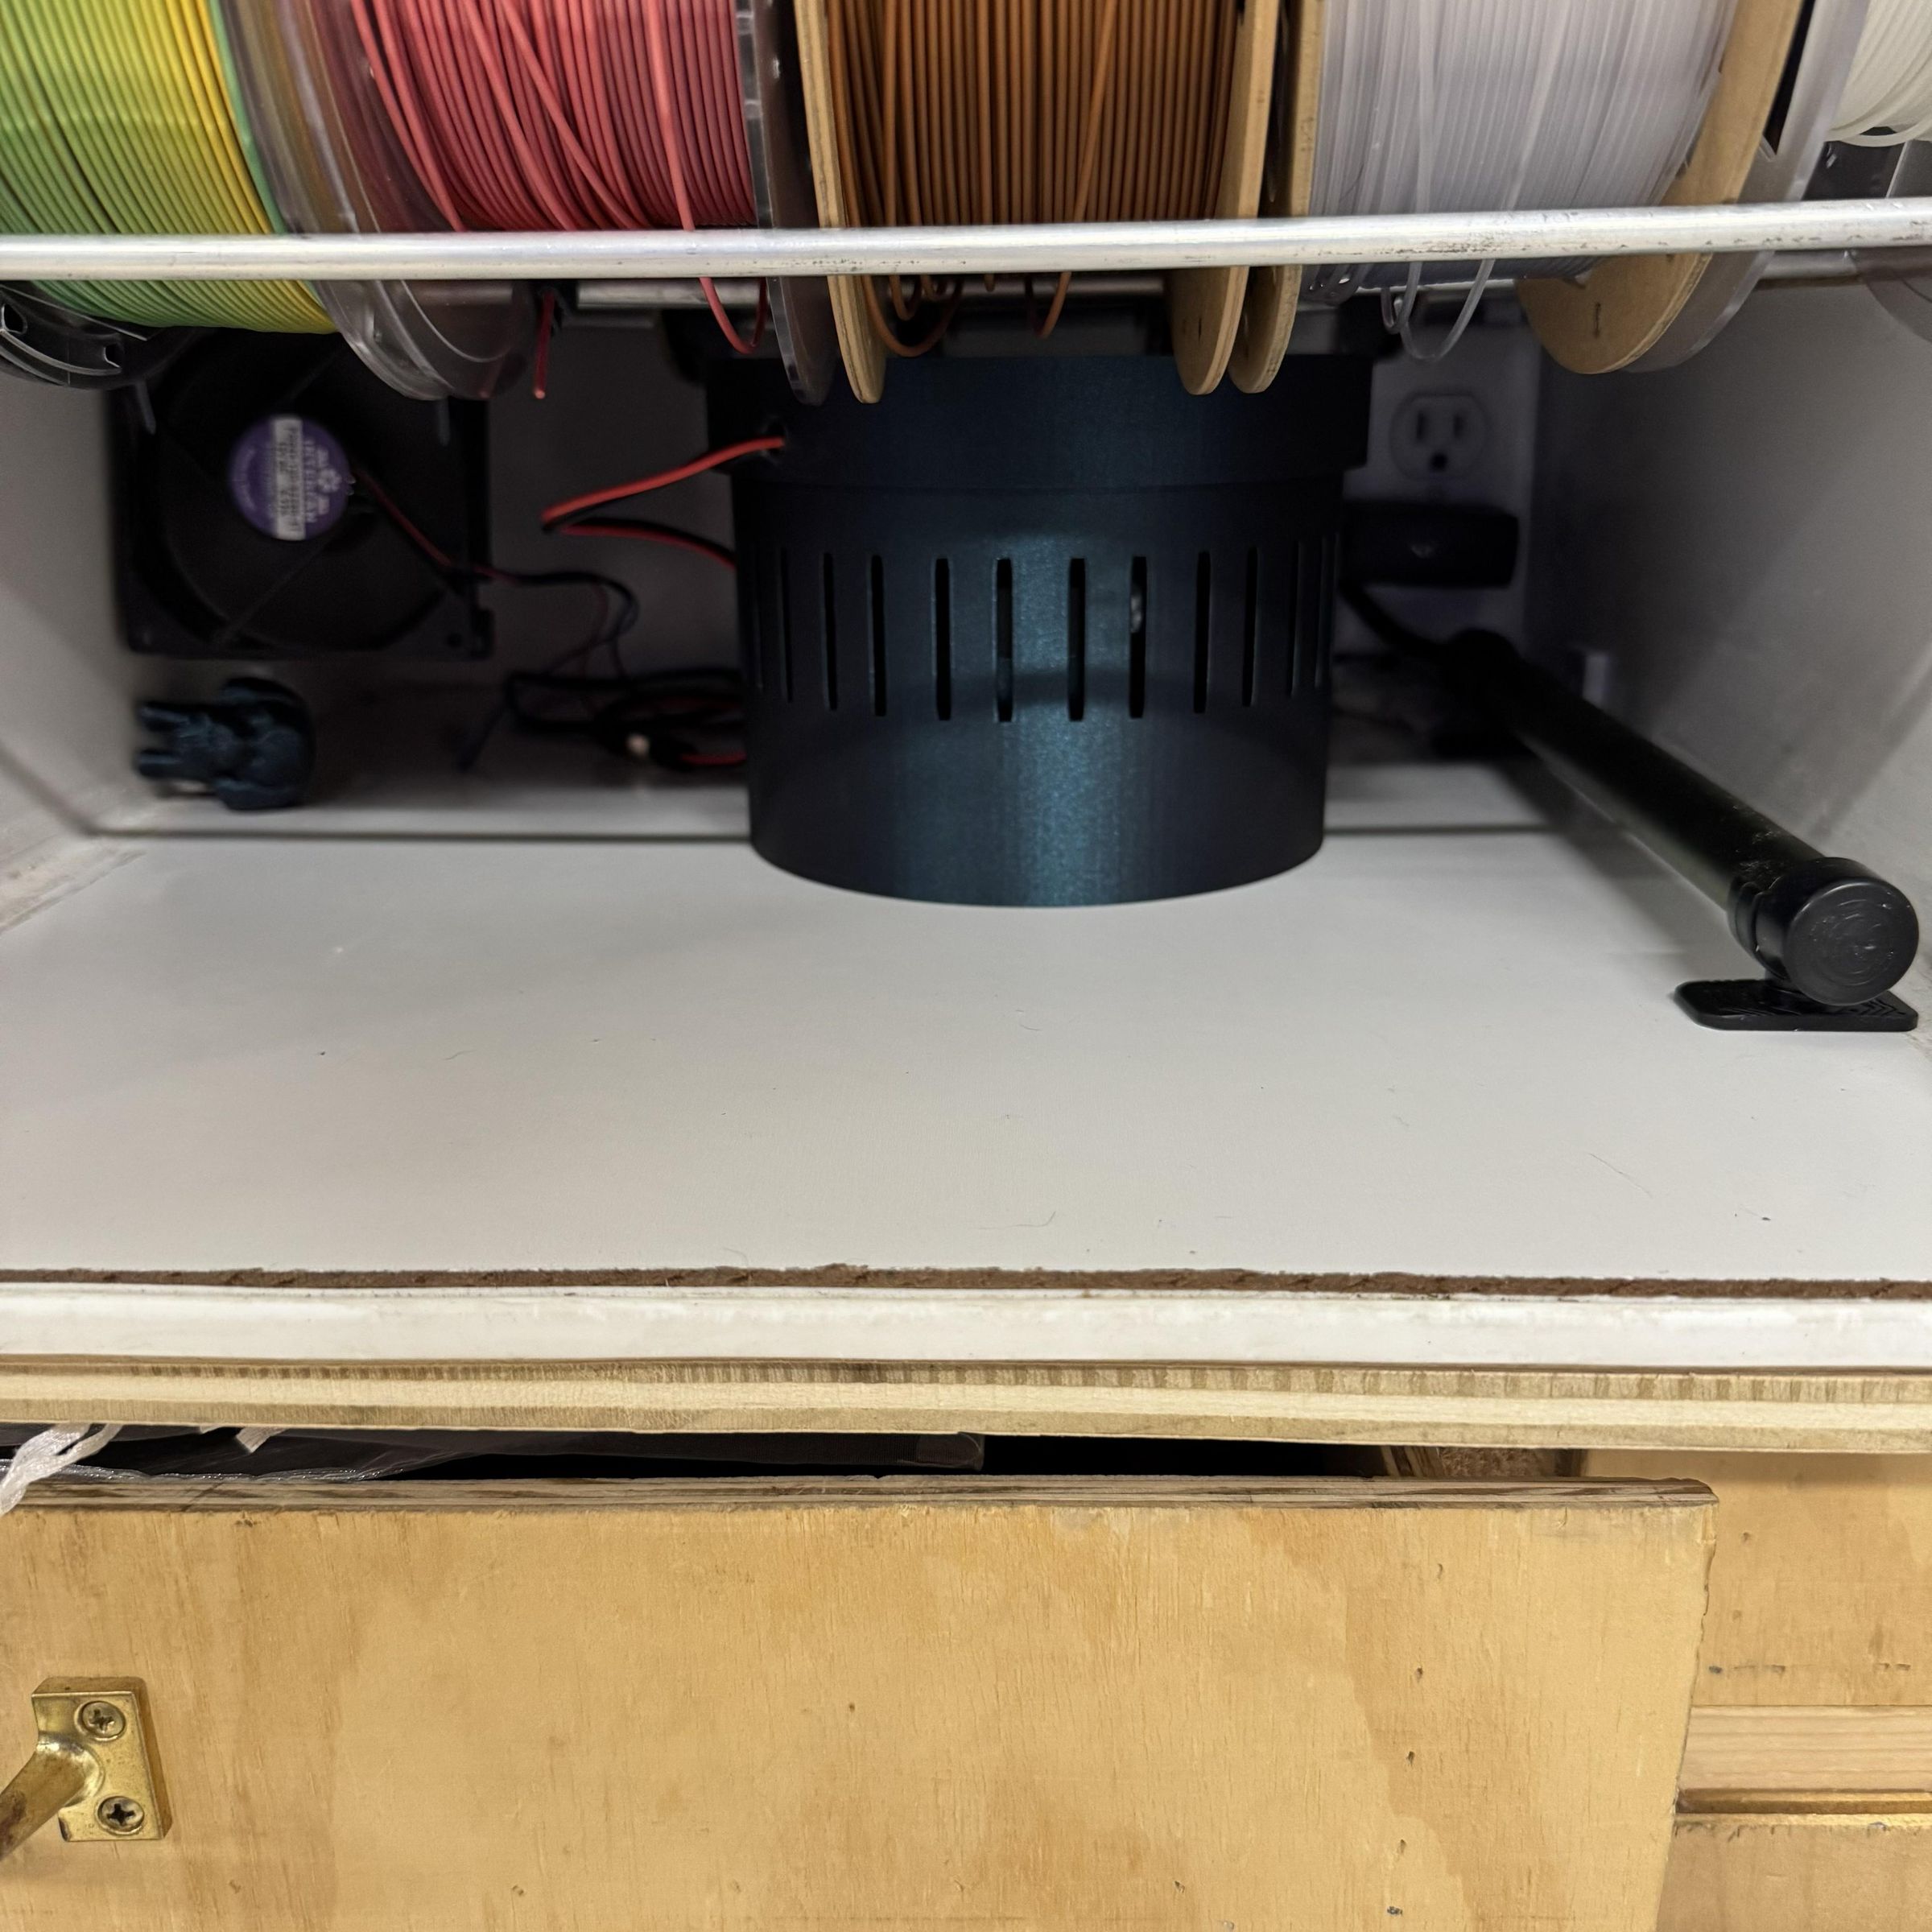
This bucket with fan in combination with the gun safe dehumidifier rod is quite good at removing moisture from any cabinet. The advantage of using a product like "DampRid" in this bucket is there is no need to recharge or Dry out the silica beads however you can remove the crystal cup and fill the bottom with silica gel beads if you preferer. It may seem a little large. I have tried several smaller versions with mixed results. Took several tries to find just the right size for good air flow, the capacity to hold a good amount of crystals and water.
Supplies
Main Bucket
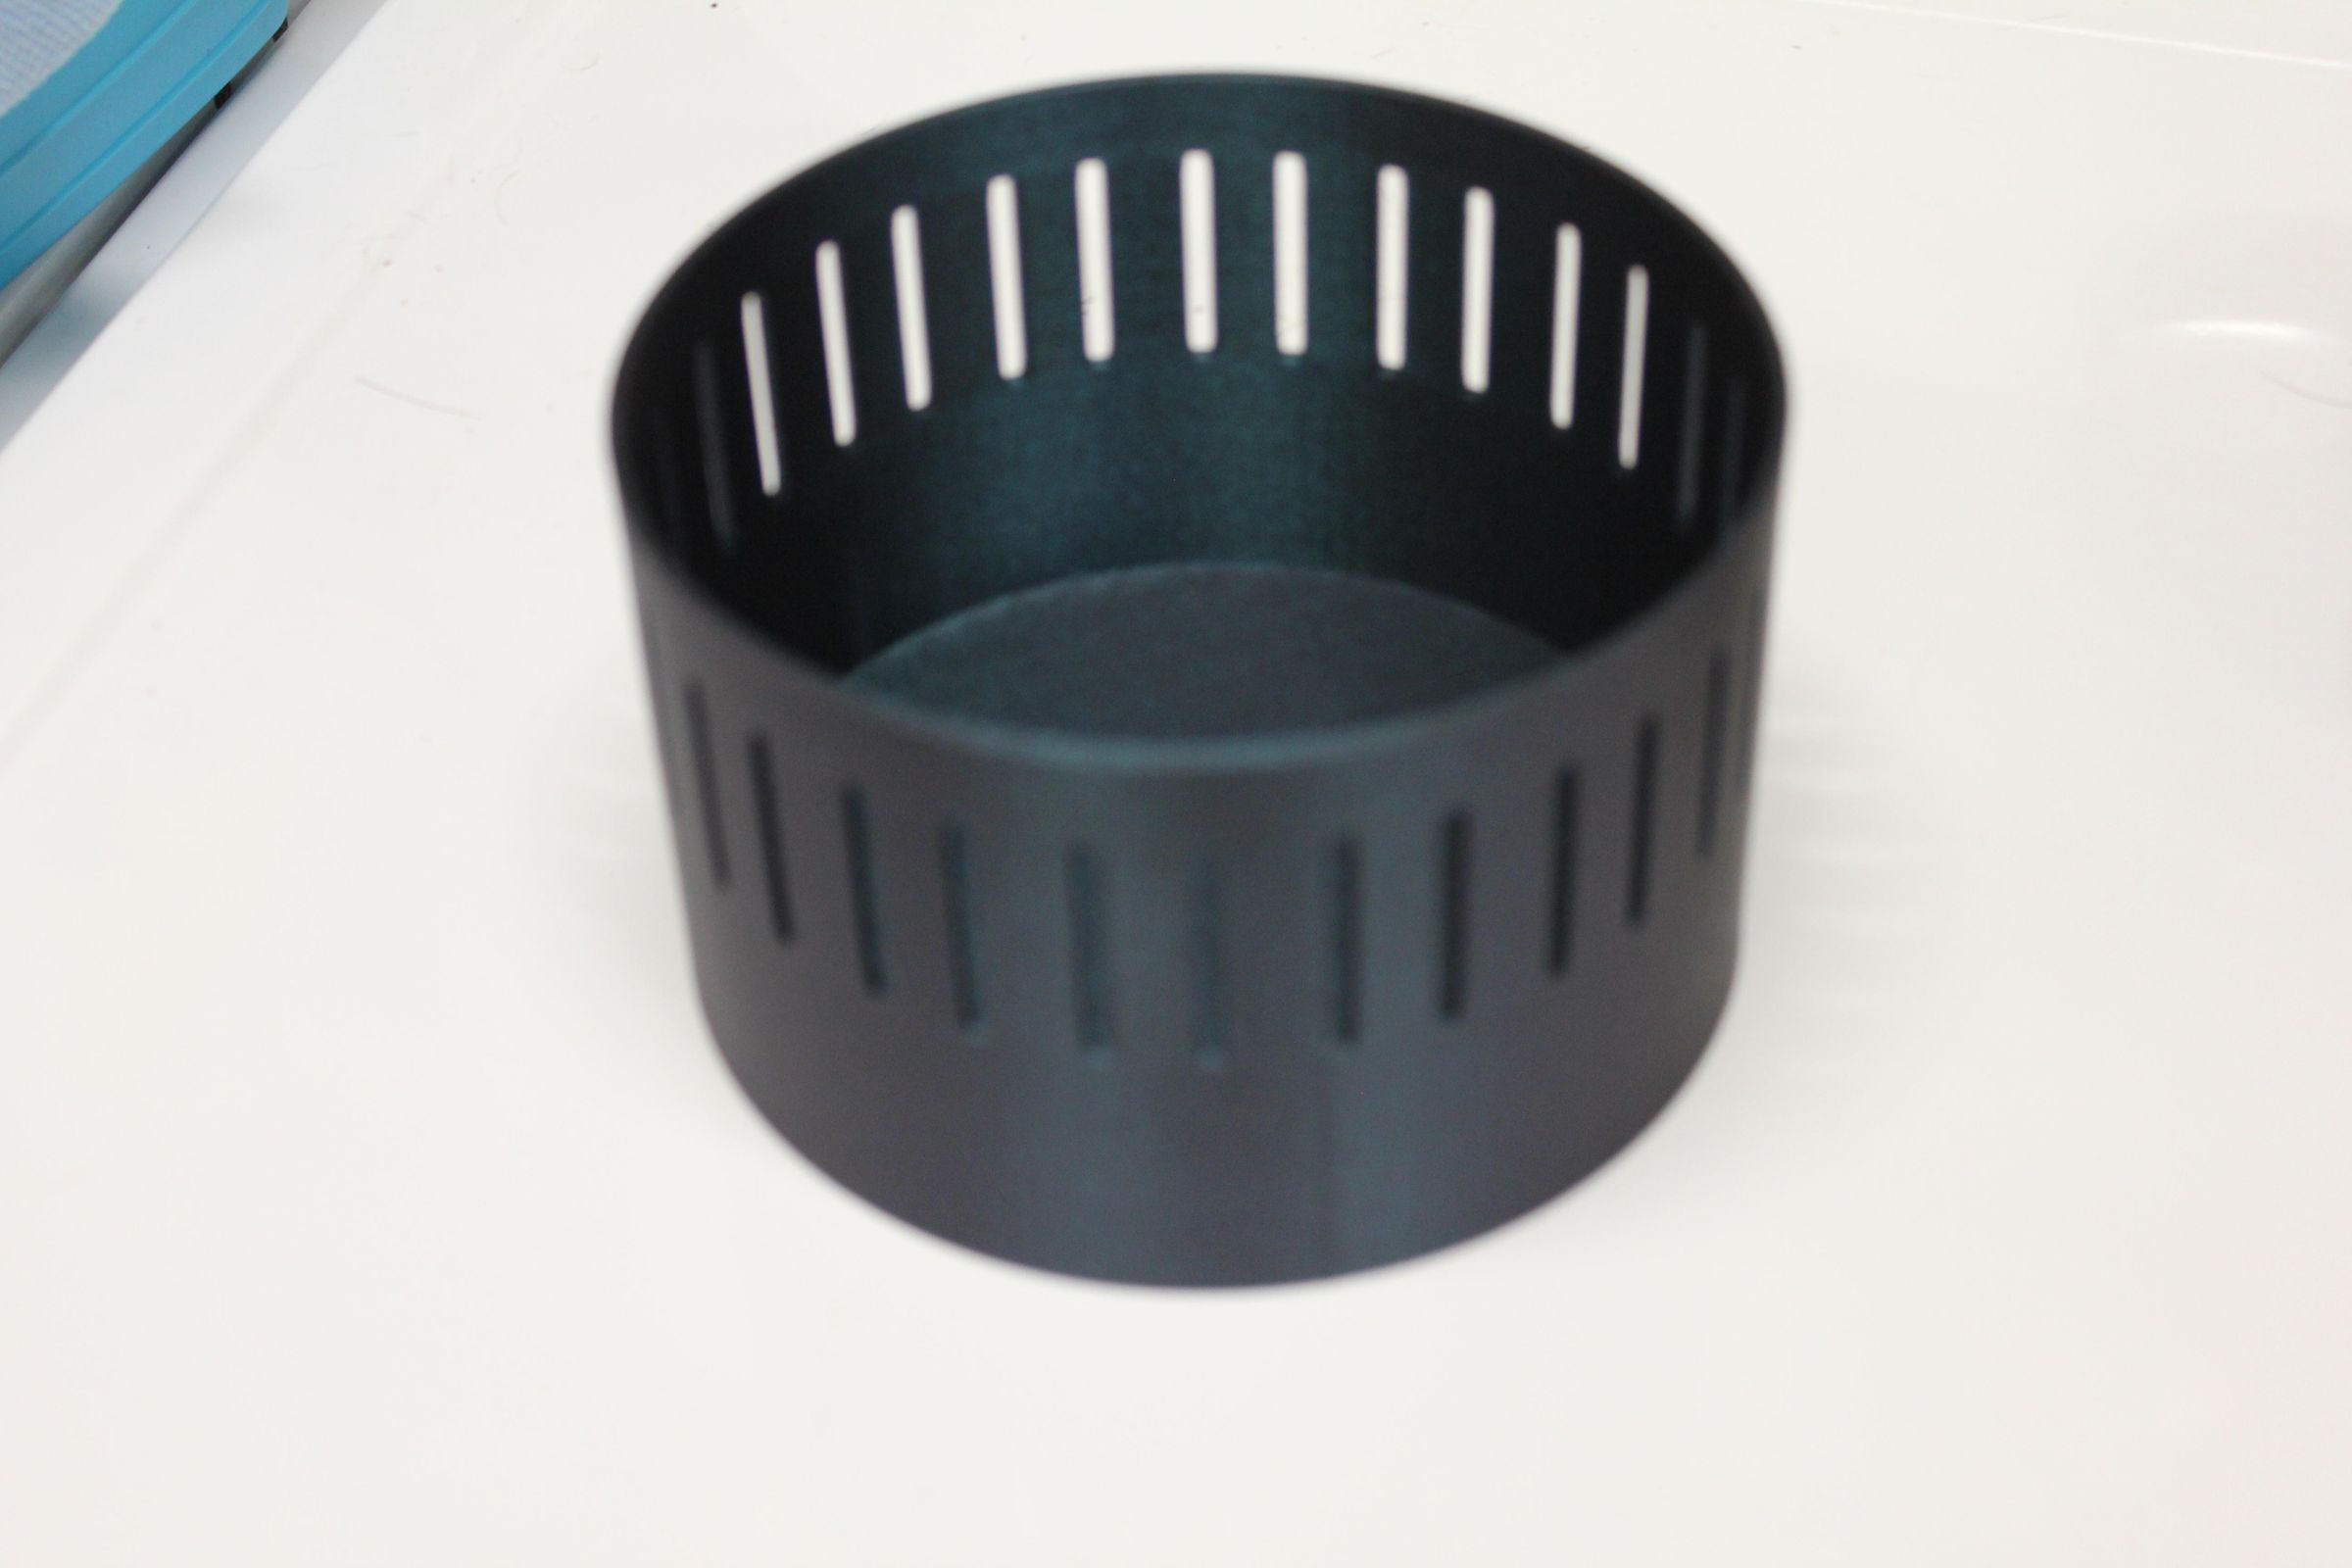
Print the main bucket. You can use the STL file or the 3mf file. You will want to make sue to make your layer lines as tight as possible. The main bucket must be water tight, I printed all the parts with PLA. with a layer line height of .20mm
Crystal Cup
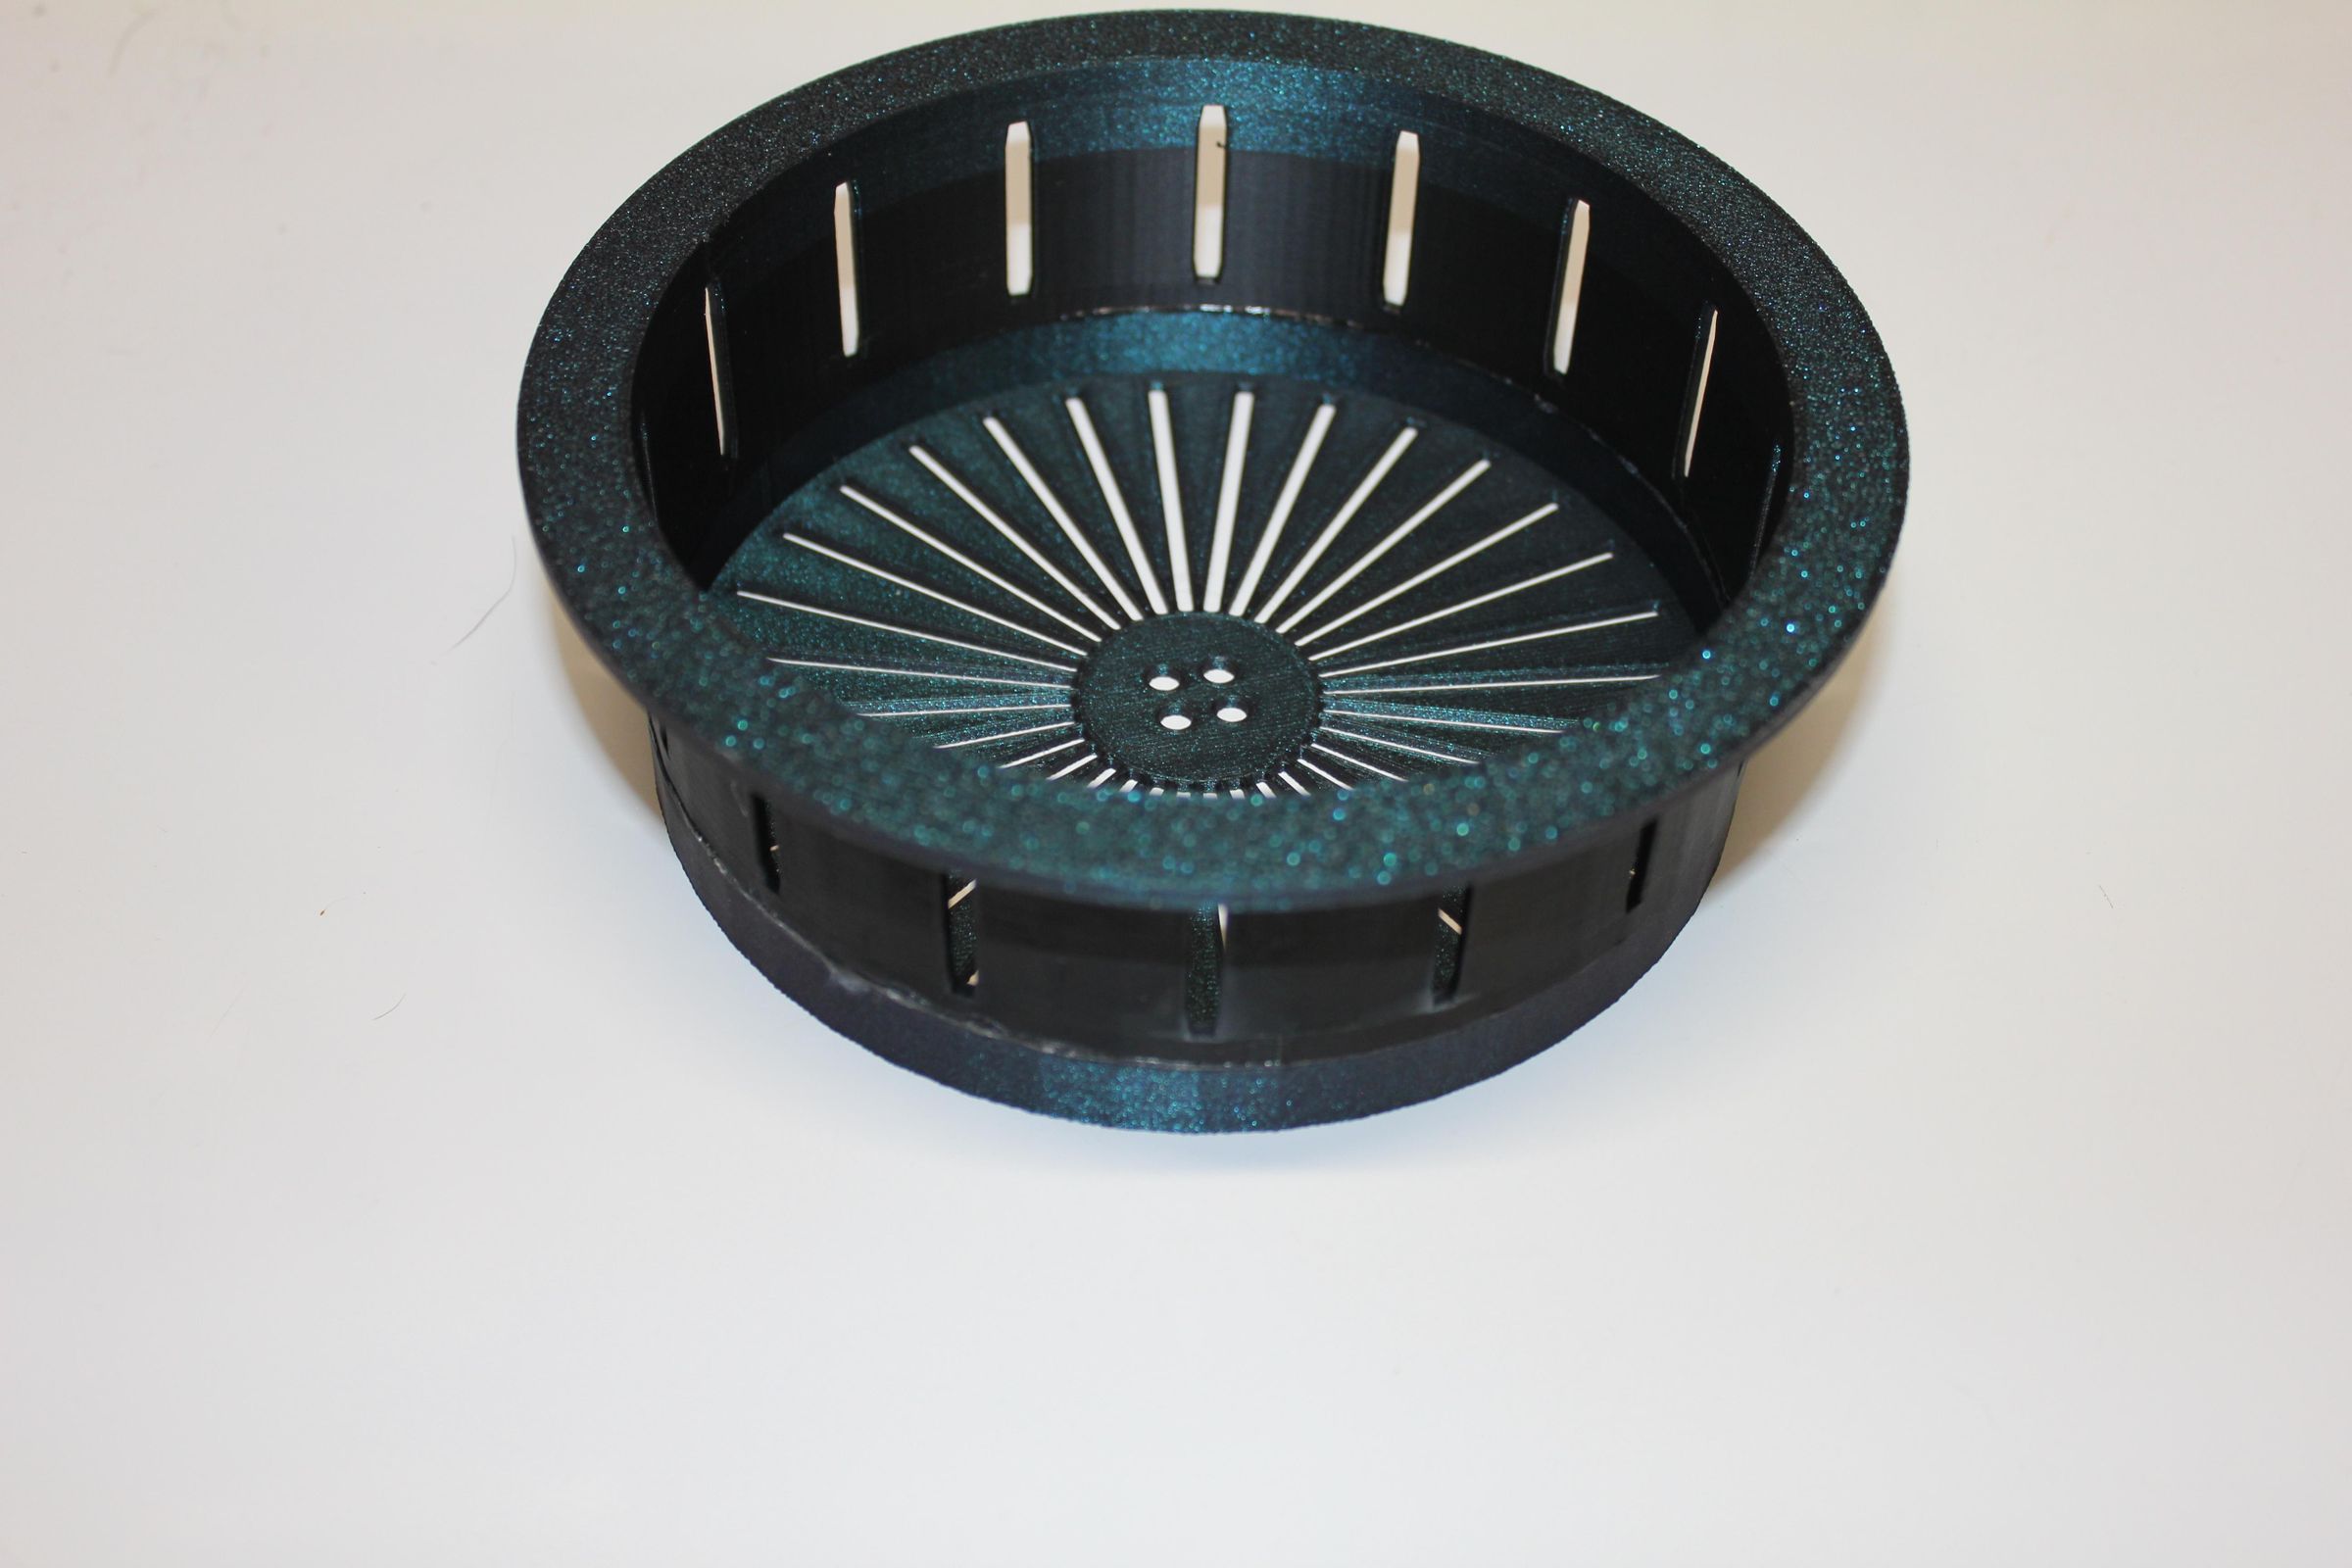
If you wish to use loose silica gel beads, you can skip this step. The gel beads may be too small and fall through the slits in the crystal cup. To avoid supports, cut the model in half. You can use the STL file or the 3mf file. The 3mf file is already cut in half on two plates. If you print in two pieces, I recommend gluing it all the way around. This helps provide better strength to support the weight of the crystals as they absorb the moisture from the air.
Top
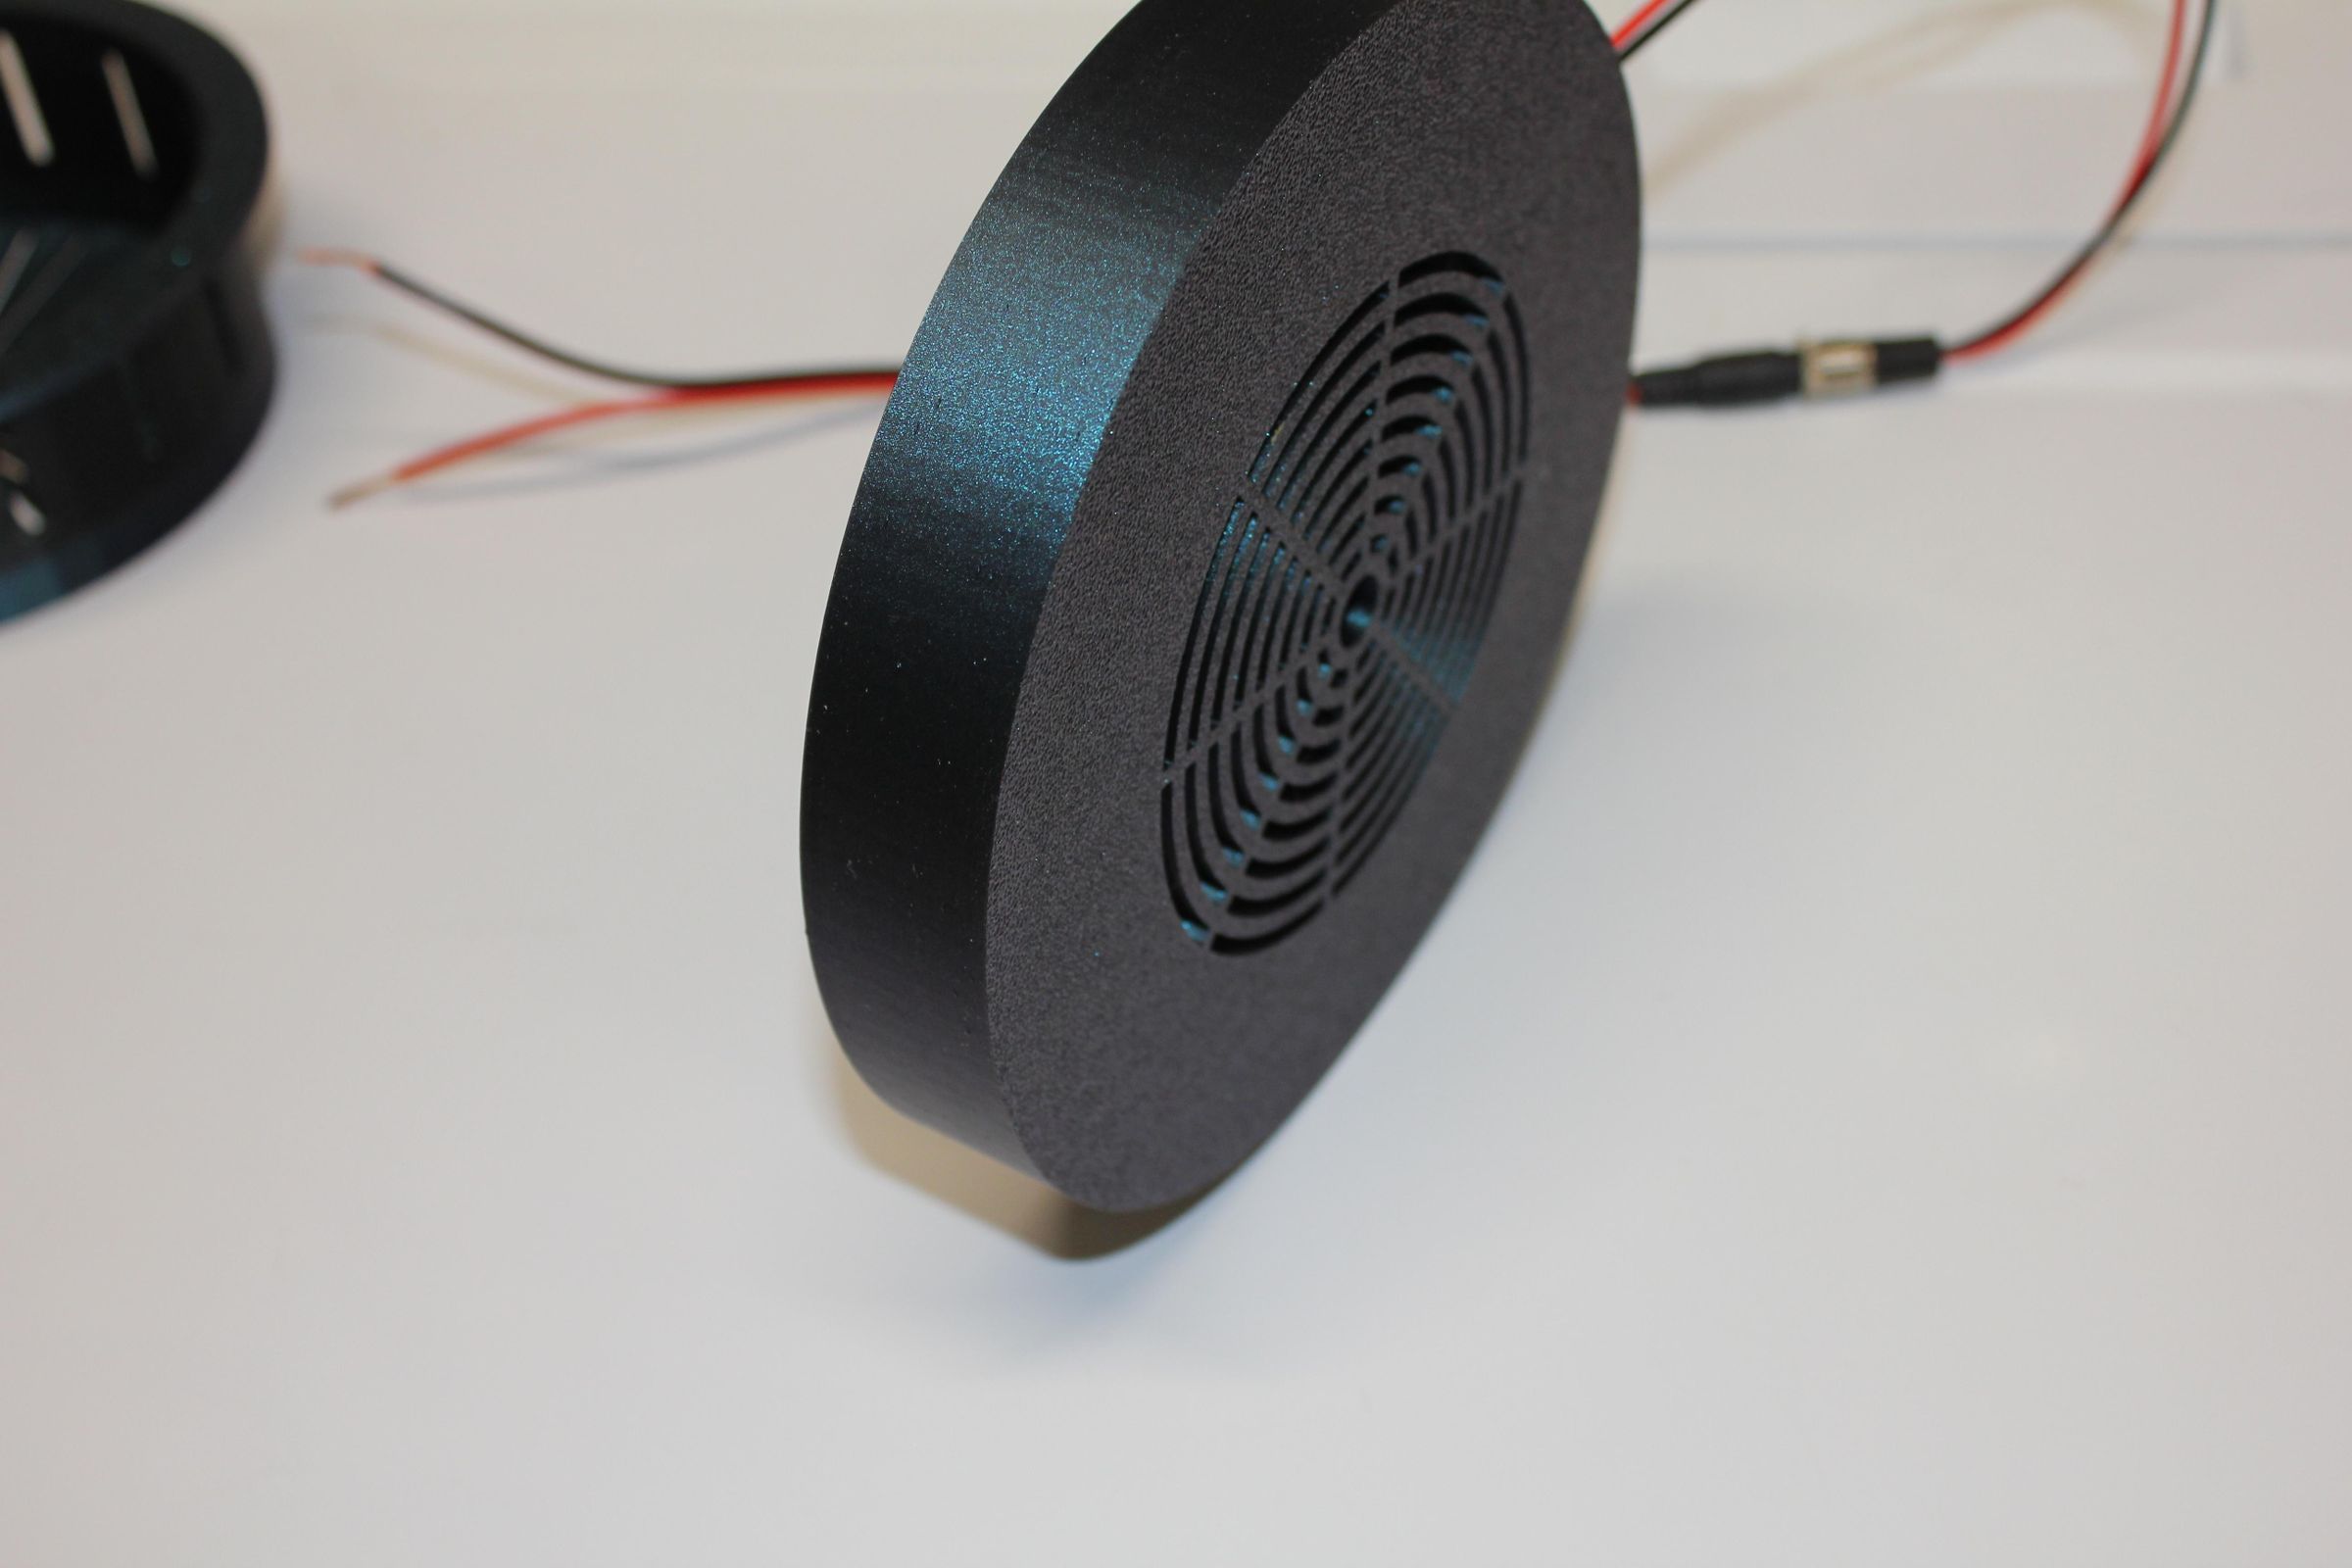
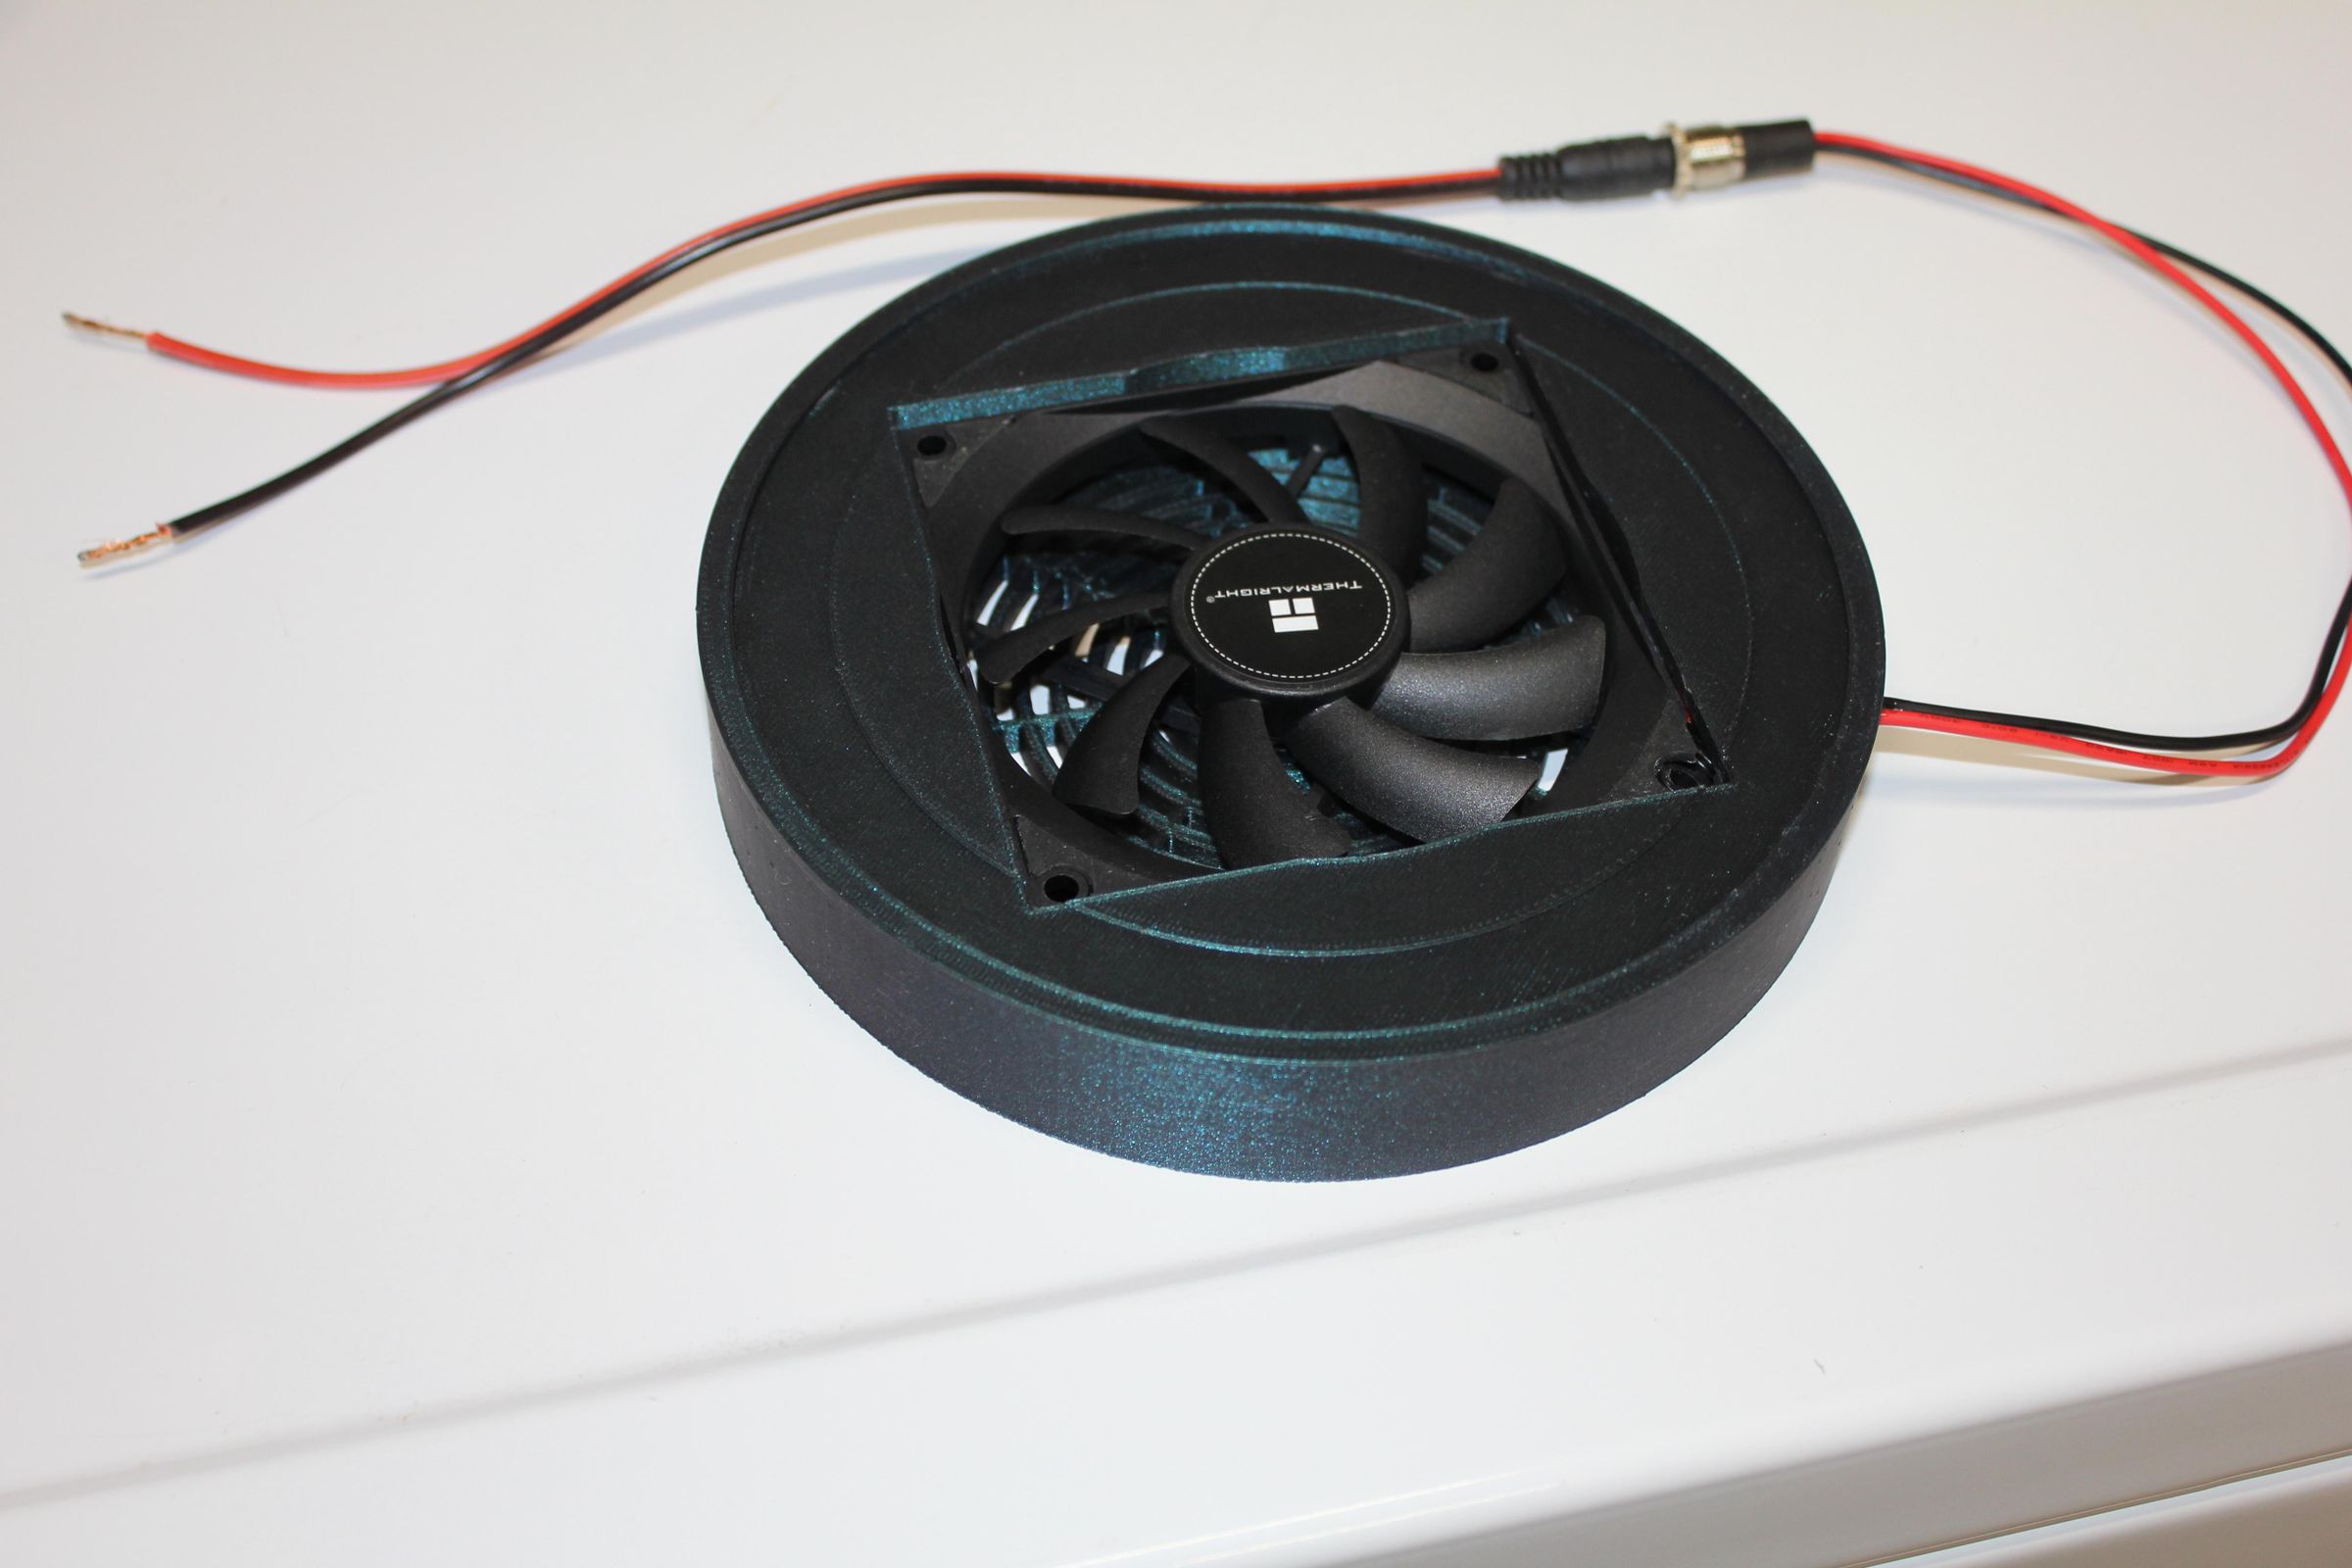
Print the top. You may wish to disable supports. There is a pocket with a hole in the side used to feed the wire for fan power. you can use the STL file or the 3mf file.
Fan Cover
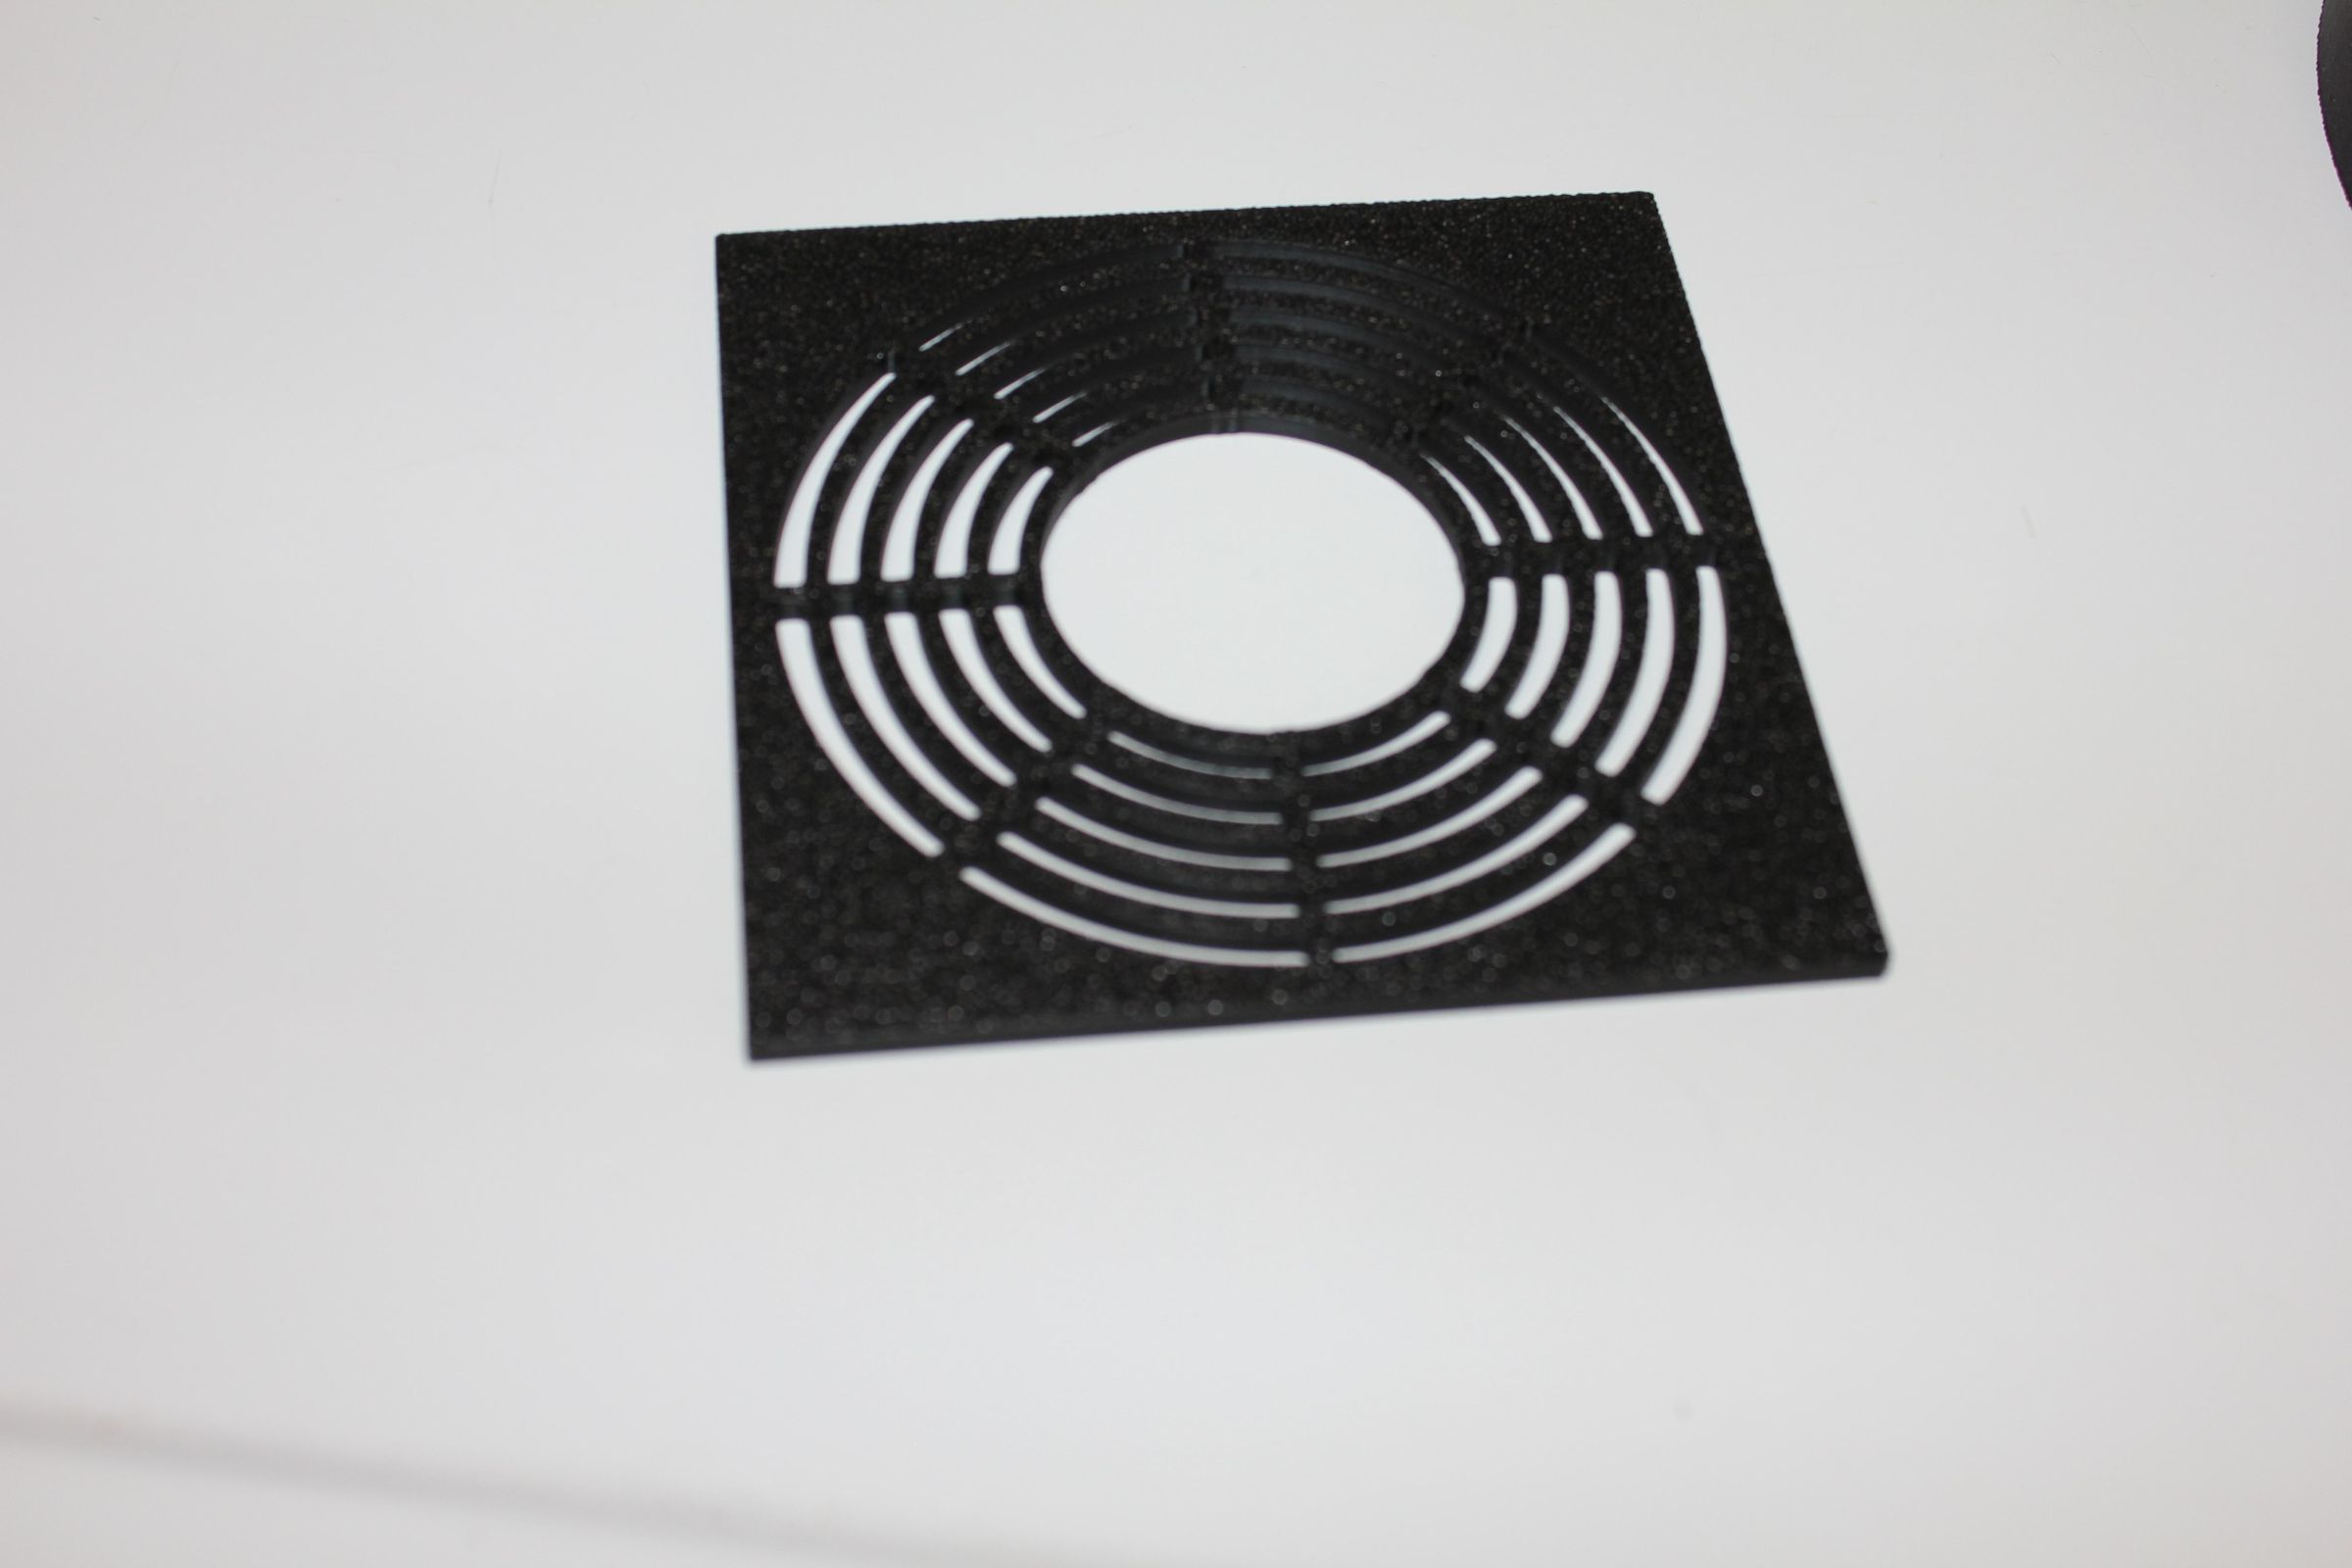
Print the fan blade cover using the STL file or the 3mf file.
Assemble the Top
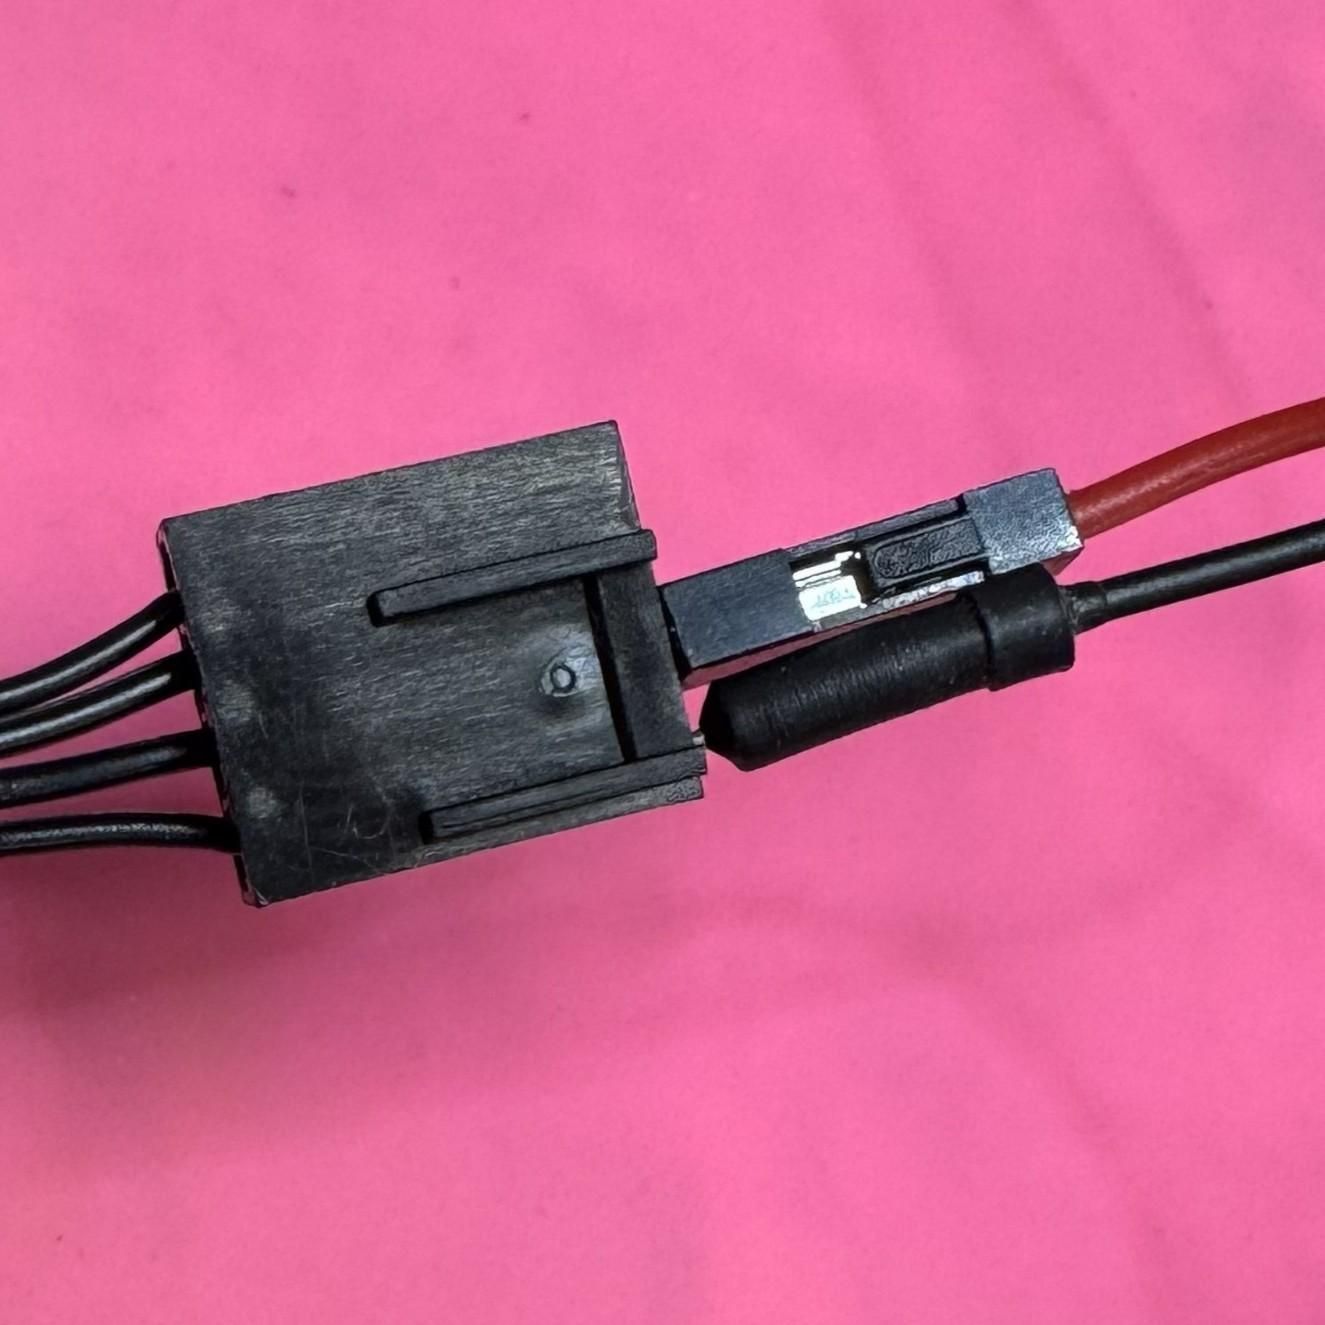
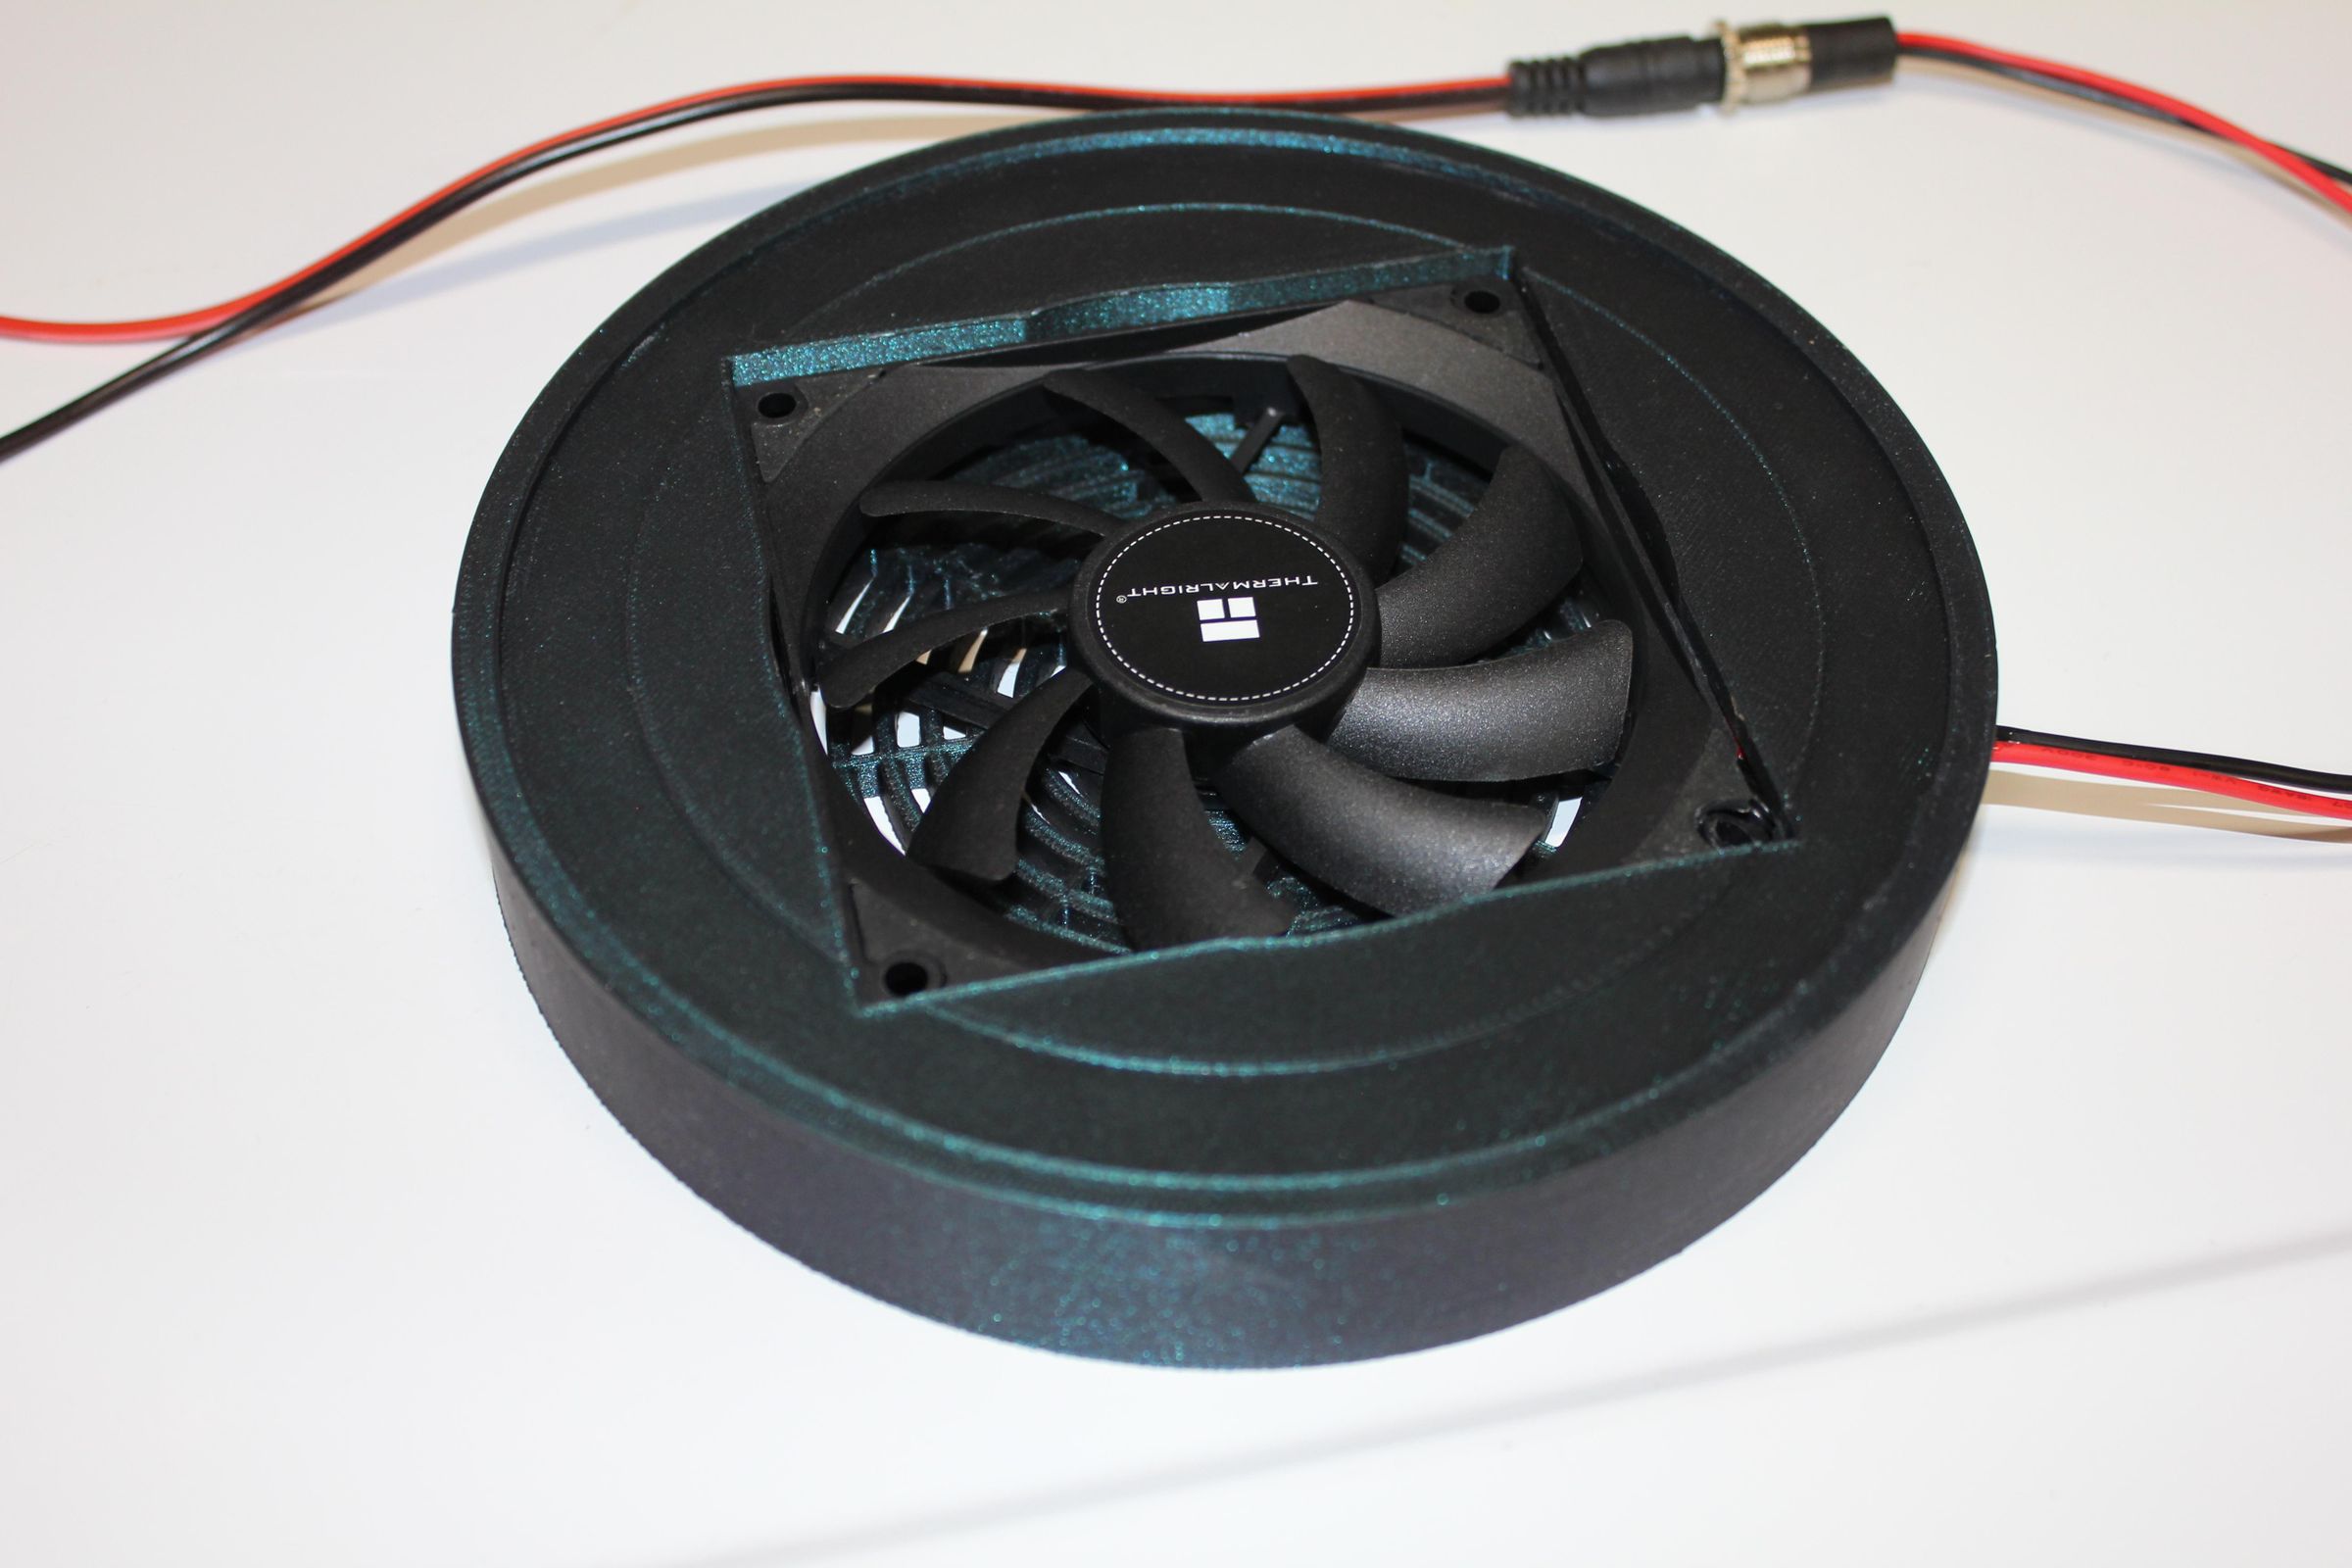
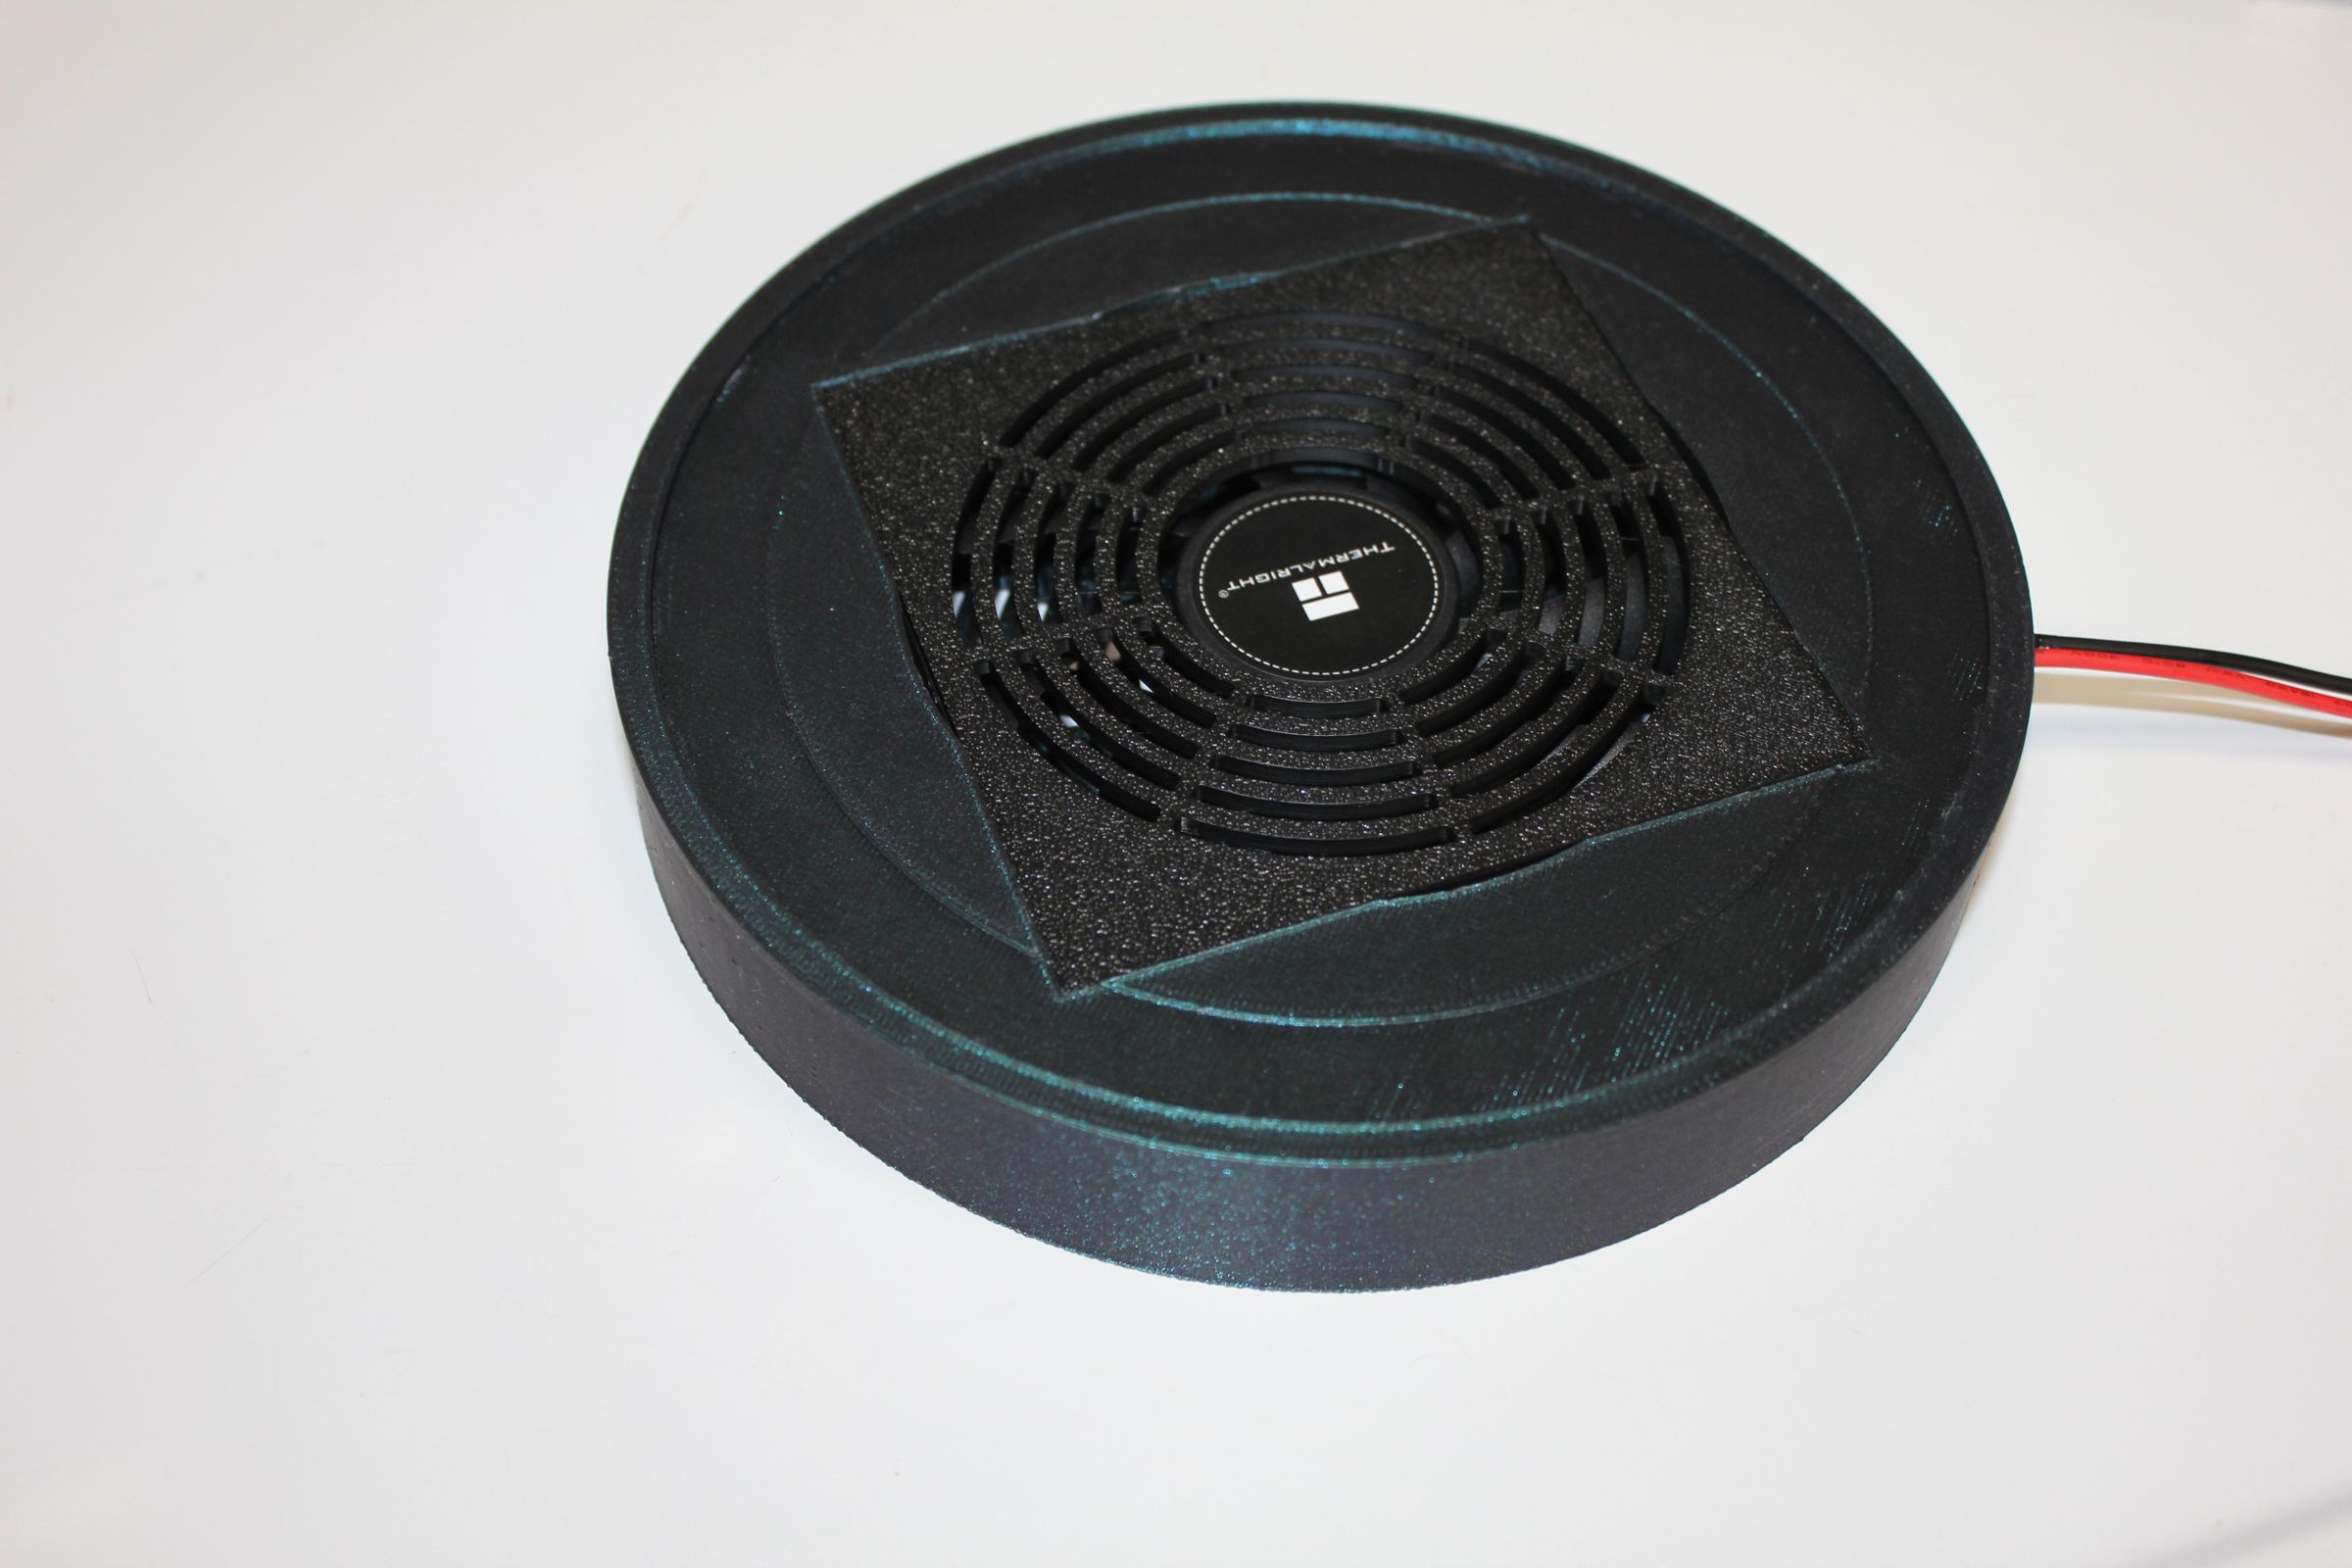
There are two options for powering the fan.
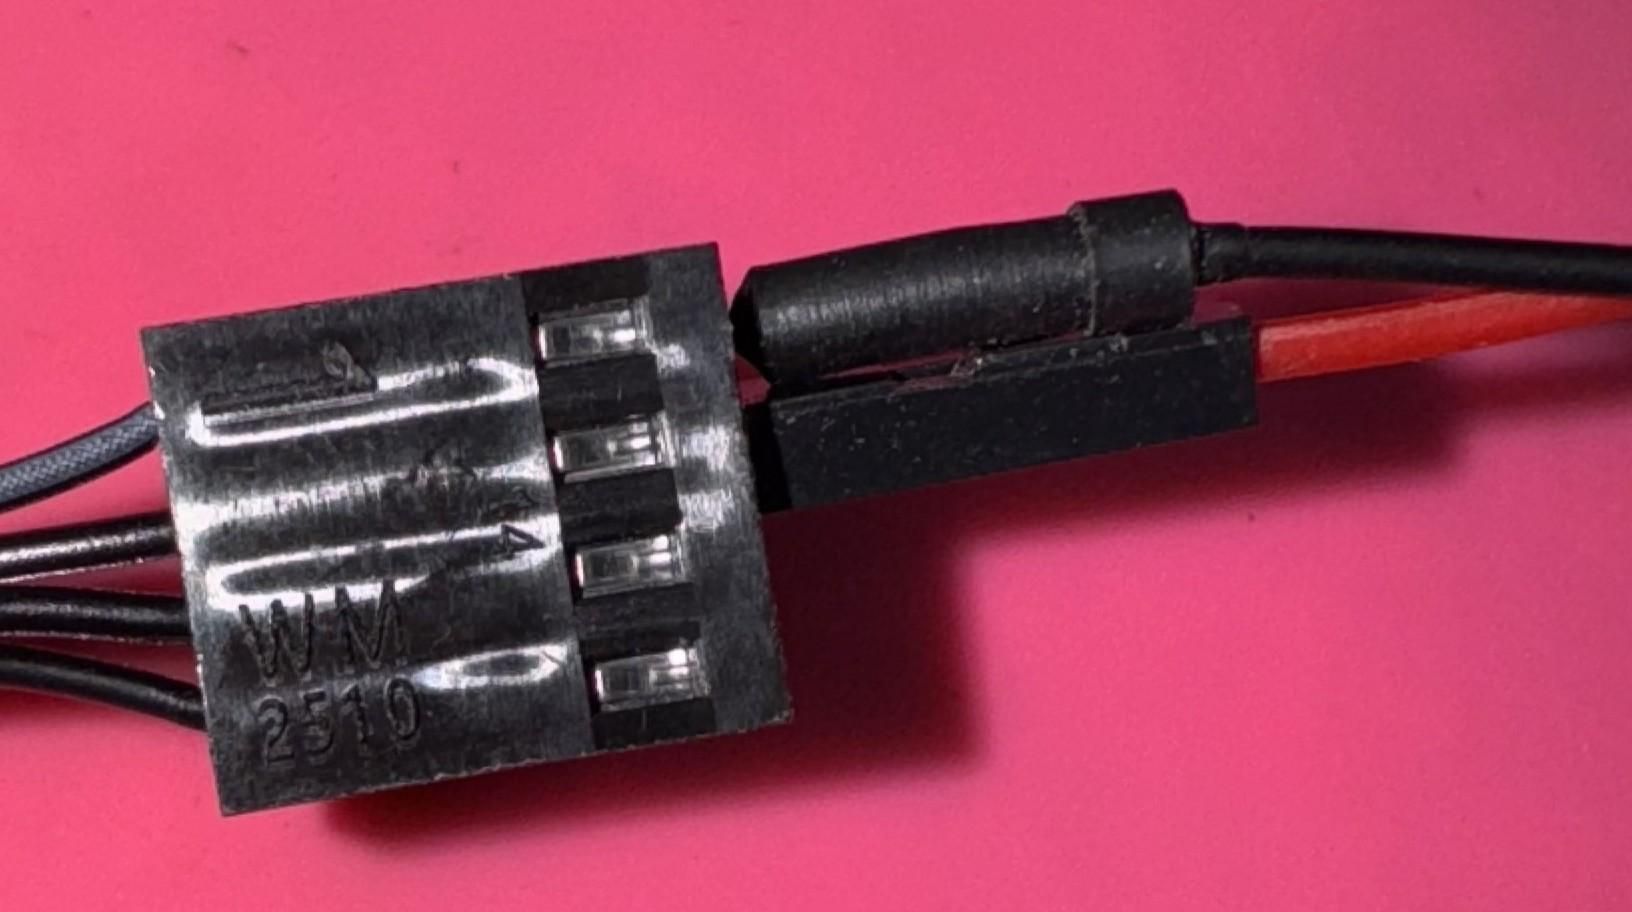
Option 1 (the one I used): Cut the 4 pin plug off and splice it to the female pigtail power plug. Pin one is 12v- (white strip) and pin 2 is 12v+. This connection runs fan at full speed when powered at 12v. Cut the 4 pin wire on the fan to a few inches. Feed the pigtail power plug through the hole from the outside. Make your splice on the inside of cover, this splice will be placed in the pocket. You want the fan blowing the air OUT (see photo). Pay attention to the corner with the wires, your splice will go into the pocket in front of the hole for the plug. Once you have the fan fully seated in the opening, pop in the fan cover.
option 2: You can use the PWM Speed controller however this will require a slight modification to the wire hole to allow the 4 pin plug to pass through. You want the fan blowing the air OUT (see photo).
Fill It Up
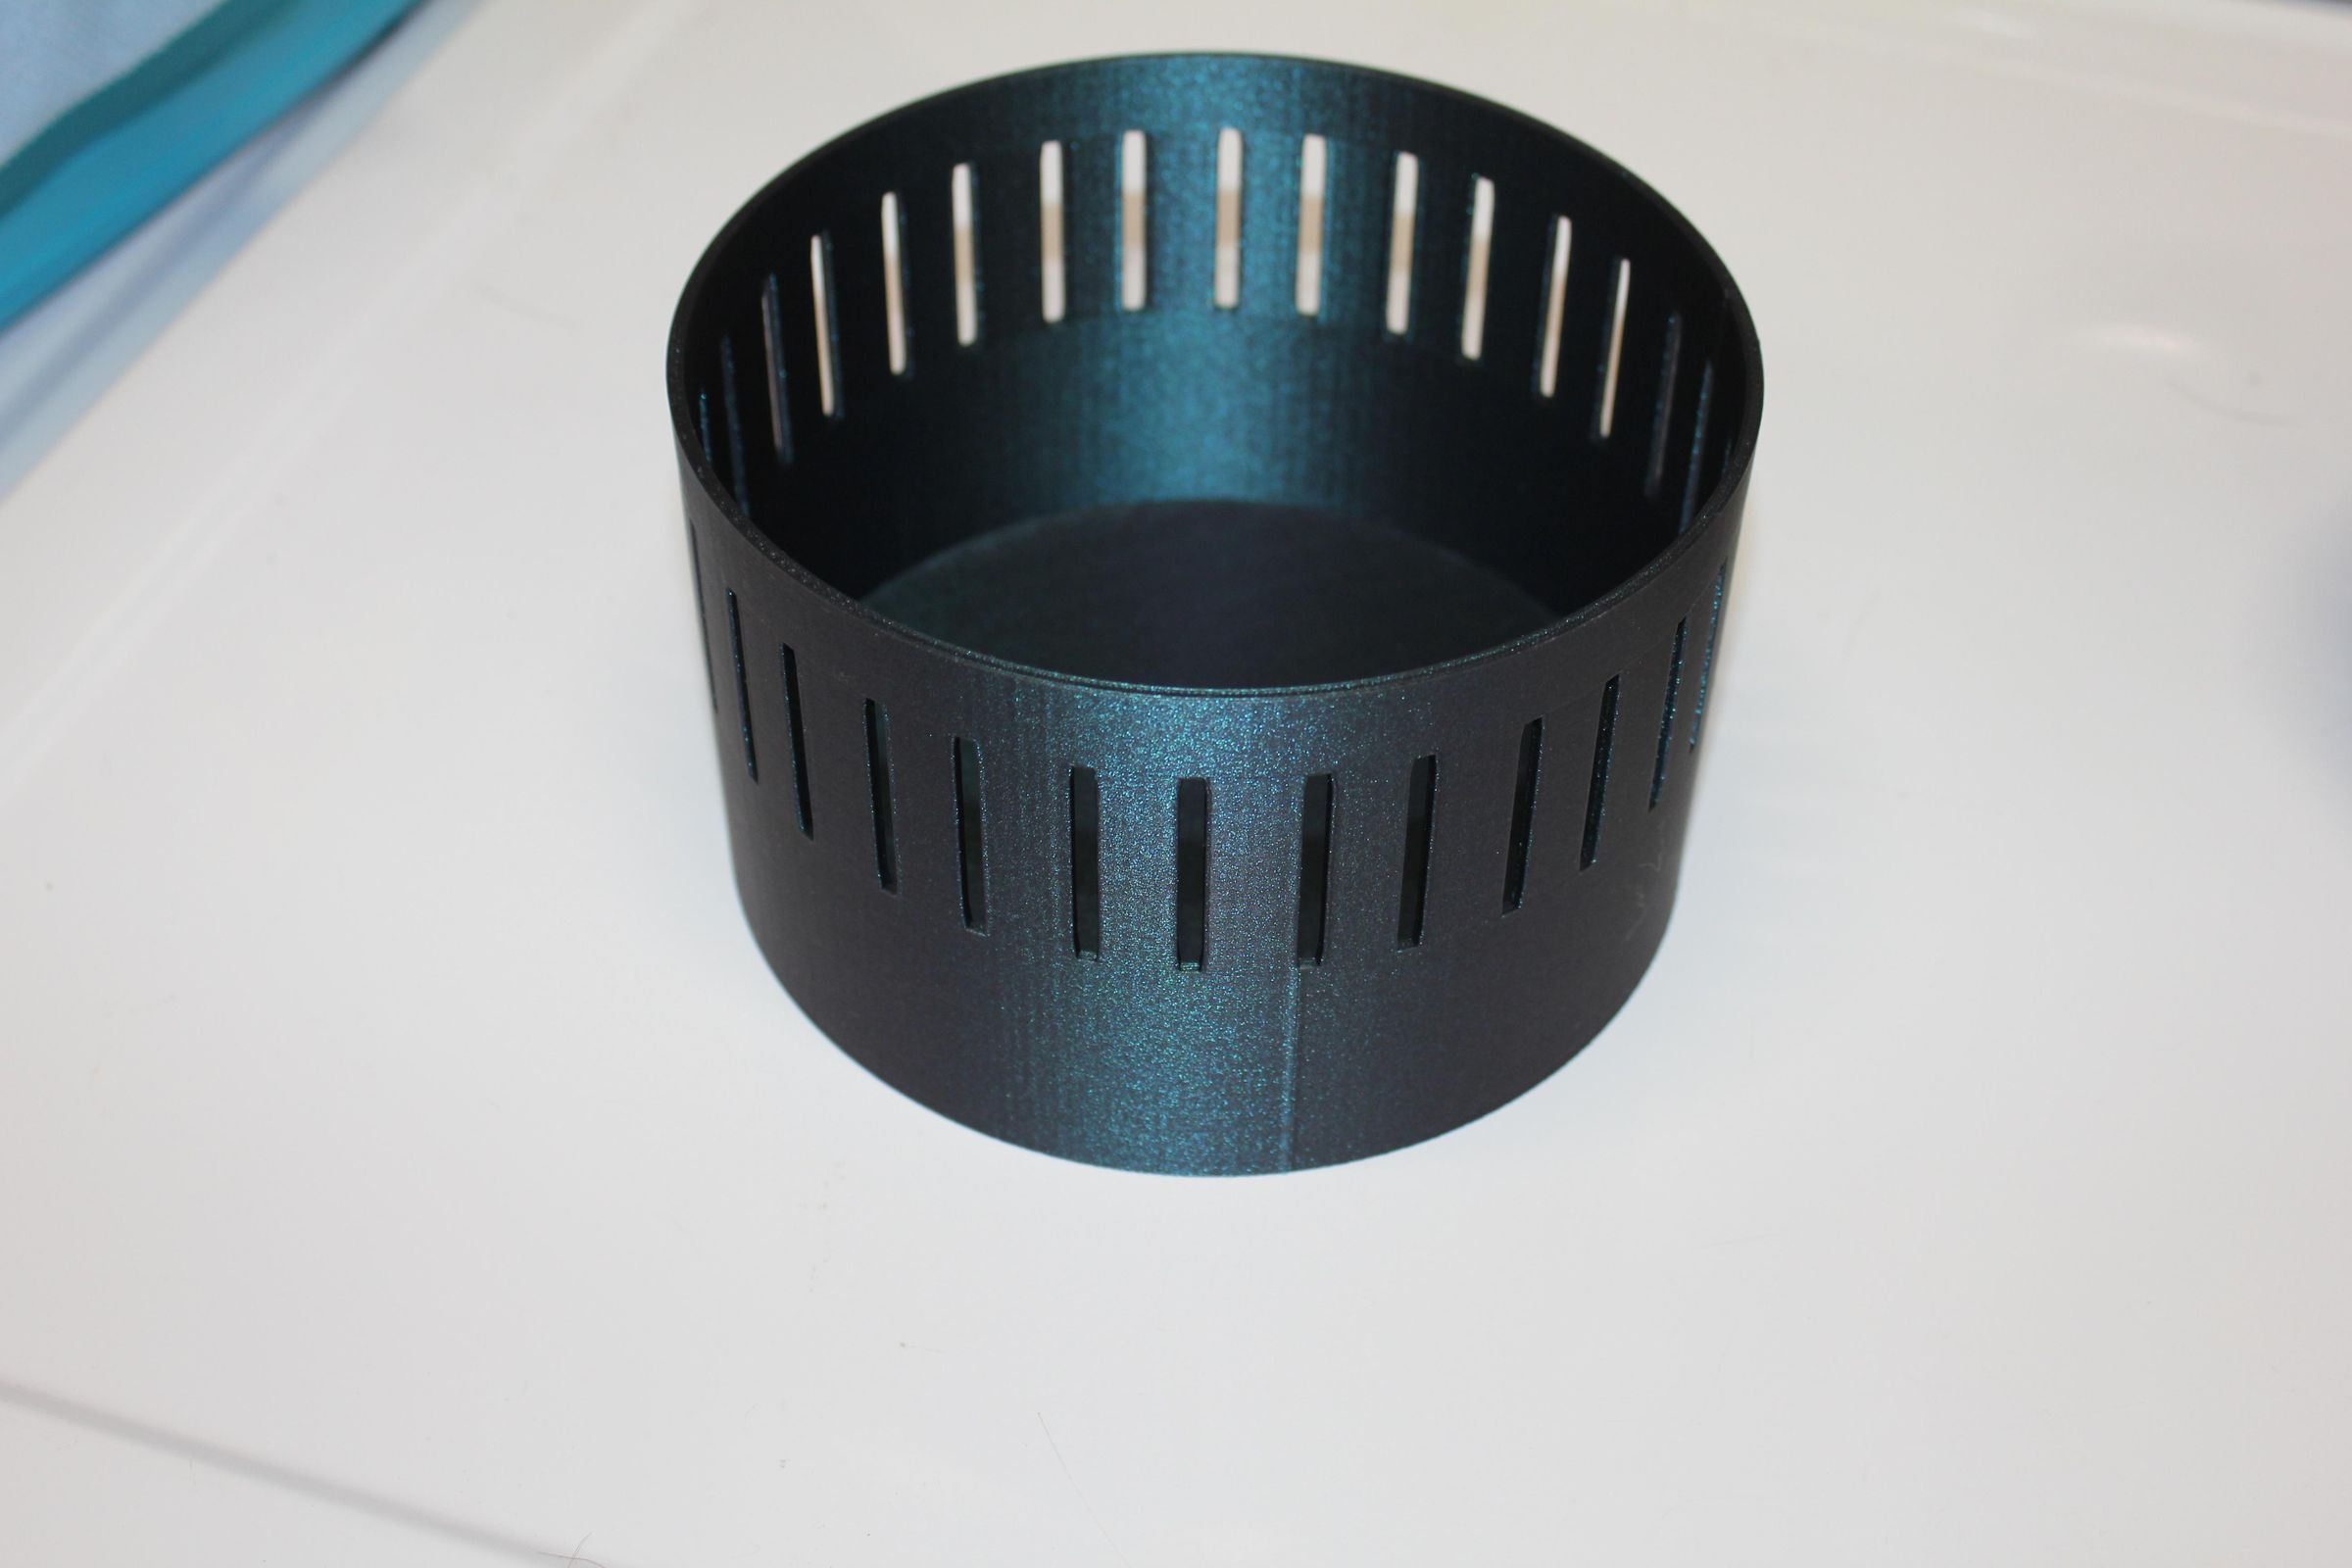
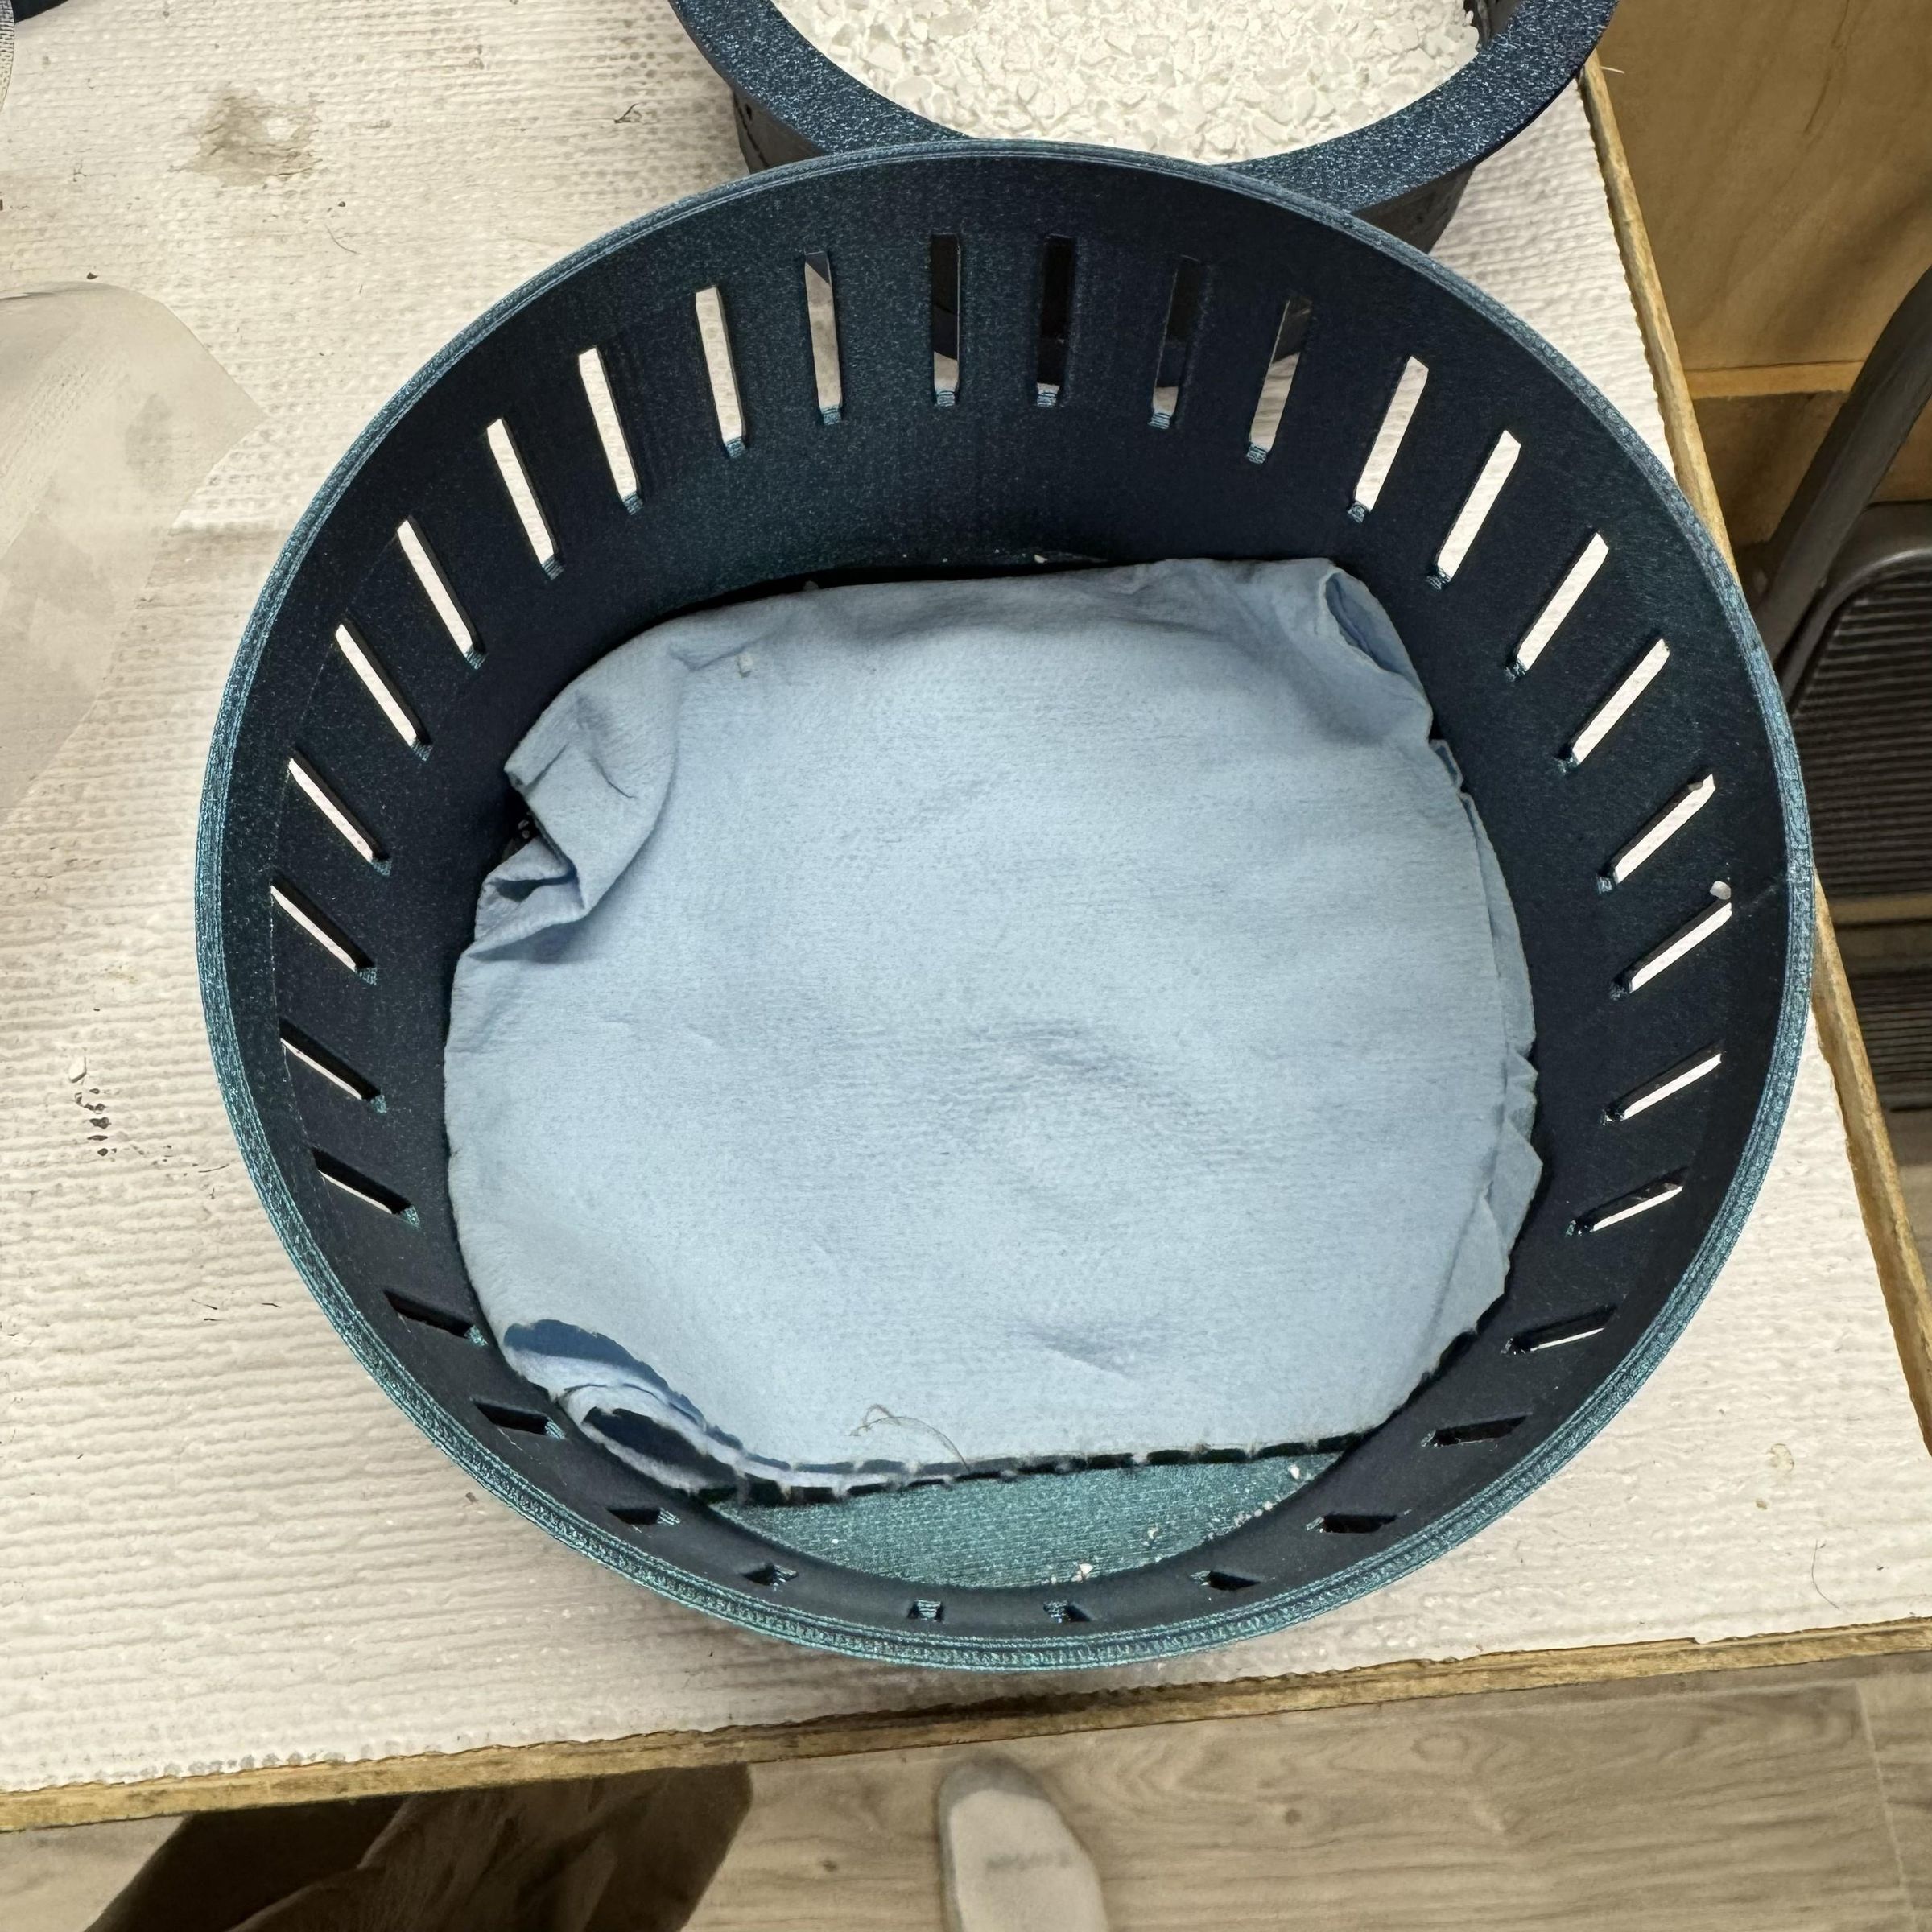
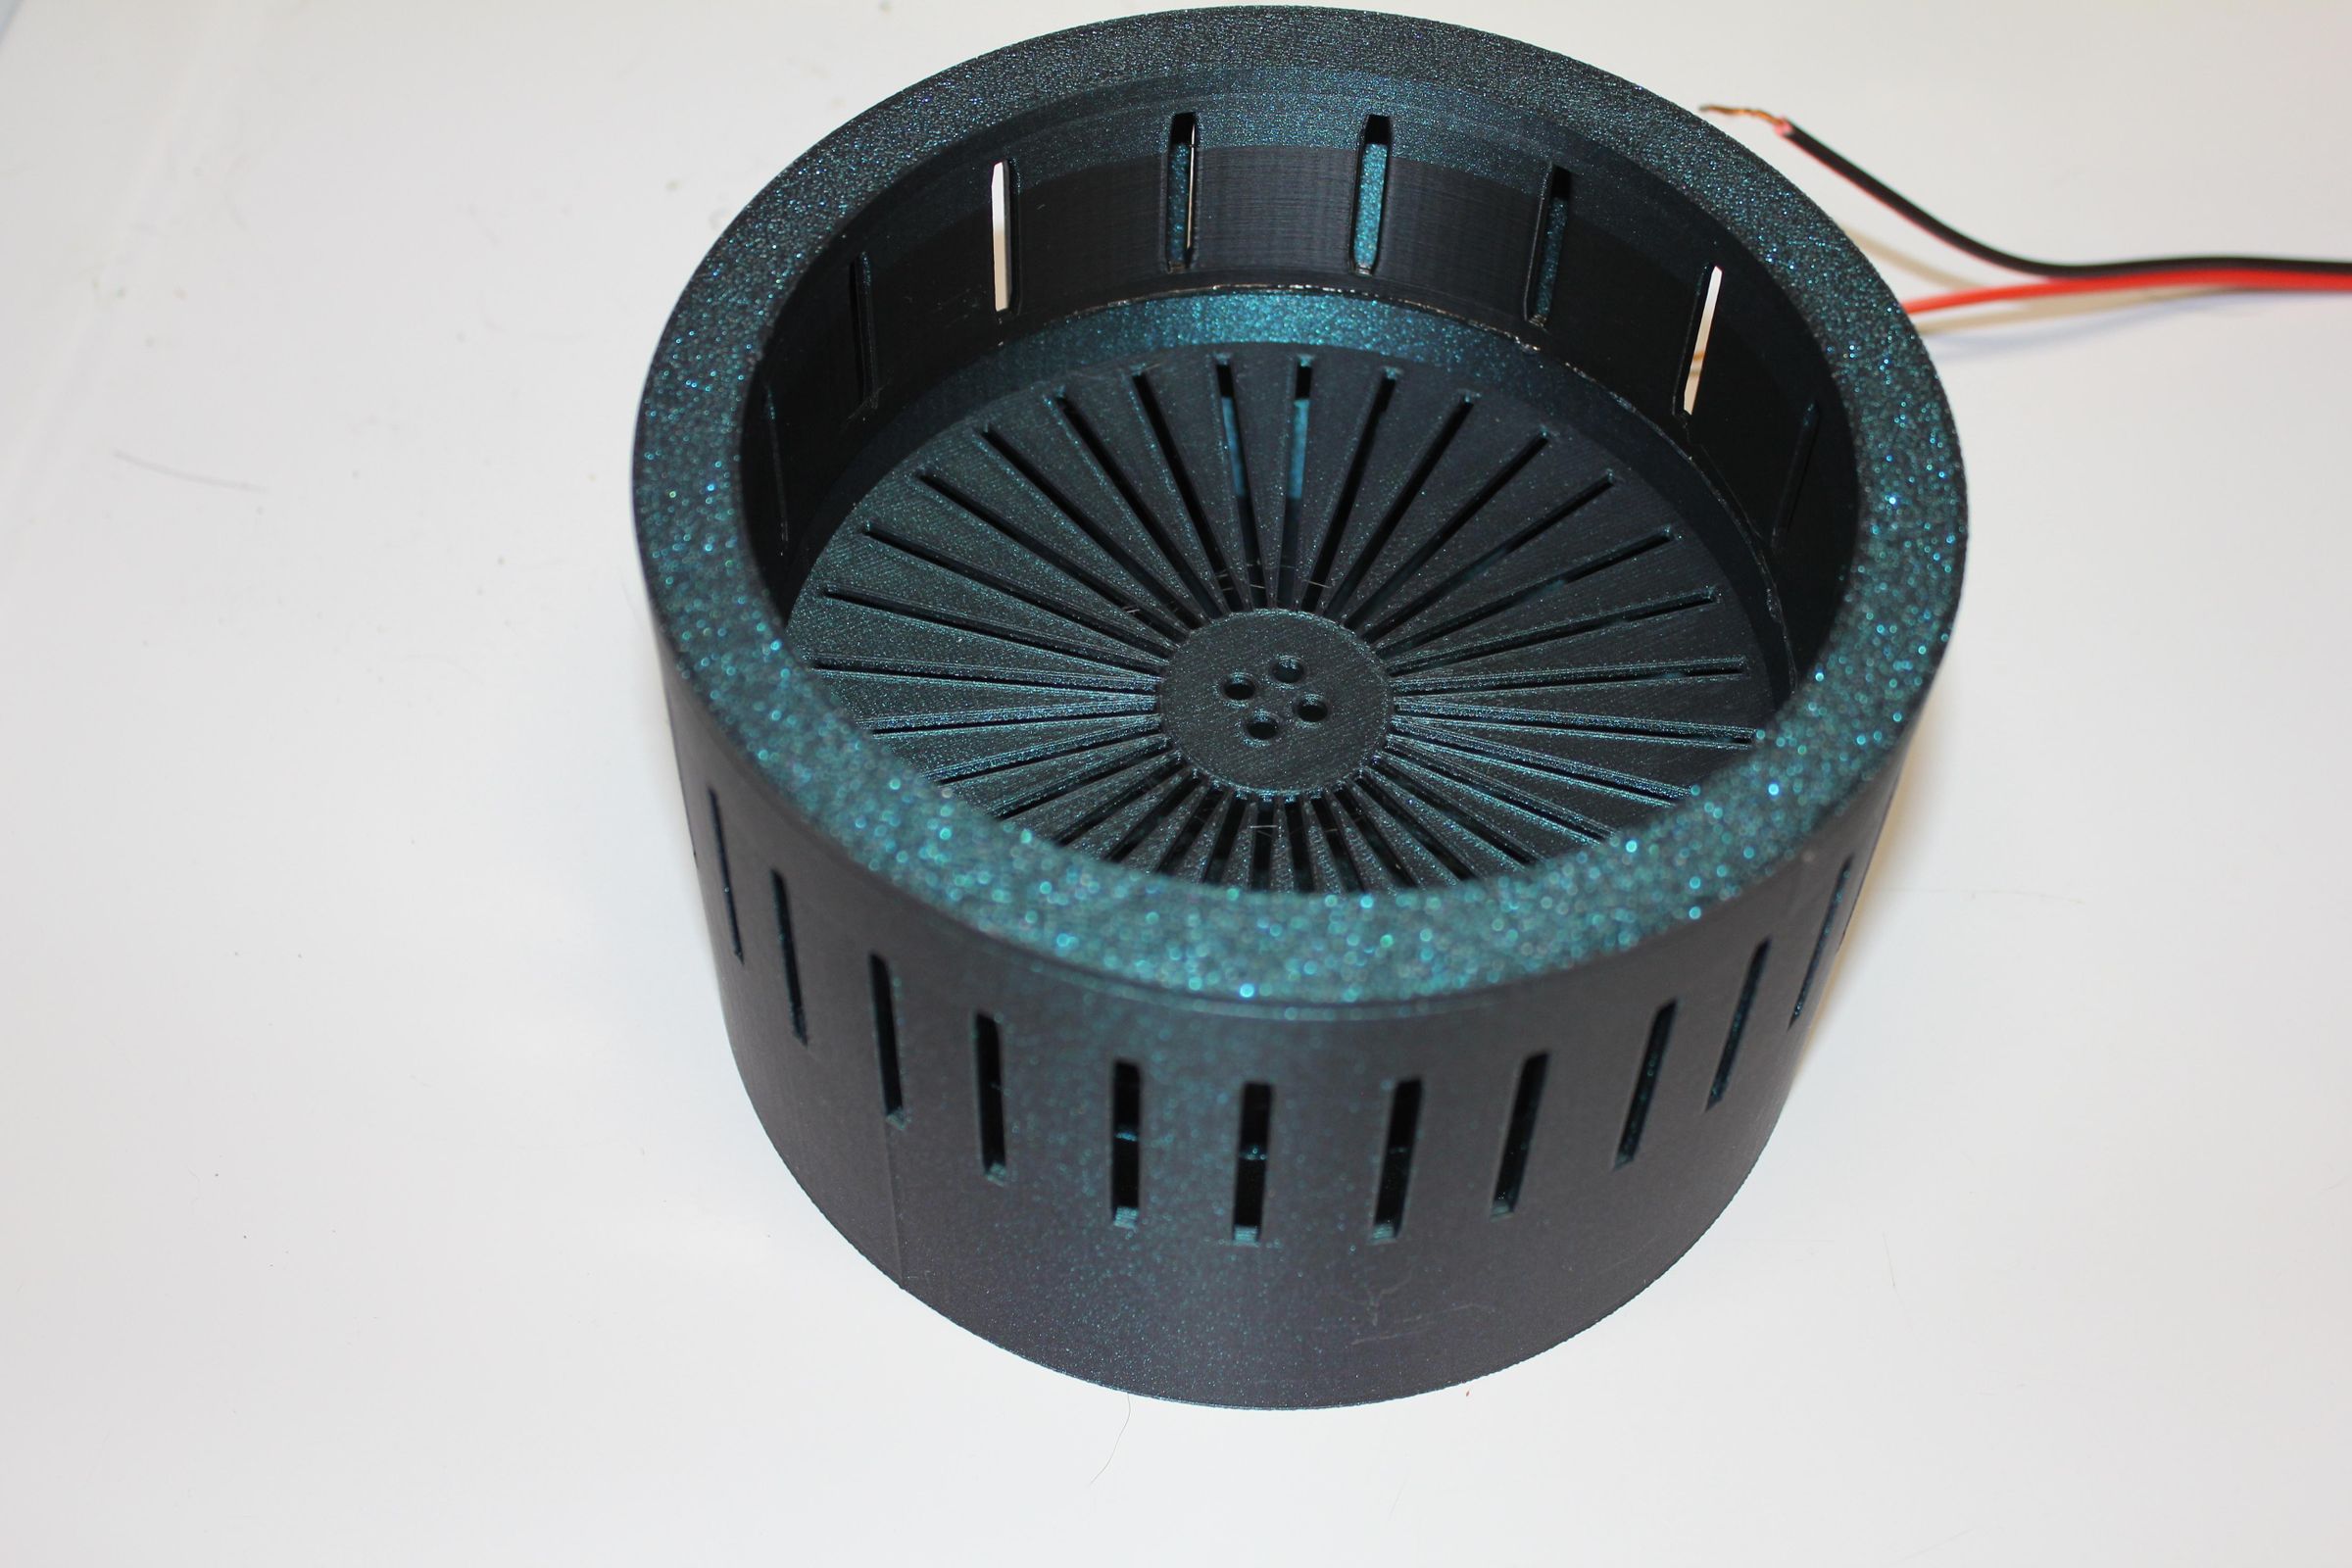
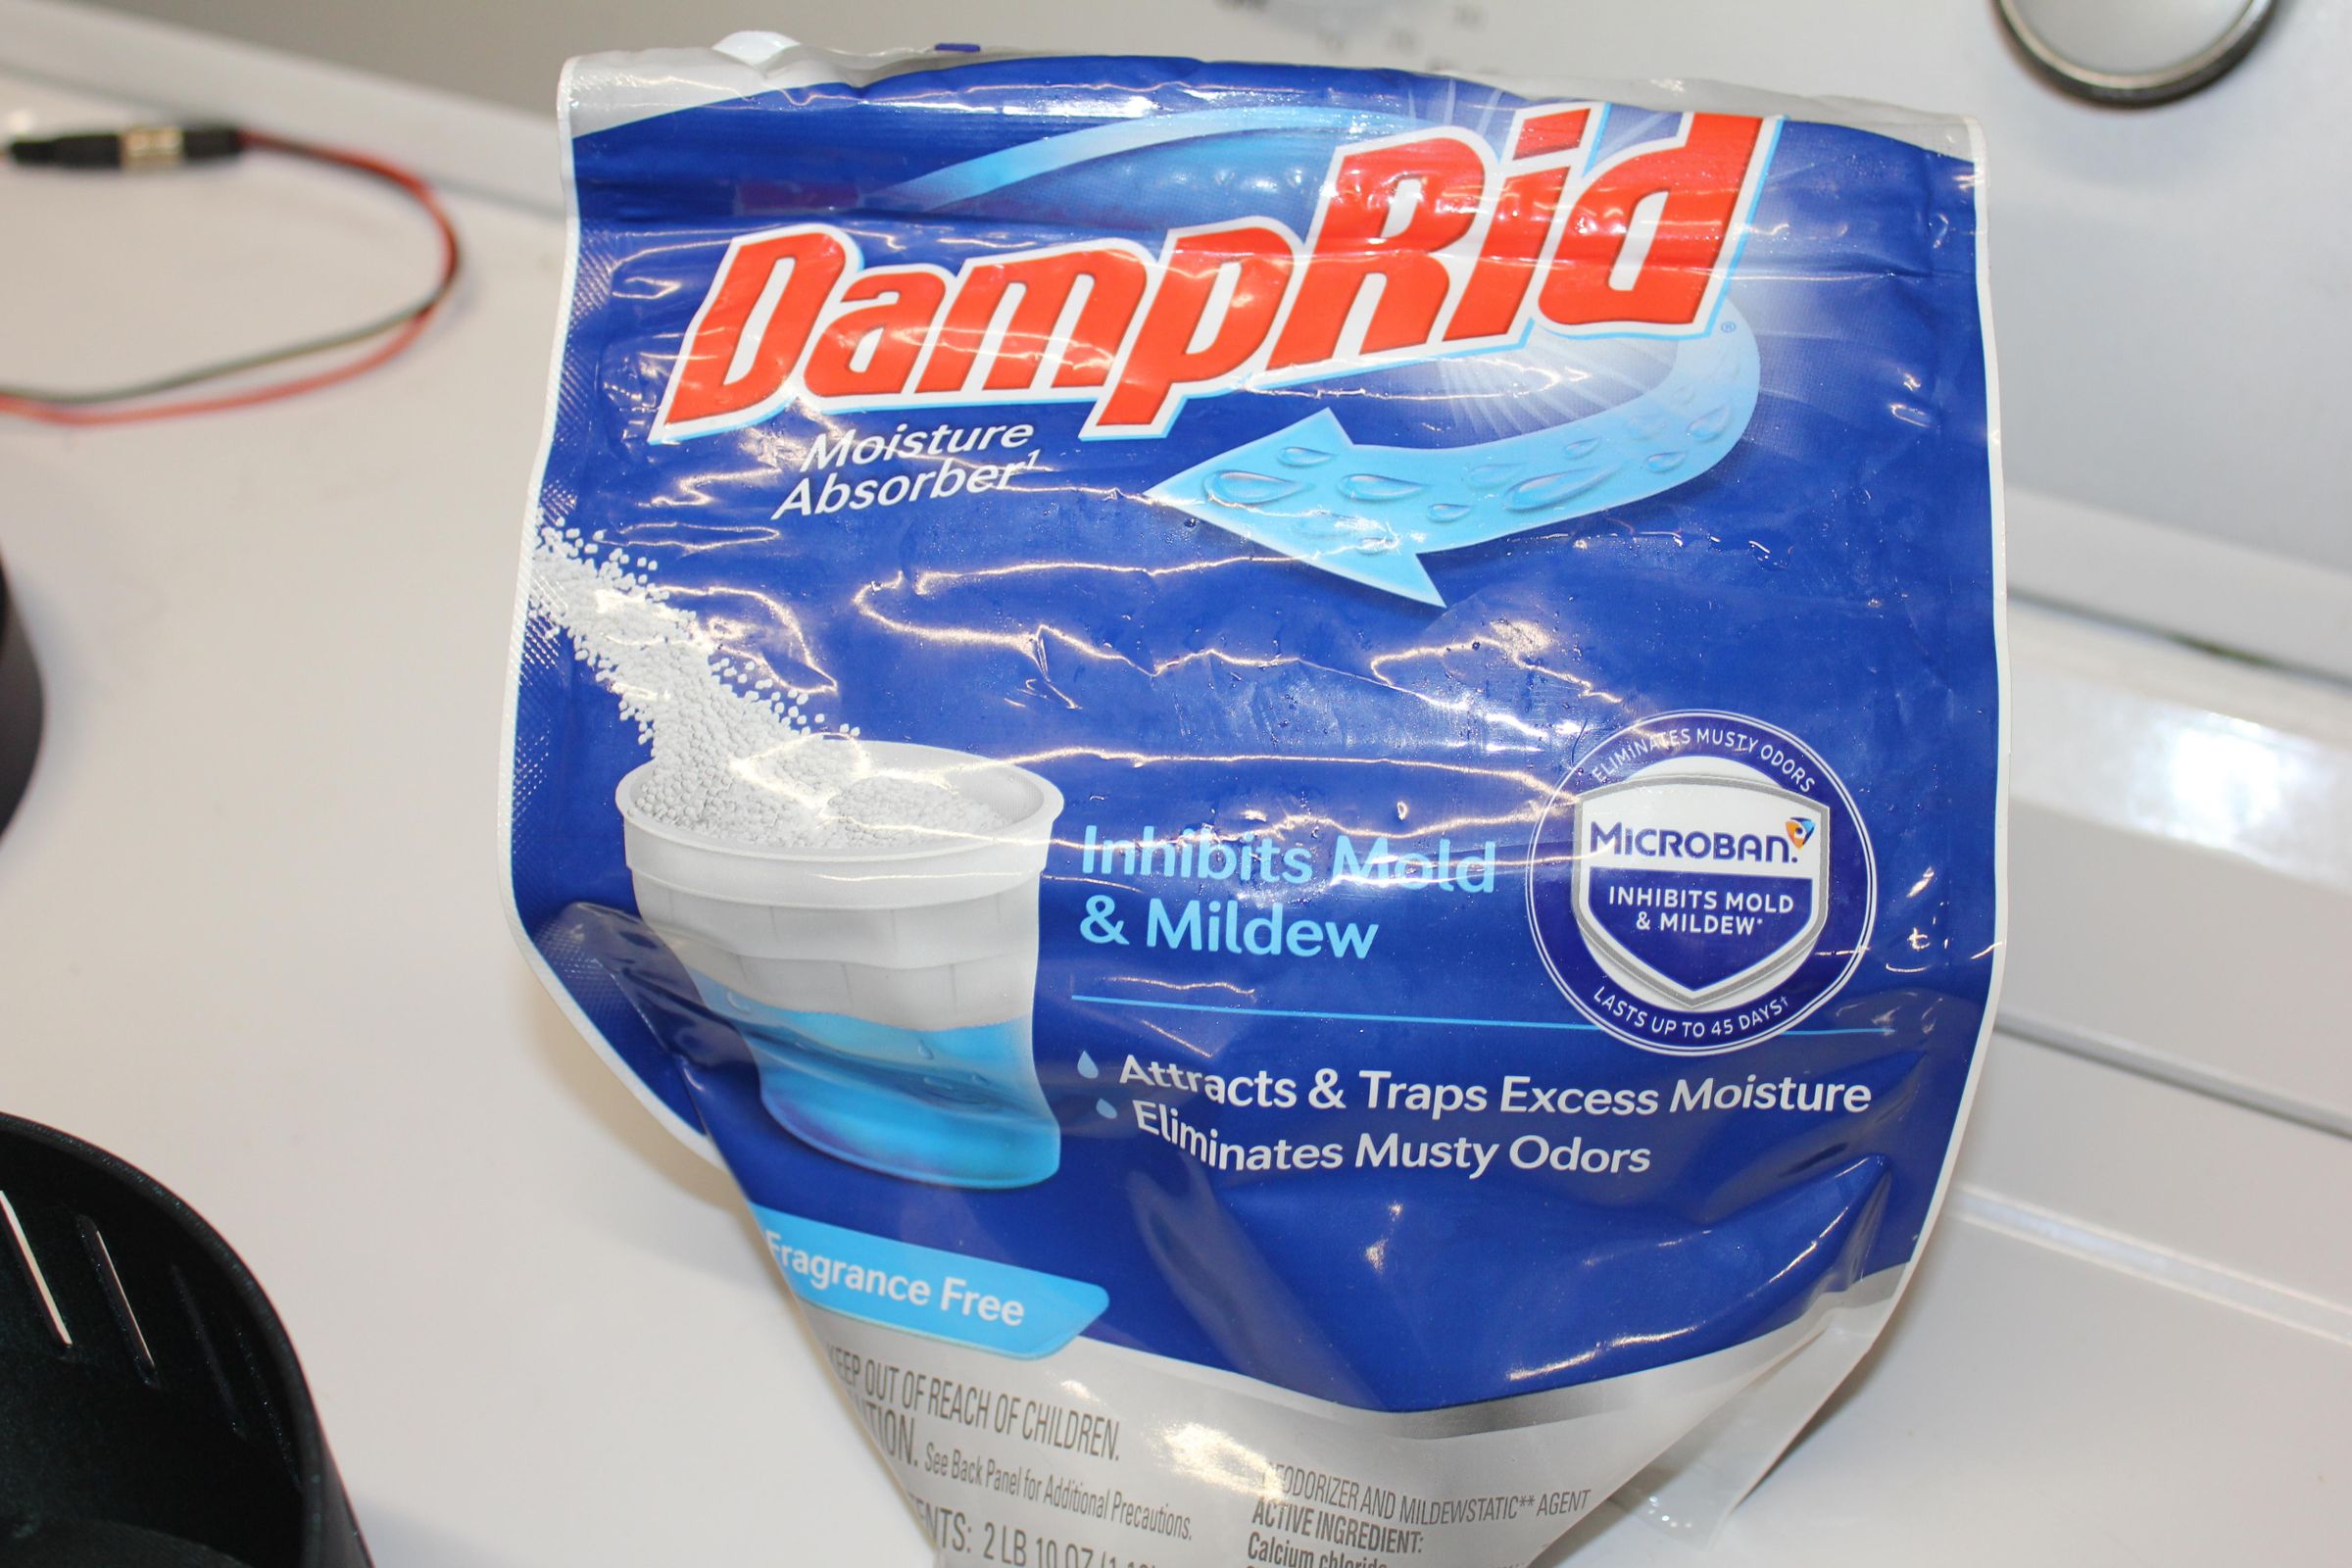
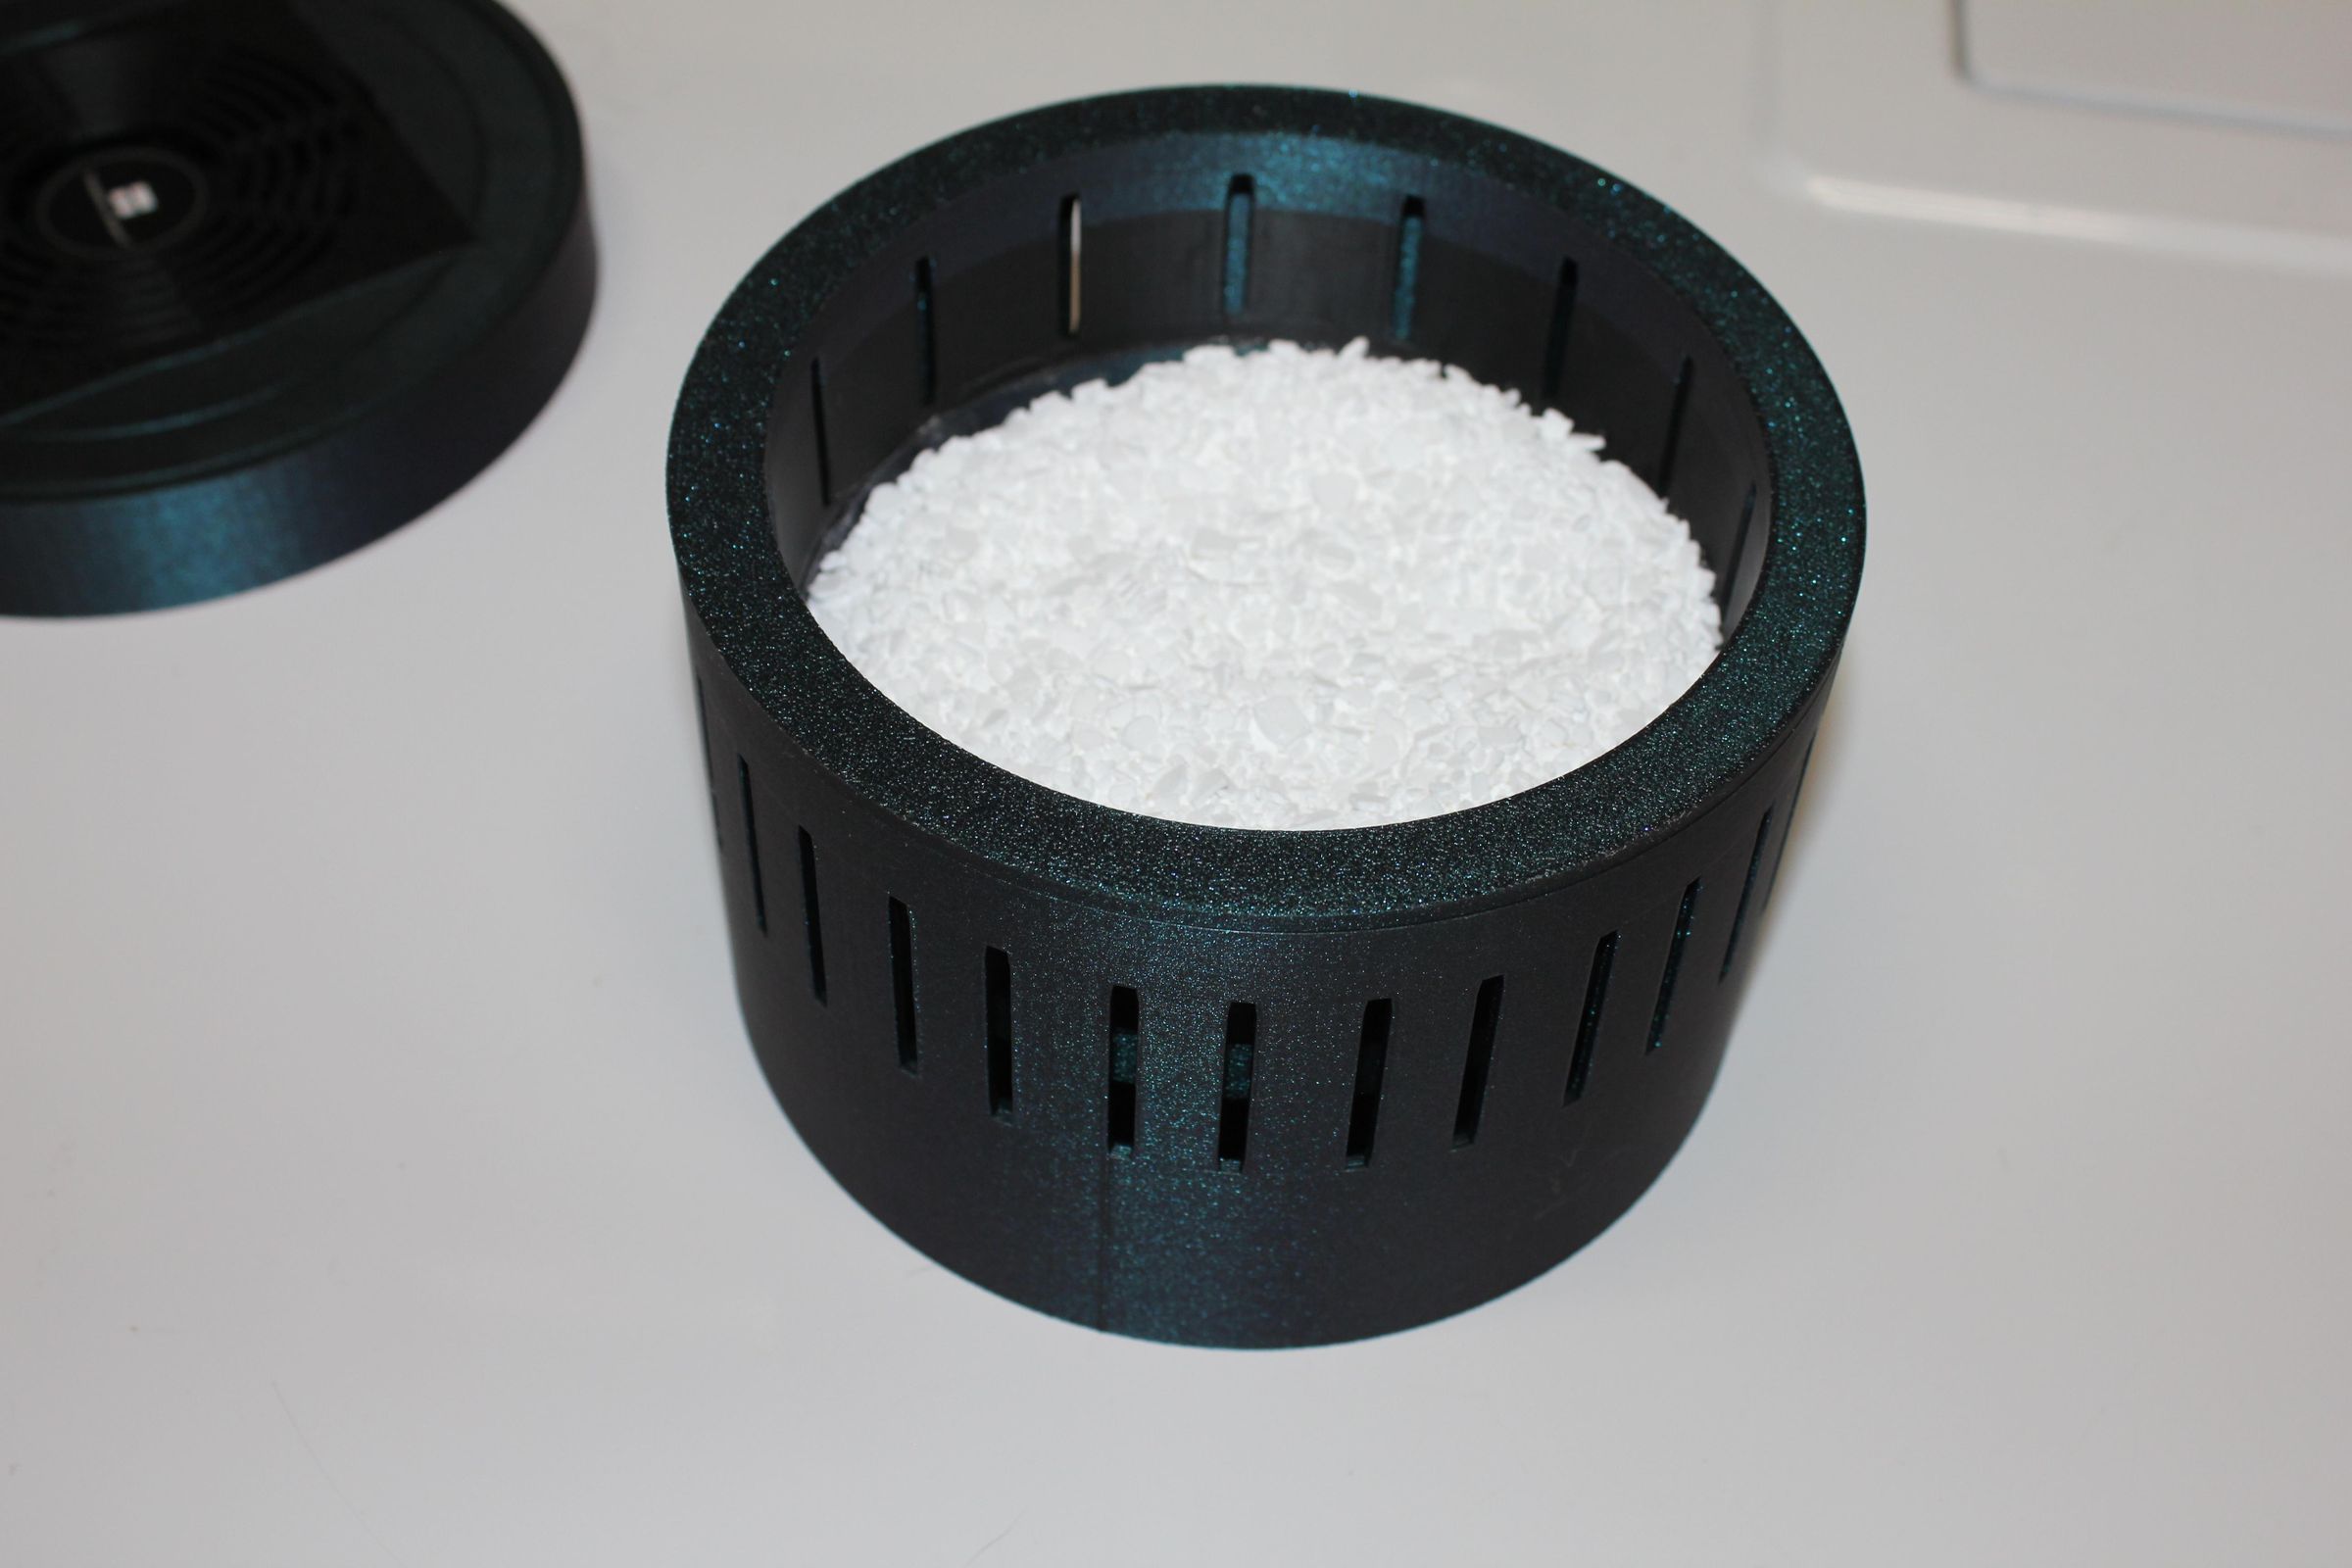
Now your ready the add DampRid. Fold up two paper towels and place them into the bottom of the main bucket. I discovered this makes it much easier to clean out and move without spilling it. You will be surprised at how much water this will pull out of the air. Insert the crystal cup into the main bucket before you add the crystals. Fill the crystal cup with "DampRid" crystals just bellow the side air slits. Place the lid on top of bucket making sure it is seated all the way and plug it in.
If your using the gel beads, Fill the bottom of the main bucket up to just bellow the air slits. I have not tried it with the silica gel beads so I don't know how affective it will be.
End Results
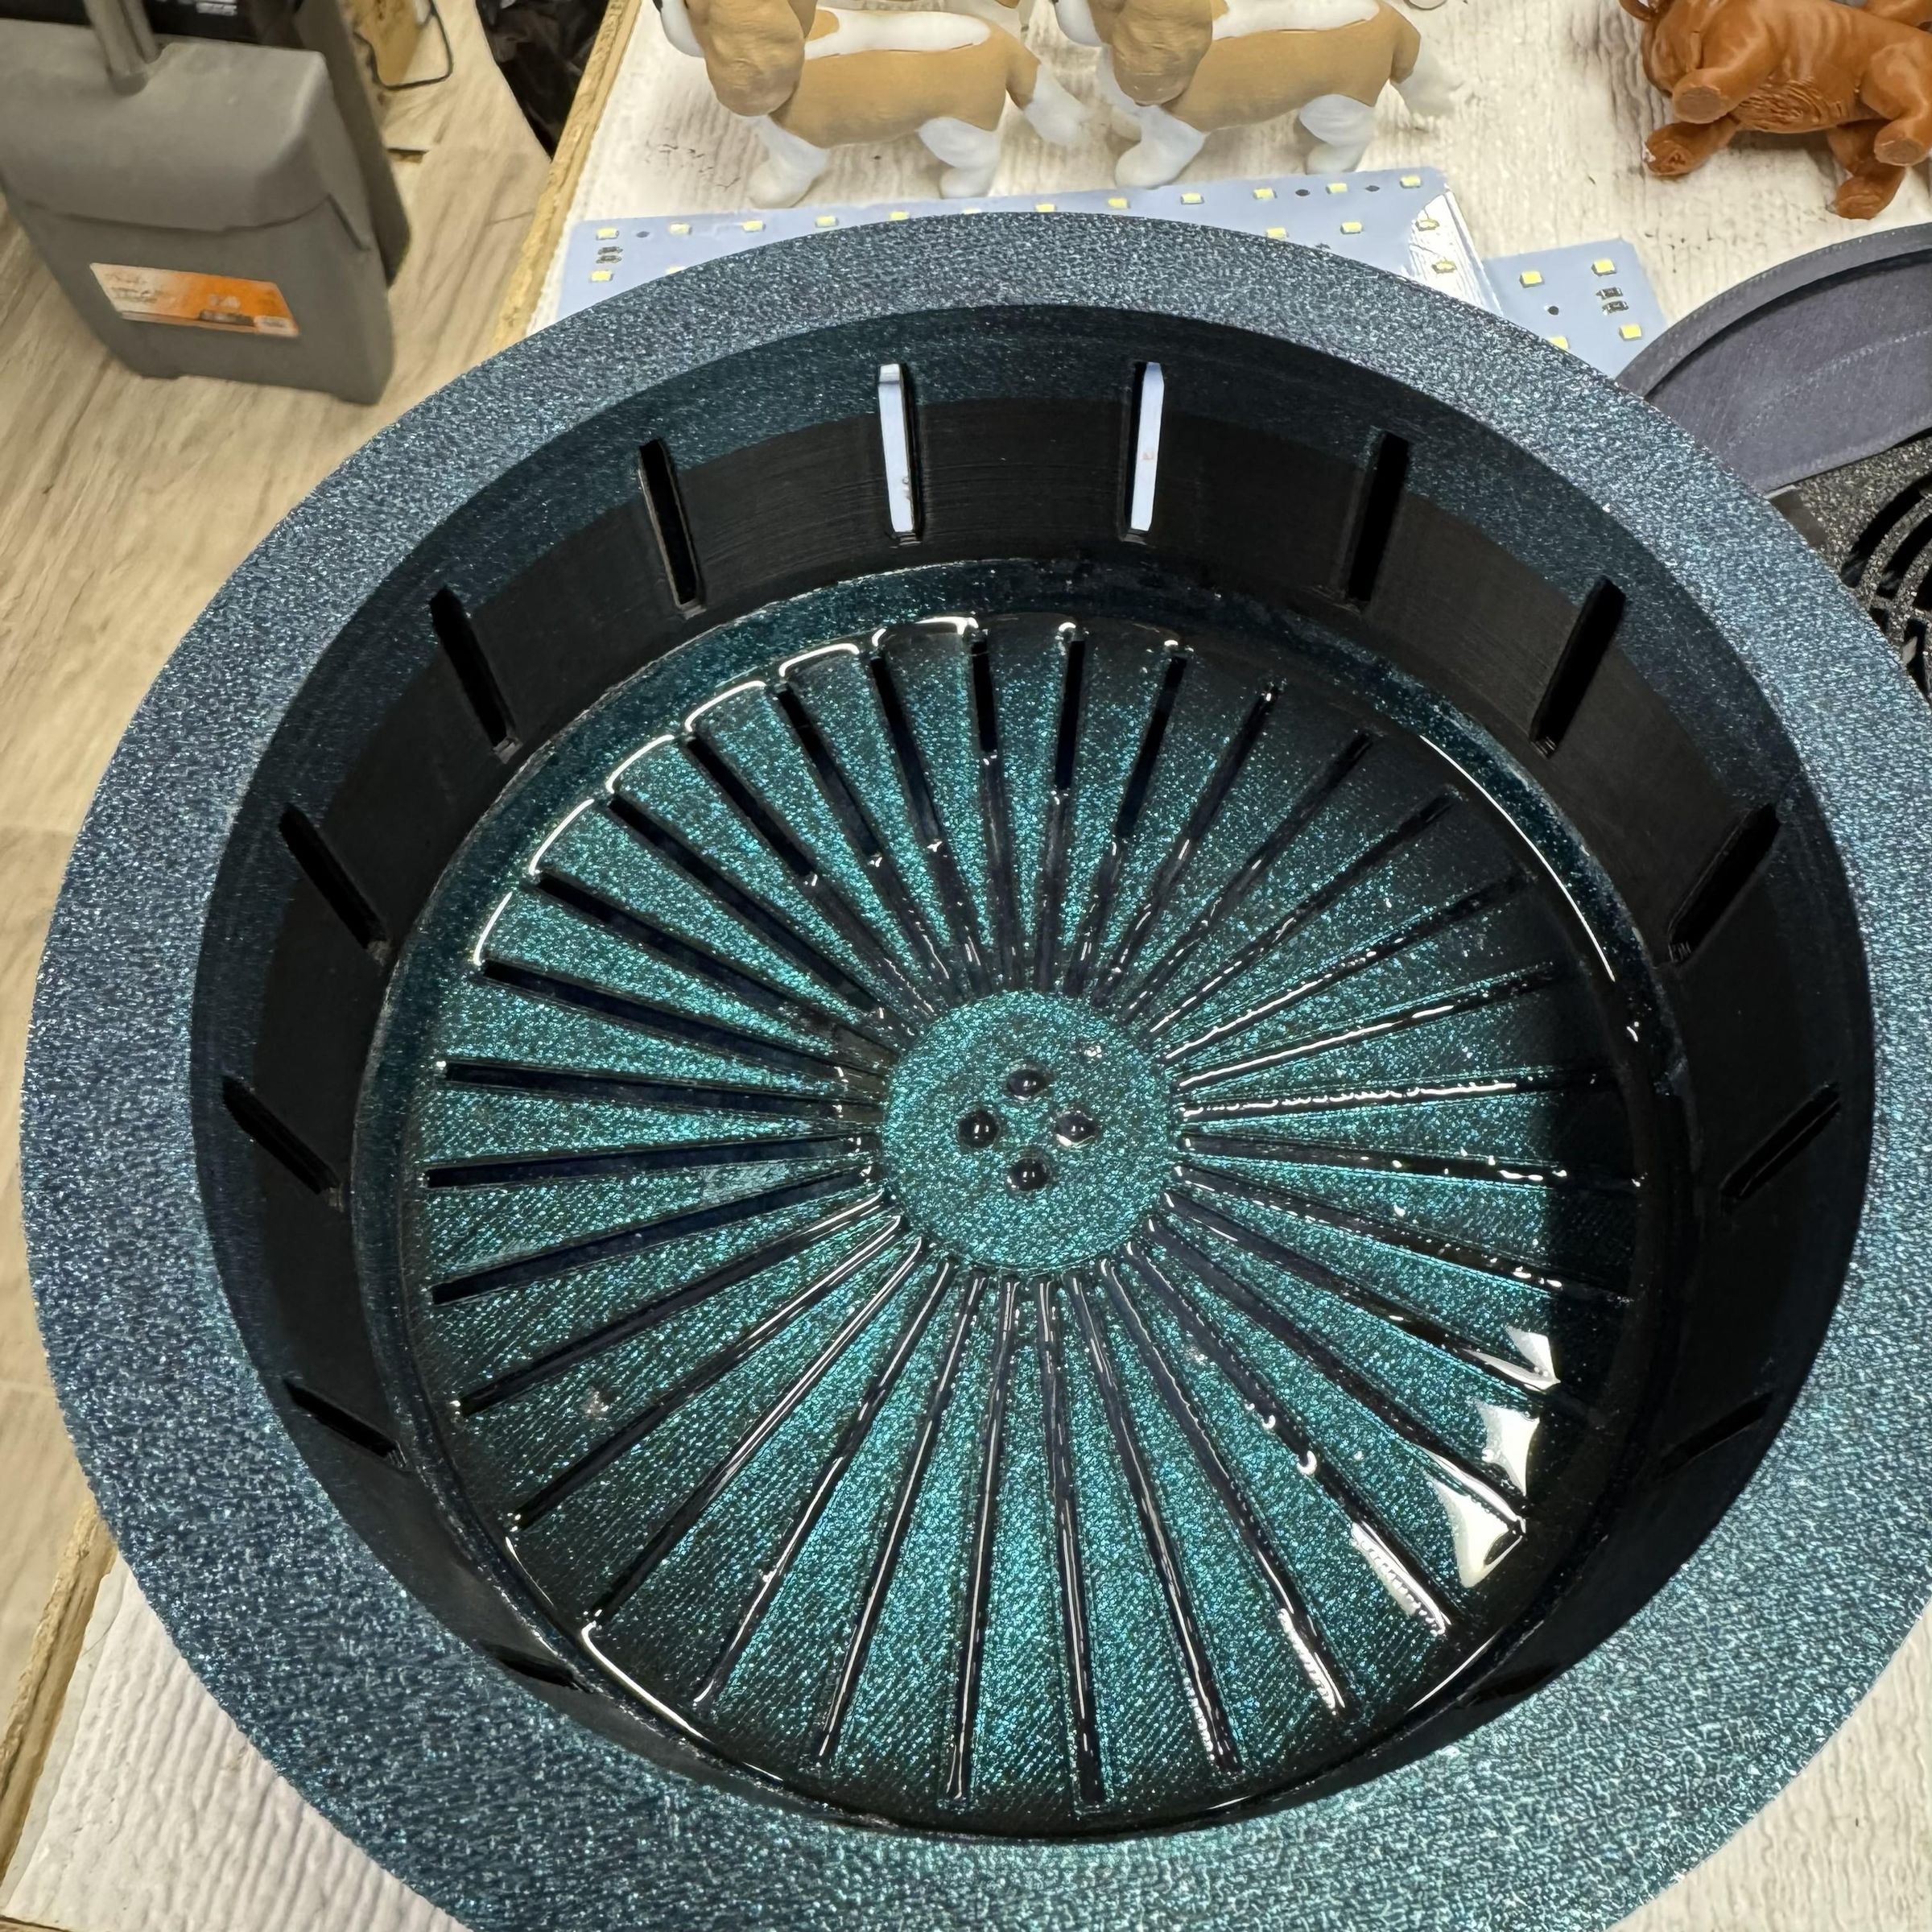
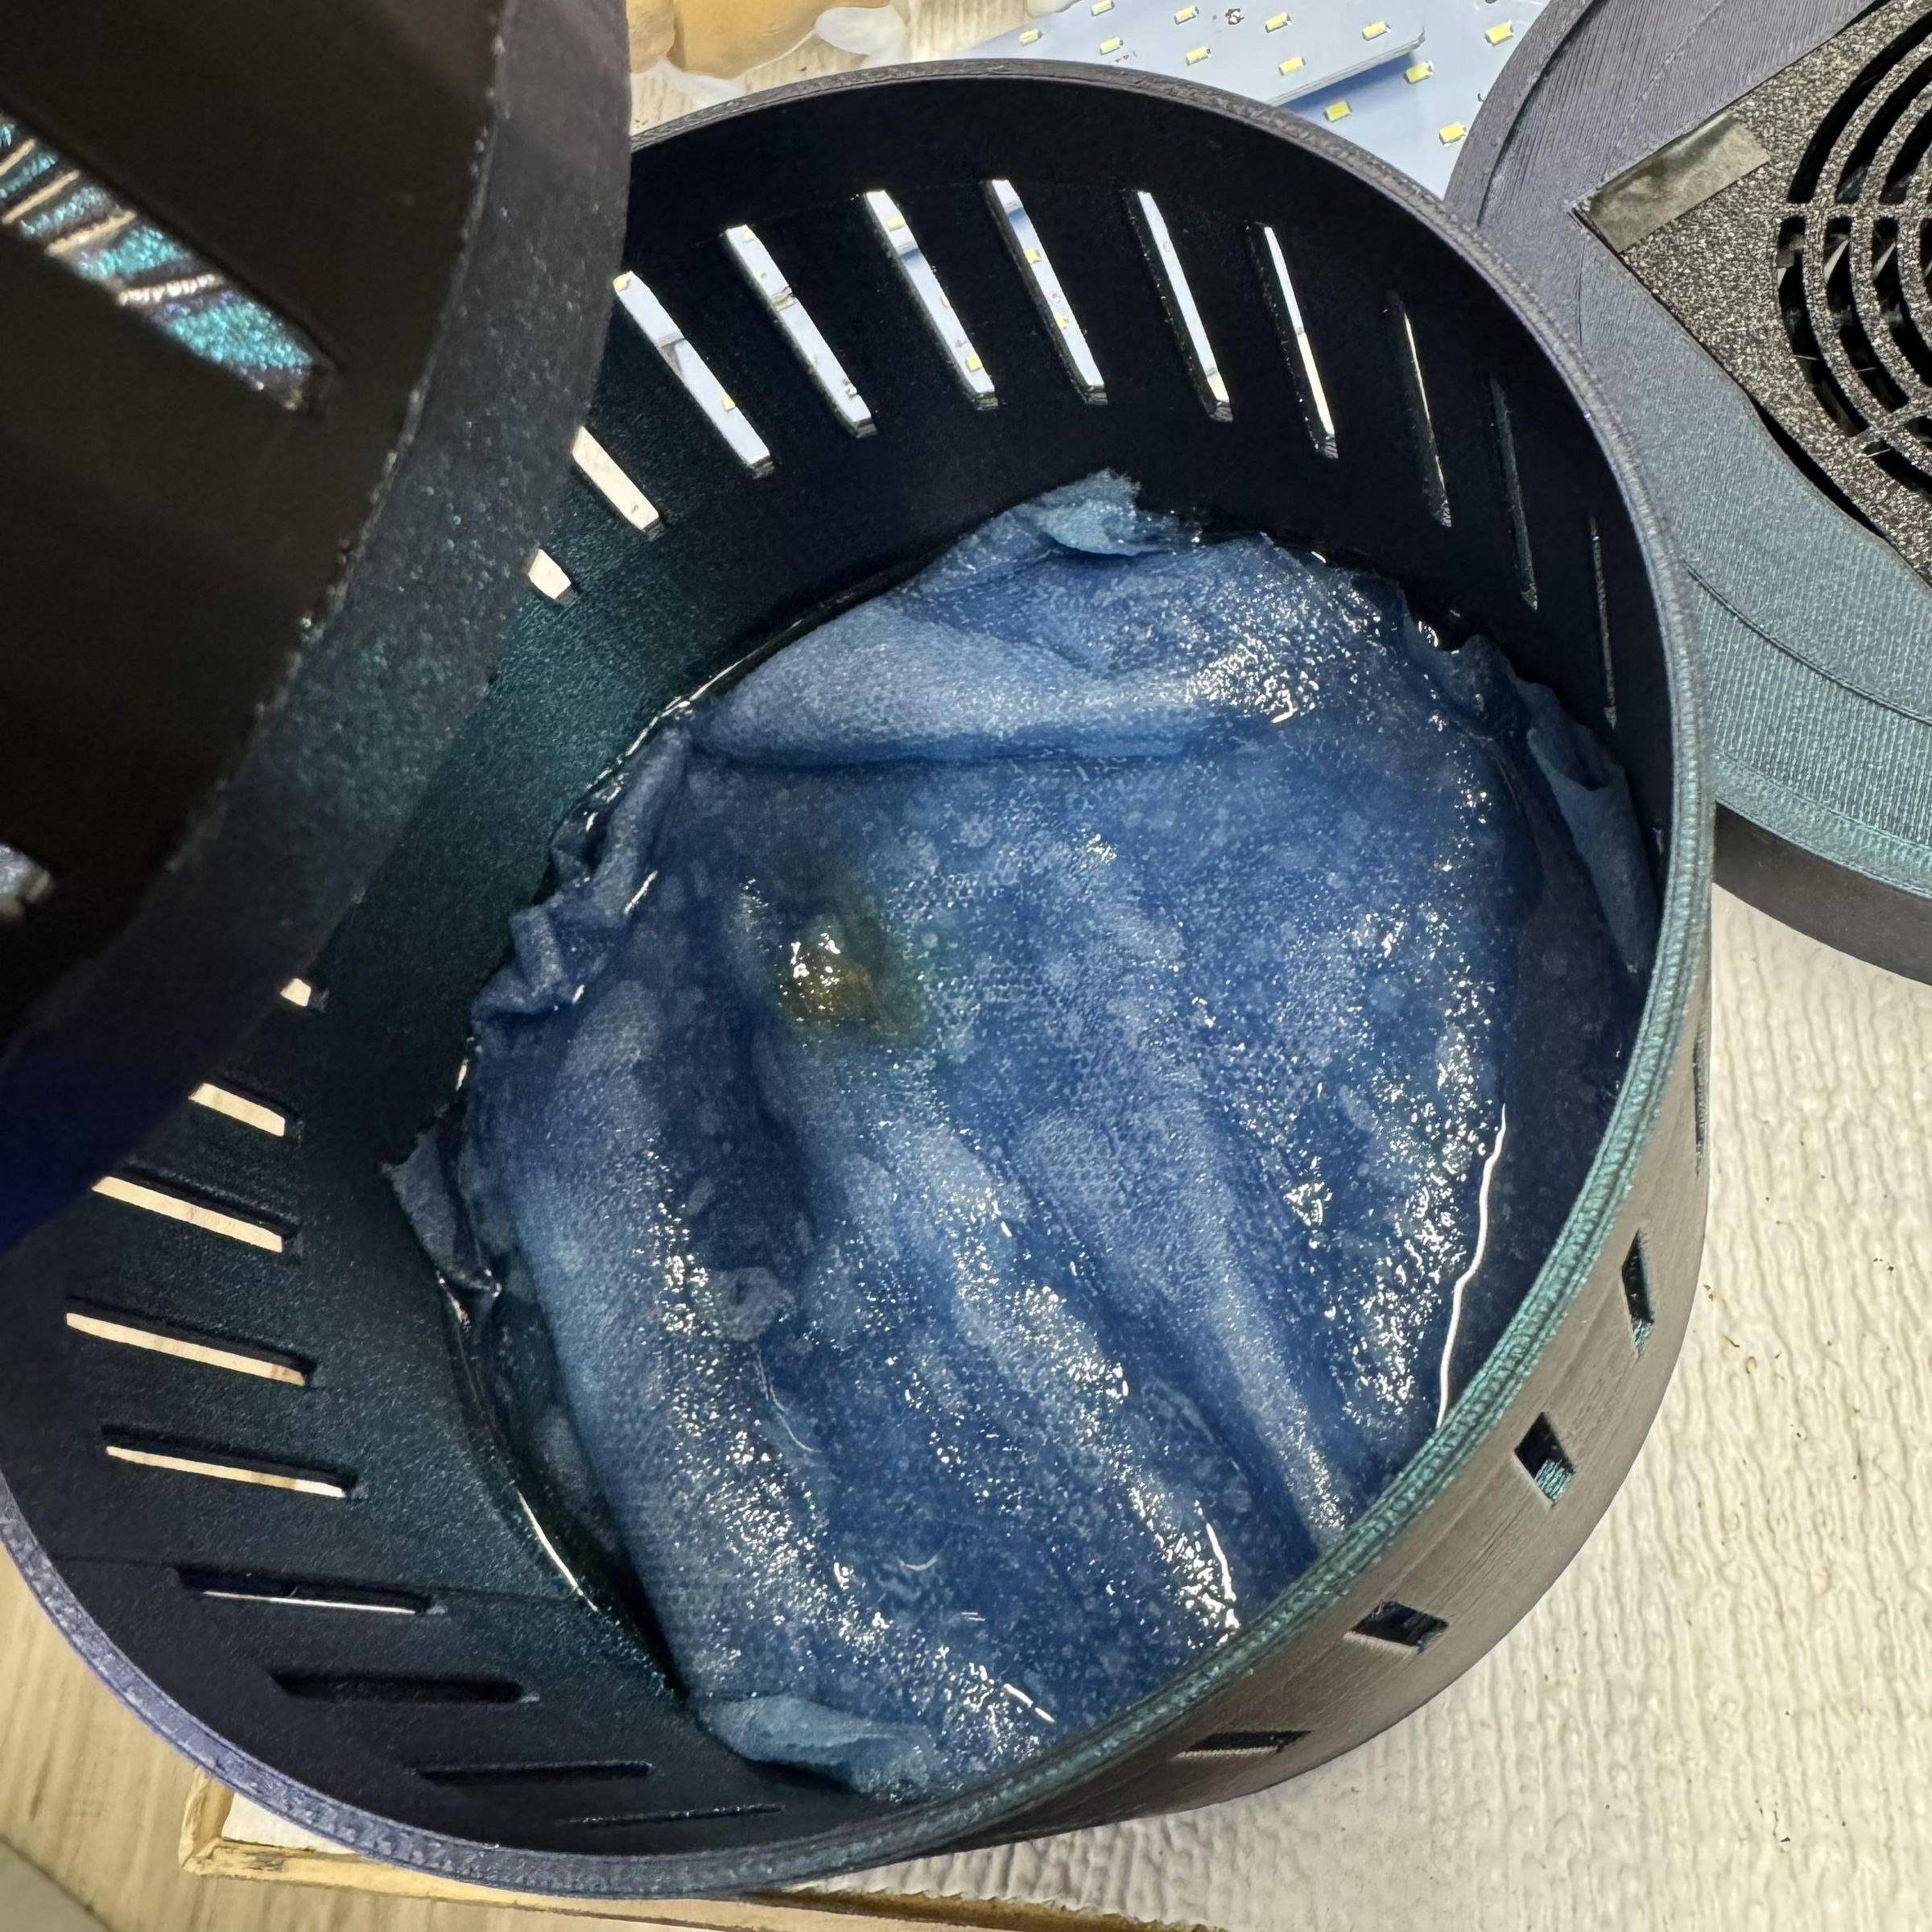
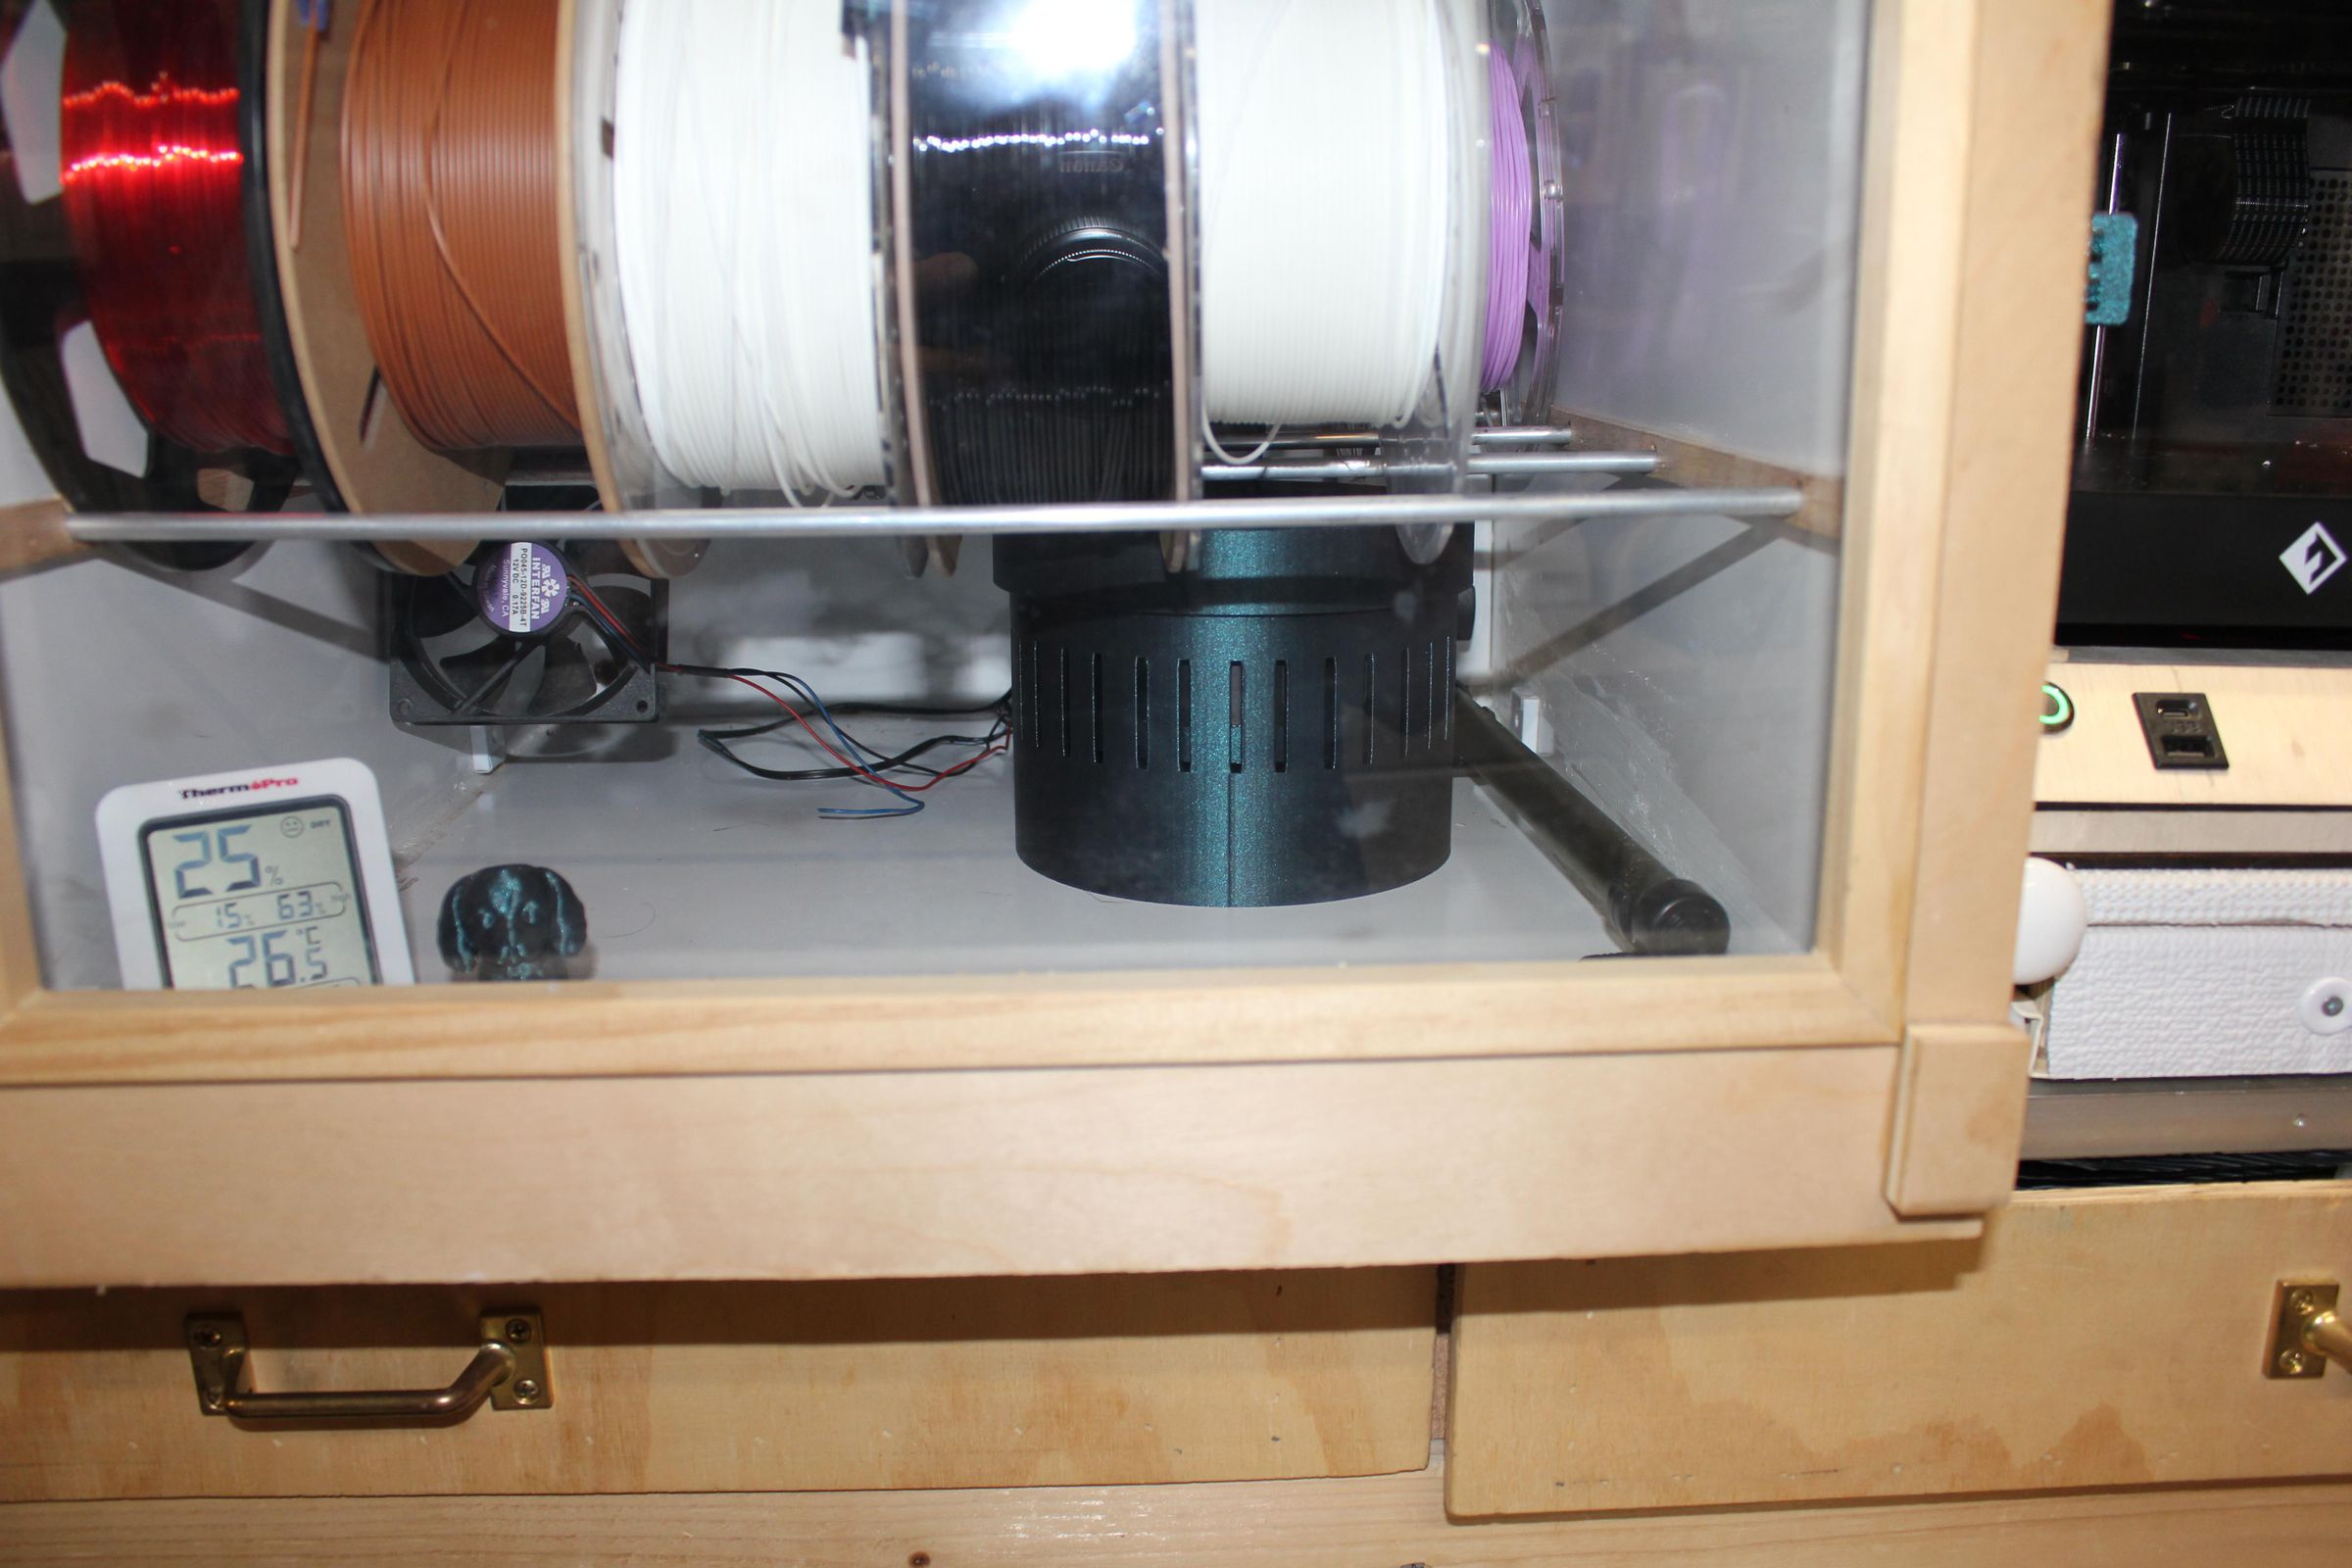
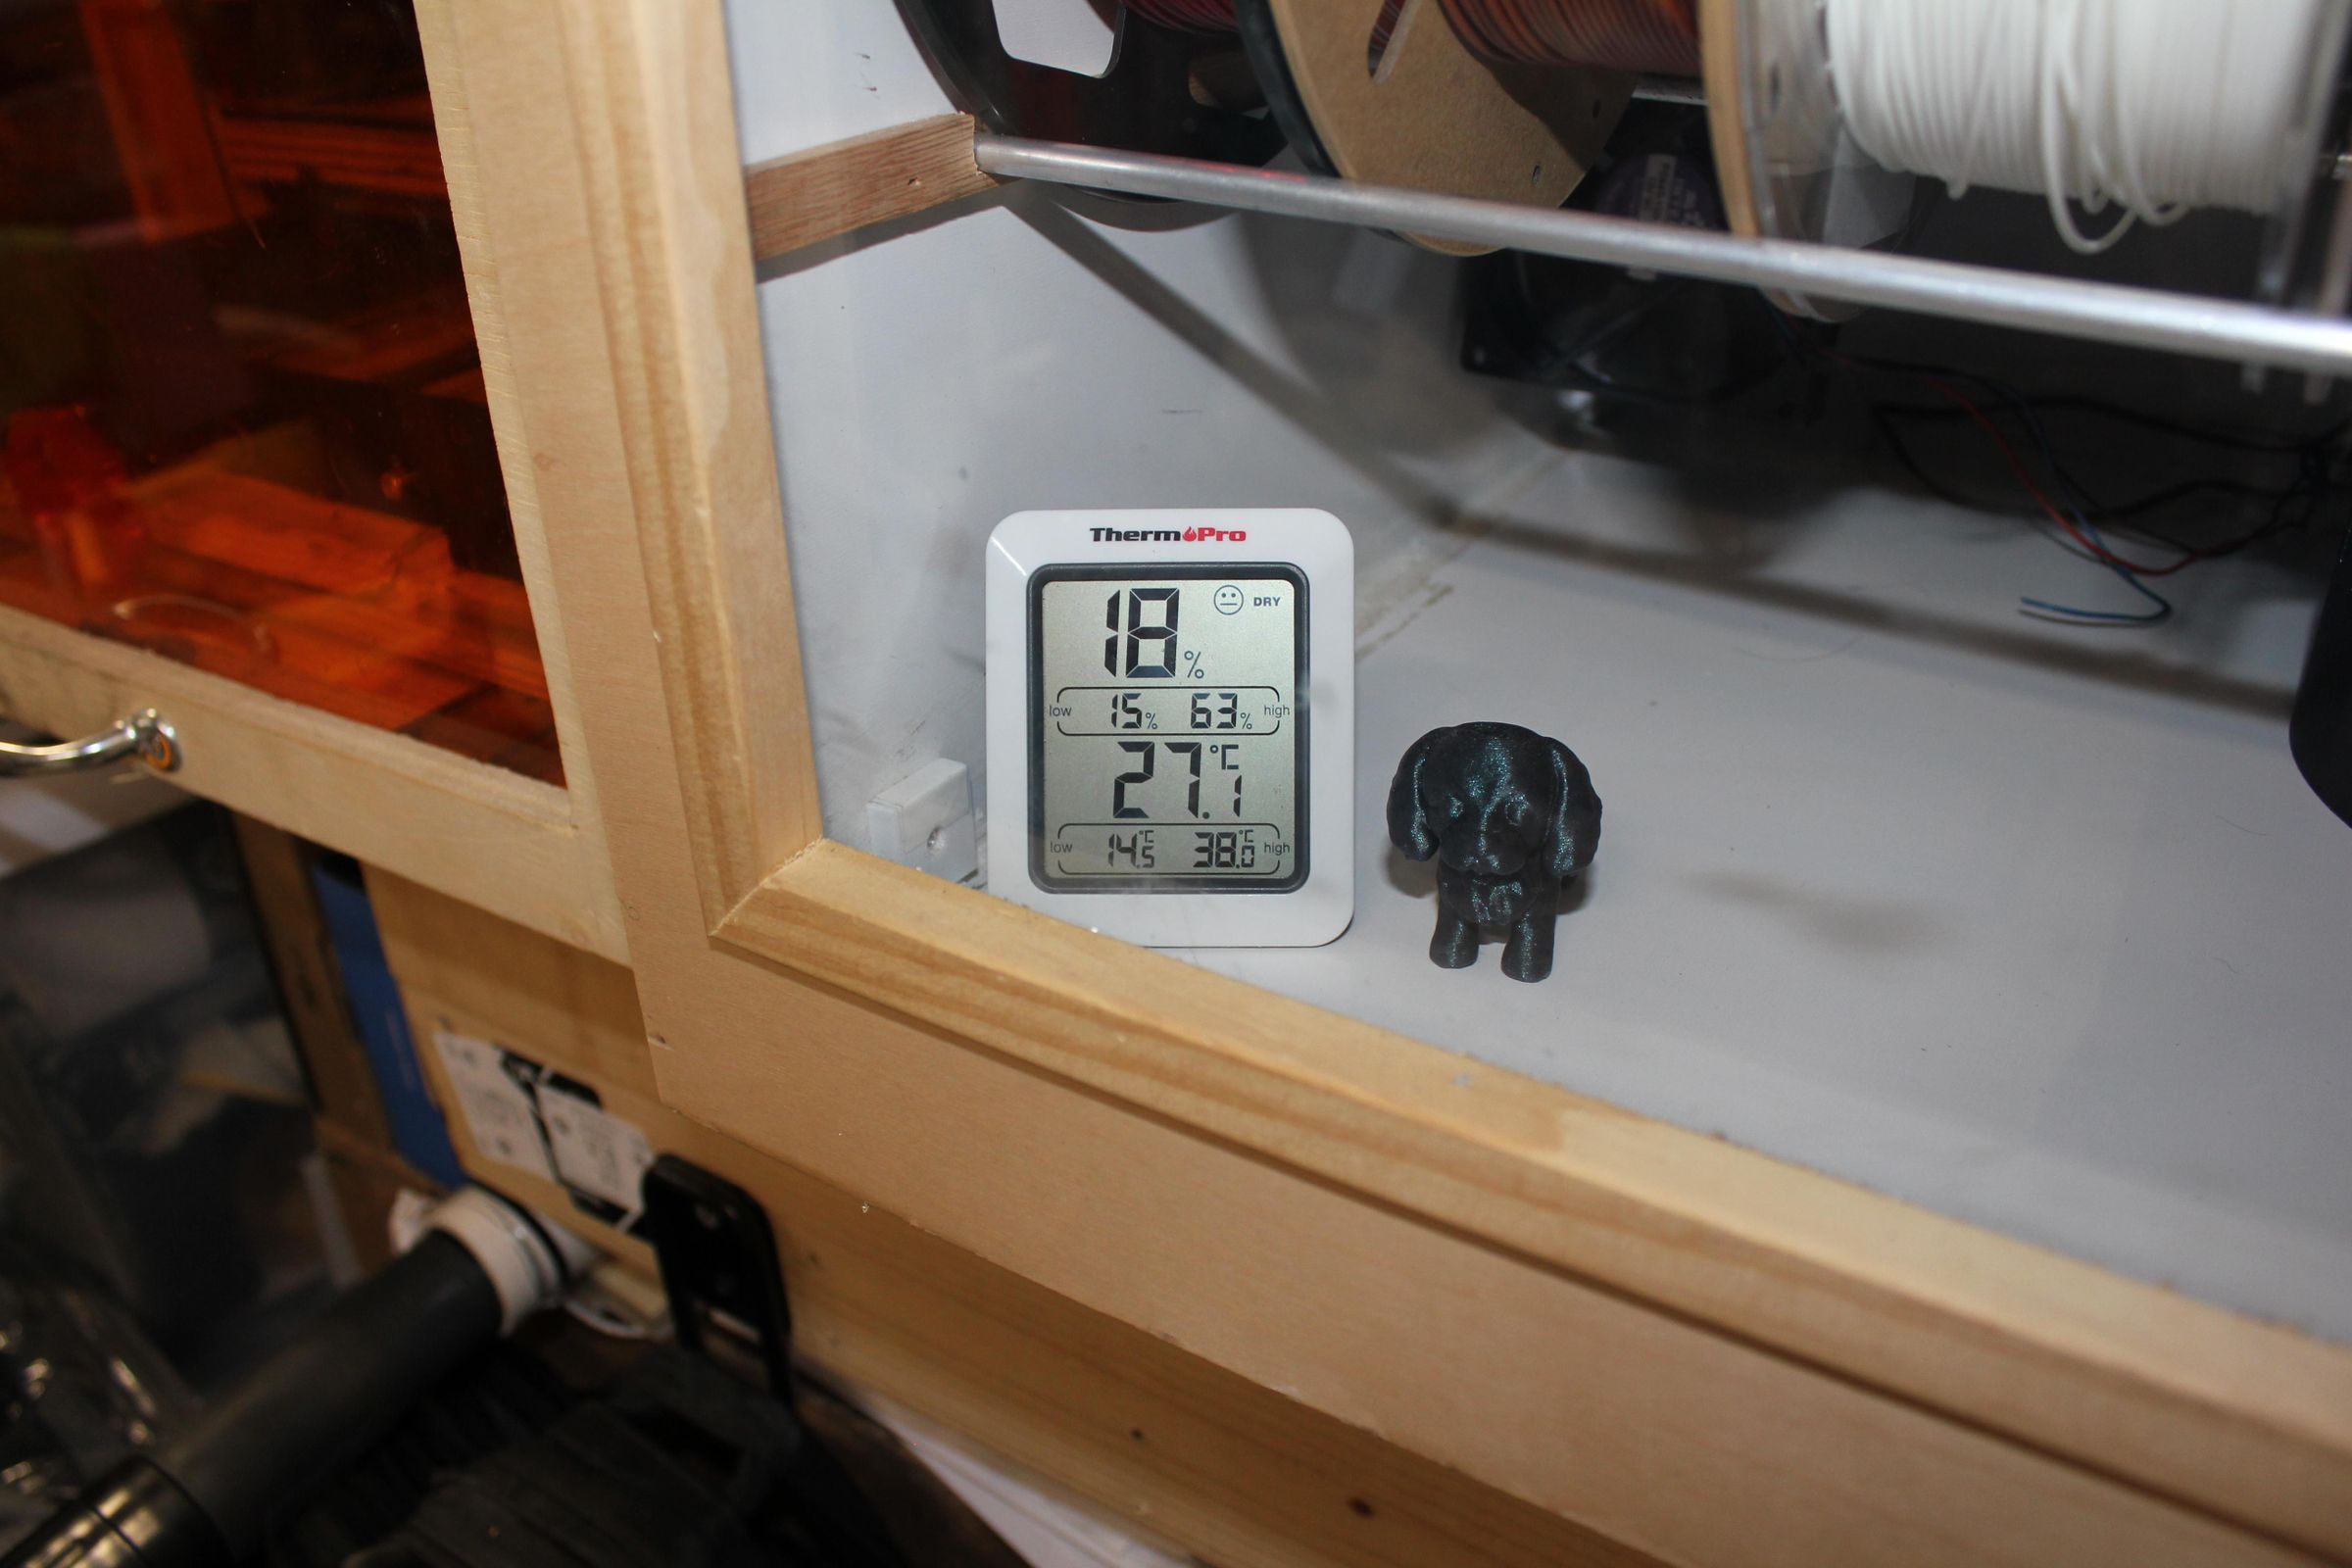
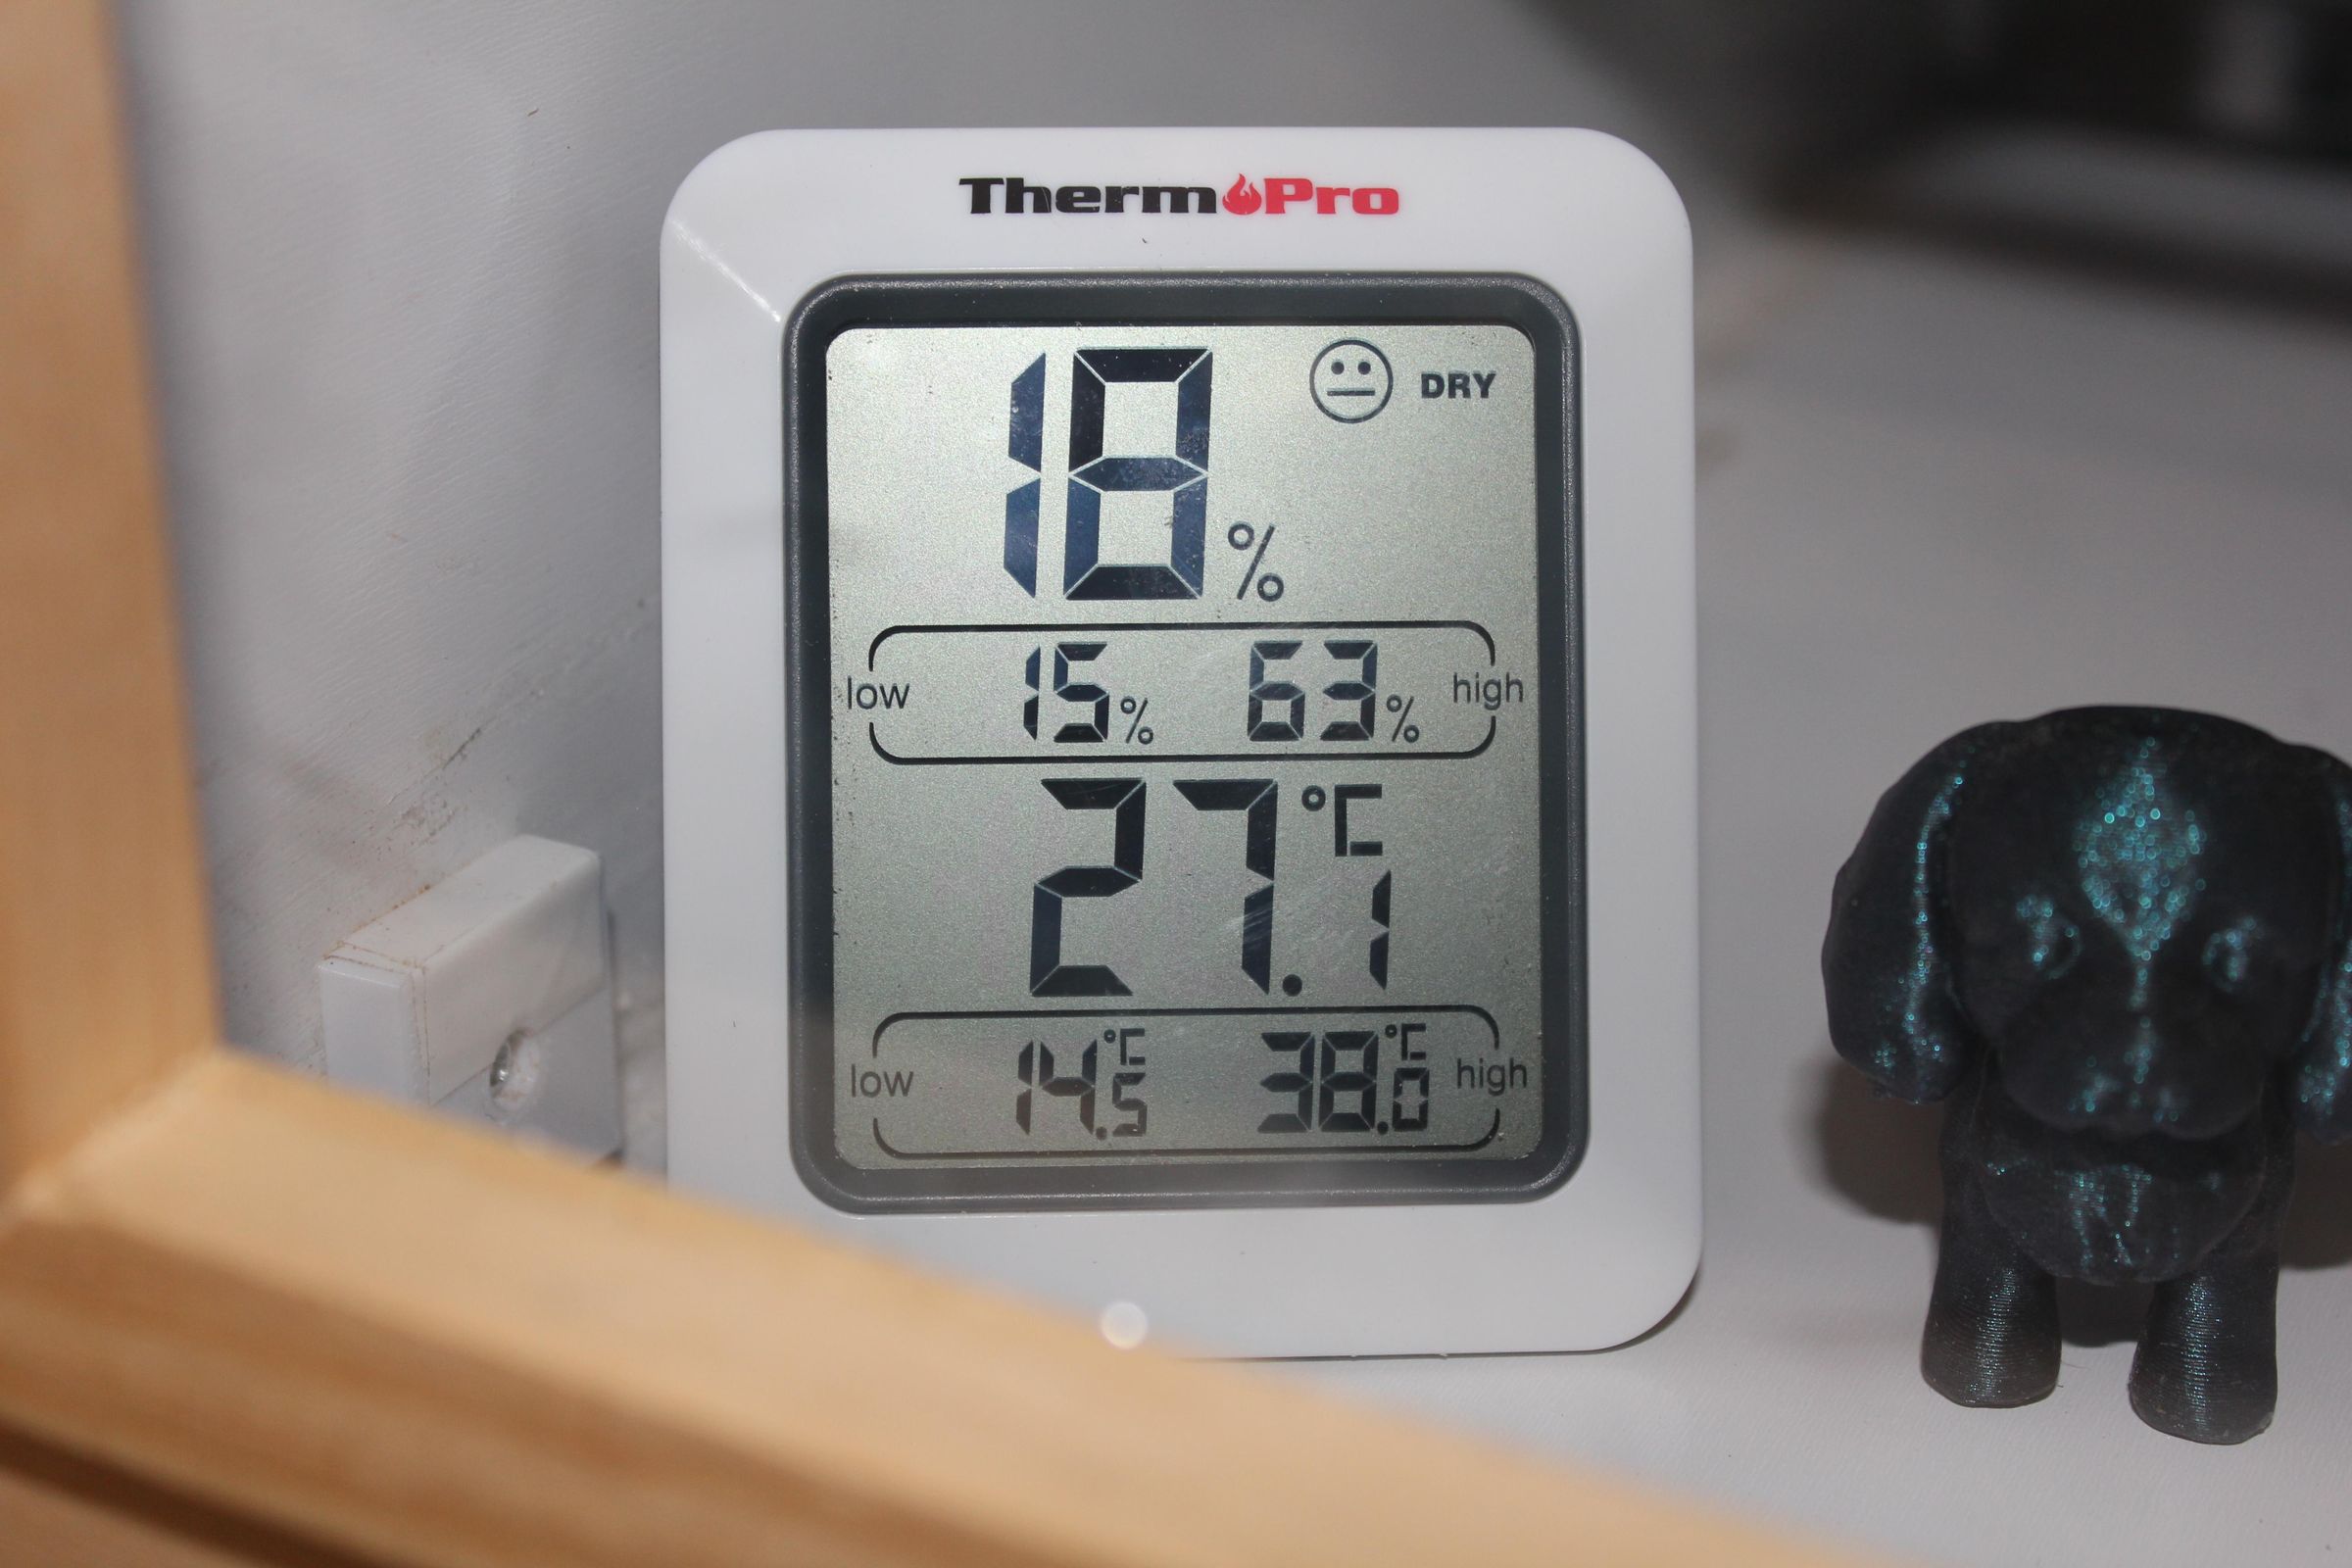
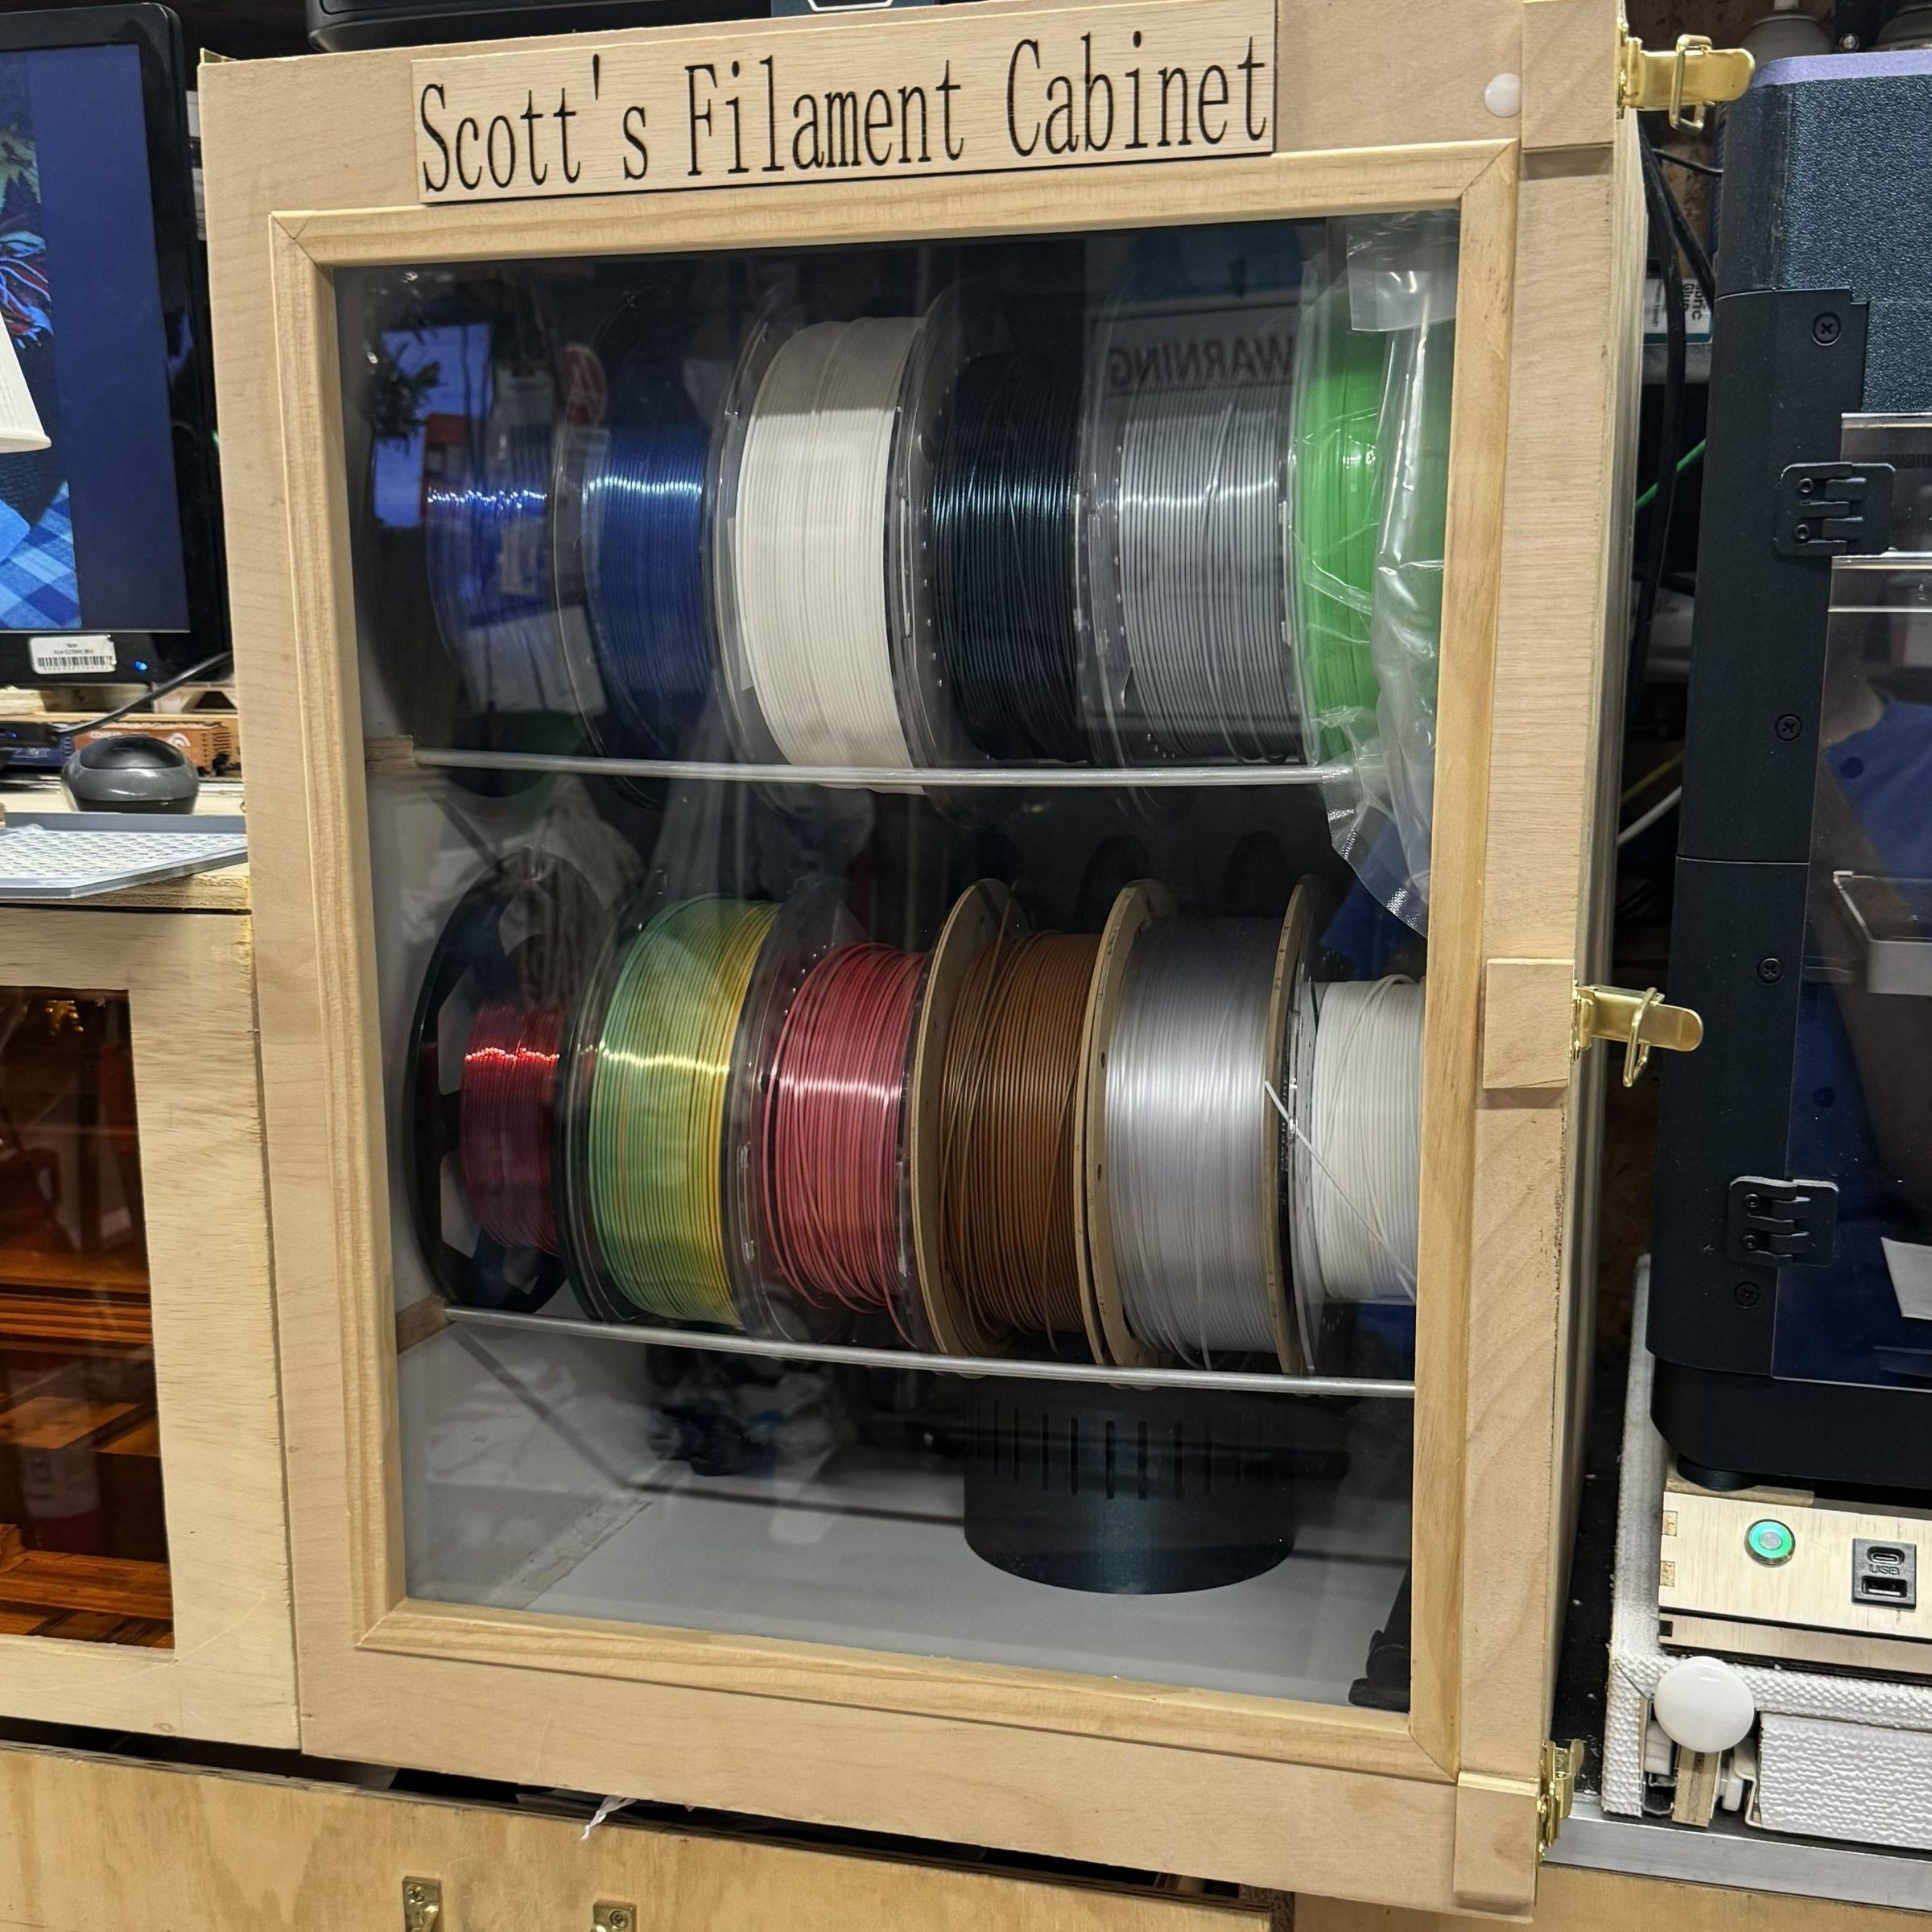
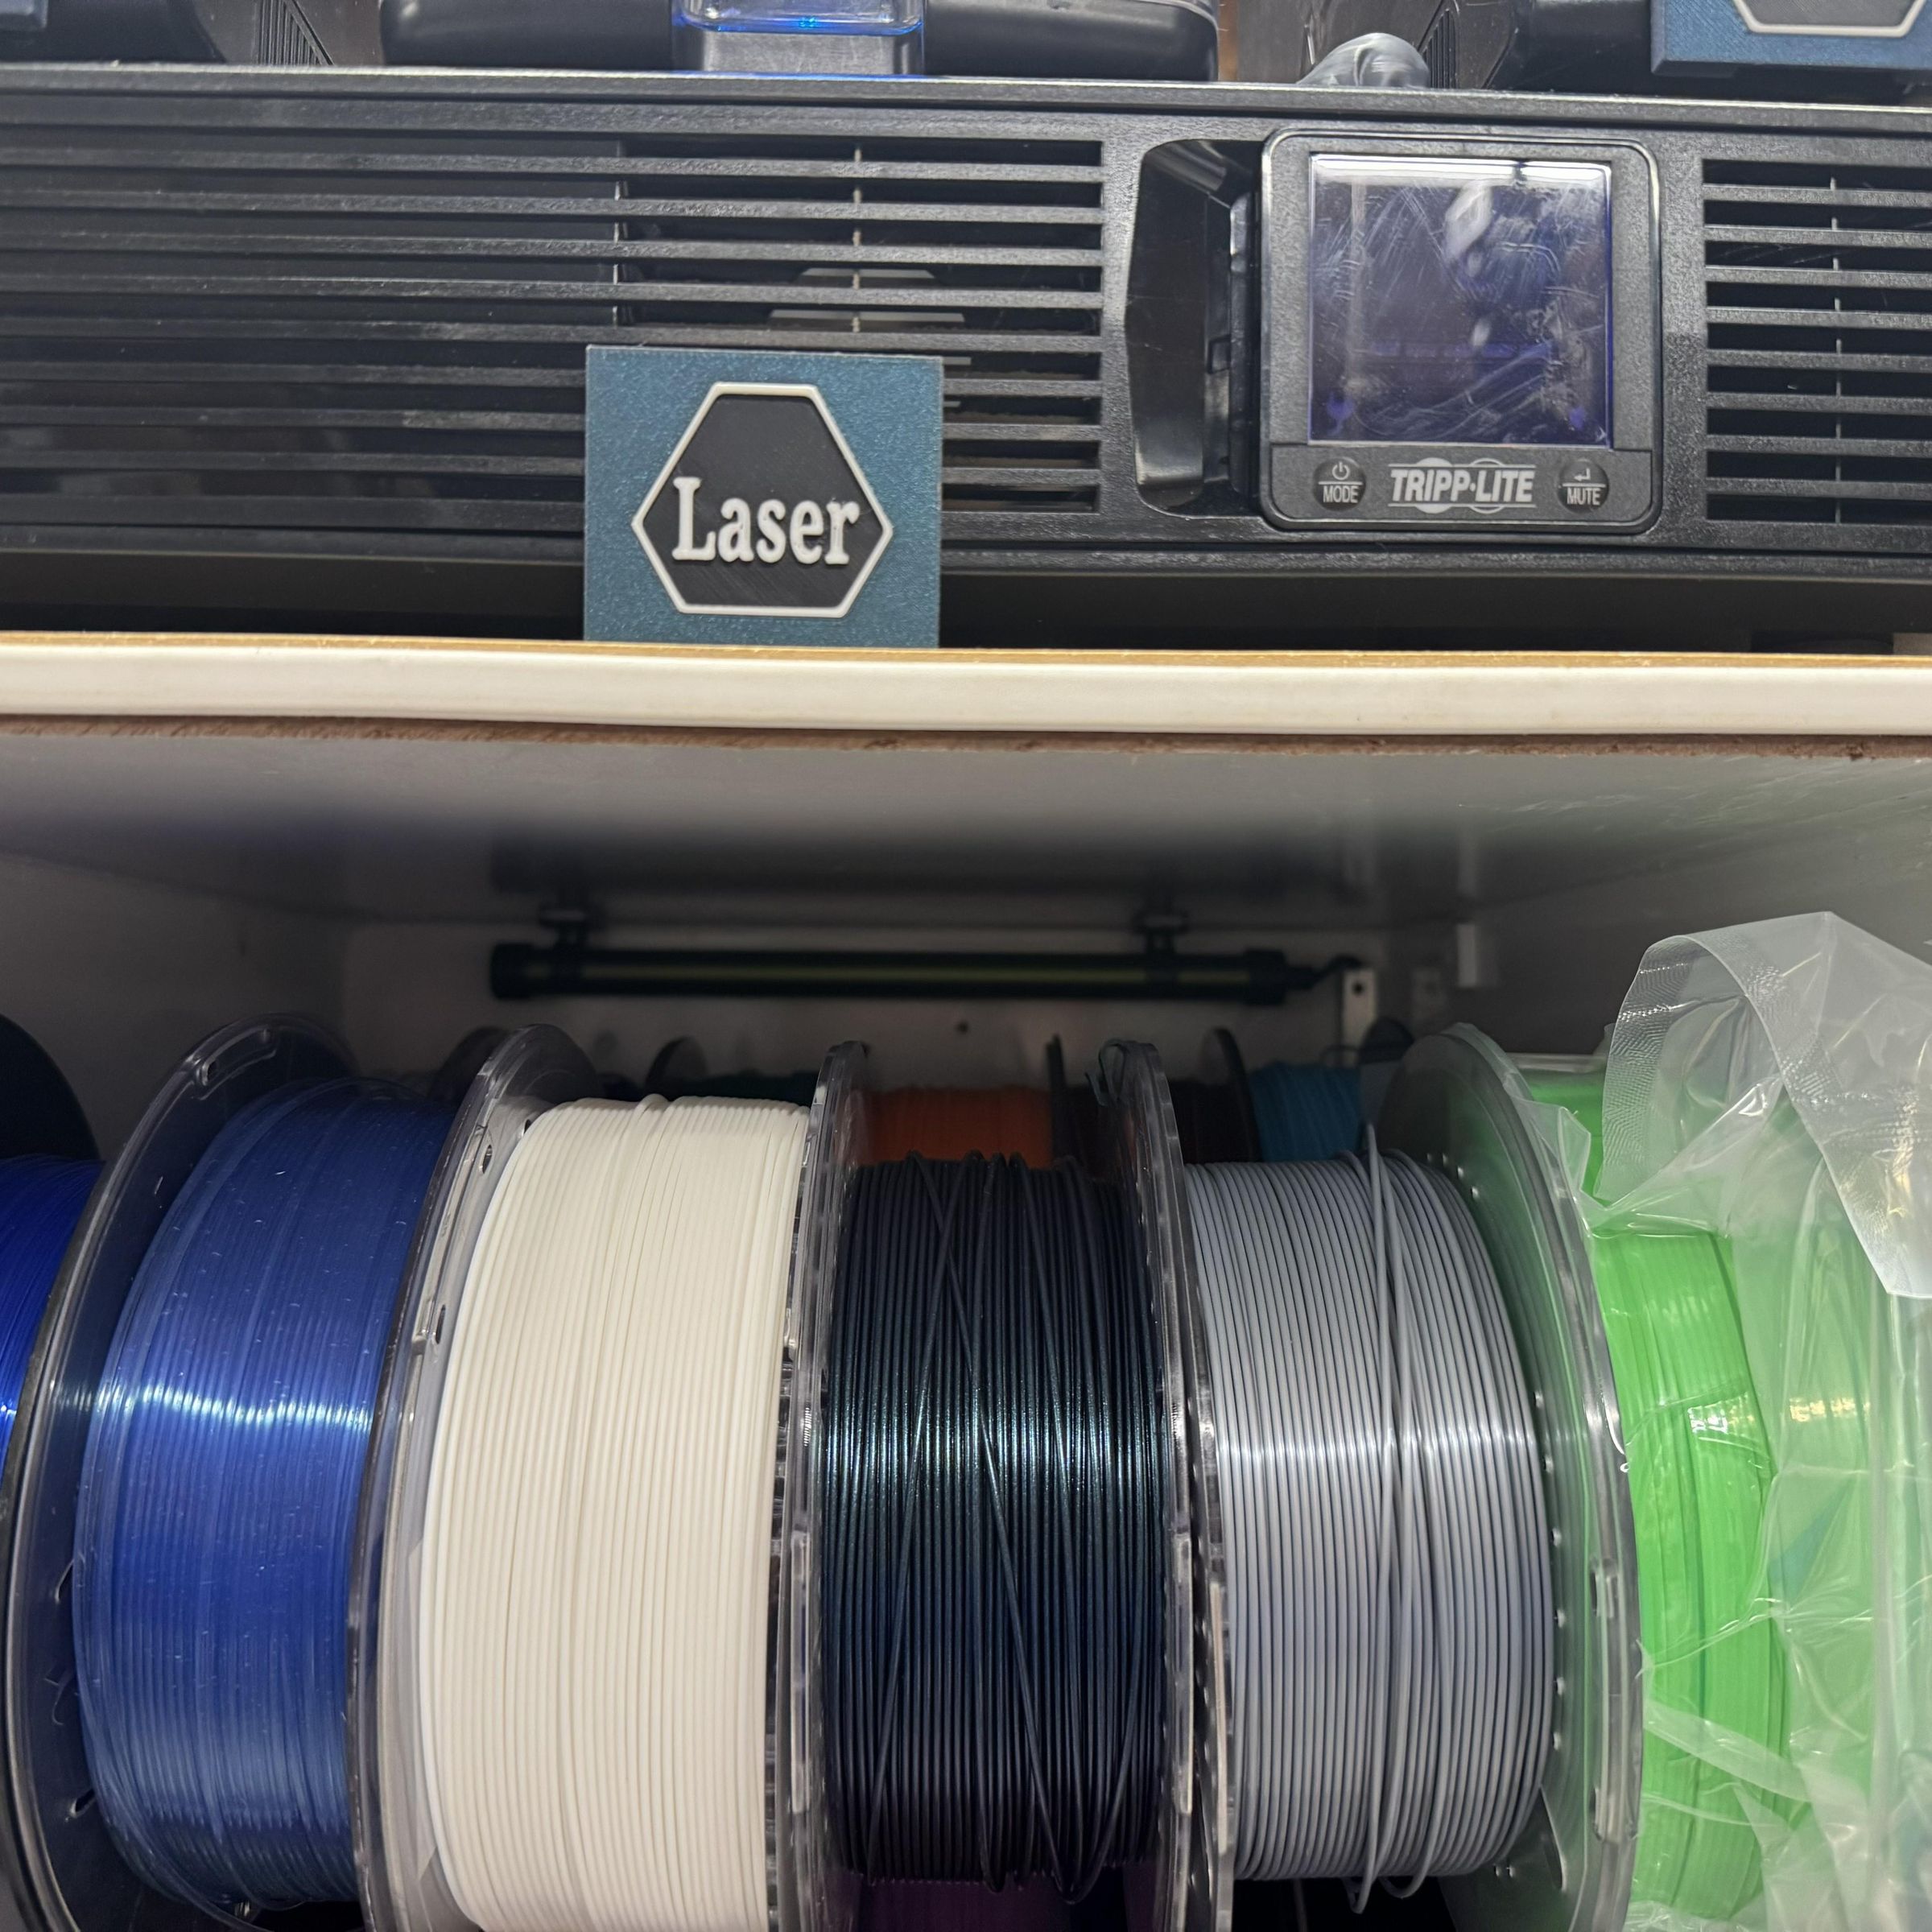
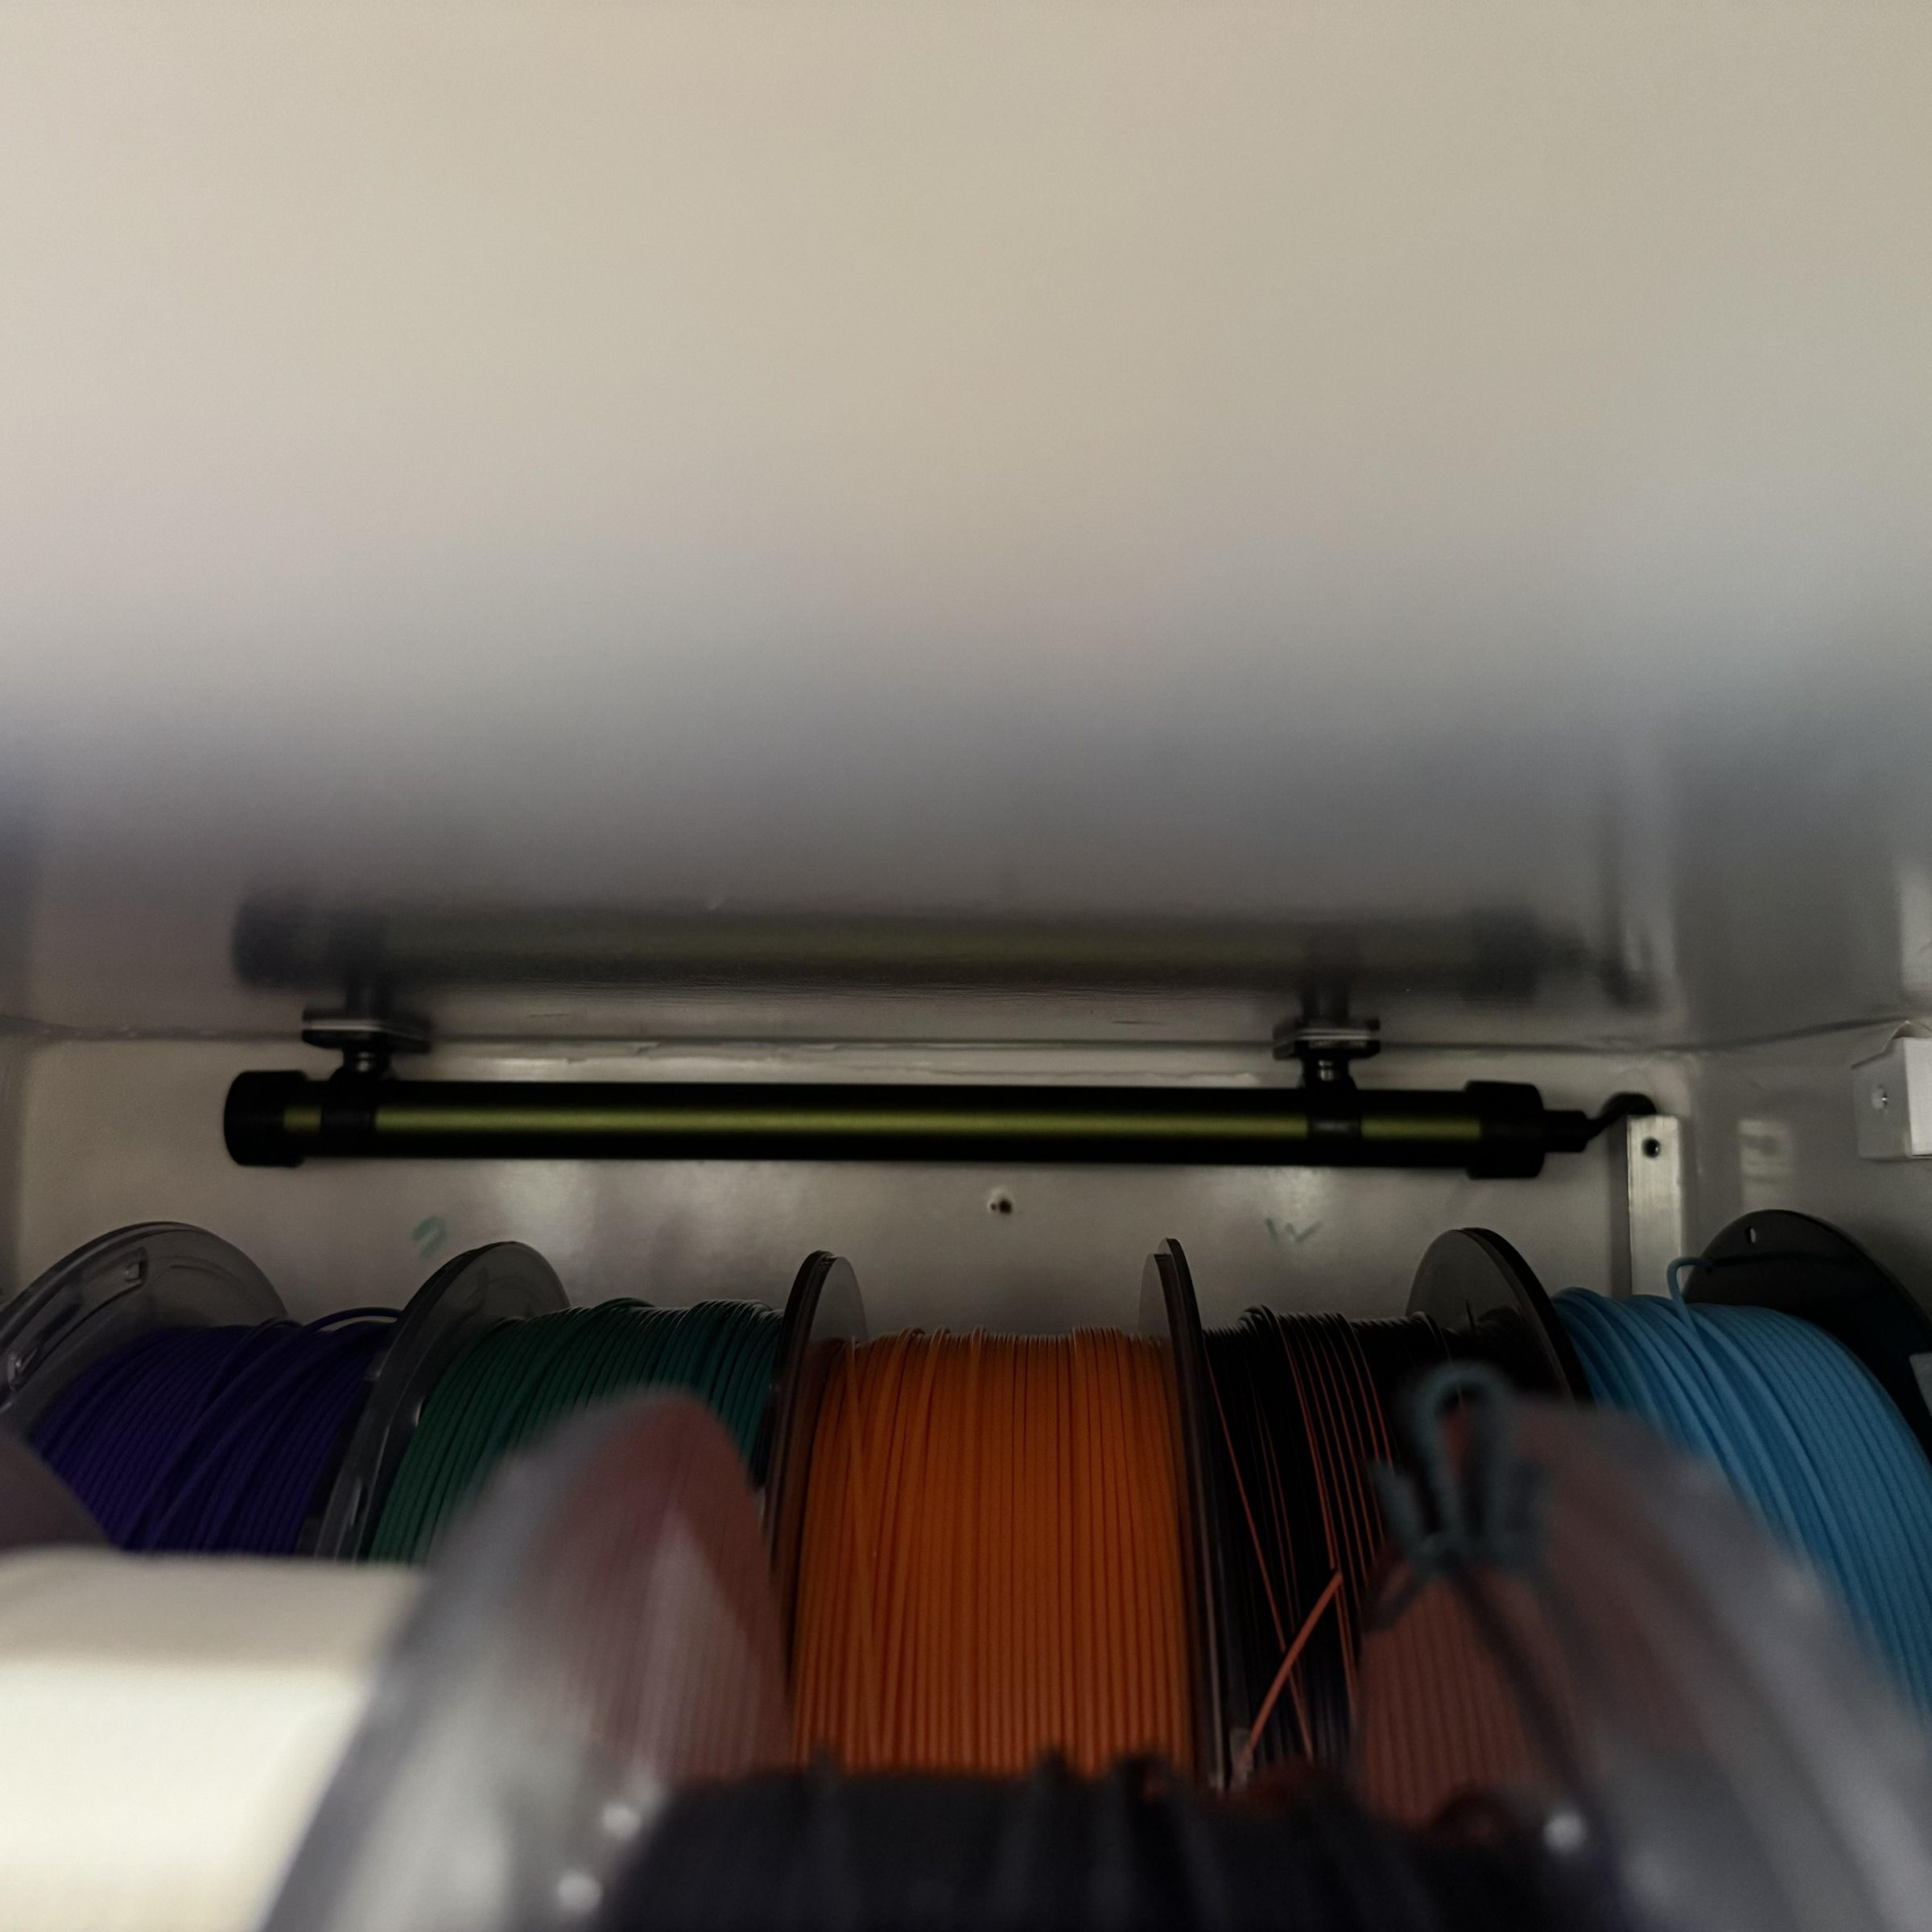
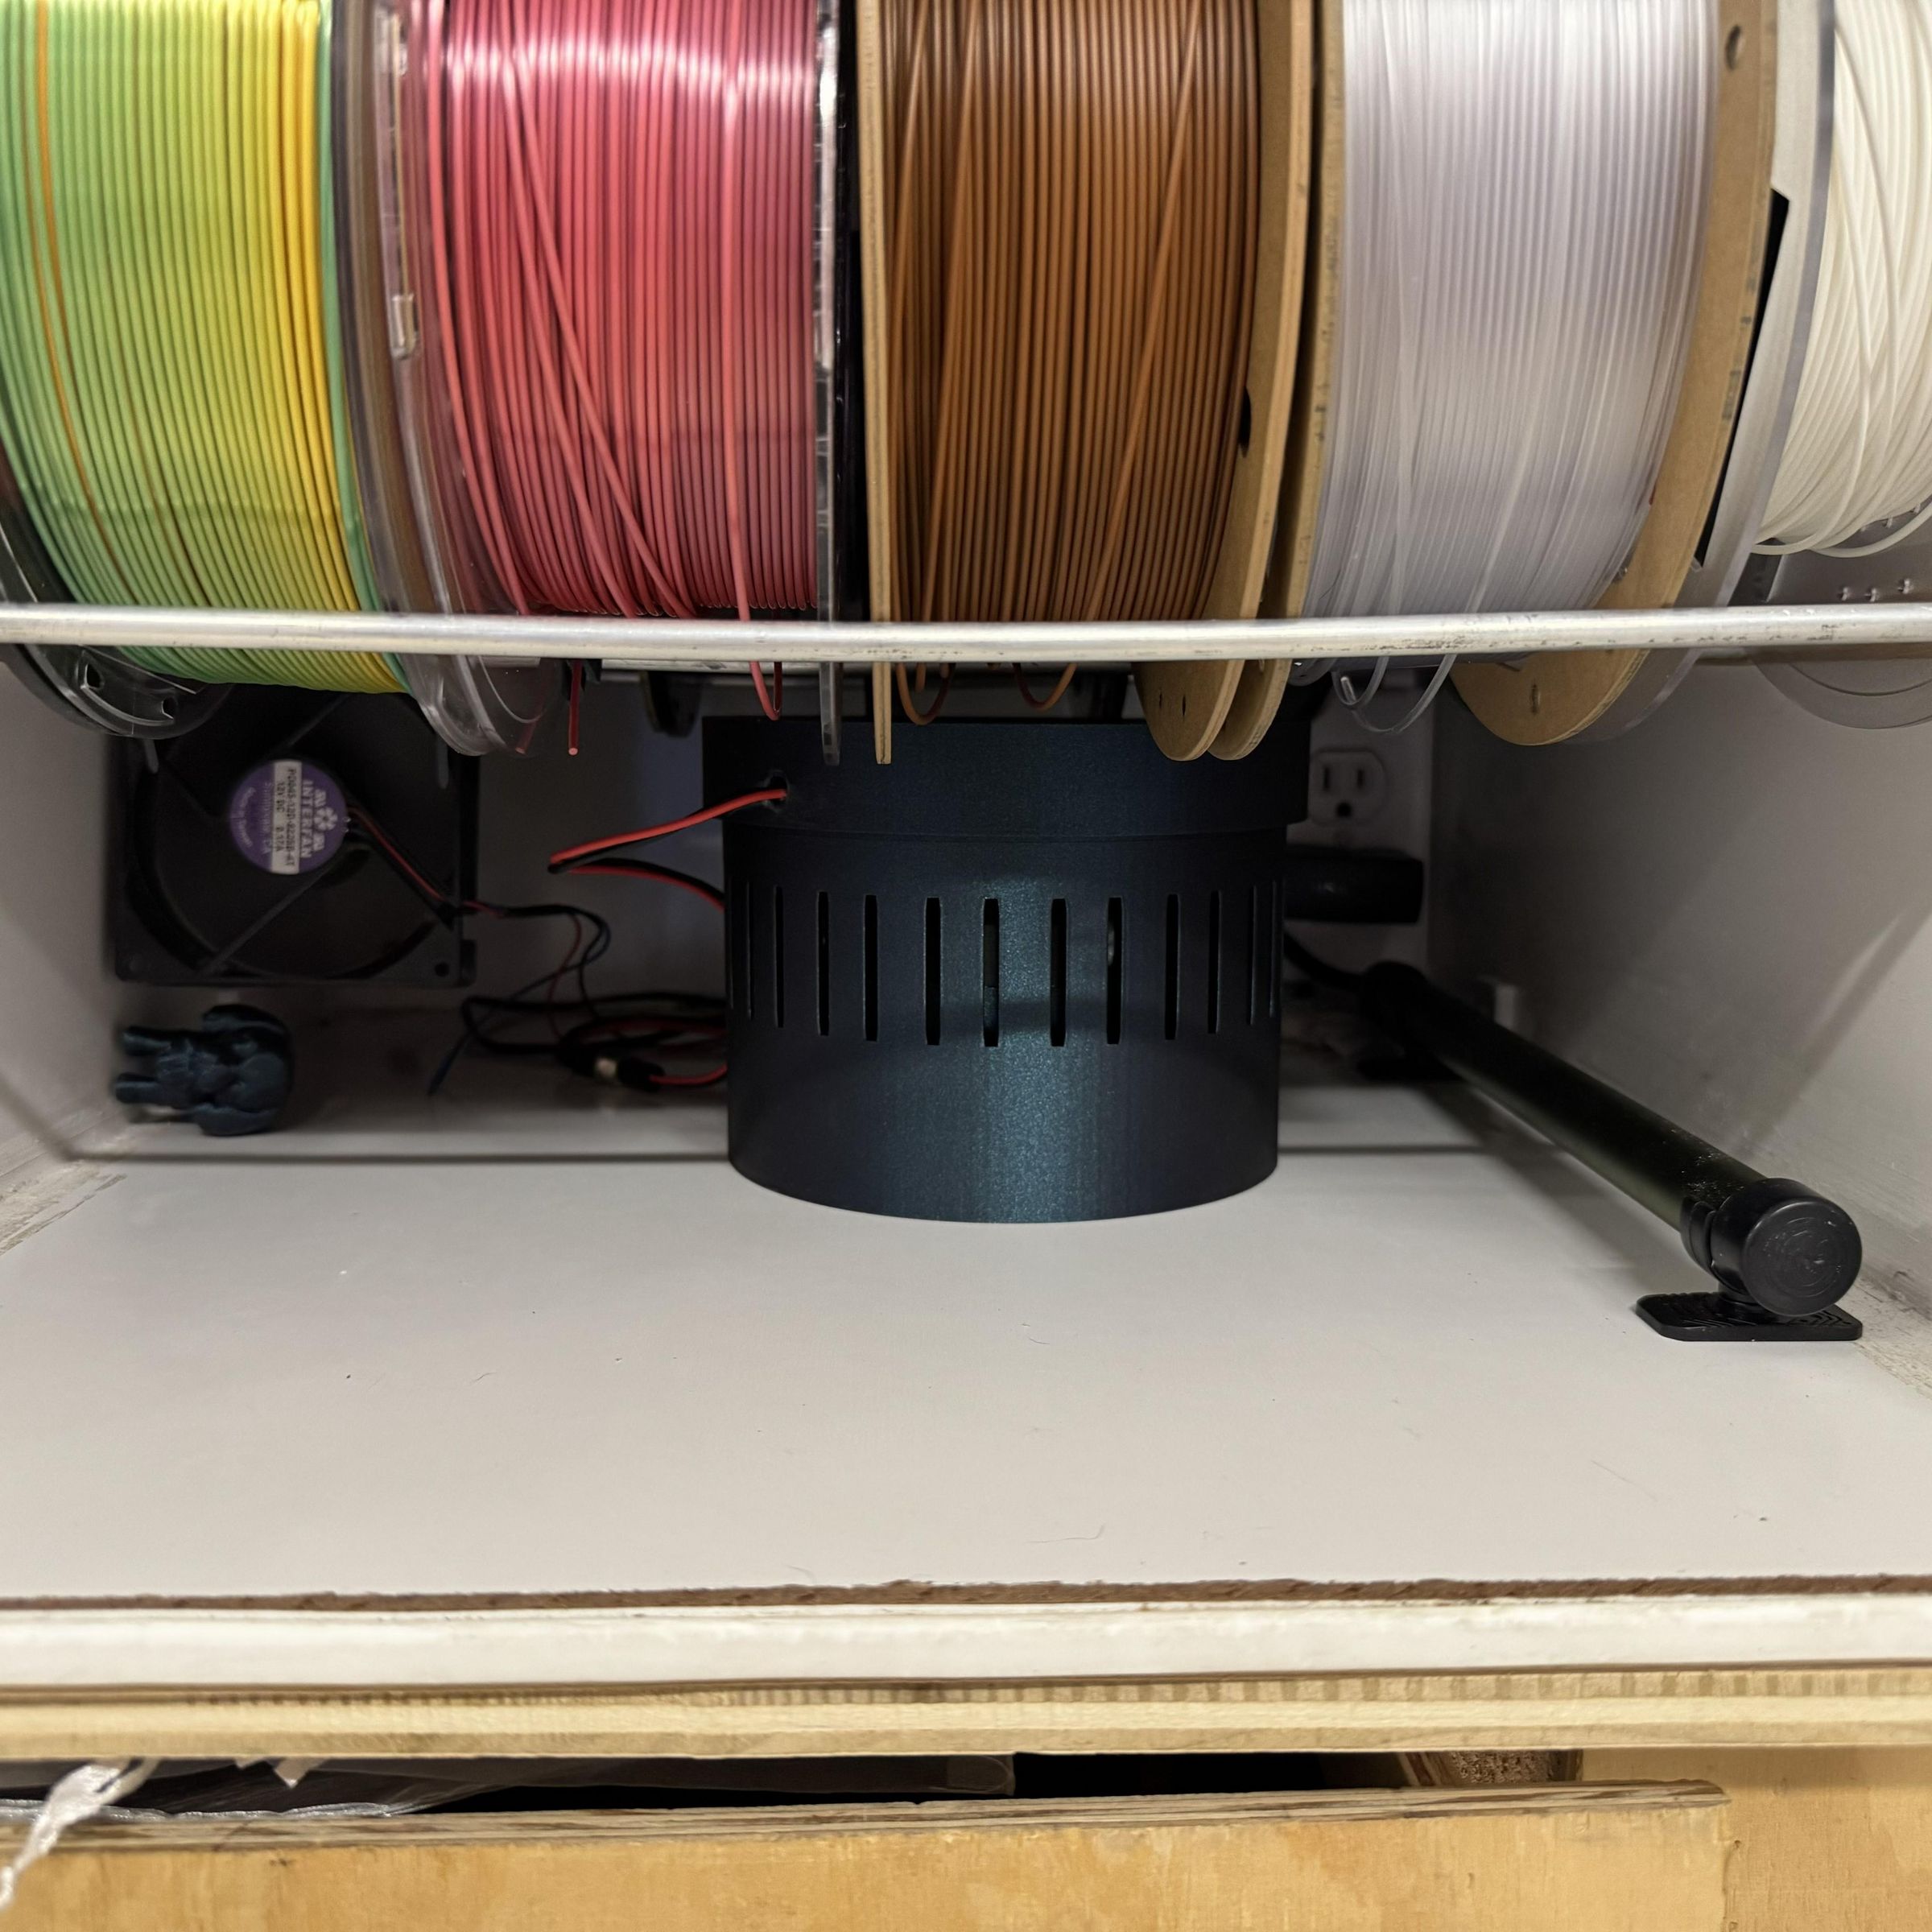
As mentioned in the intro, I also installed two Gun Safe dehumidifier rods. One placed at the top and one at the bottom. I also hung an extra fan from the bottom rack to help circulate the air around the cabinet. These rods slightly worm the air inside the cabinet. As the wormer air gets pulled into the bucket by the fan, it hits the cooler crystals helping moisture condense into the crystals. The water drips to the bottom of the bucket where it gets trapped by the paper towels. This will NOT pull moisture out of your filament, the rods will not "heat" your filament. This bucket is to keep your storage cabinet dry. After placing the bucket in my cabinet, the cabinet went from 25% to 18% in about an hour. It has been holding steady sense. I check the meter daily and depending on how often I open the door the crystals last about 3-6 weeks. when I see the readings start going up I know its time to change the crystals. The thing I like about the "DampRid" is that the crystals fully dissolve making cleanup very simple. Be carful with the water, when the crystals dissolve into the water it becomes thick and oily. This helps prevent the water from re-evaporating back into the air. Just bump the paper towels into the trash and rinse out the bucket and crystal cup. Make sure it is completely dry before refilling it.