Motor Based Robot

This robot is a virtual robot in which one motor rotates clockwise and another anti clockwise
Supplies
No need to use supplies. You just need to use website named as Tinker Cad
Step 1

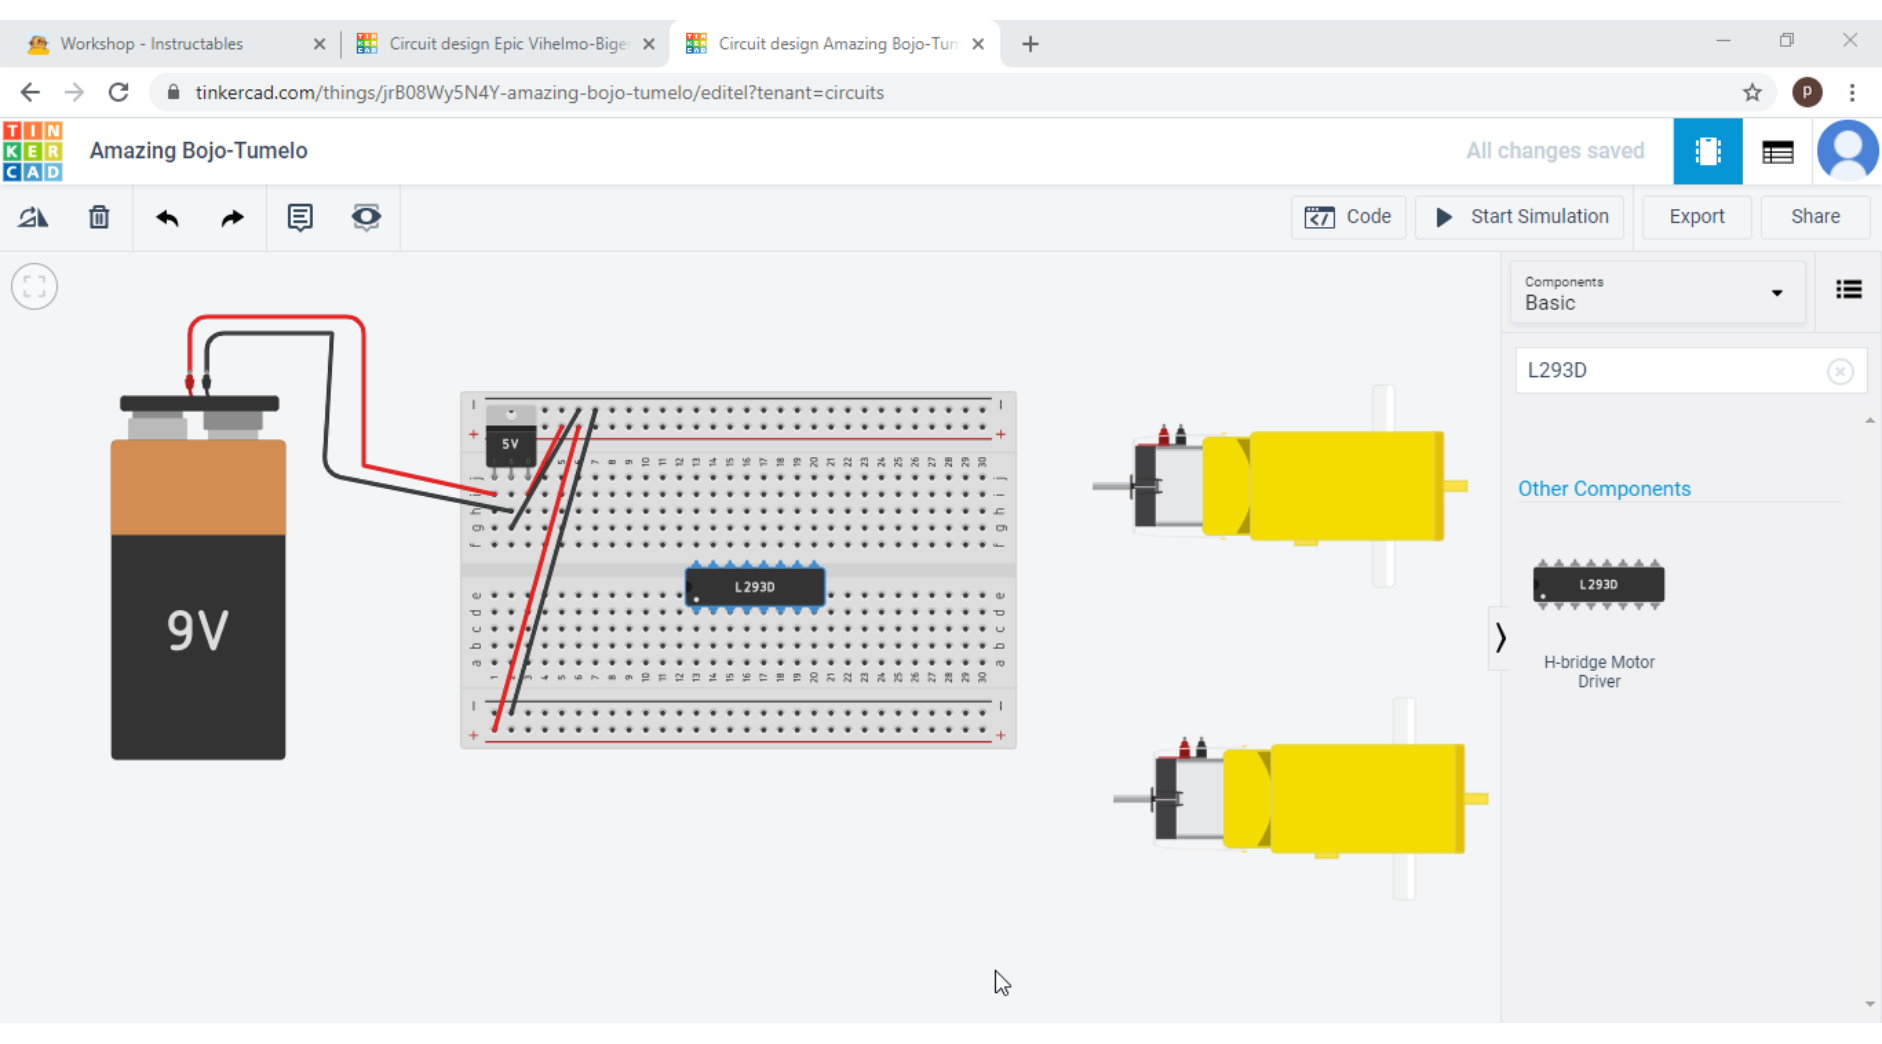
Add a breadboard
Step 2

Add a 5v voltage regulator and place it like me
Step 3

Add the battery and allign it ( It will be in sleeping position , so u need to allign it )
Step 4

Like I have connected wires the same way u need to connect
Explanation
There are 2 wires , So u need to take positive wire and connect it in input and it will be in green color , u need to change color to red and negative in ground , u need to change negative wires color to black also
Step 5

Now u need to take a wire from ground like I have taken and connect it in - row and take a wire from output and connect it in + row . Then u need to take a long wire from the upper + (plus) row to the lower +(plus) row , You also need to take a wire from upper - (minus) row and connect it in lower - (minus) row like I have connected
So that the battery is supplied in both the rows
Don't forget to change wire colors
Then u need to add 2 motors which are Hobby Gearmotor and align them in sleeping position and rename them the upper Hobby Gearmotor has to be named as Right Motor and lower Hobby Gearmotor has to be named as Left Motor.
Step 6

Add the Part H-Bridge Motor Driver , You can find it as H-Bridge Motor Driver or L293D
Step 8

Now just connect wires like this
Explination
Take Left motor positive wire and connect it in Output 1 as well as take Left motor negative wire and connect it in Output 2
Take a wire from enable 1&2 and connect in +(plus) row , change color also
Take 1 wire from all 4 grounds and connect in - (minus) row , change color also
Take a wire from power 2 and connect in +(plus) row , change colour also
Take a wire from enable 3&4 and connect in +(plus) row , change color also
Take a wire from power 1 and connect in +(plus) row , change colour also
Step 9

Even connect the wire like this
Step 10

Now all u need to do is take wire from input 4 and connect in - (minus) row and take wire from input 3 and connect in + (plus) row . Even take wire from input 1 and connect in + (plus) row and take wire from input 2 and connect in - (minus) row
Step 10

I did a mistake to correct H-Bridge Motor driver's upper part in f row and H-Bridge Motor driver's lower part in e row and wires should be touching the points of H-Bridge Motor driver's like i did
If u did not make the mistake no need to do this step
Steps Complete
