Mountain Diorama Lamp With 3D Printed Climber Switch
54222 Views, 351 Favorites, 0 Comments
Mountain Diorama Lamp With 3D Printed Climber Switch


Mountain view diorama with led lights
This is a DIY lamp made with a lasercutter but the idea can also be used for working with a coping saw or cutting paper with a scissors
Overview:
- Mountain view design process
- Transform design into files for lasercutting and 3D printing
- Lasercutting & 3D printing
- Coloring parts
- Soldering electronic parts (LED, switch, resistor, wire)
- Mount LEDs, battery and switch
- Glueing parts
- Connect all LEDs, switch and battery to Wago Clamp
- Attach screws to back
Supplies


Components:
4mm plywood
Slide-Switch
3x LED 3,2V 20mA warm white
300 Ohm resistor
Wire
Heat shrink tube
9V battery
9V battery holding
4x screws 2,5x10mm
2x WAGO clamp
Machines / Tools:
Trotec Speedy 400 80W CO2 Lasercutter
Glue Gun
Soldering-Iron
Wire-Cutter
Drill
Cutter Knife
File
Clamps
Wire stripper
Software:
Adobe Illustrator
Tinkercad https://www.tinkercad.com/
Prusa Slicer
Design Process


If you like to create your own design read on, if not jump to the next chapter, there are the files I used.
First I would recomment to get some inspiration from the web by searching for mountain pictures or anything you like to include into your diorama.
Use different pictures and create a vector graphic by tracing the outer silhouette with a vector graphic program like Illustrator, Corel Draw or Inkscape (ther are many more)
I used some trees, mountains, lake, clouds, a climber and the sun. I decided to let some space on the top and fill it up later with a 3D printed part as a snow top.
It is very important that every layer has the outer shape that they are stackable. You can use any shape for the outer frame, I used a triangle, because it fits perfect for my project. Draw the outer frame and duplicate it in order to merge it to every mountain, cloud, sun or what ever inner layer. Play a little with overlapping and the order of the layers to get a nice look.
Create Machine Readable Files for Lasercutter and 3D Printer
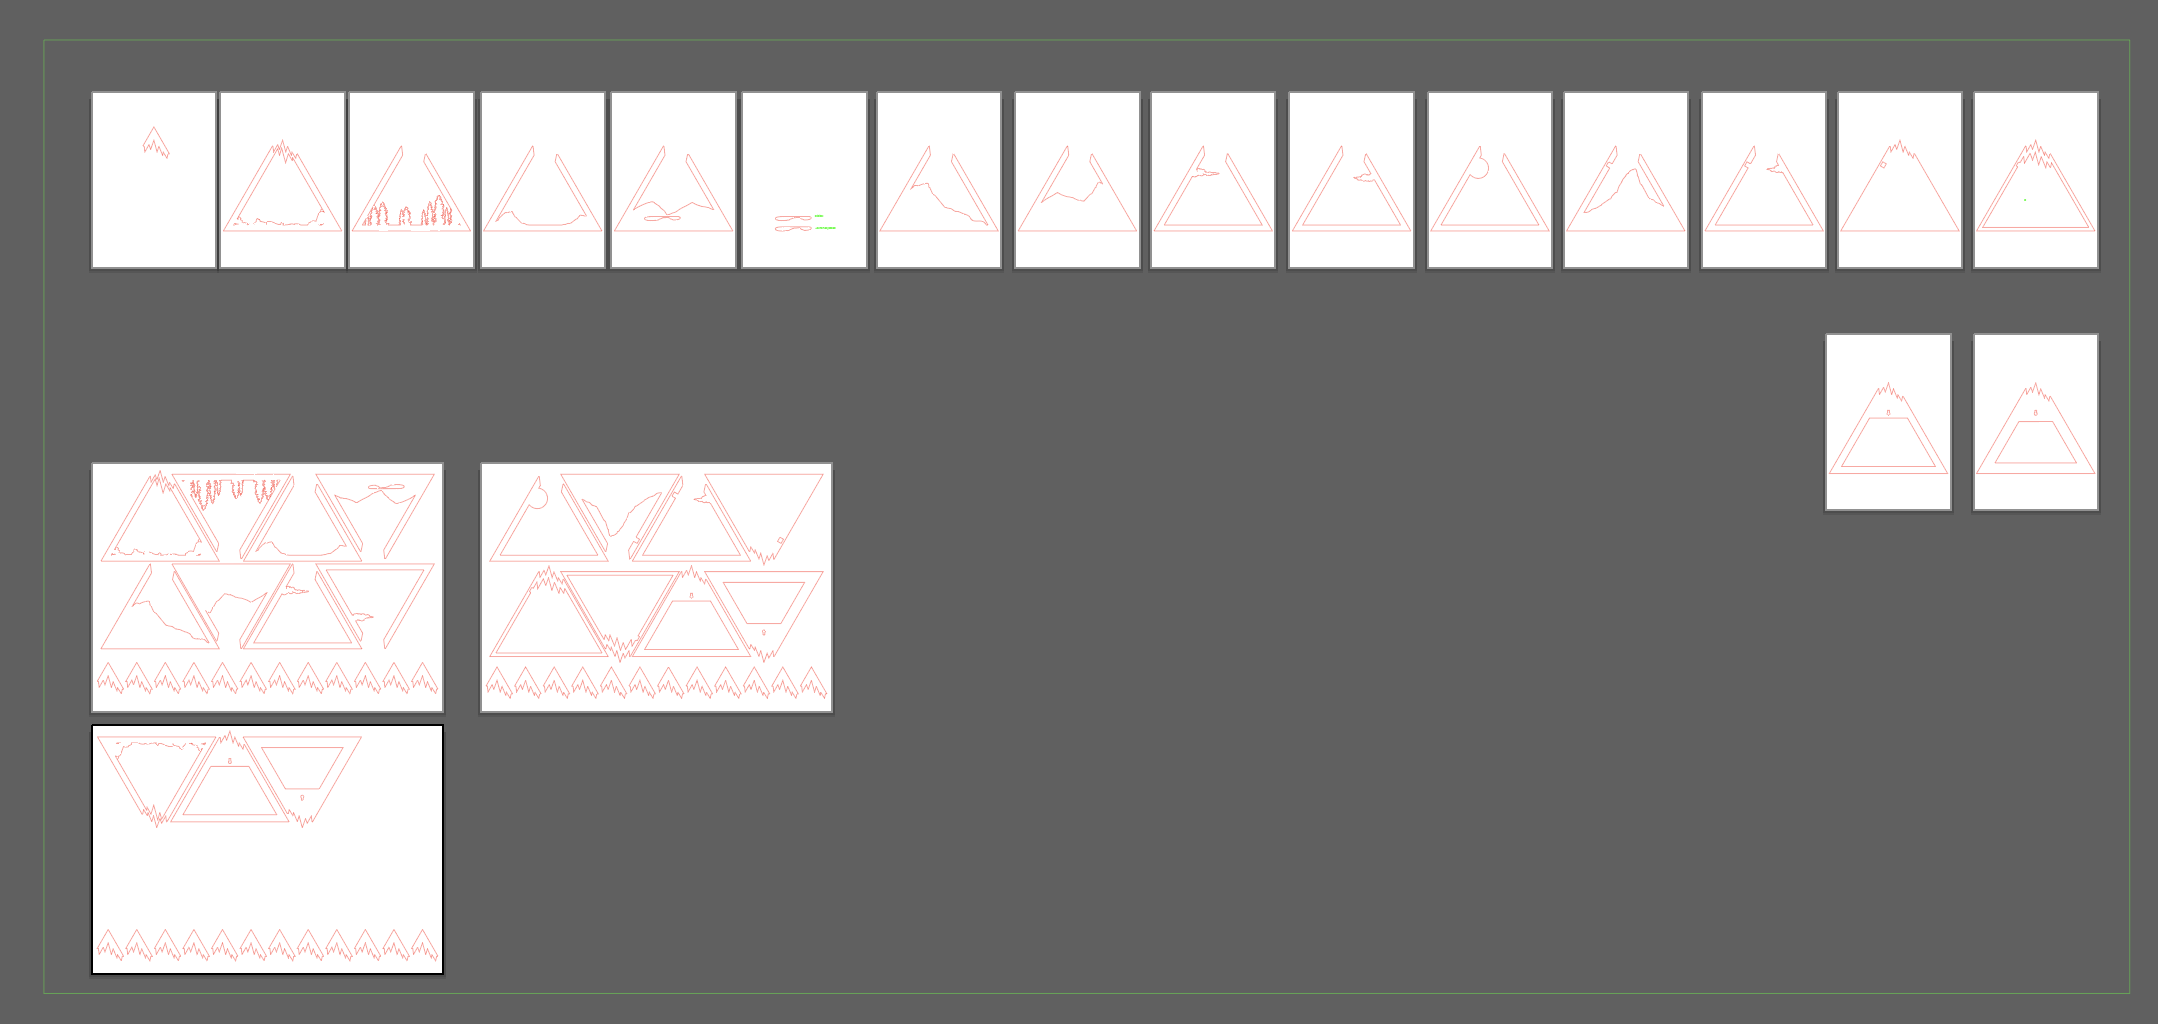
After creating the design you need to make a file with all layers separated and just vector lines for the lasercutter to follow. Every lasercutter has specific requirements for the line thickness or color, check the documentation of your lasercutter how to prepare files.
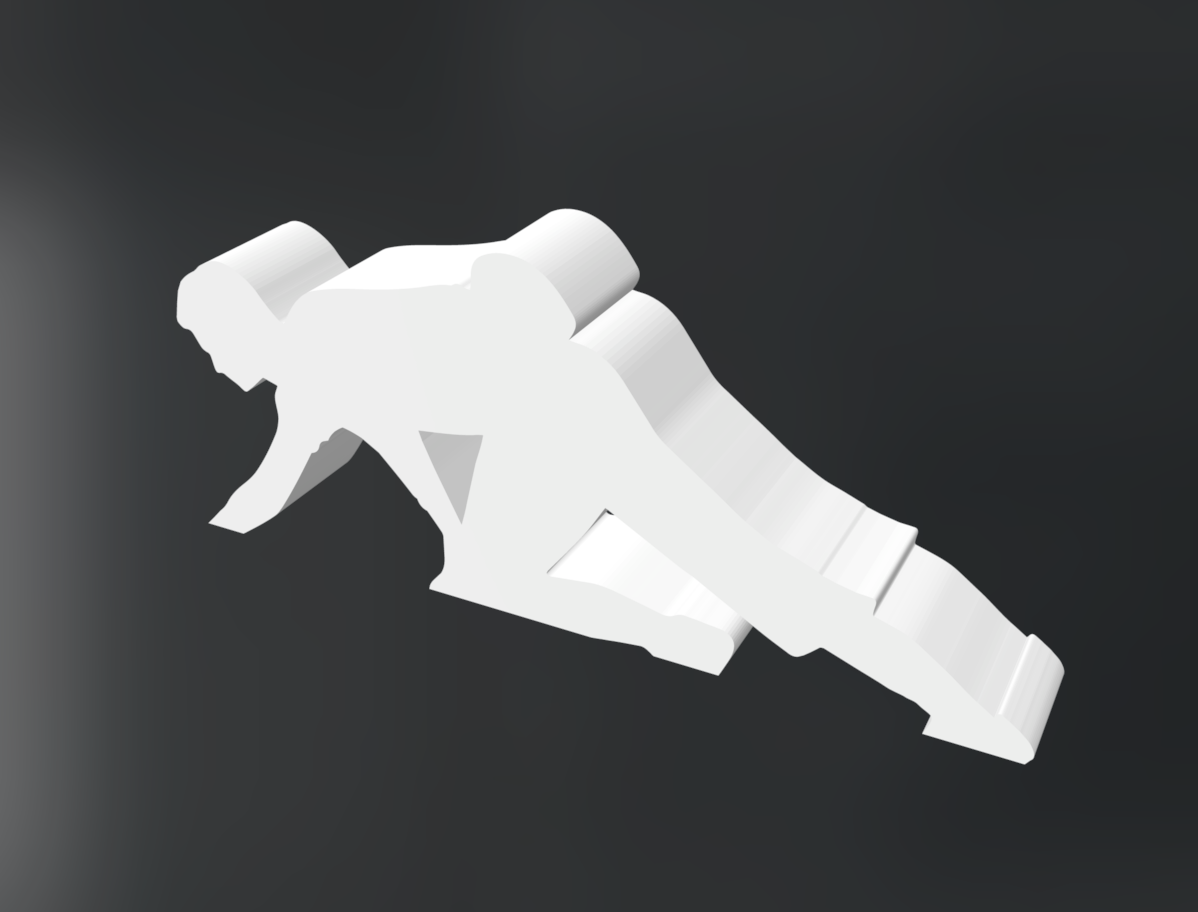
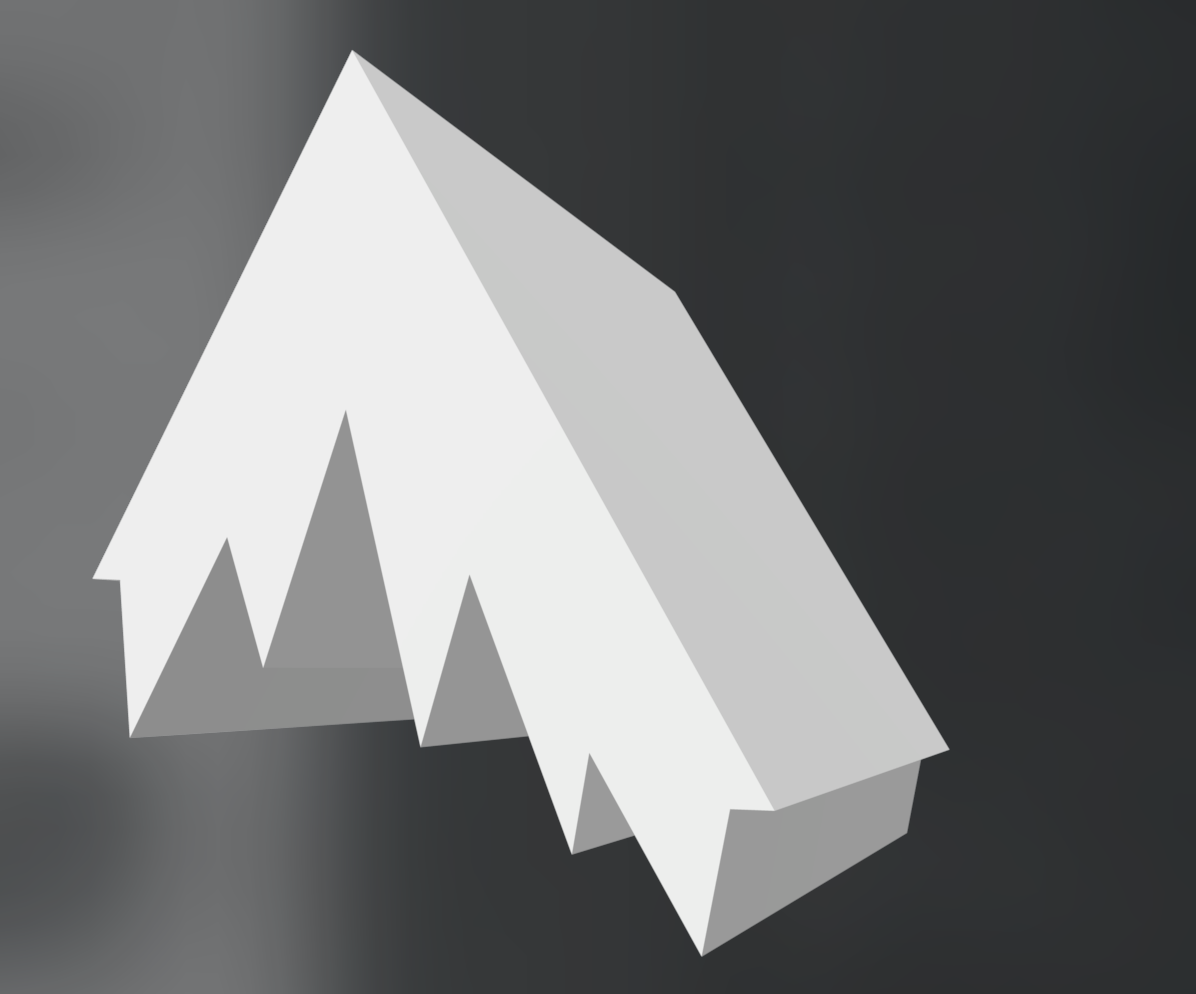
The climber for the light switch and the top part needs to be converted from a 2D vector graphic to a 3D STL file in order to print it with a 3D printer. Therefore I used Tinkercad a easy to use online tool where you can import SVG files and transform them into a stl file by setting a thickness for the 2D graphic.
Downloads
Lasercutting & 3D Printing


Use the files i provided or your own and cut the 4mm plywood with the lasercutter. Print the top part and the climber and keep them for later.
Coloring the Wooden Sheets

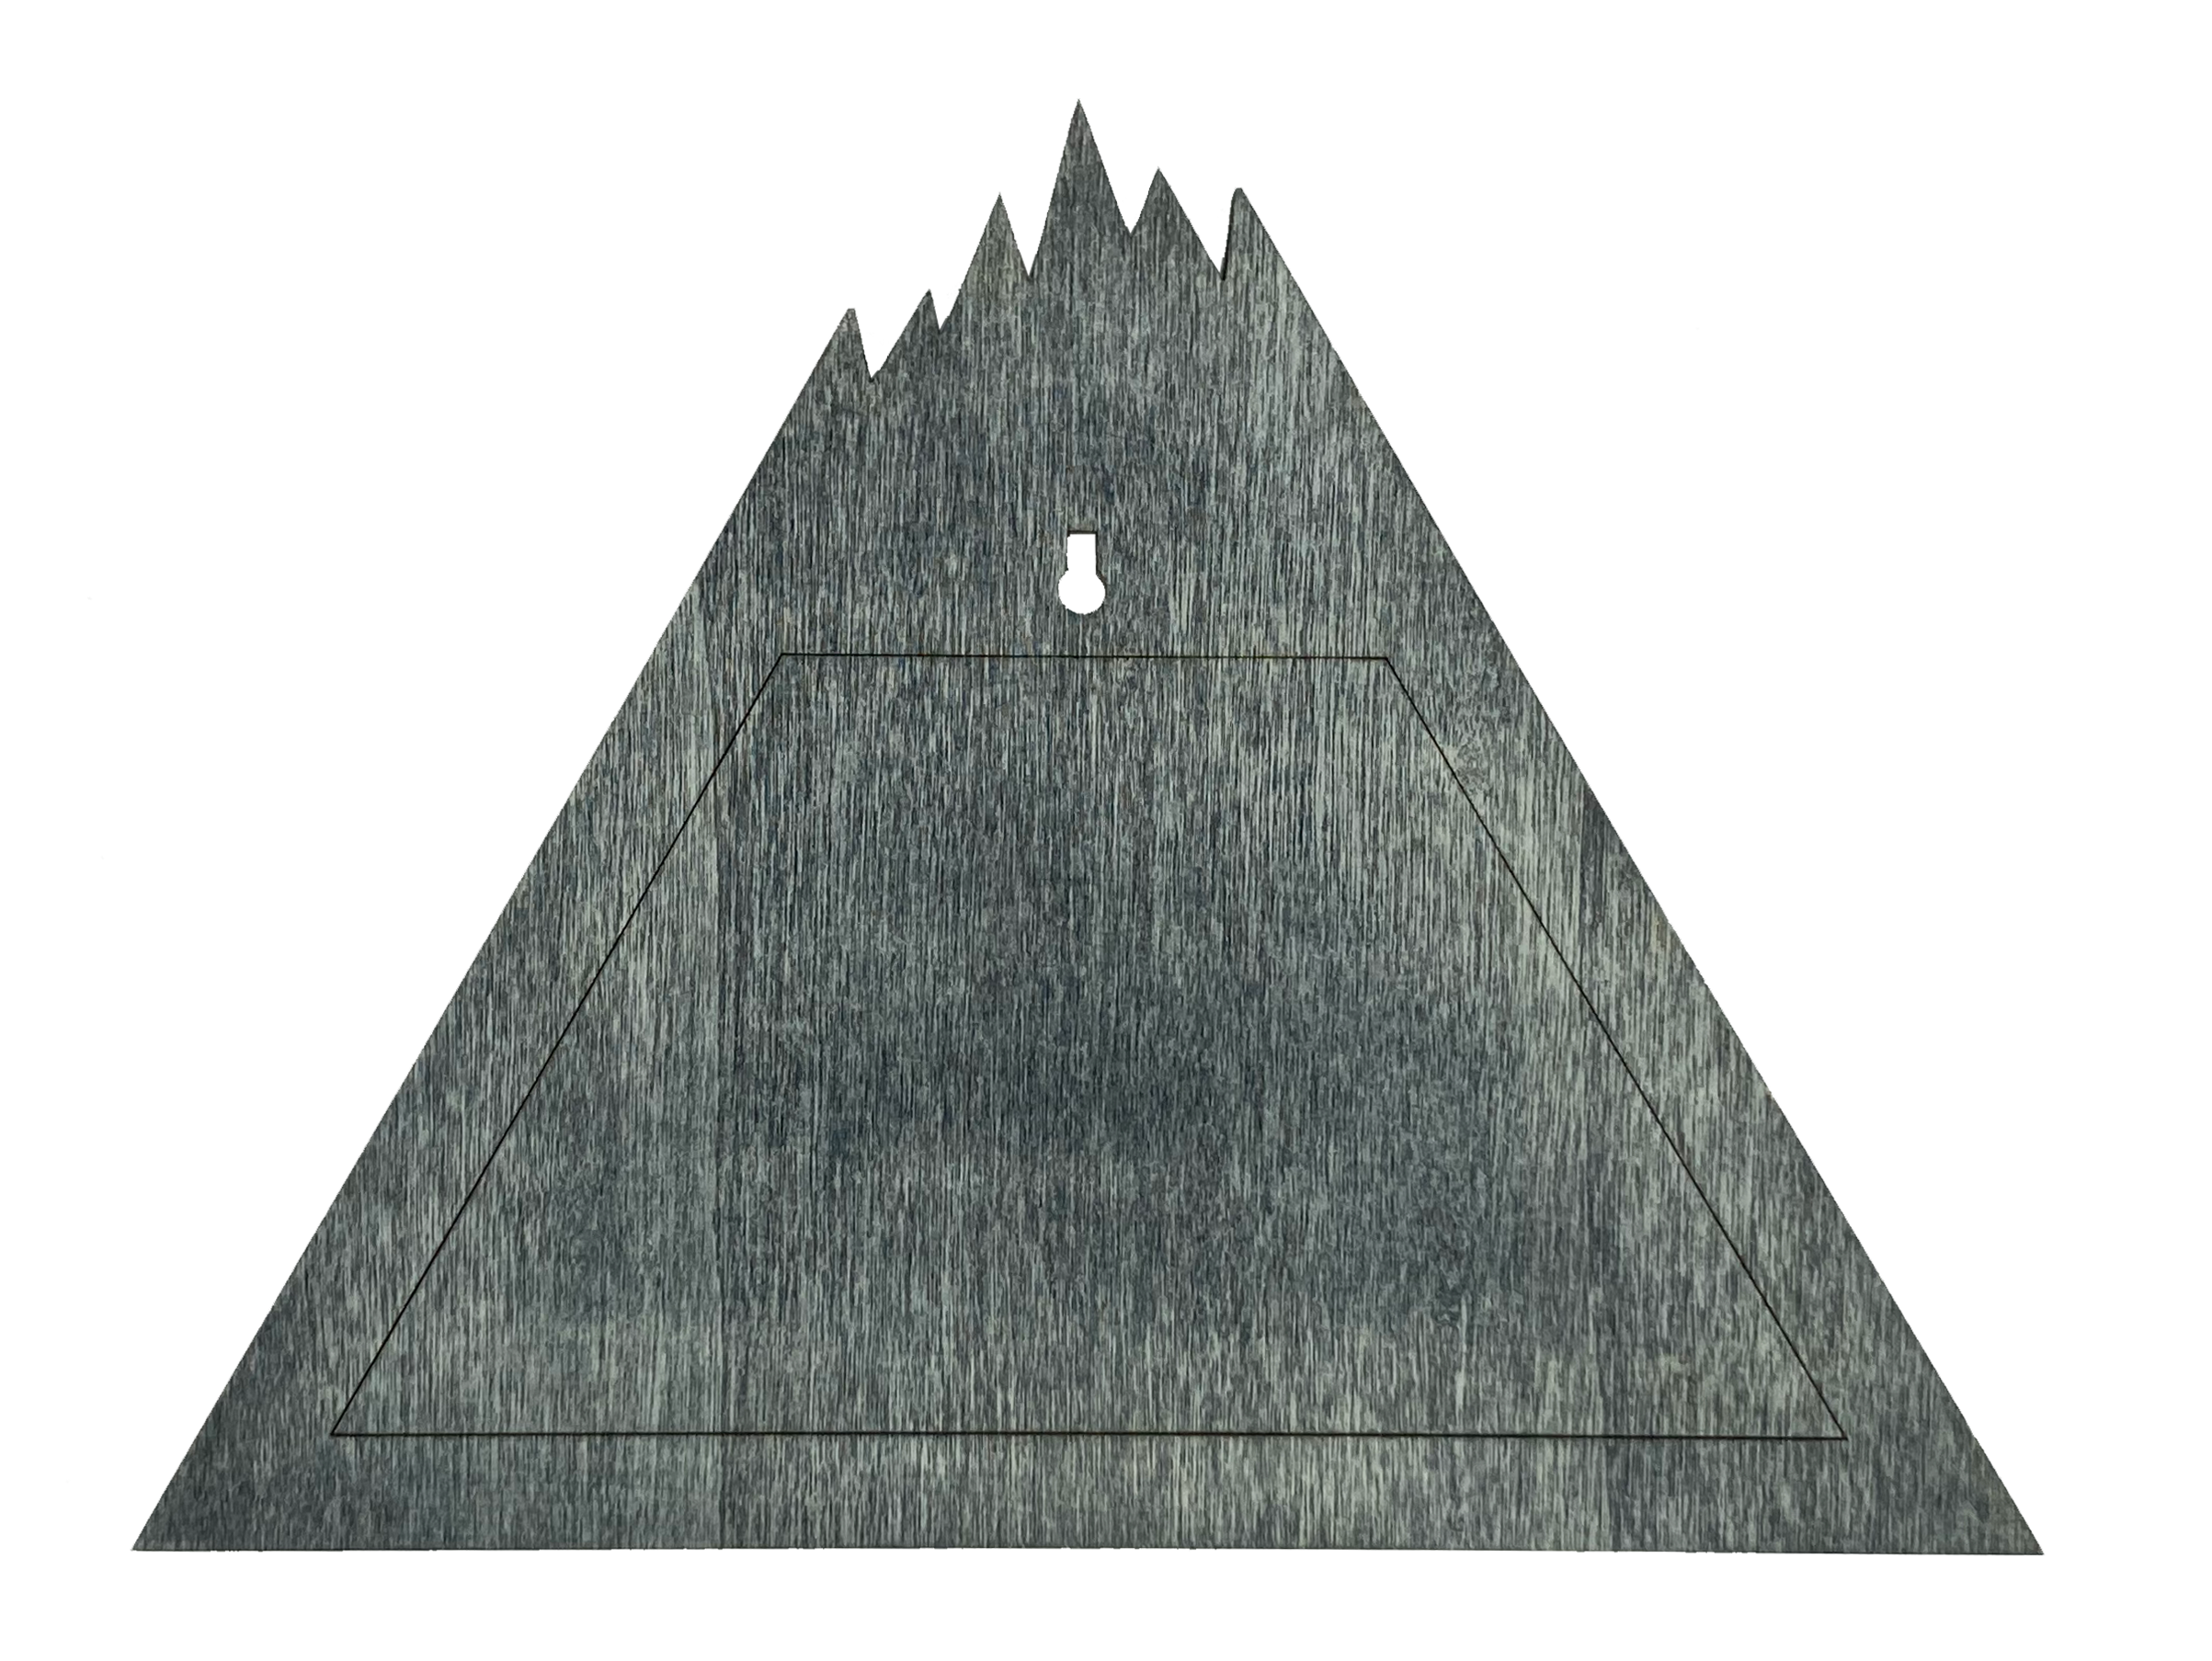
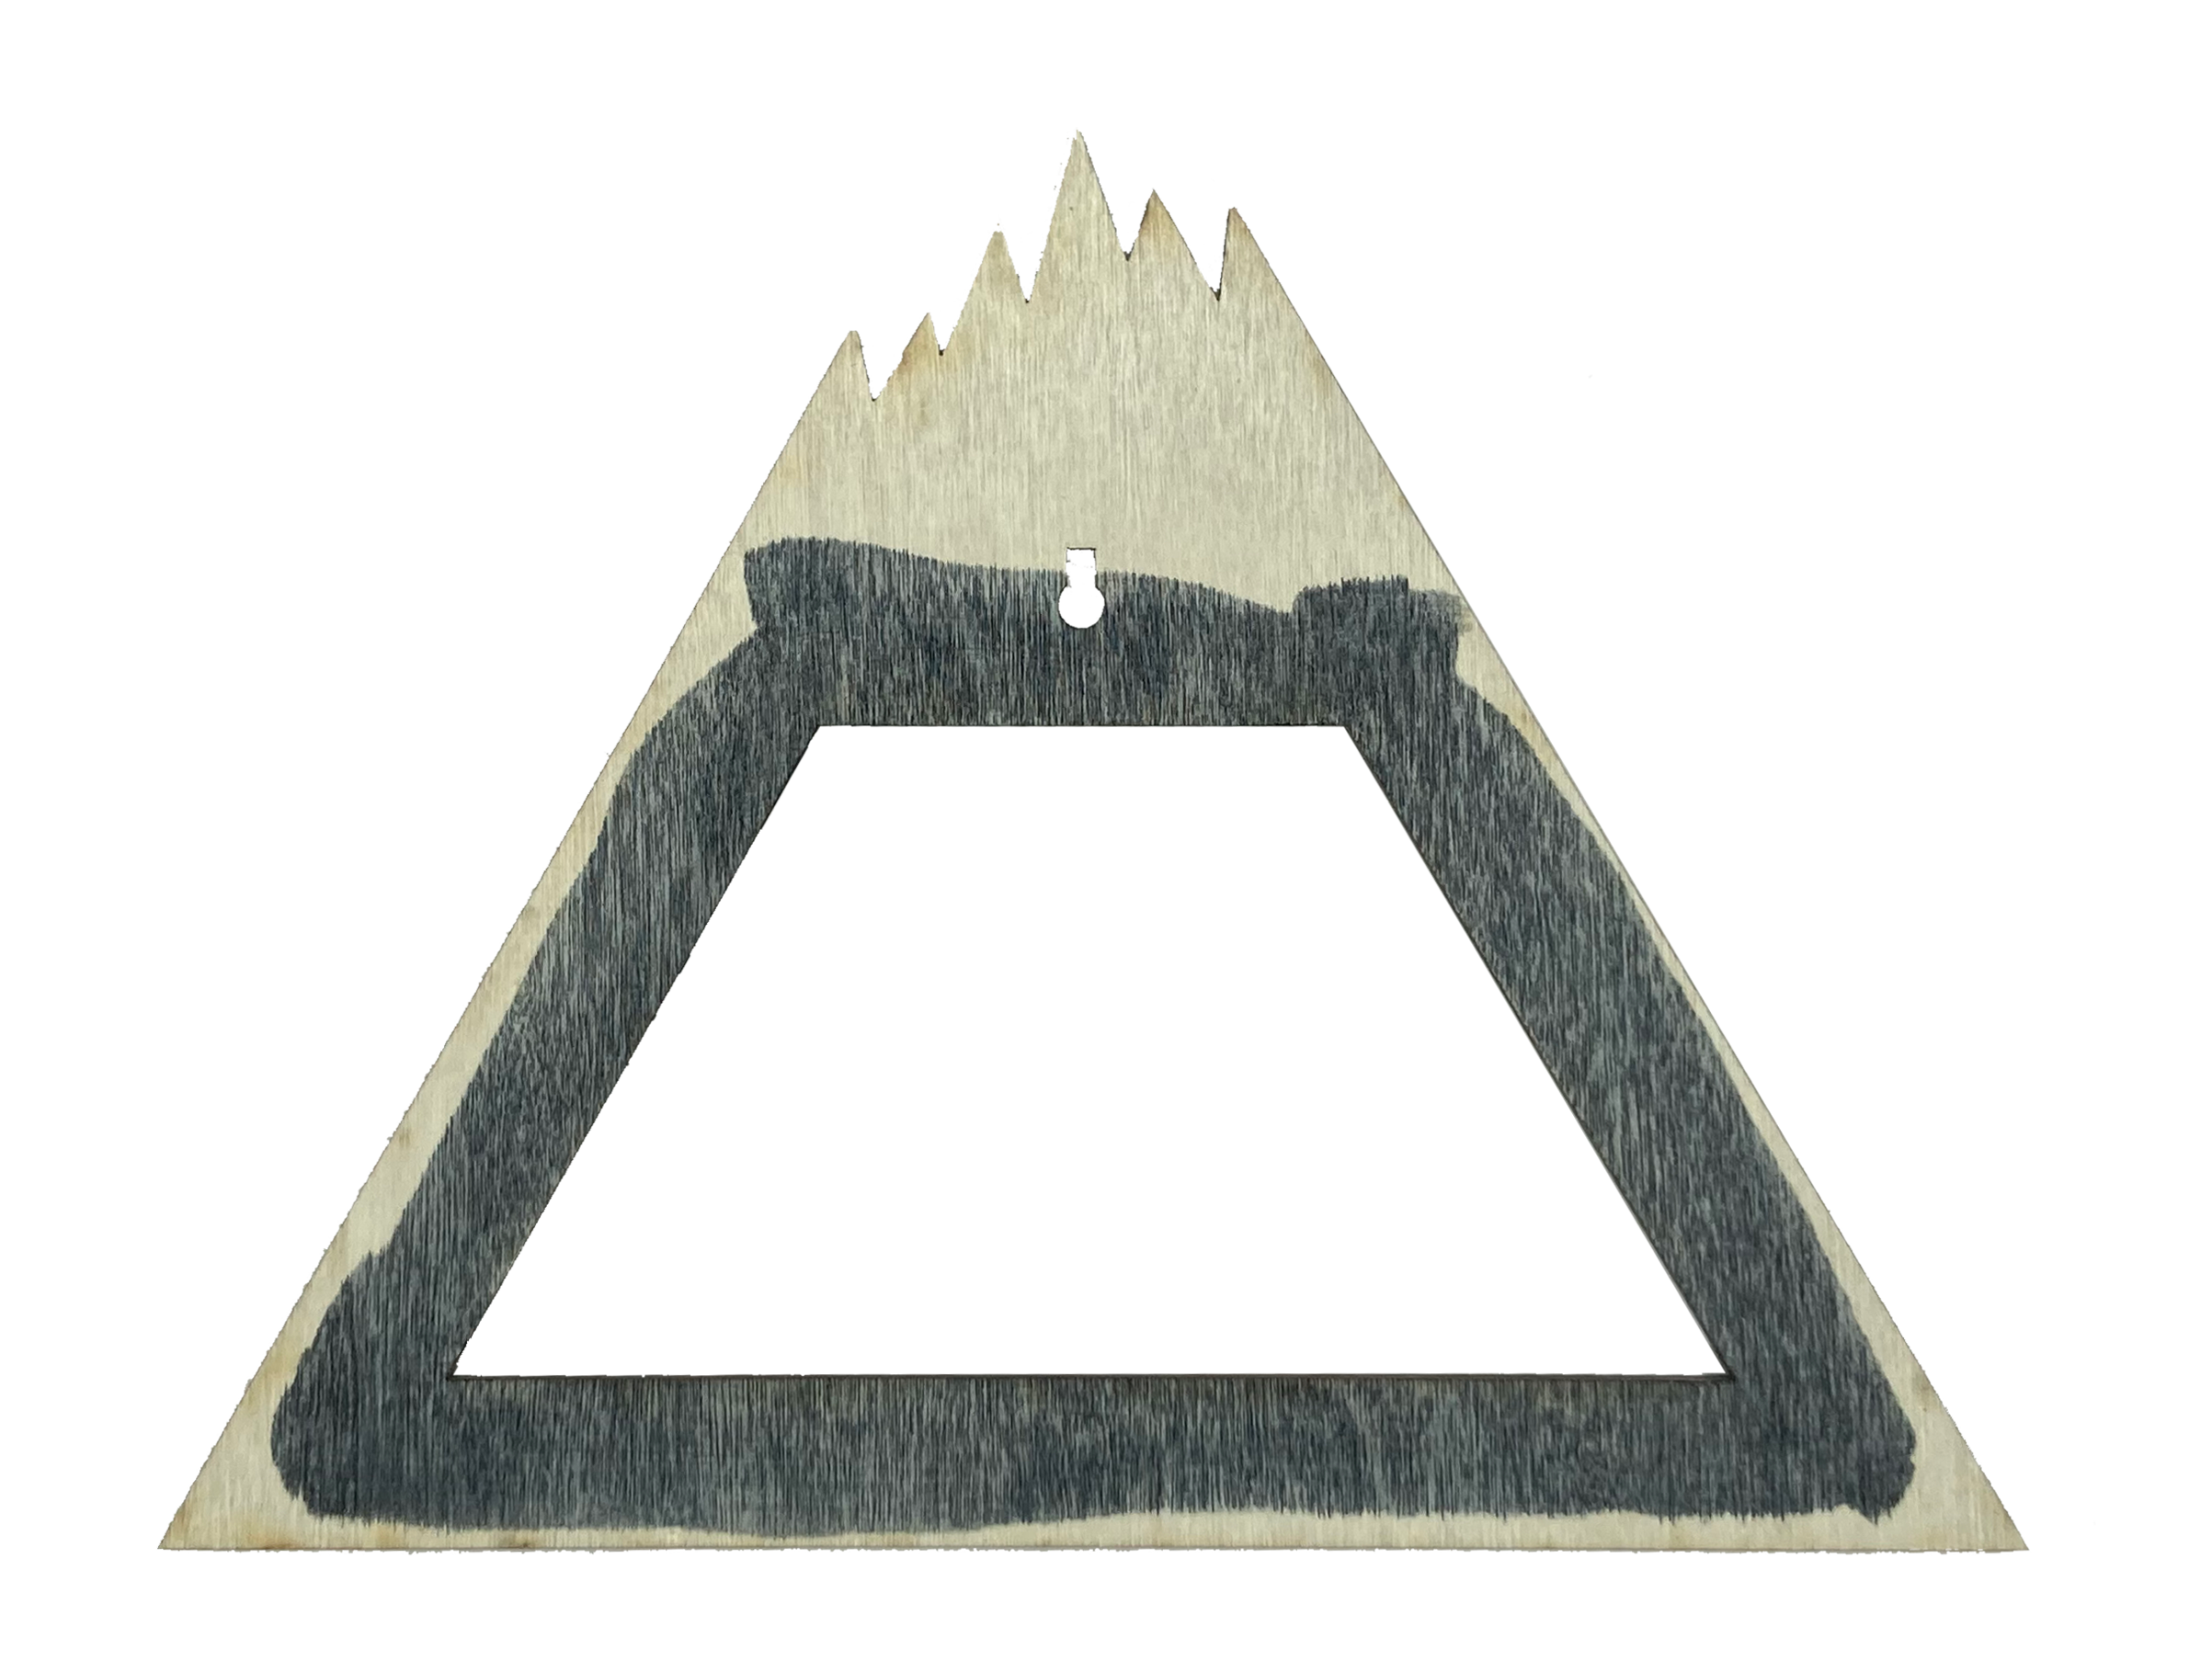
I used special ink to color the different layers to keep the wood texture. But you can use any paint you like. There is no need to color the outer frame except the front and the back.
Soldering


Use a soldering iron and tin-solder and connect the LED + and - to wires three times. Then use shrink tube to shield the soldered area to prevent electrical short later.
Before you solder the wire beware of putting the shrink tube to the wire, otherwise you can't do it after soldering. Solder the + of the 9v battery holding to on leg of the switch and then solder the 300 Ohm resistor to the other leg of the switch next to the first one. (Most of the switches have 3 legs in order to switch between to circuits, we need only 2 legs to forward the current and open the circuit when switching.) Then solder a wire to the resistor. In the end you should have 2 wires coming from the battery holding and one with a switch in between.
You need to use sufficient wire length in order to set them to the layers to the back, you can cut them later to the correct length.
Glue LEDs, Switch & Cut Battery Chamber


First I only planned to use one LED but later decided to use three to get a better look. Another thing that came up was that the 9V battery dont fit into the back chamber so I cut a little square out of the last visible back layer (blue one).
The first LED is located behind the sun the others need little holes to be drilled into the layers to get the wires through all the layer to the back chamber.
After drilling the holes you need to glue the LEDS to the layer with the hot glue gun.
Glue Mania

Now it is time to glue all the layers together, step by step. Use clamps to hold the layers together until the glue dries. And pay attention to the alignment that all sheets are in a line at the end.
For the next project I would build some glueing device to glue all together at once to avoid the endless glueing.
Connect All LEDs, Switch and Battery to Wago Clamp


After everything is glued together except the back layers you need to align all wires.
Glue the wires to the layer to prevent them from slipping.
When they are all aligned cut them to a uniform length at the end. Use a wire stripper to get 11mm stripped. 11mm is the specification of the WAGO clamp for wires in order to get them inside nicely. Put all corresponding wires together, all + and all - and put the battery in. I used black/white wires for - (Ground) and red for + in order to prevent mistakes.
Attach Screws to Back & Mount Climber to Switch


Glue the last 2 back layers together if not already done and then use a smal drill (3mm) to drill the holes for the screws to prevent the holes from getting damaged when turning the screws in.
Put the climber on the switch.
Et voilá, you are done! Enjoy your Mountain Diorama Lamp! :)