My Metal Roof Reached 70.8°C — How I Beat the Heat Without AC
by HumanixTechLab in Workshop > Home Improvement
69 Views, 1 Favorites, 0 Comments
My Metal Roof Reached 70.8°C — How I Beat the Heat Without AC
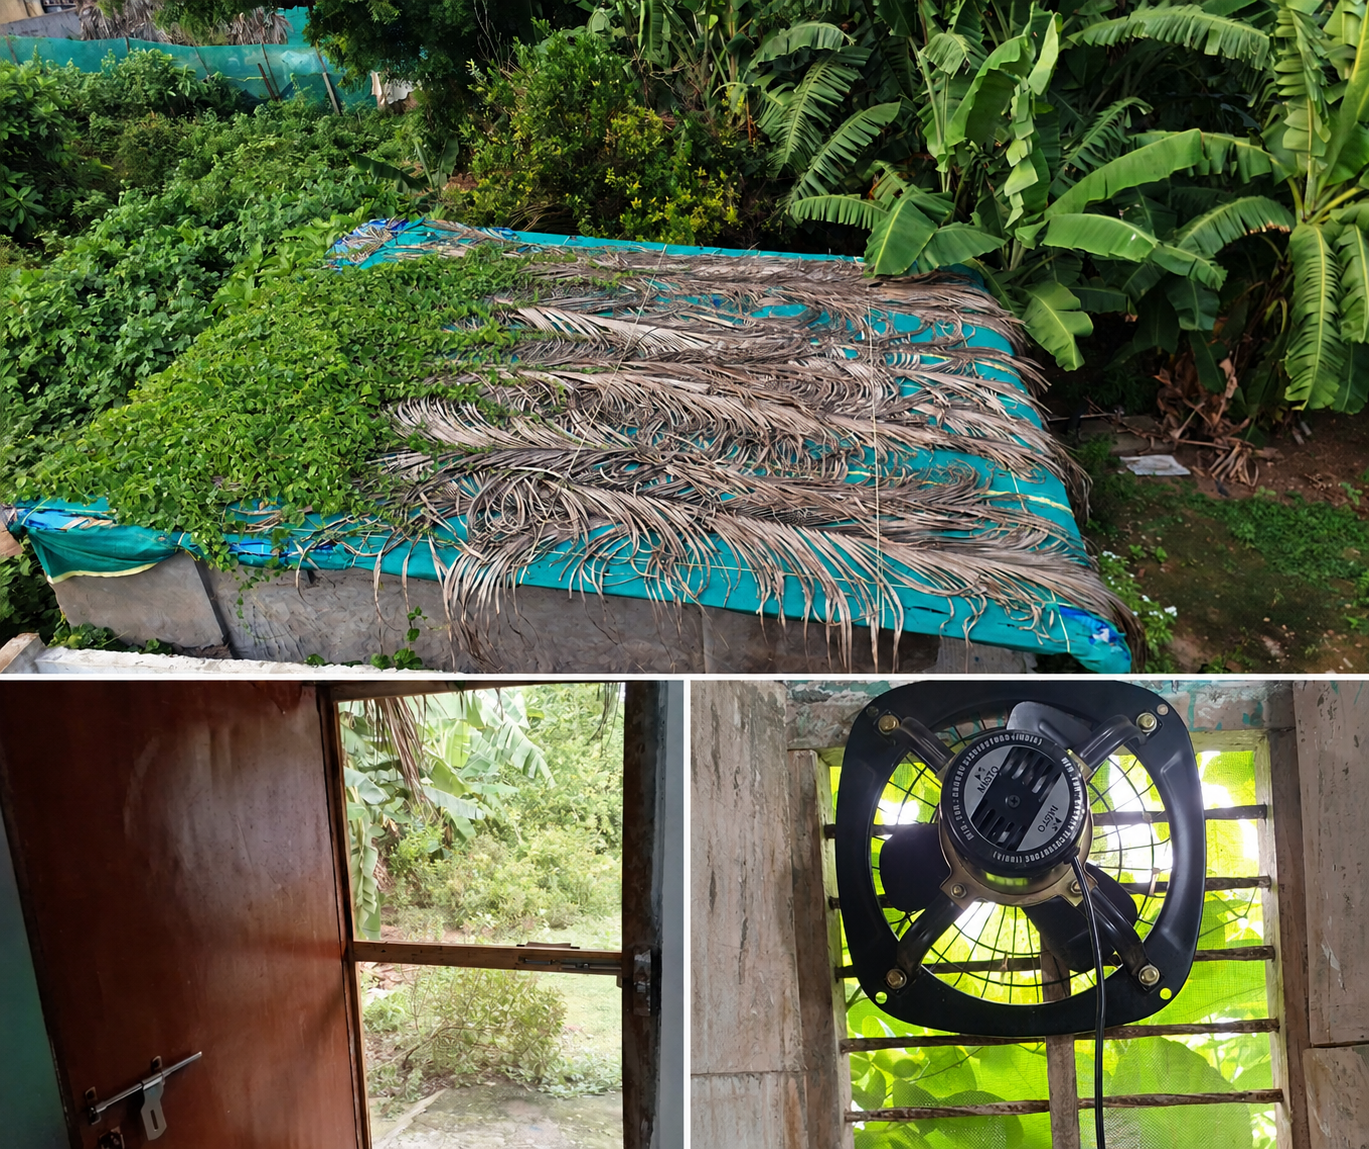
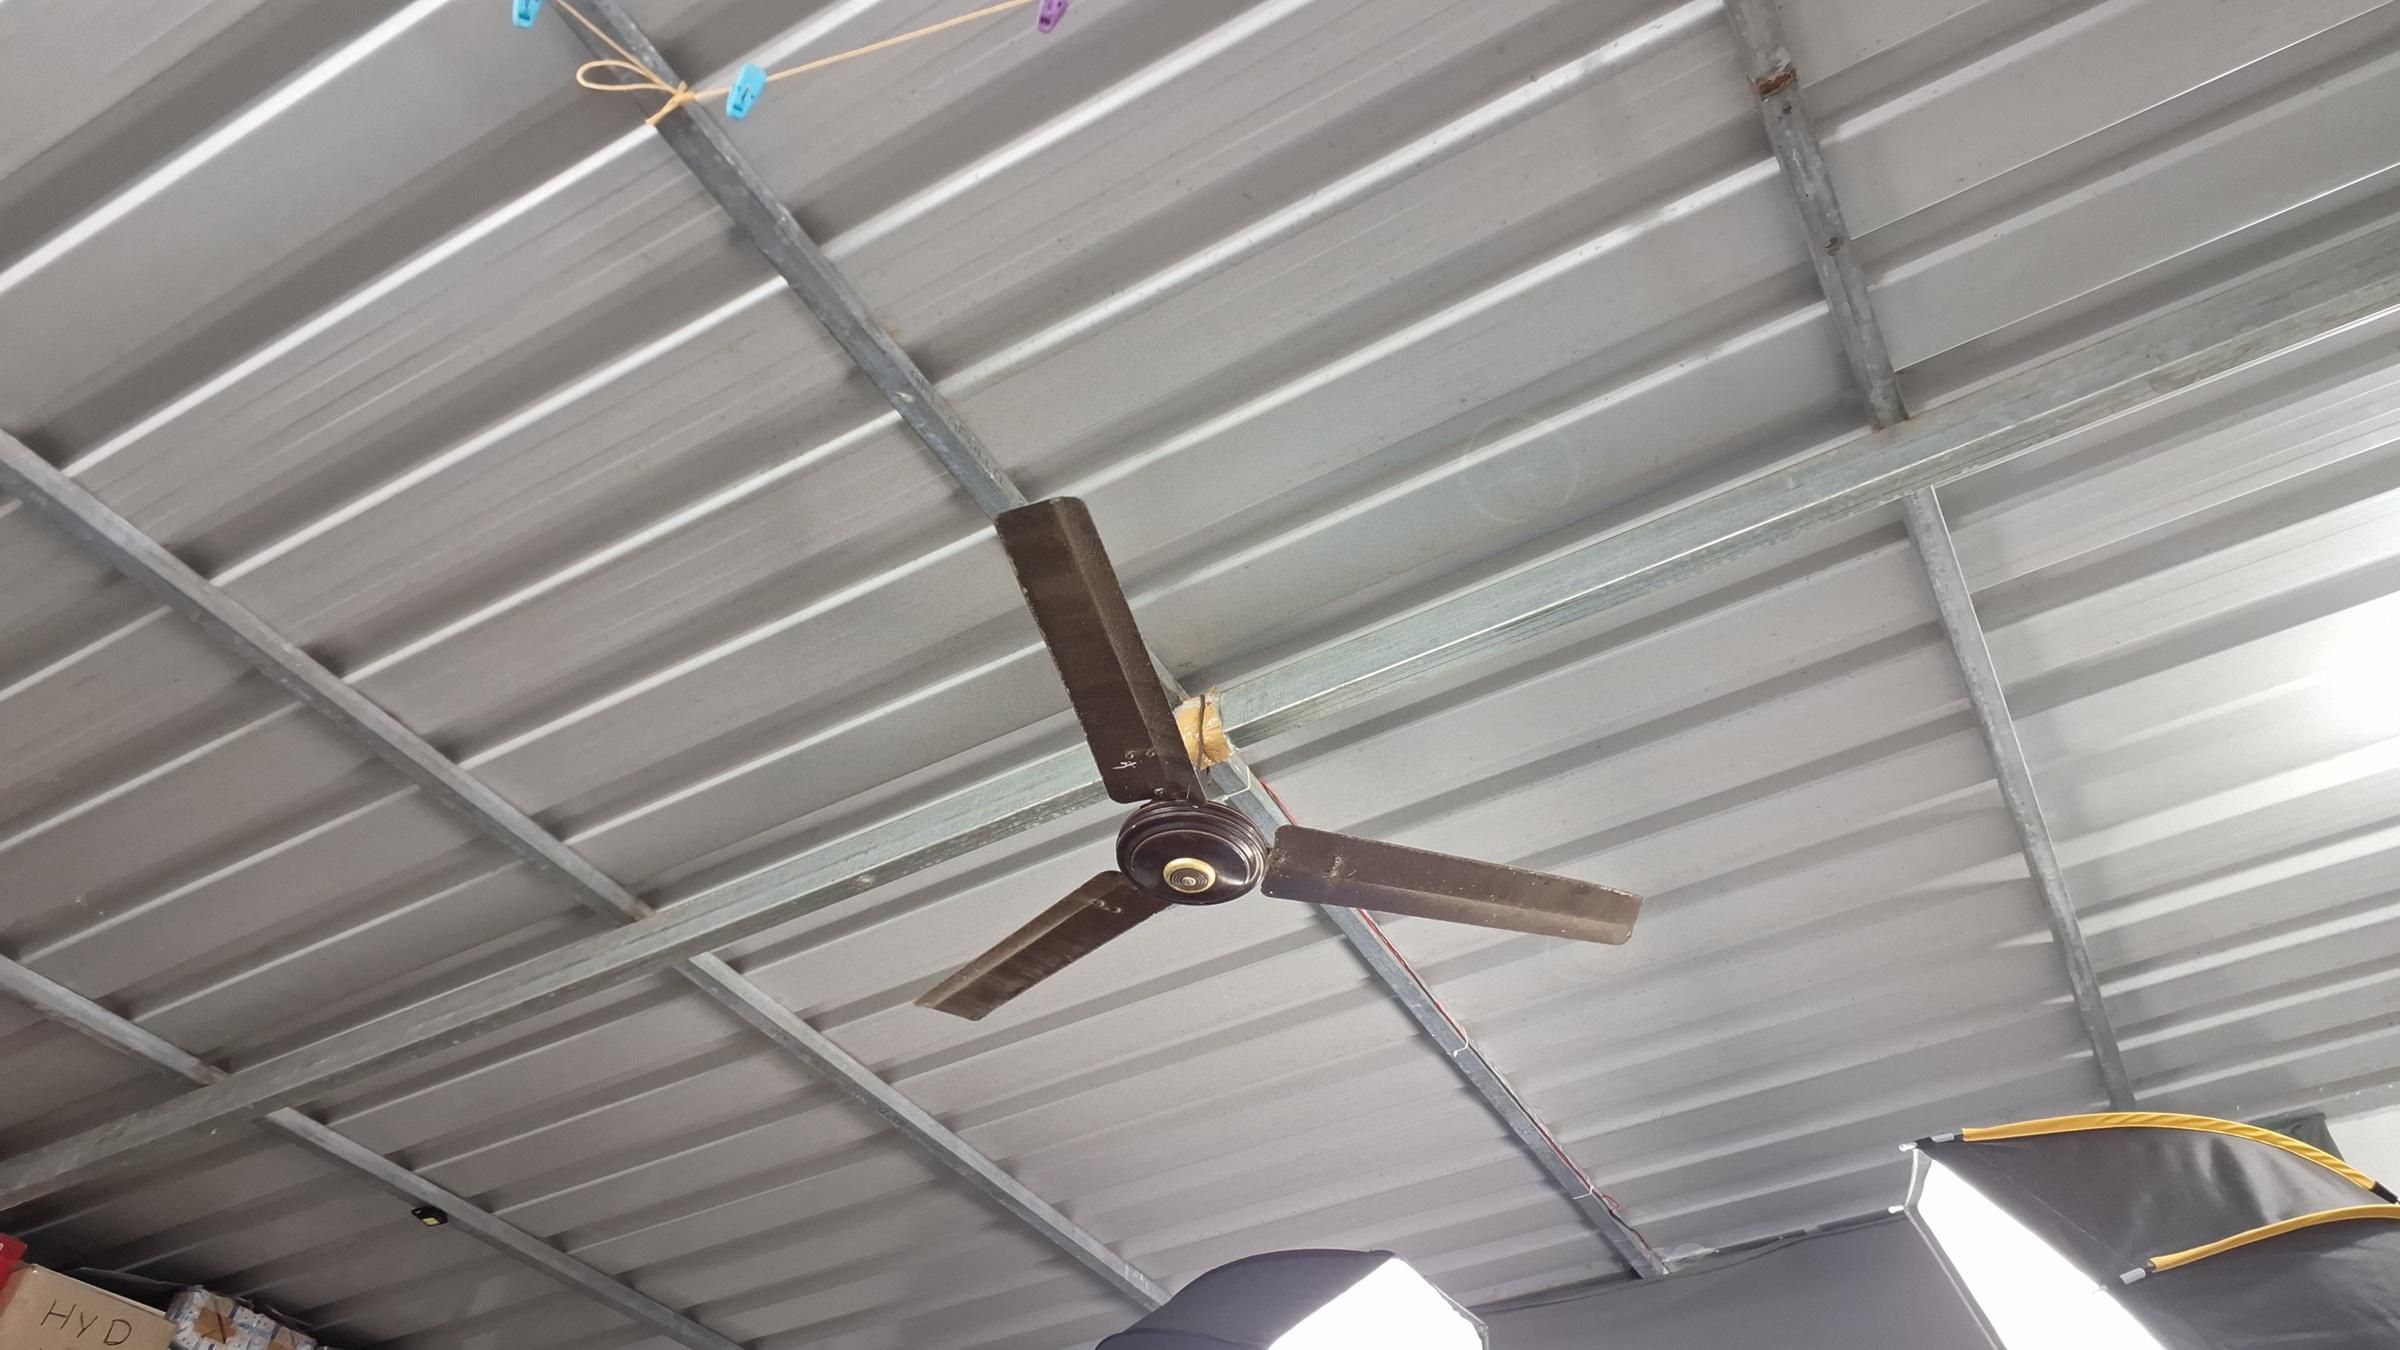
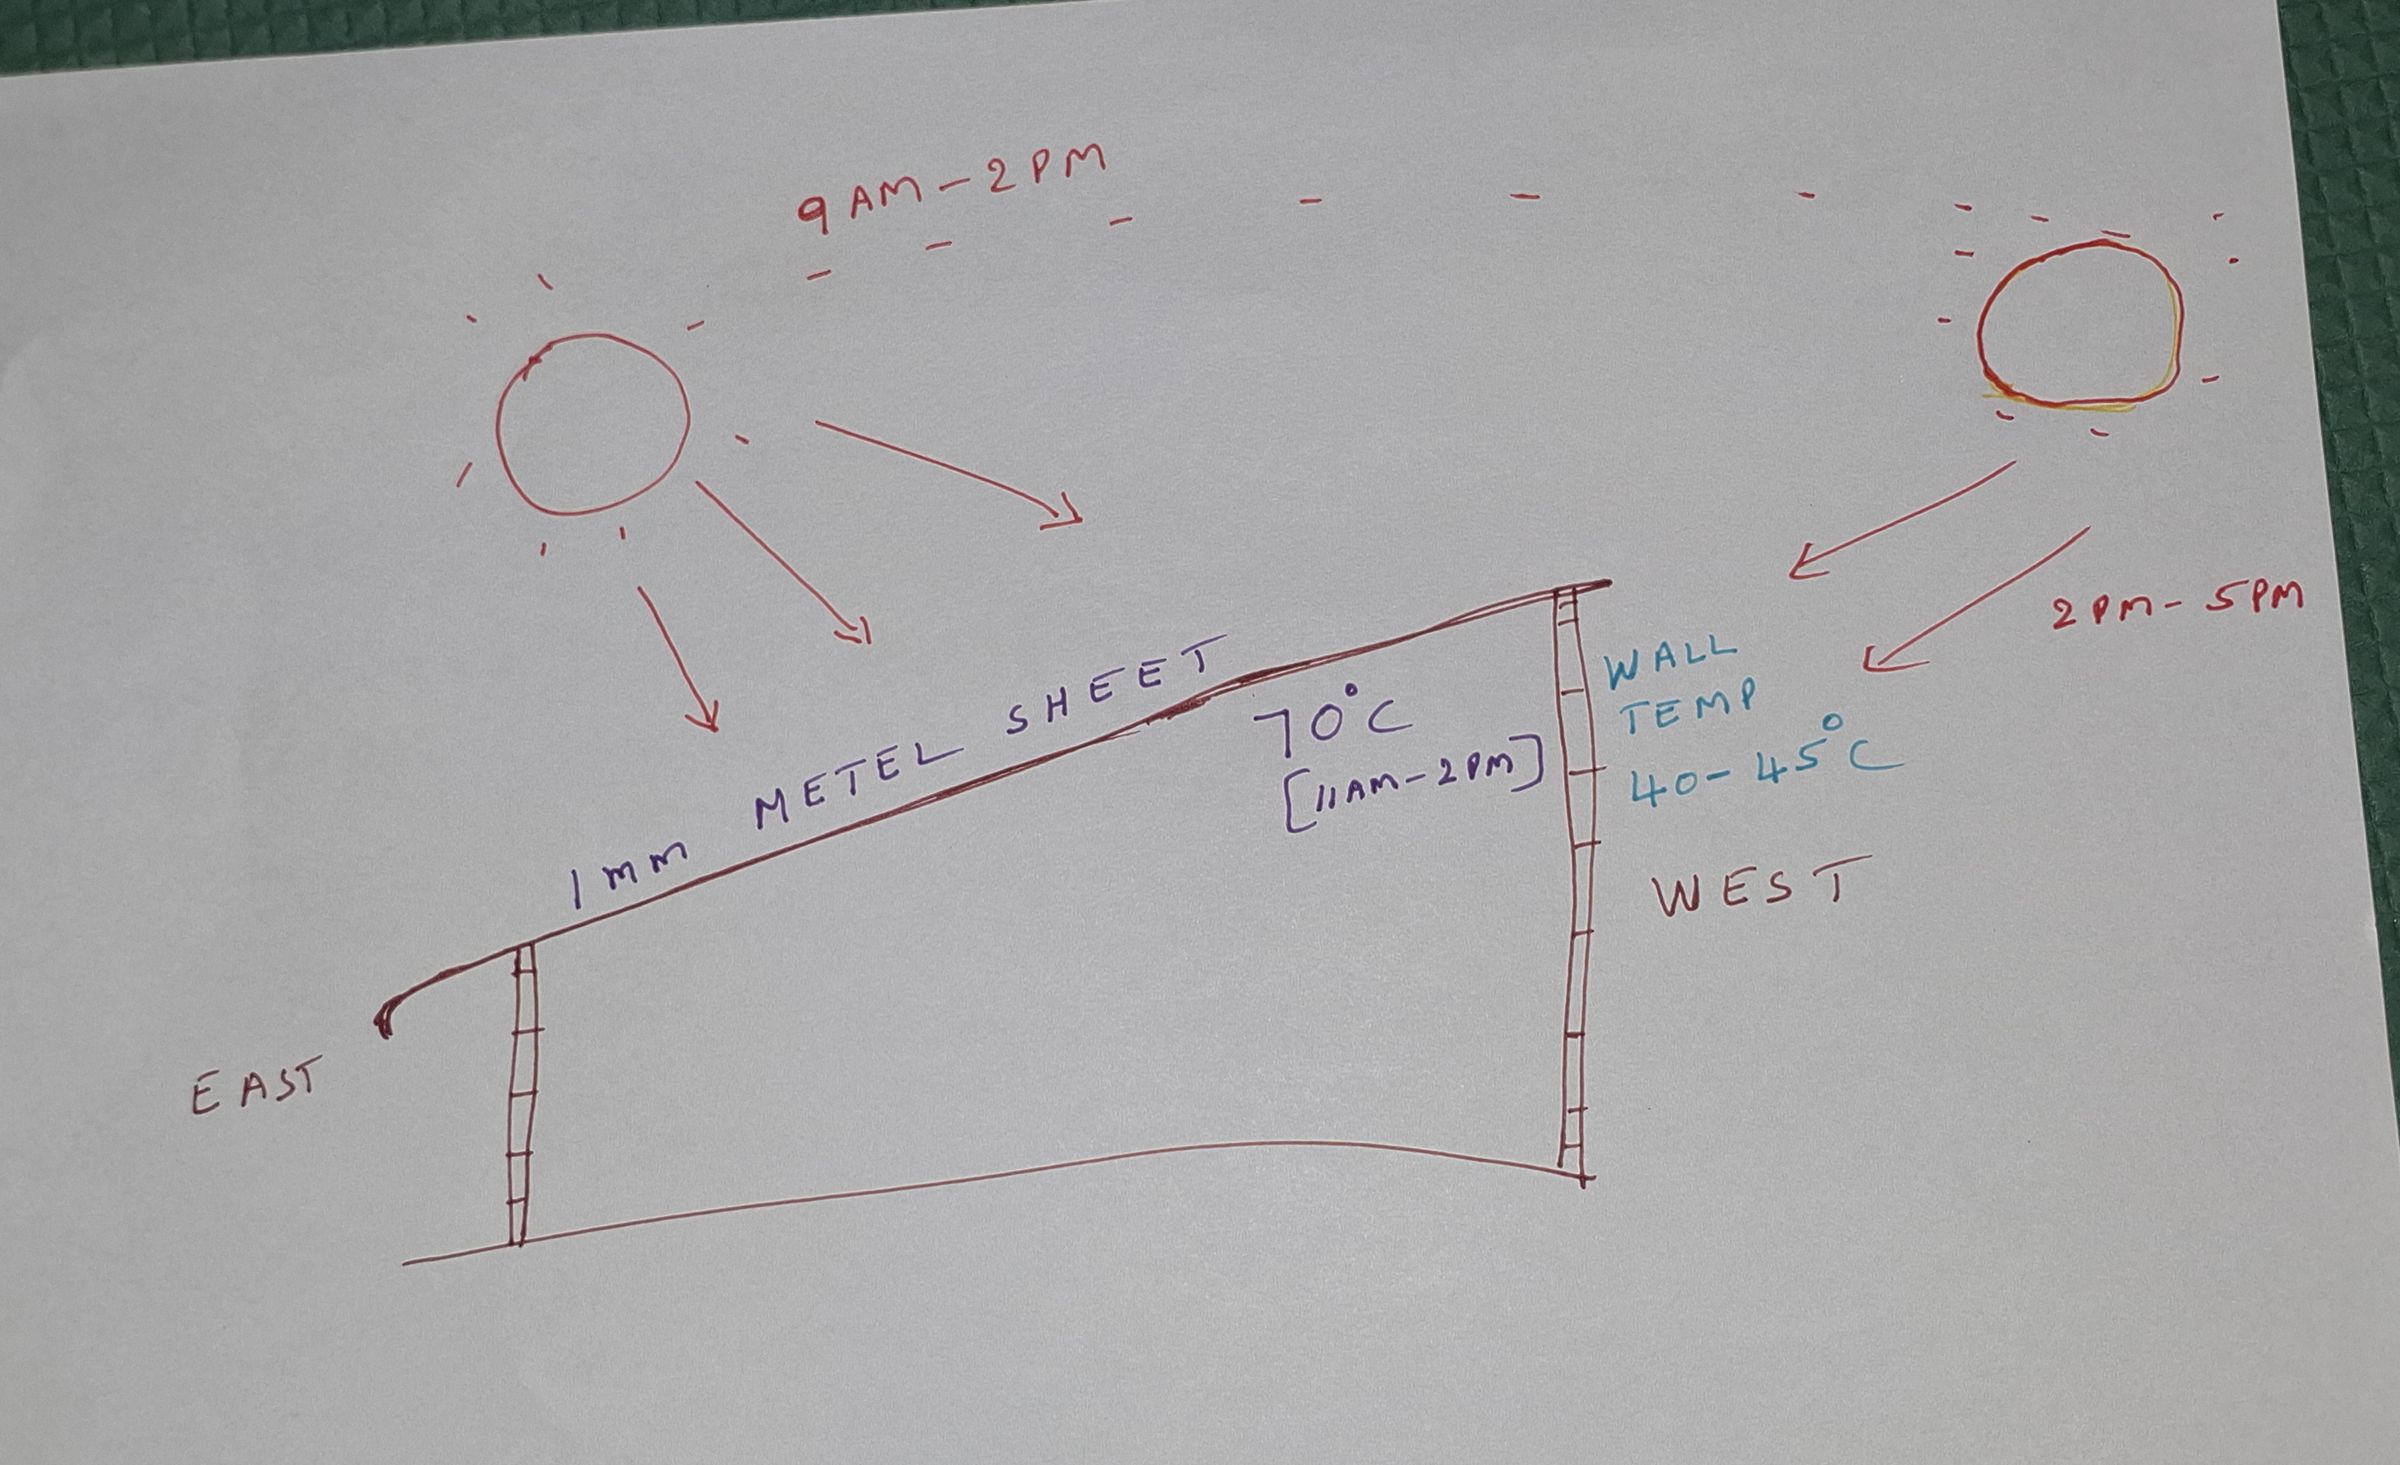
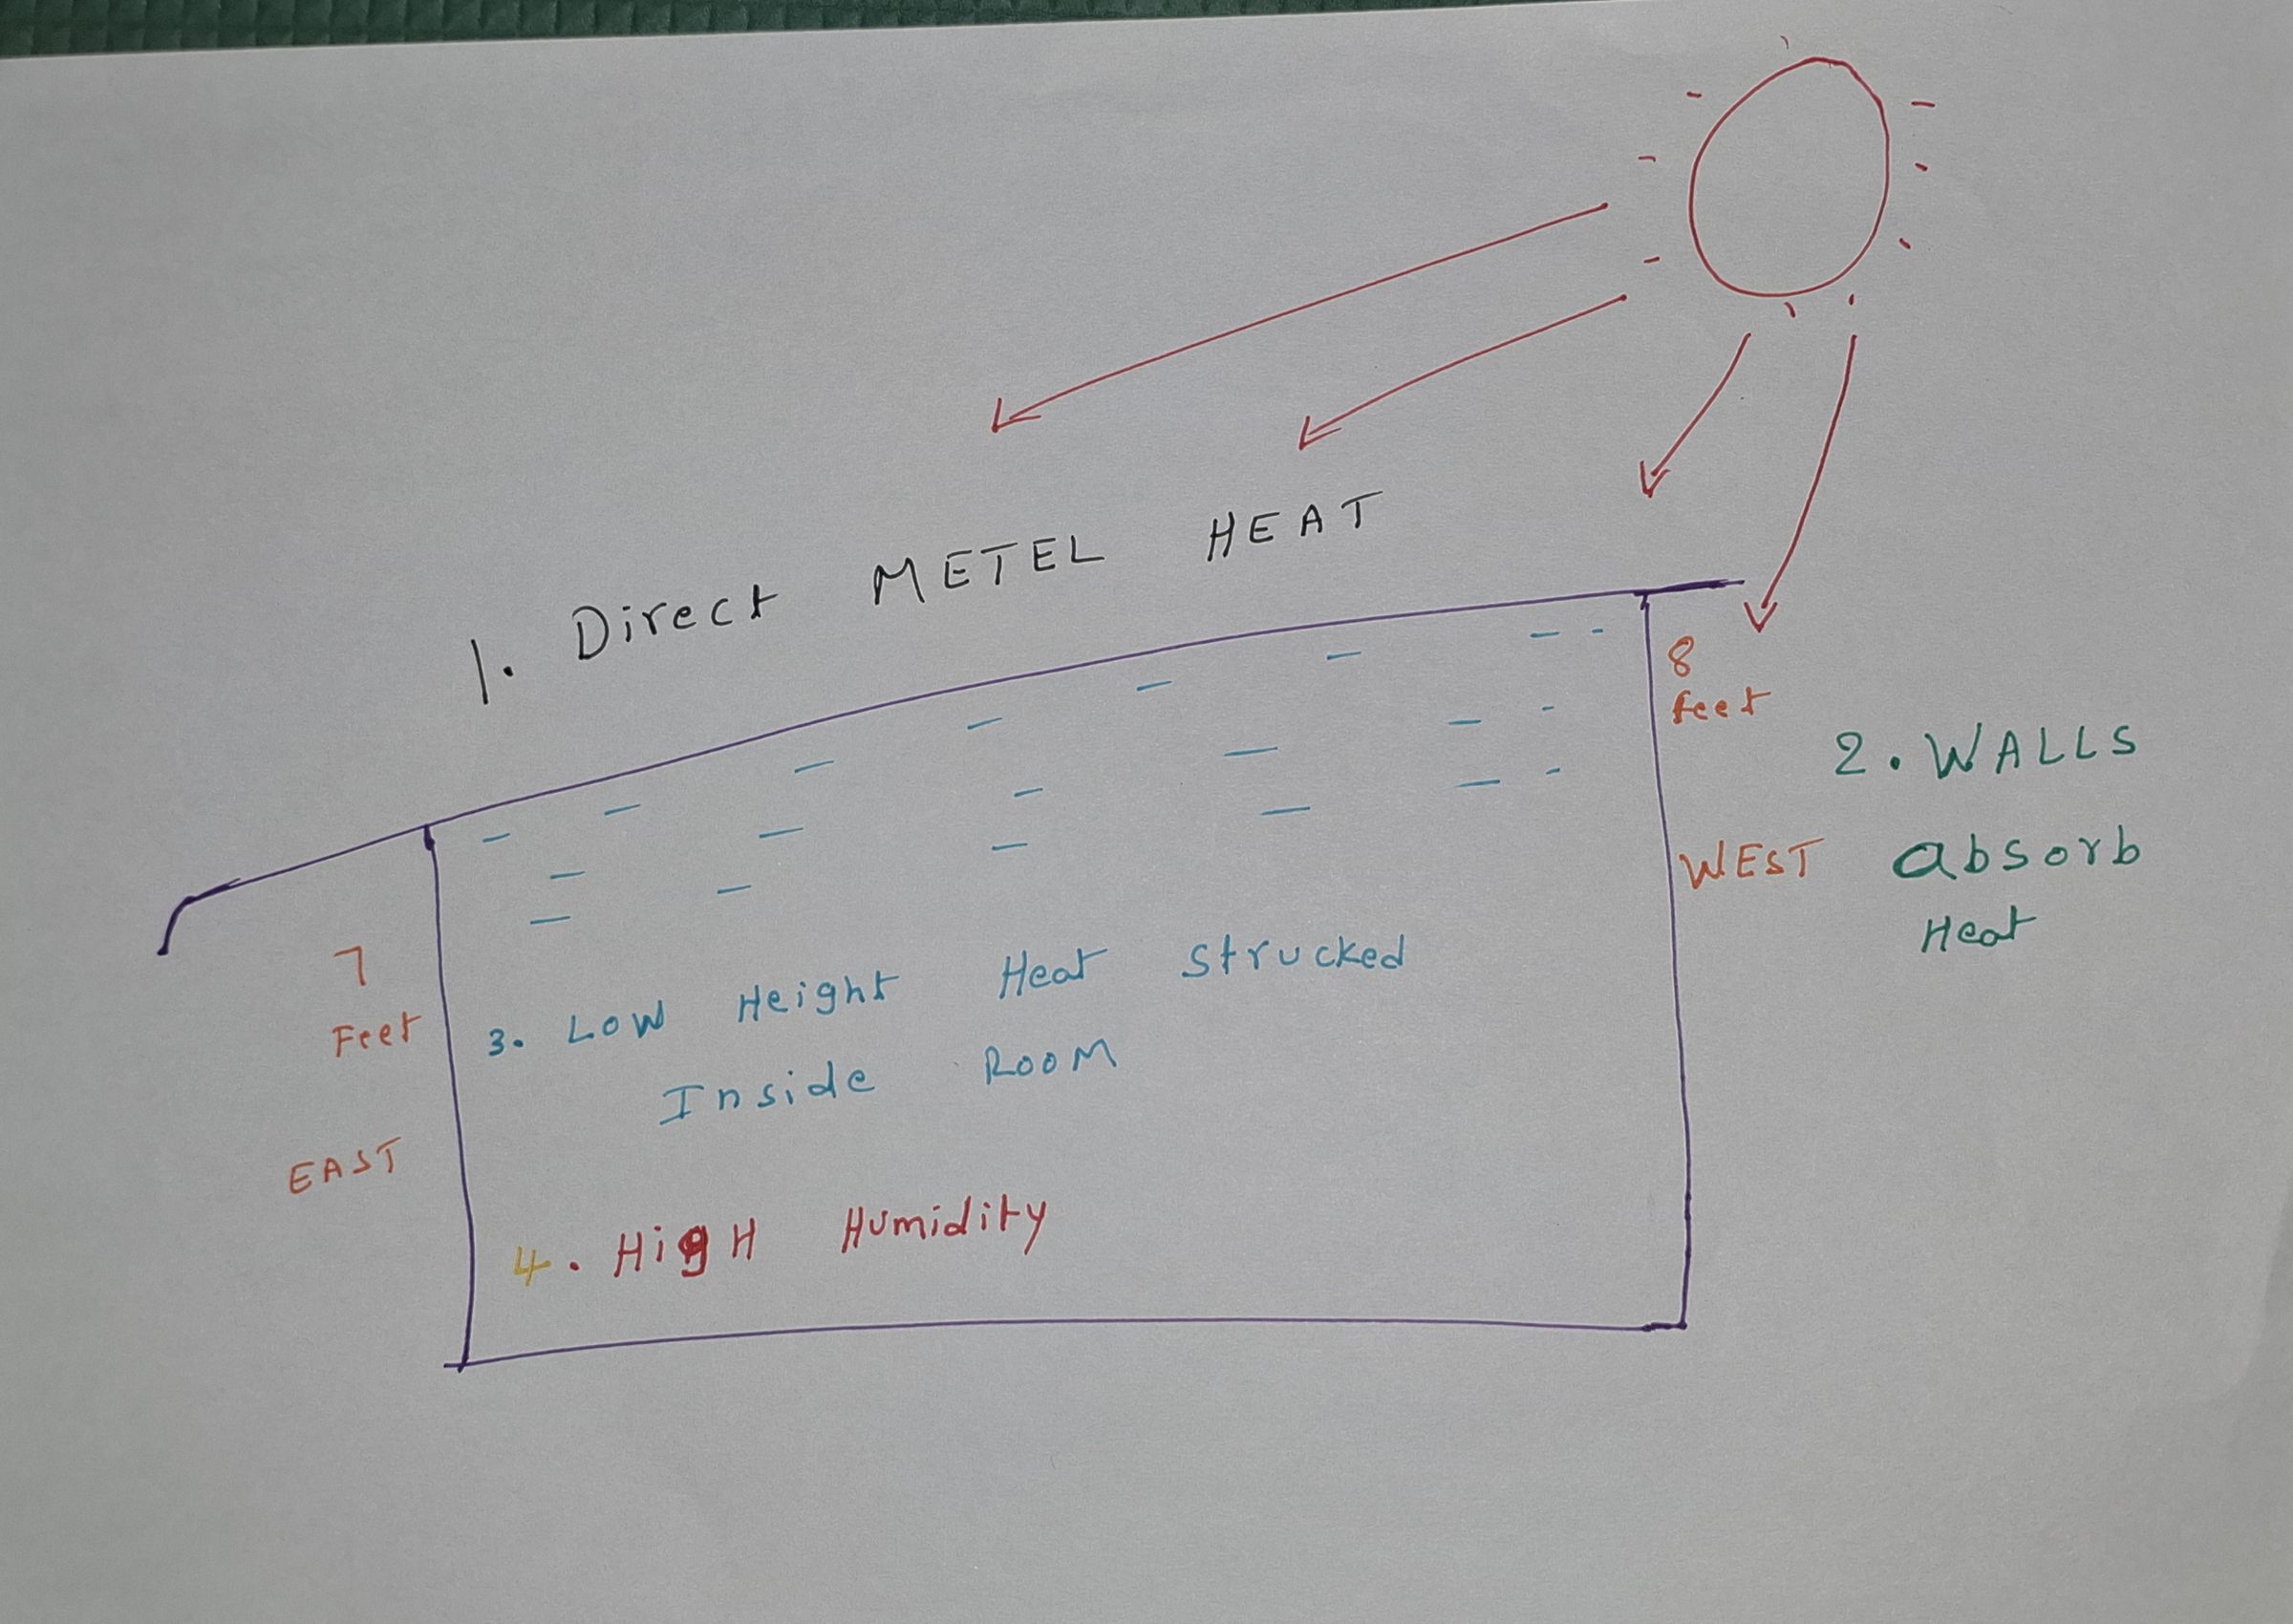
My electronics lab and studio is inside a 16 × 14 ft shed with lightweight construction. The roof is made from only 1 mm thick metal sheet, while the walls are about 4 inches thick, mostly made from a cement-and-sand mixture supported with chicken mesh. The roof is also unusually low, with about 8 ft height on the west side and 7 ft on the east side, making the space feel even hotter and allowing me to easily reach the roof and ceiling fan.
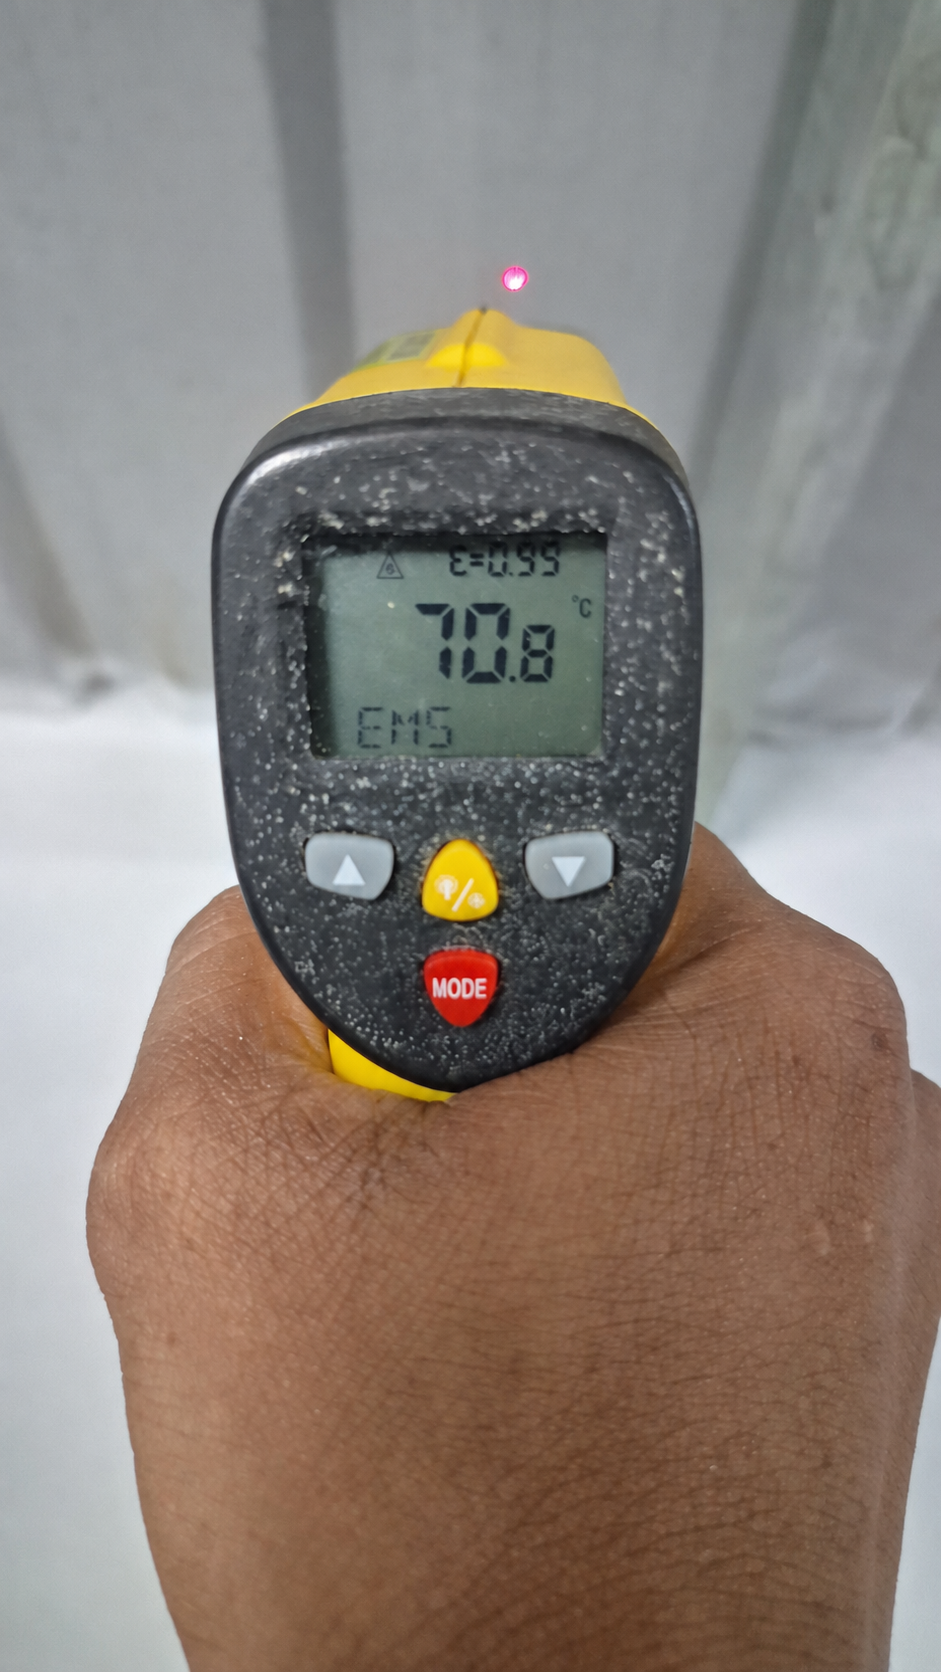
This was originally built as a chicken shed, not as a living or working room, and I later converted it for personal use. During summer, this became a serious heat problem. I measured the metal roof at 70.8°C, while the room could rise above 40°C with very high humidity. The thin metal roof heated up quickly under direct sunlight and transferred that heat into the room, making it impractical to sit and work inside during the day.
The problem became worse after I converted the previously open-sided shed into a closed electronics lab and studio. Closing the space trapped much more heat and moisture.
I considered AC and an evaporative cooler, but instead of cooling the room after it became hot, I decided to reduce the heat entering the room in the first place.
My goal was not to build an air-conditioned room, but a practical, low-cost cooling solution using locally available materials that I could build myself. This approach could also avoid the much higher electricity consumption that continuous AC cooling would require in such a lightweight, poorly insulated space.
I combined multi-layer roof shading, natural vegetation, protected ventilation, and a reversible intake/exhaust fan to gradually transform the overheated shed into a more comfortable workspace.
The system is still evolving, especially as the natural vegetation grows, but the result is a practical lab-cum-studio that I can work in for much longer without AC.
Supplies
Roof Heat Protection
- Tarpaulin sheet — 28 × 30 ft ×1 — ₹1,800 (~US$18.86)
- Green shade net — 80% ×1 — ₹1,500 (~US$15.72)
- Palm / coconut leaves — as required — ₹1,000 (~US$10.48)
- Waterproof duct tape — as required — ₹120 (~US$1.26)
- Rope — 100 m — ₹500 (~US$5.24)
Ventilation & Protection
- Two-way fan ×1 — ₹1,200 (~US$12.58)
- Mesh door + window — ₹2,500 (~US$26.20)
Natural Shading
- Plants and creepers — Existing / grown around the workspace
Labor
- Installation labor — ₹500 (~US$5.24)
Approximate Recorded Cost
₹9,120 (~US$95.58)
USD values are approximate conversions and may vary with exchange rates. The total excludes existing plants/creepers.
The Metal Roof Became the Problem
This project started with an old chicken shed in my backyard.
It originally had mostly open mesh sides, so airflow was naturally good. After I converted it into my electronics lab and studio and closed the sides, heat started getting trapped inside.
During summer, I measured the metal roof at 70.8°C in strong sunlight. Inside, the temperature could rise above 40°C with very high humidity.
By late morning, it became difficult to work, and even my camera started overheating.
That's when I realized:
I didn't just need to cool the room. I needed to stop the heat from entering it.
Why I Didn't Use AC
My first thought was simple: use air conditioning.
But the thin metal roof was directly exposed to the sun and continued adding heat to the room. Cooling the entire space while the roof was constantly heating it did not seem like the best solution for this shed.
So I decided not to rely on AC. Instead, I looked for a way to reduce the heat entering the room in the first place.
Why I Didn't Use an Evaporative Cooler
I also considered an evaporative cooler, but there was one major problem: humidity.
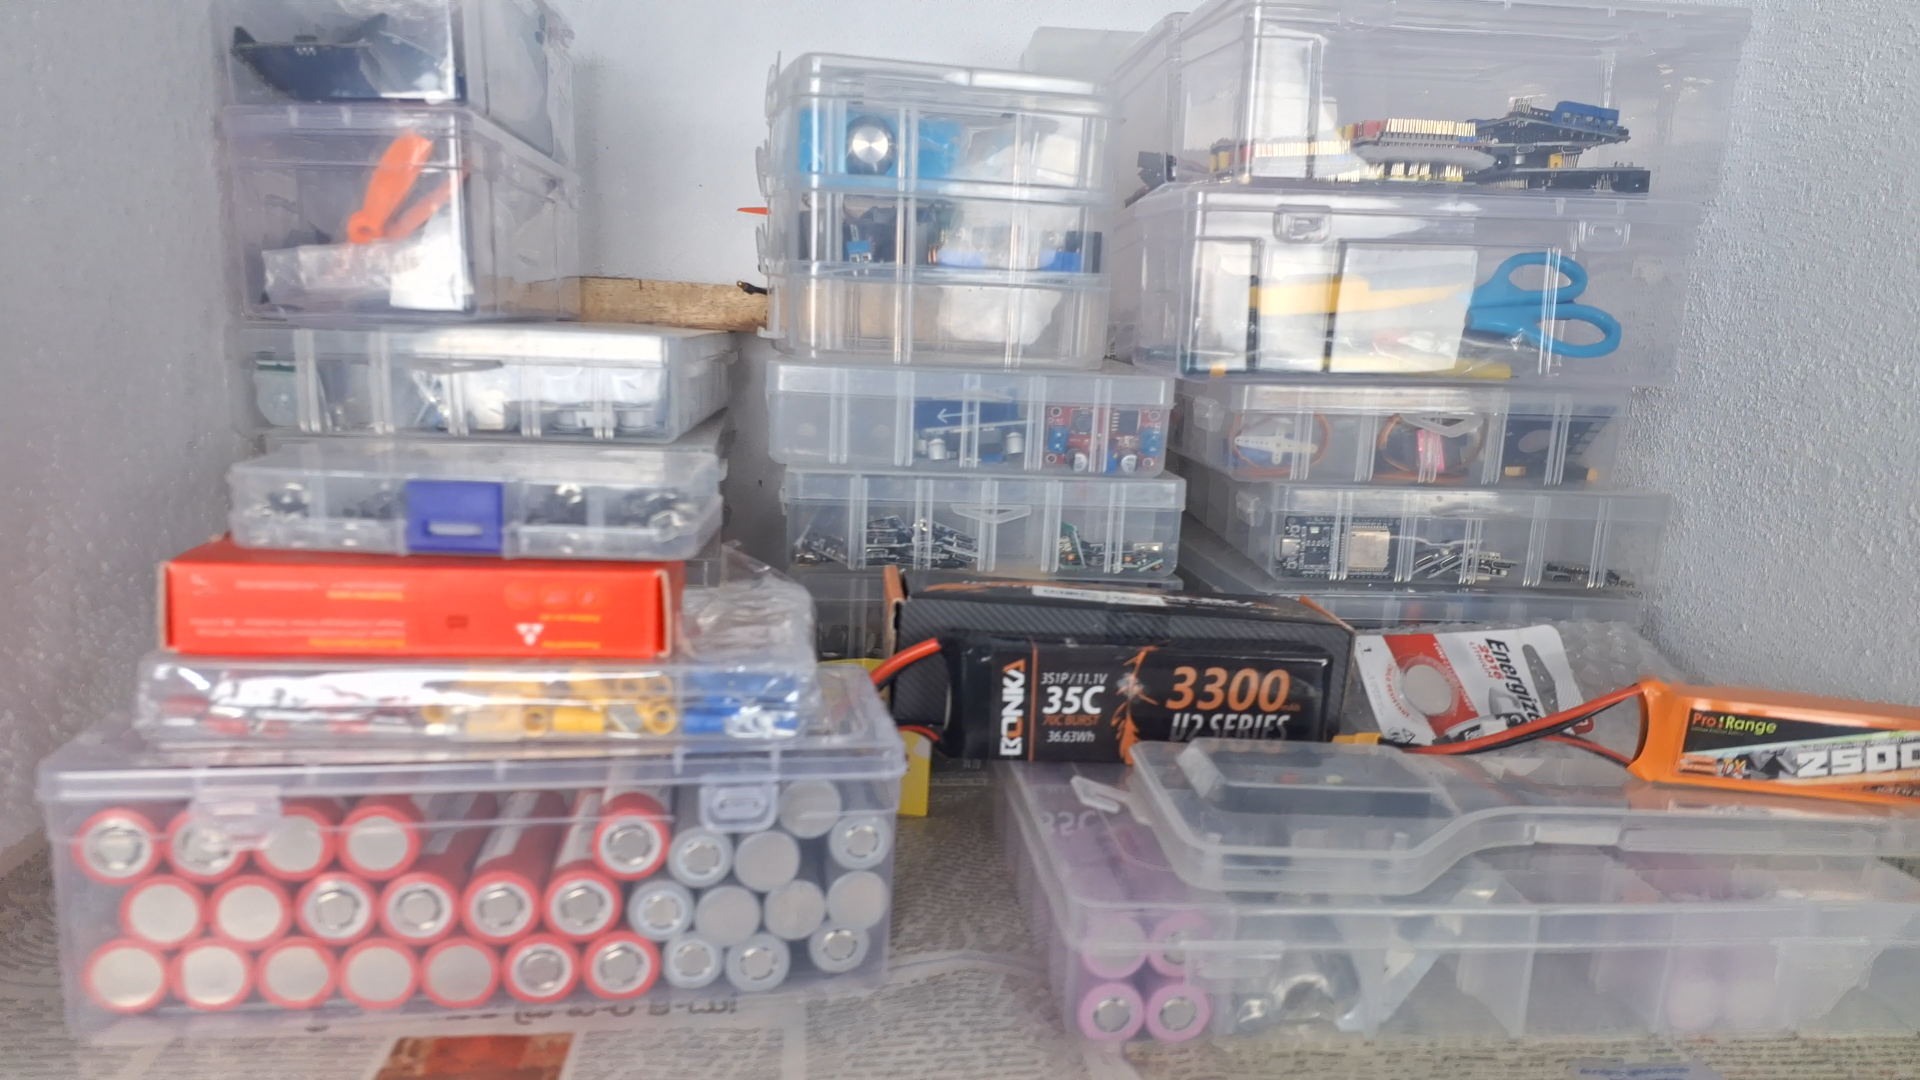
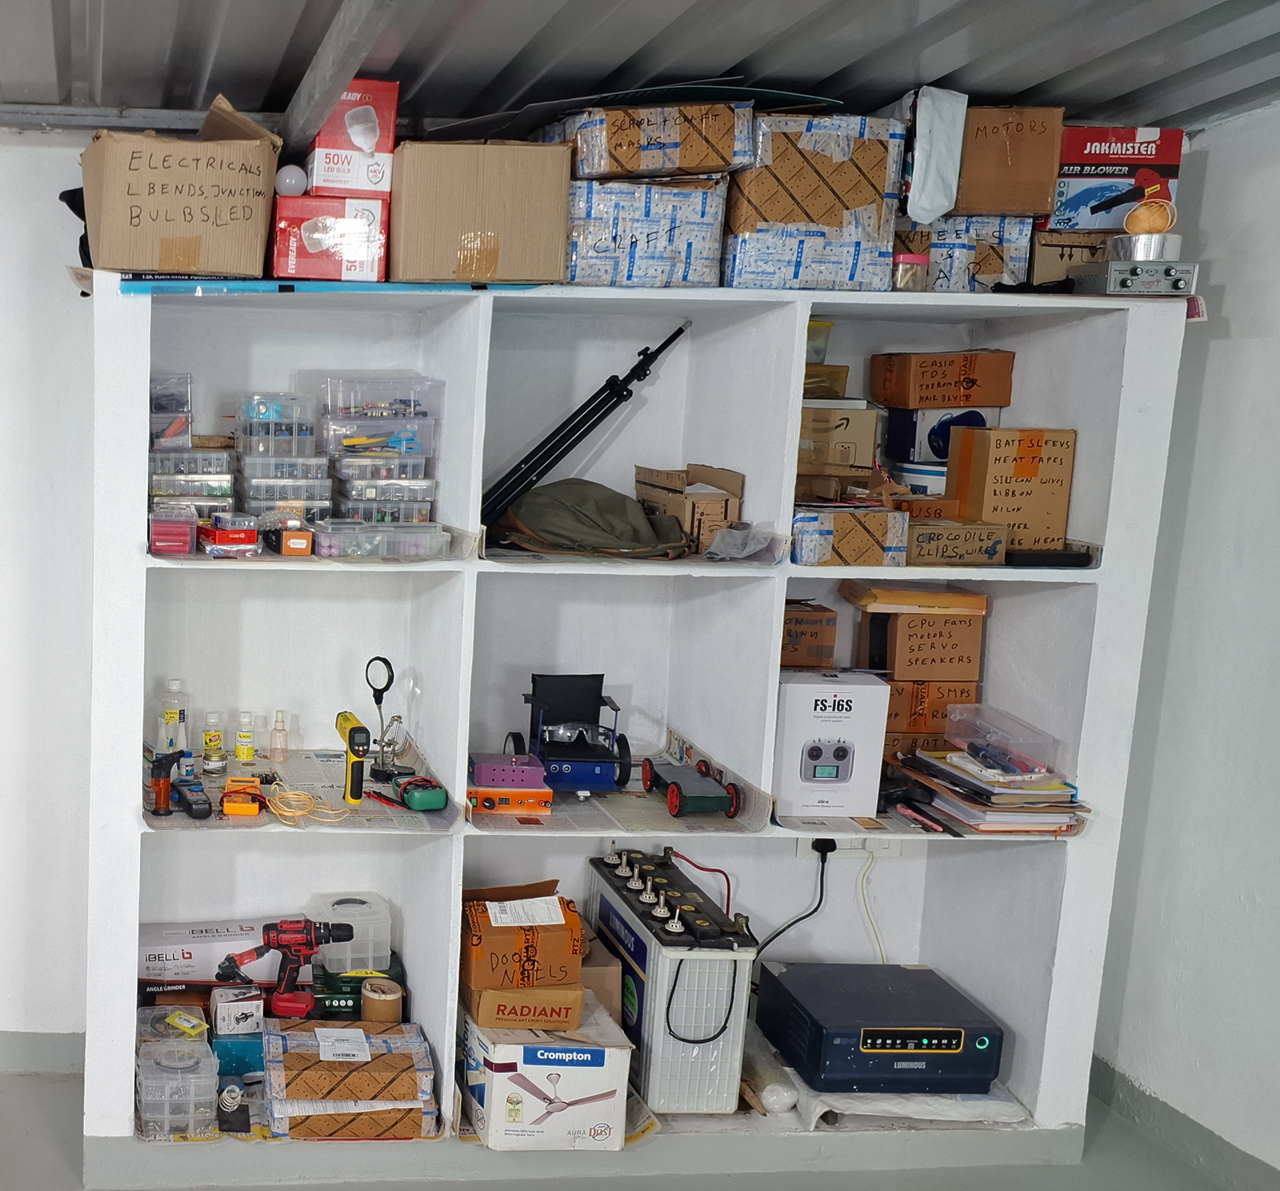
The lab was already very humid, and an evaporative cooler would add more moisture to the air. With electronics, PCBs, tools and batteries stored and used in the workspace, I didn't consider that a good fit.
So I rejected that option too.
I decided to reduce the heat entering the room and improve natural airflow instead.
Identifying the Main Heat Problems
After rejecting AC and an evaporative cooler, I looked at the room itself.
I found four main problems:
- Metal roof — Direct sunlight made the roof extremely hot and radiated heat into the room.
- Walls — The walls absorbed heat during the day and stayed warm afterward.
- Restricted airflow — Keeping the door and windows open allowed unwanted visitors inside, while closing them trapped heat.
- Trapped heat and moisture — There wasn't enough airflow to remove the hot, humid air.
So I decided to tackle them one by one:
Protect the roof.
Shade the walls.
Allow protected airflow.
Remove trapped hot and humid air.
Preparing the Roof for Heat Protection
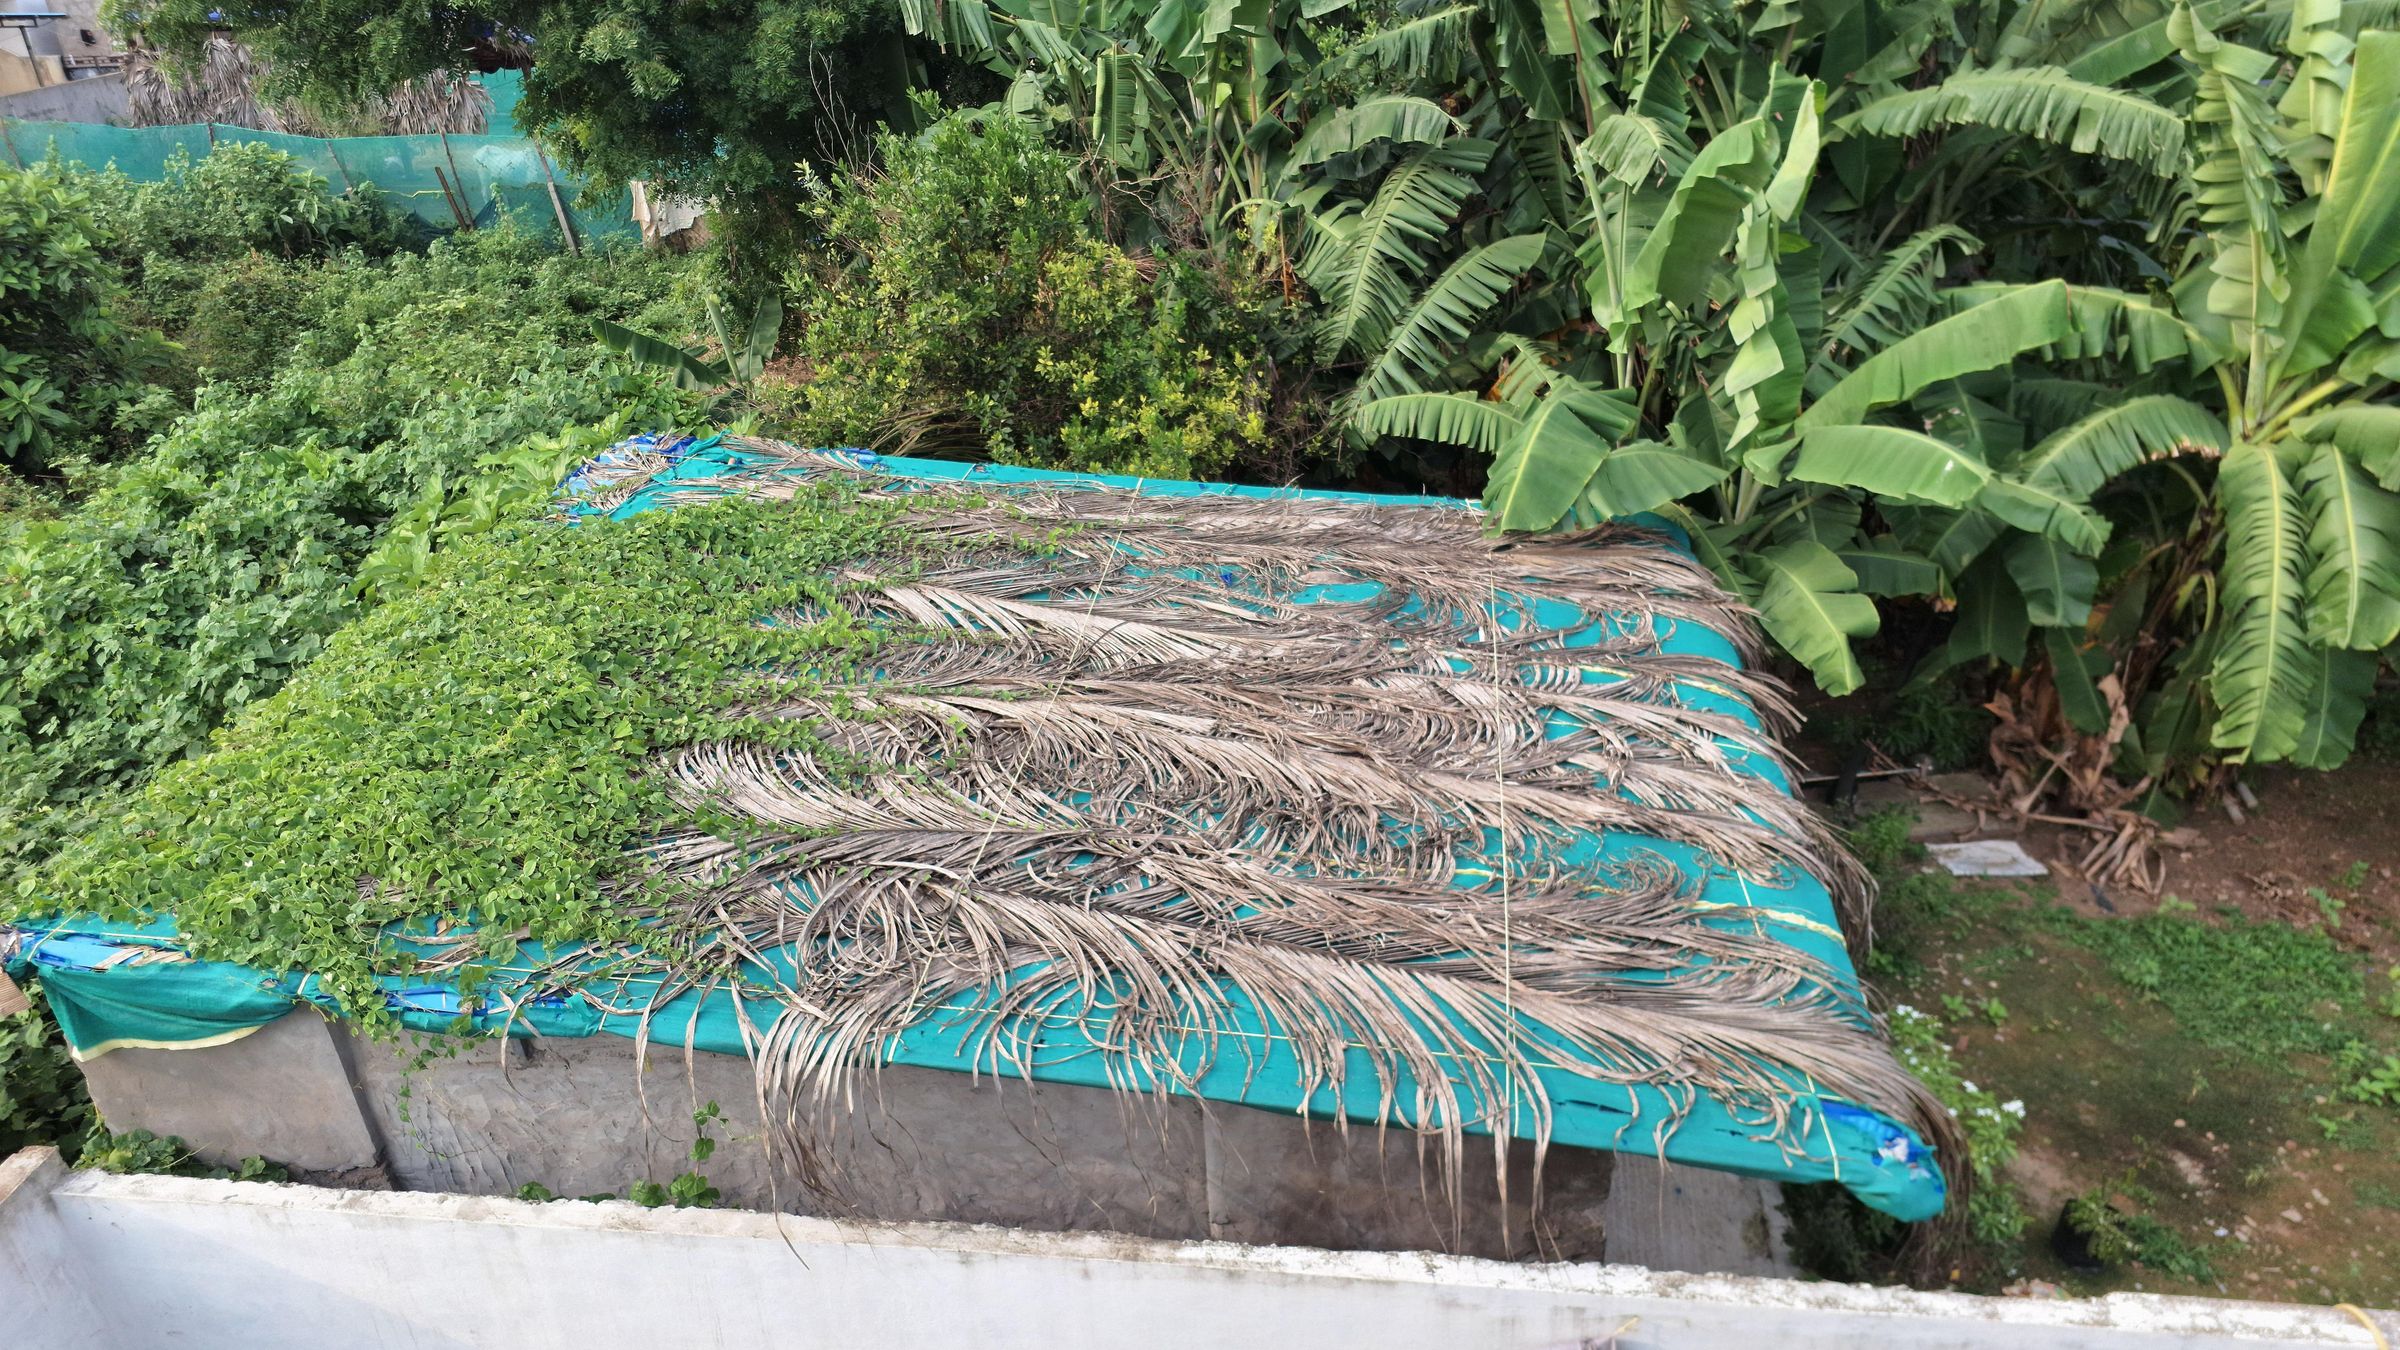
The first thing I worked on was the metal roof, the biggest source of direct heat.
Instead of adding insulation underneath the hot metal, I decided to protect the top side of the roof from direct sunlight.
I planned a layered protective covering using a tarpaulin sheet, natural palm/coconut leaves, shade net, rope and vegetation.
the photo shows the completed roof protection.
Sealing the Roof Before Covering It
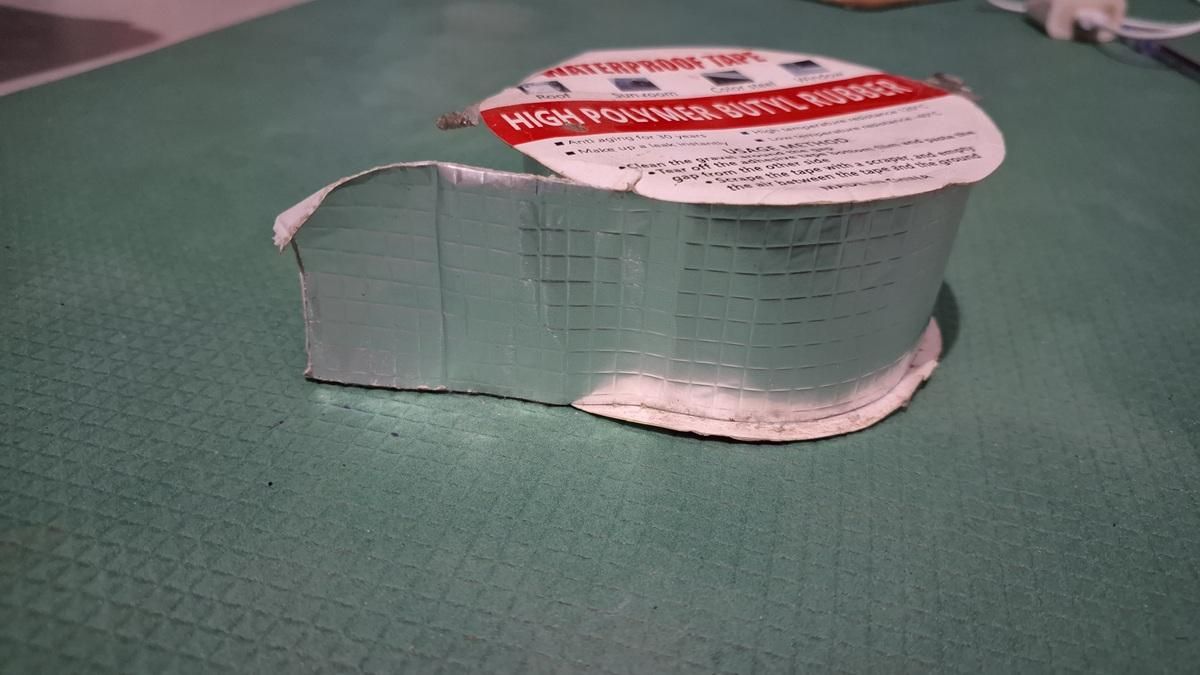
Before covering the roof, I sealed the exposed screws, bolts and other openings with waterproof duct tape.
This added extra protection against water leaks, which was important because the room contains sensitive electronics.
I wanted to make sure the roof was protected before adding the next layers.
Adding the First Roof Protection Layer
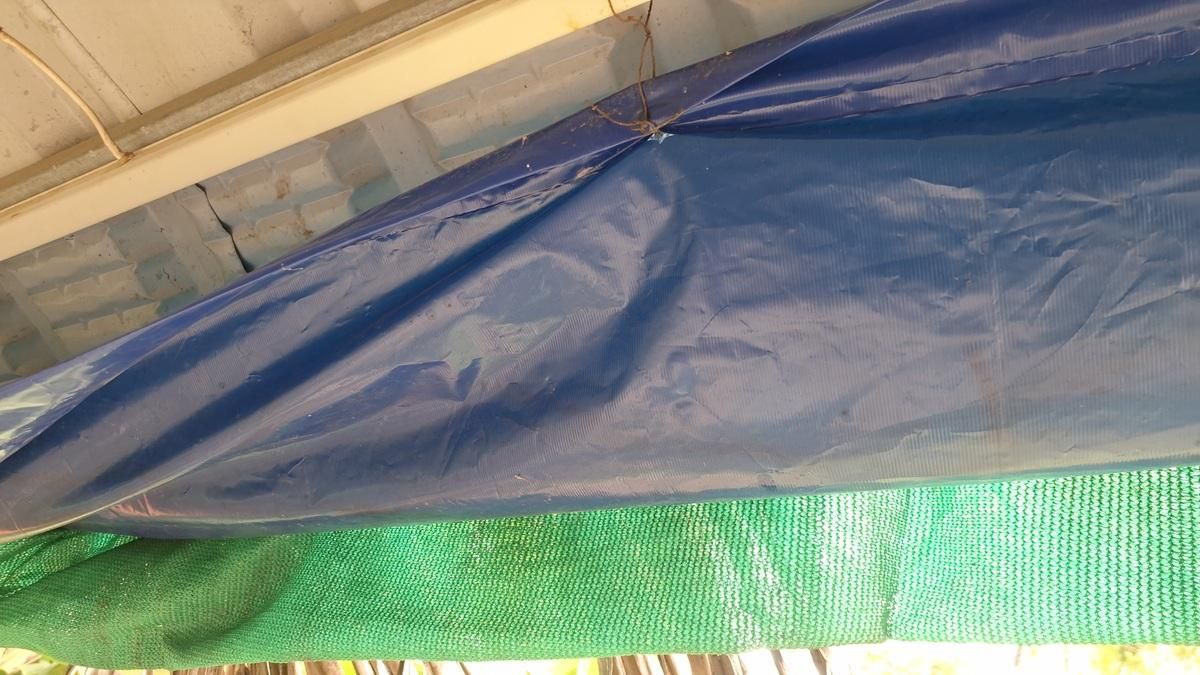
I covered the entire metal roof with a 28 × 30 ft tarpaulin sheet, creating the first major protective layer above the hot metal.
It provided an additional barrier against direct sunlight and rain before I added the natural shading layers.
Building the Natural Roof-Shading Layer
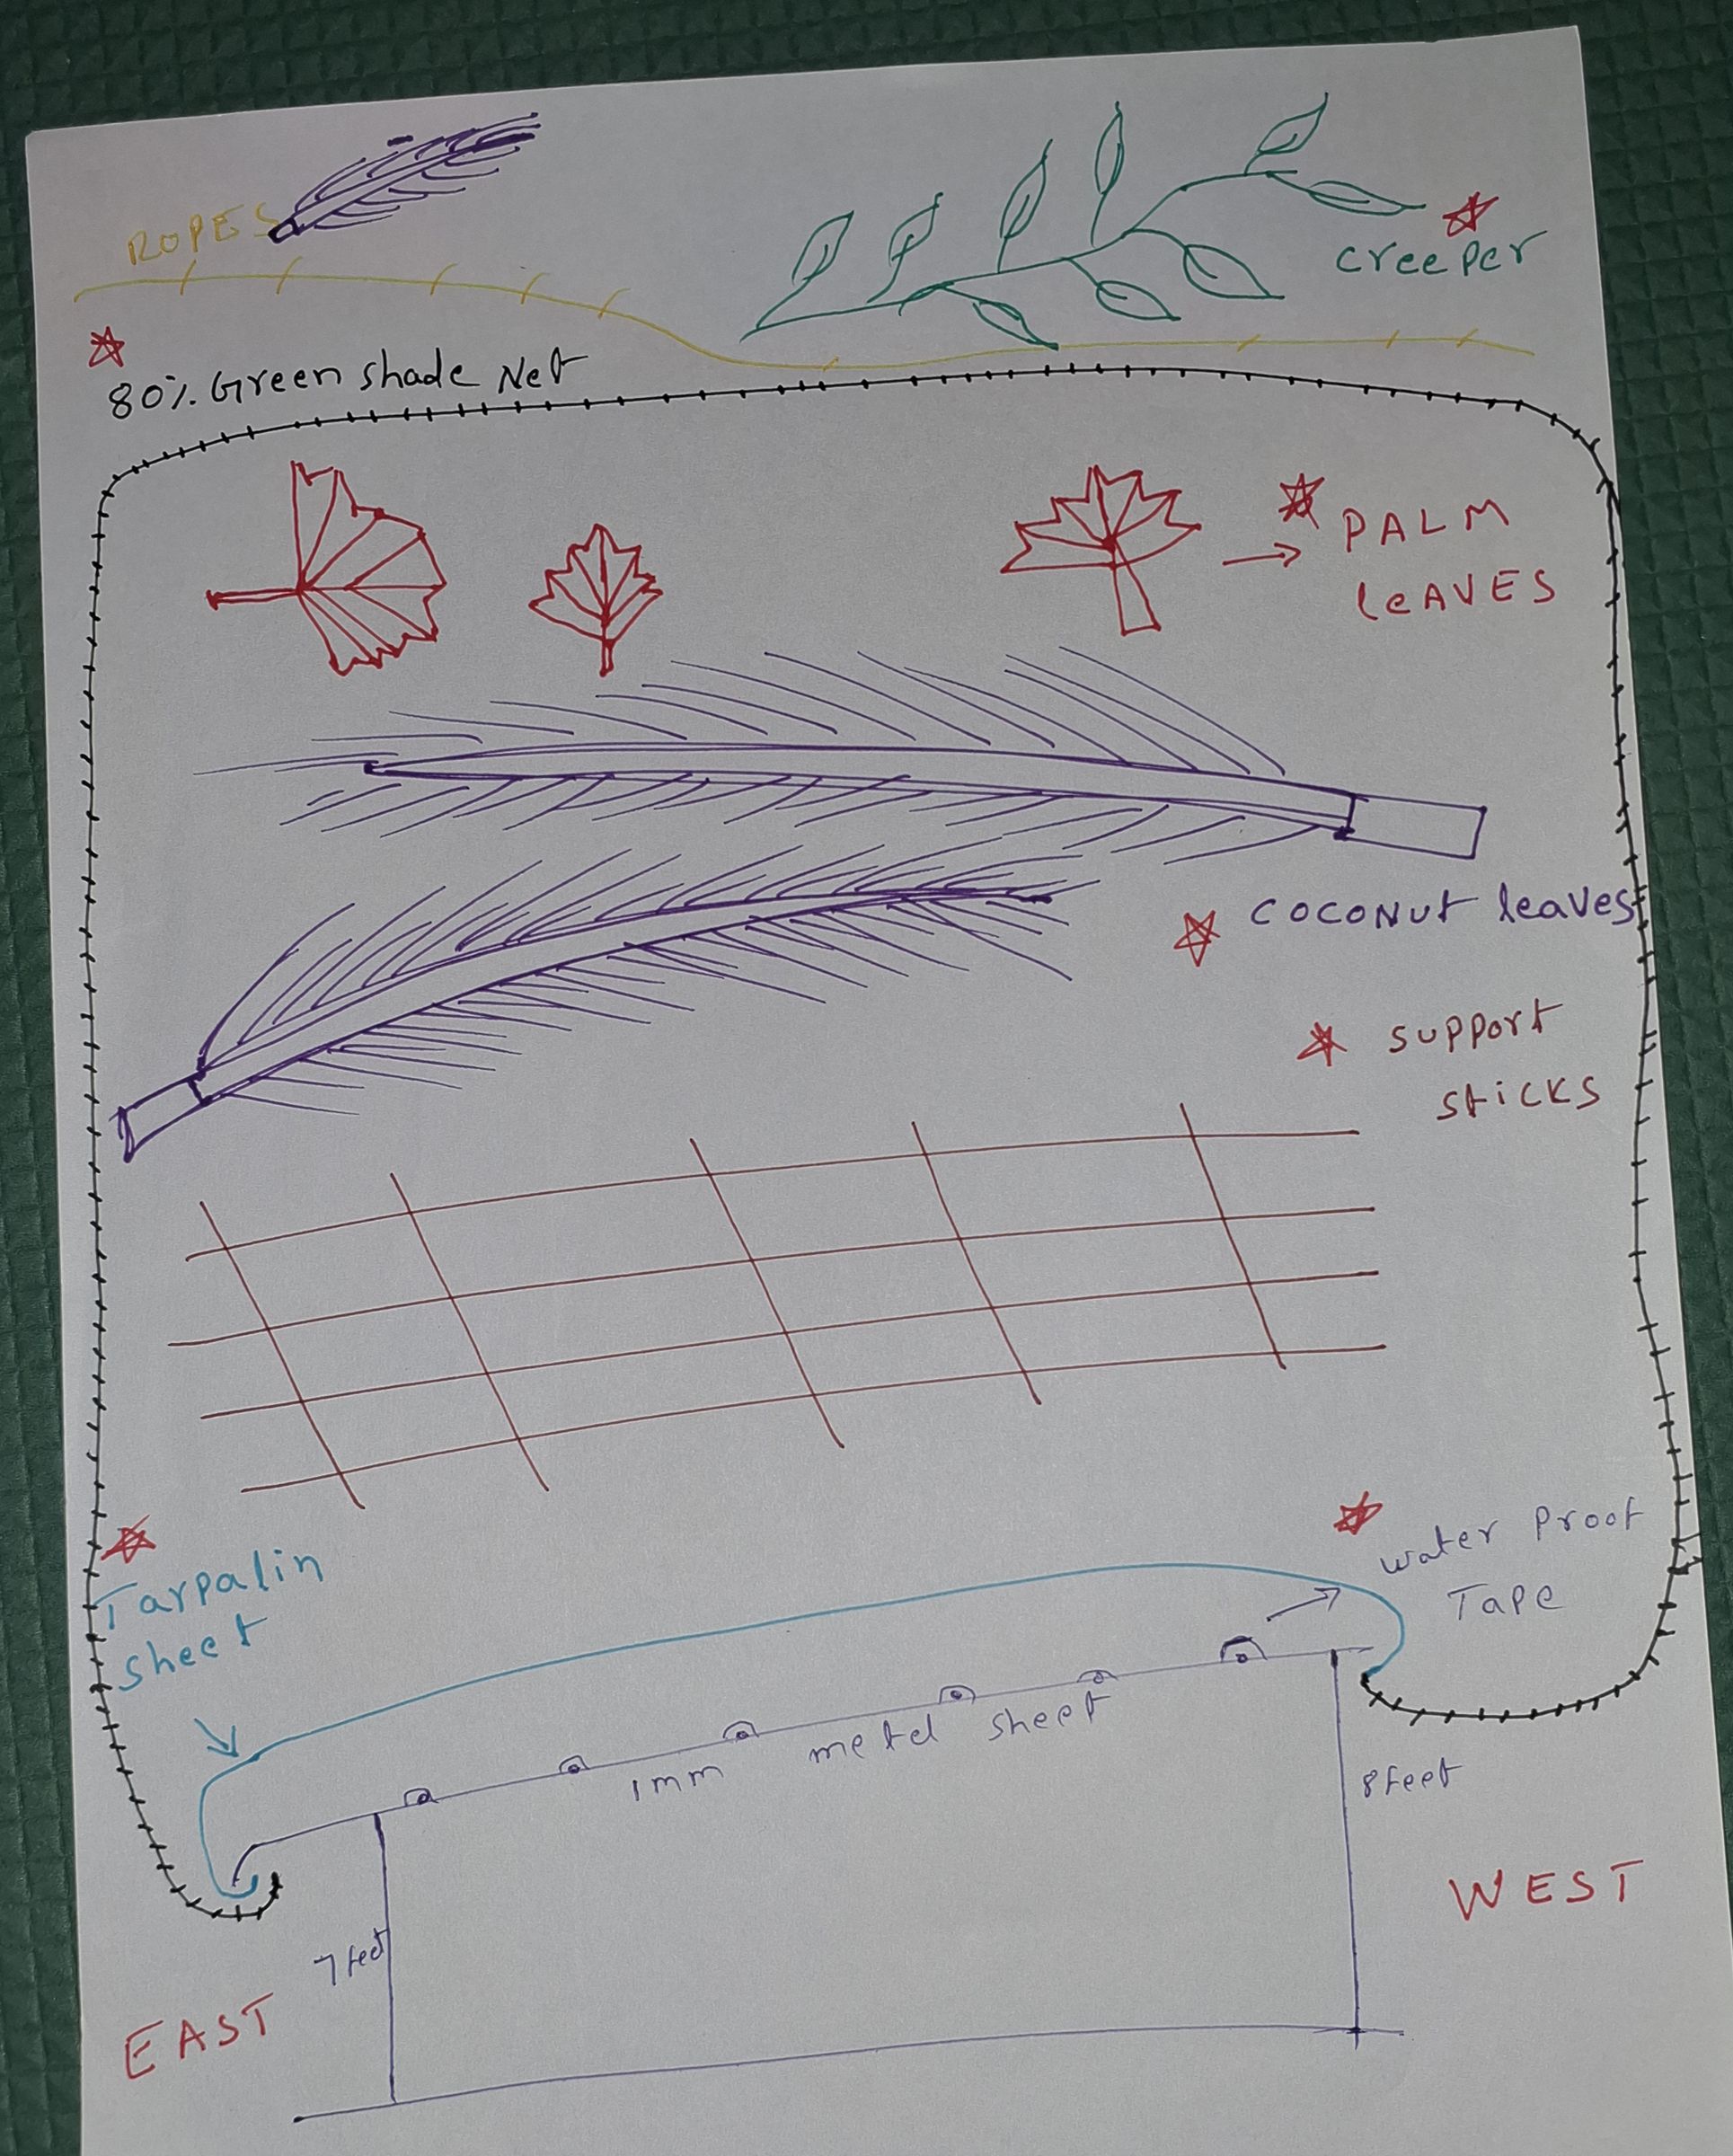
Next, I built a lightweight support framework across the roof using thin wooden sticks/stems and rope.
I then tied palm and coconut leaves over this framework. The raised structure kept the leaves above the tarpaulin instead of placing them directly on it, leaving air gaps between the layers.
This created a large natural shading layer above the tarpaulin, helping block direct sunlight before it reached the roof surface.
I covered as much of the roof as practical with the leaves and secured them so they would remain in place.
This natural layer became one of the main parts of my roof heat-protection system.
Adding the Shade Net
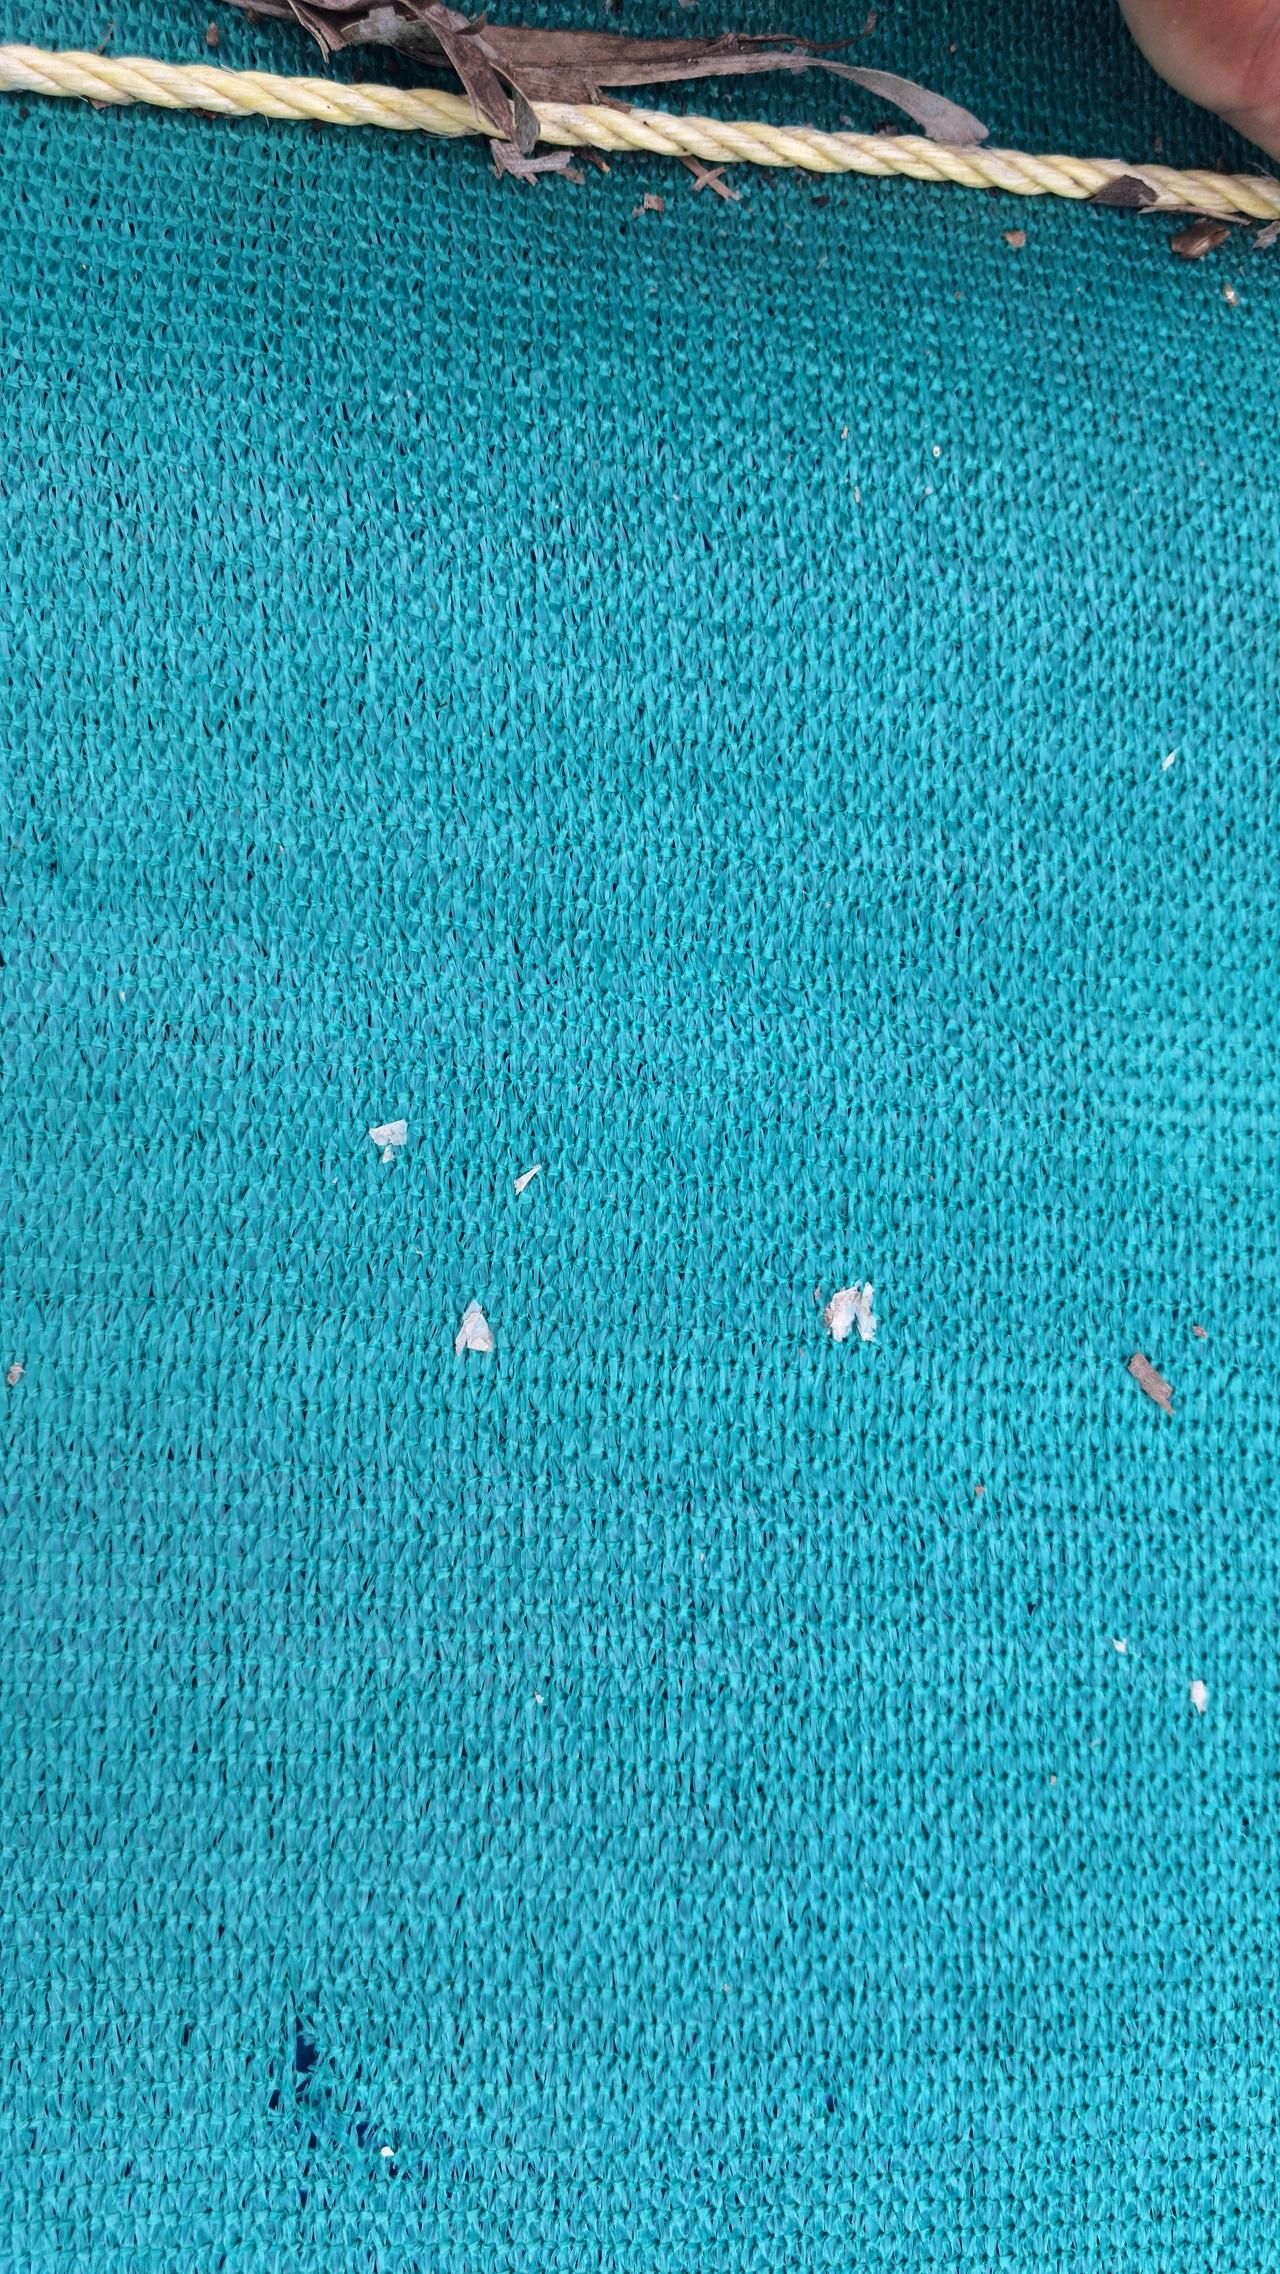
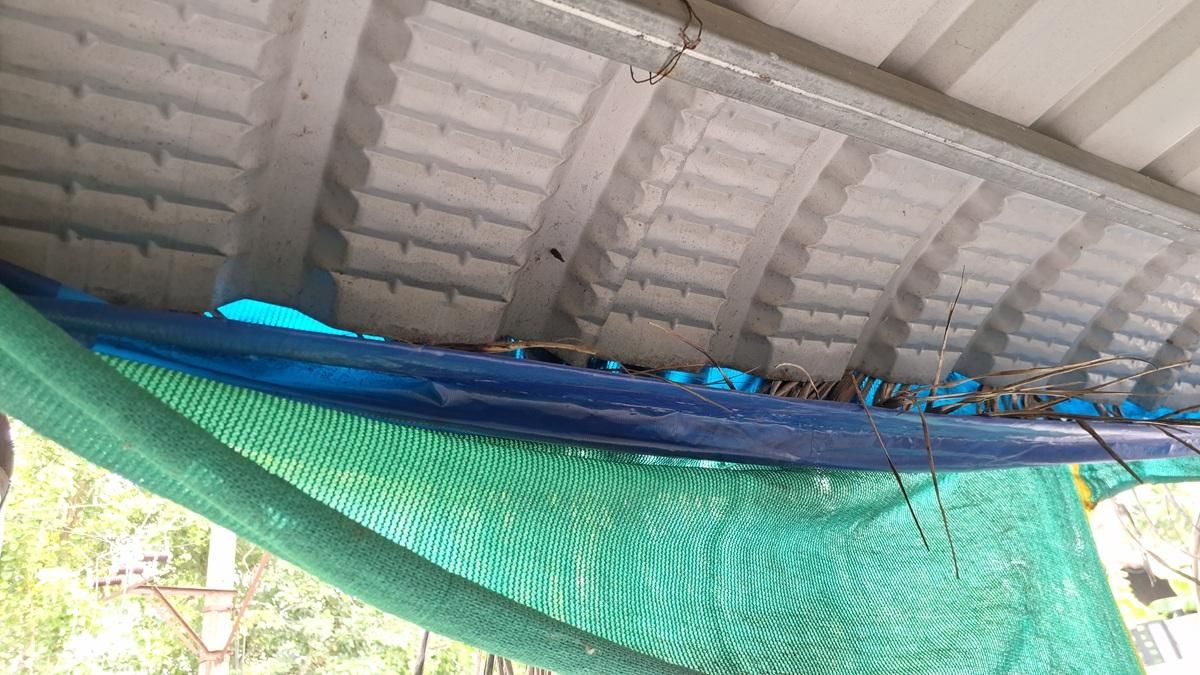
Next, I added an 80% green shade net over the palm/coconut leaves.
The available net was only about 6 feet wide, so I joined multiple sections by hand using nylon thread and a needle-like tool to make the larger covering needed for the roof.
After stitching the sections together, I secured the shade net over the leaf layer with rope. It added another shading layer while helping hold the natural leaf covering in place.
Securing the Roof Layers
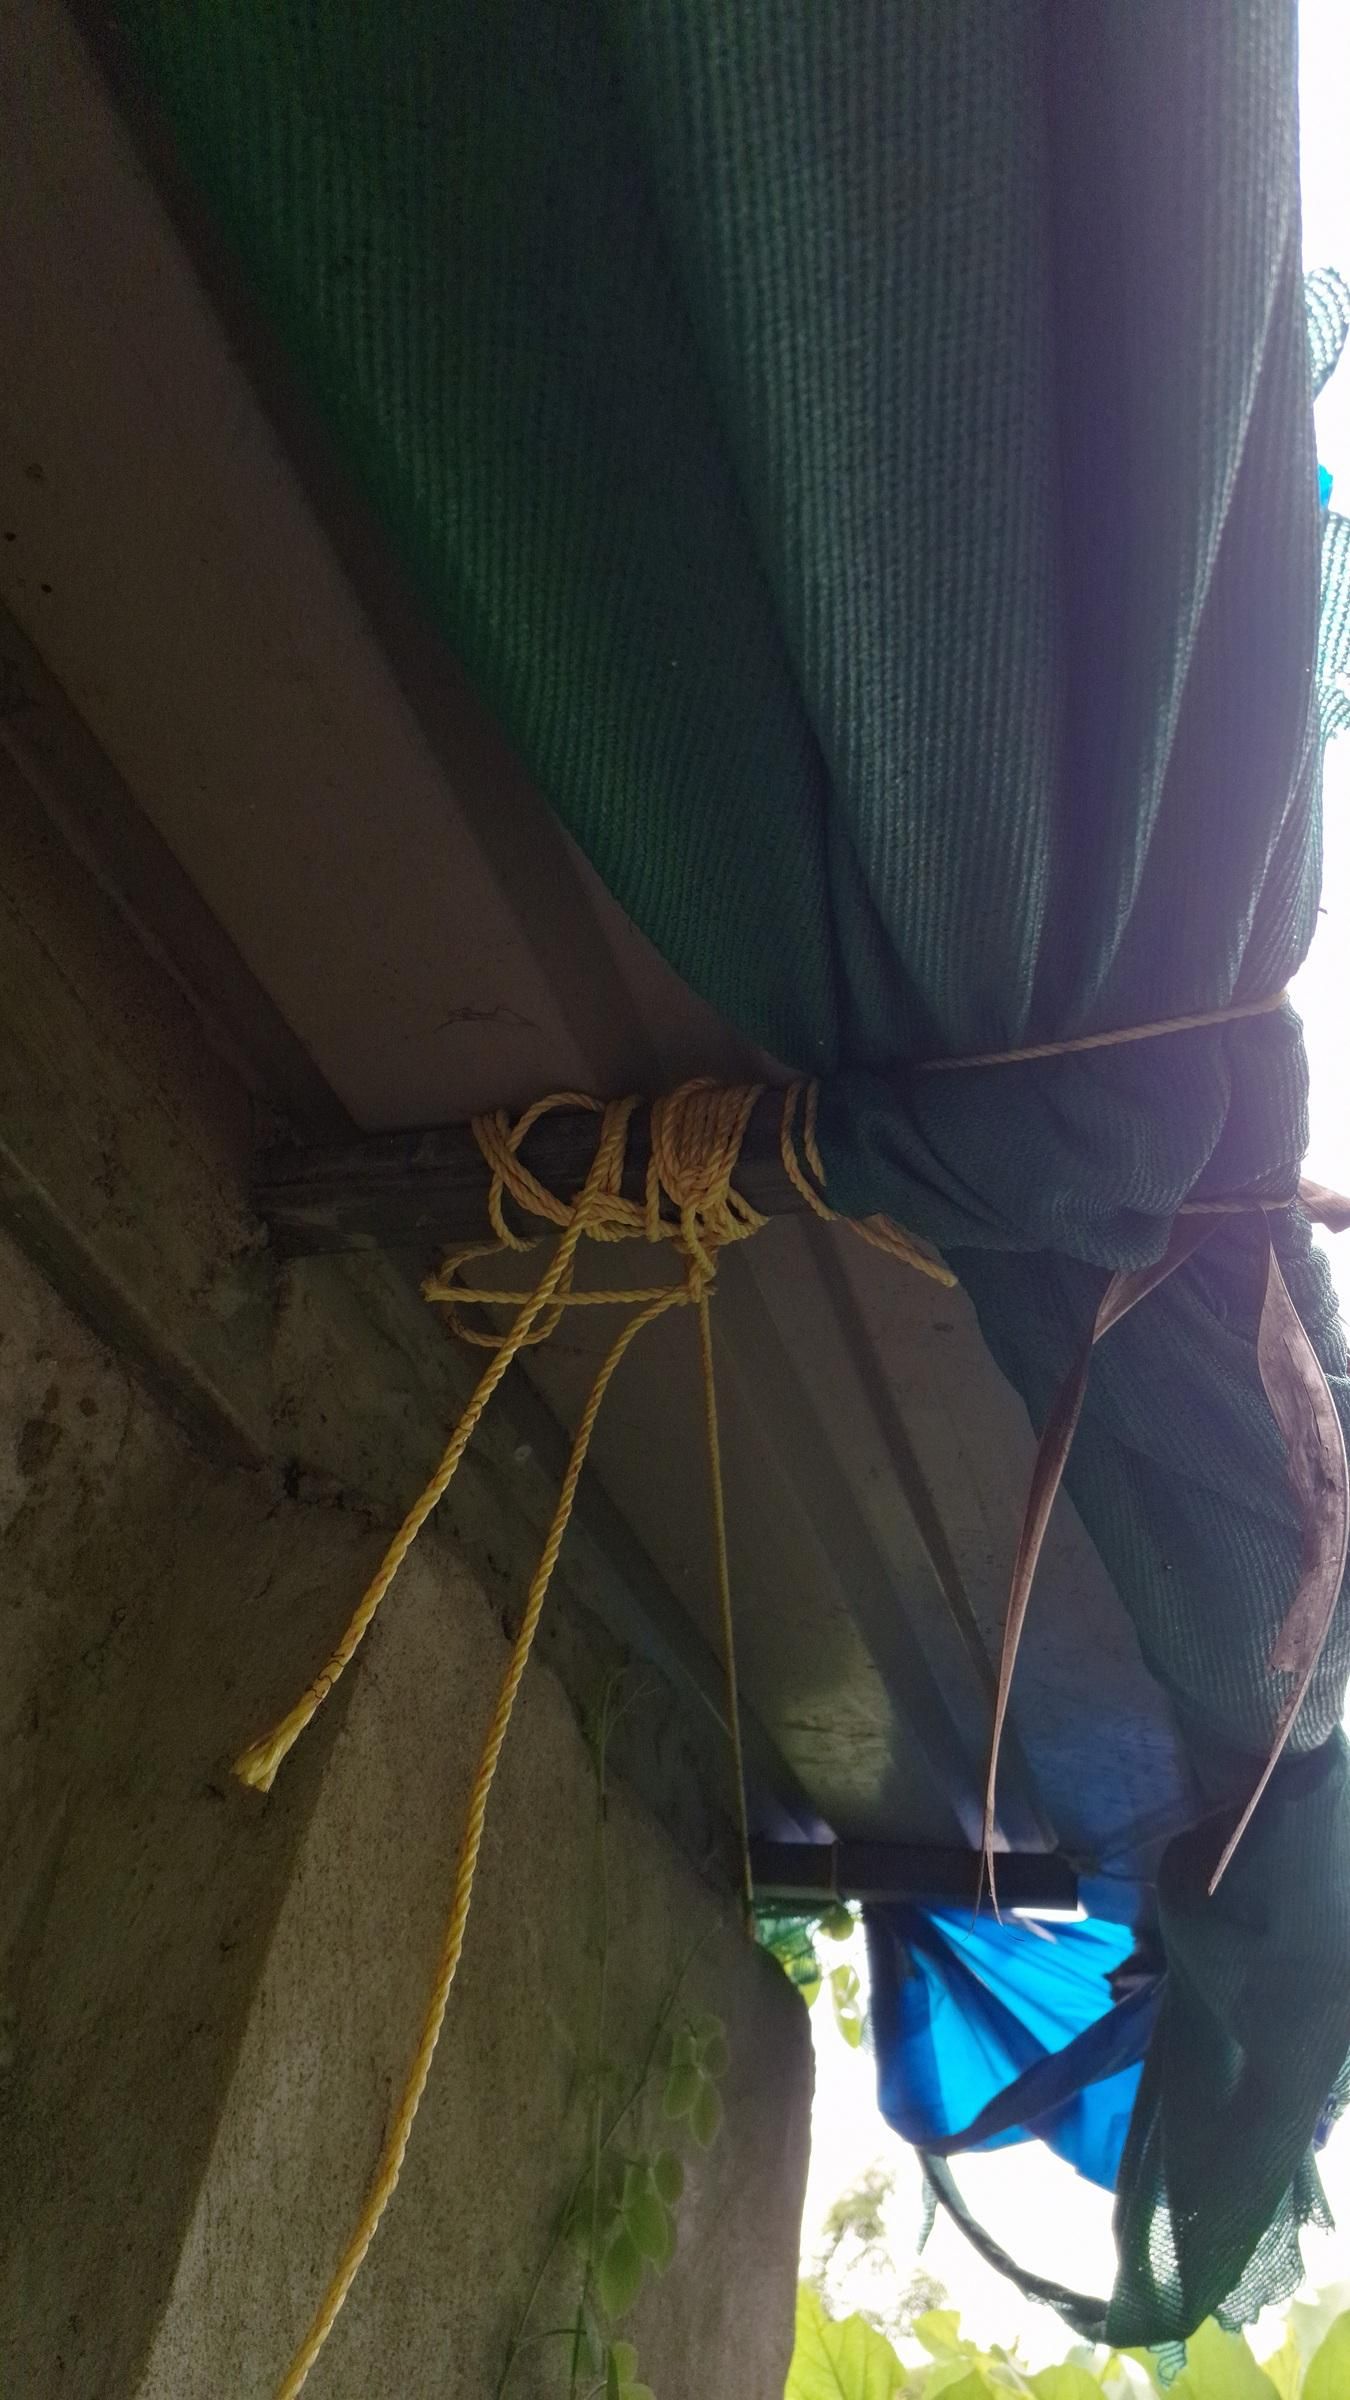
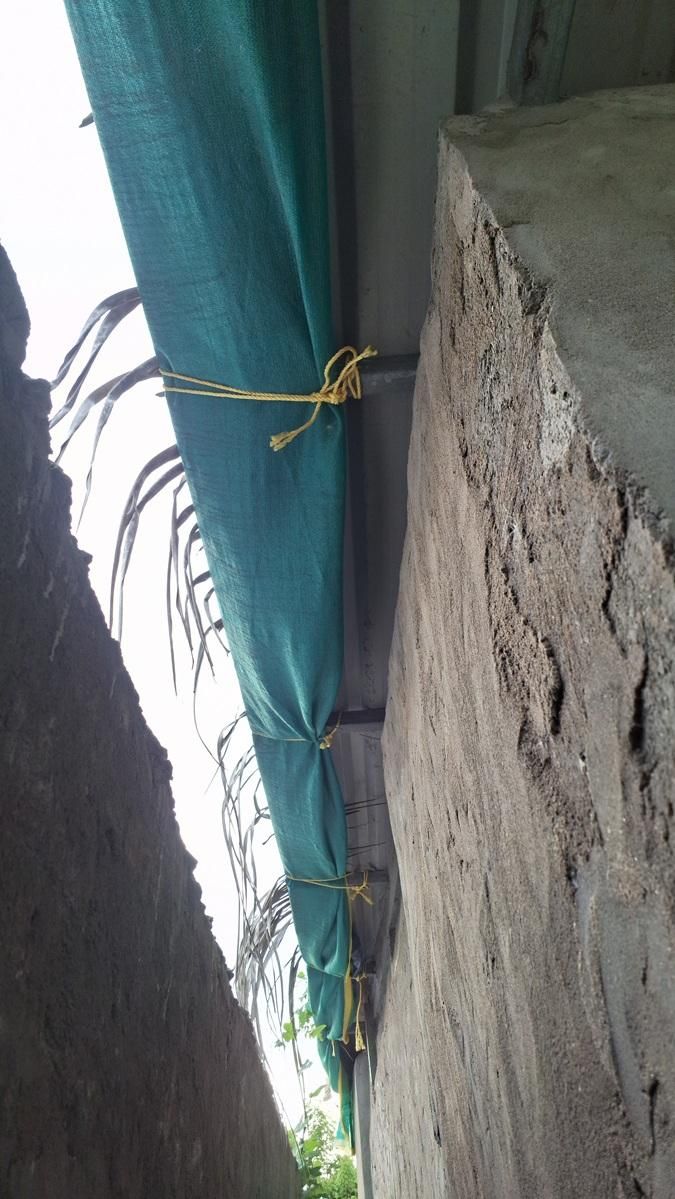
After placing the shade net, I used rope to tie the different roof layers firmly to the roof structure.
I secured the covering at multiple points so the tarpaulin, natural leaves, shade net and other layers stayed together.
This helped keep the entire covering stable during wind and rain.
Adding Another Protective Leaf Layer
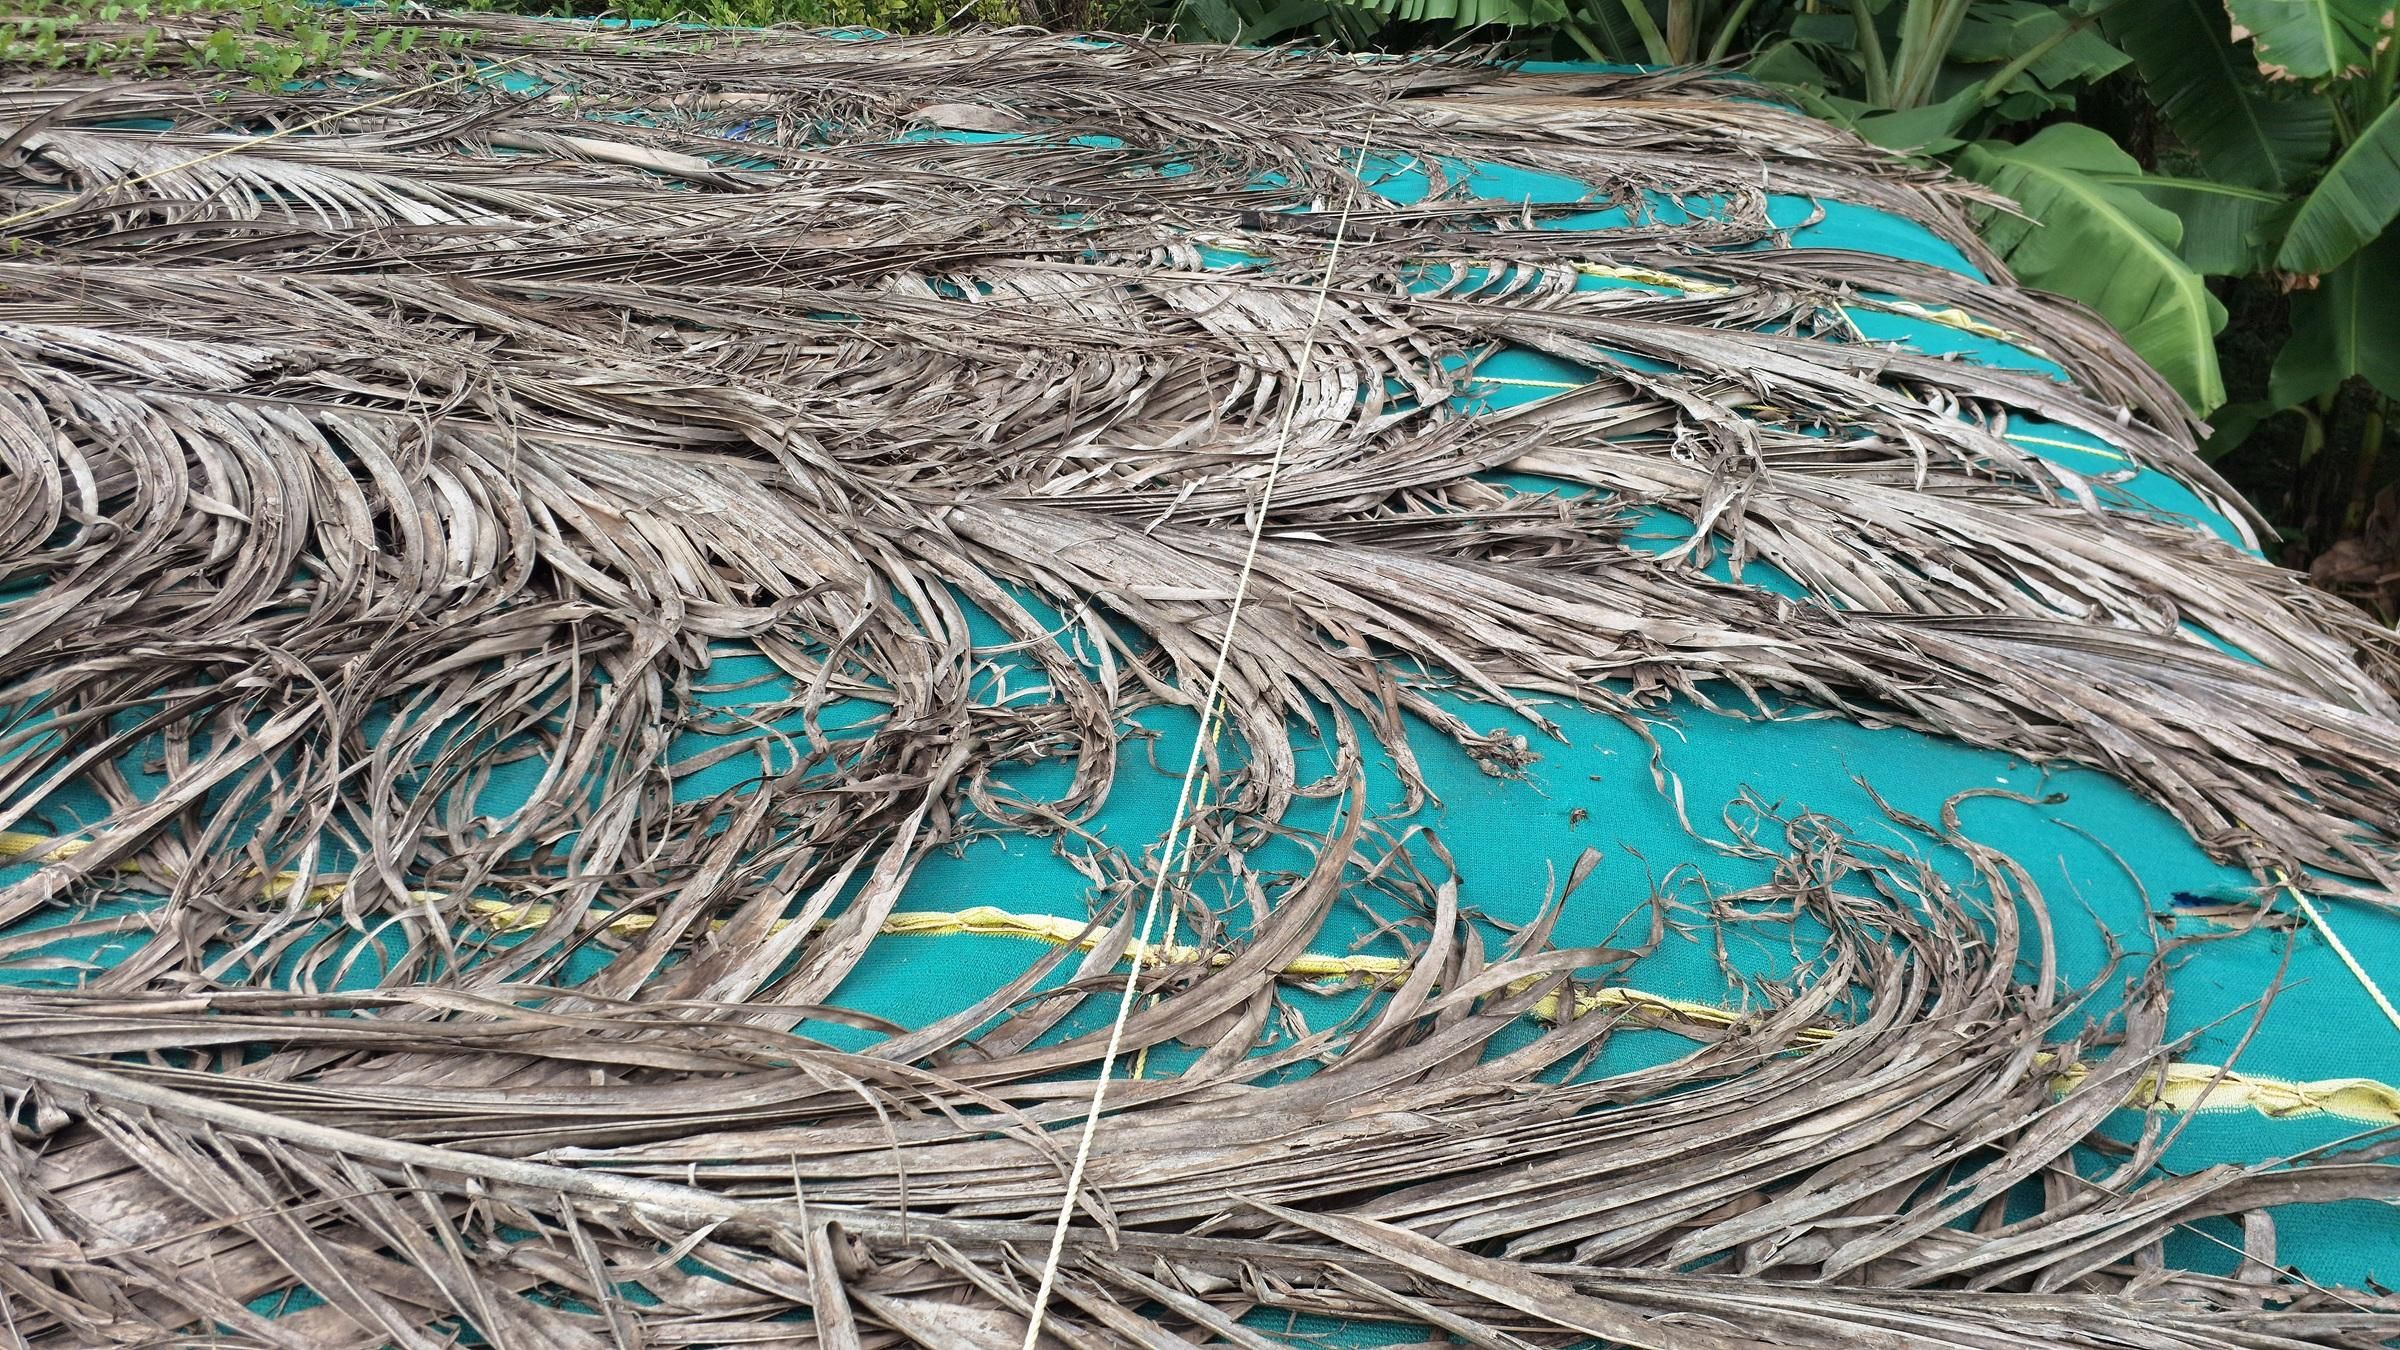
After securing the main layers with rope, I added more coconut leaves over the ropes and exposed areas.
This added another natural shading layer to reduce direct sunlight reaching the layers underneath and helped protect the roof covering from prolonged sun exposure.
It also helped create a better surface for the next layer — the green creepers — to spread, bind and support themselves across the roof.
Growing the Living Shade Layer
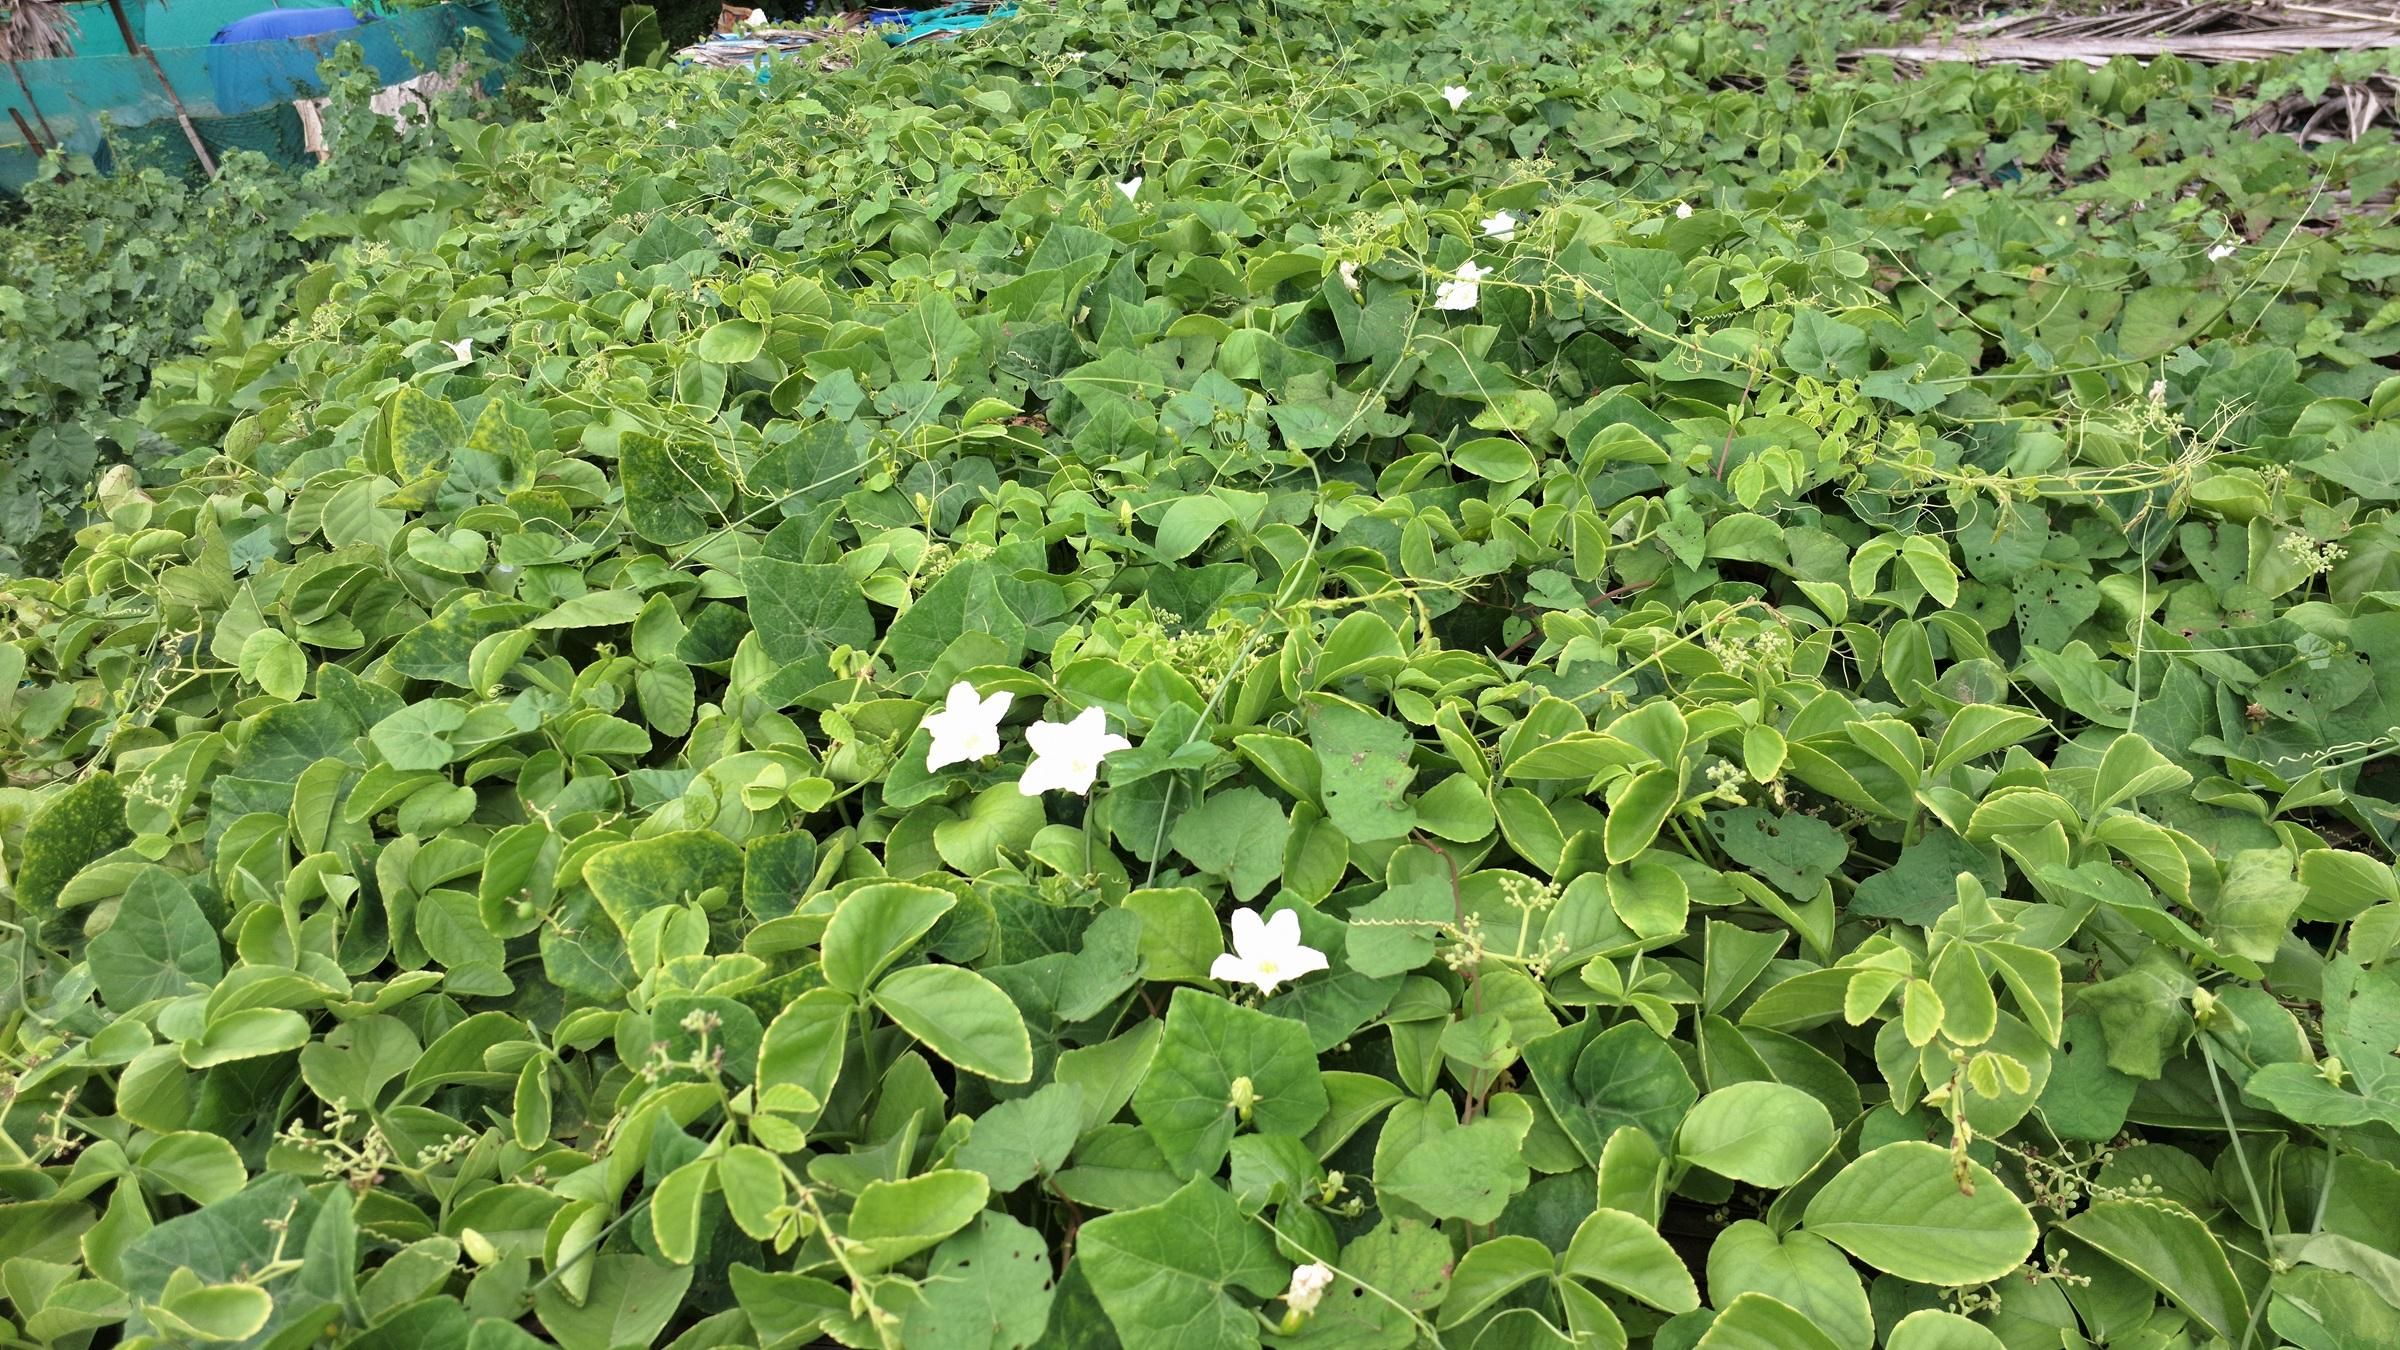
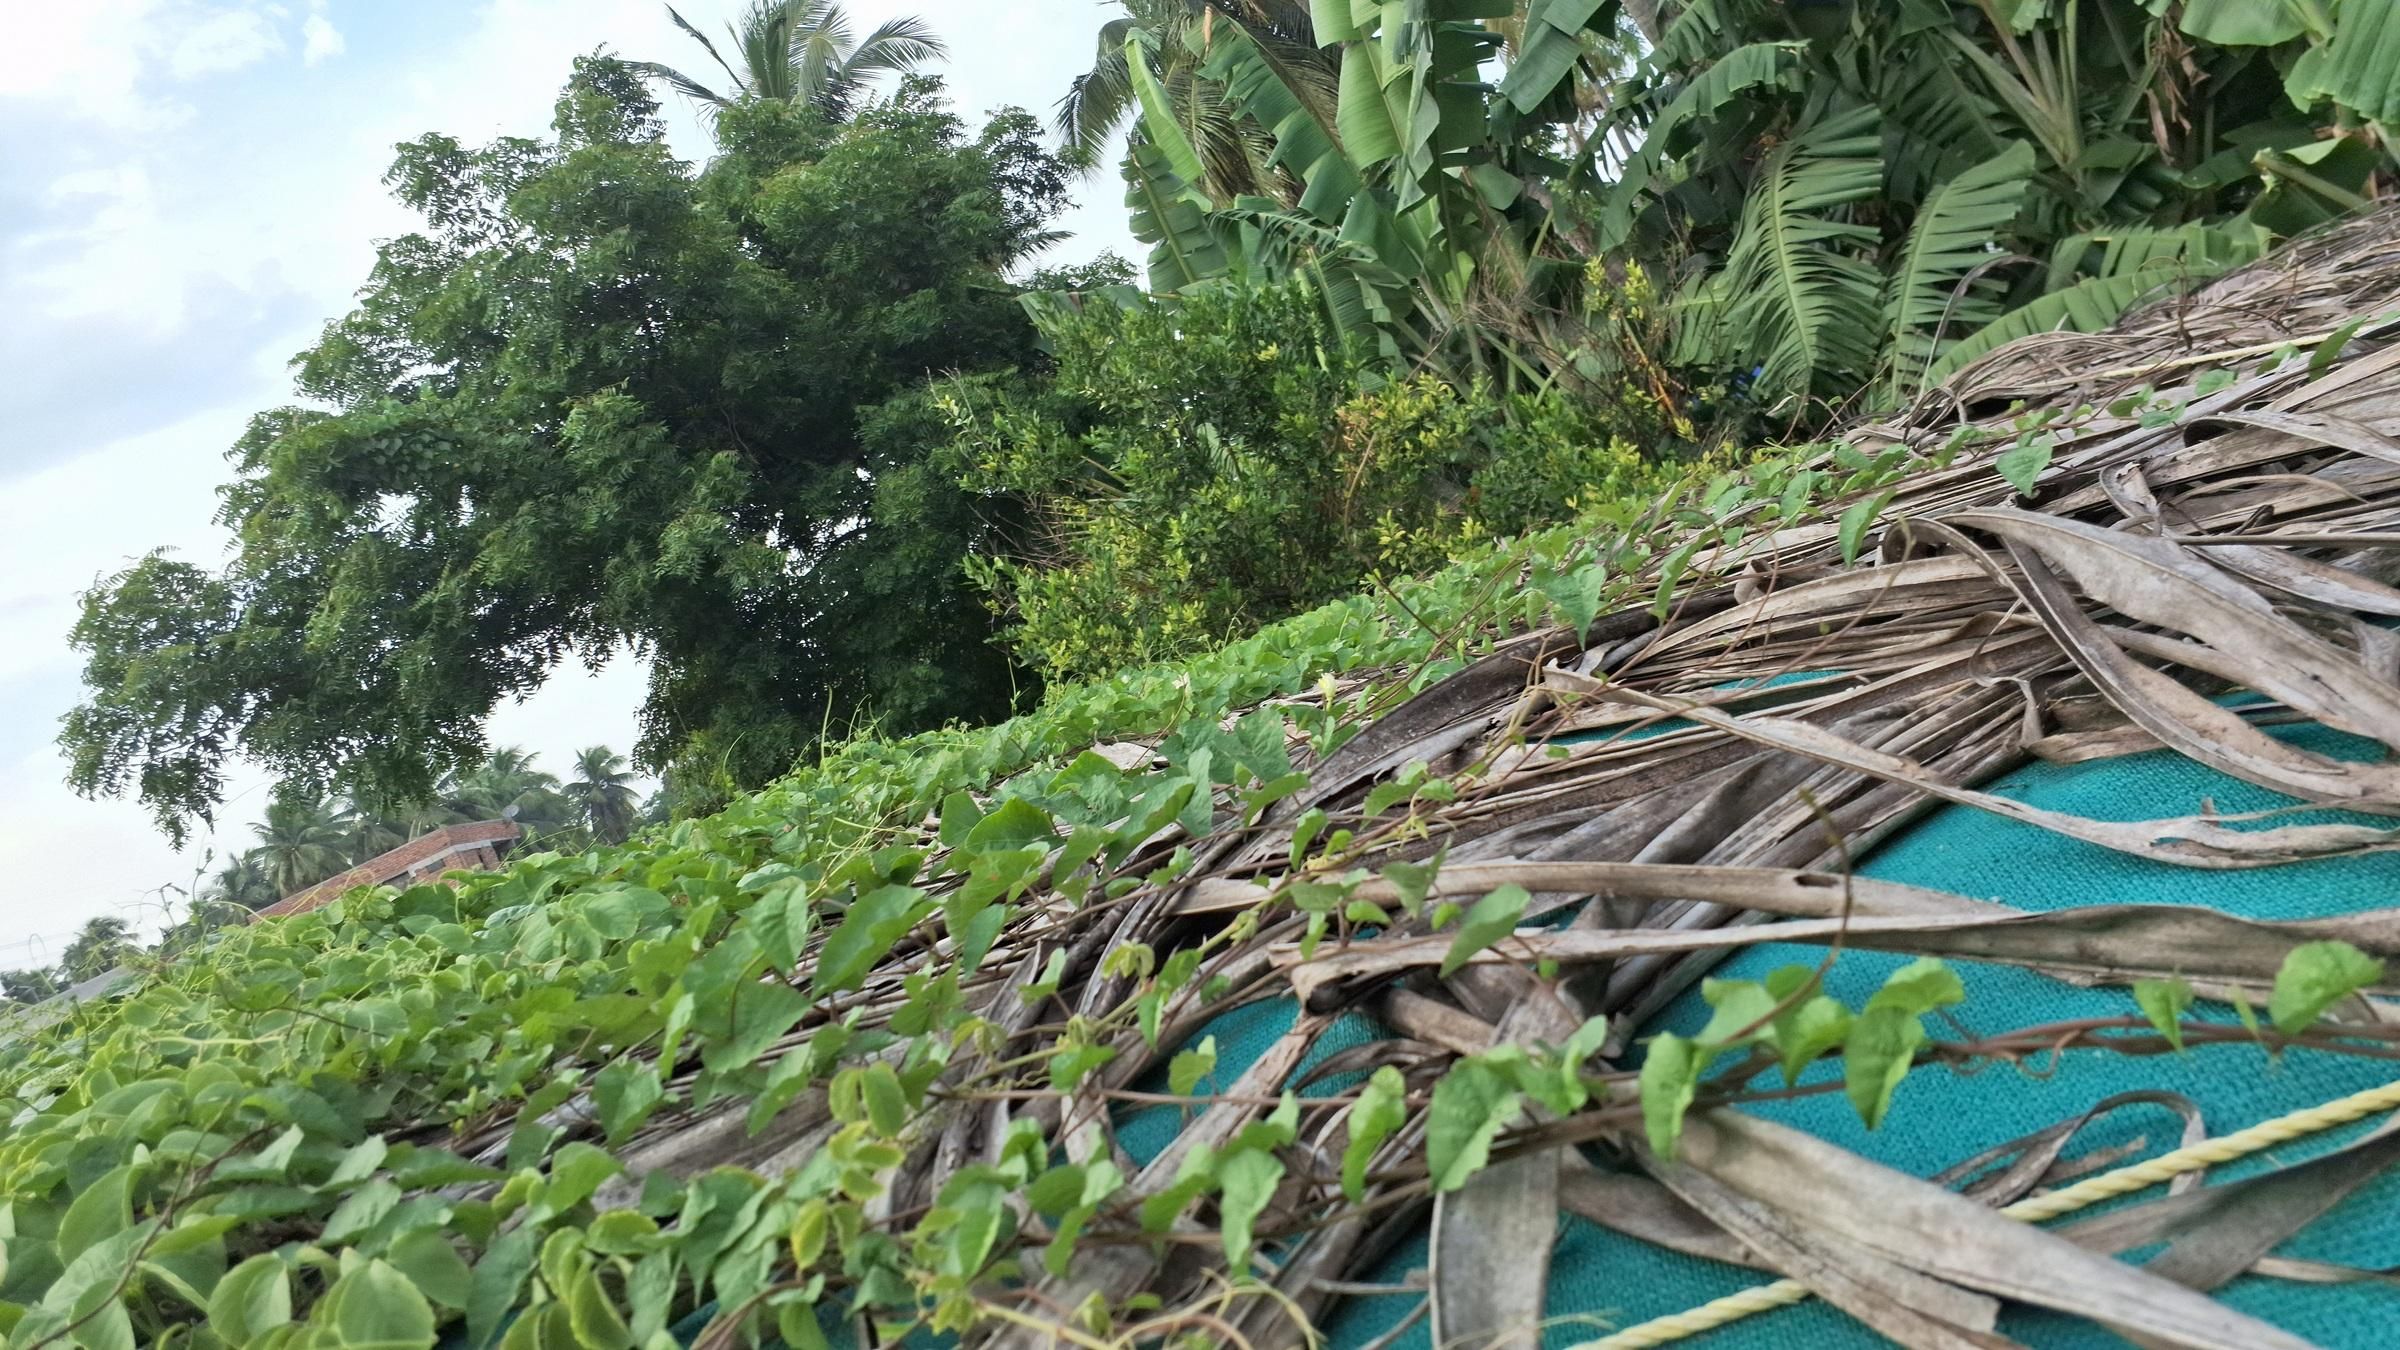
Next, I added green creepers and allowed them to grow across the protected roof, creating a living shade layer.
I had previously tried growing creepers directly around the metal roof, but the extreme heat caused them to dry out and die. The metal surface could become extremely hot, making it difficult for the plants to survive.
The protective layers created a more suitable surface for the creepers to establish and grow. This part required patience — the plants needed several weeks to months to spread across the roof.
As the creepers grew, they gradually provided additional natural shading over the layers underneath, strengthening the long-term heat protection.
Shading the West-Facing Wall
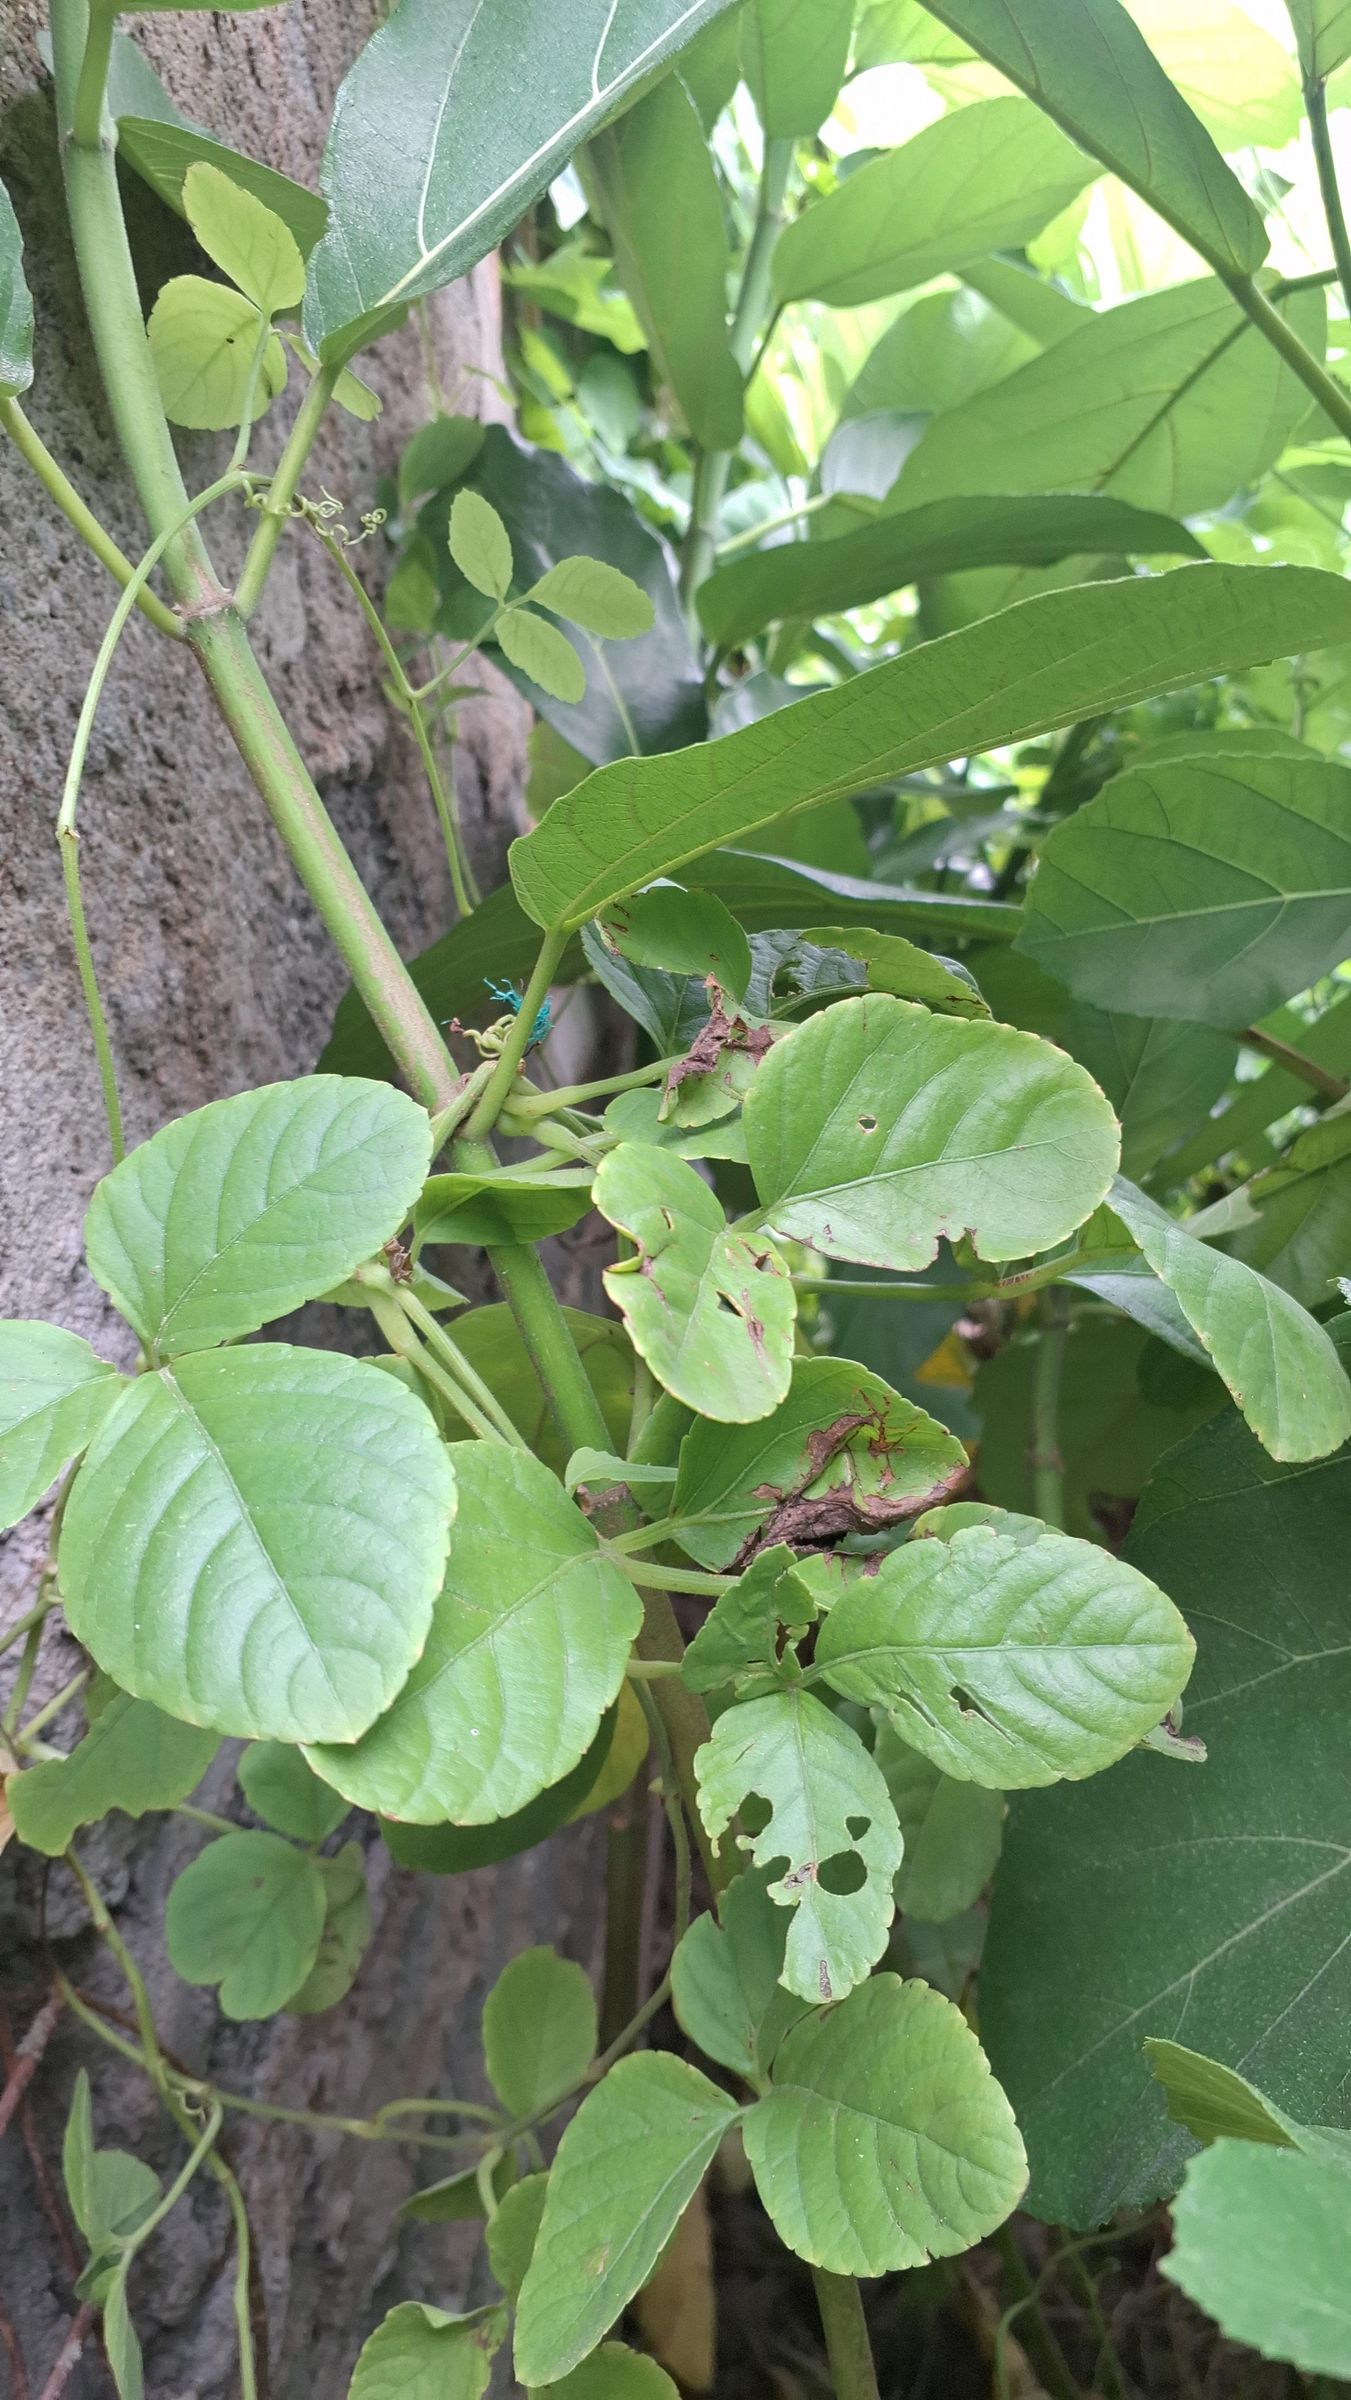
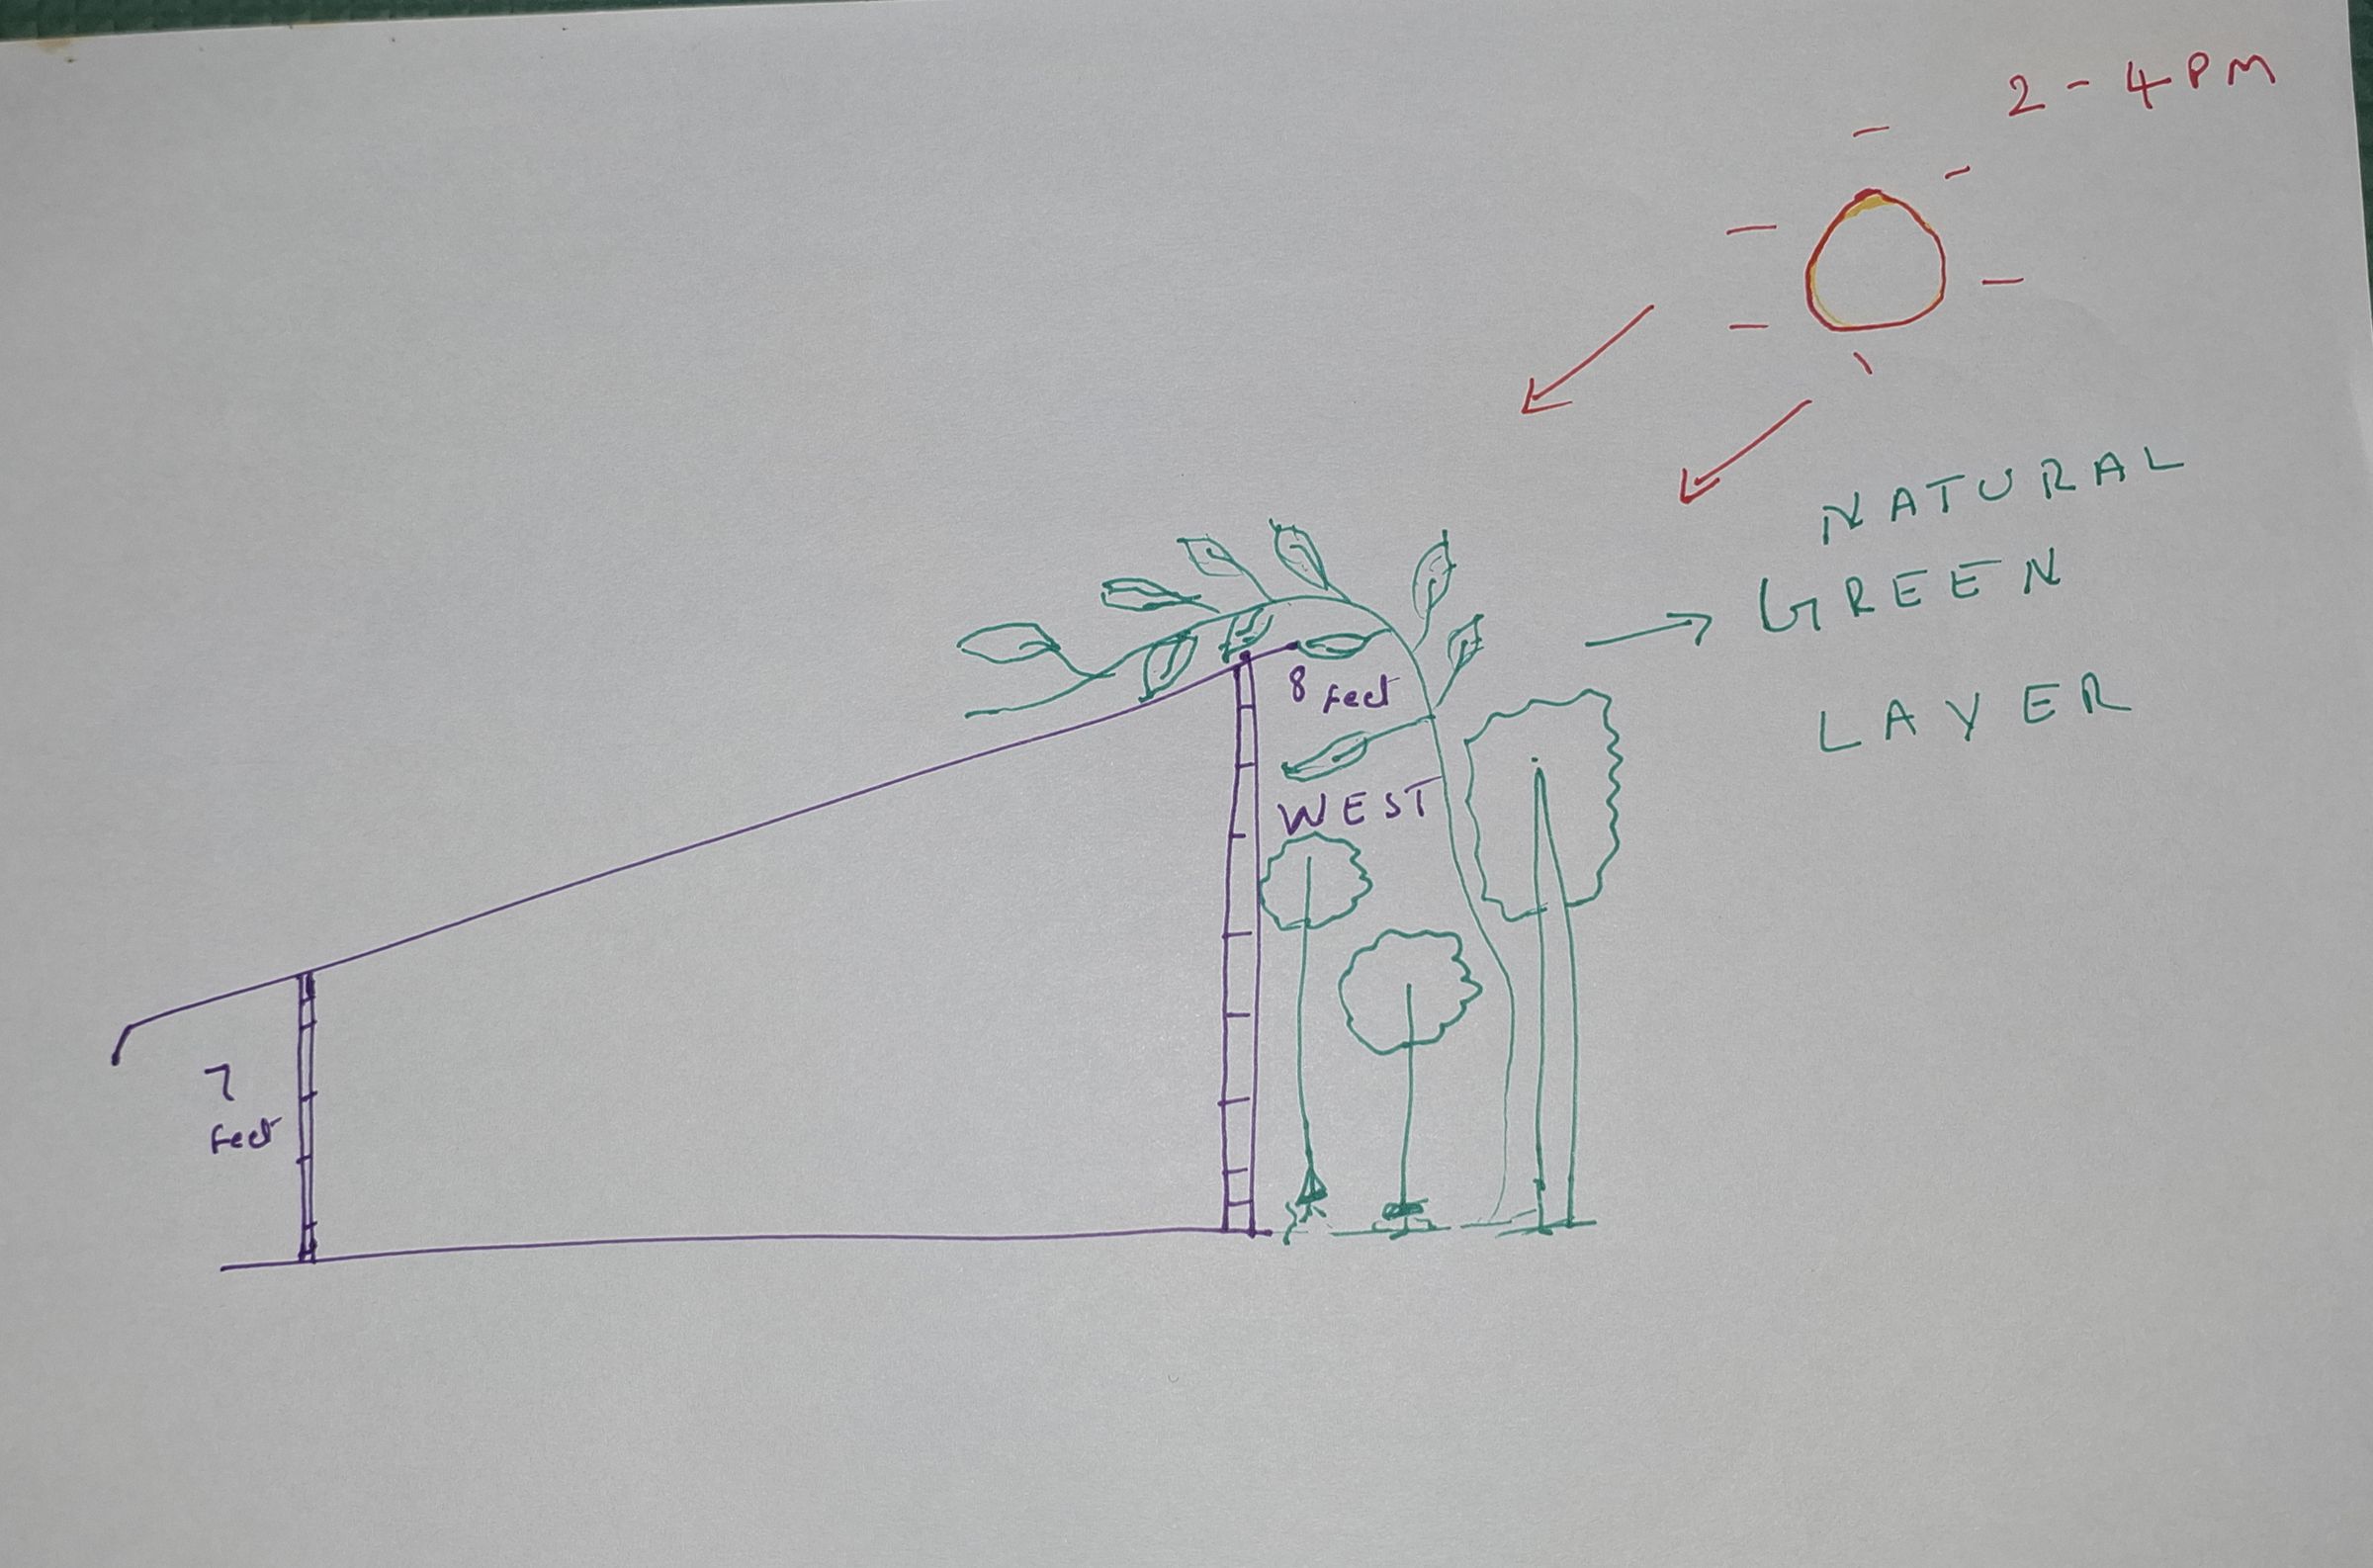
The roof wasn't the only source of heat. The west-facing wall received strong afternoon sunlight and also heated up the lab.
I used the existing dense vegetation along the west side as a natural shade barrier, allowing the plants and creepers to block much of the direct afternoon sunlight from reaching the wall.
As the vegetation became denser, it provided increasing shade and helped reduce direct solar heating of the wall
Adding Protected Airflow Openings
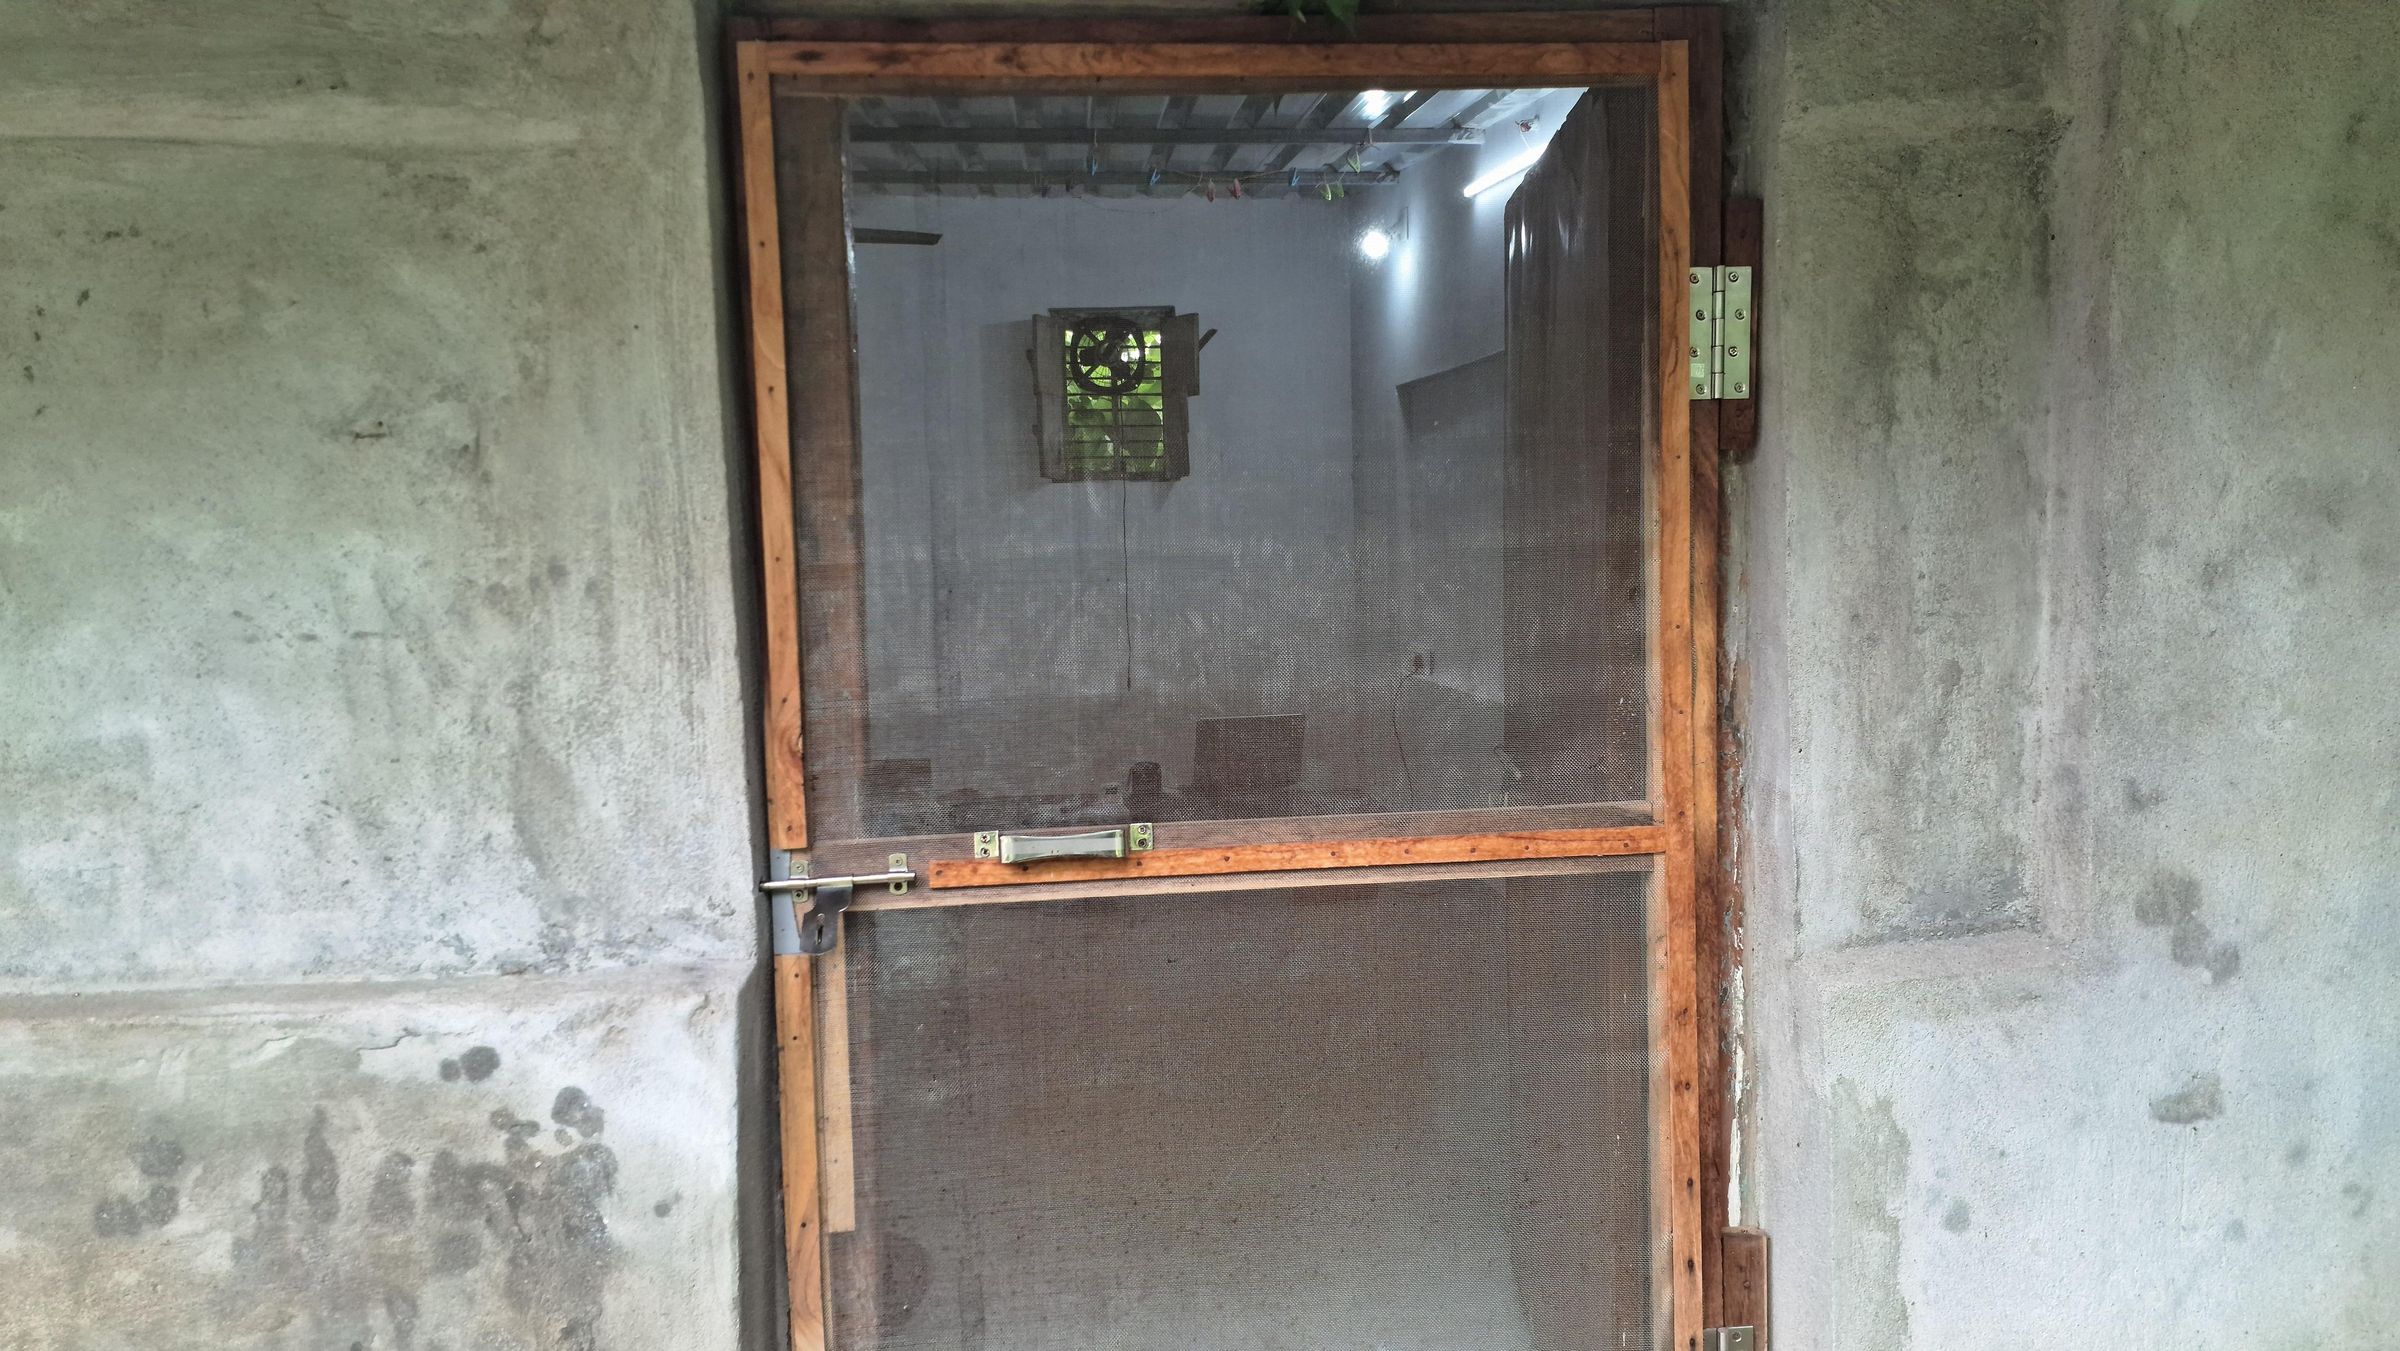
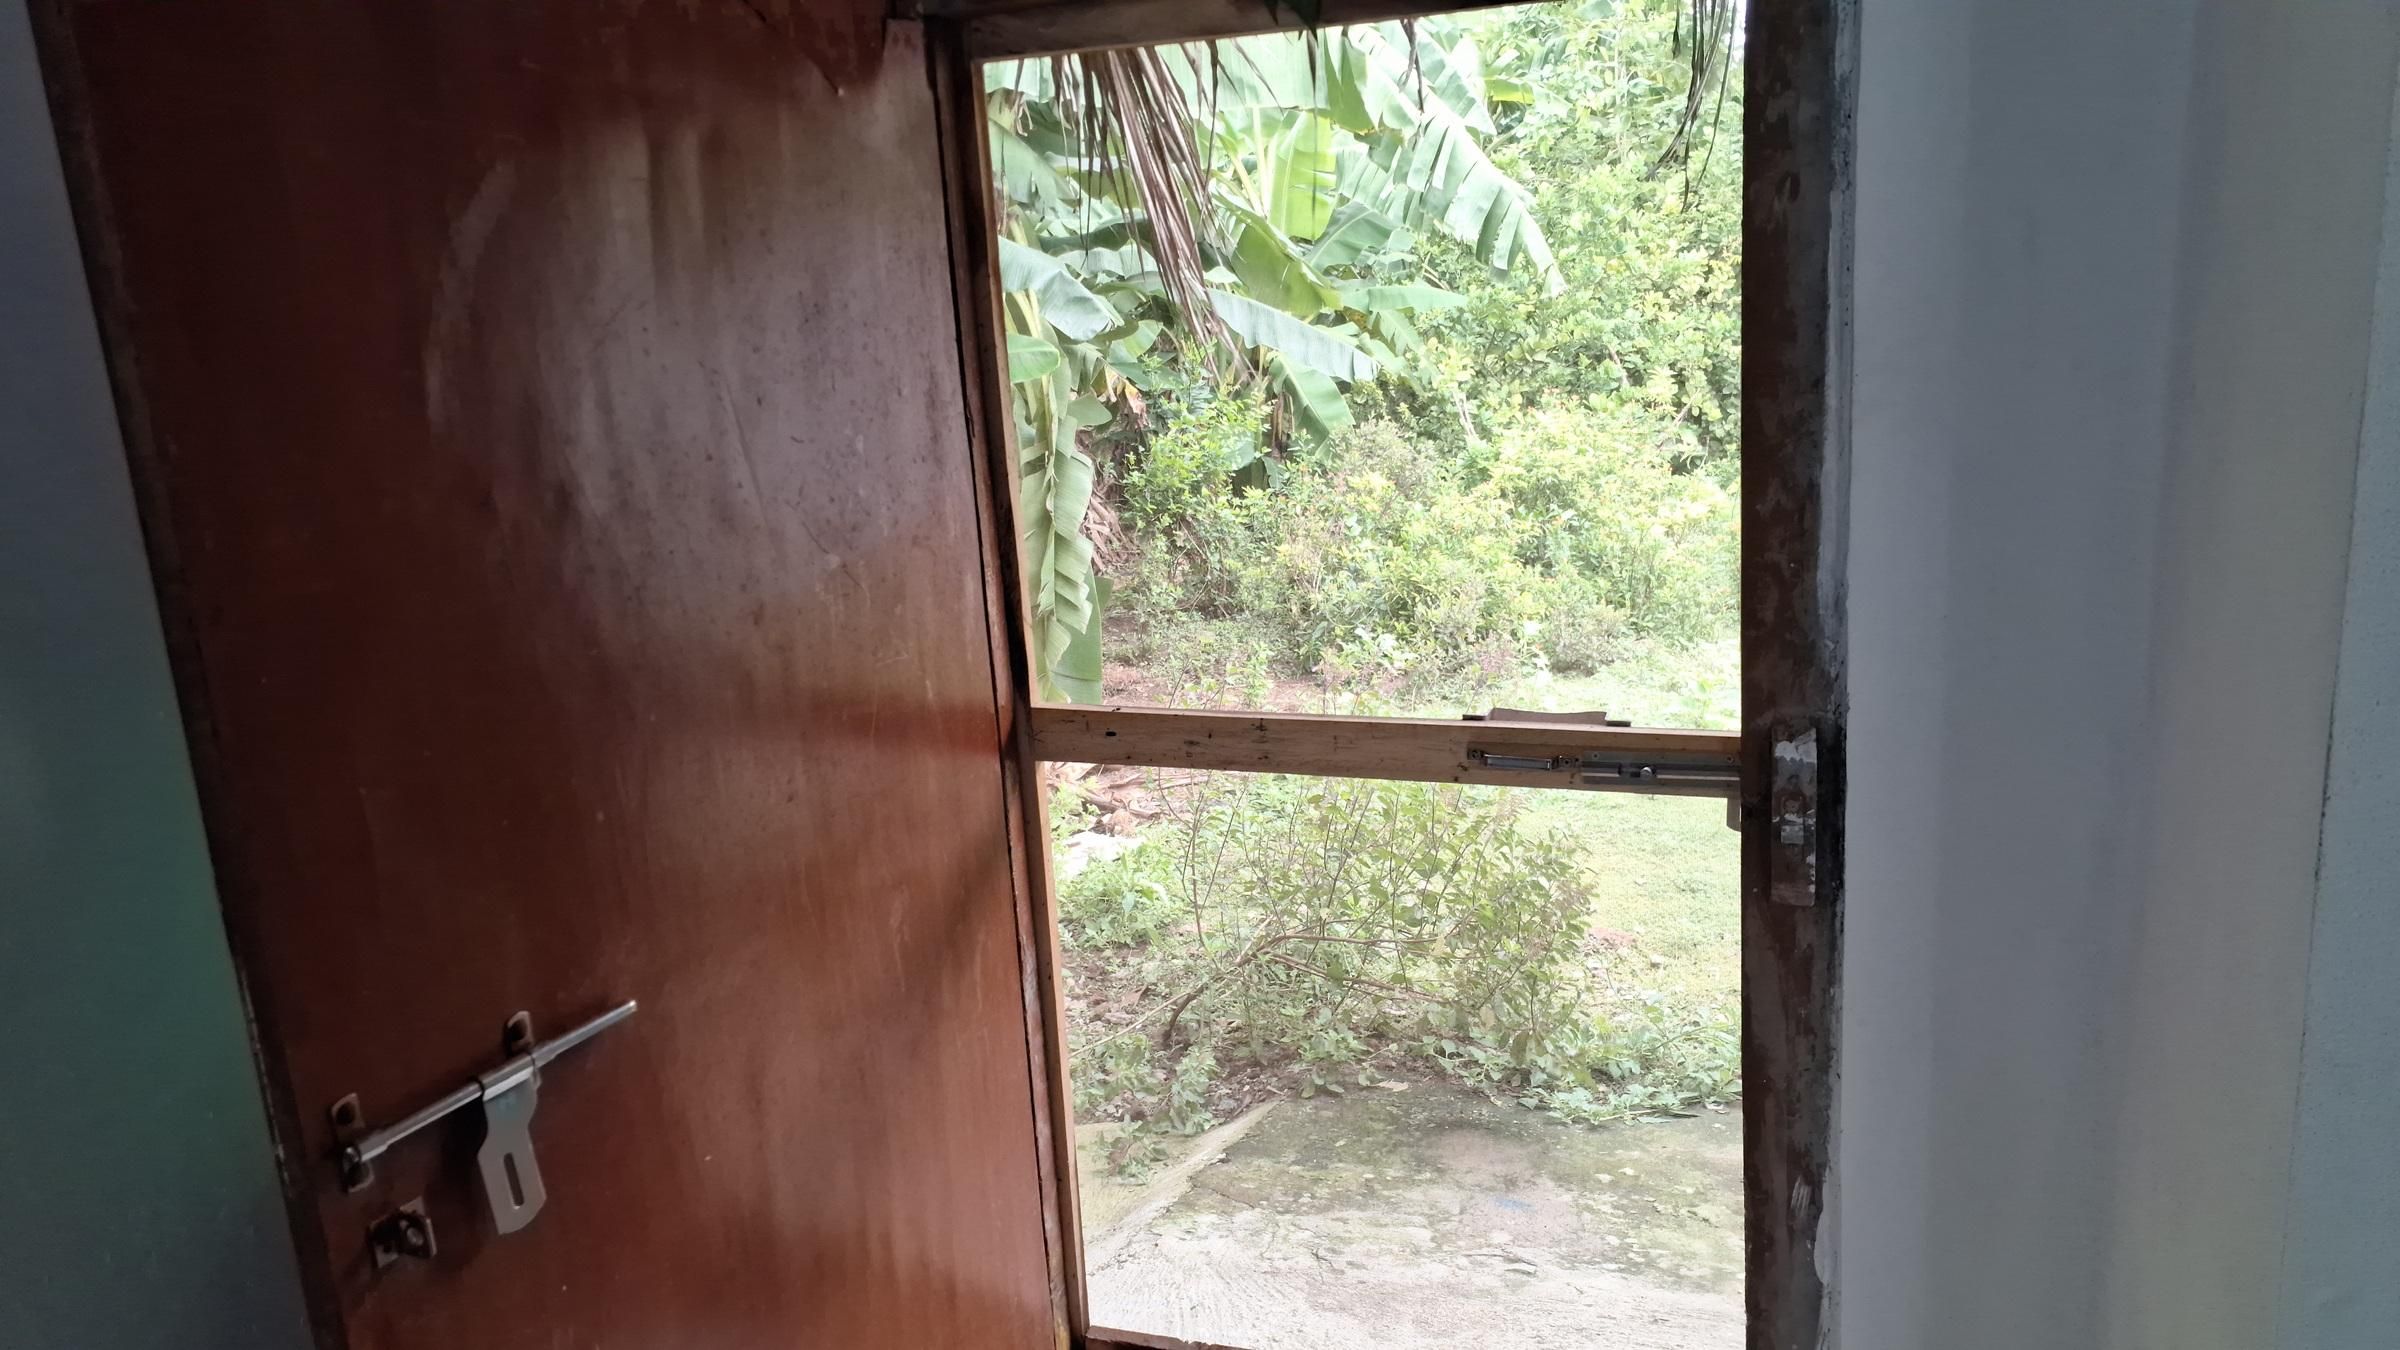
First, I added mesh to the door and window openings so I could allow airflow while keeping insects, animals and other unwanted visitors out.
The door is on the east side. I keep it only about 10–15% open from around 8 AM to 2 PM, allowing some airflow while limiting direct morning sunlight and heat entering the lab.
After around 3 PM, I can open the door further to increase airflow through the workspace.
Adding a Reversible Fan
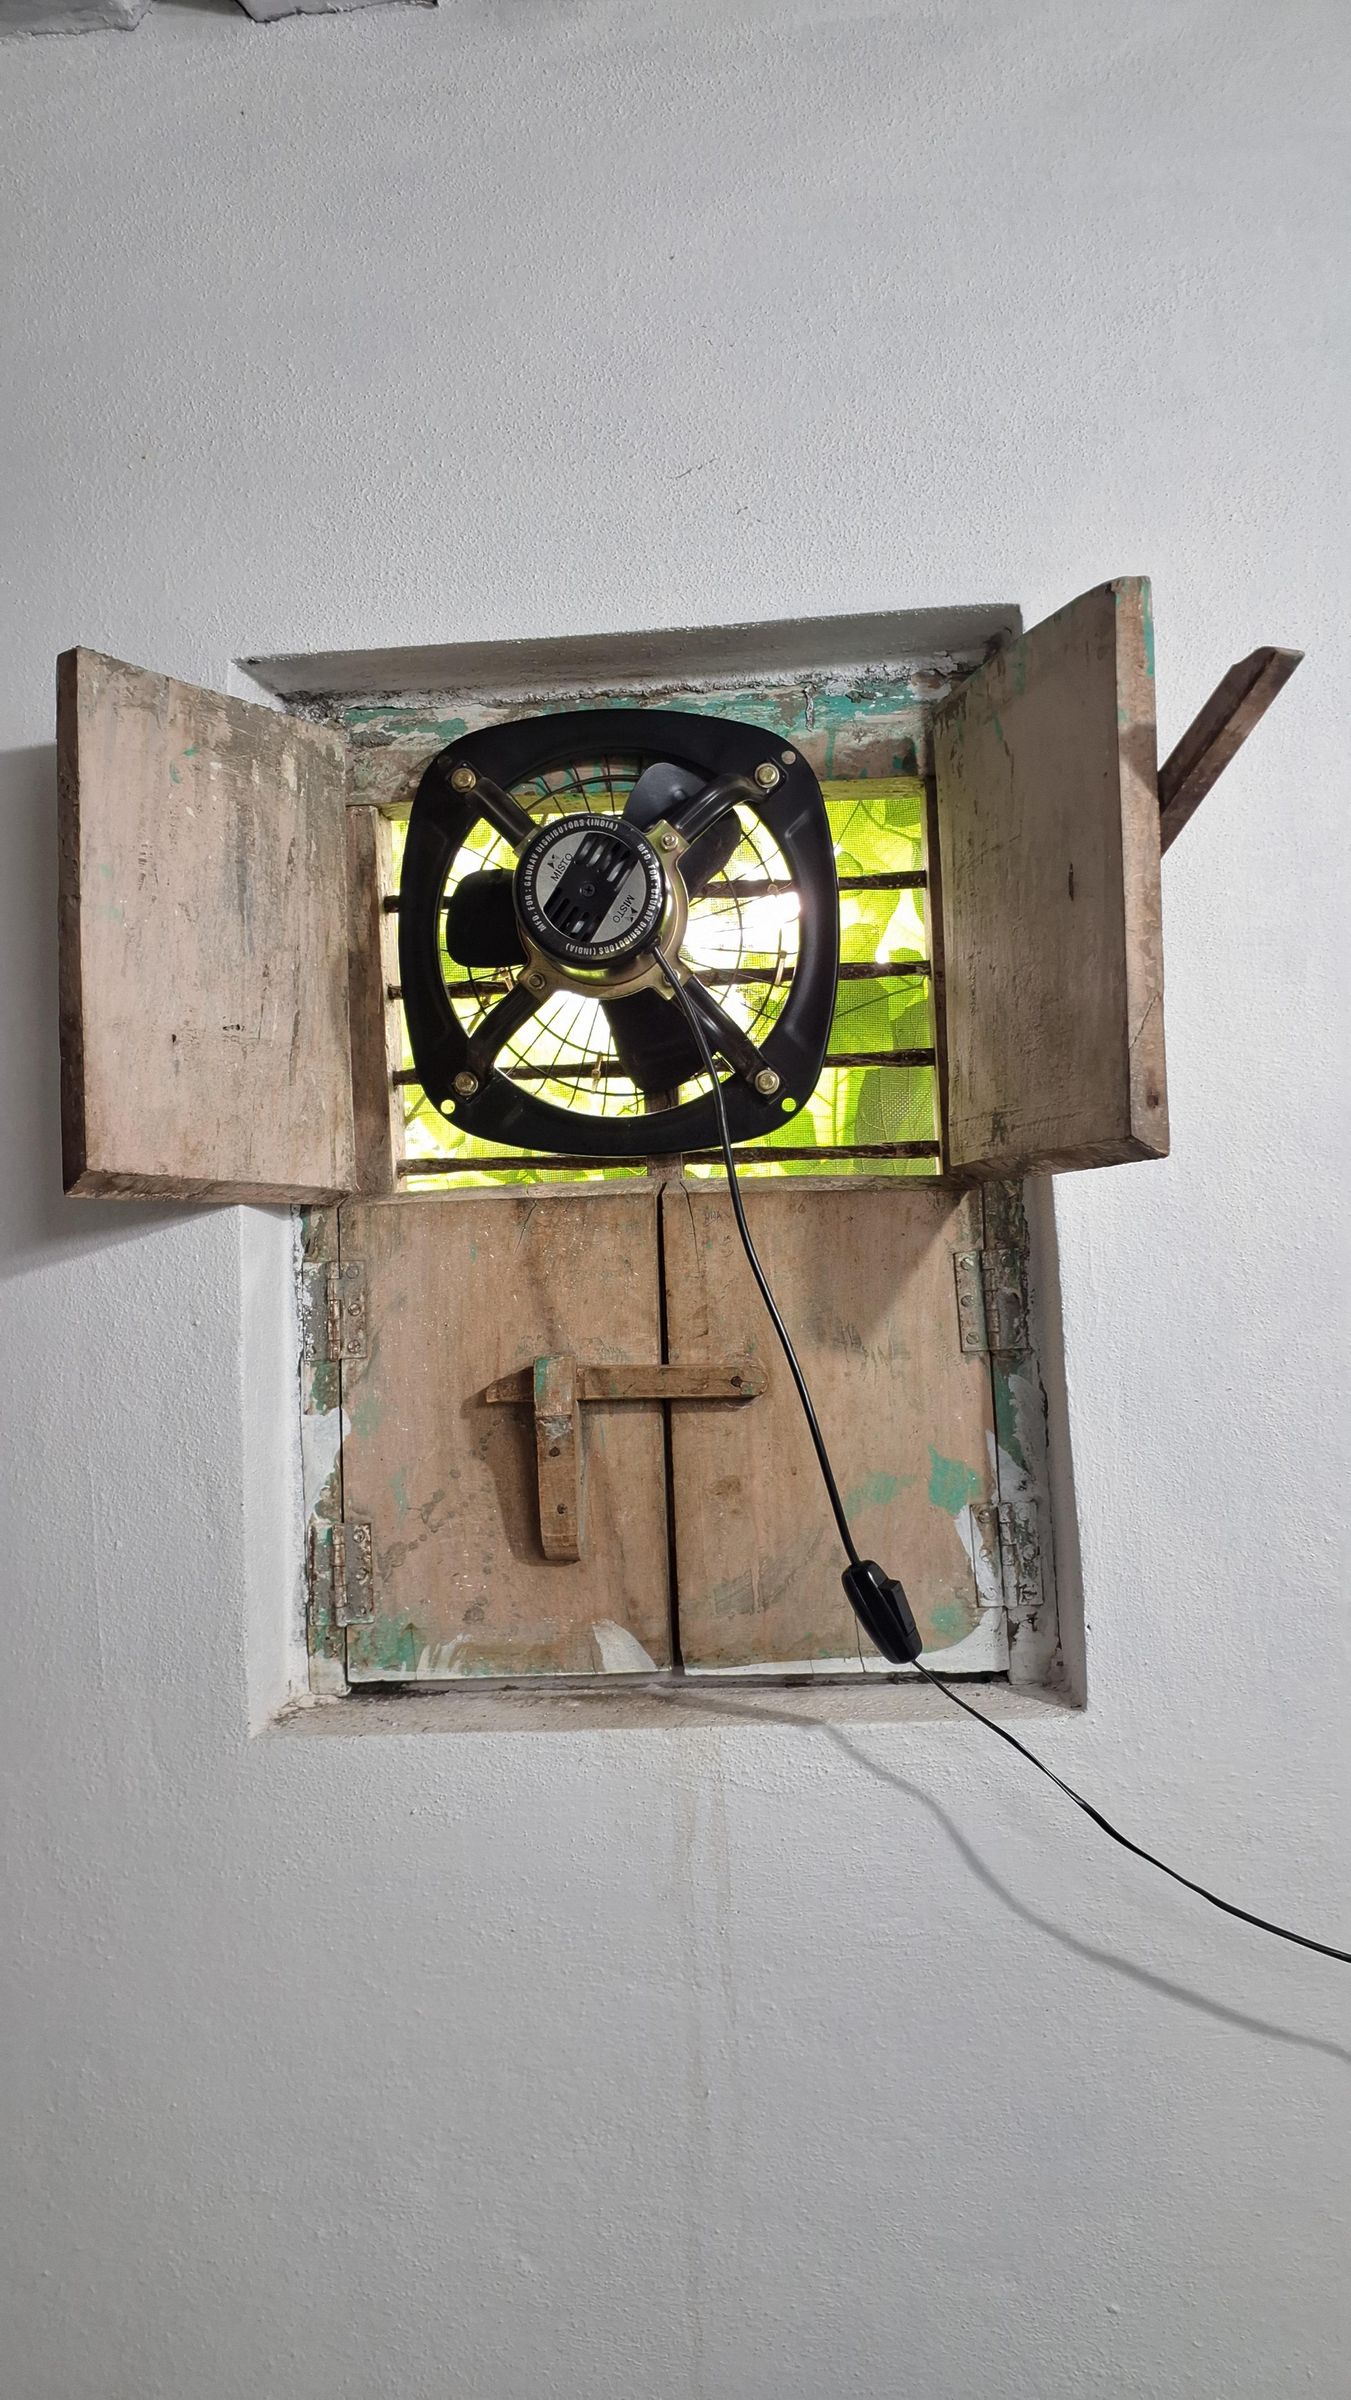
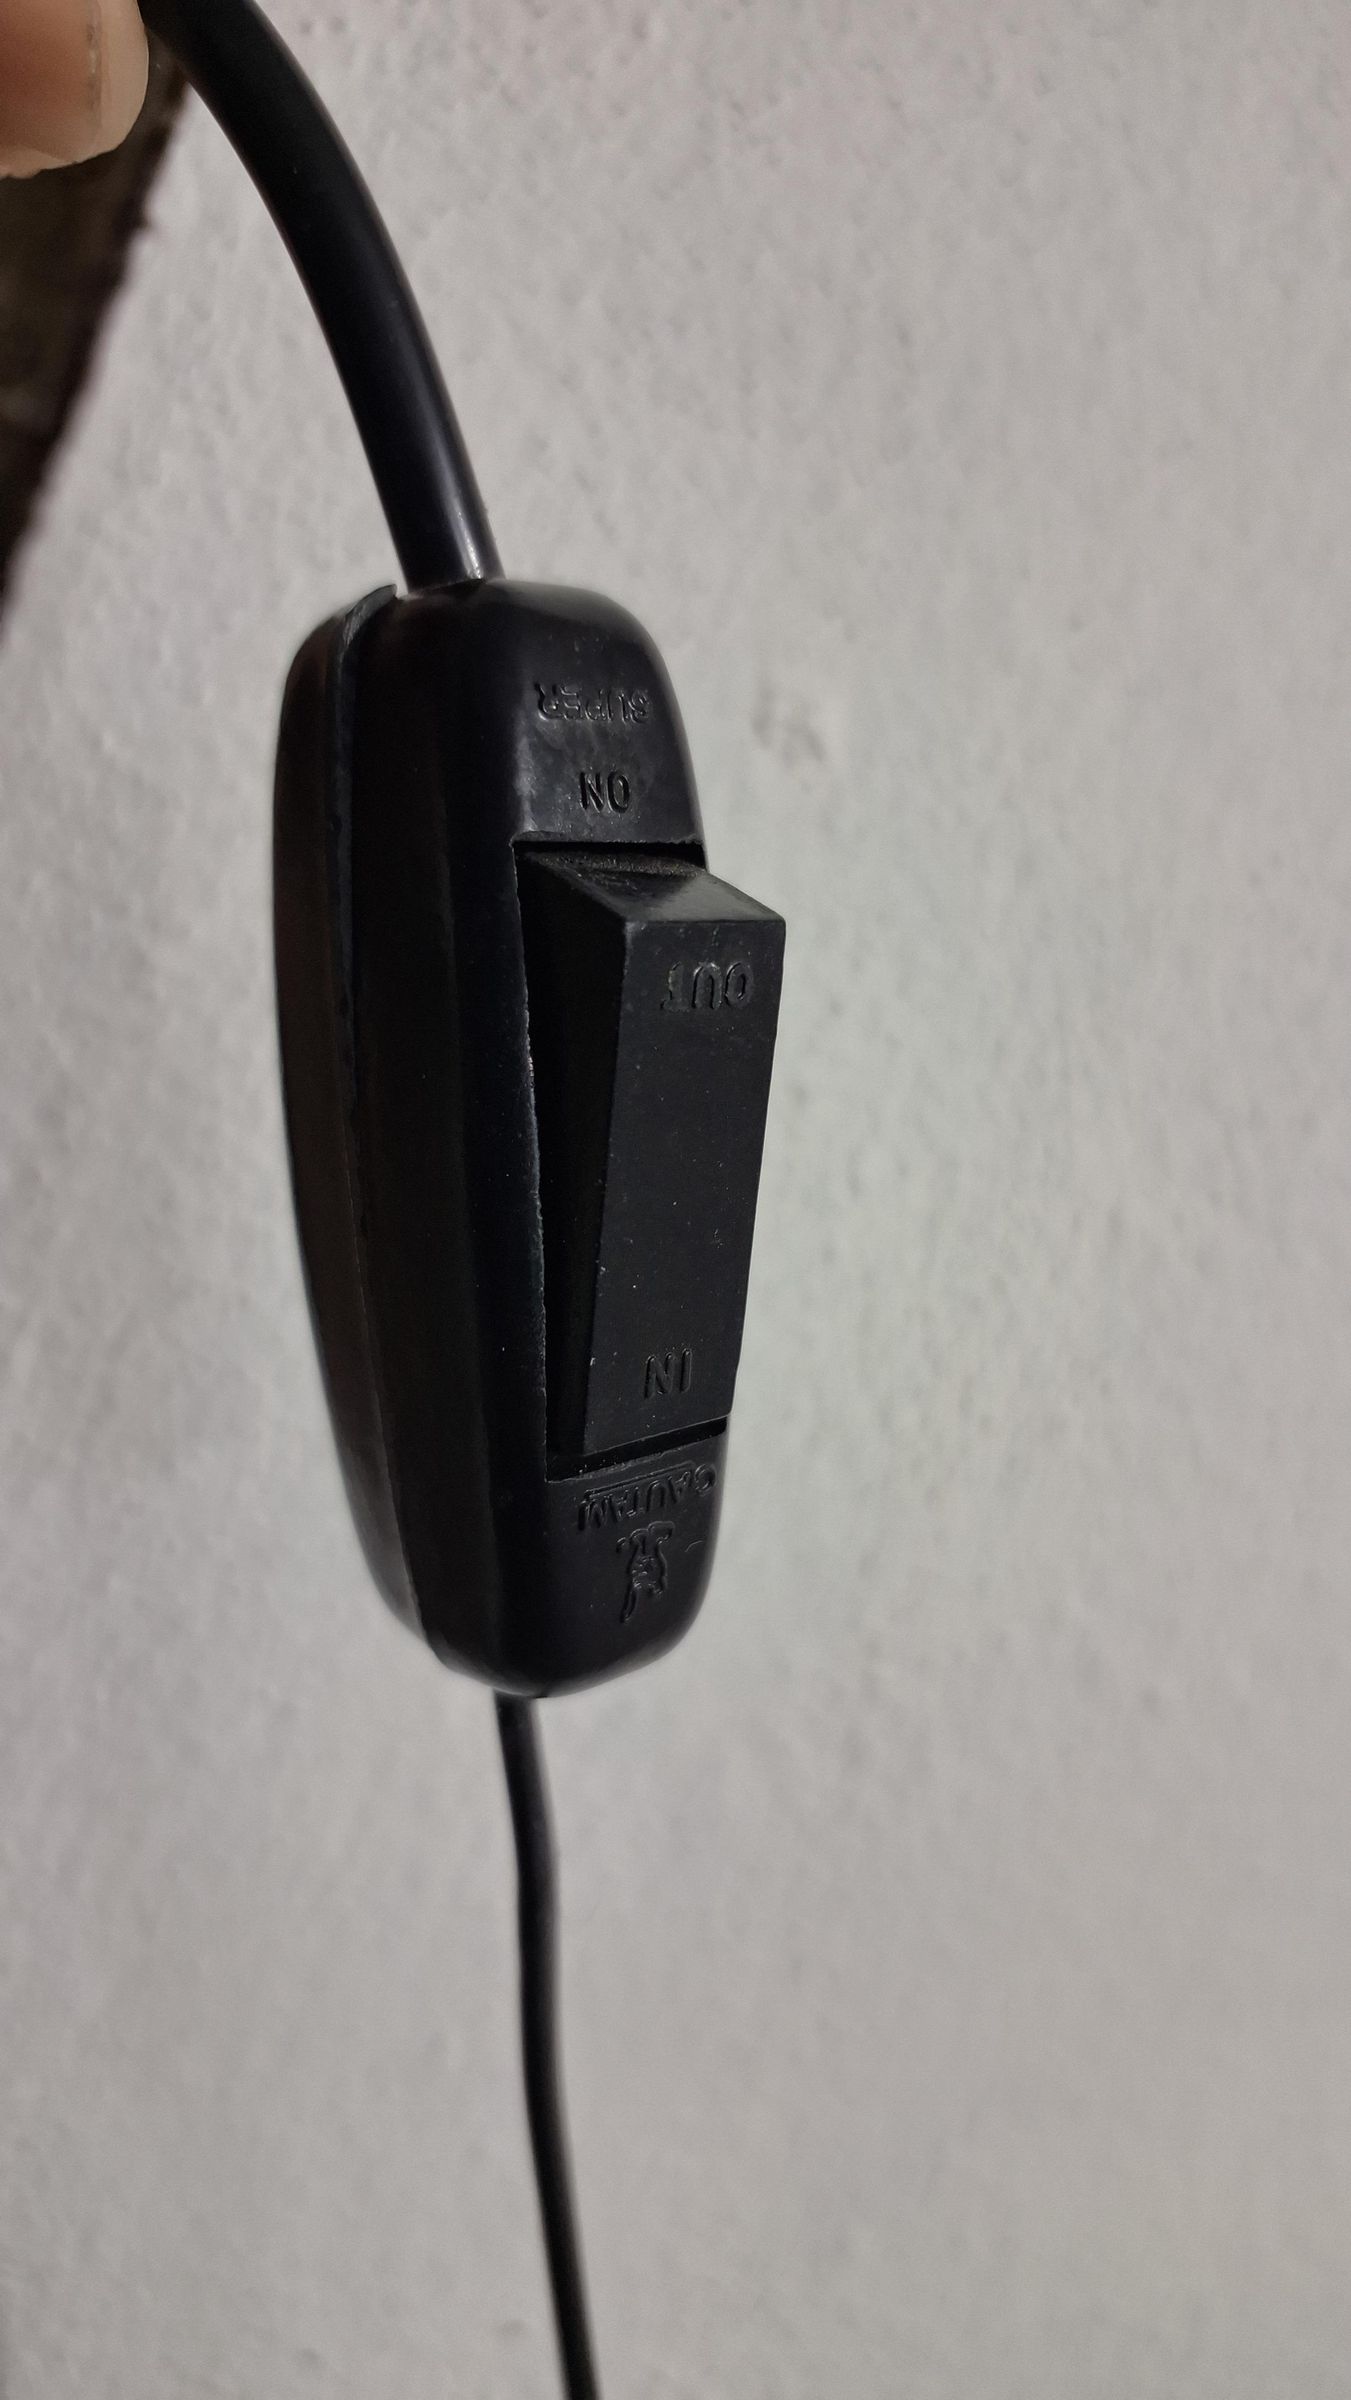
After adding the mesh openings, I installed a reversible two-way fan at the west-side window.
The fan was bought locally and can be switched between intake and exhaust mode using its simple built-in switch, without any modification.
- Intake: brings fresh outdoor air into the lab.
- Exhaust: removes hot or humid air from the lab.
I also use exhaust mode when soldering or working on electronics to help remove fumes from the workspace.
The west side is already protected by the thick green vegetation, so the fan works together with the natural shading and airflow.
This gave me a simple way to actively control airflow when natural ventilation isn't enough.
Adjusting the Airflow During the Day
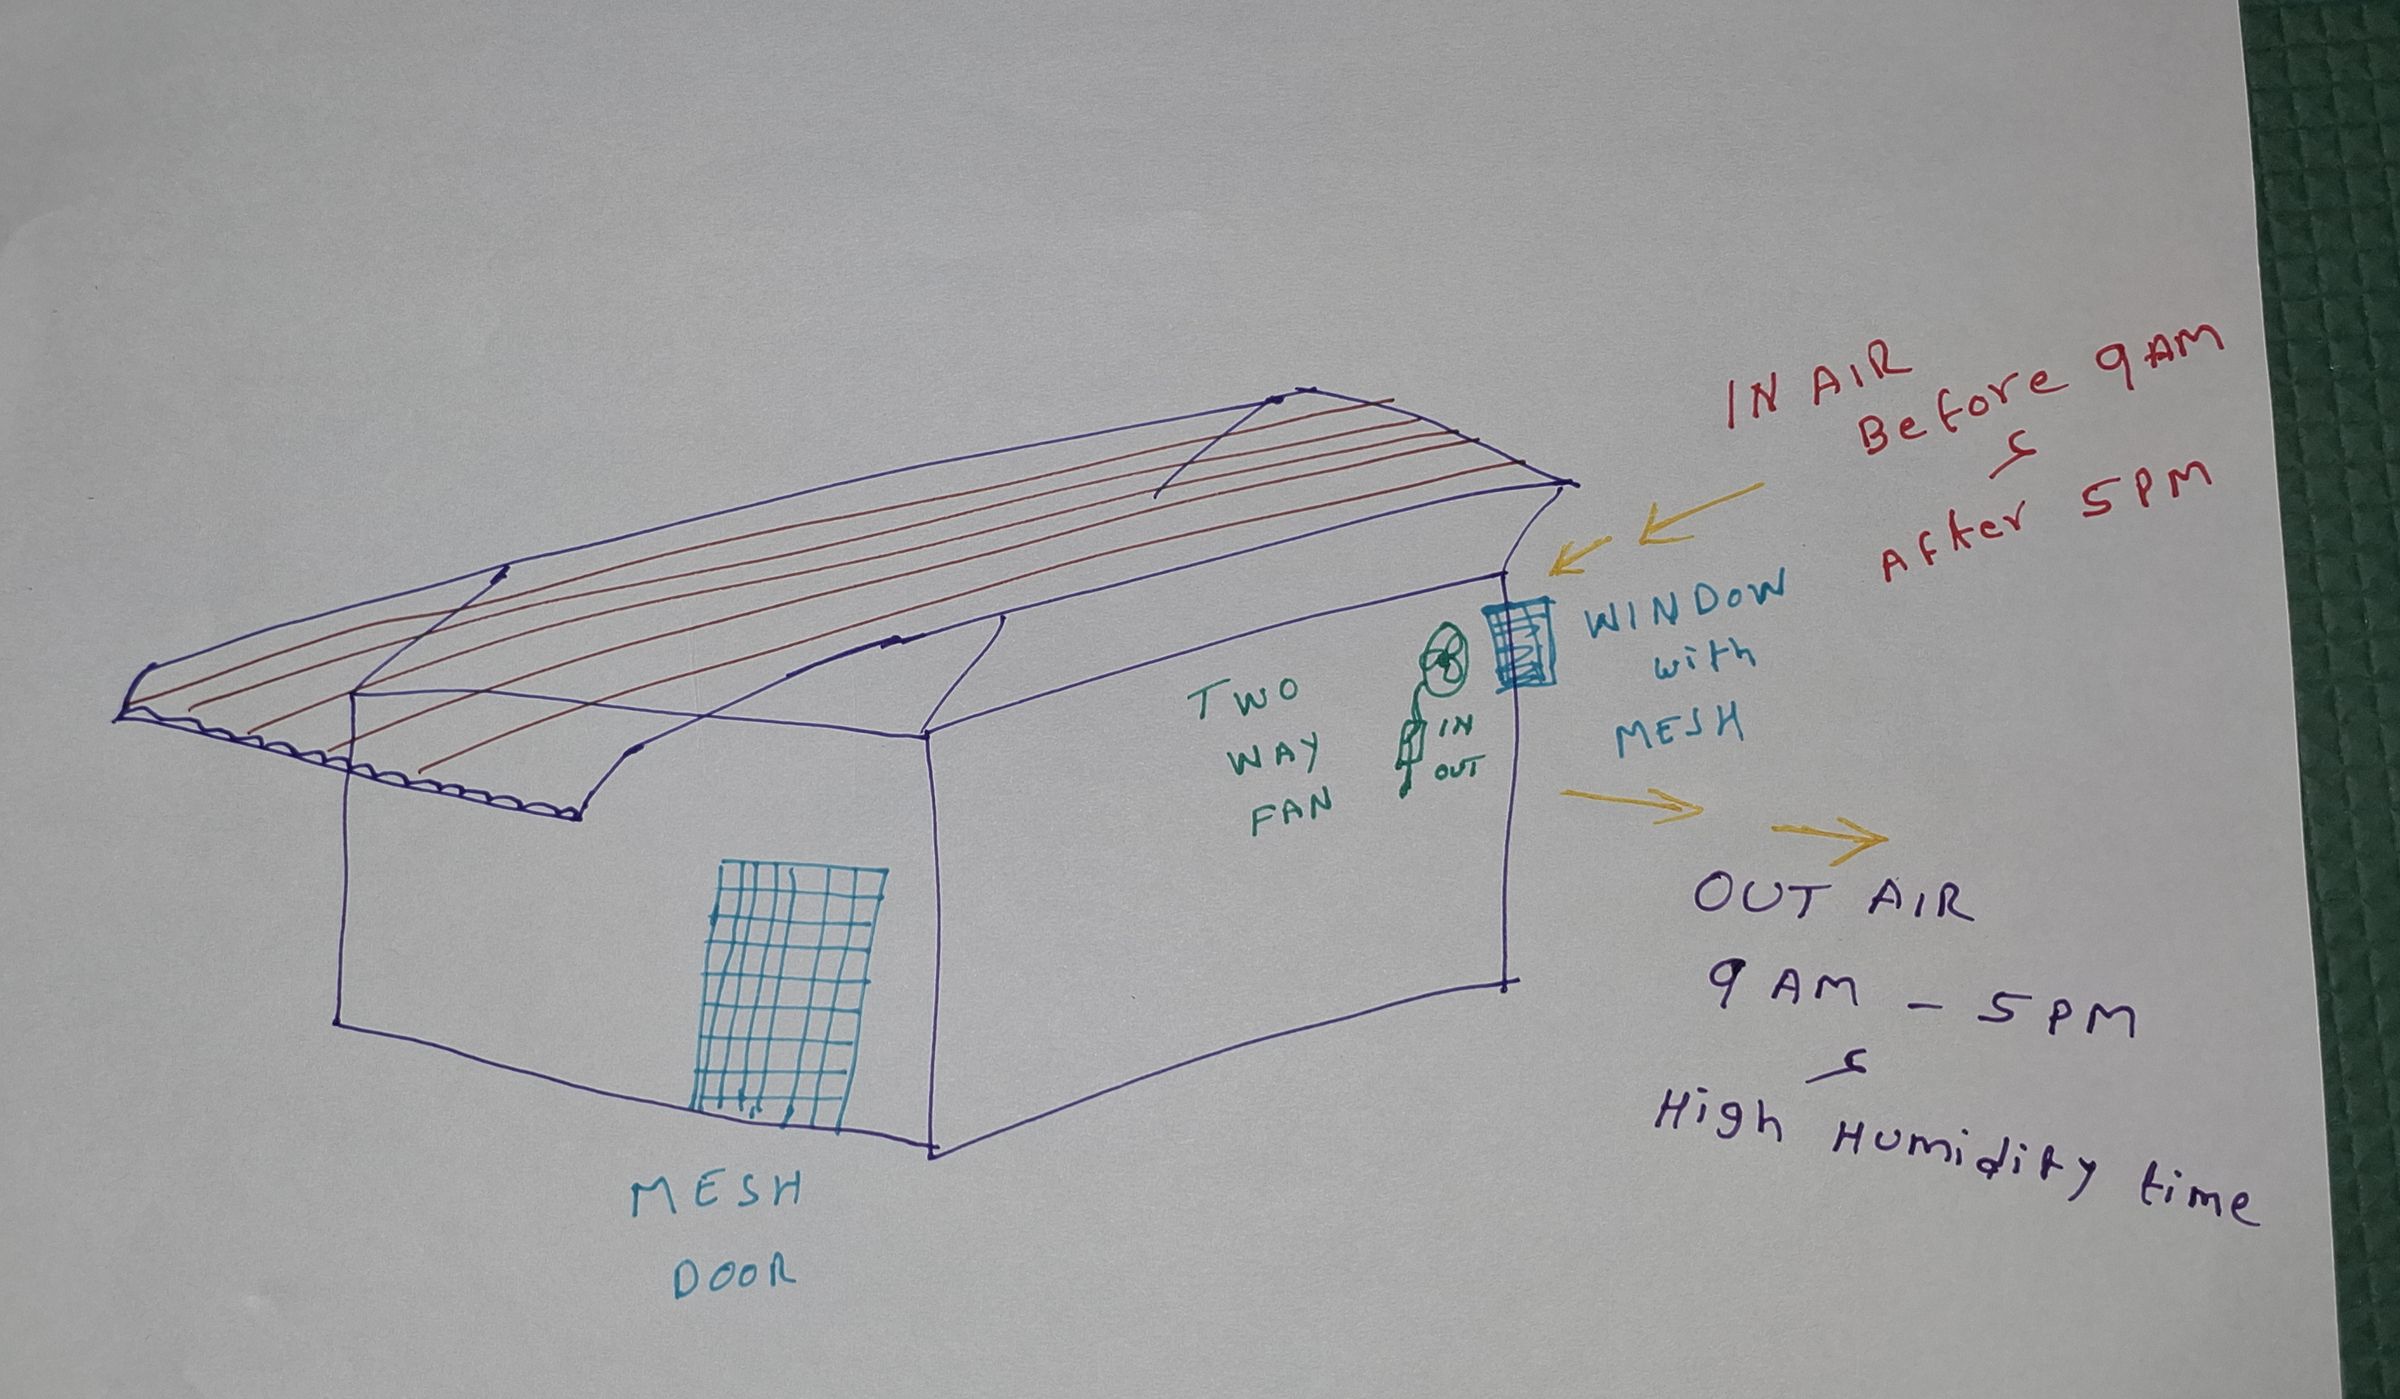
The east-side mesh door and west-side window with the reversible fan are positioned almost opposite each other.
This creates a simple airflow path through the lab. I can change the fan direction and door opening depending on the conditions.
My basic routine is:
- Before 9 AM: bring in outside air.
- 9 AM–5 PM: exhaust hot or humid indoor air when needed.
- After 5 PM: allow fresh outdoor air back in when conditions are better.
This gives me simple manual control of cross ventilation without needing an automatic system.
The Result After the Modifications
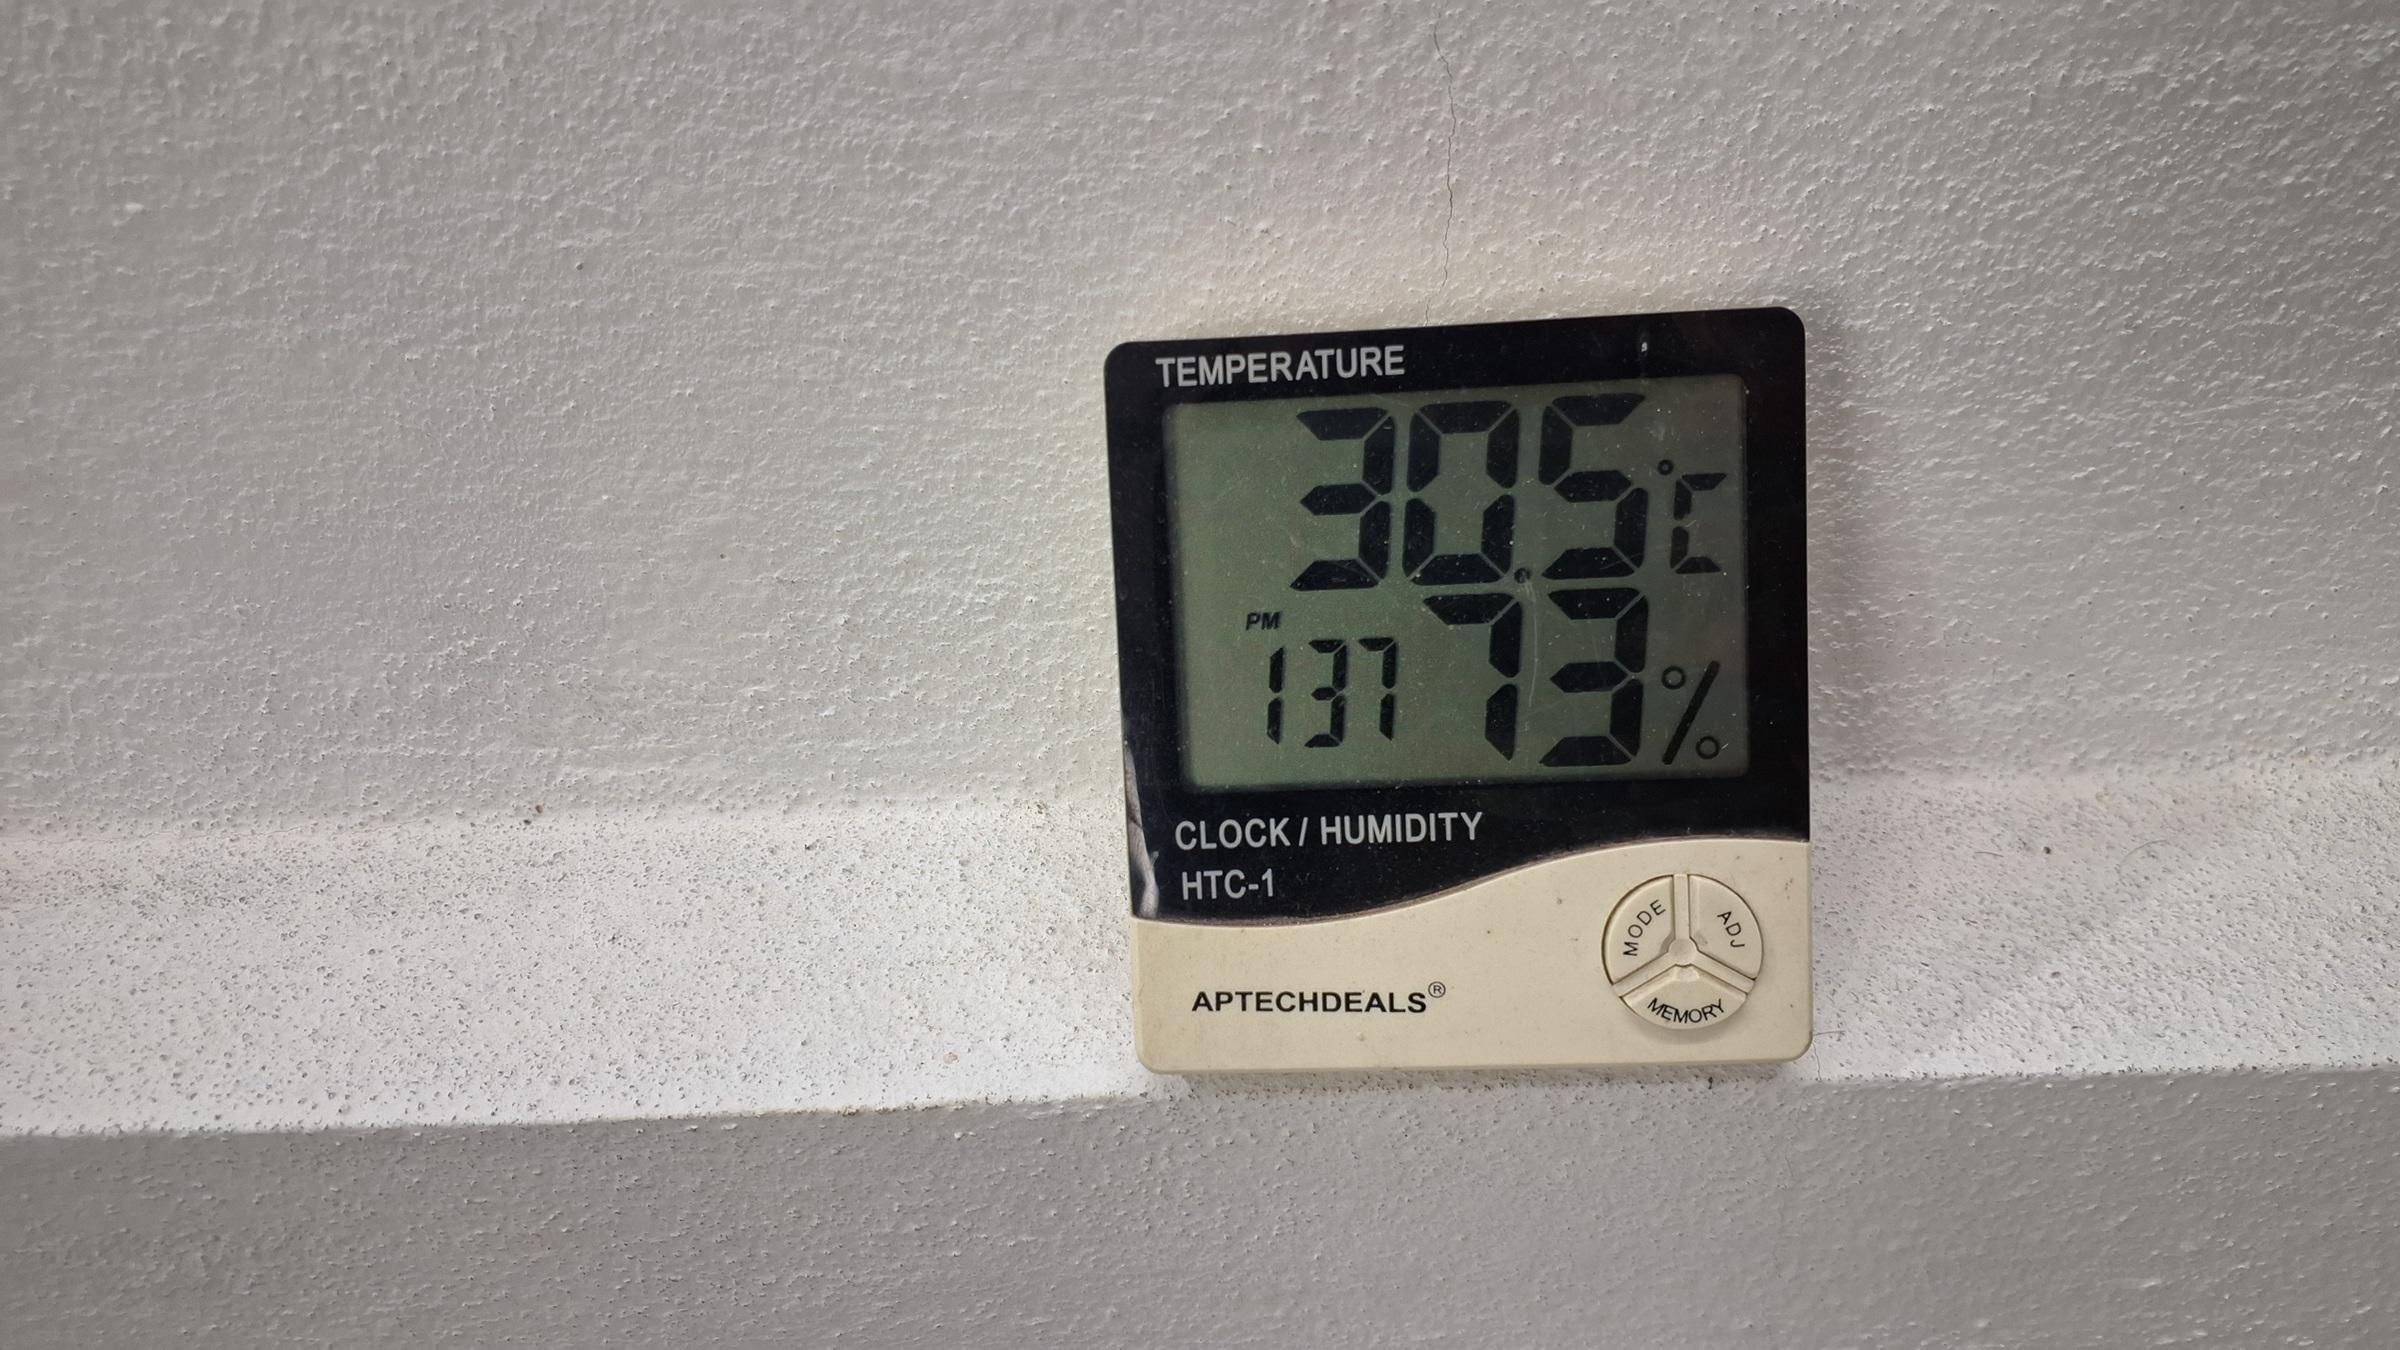
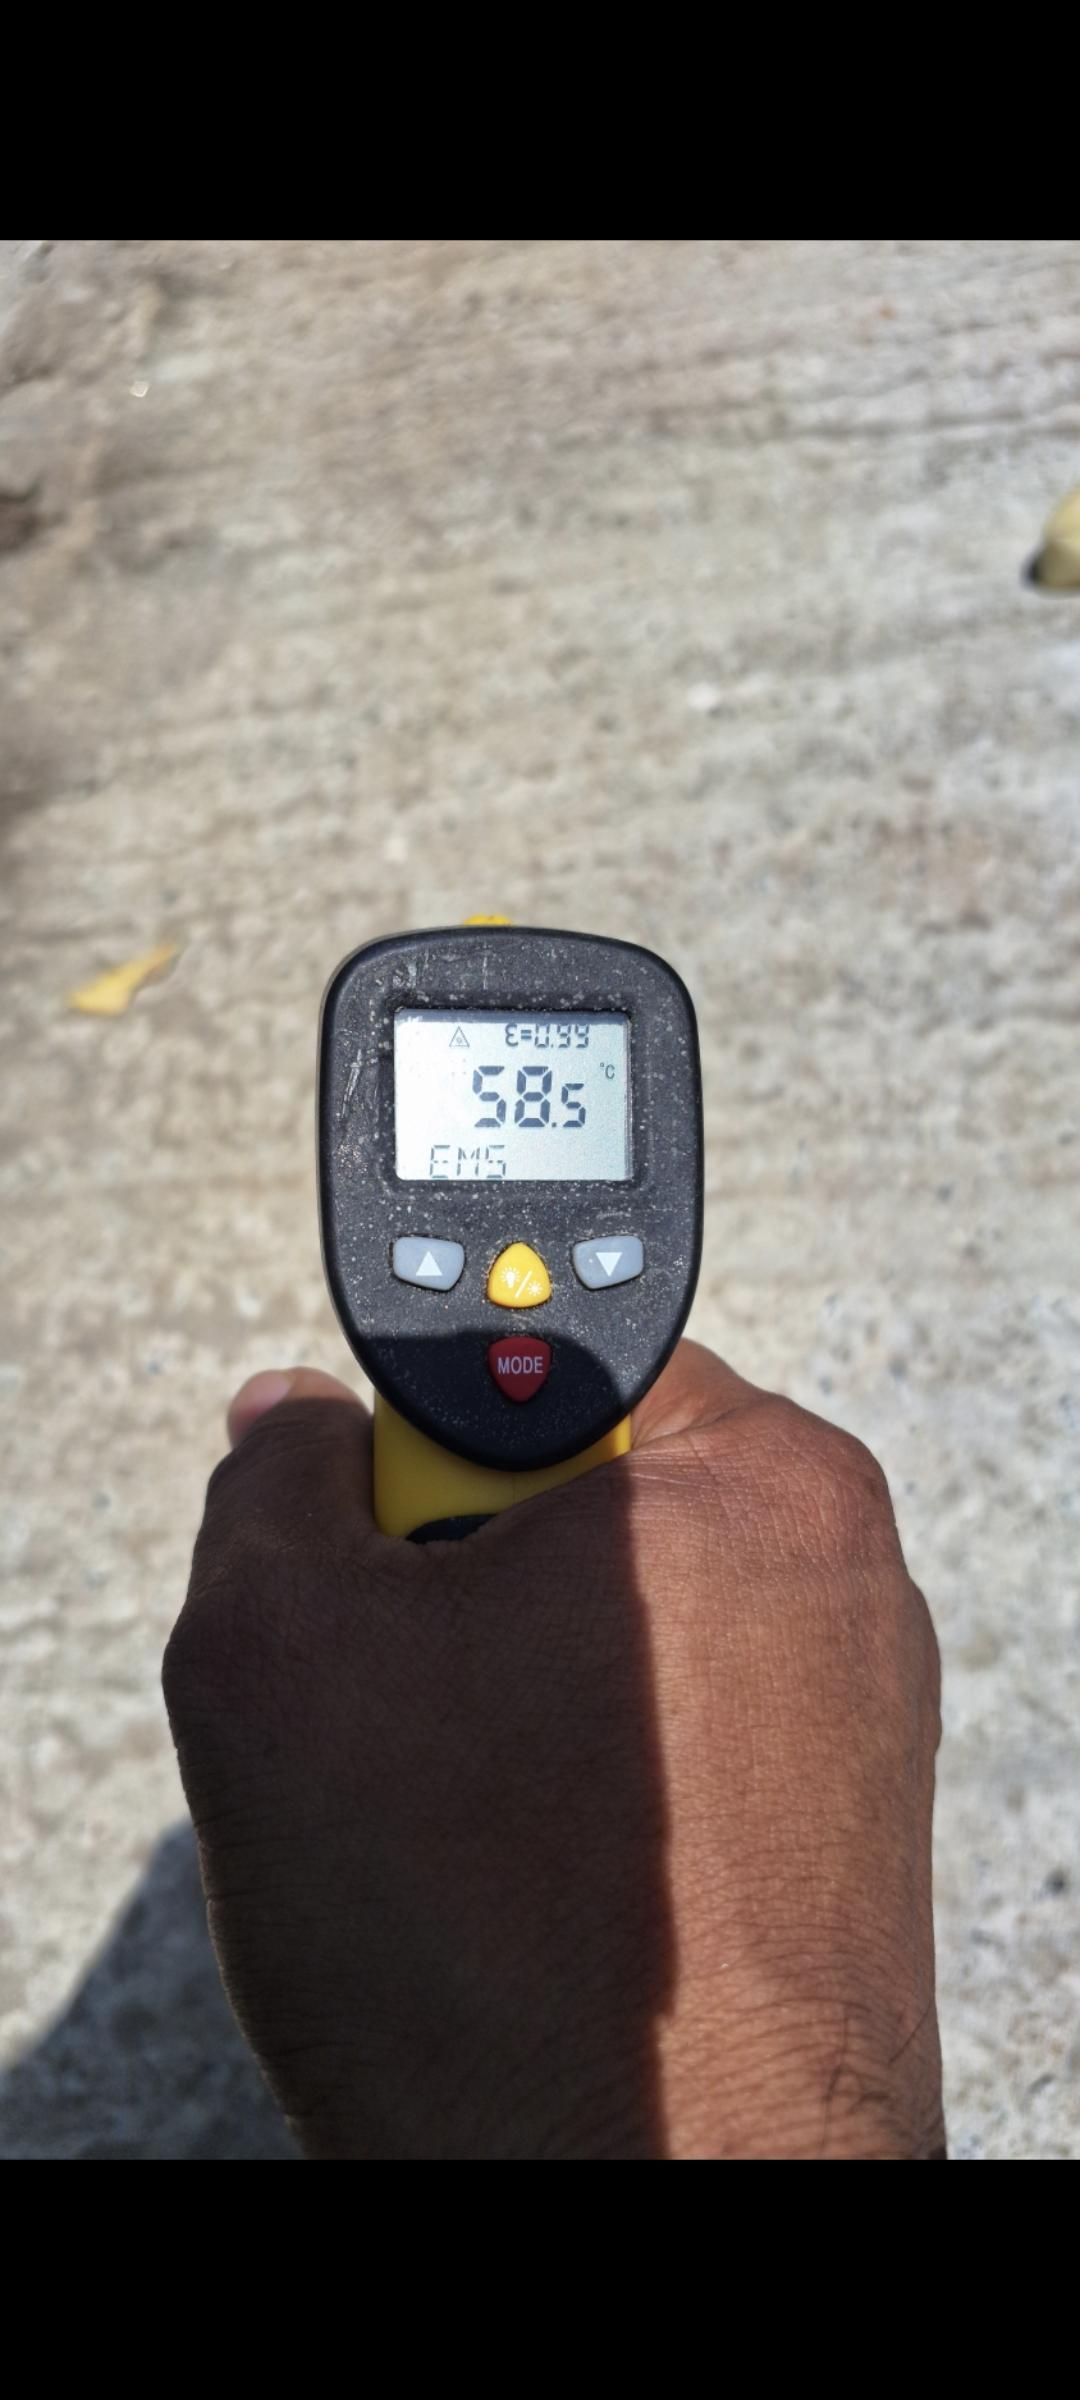
After completing the roof shading, wall vegetation and controlled ventilation, the lab became much more comfortable to work in.
At around peak noon, I measured an exposed outdoor floor surface at 58.5°C, while the temperature inside the lab was 30.5°C with 73% humidity.
Before these changes, the roof and walls became extremely hot in the afternoon. The heat and humidity made it difficult to stay inside for long, and even my cameras and other equipment would become very hot.
I wasn't trying to turn the room into an air-conditioned 16–24°C space. My goal was much simpler: make the lab comfortable enough to work in for long periods.
For me, roughly 28–33°C is a comfortable working range. At around 30°C, I can now work normally without the severe heat buildup I experienced before.
The biggest improvement is simple: I can now sit inside and keep working instead of having to stop because of the heat.
Measuring the Heat Reduction
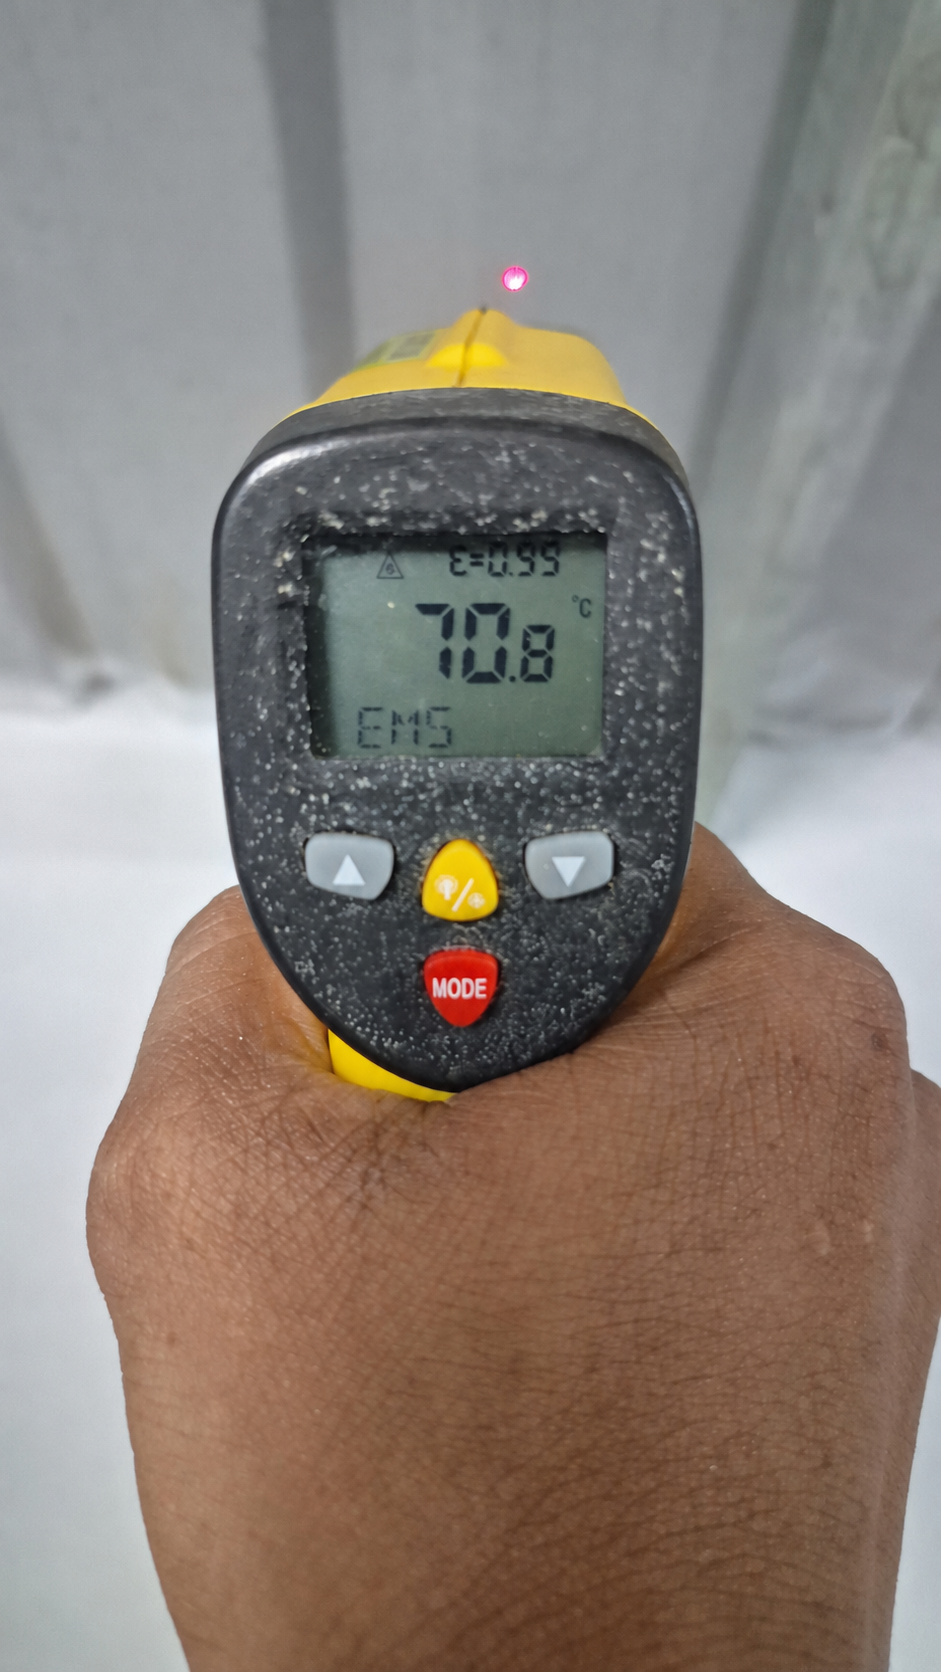
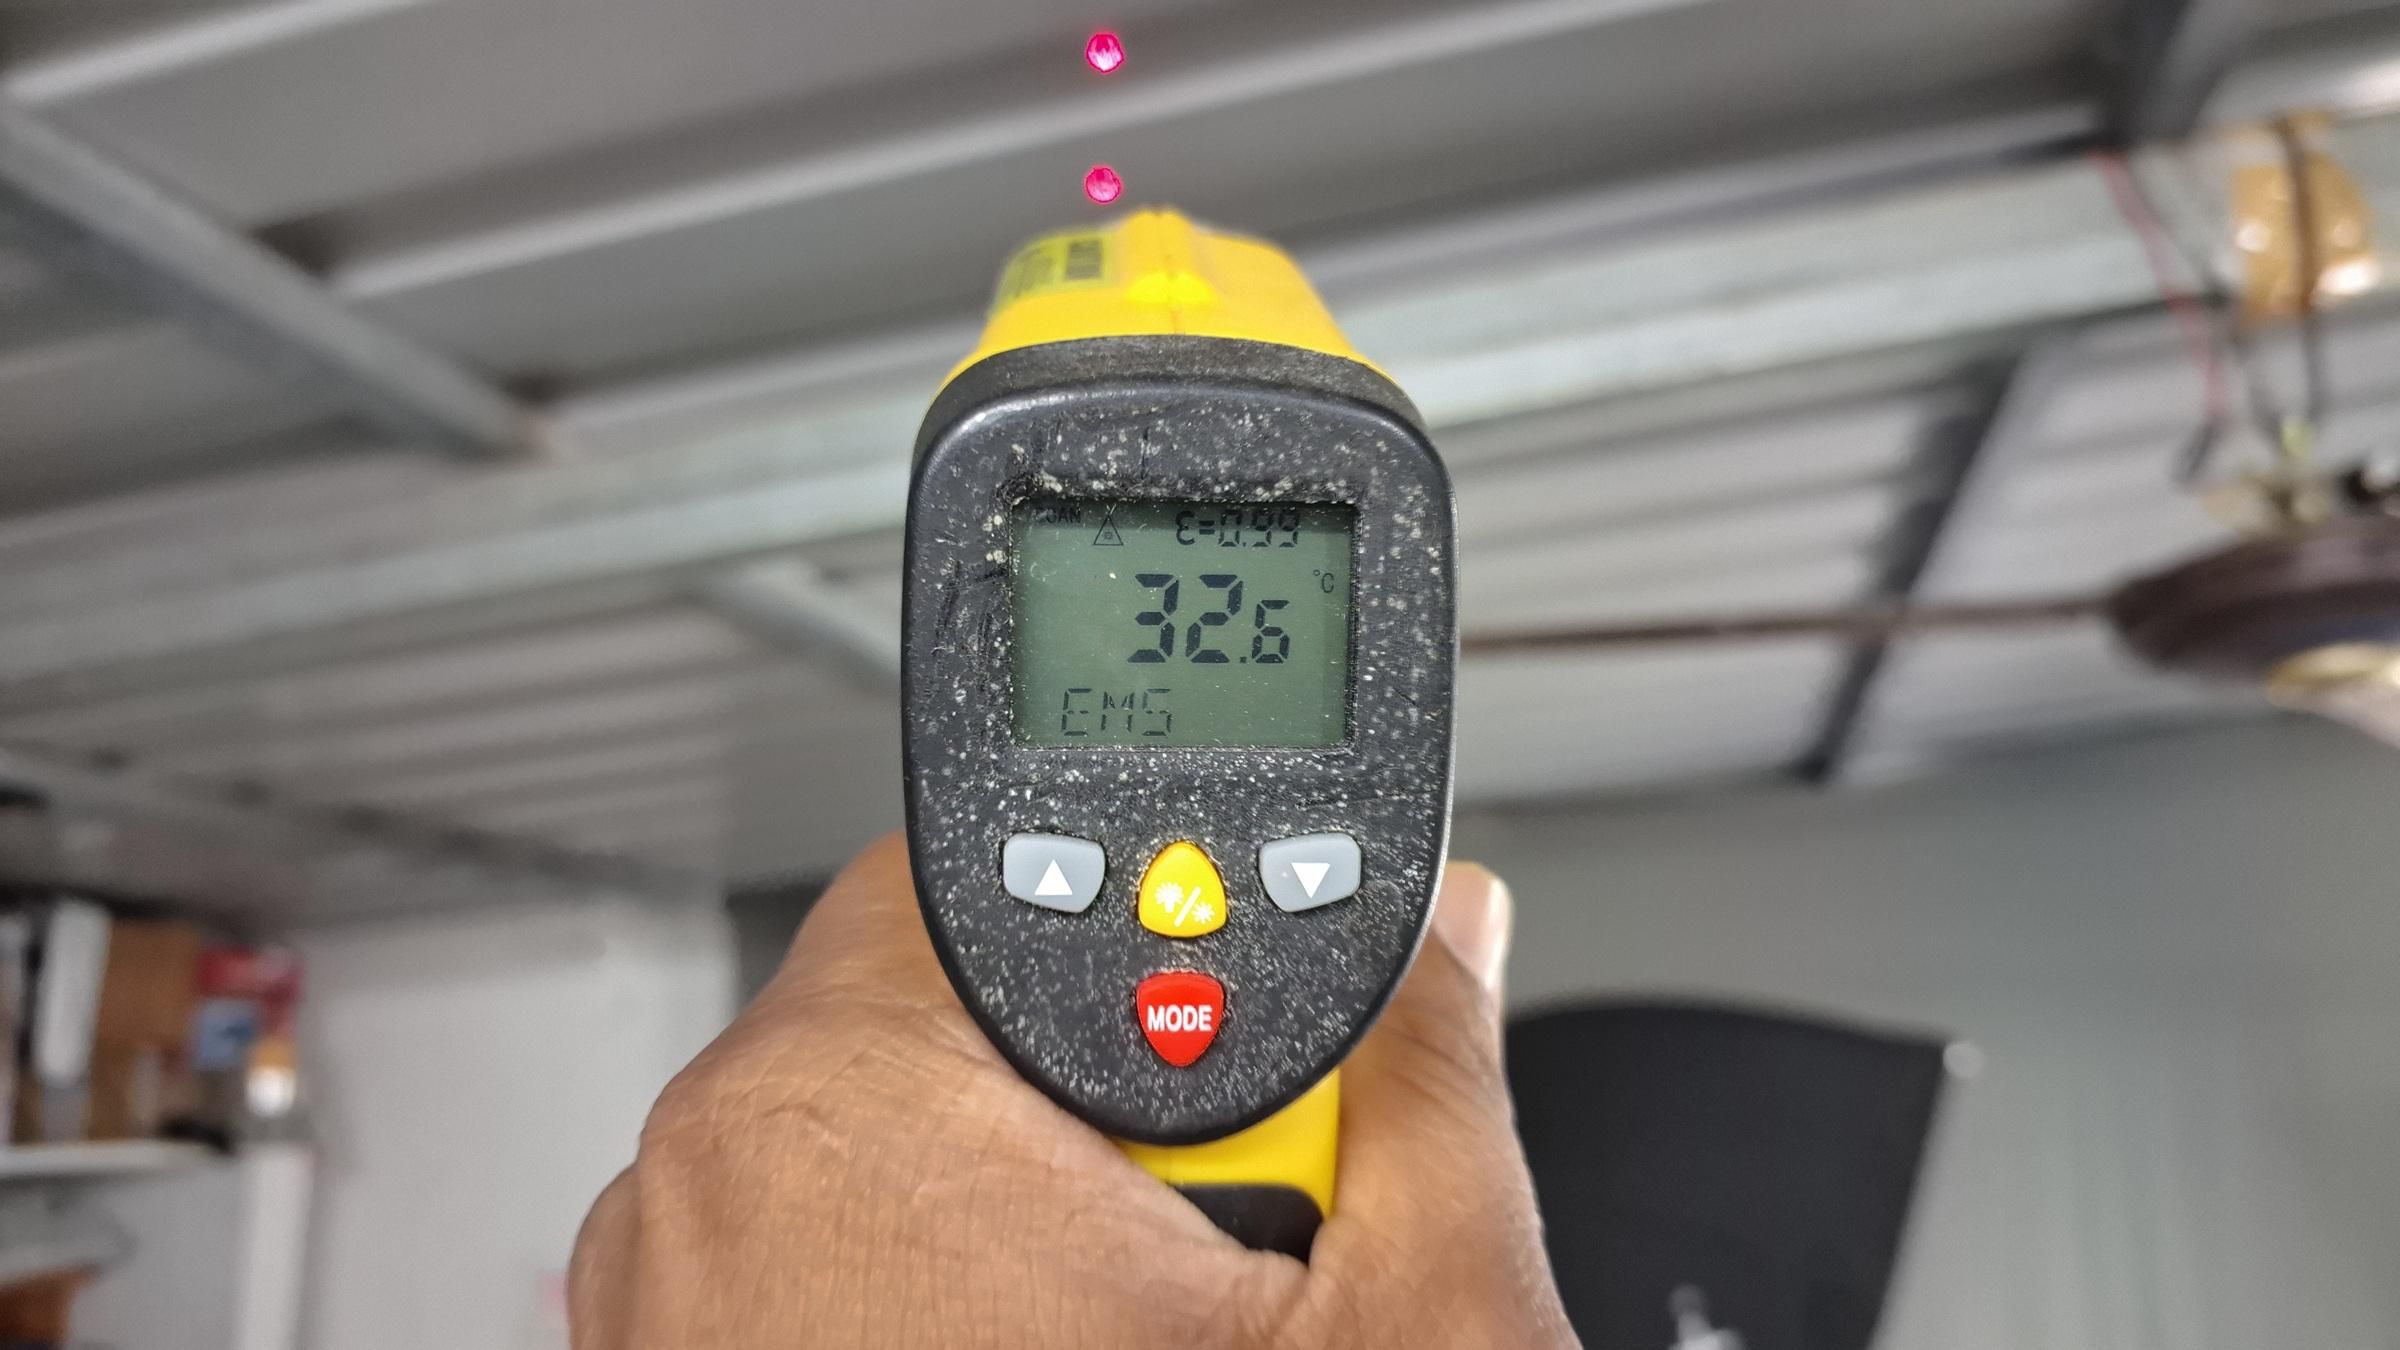
The biggest improvement was reducing the amount of heat reaching the workspace.
Before the modifications, the exposed 1 mm metal roof reached 70.8°C under strong sunlight.
After adding the roof shading layers, natural vegetation and controlled ventilation, I measured about 32.6°C inside the workspace.
The protective layers now reduce direct solar heating and prevent the metal roof from transferring so much heat into the room.
I also noticed another important improvement. Because this is a humid coastal environment, the exposed metal roof previously developed condensation during the night and early morning as it cooled rapidly.
After adding the protective layers, I no longer noticed the same condensation problem. This is especially important because sensitive electronics, PCBs and tools are stored and used inside the lab.
The Final Result
The biggest improvement came from combining several simple solutions instead of depending on one expensive cooling system.
Roof shading, natural vegetation and controlled cross ventilation now work together to reduce heat and improve airflow.
I learned that sometimes the best way to cool a workspace is not to cool it after it gets hot, but to prevent it from getting hot in the first place.
The system is still evolving as the creepers continue to grow.
Thank you for reading, and happy making!