NOISY WaterBoss or AquaMaster Water Softener Repair
by onlylooklikepackrat in Living > Homesteading
294 Views, 0 Favorites, 0 Comments
NOISY WaterBoss or AquaMaster Water Softener Repair
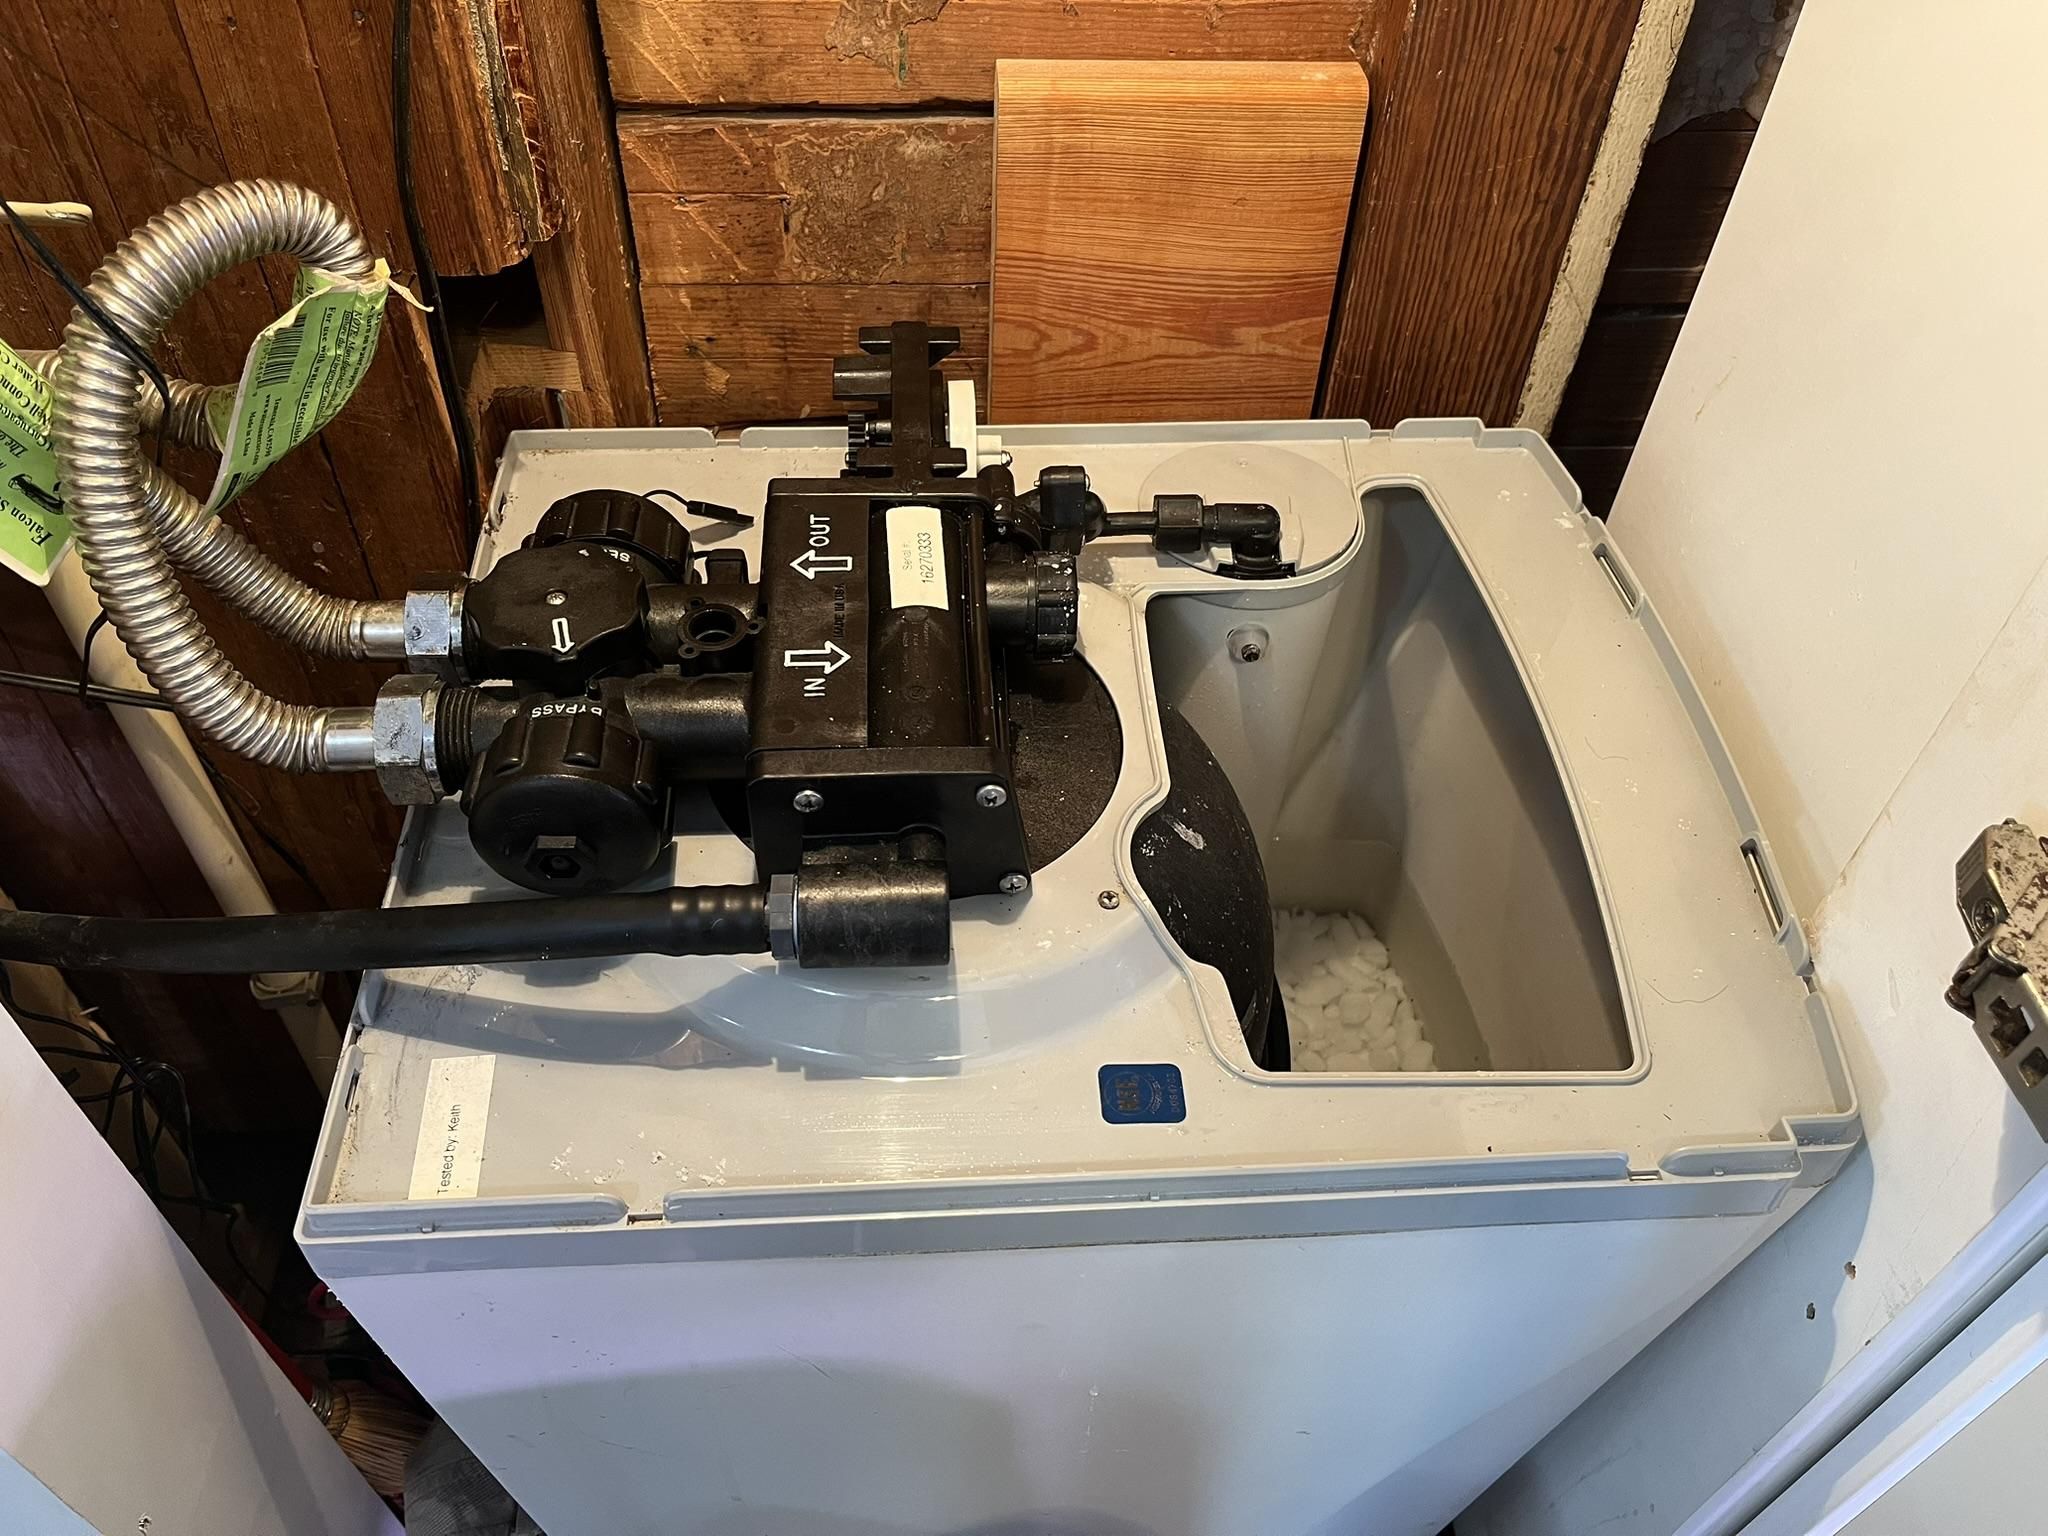
Soft water is great...until the machine that softens it squeals, whistles and whines during the regeneration cycle, often scheduled when we like to sleep! We have a ten year old machine made by WaterBoss (same as AquaMaster), model 900. It started howling and screeching at us this past month so I looked into what might be causing this.
"Information" on these softeners is plenty. However, at least with the noise problem, it's no where to be found.
The hulk of black plastic gizmo on top of the brine tank (garbage can size holder of the salt pellets) is a sufficiently complicated mechanism that I sought out pointers on where to look first. That information is hard to come by. Initially a WaterBoss service person was helpful, suggesting to first check water pressure as if it were to high, that could cause the issue. She said call back if I was ready for the next step.
Our water pressure was reasonable upon gauging it. So I called back, didn't get the same person sadly, and was told I should buy that whole top assembly. Uugh.
A prolific YouTube publisher, Water eStore, has zillions of instructions on disassembly and suggestions to look for debris, etc., but not talking at all about a softener that is noisy. So I was on my own, working my way through the possibilities. I did a couple tear-downs before looking at more complicated ones. I decide to email Water eStore to ask about noise problem likelihood failures. Thomas Metcalf, Lead Technician, responded promptly and suggested looking at the "piston," saying noise sometimes is generated when it gets stuck.
Excellent, a lead on what might really make a difference!
Supplies
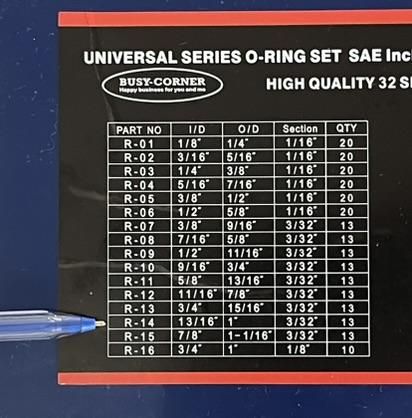
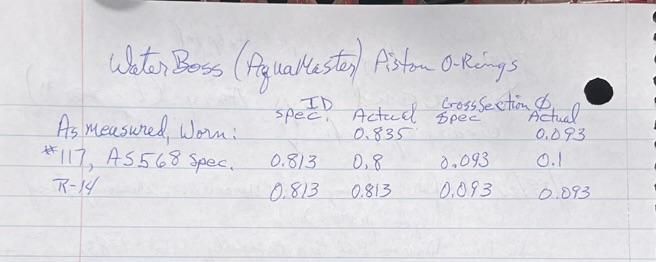
Here are the tools and supplies I used. Some are a little more because my softener is "landlocked" and hard to work around.
Regular and stubby phillips screwdrivers (all screws)
Monkey wrench (water connection to bypass valve)
Flashlight (improve working visibility)
Silicone grease (lubrication of seals and moving parts)
Epoxy adhesive (fill-in of pitted and broken plastic)
A small bit of 200 and 400 abrasive paper (finish up the epoxy fills)
Old towel(s) (soak up water upon connection openings)
Friend with 3D printer and flex filament to make a gasket, files at https://www.thingiverse.com/thing:7389336
(2) replacement O-rings: either AS568 spec #117 or SAE R-14
Getting to the Piston
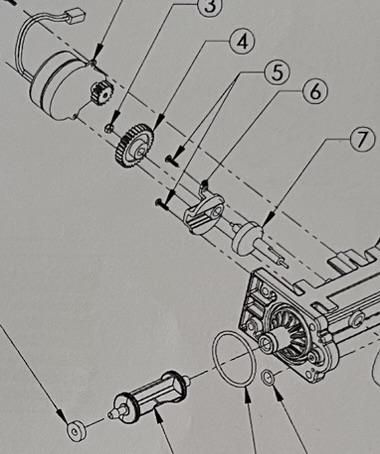
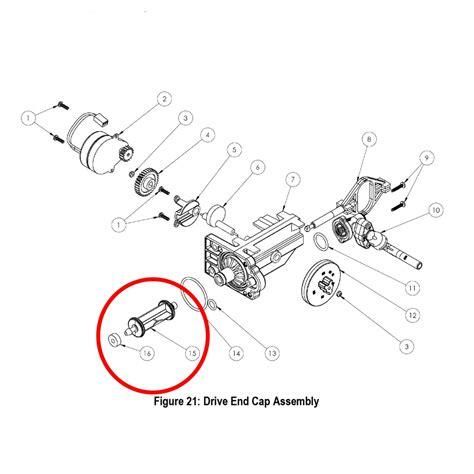
The process of gaining access is daunting but the following Water eStore video guides one through it sufficiently. https://www.youtube.com/watch?v=gconWJRDAJM (I am not affiliated with them nor benefit from using their link/video.)
Inspect Piston and Seals
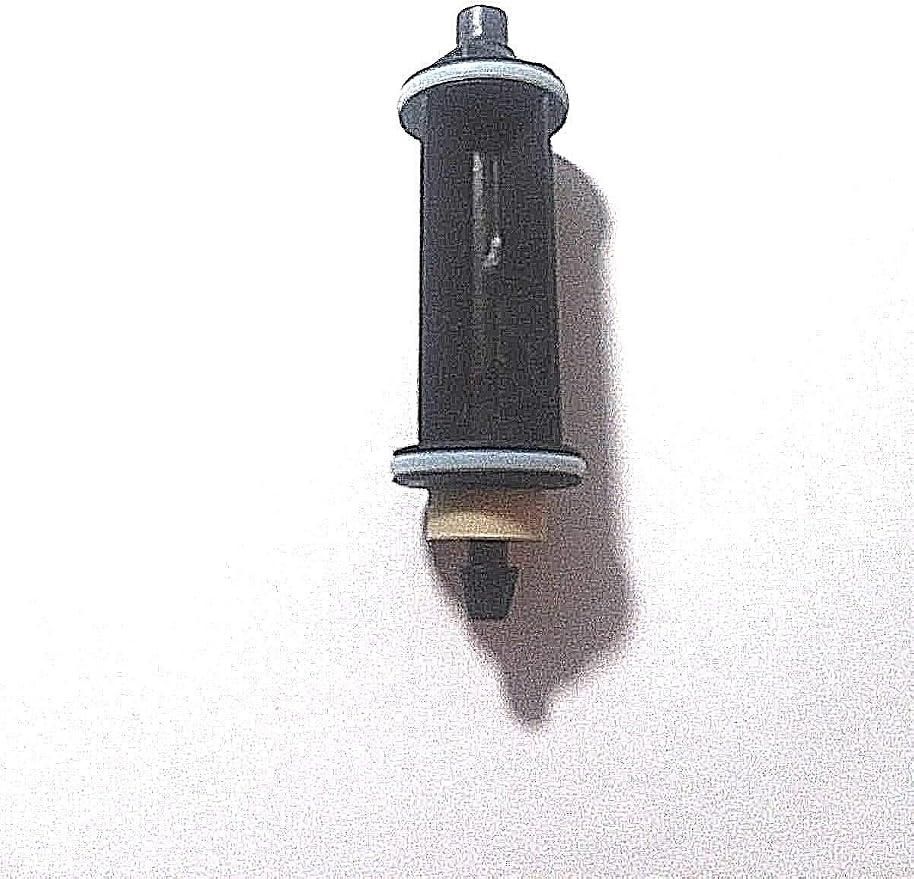
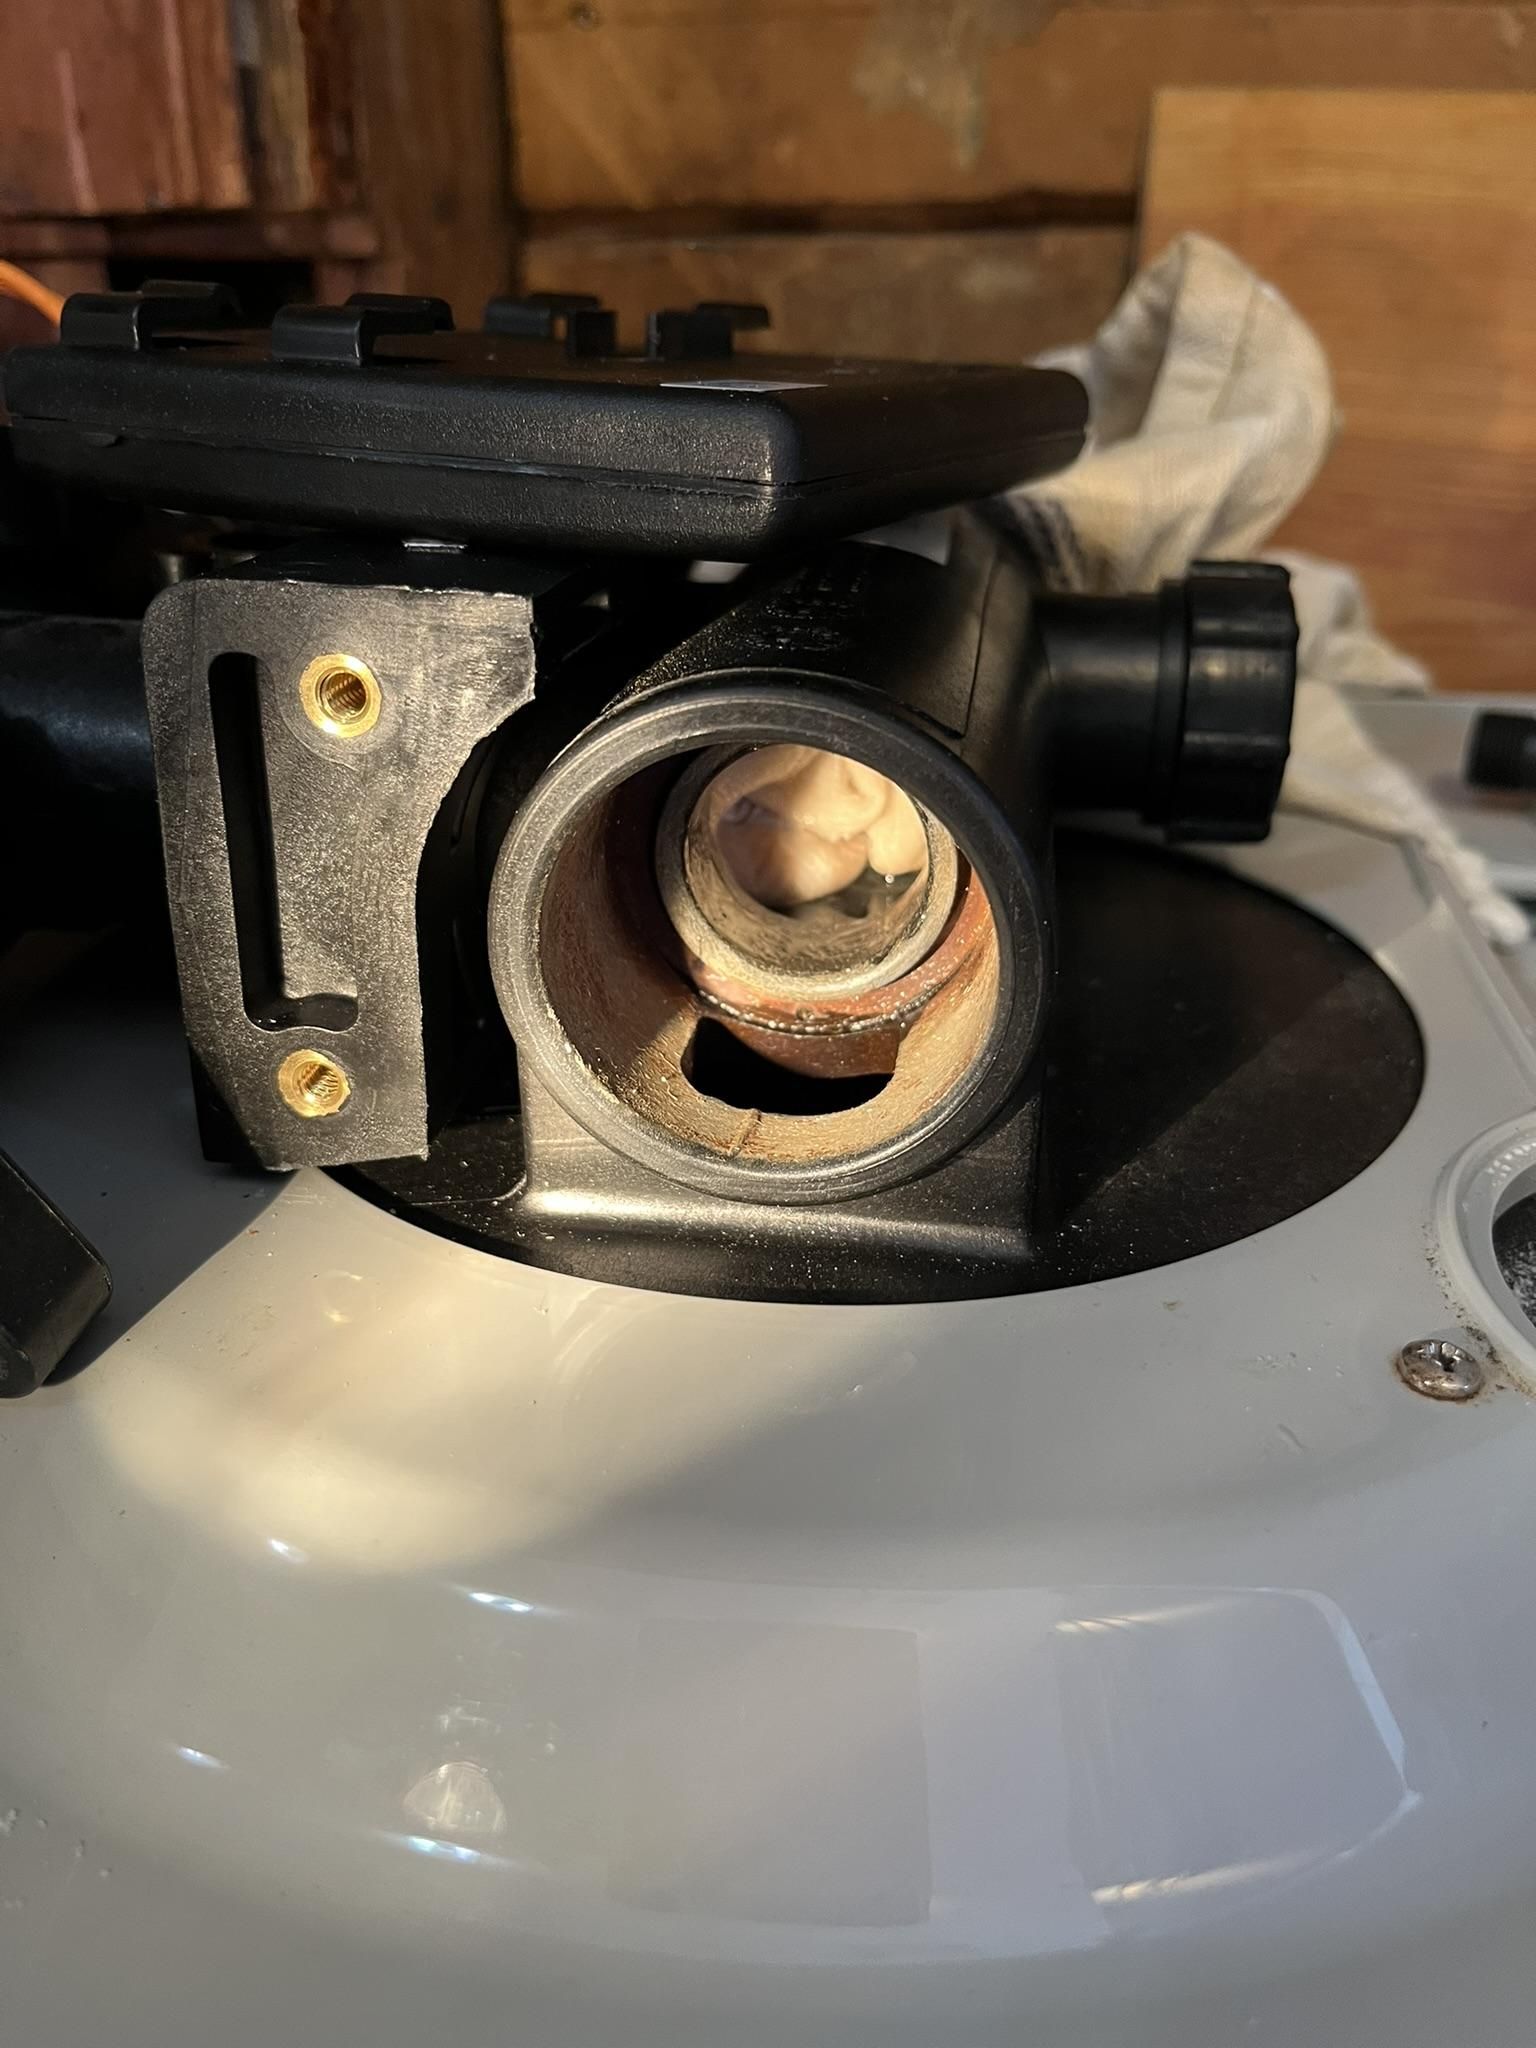
First, take a look at the end gasket, rub it, look for debris and "erasering." If all seems OK, leave it but otherwise either flip it around for a "new" face or plan on either printing or fabricating a new one.
Next, inspect the two o-rings and look for nicks, flat worn spots, etc. Pinch from one side of the piston and push to the other, thereby giving you some slack o-ring to grab so they can be removed. Don't use any tools as the o-ring gland might get scratched...that causes leaks.
Check out the glands (o-ring grooves) themselves and look for damage to the flanges or debris in the groove.
Look and feel inside the bores of the cylinder where the o-rings slide and seal. Check for roughness, grooves and pitting.
Epoxy Fill Repairs
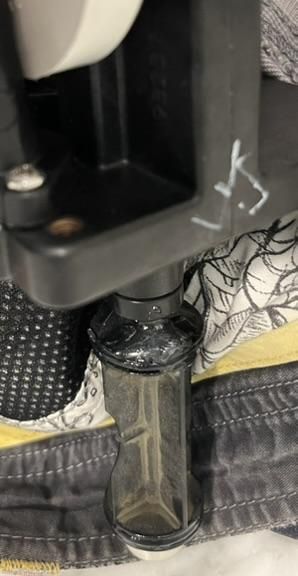
If the o-ring glands are intact, great. If a flange was cracked off, as was the case with mine, wipe an new o-ring with a thin coat of grease and install it, being careful not to get grease on the gland itself. If it helps in handling, only grease the o-ring along where you are going to build up the lost part with new epoxy. That way, the epoxy sticks well to the to-be-bonded surfaces and, yet, doesn't adhere to the o-ring itself.
You may need to wait just a tad for the epoxy to thicken, build a masking tape dam, or tilt the curing assembly at the right angle so the epoxy stays where you want it.
I was able to spread the epoxy around the outside of the broken location so as to enhance the surface area thereby strengthening the repair.
If your piston bores are damaged, do a very thin wipe of epoxy with a rubber gloved finger. Minimize the deposit to where it's really needed so cleaning up excess is easier after curing. If necessary, finish up after full cure by taking any high spots off with 200 grit paper and then polish with the 400.
Install the Replacement Seals
Using either AS568 spec #117 or SAE R-14 (almost, if not exactly, the same) o-rings, give them a wipe of silicone grease and, with fingers, install them on the piston. Likewise, lube up the new gasket and push over the barbed pin at the piston end.
Reassemble!
Follow the earlier video referenced for reassembly. Take care when fastening end caps (drain end and motor driven end) with the screws to make sure that the bypass valve has settled in well next to the cylinder so that the screws line up OK and seals between the bypass valve and the cylinder haven't been dislodged/pinched. If you didn't move things around too much they should be OK.
I hope that solves your noisy water softener problem like it did for me!