Neon Ascension - Make It Fly Submission
by matrix-blue in Design > 3D Design
342 Views, 4 Favorites, 0 Comments
Neon Ascension - Make It Fly Submission

Hello everyone!
My name is Donna Byun, and I am passionate about creating art. In this Instructable, I will be demonstrating how to create a 3D model of a robot flying above a cyberpunk city. Although I am just beginning my journey in 3D design, I am thrilled to share my creative process with all of you. I hope you enjoy following along and feel inspired to bring your own ideas to life!
Supplies
This project was done entirely using only two major softwares:
- Autodesk Maya - A 3D modeling, animation, simulation, and rendering software
- ibis Paint X - A free graphic design software. This is part of an optional step, so depending on your preferences, it may not be necessary.
I recommend having the following tools on hand:
- A laptop or a monitor
- A mouse
- An Ipad for drawing (optional)
Initial Sketches


When working on a project, it is always important to have a clear vision of what you want to create. The first thought that came to mind was my love for animated action movies, especially those set in futuristic worlds. I decided to create a simple, cute robot model flying above an urban landscape with neon-lit skyscrapers.
At this point, when you have an idea in mind, it is helpful to create a rough sketch of the model and visualize how the project might look at the end. Since this is only a concept sketch, any details can be modified or completely changed during the process. Up to you!
The first sketch I drew was a camera view of the scene, focusing mainly on the robot and giving less attention to the background. In the second sketch, I focused on the robot model and its color scheme, as well as how the actual buildings would be designed.
Modeling


Now it's time to start modeling! With a clear vision of your project, you can begin creating the robot in maya.
Tip - To speed up the process, start by modeling the head and the body first. For the arms and legs, focus on creating one side initially, then copy paste and rotate/move to the other side. DO NOT MIRROR ANY OBJECTS. This will restrict the movement of the arms and legs later on.
Once you have completed the robot model, move it upward in the scene to create space for the buildings.
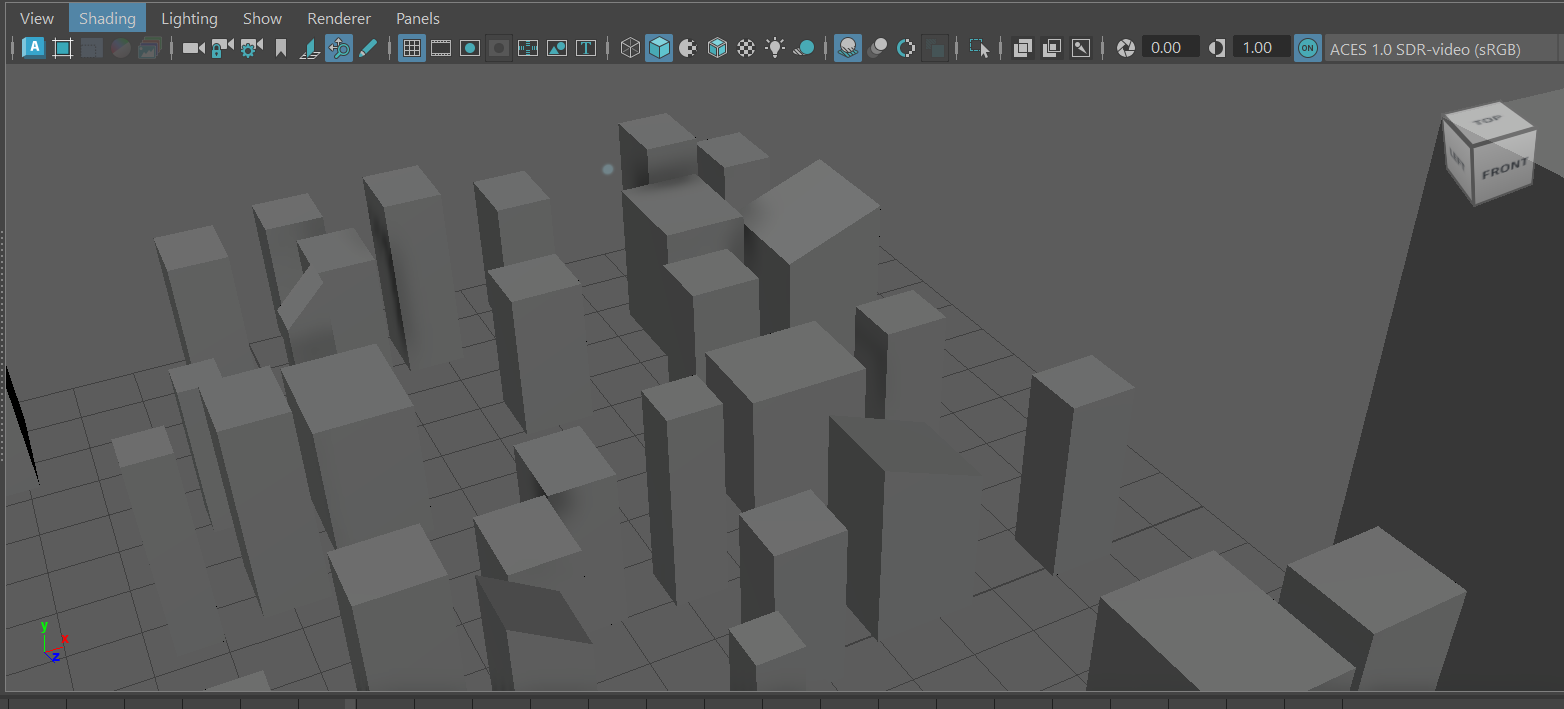
When it comes to the buildings, the simplest approach is to start with a plane. Be sure to reduce the subdivisions for height and width to 1, as they will not be necessary. Select the top face of the plane and extrude it upwards to create a rectangular prism. Copy and paste the shape across the bottom of the scene.
Camera View


Now that all the main components of the scene are created, it is time to set up a camera view. On the left side of the screen, you will find various panel layout options. I recommend using the layout that splits the screen in two. This way, one view can serve as your editing layout, while the other will display your camera view.
Creating a camera:
- Go to Create > Cameras > Camera. This will create a new camera in your scene.
- You can name your camera for easy identification (ie. camera1)
Assigning the camera to one panel:
- Click on one of the panel to make it active
- Go to Panels > Perspective > [Your camera name]. This will switch the view in that panel to your newly created camera.
Tip - Keep the camera locked in place to ensure a consistent perspective while working on the scene and during rendering.
At this point, position your robot model and buildings in their desired spots, and begin adding final details. Now that you have a clear idea on how the finished product will look, you can complete the rest of the modeling. For example, I added details to the buildings by using cubes to create a ring around the edges, which will emit light. I also added eyes to the robot, which will shine light also.
Color


Next you can add colors of your choice to the models.
Right-click on the object and select:
- Add New Material > Arnold > Standard Surface
- Enter material attributes to customize the color and adjust the properties as needed
For any materials that emit light (e.g., the eyes, the moon, and lights on the buildings), set the emission value to 0.5.
Lighting

Lighting is perhaps one of the most crucial steps in bringing a scene to life and giving it depth.
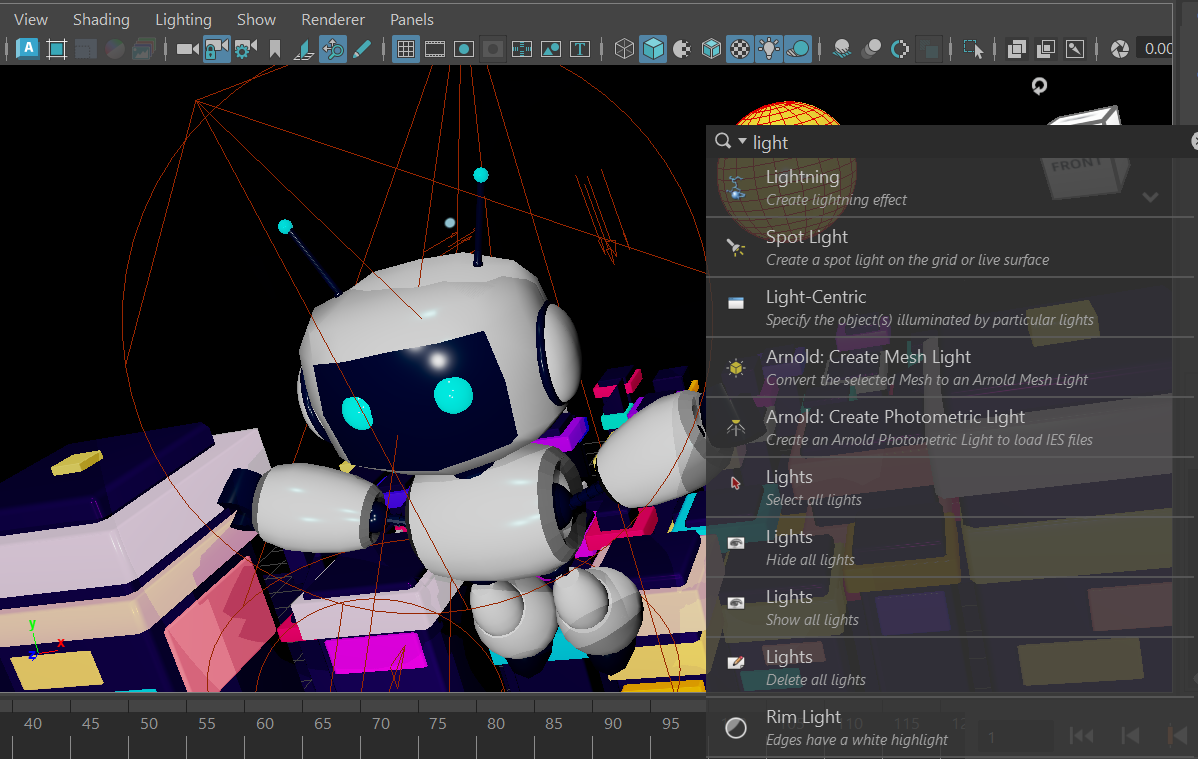
Adding lights:
- Go to the Create menu at the top of the screen
- Select Lights from the drop down menu.
Two of the more popular ones are:
Directional light - Mimics sunlight/moonlight
Area light - Emits light from a rectangular area
However, you have the freedom to add as many lights as you want and experiment with them. For my scene, I used directional lights and a few flashlights. I did not use area light because I felt it did not do much to improving my scene, and flash light did a better job.
Rendering

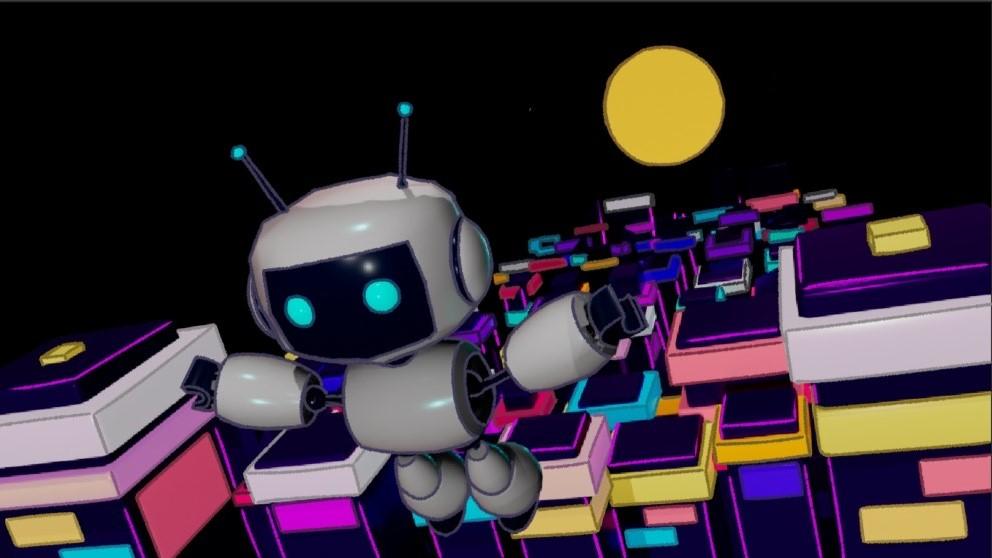
The scene is almost complete! Open the render view and click the IPR (interactive preview rendering) render button. Once the render is finished, go to File and select Save Image.
Touch-ups (Optional)


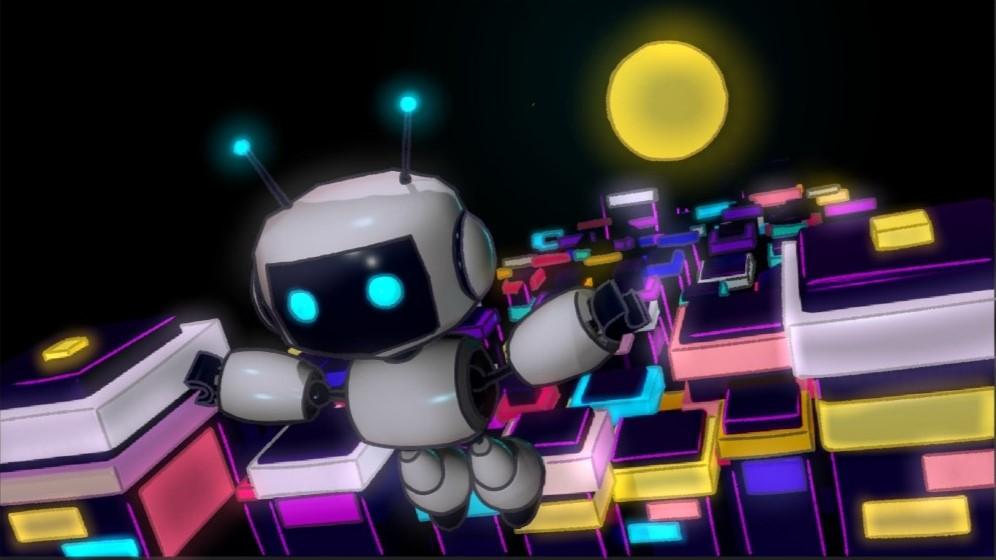
Now, I was very proud of my outcome, especially since this was my very first creation using Maya. The final render could have been left as it was, but I still felt something was missing, and it wasn't quite the style I was aiming for. I wanted to infuse a more cartoonish vibe into the final result, and I realized that I was drawn to artstyles that blend 2D and 3D elements. My decision was to import the render into ibis Paint X, a free drawing software, to add some line art and also intensify the light. The choice of drawing software is up to you and will depend on what you want to add to the final image. The following tutorial will be for ibis Paint x.
Line art:
- Open ibis Paint X
- Import the render
- Create a new layer
- On that new layer, draw some line art
- Tip: For the buildings, I recommend a lighter shade for the line art so that it stands out against the dark background
- Merge layers
Intensifying the lights:
- Add another layer and clip it to the first layer
- Set the blending mode to Linear Burn
- Go over the screen with a dark color and reduce the opacity
- Add one more layer and clip it to the previous layer
- Set the blending mode to Add
- Select the airbrush tool and go over spots that need light to be intensified
Finally, save image. You are now finished with your artwork!
Results
