Nier Fang of the Twins Replica
by Dankozi713 in Workshop > Metalworking
794 Views, 5 Favorites, 0 Comments
Nier Fang of the Twins Replica
.jpg)


I have been replaying Nier Replicant ver.1.22474487139...
To continue with my Nier fascination and replica builds, I thought it would be cool to make a Fang of the Twins build using my old broken saw blade and some other scrap metal.
Granted, this is not the maxed out version because I believe that actually has the blades joined into one but check out the pics and it'll make more sense, whether you are a fan or not ;)
Supplies
I am just going to shotgun all the tools I used but anything in the ballpark can get you a similar result:
plate metal, I used a broken saw blade
steel or wooden rod
marking tools, like a scribe or sharpie
ruler and other measuring devices
hammers, like texturizing / planishing /ball peen
angle grinder, or similar cutting tool
vise / clamps
scrap copper
epoxy
rotary tool
sand bag to strike the metal
sand paper and/or power sander
blow torch
engraving tool
punches
shears
Build Video

Check out this video of my build process.
The Blades


Pic 1-4 shows the outline of the axes that I wanted to replicate. The first one was free hand drawn, cut out with an angle grinder, and shaped on the belt sander (pic 5-6). You can keep your steel cool by having a source of water to drop the temperature, you are working with your hands after all (pic 7). This will also keep the composition of the saw blade steel the same as opposed to annealing it. You may want to keep this in mind if you want this to be sharpened to "scary sharp" quality.
For the second blade, I traced the first onto it with a scribe (pic 8). The cool thing I didn't realize is that while using the belt sander, your scribe line will fall away and disappear as you approach it (pics 9-10). This helps you from "going too far." I polished the ends and the faces with the help of a HDD neodymium magnet, to keep my fingers away from the blast zone (pics 11-17).
I had the two pieces and set them next to a spare cold rolled steel rod (pic 18). Next, I needed the pike looking piece for the tip so I drew a rounded edge using a scrap tin can and cut it out with the angle grinder. After polishing this and the rod off, I had my main pieces (pics 19-23). The easy part over, I now needed to figure out how to attach the pieces permanently.
Attempt to Join, a Lesson in Perseverance


Pics 1-3 shows some parts of the round rod I flattened for future attachment. My first thought was to weld the metal together.
Let me start by saying I am NOT a welder. I only took a crash course with TechShop when they were still a thing years ago. The only thing I figured was this tool steel and the cold rolled steel from the home center wouldn't play well together. I read that preheating the tool steel will help the weld adhere so I set it up with tiny magnets, heated the pike piece as my test, and struck an arc (pic 4-6). Pic 7 shows the piece falling off when wire brushing it...
I tried a weld a second time with similar luck so I tried the next thing: trying to use expansion/contraction. I figured if I cut a groove in the round rod just small enough to not allow the pike to enter, I could heat the rod and freeze the pike and force a press or shrink fit (pic 8). It worked...for most of my work up and failed in the end (my groove was just a little too "large").
Reassess


Getting back to the original picture of the actual Nier Fang of the Twins, I saw that I was missing the spur pieces (forgive me if that isn't the right anatomy of an axe but that is what I will call my copper joining pieces).
I snagged a faux leather handbag and filled it with play sand (pic 1, this is to dampen the sound of hammering metal. Something I wish I knew earlier). I then used a vintage iron as my striking surface and worked some scrap copper strips into position to hold the axes. Pics 2-6 showed me that given some coercion with hammering will hold the axes and snap into place. Even with no adhesive, they held in place better than I thought!
I annealed the copper with my blow torch and got to work shaping a tighter spur (pics 7-11). Annealing will be necessary when working with copper because as you hammer it, it will begin to work harden. If left unattended, it may snap your metal piece like working a coke tab on a soda. Annealing the metal to cherry red with a propane torch, or similar, will re-soften the copper and make it more malleable.
Make the Spurs of the Axes


Again, if spur is the correct nomenclature...
I drew a rough design (pic 1-2) and started removing the round bits where the rod will meet the axes. I started with a rotary tool but remembered I modified a vintage sewing machine into DIY "die filer" and used that to expedite the process (pic 3-6). Pic 6 shows the tips formed by using shears. I cleaned them up on the belt sander to make them more symmetrical as the shears can cause them to go out of plane when compared to each other.
A recent YT short of mine shows how I made an engraving tool (again out of the broken saw blade and belt sanded): . I used that to start working the design on the spur (7-8). I realized that I was constantly overshooting (pic 9), I decided to finish with some texturizing hammers (I also DIY'ed, Pic 10).
Pic 11 shows my two completed spurs. Check out my links to the tools I made if you please (#shamelessplug)!!
Assemble!!
.jpg)


.jpg)
When all else fails, use rough surfaces mated with epoxy! That was my overall workaround from the weld / shrink fit fiasco. I roughed up the mating surfaces with some 80 grit sand paper to help give some "bite" for the epoxy. Then I went to work placing the pieces together. I allowed the epoxy to set overnight by bracing it in the sand bag to prevent it from tipping over. The last thing I wanted was for it to shift and have my blades out of plane to each other...
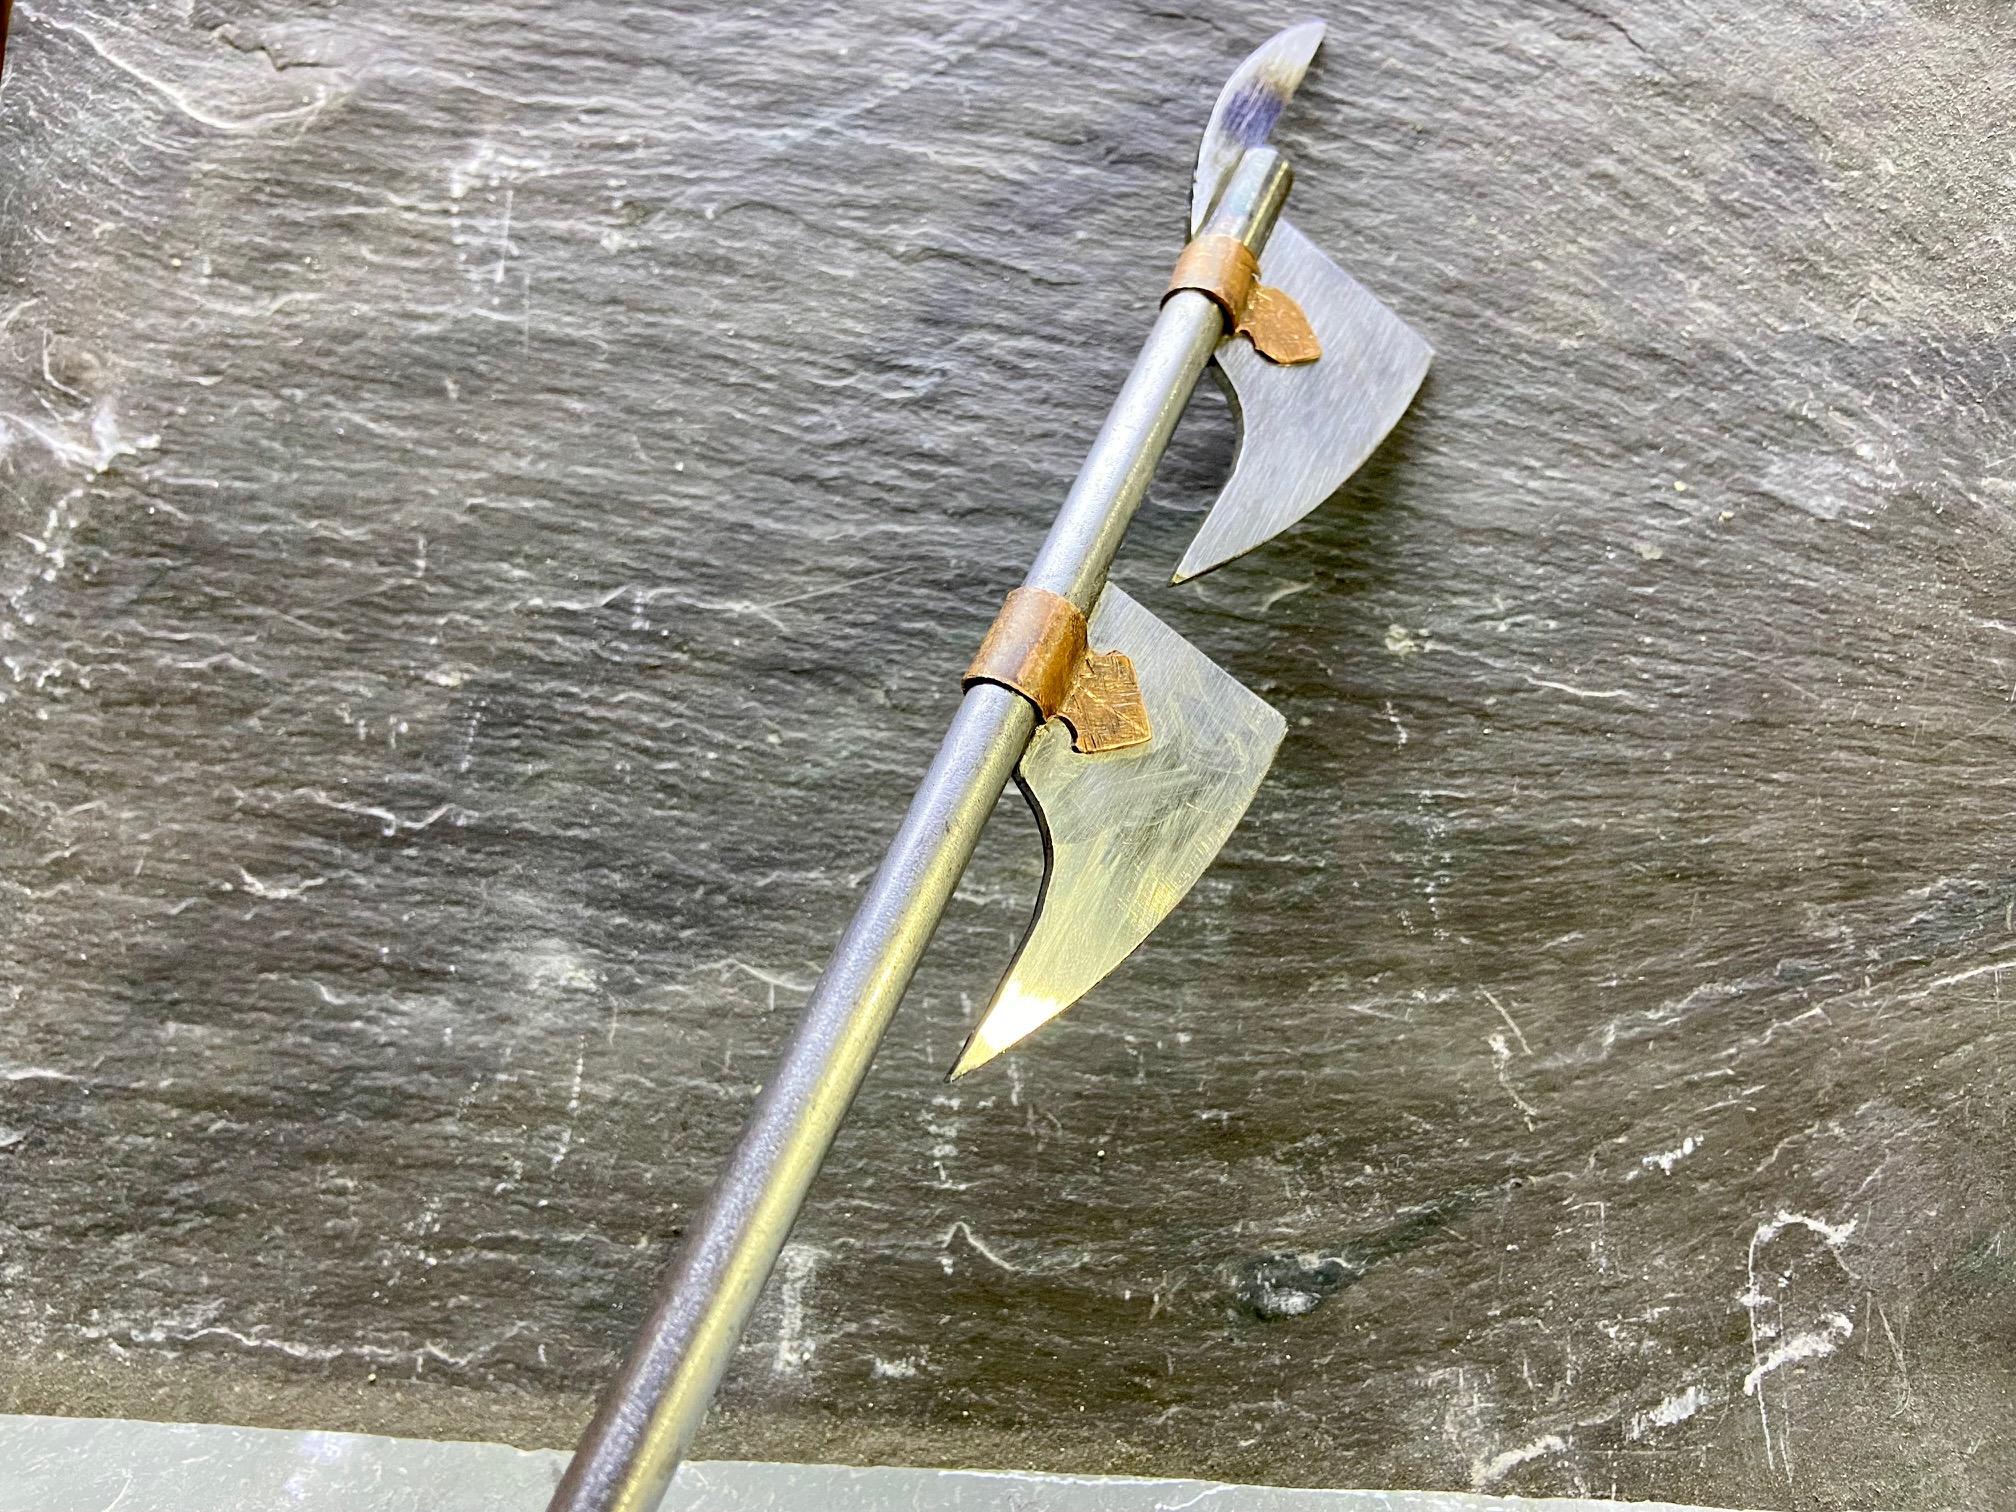
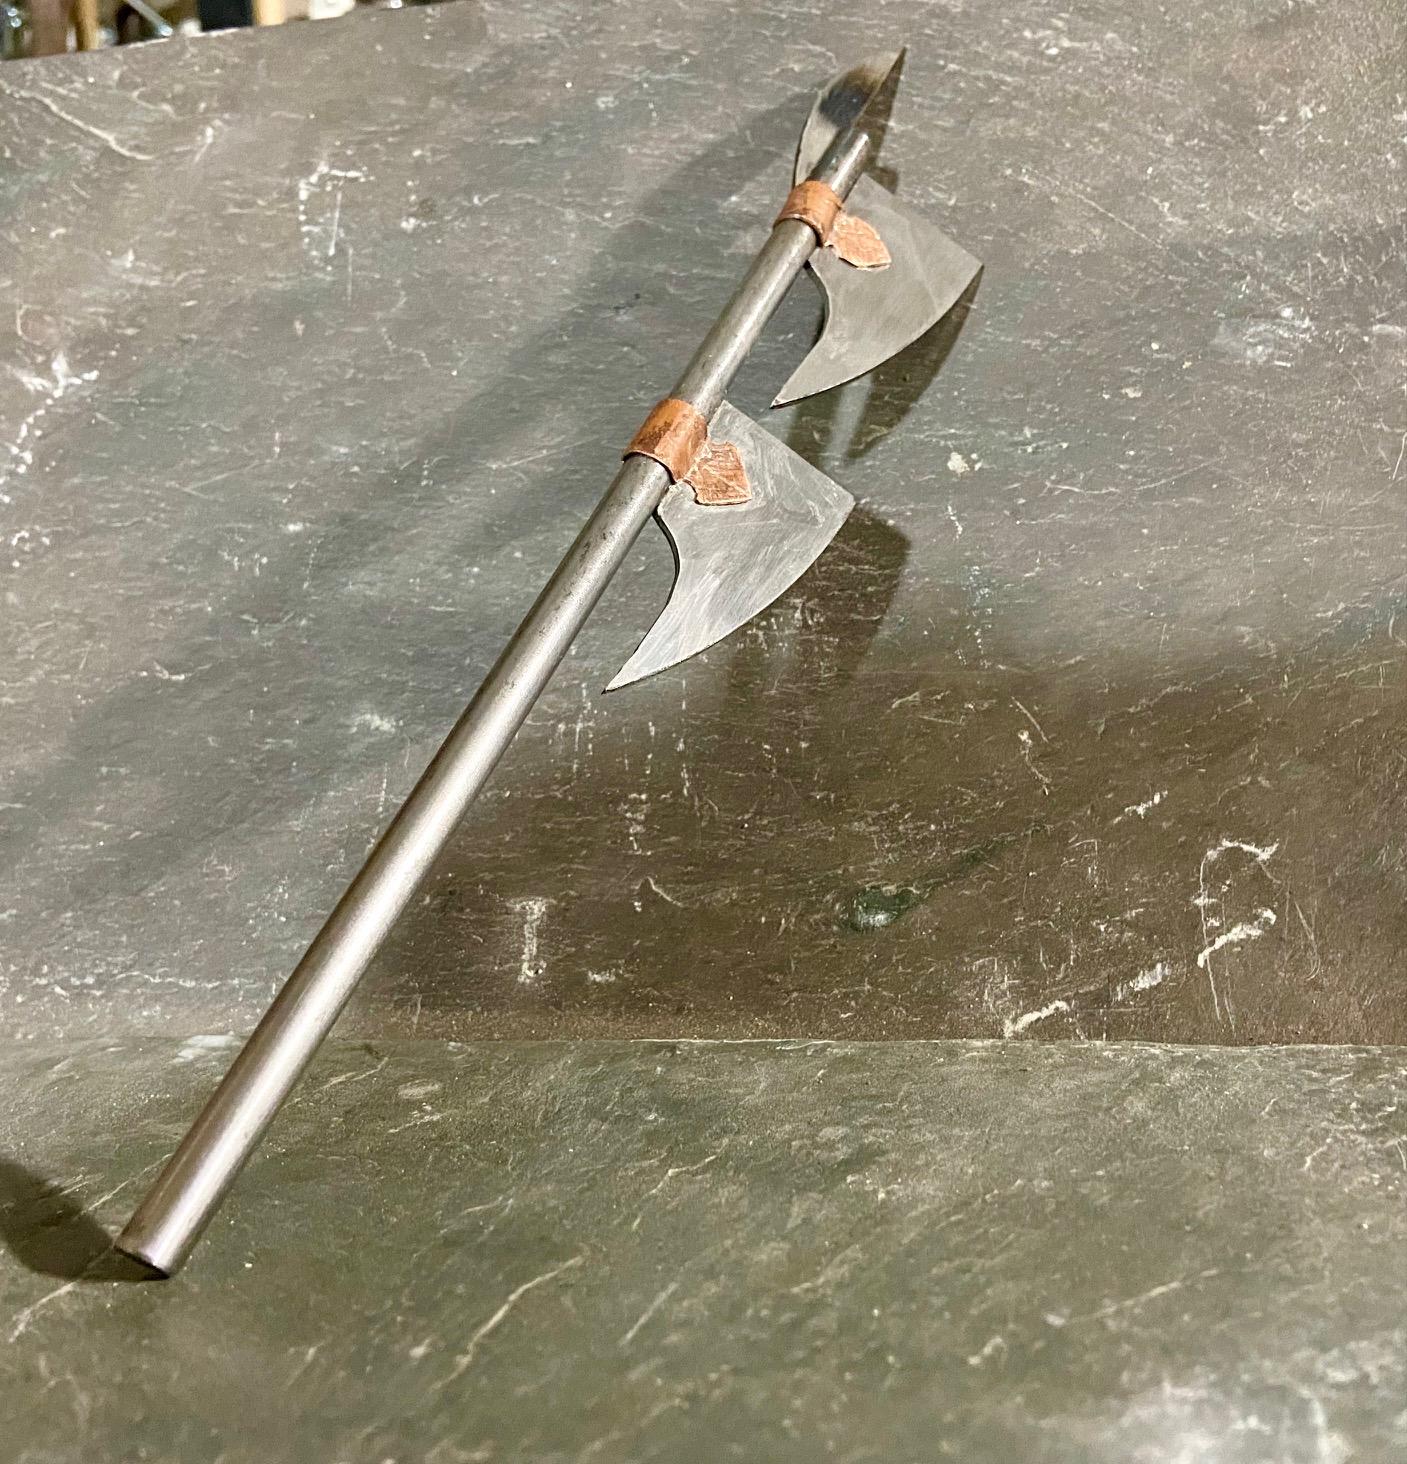
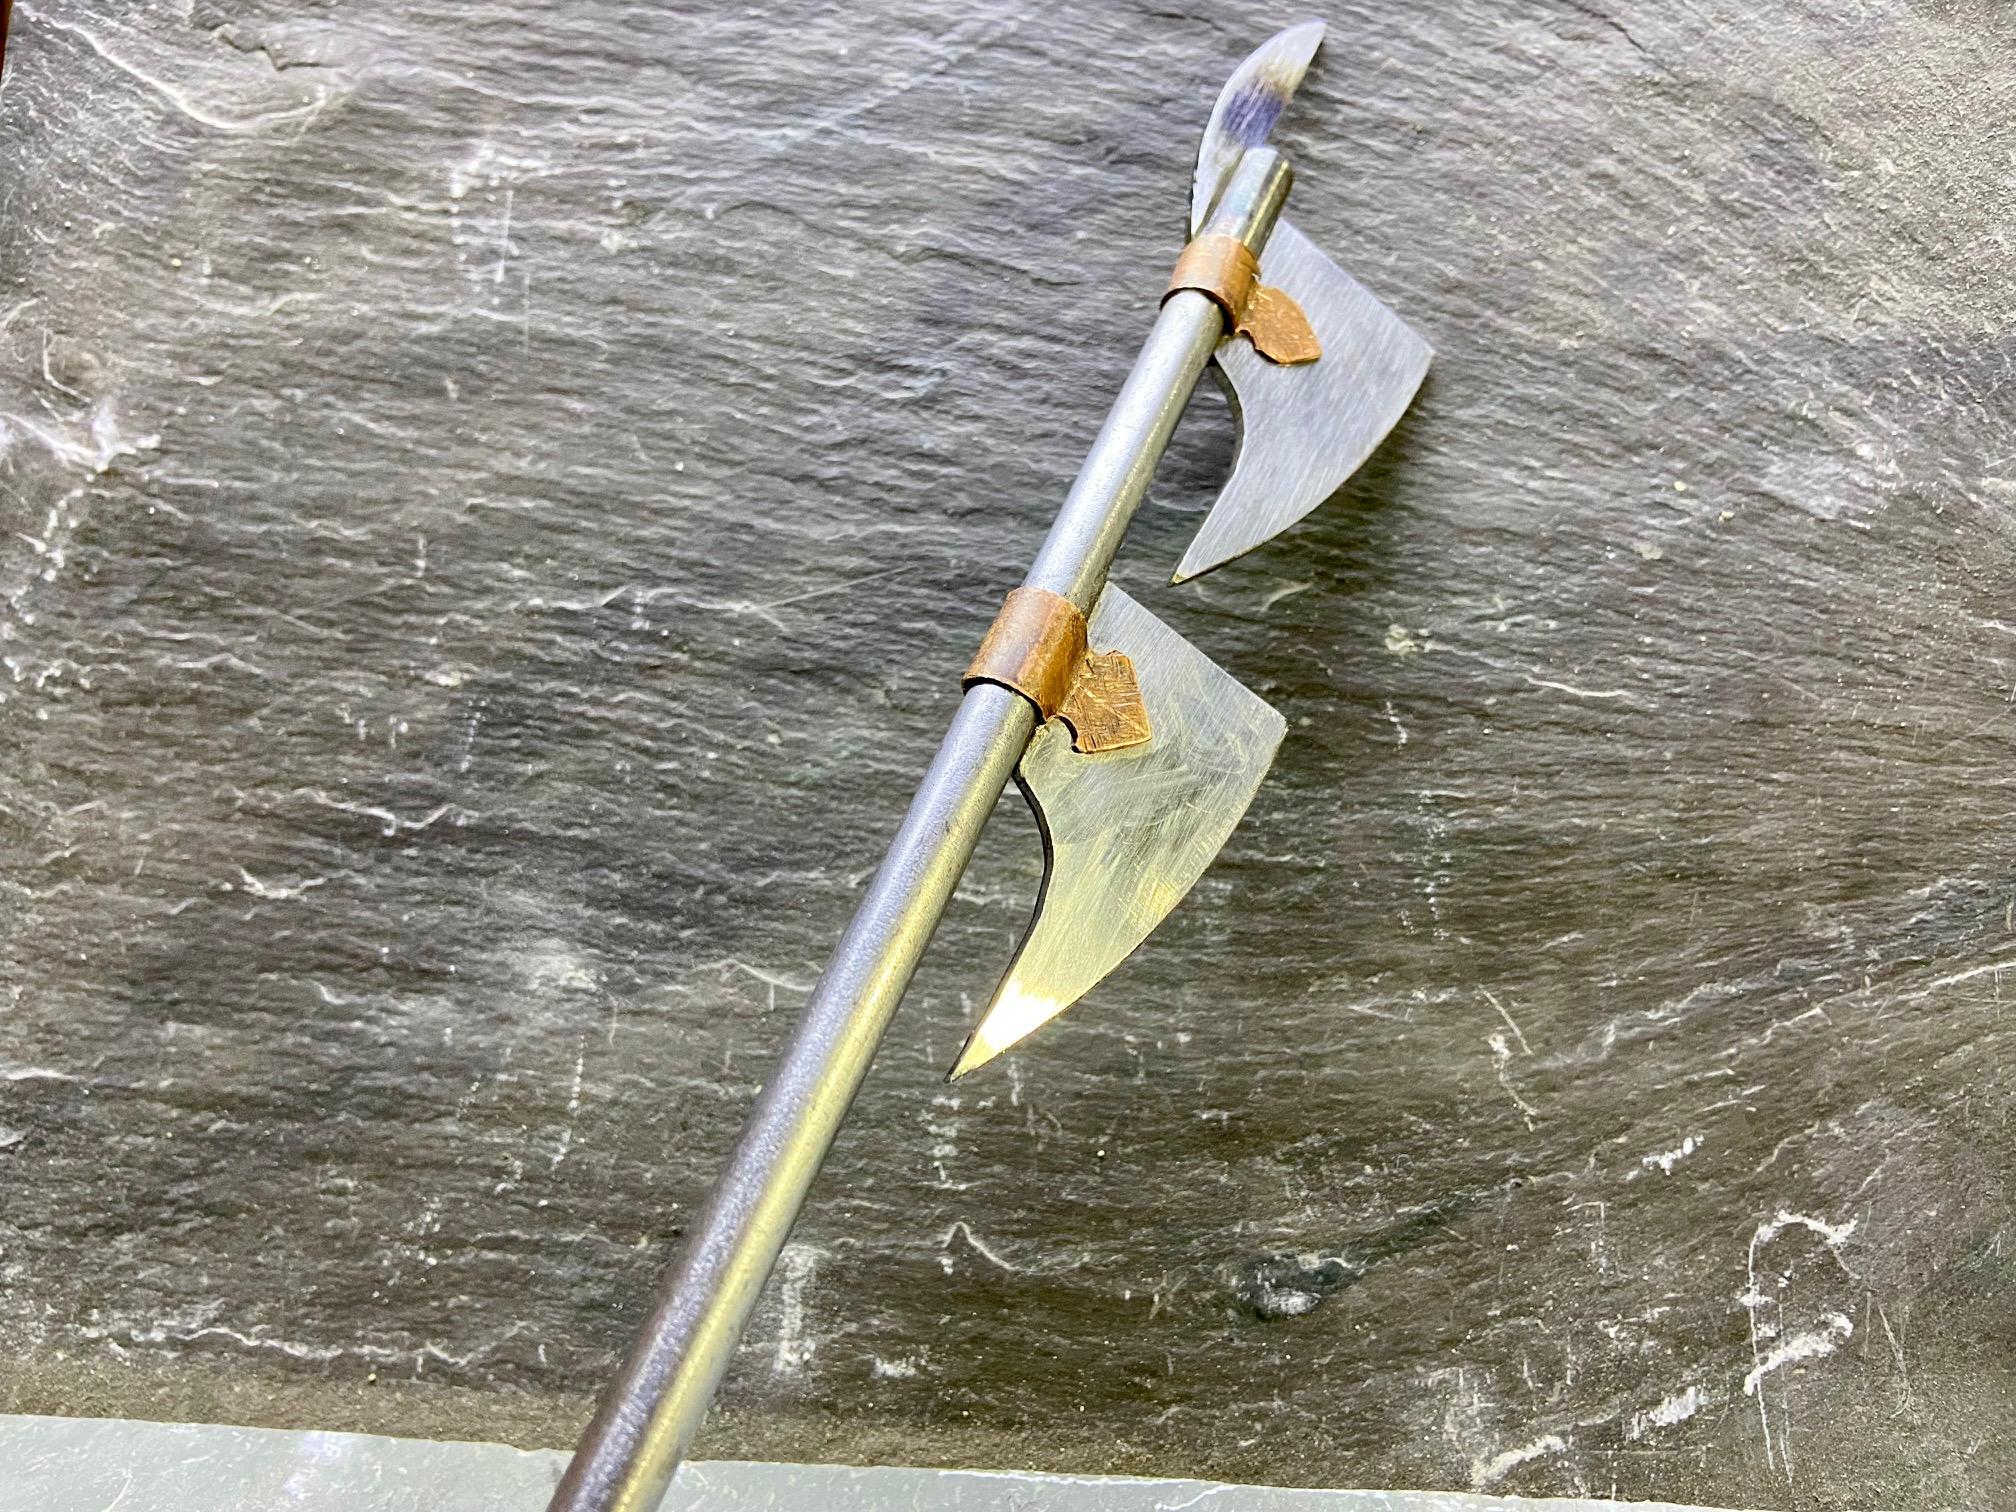
Pics 6-7 show the completed project and overall I am pleased. My hail Mary would have been to use a wooden handle but I am happy that I stuck it out with it being all metal. I like the look of it better and hope that years of tarnish will age it well. I figure that will do the replica justice!
I am glad you made it this far in my Instructable and hope this helps you find inspiration for a replica you would like to make. See you on the next one!