No Electricity Needed: Make Your Own Hand-Powered Fan
by Craft_and_Chaos in Craft > Cardboard
103 Views, 0 Favorites, 0 Comments
No Electricity Needed: Make Your Own Hand-Powered Fan
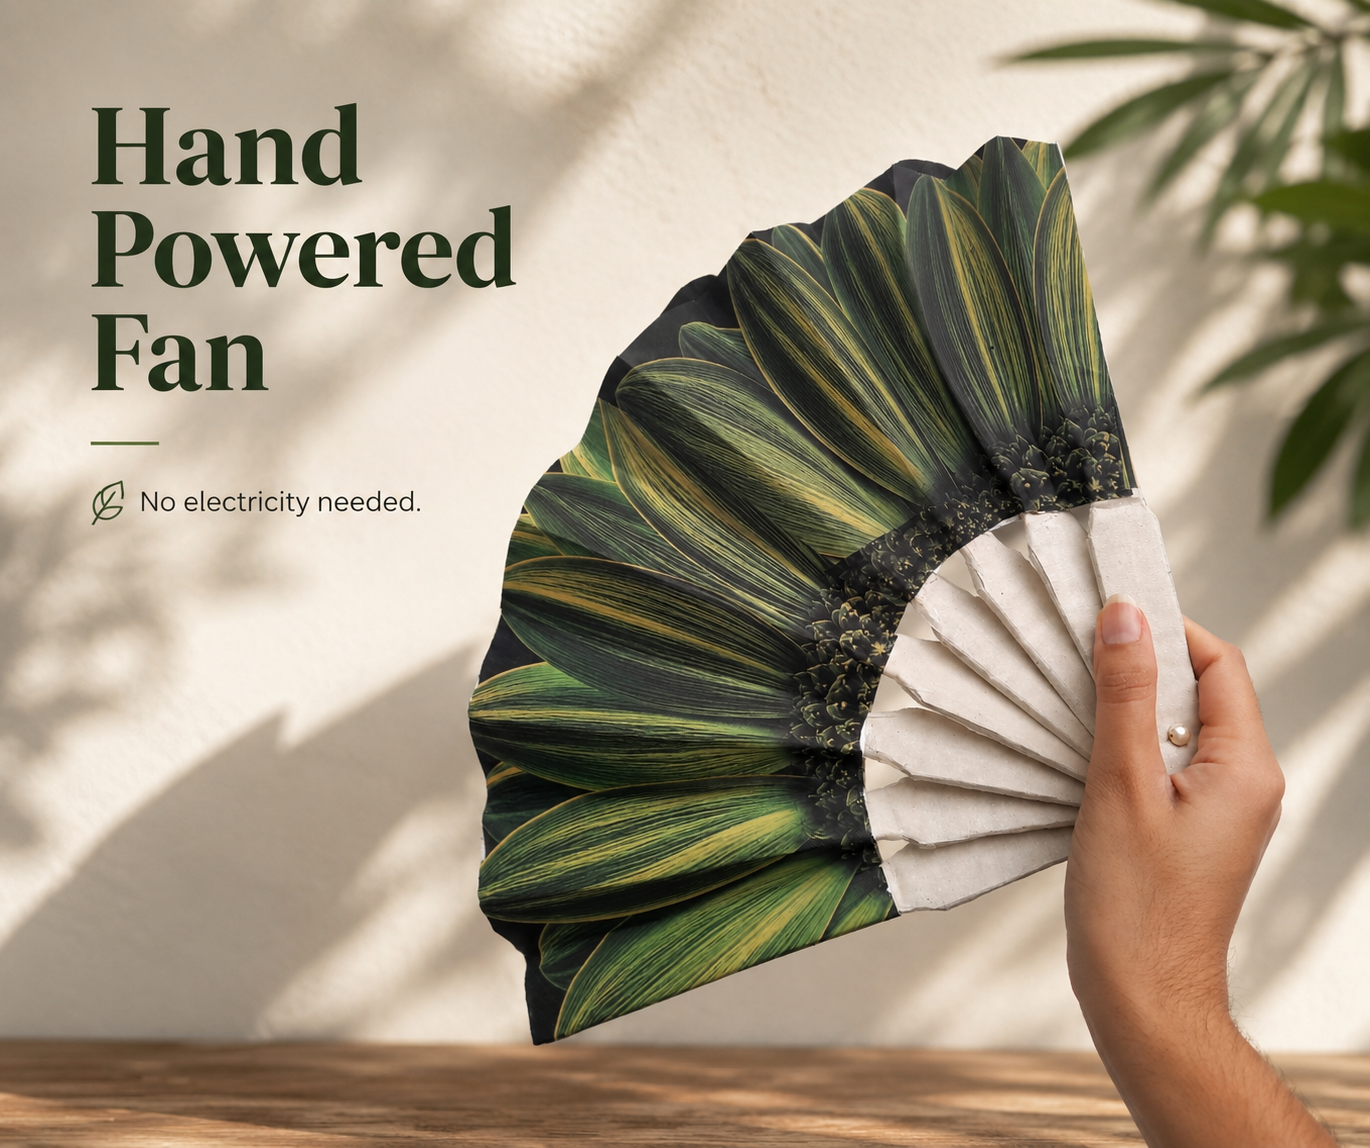
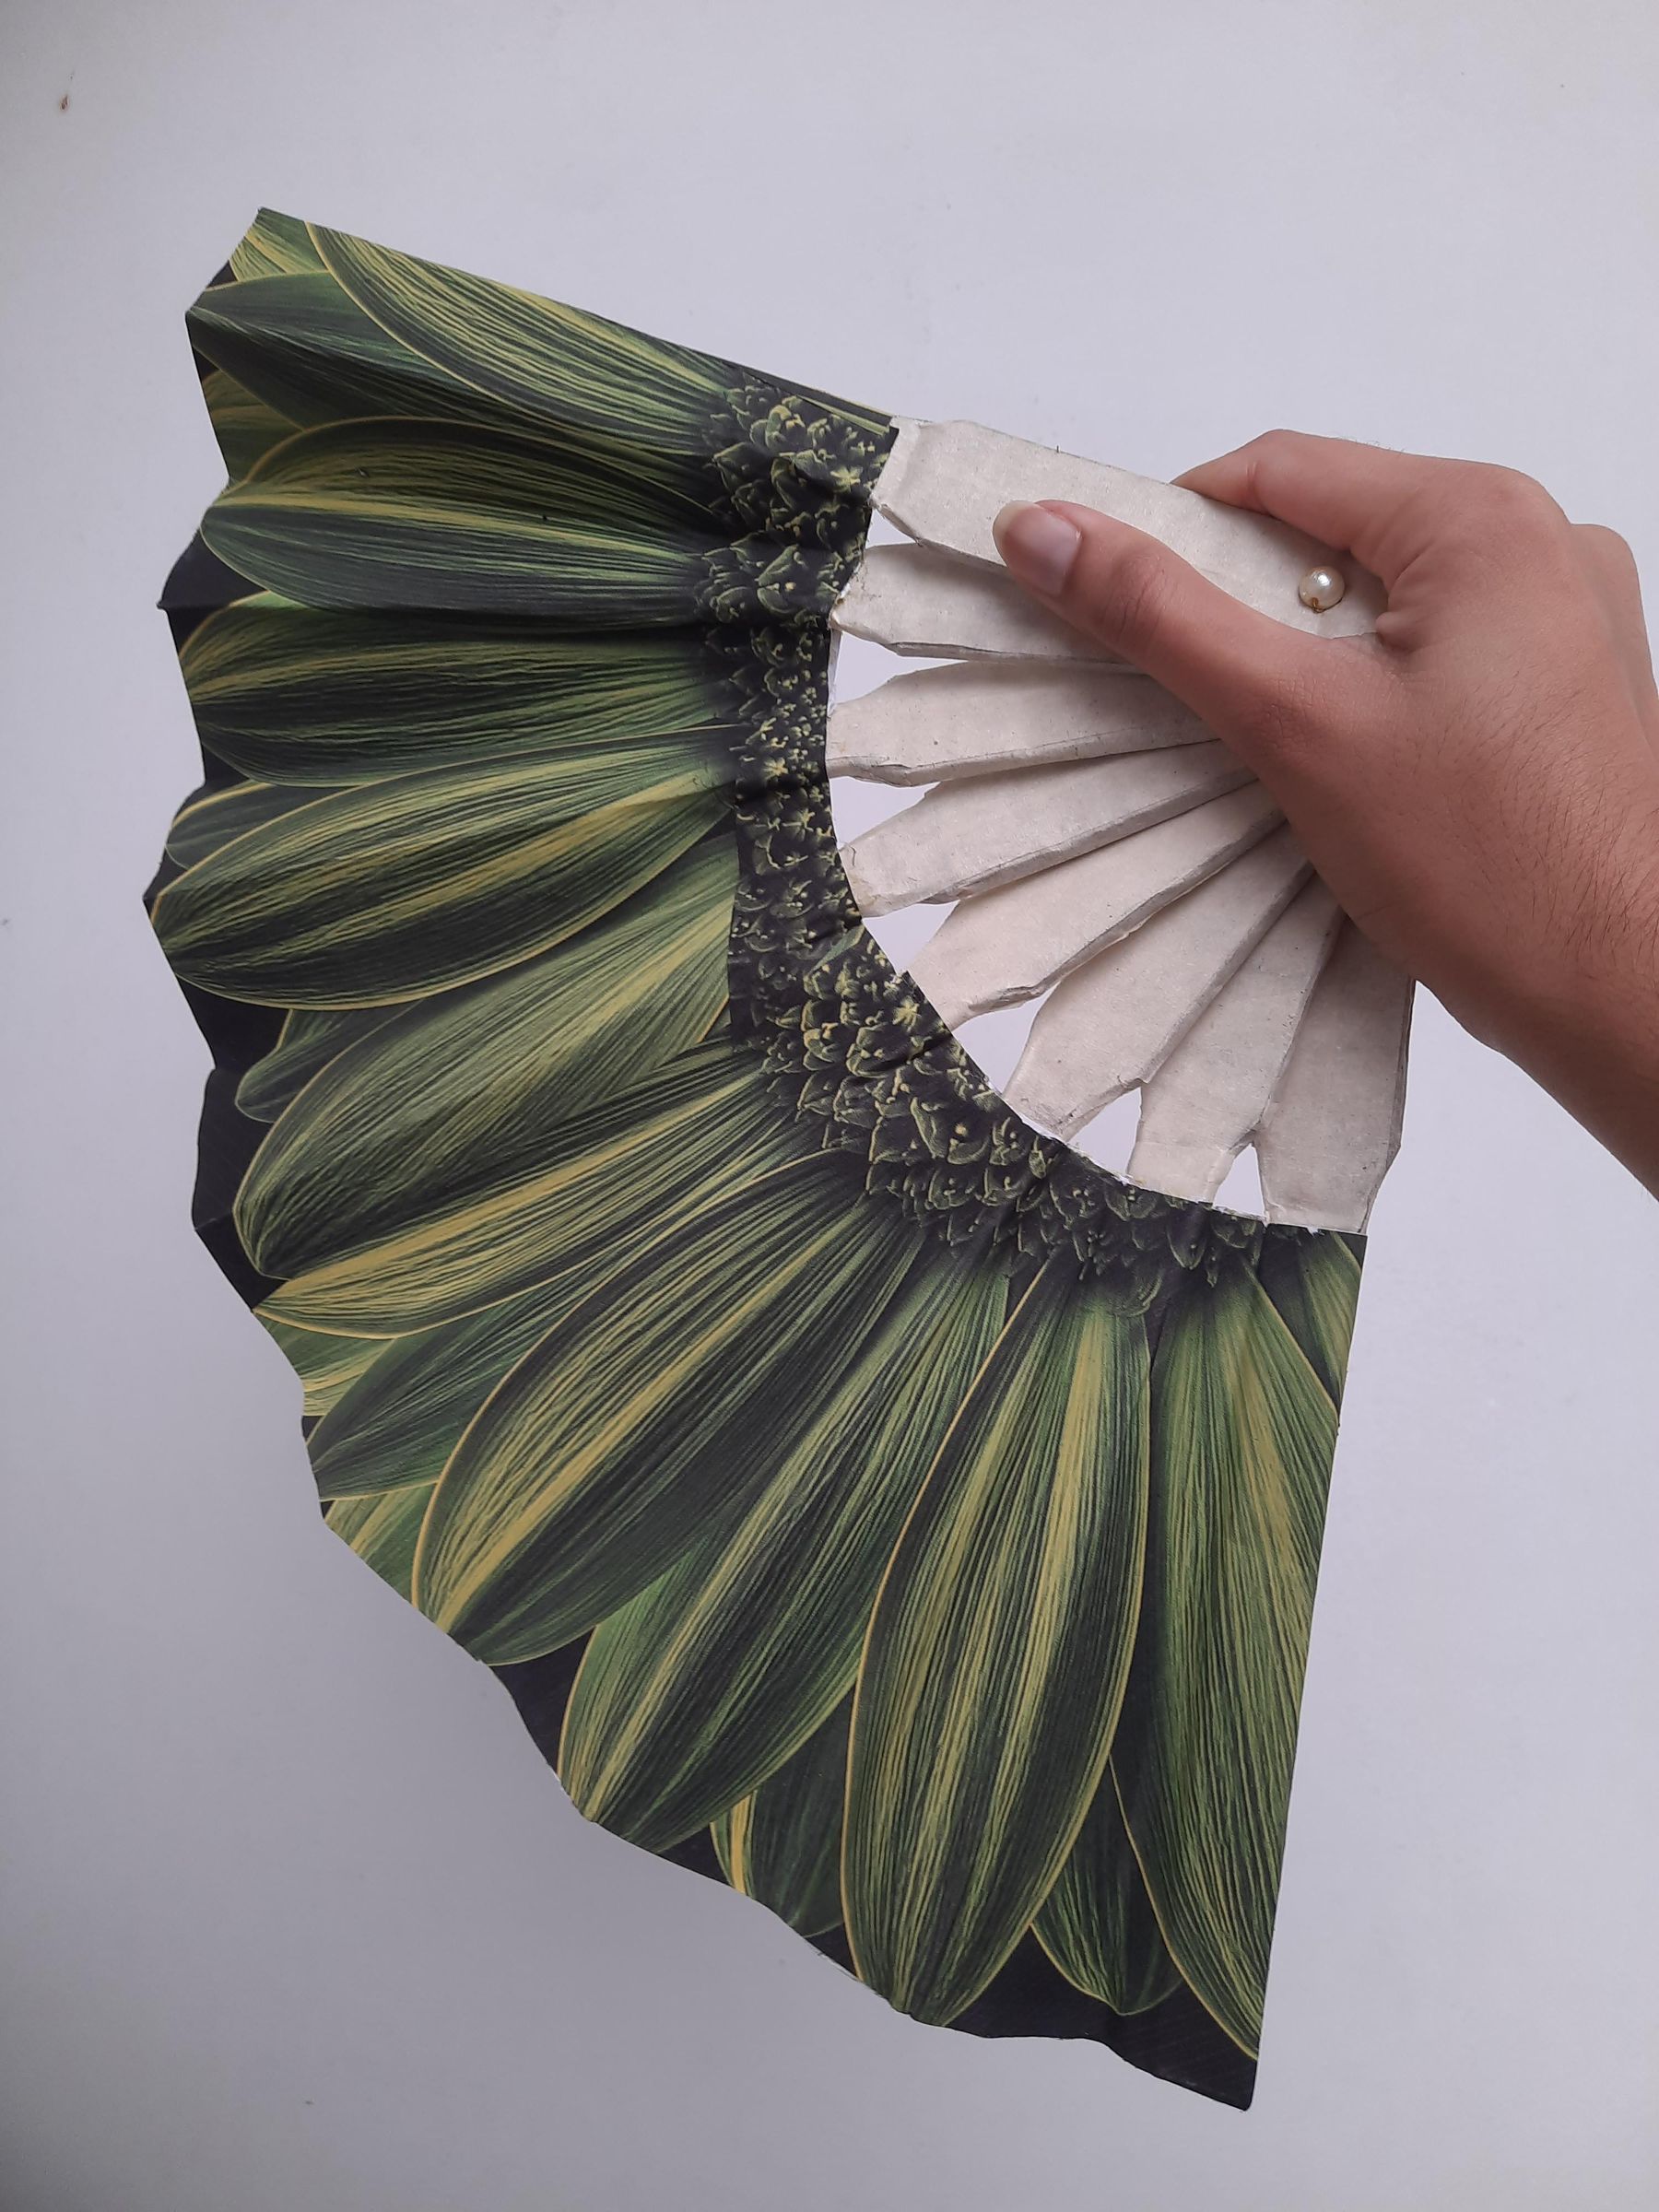
What if you could carry a fan anywhere without worrying about electricity, batteries, or even its weight?
I wanted to make a simple personal fan that could be used during power cuts, while travelling, camping, outdoors, or anywhere electricity isn't available. So I made this hand-powered folding fan using lightweight cardboard and paper. It needs no electricity, battery, motor, or charging... just your hand to create the airflow.
The fan is compact when folded, so it can easily be carried in a bag and taken almost anywhere. Because it is made from lightweight and inexpensive materials, it costs very little to make and can be recreated at home using materials that are often already available.
The best part is that anyone can make one themselves without specialised tools or complicated electronics.
It is small, lightweight, portable, inexpensive, and completely off-grid.
When electricity isn't available, your hand is all the power this fan needs. 🌿
Sometimes the most sustainable machine is the one that doesn't need a machine at all. 🌱
Supplies
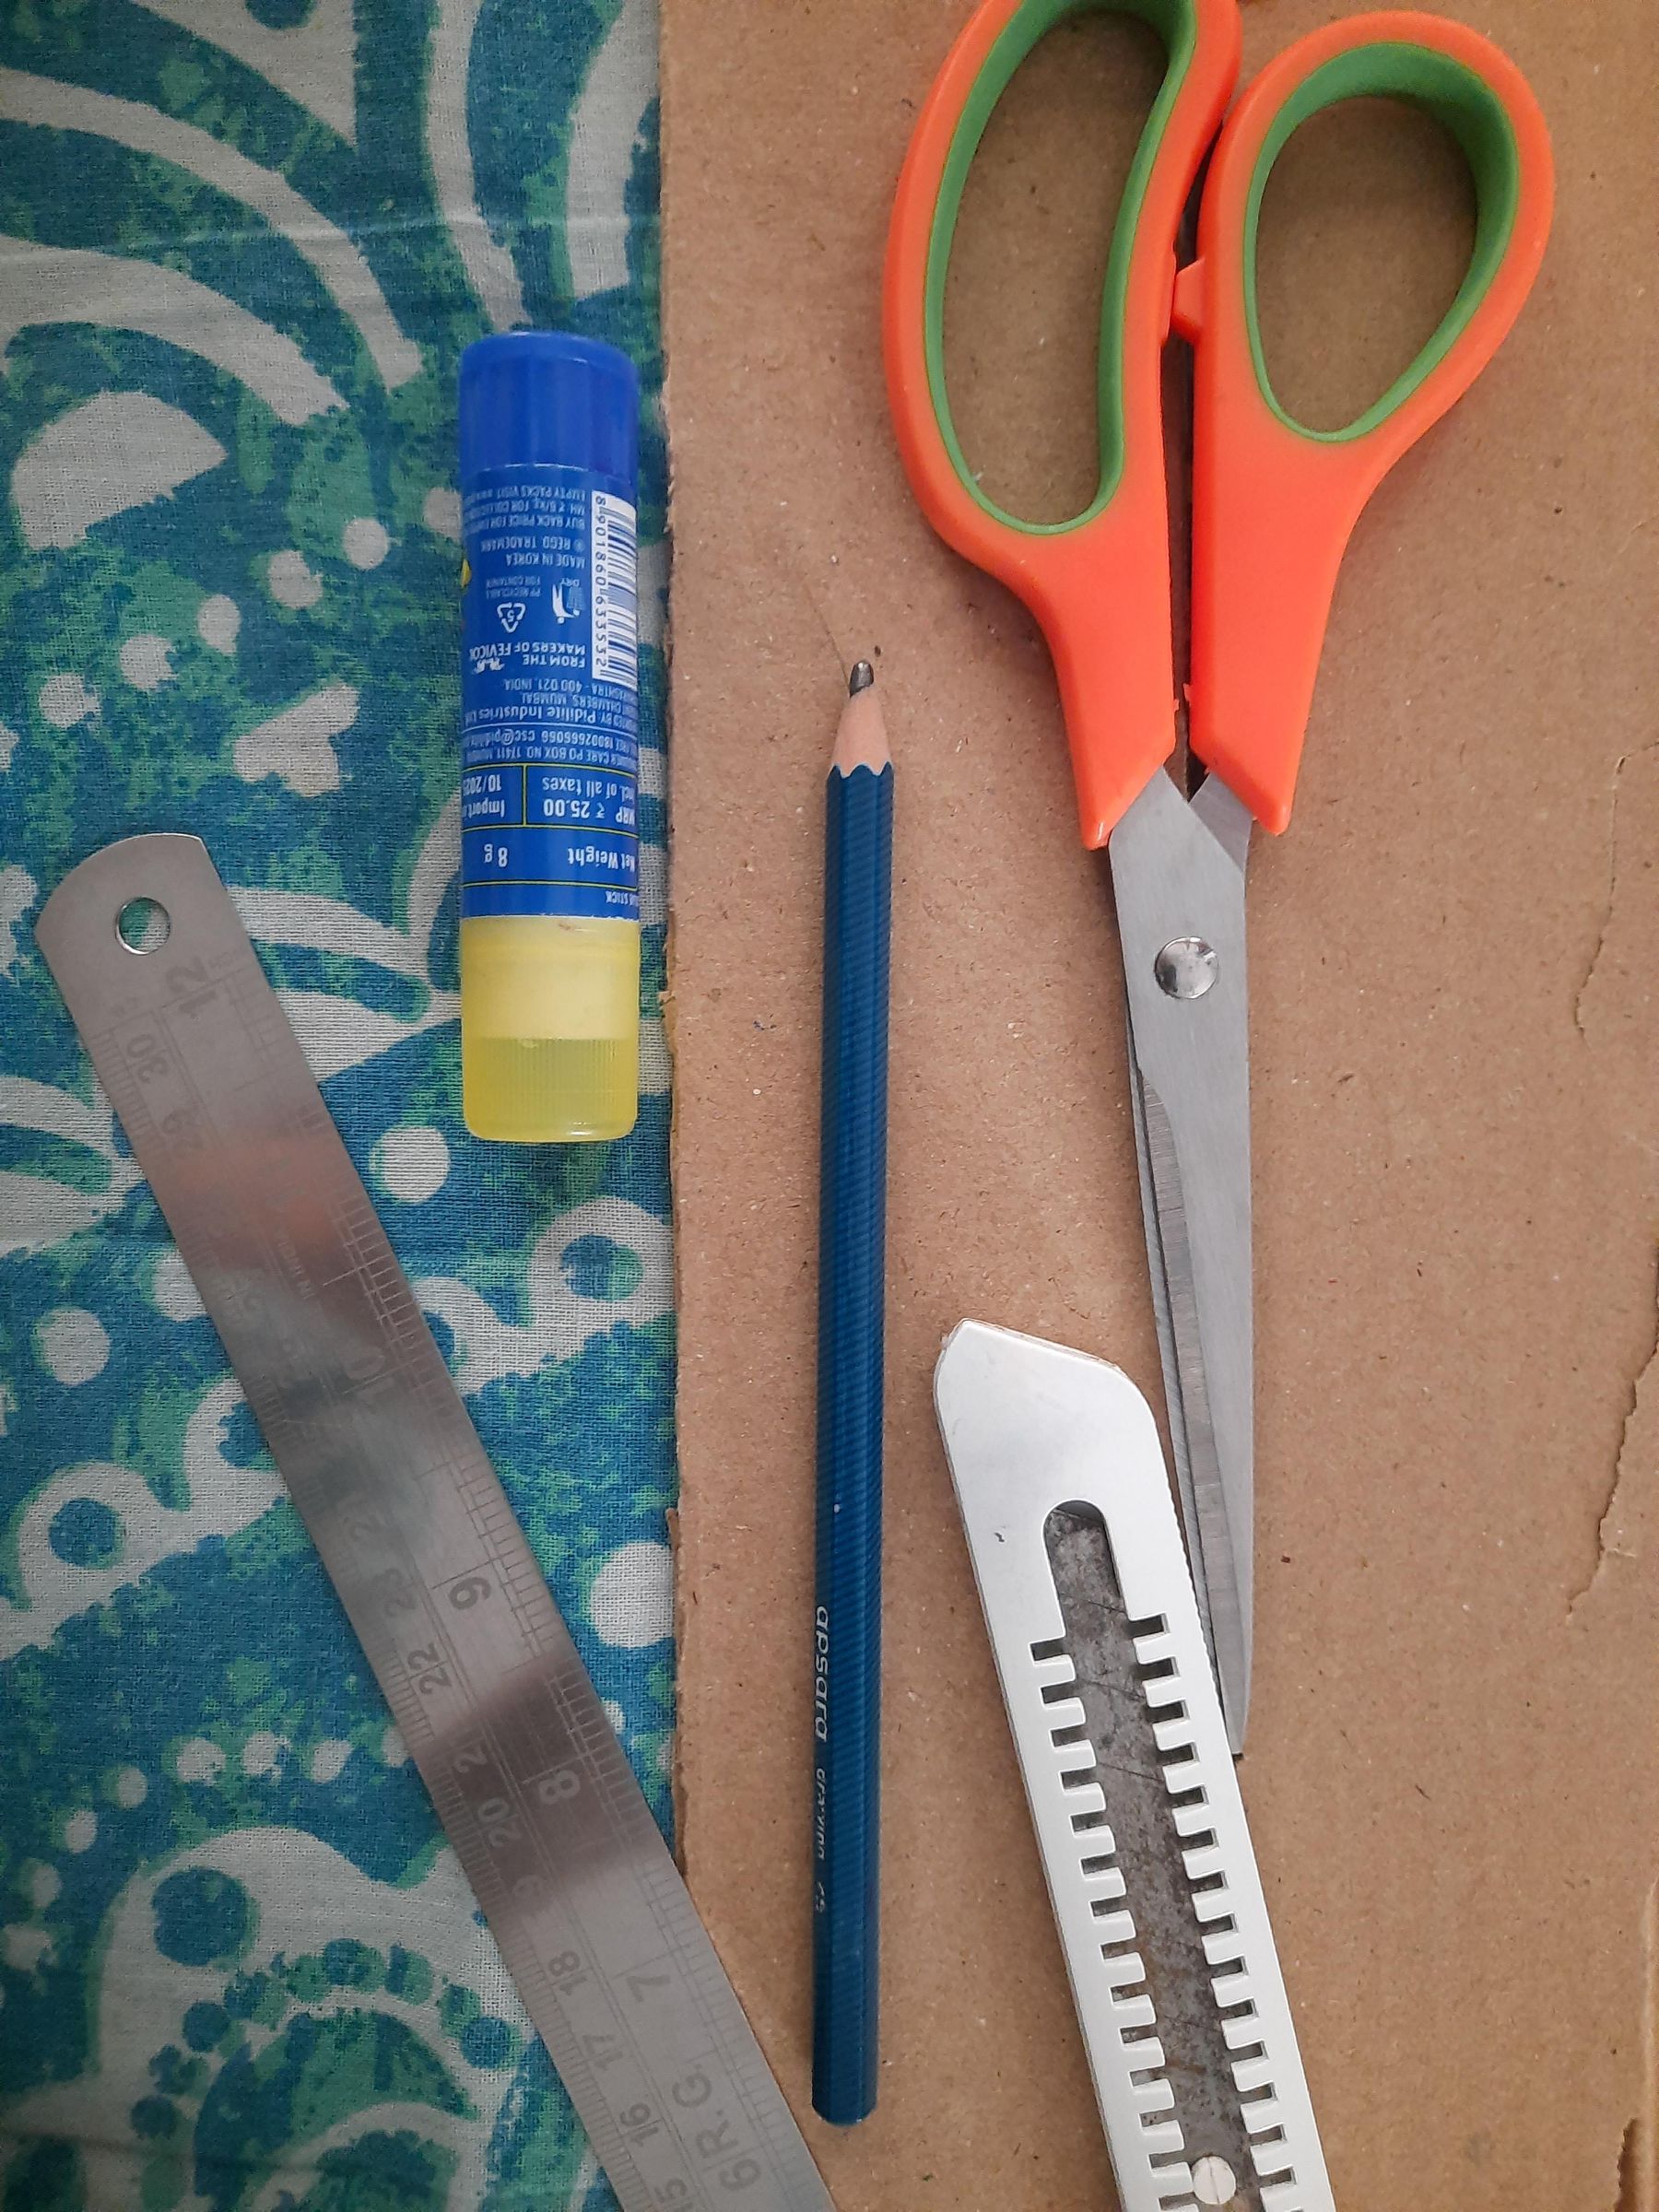
You'll need :
- Lightweight corrugated cardboard
- White paper or craft paper
- Glue
- Scissors/craft knife
- Pencil
- Ruler
- Hole punch or sharp tool
- Thread/wire
- Decorative paper for the final outer surface
Tip: Use lightweight cardboard rather than very thick packaging cardboard. The entire mechanism needs to move freely.
Measure and Mark the Cardboard
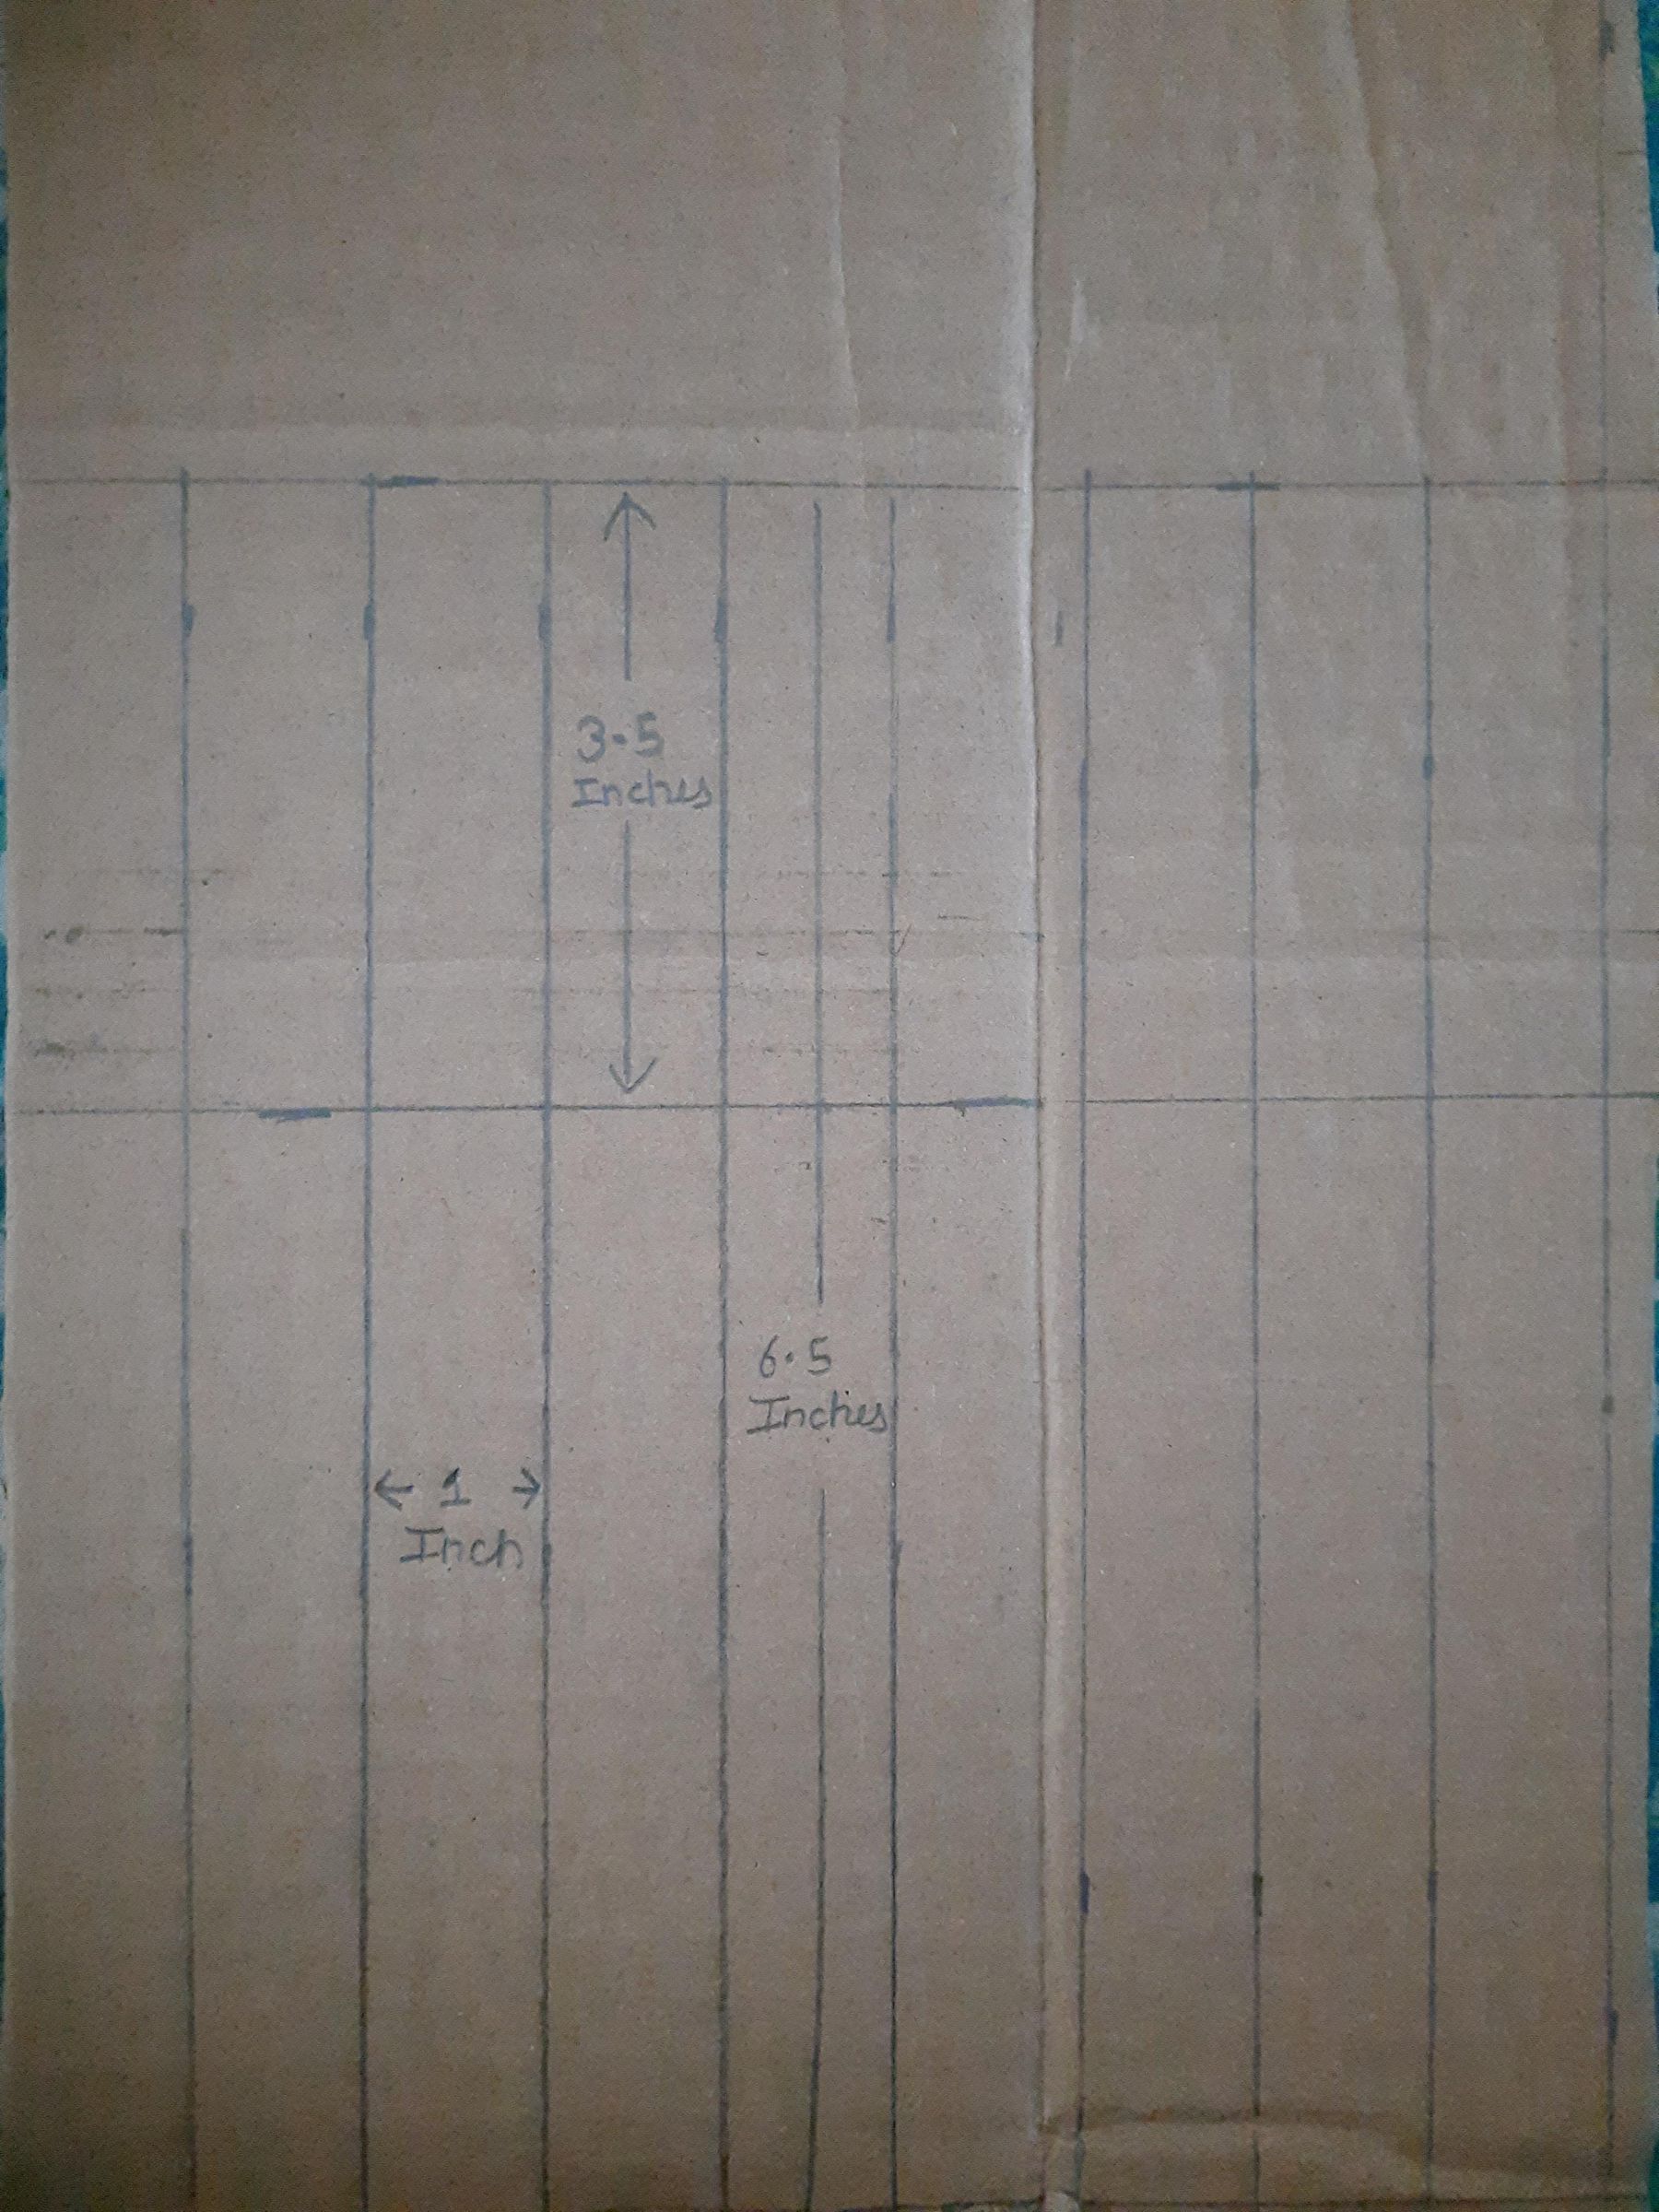
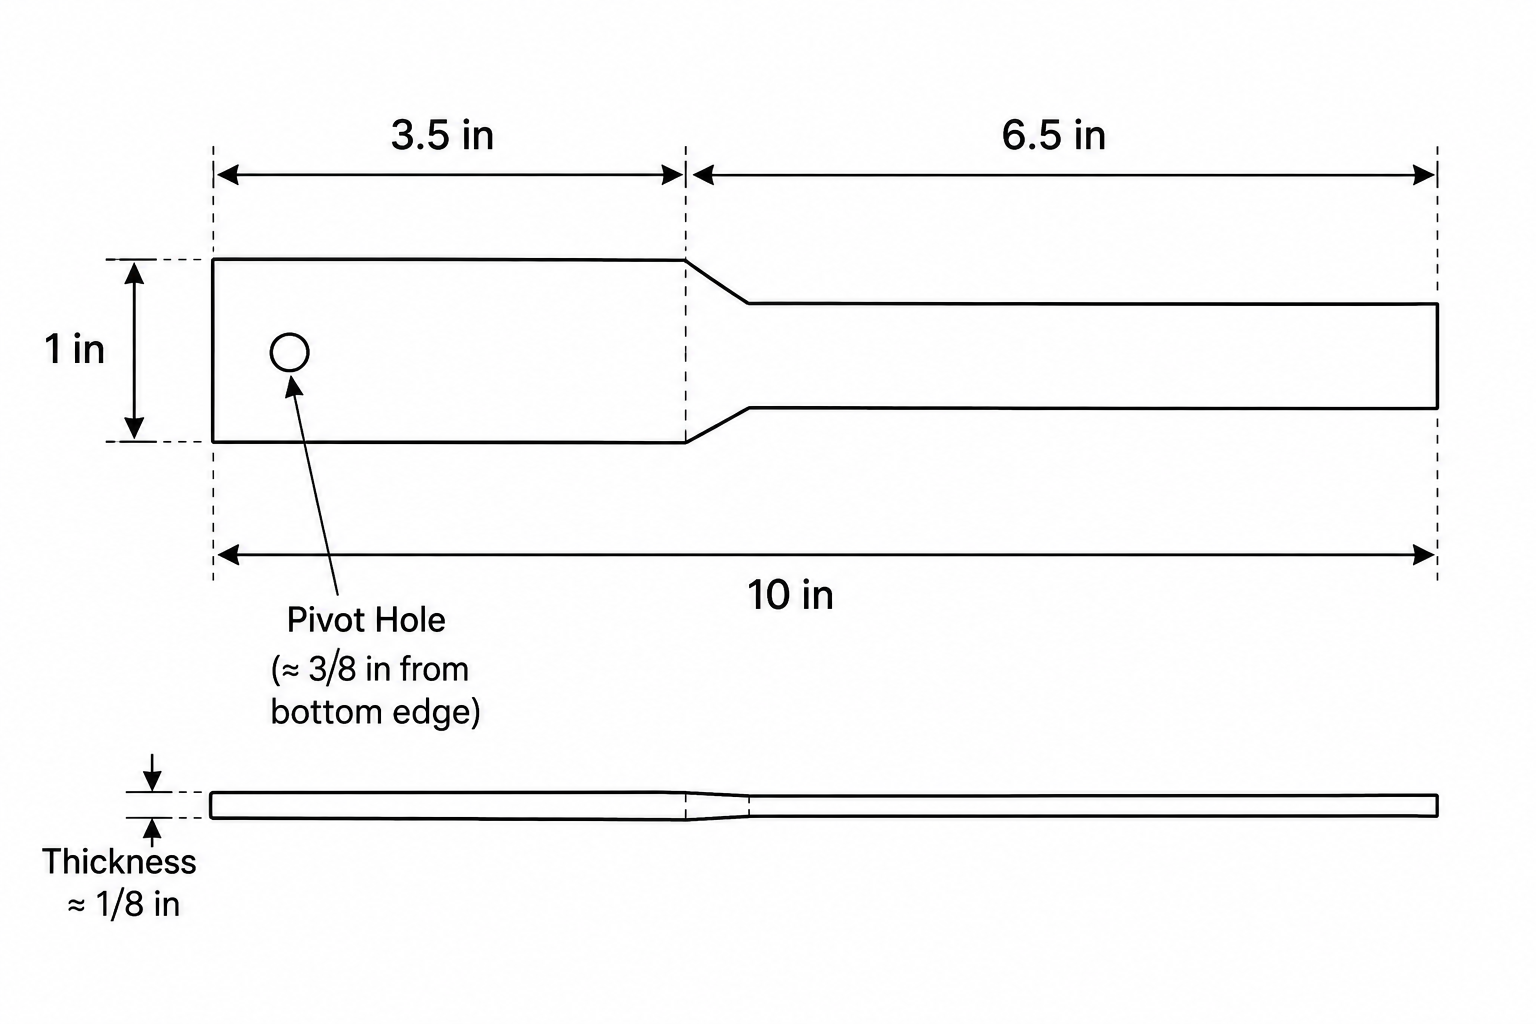
The dimensions:
- 3.5 inches — upper section
- 6.5 inches — lower/handle section
- 1 inch — strip width
Draw the strips on cardboard before cutting. Keeping the dimensions consistent is important because all the ribs need to align correctly around the central pivot.
Cut the Fan Ribs
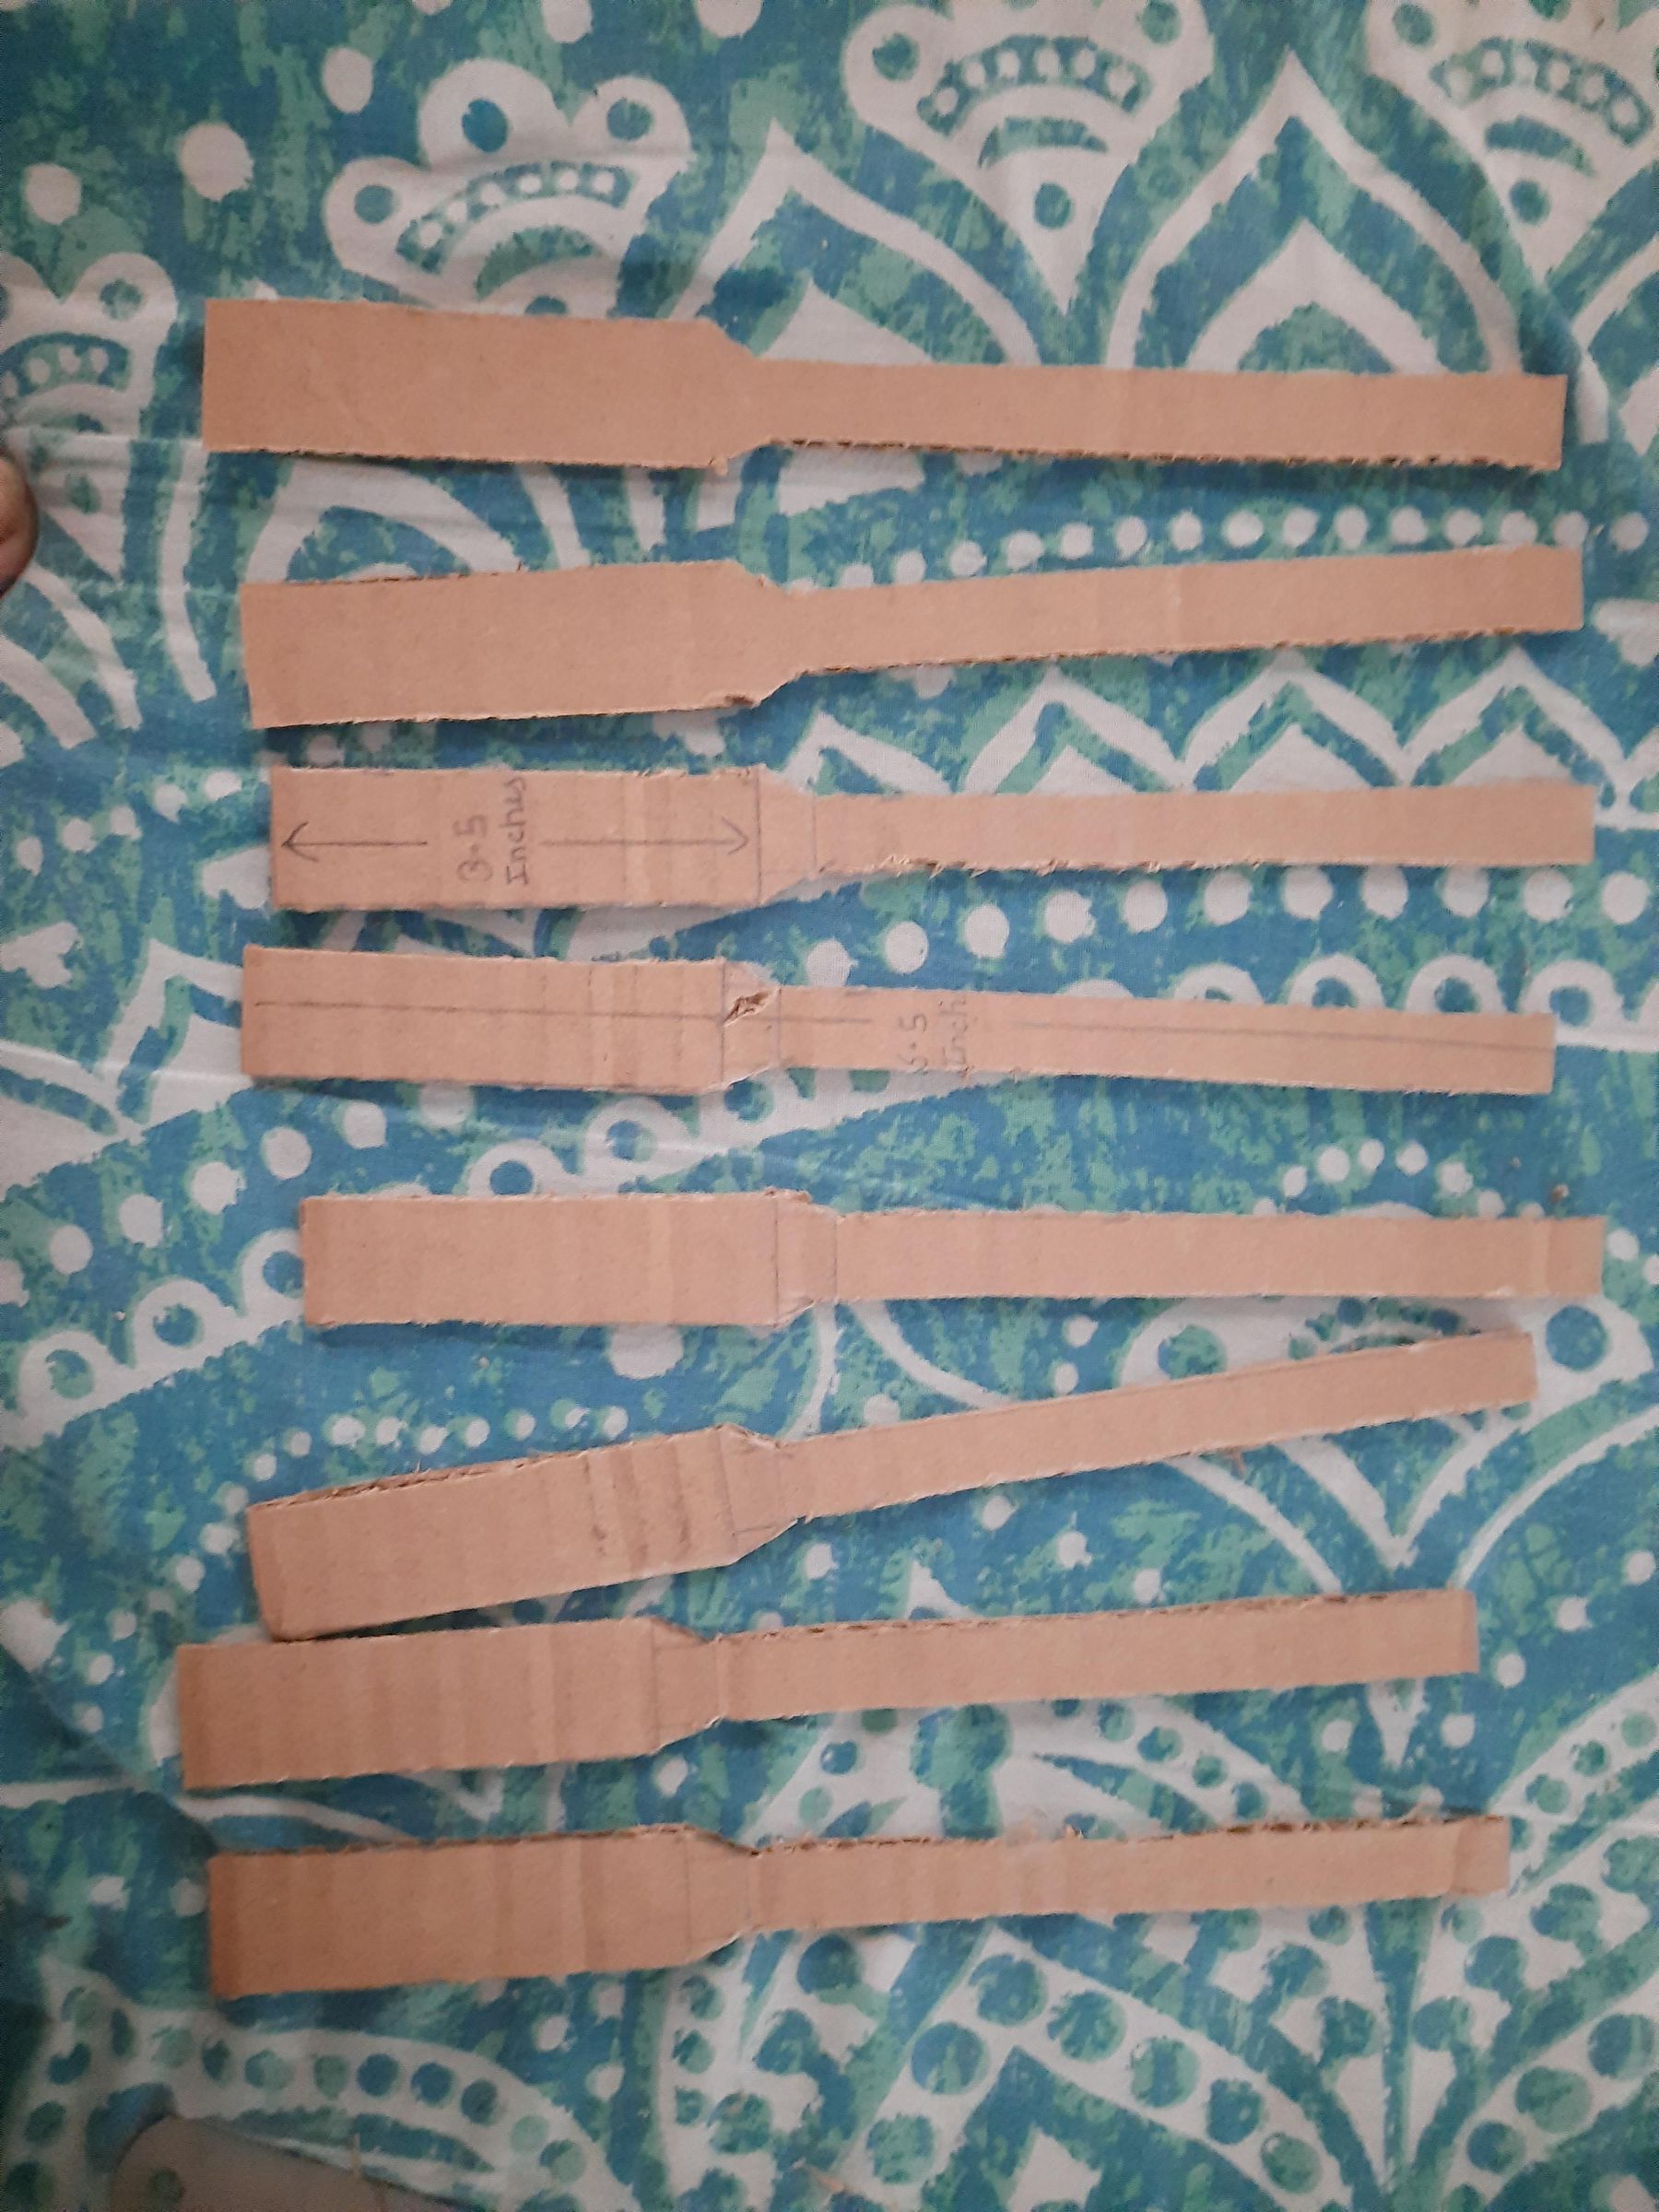
Cut several identical cardboard strips according to the template. The upper portion will eventually support the fan sheet, while the lower portion acts as the handle. The multiple ribs are later arranged around the central pivot.
Important: Try to make every rib as similar as possible. Small differences in length or shape can make the finished fan open unevenly.
Shape and Reinforce the Ribs
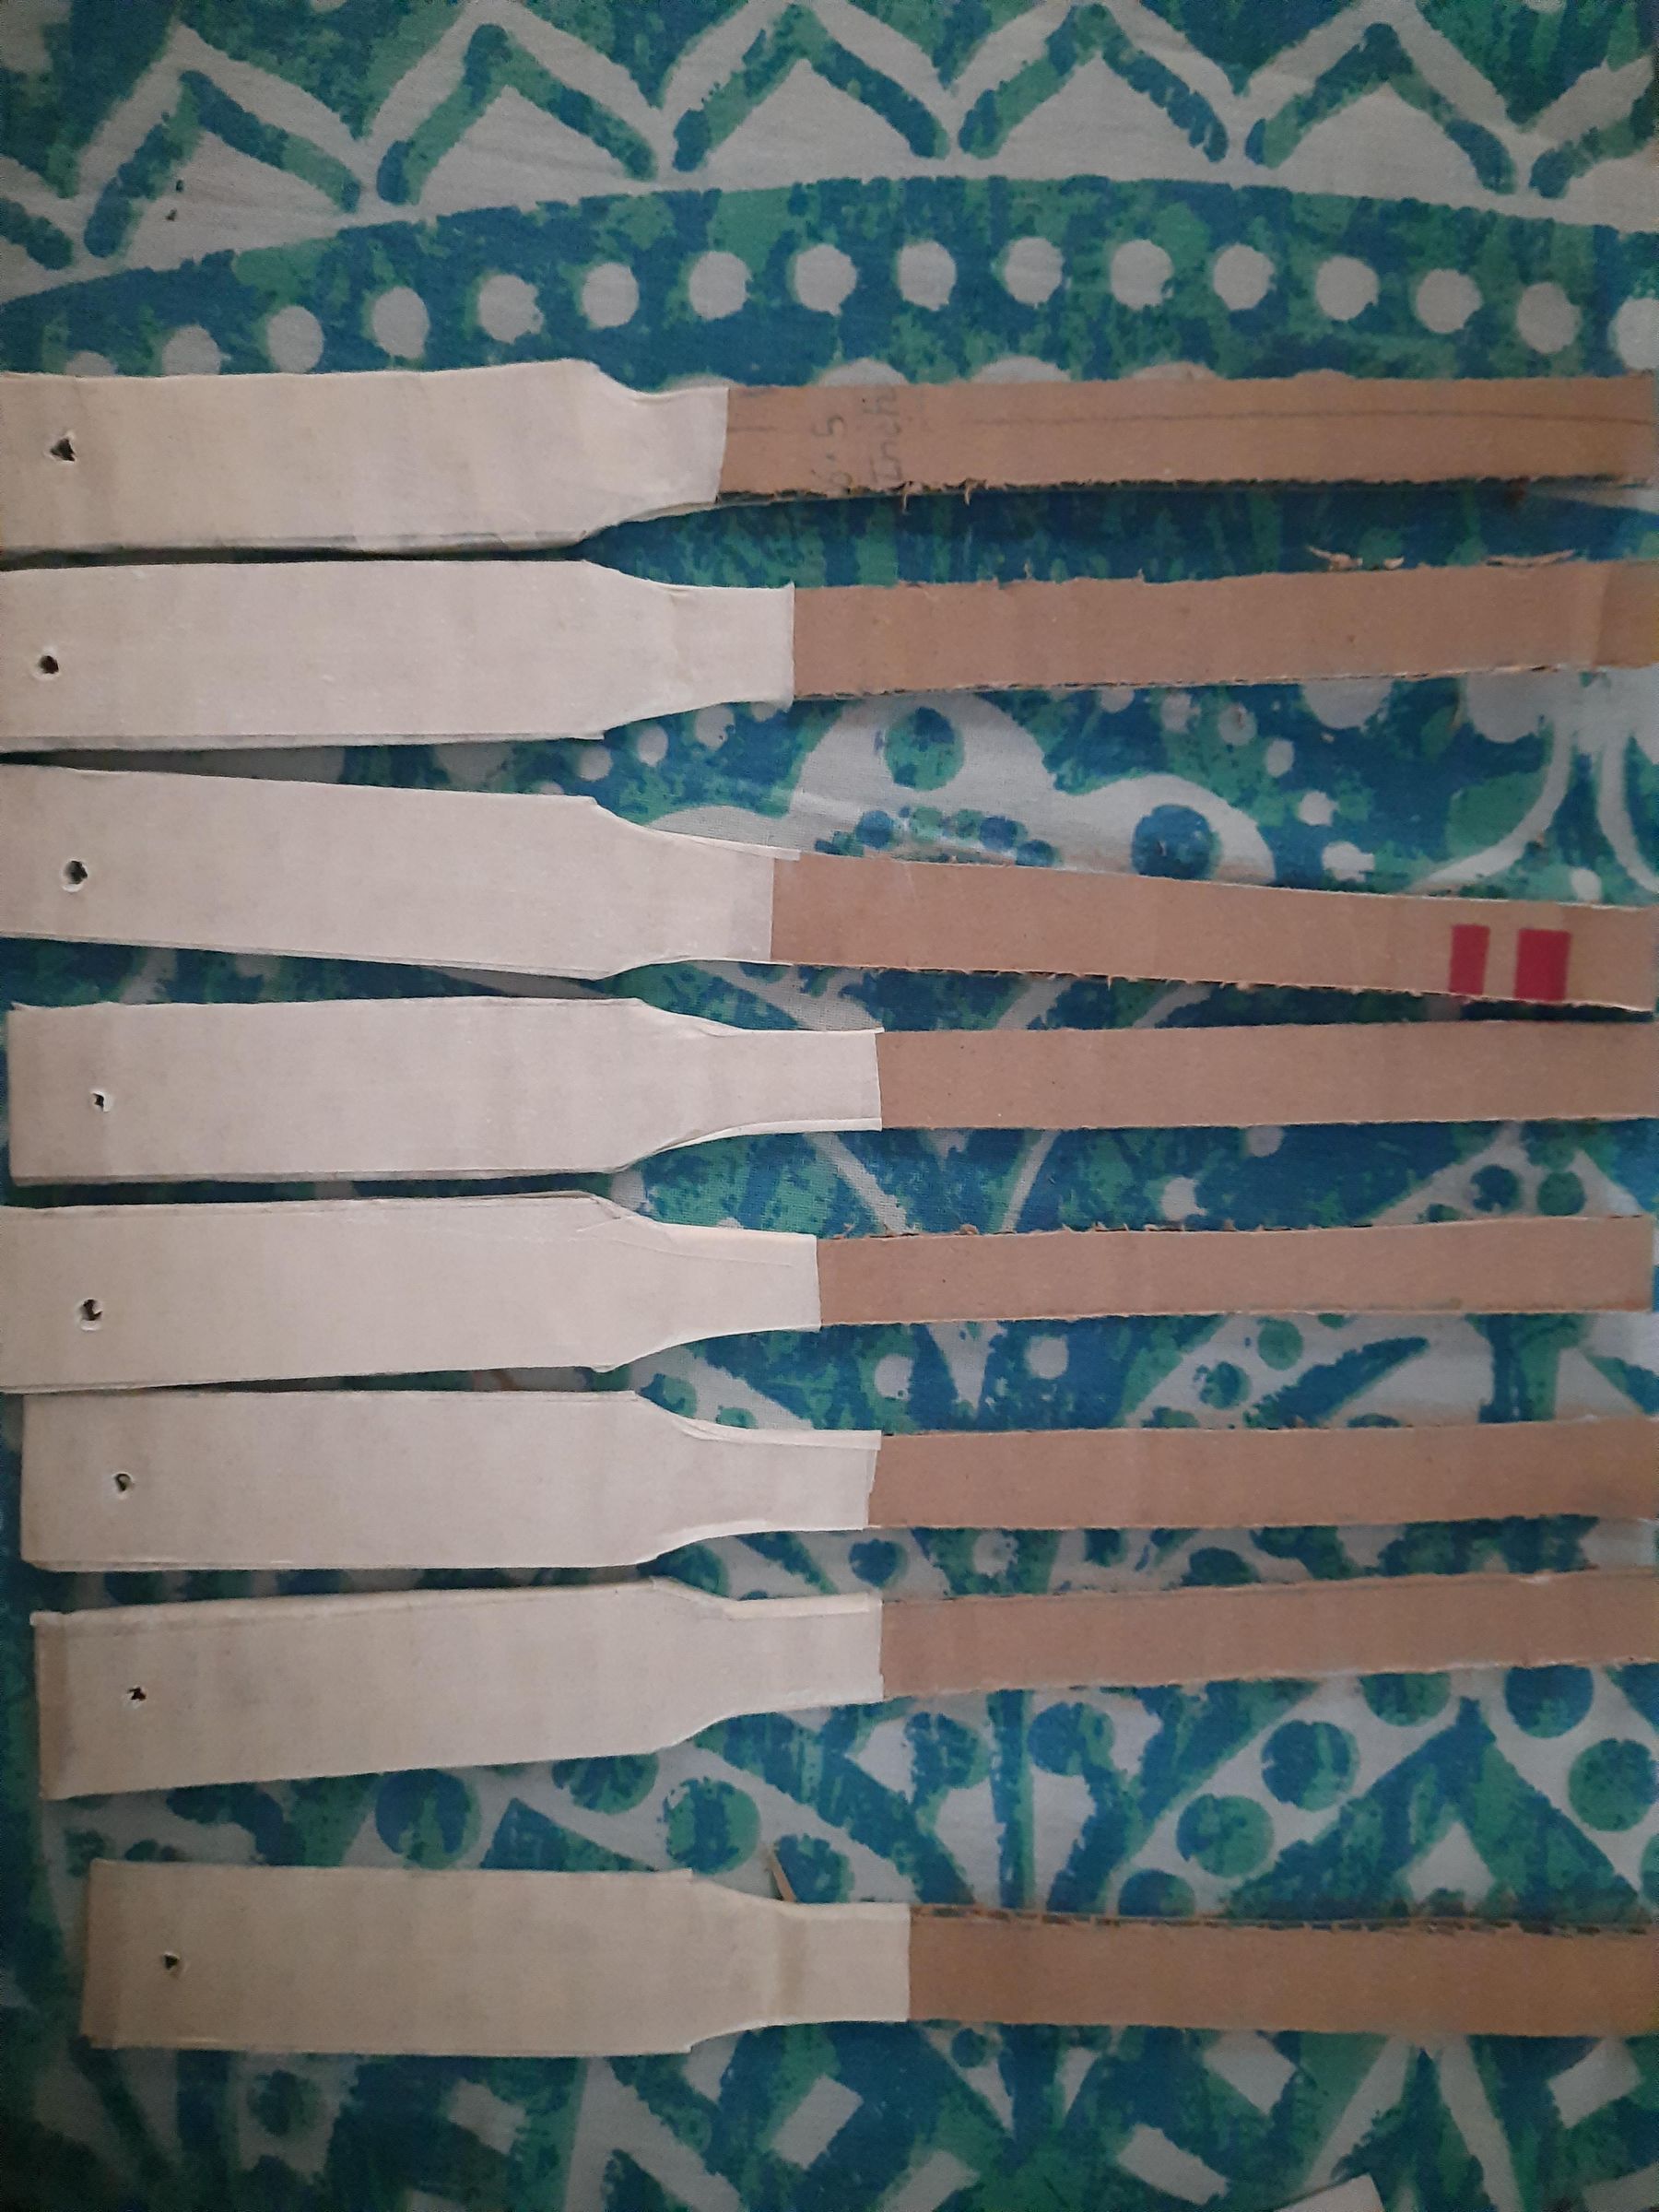
Now cover the wider handle sections with paper.
This does two things:
- gives the cardboard a cleaner finish
- reinforces the areas around the pivot and handle
You can also smooth the edges at this stage.
Cover the wider sections with paper and allow the adhesive to dry completely before assembling the ribs.
Make the Pivot Holes
Make one hole near the bottom of each rib.The holes must be positioned at approximately the same distance from the edge. This is important because all the ribs rotate around this common point.
Assemble the Ribs
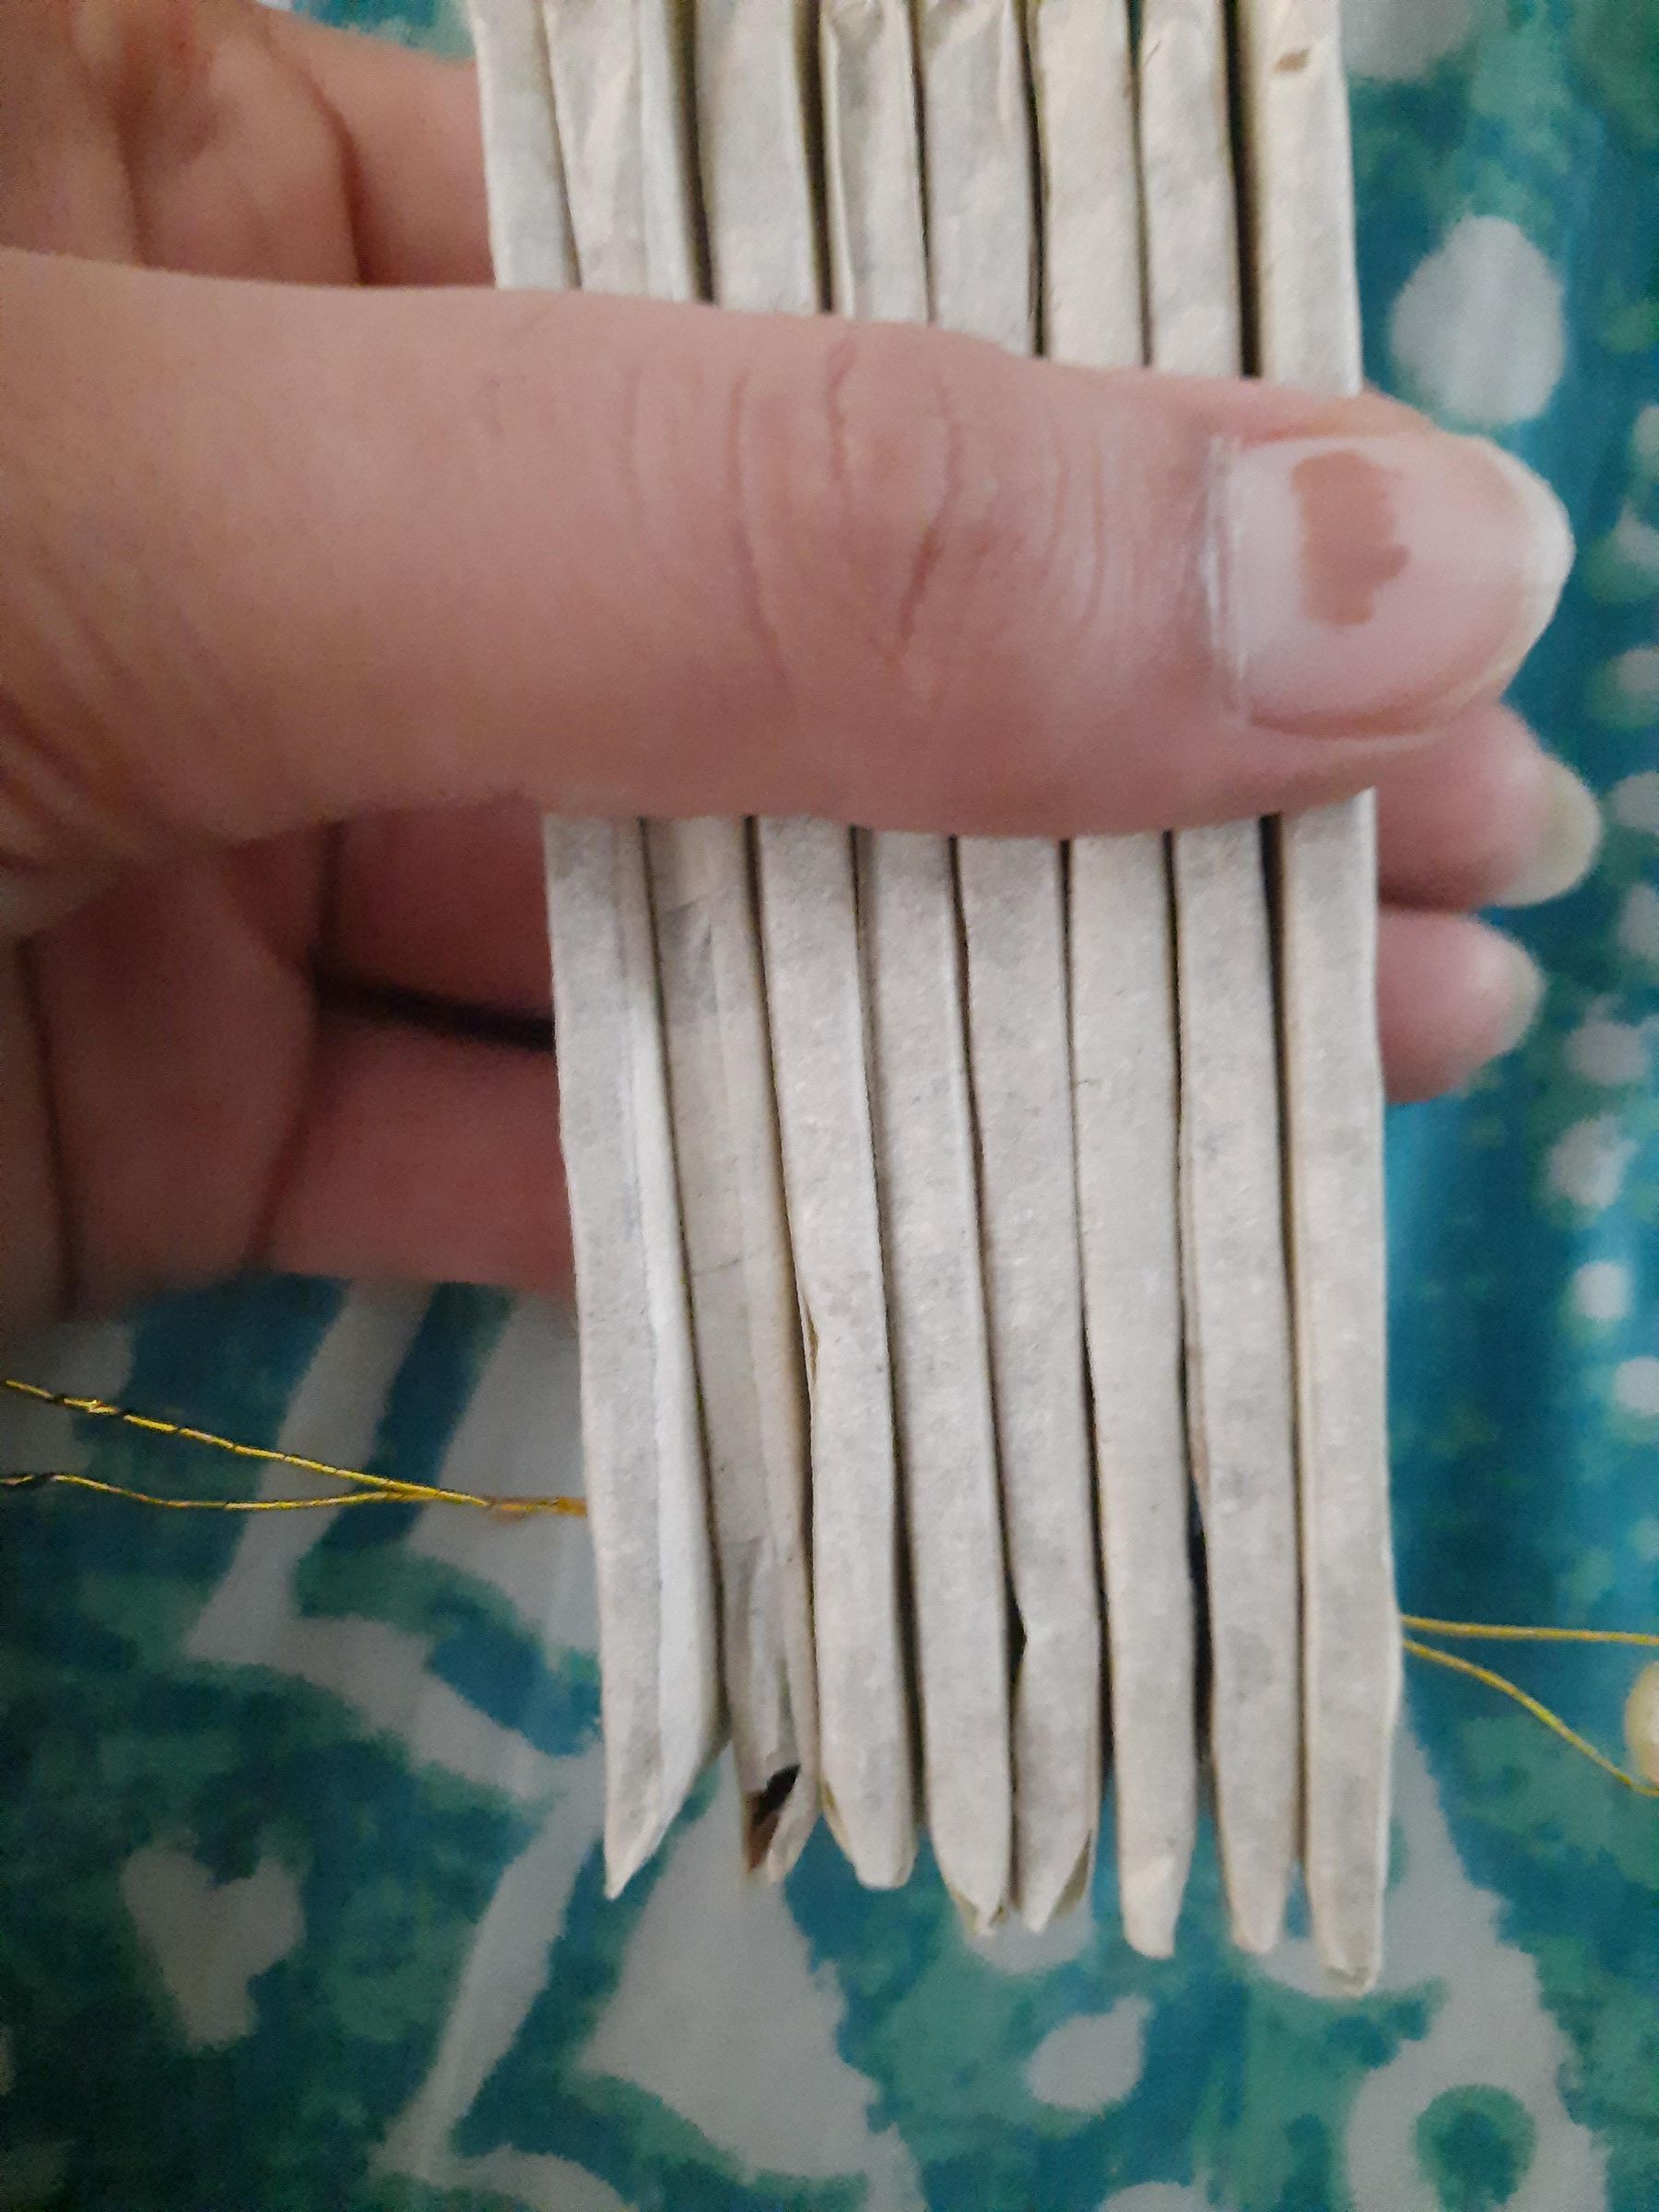
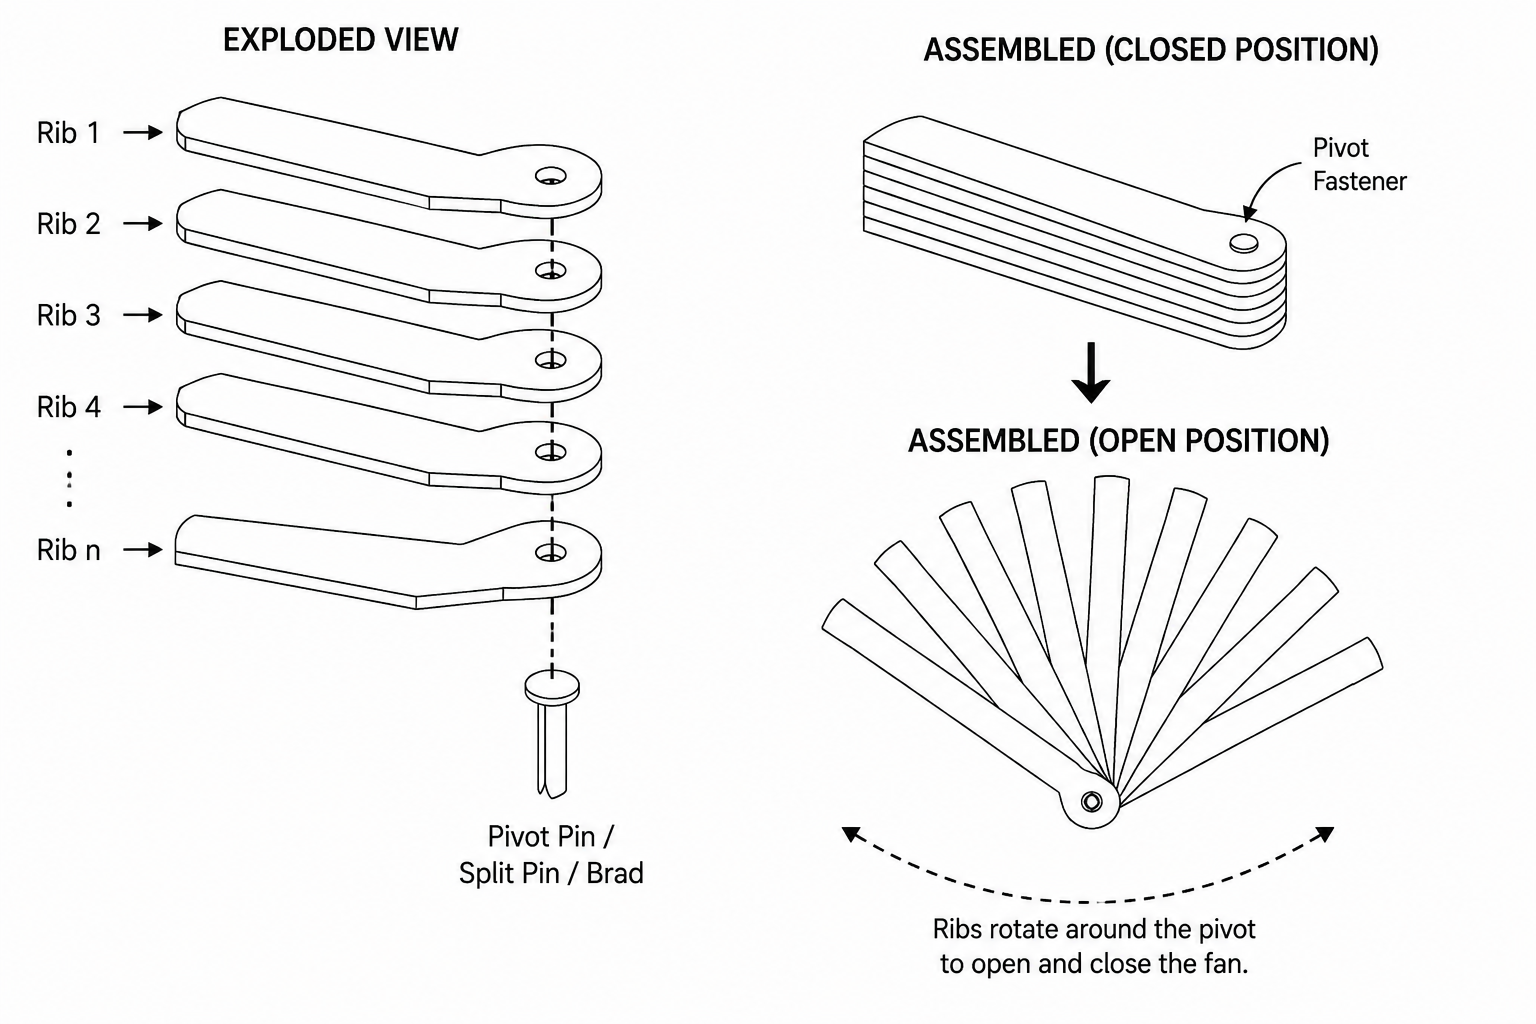
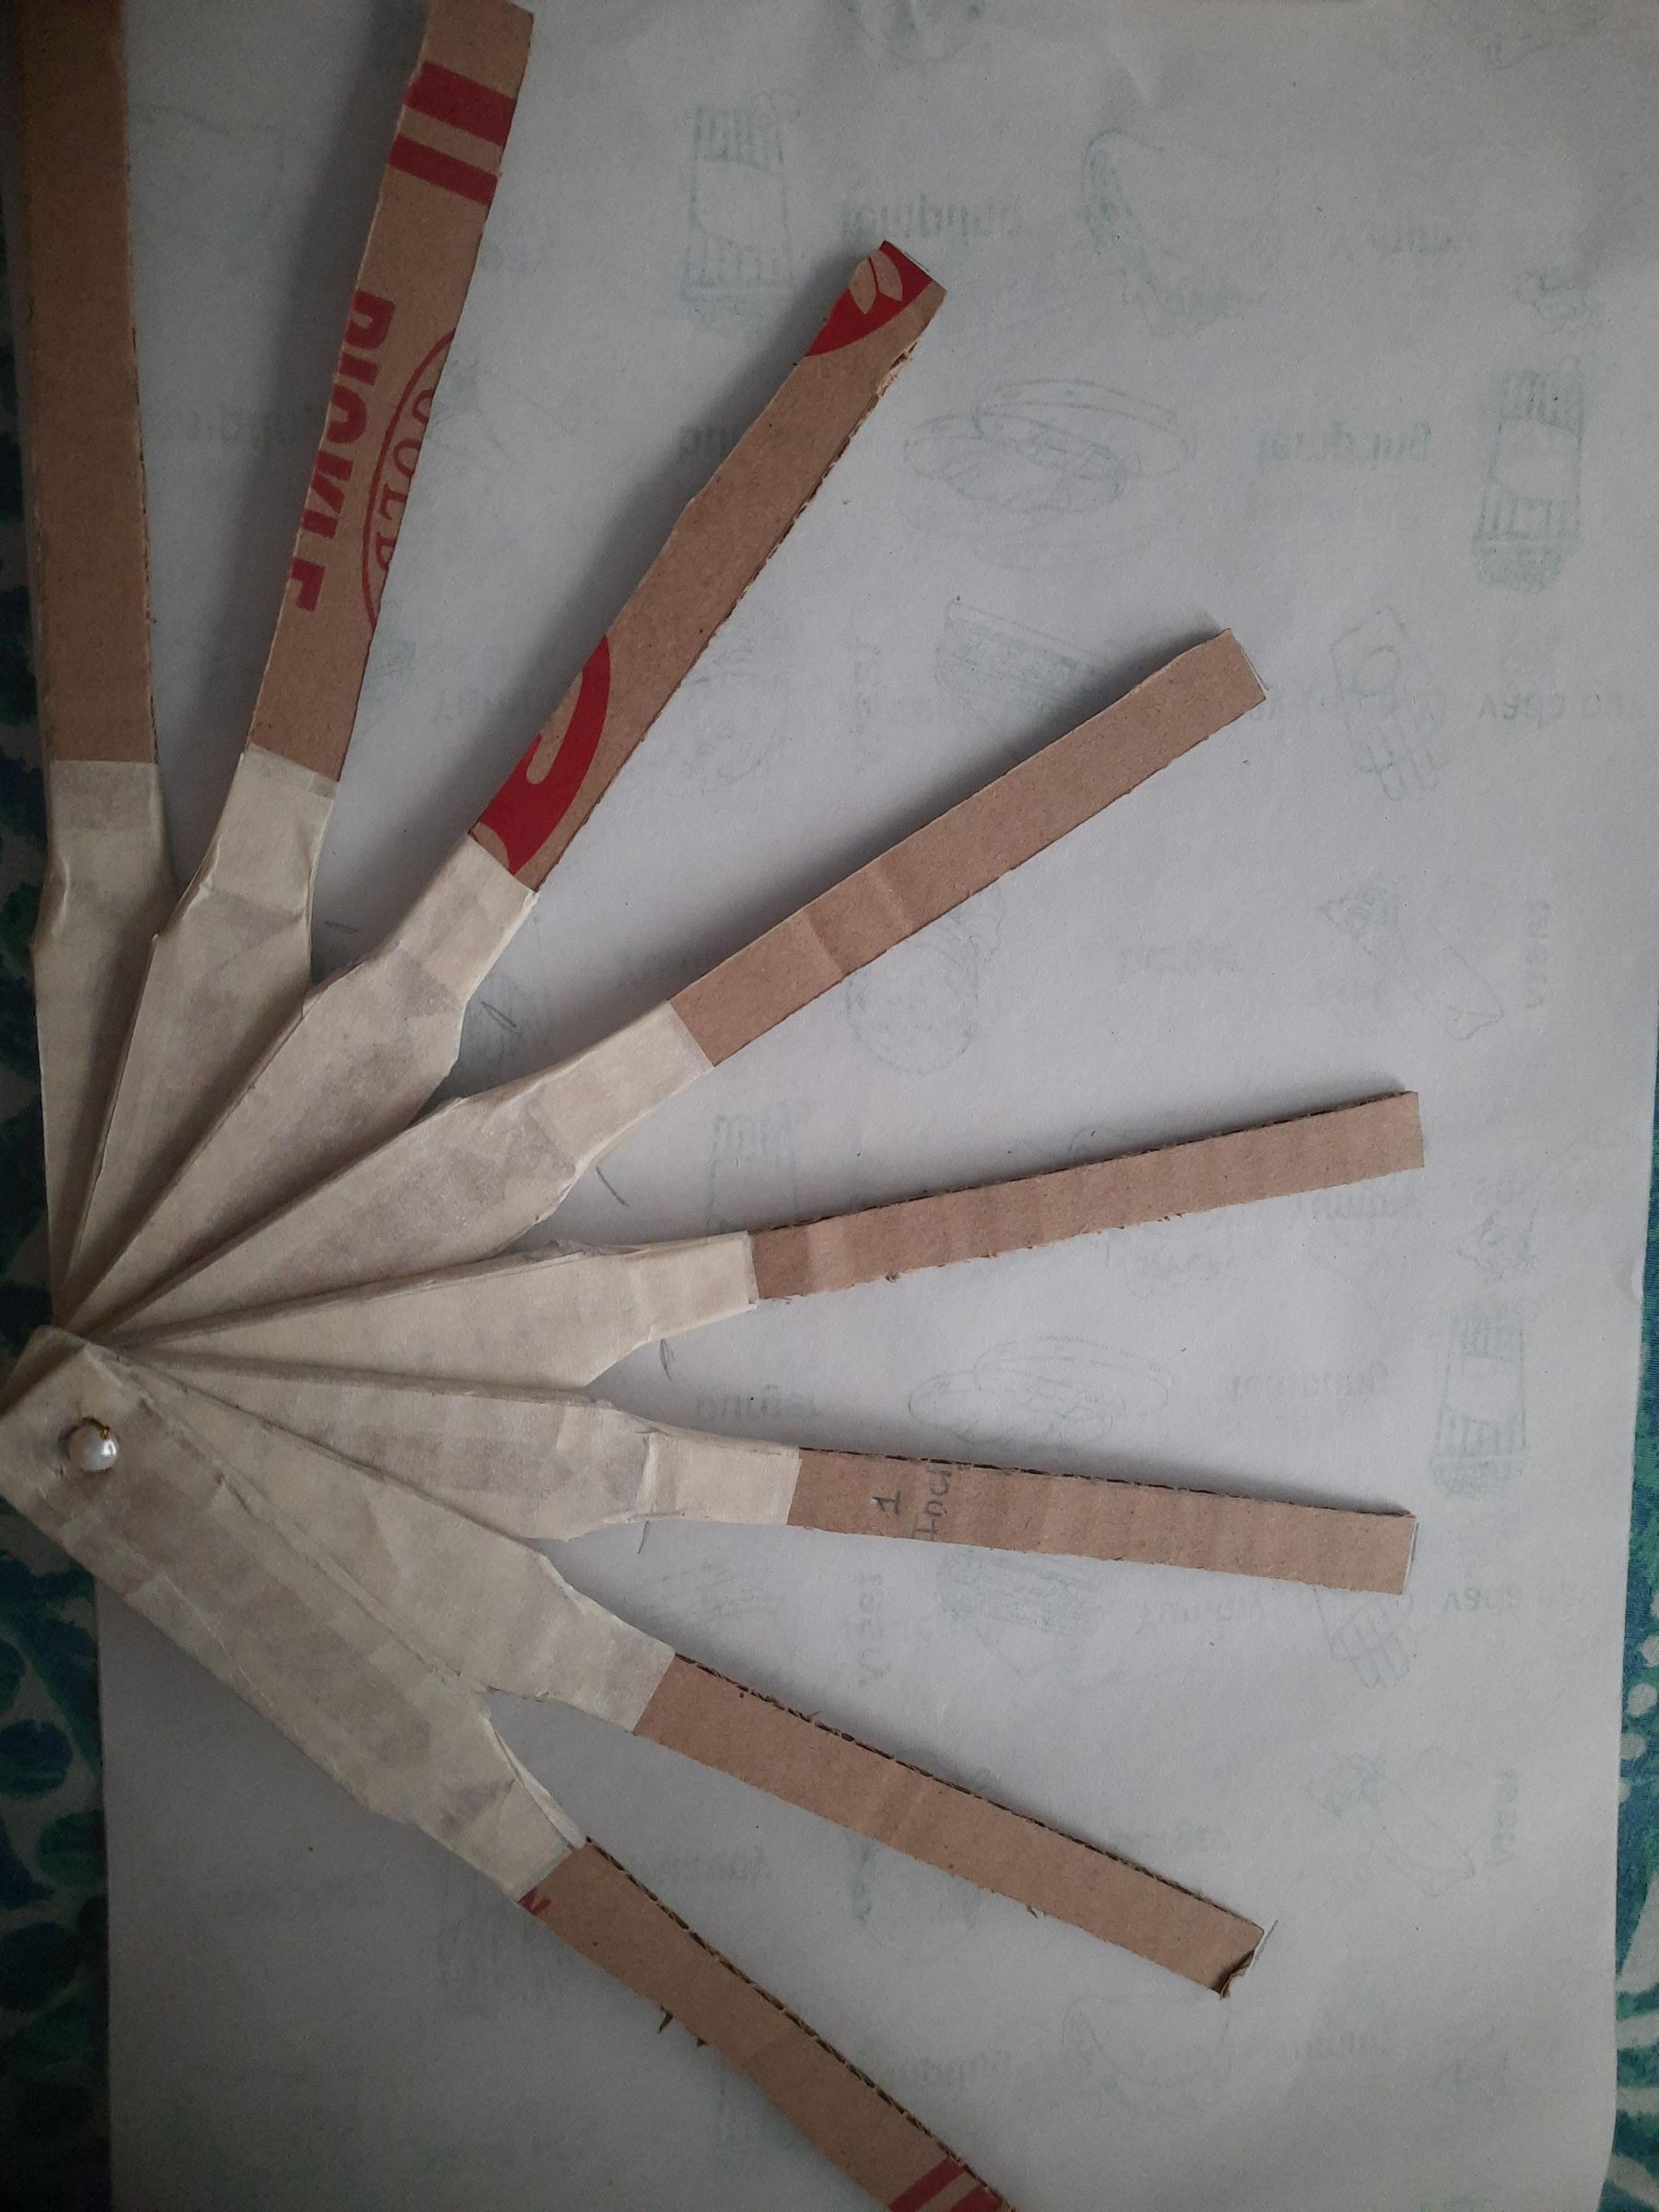
Place all the ribs on top of one another and align their pivot holes. Insert wire through the holes. Do not tighten it excessively. The ribs need enough freedom to rotate and spread apart.
Arrange the ribs around the central pivot. Check that each rib can move independently before attaching the fan sheet.
Prepare the Fan Sheet
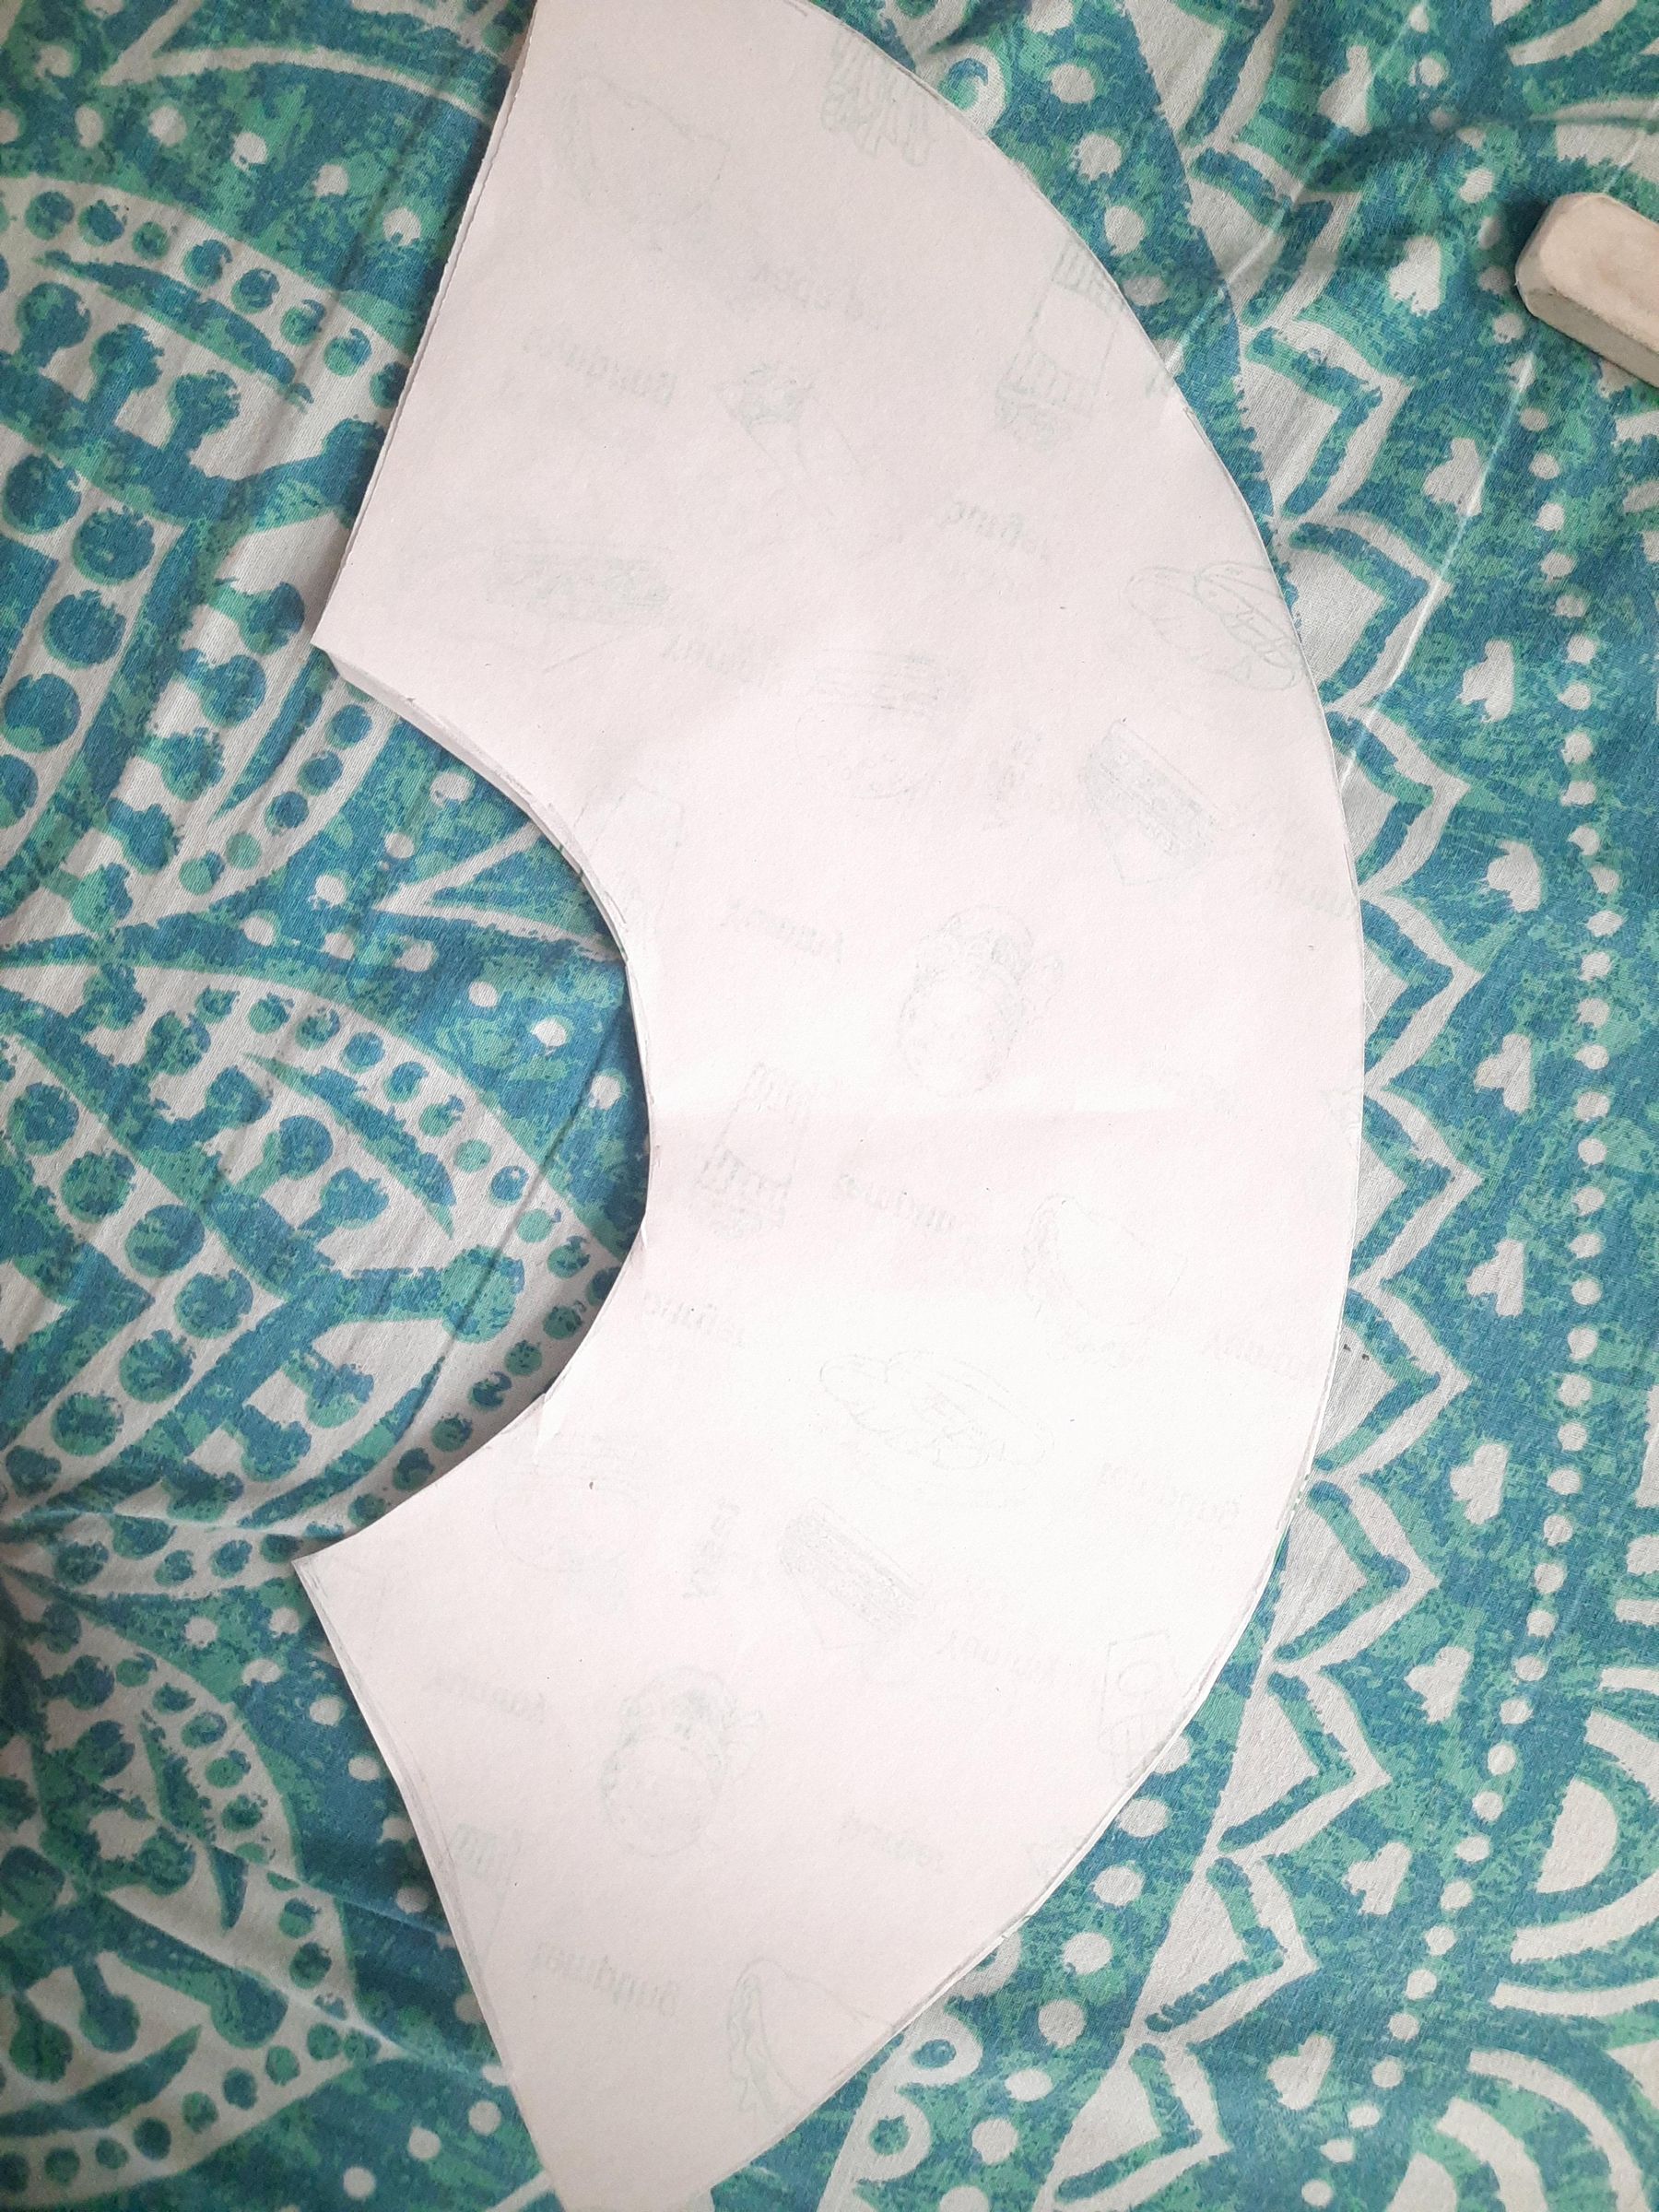
Cut a large fan-shaped piece from lightweight paper/cardboard. This piece becomes the actual air-moving surface.
Attach the Fan Sheet
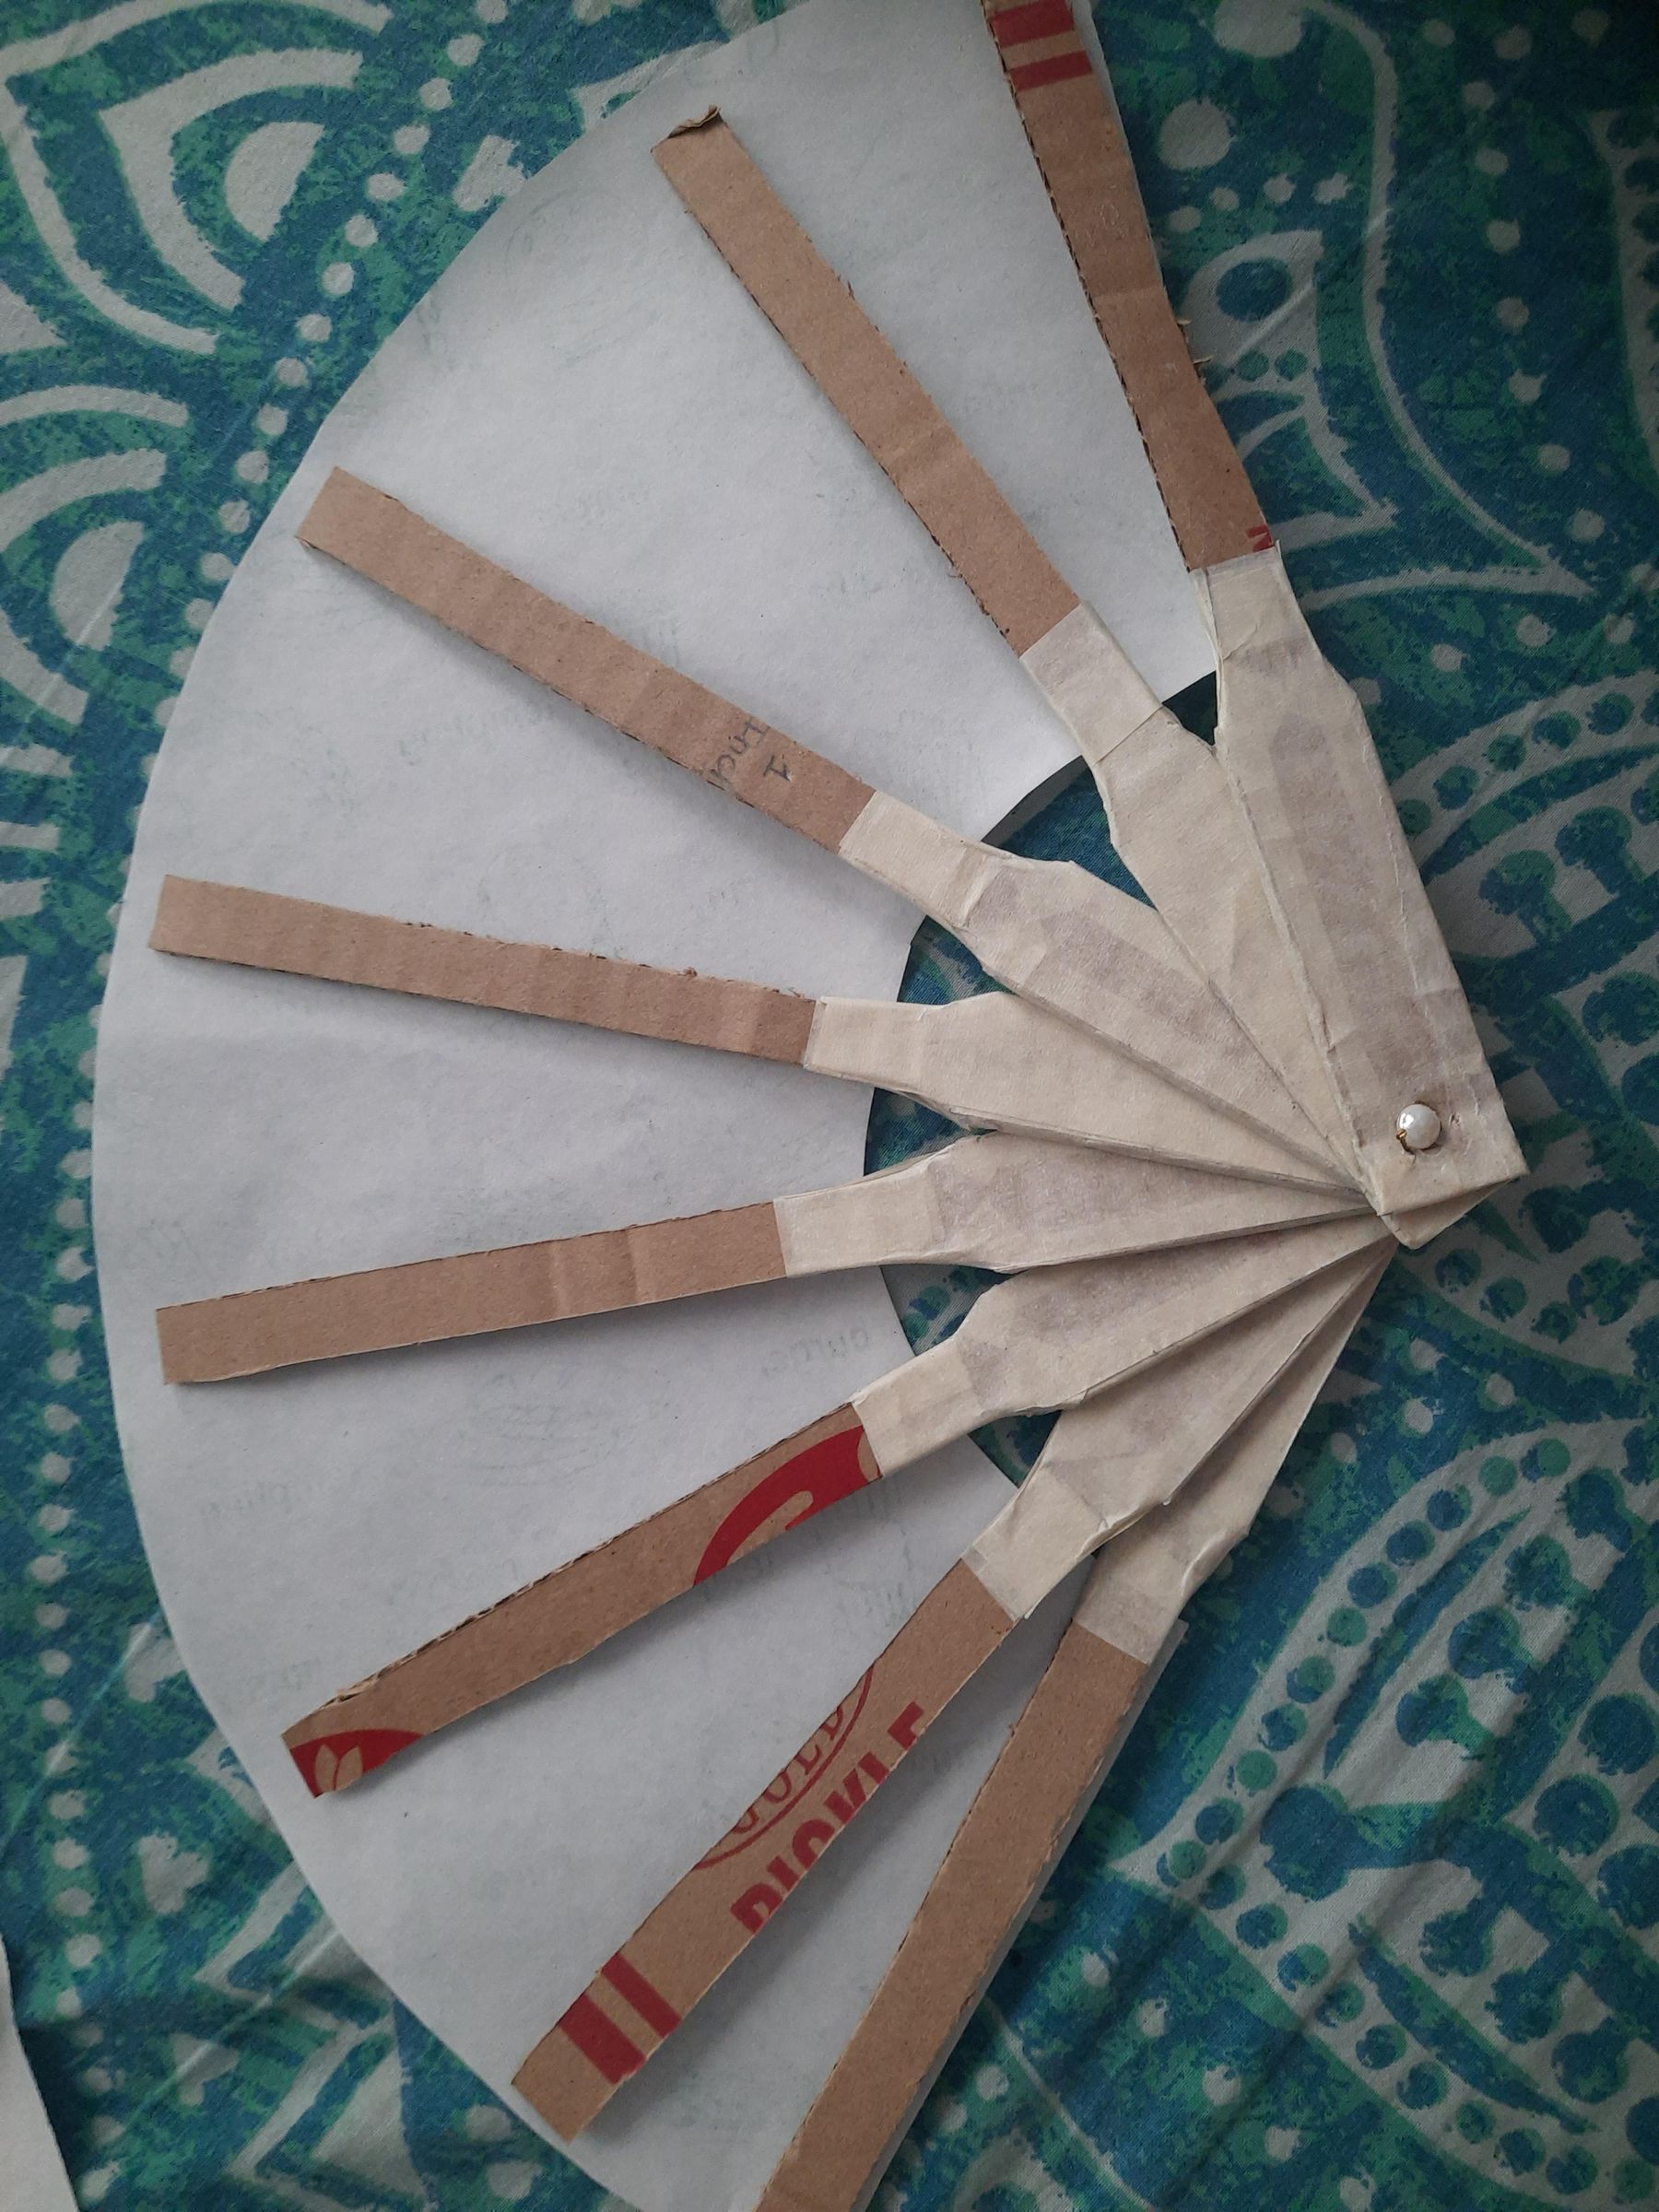
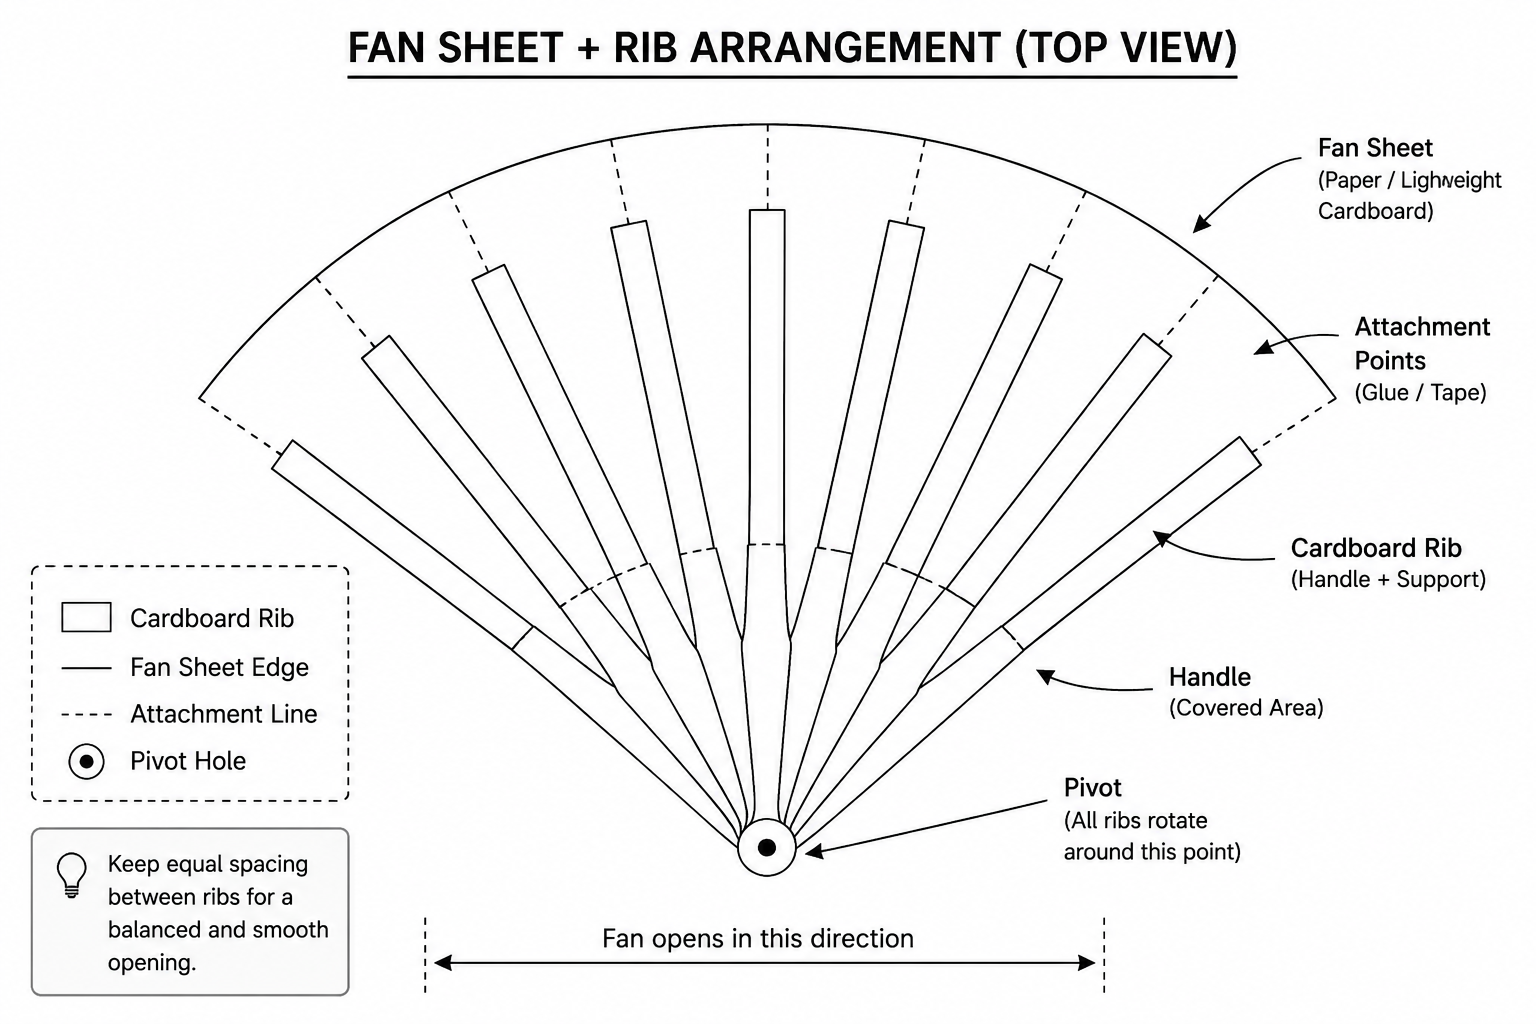
Place the assembled ribs underneath the fan sheet. Attach the ribs to the sheet while keeping their spacing even.
This is the part where the folding mechanism becomes the actual fan.
Spread the ribs evenly across the fan sheet and attach them securely. Leave the central pivot free so the ribs can still rotate.
Add Your Design

Now comes the fun part. 😄
Once the mechanism works, cover the outer surface with decorative paper.
I chose a botanical design to give the fan a natural appearance and to complement its electricity-free concept. But the decoration is completely optional... the mechanism is the heart of the project.
Test the Fan
Open the fan completely. Then hold the handle and move it manually. The broad surface catches and pushes air toward you.
Because the structure is lightweight, it can be operated repeatedly without requiring much effort.
The final concept
- No plug.
- No battery.
- No motor.
Just mechanical movement powered by your hand.