Obstical Avoiding Robot
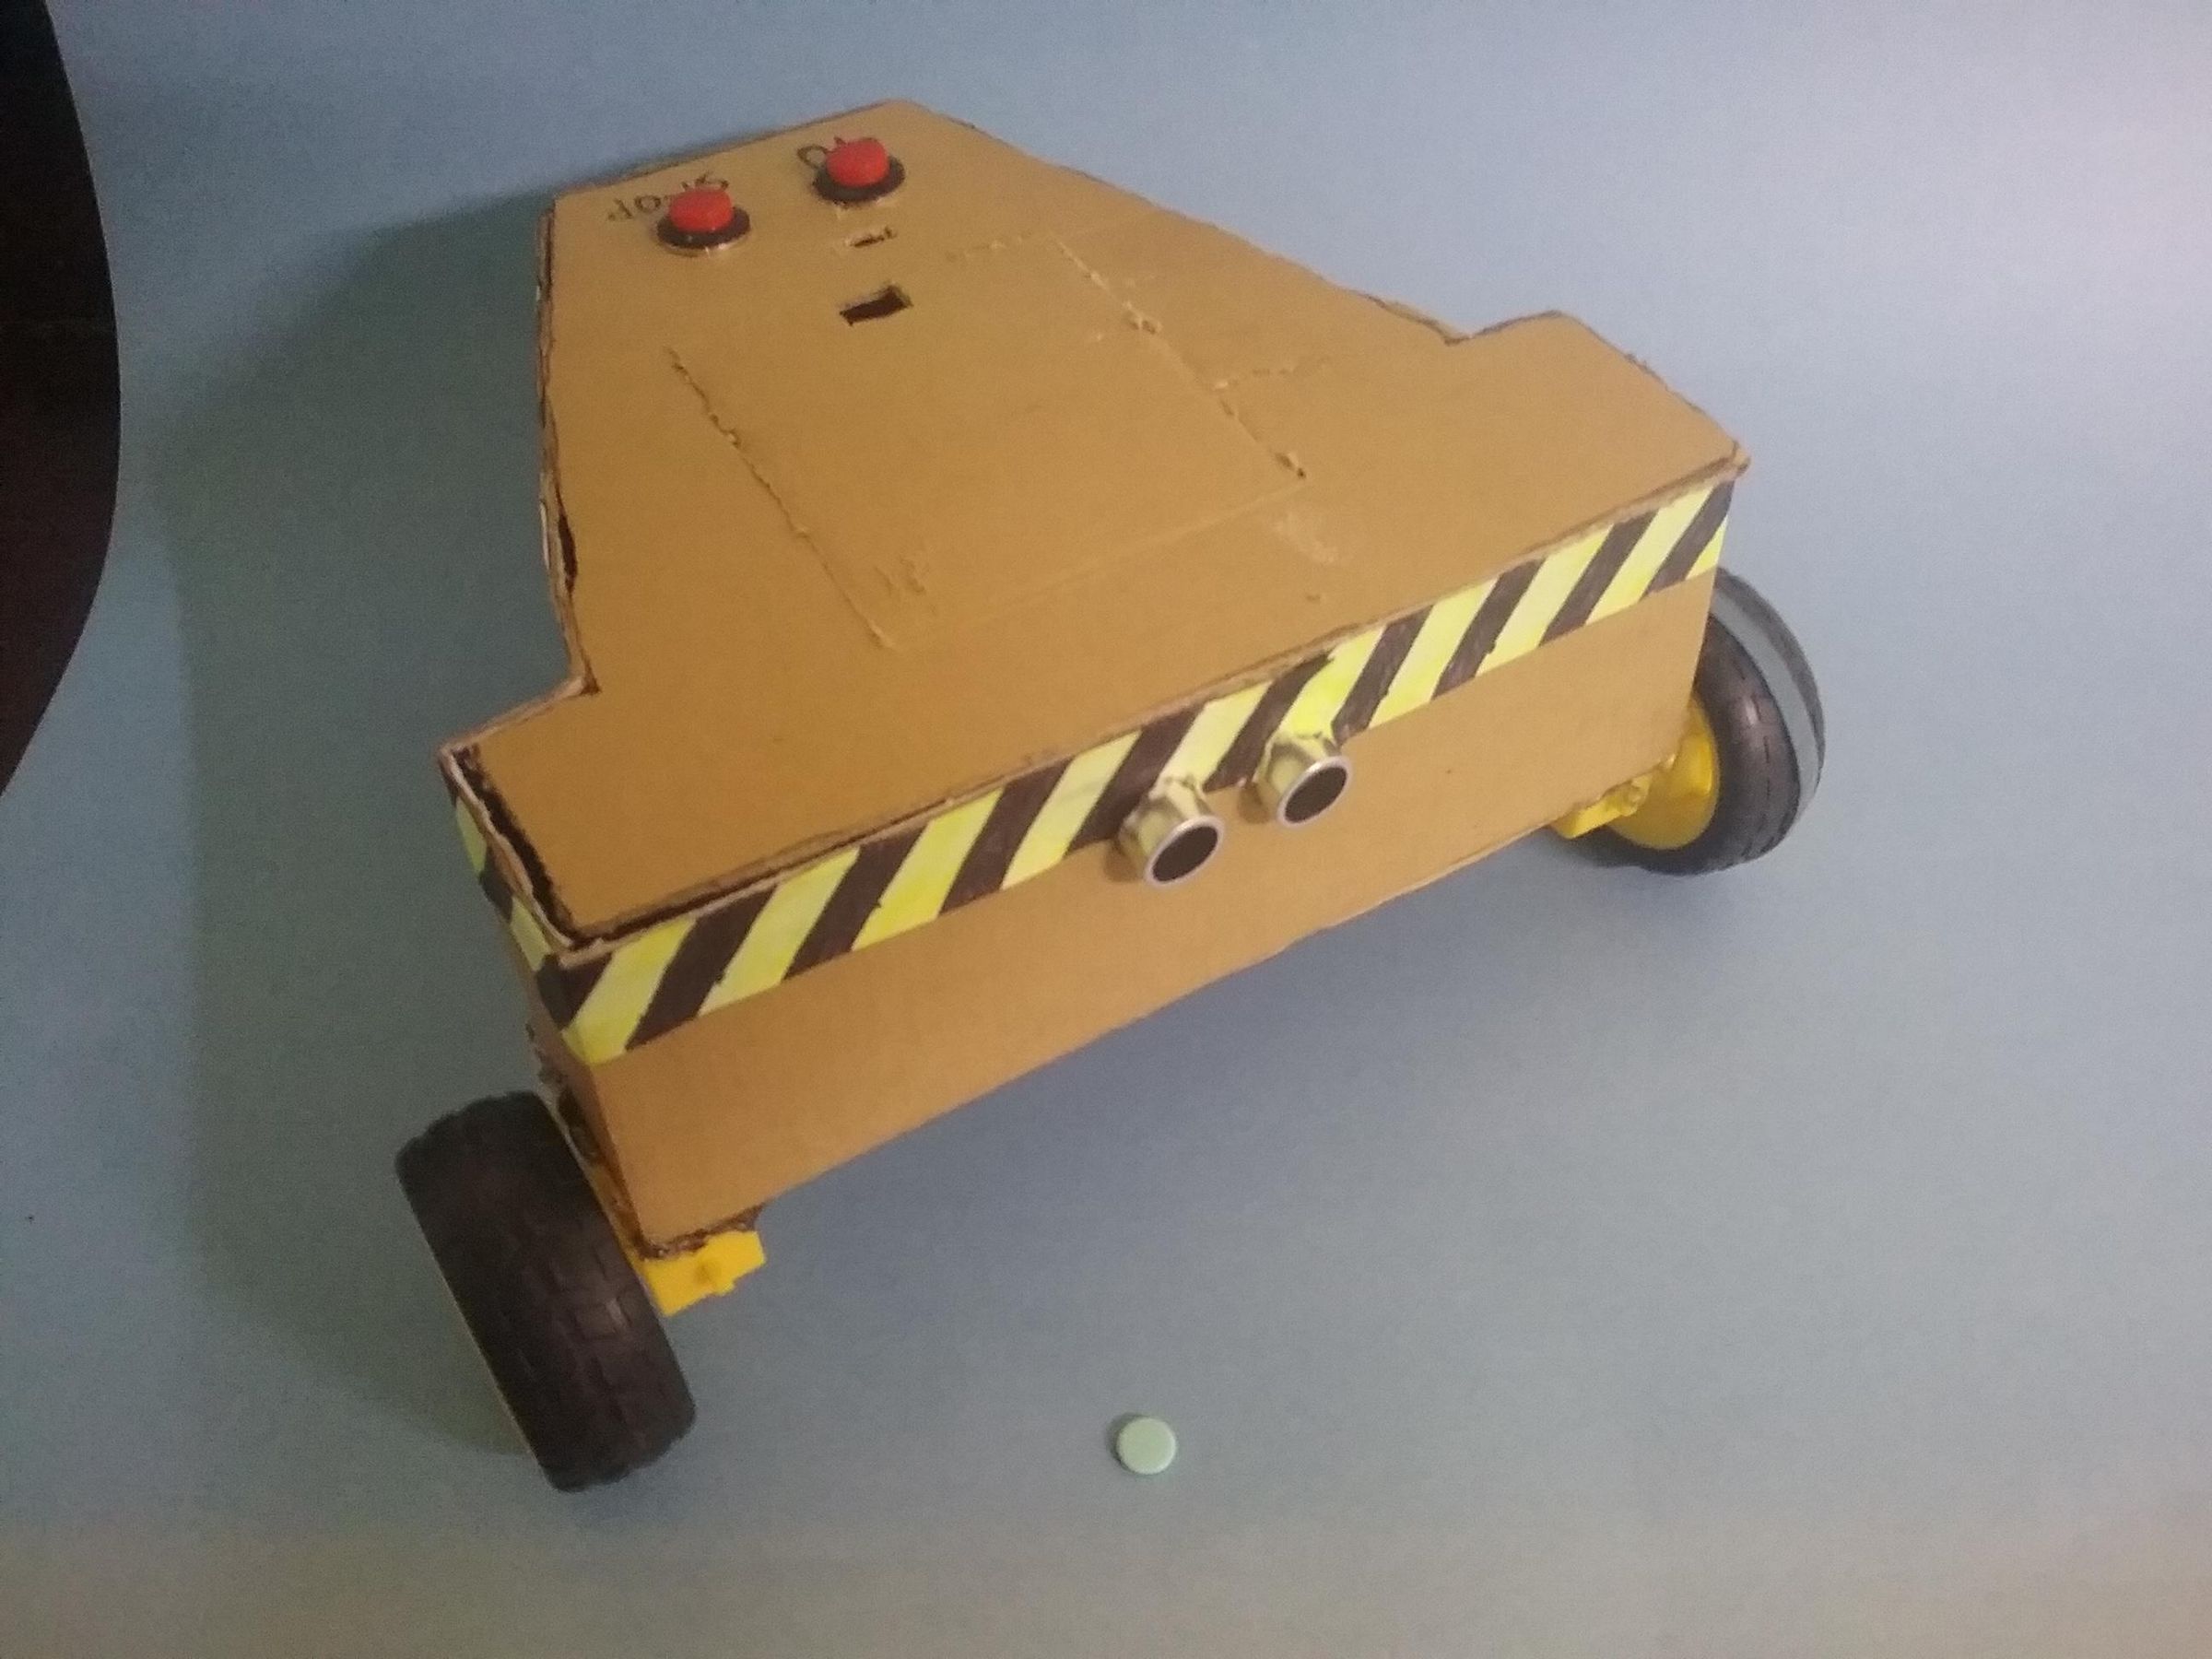
This is an obstacle-avoiding robot. When it gets close to an obstacle (like a wall, a hand, or a toilet), it will stop, back up, turn, and then keep going. This was my most complicated project—from ordering the wrong parts and buying things I didn't even need, to soldering mistakes and almost ripping my hair out! This robot also has stop and go buttons, plus a power switch. I was struggling a lot at first, but then I found another Instructable by @roypeer (go check out his page!). It helped me finally get the robot working. After that, I added the buttons and custom movements into the code so everything functions perfectly!
Supplies
1. Arduino Uno
2. Adafruit motor drive shield
3. A spool of single-core wire
4. HC-SR04 ultrasonic sensor
5. Caster wheel
6. Two TT motors with wheels
7. 7.4V LiPo battery
8. Two push buttons
9. Cardboard
10. Tiny wood sticks for DIY projects or popsicle sticks
11. Hot glue
12. Adafruit Motor Shield V1 Library
13. One glue gun
Cut the Chassis Pieces
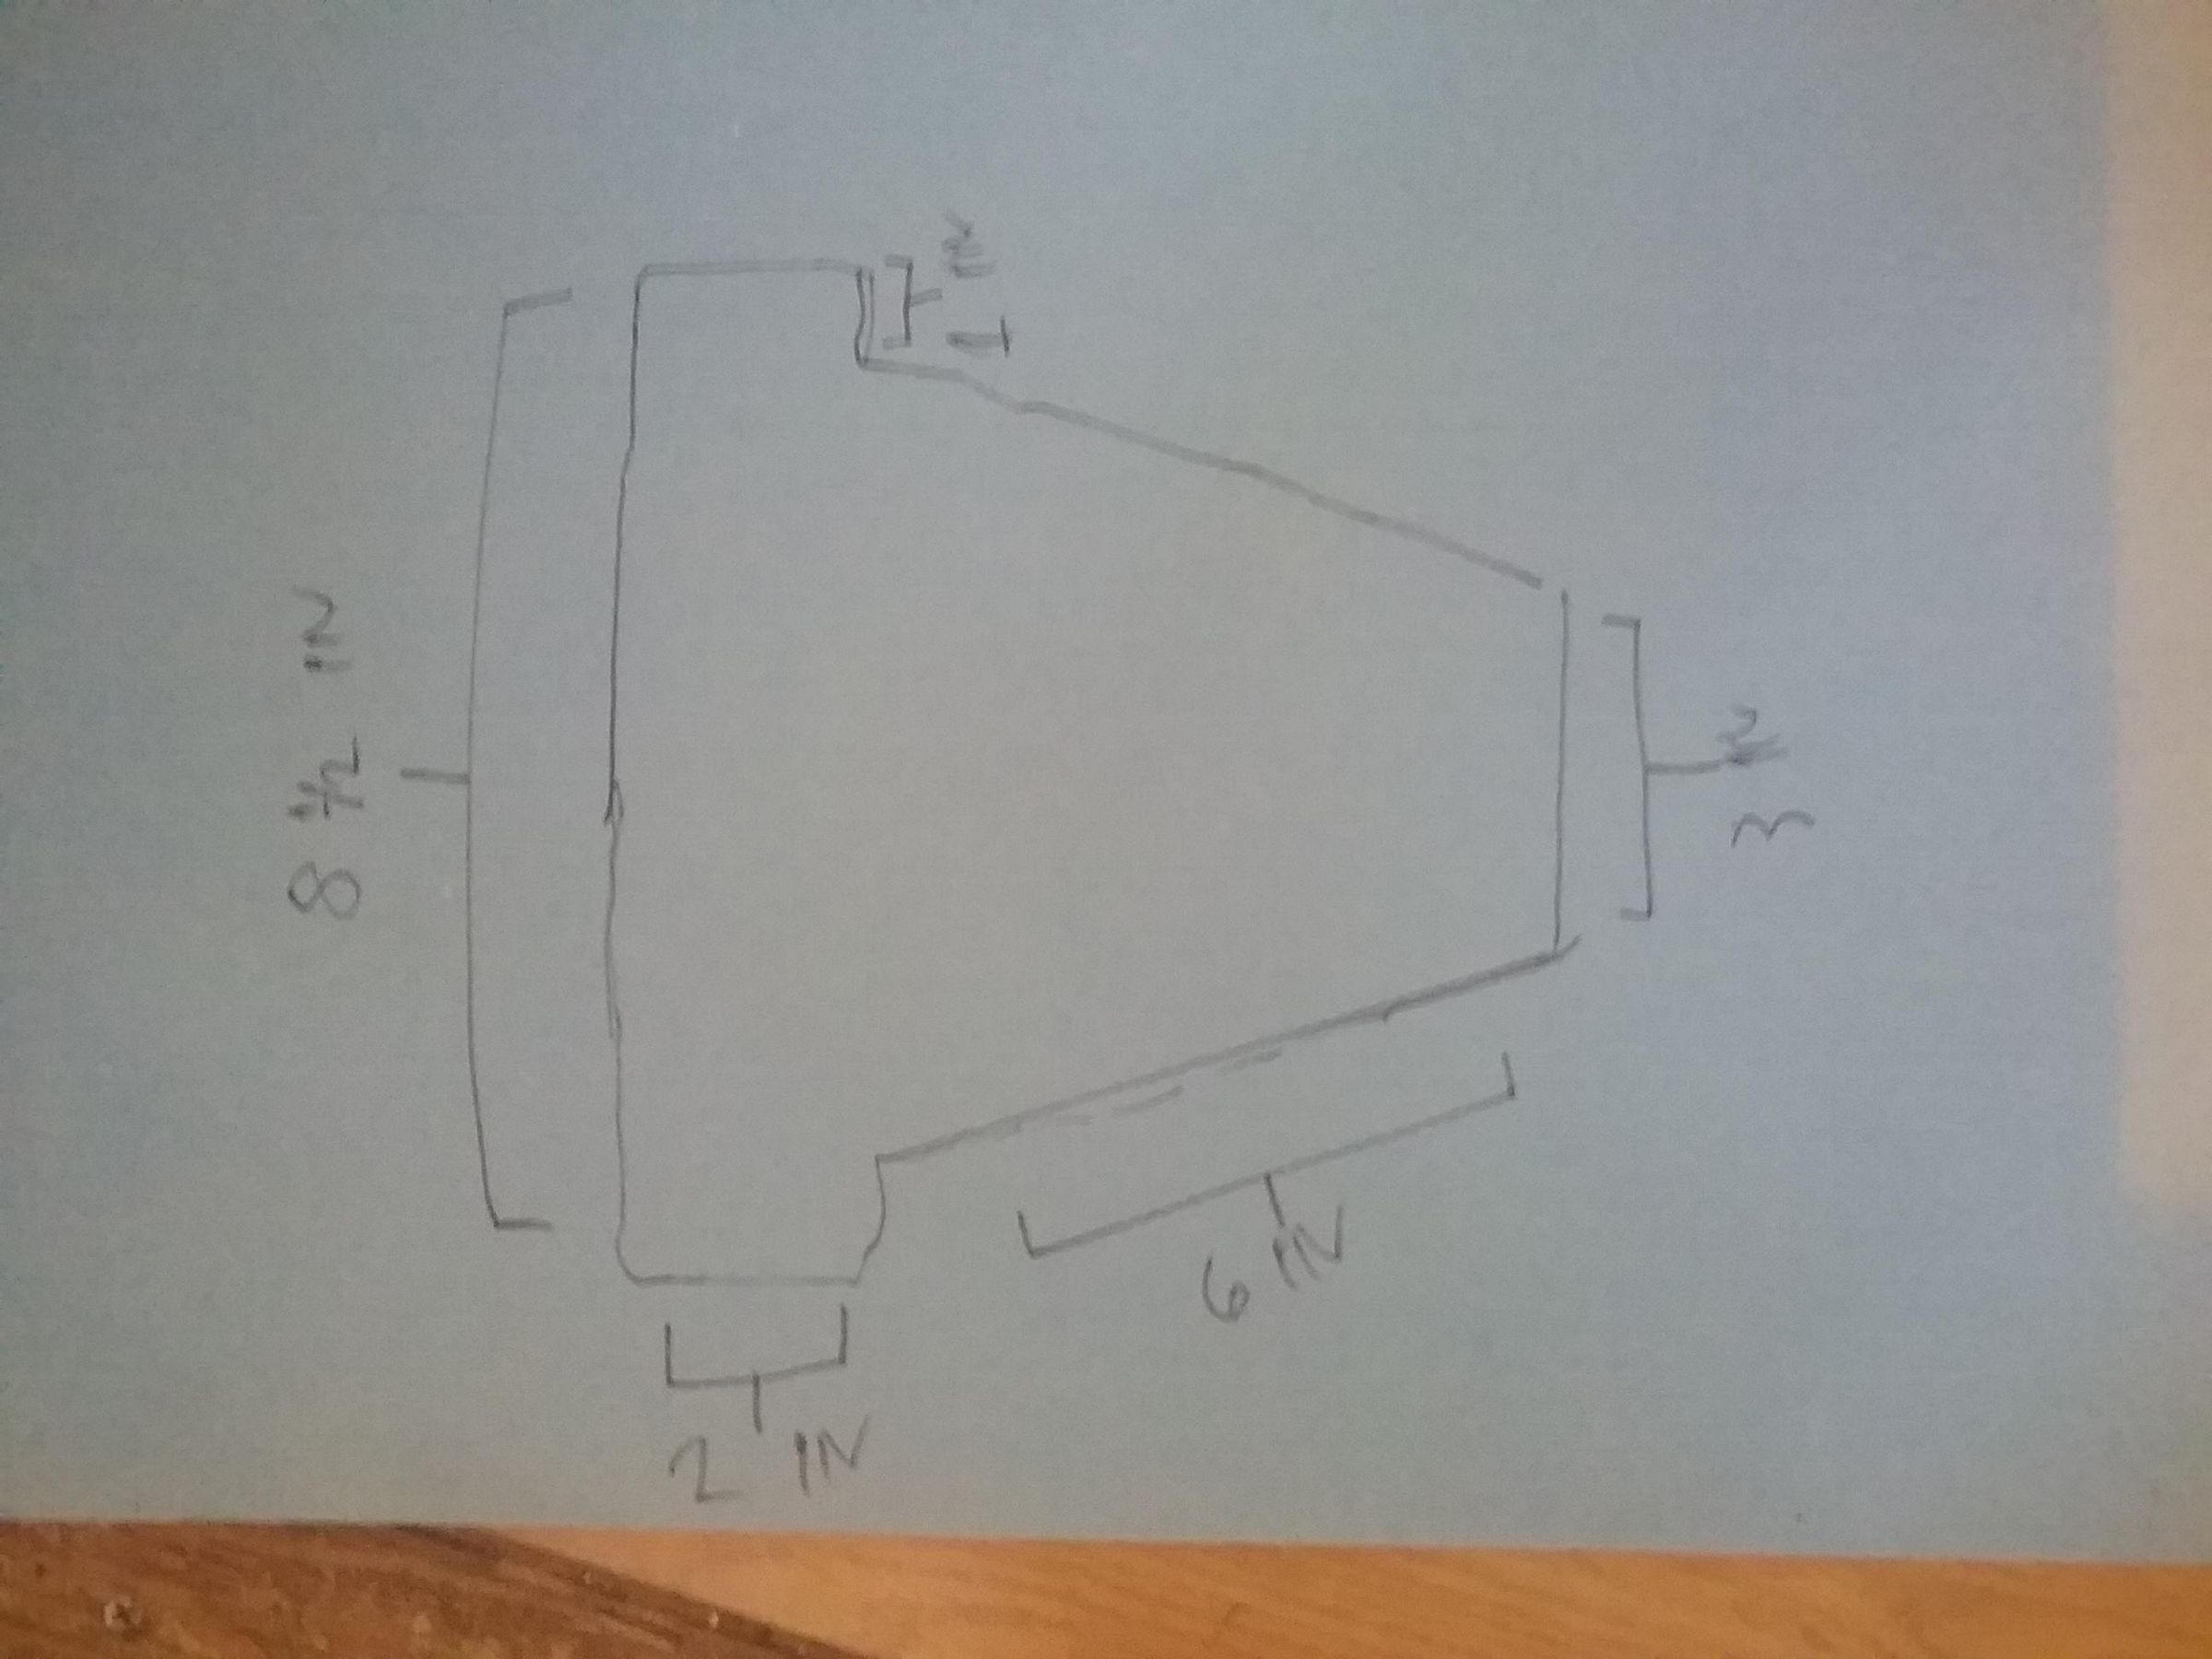
Look at the image above. Can you see the measurements and the chassis design? If you can, measure the design out on a piece of cardboard, then cut it out. Do this a second time because you will need two pieces. If you want, you can cut a door in the top of the top piece like I did. Next, cut out a long piece of cardboard that is about 3 inches wide and at least 3 feet long. This will be used for your walls, and make sure it is long enough to go around your entire chassis floor.
Build Chassis
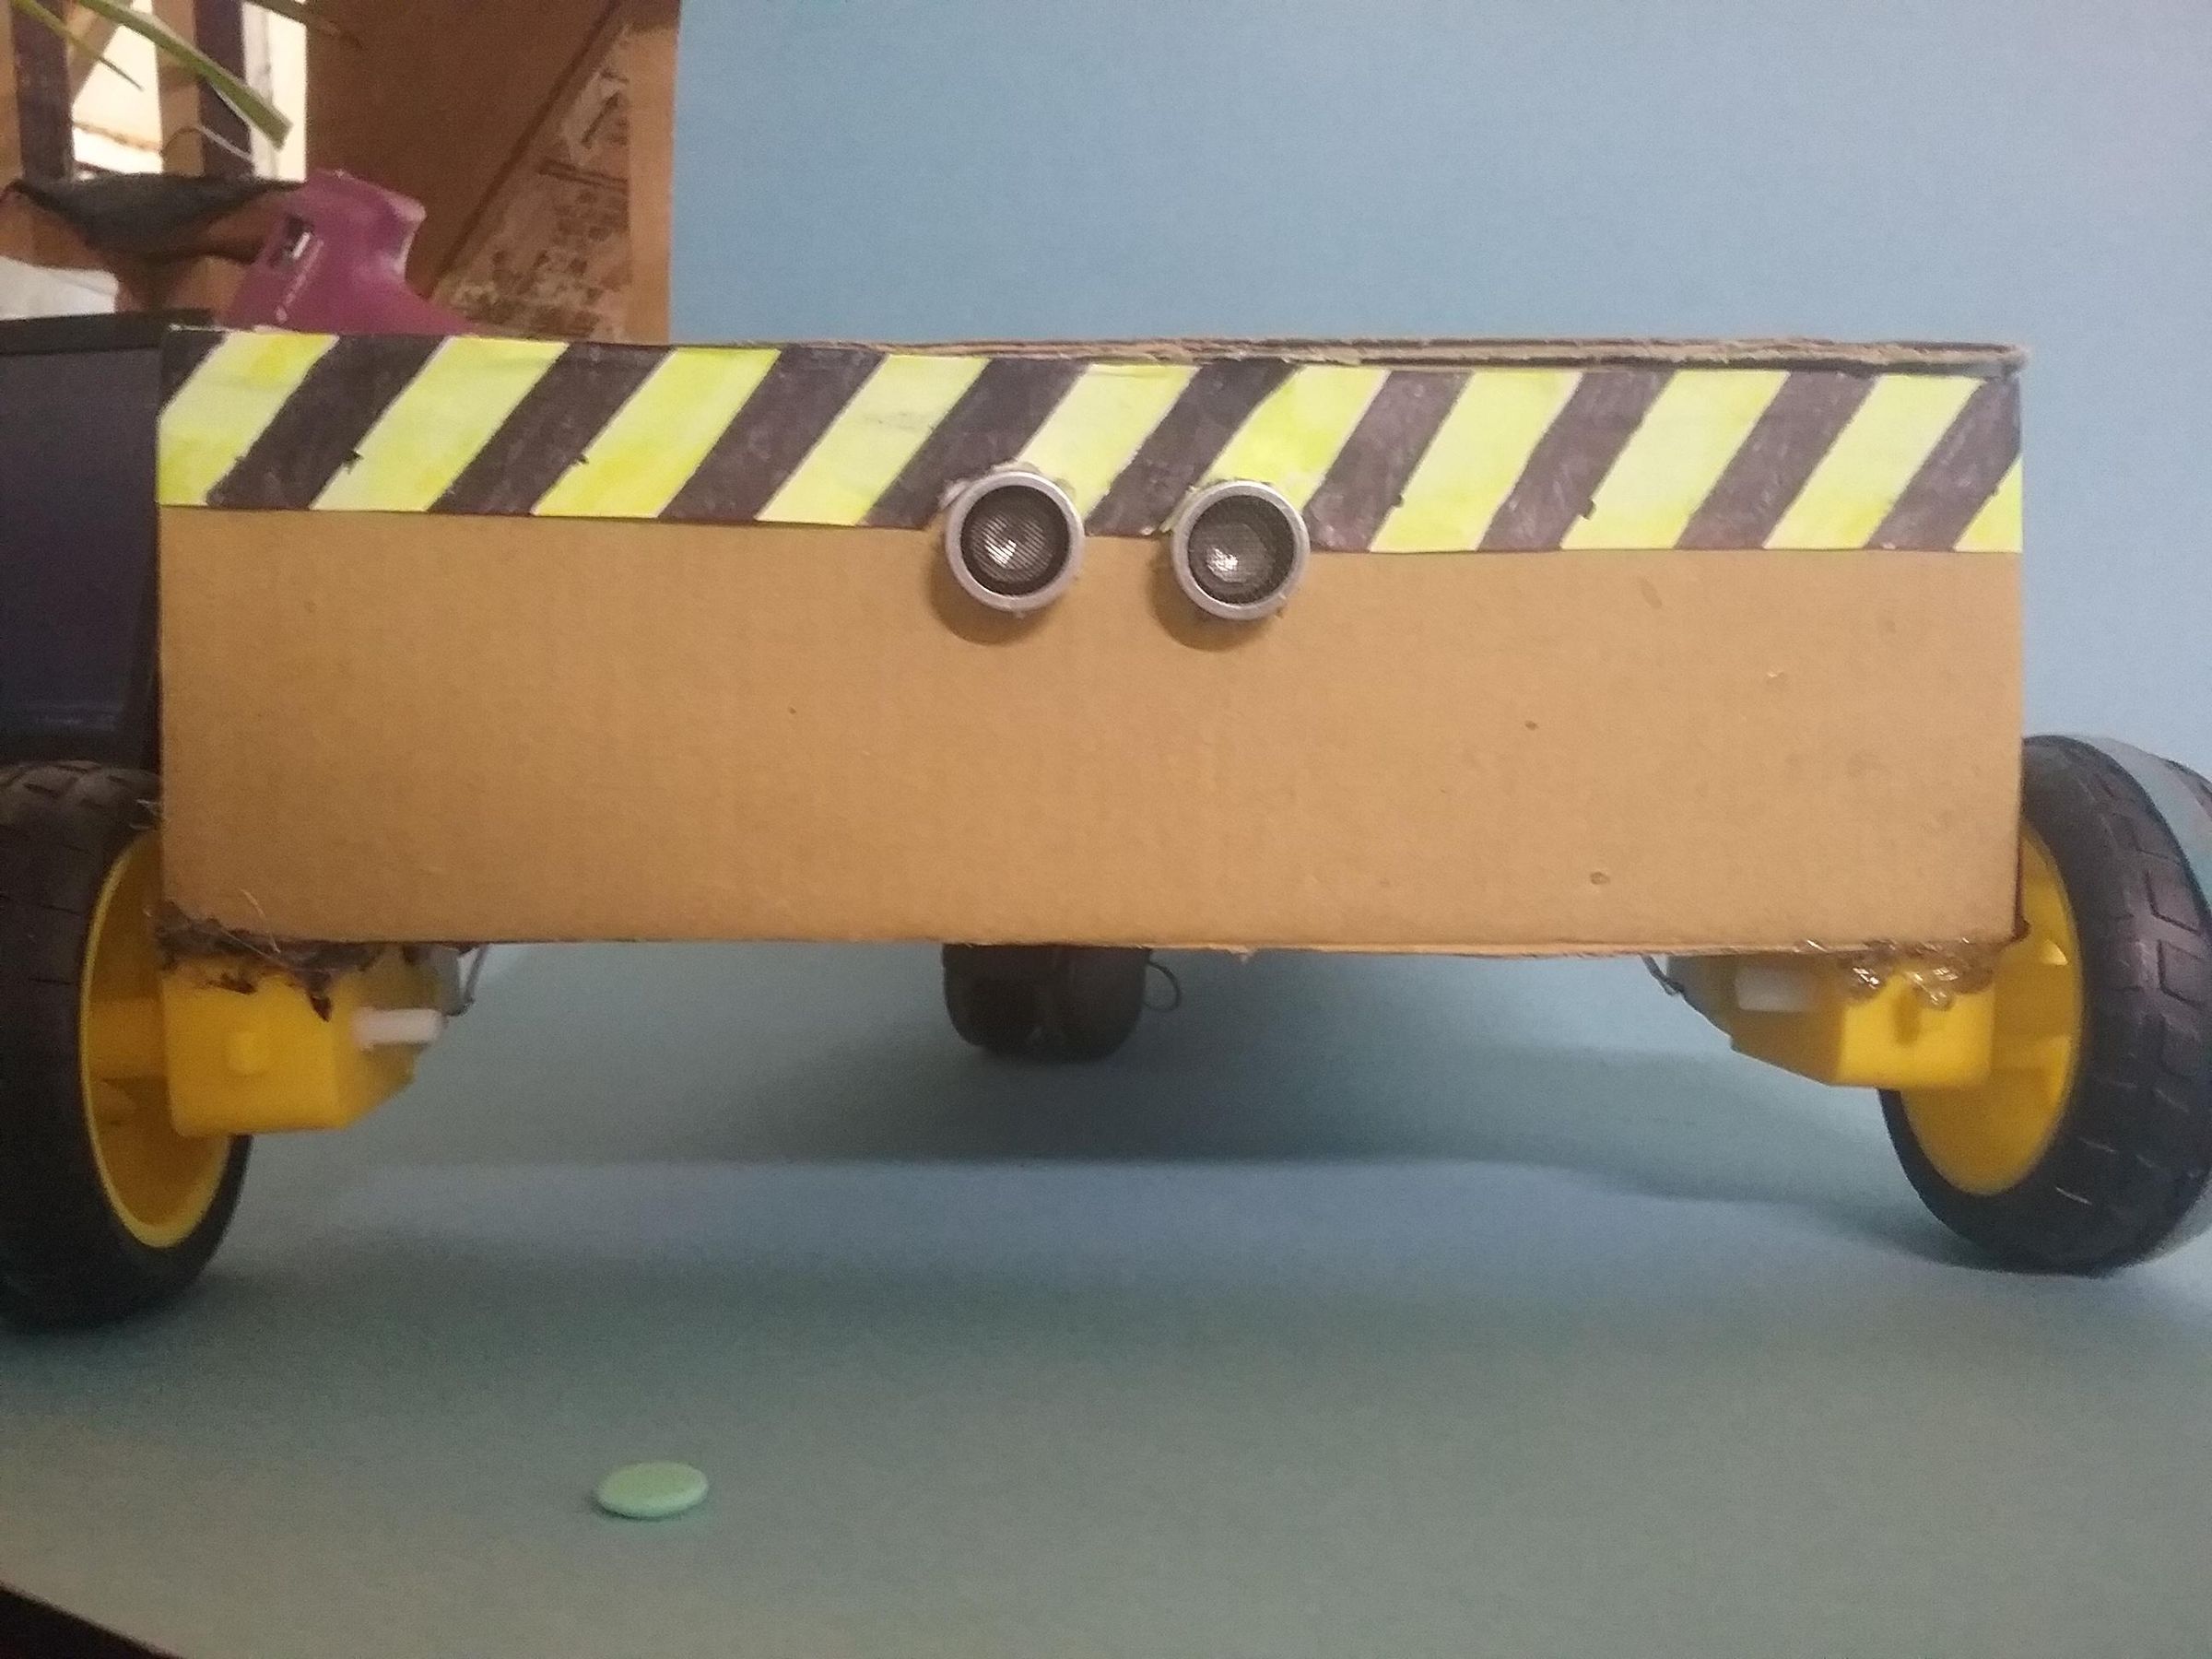
Now take your 3-inch by however long piece of cardboard and place it upright on the chassis floor. You might recognize this chassis design from my "Train Your Own Robot" project. Then glue it in place, making sure the longer end goes around the floor.
Add Wheels
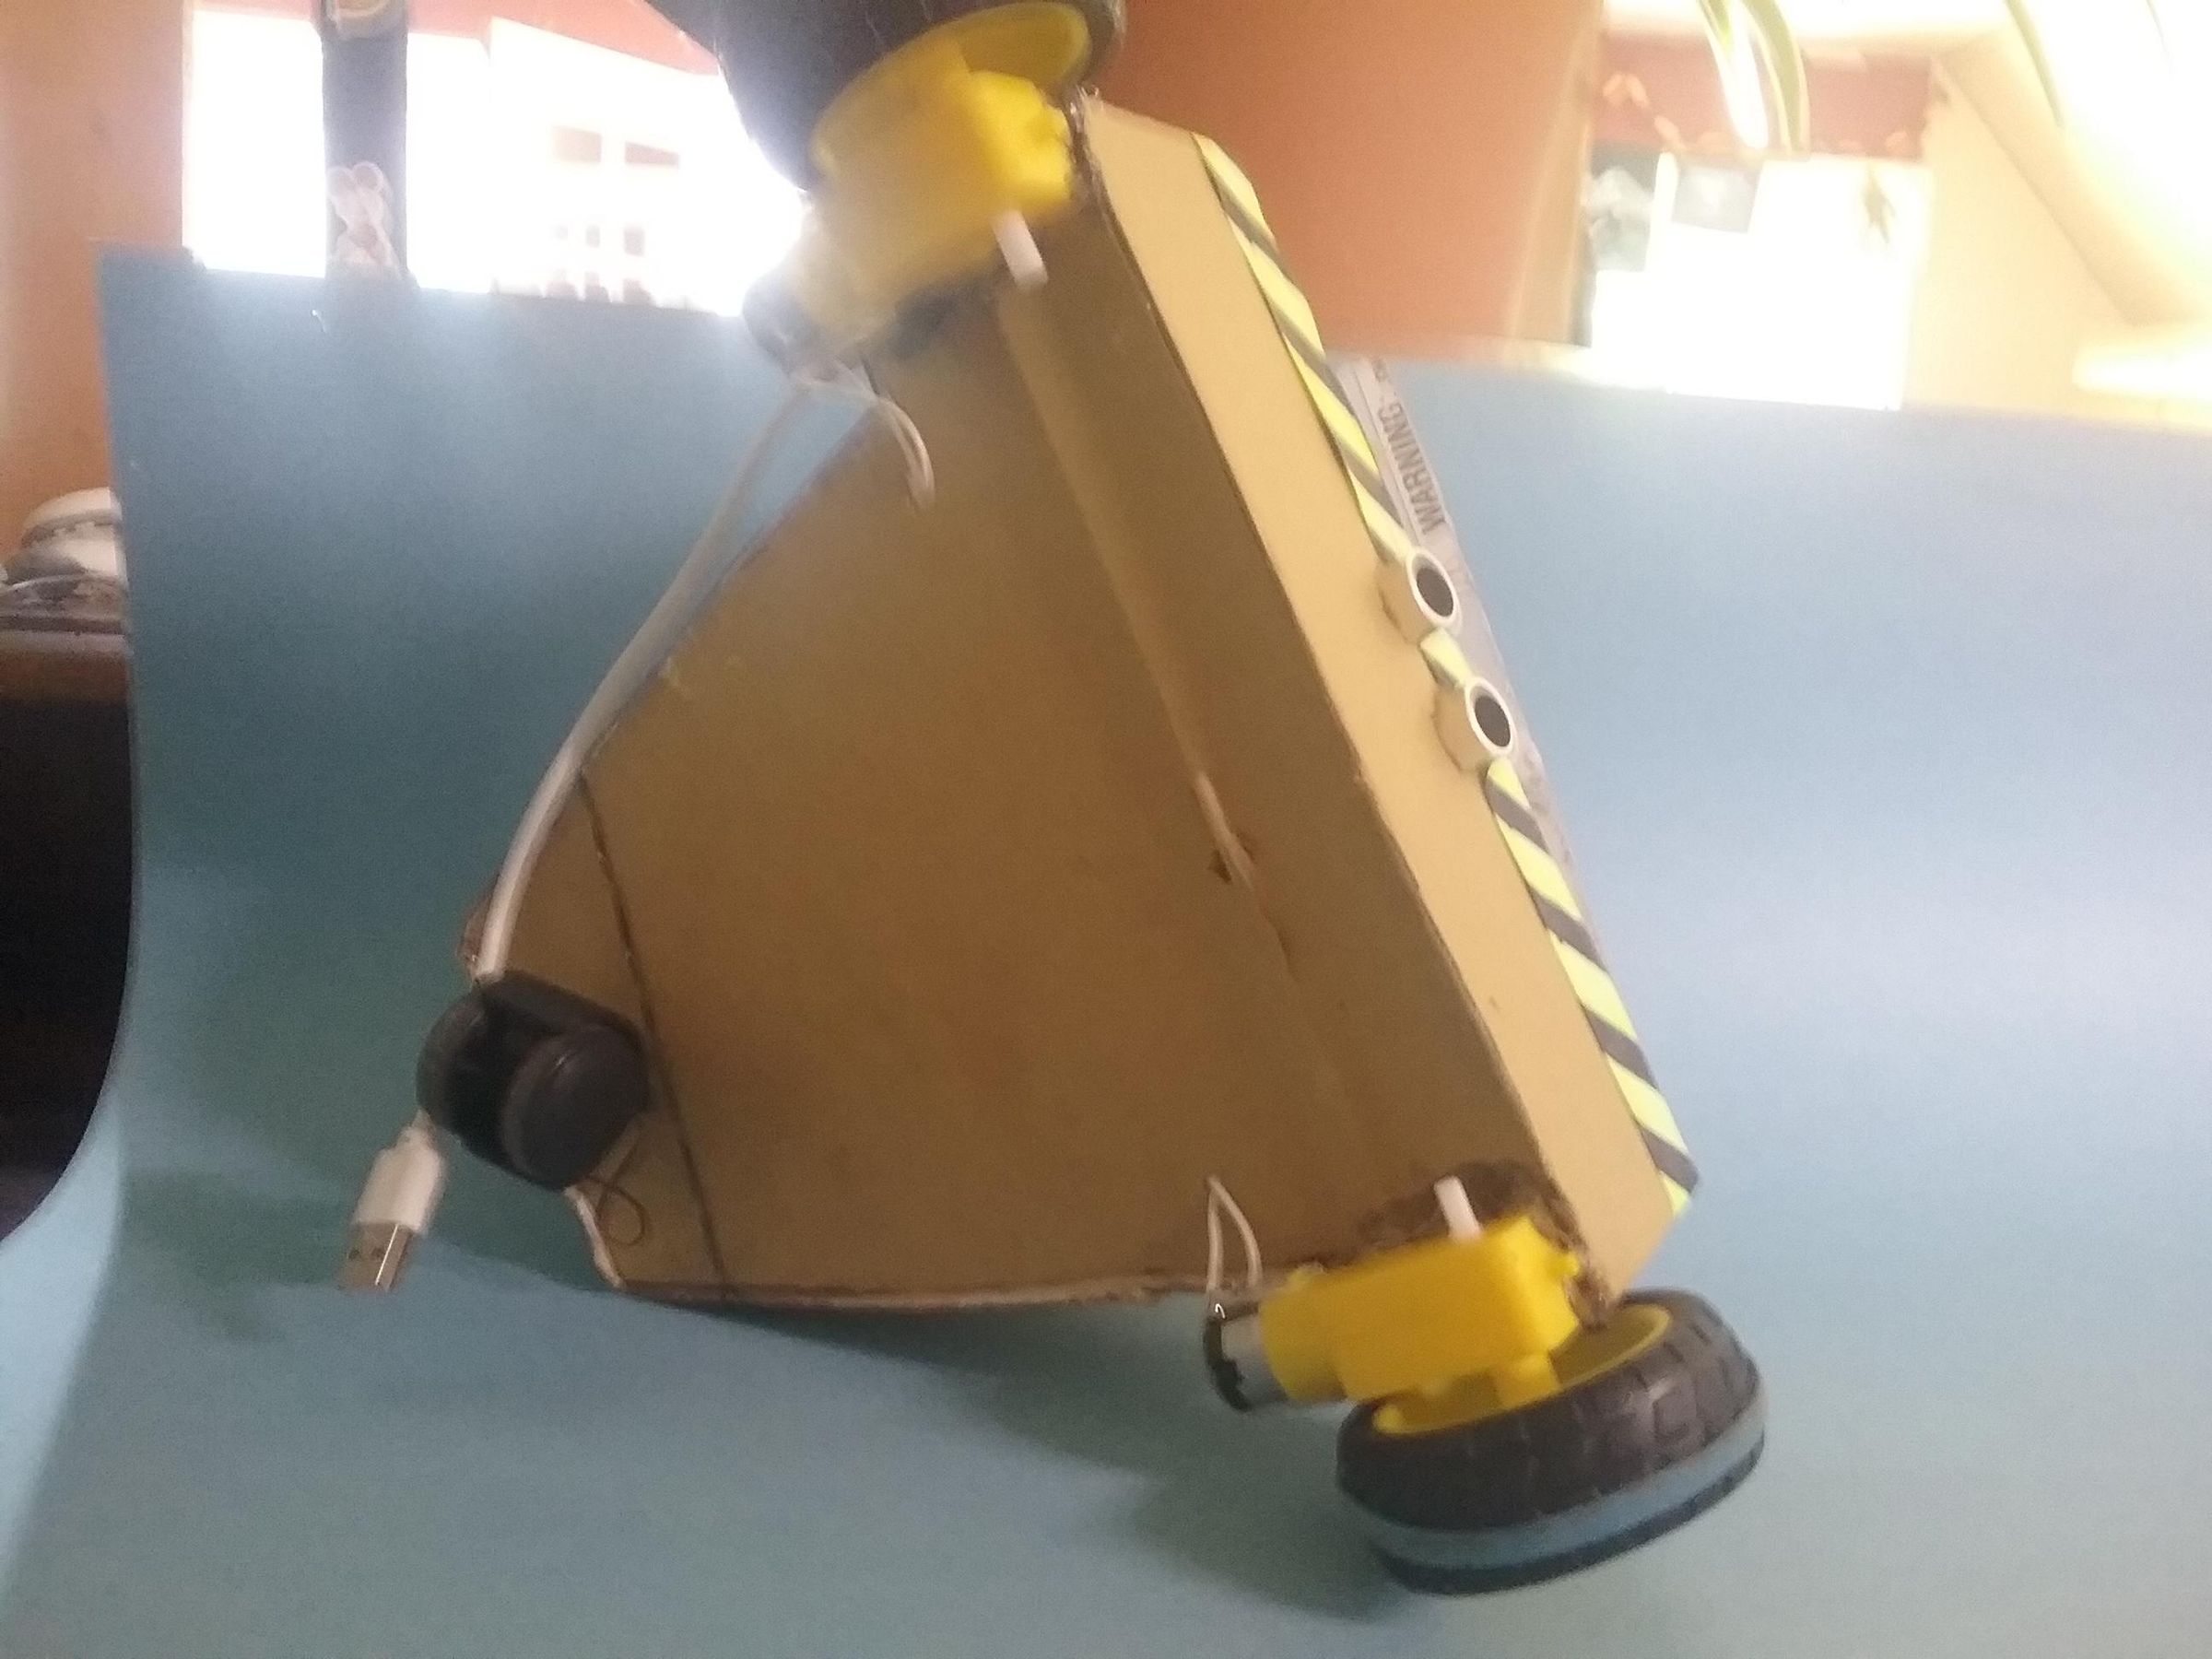
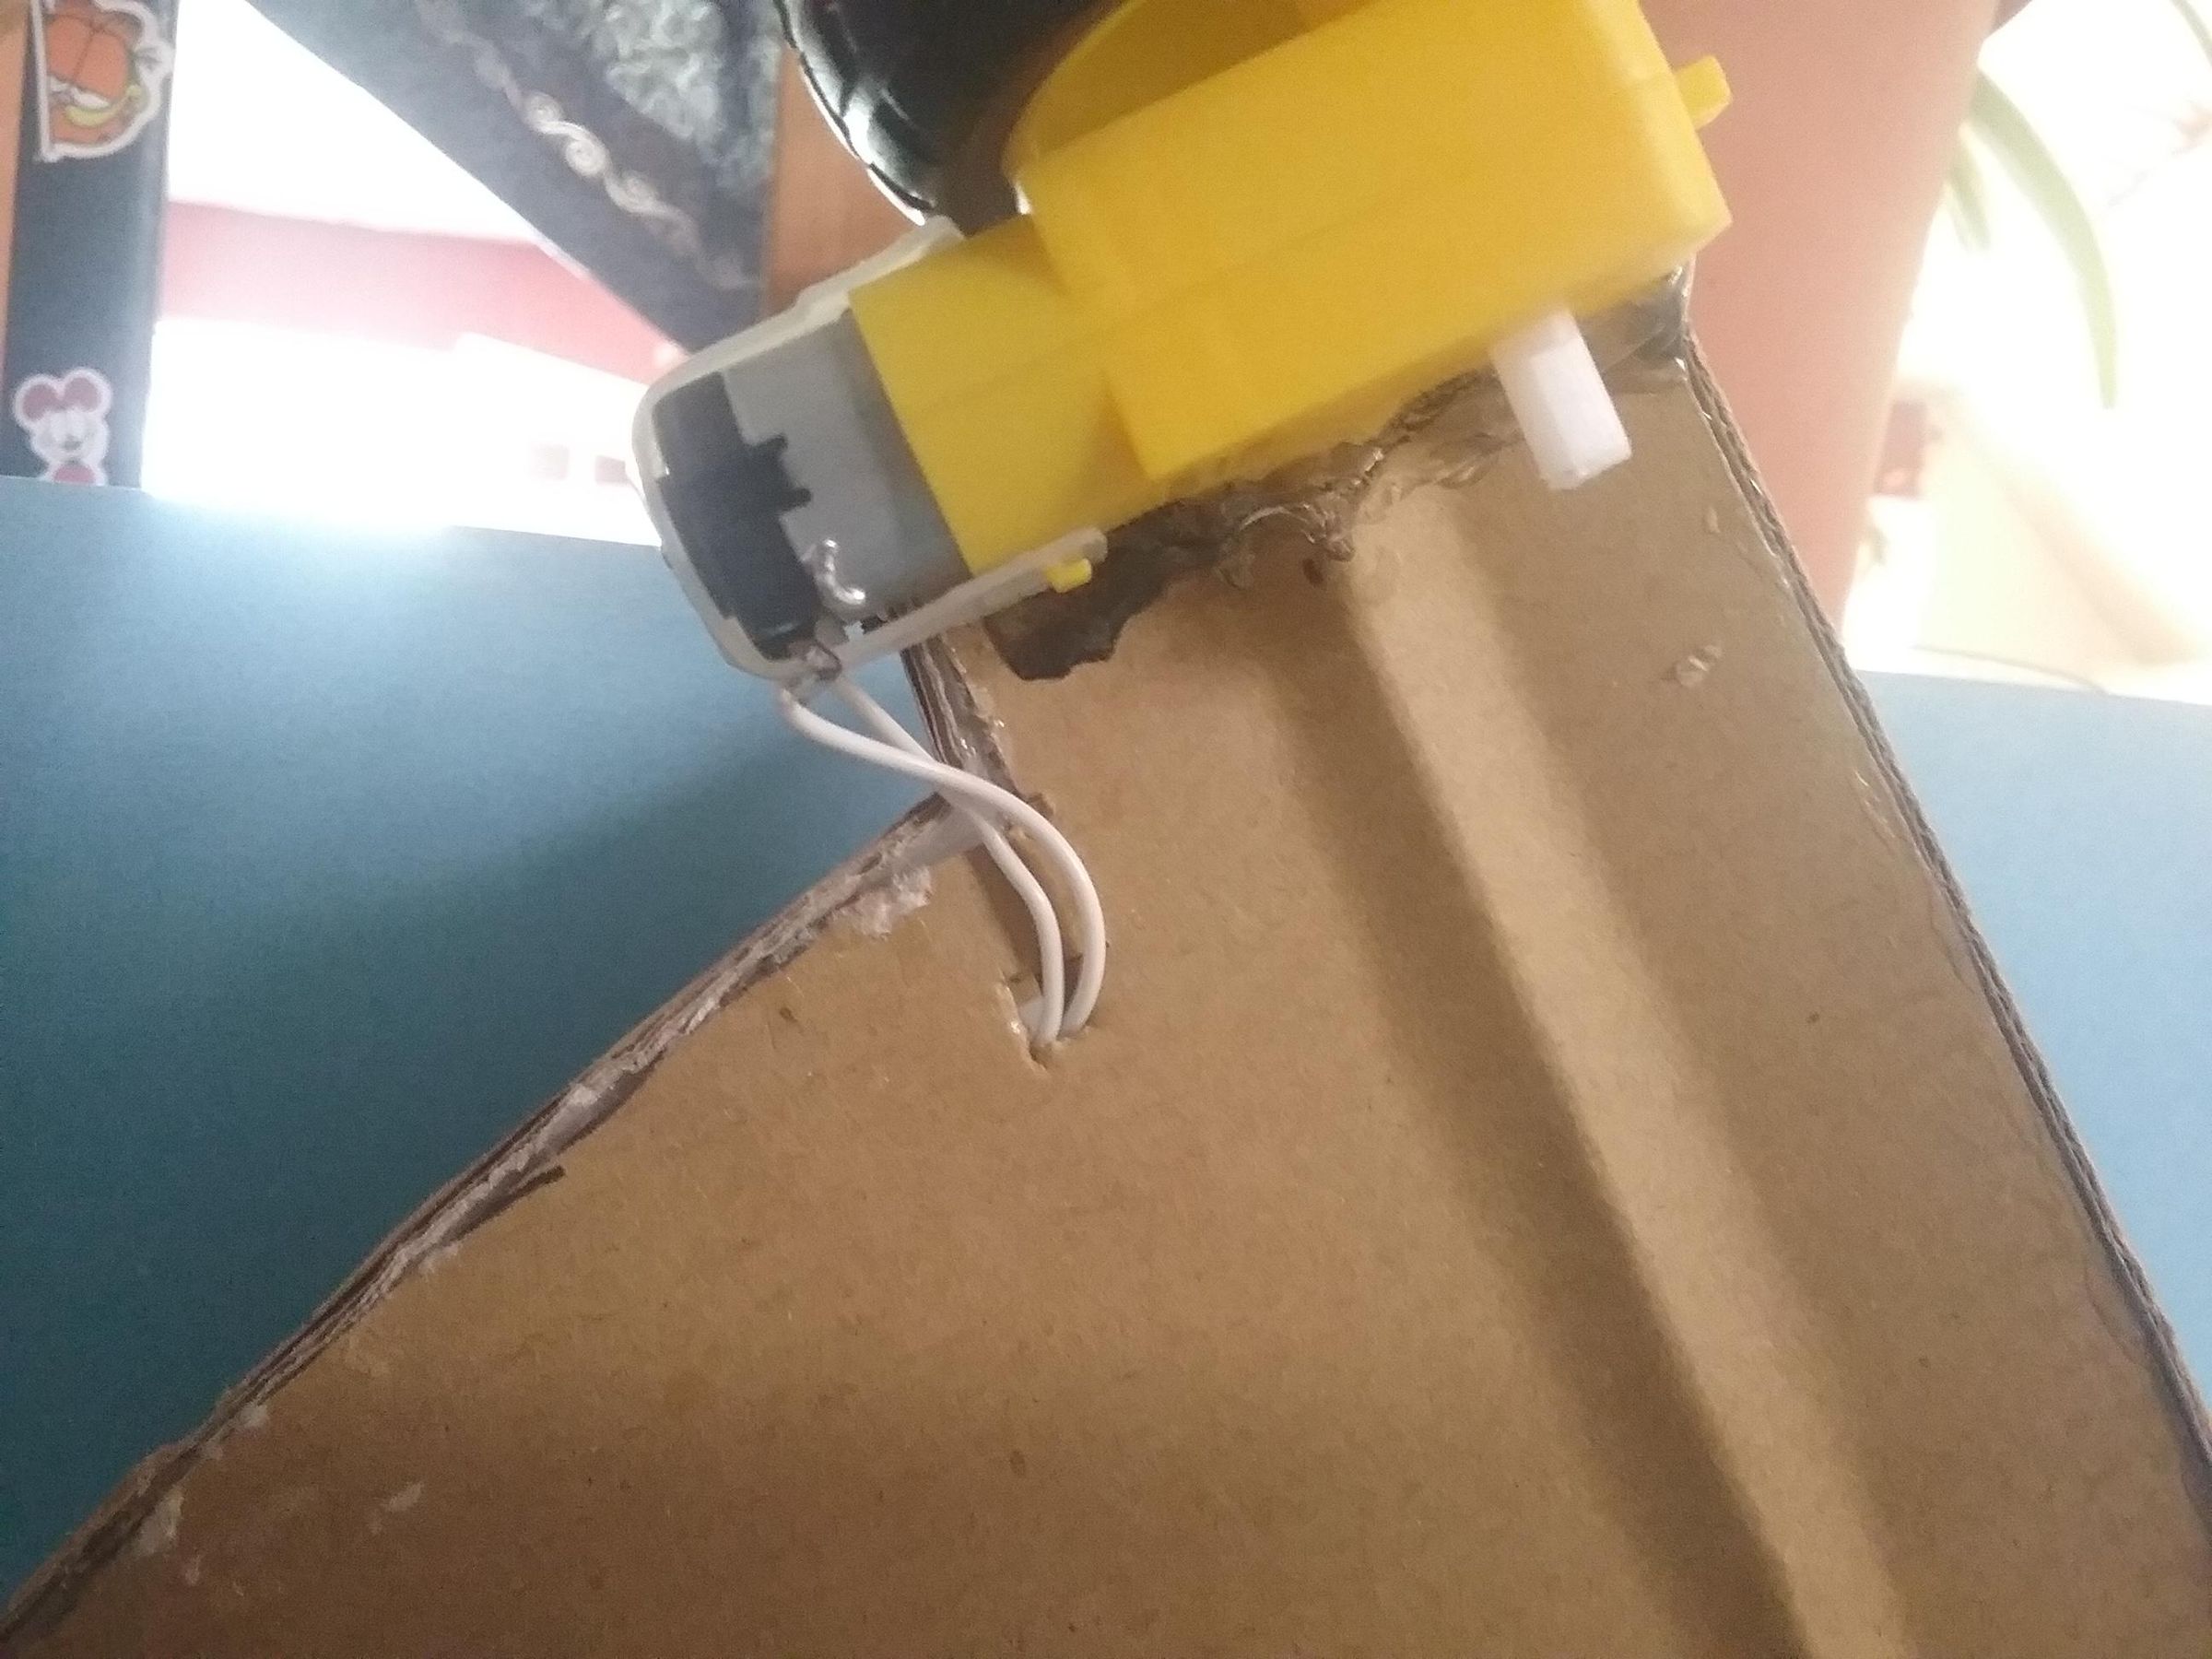
Now take your caster wheel and put it on the shorter end (or the rear) of the underside of the floor. Do the same with the motors, making sure the wheels stick outward. You can hold them firmly in place with hot glue. Then poke holes right next to the motor end of the driving wheels in the floor of the chassis (refer to the image above, and make sure the motors are on the right way) and thread the wires from the motor through the hole. Do the same with the other motor.
Add Battery
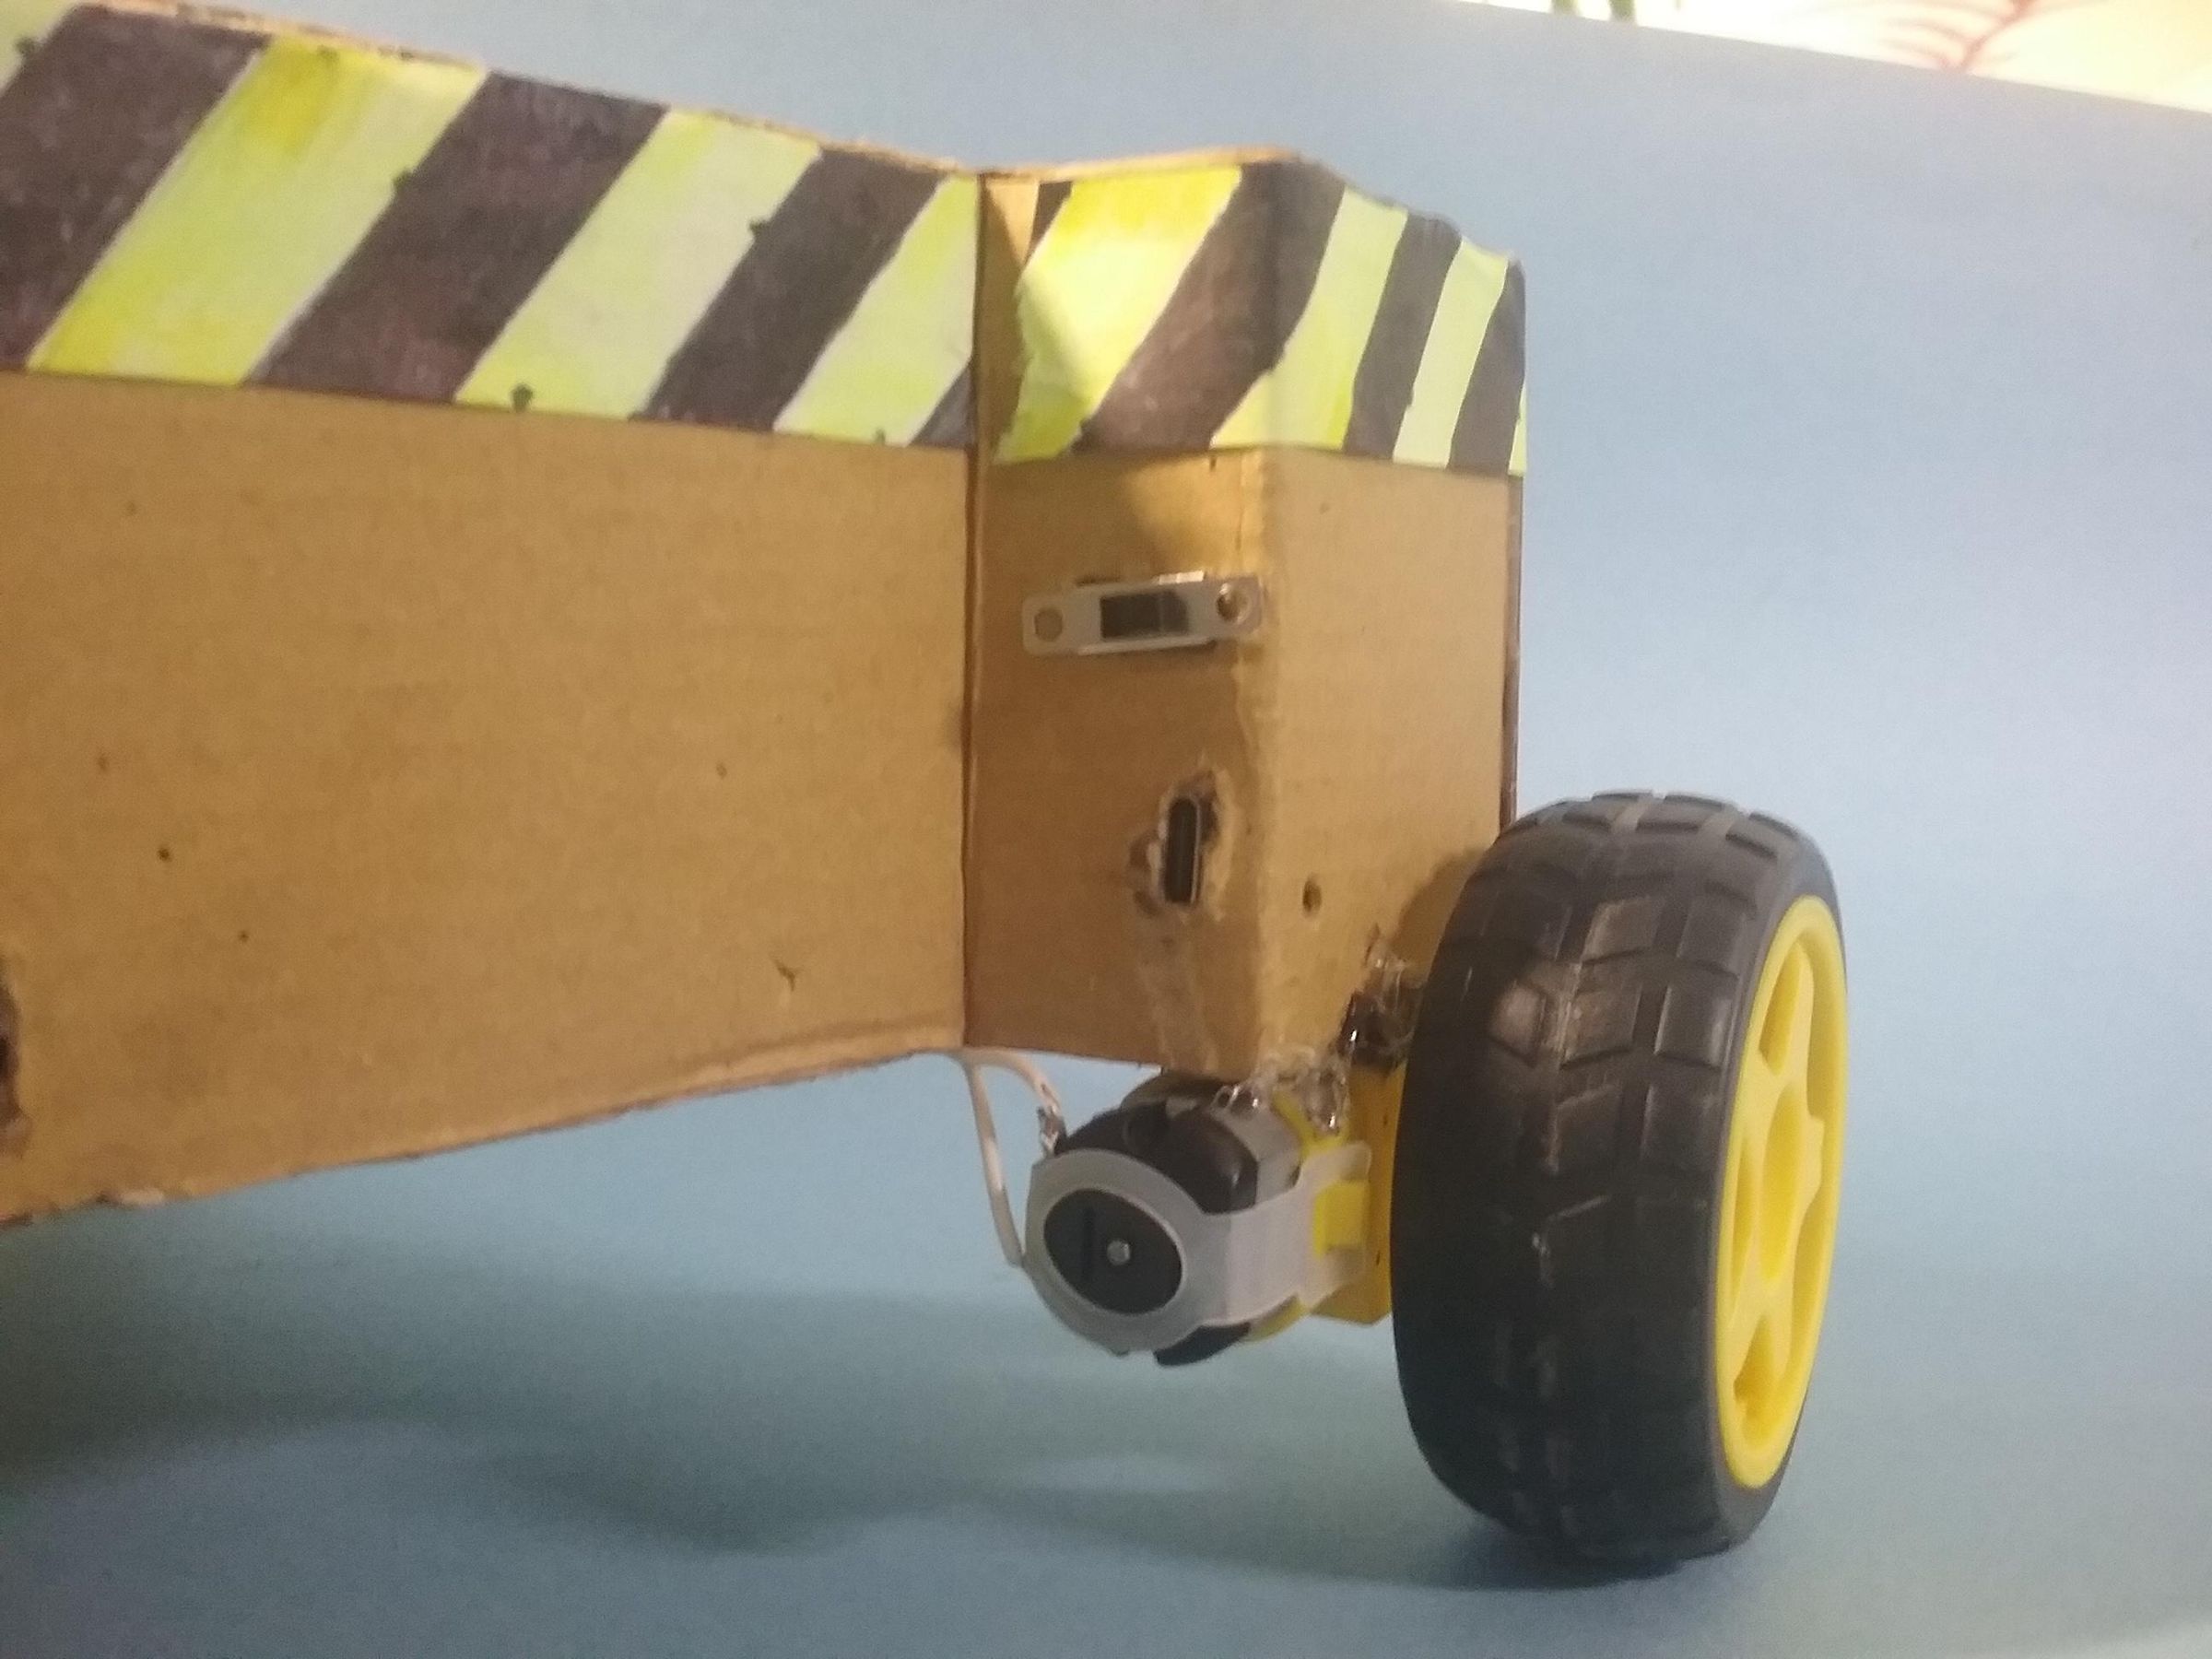
Now it is time to add your 7.4V battery. Mount it securely somewhere on the inside of the chassis wherever you want. I put it right above the right motor. I also poked and cut a hole in the chassis, then secured the charging board in place so I can connect a charging cord through the hole in the cardboard and see the charging light. Next, take the GND wire from the battery. Using your single-core wire and a soldering iron, attach it to a switch, and then add another wire to the switch (this will connect to your drive shield later). Then add another wire to the positive wire on the battery to make it longer. You can see the charging port and light hole in the image above. Now take the switch and mount it so that you can flip it from the outside.
Add Sop and Go Buttons
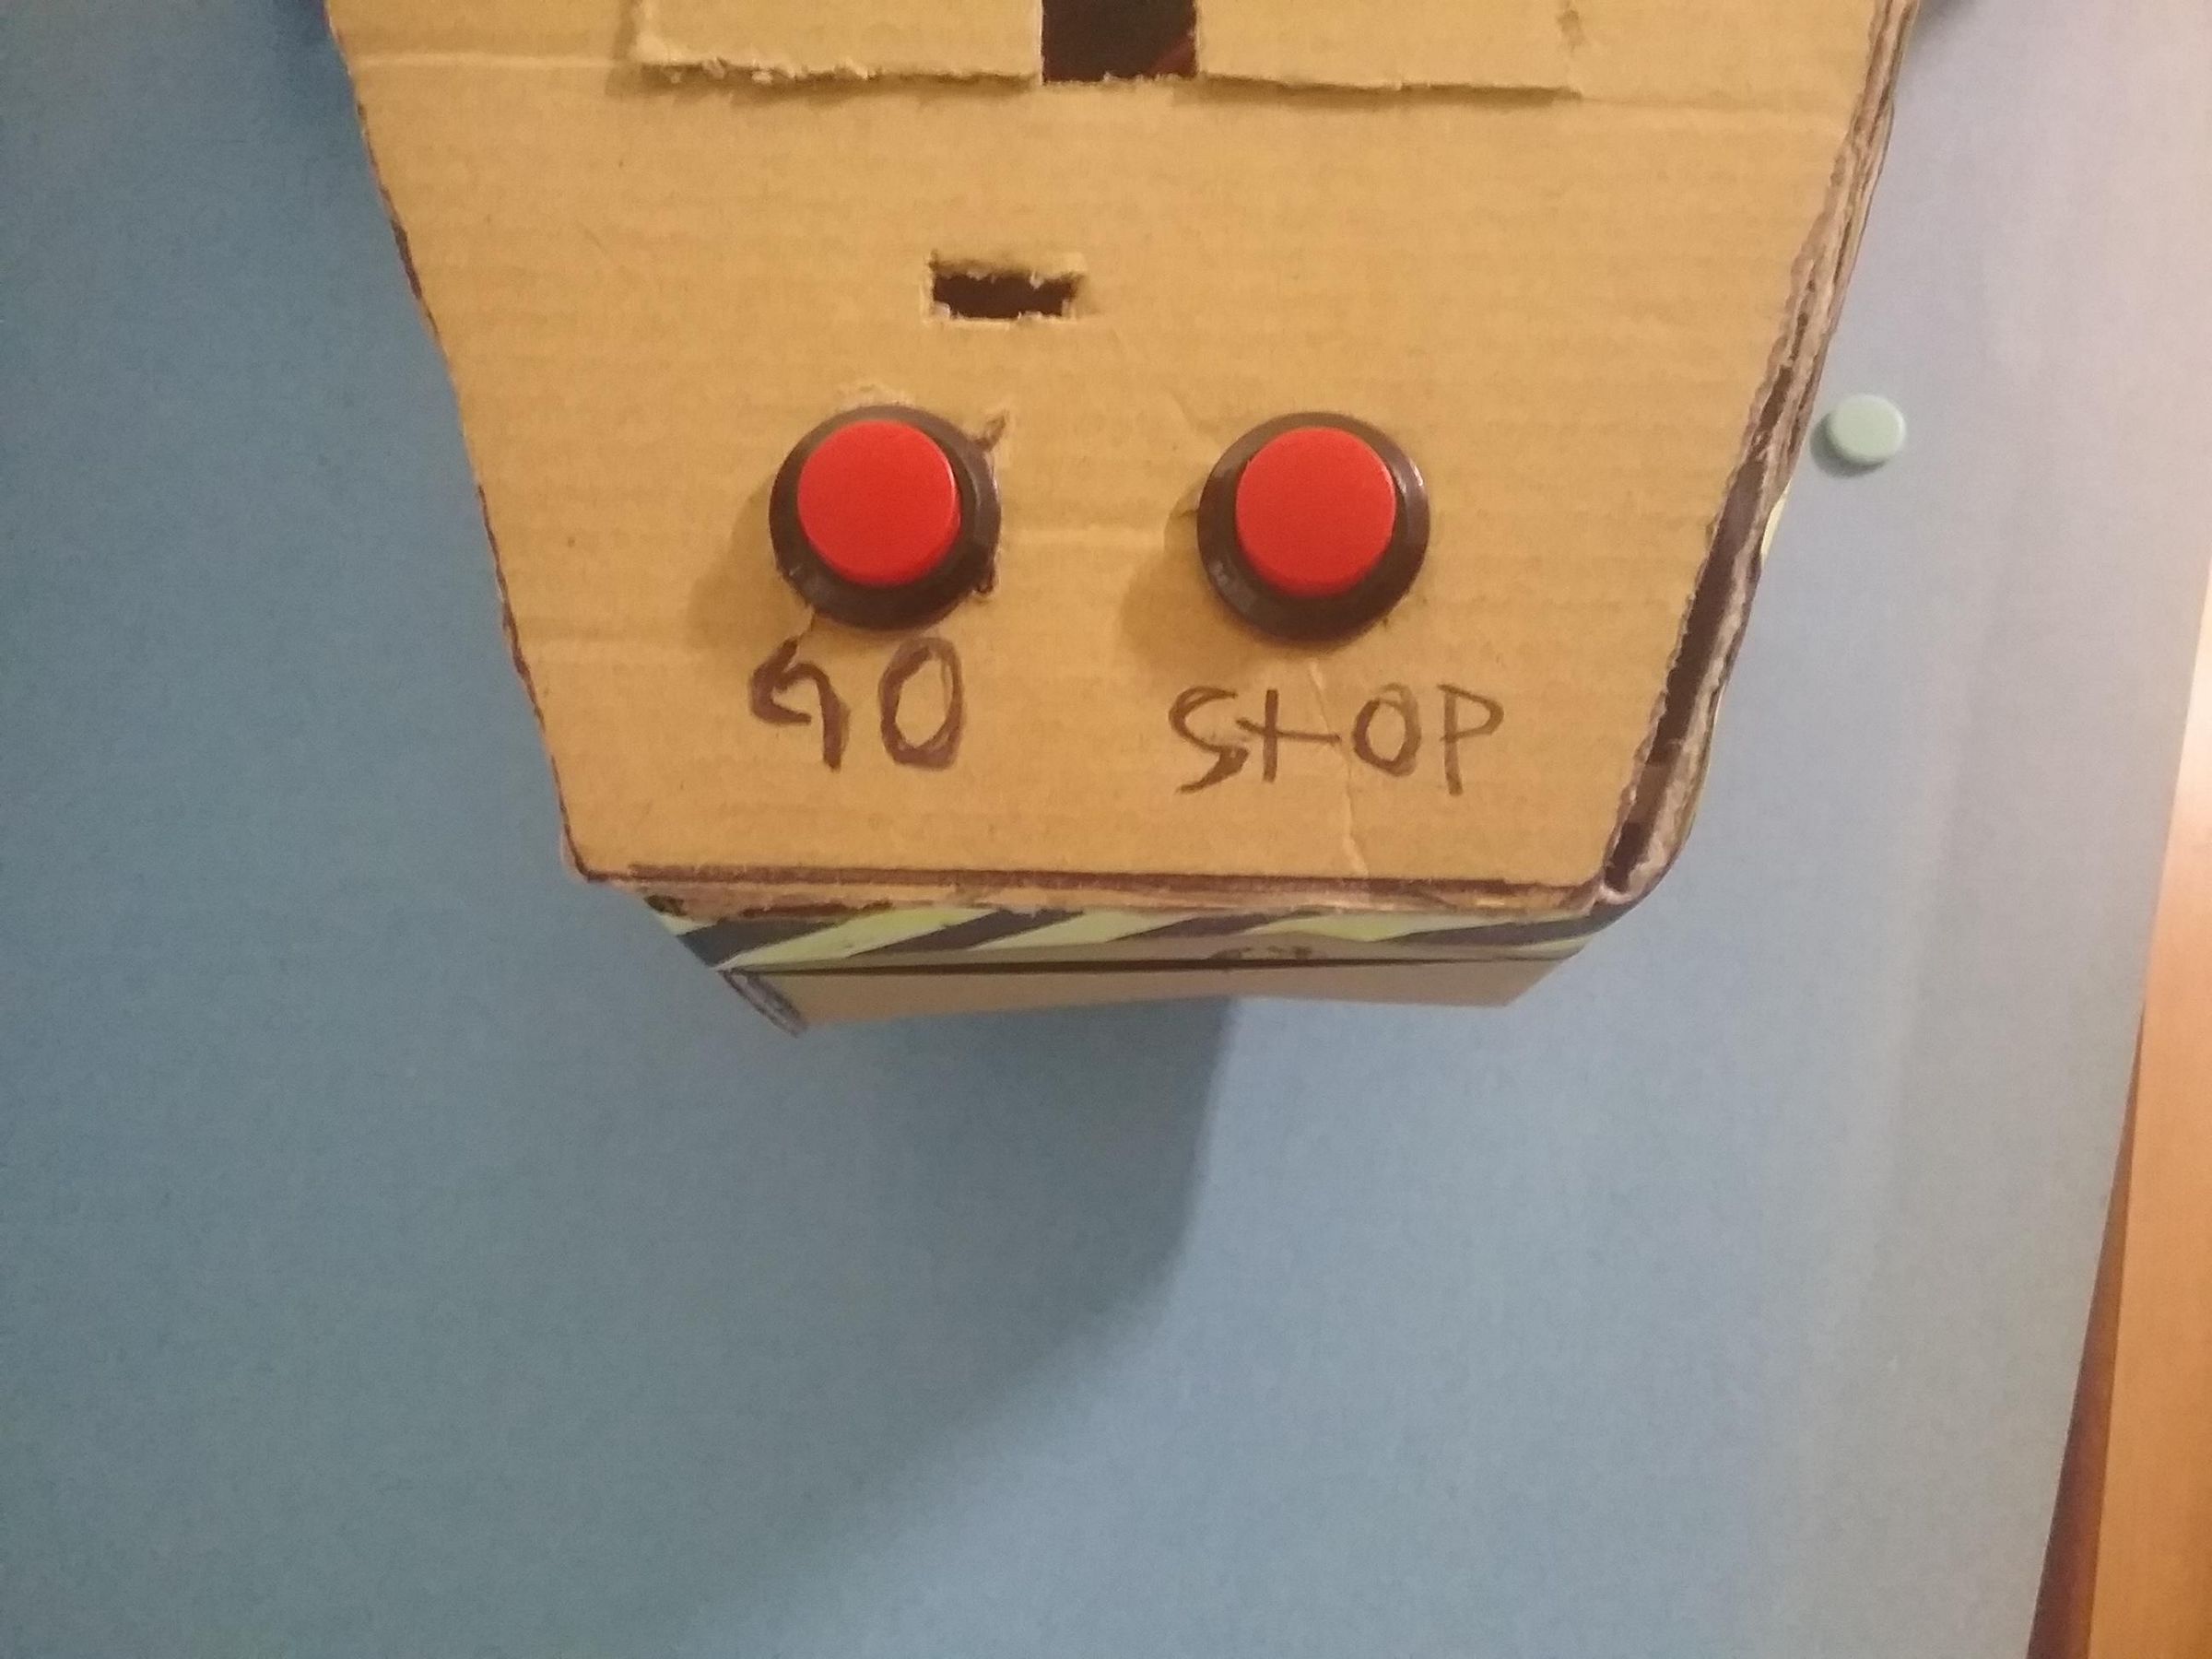
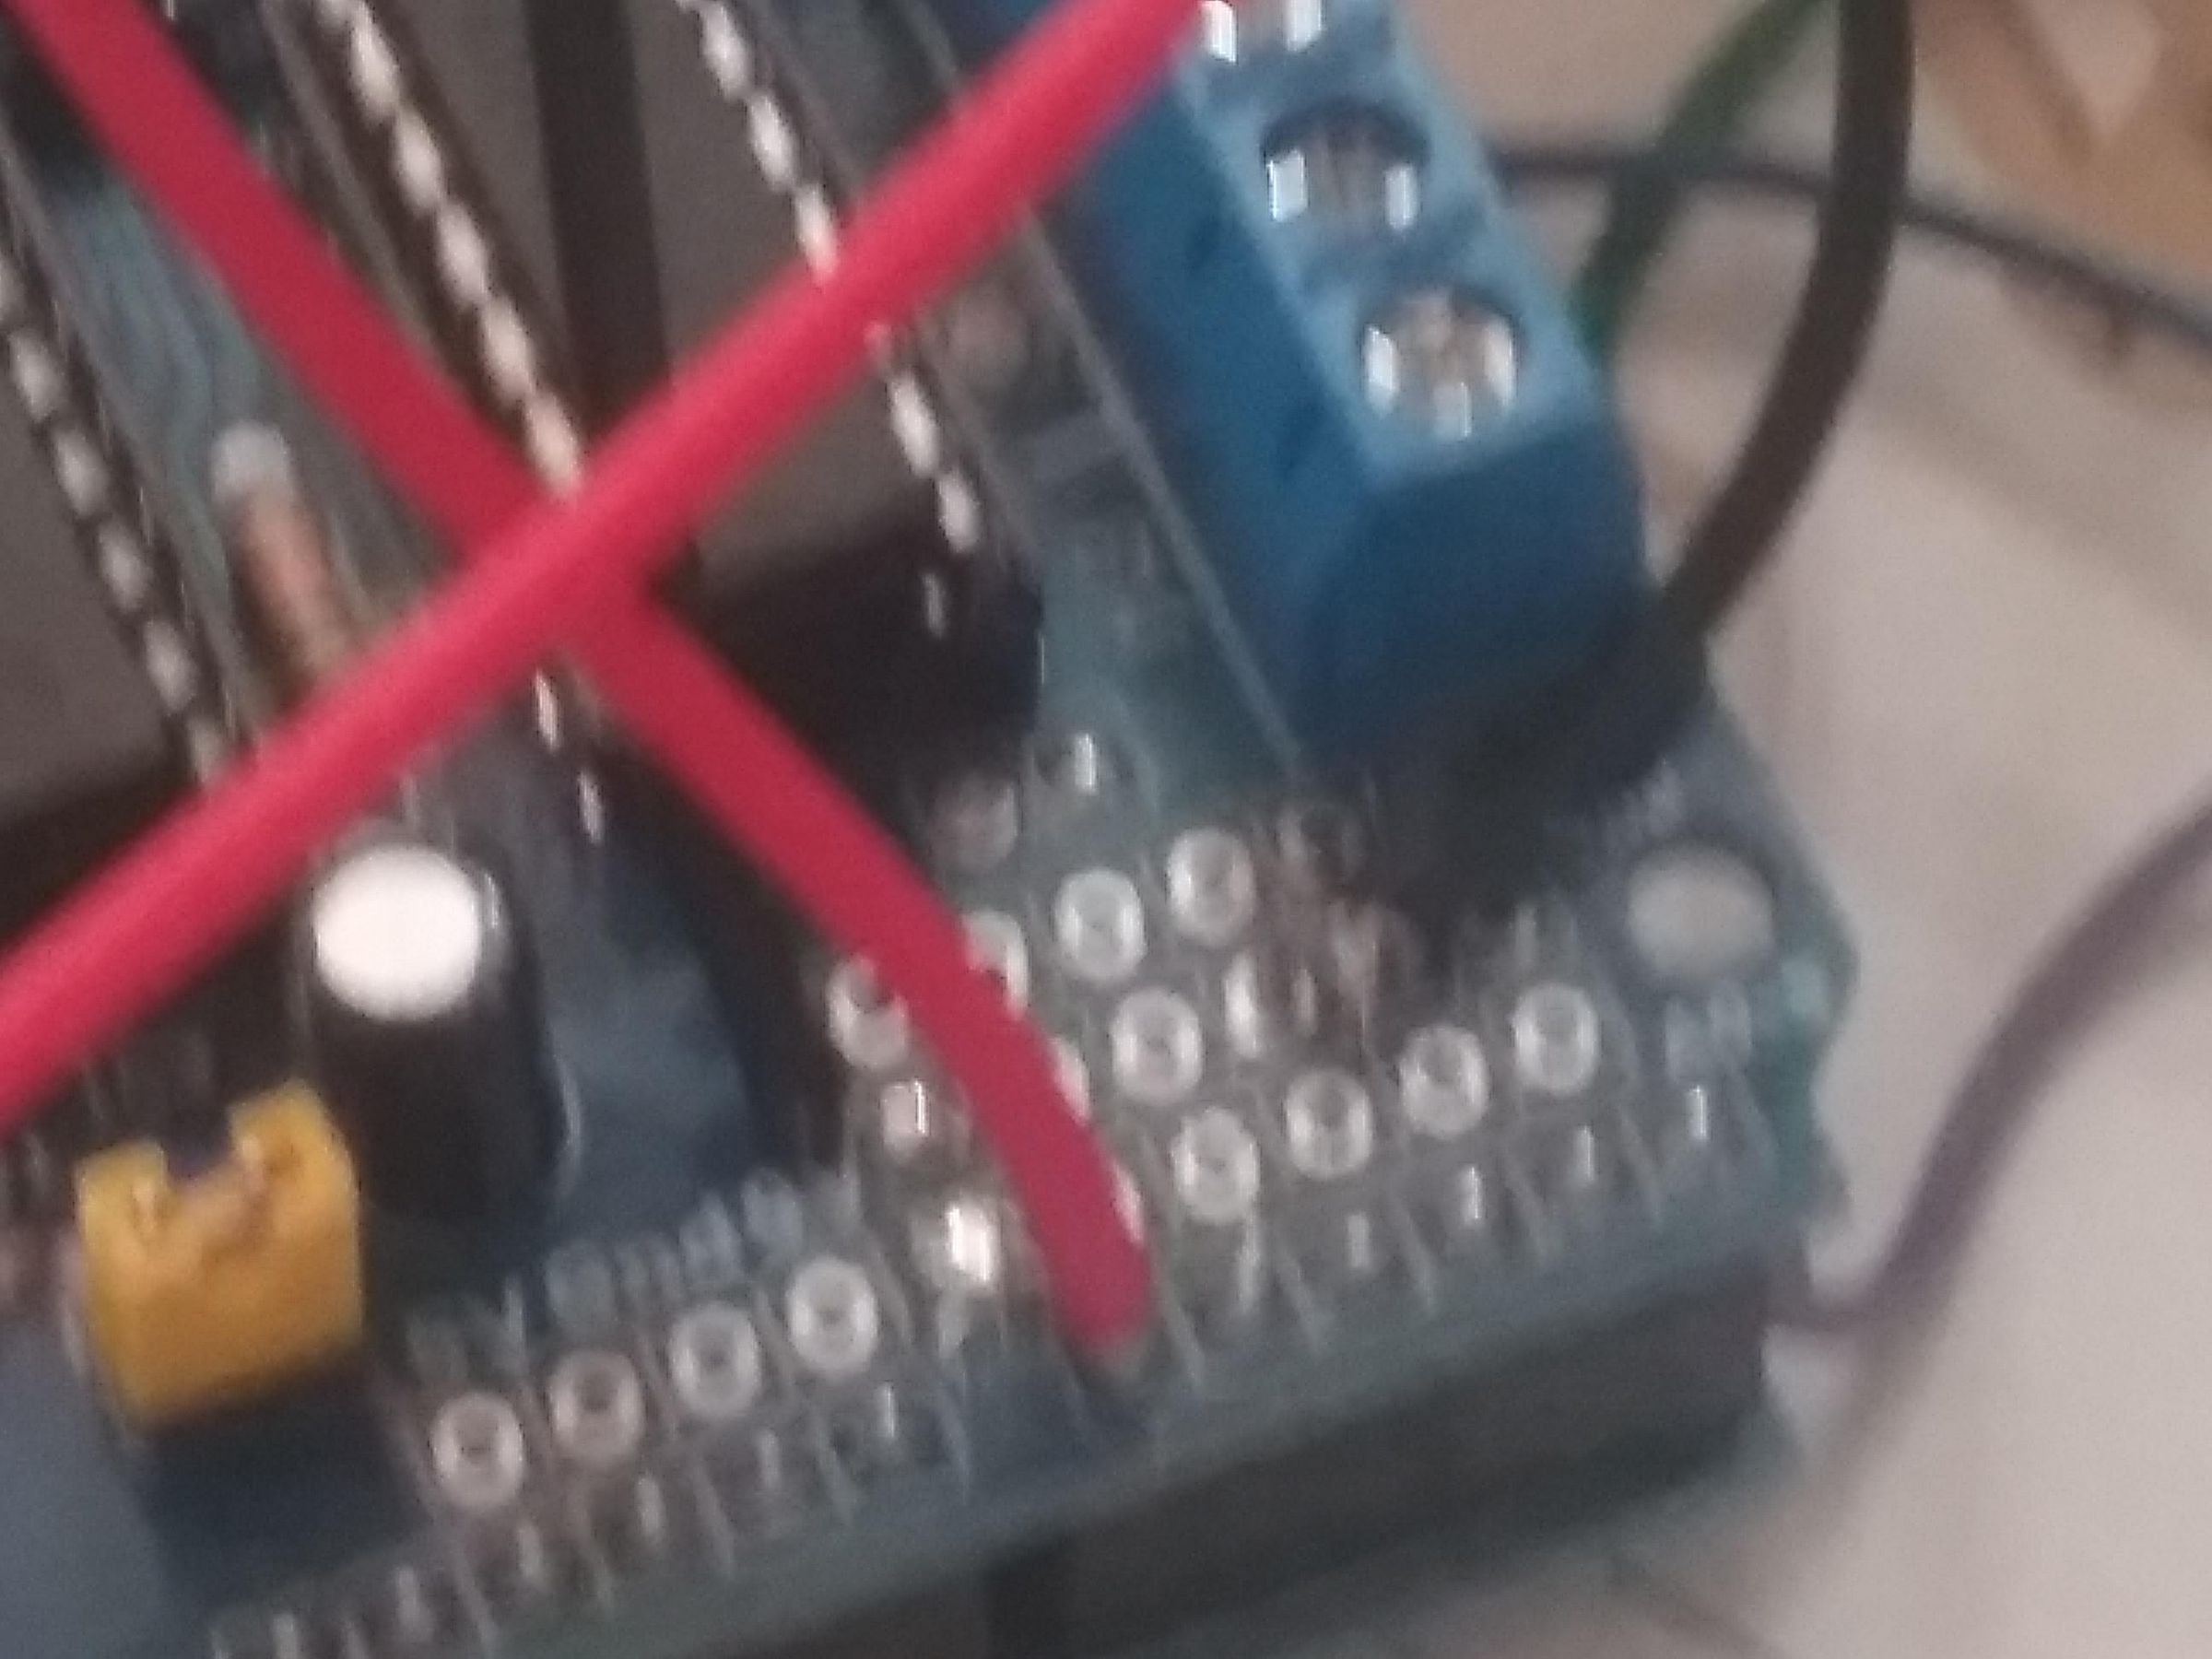
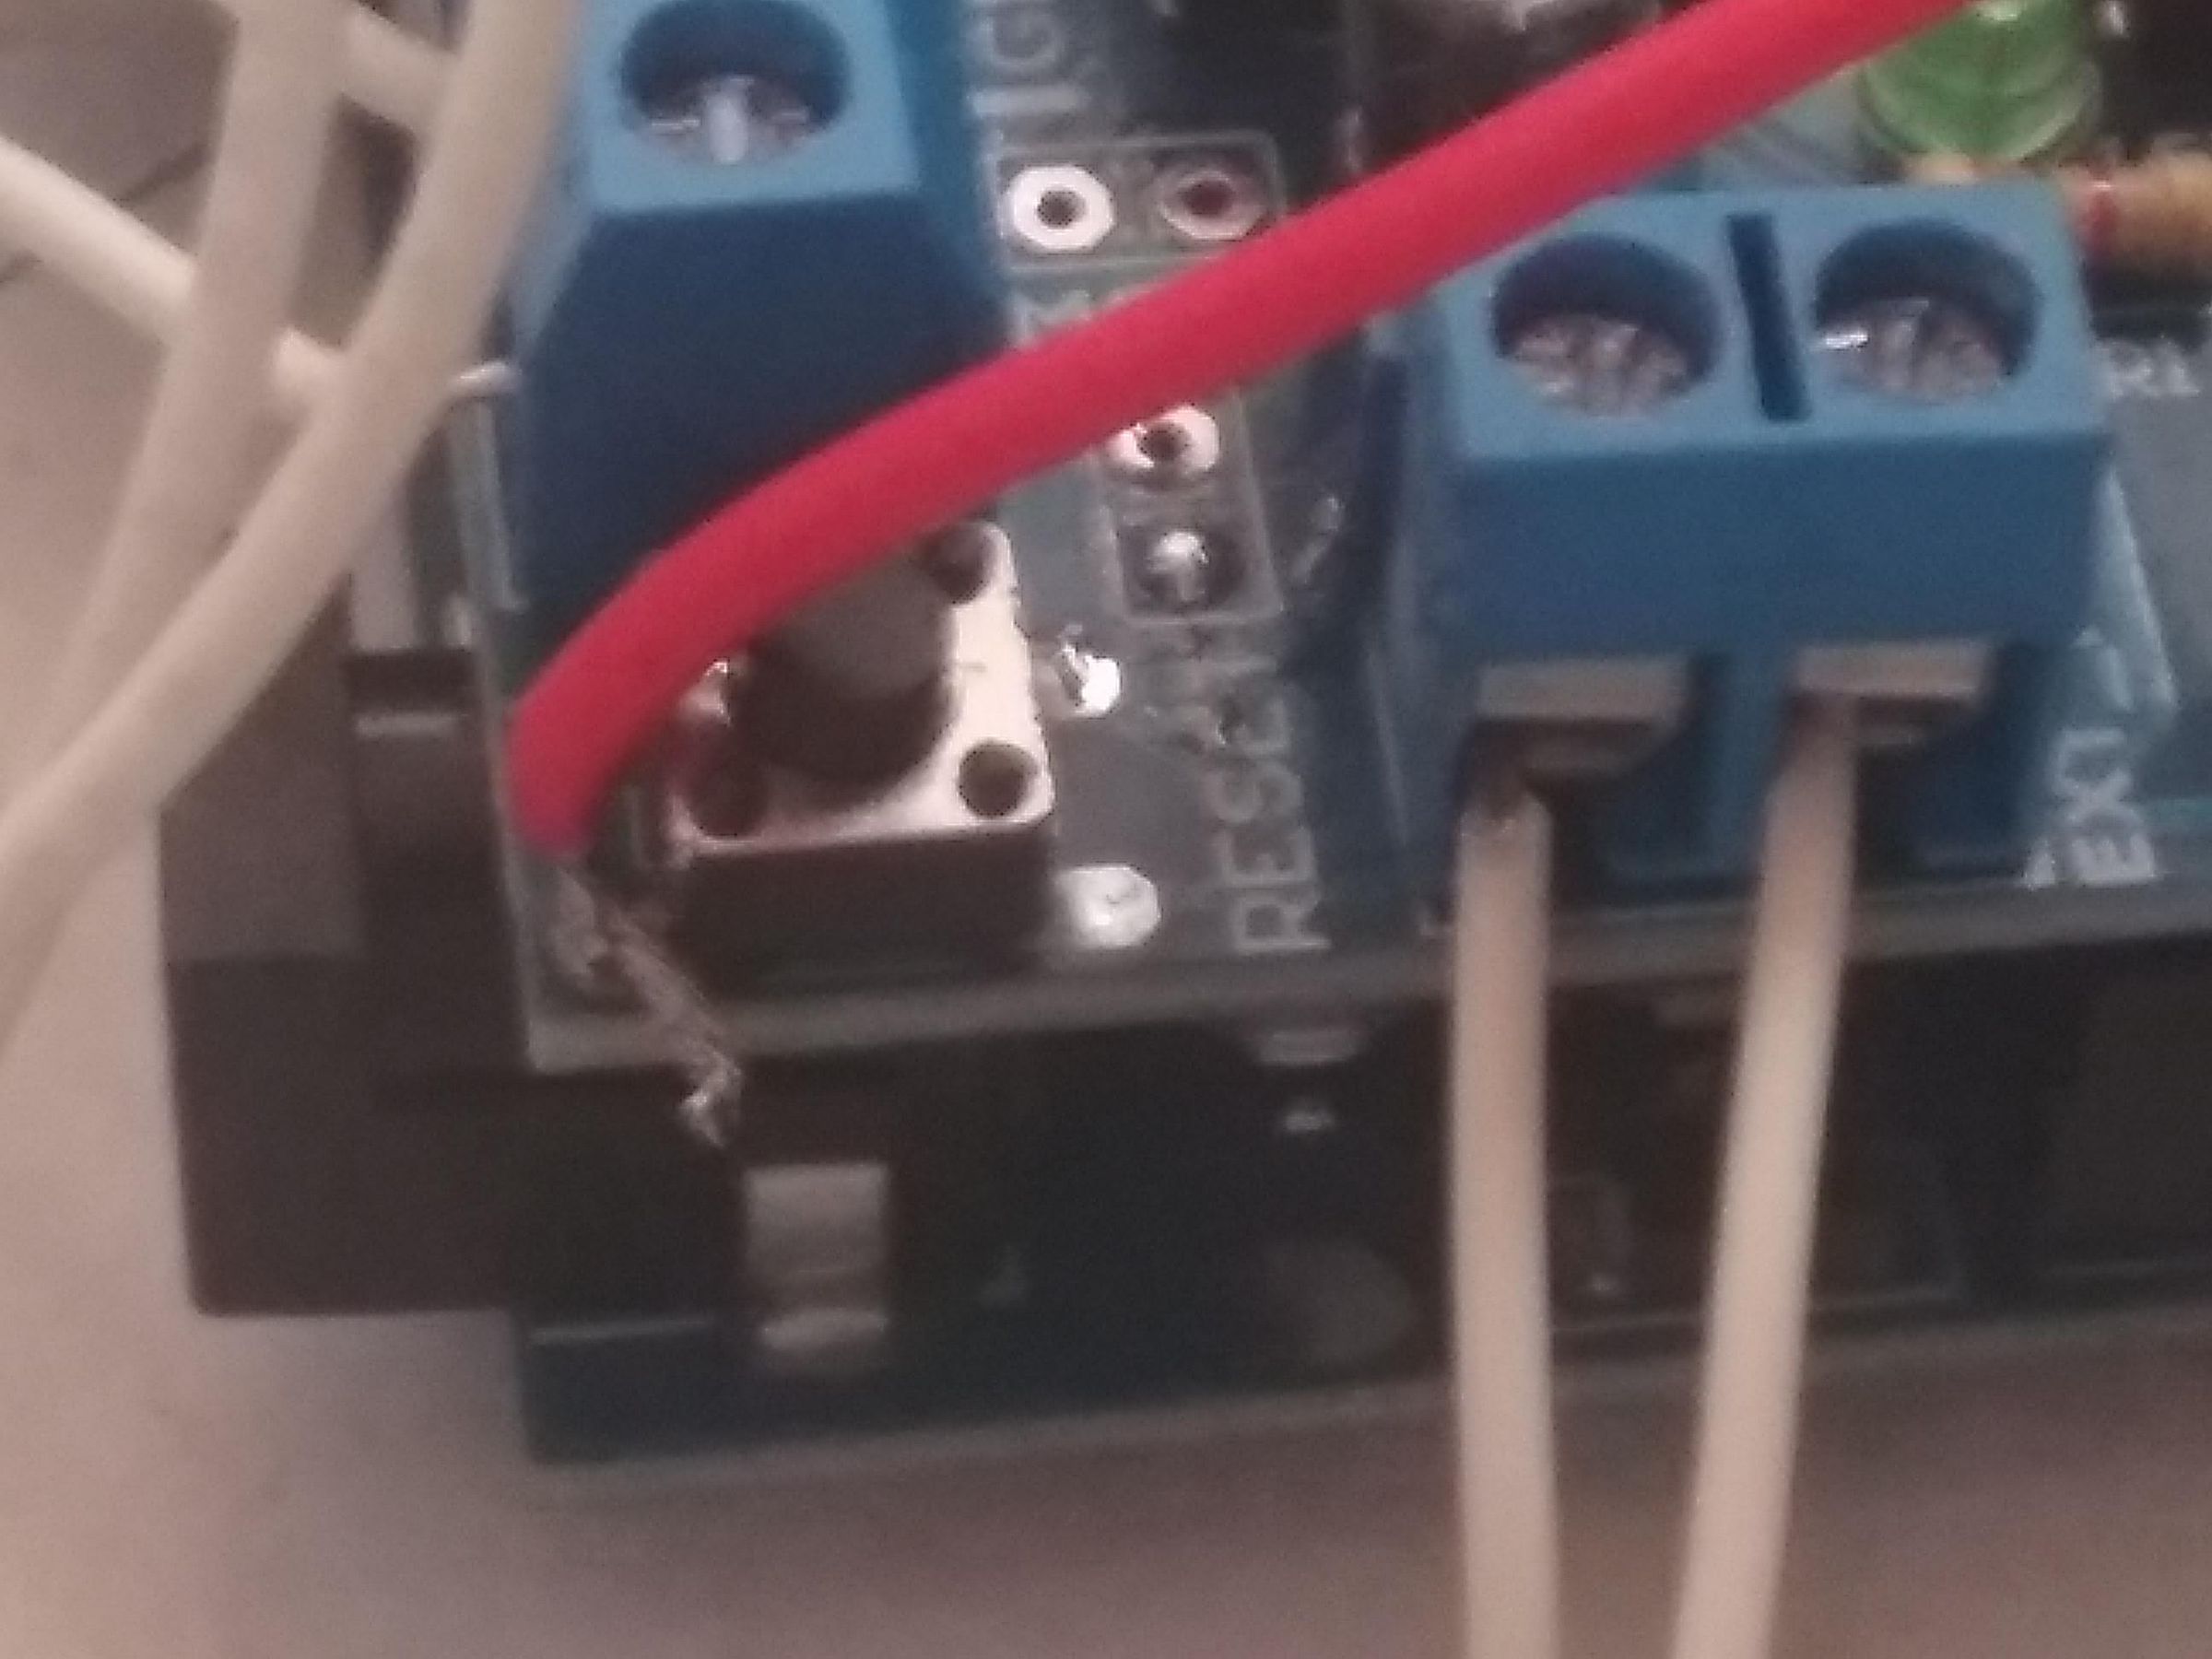
Now poke two holes slightly smaller than the size of your push buttons in your lid, and stuff them in, wires first, so that the pushable parts are facing up. Then solder one wire of the "go" button to the A0 port and the other wire to the GND port on top of your motor drive shield. Next, wire one wire of the "stop" button to GND and the other wire to the reset pin, or to one of the legs on the built-in push button (sorry about the blurry images).
Now the Ultrasonic Sensor
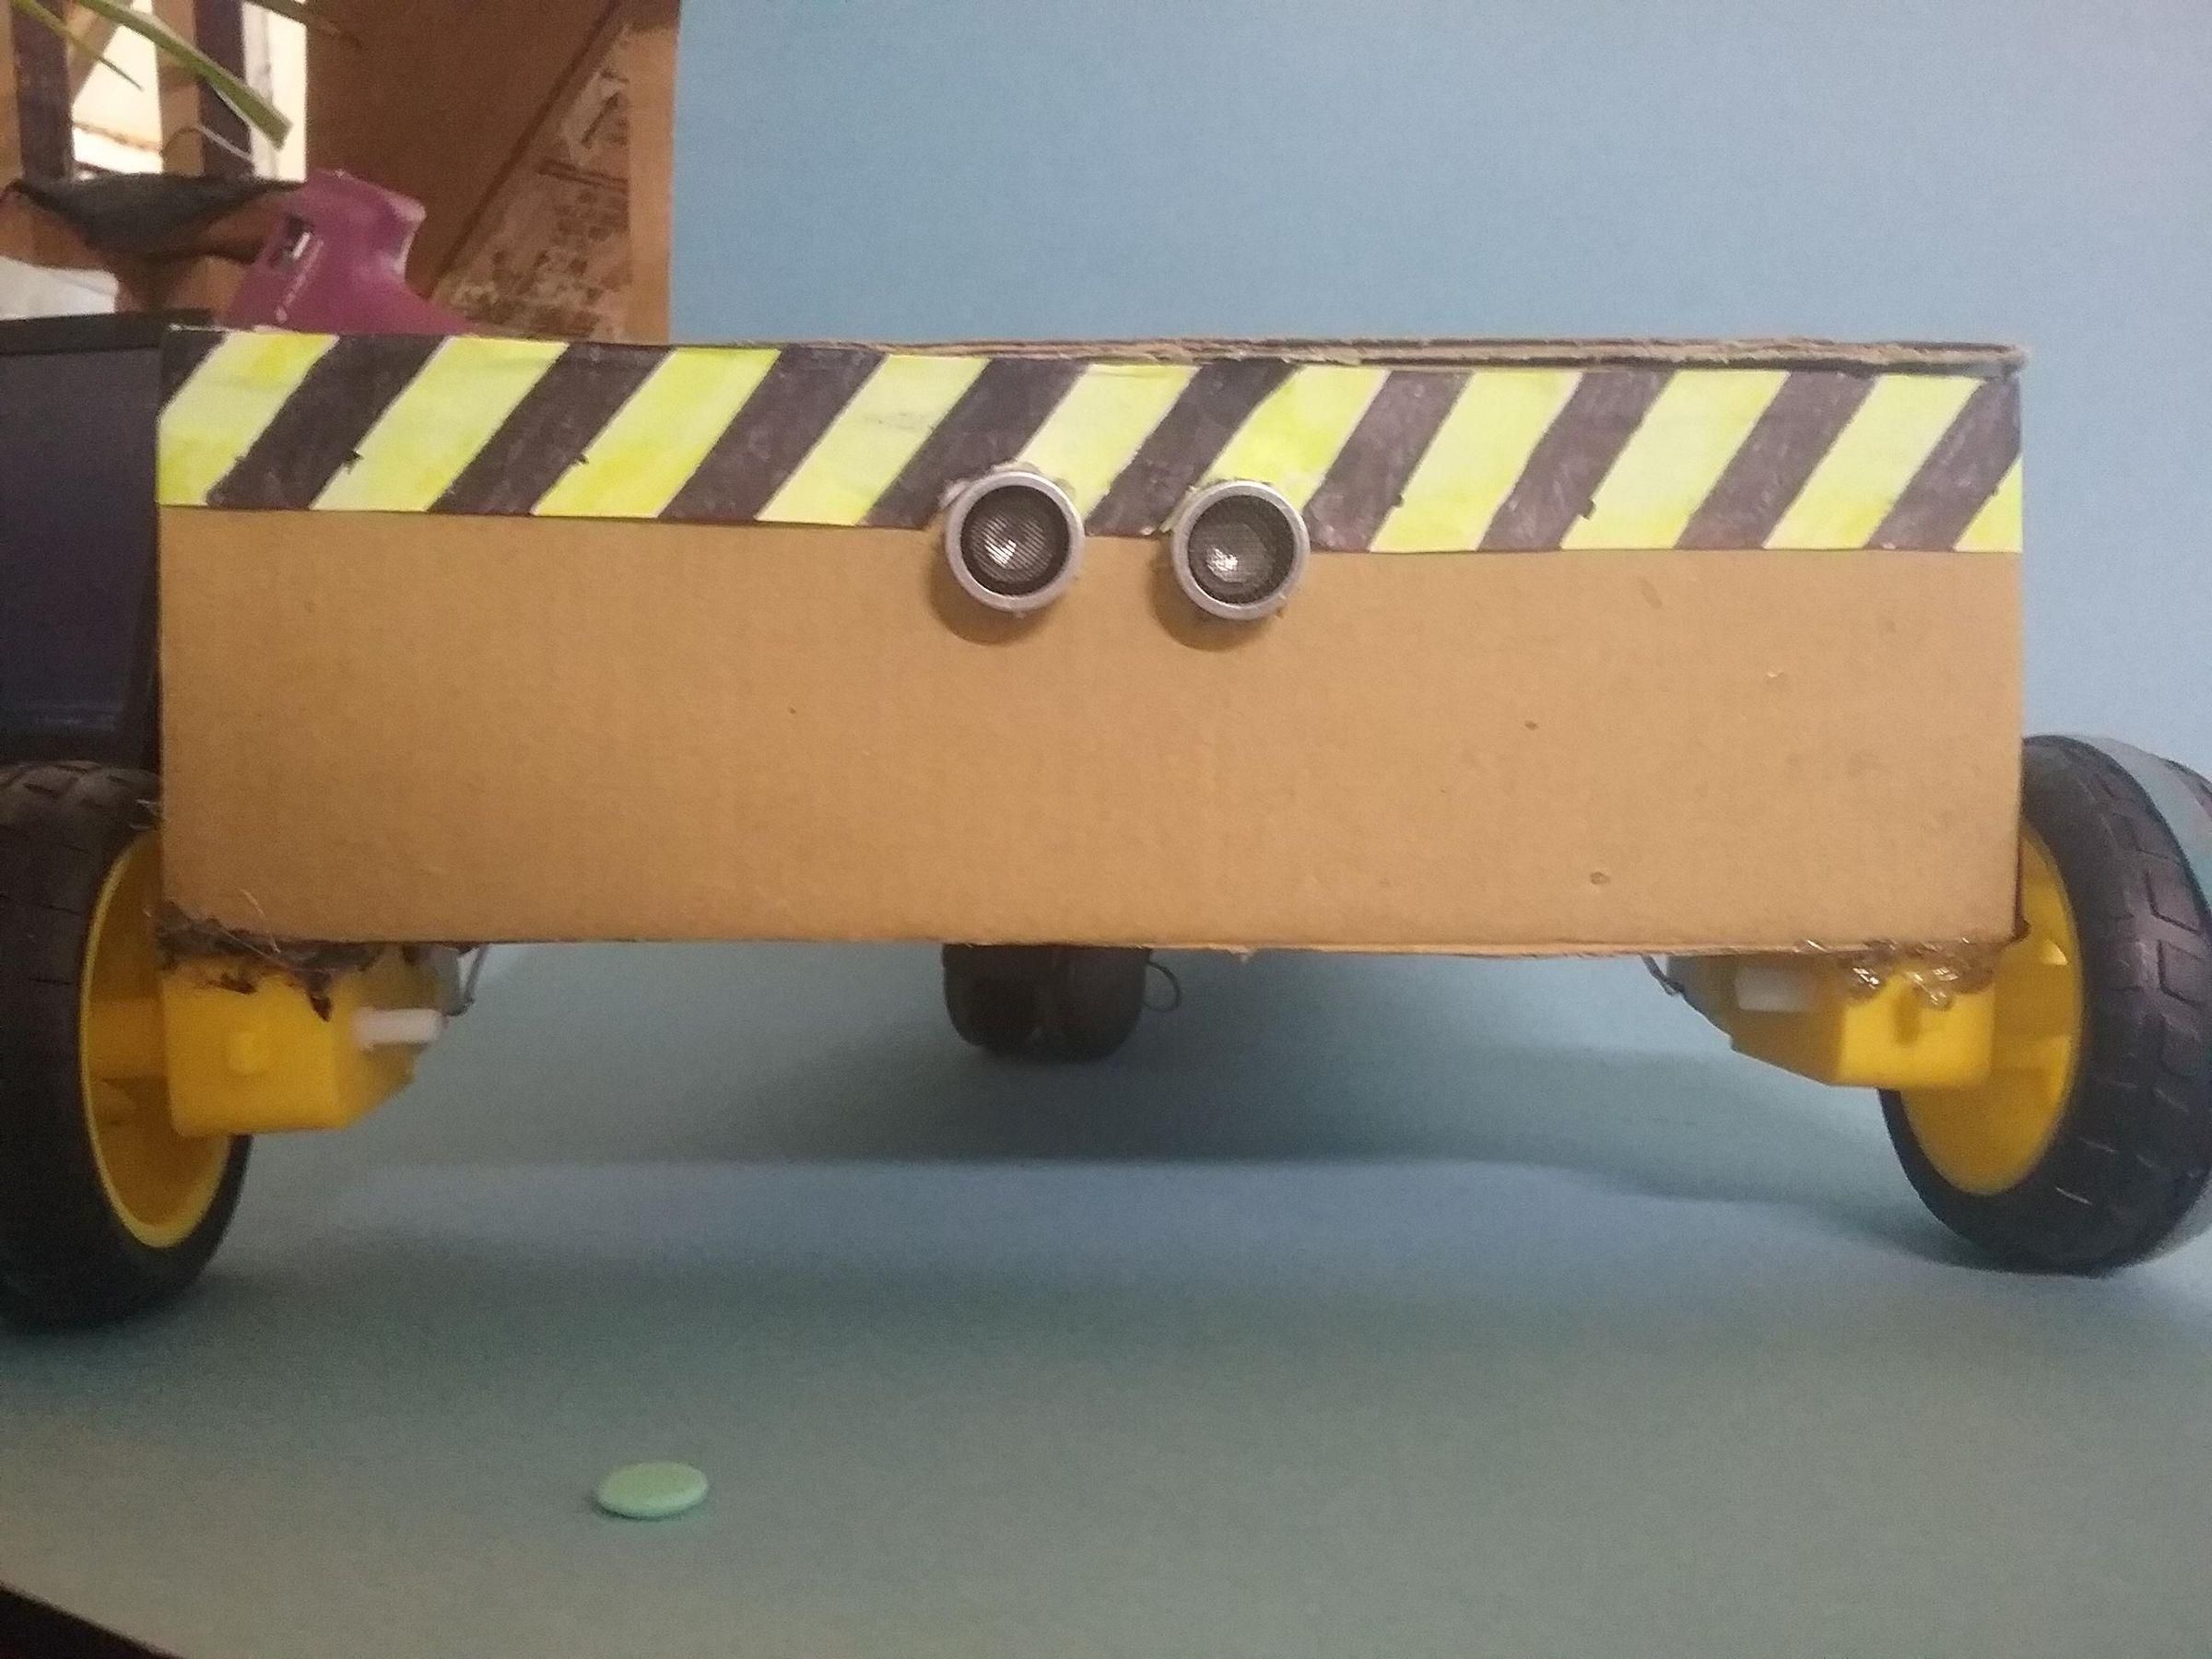
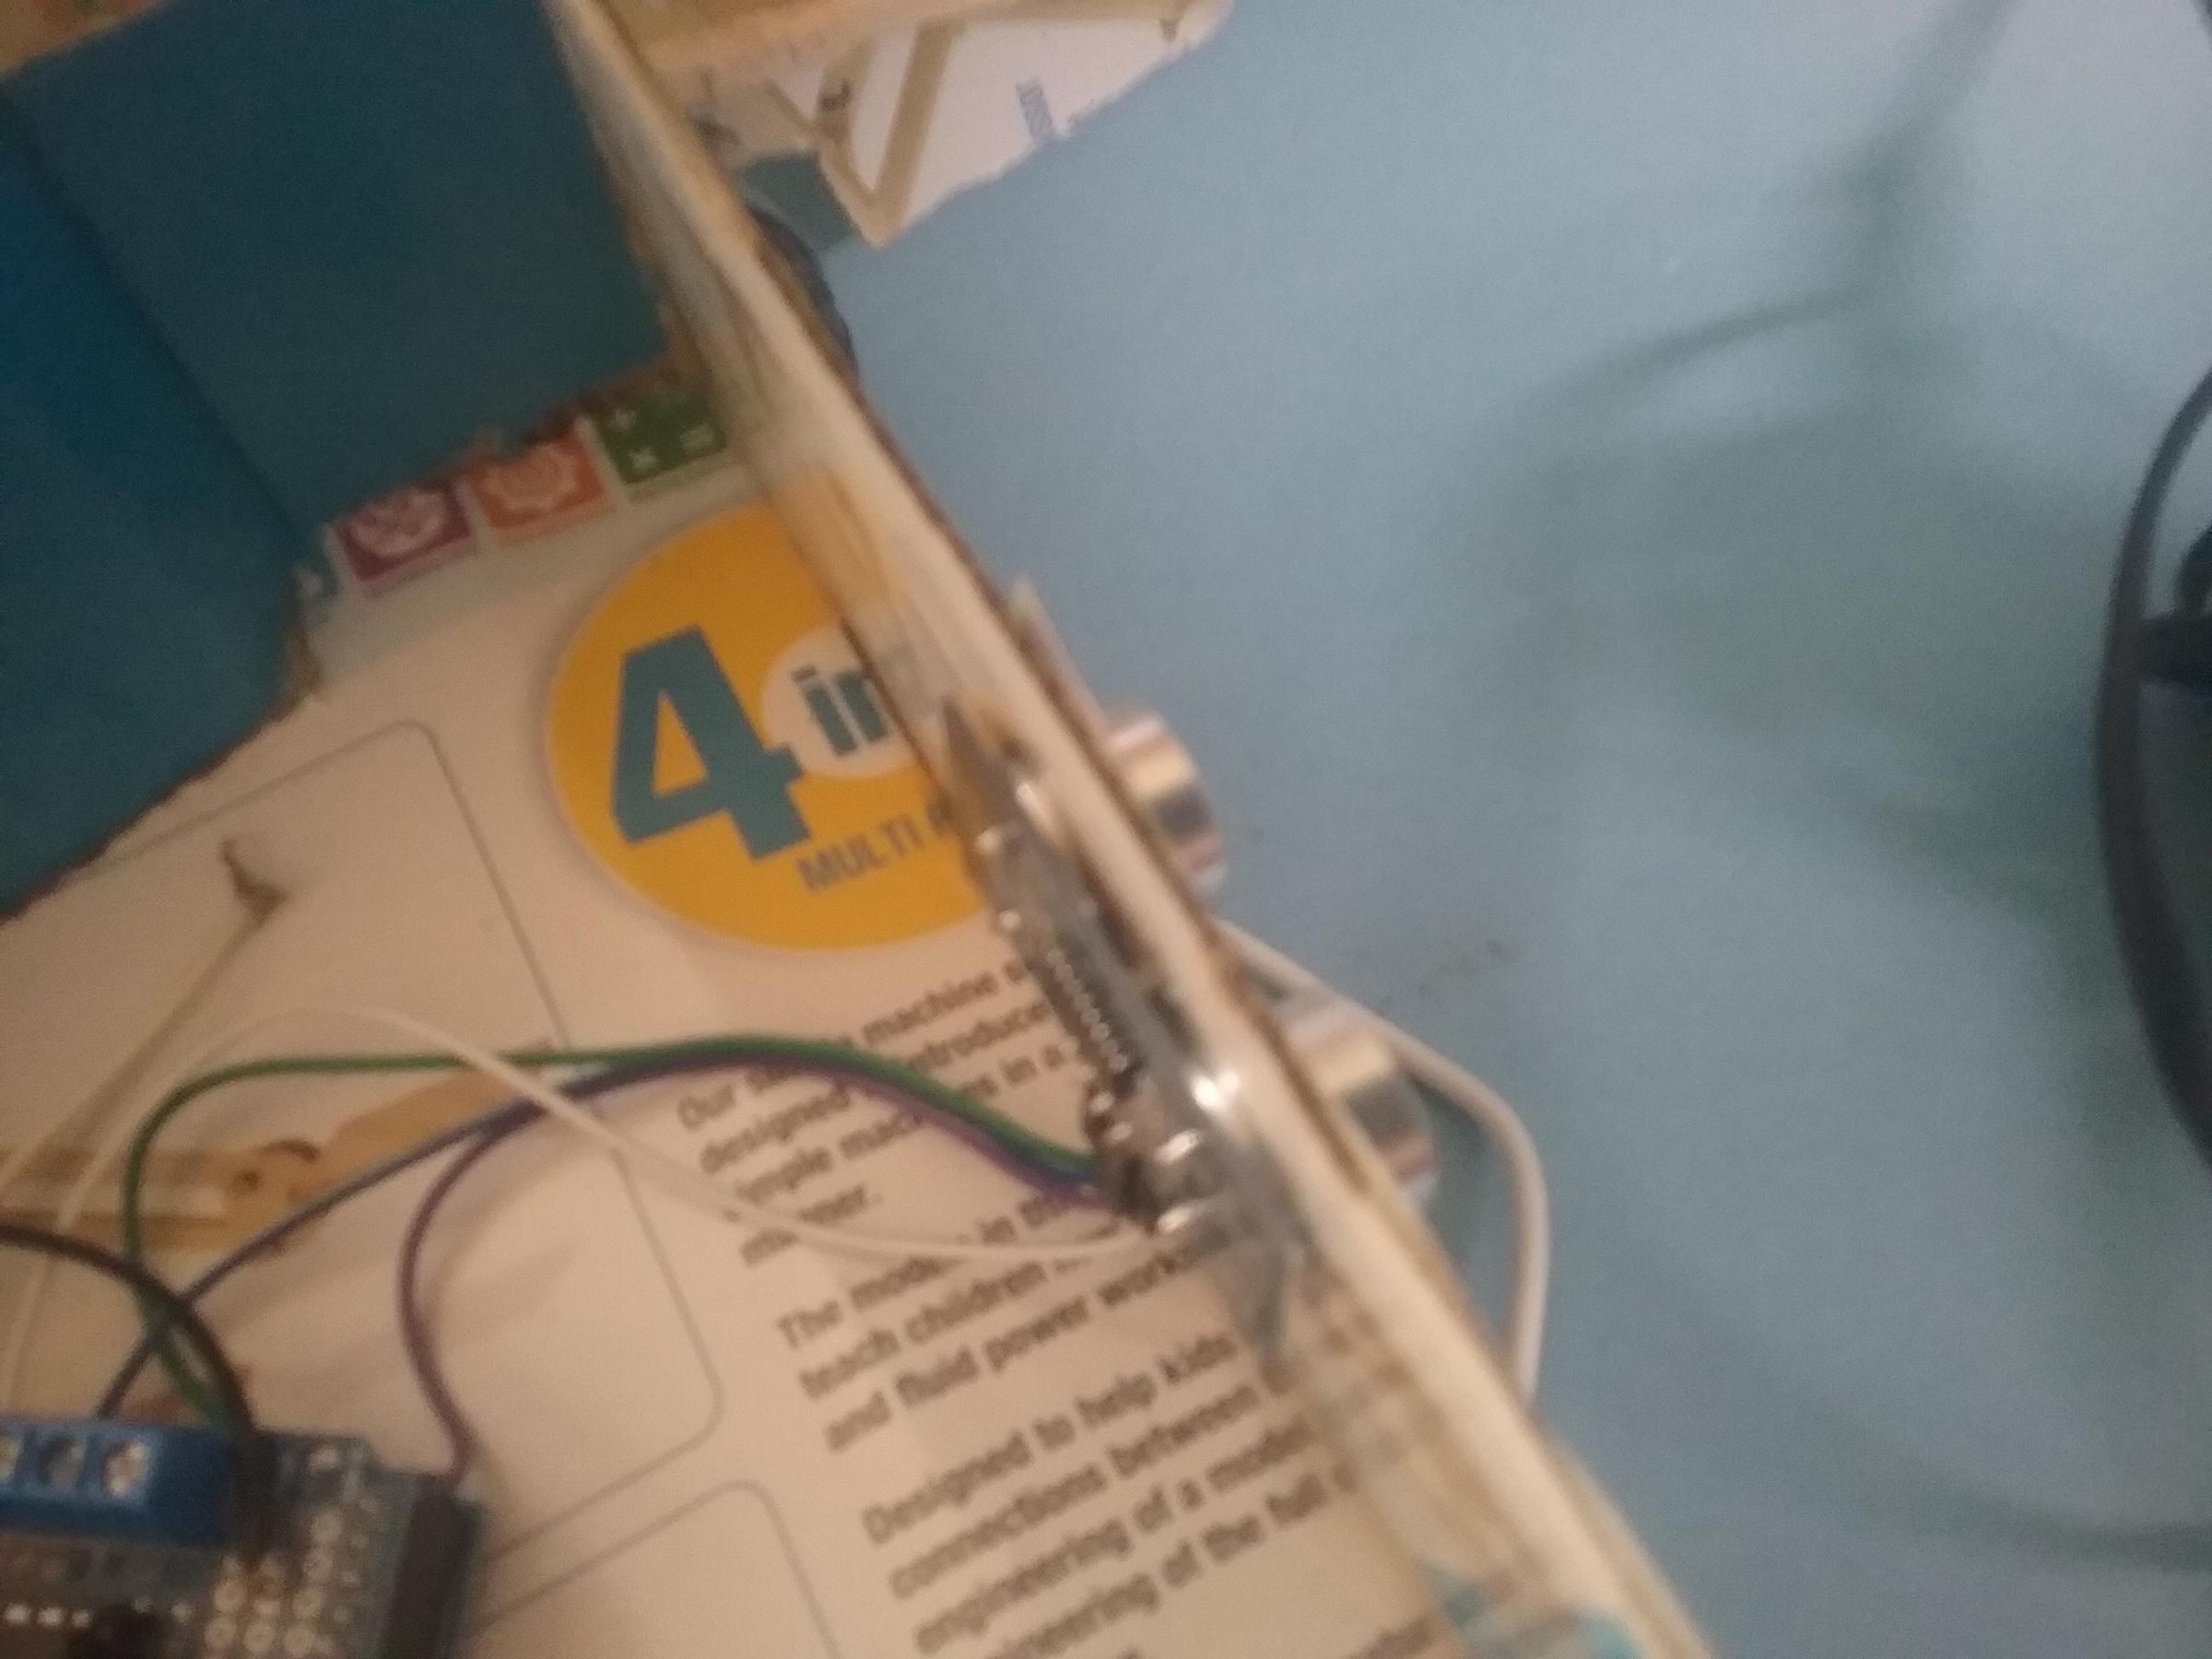
Now attach the ultrasonic sensor to the front of the robot by poking two holes slightly smaller than the metal cylinder pieces on the front, and push them through (it is hard to explain, so look at the images for more detail). Then wire:
VCC to Arduino 5V
GND to Arduino GND
TRIG to Arduino pin D12
ECHO to Arduino pin D13
and make sure to solder the wires to the little copper holes right by the female header pins so you can attach the motor drive shield.
Code the Arduino
Now, I know we have not finished building it yet, but trust me, it will be easier programming it now and then finishing the build. Download the code below and upload it into your Arduino IDE, install the Adafruit Motor Shield V1 Library, and then flash your Arduino Uno.
Downloads
Finish It
Now it is time to finish the project. Take your motor drive shield and push it straight down on top of your Uno, making sure there are no male pins sticking out. Then wire the motors:
Left motor wires to Arduino motor drive shield screw terminals M1 (make sure to wire both wires to M1, not M1 and GND).
Right motor wires to Arduino motor drive shield screw terminals M2 (make sure to wire both wires to M2, not M2 and GND).
Now it is time to wire the battery (make sure the switch is off). Wire the positive wire to the EXT_PWR screw terminal M+ and the battery GND to the GND part of the EXT_PWR terminal.
Customise It
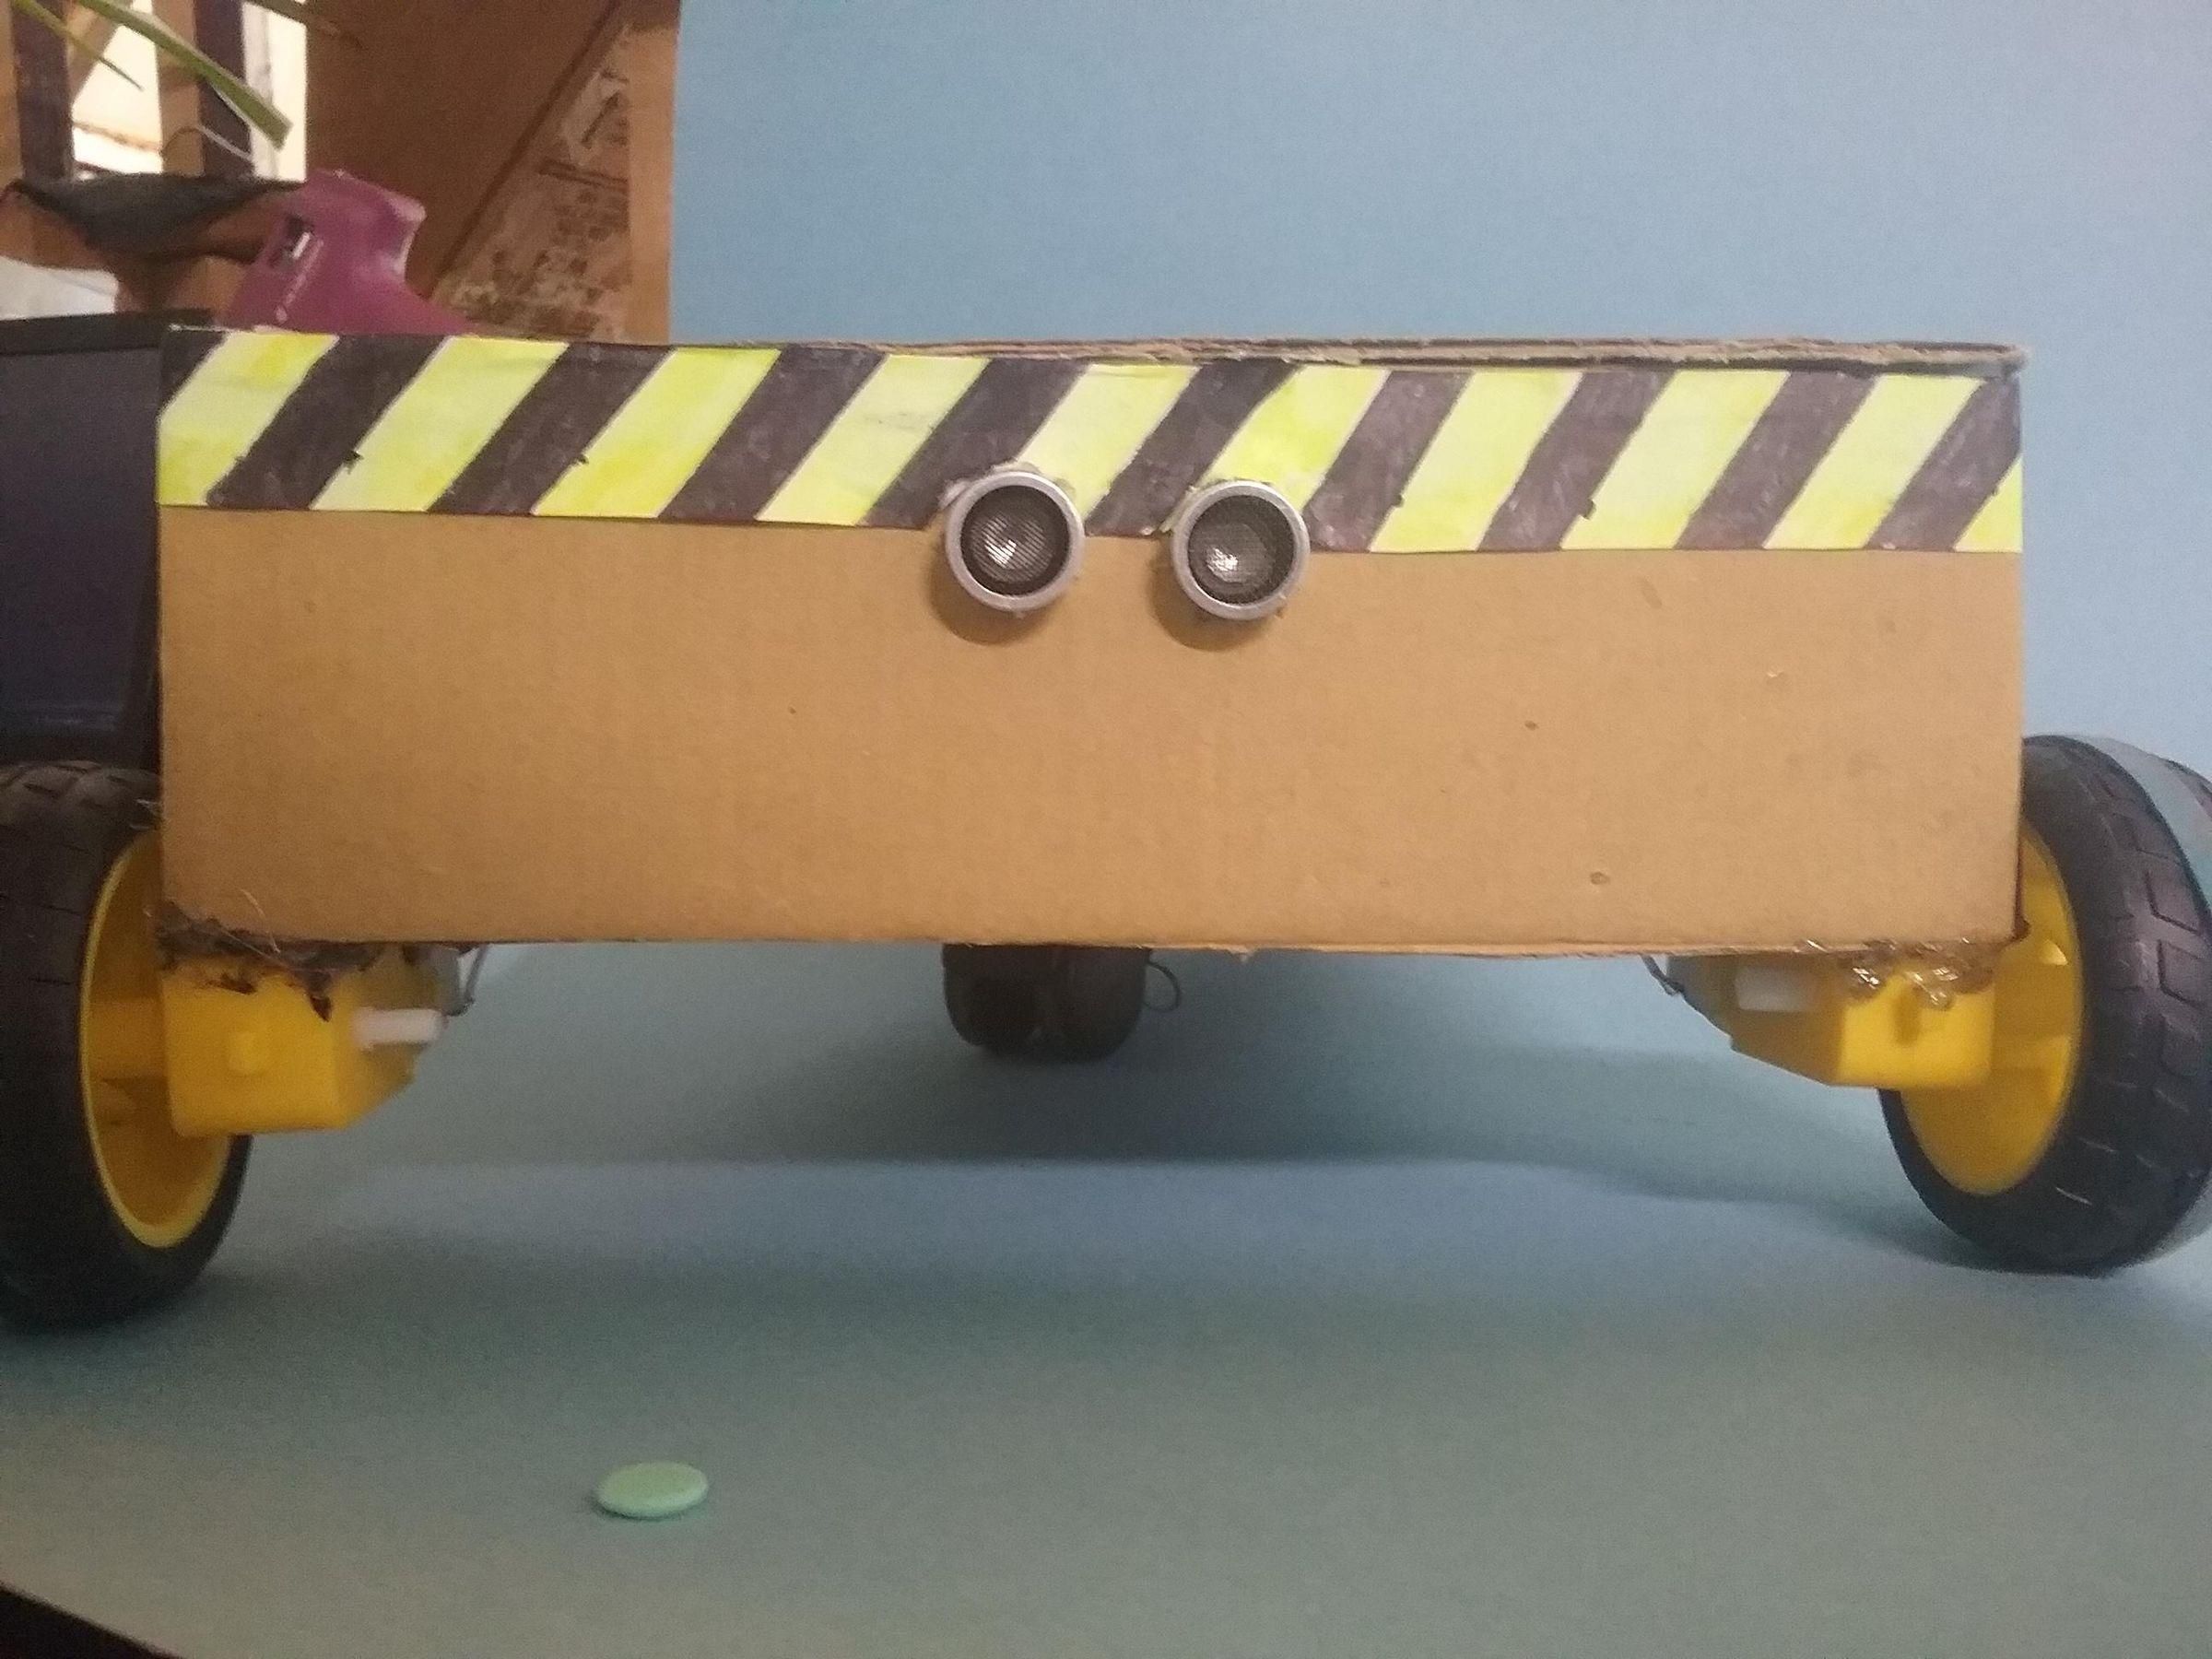
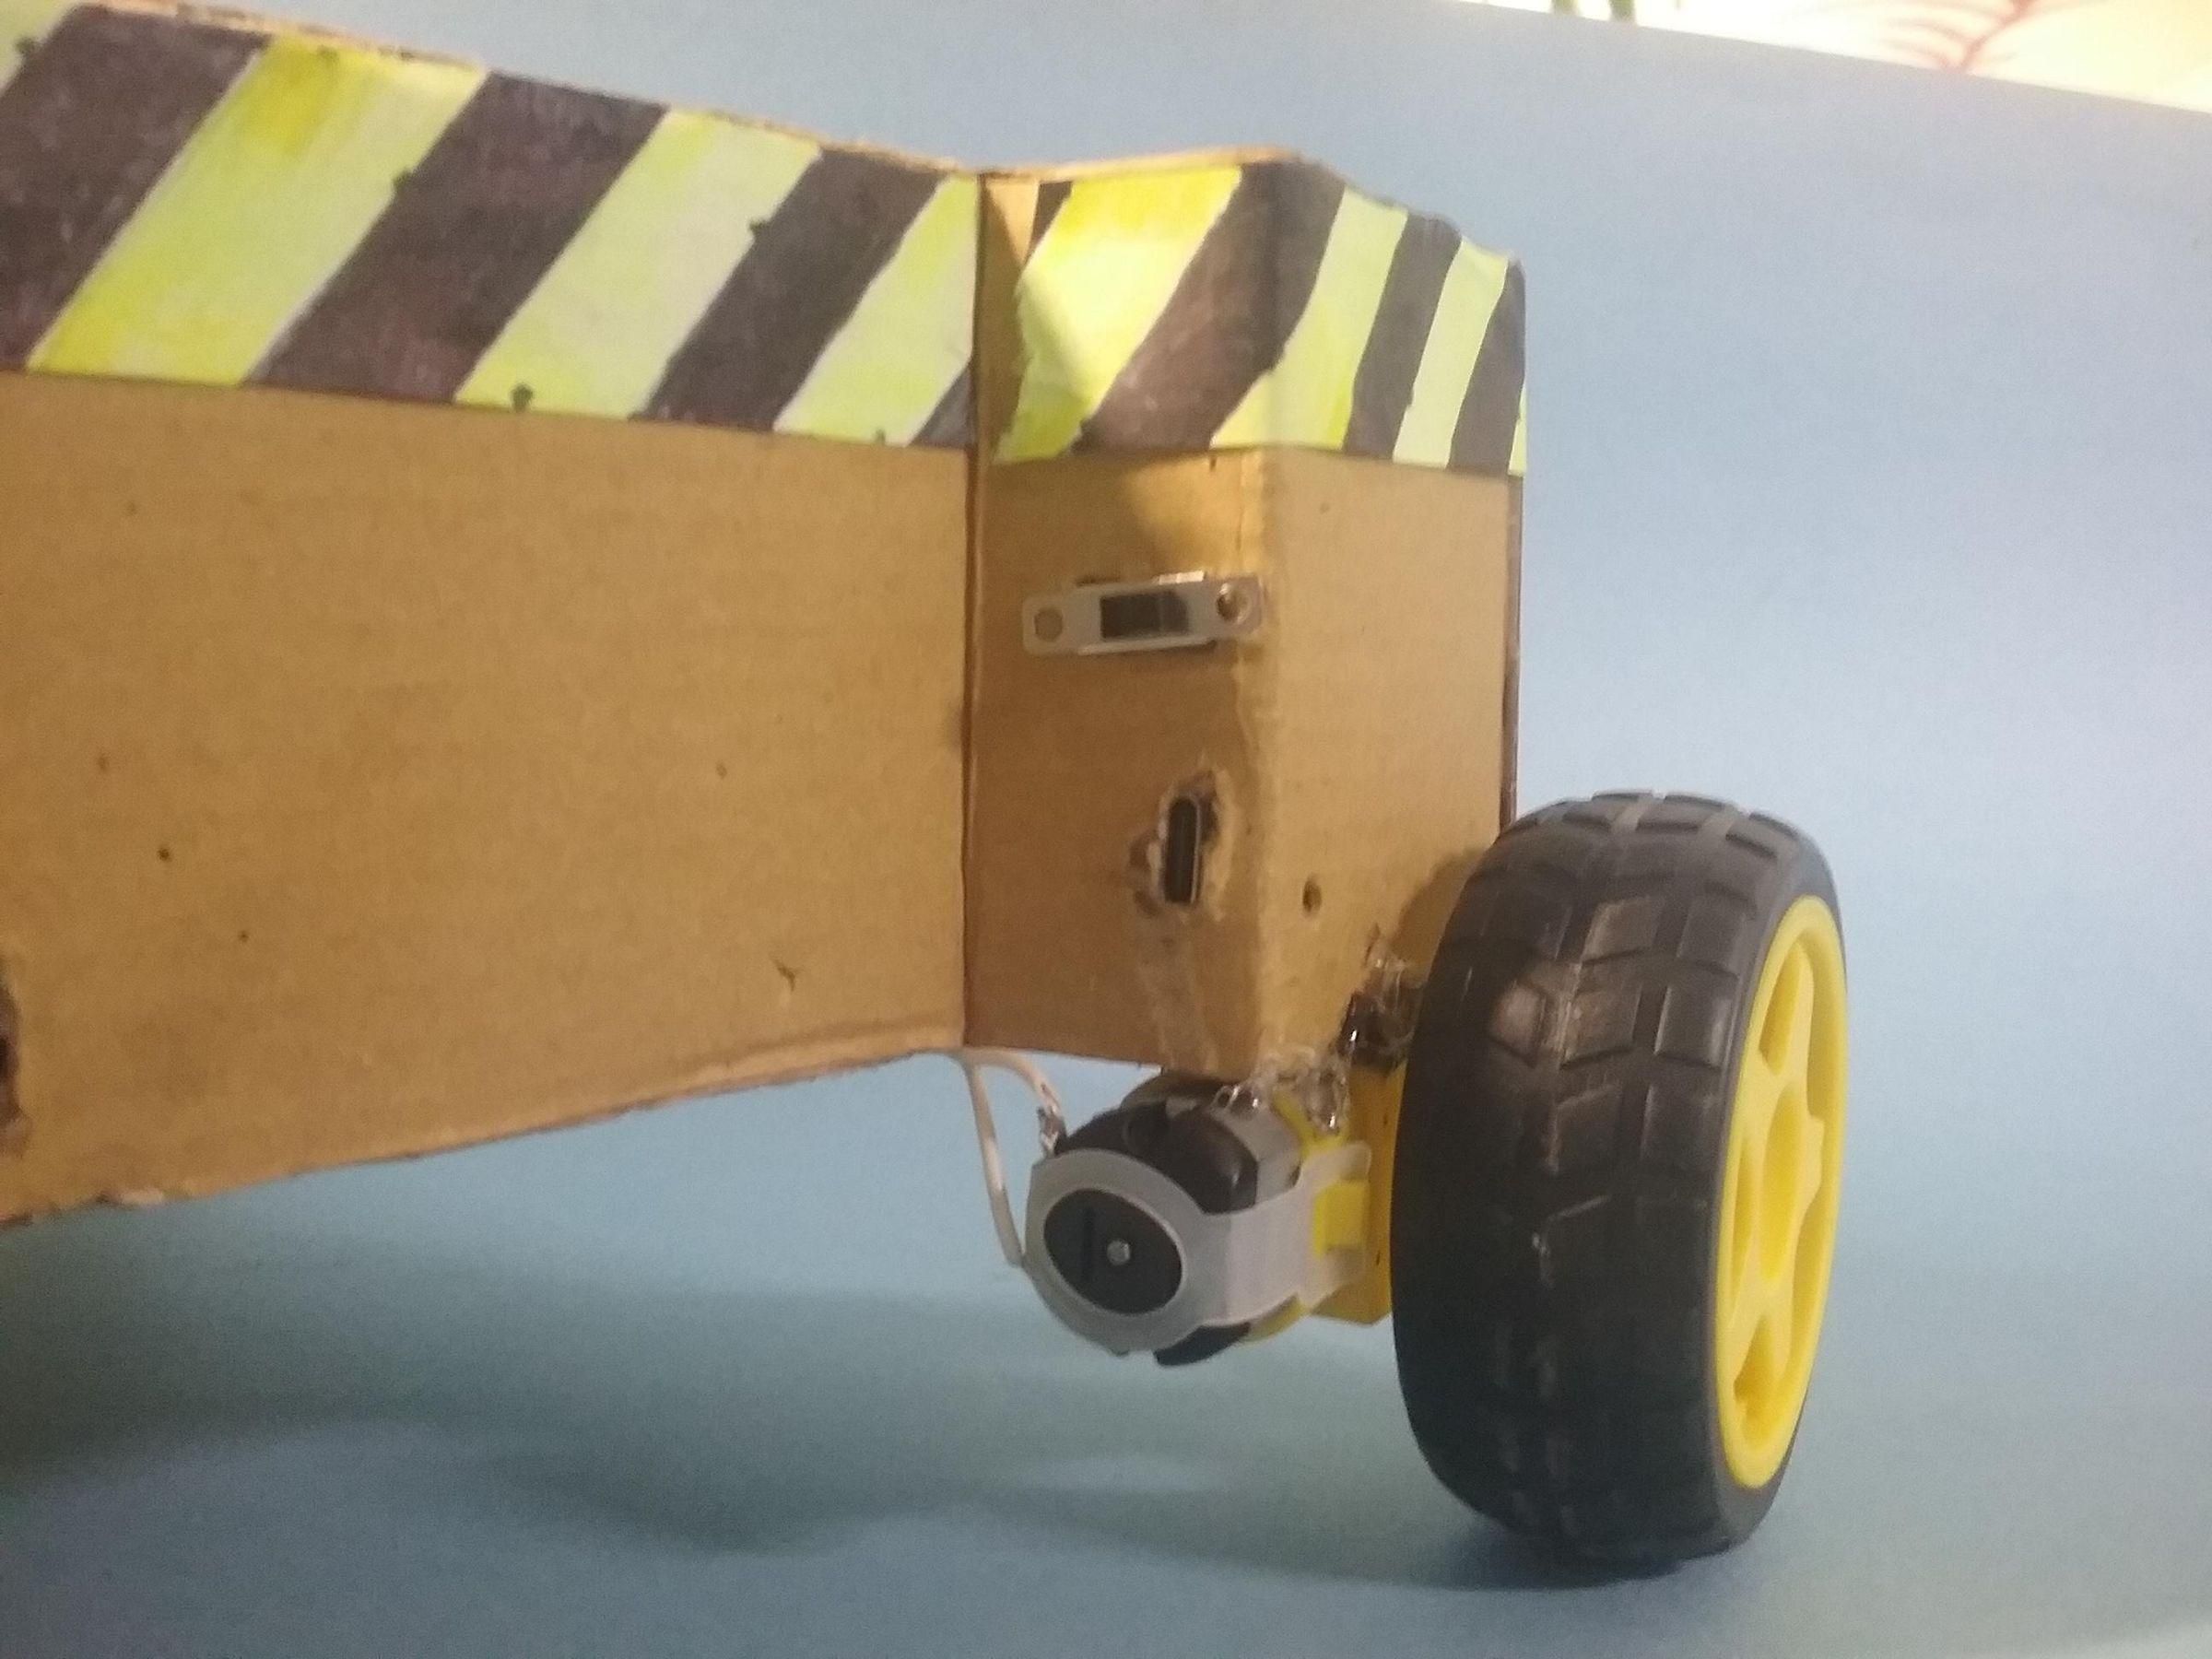
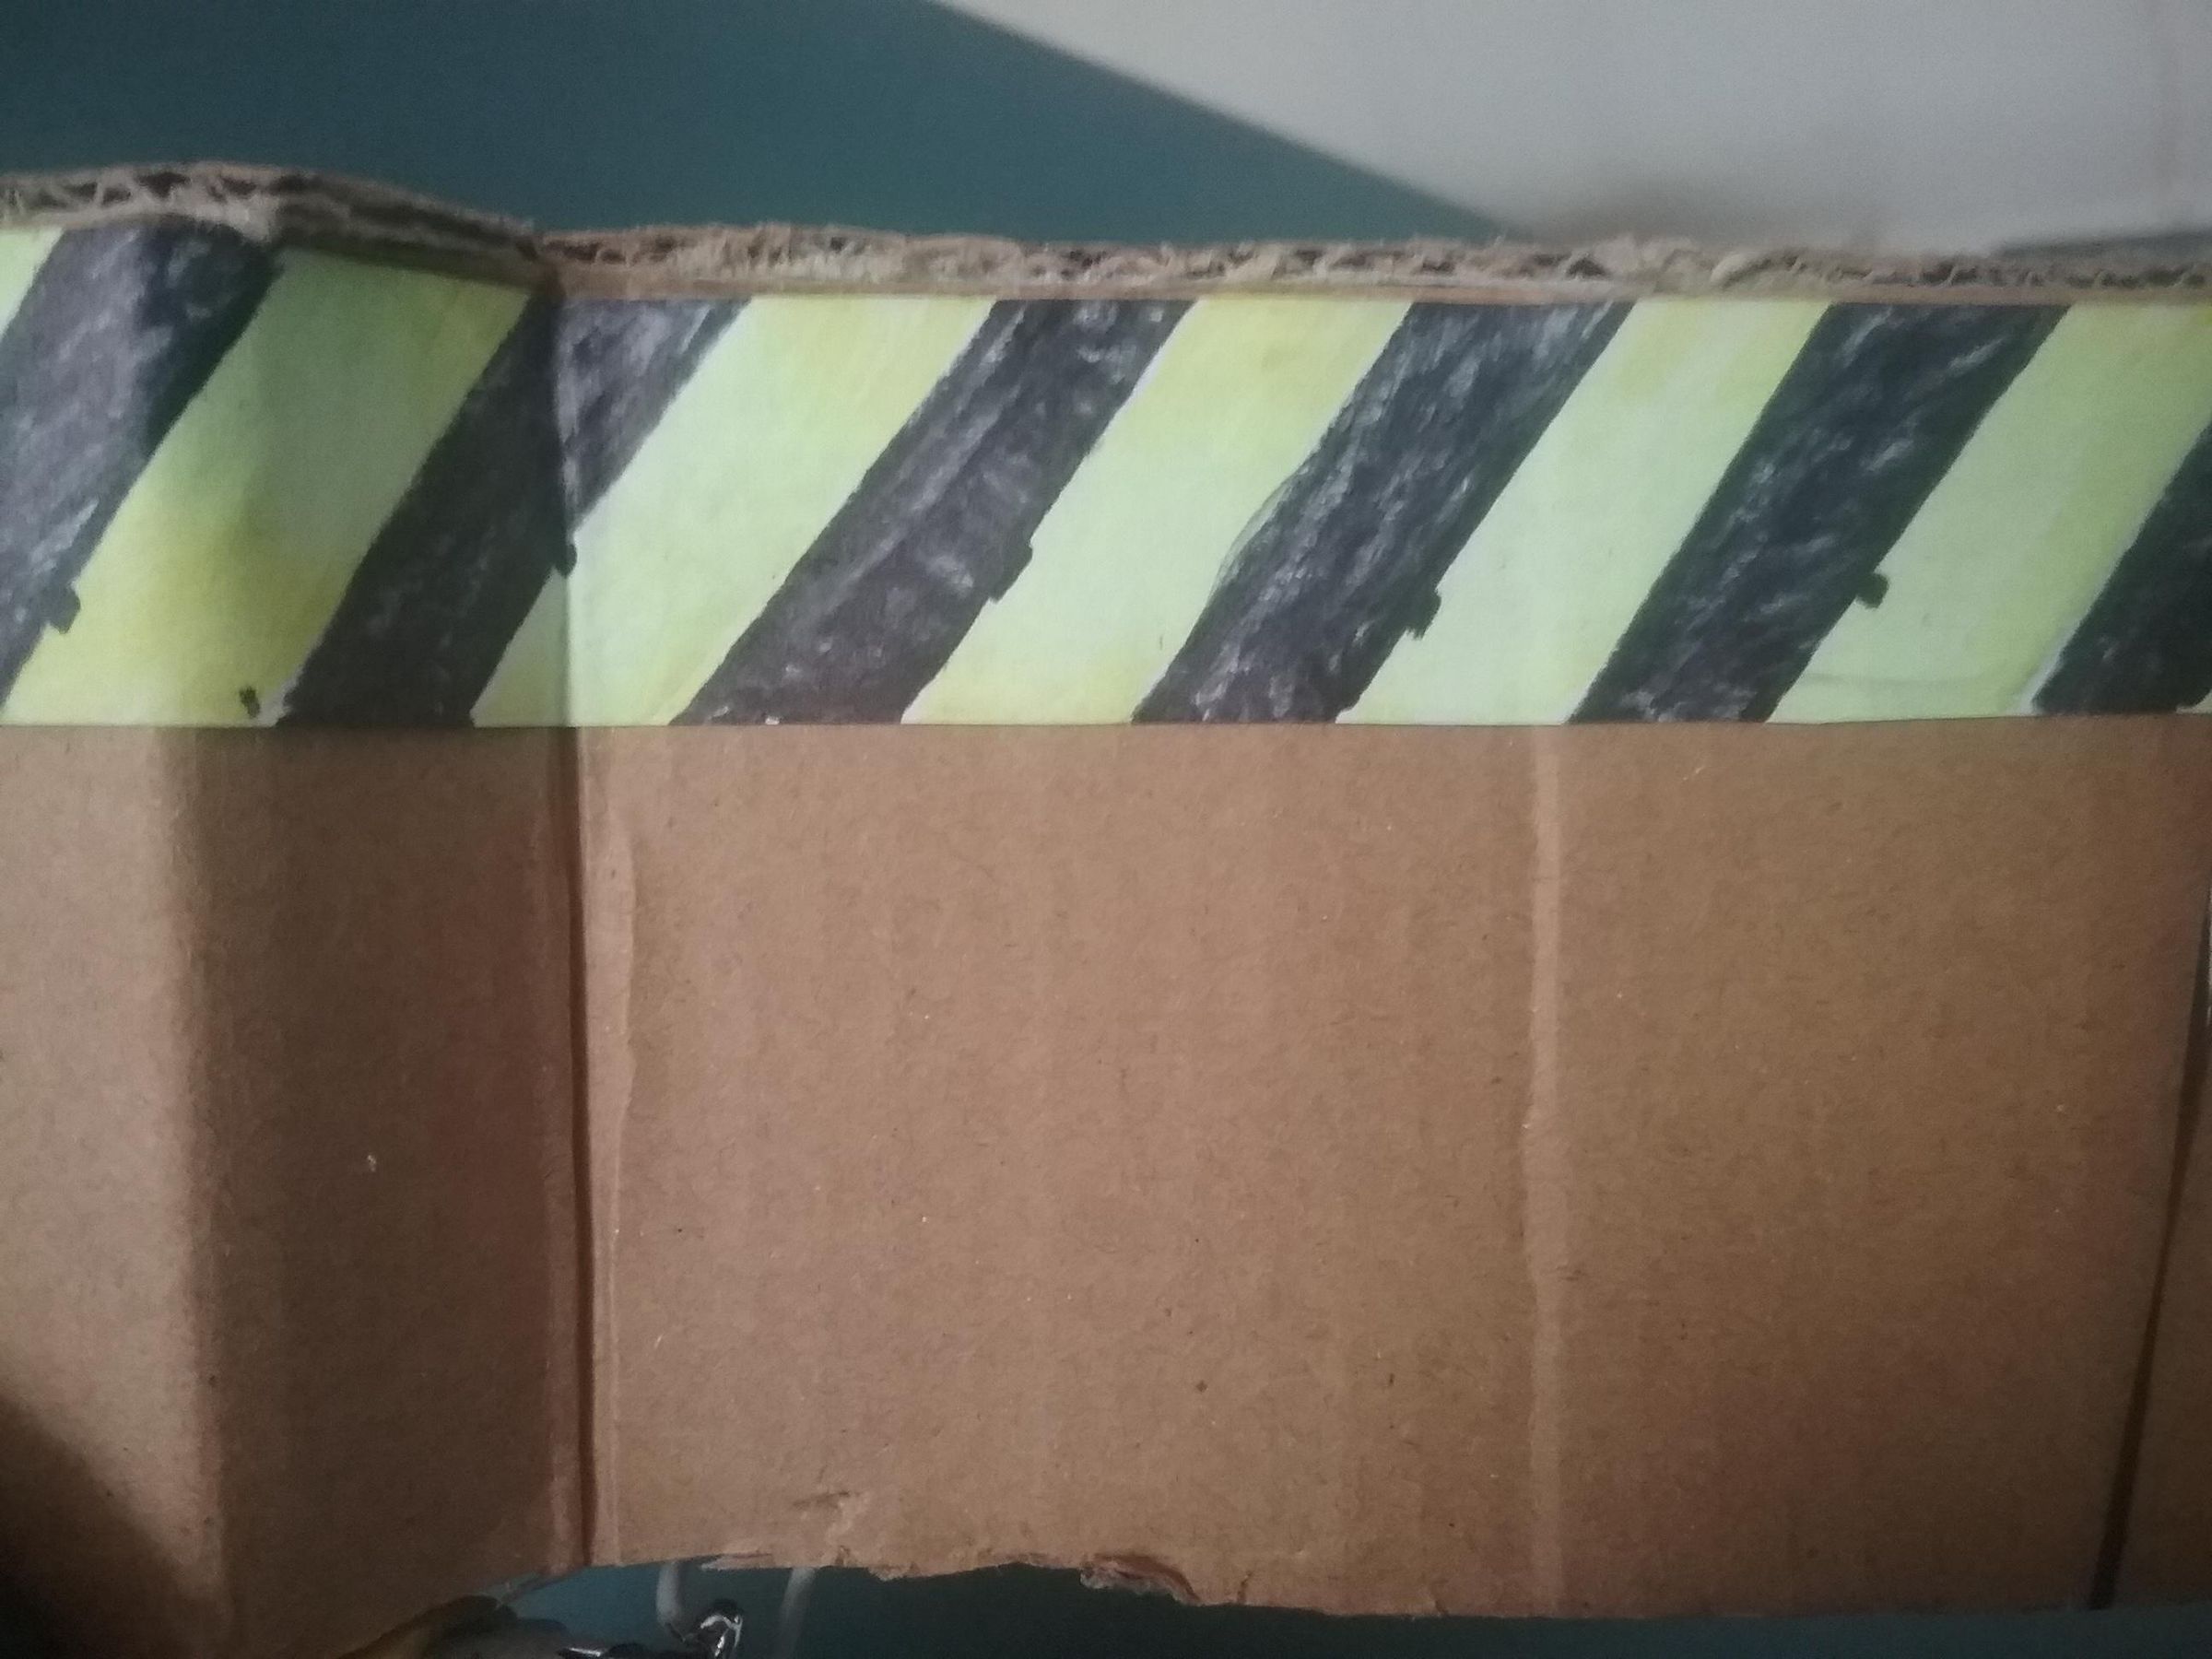
Now you can customize it however you want. I colored some "danger" tape (black and yellow stripes) and put it on the robot to make it look more robot-like. You can also name it whatever you want; I am thinking about naming mine "O.A.R. 2000." You can also change its behavior. For example, after finding an obstacle 15 times, it could just wiggle back and forth like it is going crazy. You could make it back up, spin, and then go about its way, or you could make it randomly turn. Do whatever you want!
Teeeeeeeest It!

Now you can test it! Place it on a hard floor, no carpets, and turn on the switch, then press the go button! It should work just like the gif above says. (Sorry it looks horrible, I am unable to upload decent sized gifs) AND MAKE SURE TO KEEP A VERY CLOSE EYE ON YOUR ROBOT IF YOU ARE LETTING IT ROAM AROUD FREE because it could get stuck or wedged under a chair or couch and stress out the electronics, and do not let it fall down stairs. and keep a very close eye on the battery while charging.
Troubleshooting
if anything goes wrong: i don't know what to tell you. sorry :(
you could probably look it up or something, if one of the wheels start slipping, you can wrap a rubber band around it.