Octagonal Frame
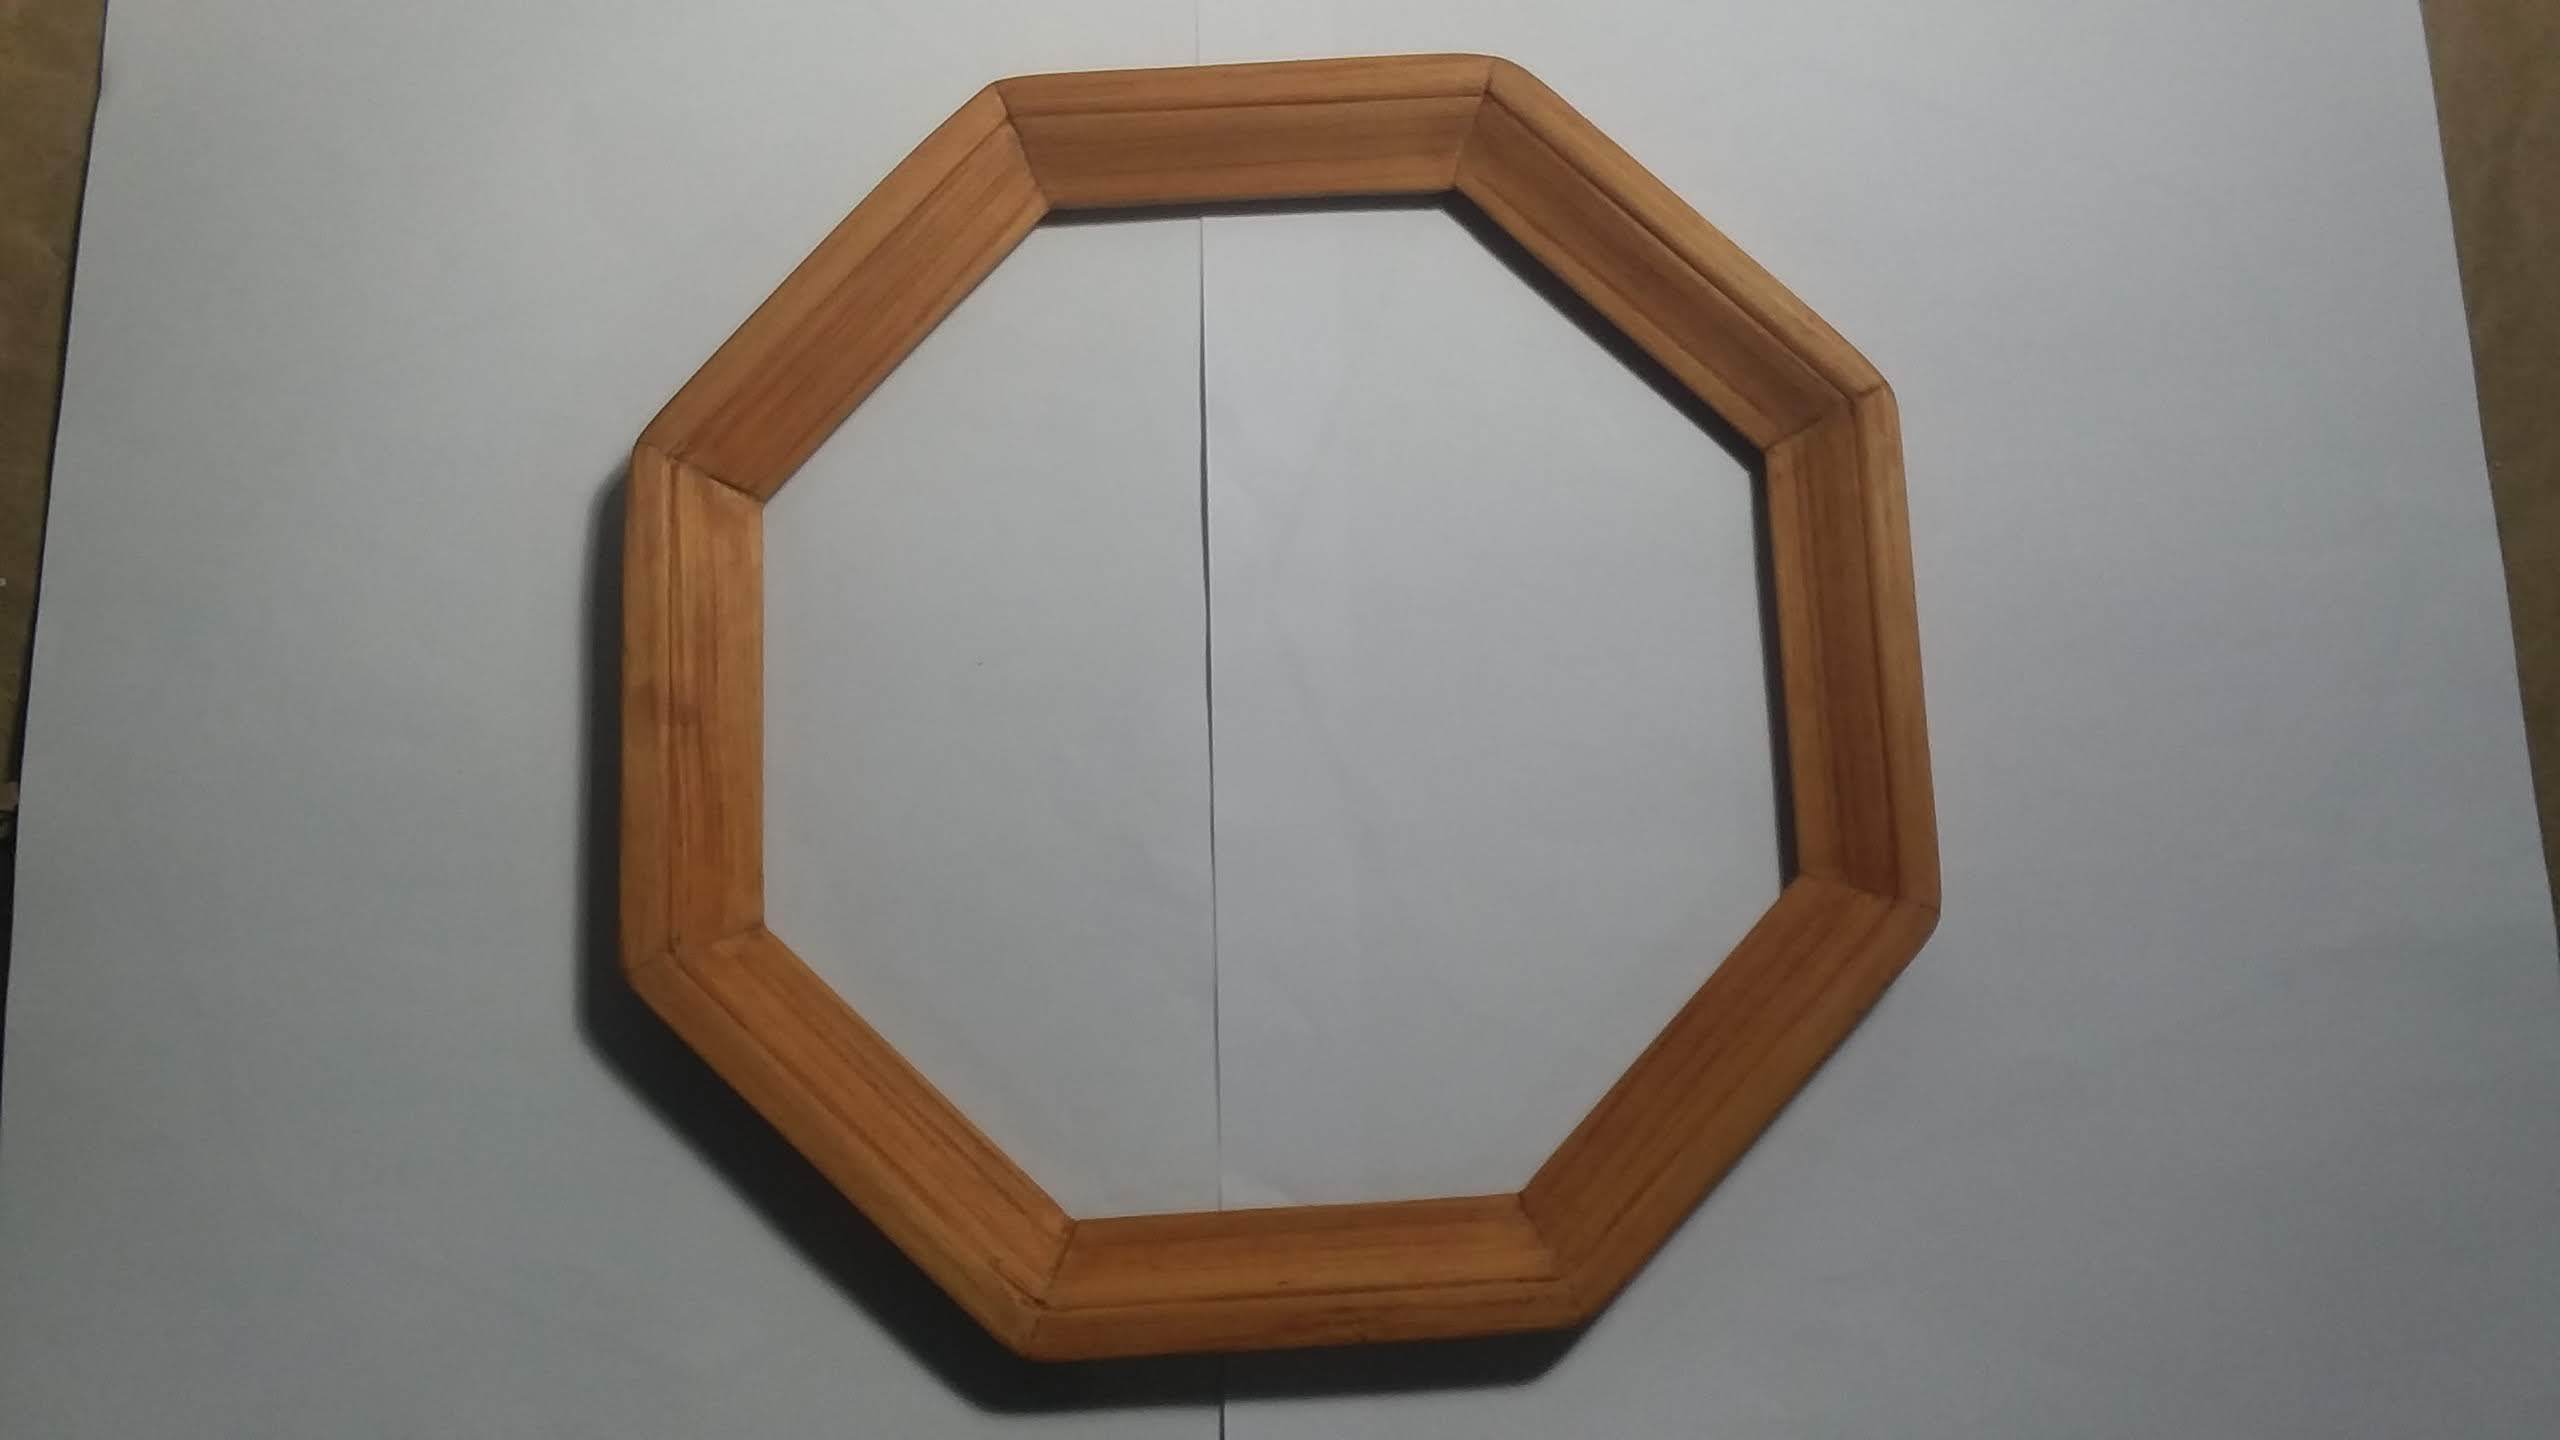
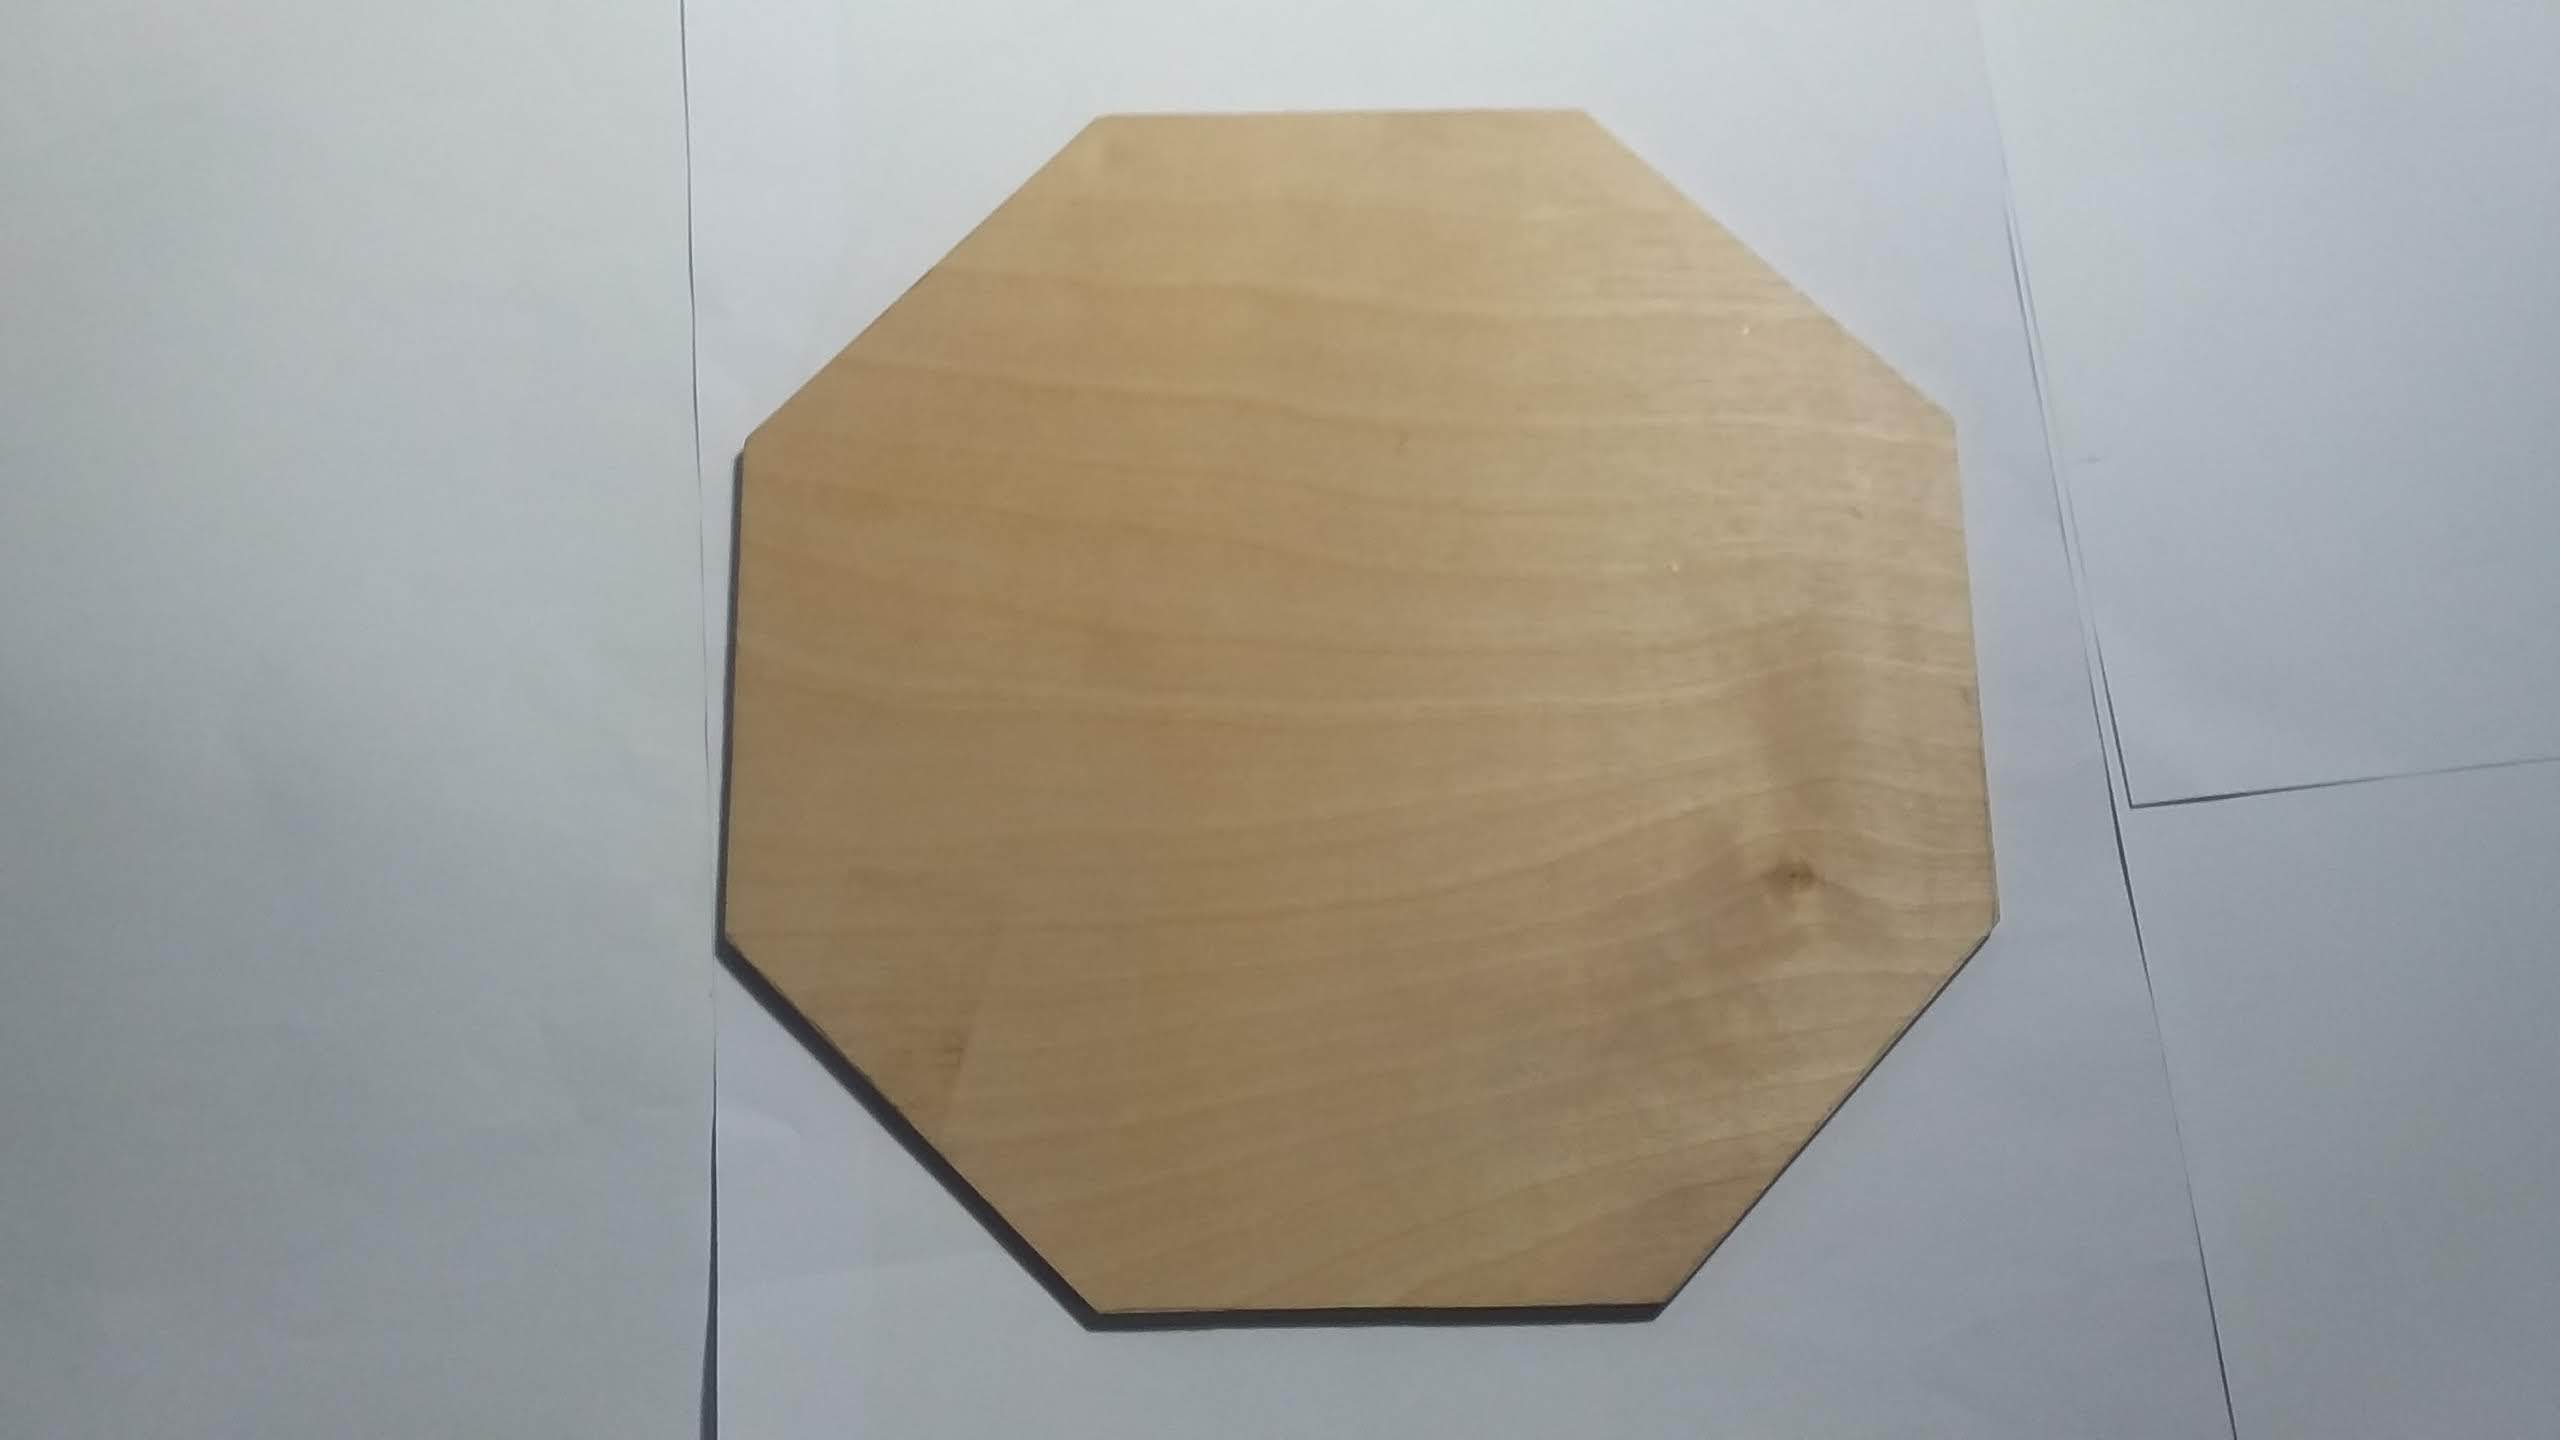
I have used octagonal frames for some projects and find them attractive. The first photo above shows a frame constructed using these plans. The second photo shows the backing that fits inside the frame. It is quarter inch birch plywood.
SAFETY
These instructions require power equipment. Using power equipment is a high risk activity. Safety must always be your primary goal. No final product is worth an injury. Remember, SAFETY FIRST.
Dimensions:
*** How long is each side of an octagonal frame when compared to width? The ratio is 0.414. That is, if the perpendicular length between two parallel sides is 10", each side will be 4.14".
*** How wide is each angle of an octagon? 135 degrees.
Supplies
Mitre saw
Table saw
Tenoning jig for table saw (optional)
Band saw (optional)
Belt sander (optional)
Router (optional)
Strap clamp - modified for 8 corners
Sandpaper
Selecting Wood for This Frame
.jpg)
.jpg)
.jpg)
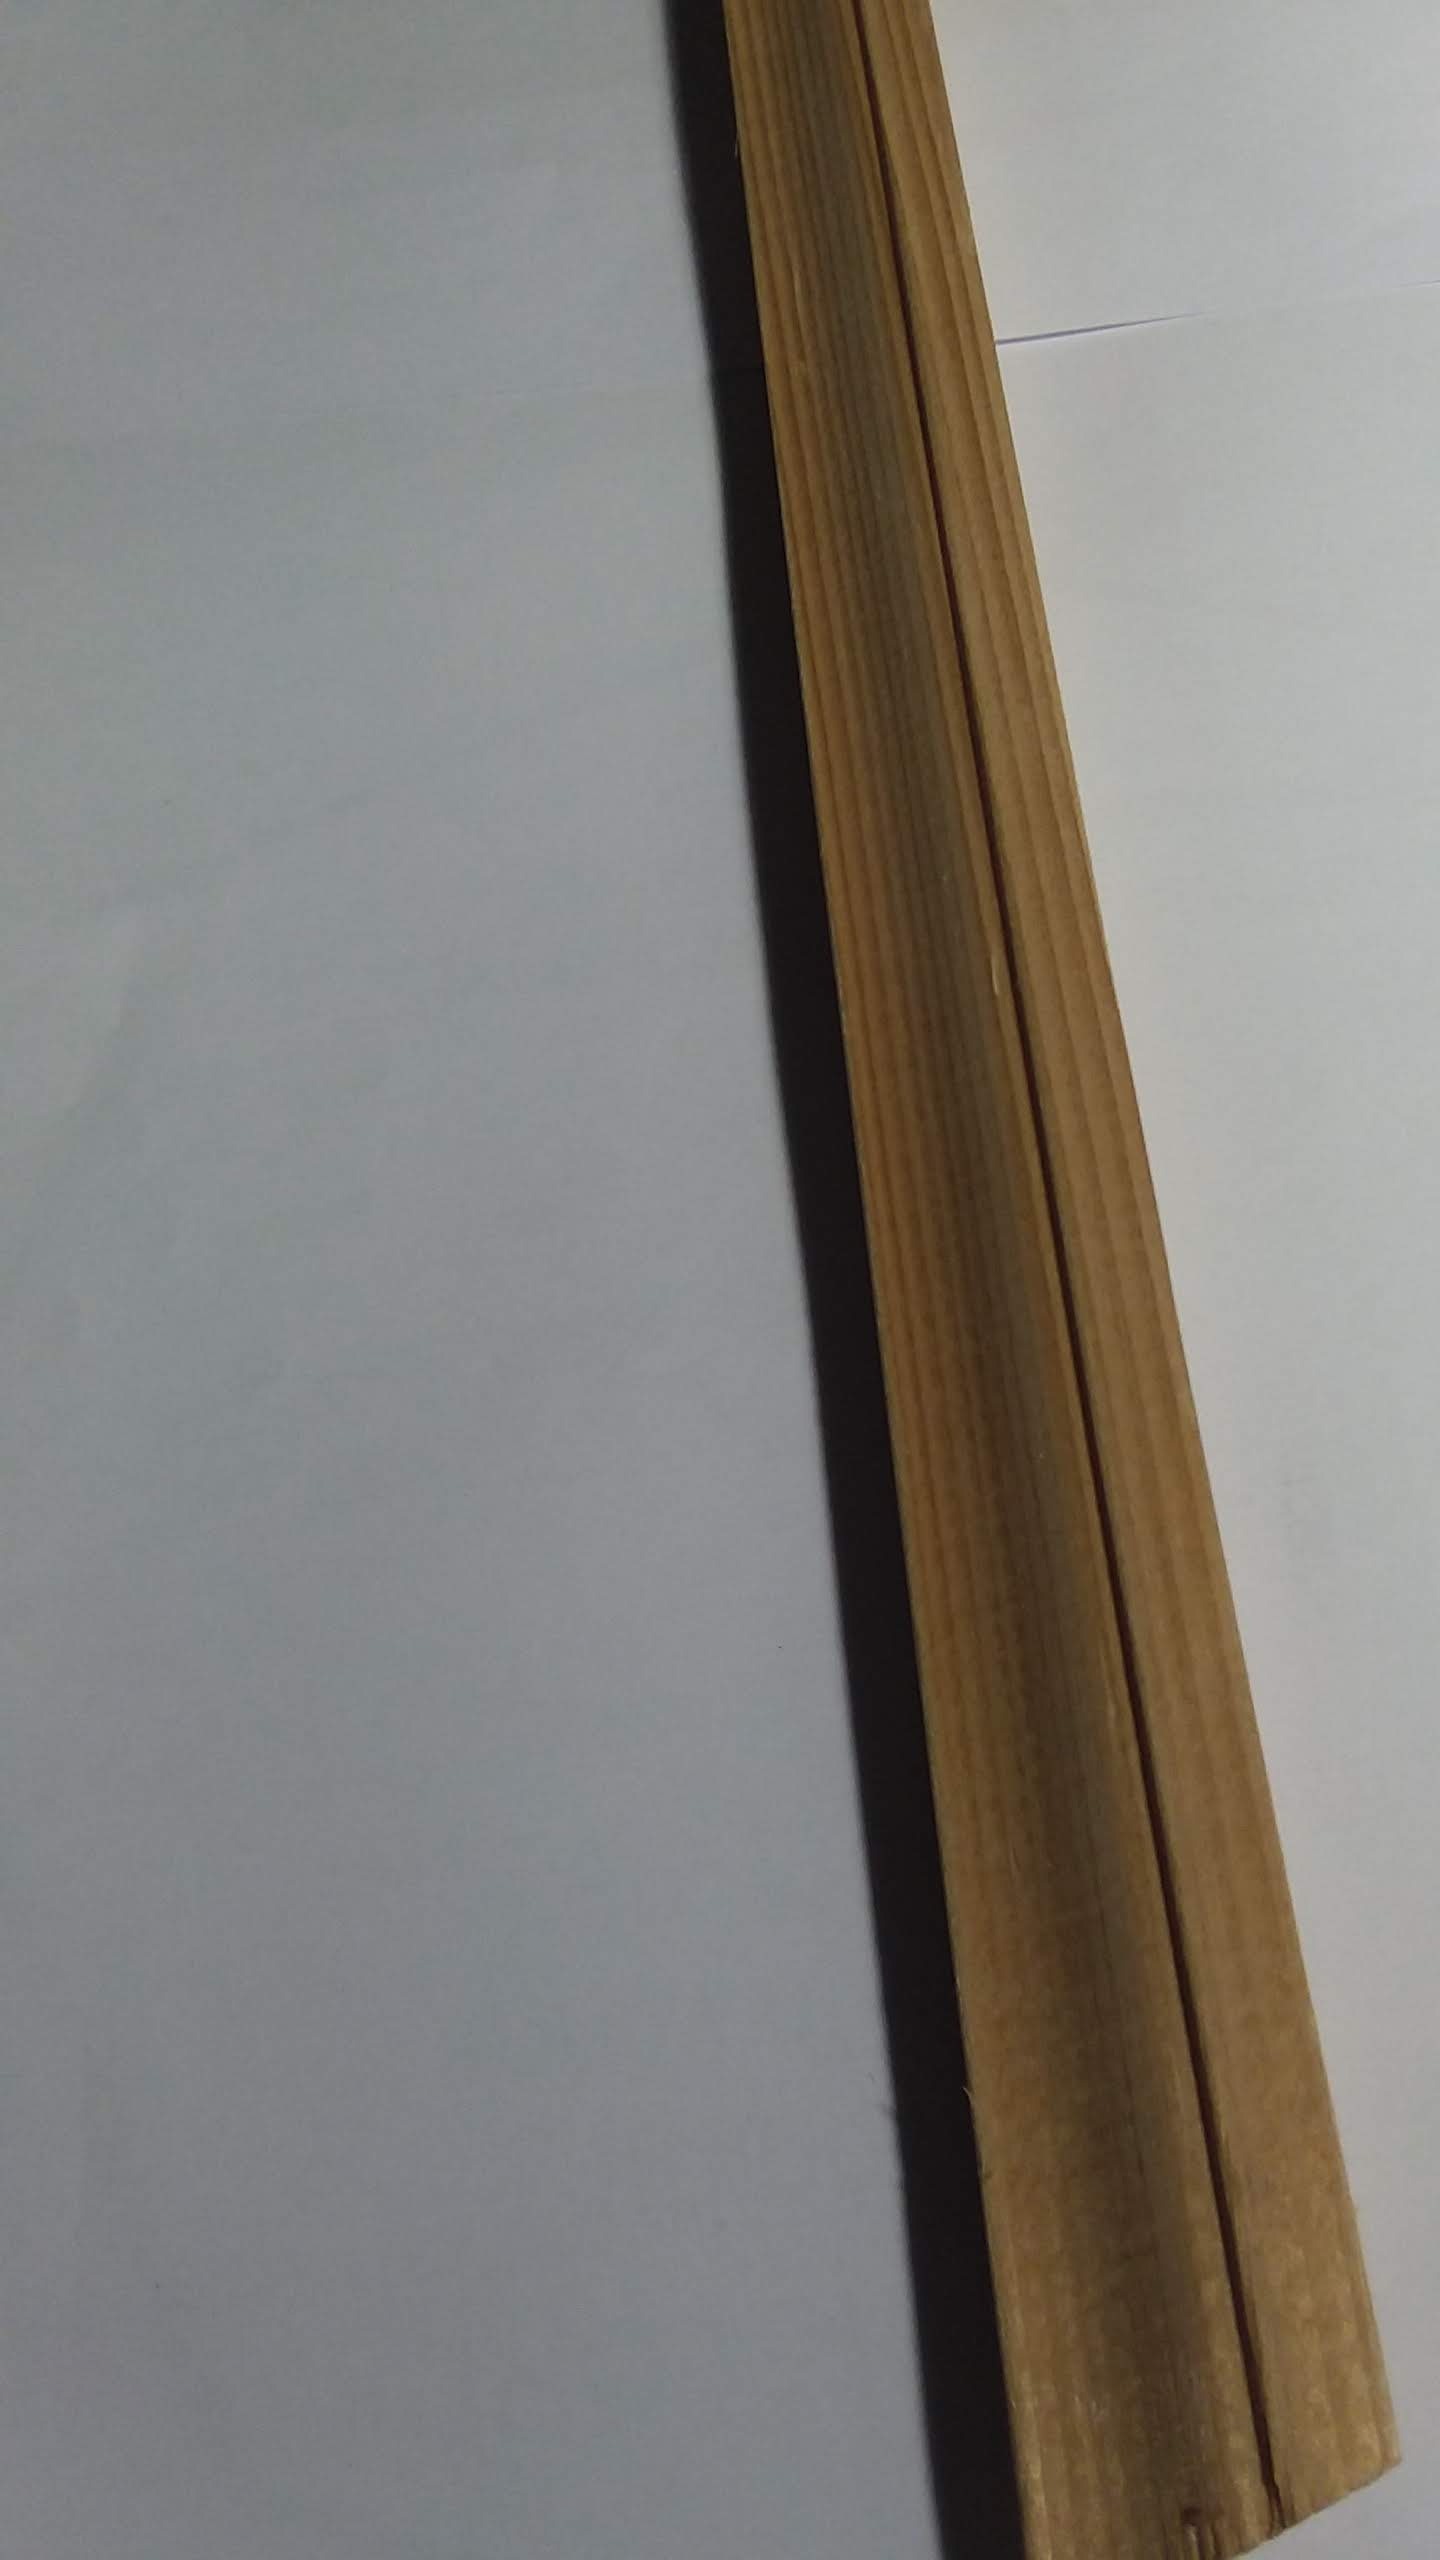
The best frames are those where the sides are already designed for a frame. For this frame, however, I decided to use left over wood lying around my garage. The entire frame is two long pieces of soft wood glued together. The face of the frame is the top of a piece of baseboard (hemlock) left over from a different project. The bottom and side of the frame is pine. I used wood glue, not nails to hold them together, because I did not want to risk hitting a nail with my mitre saw blade.
Modified Strap Clamp
.jpg)
.jpg)
.jpg)
.jpg)
.jpg)
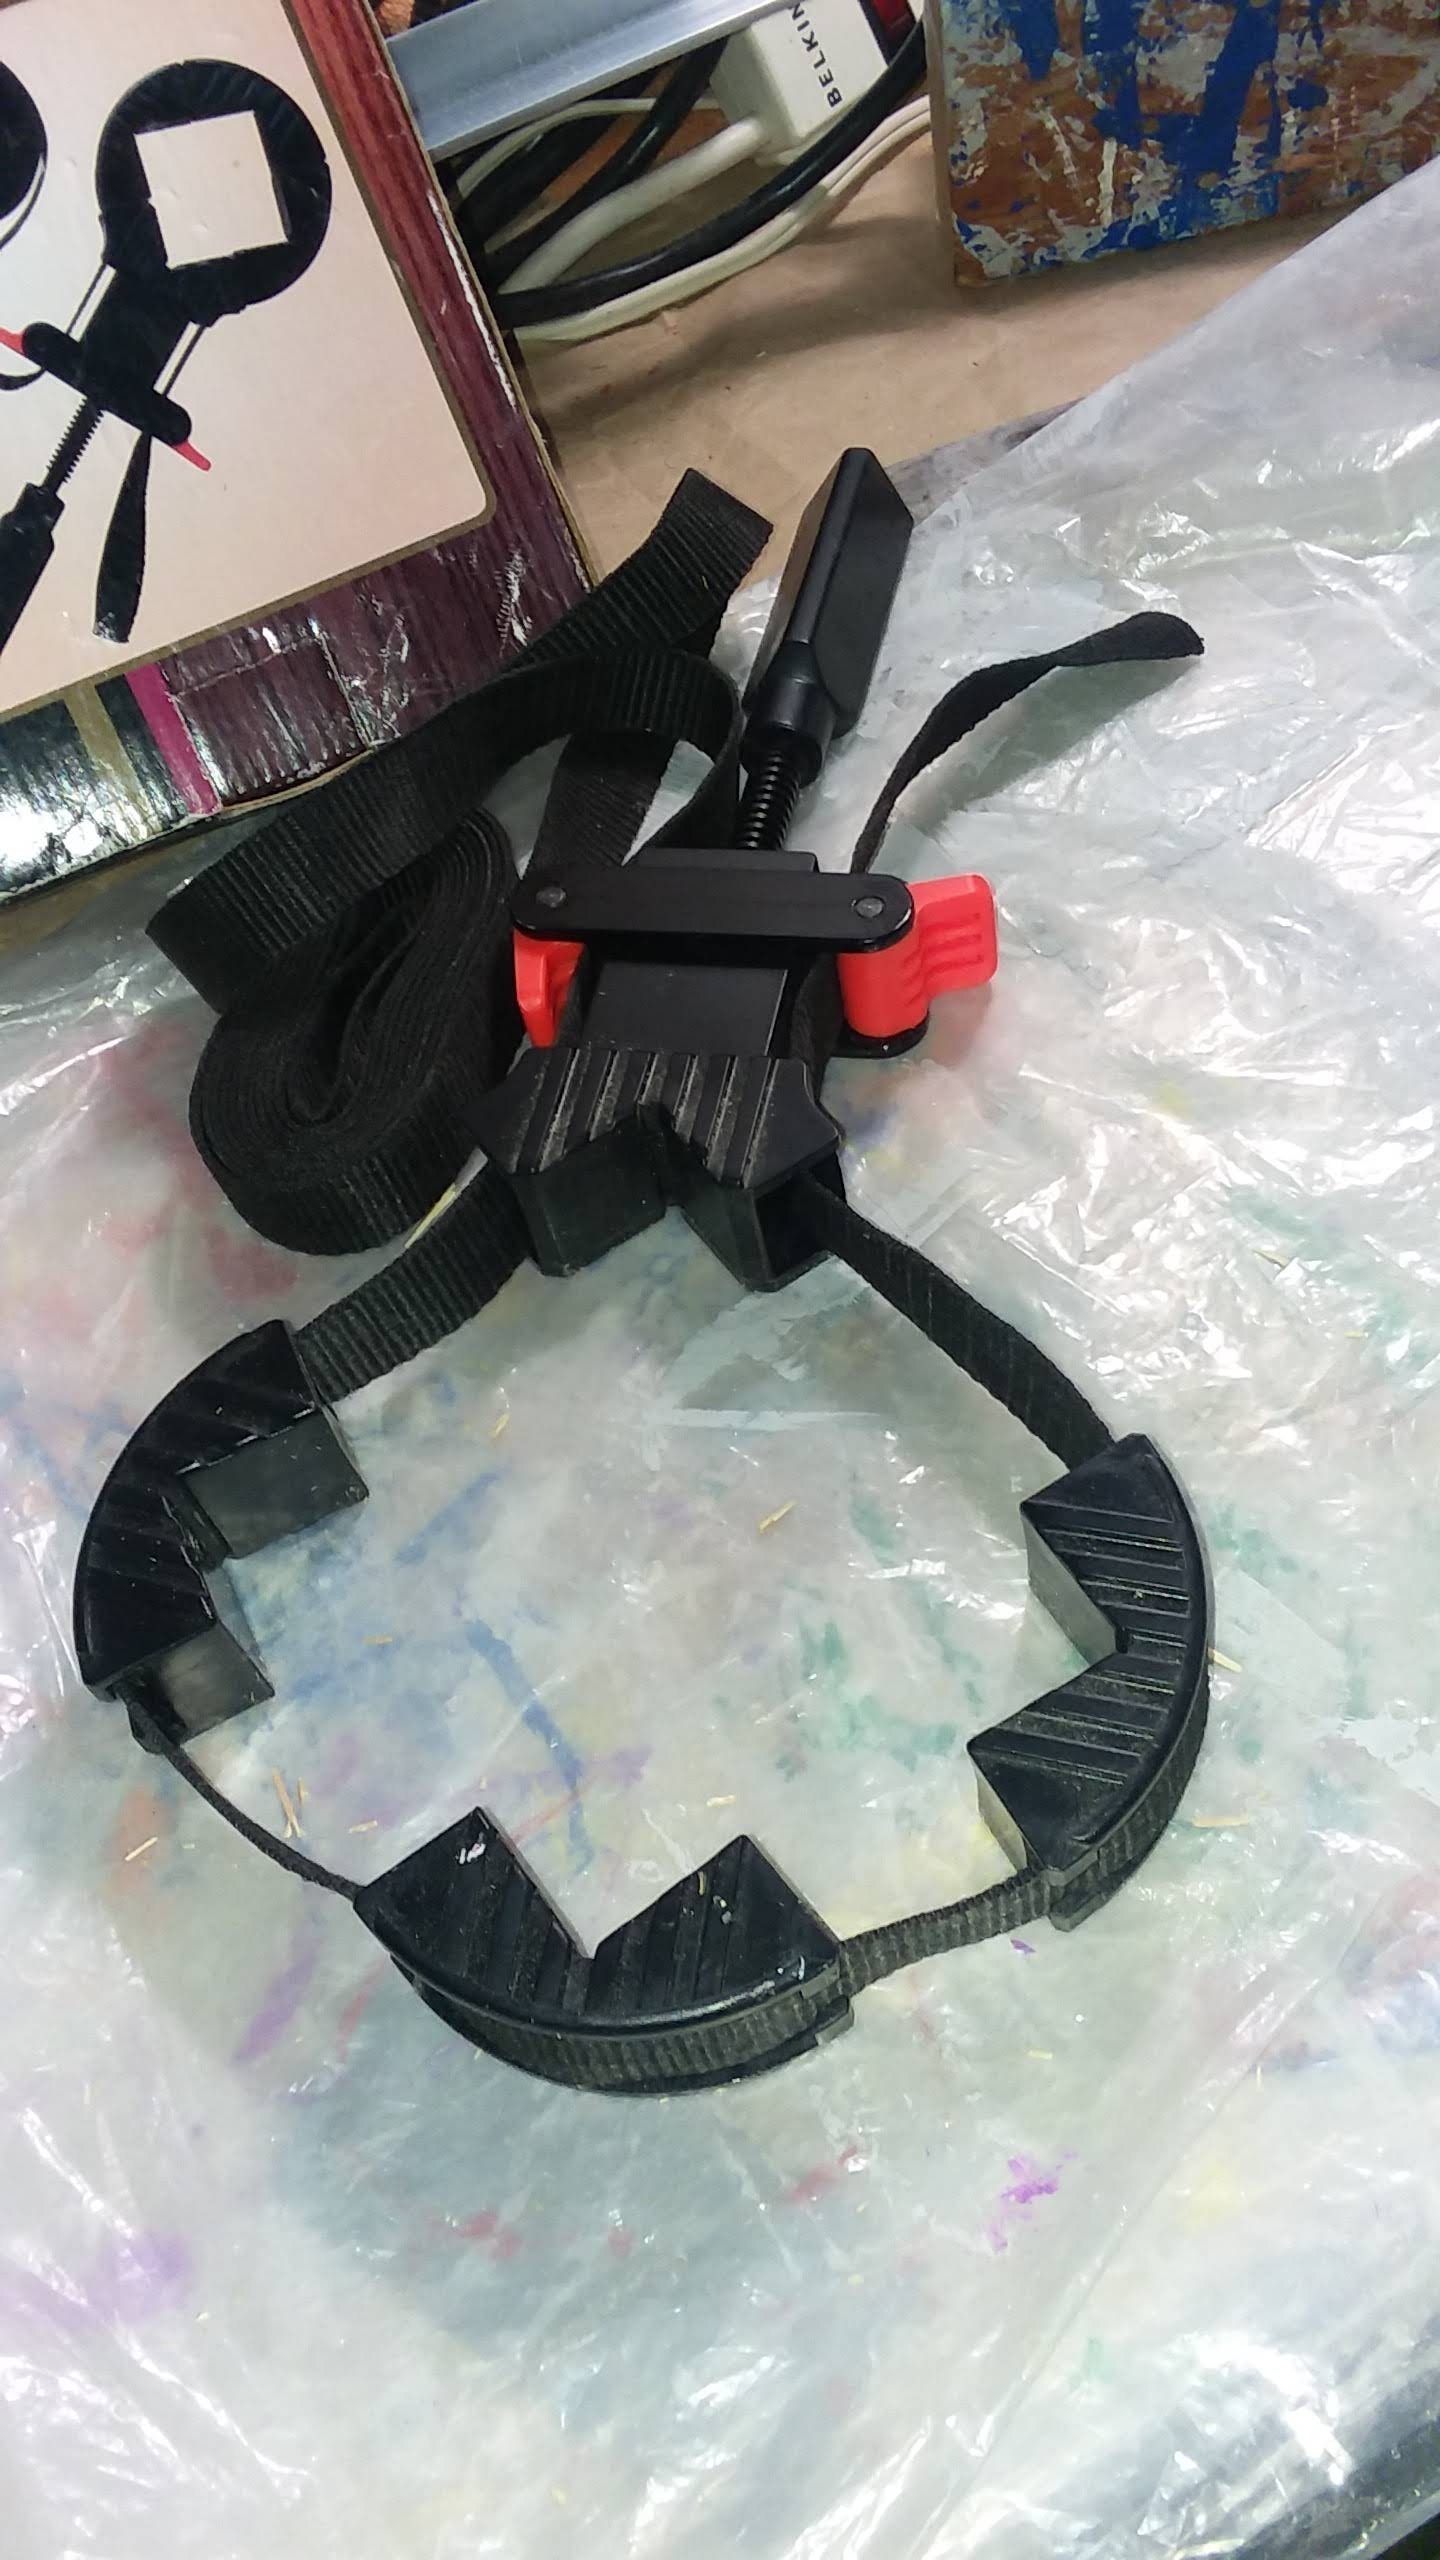
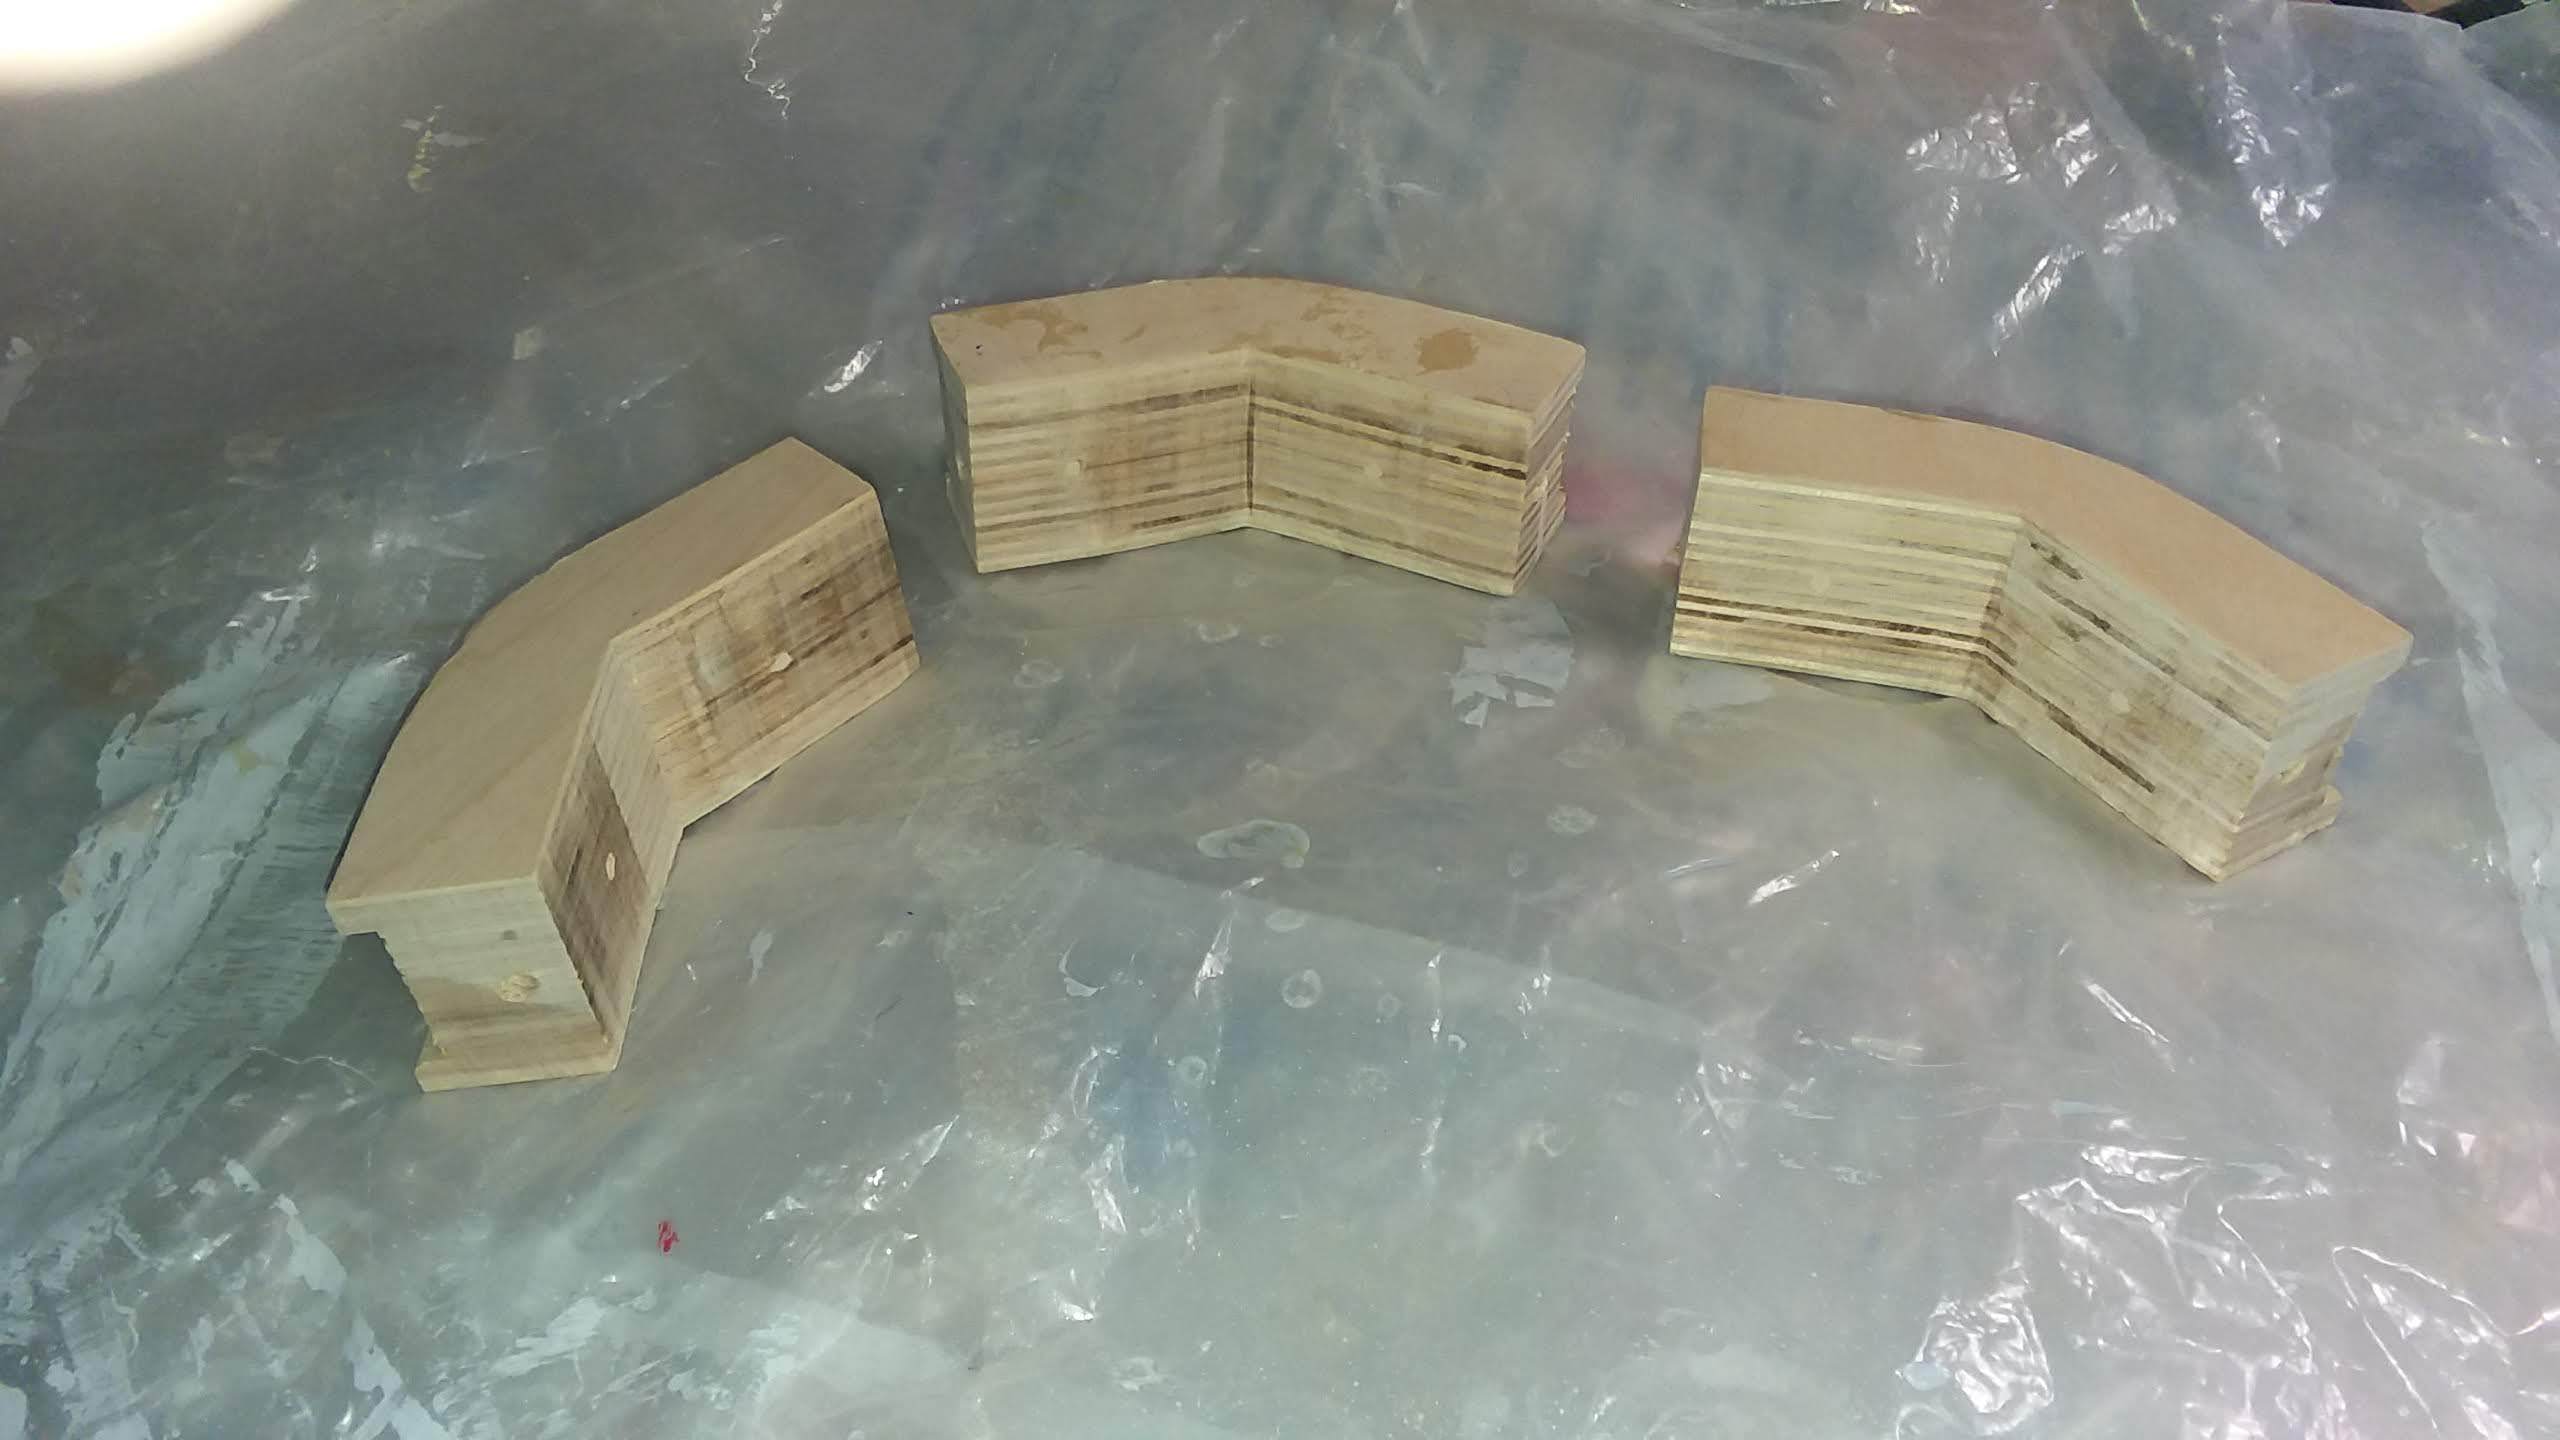
Holding the frame together while it dries is a challenge. I modified a strap clamp designed for 90 degree corners. As you can see in the second photo, one piece had to be cut specially so it fits on the main piece of the strap clamp. There were seven other pieces, each the same.
In the third photo, you can see that each piece of the clamp has an angle of 135 degrees on the part that will face the frame during gluing. I use blue tape to prevent the jig from sticking to the frame during gluing.
In the fourth photo, note that the back of each of the seven pieces is indented, so that the strap stays in place. I did that indenting with a router.
CAUTION. SAFETY FIRST: If you plan to indent small pieces of wood using a router, DO NOT hold the pieces with your fingers. That would be extremely dangerous. Instead build a jig so that each piece can be held securely against the router cutter while keeping your fingers far away from the router.
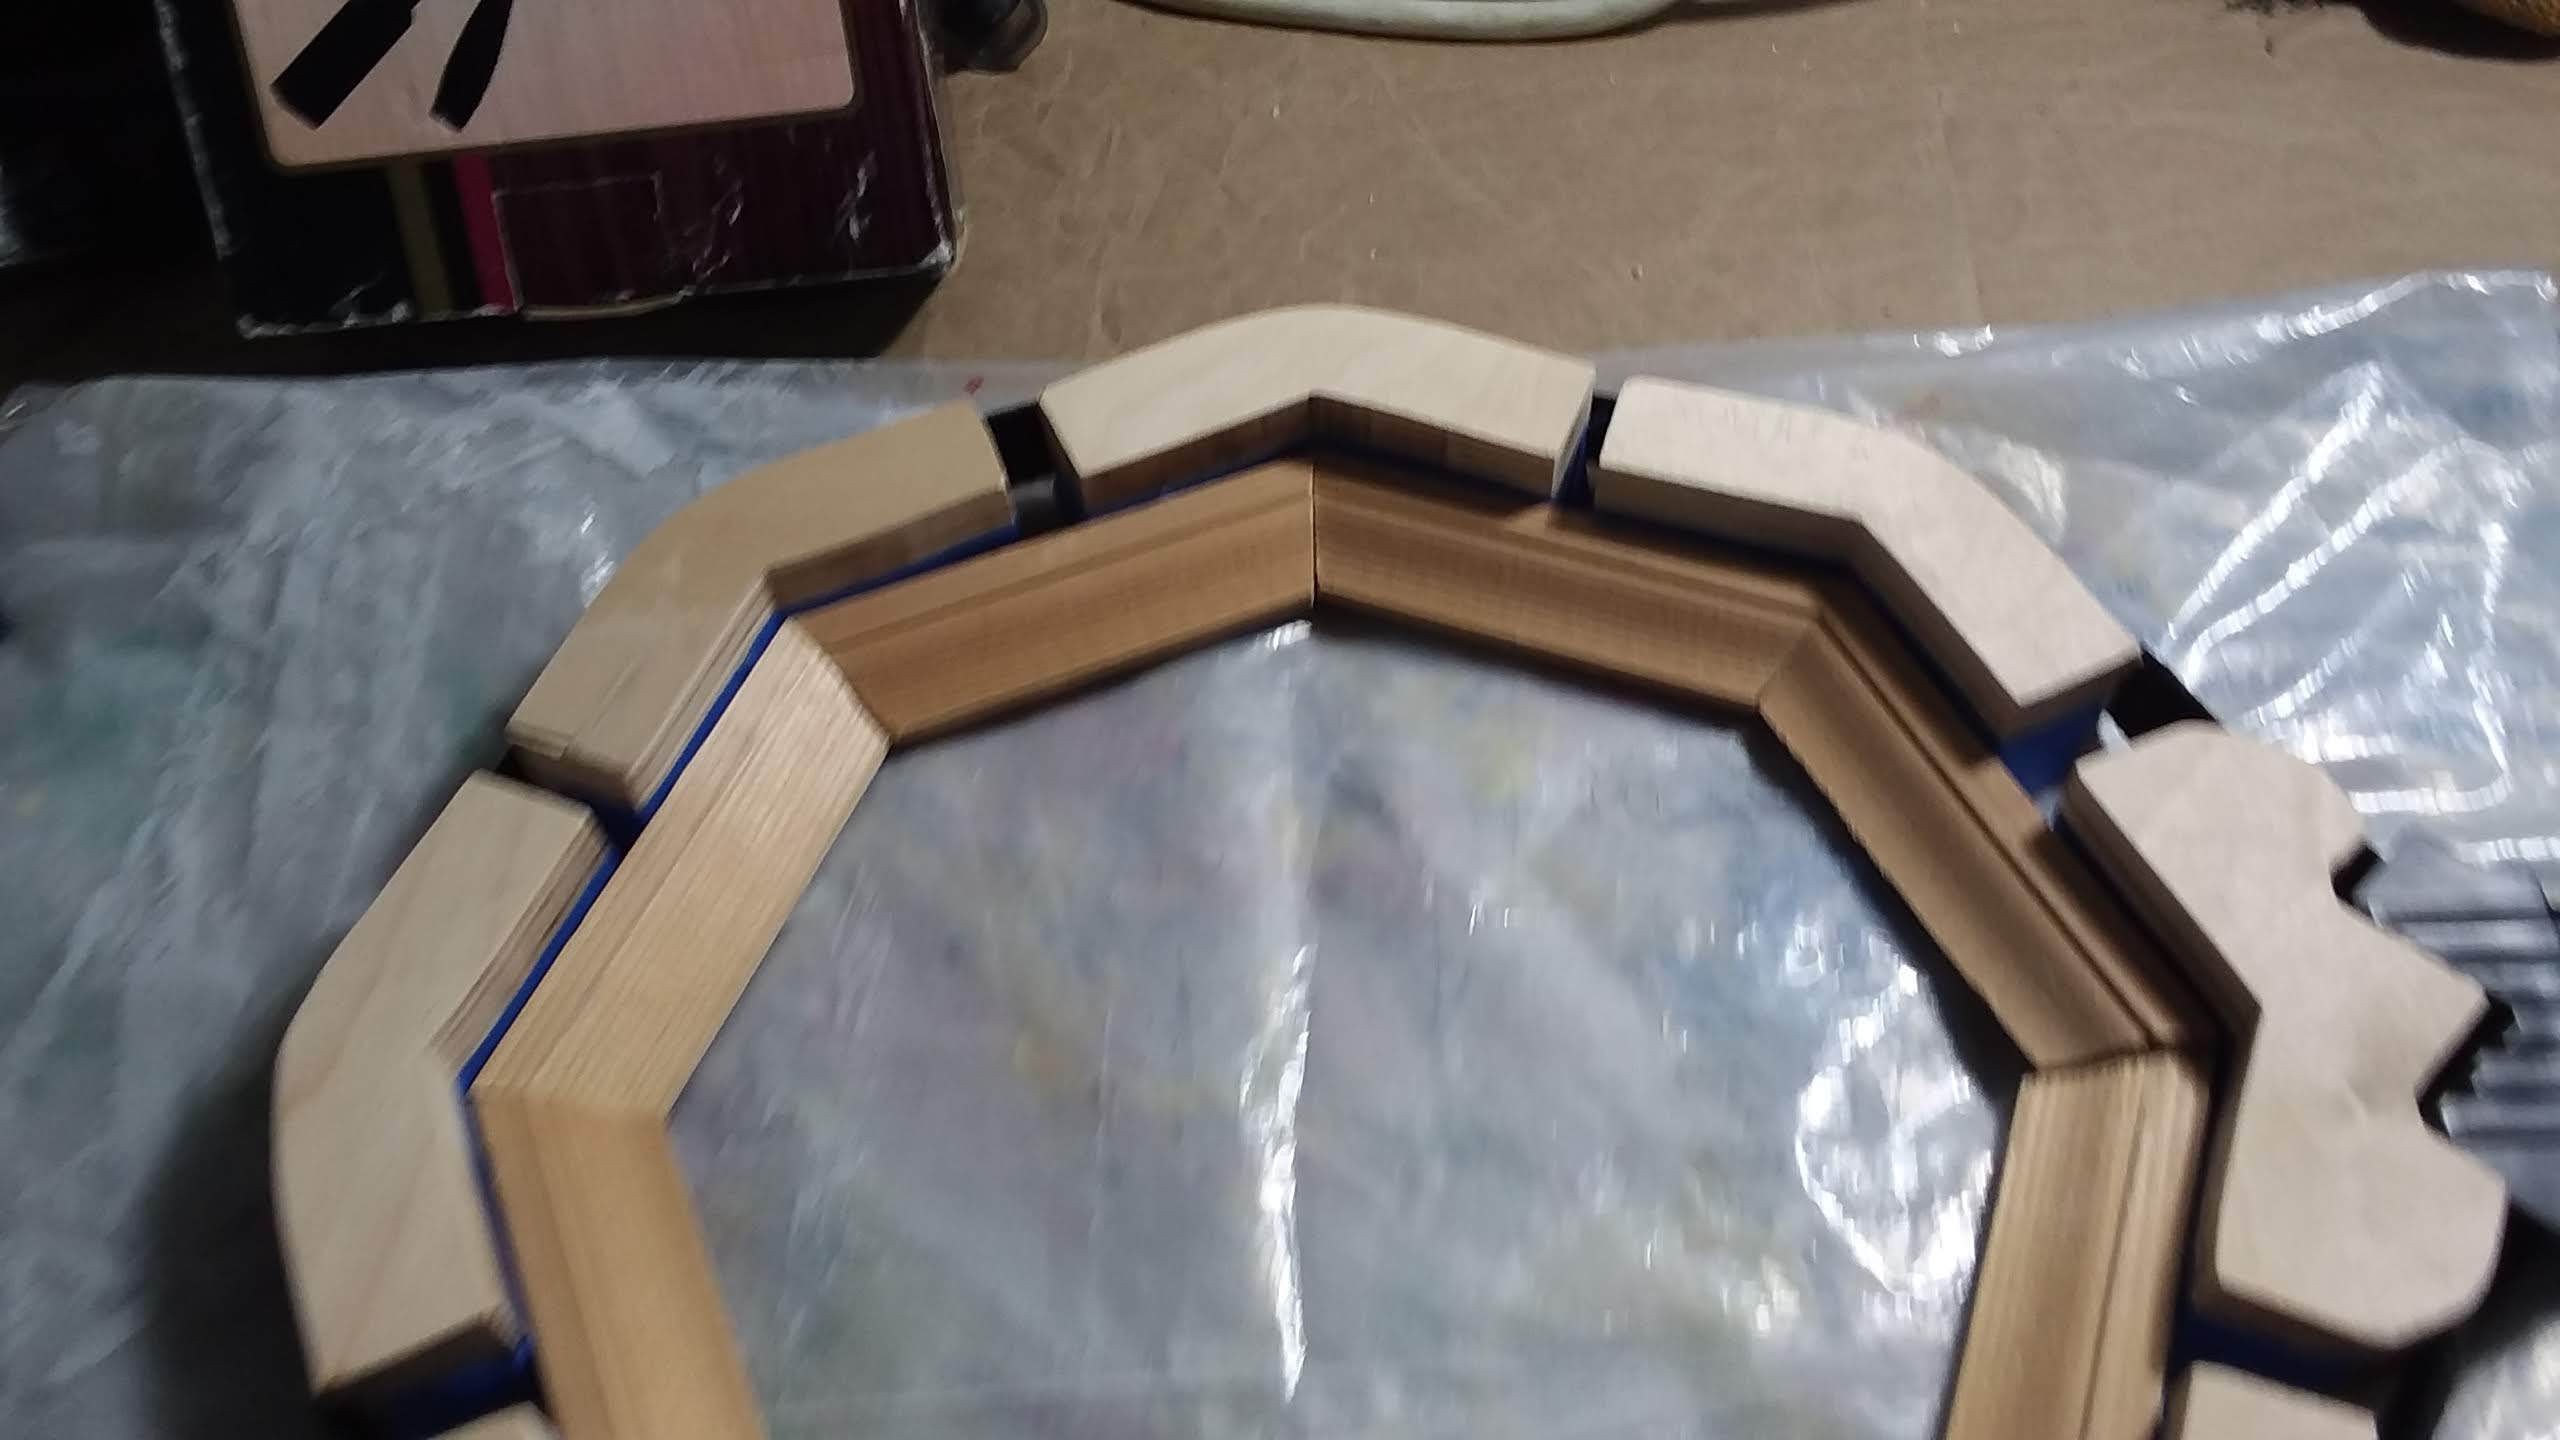
The fifth photo above is just to show how a frame fits into the strap jig which has now been modified for an octagon. That particular frame has already been glued together.
Cutting the Sides for the Frame
.jpg)
.jpg)
.jpg)
.jpg)
.jpg)
.jpg)
Each cut with the mitre saw must be 67.5 degrees, half of 135 degrees. To achieve that, I set my mitre saw table at 22.5 degrees, because 90 degrees minus 22.5 degrees is 67.5 degrees. On my mitre saw, there is a detent at 22.5 degrees.
I set my mitre saw so that I could cut both ends of each frame piece without readjusting the blade. I also attached a stop to the mitre saw so that I did not have to measure each frame piece individually. My mitre saw is constructed so that it is easier to mount the stop on the left. However, it is possible to make very good frame pieces whether your stop is mounted on the left or right.
I cut one end, rotated the frame piece 180 degrees, moved it against the stop and cut the other end. Try this on scrap. You can get good results with only small effort. Having a stop is also handy if you find your frame is a little too large so that you have to trim a small amount from each frame piece.
Here again, I strongly emphasize the need for SAFETY. Keep your stop and your wooden pieces clamped against the mitre saw while cutting so that the blade does not throw them. Wear goggles and a dust mask. Keep your hands away from the blade.
Gluing the Frame
.jpg)
.jpg)
.jpg)
.jpg)
.jpg)
.jpg)
Photos one, two and three, above, show how the unglued frame is set inside the clamping jig. In those photos the strap is not yet in place. I applied blue tape to each piece of the clamping jig so they do not get glued to the frame. The fourth photo shows the clamps with the strap in place. The fifth photo shows the bottom of the frame. However, I usually clamp with the face of the frame showing because that is the side that should look good. If there is some defect on the bottom of the frame, I can usually fix it without too much effort. The last photo shows the frame glued and drying.
Strengthening the Corners With Splines
.jpg)
.jpg)
.jpg)
.jpg)
.jpg)
.jpg)
.jpg)
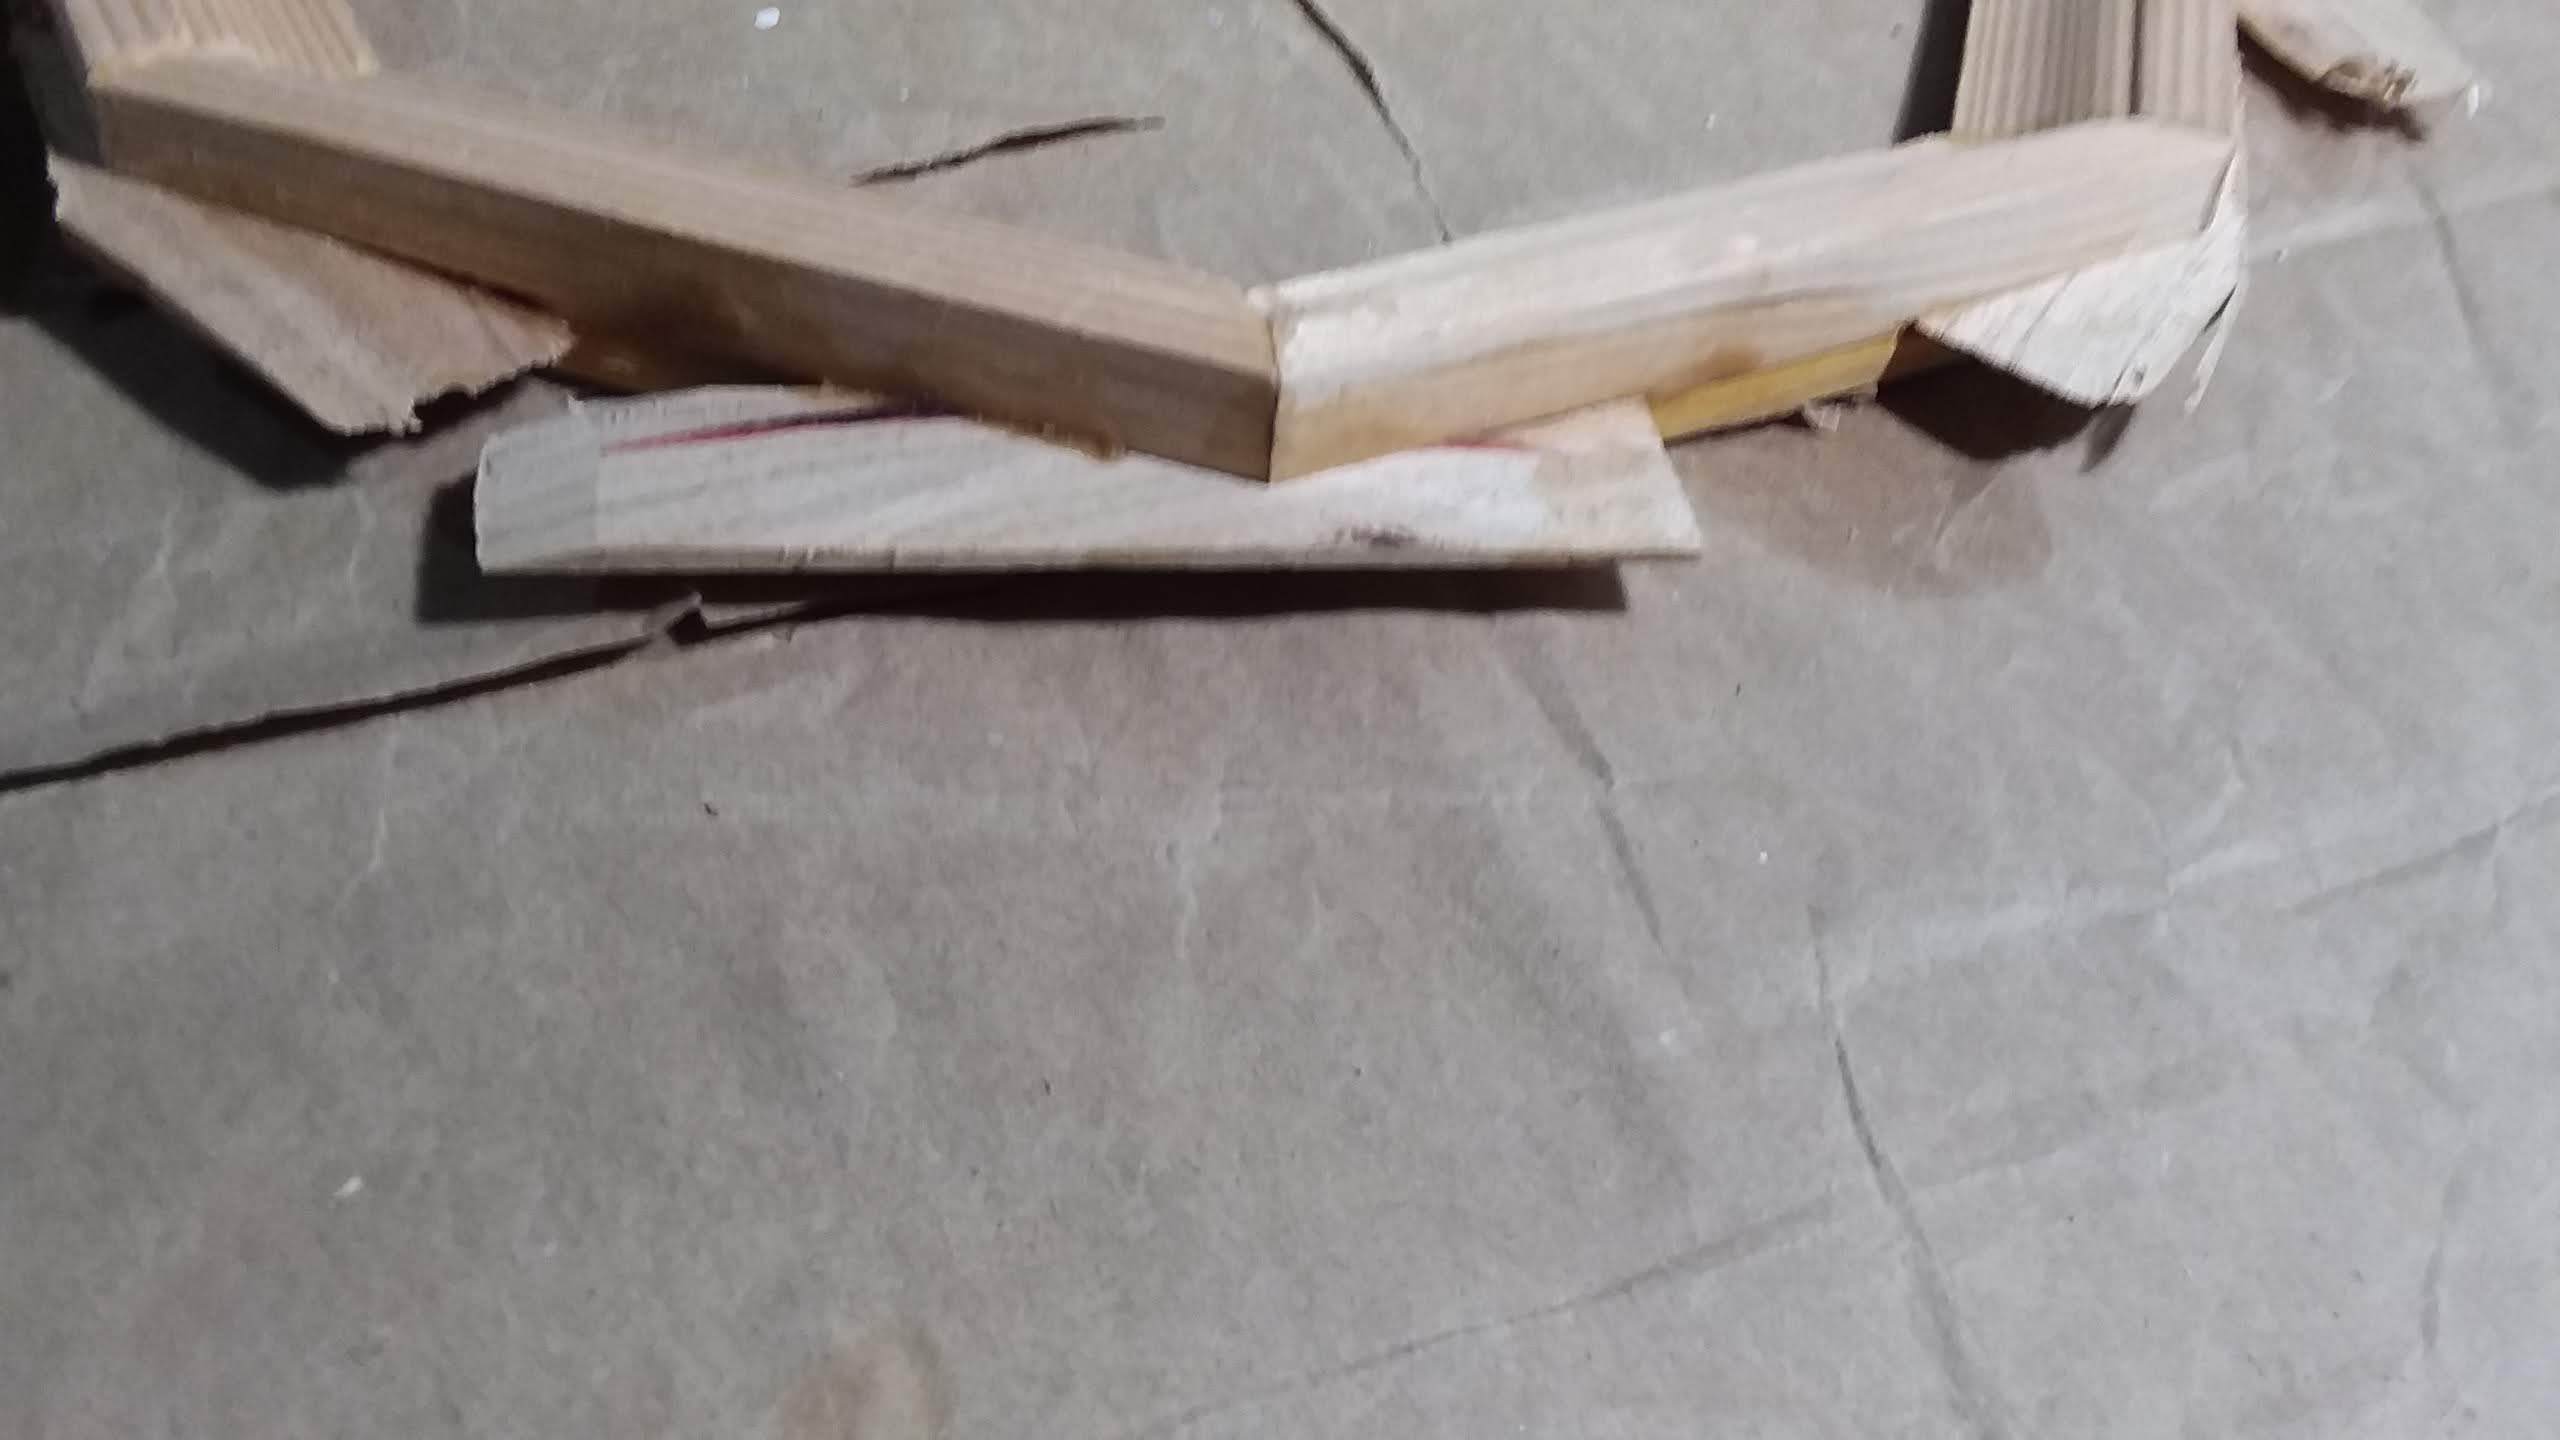
After drying is complete, I use splines to strengthen the corners. There are two ways to cut each corner for a spline. Both methods produce good results.
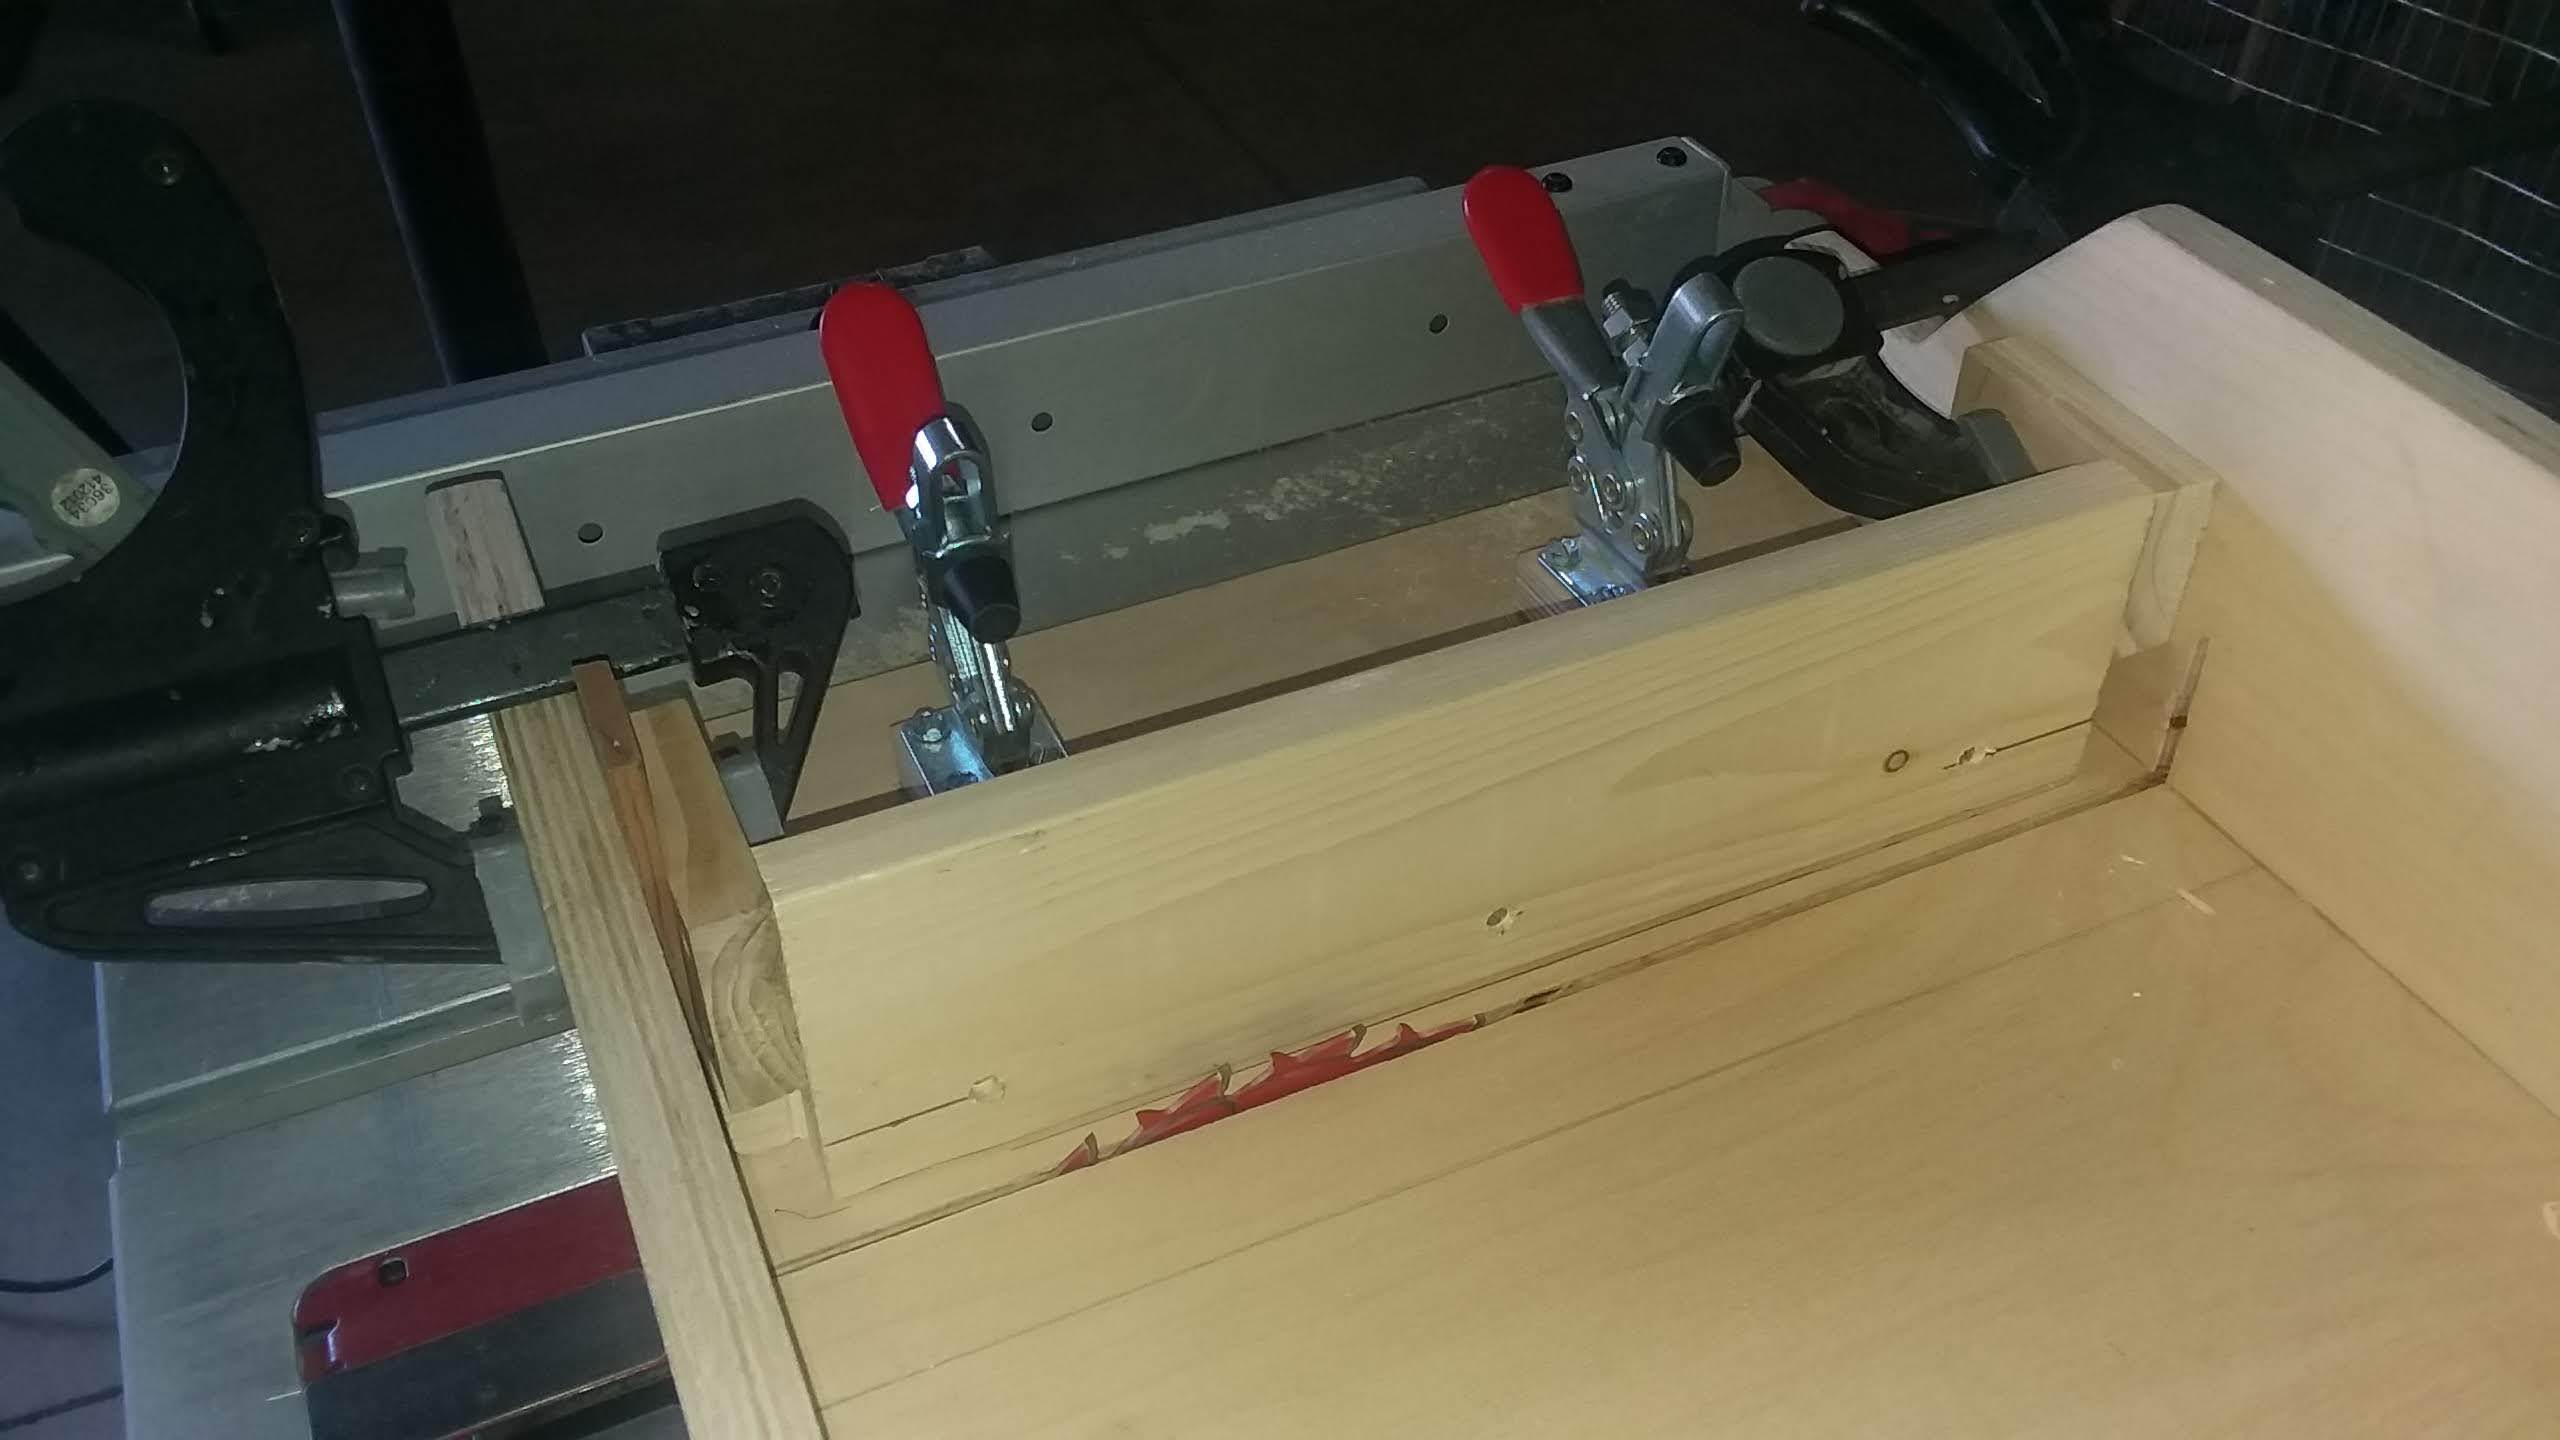
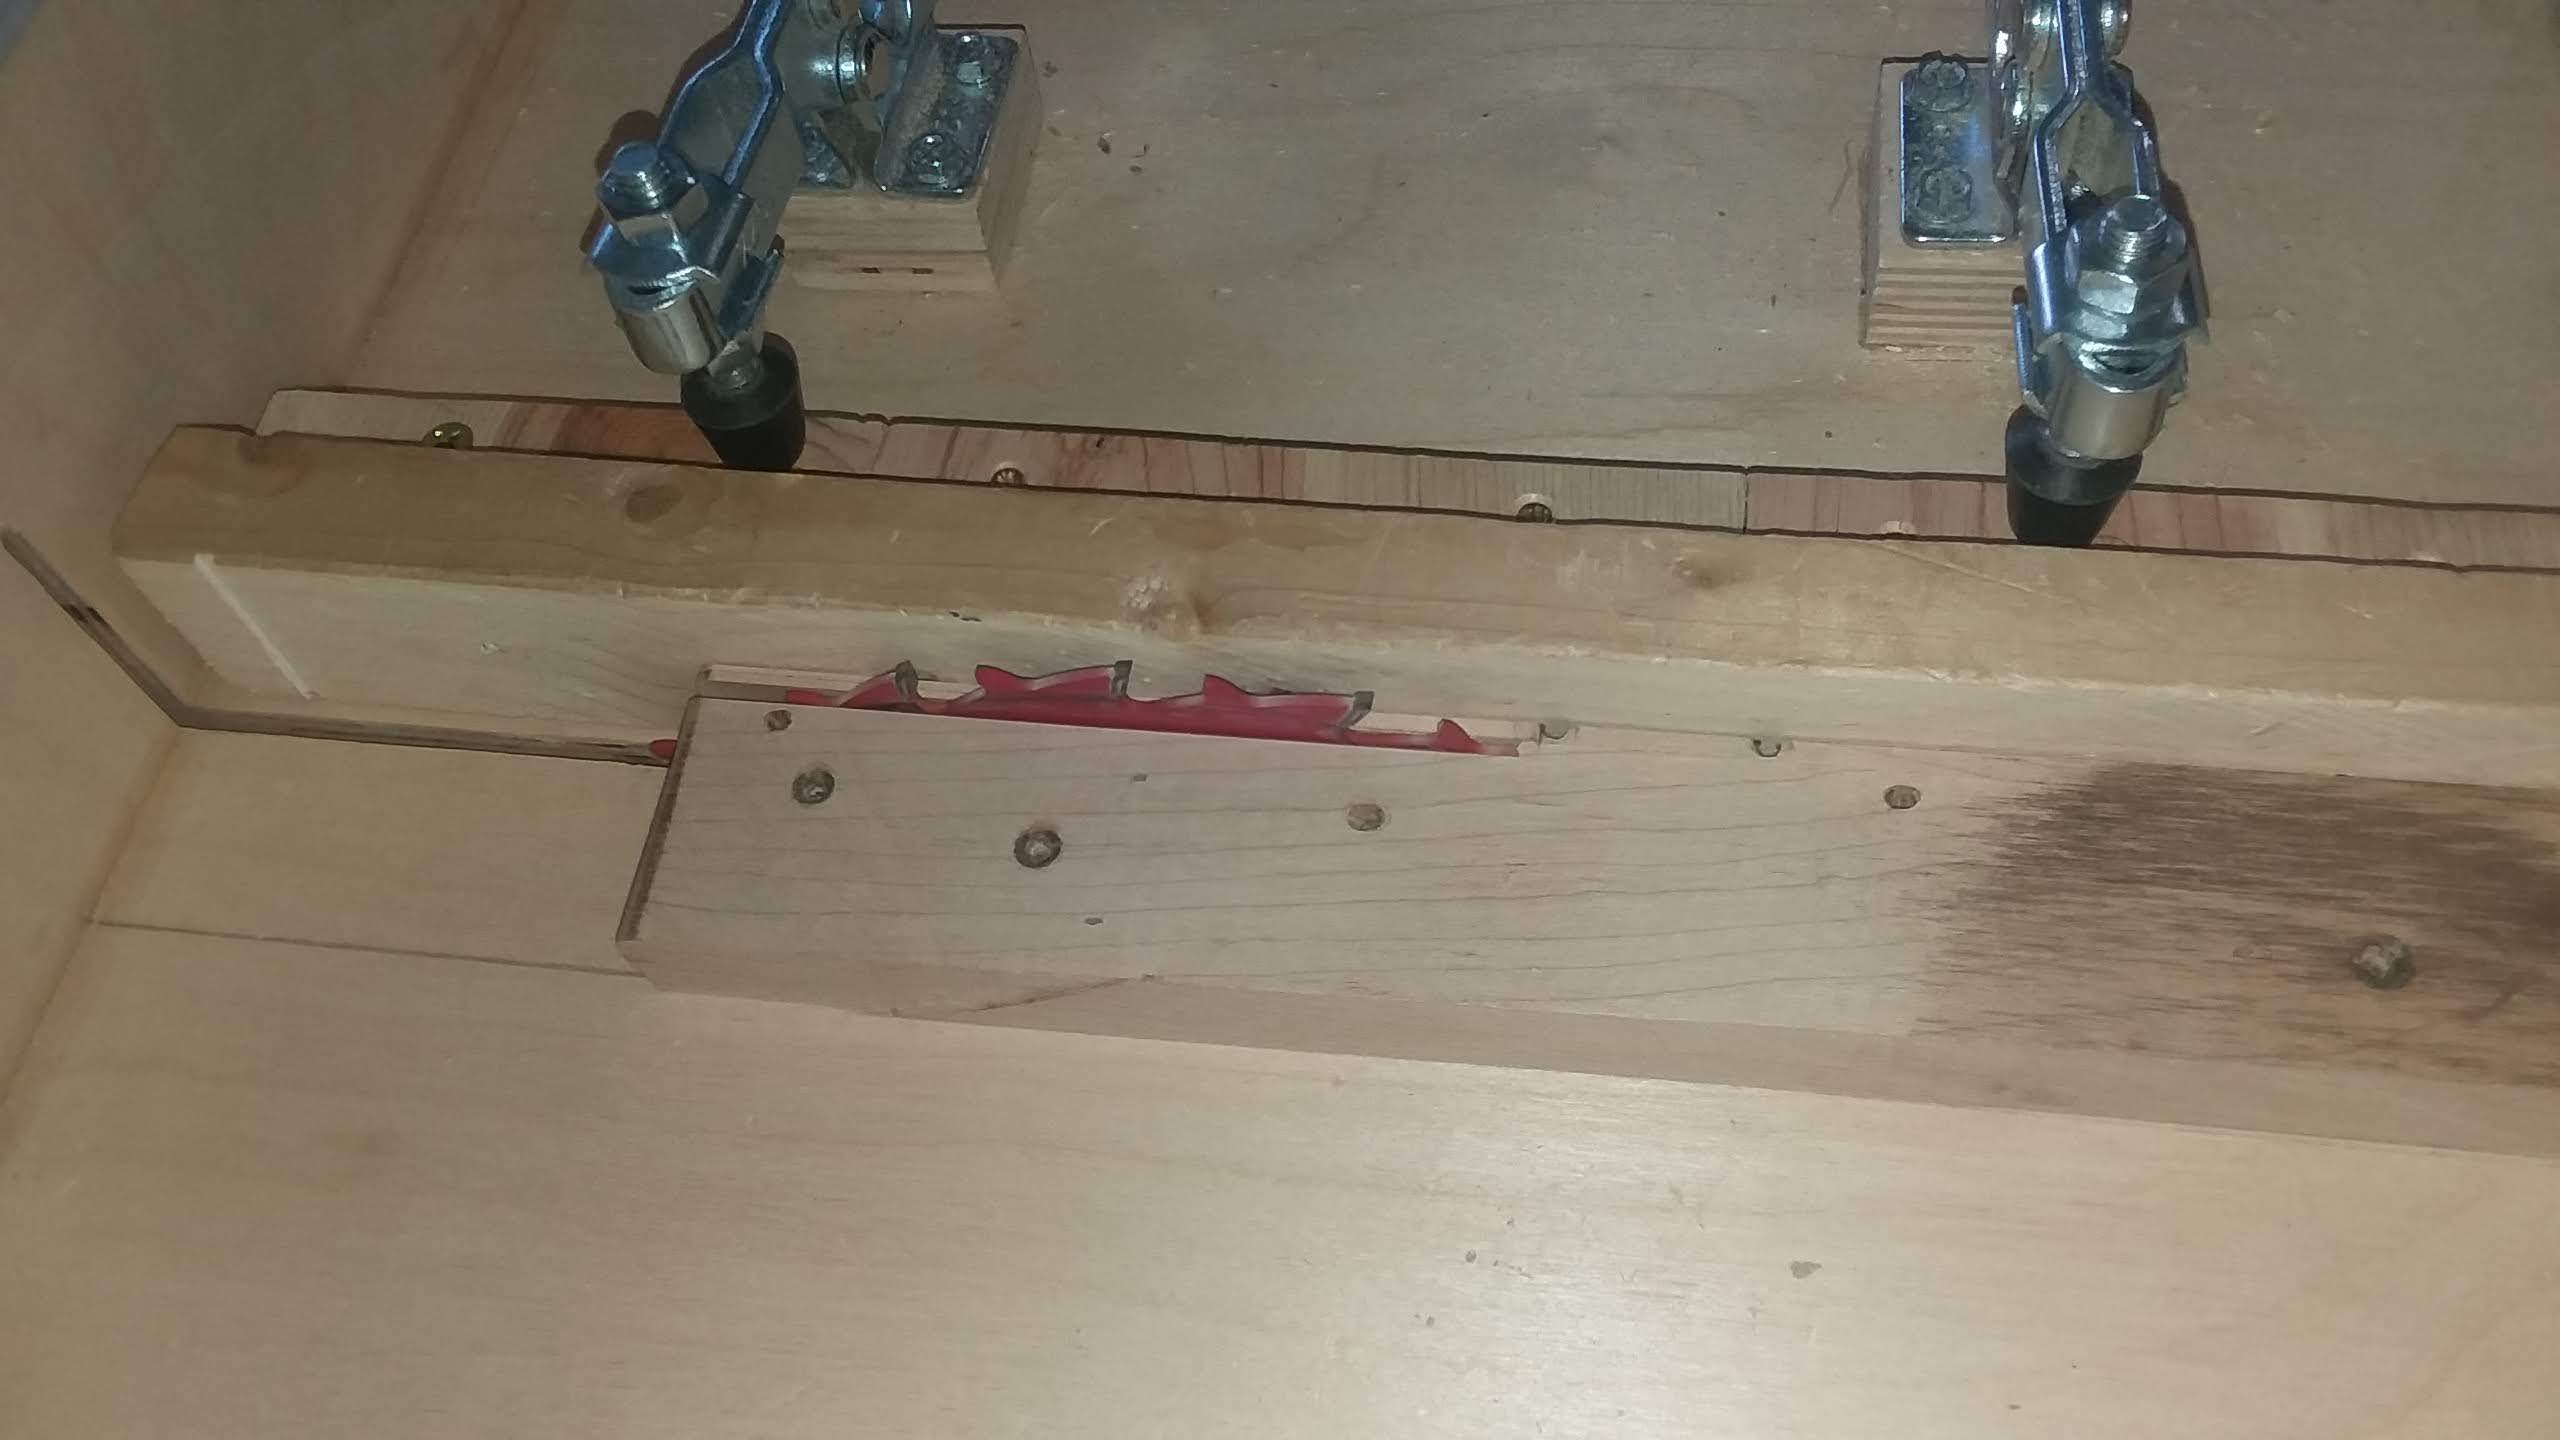
*** If you have a tenoning jig for your table saw, just clamp the frame to the jig with one corner at the exact bottom. Carefully adjust your blade and the jig, then cut the spline. Move the frame to the next corner, reclamp and recut.
*** If you do not have a tenoning jig, just attach a wooden fence to a sled. Then clamp the frame to the fence, adjust blade and fence and cut. Move the frame to the next corner, reclamp and recut.
Cutting Thin Strips for Splines
.jpg)
.jpg)
I used my sled to thin strips for the splines. This is not the best way to cut thin strips because it holds the strip against the blade. A better jig is one that directs the thin strip away from the blade. YouTube has plenty of videos with directions for making such a jig.
Install and Glue Thin Strips
.jpg)
.jpg)
.jpg)
.jpg)
.jpg)
Insert thin strips into the spline slots with wood glue and clamp. They will not look good at this point but they should be solid and the frame itself will be sturdy.
Trim Splines
.jpg)
.jpg)
.jpg)
This step can be done on a table saw or band saw. Trim the splines but do not try to get exactly next to the frame. Sanding will take care of that.
Sand Frame, Especially Corners
.jpg)
.jpg)
.jpg)
This can be done on a belt sander or other electric sander or by hand. Sand the corners smooth.
Test Fit
.jpg)
.jpg)
This step shows how the octagon looks inside the newly constructed frame. It is not a perfect fit, but OK.
Apply Top Coat
.jpg)
.jpg)
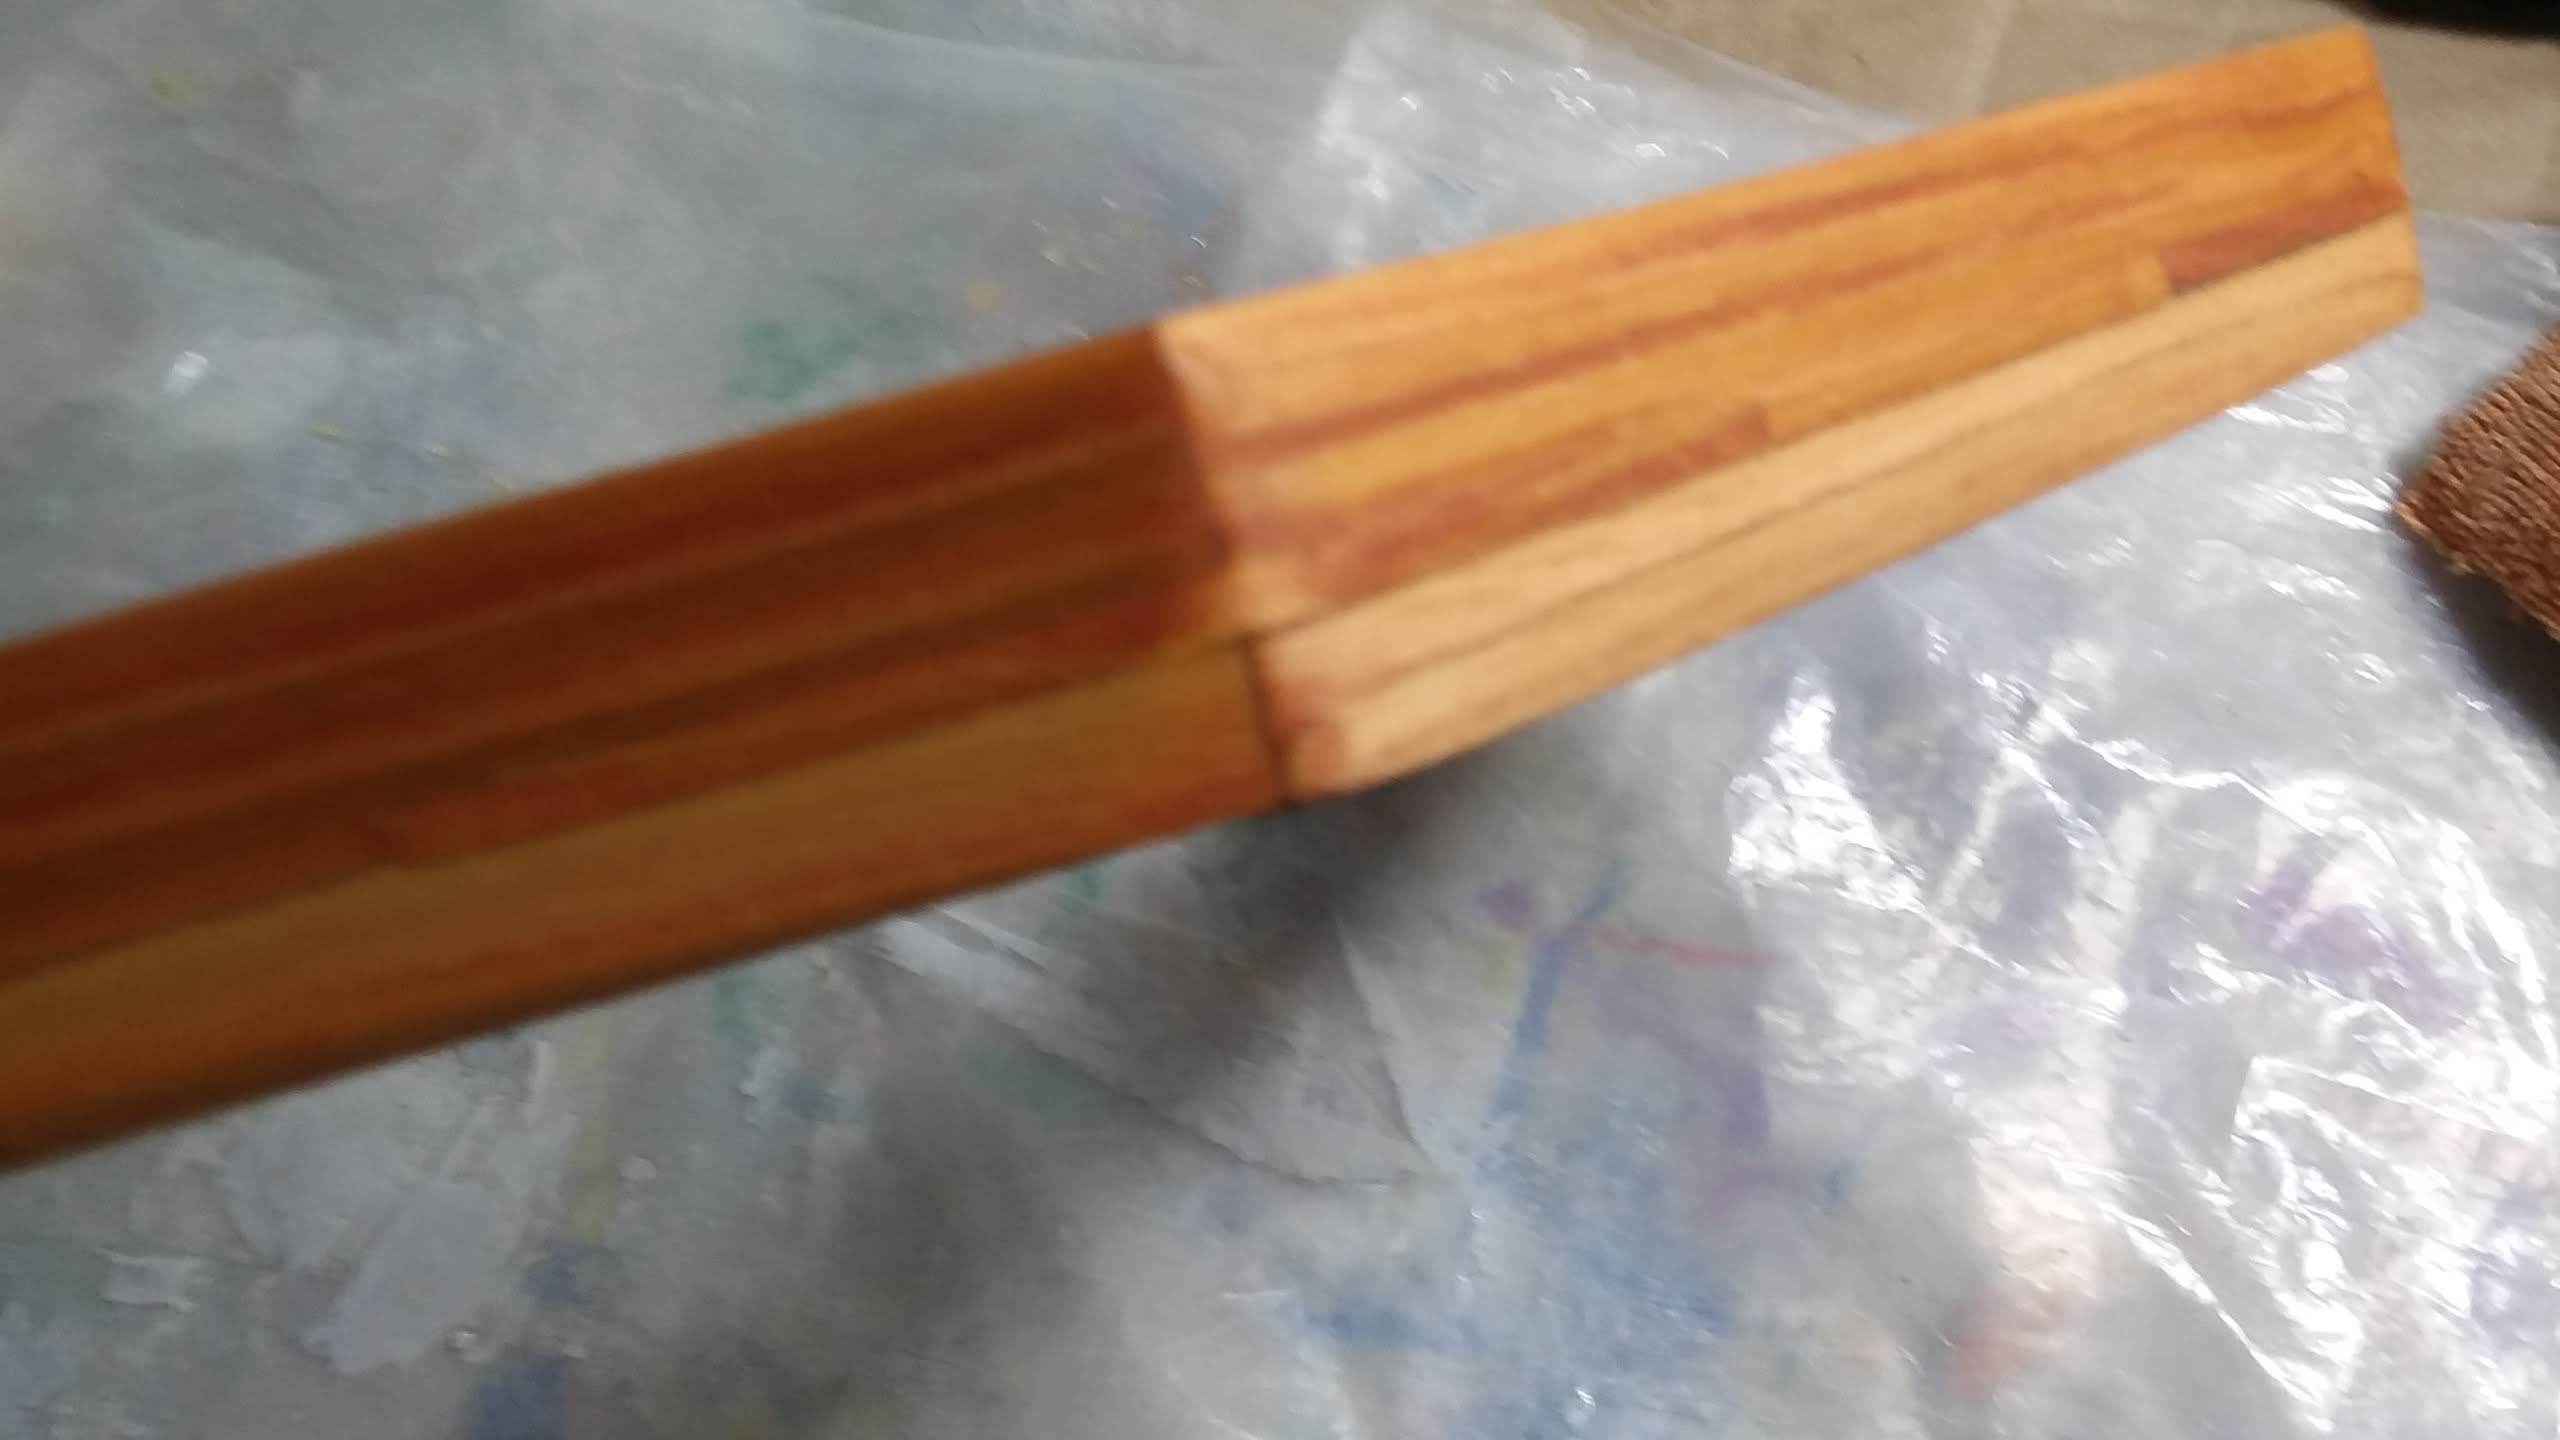
Apply top coat of your choice. Here I used Danish Oil. In the second photo, the edge of the spline shows.