OpenMoxie Pod: a Standalone Raspberry Pi 5 Case for Running OpenMoxie
by daxx2k in Circuits > Raspberry Pi
1104 Views, 10 Favorites, 0 Comments
OpenMoxie Pod: a Standalone Raspberry Pi 5 Case for Running OpenMoxie

Moxie is one of the most beautifully designed social and educational robots I have ever seen.
What always impressed me was not only the technology behind it, but also its personality, expressive design and the amount of care that clearly went into the complete experience.
Unfortunately, Moxie also became an example of one of the biggest problems with cloud-dependent consumer robotics.
When the original cloud services were discontinued, much of the robot’s functionality stopped working, even though the hardware itself was still perfectly usable.
The OpenMoxie community created a way to bring Moxie back to life by running the required services locally. However, this normally means keeping a computer connected and available whenever the robot is being used.
I wanted to create something smaller, more permanent and more appropriate for the robot: a dedicated device that could sit next to Moxie and quietly run the OpenMoxie server.
That idea became the OpenMoxie Pod.
The Pod contains a Raspberry Pi 5, an active cooling system, a Geekworm X1205 UPS HAT and two rechargeable 21700 Li-ion cells.
It also includes an external power button, ventilation, cable management and two transparent PETG light pipes that bring the internal power and battery indicator lights to the outside of the enclosure.
The case was designed in Fusion 360, 3D printed, filled, sanded and painted to visually complement Moxie.
This Instructable explains the complete process, from the first cardboard mock-up to the final assembly and testing.
Full Build Video
Watch the complete design, printing, finishing, assembly and testing process here
Supplies
Electronics/Hardware:
- 1× Raspberry Pi 5 8 GB + Active Cooler
- 1× Geekworm X1205 5V UPS HAT Shield for Raspberry Pi 5
- 2× P42A INR21700 rechargeable Li-ion cells
- 1× microSD card for OpenMoxie
- 2× M3 Brass heat-set inserts and screws (Optional)
3D-Printed Parts
The enclosure is divided into five main printed components:
- Pod Base
- Pod Top
- Power Button
- Power indicator light pipe
- Battery indicator light pipe
The Base, Top can be printed using PLA, PETG or another suitable material for electronic enclosures.
The two light pipes should be printed using transparent or translucent PETG
Link to MakerWorld to download/print the pod parts.
Finishing Materials
- Plastic filler or modelling putty
- Valleyo Filler primer
- Sandpaper in several grits
- Matte teal spray paint
- Matte clear protective coat
- Masking tape
For my version, I selected a matte teal colour close to: #40E0D0
Tools
- 3D printer ( I used a Bambulab X1C)
- Soldering iron for installing the heat-set inserts
- Sanding blocks
- Optional rotary tool
- Safety equipment for sanding and painting
Understanding the Problem
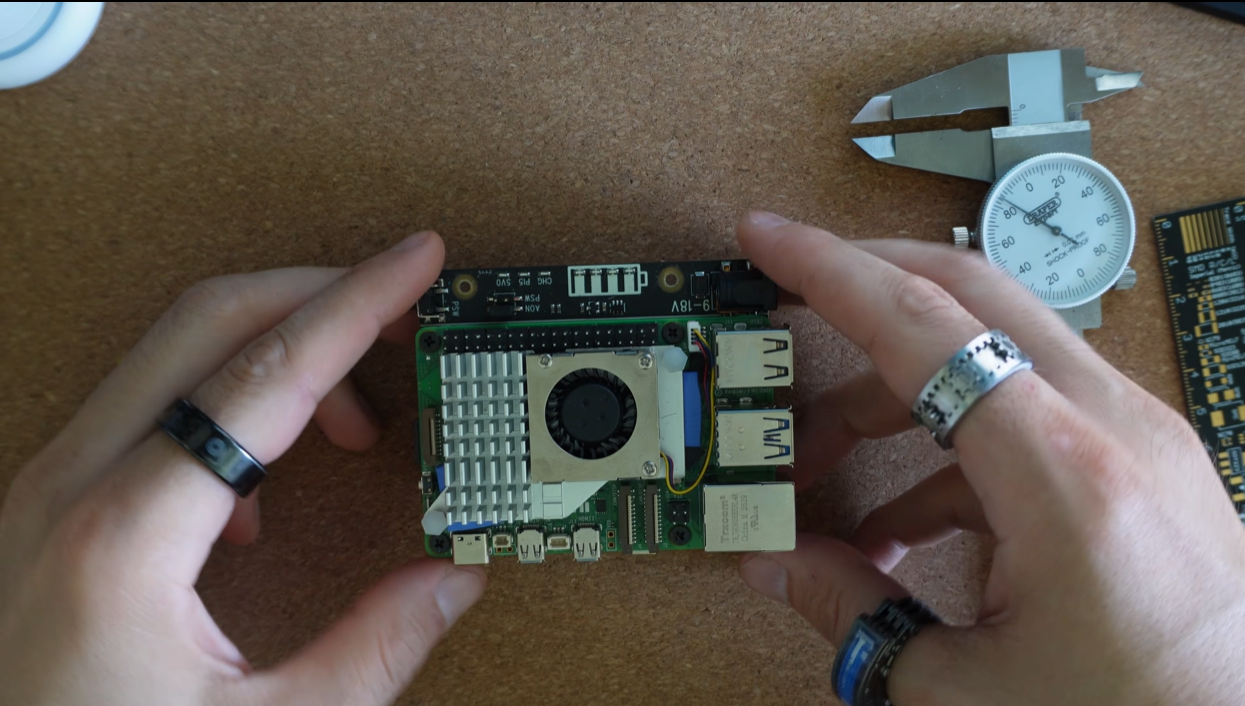
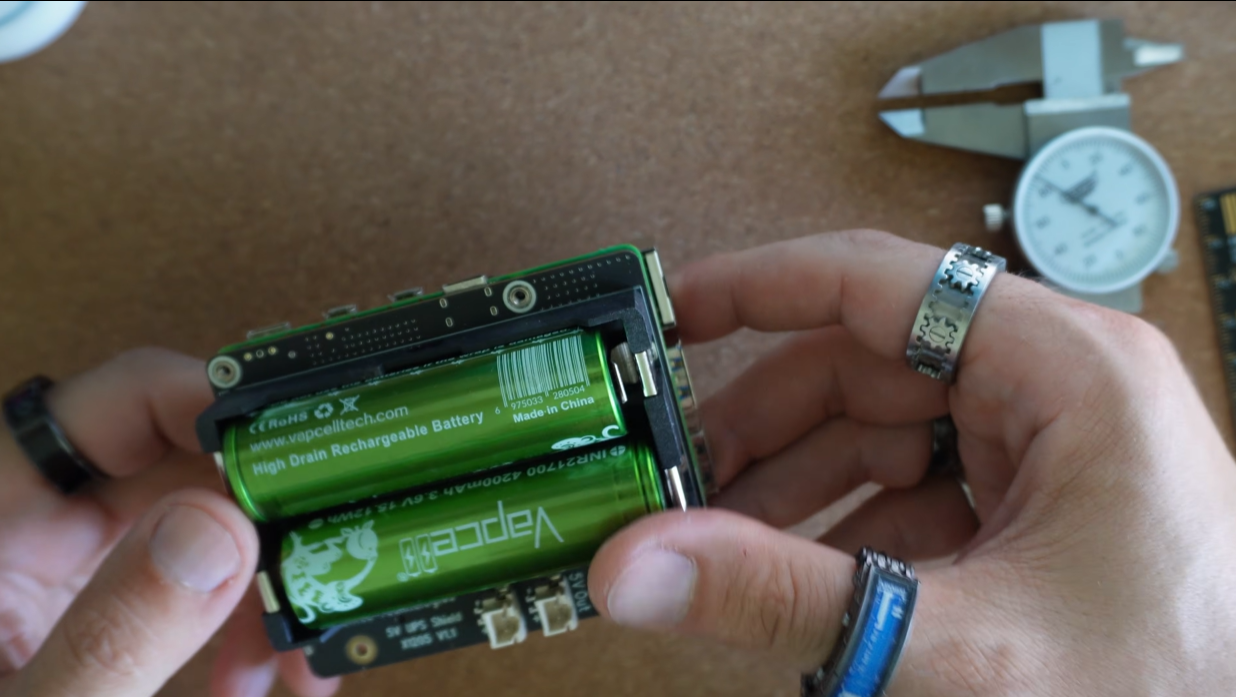
OpenMoxie makes it possible to run the services required by Moxie locally.
A laptop or desktop computer can host the local server, but I did not want to leave a full computer running next to the robot every time it was being used.
I wanted the final system to be:
- Compact
- Portable
- Battery-backed
- Easy to turn on and off
- Fully enclosed
- Properly ventilated
- Visually appropriate next to Moxie
- Capable of displaying its power and battery status
The Raspberry Pi 5 was a good choice because it is small, powerful and well suited to running a dedicated local service.
I used the 8 GB model together with the official-style Active Cooler to help maintain suitable operating temperatures inside the enclosure.
For power management, I selected the Geekworm X1205 UPS HAT.
The X1205 provides battery-backed power and includes two integrated holders for 21700 Li-ion cells. It also supports features such as external power control, automatic power switching and safe shutdown.
This allowed the entire system to remain compact, without requiring a separate battery holder or external UPS.
Creating a Cardboard Prototype
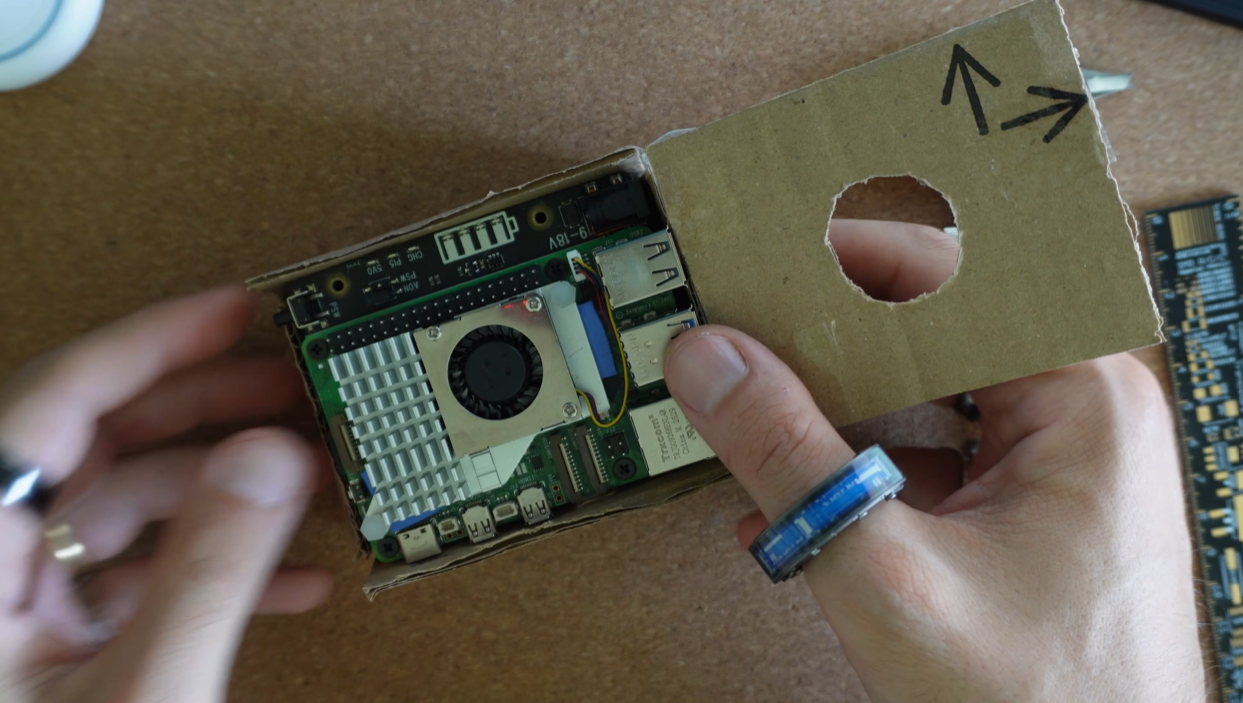
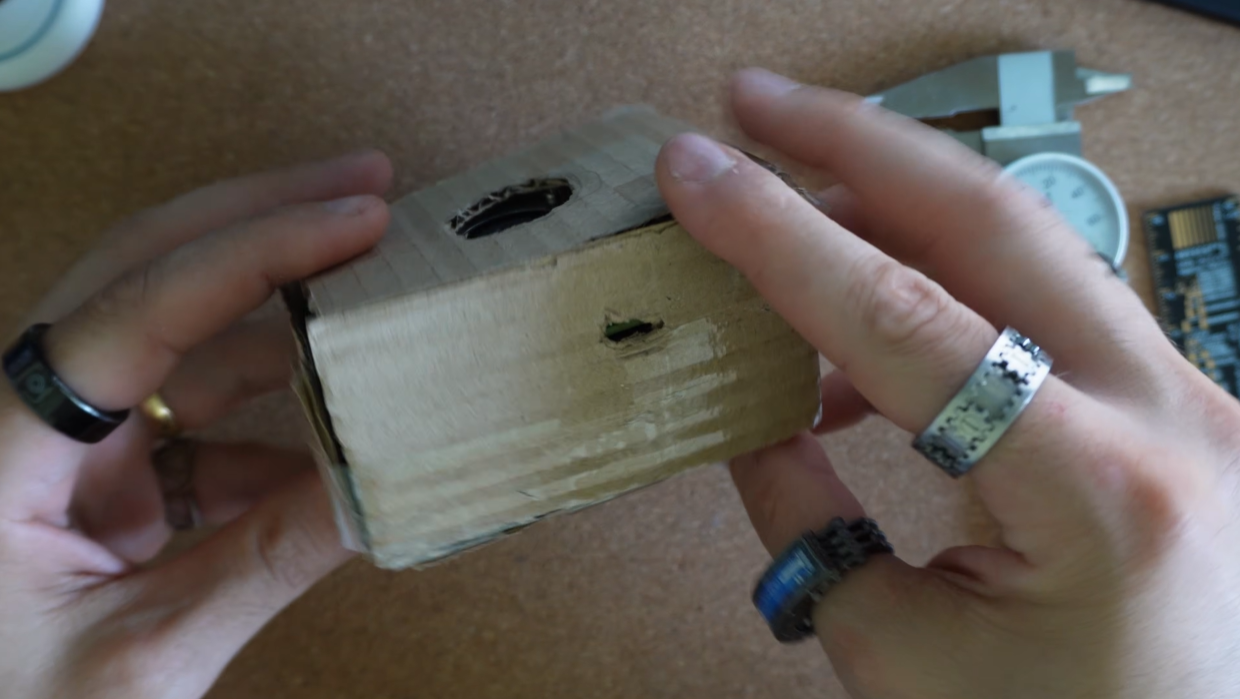
The first step in the design process was very simple: cardboard.
I placed the Raspberry Pi 5, the Geekworm UPS HAT and the batteries together, then started cutting small pieces of cardboard around them.
This helped me quickly understand the proportions of the Pod, check the available space and take measurements for the holes and internal layout.
Once I had a better understanding of the real-world dimensions, I moved into Autodesk Fusion to design the Pod more precisely.
Designing the Pod in Autodesk Fusion
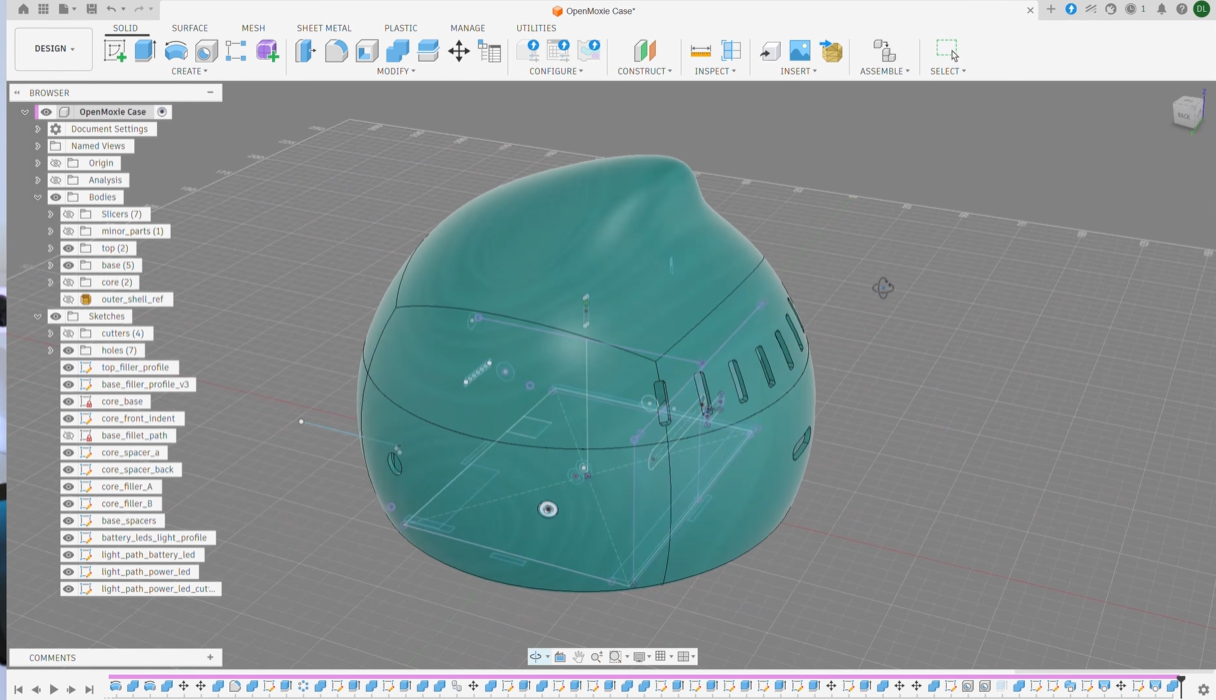
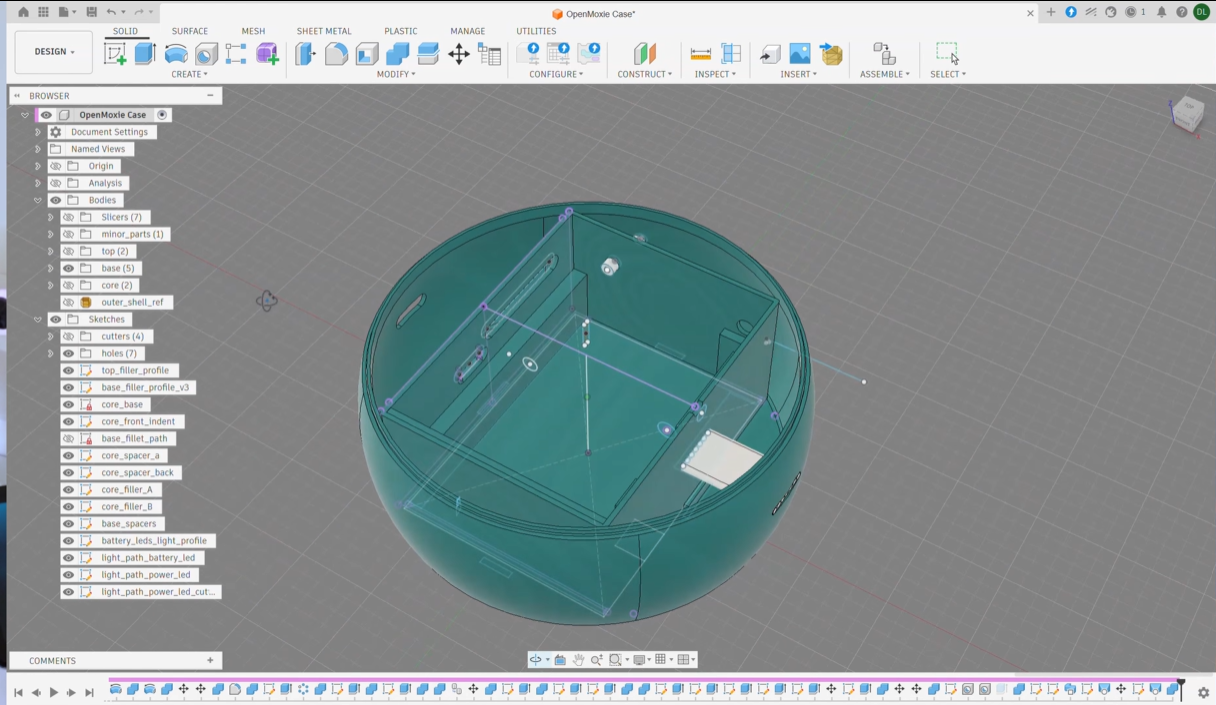
The enclosure is divided into three main parts:
- Core
- Base
- Top
I designed these parts separately so I could iterate on individual sections without reprinting the entire Pod every time something needed to change.
The Core holds the Raspberry Pi, UPS HAT, batteries, power button and light transmitters.
I also included two brass threaded inserts to secure the Raspberry Pi assembly more firmly.
However, the electronics are already a fairly tight fit, so the inserts may not be strictly necessary.
Designing the Base and Top
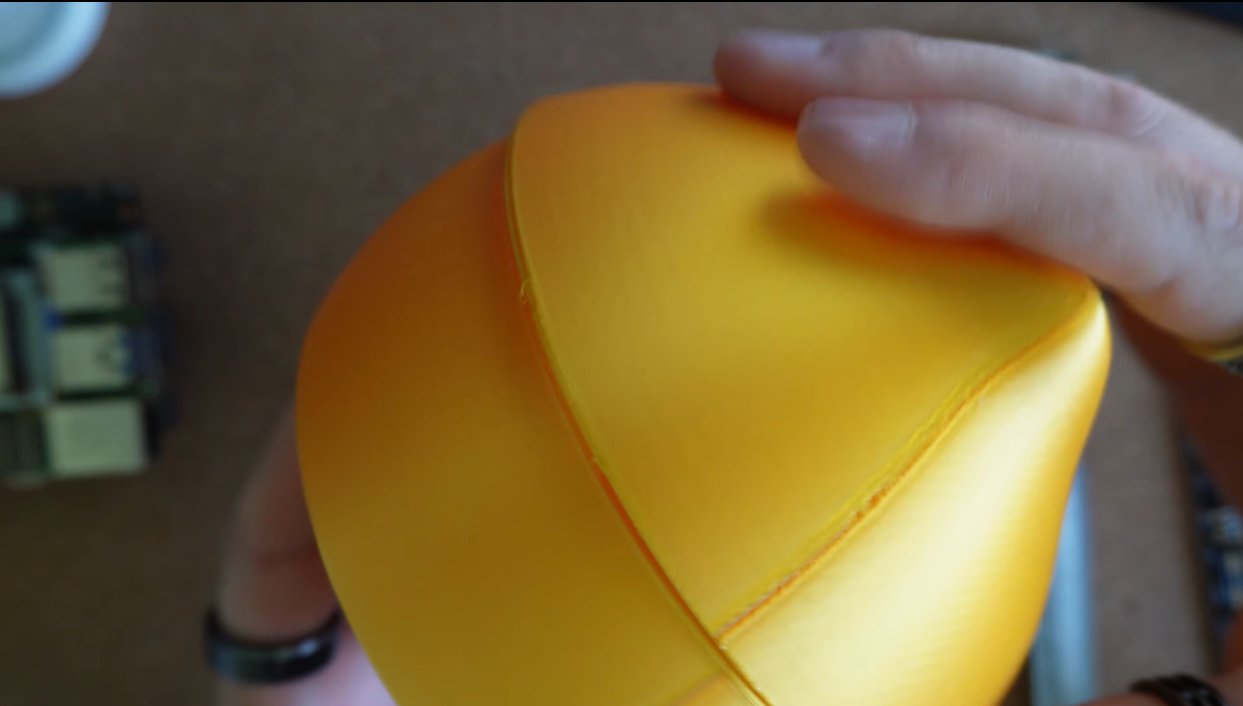
One of the most difficult parts of the project was designing the connection between the Top and the Base.
I wanted the connection to be strong enough to hold the Pod securely together, but still easy to open whenever access to the electronics was required.
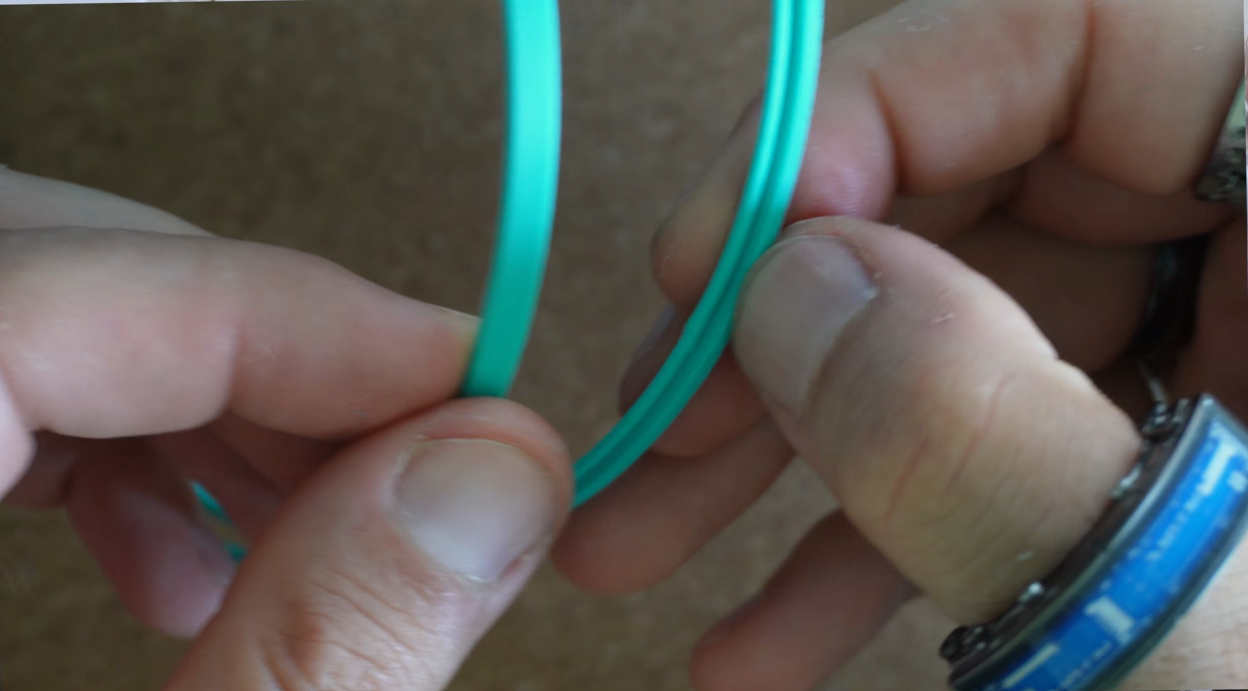
After testing several ideas, I created a profile inspired by the closing system of a food-storage container.
This Tupperware-like connection allows the Pod to close securely without relying on several visible screws.
To speed up the design process, I printed only small sections of the connection profile until I found a version that worked correctly.
I also briefly considered creating an alternative flat Top, but decided not to use it in the final design.
Designing for Airflow
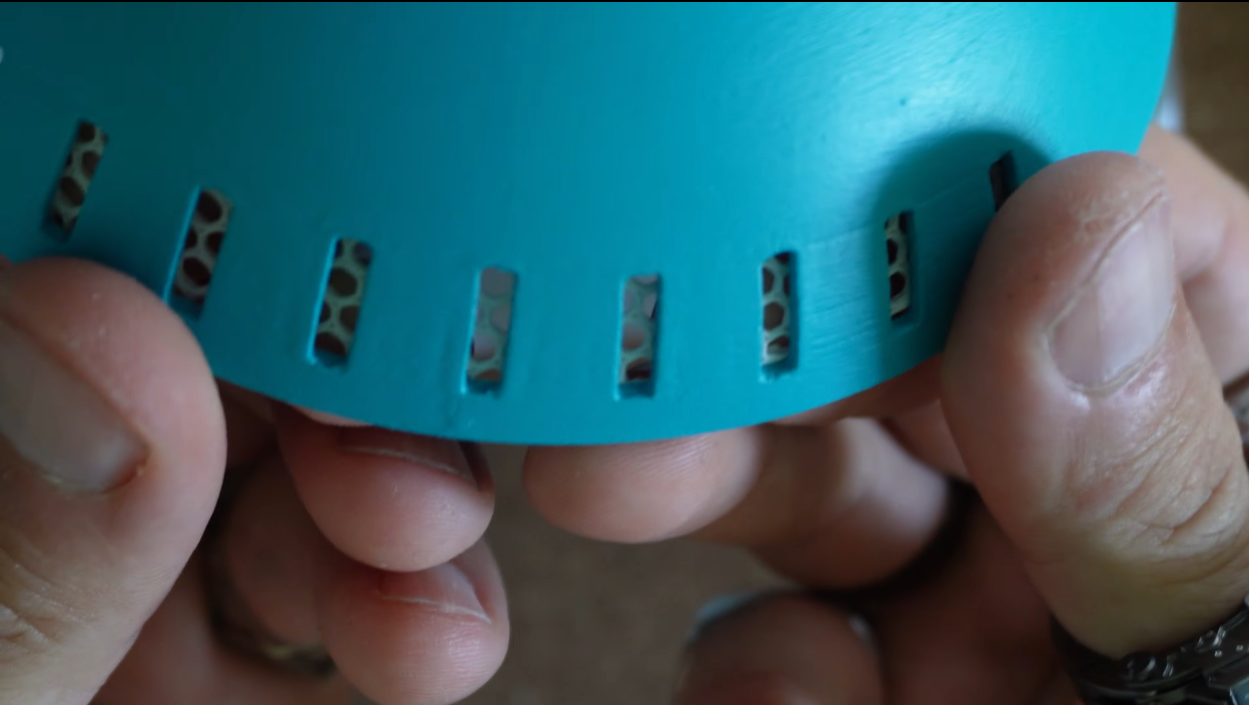
I played it safe with the ventilation system.
My original idea was to create an internal air duct that carried the air from the Raspberry Pi fan towards the Top of the enclosure.
However, I did not like how the necessary openings would look on the upper surface.
Instead, I positioned the ventilation openings at the back of the Pod.
I also designed and glued a separate grid over the openings to give the rear ventilation area a cleaner and more finished appearance.
Creating the Light Transmitters
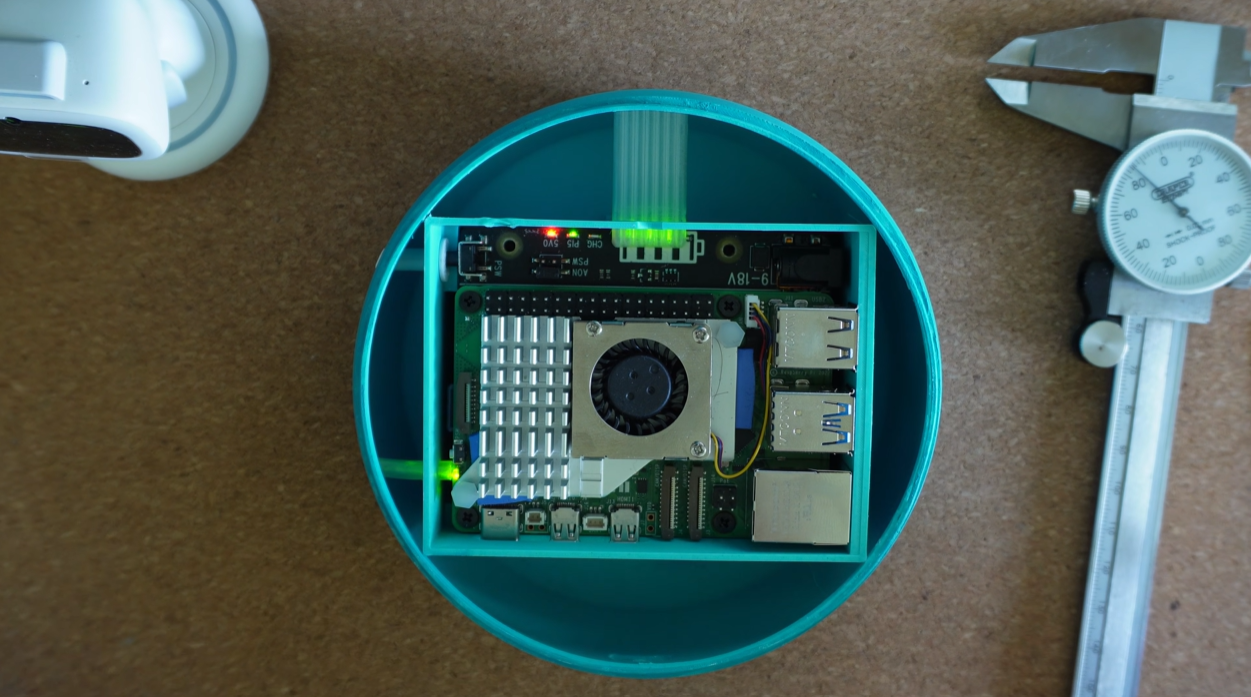
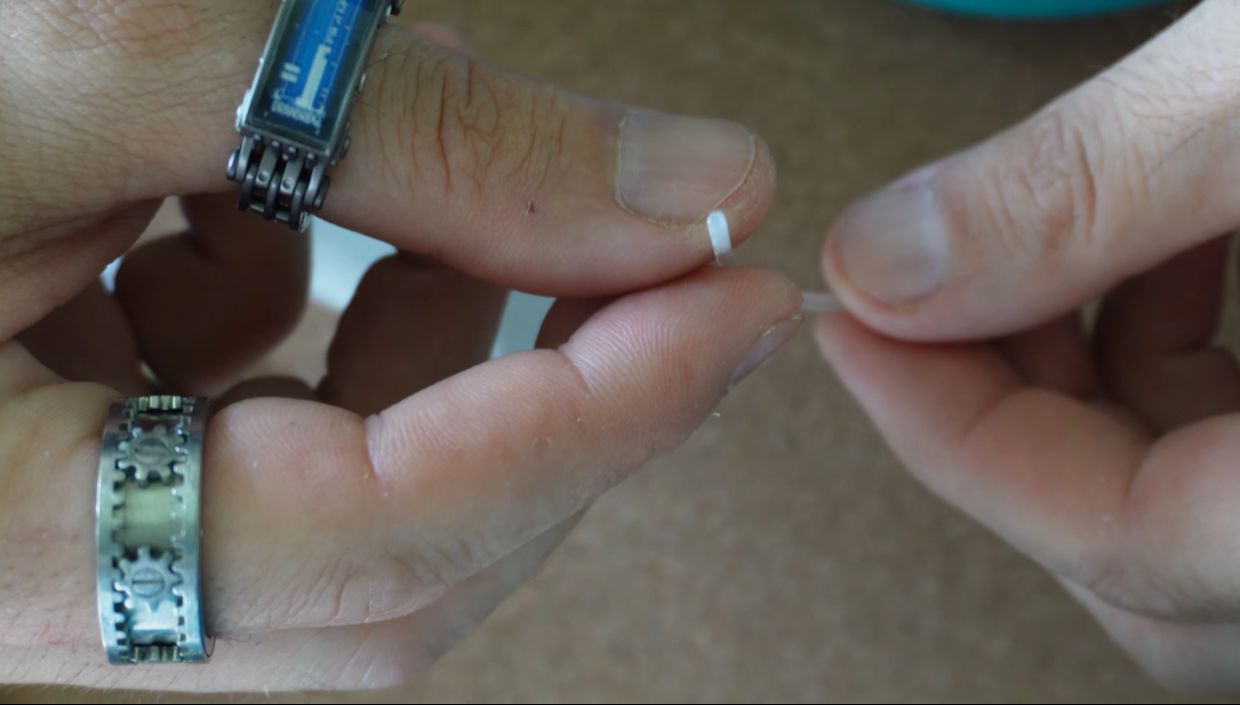
The Geekworm X1205 already includes useful LED indicators for power and battery status.
However, once the board is installed inside the Pod, those lights would normally be hidden.
I wanted to avoid soldering additional LEDs or adding extra wiring, so I designed two small light transmitters printed in transparent PETG.
They work like very simple optical fibres: light from the LEDs travels through the transparent printed parts and becomes visible from the outside of the Pod.
This keeps the design clean and makes the project easier to build without modifying the original electronics.
Adding USB Cable Access
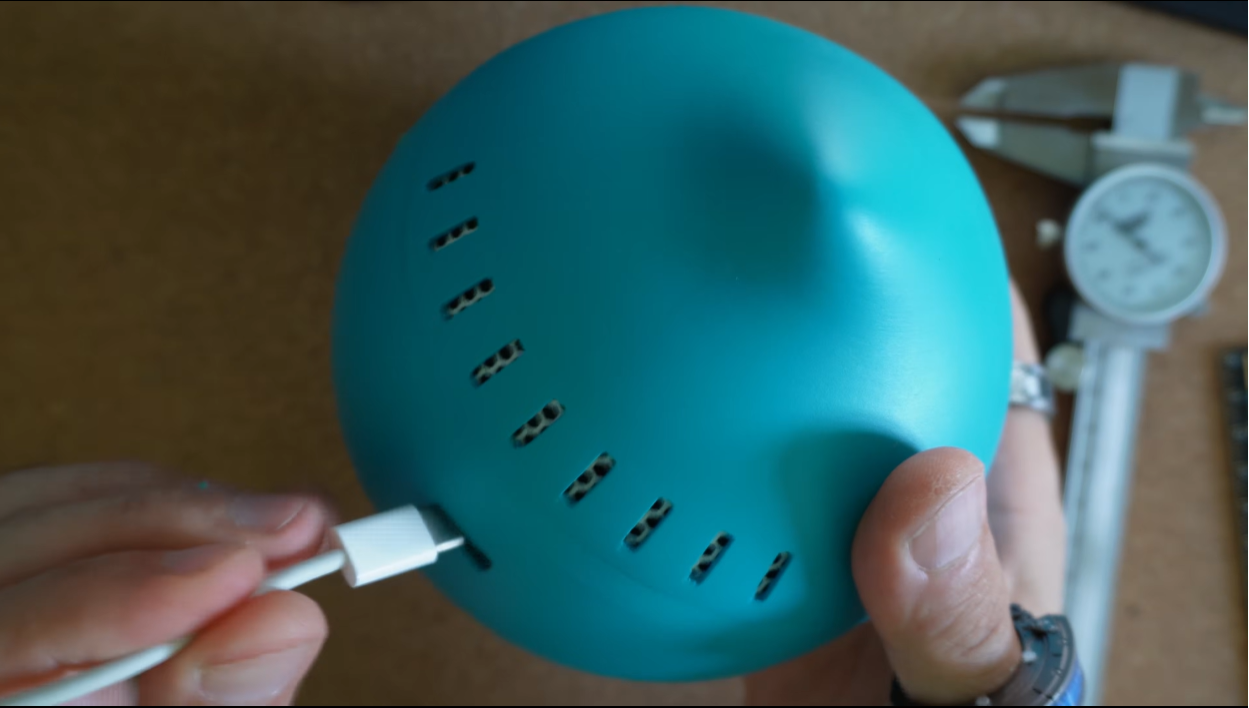
I left an opening at the back of the Pod so a USB cable can be routed into the enclosure.
This allows the unit to remain connected to external power when required.
The opening was designed to provide enough space for most standard USB cables without leaving a large visible hole in the case.
Printing and Testing the Parts
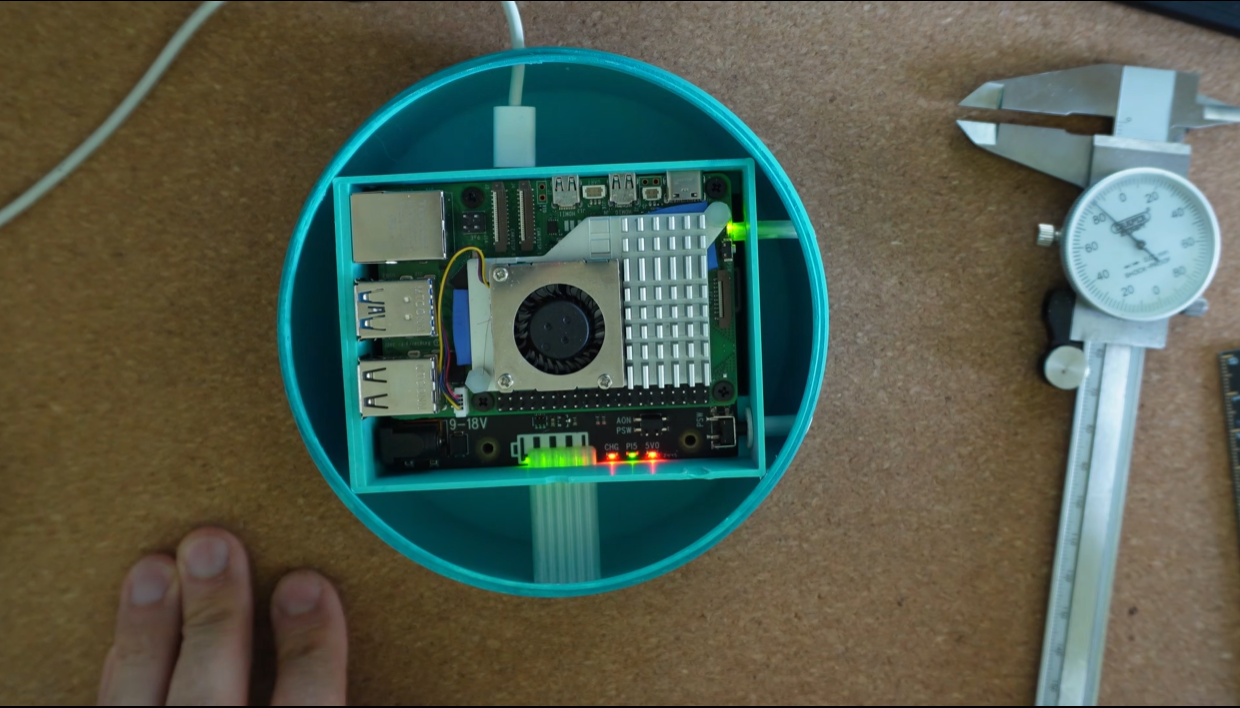
I printed the Core, Base and Top separately, together with the power button, ventilation grid and transparent light transmitters.
Before moving to the finishing stage, I tested all the components together.
I checked that:
- The Raspberry Pi and UPS HAT fitted inside the Core
- The batteries could be installed
- The power button sat flush with the case
- The light transmitters aligned with the LEDs
- The USB cable could pass through the rear opening
- The Base and Top closed correctly
Designing the parts separately made it much easier to adjust and reprint only the areas that needed improvement.
Finishing and Painting
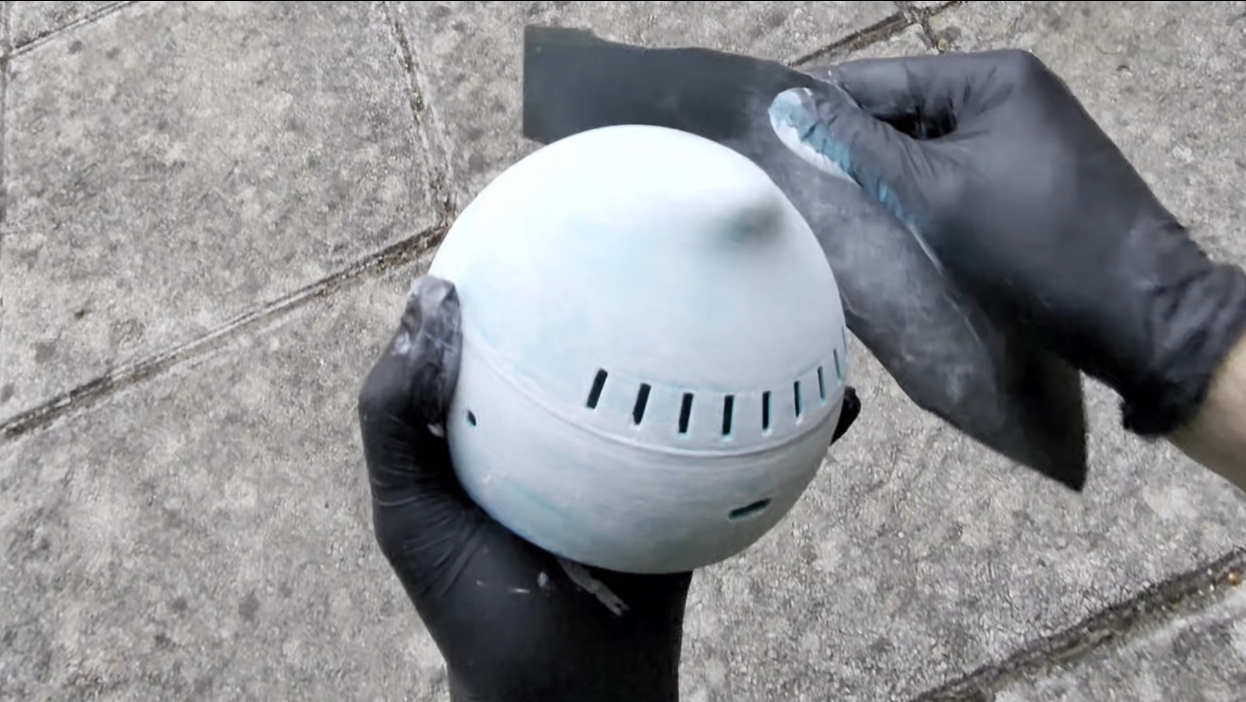
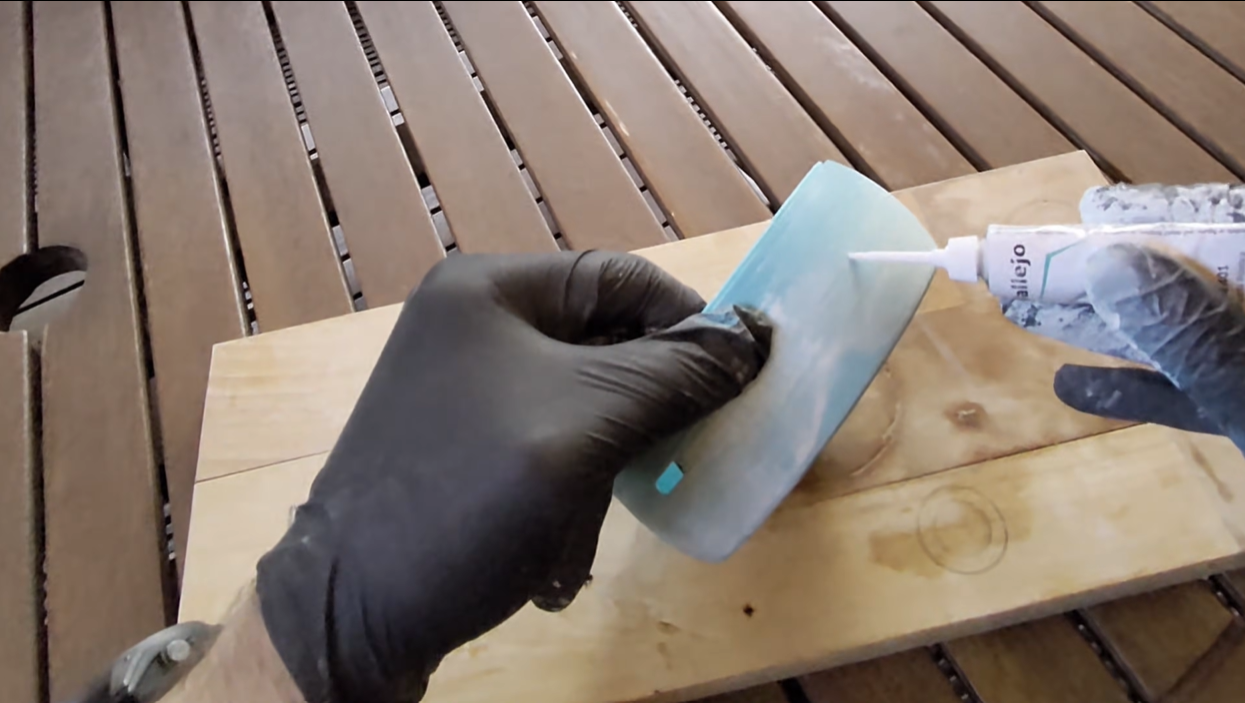
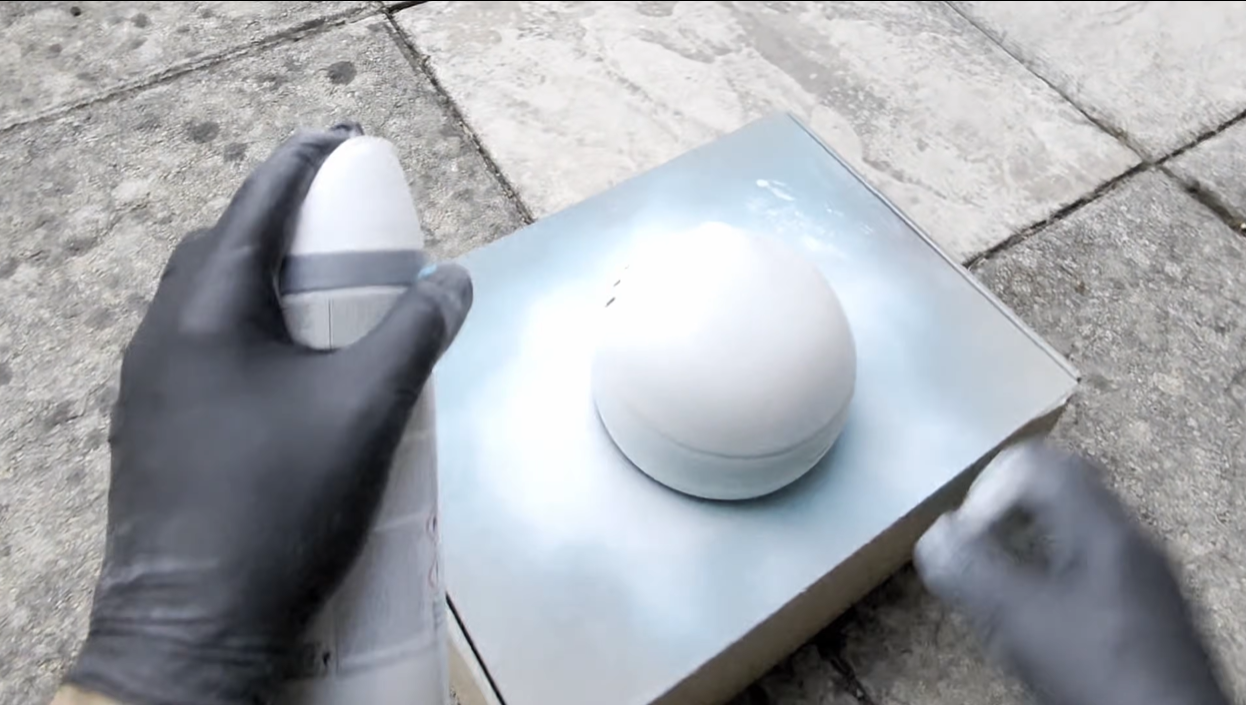
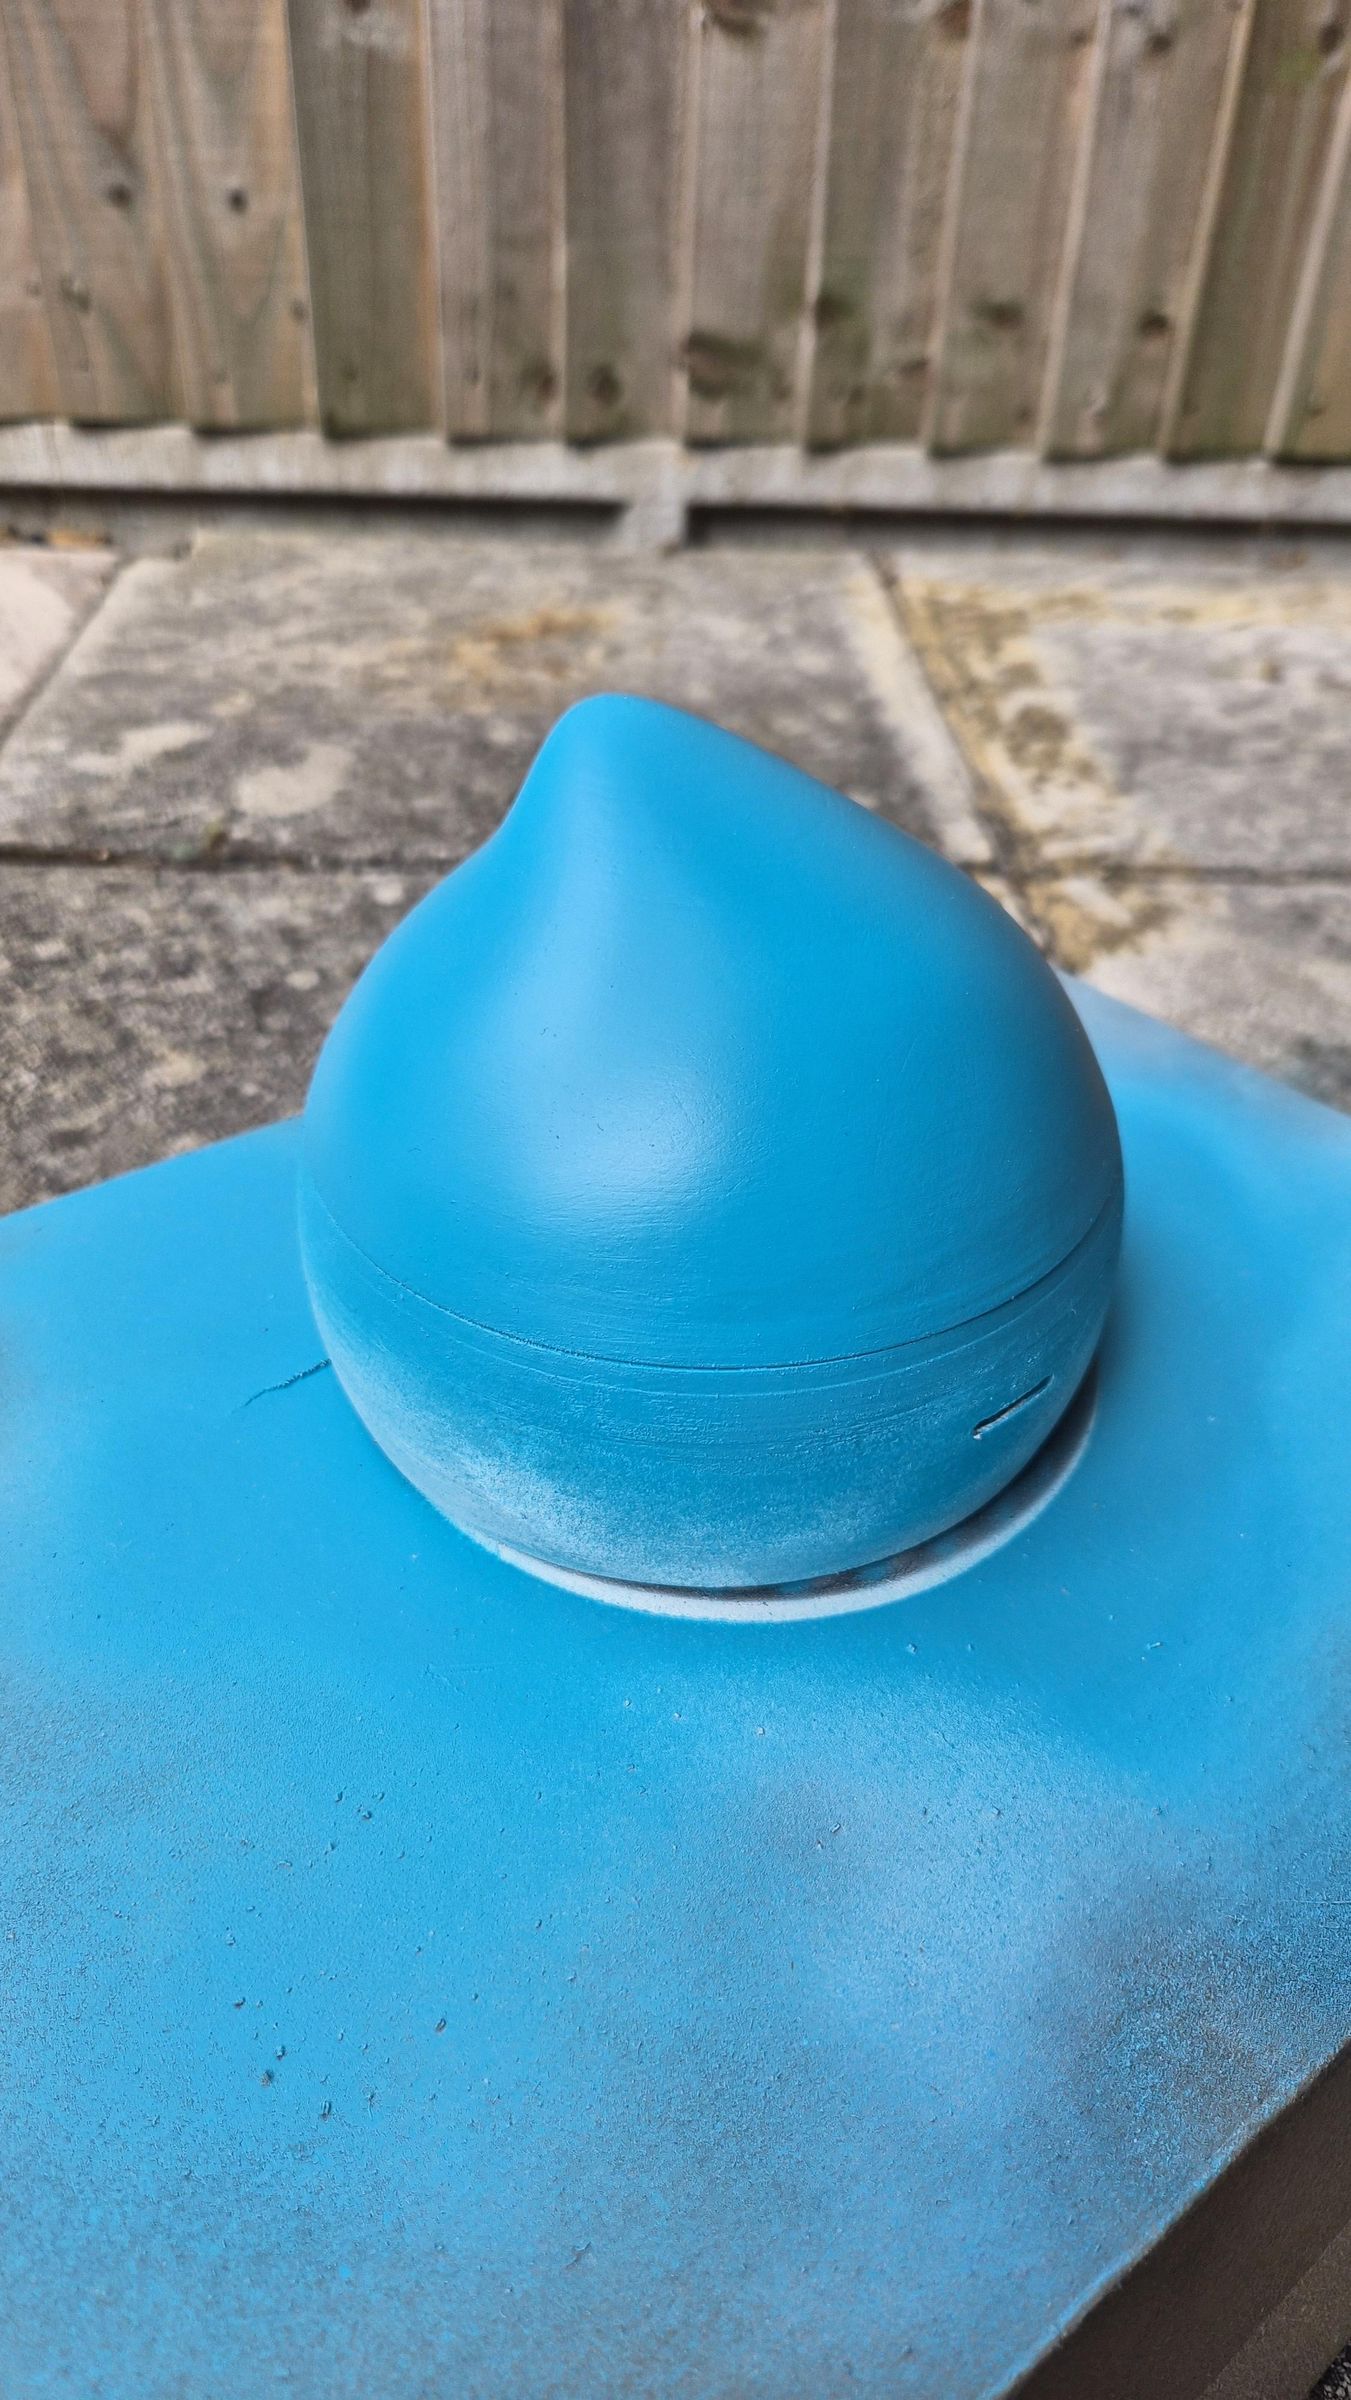
Once the design was complete, the next challenge was the surface finish.
I wanted the Pod to feel like it belonged next to Moxie, so matching the original colour and reducing the visible 3D-printing lines were both important.
I used the following finishing process:
- Apply Vallejo Plastic Filler
- Sand the printed surfaces
- Apply primer
- Apply the teal colour coat
- Finish with a matte clear layer
I see Moxie’s colour as a type of teal, so I selected a similar shade for the Pod.
The matte finish helped make the enclosure feel more like a finished product and less like a raw 3D print.
Preparing the Raspberry Pi
Before assembling the Pod, the Raspberry Pi needs to be prepared with OpenMoxie.
There are several community tutorials available that explain how to install and configure the software. Follow the latest OpenMoxie documentation when preparing your Raspberry Pi:
Final Assembly
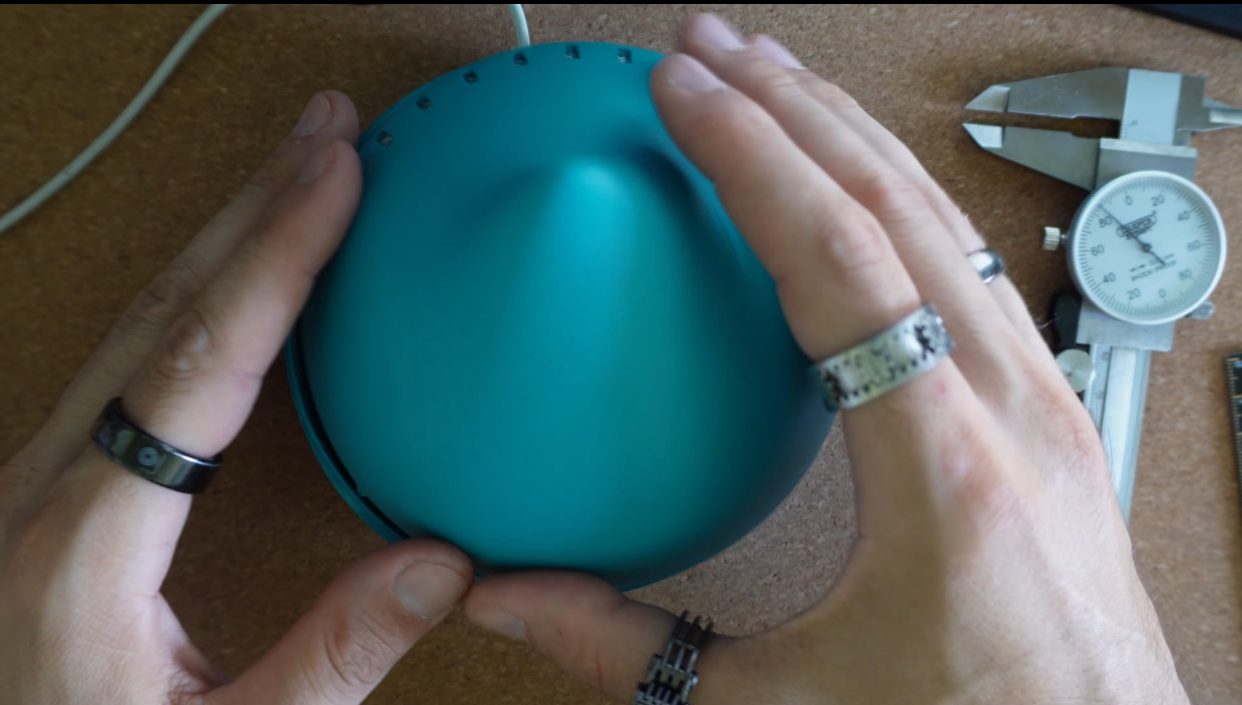
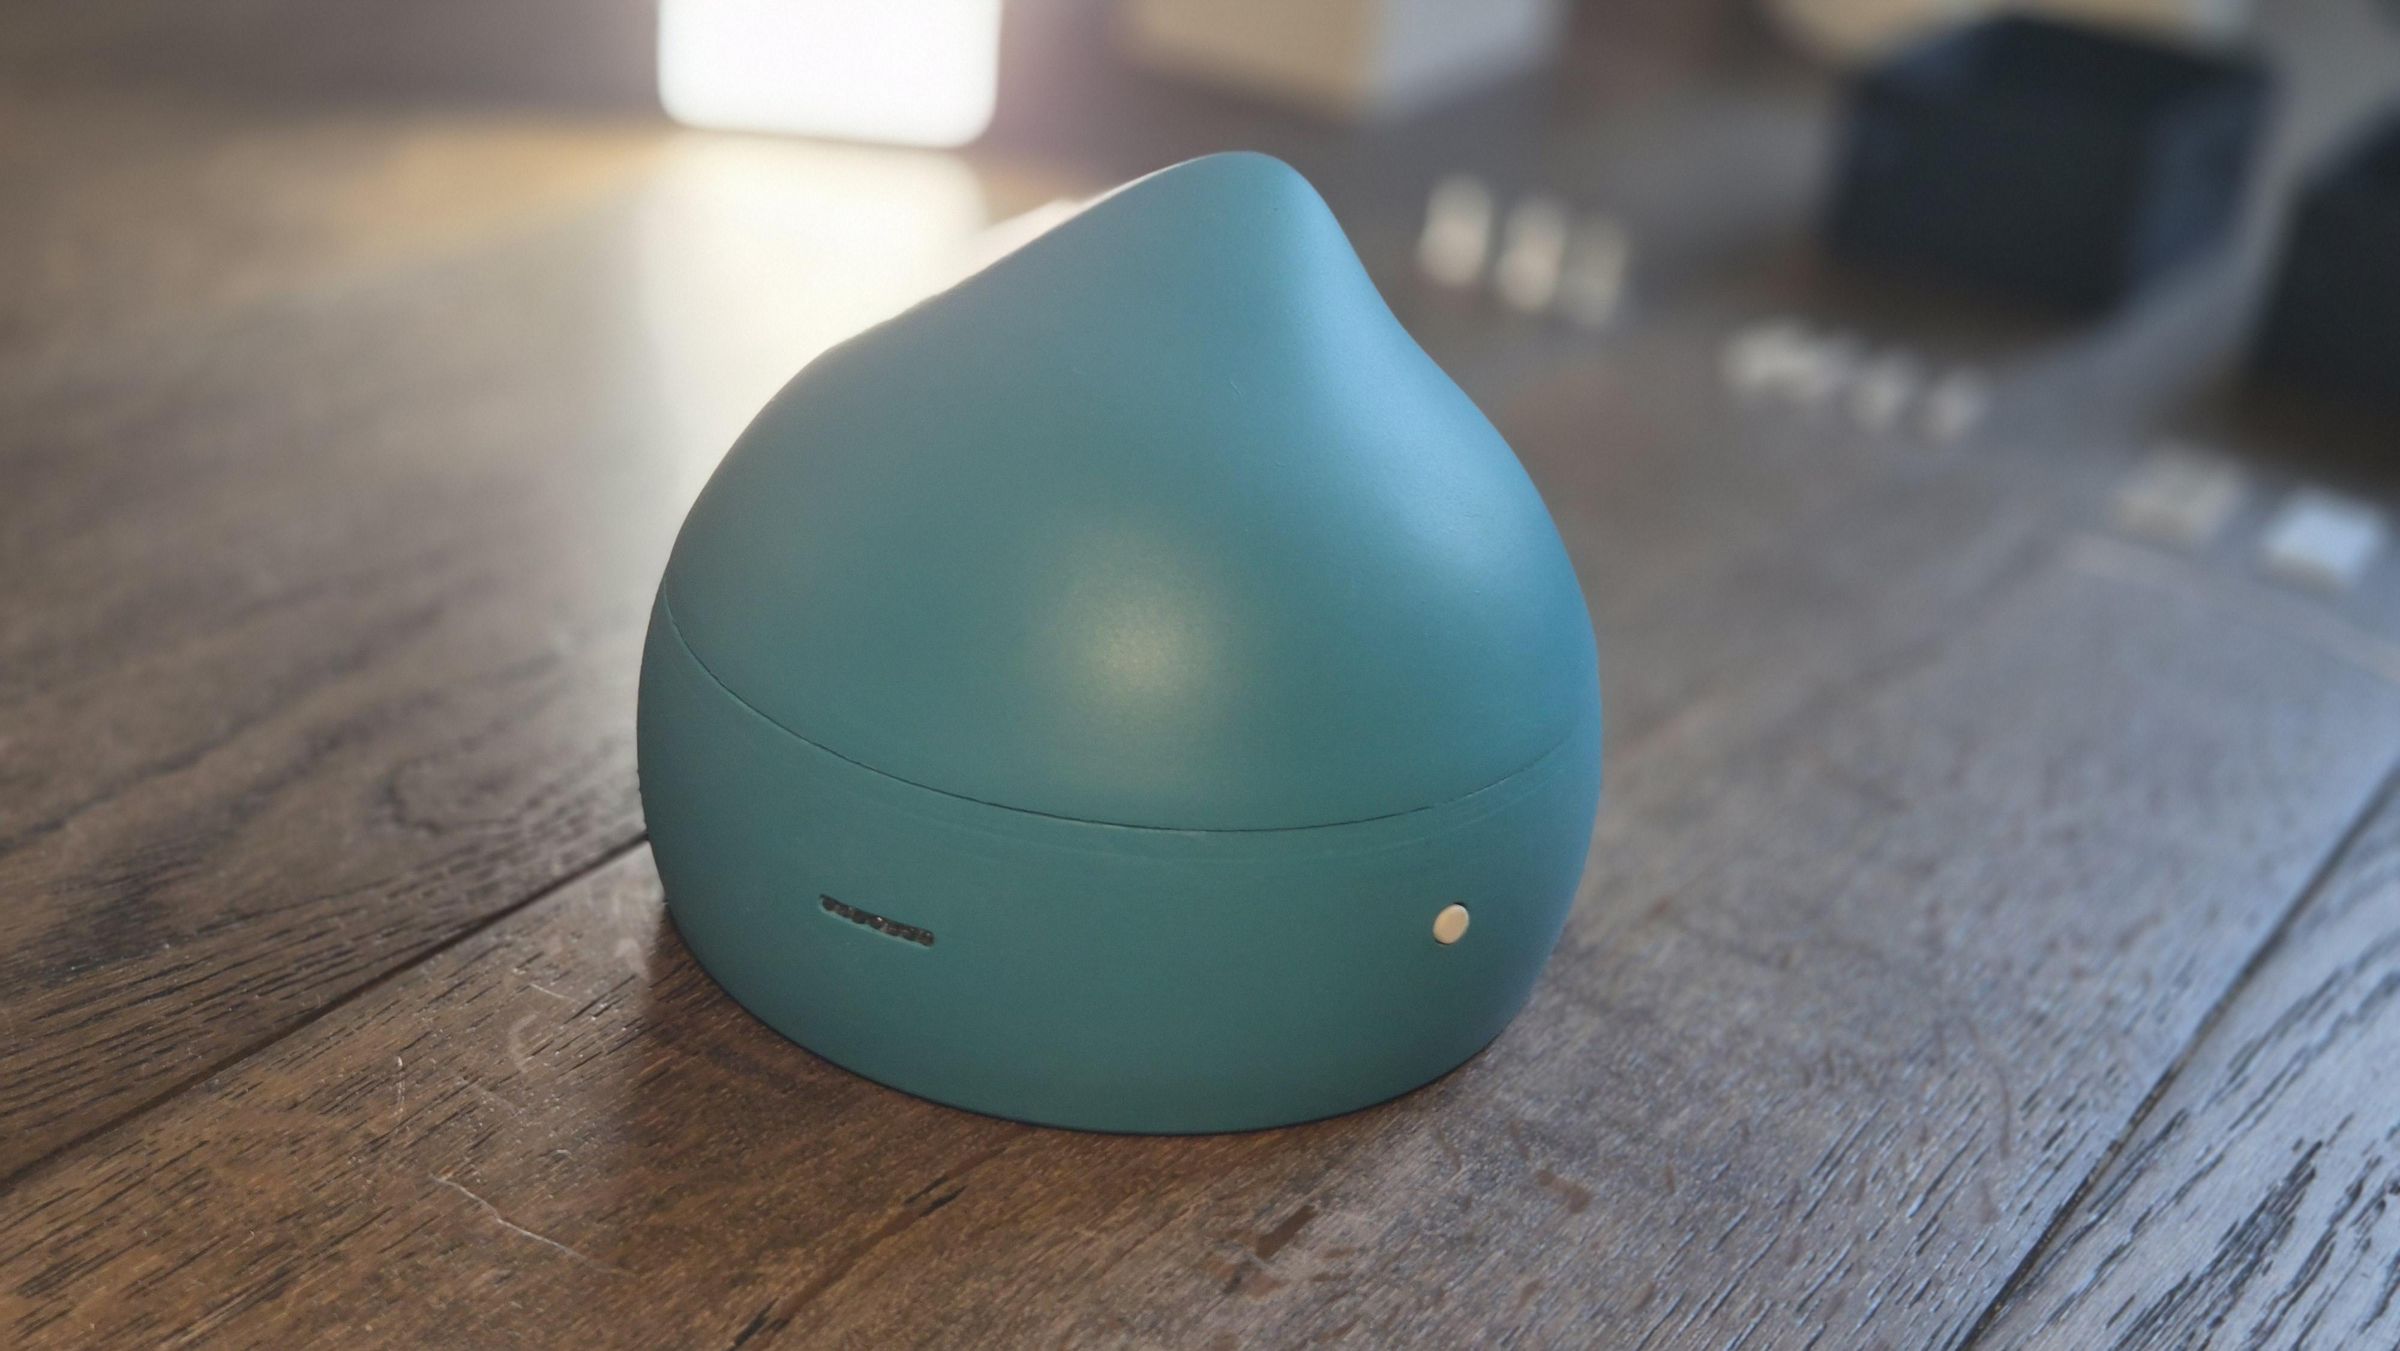
The assembly process is relatively simple.
First, I took the Base and inserted the power button, making sure it fitted correctly and remained flush with the outer shell.
Next, I installed the two transparent PETG light transmitters.
I then placed the Raspberry Pi 5, Active Cooler, Geekworm X1205 UPS HAT and two 21700 cells inside the Pod.
The Raspberry Pi assembly can be secured using the two brass threaded inserts, although the electronics are already held quite firmly by the shape of the Core.
The USB cable can be routed through the dedicated opening at the back when external power is required.
Once everything is correctly positioned, the Top and Base close together using the snap-fit profile.
Testing the Finished Pod
.png)
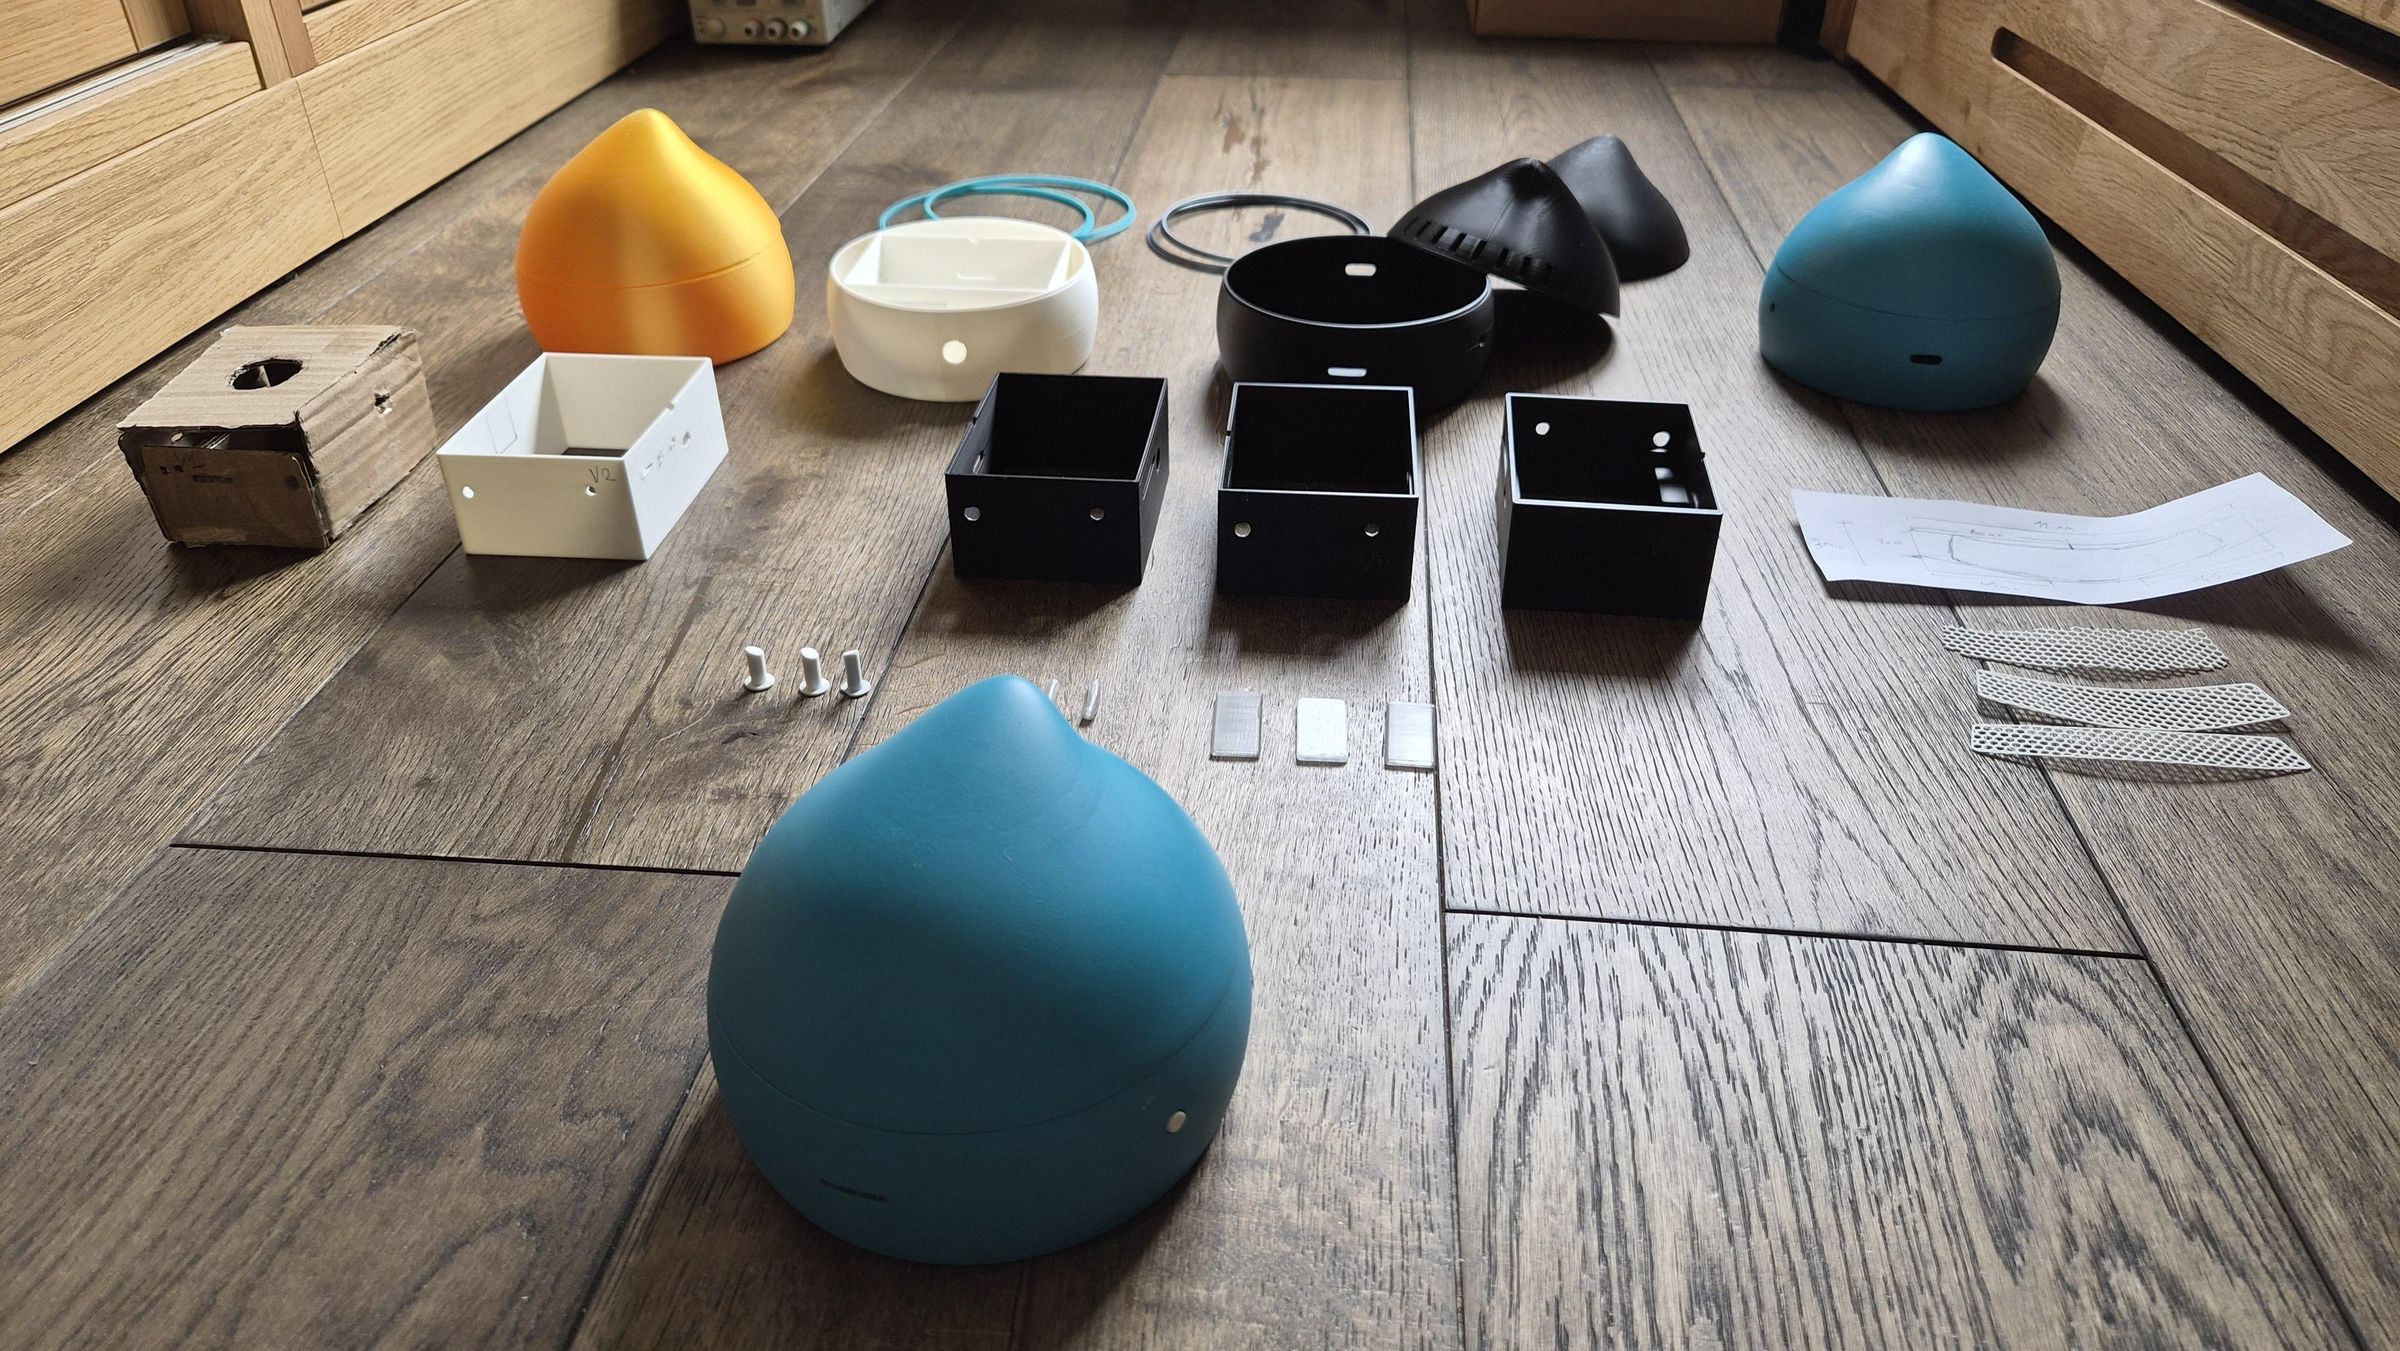
For the final test, I powered on the Pod and checked that the complete system worked correctly.
The transparent PETG light transmitters made the Geekworm board indicators visible from outside the enclosure.
The Pod could sit neatly next to Moxie and run OpenMoxie without requiring a laptop or a messy collection of cables around the robot.
The internal batteries also make the Pod easier to move around as a self-contained unit.
For this project, my main focus was the physical Pod: its enclosure, portability, usability and the idea of creating a clean hardware companion for Moxie.
If you have a Moxie that is no longer working, I hope this project, together with the OpenMoxie software, provides another way to bring this beautiful robot back to life.
For me, the OpenMoxie Pod is a small tribute to Moxie, to the work originally done by Embodied and to the community that continues to keep these robots alive.