Optimize Media for Pi Zero 2W
by portalman1994 in Circuits > Raspberry Pi
71 Views, 0 Favorites, 0 Comments
Optimize Media for Pi Zero 2W
Welcome to an supplemental guide of the Mobile Media Server build! Now that your Raspberry Pi Zero 2 W is running a headless Plex installation, it is time to stock your library. Read Mobile Media Server.
Because the Pi Zero 2 W is a low-power board operating completely offline—whether on a road trip, camping, or on a flight—it lacks the CPU power to transcode video on the fly or fetch metadata from the internet. If Plex attempts to transcode a stream, your video will not play if transcoding is disabled.
In this companion guide, we will prepare your media on a desktop computer before transferring anything to the server:
- HandBrake: Converts your videos into H.264 .mp4 files for seamless "Direct Play" across all your devices.
- MediaElch: Scrapes posters, artwork, and .nfo files locally so your media library loads instantly without an internet connection.
Let's turn your raw video files into an efficient, road-ready streaming library!
Note: All media shown in this guide was recorded via Channels DVR with YouTube TV.
Supplies
Materials
- USB Drive (16 GB or larger recommended) — For transferring media from your computer to the Pi.
- Micro USB OTG Cable — Needed to connect the USB drive to your Pi.
Client Device
- Computer — Needed to edit media, encode media and for media NFO metadata generation.
Where's the Media?

Channels DVR
If you have a cable subscription or a TV Antenna, you can use Channels DVR to record content from those sources. Keep in mind it will take the full runtime of the program being recorded. Like Tivo! I would recommend Channels DVR on a decent computer. Don't attempt to run Channels DVR on the Pi Zero 2W!
Internet Archive
There are public domain media on the Internet Archive's blog as well. Keep in mind you will most likely need to edit and encode the public domain media. Or if you know the name of the public domain media, you can do an advanced search on Internet Archive.
Convert Media Files for Plex With HandBrake
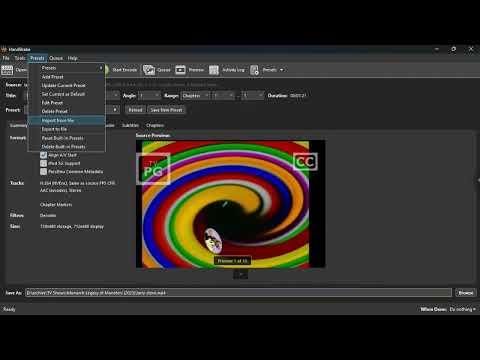
"Most modern computers can run HandBrake. To download HandBrake to your computer, click the download button on the HandBrake website’s Home page." — Source: Handbrake Documentation, "Downloading and installing HandBrake"
The Pi Zero 2 W is a fantastic little board, but it does not have the processing power to transcode (convert) video on the fly. I have attached two presets for Handbrake. The presets are for film and animation.
Watch the video above to see how to set up HandBrake, and ensure you lock in these critical settings so your media "Direct Plays":
- Video Codec (H.264): This is the most universally supported format. Do not use H.265 (HEVC), as many older tablets or phones will force the Pi to transcode it.
- Audio Codec (AAC or AC3): Keep audio channels to 2.0 (Stereo) or 5.1. Avoid heavy, uncompressed audio formats.
- Subtitles: If you need subtitles, "burn" them into the video using HandBrake. Forcing Plex to overlay text subtitles during playback can accidentally trigger transcoding.
- The Container: Save the final output as an .mp4 file.
Scrape Metadata With MediaElch
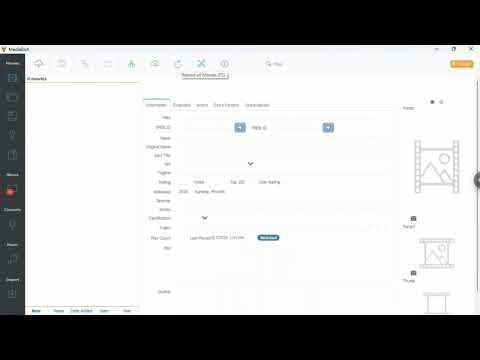
MediaElch is cross-platform and free. I chose it over others (tinyMediaManager, Ember Media Manager, Media Companion) for those reasons. Download MediaElch v2.8.6 to your computer: Download MediaElch
Normally, Plex connects to the internet to download movie posters and plot summaries. Because our portable server is designed to act as an offline Wi-Fi hotspot in the middle of nowhere, it won't have internet access to fetch this data. Furthermore, background metadata scraping eats up valuable CPU cycles.
The video above shows you how to use MediaElch on your powerful main computer to download this data before moving it to the Pi.
- Scrape Everything: Grab the posters, fanart, and cast information.
- Save Locally: Make sure MediaElch is set to save the .nfo text files and image files directly into the same folder as your movie or TV show file. Our Setup Plex Wizard from Part 1 already configured your server to read these local files!
Transfer Your Media Files to the Pi
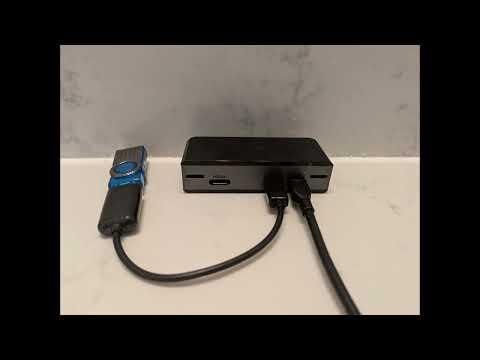
Now that your media is perfectly optimized and bundled with local metadata, it is time to move it over to the server.
As shown in the video, we are transferring these files over an external USB drive.
- Keep it Together: When you drag and drop your media, make sure you highlight the video file, the .nfo file, and all the artwork images. They must all go into the target folder together.
- Target the Right Folders: Drop your files exactly into the folder structure created by the setup wizard in Part 1 (e.g., placing movies in the Movies directory and shows in the TV Shows directory).
- Be Patient: The Pi Zero 2 W writes data to a MicroSD card from the micro-USB OTG cable. Large file transfers will take some time, so plug the power bank into a wall charger if you are moving a massive library.
Mount the USB Drive
Transfer the Files
Scan Your Plex Libraries
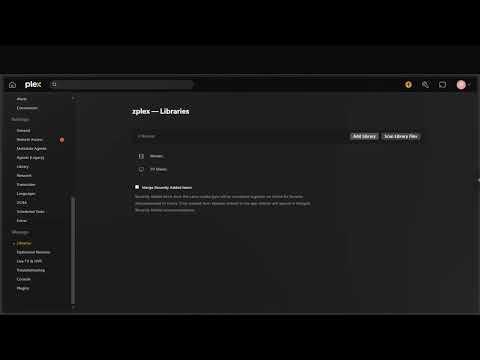
You are at the finish line! The files are physically on the Pi, but Plex needs to be told to look for them.
Follow the short clip above to log into your Plex web dashboard one last time.
- Trigger the Scan: Click the three dots next to your library and hit "Scan Library Files."
- Instant Loading: Because you already generated the .nfo files and posters with MediaElch, you will notice the library populates almost instantly. The Pi doesn't have to work hard at all to organize your movies.
Once the scan is complete, you can return to the Mobile Media Server Instructable Guide (Step 9).