Orange Brilliance: DIY Sparkling Orange Floral Canvas
by mikrys616 in Craft > Fiber Arts
730 Views, 2 Favorites, 0 Comments
Orange Brilliance: DIY Sparkling Orange Floral Canvas
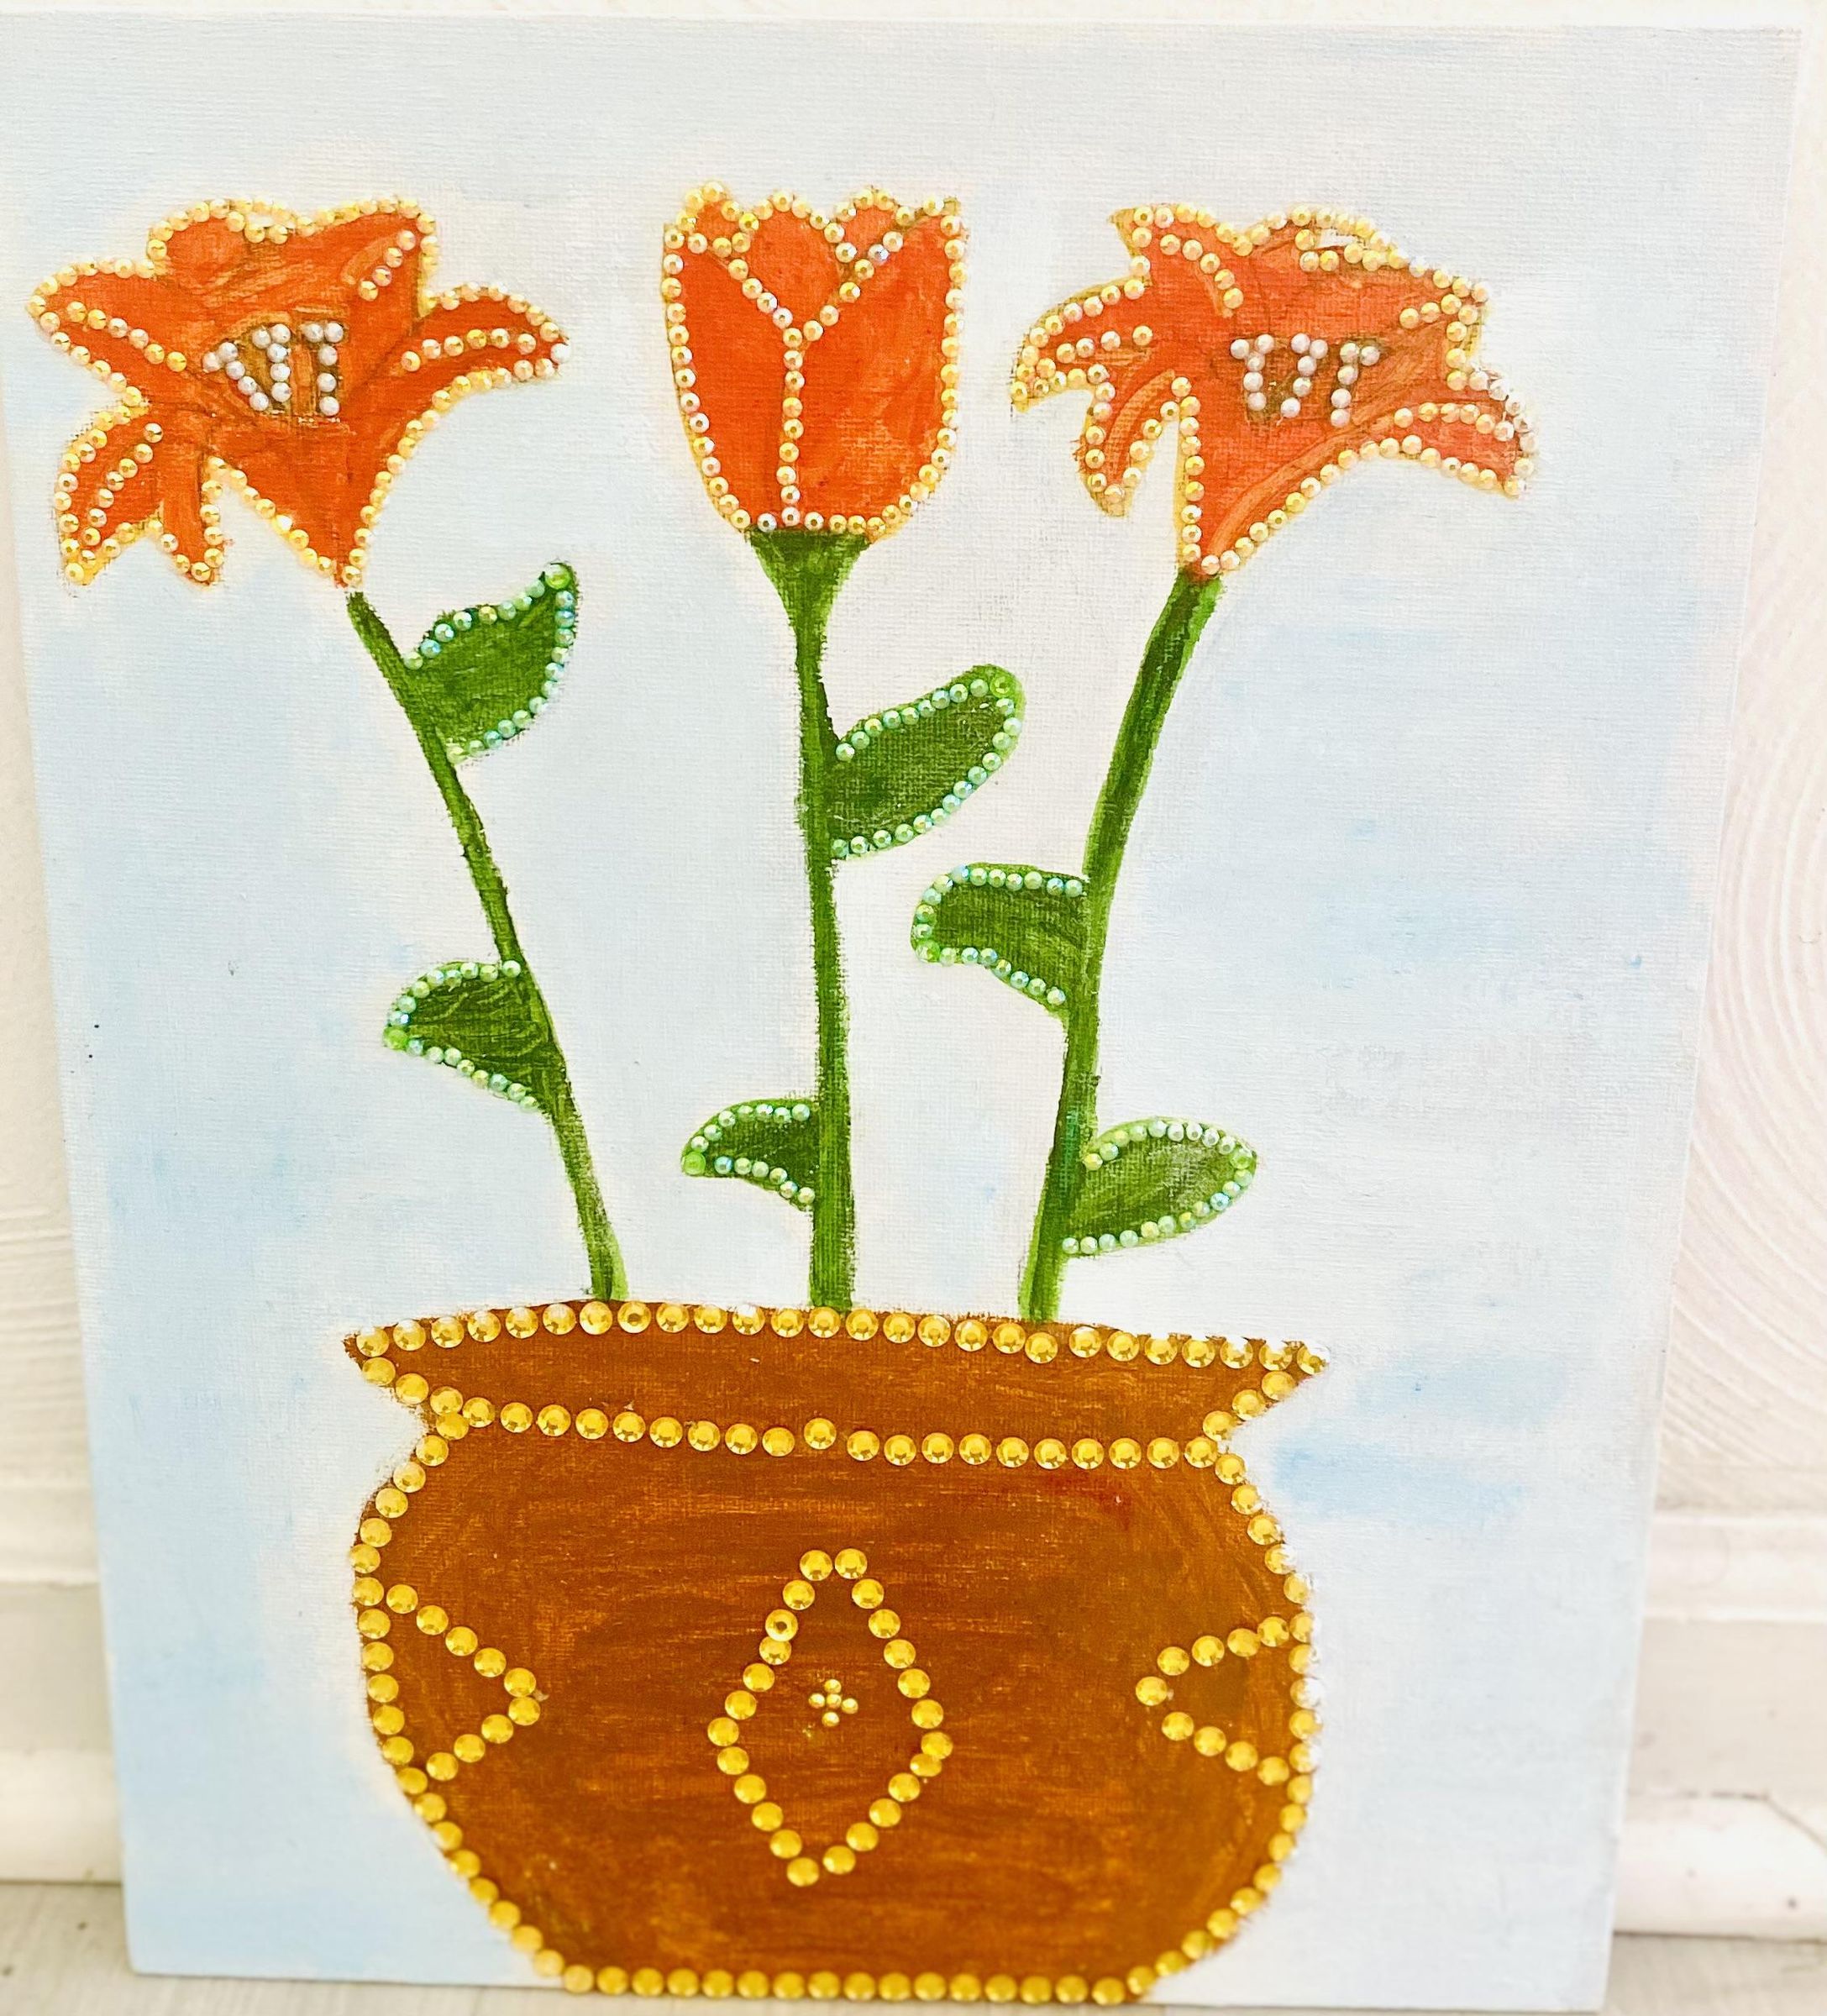
Hi, welcome to my guide on how to create a vibrant, textured piece of canvas art. Flowers are pretty, but you know what makes them prettier? Gems! I've always thought that nature was a great spot for inspiration. I decided to create a sparkly floral canvas art because I admire flowers and I absolutely love anything that sparkles. During this project I felt discouraged and thought my art didn't look good. However, once I finished it turned out better than I thought. This shows you should always trust the process. I'm not a professional artist, but that just proves that anyone with the right mindset can do great things. Put on your thinking caps and let's get started.
Supplies
- Canvas 9x12
- Paints: sky blue, white, cocoa, sunset, cherry, and cactus
- B-7000 glue
- White, orange, green, and gold 3mm bedazzling gems
- Paint Brushes
- Painting palette
- Paper
- Pencil
- chunky gold gems
Sketching
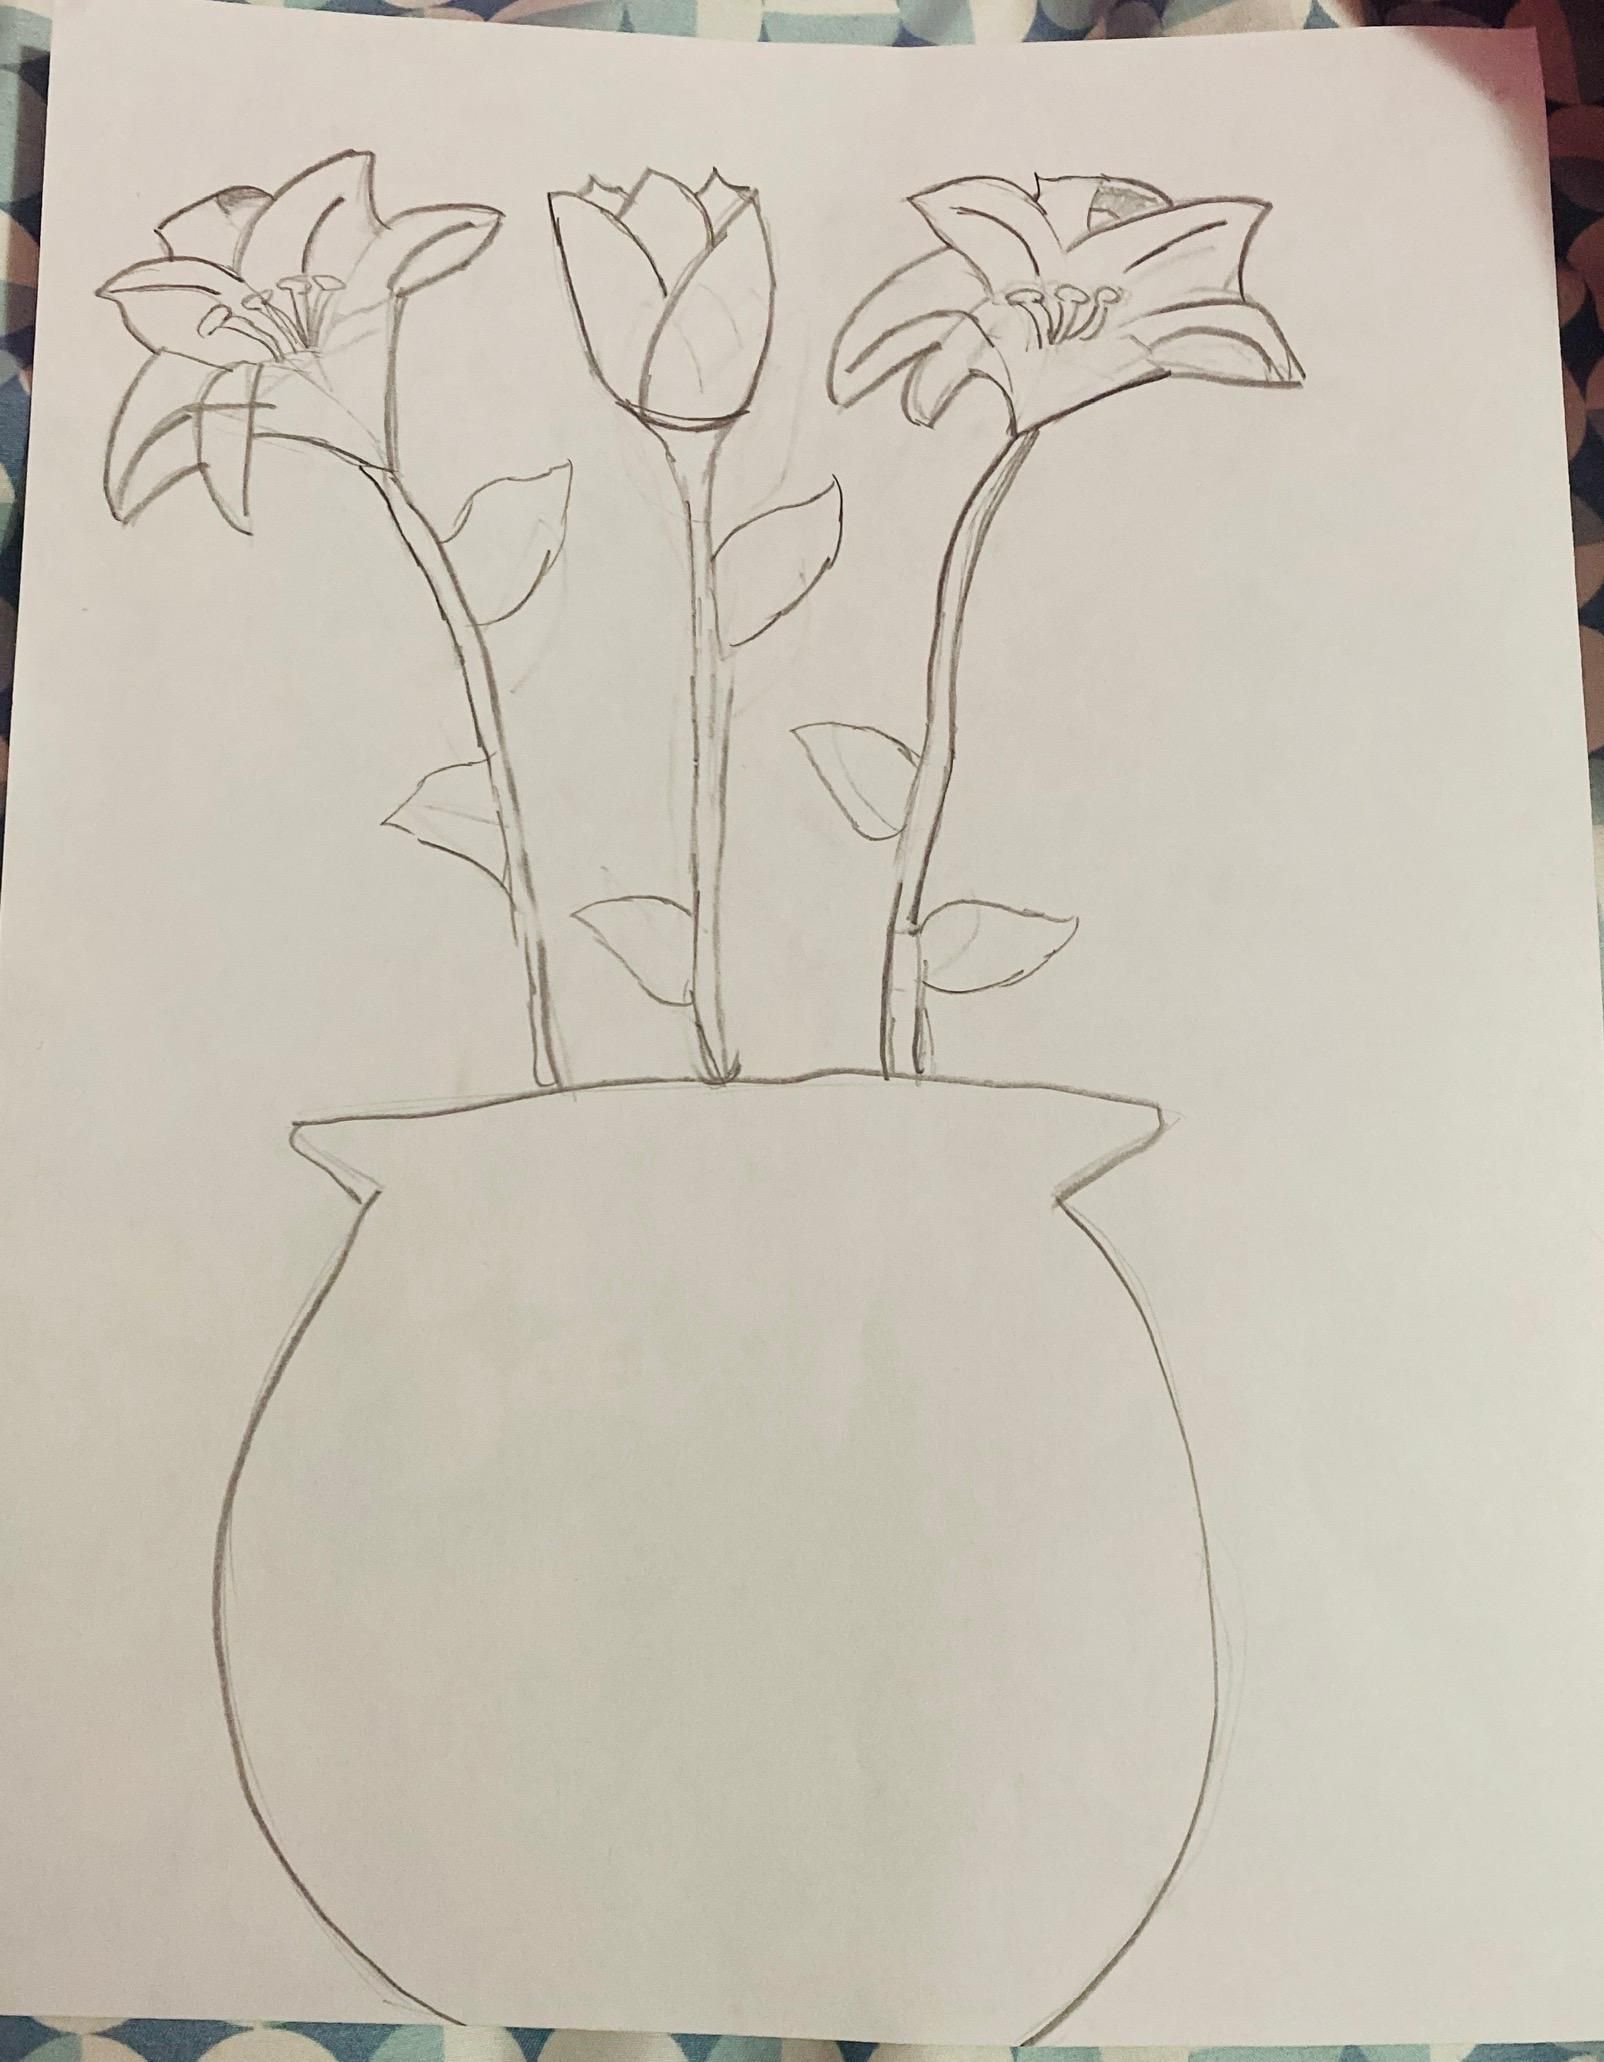
Before starting on the actual canvas I like to sketch it out on a piece of paper. Don't stress if it doesn't look good the first time. Since it's on a piece of paper you can refine it as many times as you want. First, I drew a good sized vase in the middle. Then, I drew green stems reaching out of the vase. I attempted to draw a tulip in the middle, but it looked like a rose instead. I thought it looked good so I continued. Next, I drew a Tiger Lily on both sides of the tulip/rose. Then, I sketched the leaves don't worry if they don't look good the first time. It took me a couple attempts to get a shape I was happy with. Once I was happy with my sketch I was ready to move on to the canvas.
Transferring
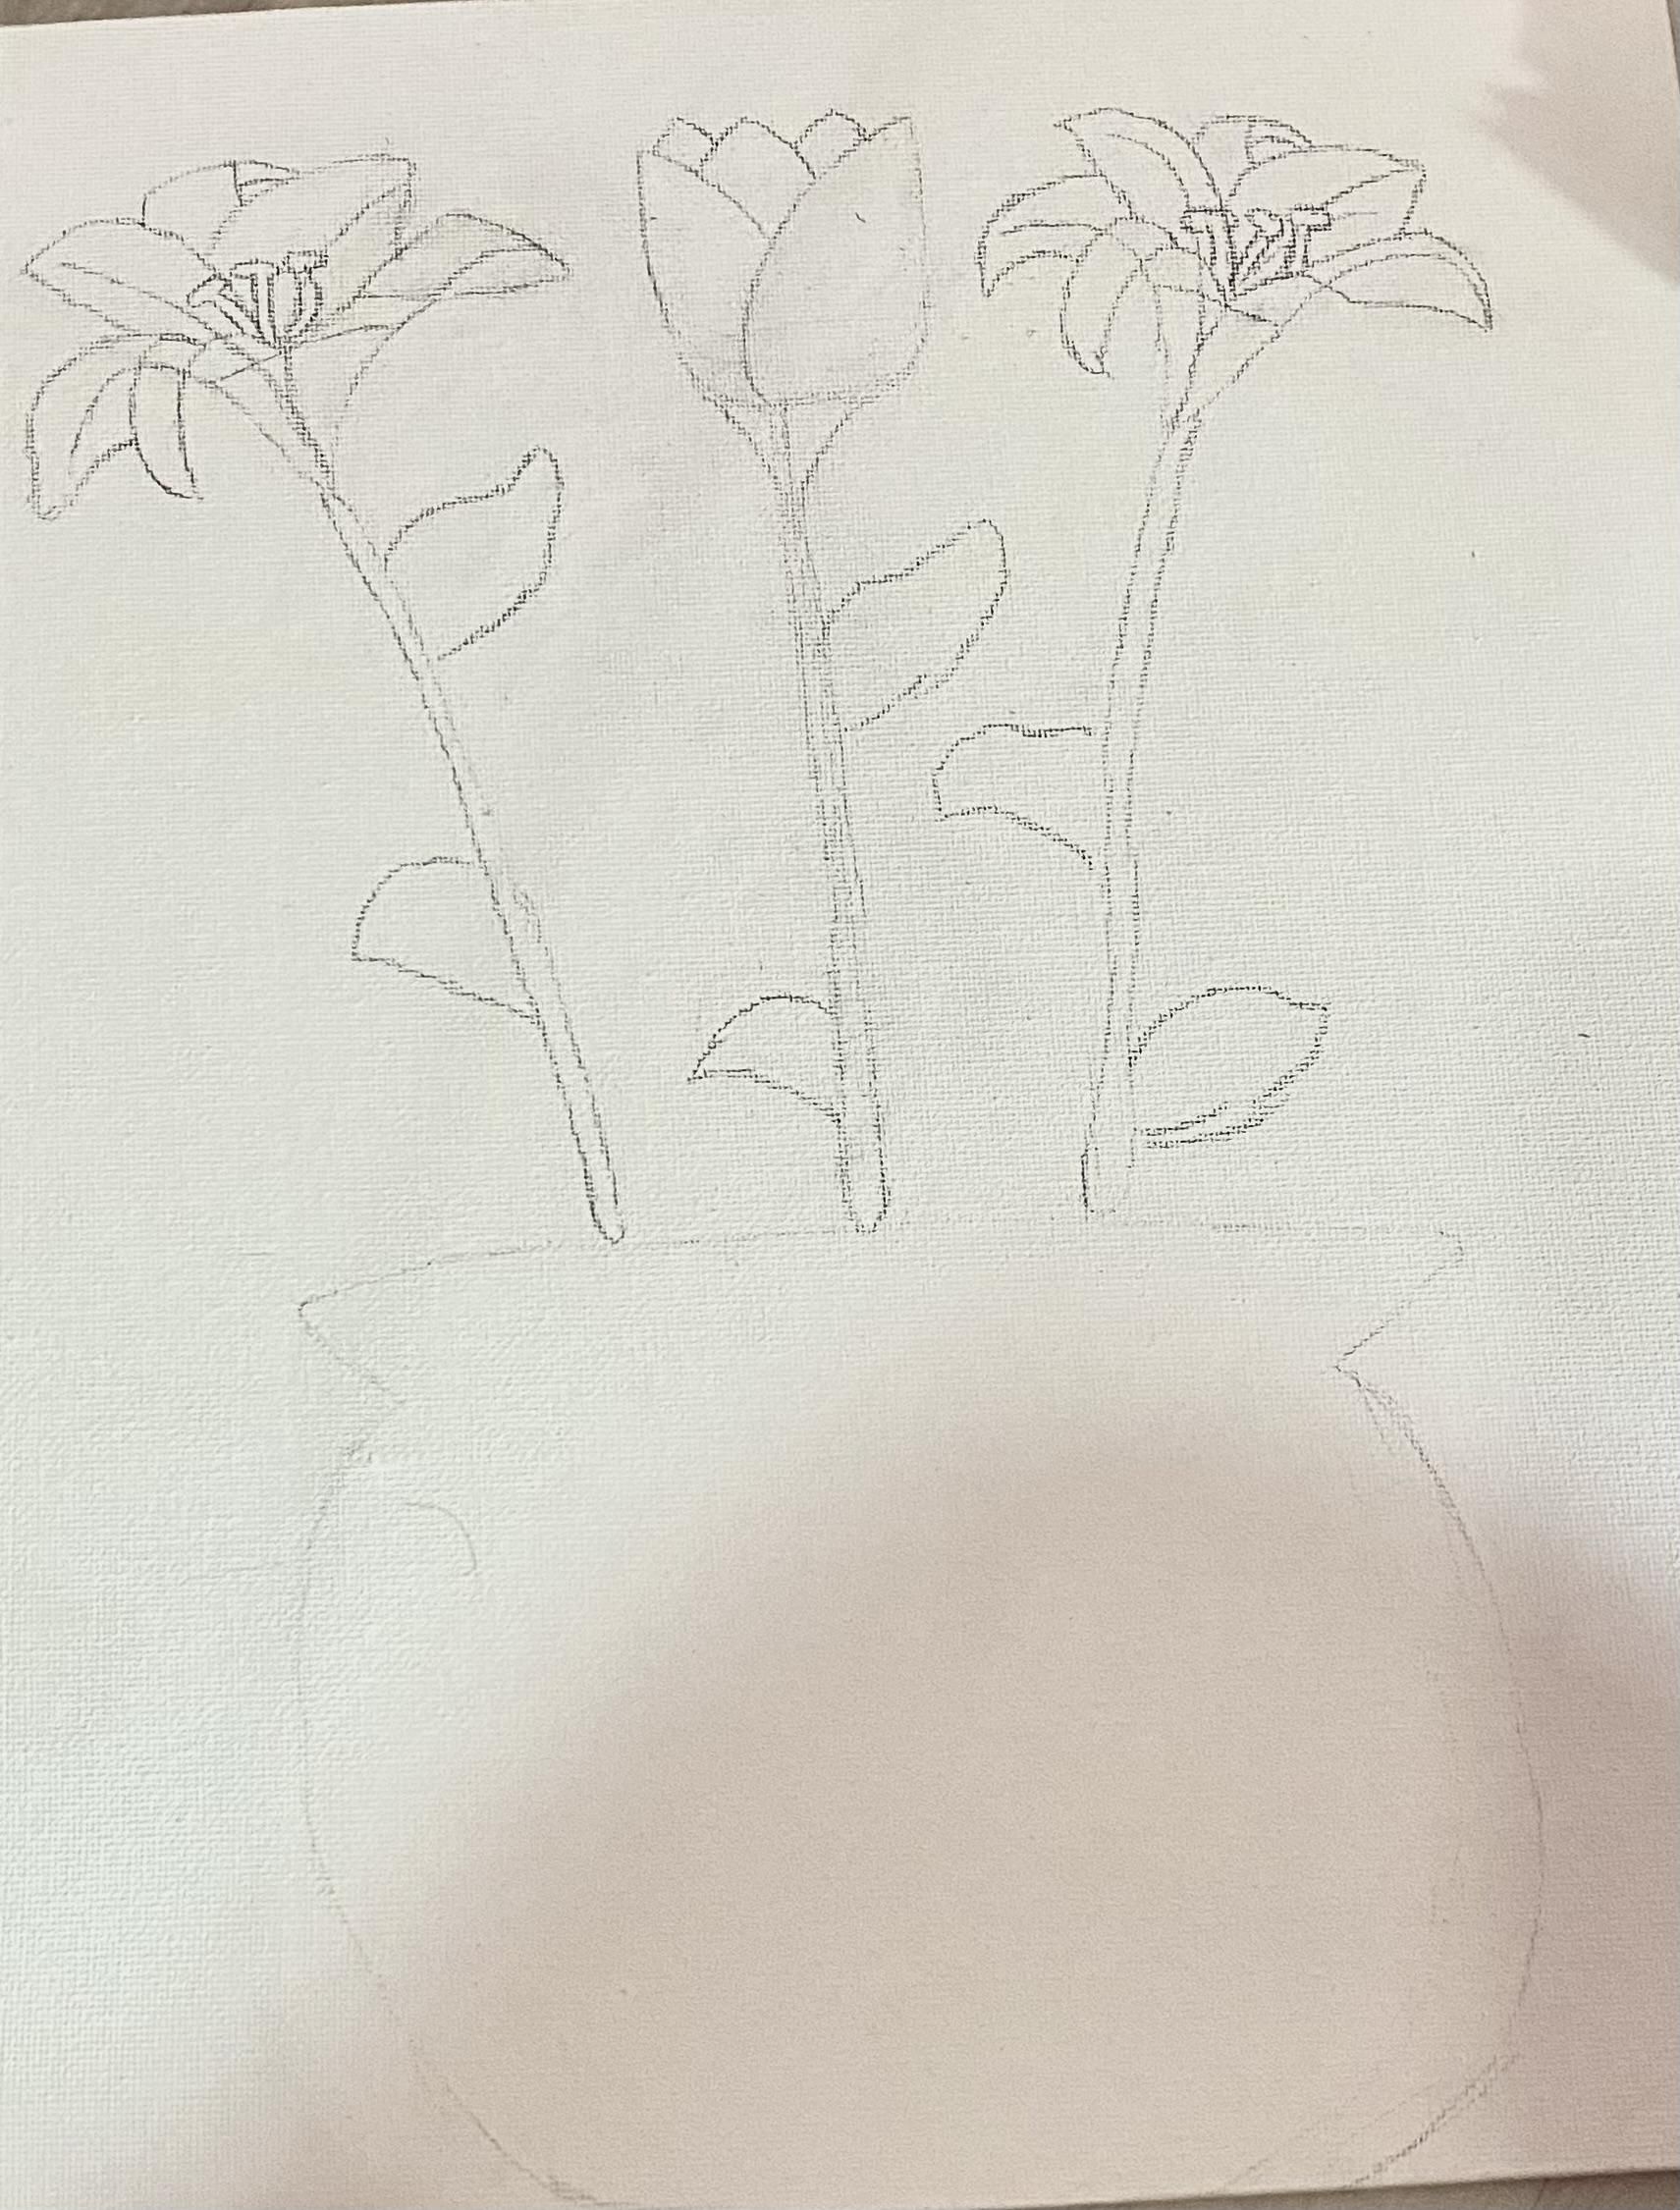
Grab your canvas and a pencil. Carefully redraw the stems, vase, flowers, and leaves to your canvas. Don't push your pencil too hard or your lines will end up really dark. Instead, push lightly to ensure that your lines aren't too dark and are erasable. Don't erase too many times or it will look a little messy. Don't stress too hard because ultimately the paint and gems will enhance your art. Also, every artwork is unique and has its flaws. Now that it's transferred we're ready to bust out the paint.
Painting
.jpeg)
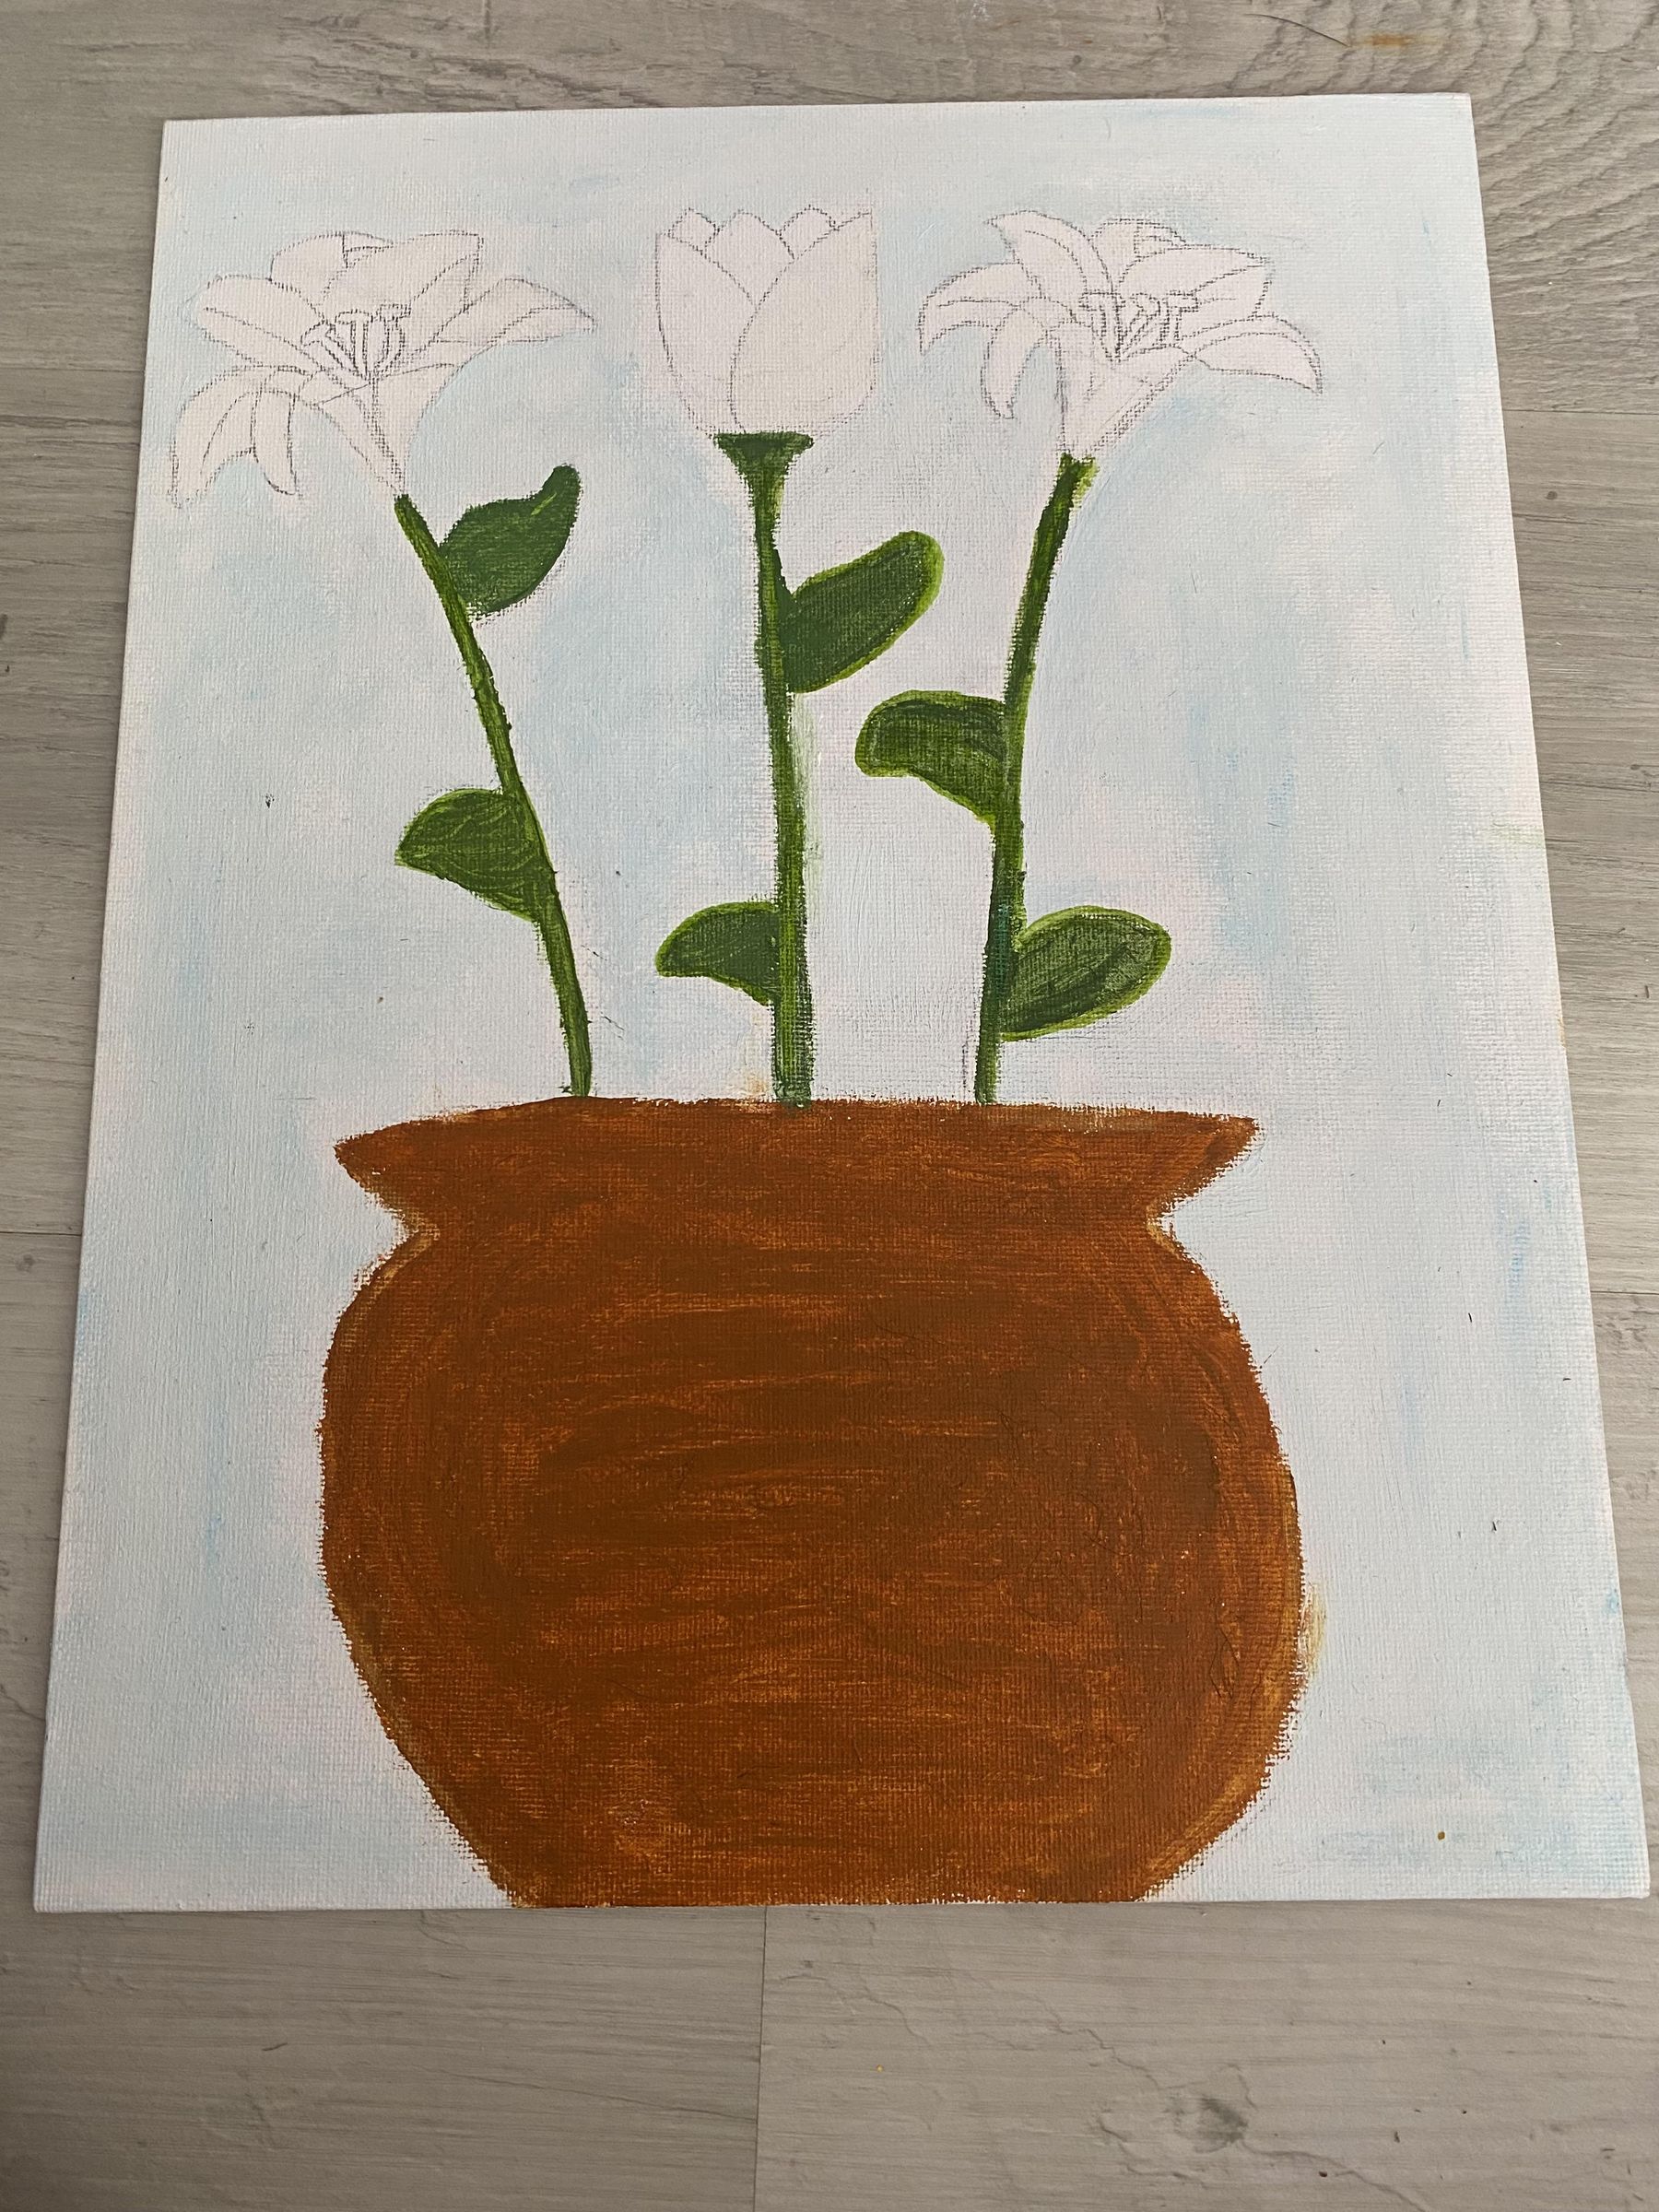
In this step, you have to be a little precise. However, first we have to mix up the right colors. For the background, grab your sky blue and white paint. Add the blue paint into the white in small increments. It should be a light, pale blue. Once the color is right, paint it on.
Then, take your cocoa paint and put a glob in your palette. Afterward, add a smidge of sunset and cherry paint. Keep mixing until you have a terracotta shade. Time to apply it to the vase, make sure it's completely covered.
Next, let us create our stem color. Take your cactus paint and put the littlest dab of cocoa in it. Do this to ensure the color is rich. Try to paint in the lines.
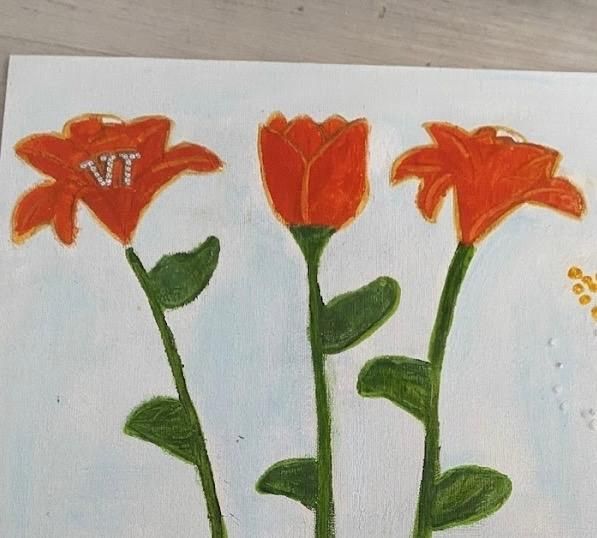
Now it's time to move on to the main part. For your flowers you will need sunset and cherry. Try to mix an equal amount of both paints. You want it to be vibrant. Don't worry about painting the seeds inside.
Before we move on, using the same mixture we used before, repaint your background to hide any blemishes or imperfections.
Great, we're almost done. If you're happy with your piece and don't want to bedazzle it, that's fine.
Bedazzling
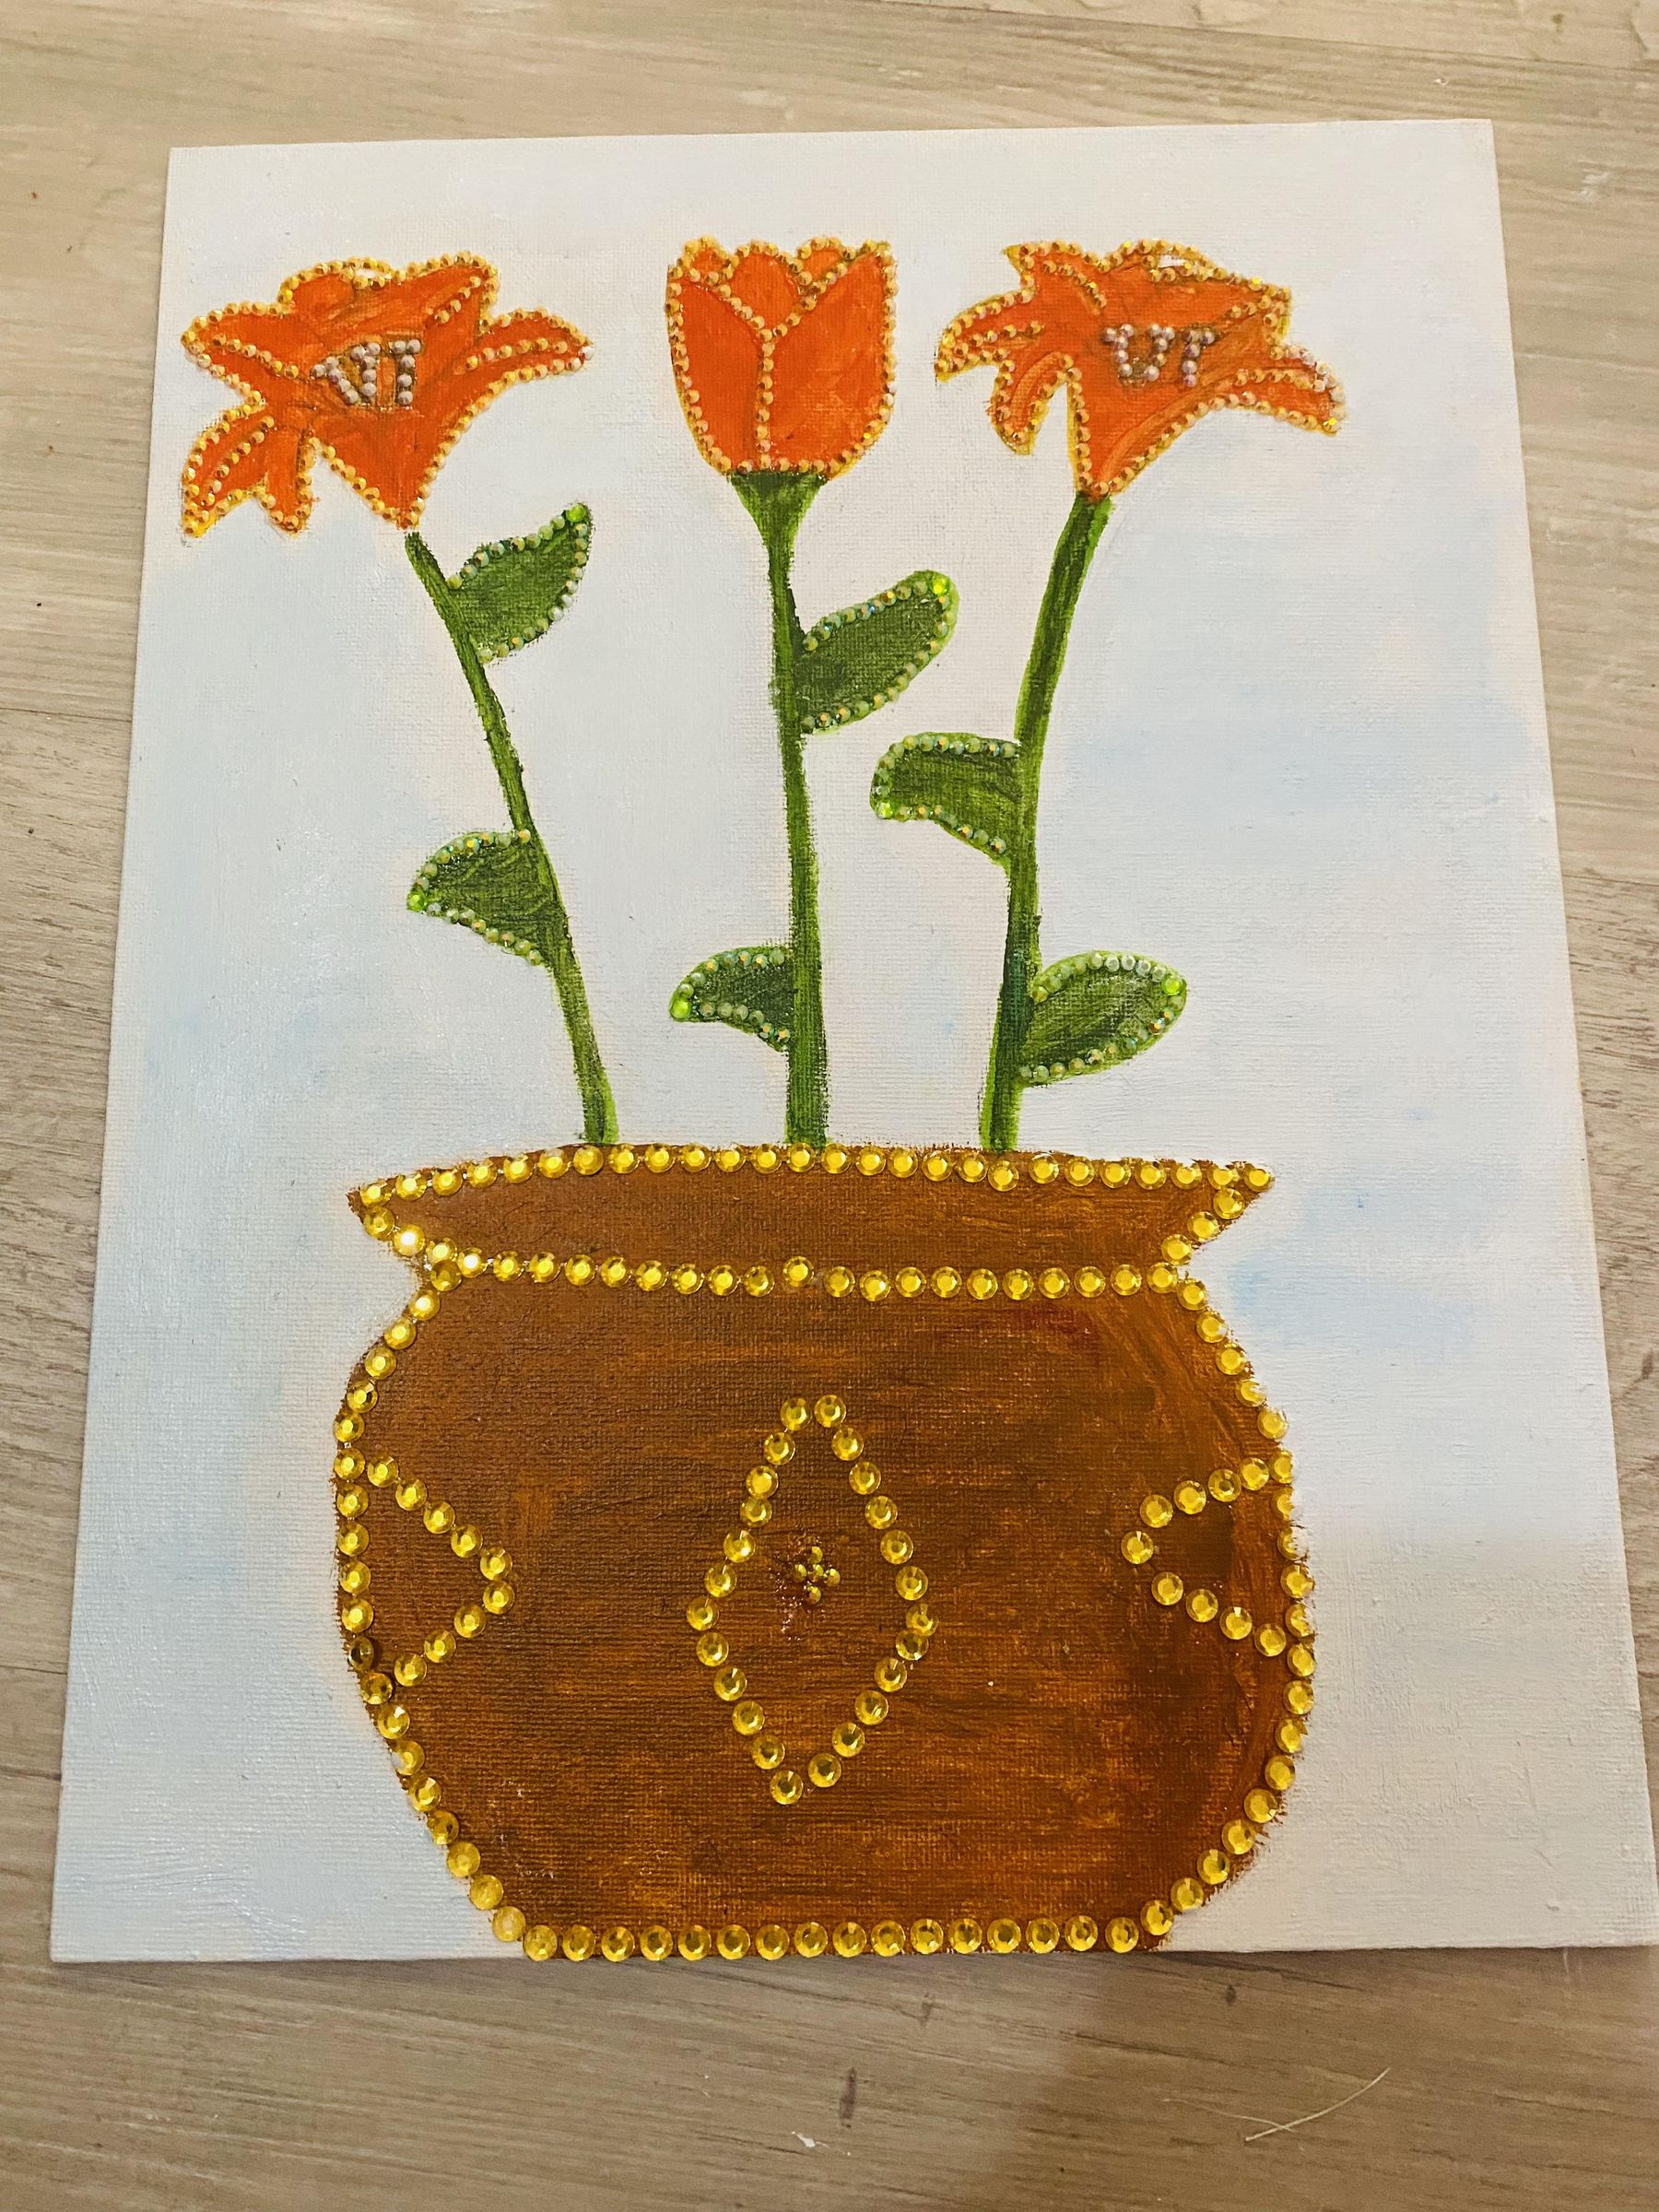
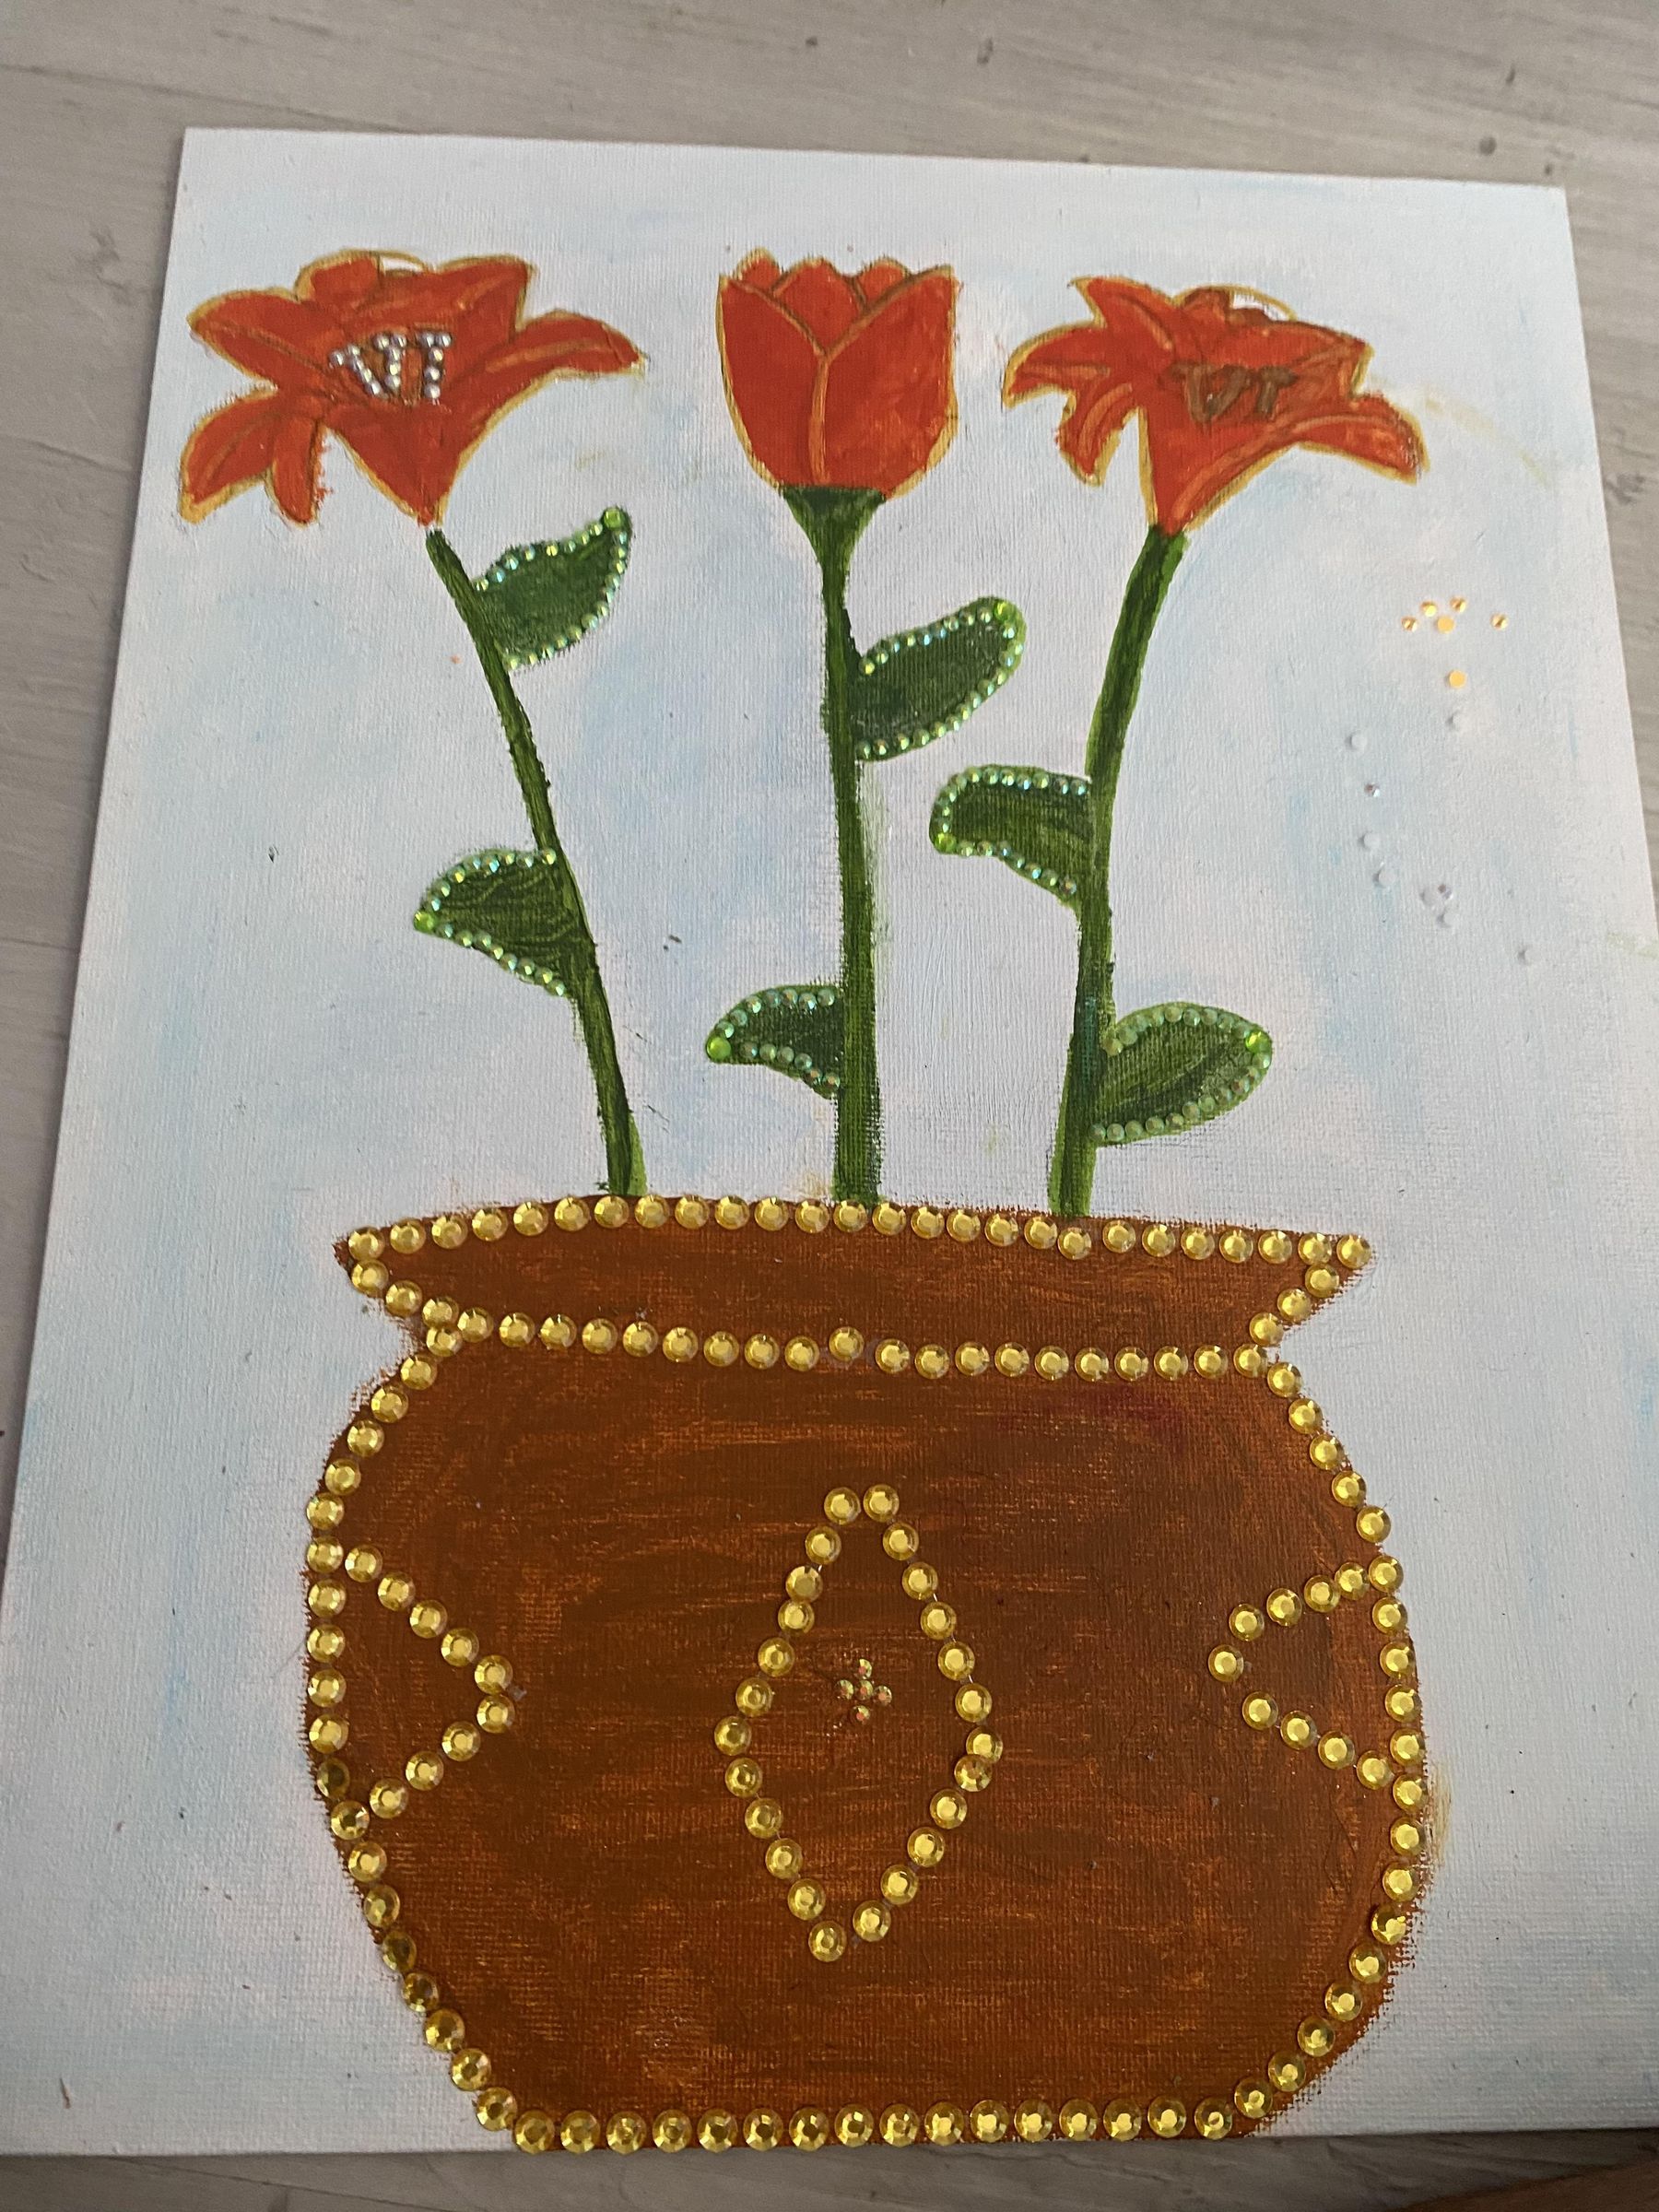
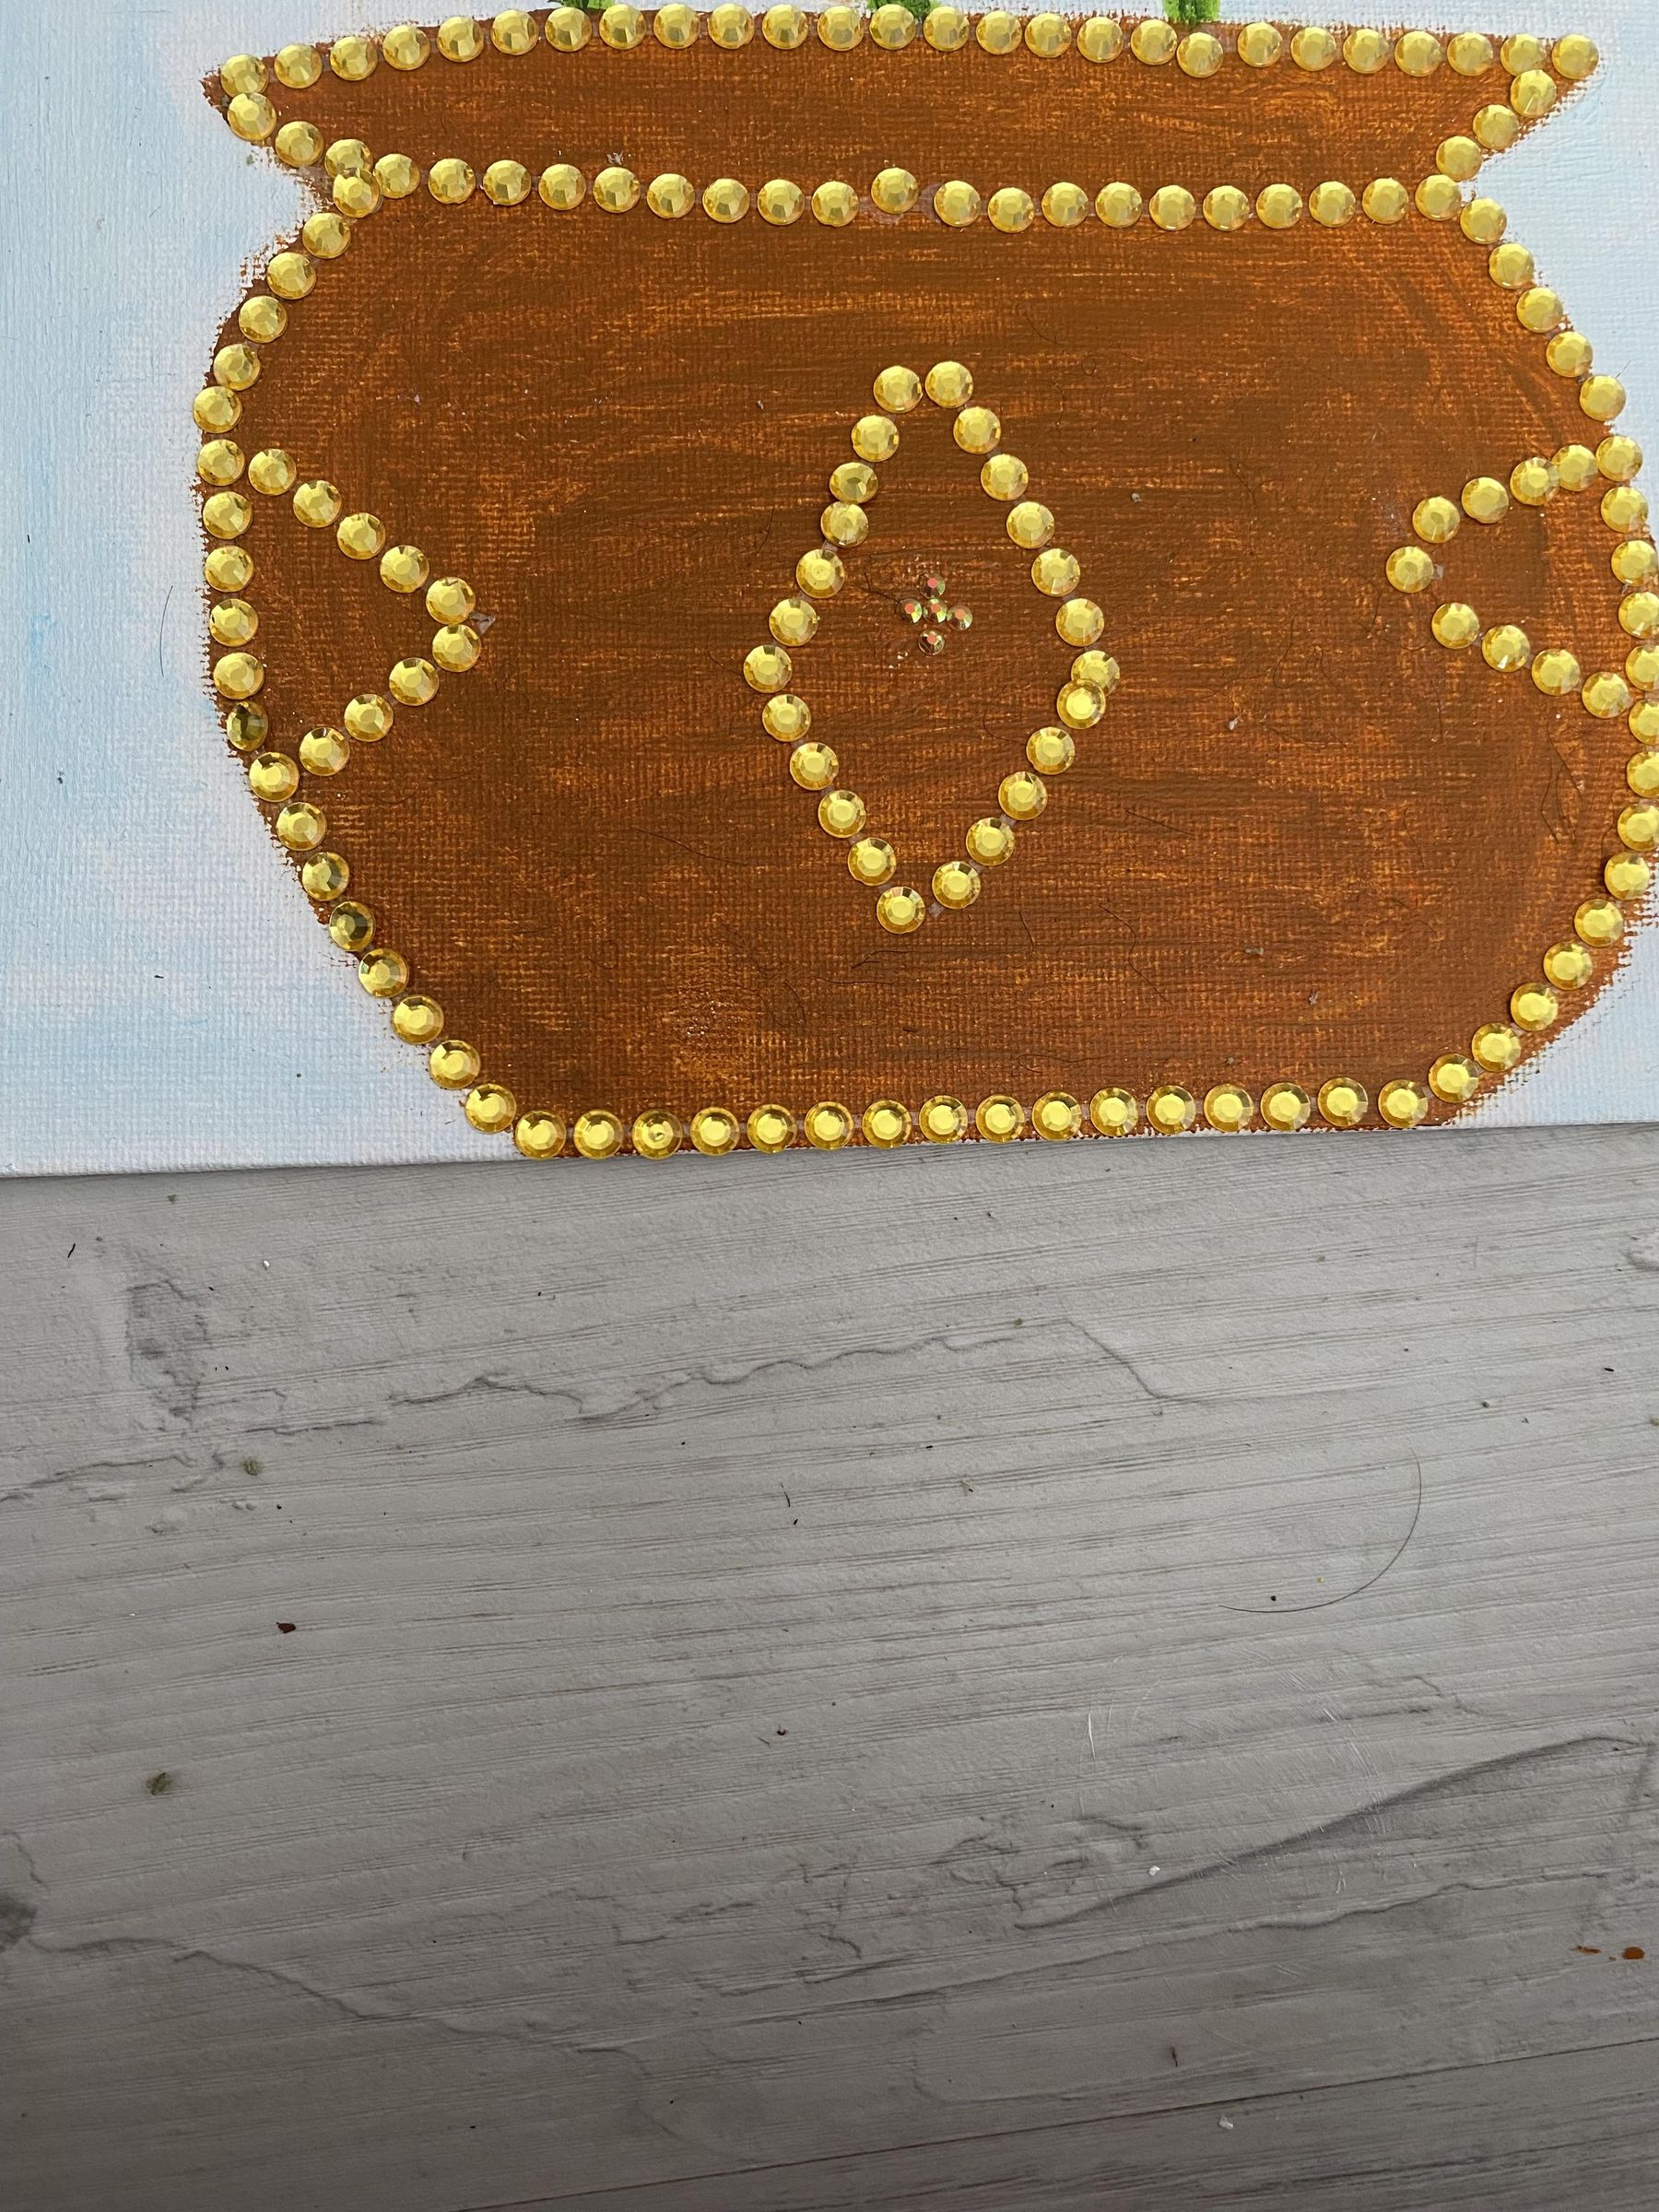
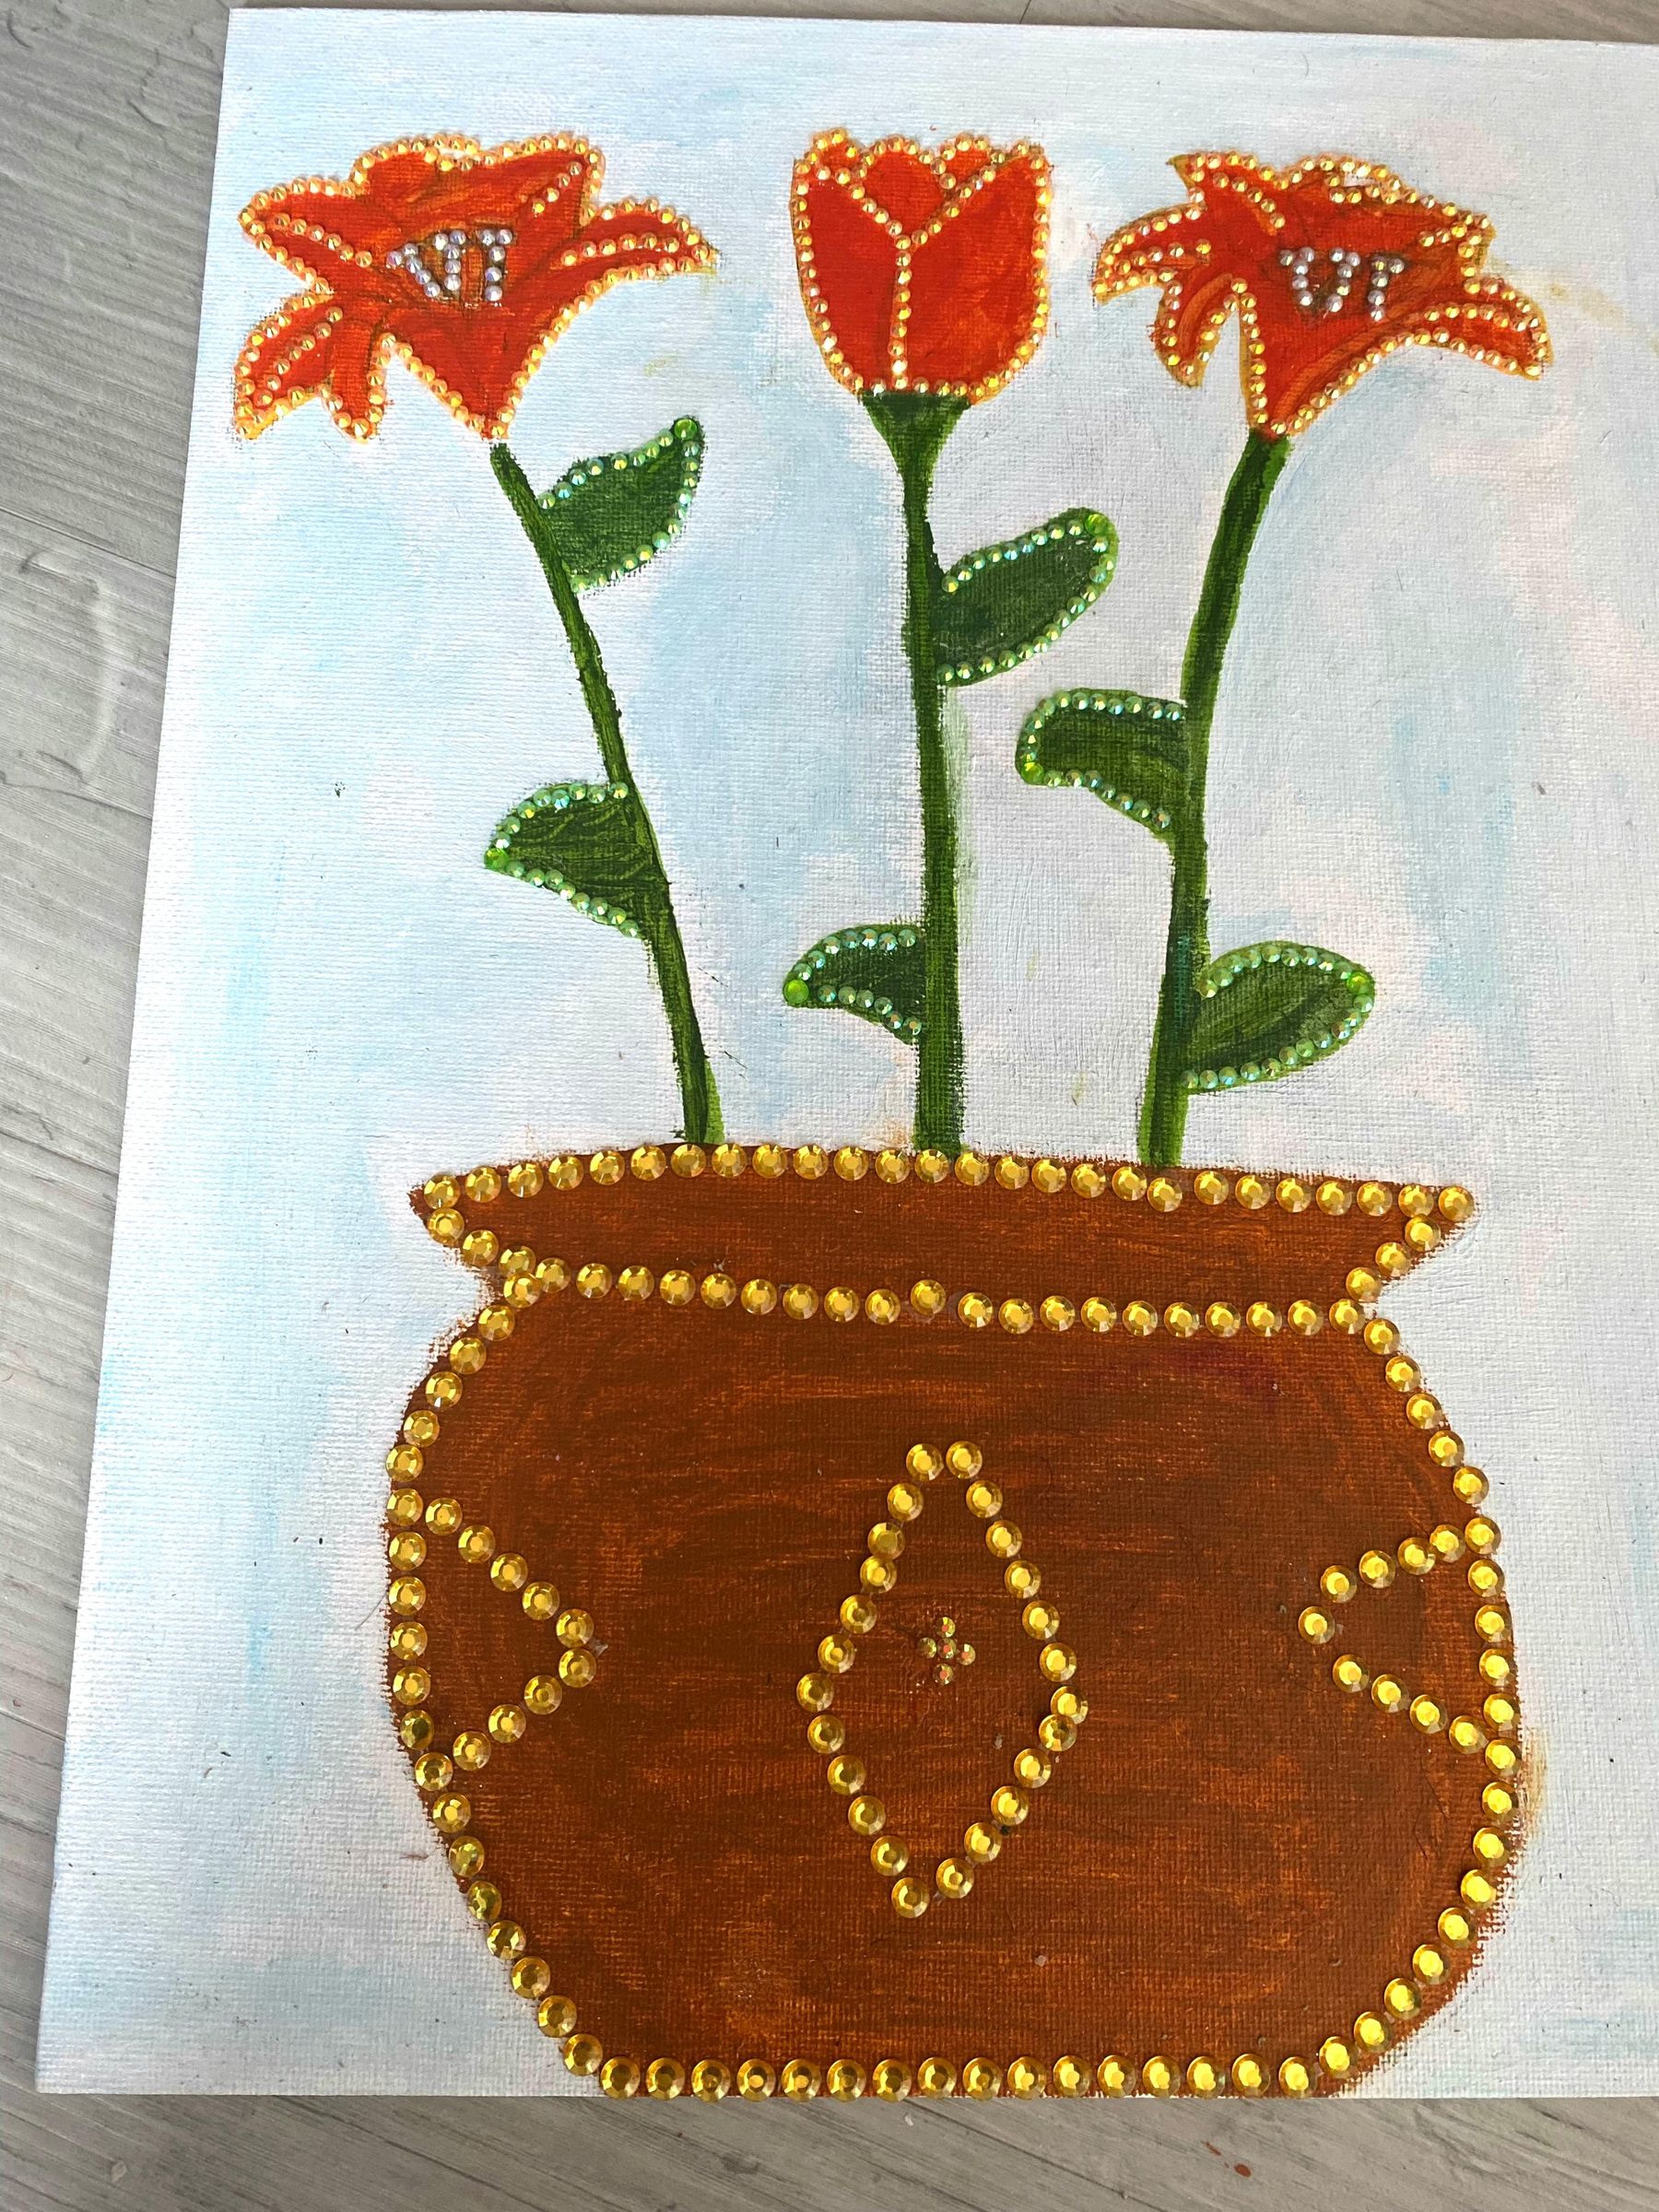
Wow, you made it so far! This step will take a little bit of time. Taking your chunky gems, outline the edges. If your gems are sticky, you don't have to use b-7000. Once done, you can choose any pattern to do inside. I decided to do some triangles. Now, using your green gems, just outline the leaves. If your having difficulty use tweezers. Then, take your orange gems and outline all three flowers. For the tiger lilies, also outline the small lines inside of it. For the seeds inside of it, use white gems. After I placed the white gems down, I noticed it looked like a v and a t. This reminded me of the Virginia Tech logo. I thought it was a funny coincidence. Basically, your project is all done now. I hope the extra bling helped it look fantastic.
Conclusion
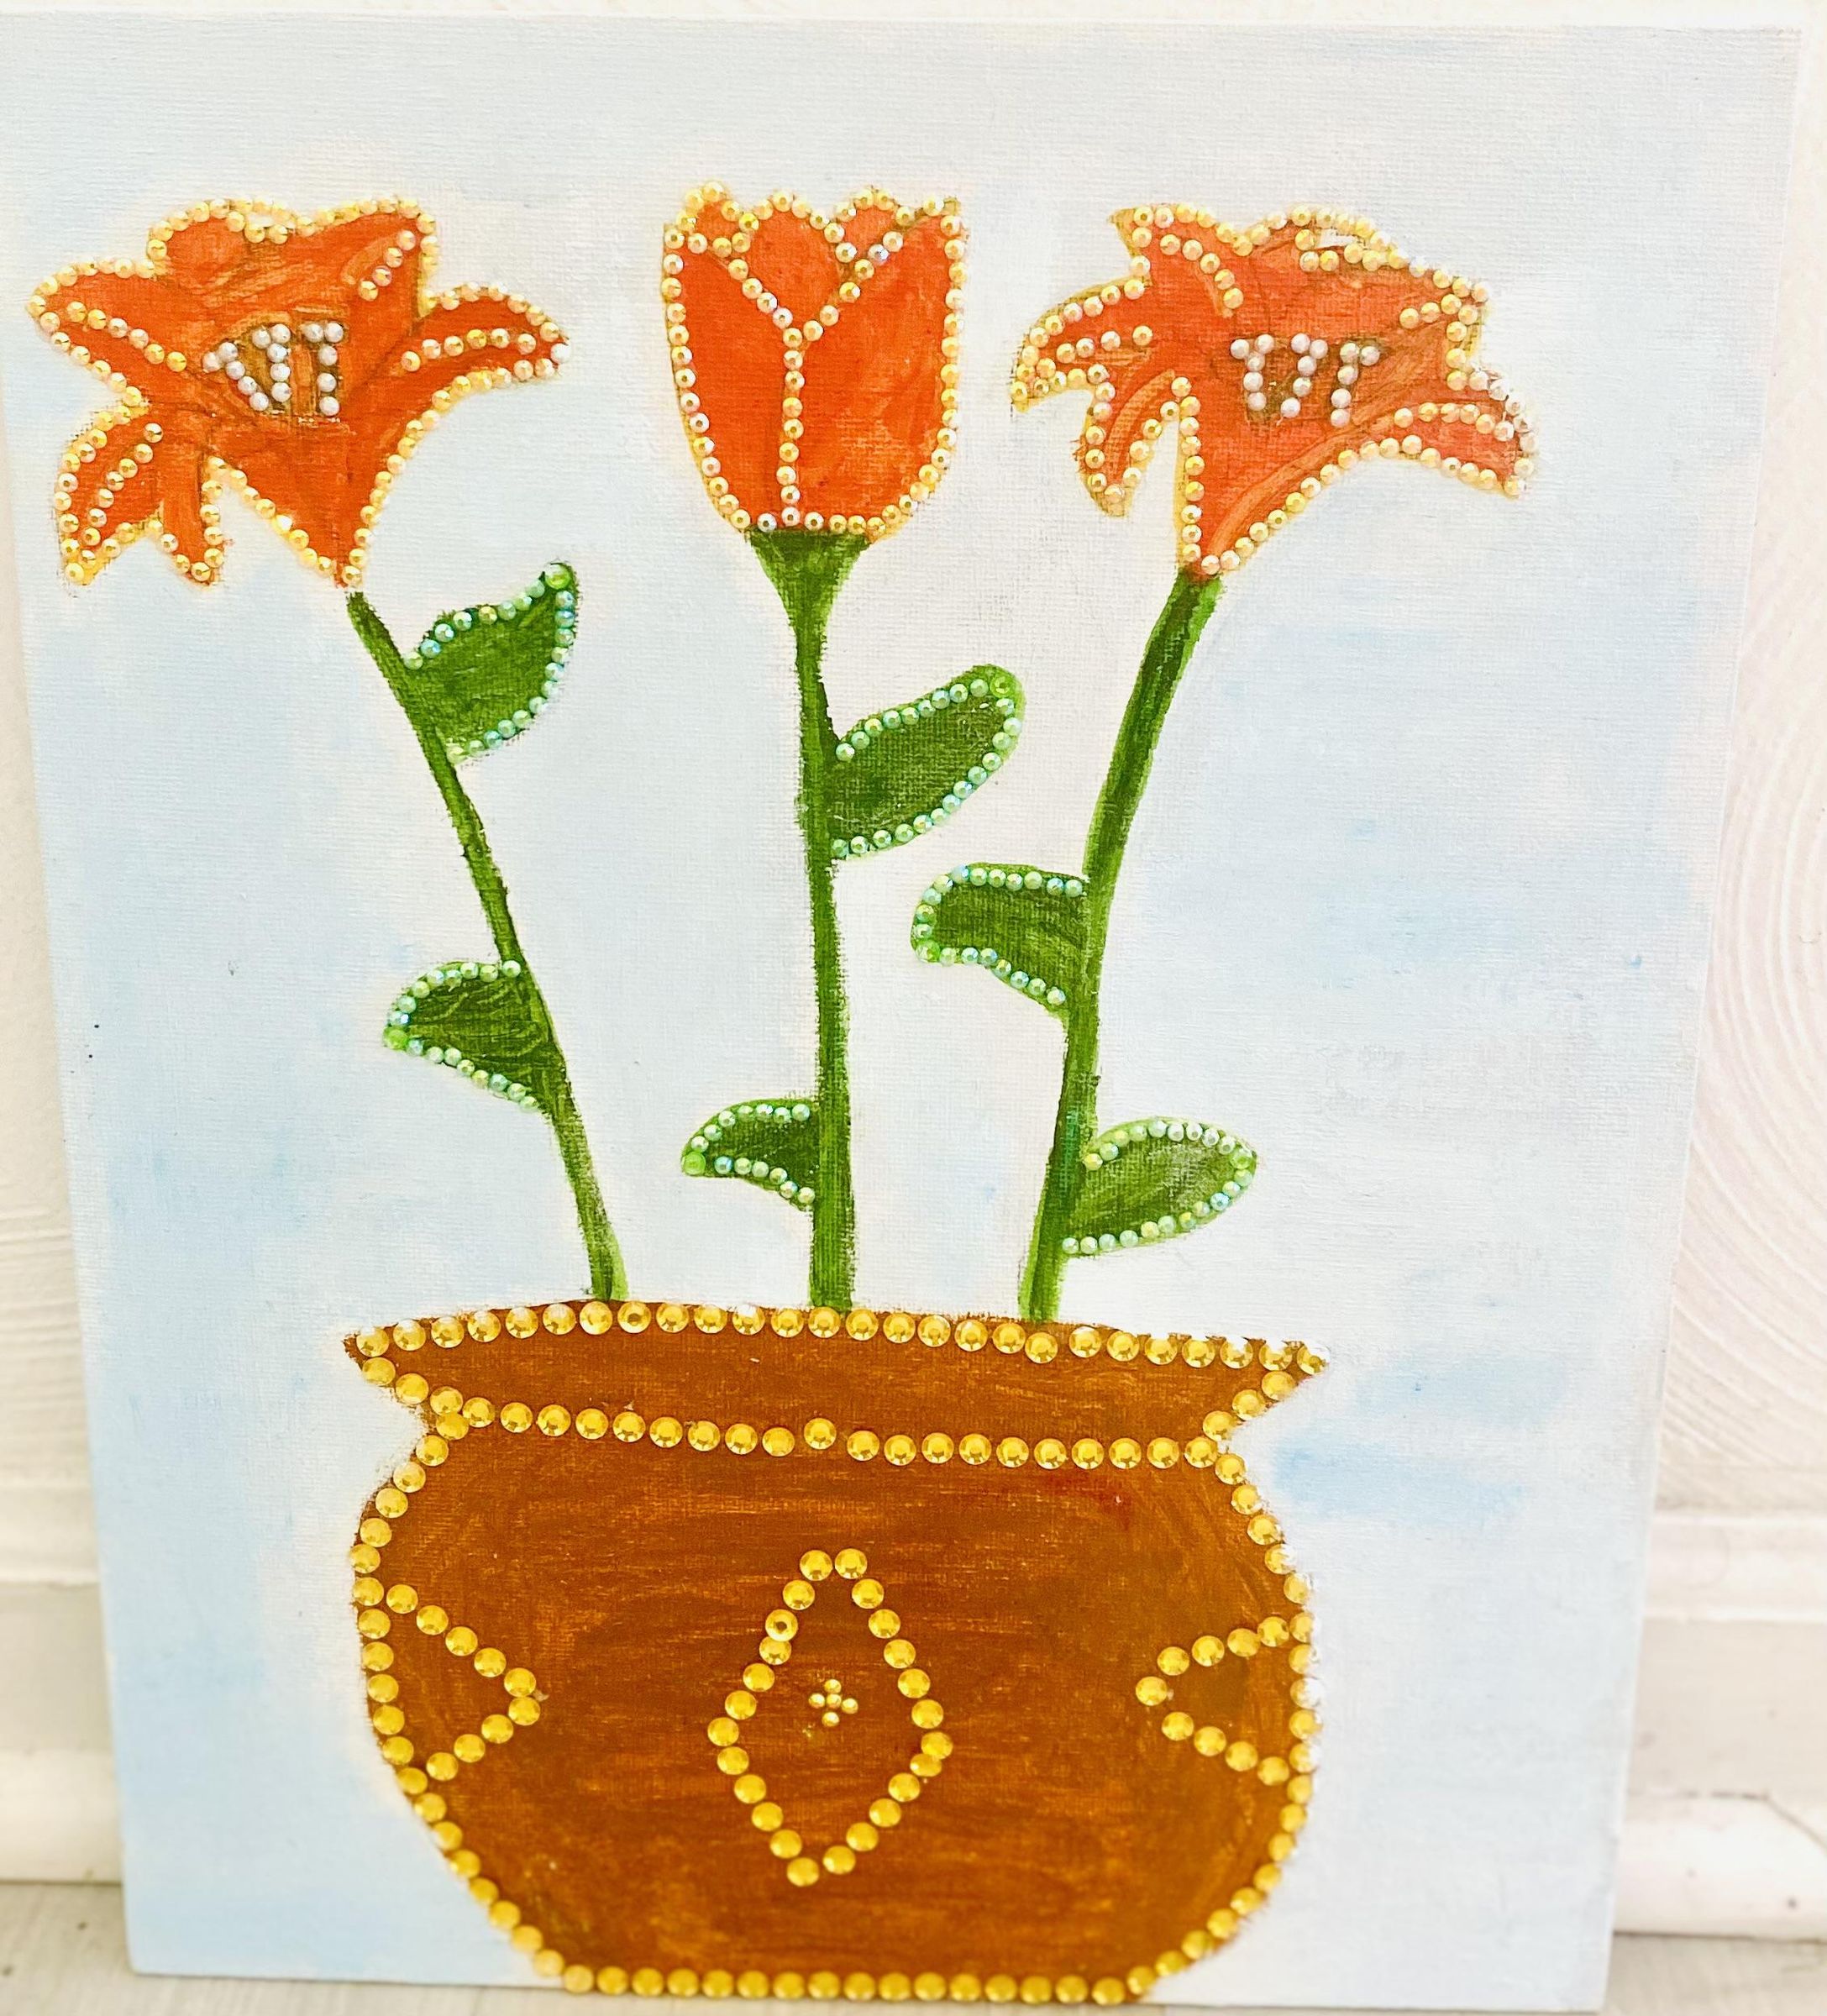
Looks like our journey together has come to an end. I hope you had as much fun as I did. If your finale doesn't look like mine, that's okay. That just means it's unique and awesome in its own way. Thank you for taking time out of your own life to try this. I hope you had a wonderful time and a great experience.