Origami Picture Frame
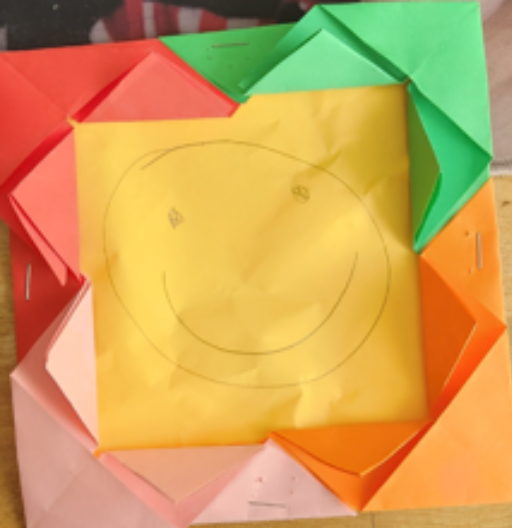
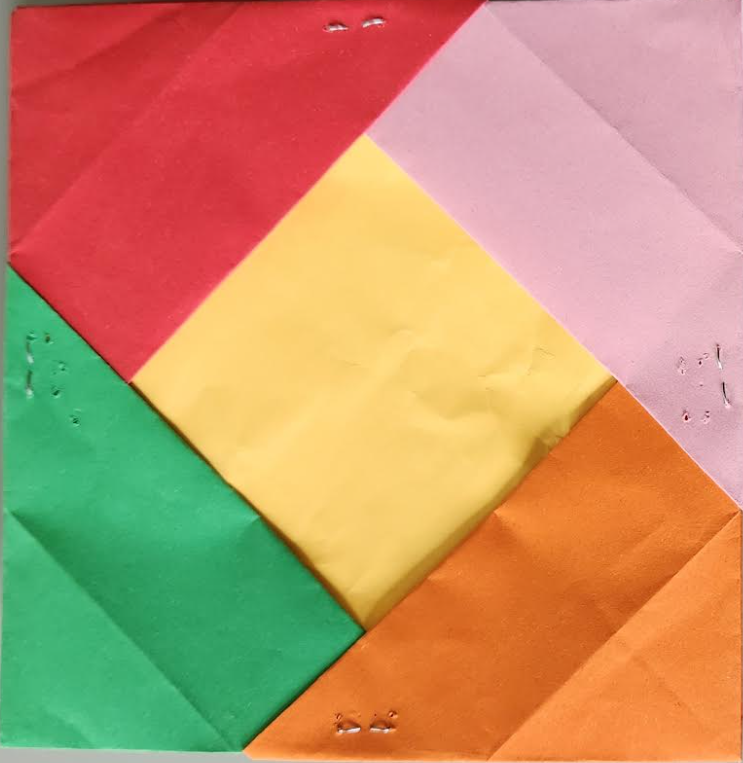
this is a picture frame that if you do it right you can put a piece of paper the same size as the paper you used for the frame into the frame.
Supplies
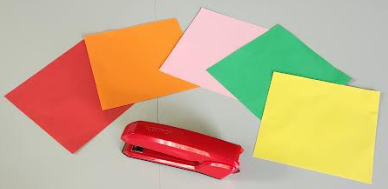
five square pieces of paper all the same size and a stapler.
But He's Lonely):
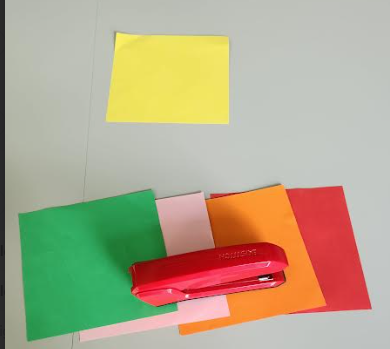
put 1 piece of paper to the side, we wont be using that until the last step
To Fold?
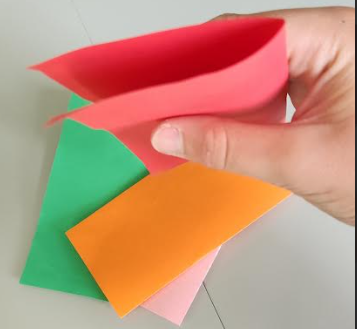
fold papers in half
Not to Fold?
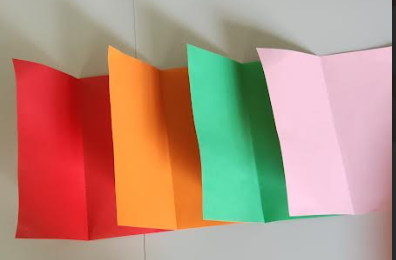
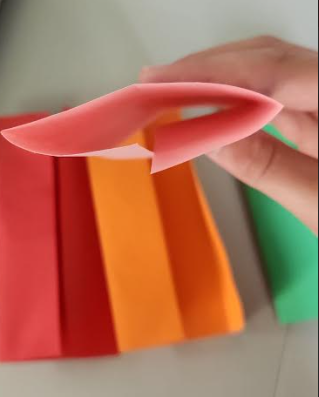
unfold the papers and then fold the edges to the center crease
To Fold or Not to Fold
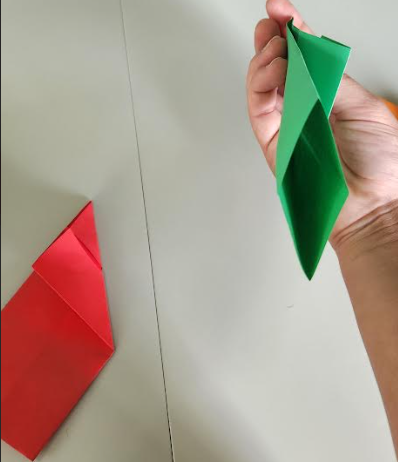
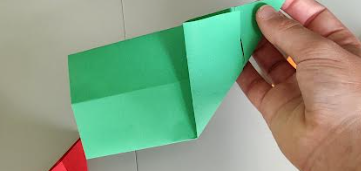
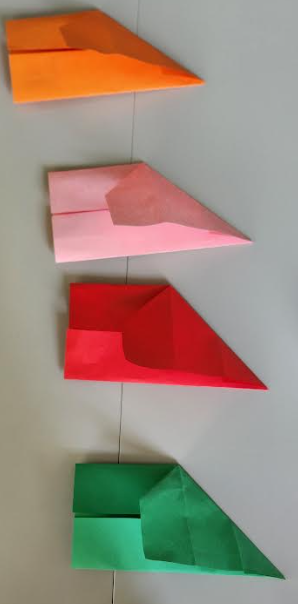
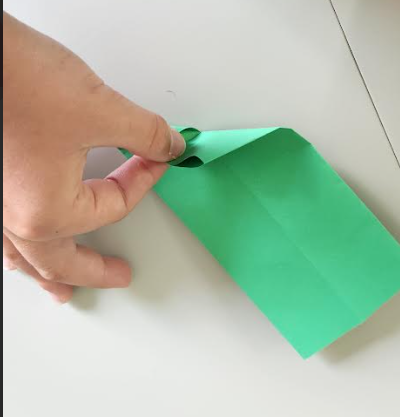
flip over and fold the right edge to the top right edge and unfold
The Weird House Looking Thingy
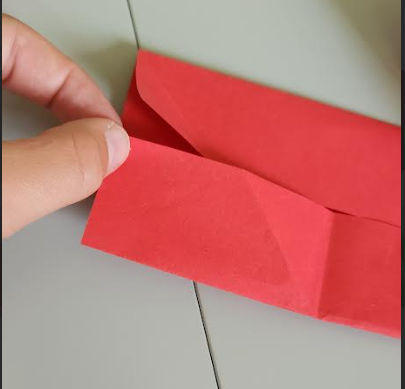
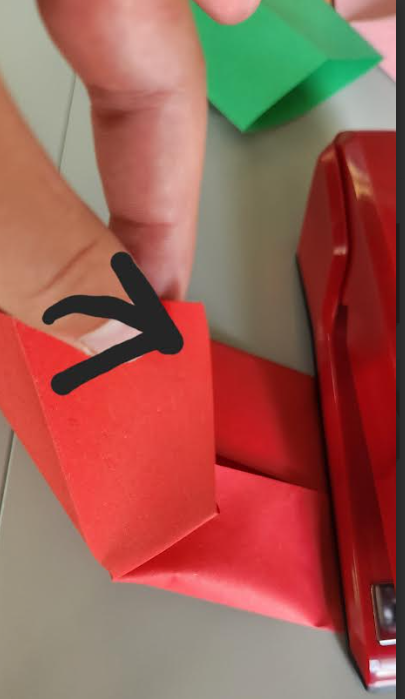
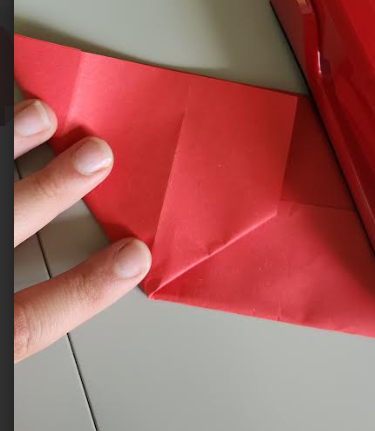
flip over and position it so the crease is going from the top left corner to the middle of the bottom edge and hold the top left corner of the bottom fold and bring it up and right while opening it, make sure the bottom left edge is in line with the top edge before creasing it
Not Step 6, Step 4!
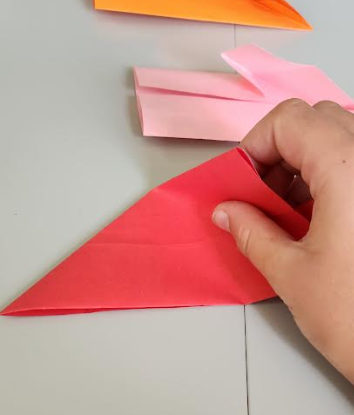
repeat step 4 except fold the right edge to the bottom right edge, not the right edge to the top right edge, remember to flip the paper over
Not Step 7, Step 5!
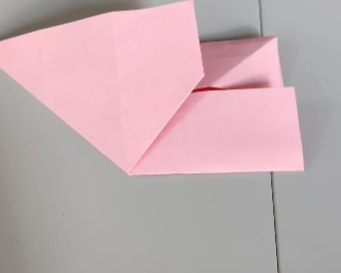
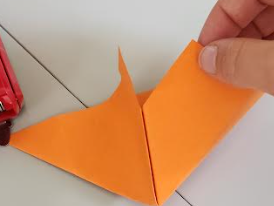
repeat step 5 except grab the top right corner of the bottom crease and bring it up and left, remember to flip the paper first
The Flap Folds
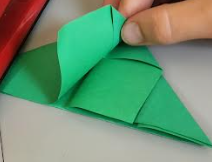
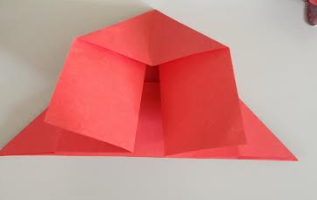
turn it upside down then fold the first flap on the right to the left
The Flap Folds #2
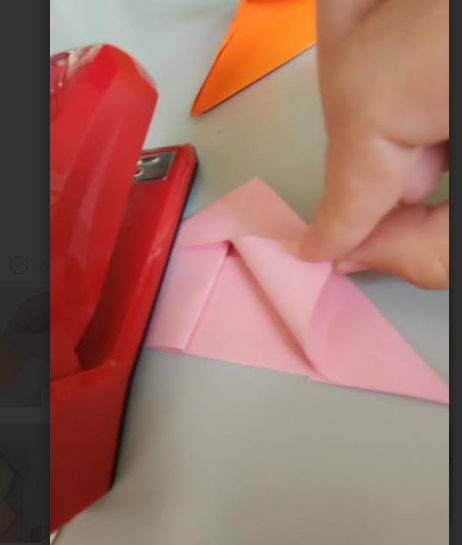
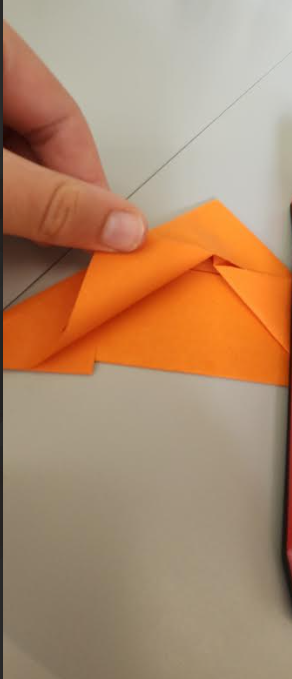
fold the right bottom middle flap to the top right corner then fold the left bottom middle flap to the top left corner
Almost There!
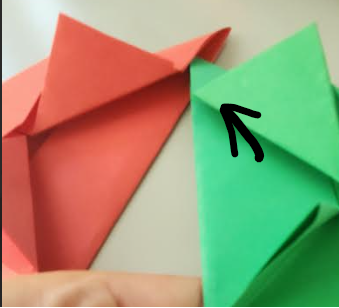
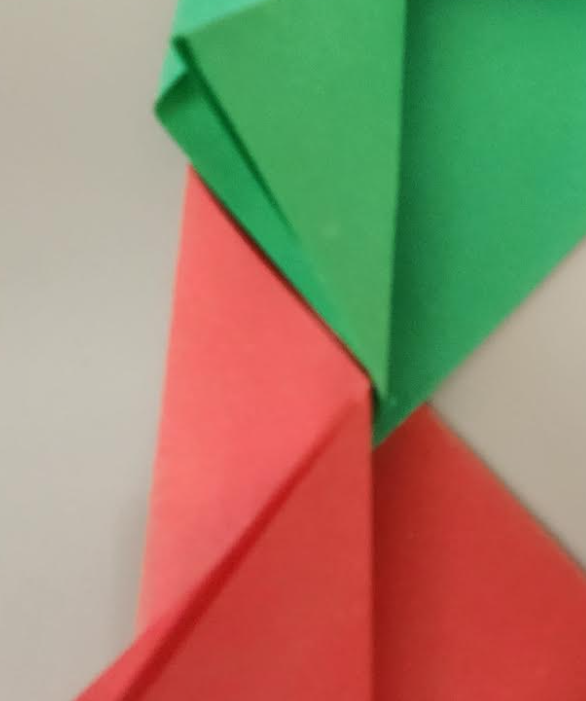
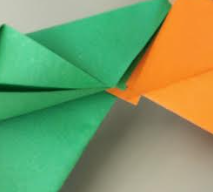
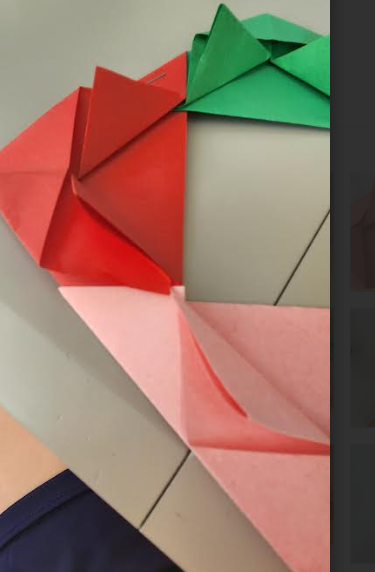
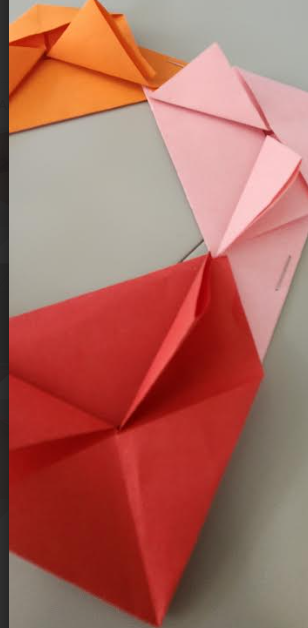
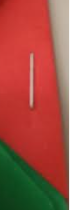
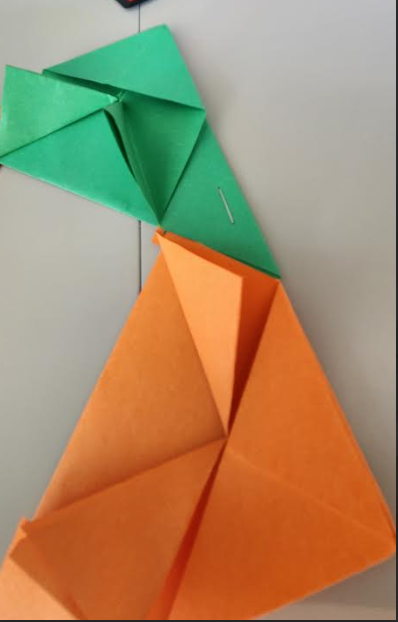
you put one of the corners inside another, and you keep doing that until it makes a complete square, after that, you staple the intersections, make sure to staple near the outer edge of the square or the picture wont fit
Last Step!!!!
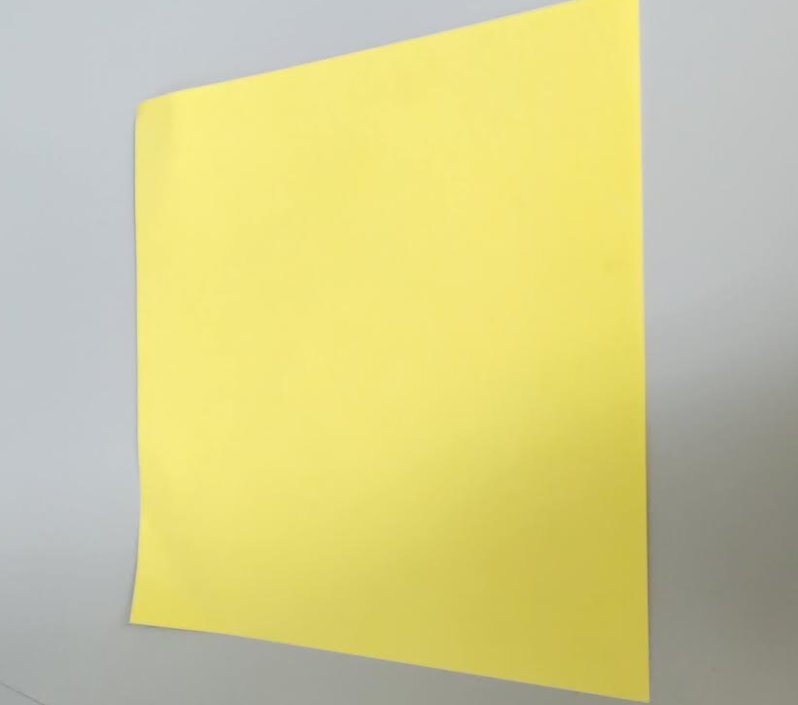
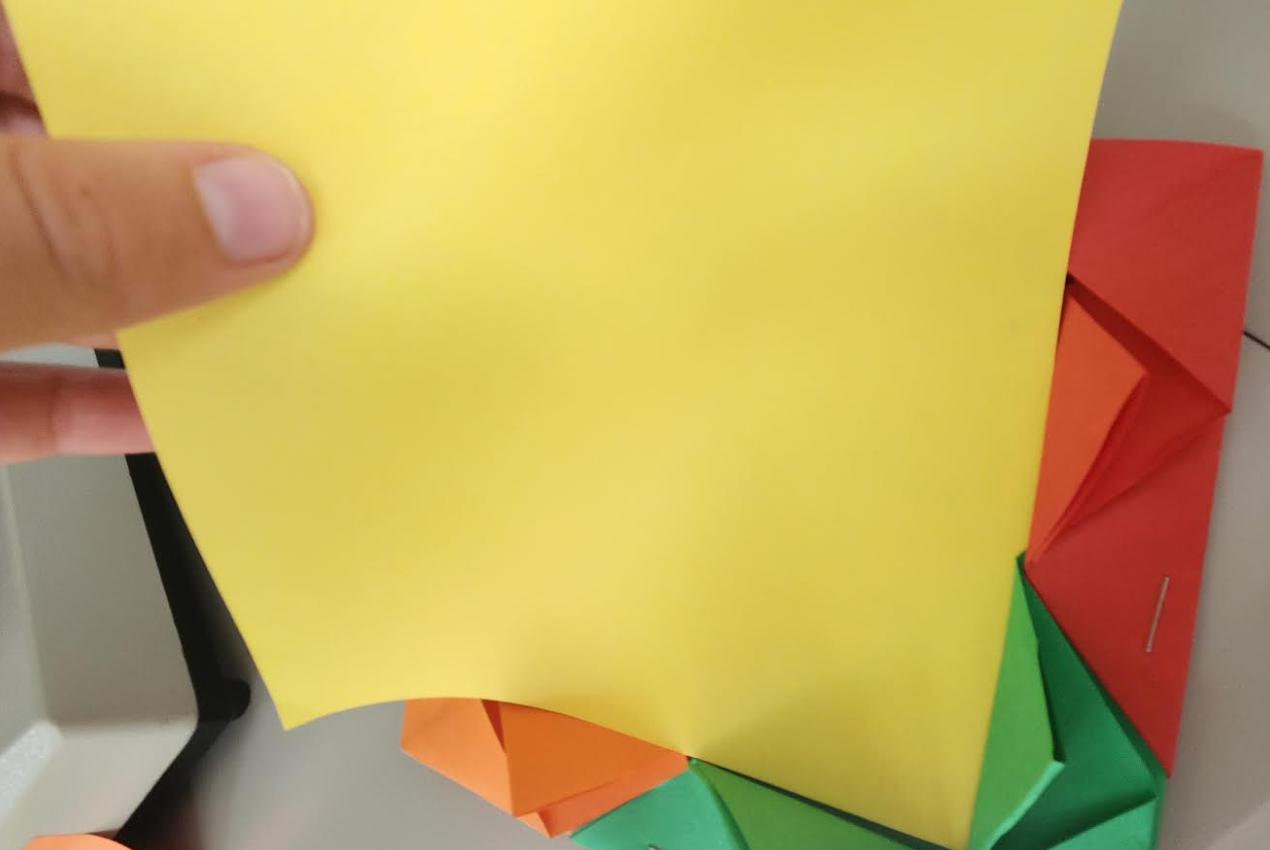
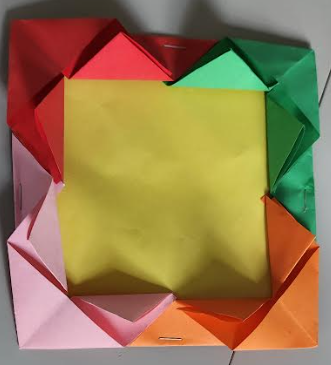
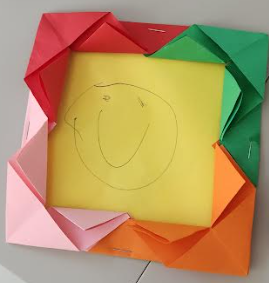
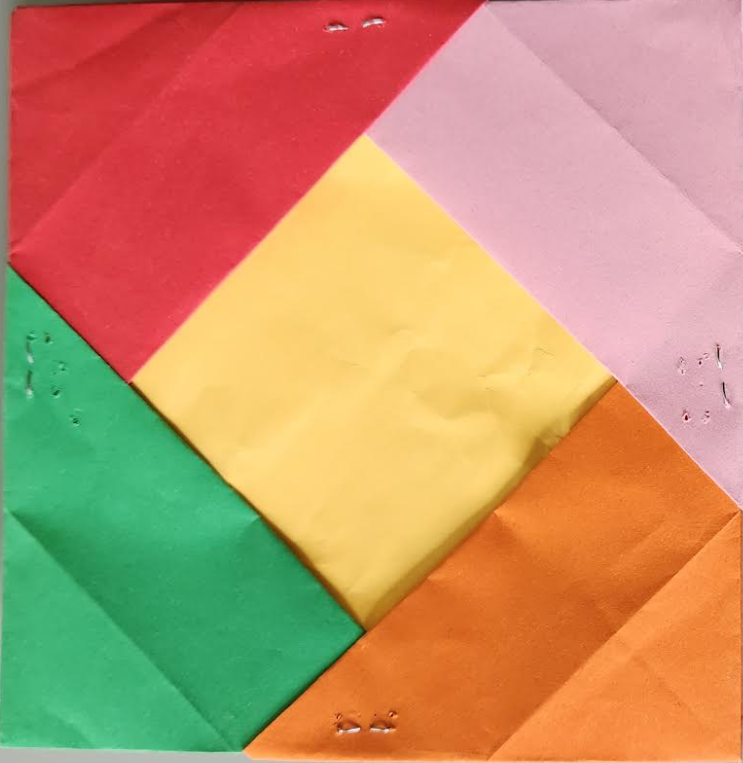
its finally time to use the other lonely piece of paper :) what to do it is to slide the paper in, once its slid in, you can draw, write, etc, and after your done, you've finished!!!