Origami Picture Puzzle Stellated Octahedron
by emilyvanleemput in Craft > Paper
14083 Views, 143 Favorites, 0 Comments
Origami Picture Puzzle Stellated Octahedron

In my Origami picture puzzle cube, I said I started puzzling on the stellated octahedron, but made a puzzle cube first, since the stellated octahedron was going to take a lot of time.
Last week, I decided I actually wanted to give it a try. I'm glad I made the cube first though, I already had the basic models and knew more about the modules. It took probably more than twice the time of the cube to make the stellated octahedron. It's twice the amount of work, which makes it hard to make it at once. Once the test shape has been folded, and unfolded, folded again, and yes, unfolded, most of the work is actually already done.
Even though it takes some time, making the stellated octahedron is a lot of fun. I think the best part is when you are folding the modules: you can already see the pictures coming together :D
Step 1 and 2 show the preparation I did to make the models. Step 3 shows the way the pictures have to be divided. Step 4 is just a short step, in which I make clear how I went from the old model, used in the origami picture puzzle cube, to the new model. I've added the files with the models to step 5, step 6 and 7 will show you how to use them. When you have inserted all the parts, all that's left is printing, cutting and folding, which is shown in step 8 and 9. Lastly, you can look at the entire stellated octahedron by watching the video I added to the last step.
I hope you like it :D
Adding Numbers


When the test shape was completed, I added numbers to it, so when unfolded I would know which image to add where. I wrote the number on every part of the square, six times per square. I forgot a few, like the sixth 3, visible in picture 2 of this step. (or actually not visible)
After adding the numbers, I took the stellated octahedron apart and unfolded all twelve of the pieces. I used these pieces to create the model, as shown in step 4.
A Bit of Colour


In this step, I realized it was necessary to put the stellated octahedron back together (the one I just took apart) The numbers told me in what angle the pictures should be, but it didn't tell me which part should go where.
I took a square piece of paper and folded it, the creases according to the parts of the squares. Next, I took six different coloured pens and filled every part with a different coloured pattern.
I added these designs to the squares on the stellated octahedron as well. But, not all number were written in that direction. To follow the divided square, I would have to turn the picture. On the back of the divided square I wrote down the numbers of the squares that matched the dividing in that direction. I turned the paper 90 degrees to write down the numbers matching the numbers with that dividing.
Following the divided paper, I coloured the complete stellated octahedron.
Dividing the Pictures


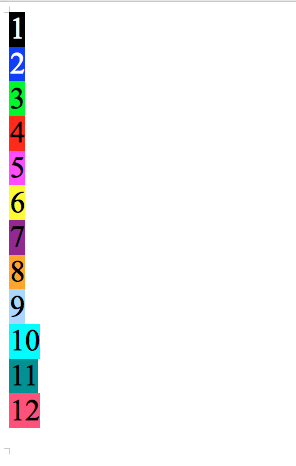
Using the same dividing as shown on the paper in last step, you can divide all the pictures. I've added them to this step in the order I used to number them. So, picture number one is the first of this step, picture number twelve the last.
I used Artrage to edit the images.
Changing the Models


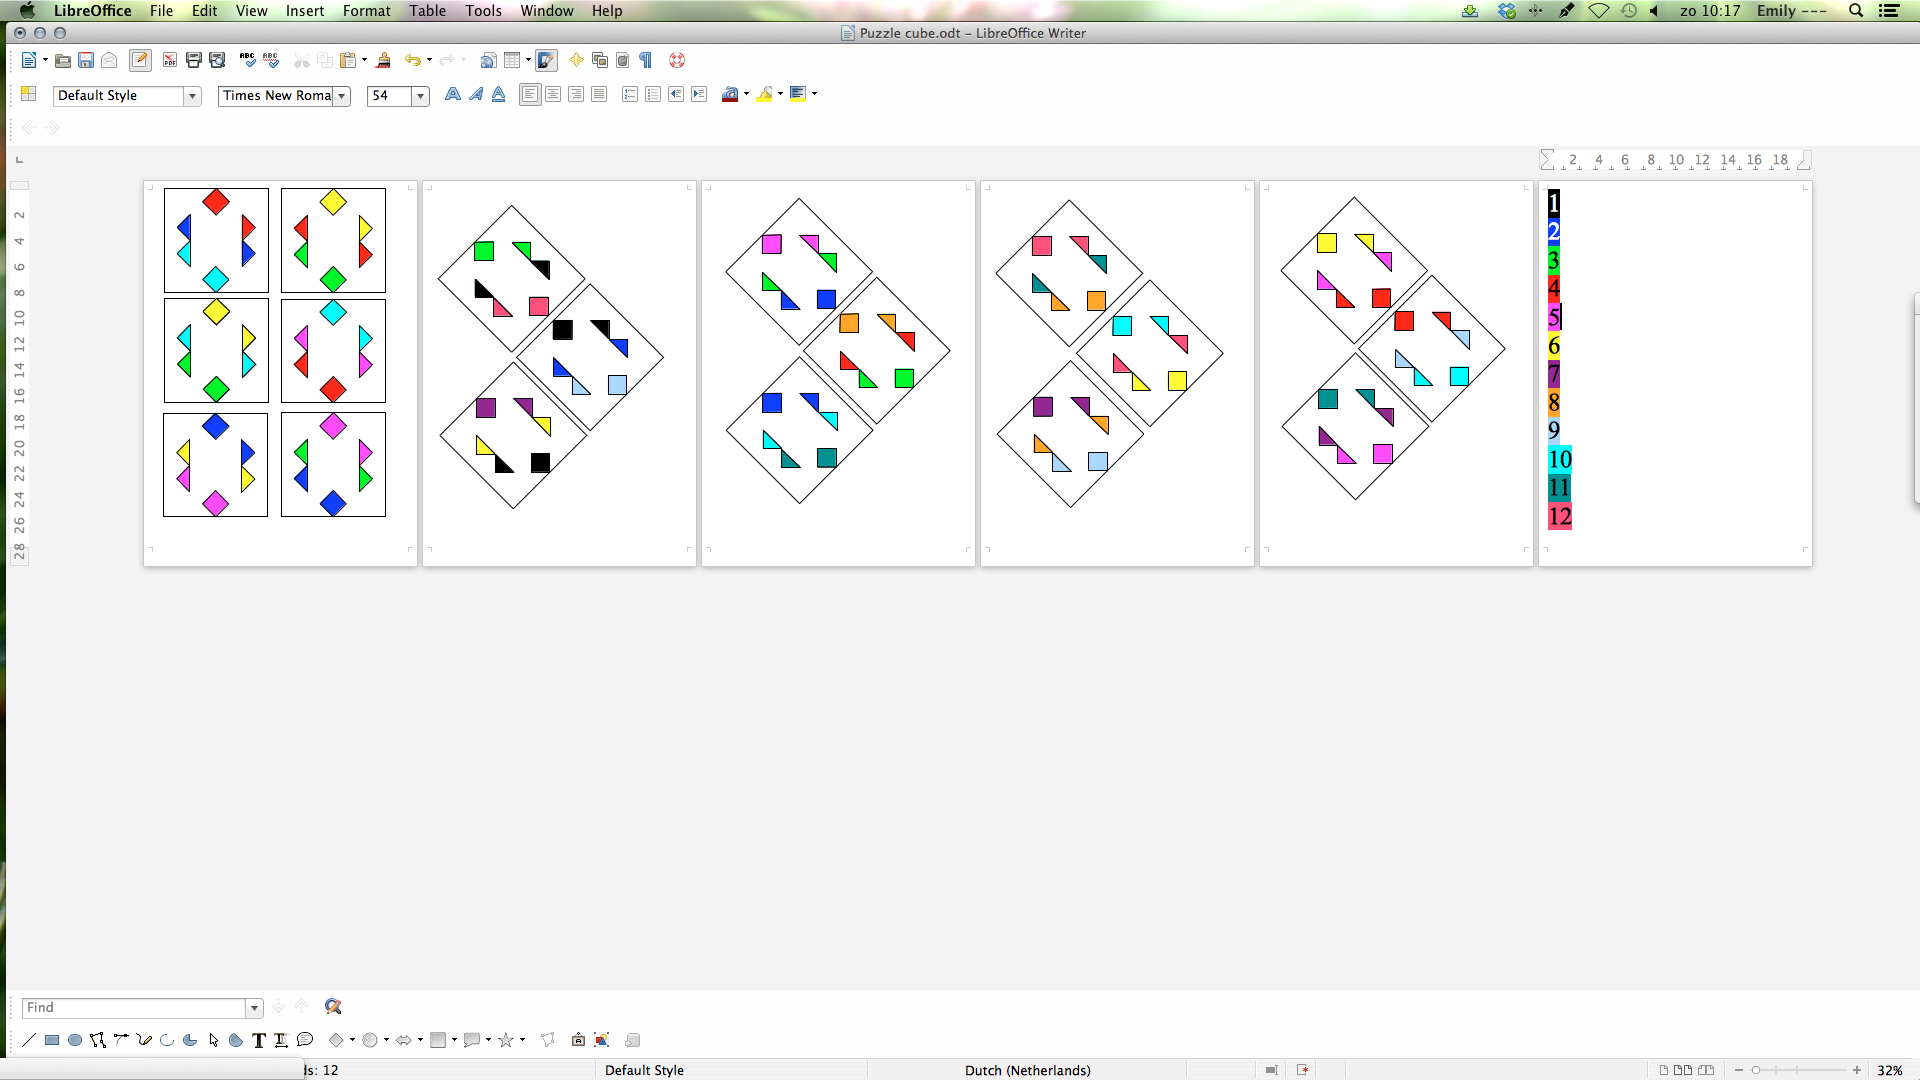
I used the same basic models as with my picture puzzle cube to make these models. I doubled the amount of squares and reclassified the numbers with corresponding colours.
The Files
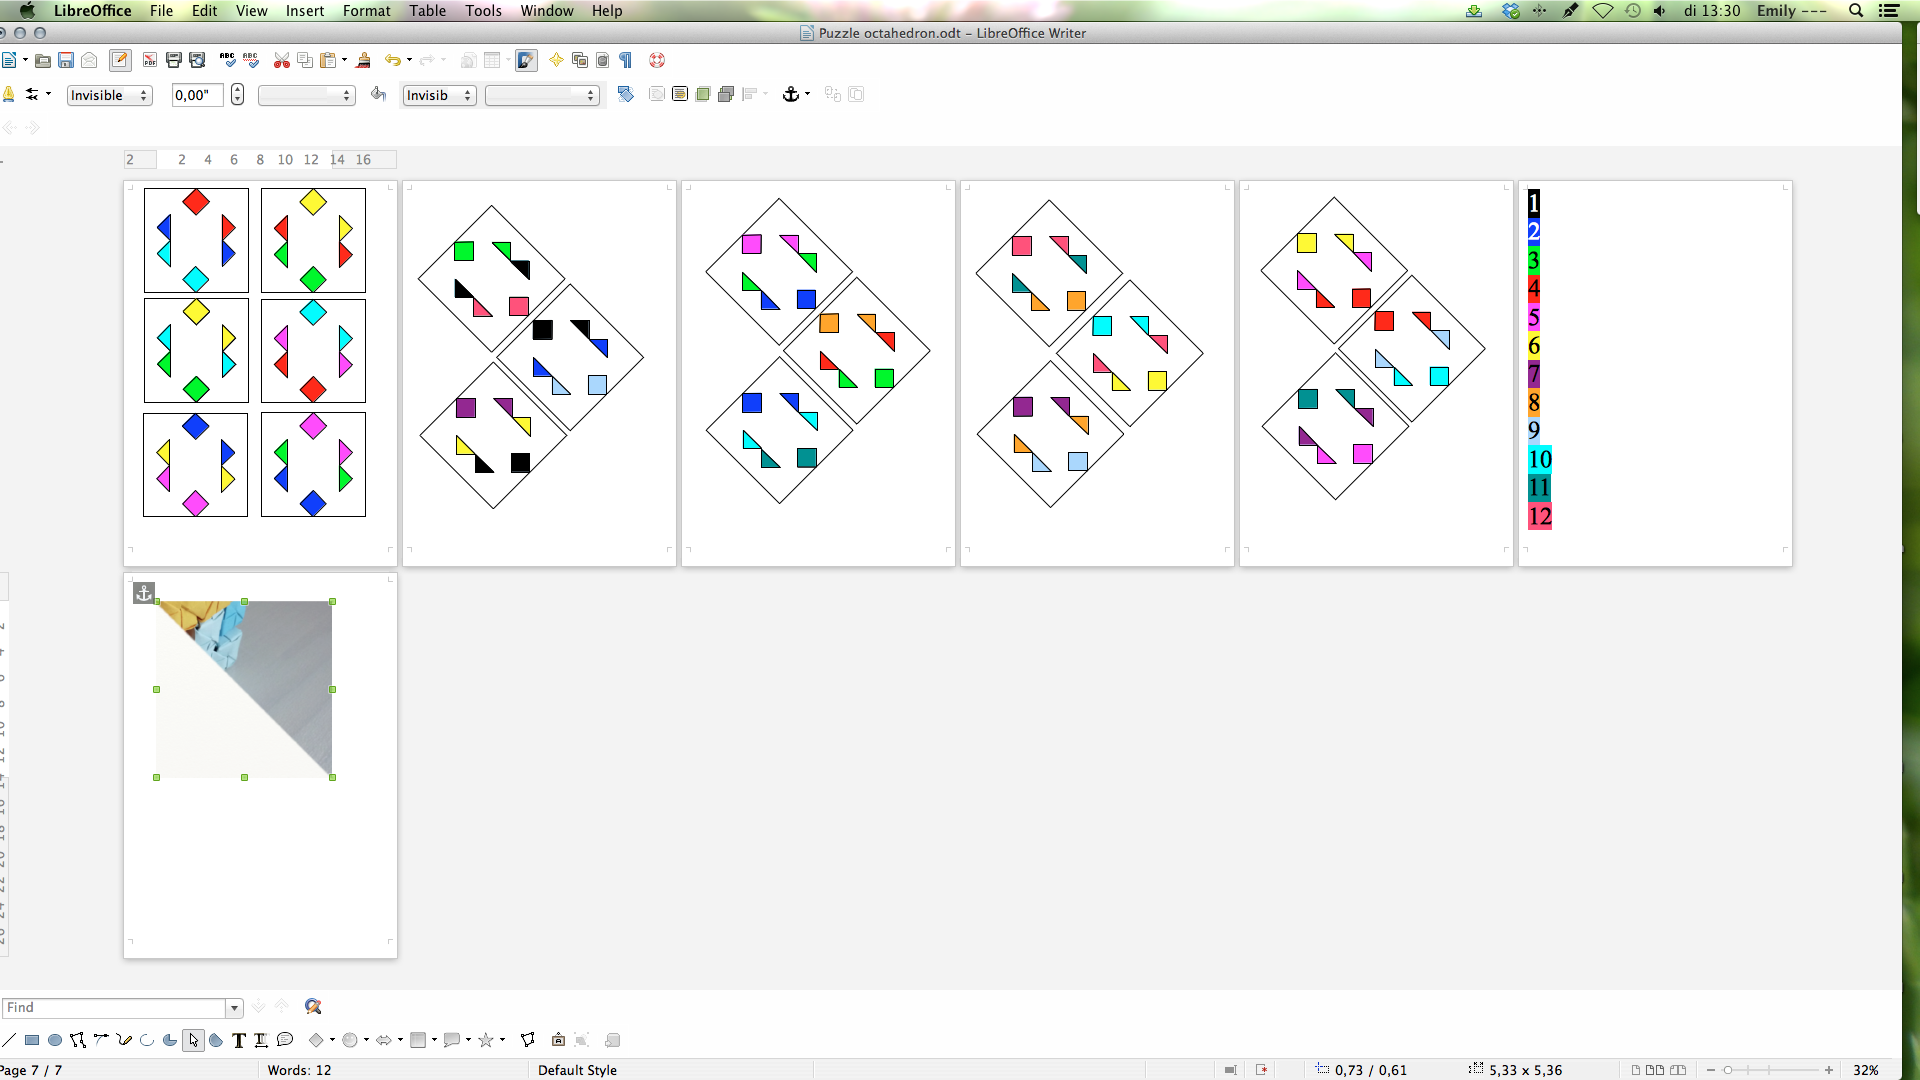
I have added both .odt as .pdf files, I'm not sure everyone can open the .odt files, but the .pdf can't be easily edited.
Needed Pictures


These pictures are needed for the next step - inserting the pictures. The first twelve pictures show the unfolded pieces. The 13th and 14th show the divided paper for numbers 1, 2, 4 and 5. The last two pictures show the divided paper for numbers 3, 6, 7, 8, 9, 10, 11 and 12
Inserting the Pictures


Start by opening the model. The first square starts with green, according to the legend this is number 3. This means you will need to add parts of picture 3 here. When you go to last step, the first picture is the unfolded model of this square.
According to the drawing, you need the pink checked part and the yellow dots part. When you look at the way the paper is divided in the last four pictures, you need to use the last picture for number three. When you do so, you can see that the pink squared part and the yellow dotted part are the top right square and the triangle underneath it.
Now you can look at the divided pictures in step 3, picture 3. If you take the top right square and the triangle underneath it, you have the right parts.
But, when you look at the drawing in last step, you can also see the 3 on the pink checked part is turned. This means you need to turn the part you found matching the pink checked part, the top right square, the same way.
When the two pictures are in the right direction, add them to the model. Check the size of one of the coloured parts and change the size of the pictures to match it. (Remember to always keep ratio, otherwise your pictures might look a bit strange)
Using these steps, you can actually add all 92 parts.
Printing and Cutting


After you have added all the parts, you can print them and cut them out as precise as possible.
Folding and Finishing


Folding the parts isn't really that complicated, especially once you know what to do. How to fold them and what to make sure can be found here. After that step, there is just one extra fold needed to change them to modules of a stellated octahedron. All you need to do is make a diagonal crease from the bottom left corner to the top right corner.
And then, let the puzzling begin!
Done!

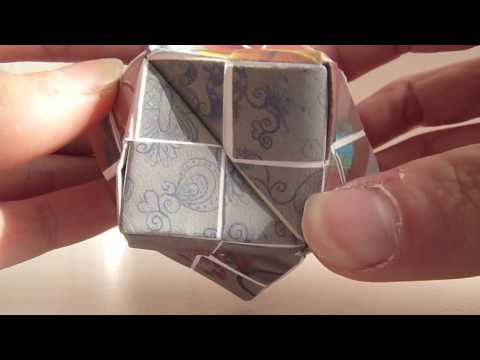
To show the end result of my stellated octahedron, I made a video. Reason for that is that it makes it a lot easier to show all sides. It also provides you with the idea of the size of the finished stellated octahedron. You could make it bigger by using bigger paper to print it on. I wouldn't make it smaller, it is possible of course, but I think you will loose a lot of the detail.