Ornithopter Take Off Animation
by Harintsifa Randriantsizafy in Design > 3D Design
835 Views, 8 Favorites, 0 Comments
Ornithopter Take Off Animation

Hi everyone!
Today, in this Instructable, I'm going to show you how I made an ornithopter with Tinkercad and how I animated it.
I wanted to make a 3D animation but I don't have skills for that, by the way I have skills in 3D design. So at the beginning, i thought that I could make a 3D design, then I would turn it in different poses and take "pictures" then. The principle is to do like 2D cartoons, but no need to draw because I have already a 3D design. One of the goal of this Instructable is to show you that, even you don't have skills or experience in 3D animation, you can create a cool animation.
So let's start!
Supplies


Software:
- 3D design software: personally I use Tinkercad.
- Editing software: I use Microsoft Clipchamp but other software like Canva work too.
A computer and internet access.
A camera: your phone can work as well.
If you make an animation my way, you must have a lot of patience.
Reference

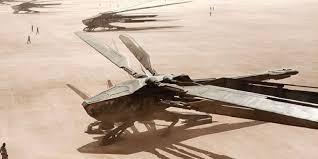

To start an animation, you must have an idea of what you are going to do.
My main inspiration is the ornithopter from the movie Dune. I wanted to make something futuristic and something incredible. You can find many pictures on the internet to consodilate your idea and make it a basis for design. So if you are bad at drawing, it can help alot.
Modeling
I think modeling your design is the most time-consuming of the project, because you try, fail and try again until you succed. But try your best. I made this design as easy as possible, but also realistic too, like for the wings for example, I managed to have like an helicopter wing. Also I made it like if you're watching it, you know that this thing can somehow fly. Having a picture is very helpful during this step because you can get lost in details very quickly. As you can see, the video is about 3 hours, but it took me at least 2 days to do the design, between improvements and new ideas that come, so take your time. It can go very quickly too if your design is pretty simple. So I use Tinkercad to design because it is very accessible and easy to understand. Also, i usually use it and it's completely free and no need to download. However, if you are looking to something professional, I recommend you to use other 3D design software like Fusion 360 for example.
"animate" Your Design


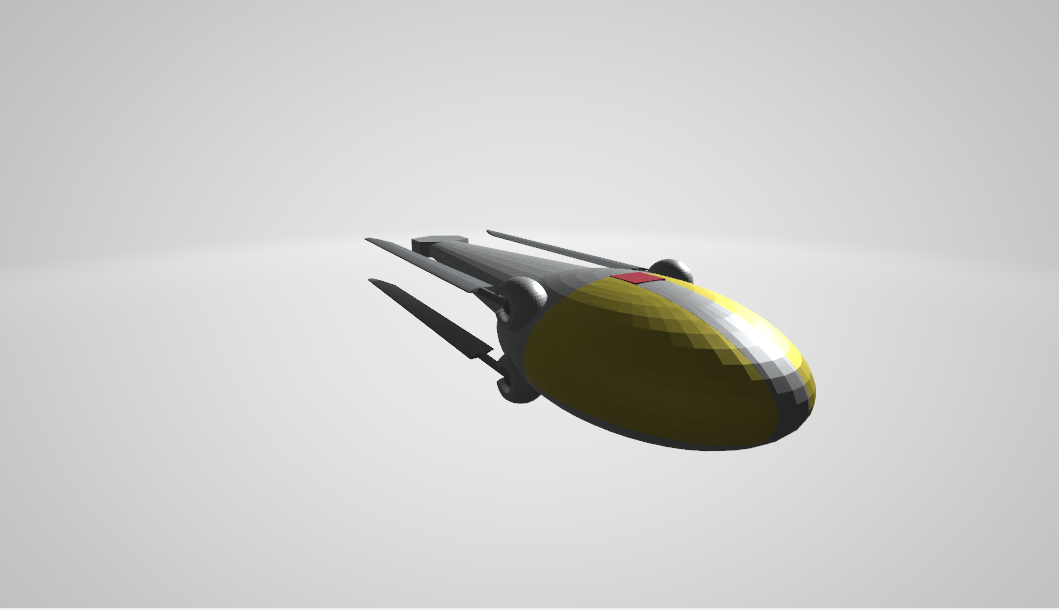

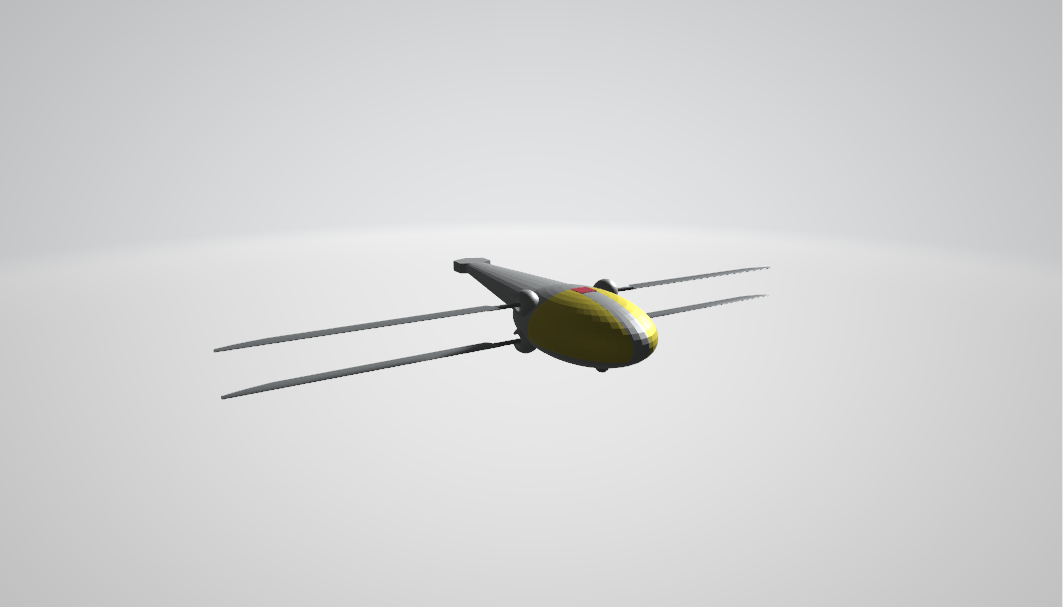
The first animation I want to do is the opening of the wings, because it's always satisfying.
For that:
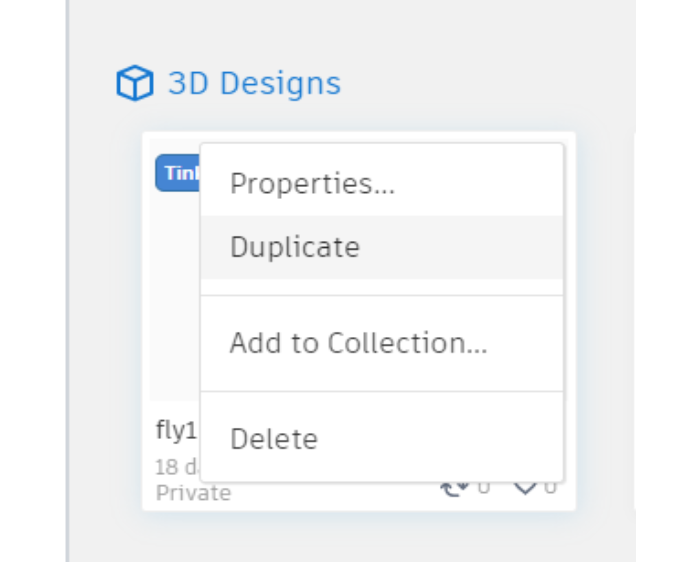
- Duplicate your main design
- Then rotate the four wings by 90°
- And align them with the body of the ornithopter
You have to export then in .glb format and open it with 3D viewer. Don't hesitate to change some settings to improve the quality of your design. Then take a screenshot of your design. I put some of my screenshots in the pictures above to give you some example.
To make the opening effect,
- Select both wings in each side and rotate them by 2°
- Export it and take a screenshot.
- And repeat these two steps again and again until you reach the 90°, so it's look like the first design we made.
That would give you 45 images in total. It's a lot but it worth it.
Wing Flapping


When you finished your opening wing pictures, then it's time to take off.
- Take the first design we made
- Then rotate the two wings of the same side in opposite directions, like if you move down the upper wing, you have to move up the bottom wing.
- Repeat it 3 times
- Take again the first design we made, and repeat the same steps from before but doing their opposite: like you you start to rotate down the upper wing, now you have to rotate it up by 1°
- Repeat it 3 times.
Between each rotation of the wing, you must export your design of course and take screenshot of them. I put again some example of my screenshot in the pictures above.
Optional

So when you open your design with 3D viewer, you have in the grid and view tab, so you can see other points of view of the design, you can perhaps enrich your animation with. You can repeat the same steps of the step 4, or if you are venturous, you can try other poses for your animation. But this step is optional.
Remove Background
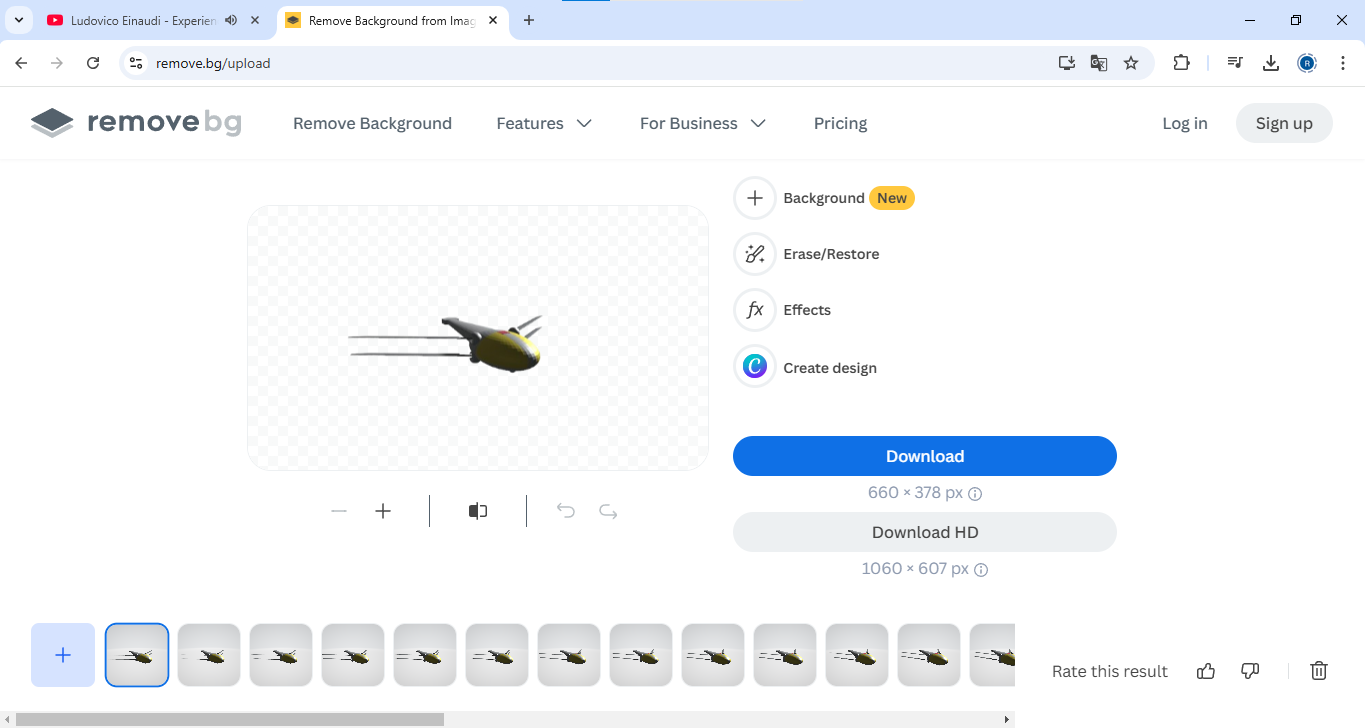
Now, to make a more perfect animation, you have to remove the background of all the screenshots that you take before, so that afterwards, you can put another background and have a more serious animation. Personally, I use remove.bg to remove the backgrounds, this software is completely free and easy to use, but other software works as well.
Background

In our case, the background is very important because it's it wich will give us the impression that your ornithopter is taking off or is flying, so don't neglect it. So you need a large space: i took photos and videos of my backyard. A park is good also, if you want to create your own background, you can make it of course.
- So to give the impression that the ornithopter is taking off, you have to film by gradually rising your camera.
- To give the impression that the plane is moving forward, you have to film by moving forward too.
I attach the video of moving forward below if you want an example. I can't put the video of the taking off because it's a large file, but it's the same thing as this video but you move vertically istead.
Downloads
Introduction
So i made a little introduction to my video to make kind of a presentation of the ornithopter. This step is optional. But if you want to make it, open your design with 3D viewer and click in rapid animation. Finally click in the animation you want and record it, personally I took the rotating table.
Video Editing


To edit my video, I use Microsoft Clipchamp. It is a very good software to edit your video.
You have to import your screeshots without the backgrouds, then place them in logical order. I made each photo last 0.4 second, so if you calculate that's 25 frames per second wich not so bad. Also add transitions between important moments as between the opening of the wings and the taking off. You might think it's nothing but it can make a difference.
Audio Effect

Add also audio effects to make a more advanced animation. I use pixabay to add audio effect, there's a lot of audio there and you can choose and download what you want. So for the audio of the ornithopter, I searched helicopter sounds because it's almost the same sounds so it's relevant.
Finished
.png)
Now, your animation is finished. Congratulation!
You have just to export and download it now. It looks good
.
If you want to now how long it takes to me to do all of this, it lasted 2 months because i had school nearby and I didn't have much time during the week end. By the way, it was such a very good experience. Some of the steps disappointed me, like when I downloaded the design first, the "cockpit" doesn't turn transparent, but i had to move on and continue with. The result doesn't look weird so it worth it. I am happy to share this experience with you, and i hope you liked it and it inspires you. See you soon!
Bye☺.