Outdoor 3D Printed Wireless IoT Weather Station
by thediylife in Circuits > Arduino
18949 Views, 220 Favorites, 0 Comments
Outdoor 3D Printed Wireless IoT Weather Station
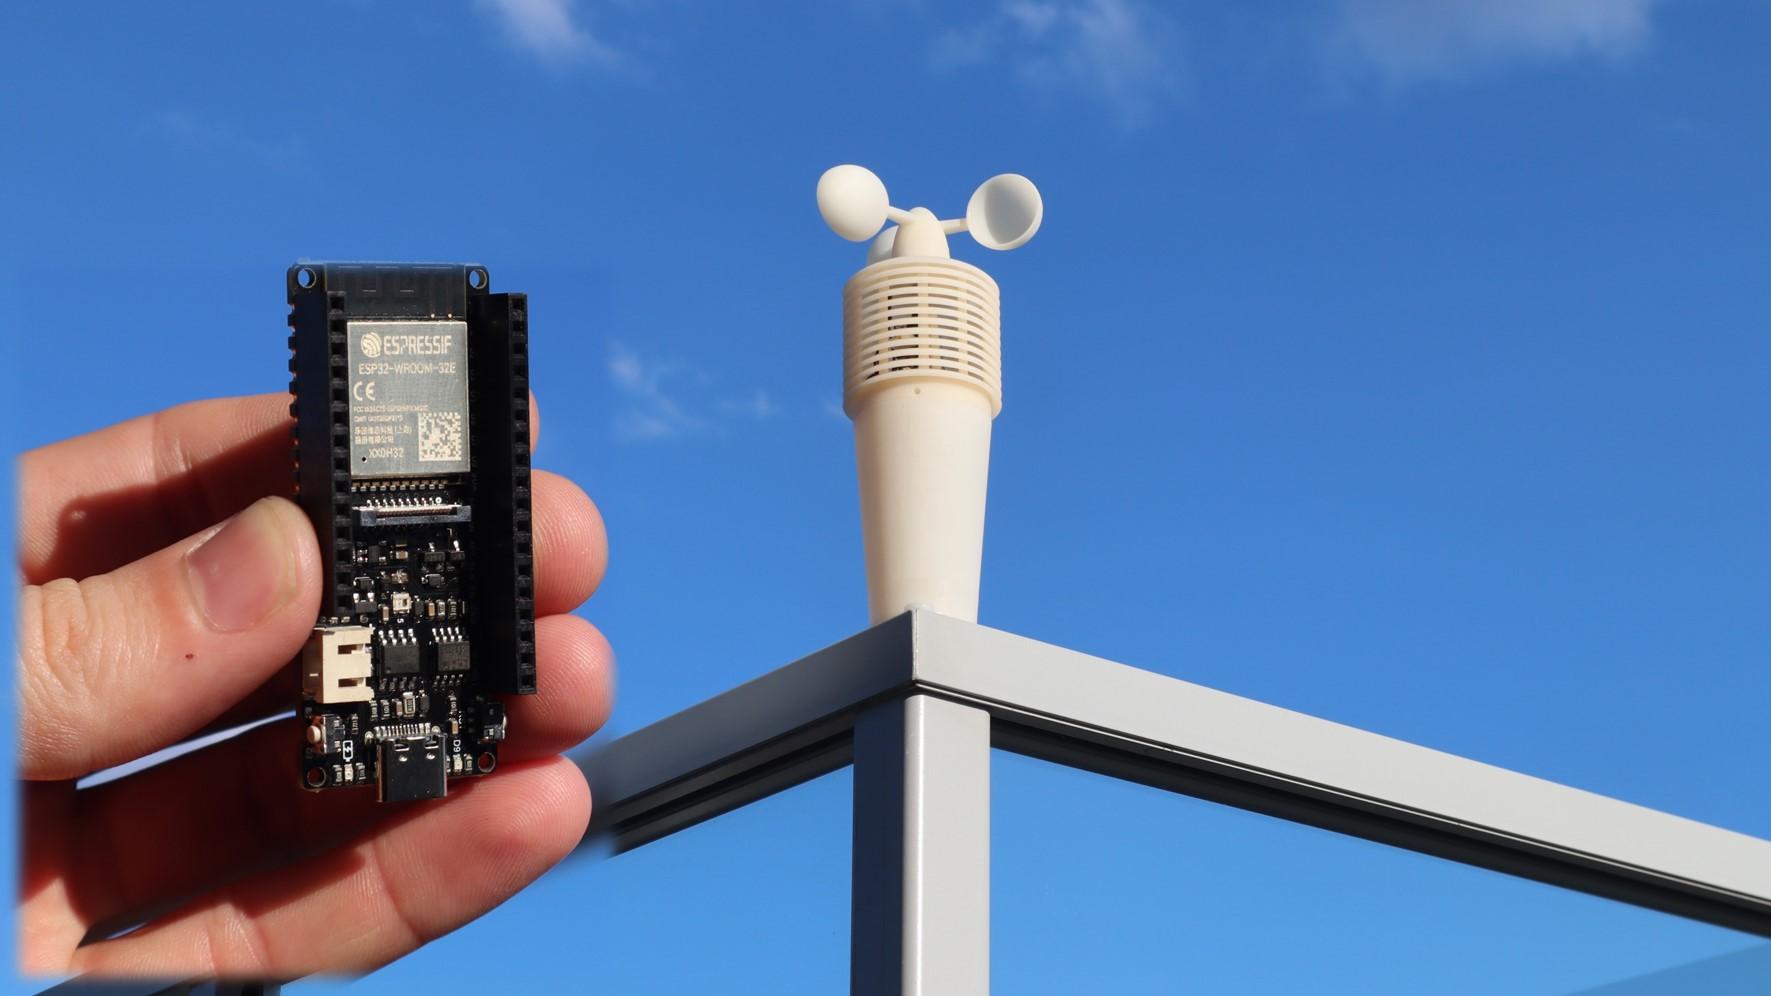

In this Instructable, we're going to be building an outdoor weather station that takes temperature, humidity, barometric pressure, light, and wind speed readings and posts them to the cloud to access through a Thingspeak dashboard.
I’m going to use a development board from DF Robot called a Firebeetle ESP32-E IoT. I’ve chosen this particular board because it is inherently designed for low-power applications and can be powered by a lithium-ion battery. It's got a battery plug directly on the board and supports charging through the USB C port.
For the sensors, I’m going to be using grove sensors by Seeed Studios. They integrate all of the required supporting components, so you just need to make the connections between the sensors and your microcontroller. They use grove cables to plug into supported hats and boards, like the Arduino MKR IoT Carrier board. I’m going to modify one end of each cable to make up a harness that plugs into the pins on the Firebeetle board.
Supplies
- Firebeetle ESP32-E IoT Development Board – Buy Here
- Grove Sensors & Cables (Beginner Kit I Used) – Buy Here
- Reed Switch – Buy Here
- Neodymium Magnets – Buy Here
- Lithium Ion Battery Pack (better than my one) – Buy Here
- 3D Print Resin, White PLA Style - Buy Here
- M5 Button Head Screw & Nuts – Buy Here
- Bearings - Buy Here
- Header Pins - Buy Here
- Breadboard Jumpers - Buy Here
Equipment Used
- Voxelab Proxima 6.0 3D Printer (Amazon) – Buy Here
- Voxelab Proxima 6.0 3D Printer (Voxelab Direct) - Buy Here
- Fluke Multimeter - Buy Here
- TS100 Soldering Iron - Buy Here
- Dremel Versatip Heat Gun / Soldering Iron - Buy Here
Some of the above parts are affiliate links. By purchasing products through the above links, you’ll be supporting my projects, with no additional cost to you.
Prepare the Board & Sensors


The sensors all come from a Grove Beginner Kit and have been removed from the original backboard. I’m going to use a pressure sensor that uses I2C communication, a DHT11 sensor that uses a digital pin and the light sensor that uses an analogue pin.
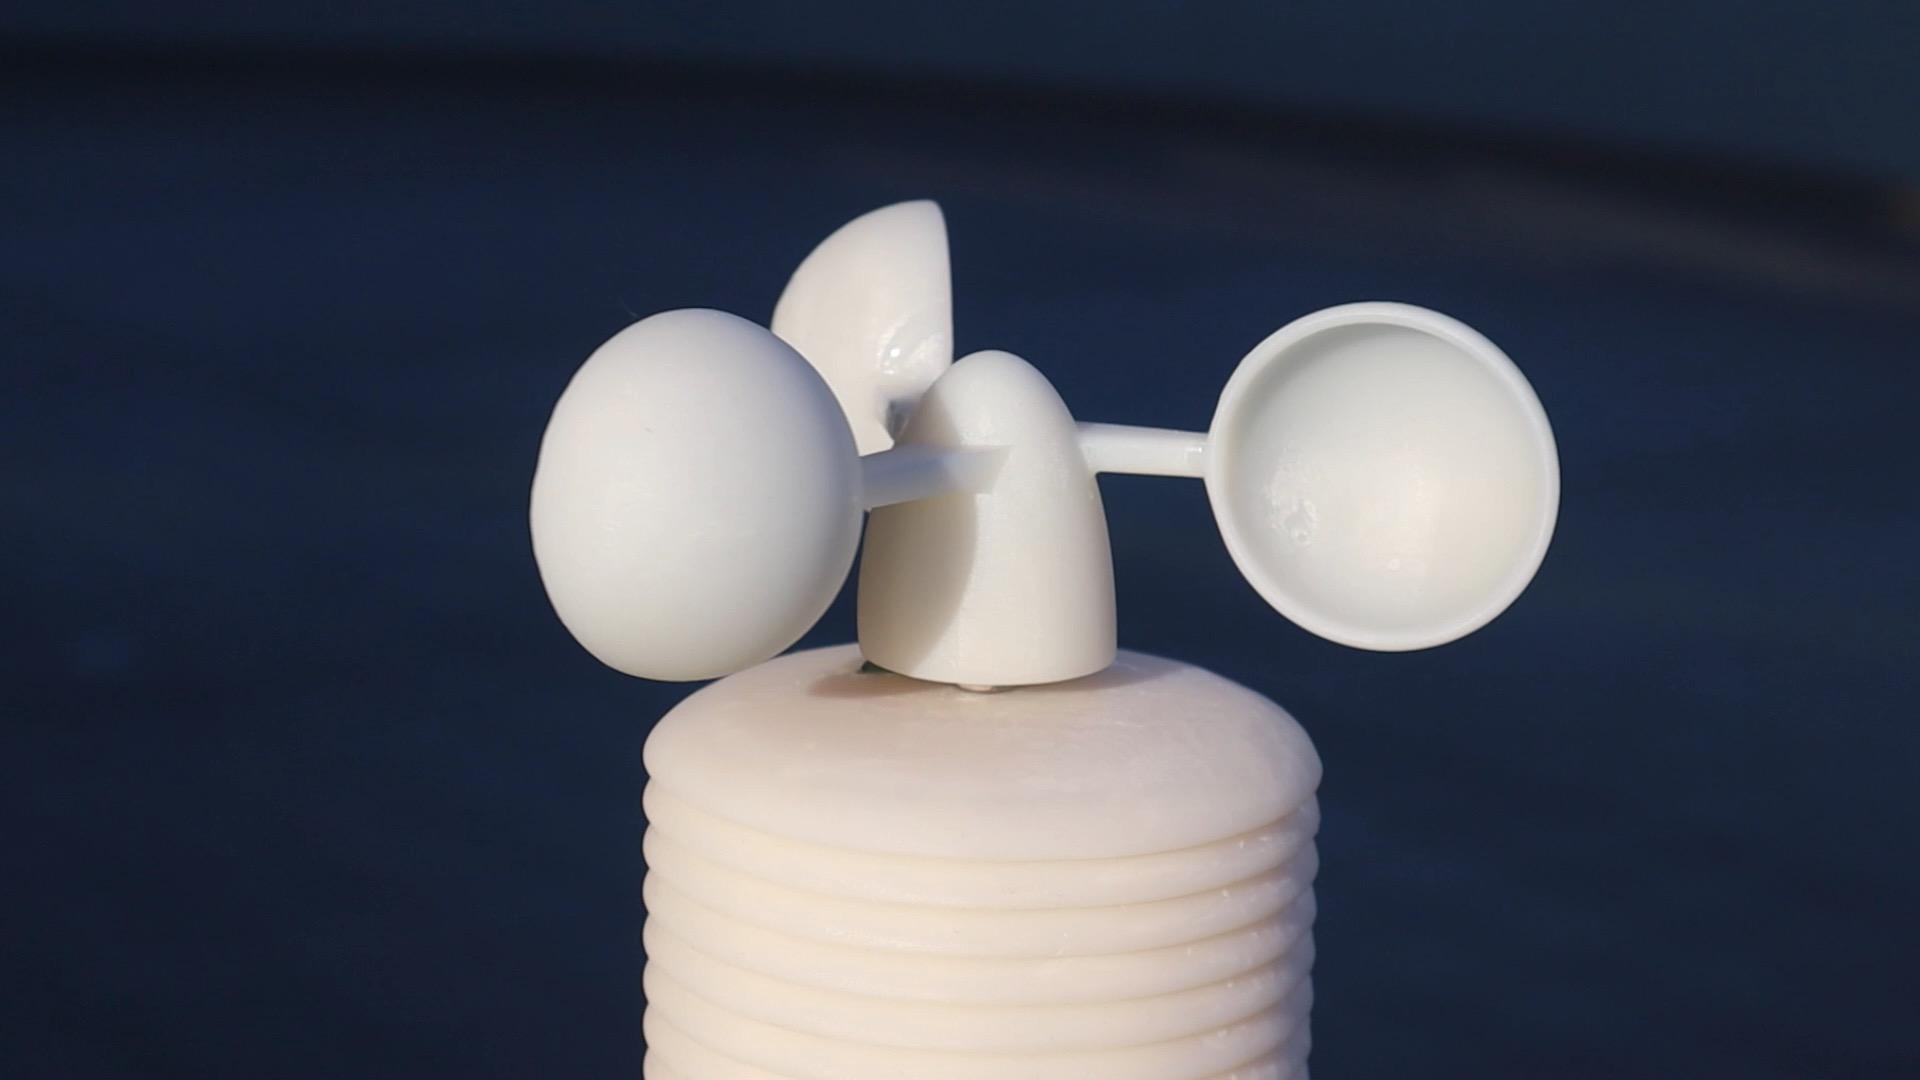
I’m also going to make up an anemometer or wind speed sensor on the top that uses a reed switch to trigger an interrupt routine for each rotation.
The Firebeetle board has a small bridge in the centre of the board which they recommend breaking if you’re going to be using the board for low power applications. I couldn’t find any information in the documentation on what this does, but I presume it disables things like the onboard power led in order to save power.
If you ever want to undo this, just solder a bridge across these two pads again.
Trial Assemble Sensors on a Breadboard

As with any electronics project, its a good idea to trial assemble the components on a breadboard first to test the connections and code.
I’ve connected the pressure sensor to the I2C interface on the board, the DHT11 sensor to pin 14, the light sensor to pin 36 and the reed switch to pin 0.
The other connections are just to 5V and GND.
Have a look at my blog post if you need some additional help with the connections.
Program the Firebeetle ESP32 Board
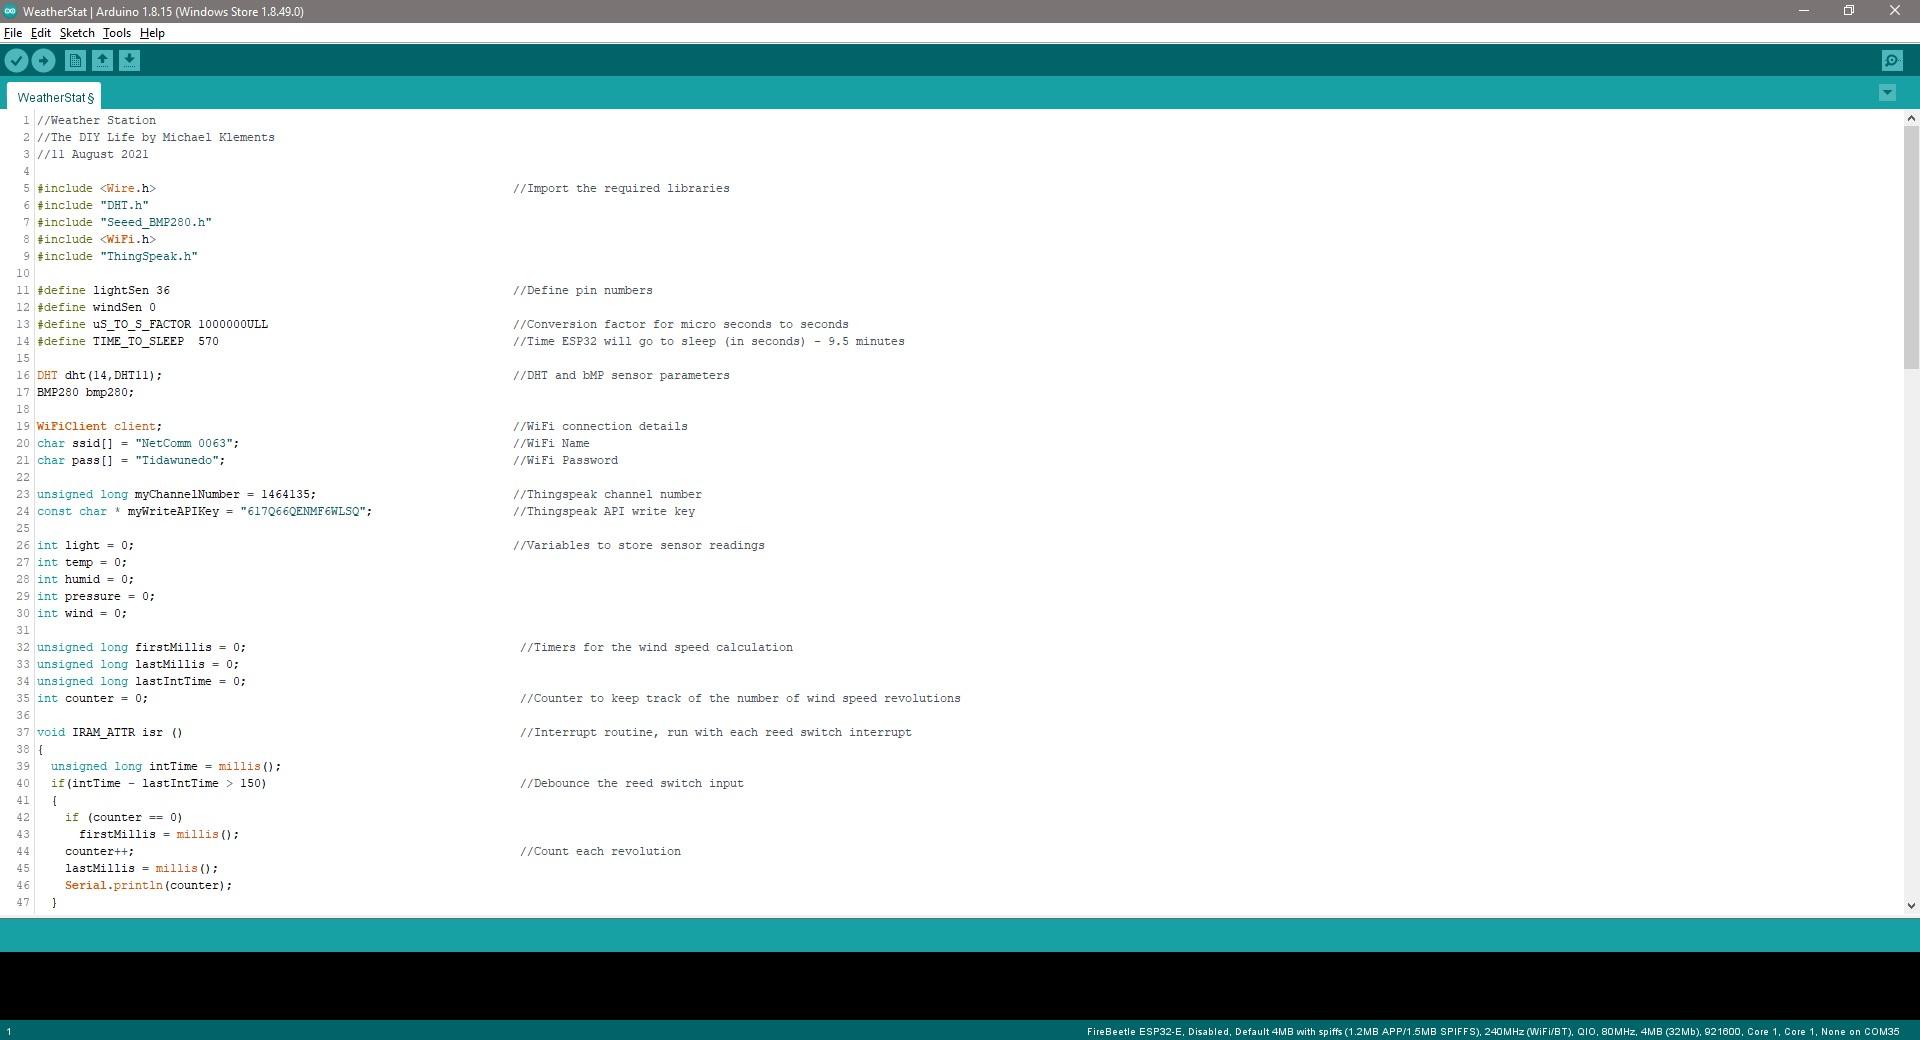
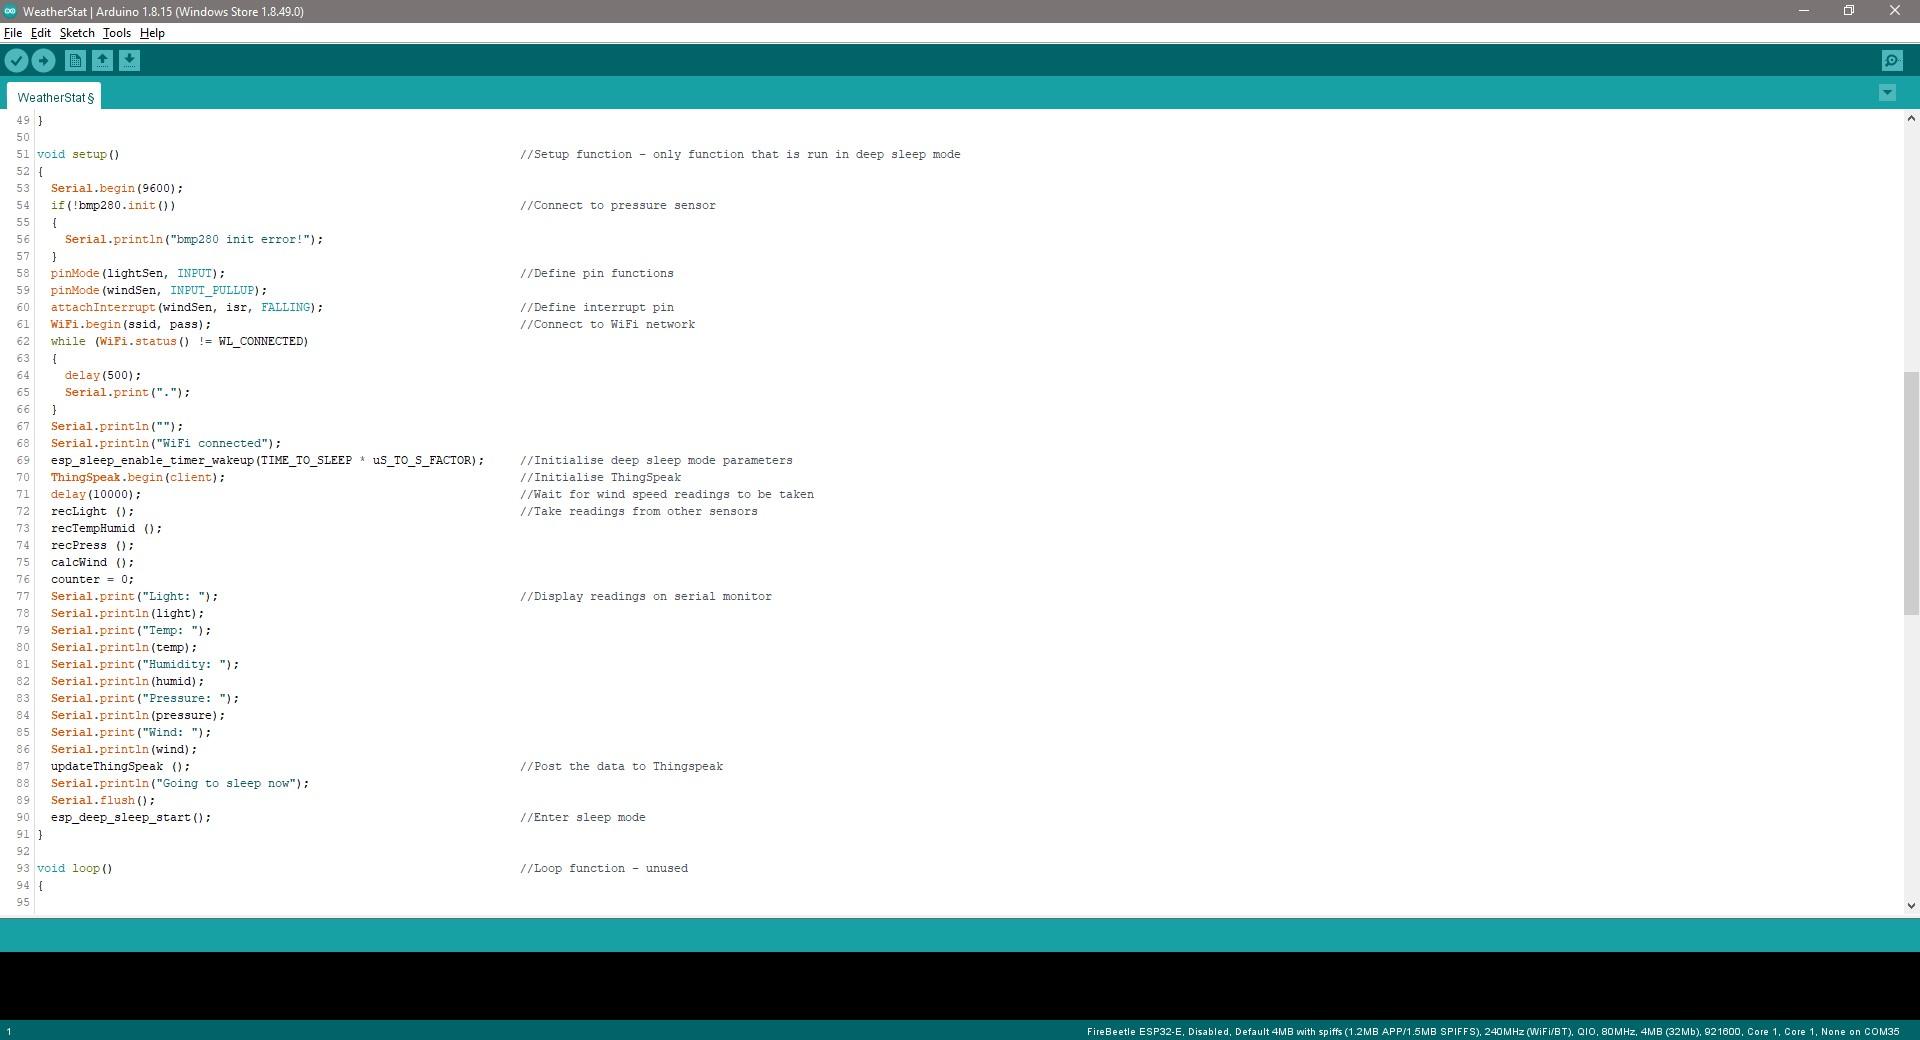
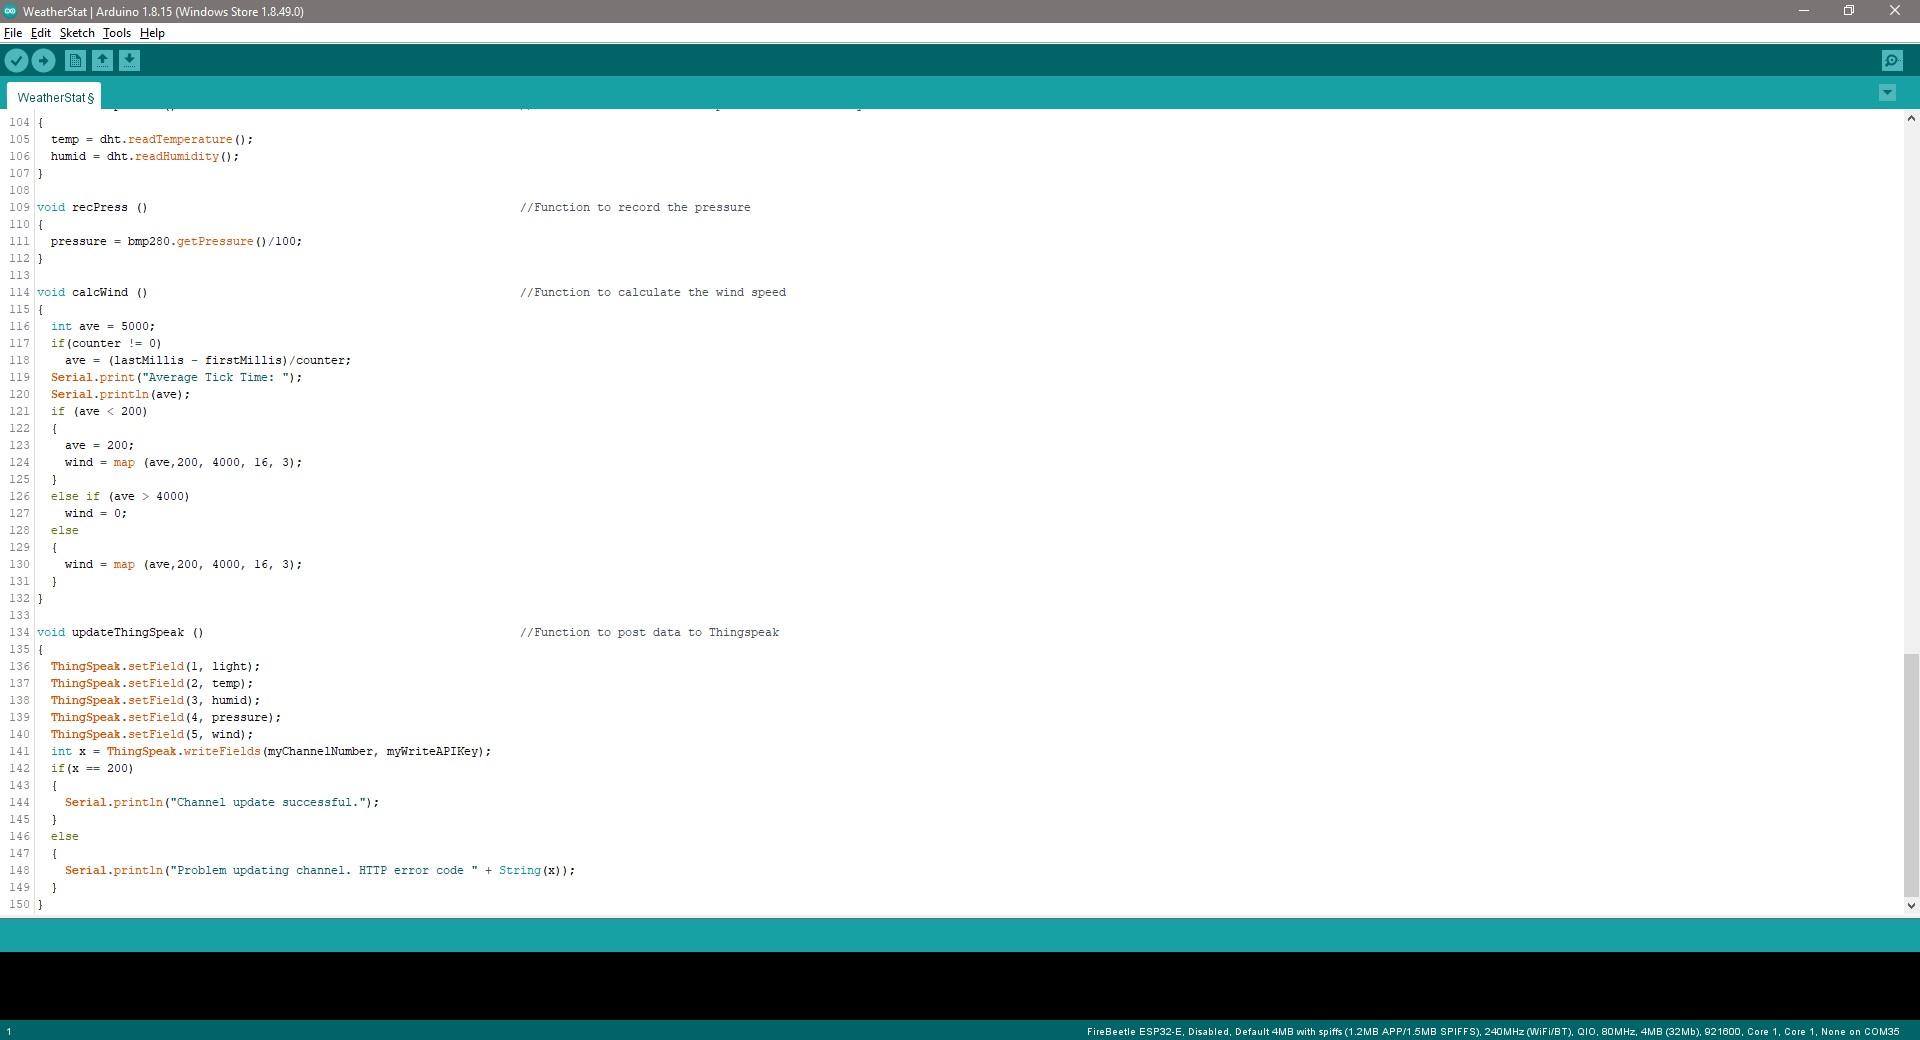
I then wrote up a sketch to take readings from the sensors every ten minutes and post the data to Thingspeak. Between readings, the ESP32 is put into deep sleep mode in order to save power. This shuts down the WiFi and Bluetooth communication modules as well as the CPU.
You’ll notice that all of the code is in the setup() function and the loop() function is left empty. This is because the ESP32 only runs the setup() function when operating in deep sleep mode, so only the code in this function is executed each time it wakes up.
Thingspeak have an Arduino IDE library to make posting data to their server a bit easier, so you'll need to install this library first.
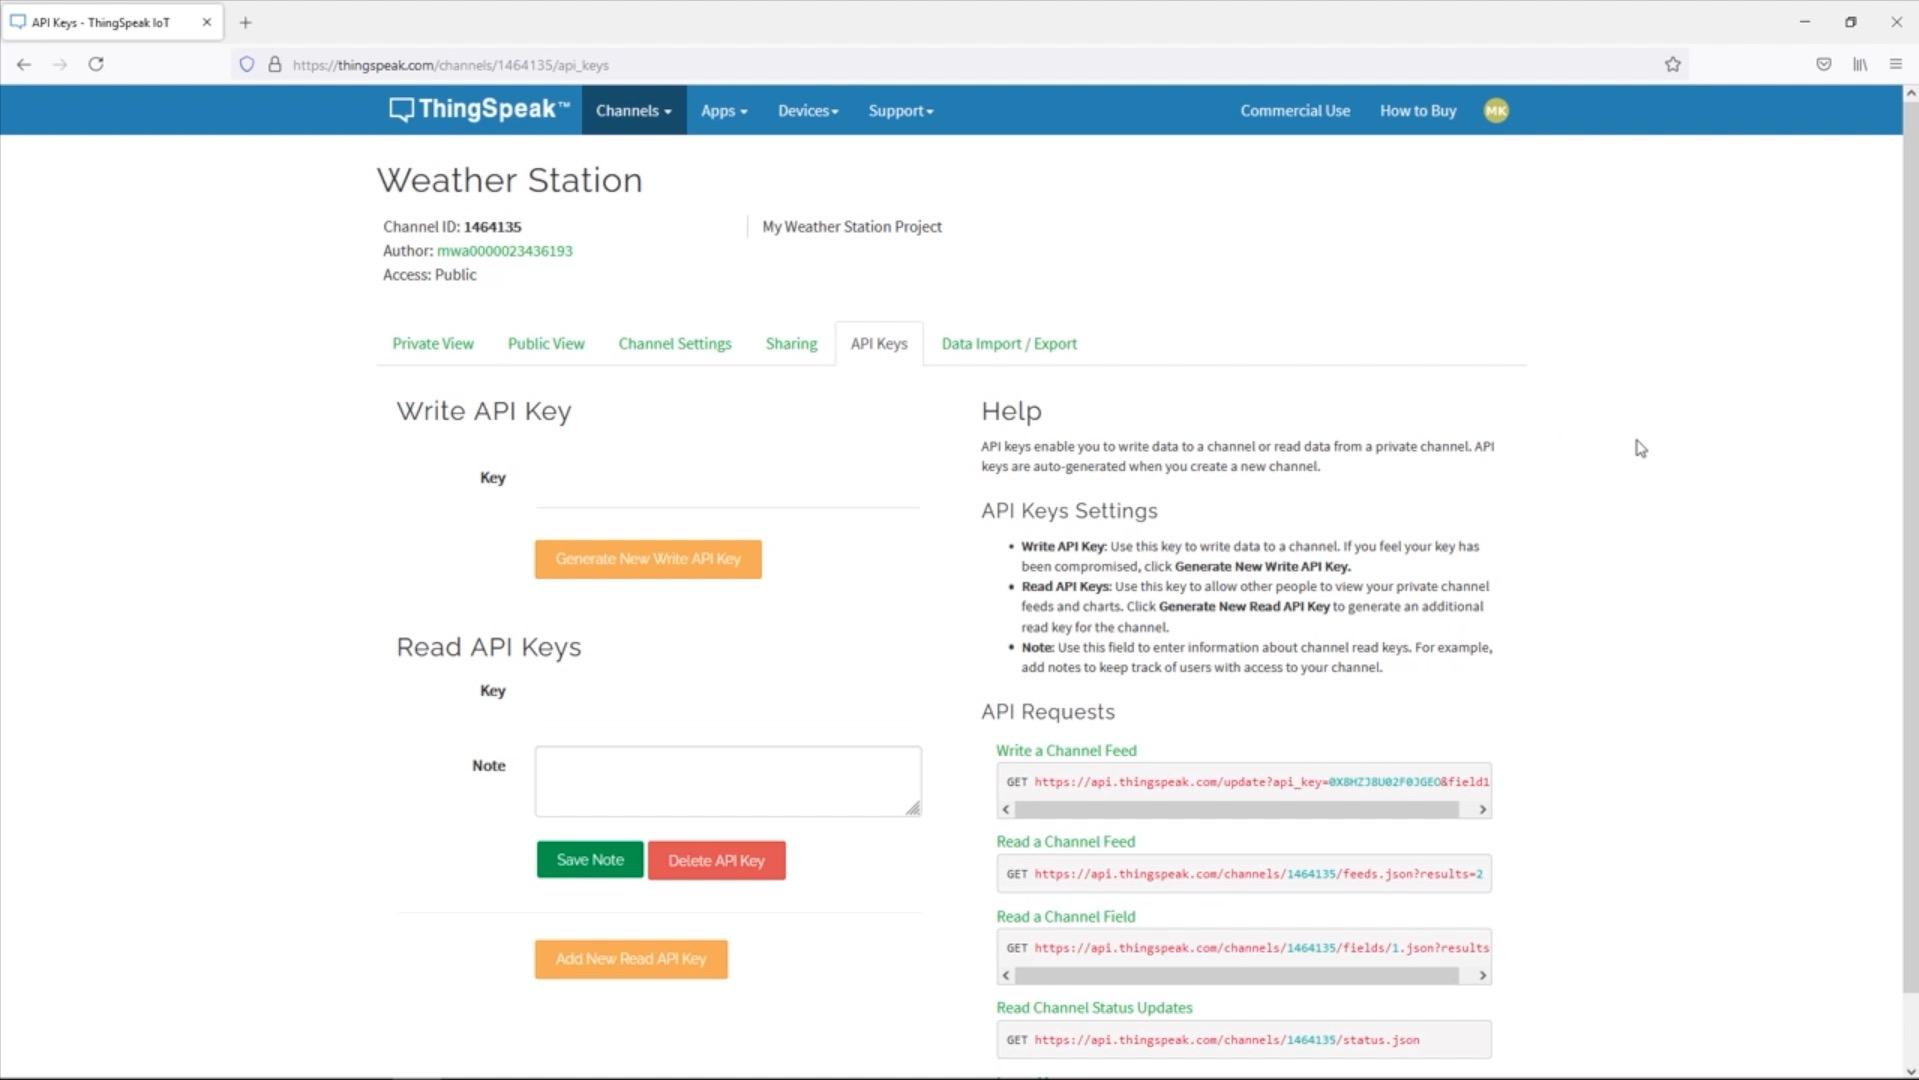
You also need to create an account on Thingspeak and then create a channel for your data which you’ll then be able to generate a write API key for. The API key is effectively the password your ESP32 uses to be able to post data to your Thingspeak channel, so that Thingspeak knows that the data is coming from the correct source.
I’ve created a weather station channel and then made a dashboard to view the channel data which I’ve put a gauge and a trend chart onto for each field.
The wakeup cycle takes about 20-30 seconds to complete including the 10 seconds that the ESP32 waits to measure the wind speed data.
Solder a Wiring Harness


Once you're happy with the connections to the sensors and you've got the code running, you can make up a permanent wiring harness. This will provide a more reliable connection between your sensors and Firebeetle board.
I cut the plugs off of one end of each of the grove cables and then soldered these onto some male header pins to plug into the board. I also used some female jumpers to make up the leads that the reed switch plugs into.
3D Print the Housing

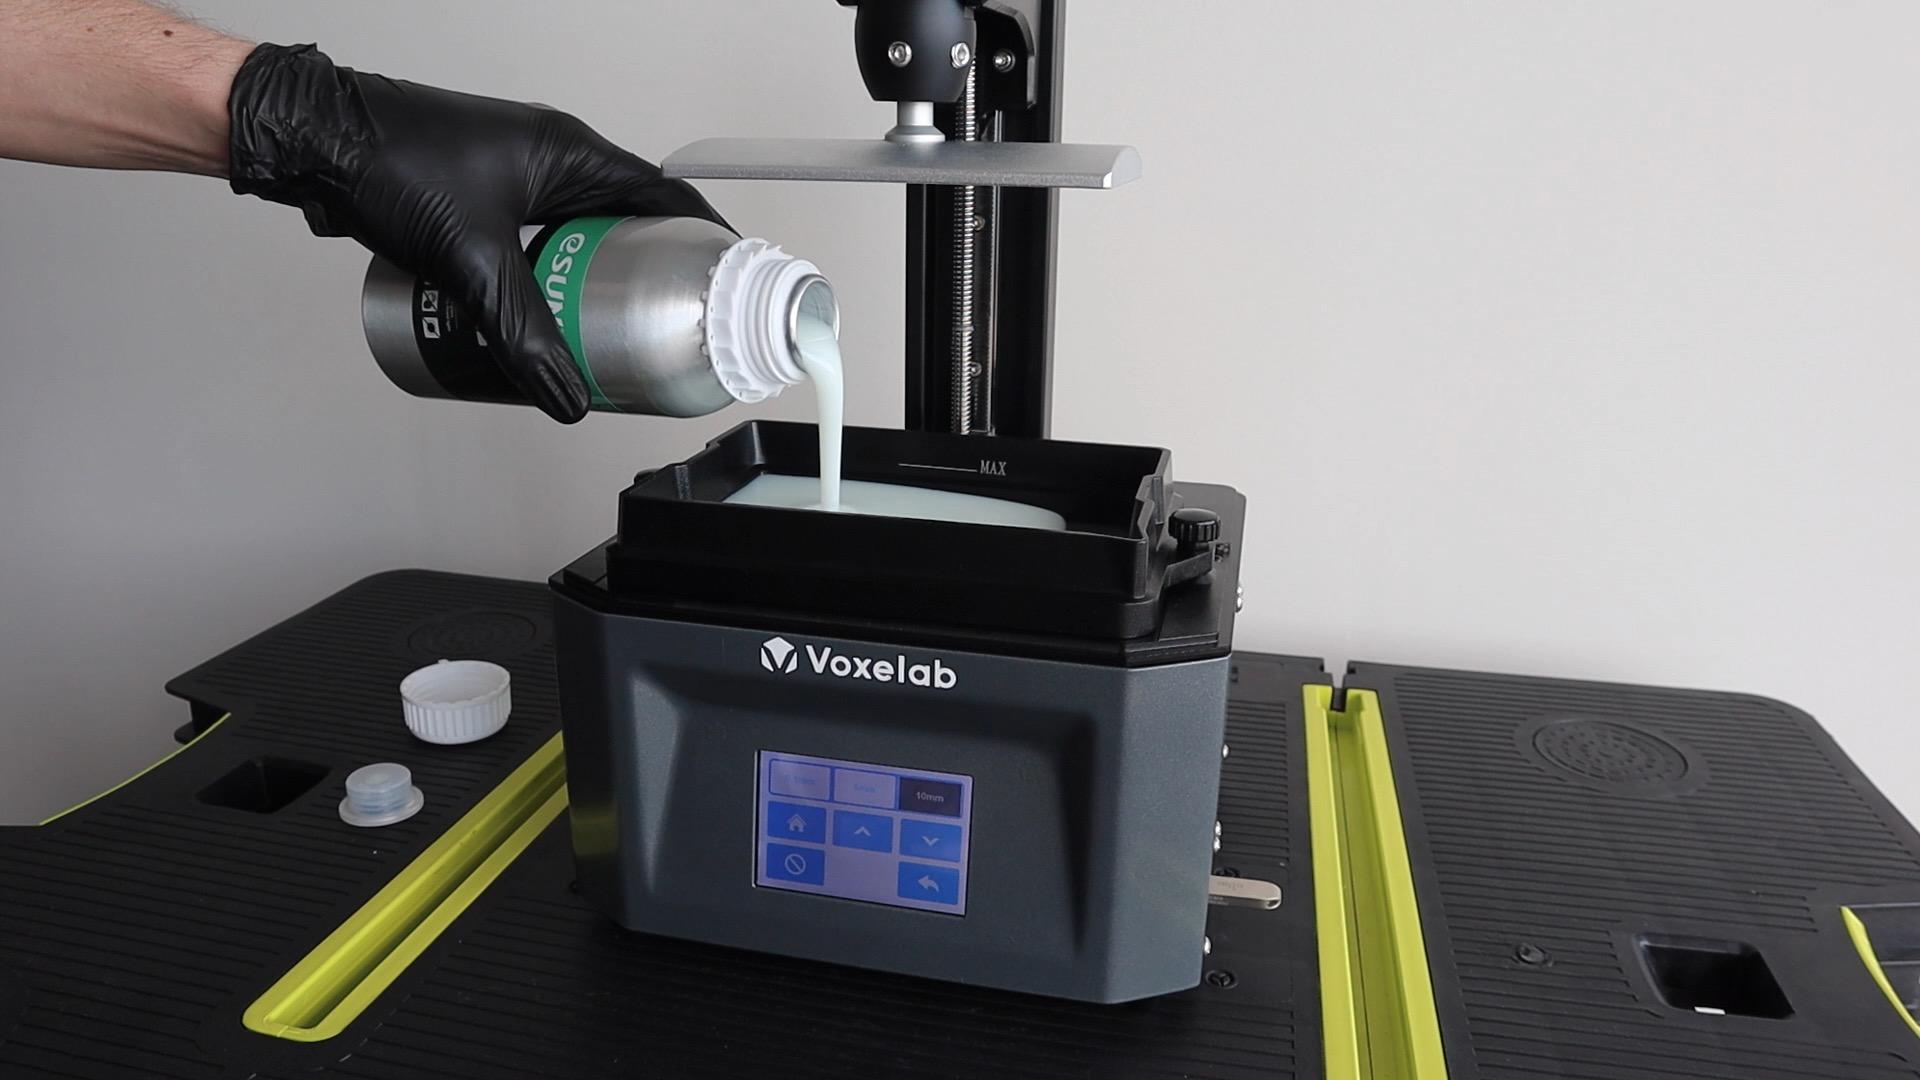
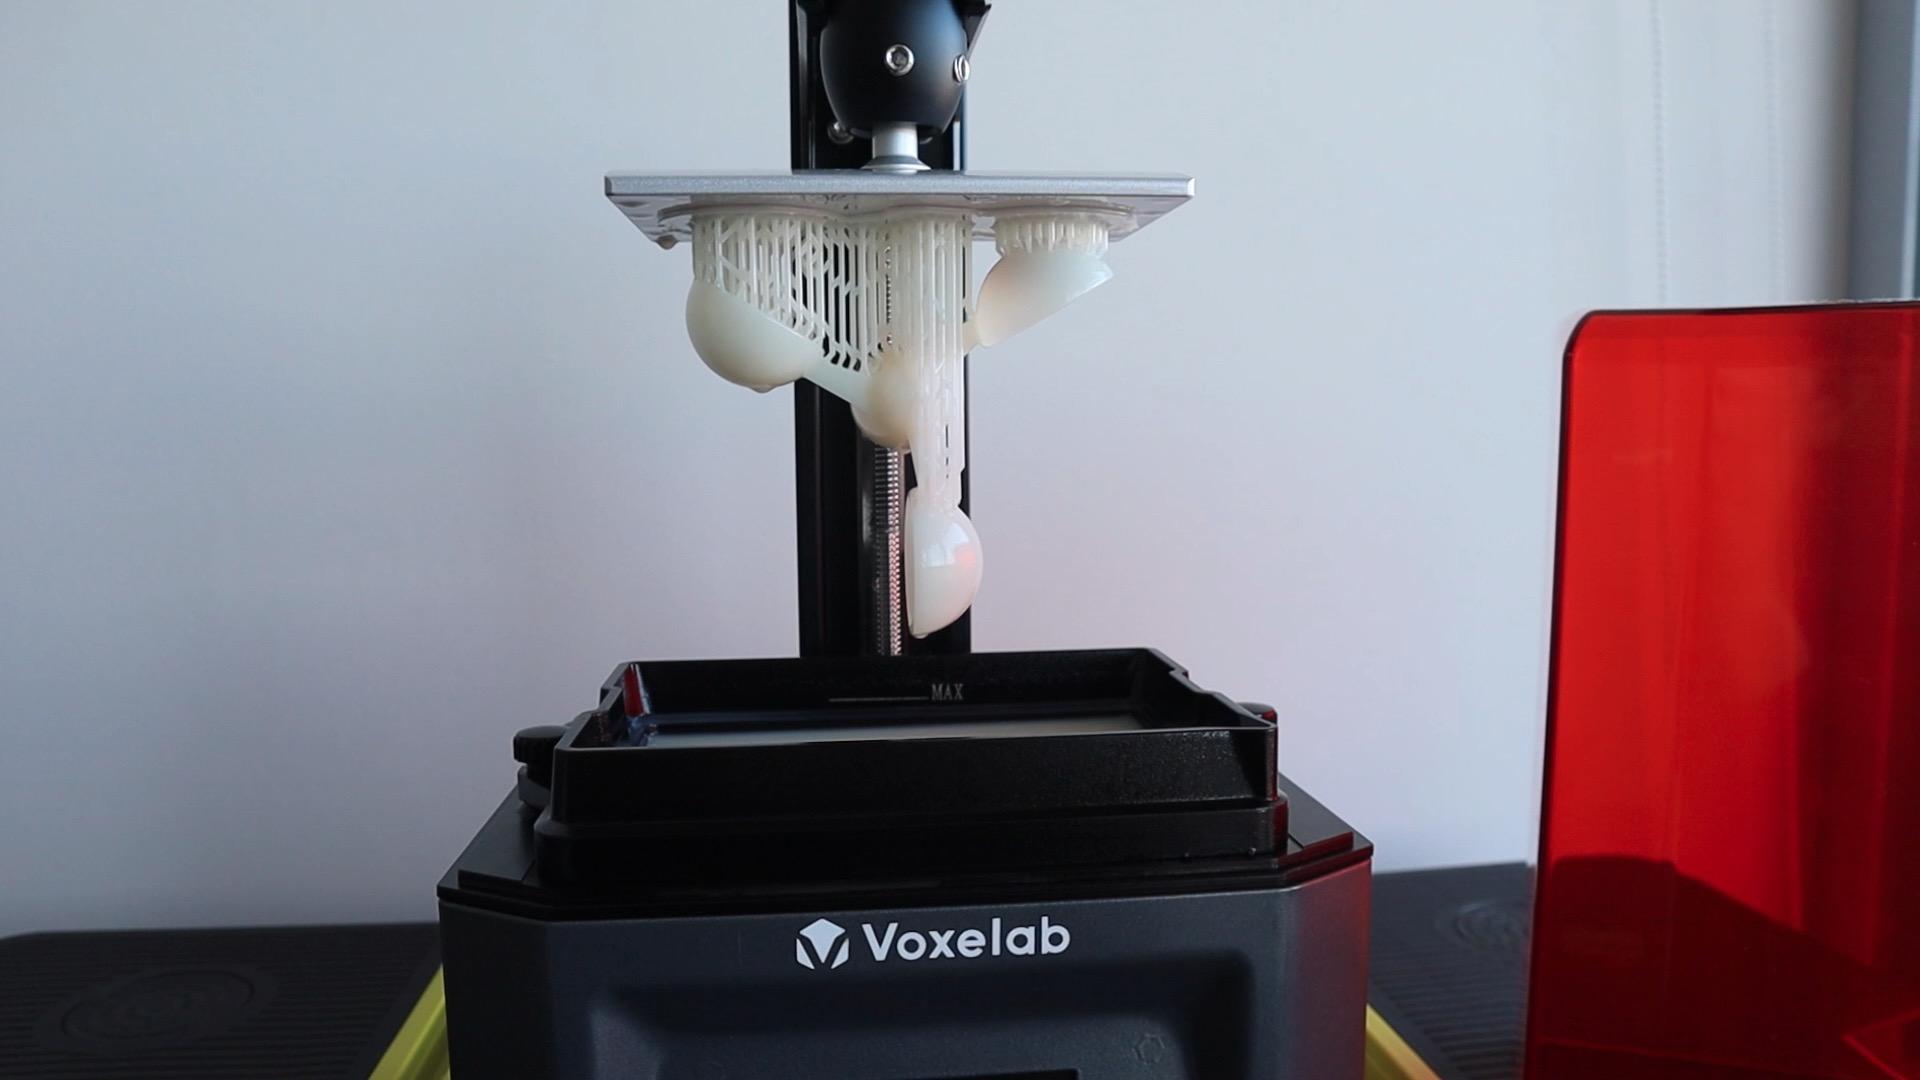


I designed the housing to be 3D printed in resin so that the vented sensor housing doesn't need to be assembled in layers. I wanted it to be as compact as possible, so I wanted to integrate the sensors and the anemometer into a single assembly. The design I came up with housed the ESP32 and battery in the base, with the sensors in a vented center compartment and the anemometer on top.
I’m not yet sure how well resin prints will hold up in the sun. I’ve done a bit of research on it and most say that it’s a bad idea, listing brittling and UV damage as likely to lead to failures, but I’ve also seen a couple of tests where people have actually left prints outside and they didn’t seem to have any visible damage. So I thought I’d give it a try and see how long it lasts.
I printed them in regular pla style white resin, cleaned them up and allowed them to cure in the sun for a day as I don’t yet have a curing chamber.
You can download the 3D print files here.
Install the Sensors


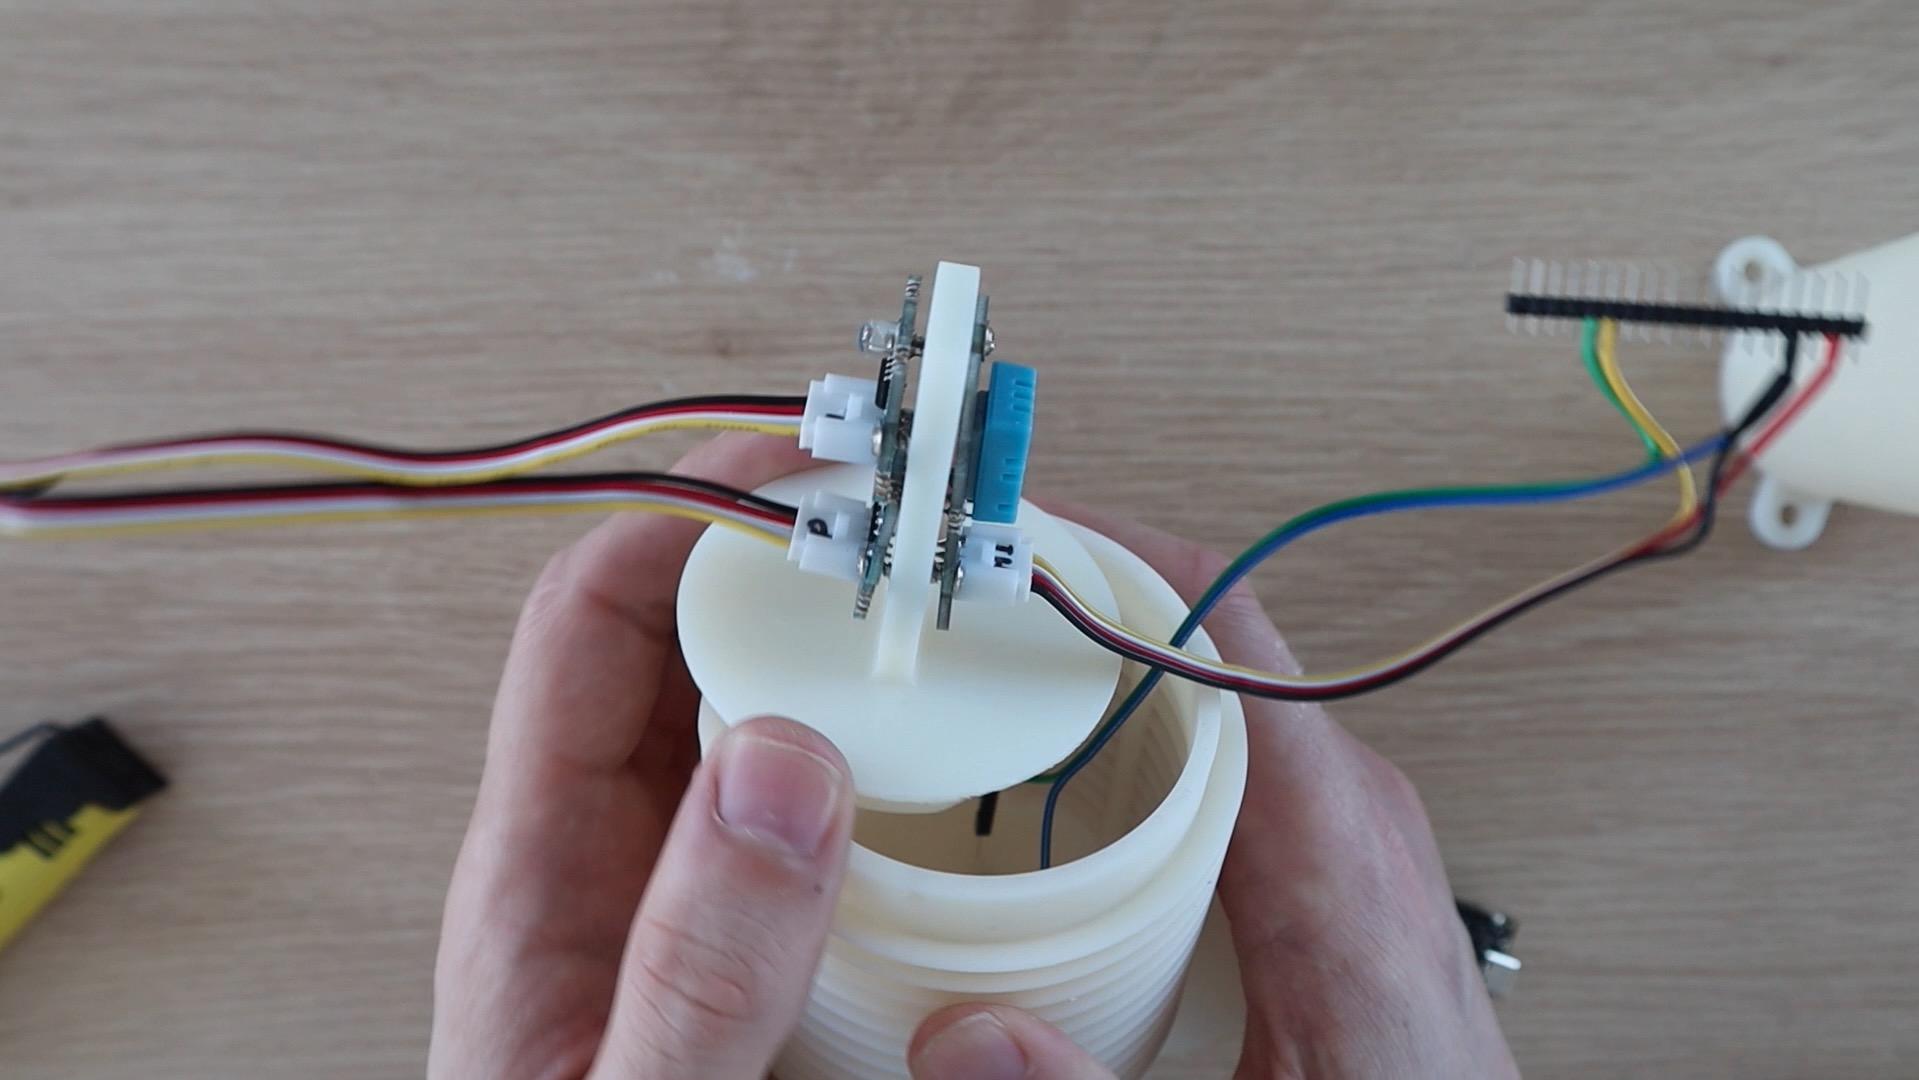
I mounted the grove sensors onto the sensor stand, with the temperature and humidity sensor on one side and then pressure and light sensors on the other. I already added the mounting holes into the 3D print, so each sensor just needs to be screwed into place. I just used some small screws that I had lying around from some servos.
Assemble the Anemometer


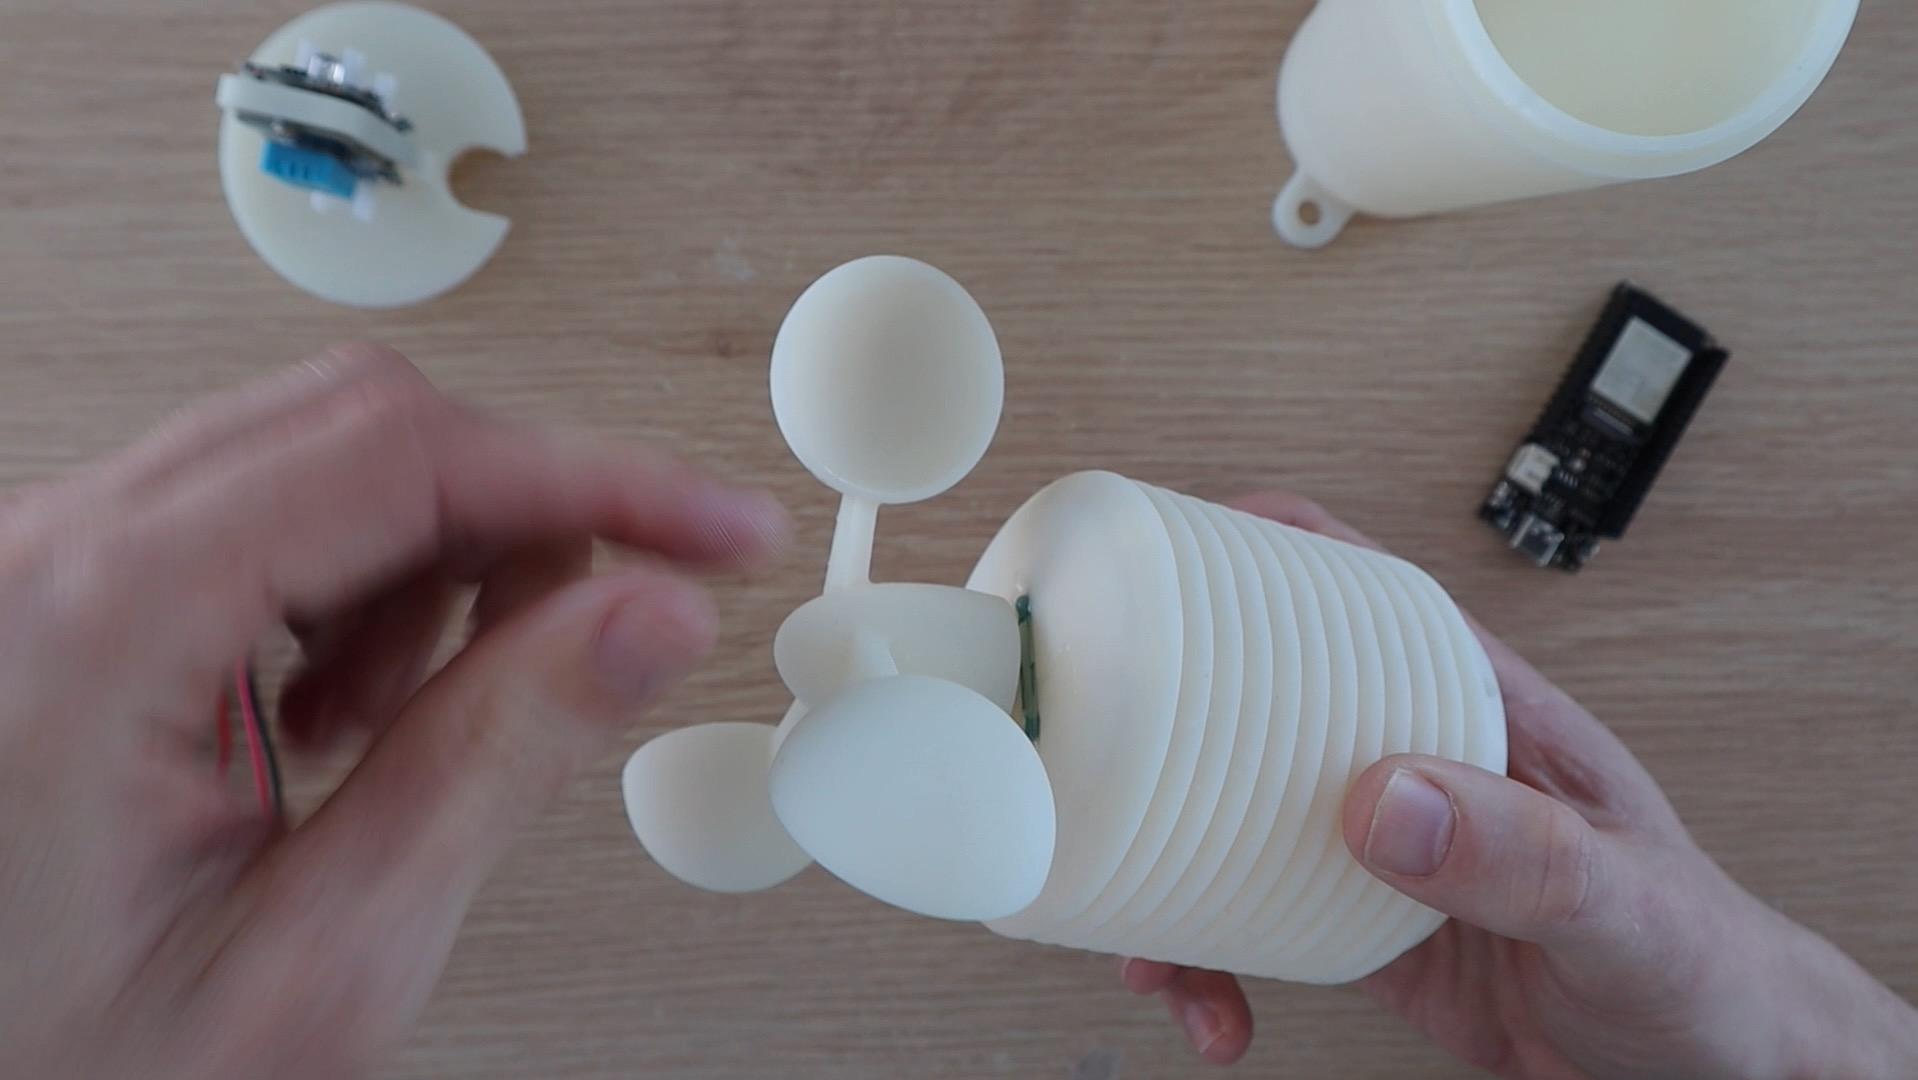
Bend the legs of the reed switch 90 degrees so that it can be seated in the top of the sensor housing with the legs through to the inside. I put some resin into the gaps at each end to seal them up and cured the resin with a small UV light.
The anemometer is held in place with a single M5x20mm screw pushed through the housing from the inside. A nut holds the screw in place and a second nut then holds the two bearings on the screw. Tighten this nut to hold the bearings in place, but don't make it so tight that it restricts their rotation.
Push a couple of magnets (4-5) into one of the gaps in the anemometer base. These will trigger the reed switch on each rotation.
Lastly, push the anemometer onto the bearings so that it sits a couple of millimeters above the reed switch.
Connect the Firebeetle Board
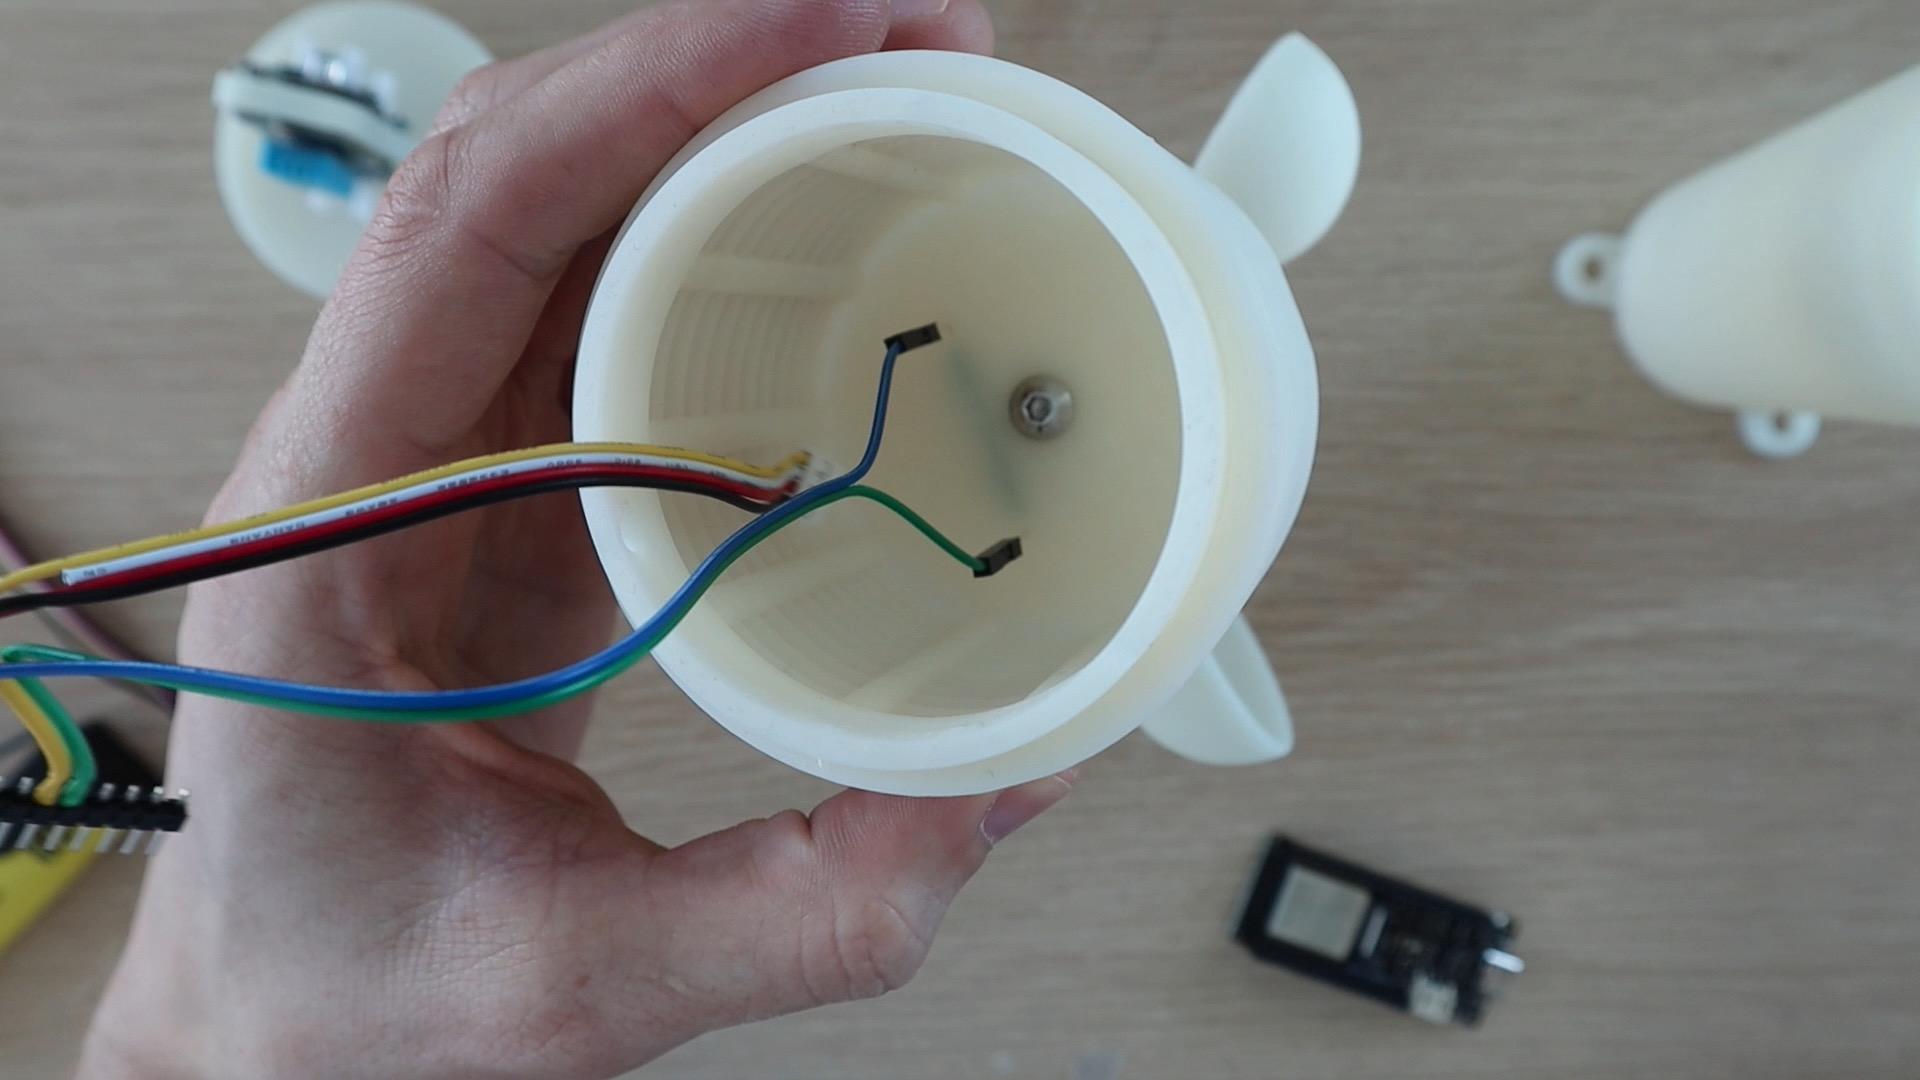
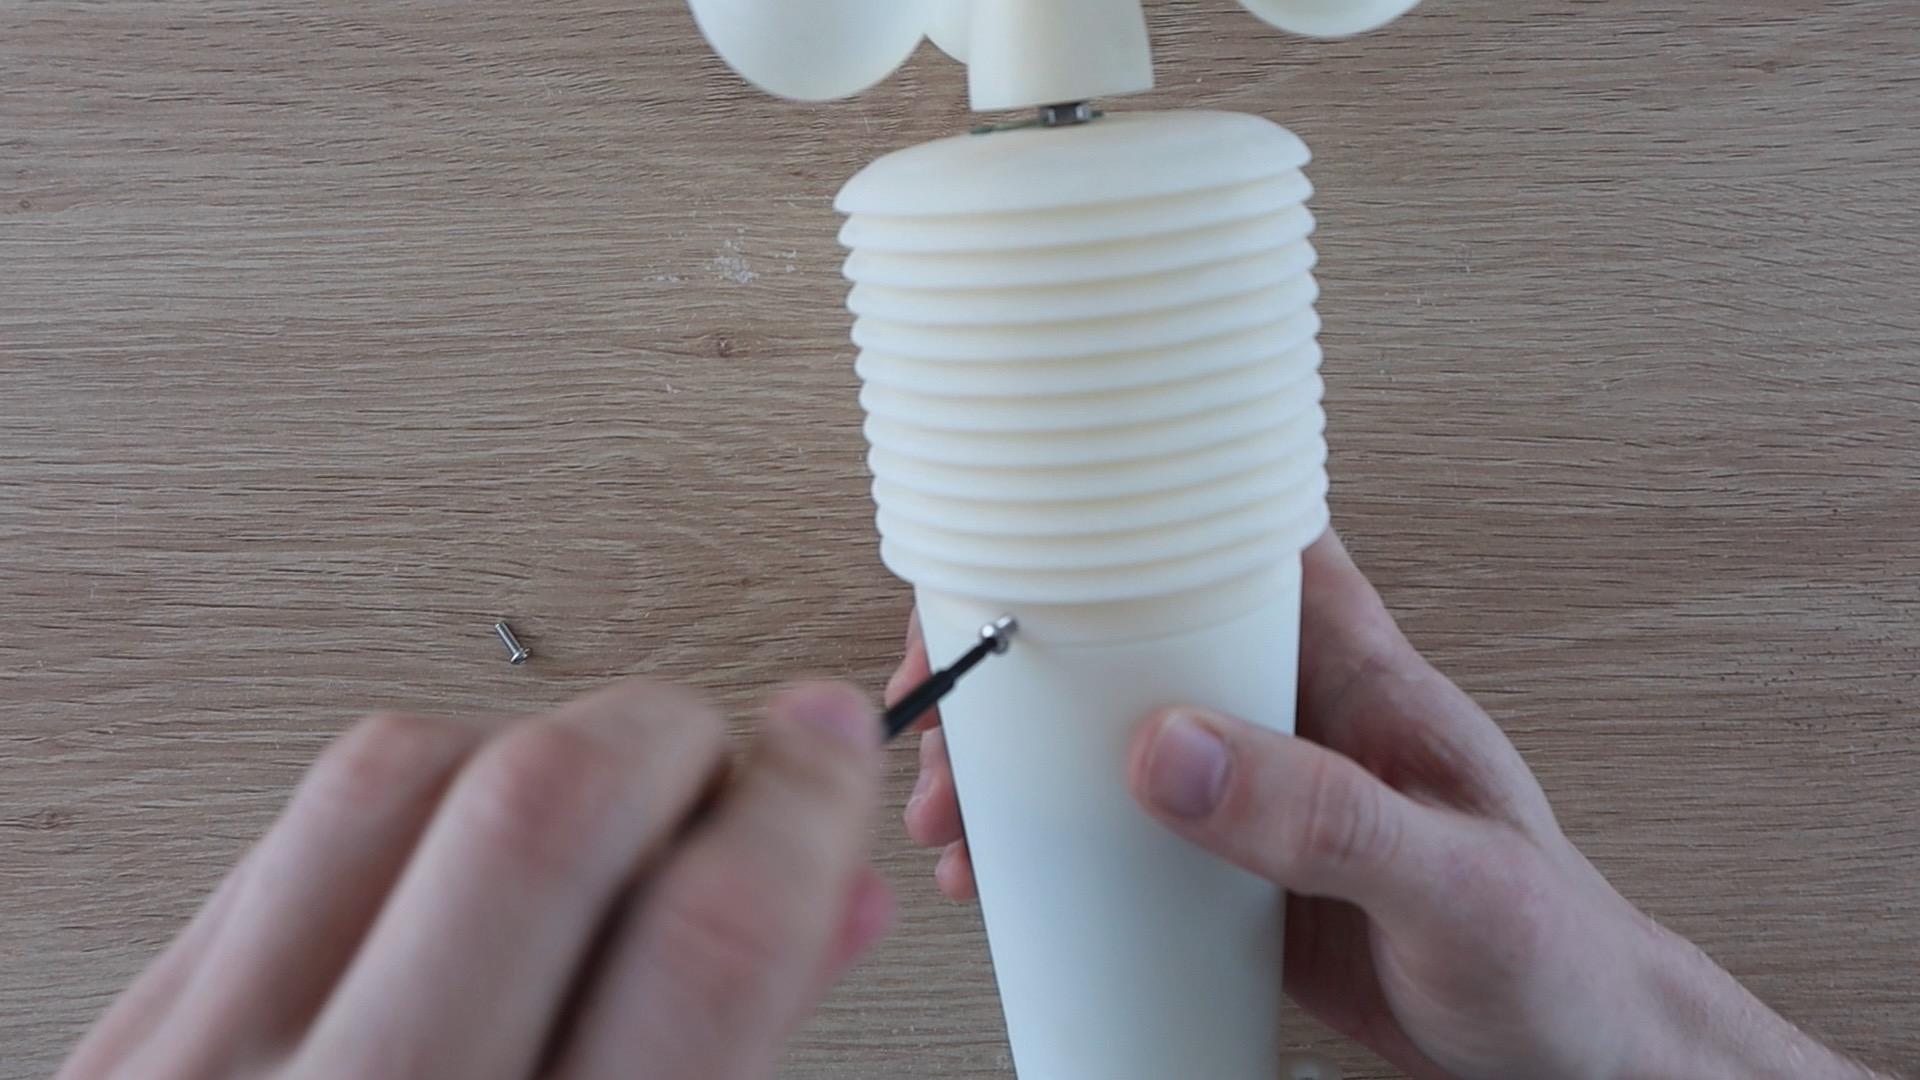
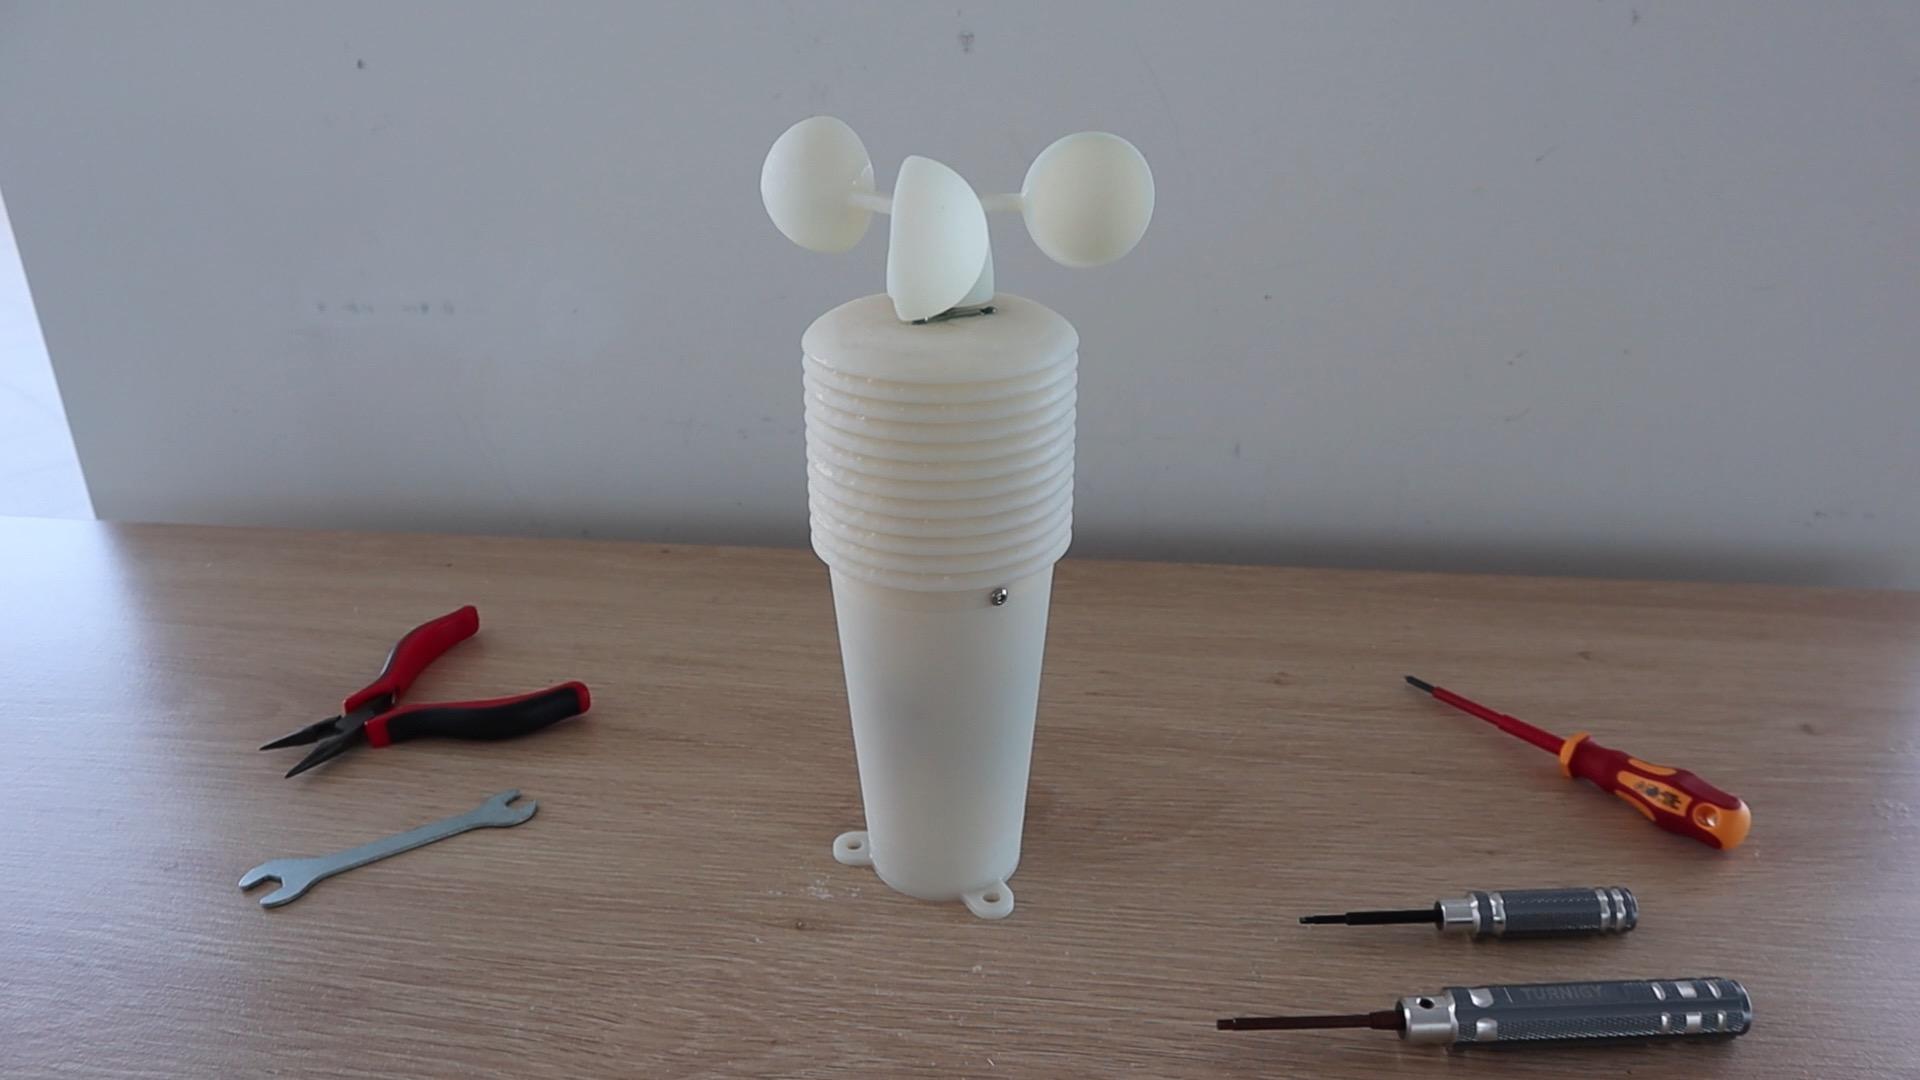
Plug the grove leads into the sensors and connect the jumpers to the reed switch. Plug the battery into the firebeetle board, remembering to charge it first, and then close up the housing with some M3x8mm screws.
The weather station should now be connected to your WiFi network and posting data to Thingspeak, so it's ready to be mounted outside.
Secure it outside with three screws through the supports on the bottom of the base.
Test the Weather Station
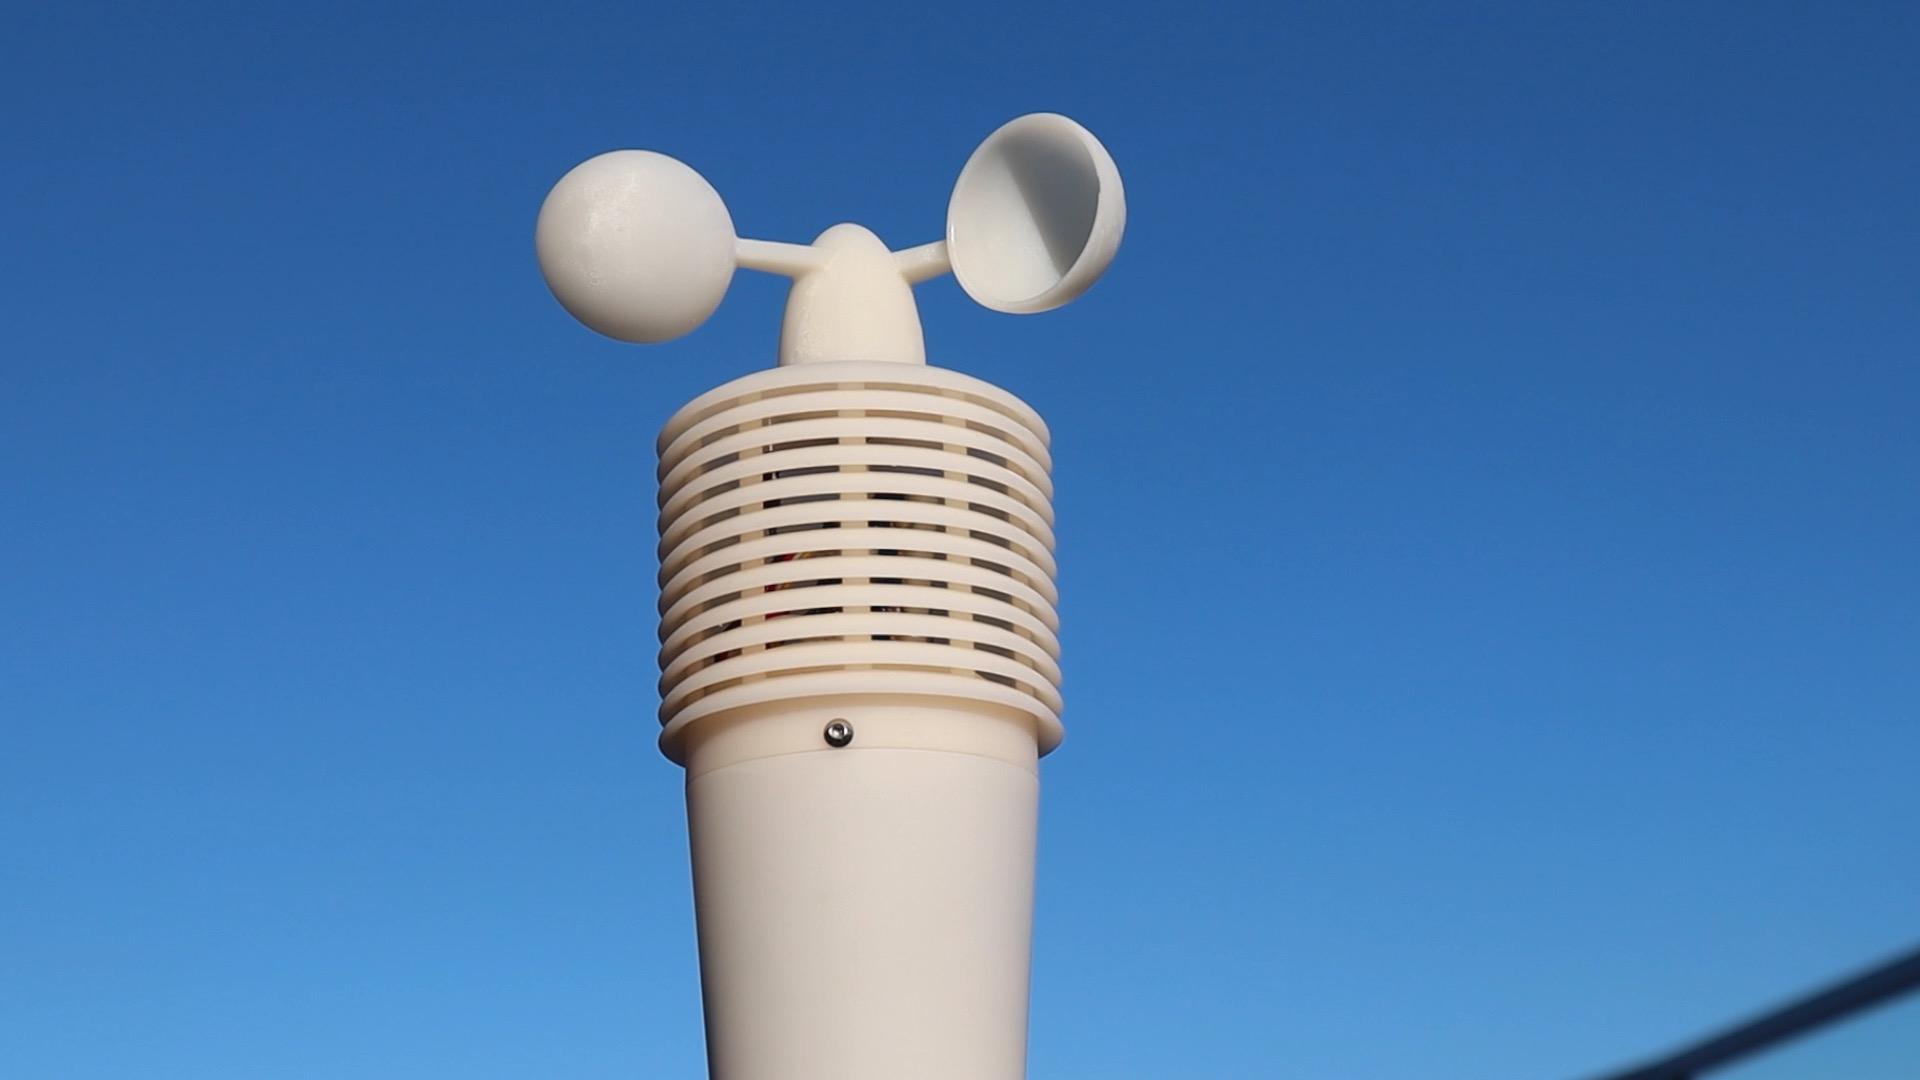
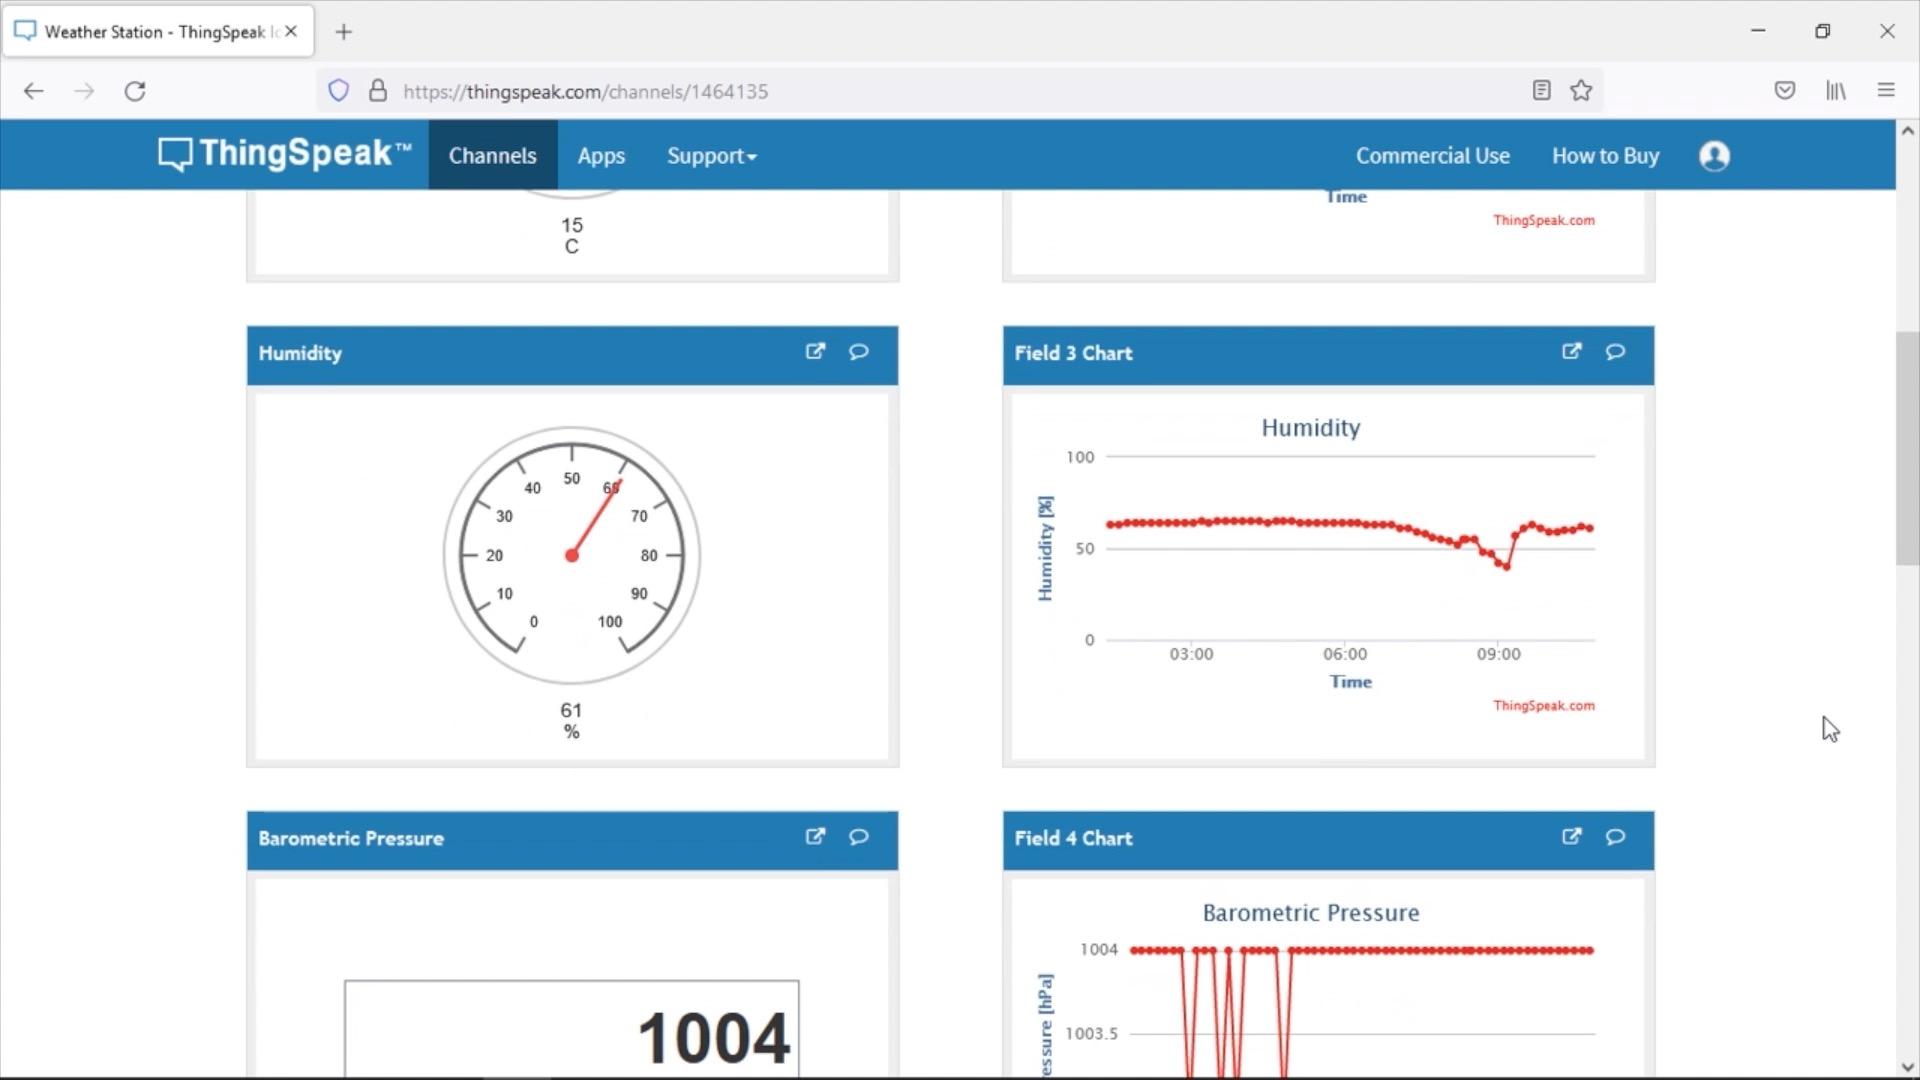

I left the weather station outside for a couple of hours and then opened up my Thingspeak dashboard. The sensors all seemed to be working well and the data trends were visible on the graphs.
I also tested the current draw from the batteries and found that the board uses around 30-60mA when running, 120mA when posting data over WiFi, and that the current draw goes down to 1.2mA when in deep sleep mode. So on a 2500mAh battery, you should get a little under 2 months of run time on a single charge. You could also add a small solar panel to the assembly to keep the battery charged during the day.
As luck would have it, this was the most still weekend we've had in months, so there was virtually no wind to test the anemometer with. There were a couple of light breezes that registered on the graph, but the readings were way higher than what the actual wind speed was. So the wind speed calibration definitely needs to be adjusted and I'll need to do some further testing to get this set up properly.
Overall I'm really happy with the way it has come out. Hopefully, I'll have a couple of windy days in the coming weeks and I'll be able to adjust the timing to get the wind speed sensor set up properly.
Let me know what you think of the weather station in the comments section and please consider voting for it in the Backyard contest if you enjoyed it.