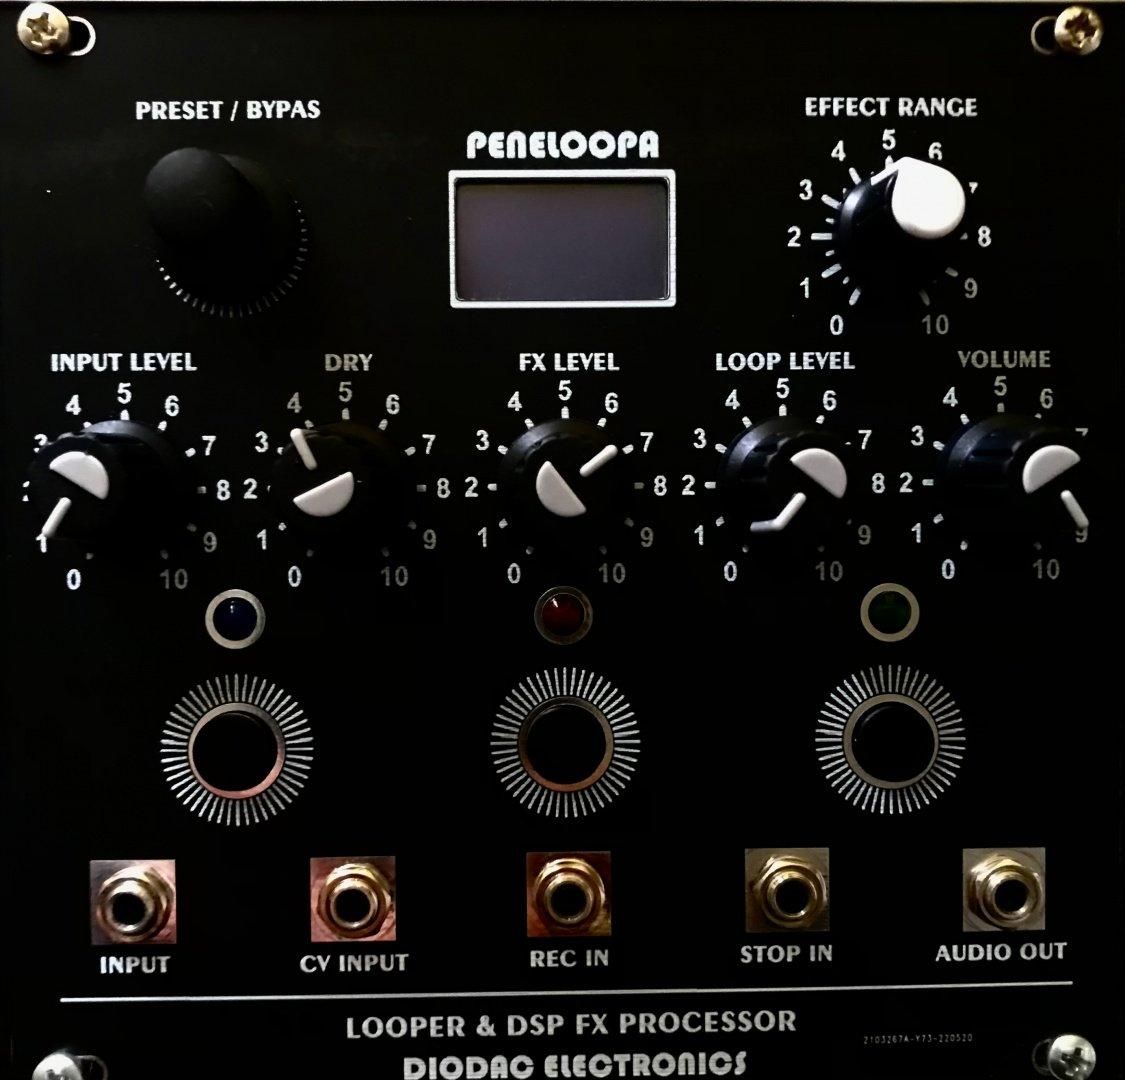
PENELOOPE — Teensy Multi-effect DSP Pedal
by DrDiodac in Circuits > Audio
42 Views, 0 Favorites, 0 Comments
PENELOOPE — Teensy Multi-effect DSP Pedal
Instructables · DrDiodac
PENELOOPE — Teensy multi-effect DSP pedal
DIODAC PENELOOPE v2: Teensy/Arduino multi-effect pedal firmware, Gerbers, BOM/CPL, front-panel DXF. MIT assets in diodac_audio.
MIT · pedal DSP diodac_audio
GitHub folder diodac_audio repo DrDiodac
Intro
PENELOOPE lives in the public MIT diodac_audio repository. Follow the repo filenames exactly — hardware paths keep spaces and original CAD names on purpose.
Audio path: Keep ISR short — firmware already defers large buffer wipes to loop(). Do not reintroduce delays inside the audio ISR.
Supplies
- Teensy (as required by Peneloope.ino) + Arduino IDE / Teensyduino
- PENELOOPE v2 PCB (Gerbers in repo) + BOM parts
- OLED (Adafruit SSD1306 lineage in firmware)
- MCP4921 DAC + supporting analog parts per BOM.csv
- Footswitches / enclosure; optional FP DXF for panel
Clone and Read PENELOOPE
Step 2 Assemble from BOM / Gerbers
Use BOM.csv, CPL.csv, Peneloope v2 board/ Gerbers, and PENELOOPE_V2_FP/ front-panel files. FP_V2.dxf for mechanical work.
Step 3 Flash Peneloope.ino
Open Peneloope/Peneloope.ino. Install libraries noted in README (SPI, Wire, ADC, CircularBuffer, Adafruit GFX/SSD1306). Upload to Teensy.
Rev 2.0 fixes: ADC config on correct ADC, float mod wavetable, single 16-bit SPI DAC frame, no debounce delay in ISR.
Step 4 Bring-up signal path
Verify dry path first, then each effect, then footswitches. Watch for dropouts — soak ≥5 minutes per TEST_AFTER_FLASH.
Step 5 Test after flash
Checklist in TEST_AFTER_FLASH.md — PENELOOPE: dry path, each effect, footswitches, 5-minute soak without dropouts.
Conclusion
Flash, run the minimum tests in TEST_AFTER_FLASH.md, then iterate. More DIODAC builds: DrDiodac.
https://github.com/iSystemDevelopment/diodac_audio/tree/main/PENELOOPE
This project
Parent repo
Hub
© 2026 DIODAC ELECTRONICS / iSystem Development · MIT lab/hardware assets as published in repo