PICAXE Thermometer Prototype With DS18B20 Sensor and LCD Display
by mosaicmap in Circuits > Microcontrollers
4260 Views, 9 Favorites, 0 Comments
PICAXE Thermometer Prototype With DS18B20 Sensor and LCD Display


When I learned Arduino basics, I saw some nice small hobby robots based on Arduino and also on PICAXE. I did not know about PICAXE at the time. But I quickly realized that PICAXE is very popular in hobby robotic communities. After some time I read a few interesting articles about the basic principles of PICAXE and I decided to try and explore PICAXE. It looked quite easy.
In this instructable I'll show how to start program PICAXE, how to upload program into PICAXE and how to create a simple thermometer.
Components


- PICAXE 20M2
- R 22 kΩ
- R 10 kΩ
- C 100 nF
- C 10 uF
- LCD with HD44780 driver (also known as LCD 1602)
- row pin header strip - male type
- R 220 Ω
- R trimmer 10 kΩ
- sensor DS18B20
- R 4.7 kΩ
- jumper wires
- two small breadboards (one for PICAXE, one for LCD 1602)
- AXE027 USB Cable for upload program and stereo 3.5mm audio jack
AXE027 USB Cable is inappropriately expensive (about 30 USD) in my country. If you don't want to buy AXE027, you will need this additional parts:
- USB to Serial (5V) adapter (I used CH340 USB to UART from Wemos company. See on AliExpress)
- protoboard
- 74HC04 (hex inverter) with socket
- row pin header strip - male type
- C 100 nF
- some wires
-
USB cable
See Step 4. where I'll descibe how to create cheaper alternative to AXE027.
Very Short Introduction to PICAXE

PICAXE philosophy is the same as philosophy of Arduino. PICAXE are cheap microcontrollers for education, for beginners and hobyists. You can use standlone PICAXE chip or you can use some Arduino-like development board. For example see original PICAXE Project-Boards.
PICAXE chip has a buildin BASIC interpreter and bootloader. Programming language is BASIC. There is also Blocky language -- a Scratch-like visual programming, but I will ignore it in this instructable.
Uploading a program to PICAXE work on same principle like in Arduino. It is done using the bootloader and serial line (RS232). You need only AXE027 cable. (AXE027 cable has builtin USB to serial converter)
See very nice original Getting-Started guide.
For all details about PICAXE I highly recomend you also see the original manual and BASIC programming manual.
I also have to mention that PICAXE microcontrollers are not opensource like Arduino, so you can't look into deep and you can't create your own PICAXE clone.
Software

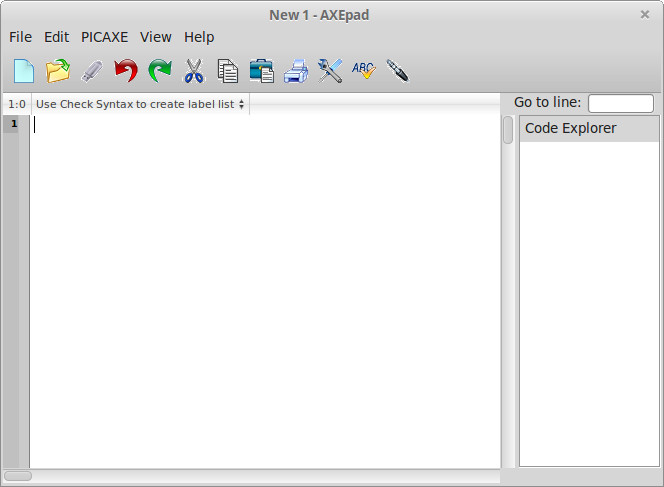
See original PICAXE sofware catalouge.
PICAXE Editor 6
Full integrated development environment (IDE). Best choice if you use Windows.
AXEpad
Elementary IDE. With Syntax check, Upload, Debug over serial.
Supports also Linux and Mac OS.
Drivers
If you use original AXE027 cable, you have to install AXE027 driver. See instruction on PICAXE web site.
I use USB to Serial with CH340 from Wemos company. Drivers for this converter are here: https://www.wemos.cc/downloads
Another popular USB to Serial converter is with the FTDI chip. Instruction are for examle in tutorial How to Install FTDI Drivers on Sparkfun page.
Creating Cable for Uploading Program to PICAXE


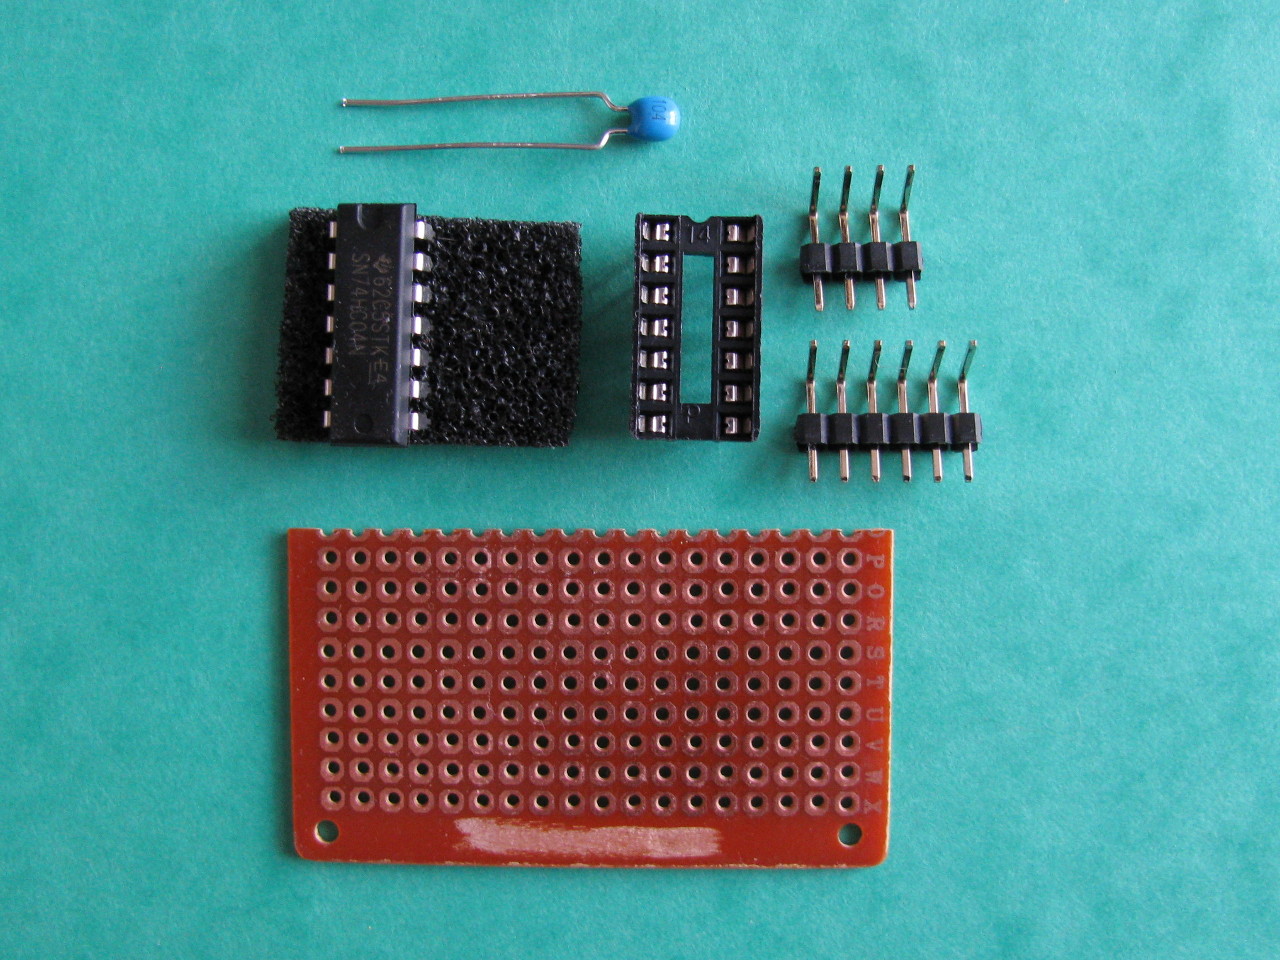


In this step I describe how to create cheap alternative for original AXE027 cable. If you already own the AXE027 cable, you can skip this step.
Introduction
When I tried to upload a program to PICAXE using a cheap USB to Serial converer for first time, it did not work. I tried to find out what's wrong for long time, but with no result. Everything seemed to be alright. After some searching on the internet I found out that PICAXE uses Serial interface with inverted logic compare to the TTL.
Most of USB to Serial converters uses TTL logic levels:
- logic 0: 0 V (max 0.4 or 0.8 V)
- logic 1: 2 V to 5 V
On the other hand, the original RS232 serial standard has logic levels defined as:
- logic 0: +3 V to +25 V
- logic 1: -3 V to -25 V
I guess PICAXE probably maintains compatibility with the original RS232, where the voltage for logic 1 is lesser than the voltage for logic 0. But that's just my speculation.
In any case, when I inverted signals (RX, TX), I was able to upload program without problems
Creating alternative cable
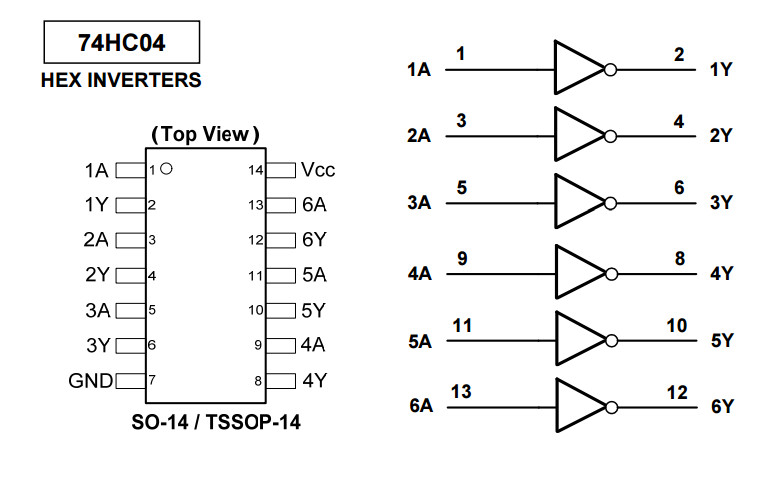
You need a common USB to serial converter and a logic level inverter. As a logic level inverter I choosed common chip 74HC04.
See schematic in the picture above. Wiring shouldn't be hard. See also other pictures...
Make input pinout layout of your inverter matching your USB to serial converter output pinout.
Theromometer Wiring


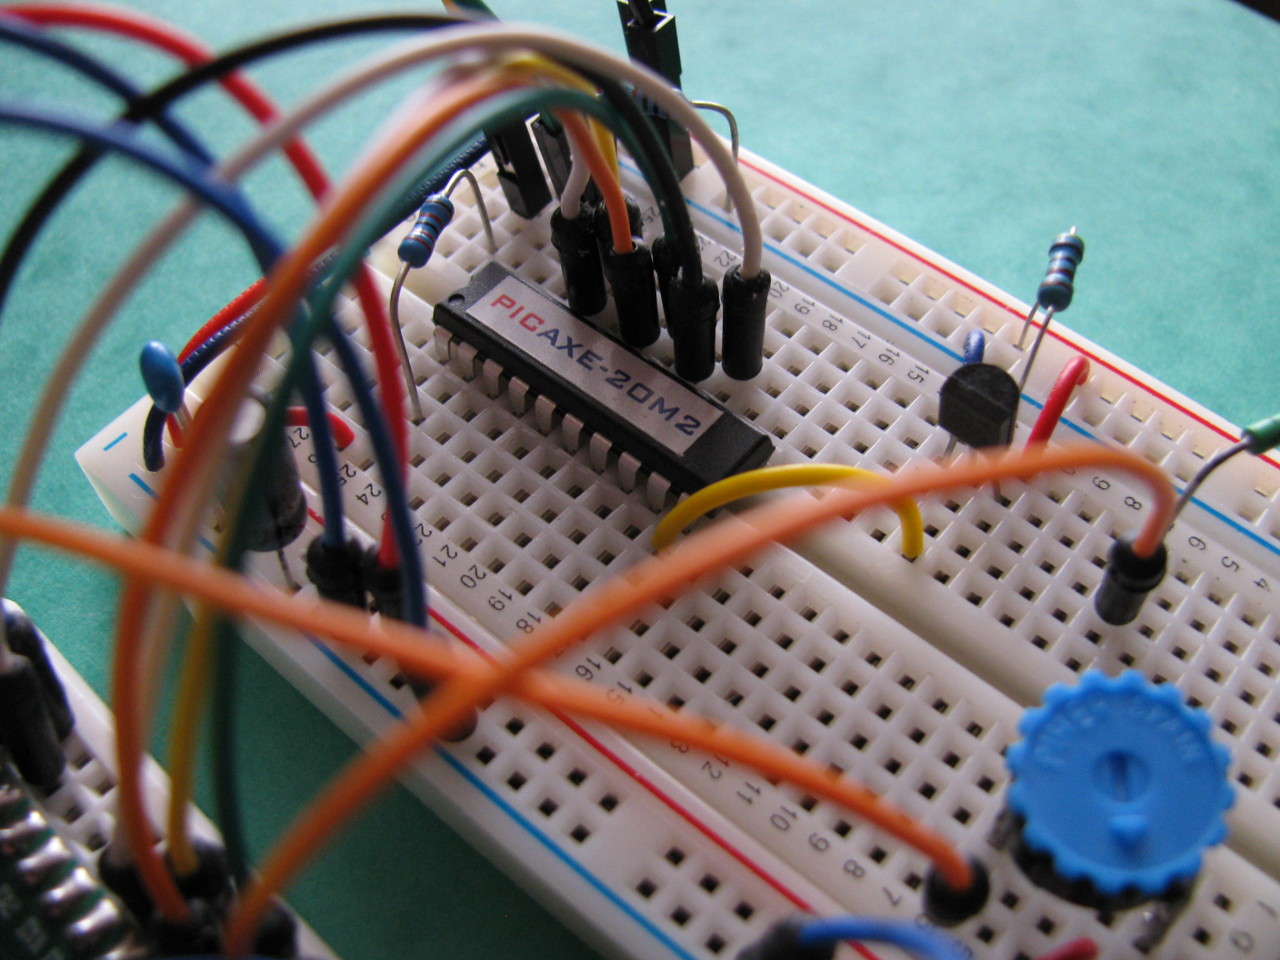

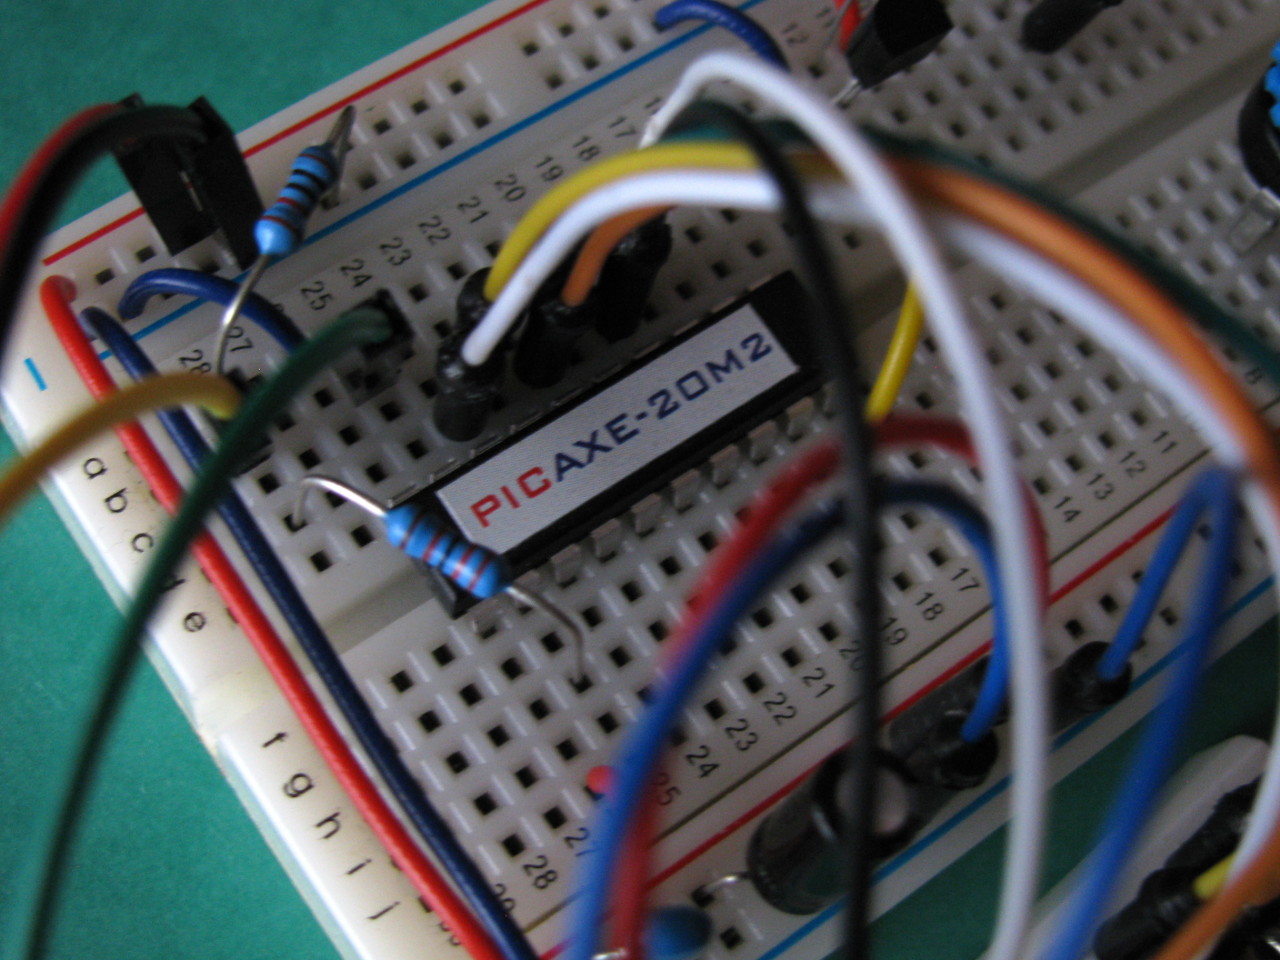
Do wiring according to the schematic in the picture above.
Make sure you have correctly connected two resistors to the Serial In. These two resistors have to be connected to PICAXE for all time.
Programming



You can see source code of the thermommeter in attachement (thermometr.bas)
I tried to write and comment the code well.
The code can be splitted to a several parts:
- definition of variables (symbols).
- "setup" + "main_loop" routines (equivalent for setup() and loop() functions in Arduino)
- reading temperature from DS18B20 -- routine "ds18B20_readtemp_12b"
- printing temperature to the LCD -- routine "print_temp_to_lcd"
- collection of routines for handling with LCD -- all routines with "lcd_" prefix
PICAXE contain direct support for special LCD with serial interface, where you can send data to shown via serial link, but doesn't contain support for LCDs with HD44870 driver. I also can't found a library for HD44870 on the internet. That's the reason why I wrote my own routines for handling with LCD1602.
Upload program
Before first upload, make sure you have correctly connected two resistors to the Serial In. (I made a mistake in connection several times...)
PICAXE Edtior and AXEpad are user-friendly, so uploading program is very intuitive.
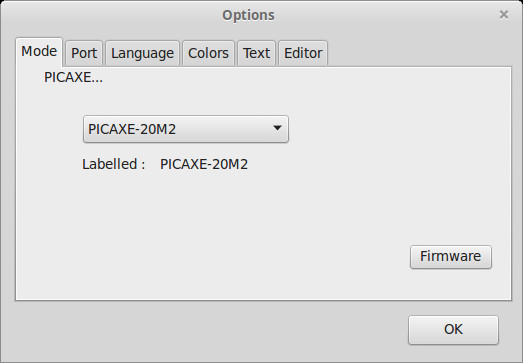
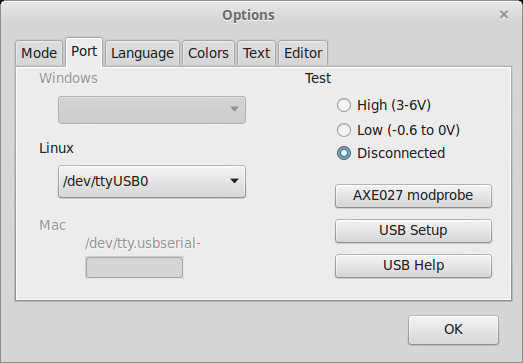
- Click to Settings in Workspace Explorer in PICAXE Edtior (or on icon Options in AXEpad), select PIXAXE20M2 a choose serial port.
- Click to Syntax check icon. If syntax isn't ok, correct errors in program.
- Click to Program icon.
If the LCD display is now shining, but the temperature is not visible, try adjust the display contrast with the 10k trimmer.
A Few PICAXE BASIC Pitfalls and Tips
- Mathematical expression processing doesn't know priority of operators. Mathematical expression are performed strictly from left to right. For example: a = 2 + 6 / 2 -- gives result a = 4. With priority of operators the expected result is 5!
- Mathematical expression processing doesn't know brackets.
- There is no floating point number type for PICAXE20M2 (no float type known in Arduino)
- For PICAXE 20M2 there are 28 one byte variables (b0 - b27), which can be combinned into 14 two byte variables (w0 - w13). Variable w0 = b1:b0, w1 = b3:b2, w2 = b5:b4, ...
- Output pins handling. If you want to write logic 1 or logic 0 directly to an output pin, you need to use the definition with 'output'. For example, symbol D4 = outpinB.0. If D4 was defined as symbol D4 = B.0, the value could be set only with commands low, high, toggle.
- PICAXE BASIC interpreter contains routines for work with some common peripherals. For example readTemp and readTemp12 read temperature from a DS18B20 sensor.
Conclusion
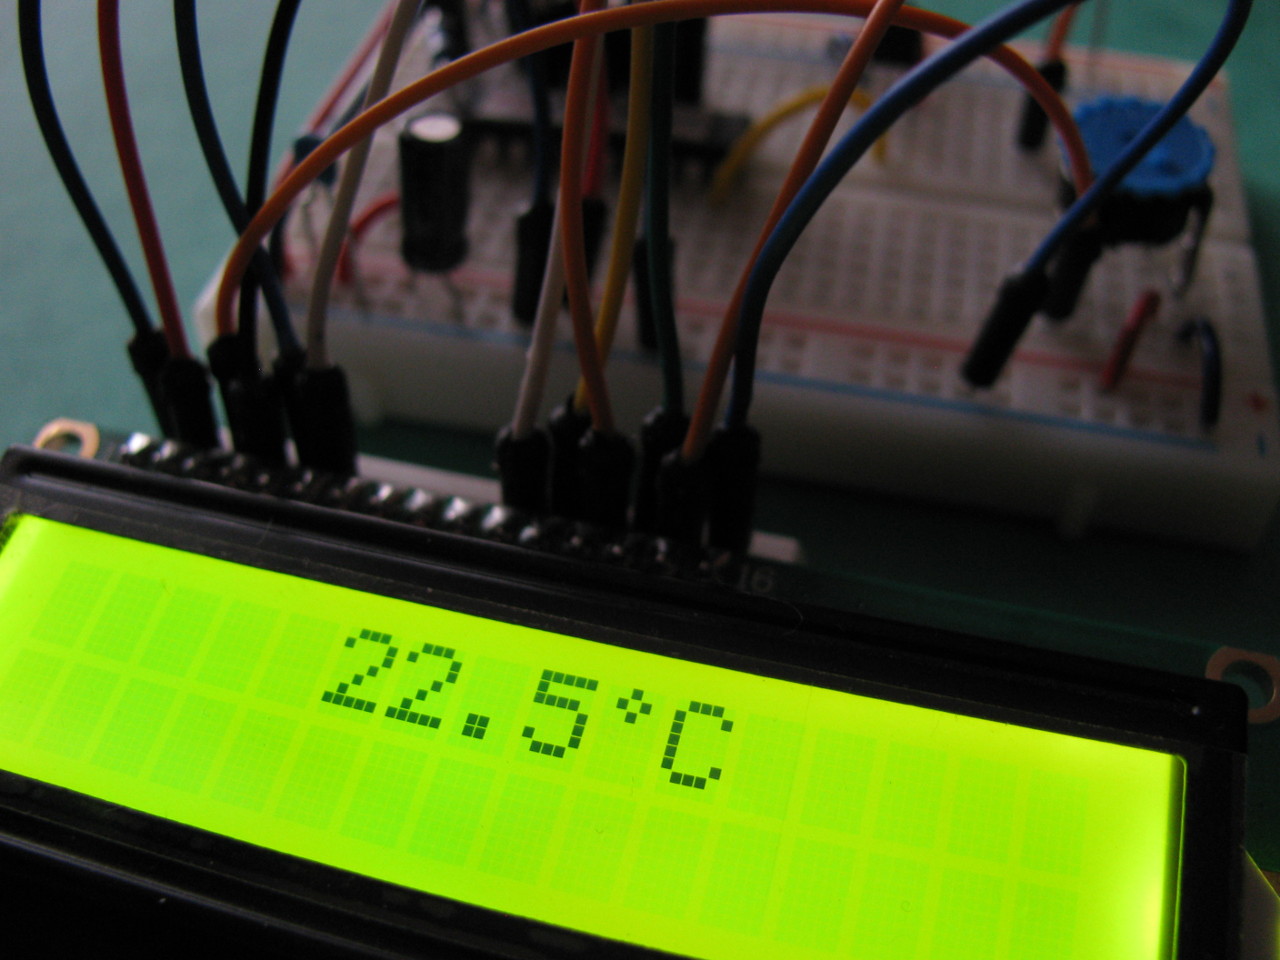
PICAXE20M2 is an interesting, easy-to-use microcontroller. It is also quite cheap. Of course, BASIC is not a modern language and PICAXE BASIC has some pitfalls, but it has to be said that PICAXE was created at the time when most microcrollers could be programmed only in assembler.
I was surprised that I did not find an useable library for working with LCD display with HD44870. On the other hand, it moved me to study how HD44870 works. Programming routines to work with LCD with HD44870 was fun.