PInebox: Final Assembly


This instructable is continuing the build of PInebox (a portable Raspberry PI computer)
This (finally) is the last of the electronic/mechanical instructables.
Parts and Modules

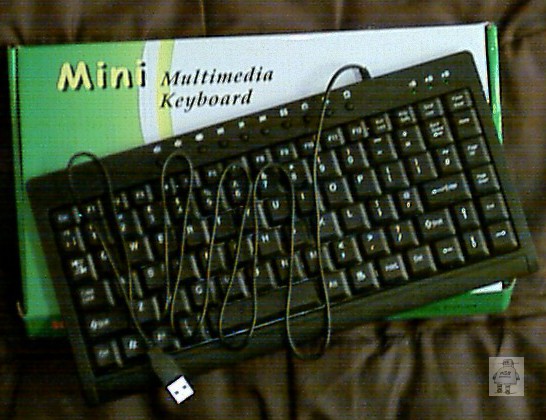


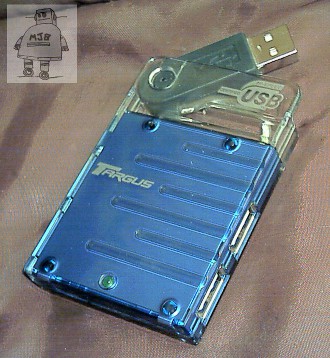
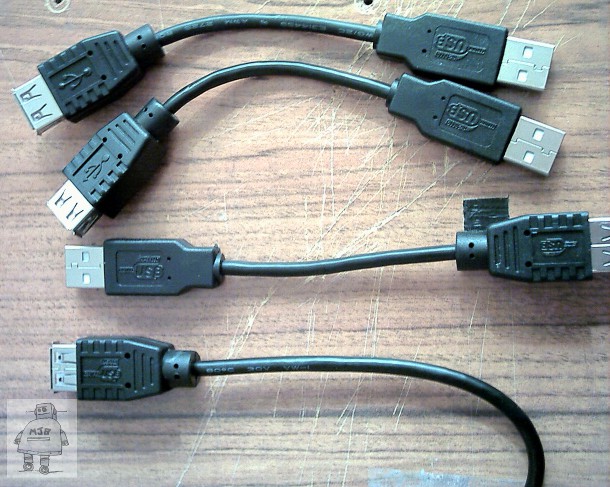
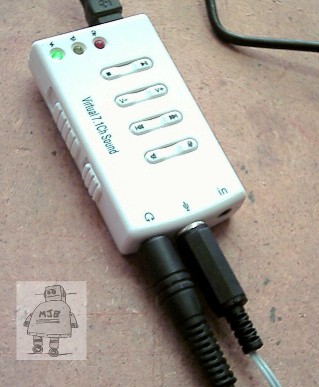
Major modules that make up the computer :-
- Raspberry PI B (Model 2)
- Raspberry PI Official Camera (Daylight/Standard Version) and extra long flexi-strip
- NOOBS Preloaded Raspbian 8G Micro SD card (needed), in SD adaptor (not used)
- Micro SD Card adaptor (to back-up/image the NOOBS O/S card onto a PC)
- HDMIPi 9" 1280x800 screen
- Wired USB mini-keyboard
- Wireless 2.4GHz USB Mouse and dongle
- LB-Link WIFI adaptors: Nano adapter (left) used for soft access point on a local PC (using hostapd/wpa_supplicant), standard adaptor with antenna (right) used inside PIneboxfor WIFI access
- Targus mini 4 port powered Hub (modified to be externally powered ONLY, will not draw power from PI or back-power it)
- USB Extenders to bring hub's ports to back panel and extend WIFI dongle away from PI.
- USB Sound device, for audio input from microphone to Raspberry PI
Plus the custom power and control electronics and camera spinner from previous instructables in the series.
Fit the First Lower Board

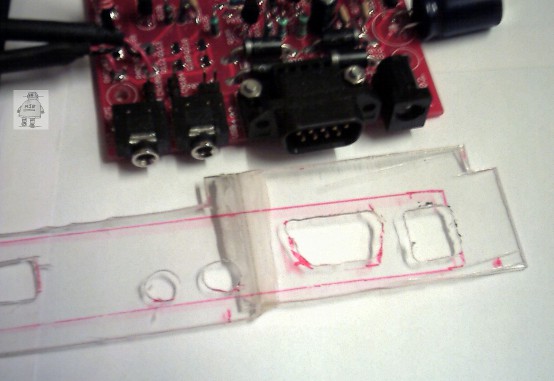
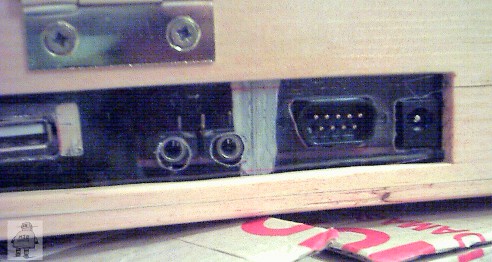
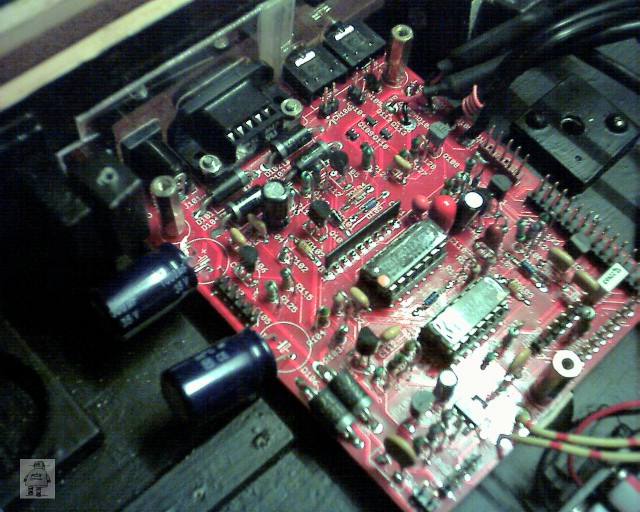
Now all the electronics works, is set up/calibrated, and the woodwork is almost complete, it's time to do the final jigsaw puzzle!
In the bottom part of the case, the power and control boards need to be secured to the base, but the lower board also needs to engage into the back panel (for the IO/Ports). Trial position the board and mark the (very) rough locations of the (even rougher) holes that need to be cut/milled/drilled, allowing some wiggle room.
The Net/USB port holes in this panel were cut in a step 5 of a previous instructable.
Once the board correctly engages in the back, mark and bolt down the board. I used three hex spacers to space off the second board.
Back Panel Graphics

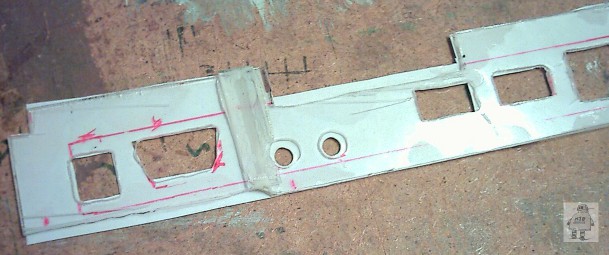
Now the locations of the holes are known, I created a graphic in GIMP for the whole back panel.
This was printed out, holes cut, and test fitted. Once the graphic was correct, it was re-printed, laminated, ports cut with a sharp blade and a hole punch (for the audio jacks), and then super-glued into place on the outside of the rough plastic panel to provide a neat finish.
(Graphic template attached as .PNG in a .ZIP)
Downloads
Fit the Second Lower Board

Space is tight. Really tight. Even given careful measuring and modelling, I had to make a couple of mechanical mods here (laying down two transistors, changing the deeper heatsink for a flatter one, and laying down the yellow capacitor in the middle of the board. Otherwise these items touched the back of the keyboard!)
I also insulated the back of the keyboard around the 40 pin GPIO connector, to make sure it didn't short out. There is space, but just making sure. I also added a thermal pad onto the LM317 which connects it (thermally) to the metal back of the keyboard.
This board bolts into the top of the hex spacers from board 1, with interconnecting leads connecting between the two.
Keyboard/LEDs
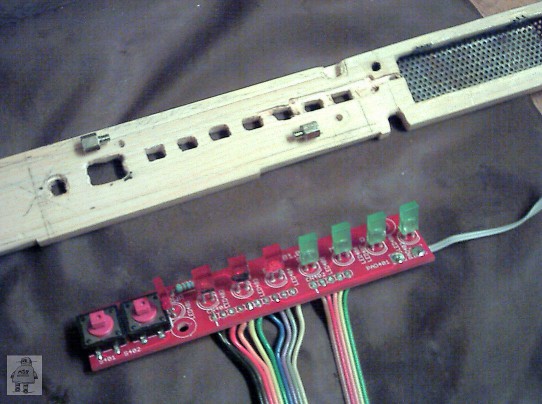


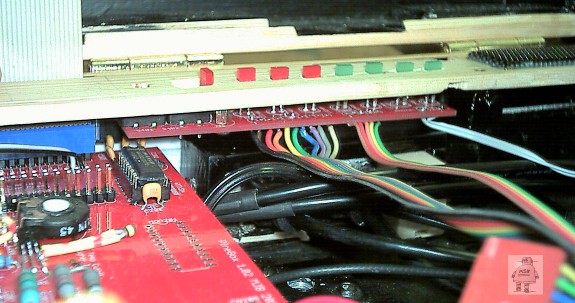

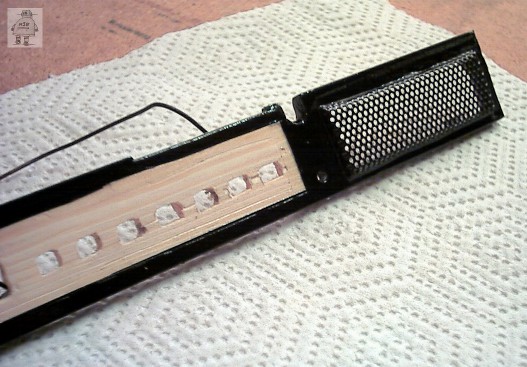
Some unfinished woodwork from the case making project here: Now I have the keyboard PCB assembled I can use it as a template to mark and cut apertures for the LEDS and switches. Again this will be covered over, so the holes can be slightly oversize.
The keyboard is spaced off on two small hex spacers, which are screwed/araldited into the wood.
Once mounted, the keyboard layer just misses components on board 2.
The case-closed detecting reed-switch is mounted just off the end of this PCB.
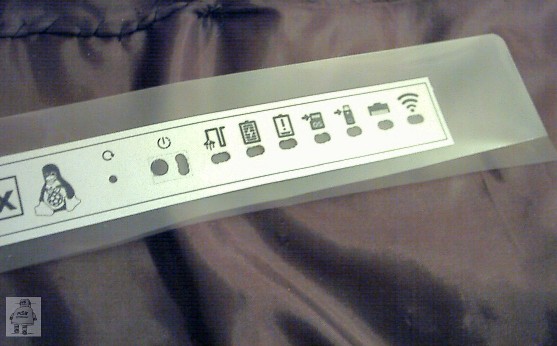
Again, the graphics for this layer were produced in GIMP. This time, the holes for LEDs/switches were cut BEFORE laminating. This leaves a hole with a clear protective layer for the LED to shine through. The switches were re-punched with a hole punch to allow access through.
The woodwork was then masked/primed/painted/gloss clear coated to match the rest of the inner case, and the laminated graphic stuck into place.
Note: The reset switch is recessed behind a small hole, requiring a paperclip to press it. The on/off switch has a small plastic button trapped between the switch (below) and the overlay graphic (above).
(Graphic template attached as .PNG in a .ZIP)
Downloads
Interwiring


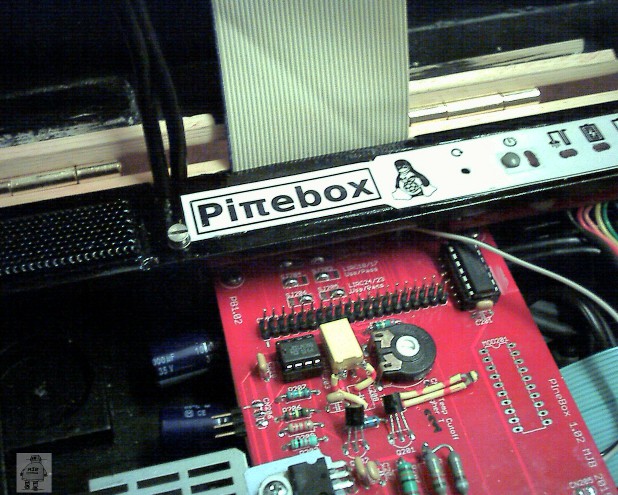
Lots of cable folding and stuffing here ...
Fit the 2 x USB port/1 x Wired Net port pod into place, and install the 4-port USB hub, connecting up the rear ports, the DC power for the hub, and inserting the mouse receiver too.
Fit a short 26-way IDC lead, folded at a right angle as shown, to connect the lower boards to the board in the upper part of the case.
Fit a short 40-way IDC lead, as shown, to connect the lower board (GPIO) to the Raspberry PI.
Make a short RJ45 plug-plug straight-wired patch lead to come from the Raspberry PI, into the RJ45 coupler (network port) and plug it into place.
From left to right, the two USB power-only feeds from the lower board (Rasberry PI, HDMIPi screen), the 40 way GPIO, 26 way interconnect, and CAT-5 network lead are all trapped in place by the keyboard layer. An additional USB cable (from the 4-port hub) joins those on the left.
Upper Case (Front) Assembly


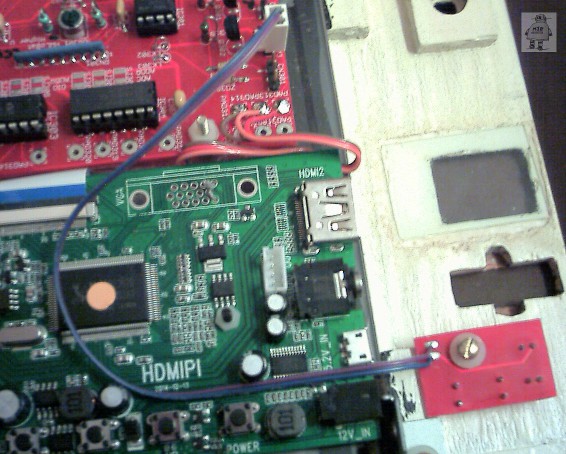
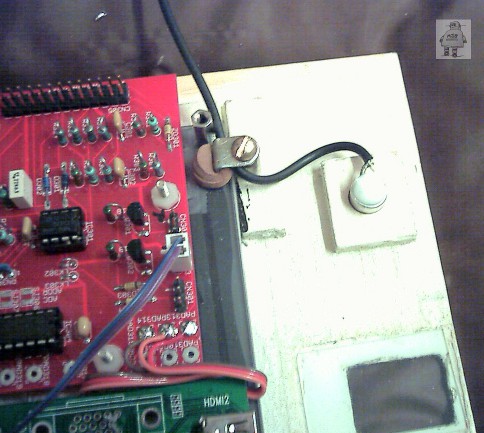
This is partly covered in the HDMIPI Mods and earlier instructables.
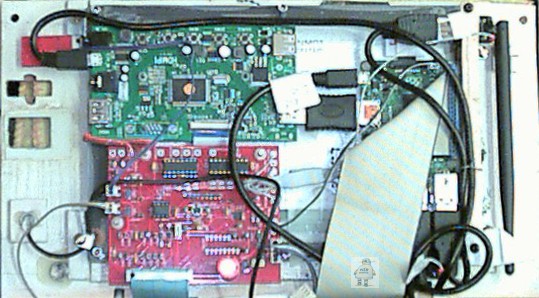
The Raspberry PI mounts onto the back of the HDMIPI screen module, and has modifications to get the run/reset pins onto a 2-pin header, plus an added 5-pin header to steal activity signals for the PI LEDs, and the I2C bus.
The WIFI module and memory stick have flying leads for their activity LEDS too, which all come across on a grey 7 way ribbon cable to my control board (red).
An HDMI "knuckle" connector joins the Raspberry PI to the HDMI driver board of the HDMIPI.
Audio from the HDMIPI's output is brought up onto my PCB by a short 3-way ribbon cable. Brown = Ground (Pad 315), Red = Left (Pad 313), Orange= Right (Pad 314)
The "rear flash" (2 LEDs) is mounted just above where the camera spinner will sit, and the microphone is mounted into its holder on the front panel, just below the camer. Note the strain-relief of the cable looping through the screen mount.
Upper Case (Rear) Assembly

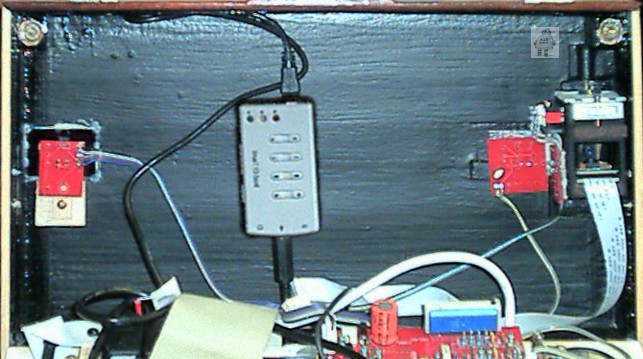
Into the top part of the case is mounted (left to right) : The LIRC Infra Red TX/RX mini board, the USB sound module (connected to the mic only), the front facing flash (6 LEDS), and the camera spinner.
Laying down, you can see the USB power leads, 40 way and 26 way IDC interconnections, and network lead.
With all the inter-board connections in place, including the camera flexi-strip, this panel pivots up and into the top part of the case and bolts in place!
Completing Assembly
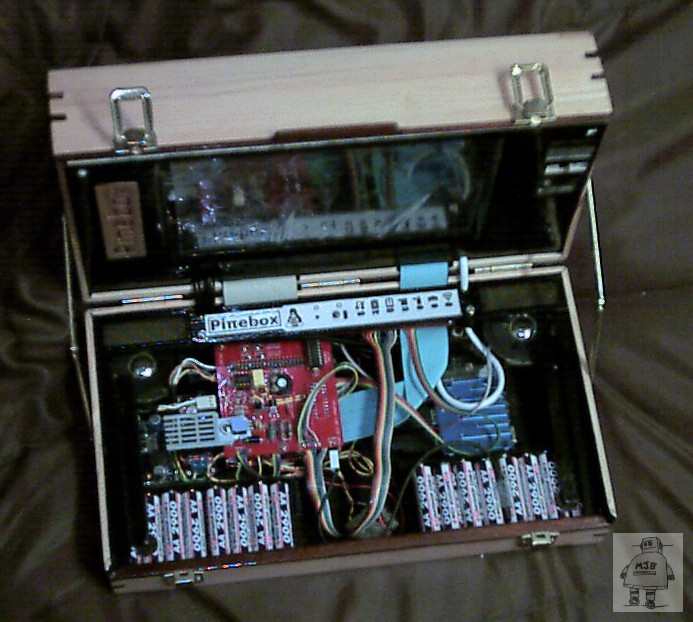

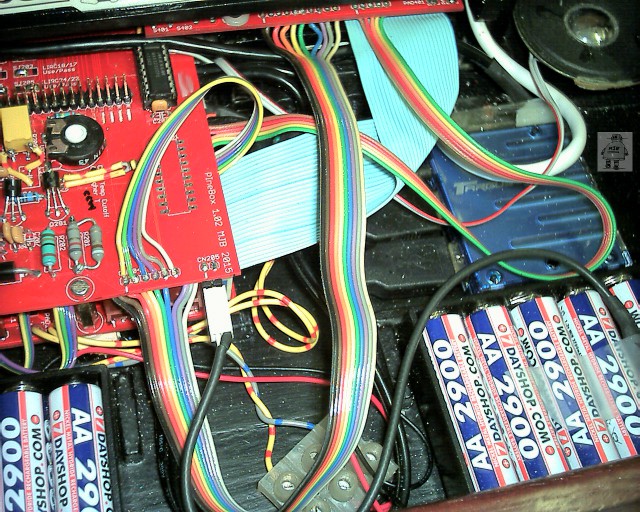


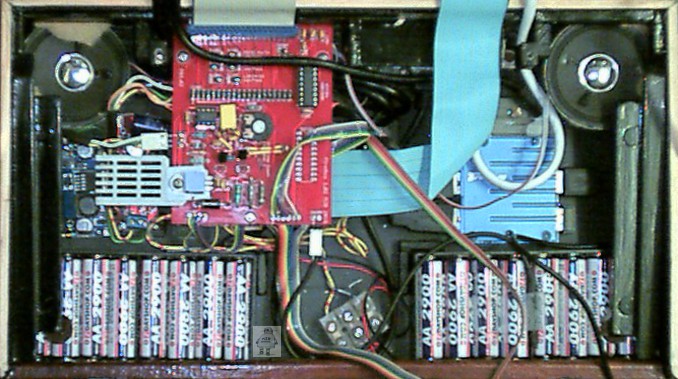
The two small DC-DC converters (one boost, one buck) fit neatly to the left of my power boards, under the heatsink.
The thermal probe for the battery pack is taped to the right hand bank of batteries, staying away from the warmer side of the case (the converters and charger get warm in operation).
As a later mod, I extended the "ambient" thermal probe on the upper board to be on a longer lead, tucked down behind the right speaker. This was to keep it away from the charger module, and get a better idea of ambient temperature.
The speakers tuck into their corner mounts, and are packed in place with some foam padding.
Once all the inter-board connectors are in place, it's done!
Bonus: Prototype Board




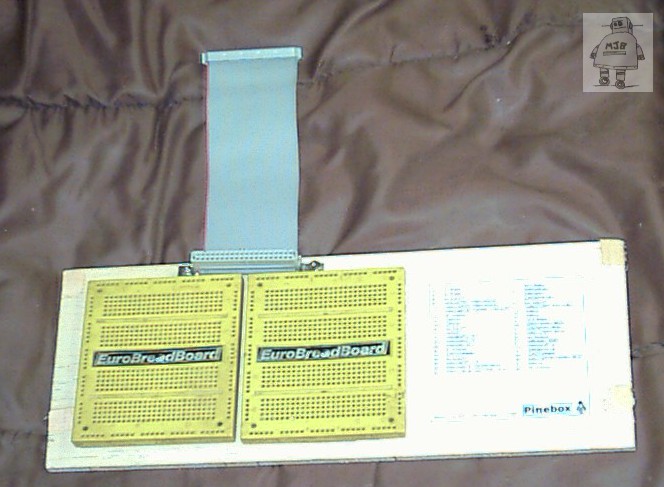
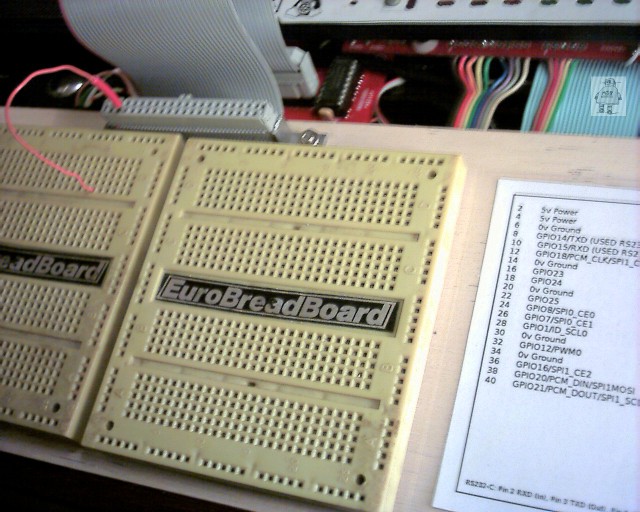
The reason for making the keyboard easily demountable (held in by magnets) and having a very visible GPIO connector with boosted power is so that hardware projects can be connected and tested. To make that easier, this is a neater version of the prototyping board I used while designing PInebox (step 29).
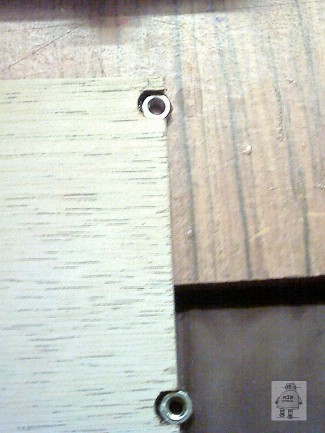
A sheet of plywood, cut to the same width as the keyboard, has slots cut into it to retain four steel nuts. These line up with the magnets and hold it in place. When fitted, this covers most of the lower boards, but leaves the GPIO header visible. The nuts are glued in and protected with some scraps of wood veneer to keep them in place.
Onto this board, I mounted a 40-way IDC socket (this is a very short IDE lead) with two small metal brackets.
Note that the sides of the connector swap over when looking down into the socket. So pin 1 is on the opposite side (top-to-bottom) to the Raspberry PI's own connector (and my copy of that connector on the upper board)!
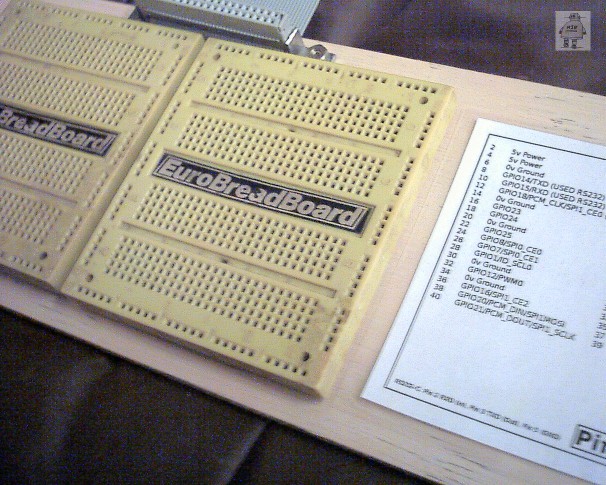
I included a printed memory-aid of the PI Pinout on the board too, laminated and stuck down. (Attached .PNG in a .ZIP)
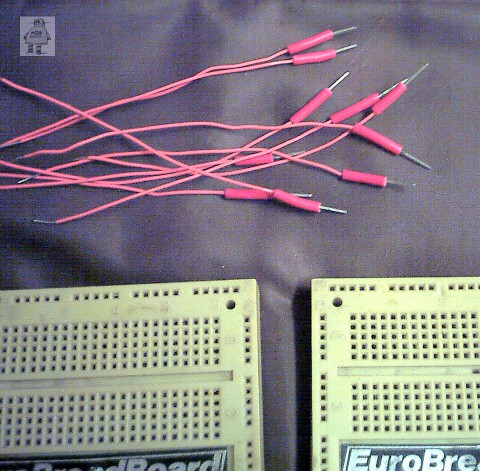
I mounted the two EuroBreadboards (solderless breadboards) using small panel pins, hammered in from the back and the sharp points taken off.
The wire jumpers shown are 0.1" pitch molex connector pins, extended with wires. These push securely into the IDC socket to bring signals and power onto the breadboards.
Downloads
Power Usage
For an external power supply: This project needs at least a 2A/12-15V power supply. Although it will work from 10-18V DC, lower voltages mean a higher current draw, and the current draw varies depending on the level of activity, and whether the batteries are being charged at bulk or trickle rate. I used a Toshiba (compatible) laptop PSU, rated 15V/5A, and changed the original connector to a 2.1mm DC jack.
Estimated run times on battery: With no "power saving" (just running continously with HDMIPi display on, worst case): 5-6 hours. On "power saving" the whole time (PI running, but no screen, no mouse, no keyboard, not that useful, best case!) 26 hours.
So real run times are somewhere in this range. Closing the case when not actively using the screen will extend battery life noticeably, by shutting down the display, allowing the PI to still run. The HDMIPi display is the major current hog here! Shutting down the computer completely will save much more ... at the expense of having to wait for boot up and re-entering the desktop. Which on a PI is pretty quick!
I've included a table of currents drawn (for external PSU 10-18V, and from battery), for various states from "charging-while-off", and "on-but-power-saved", to "fully-on-but-idle", and "on-and-working-hard".
Absolute worst case would be video recording, with the flash on, transcoding the video while writing it over the WIFI link, all while bulk charging the batteries (!)
Final Pictures
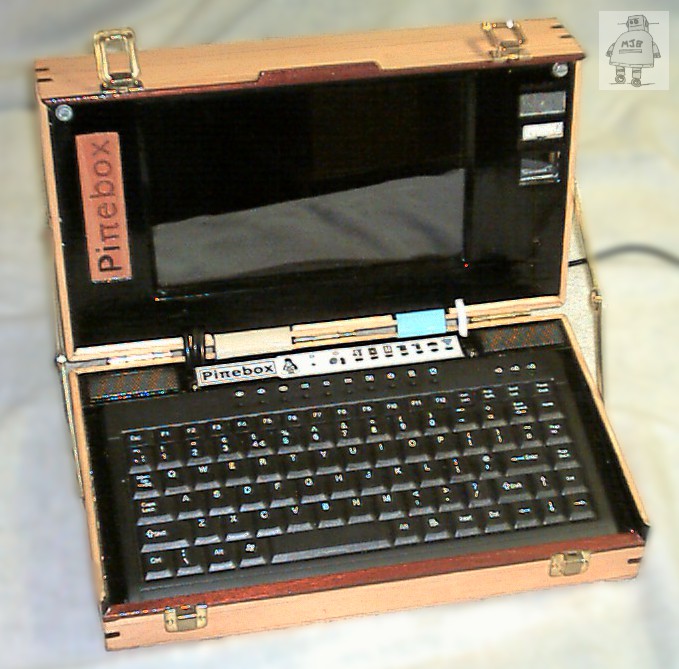


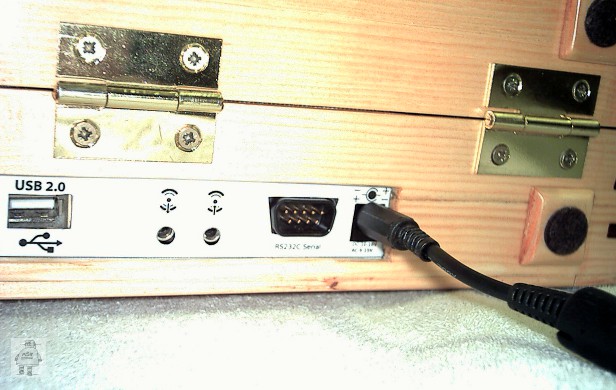


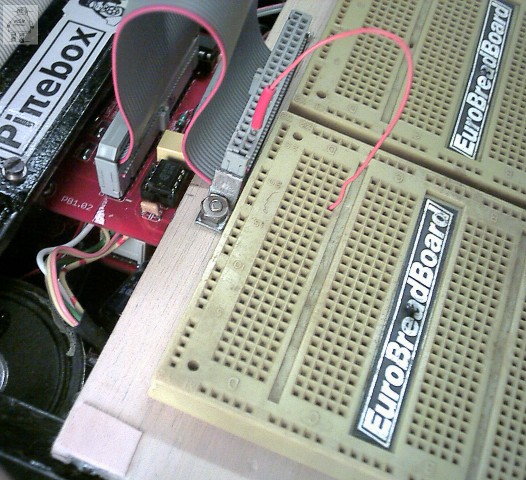
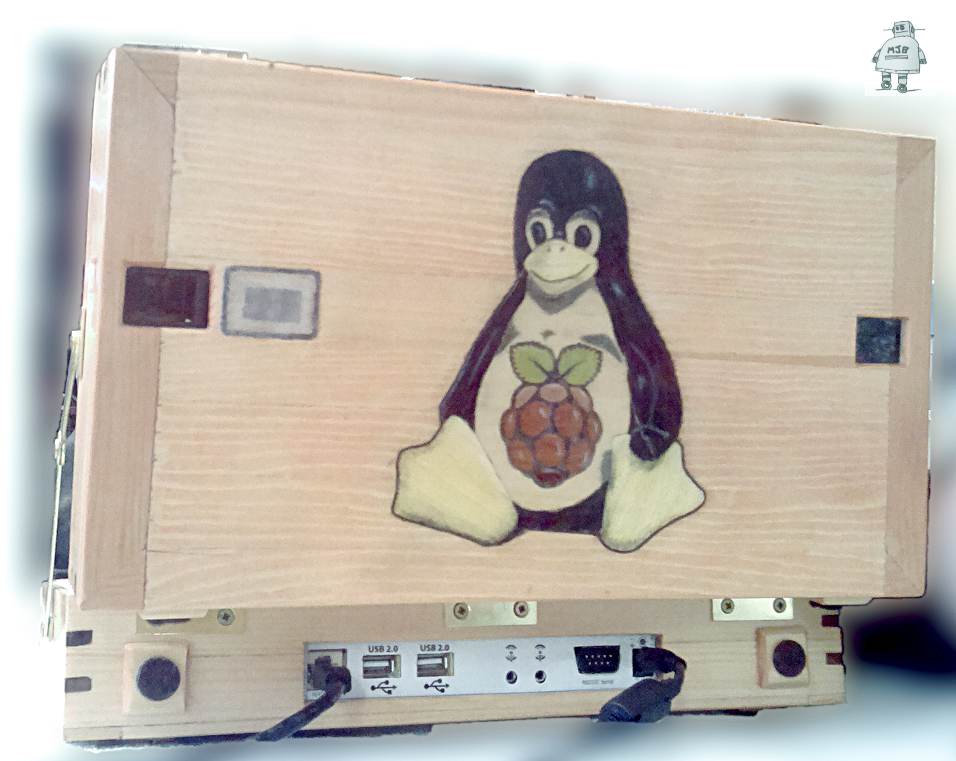

Here's the finished PInebox hardware! Set up for portable computer use, and with the prototyping board in place.
Now, onto some custom software for battery monitoring, automating shutdowns, camera-flash control and more.
Back to top level project