Paper Cup Air Vortex Cannon - No Lid Required, and a Detachable Upgrade With Your Paper Cup Pom Pom Shooter!
by william_ckm in Outside > Launchers
102 Views, 1 Favorites, 0 Comments
Paper Cup Air Vortex Cannon - No Lid Required, and a Detachable Upgrade With Your Paper Cup Pom Pom Shooter!
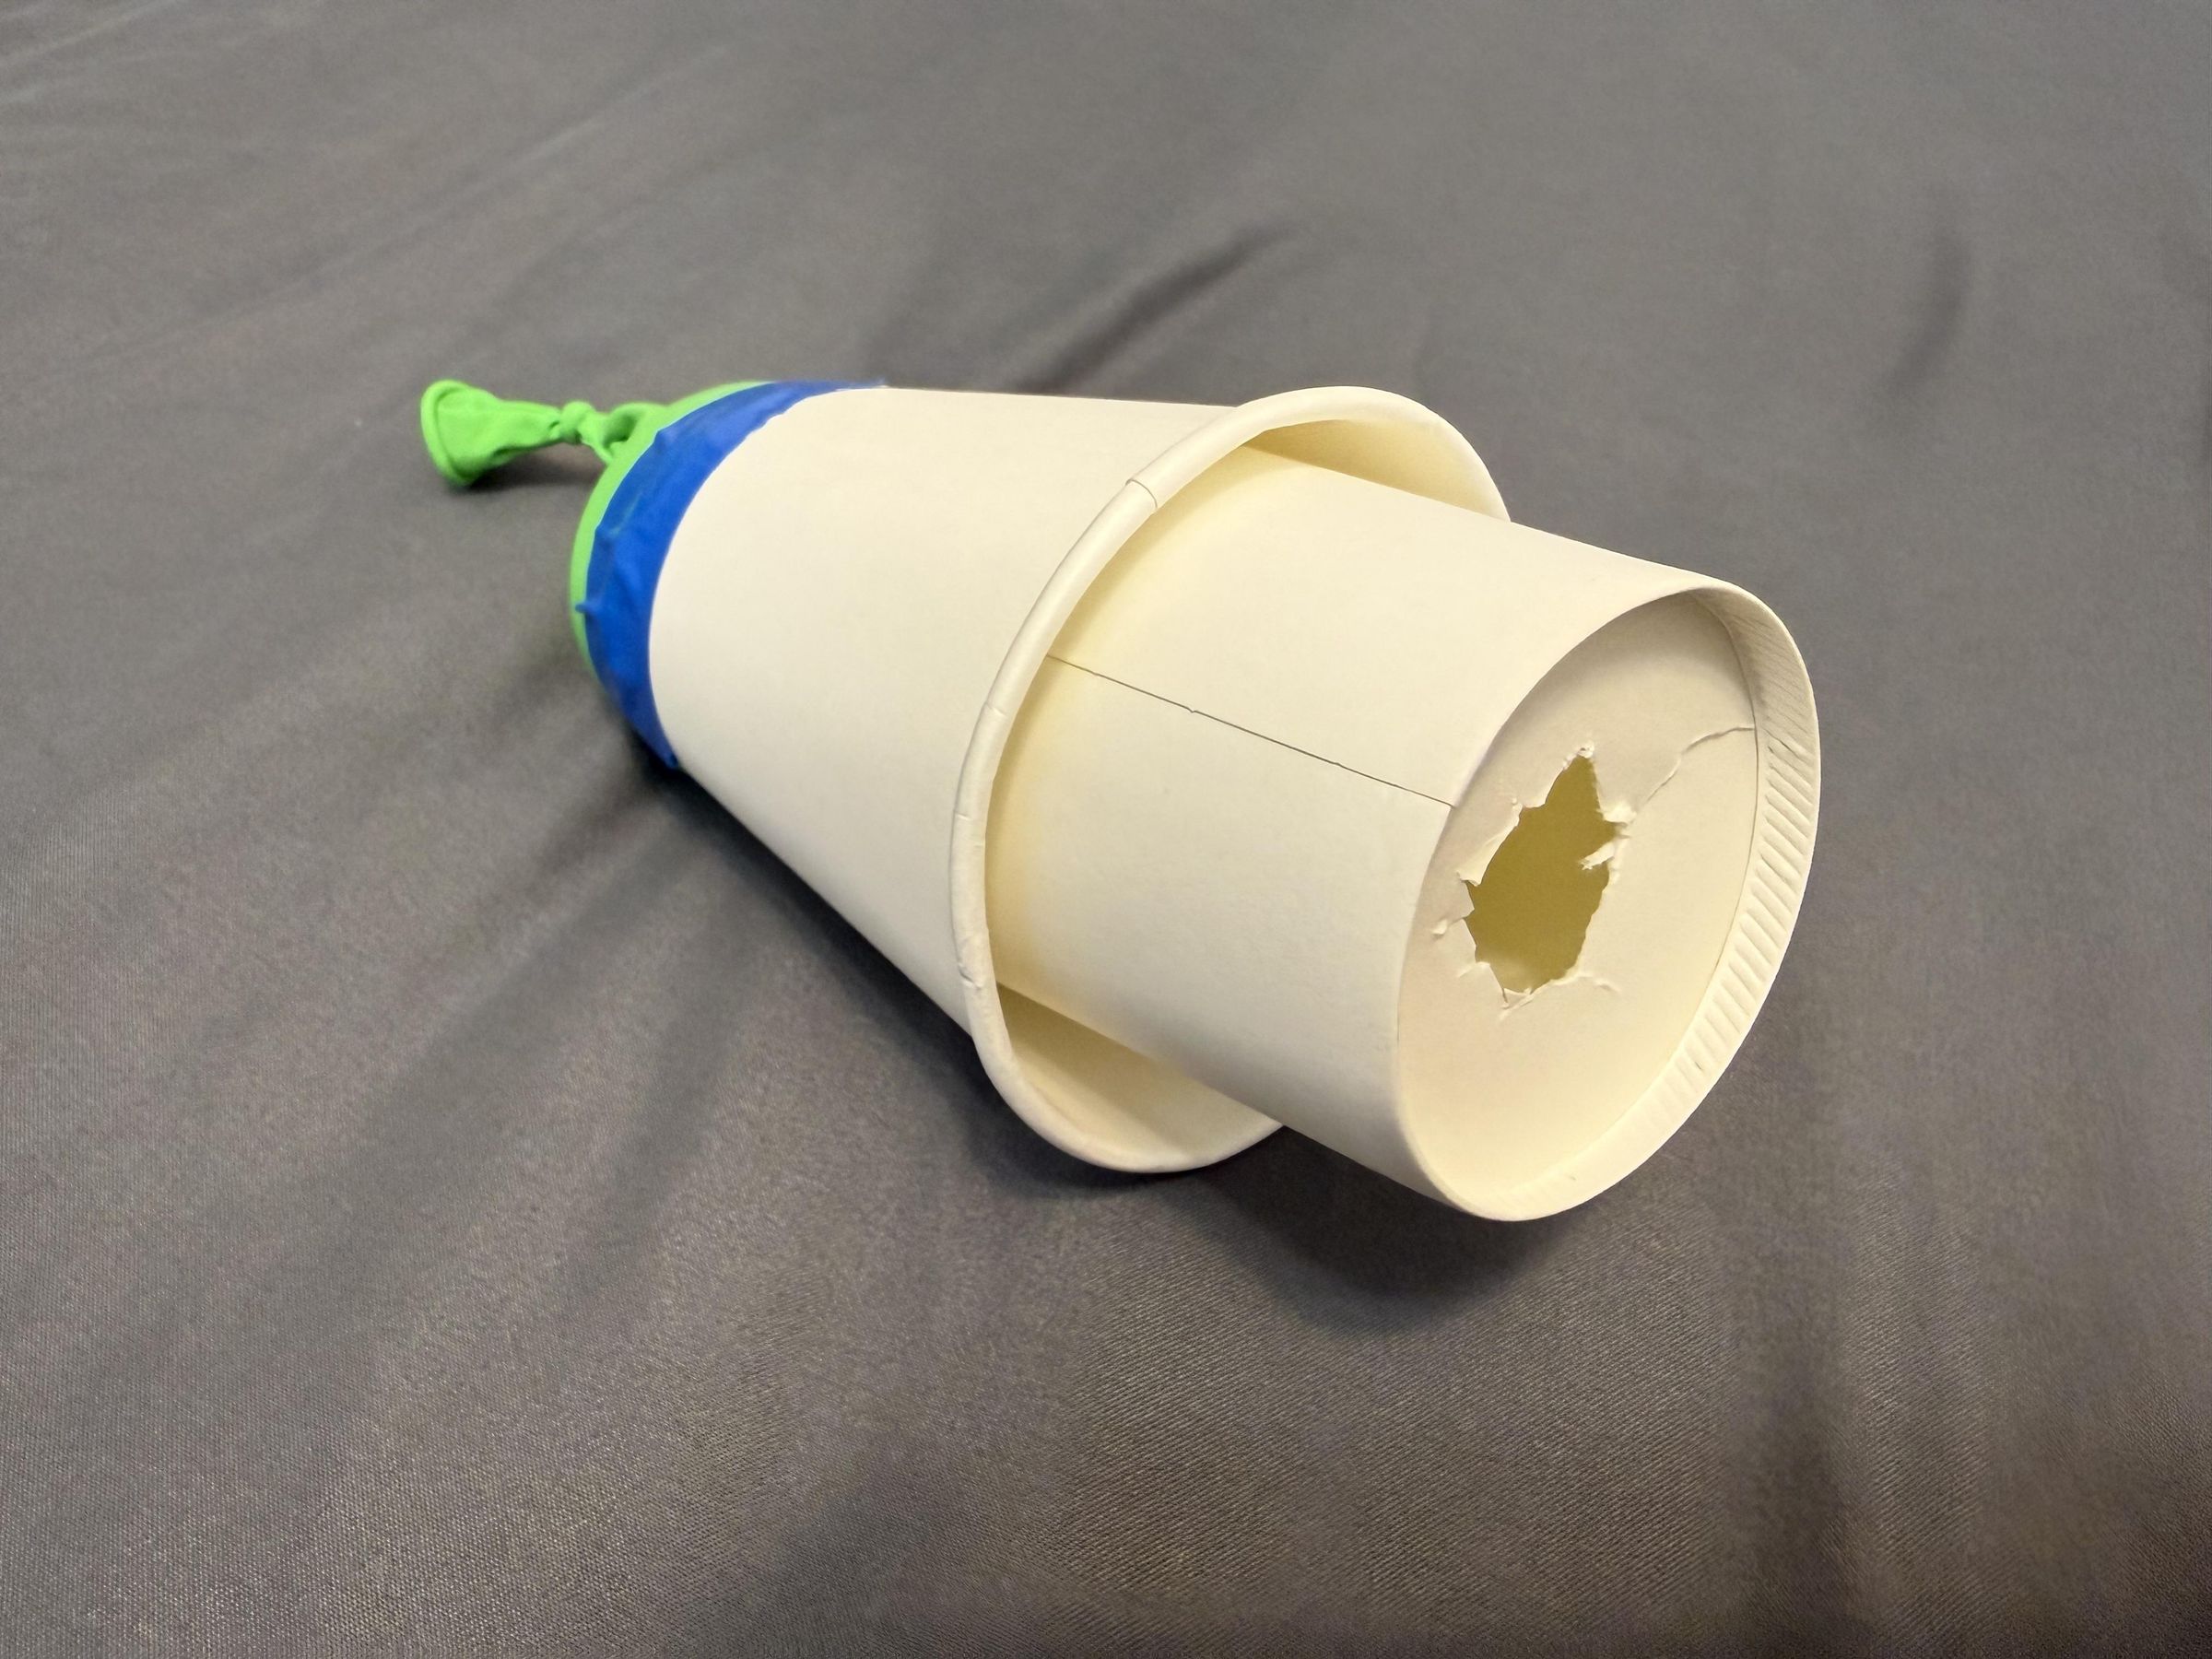
Remember the thrill of messing with wind as a kid? One of the absolute best projects was the classic air vortex cannon, which shoots a narrow, rapid beam of air capable of knocking over even larger targets. However, trying to build a mini version out of a paper cup often requires finding a suitable lid to create that perfect, concentrated opening. If you flip the cup and cut a hole in the bottom, stretching a balloon over the wide top opening often causes the fragile paper rim to fold and collapse under the elastic tension. So often unsuccessful either way for us paper cup users.
To solve this, I designed an unconventional, hassle-free approach. Even better, if you love vortex cannons, you probably already have something else - a classic paper cup pom-pom shooter lying around. This project introduces an easy, reliable way to upgrade your existing pom-pom shooter into a powerful vortex cannon. The best part? The upgrade is completely detachable. You can seamlessly alternate between launching pom-poms and firing invisible air blasts in seconds, giving you the ultimate dual-mode desktop launcher.
Supplies
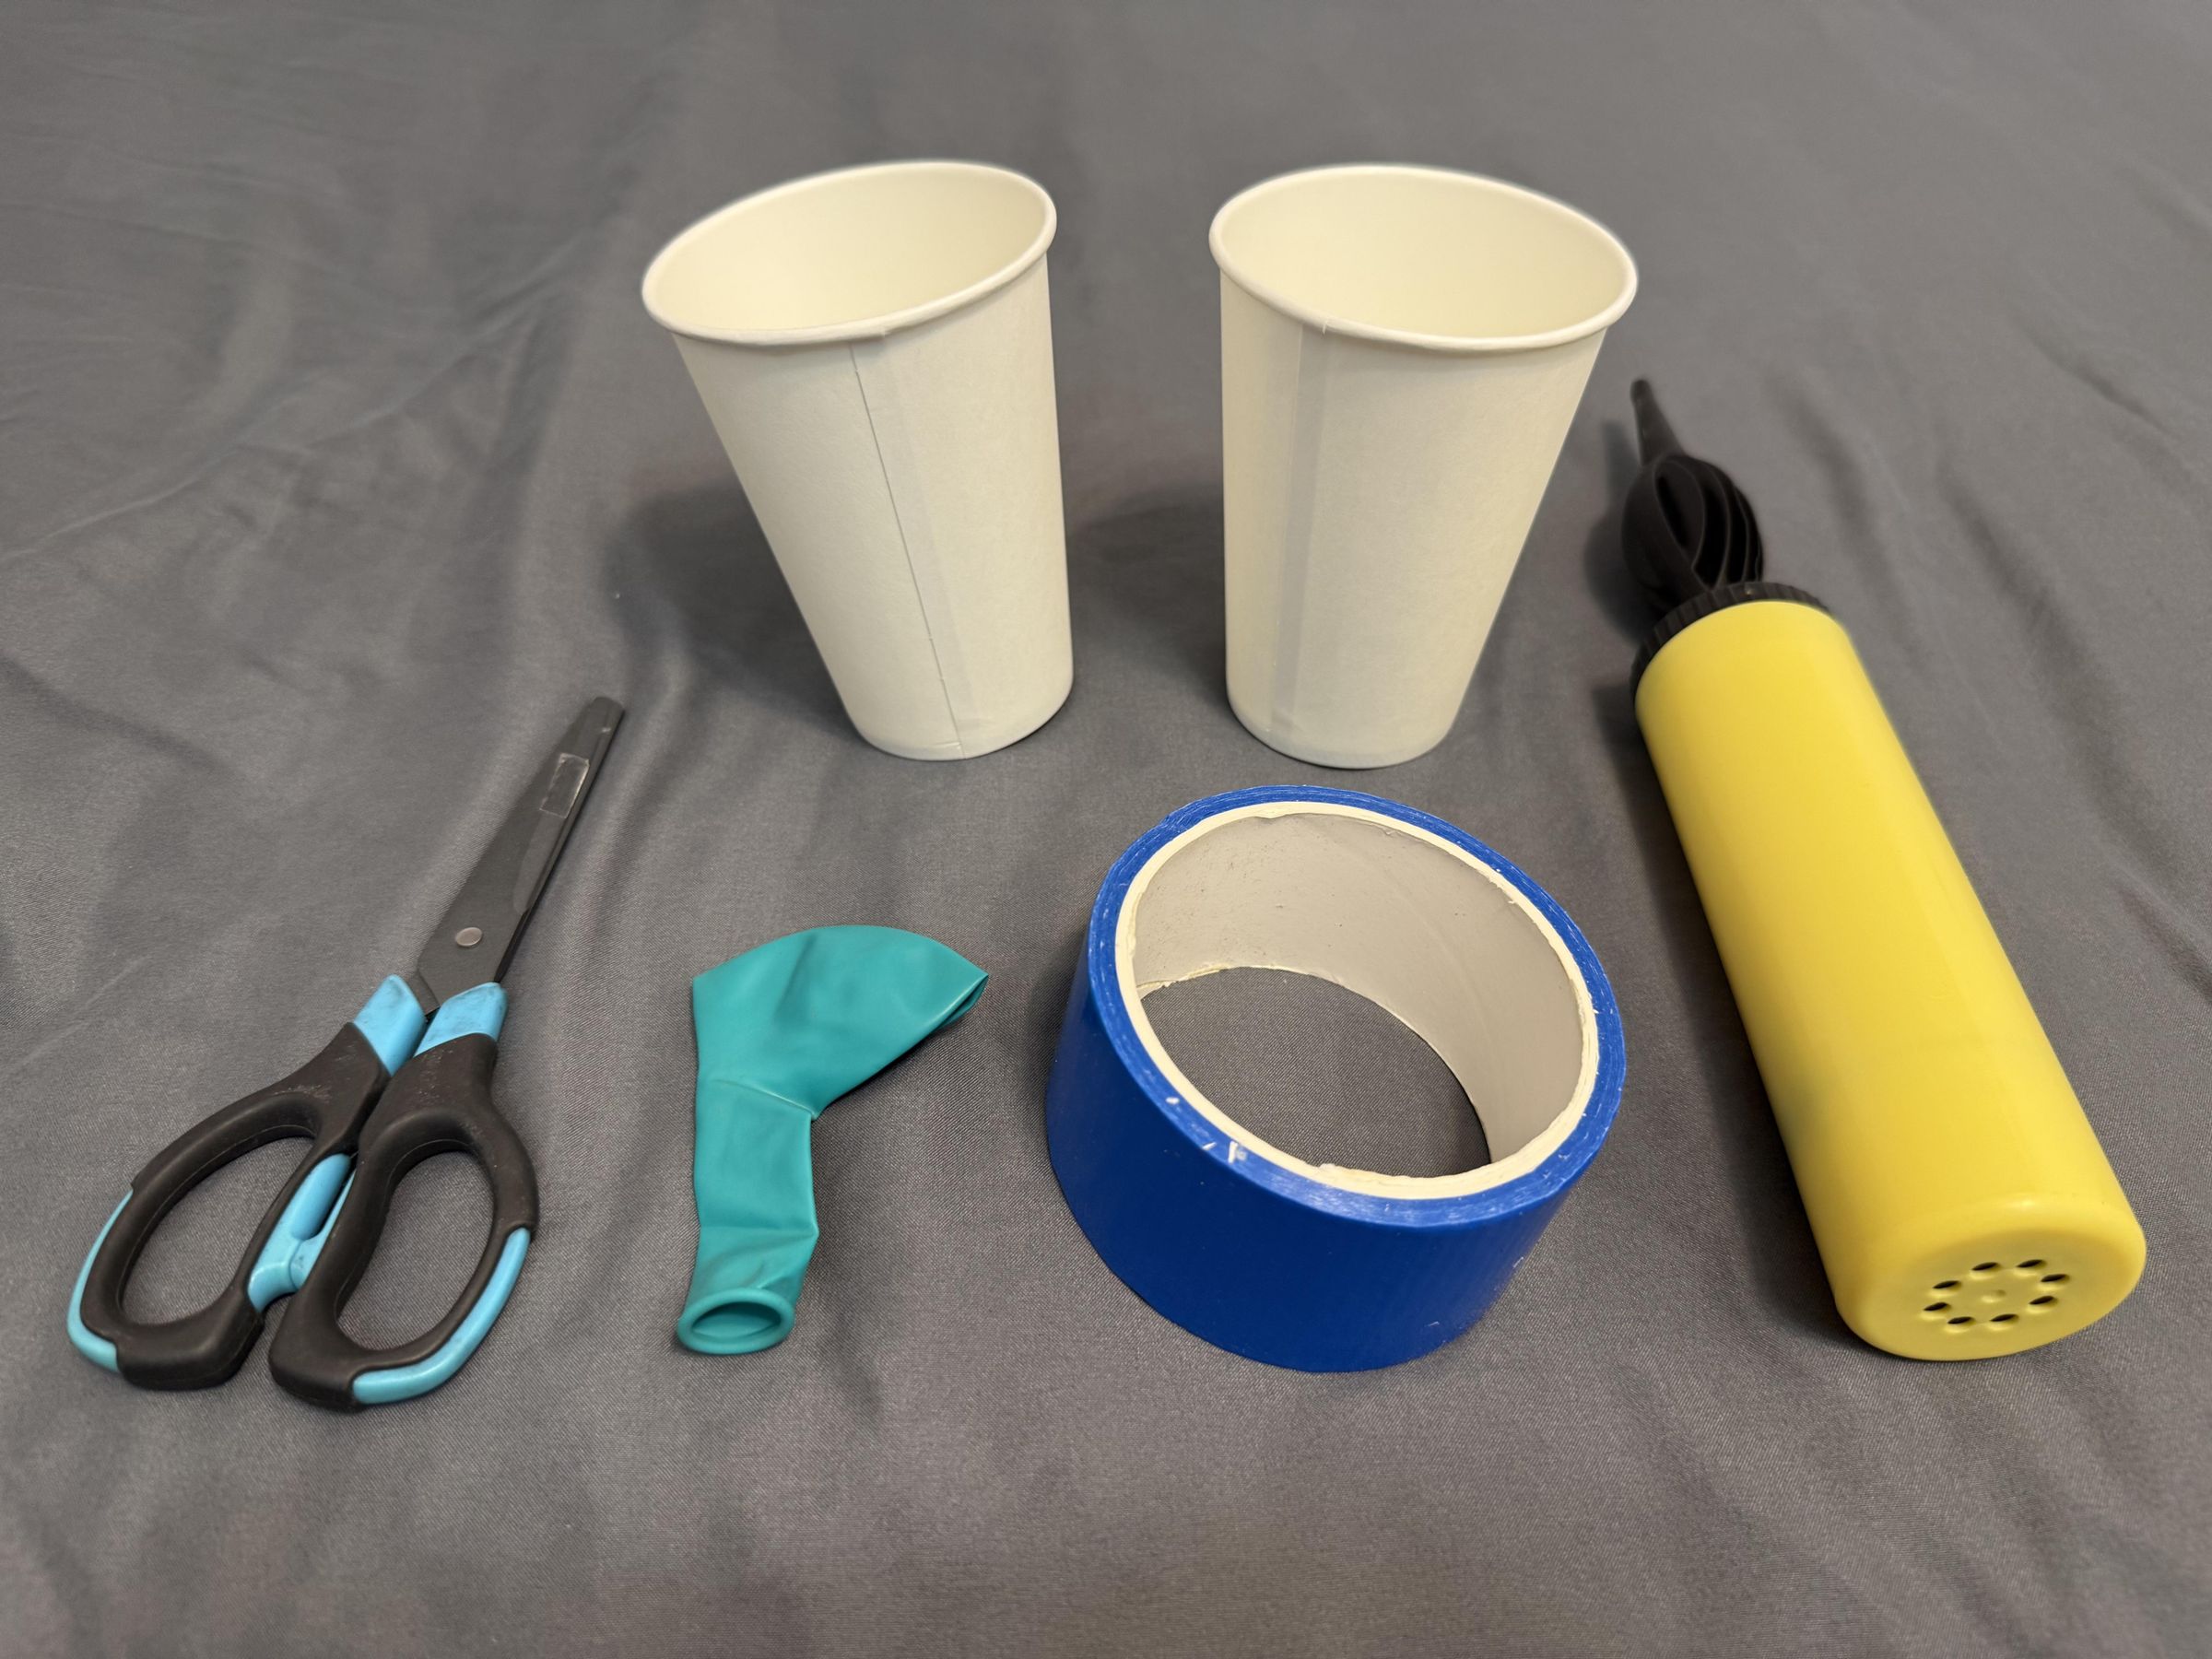
The supplies list is easy, accessible and affordable!
1) 2 paper cups, identical size
2) 1 balloon
3) Balloon Handpump (optional)
4) Scissors
5) Duct Tape (preferred over standard tape)
Fully Cut Open the Bottom of the First Cup
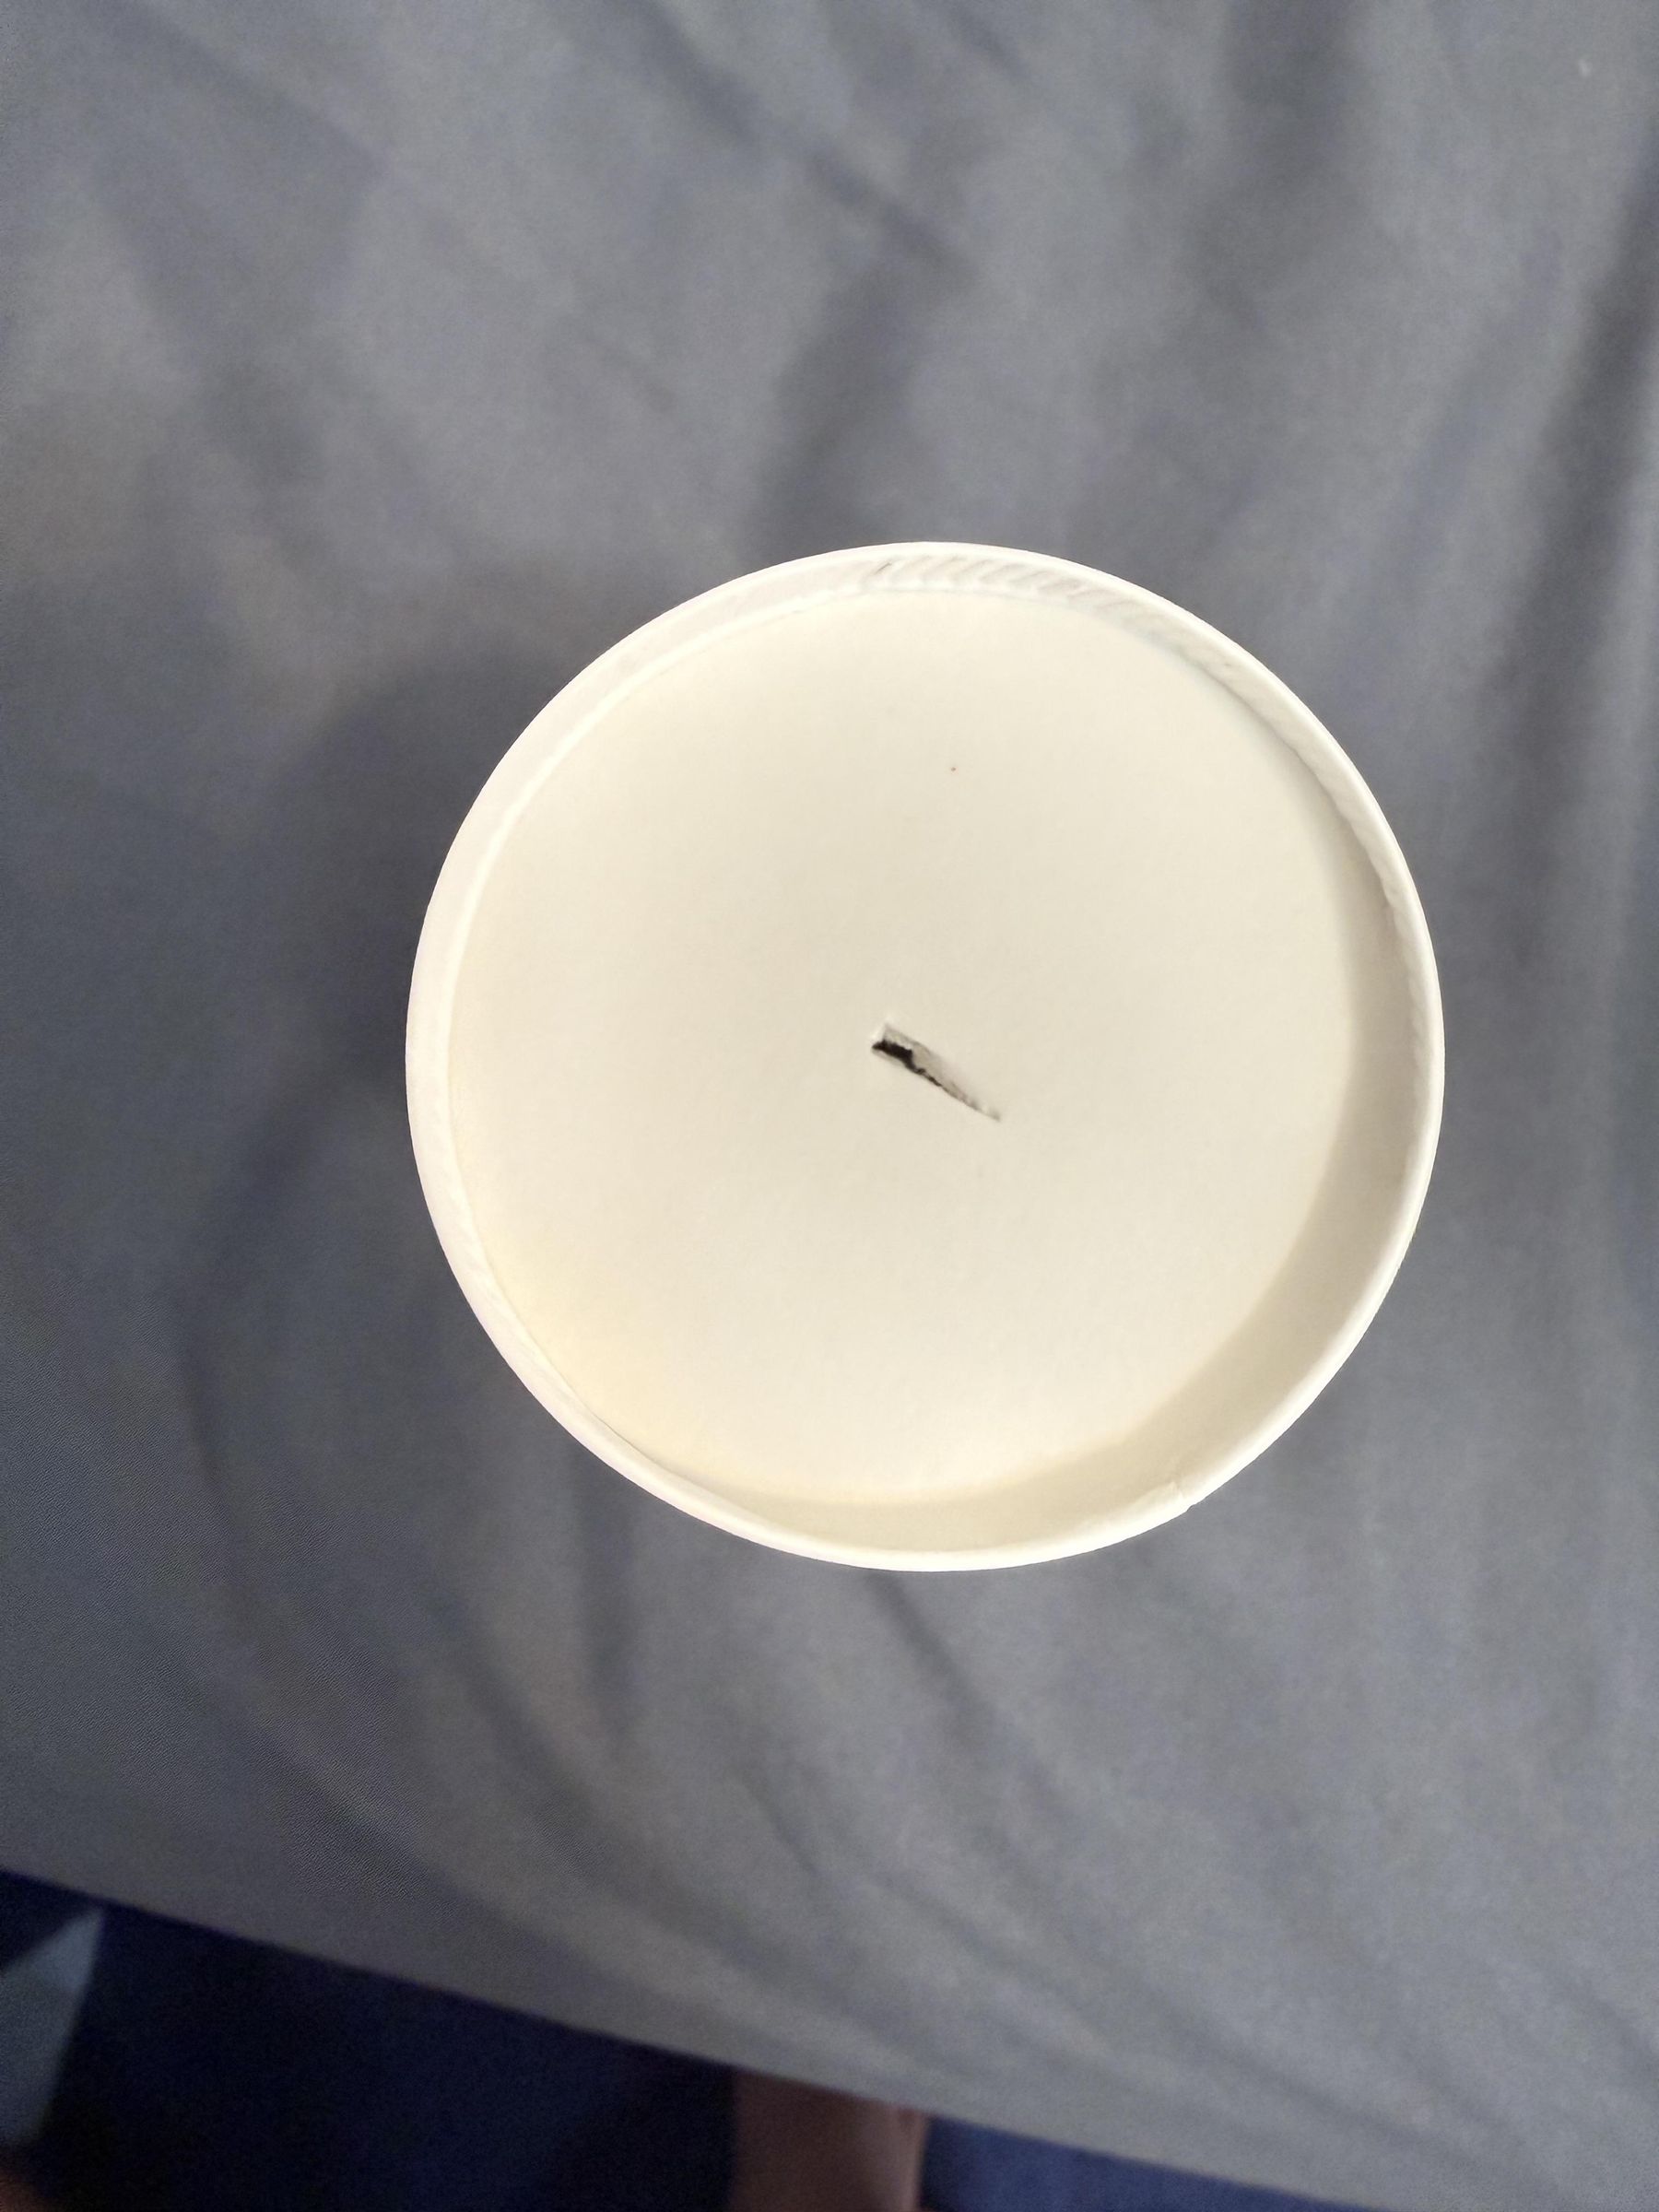
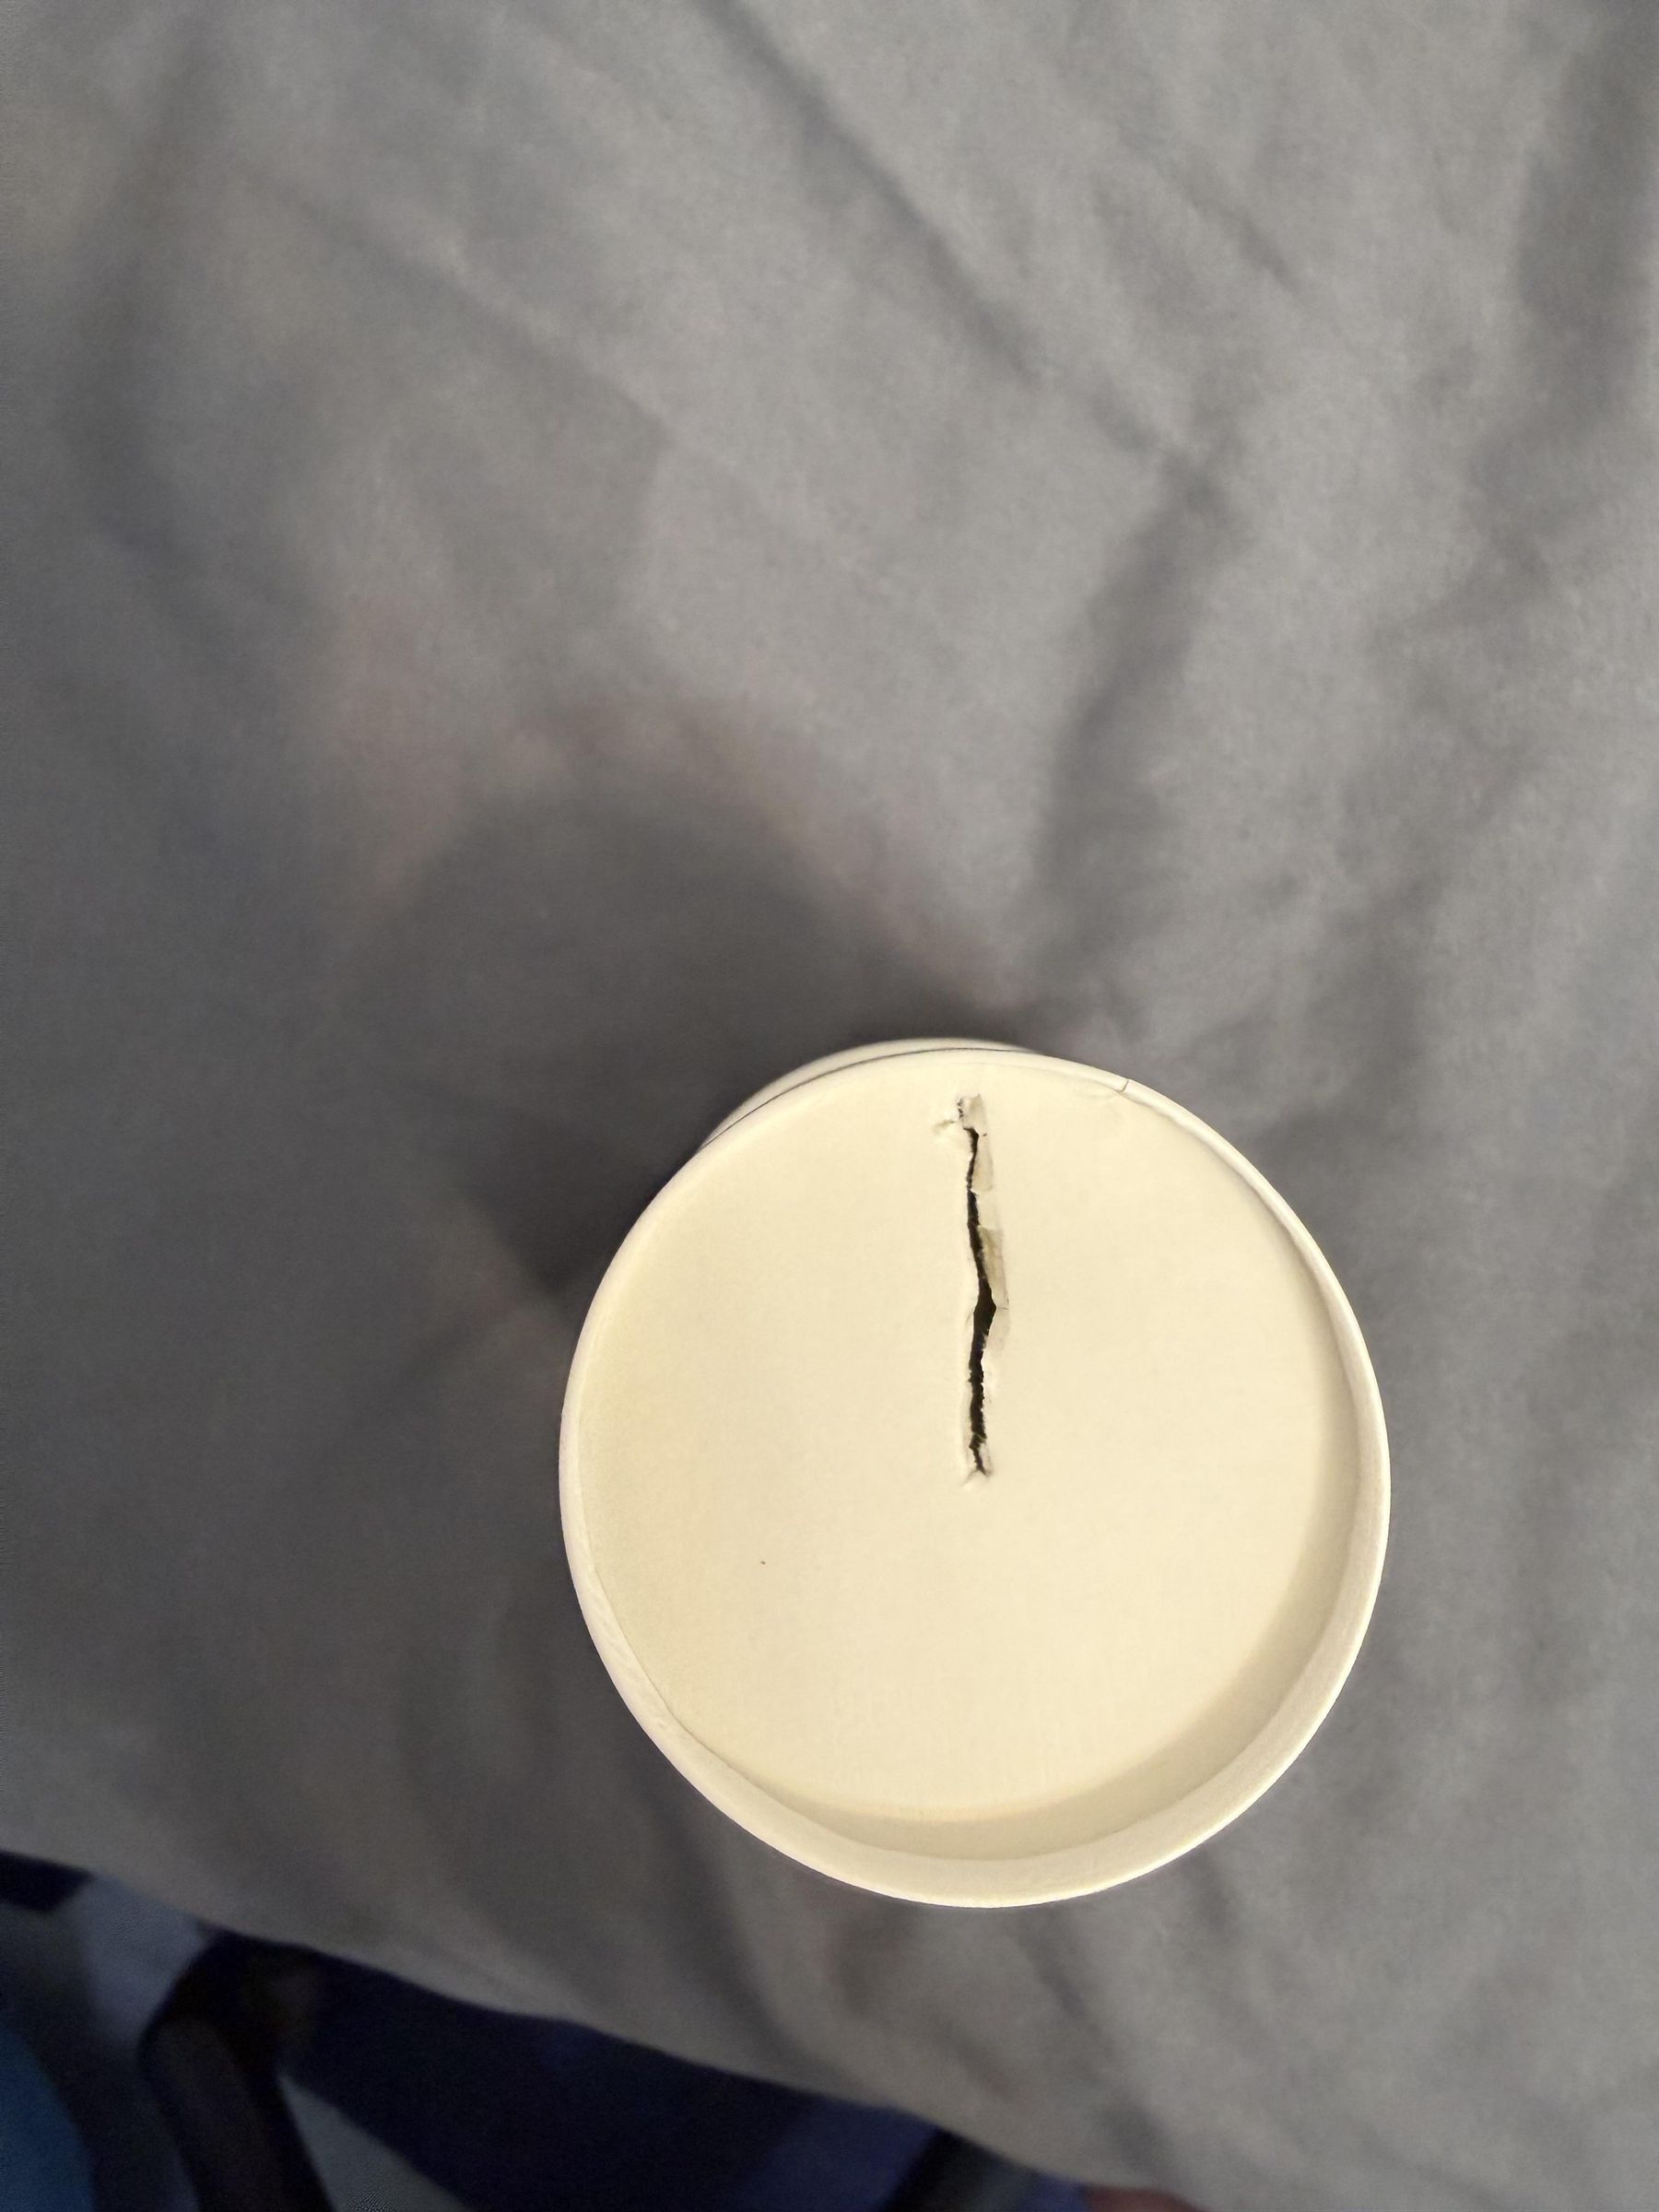
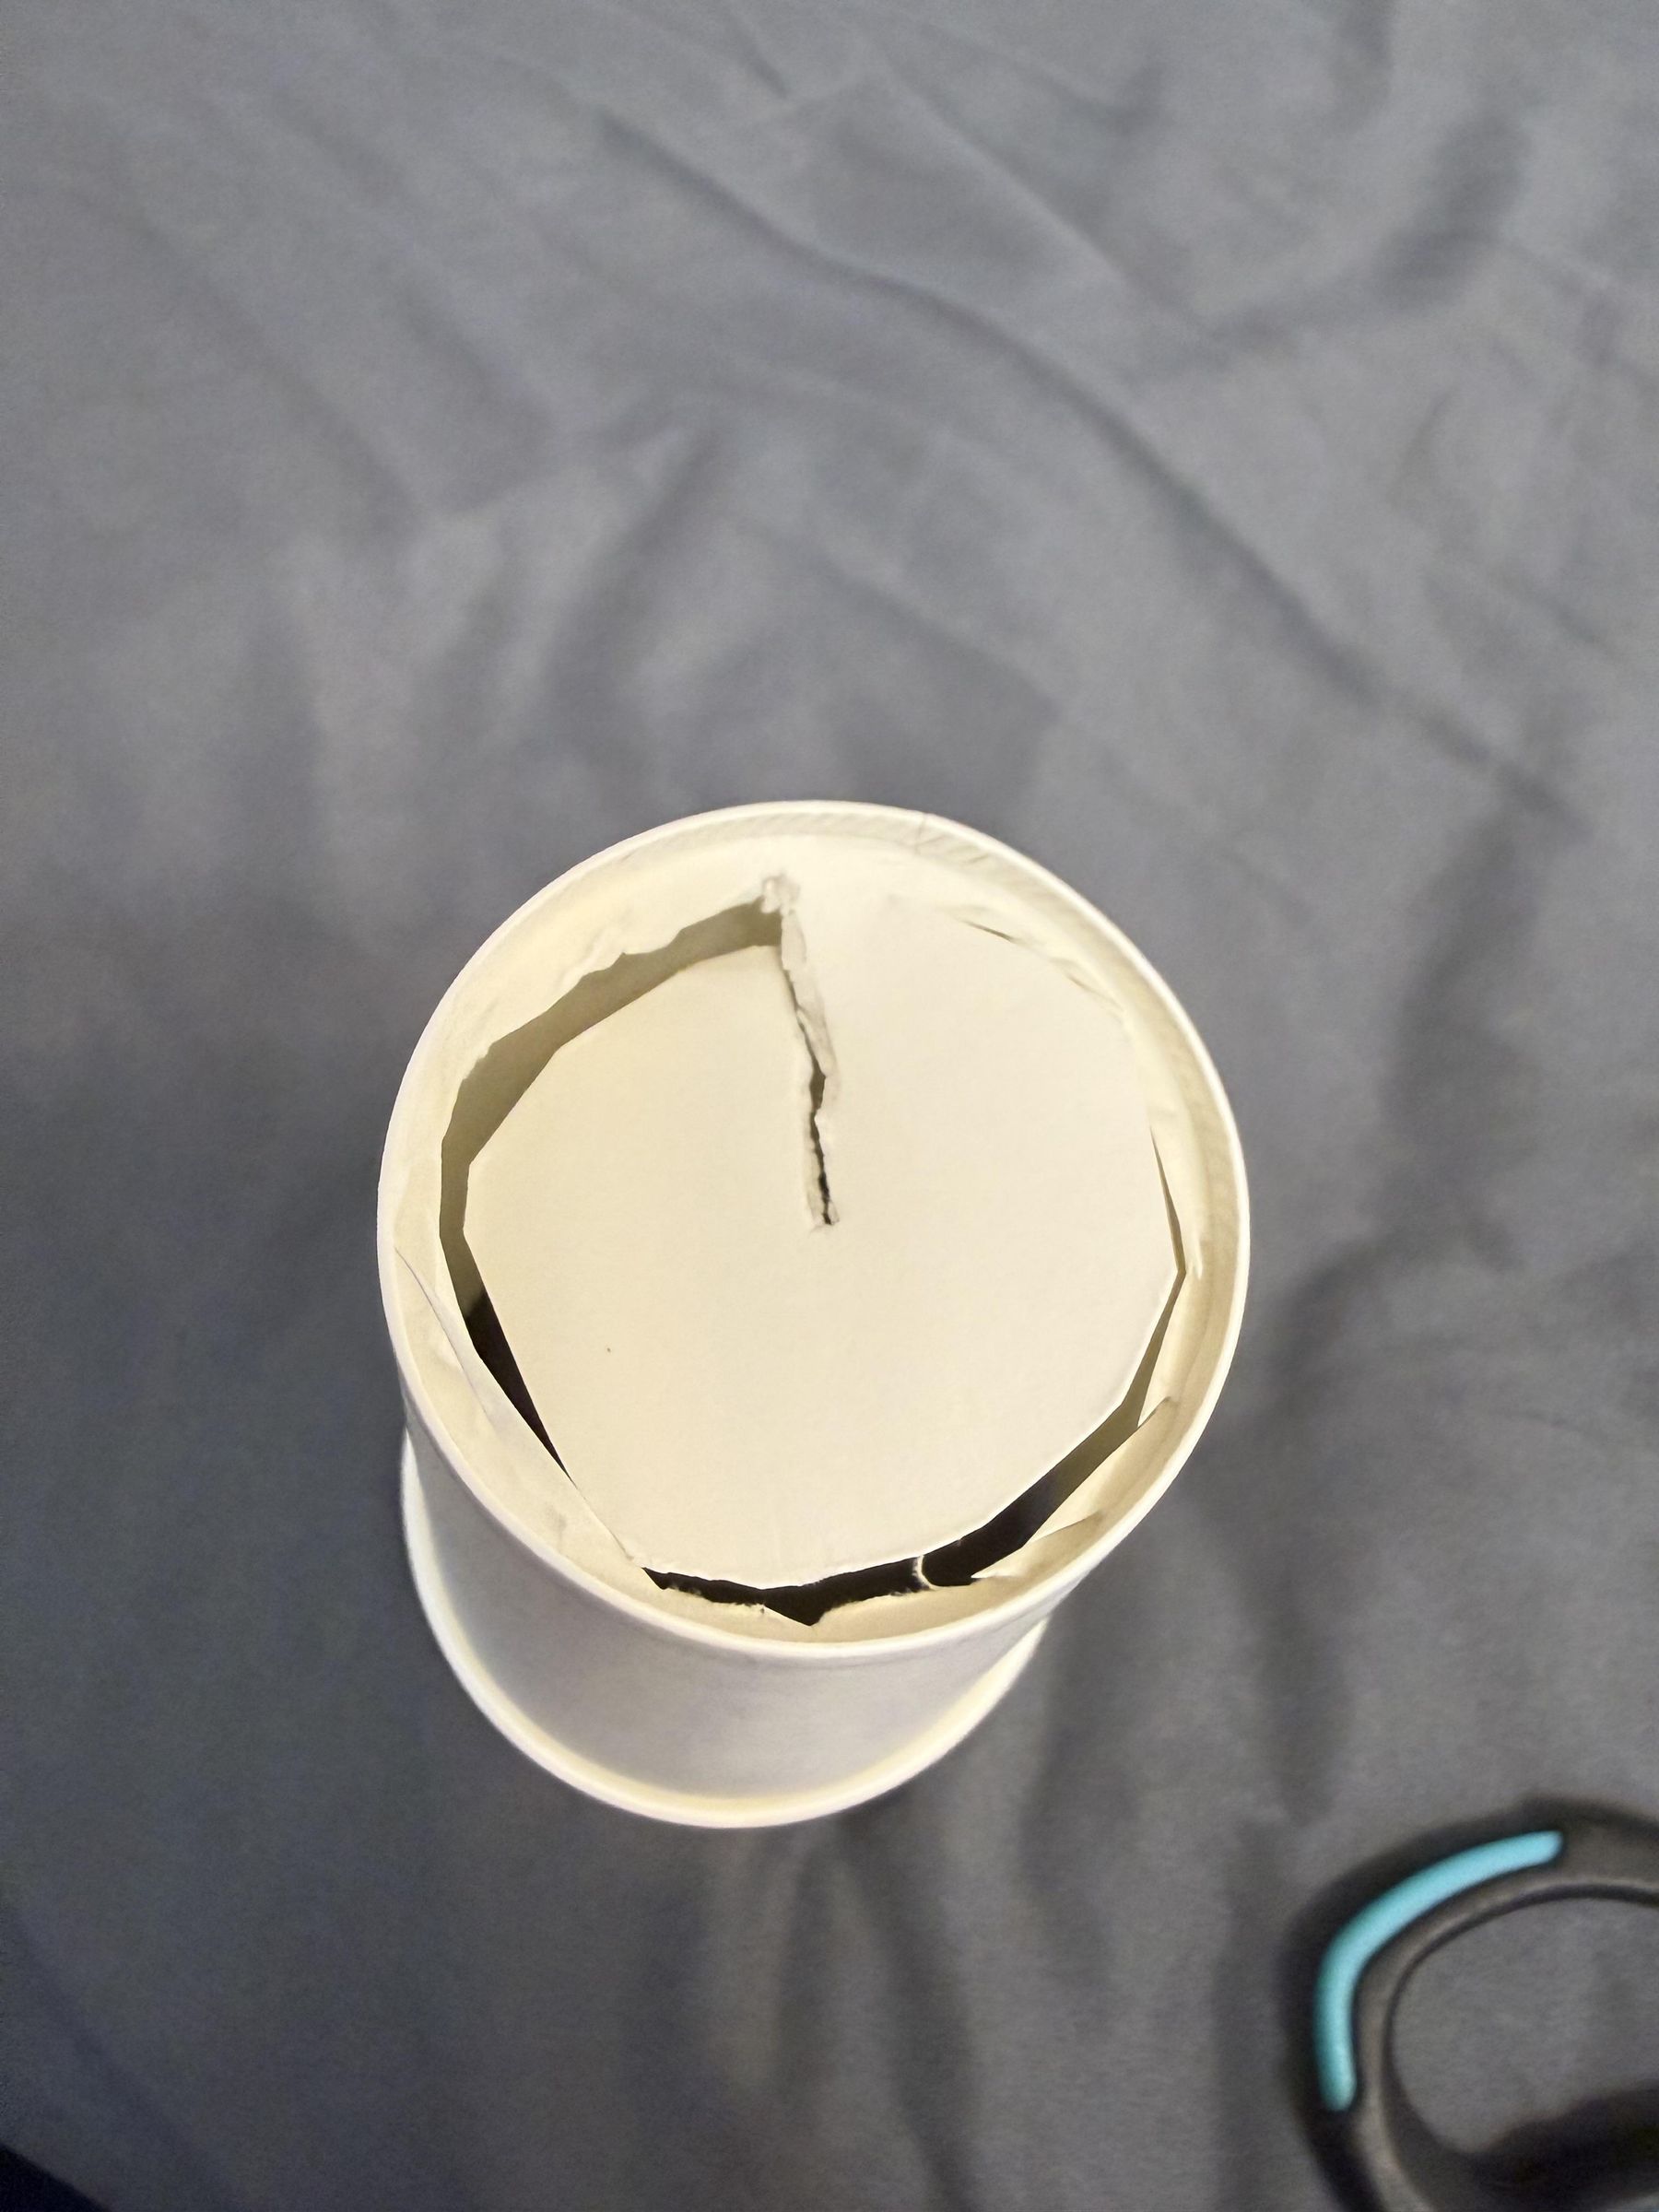
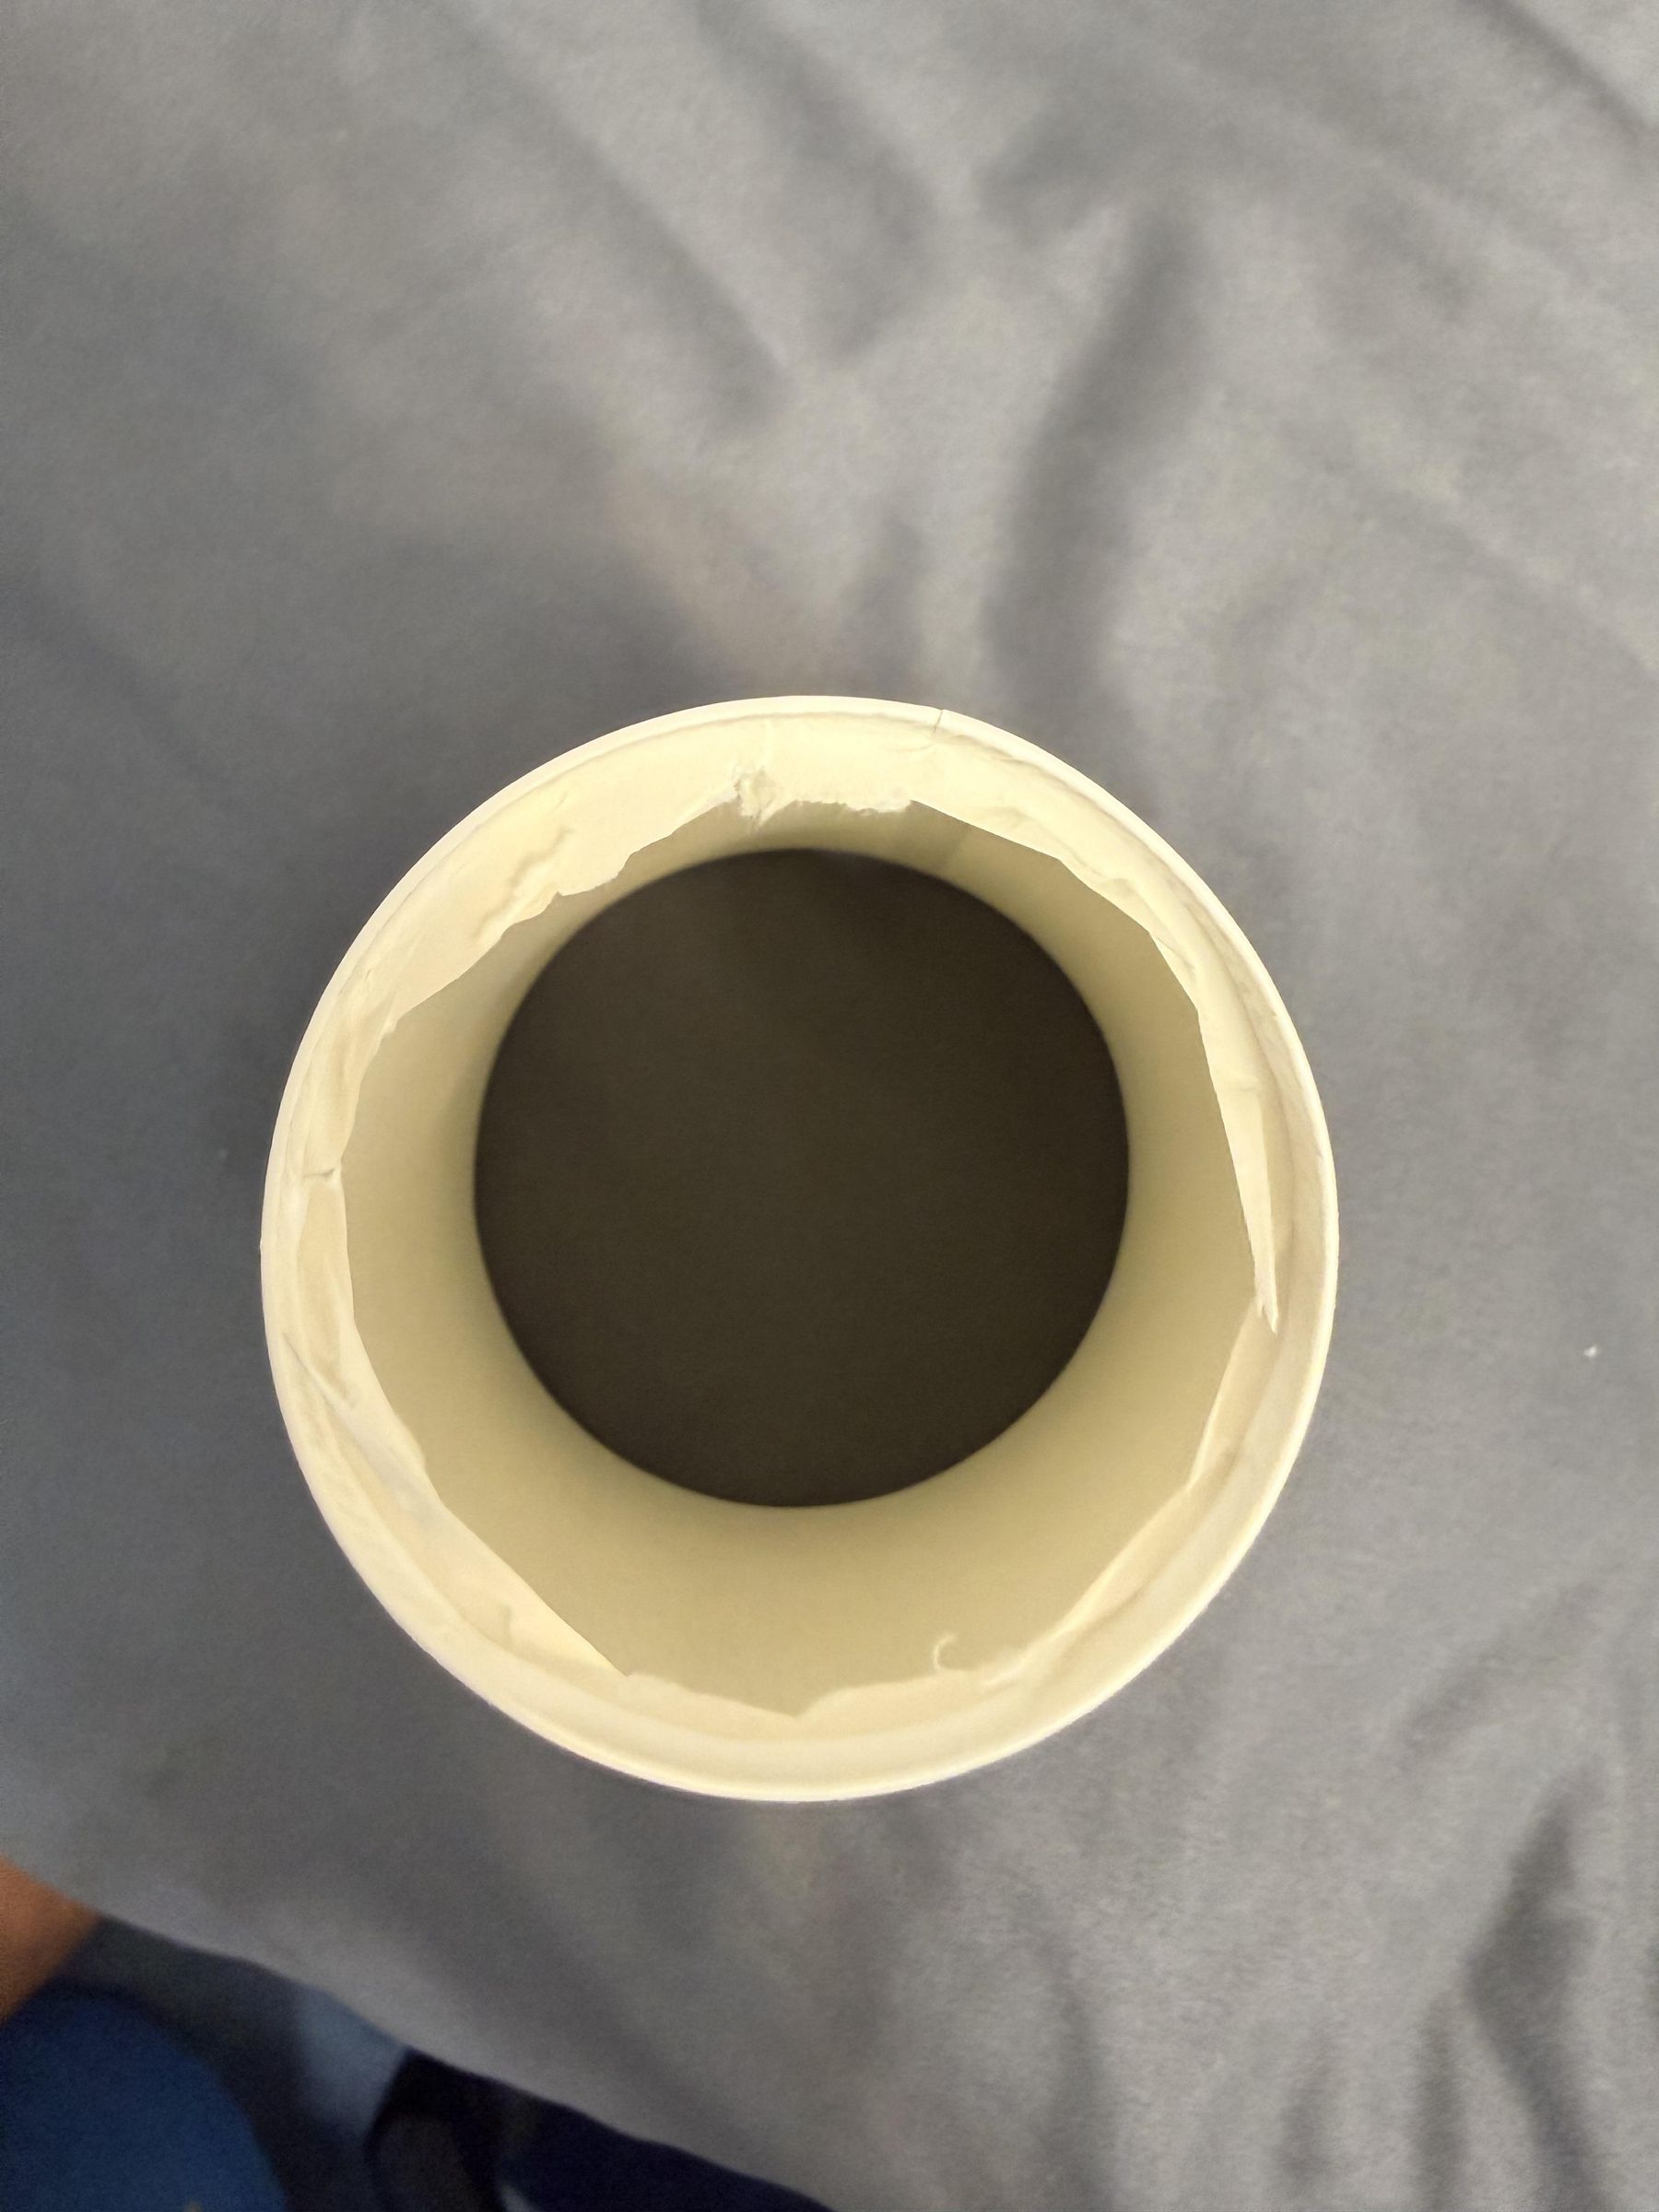
First, let's quickly recap how to design the pom pom shooter. You first need to fully cut the bottom of your first cup. I would approach this systematically: first, use the tip of your scissors to stab a small hole in the bottom of the cup. Then, cut radially outwards to the edge of the cup in one direction. Next, cut around the edge in a full circle until the bottom is removed. Finally, fold the remaining residue bits of paper. I would recommend folding the bits down and towards the inside of the cup. Doing the opposite will cause drag on the air current.
Prepare the Balloon
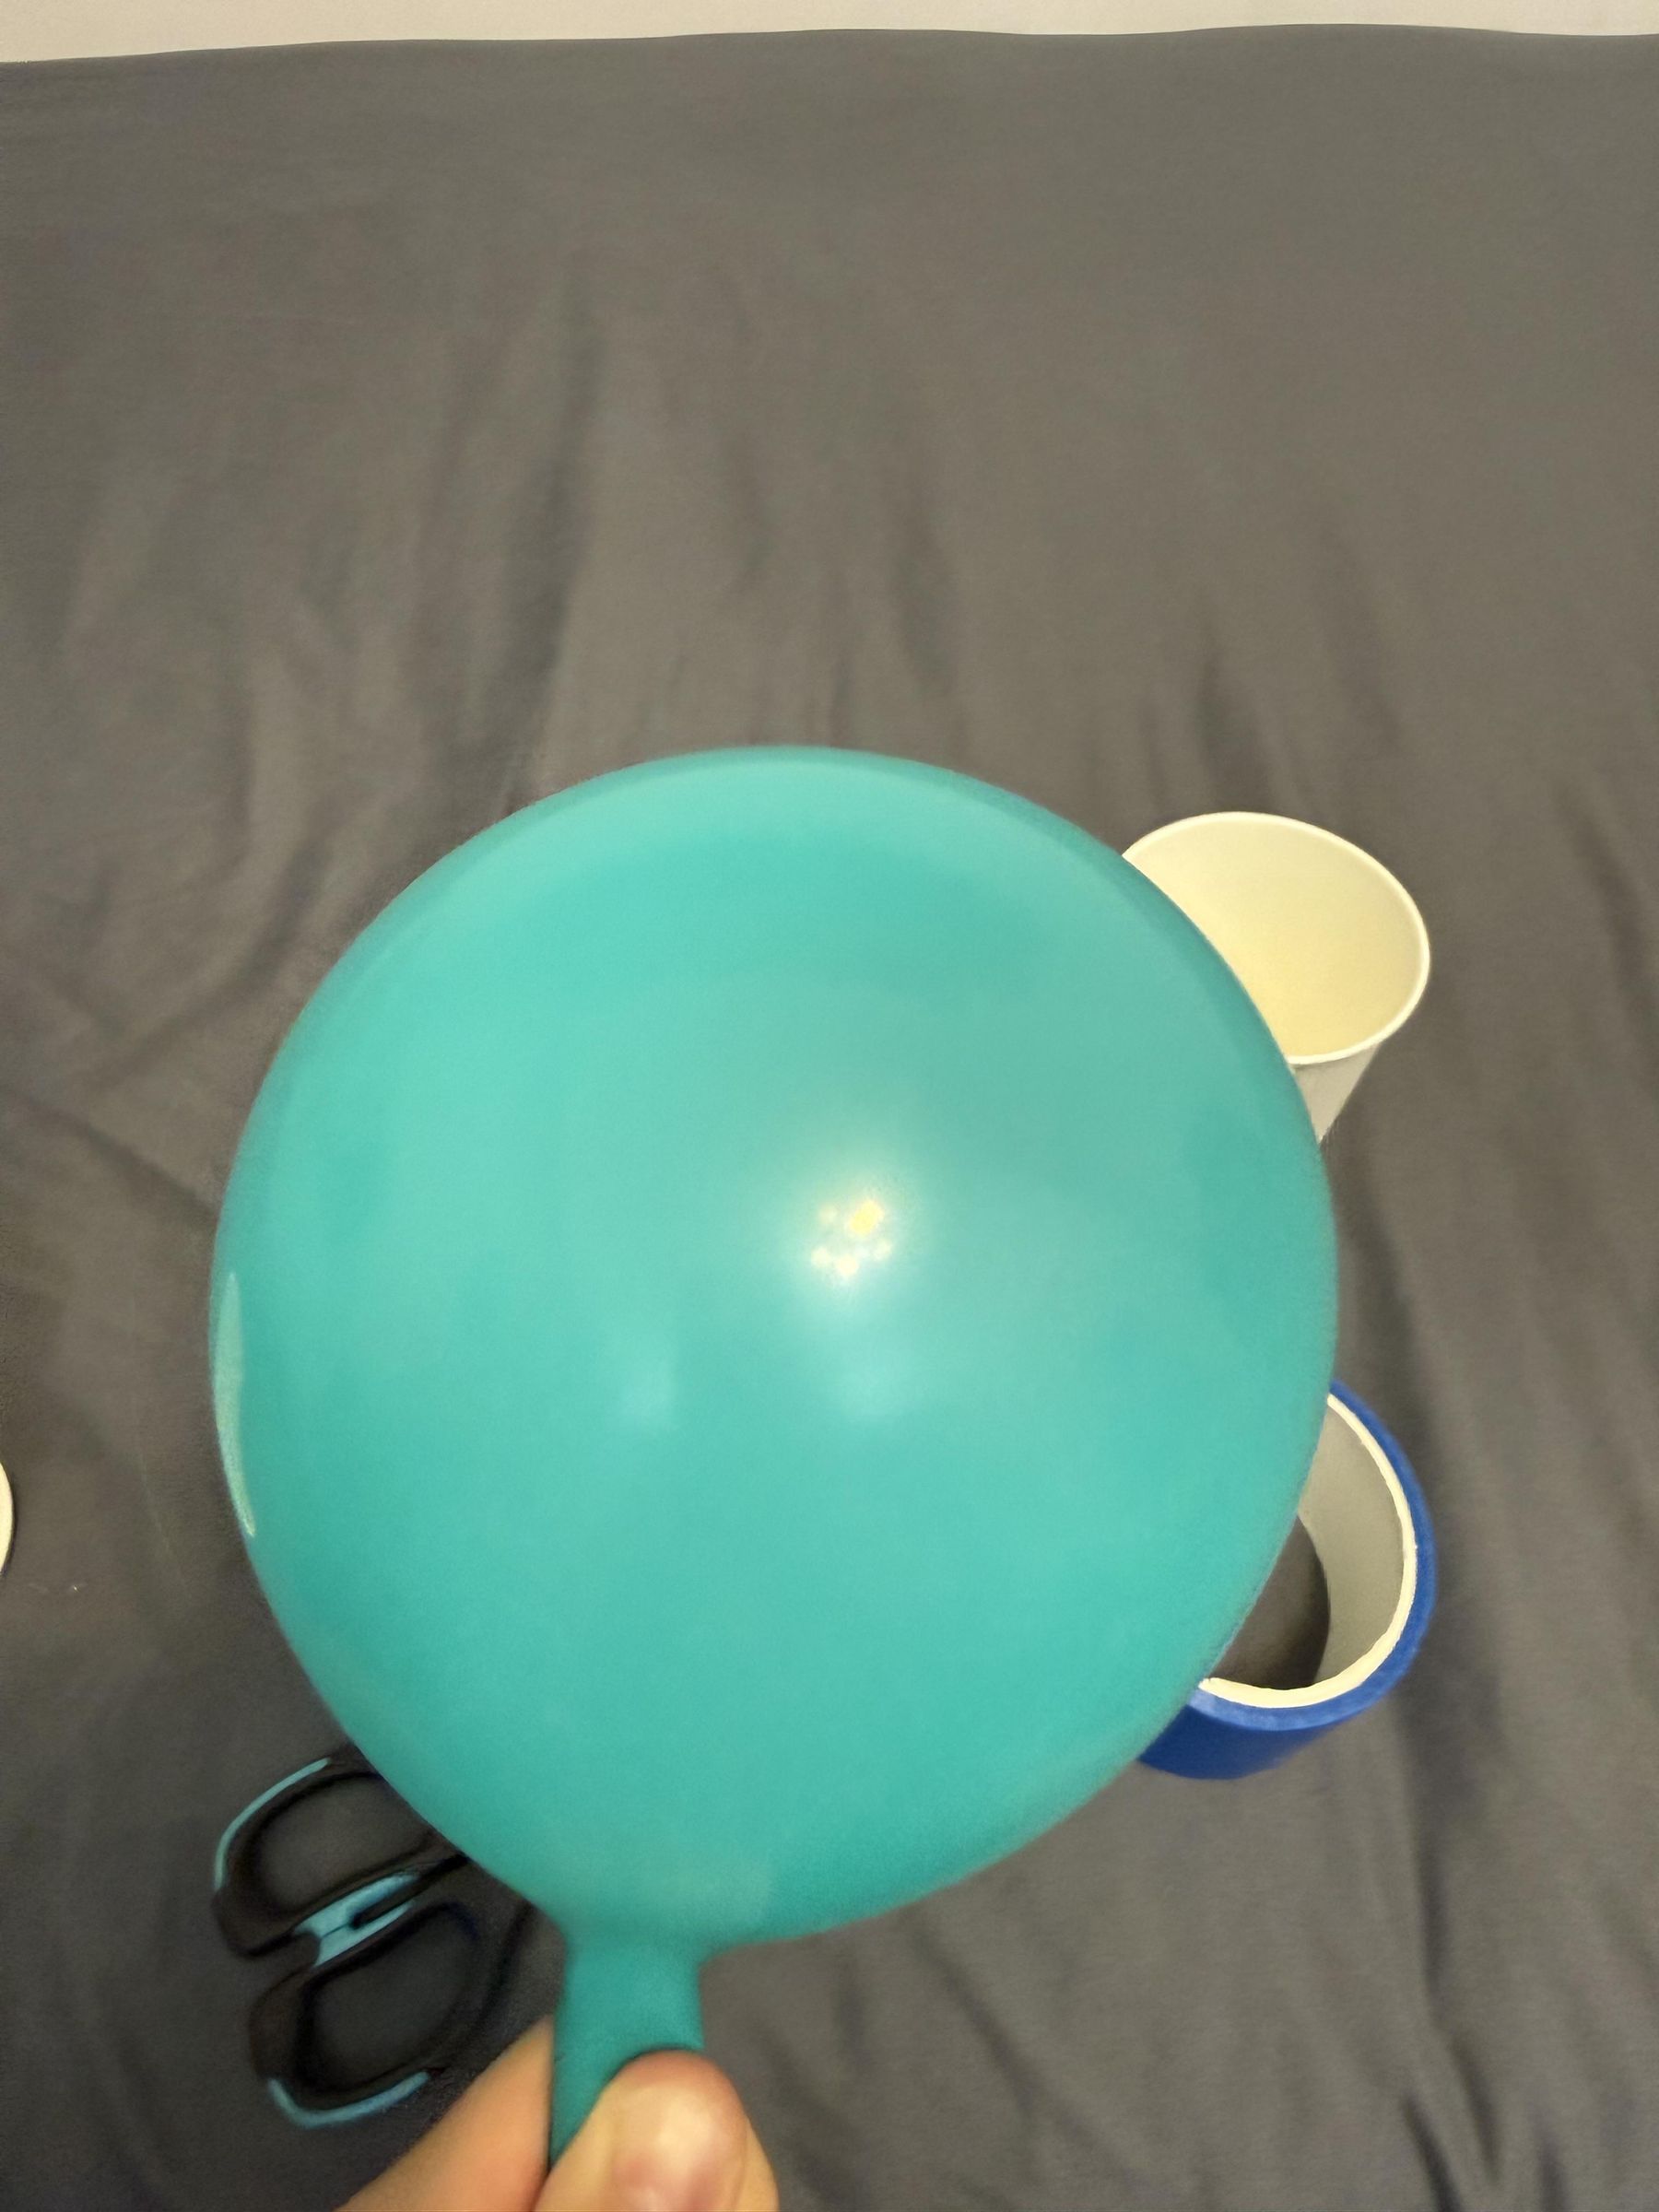
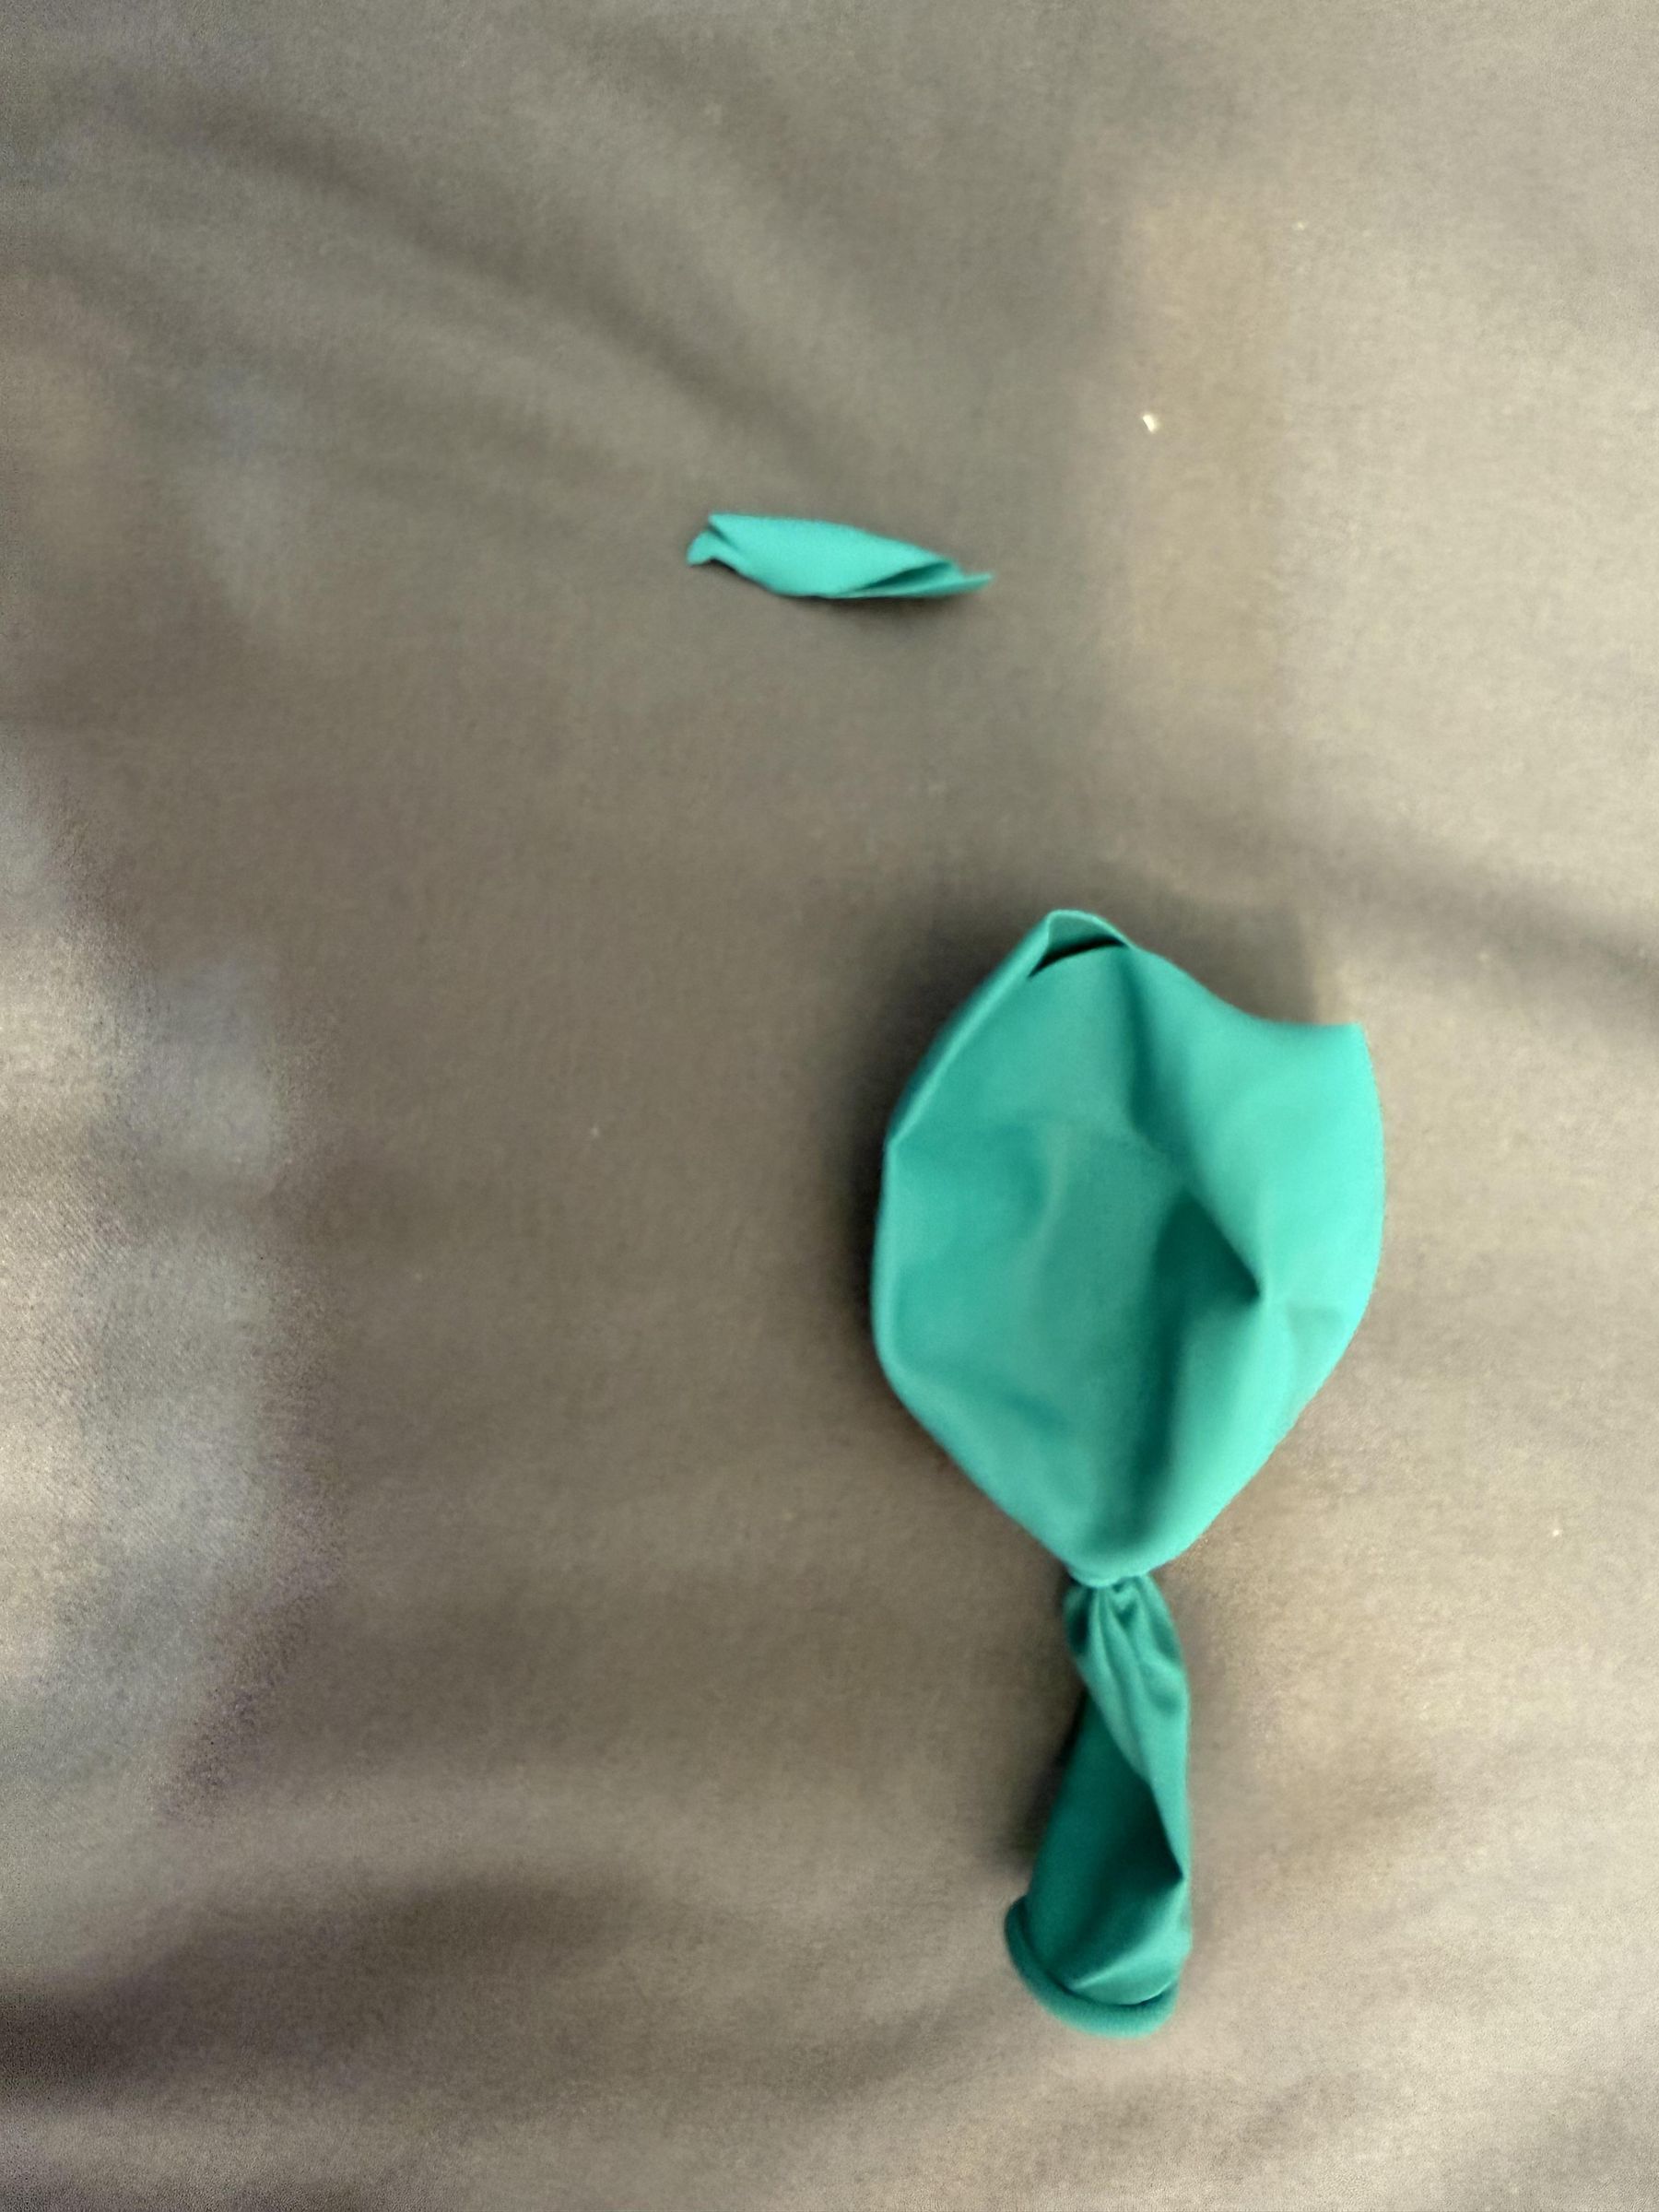
Now, we need to stretch the rubber of the balloon to enable it to snap onto the paper cup. Inflate the balloon (about half or three quarters way) using your hand pump or by blowing. Let the air out. Afterwards, cut a small bit (about 1/4 of an inch) of the ROUND end of the balloon as depicted in photograph 2. This will create the opening that allows you to stretch the balloon over the cup. Finally, don't forget to tie a knot at the neck of the balloon. This creates a 'handle' that you can pull to launch the air!
Attach the Balloon Onto the First Paper Cup
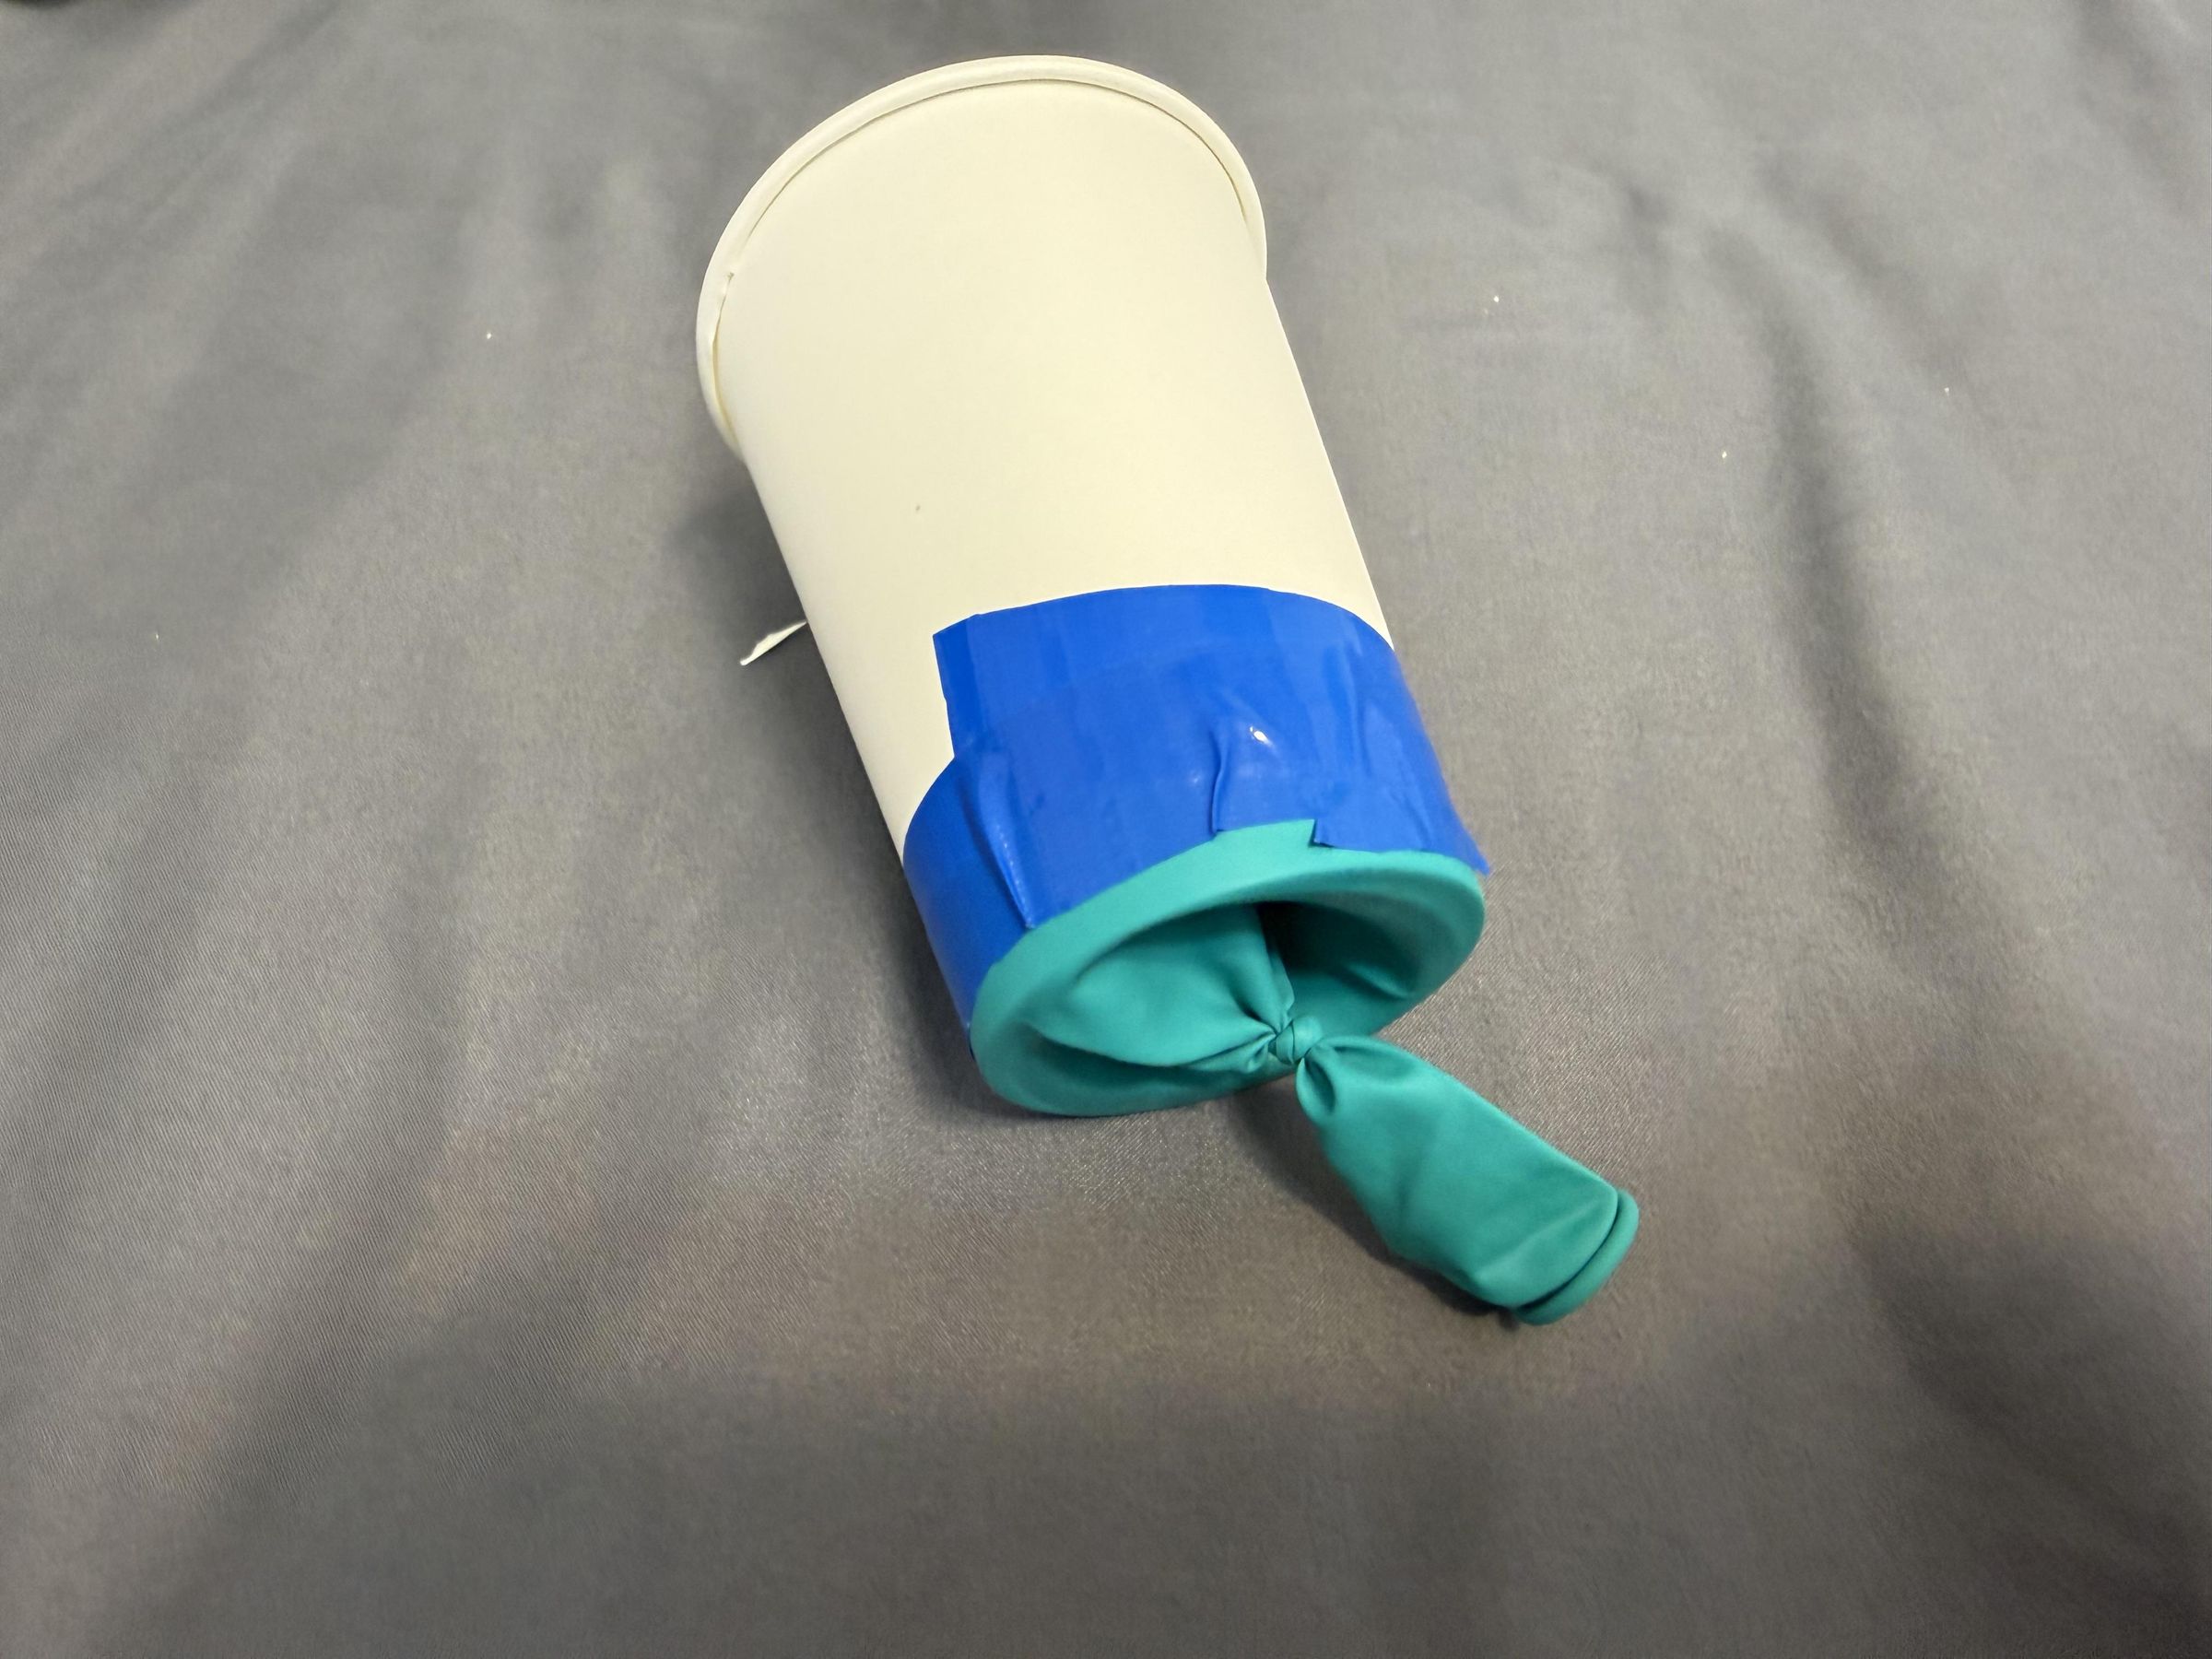
To finish making the 'pom pom shooter', attach the cut end of the balloon over the bottom of your first paper cup (the one you cut a complete hole in). Secure it with duct tape all around. That's the pom pom shooter that many of you might already have!
Prepare the Second Paper Cup
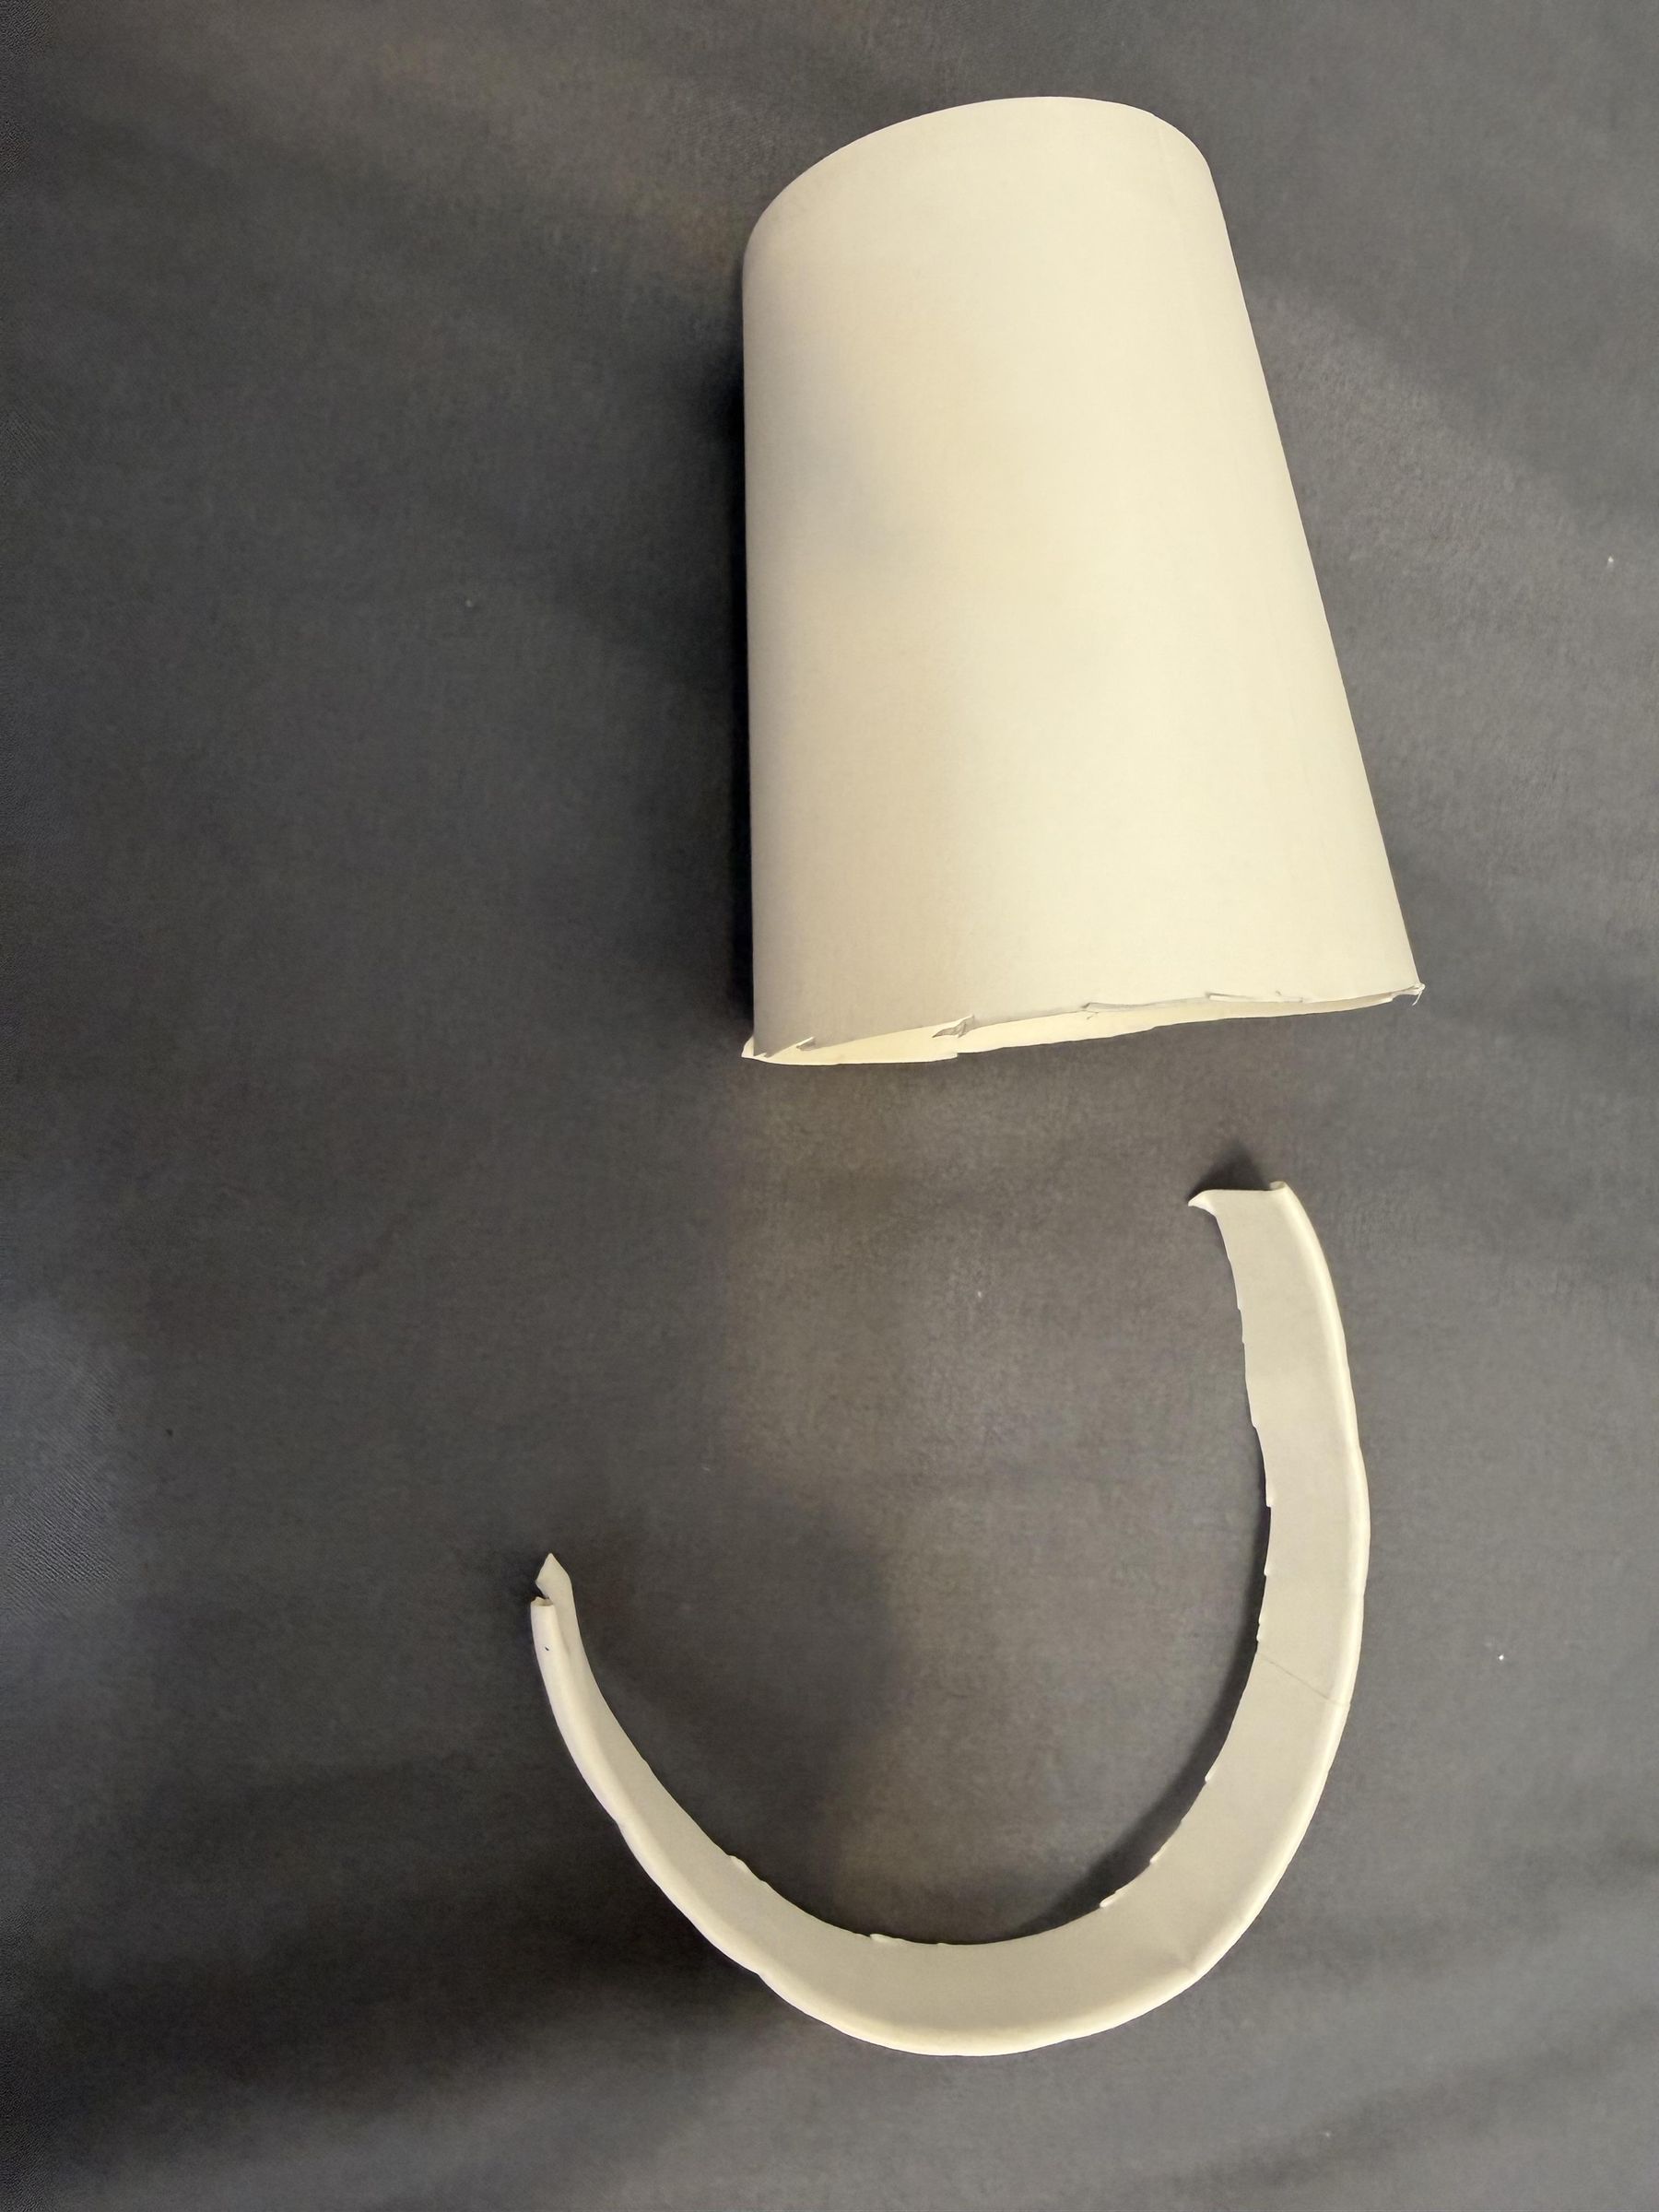
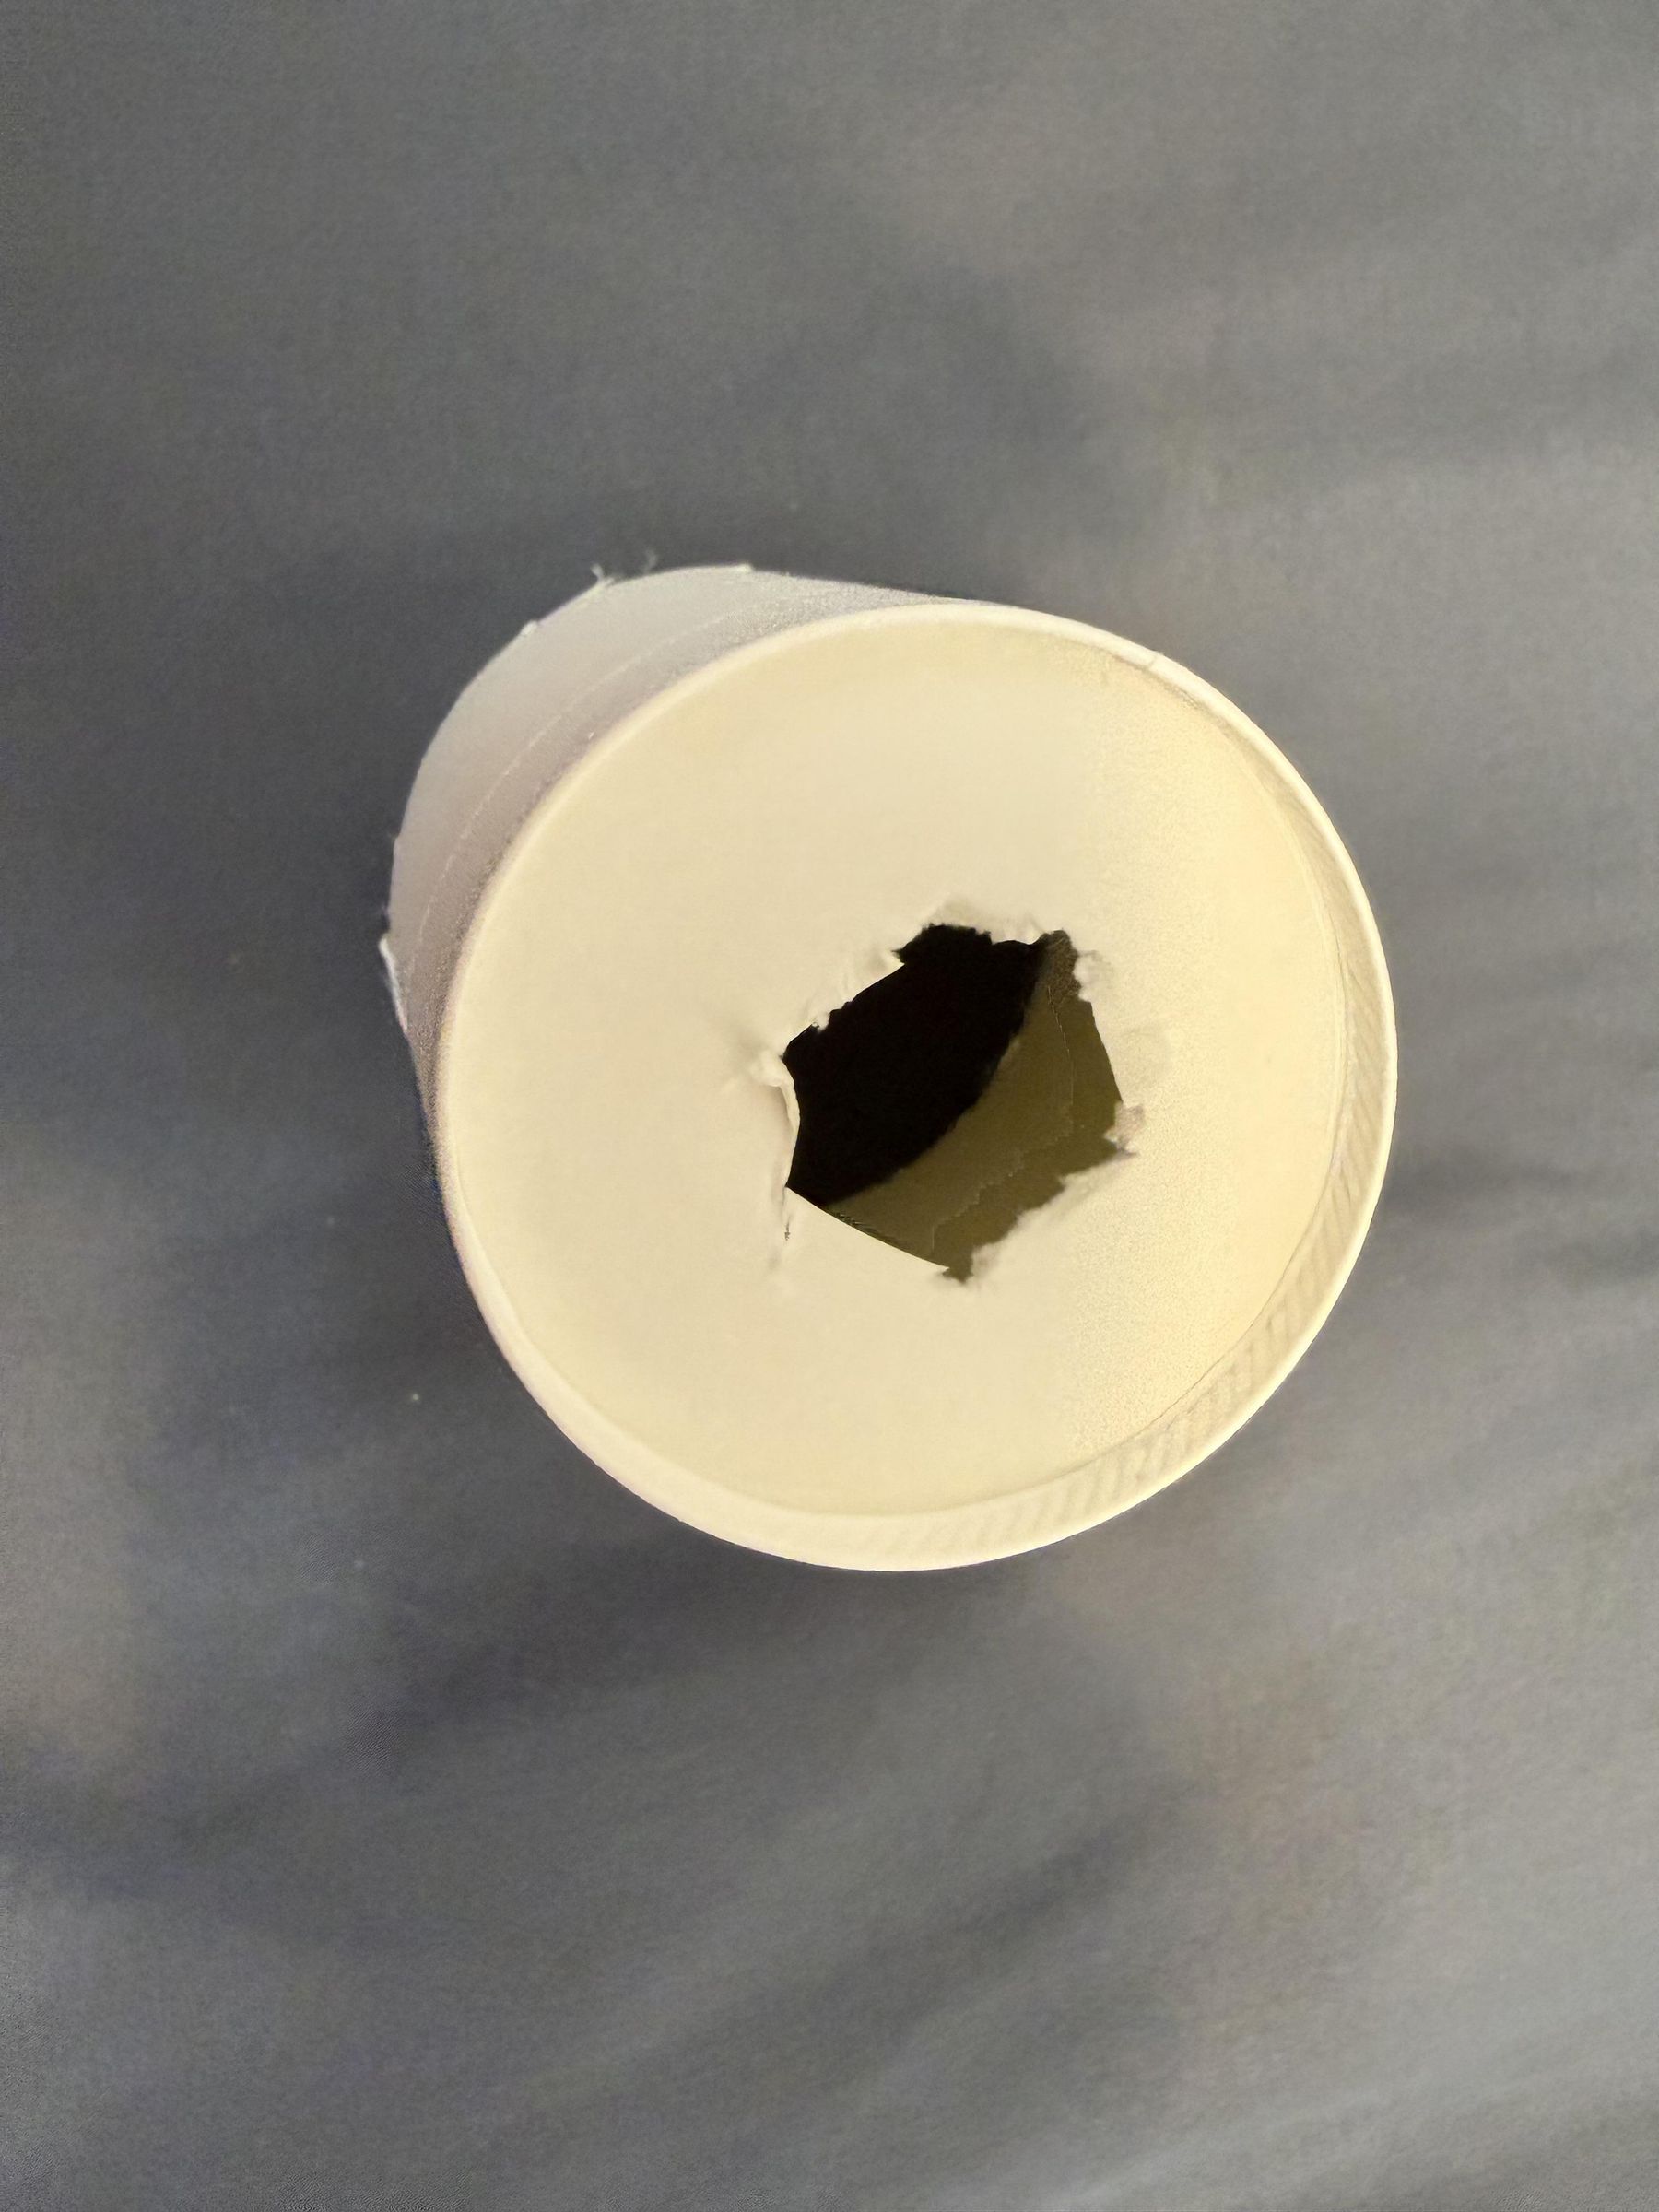
Here is where things get interesting. To upgrade the pom pom shooter into the air vortex cannon, take another paper cup. Cut a ~2-3 cm ring off the top of the cup. This ensures the second cup is smaller than the first and can be inserted tightly into the pom pom shooter. Then, cut a small hole (1/3 the diameter of the cup) into the bottom of the second cup. It doesn't have to be a perfect circle; a hexagon (like I have done) is perfectly fine. This creates that powerful vortex by concentrating the air current.
Insert Your Second Paper Cup Into Your First
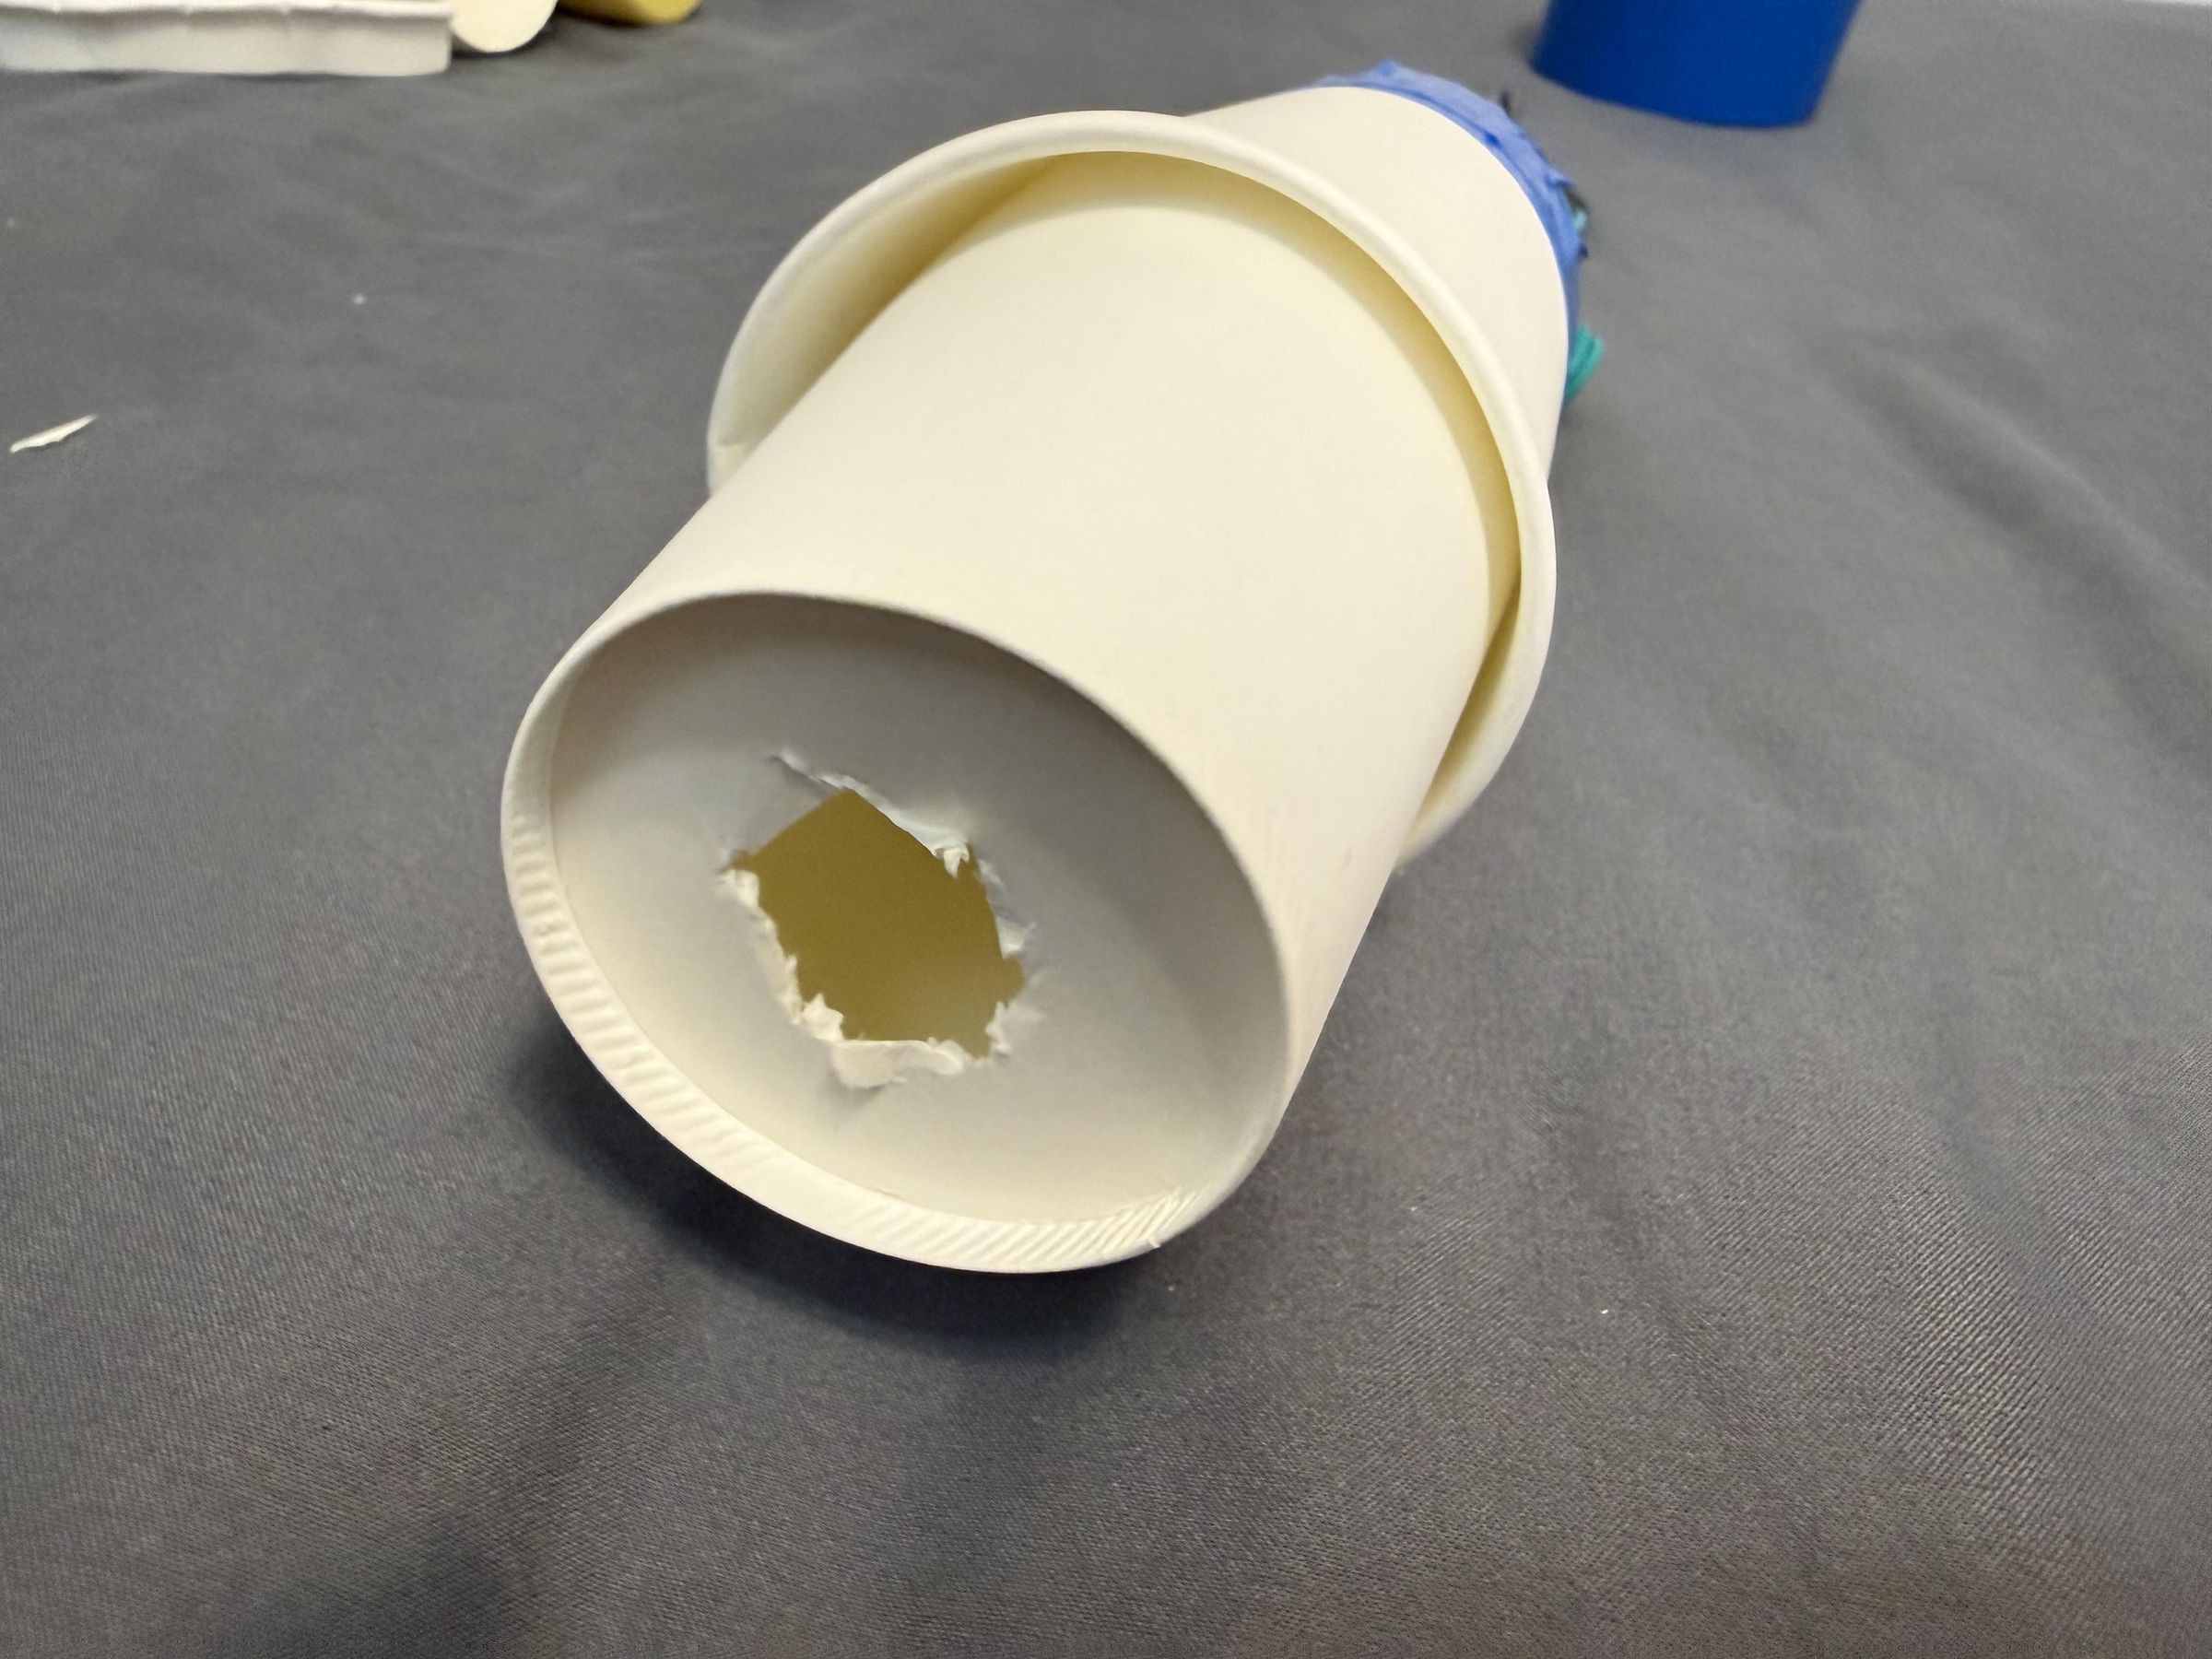
Finally, you can insert your second paper cup head-first into the top of your original pom pom shooter. It should fit quite snugly. The important thing in this stage is to push the second cup as far inside as possible (it's okay if the cup deforms slightly from a perfect circle, as long as the connection is secure). The tension within the first cup should naturally hold the second cup in place. If not, you can use glue to help.
And voila! You now have a working vortex cannon! If you want to convert it back to a pom pom shooter, simply slide the smaller cup out of the larger cup. I've also provided a video of blowing a marker.