Pedalhaus: a 3D-printed Guitar Pedalboard
973 Views, 9 Favorites, 0 Comments
Pedalhaus: a 3D-printed Guitar Pedalboard
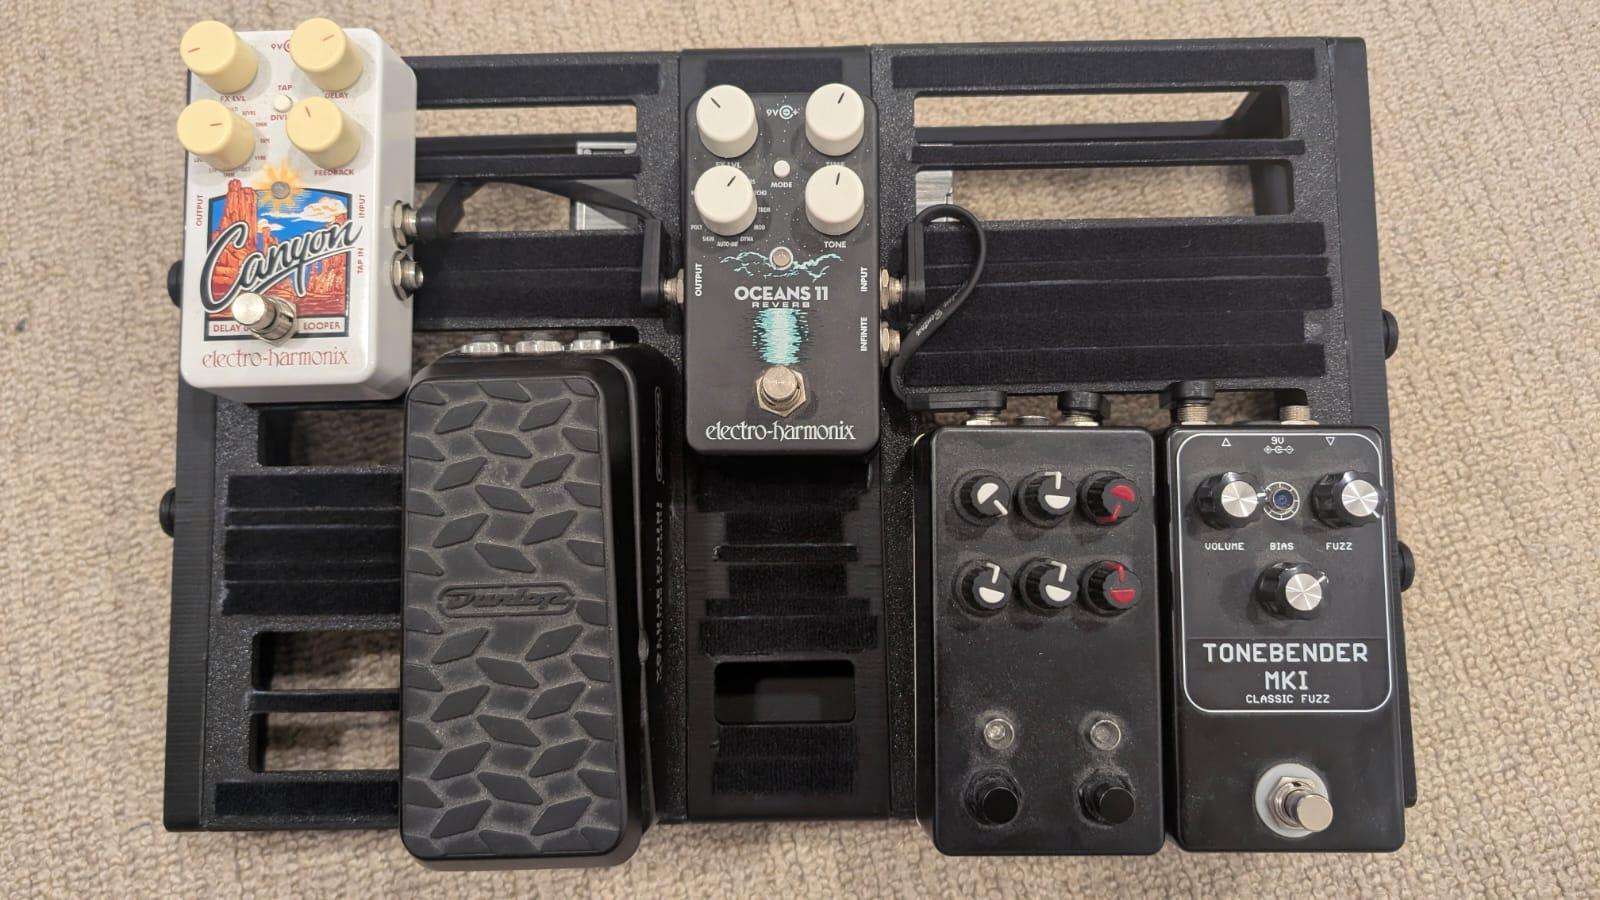
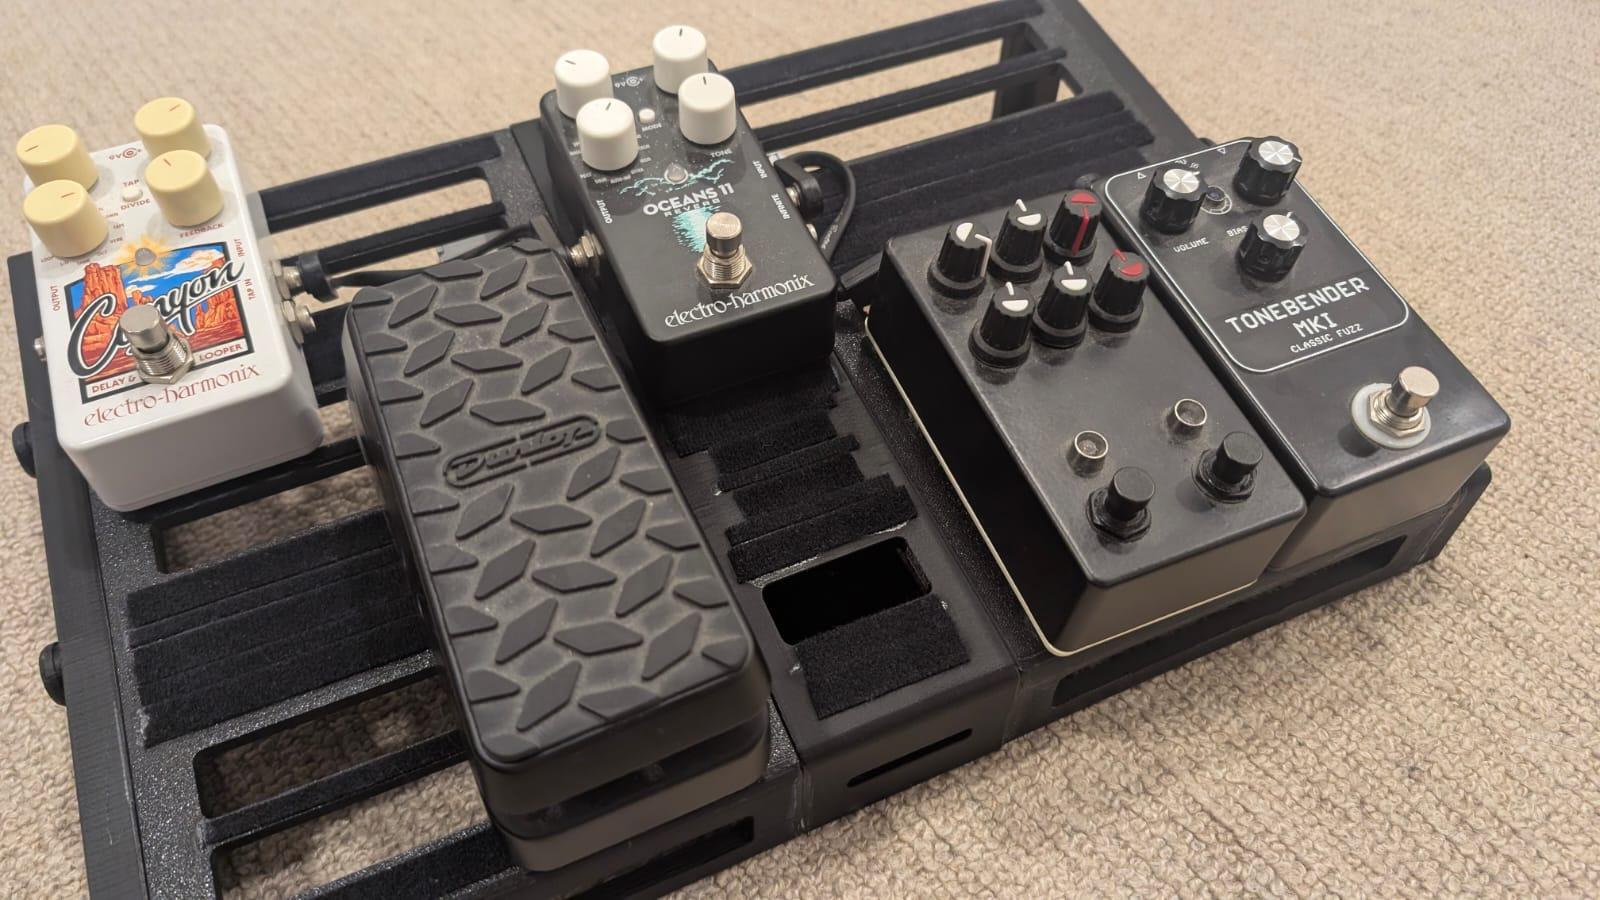
A fun project to build myself a 3D printed pedalboard using easy available components. The intention was to develop a customizable pedalboard that’s lightweight, modular, and easy to assemble. Perfect for musicians like myself who love to tinker, customize, and make their own gear.
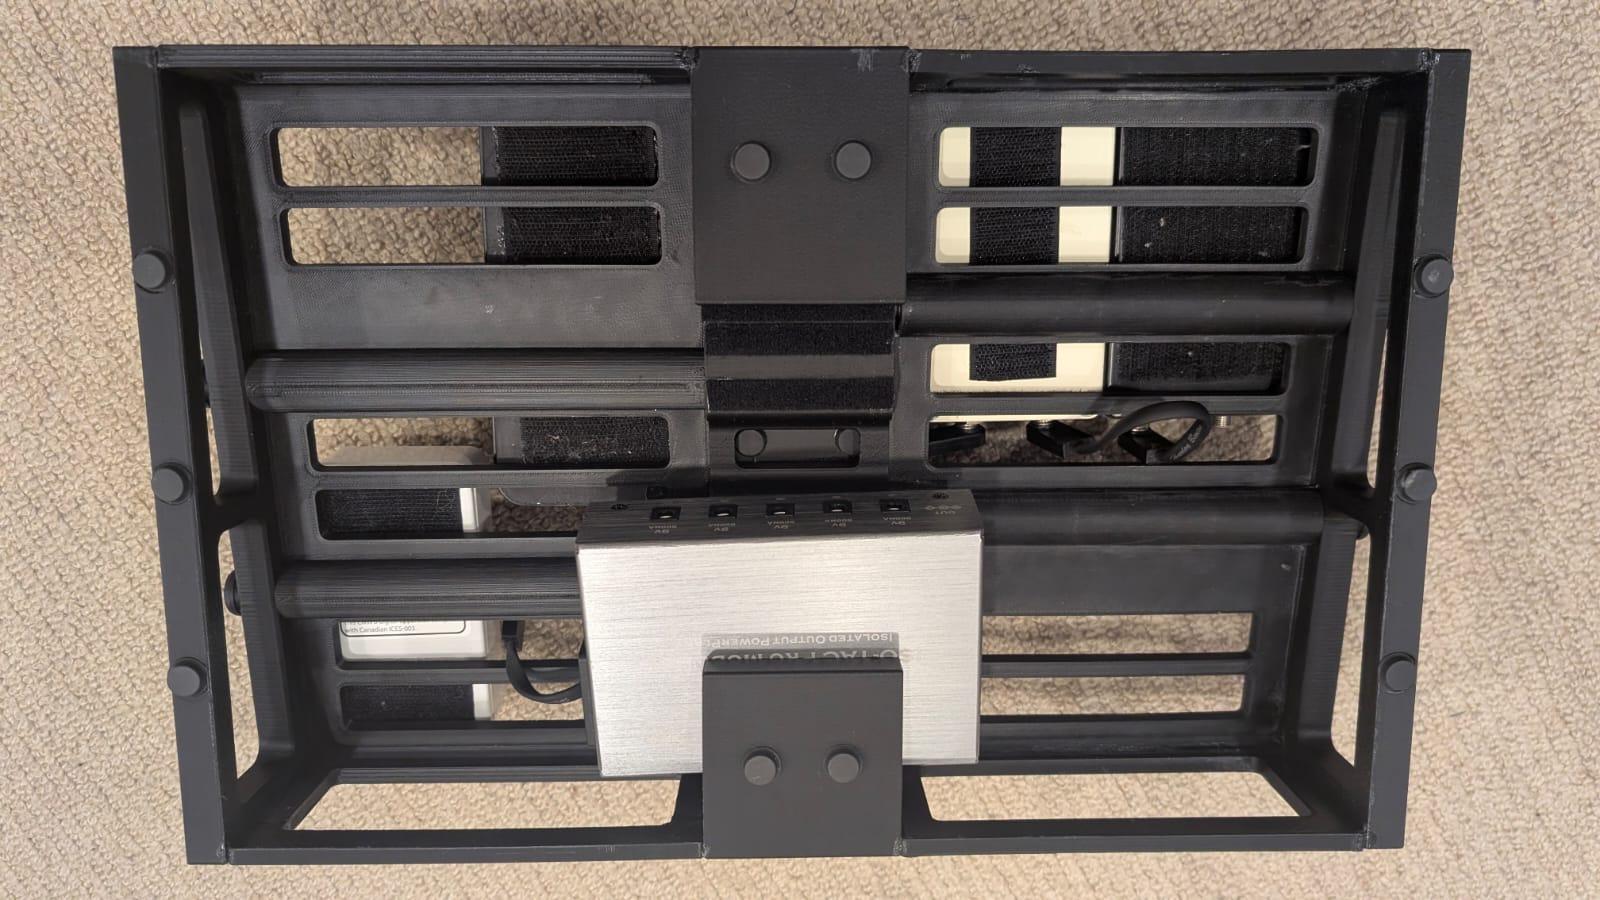
For those interested, I have attached a few of my pedals (EHX Oceans 11 Reverb, EHX Canyon Delay + Looper, Dual Hot Cake / Hottokeki Clone and a ToneBender Mark 1 clone with Bias control). I have also mounted my Harley Benton ISO-1 AC Pro Modular on the underside though I did not have a chance to place the power cables!
Supplies

Preface: this build was a prototype design for a pedalboard and I have since implemented a few revisions to the CAD design to make the assembly even more robust.
To begin this project you will need to have access to a 3D printer and purchase some steel bolts and nuts, as shown in the attached figure. Note that for final assembly you will require a M8 or adjustable spanner (as pictured).
Firstly, ensure you have printed the following components using the attached MakerWorld link (https://makerworld.com/en/models/1930213-pedalhaus-a-3d-printed-guitar-pedalboard):
- 1x pedalhaus-Lend
- 1x pedalhaus-Rend
- 1x pedalhaus-center
- 1x pedalhaus-Lhalf
- 1x pedalhaus-Rhalf
- 4x pedalhaus-cap
Further required components:
- 4x M8 230mm Bolts
- 4x M8 Nuts
- 4x M8 Washers
Optional extras:
- Self-adhesive rubber feet (0.25 inch radius)
- Superglue for added rigidity
(optional) Install Rubber Feet
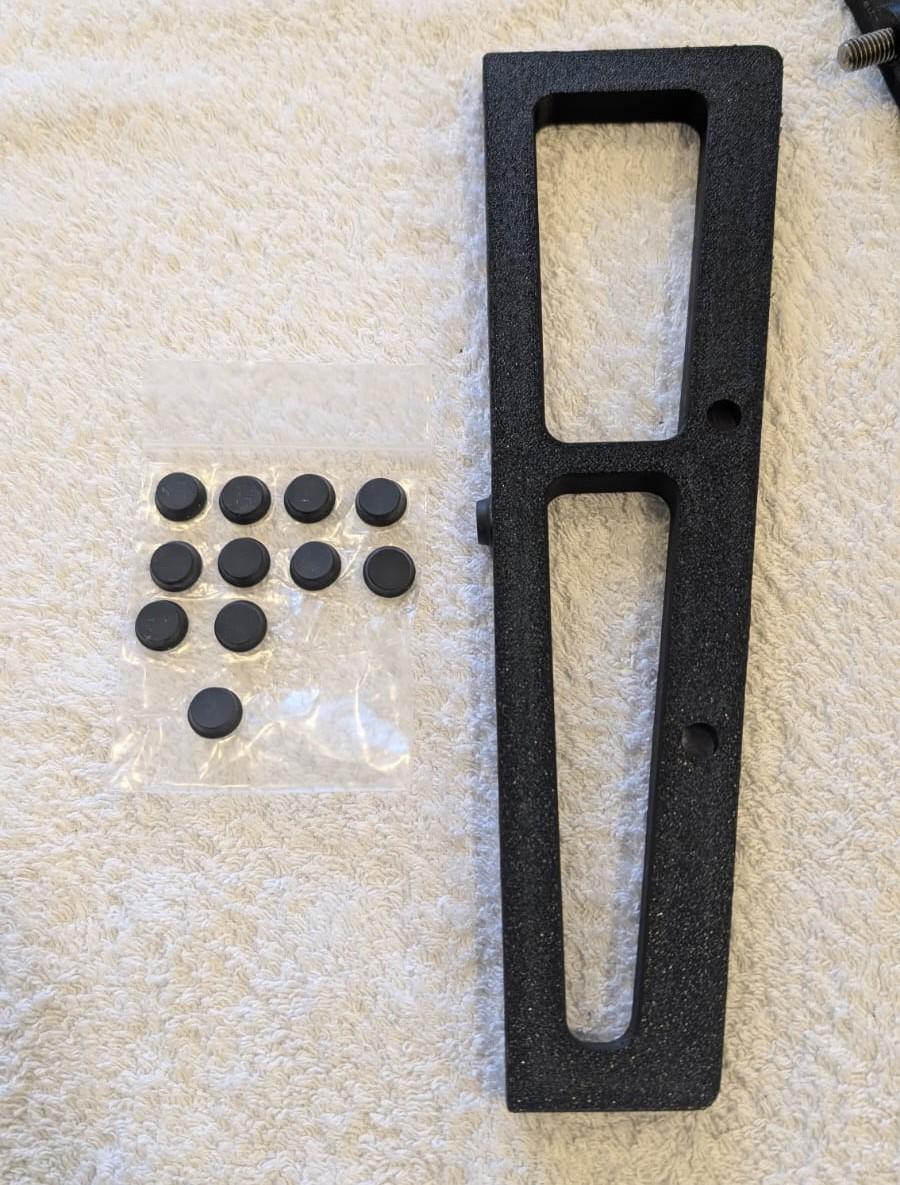
Attach the rubber feet to the pedalhaus-Lend and pedalhaus-Rend components. In the latest revision, the center components now include recesses to accommodate the feet. The rubber feet help compensate for uneven surfaces and provide grip, preventing the board from sliding.
Attach Hex Nuts
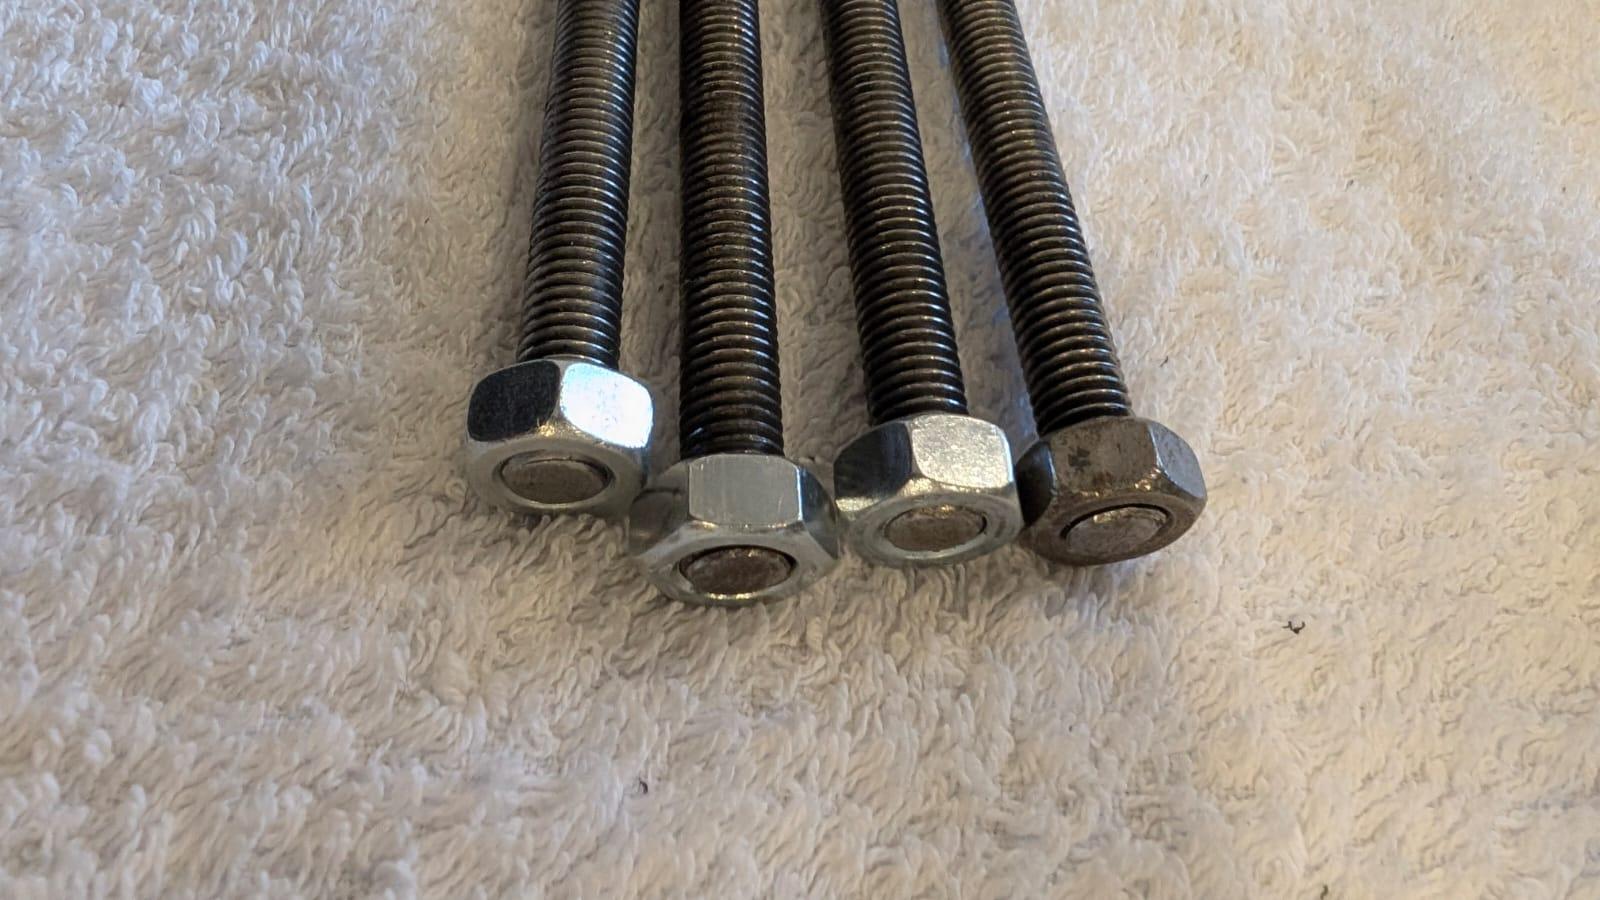

Thread the hex nuts onto the end of each bolt by hand until they sit flush with the end of the bolt, as pictured.
Insert Bolts

Feed the bolts through the pedalhaus-center 3D-printed component, ensuring they pass all the way through the designated holes. Ensure that the hex nut sits flush against the inner wall of the center component as you insert the bolt.
Attach Pedalhaus Halves

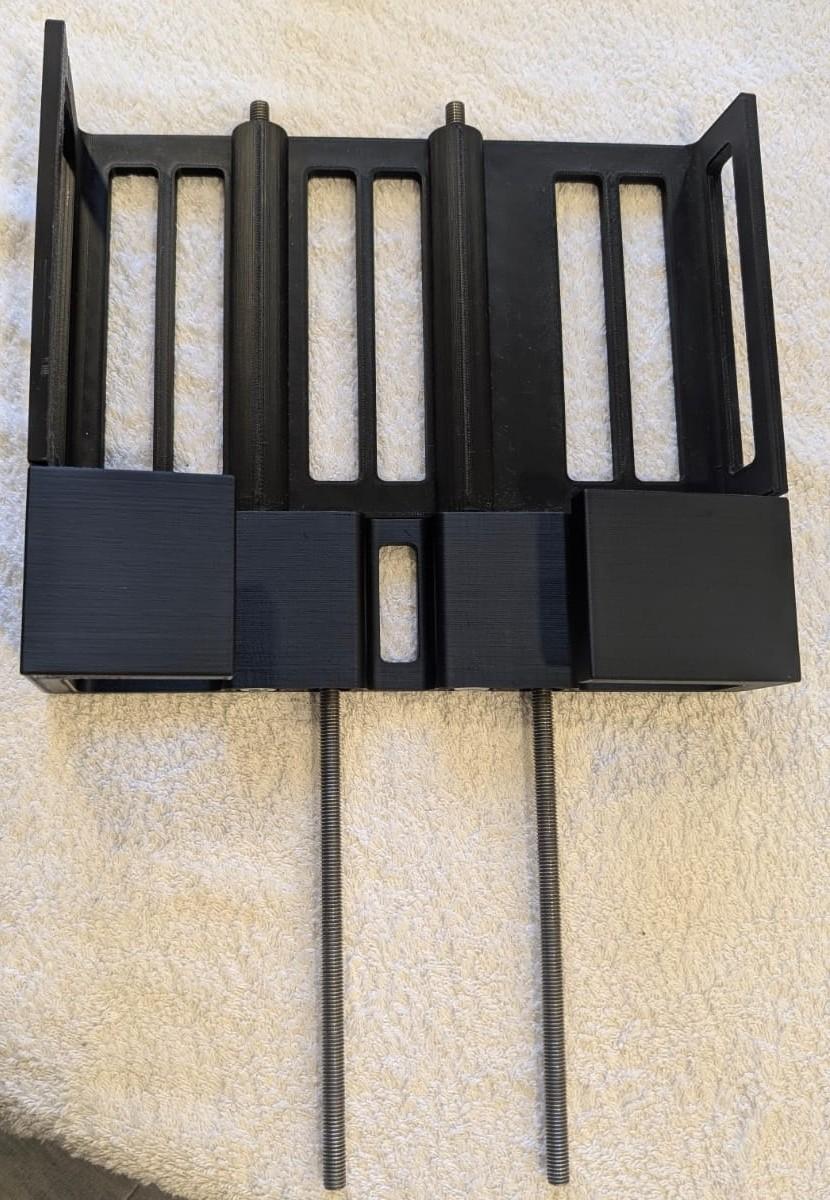
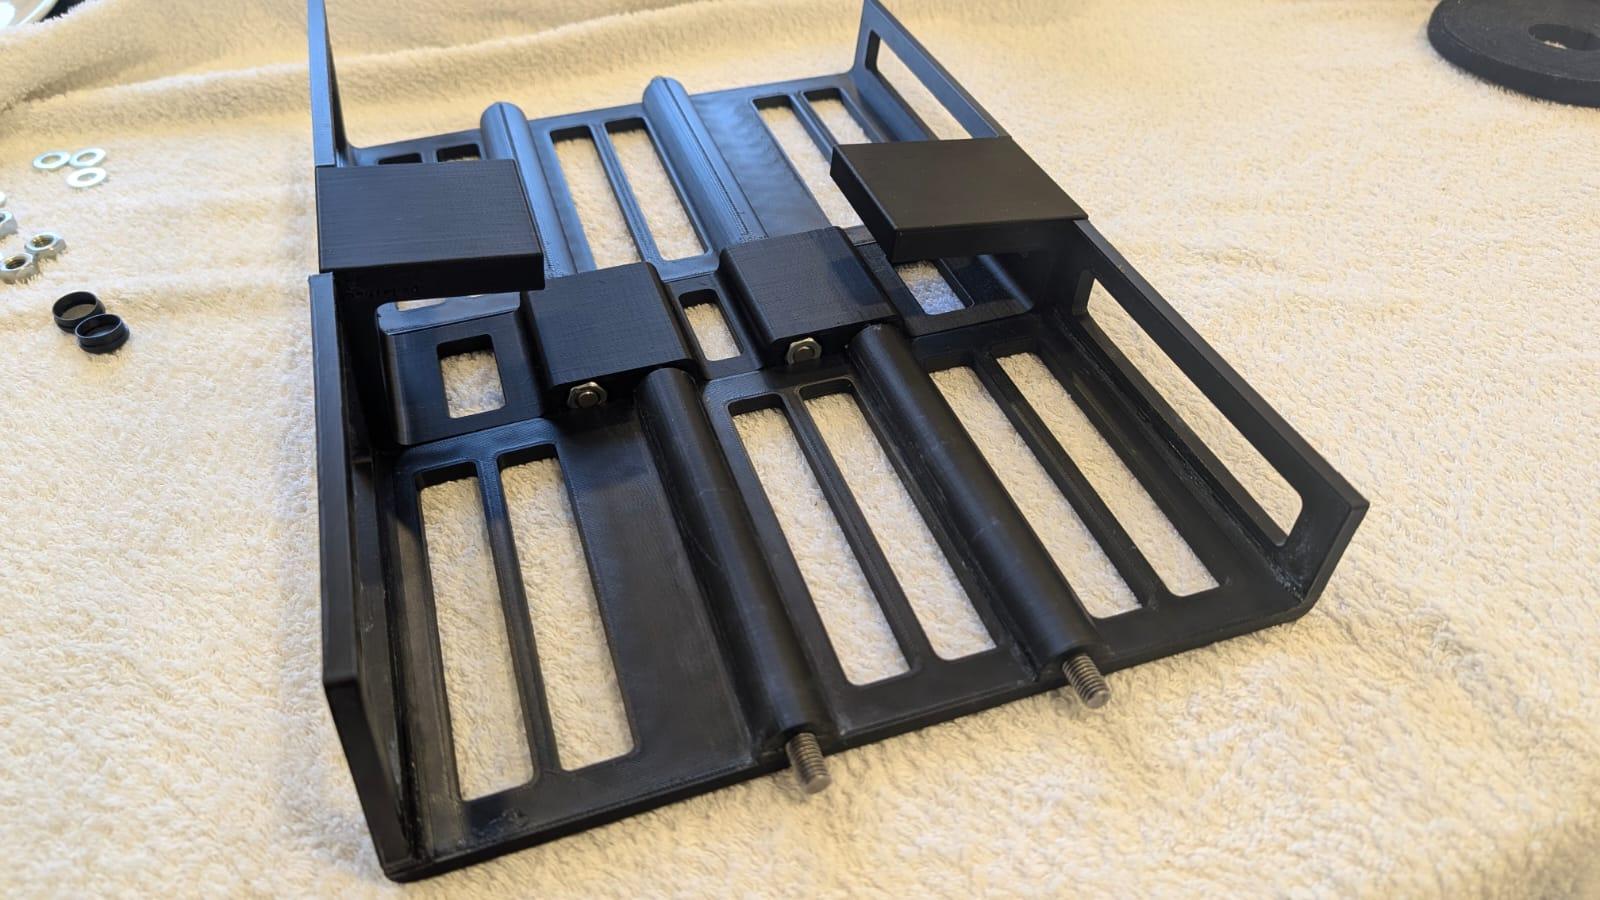
Slide the pedalhaus-Lhalf and pedalhaus-Rhalf along the bolts until they are properly aligned with the center component.
Secure Washers and Nuts
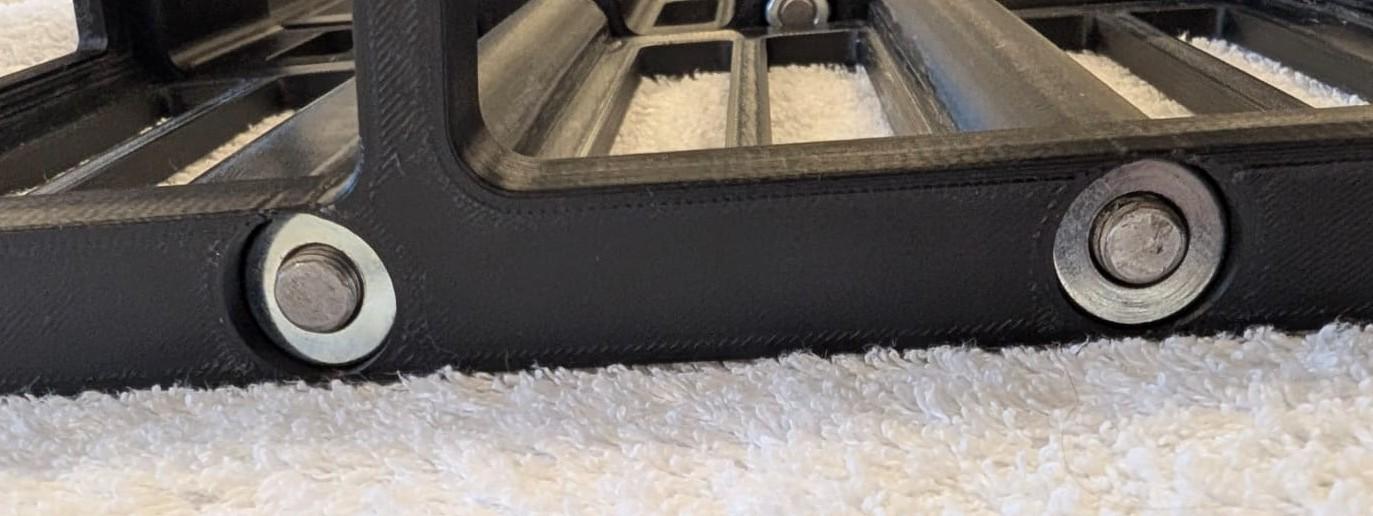
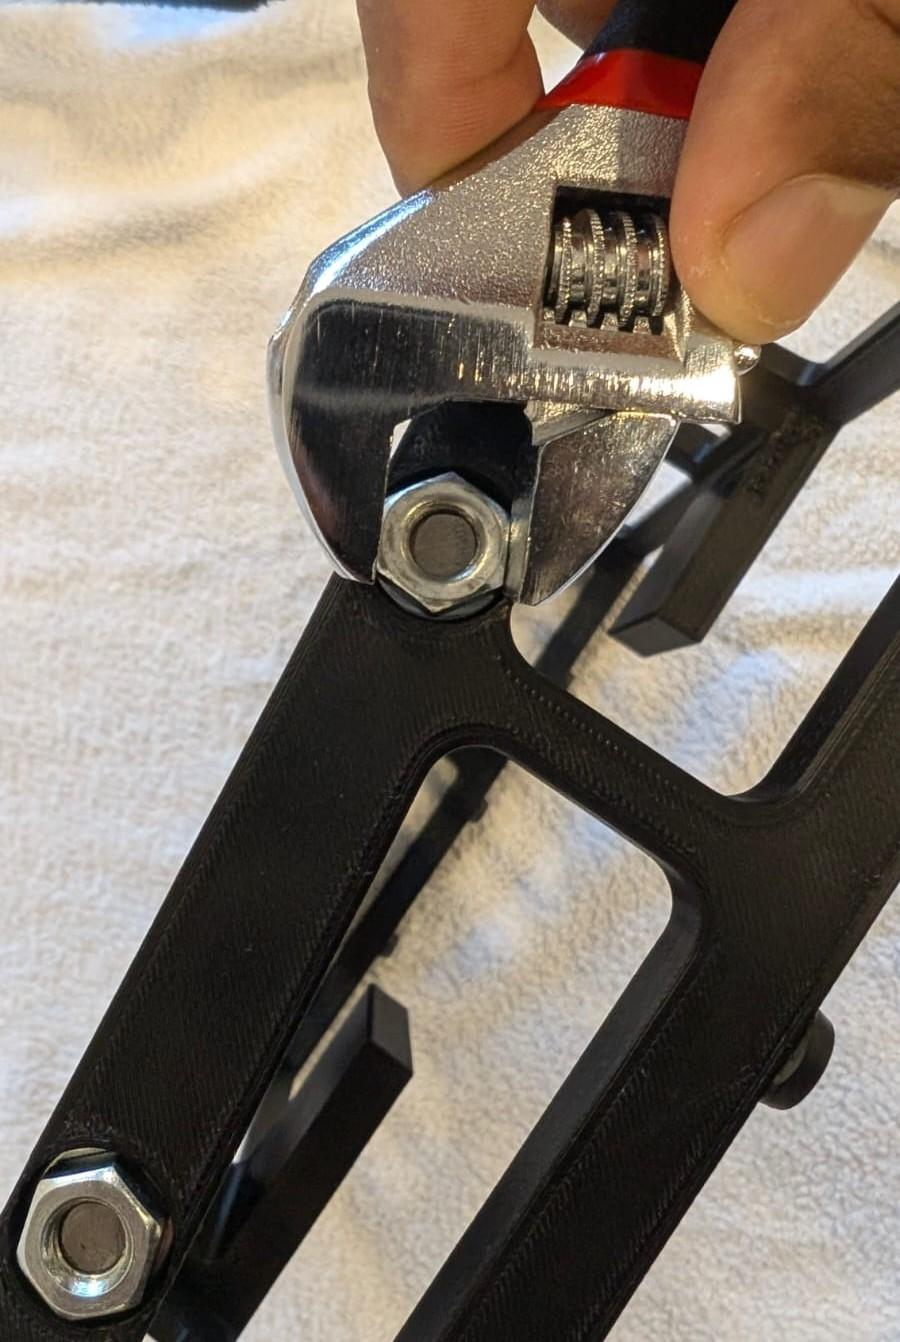
Place washers over the bolts, then hand-thread the hex nuts onto the ends. Then, tighten the nuts using your adjustable spanner until the assembly is secure, making sure the hex nuts sit flush against the washers.
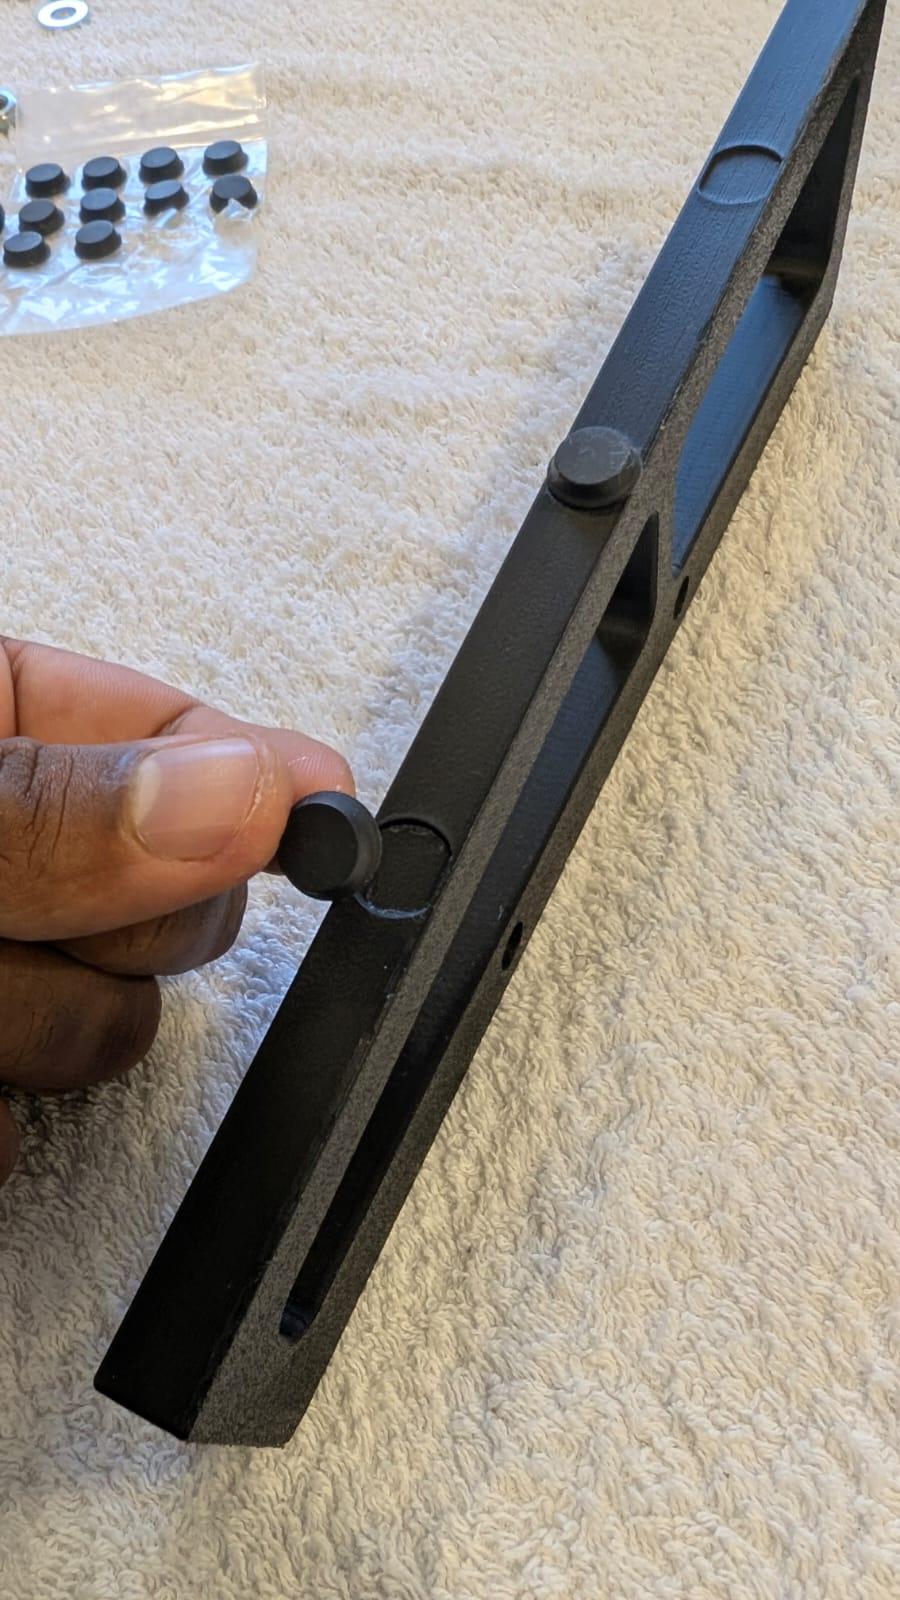
Install Caps
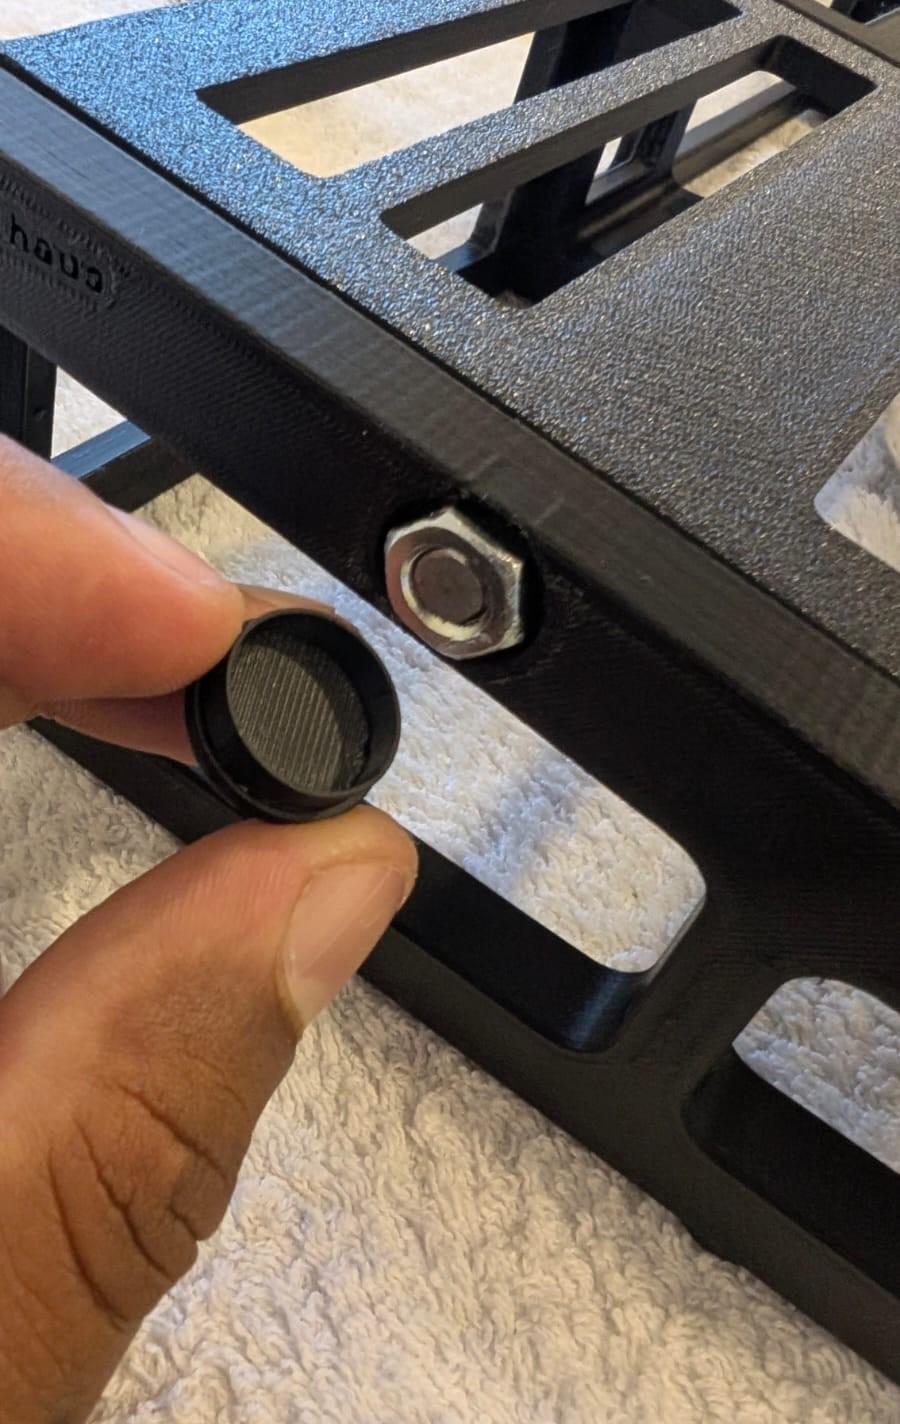
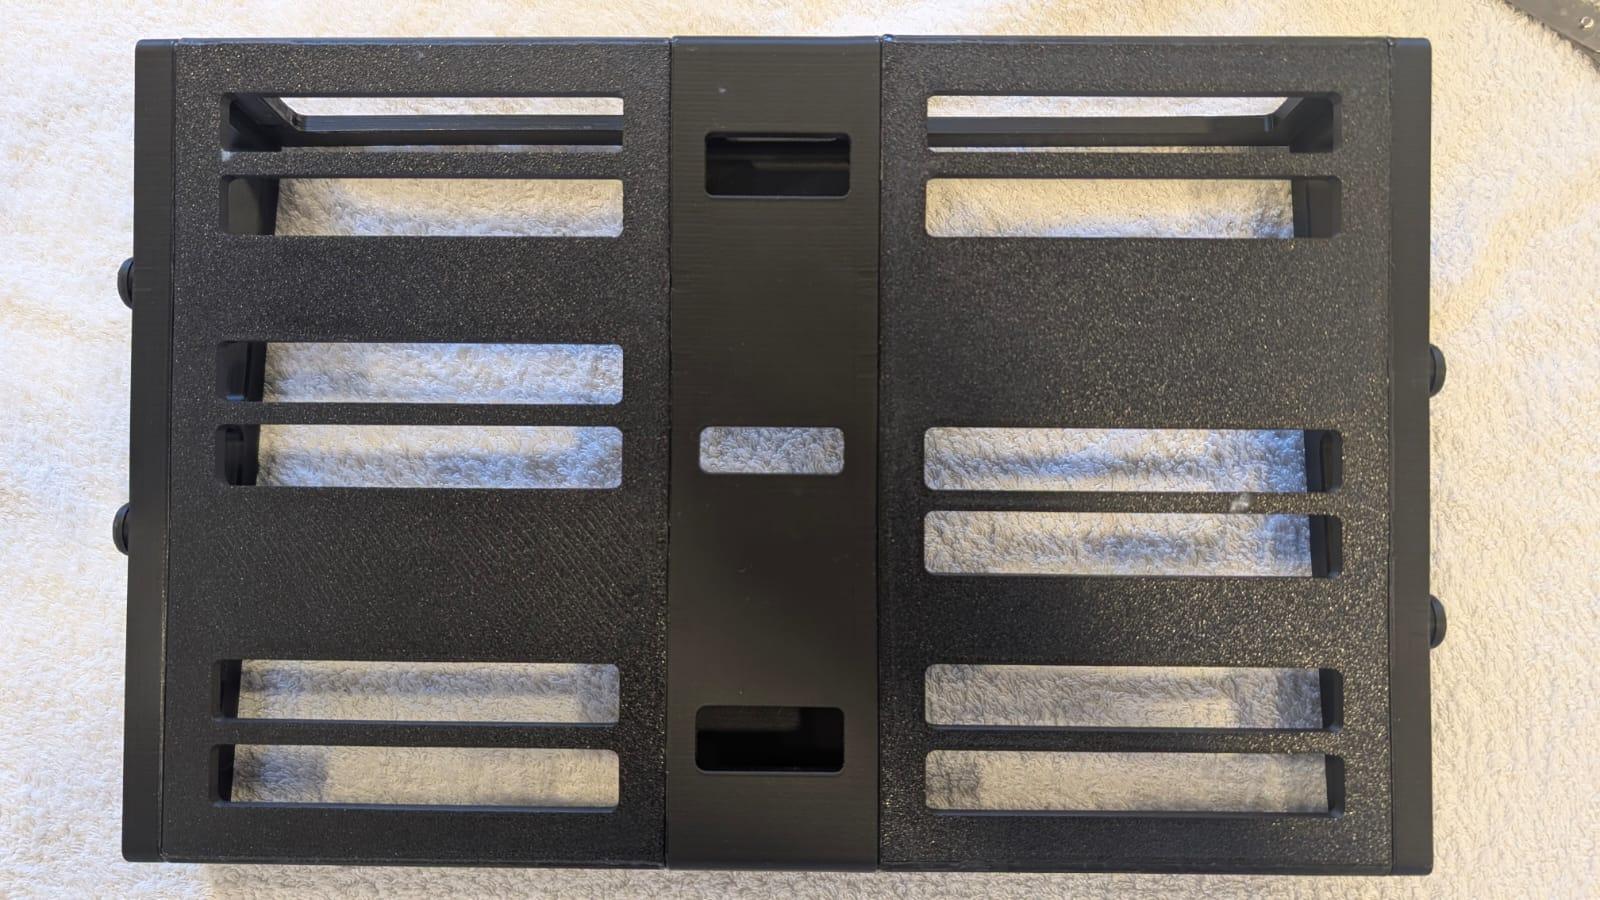
Press the caps firmly into their designated positions on the assembly until they fit securely. Enjoy your new pedalhaus pedalboard!
Optional Step: for added extra strength and durability, apply a small amount of superglue to the joints within the assembly and along the seams between the 3D-printed components. This will increase rigidity and help prevent movement.